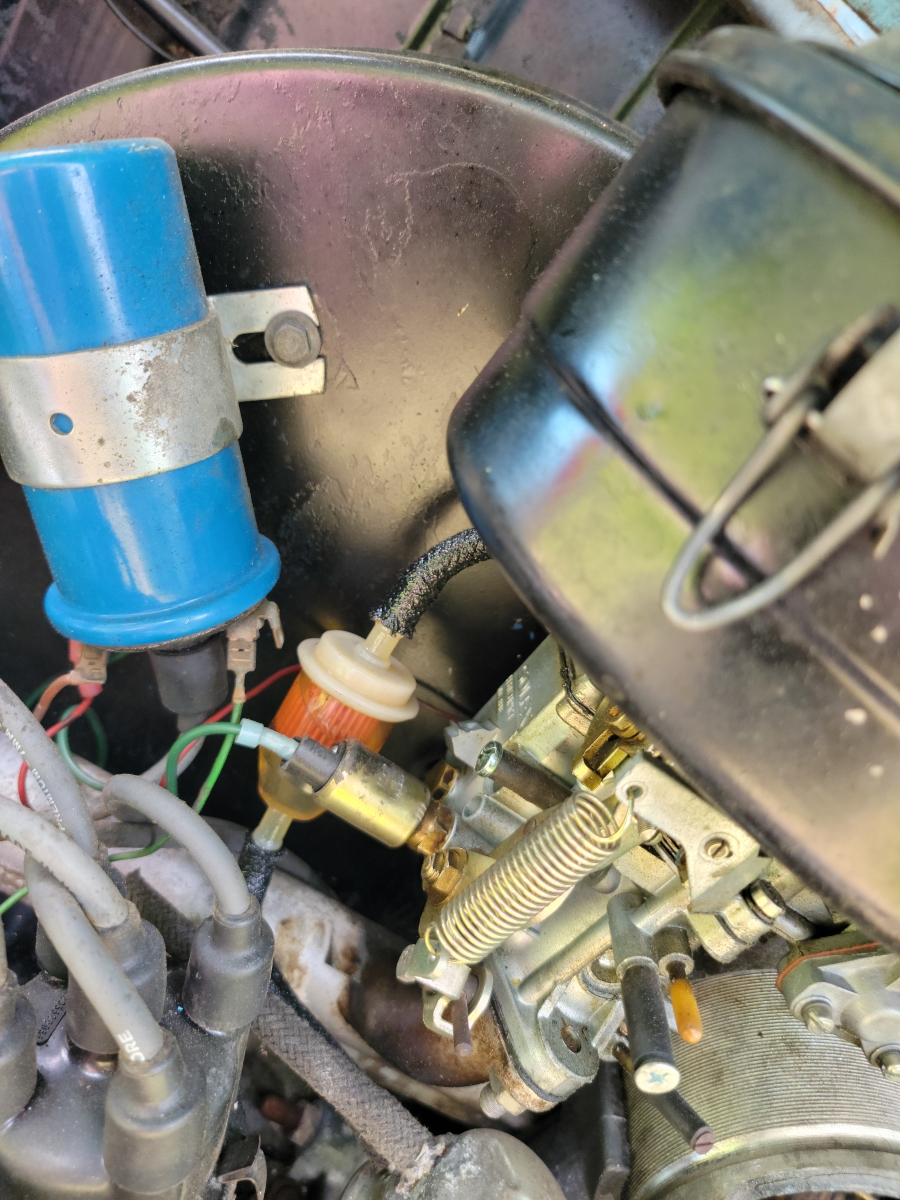
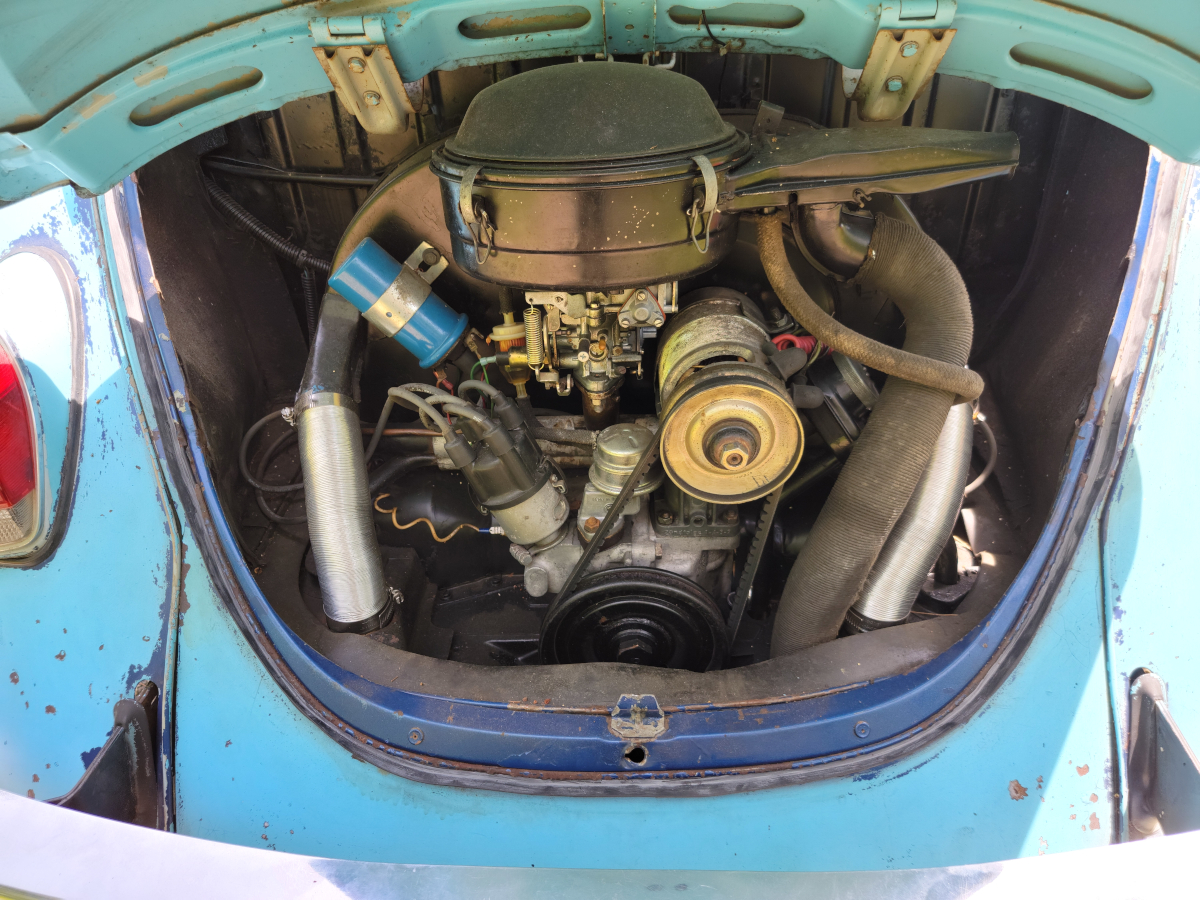
I have had a couple videos of burning Beetles randomly present themselves in the last few days. Logically, fuel hose and carburetor gaskets are the biggest concern. As I was walking around the car, I decided to open up the rear deck lid and gave the fuel hoses a squeeze. They are fabric covered, so I couldn’t see anything wrong, but the rubber still felt nice and pliable.
The next time I started up the car, I smelled it.
After running for approximately twenty seconds, there was a puddle of gasoline in the bottom of the engine bay.
I had recently been troubleshooting a similar problem with my lawn mower. It doesn’t leak fuel noticeably when mowing, but over the course of the next few days after, would slowly dribble it out, soaking into the air filter. Mowing my lawn only takes a third of a tank of gas, but every time I go to mow, the tank is empty again.
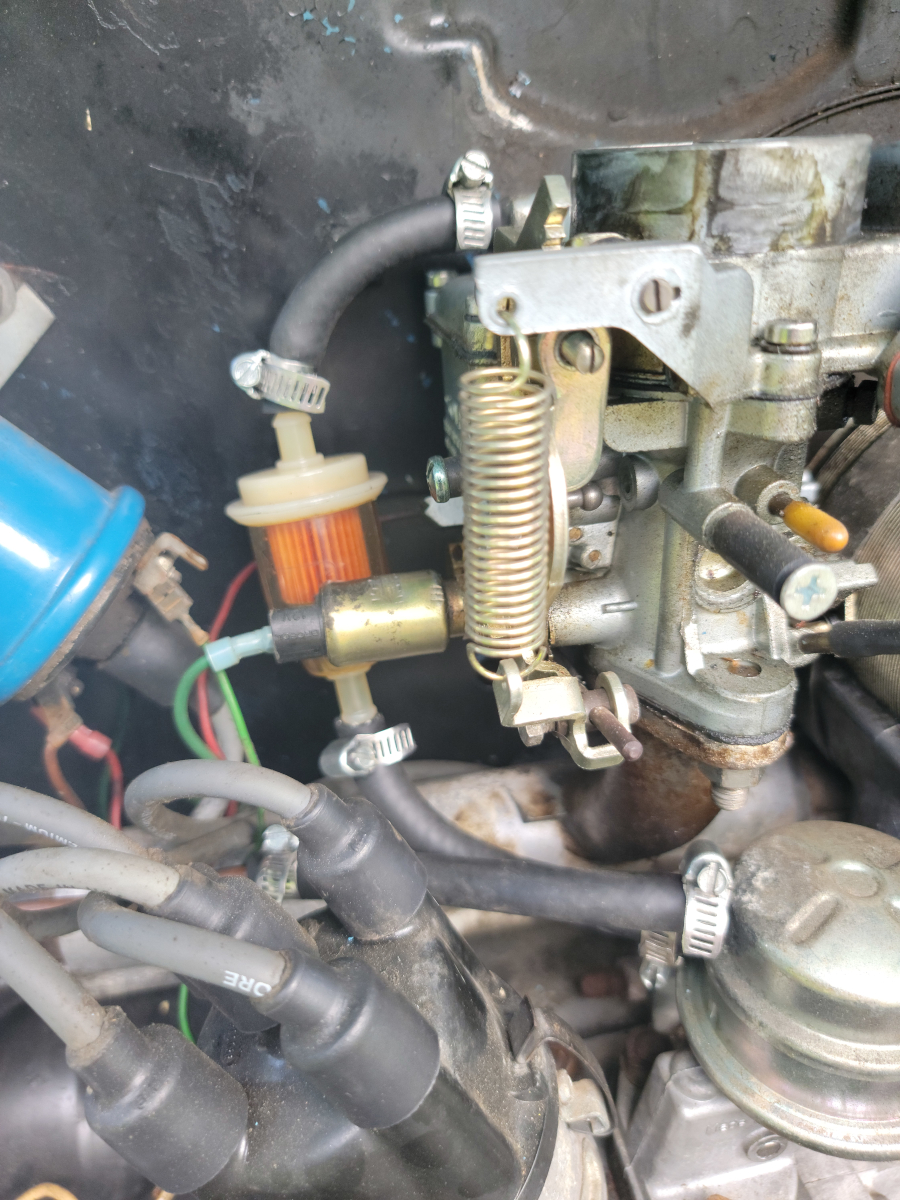
ANYWAY, after disassembling everything and cleaning the carburetor, verifying the hoses and clamps were still good, I had the same problem the next time I mowed. As a temporary stop-gap until I could figure out the actual cause of the problem, I picked up a fuel petcock at Lowe’s (Lowe’s link) which also came with a foot of fuel line. Two birds, one stone!
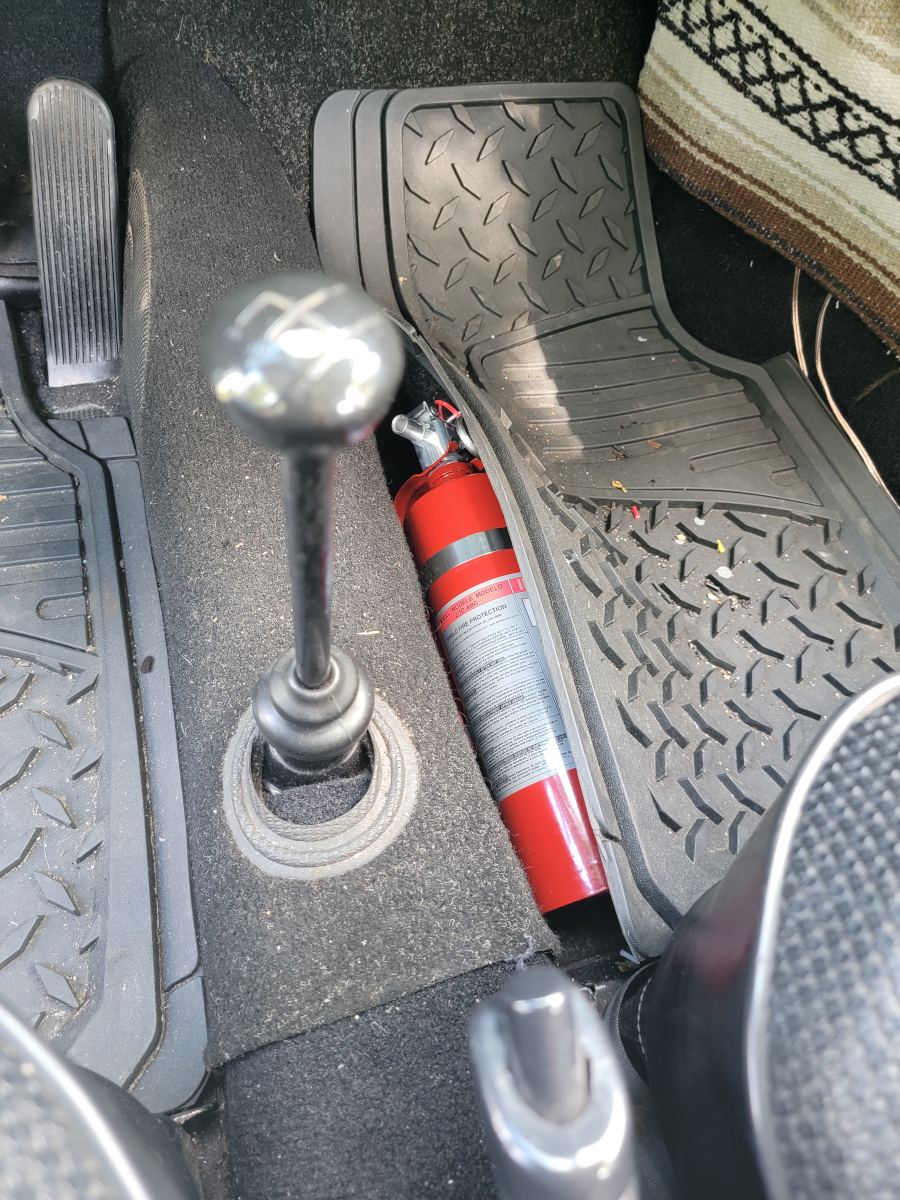
I’m happy to report, there have been no further issues. BUT, just in case…
That’s not at all the right angle to store that at (surprise shot in the face).
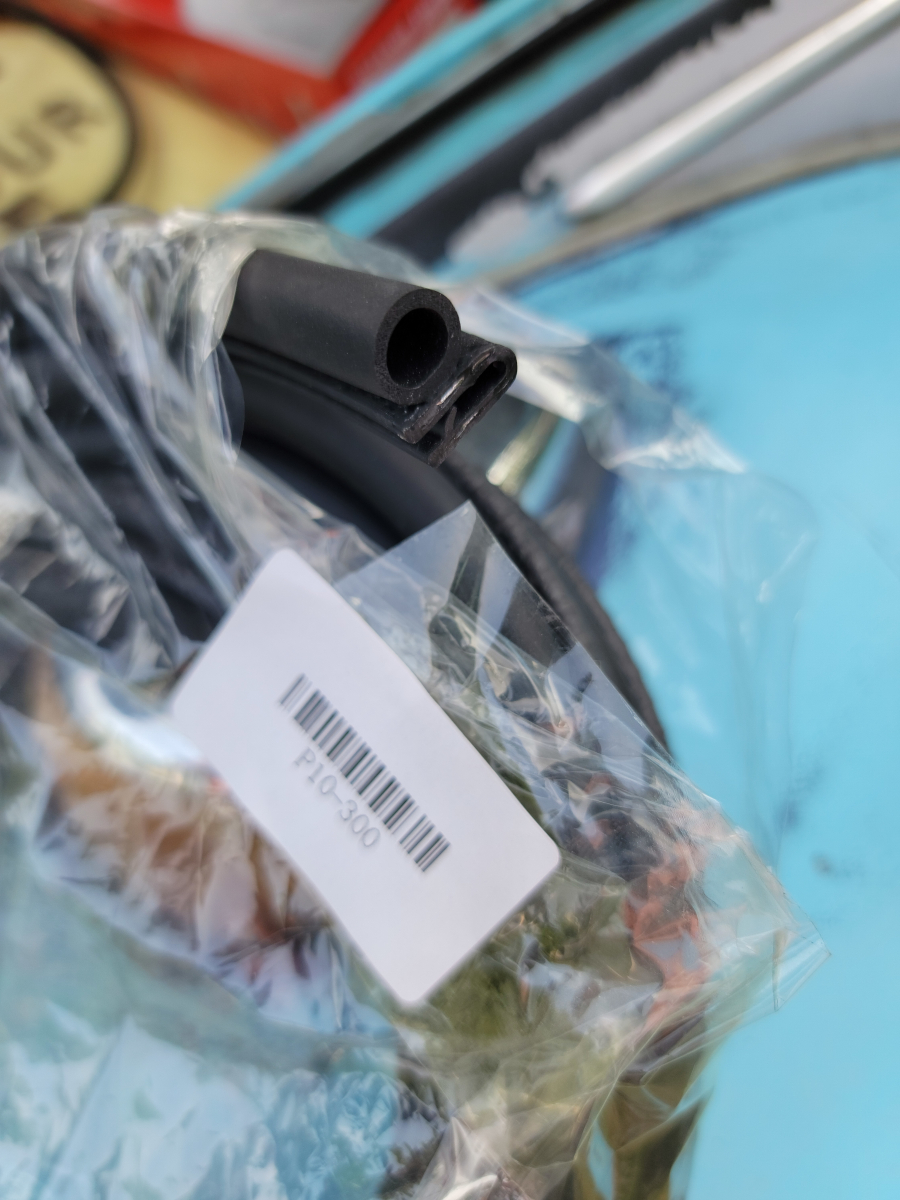
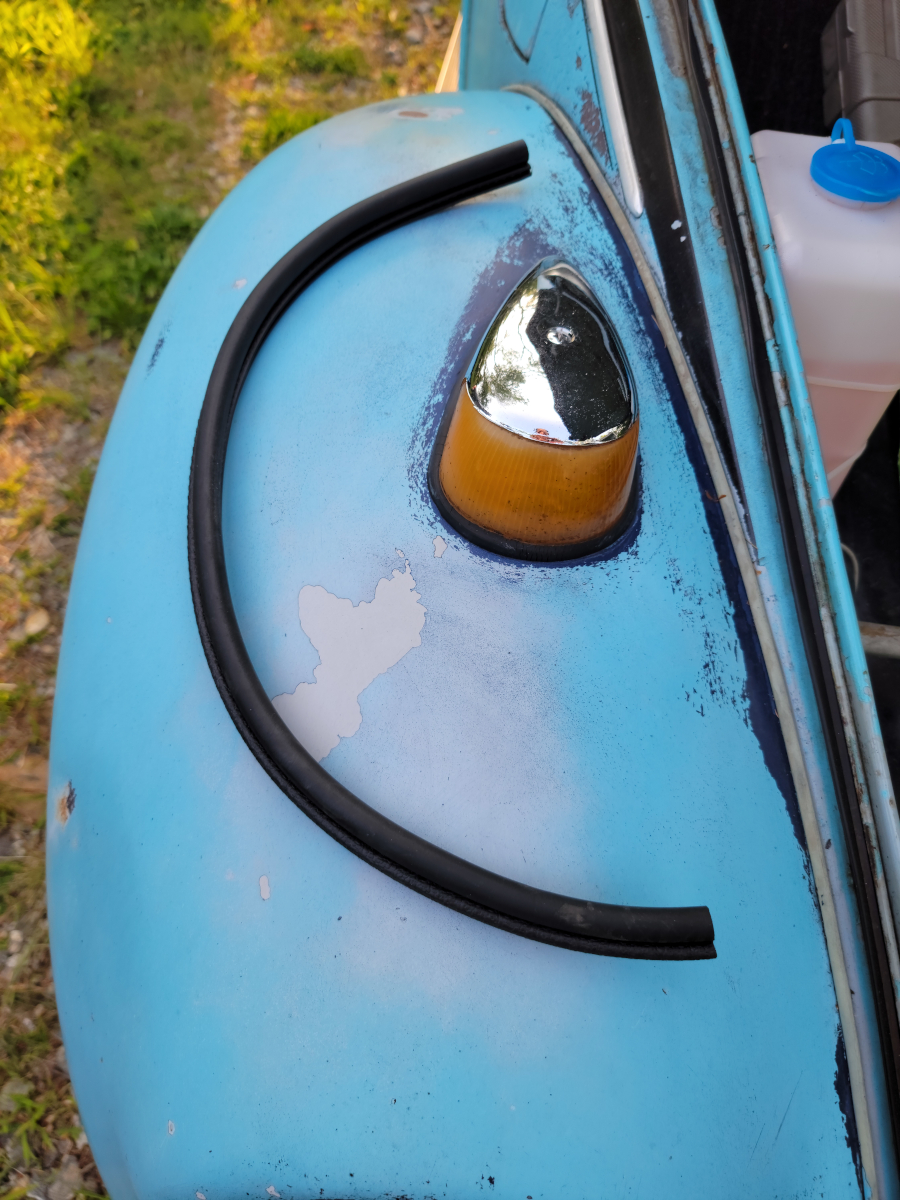
After Replacing the Front Hood Seal, I still have some wind coming through the dash when driving. Not as bad as it was, but definitely still an issue. I have mentioned before that the front end of the car has had a smoosh and the bonnet is out of round, as compared to the body it’s supposed to be sealing against.
I had previously seen a video of someone installing a Brazilian lip style slip on hood seal. The information I found online said that it can be used with or without the factory seal. Alright, I’ll give it a whirl (jbugs link).
It started going on fairly easily, but there were a couple of places that it didn’t want to fully “slip-on”.
I got the whole thing mounted up and there was a nice chunk left over at the end.
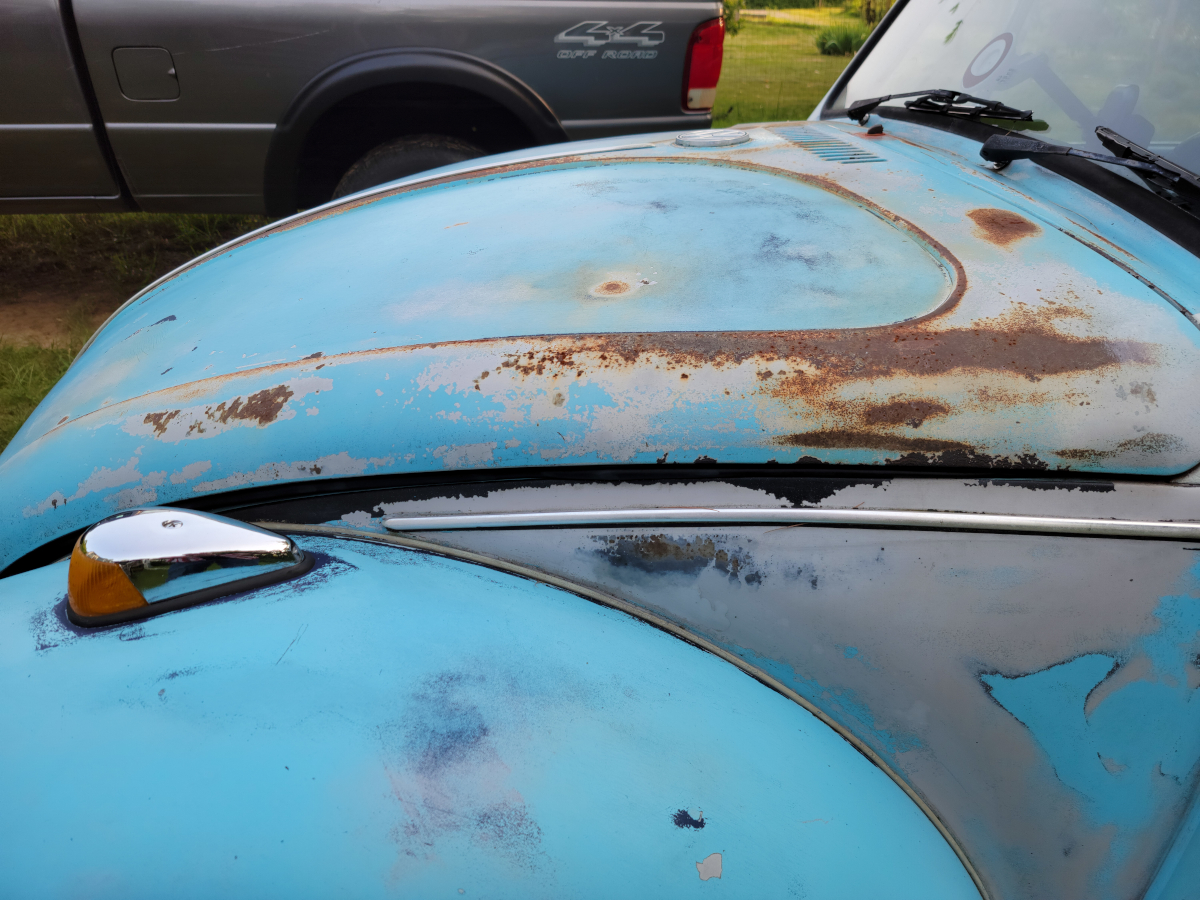
It’s not exactly clear in this picture, but you should be able to see dat gap tho.
It’s still not a tight seal. I have a feeling only replacing the bonnet will fix that.
The added thickness at the top end has also made it really hard to close. It just barely clips into place now. I’m out of adjustment on the striker. It’s as far out as it will go.
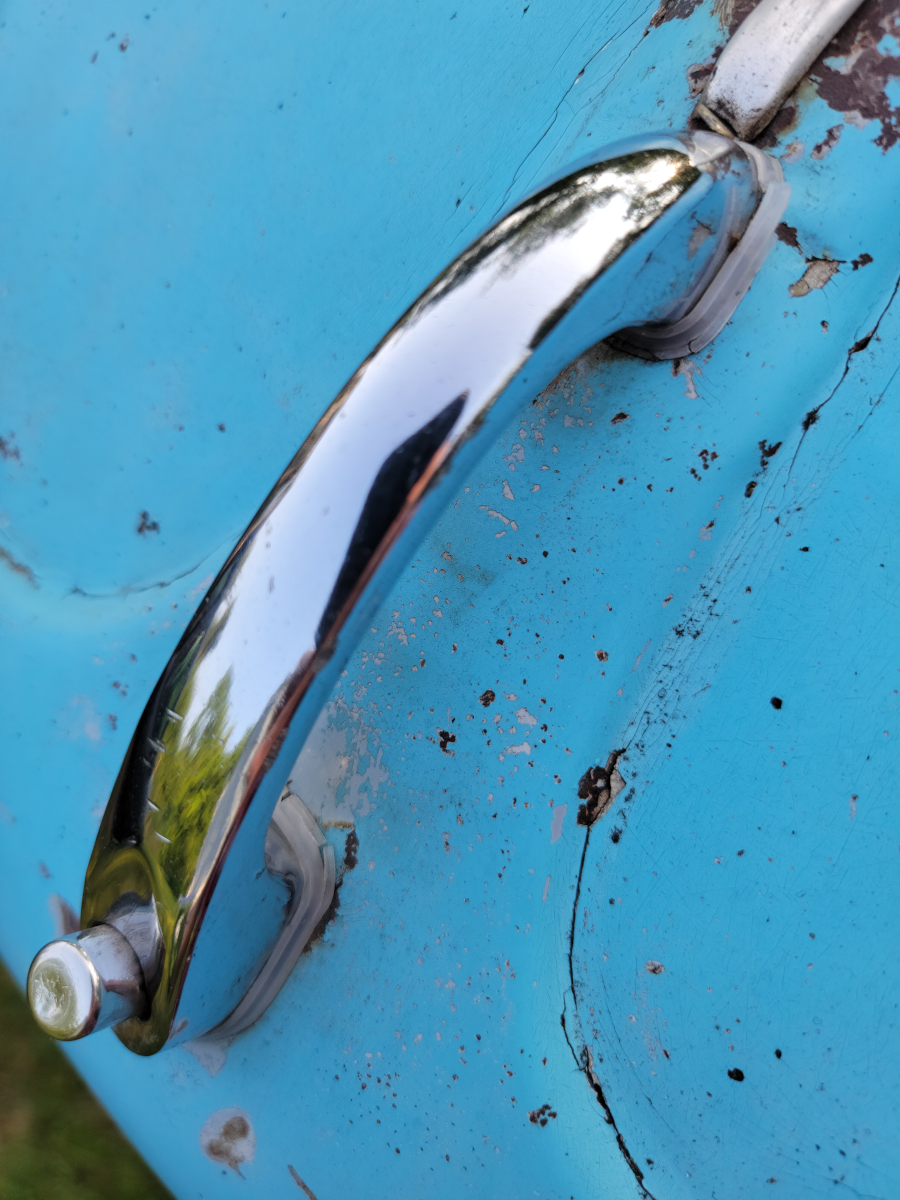
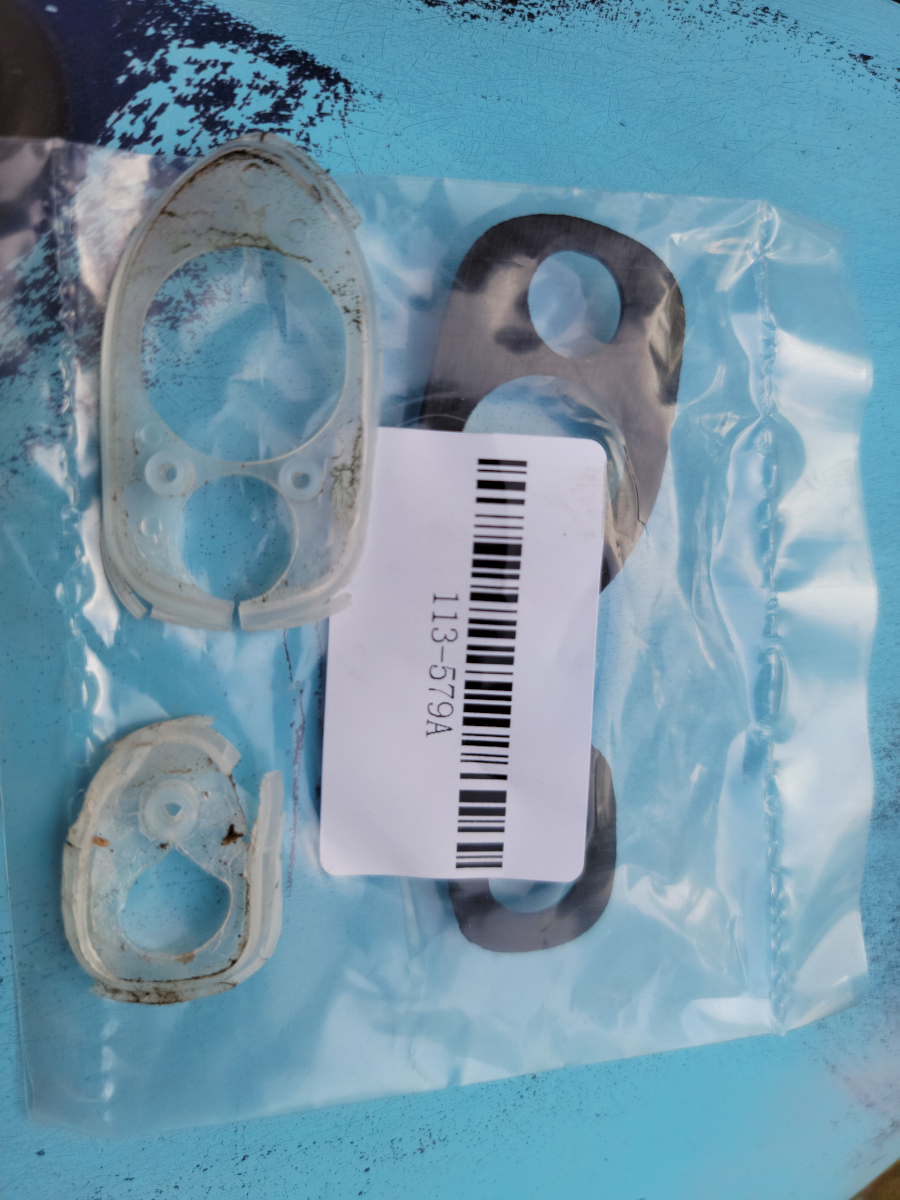
While I’m here, I may as well replace the handle seals.
One of the first things I replaced on this car was those handle seals. The new parts (matching what was on there previously) were clear(ish), hard plastic. The new ones cracked and broke within a month or two. This time, I picked up soft black rubber ones (jbugs link).
They installed without issue and will hopefully last longer than the previous ones I wasted money on.
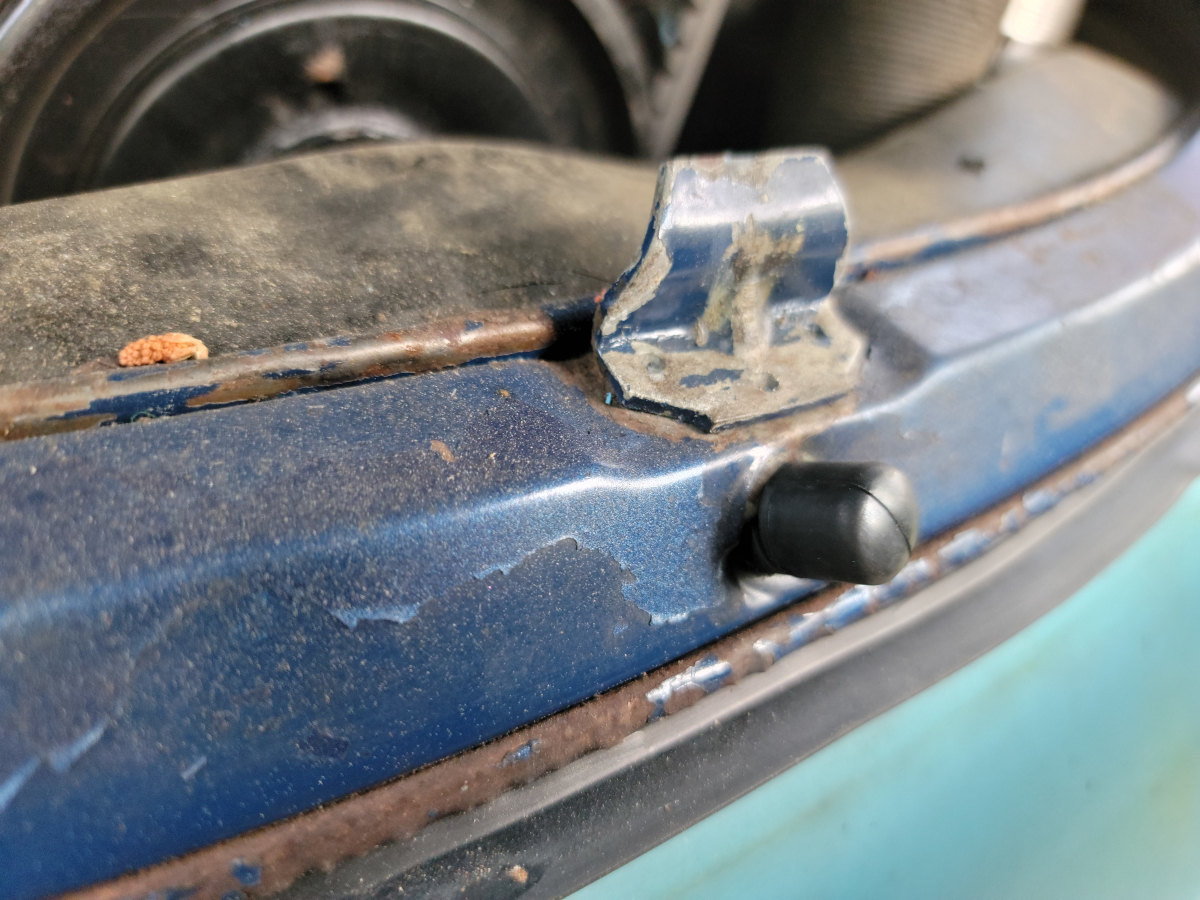
Apparently, I had recently gone on another buy cheap parts online spree, because I also had a new engine cover bump stop (jbugs link) waiting to be installed.
For once, I’m not replacing something that was in awful condition. This time, it was missing altogether.
I had to thread it in all the way, but it’s a nice, tight fit back there now.
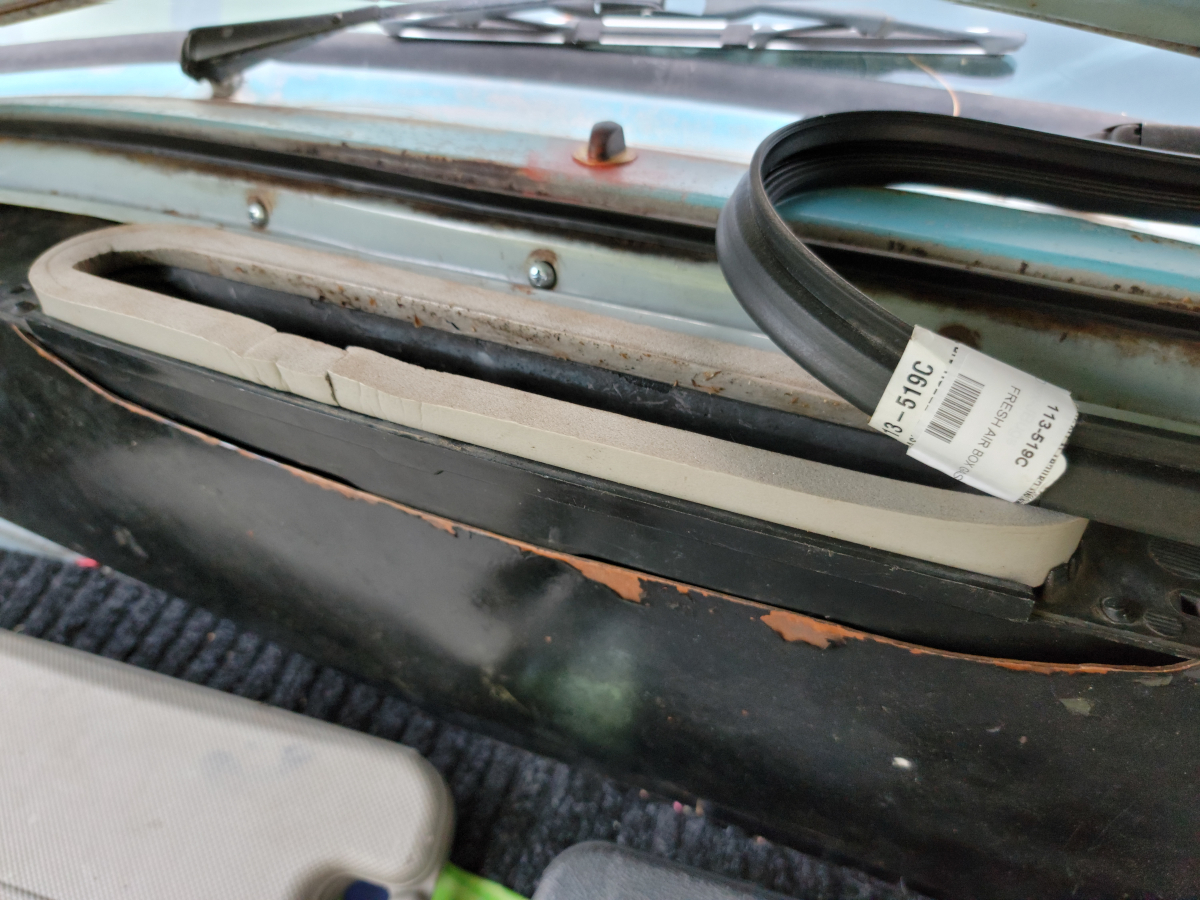
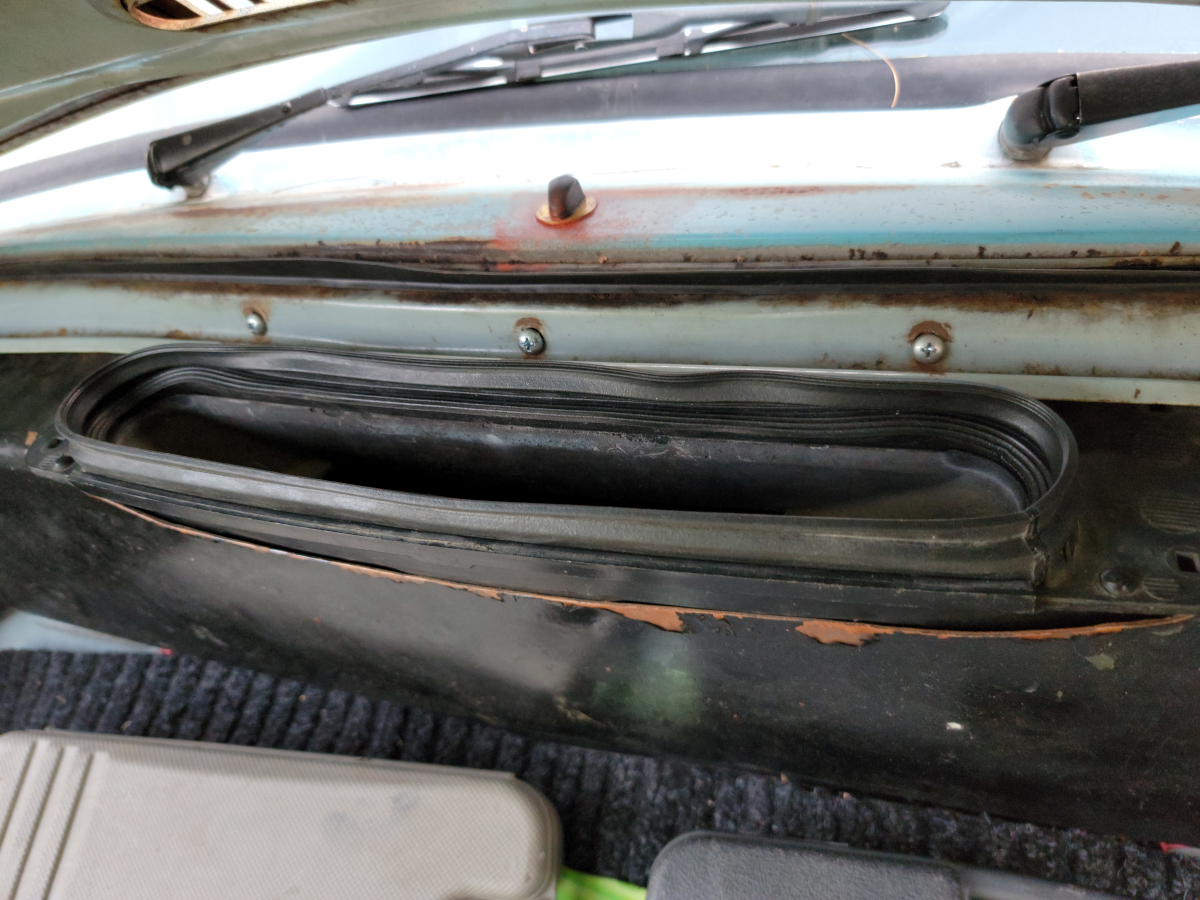
Lastly, fresh air box seal I made from (not very) adhesive weather stripping back in I Give Up was annoyingly still sticky enough to grab half of the debris that fell through the grate. The last item in my shopping spree was a new fresh air box seal (jbugs link).
There is a thick glue joint that only wanted to fit into one of the corner cracks. Jamming it in there made the glue joint moan a little.
I don’t have terribly high hopes for its longevity.
Back in A Few Easy Wins, I replaced the fuel filler cap (jbugs link). The old one was clearly aftermarket, form over function, and the paper gasket had clearly soaked up its last bit of gas.
After my next fill-up, I had the strong smell of gasoline when I pulled back in the driveway. Upon inspection, the cap was clearly not sealing and plenty of gas had sloshed around and out the top. It was puddled behind the fuel door and had run down the side of the car.
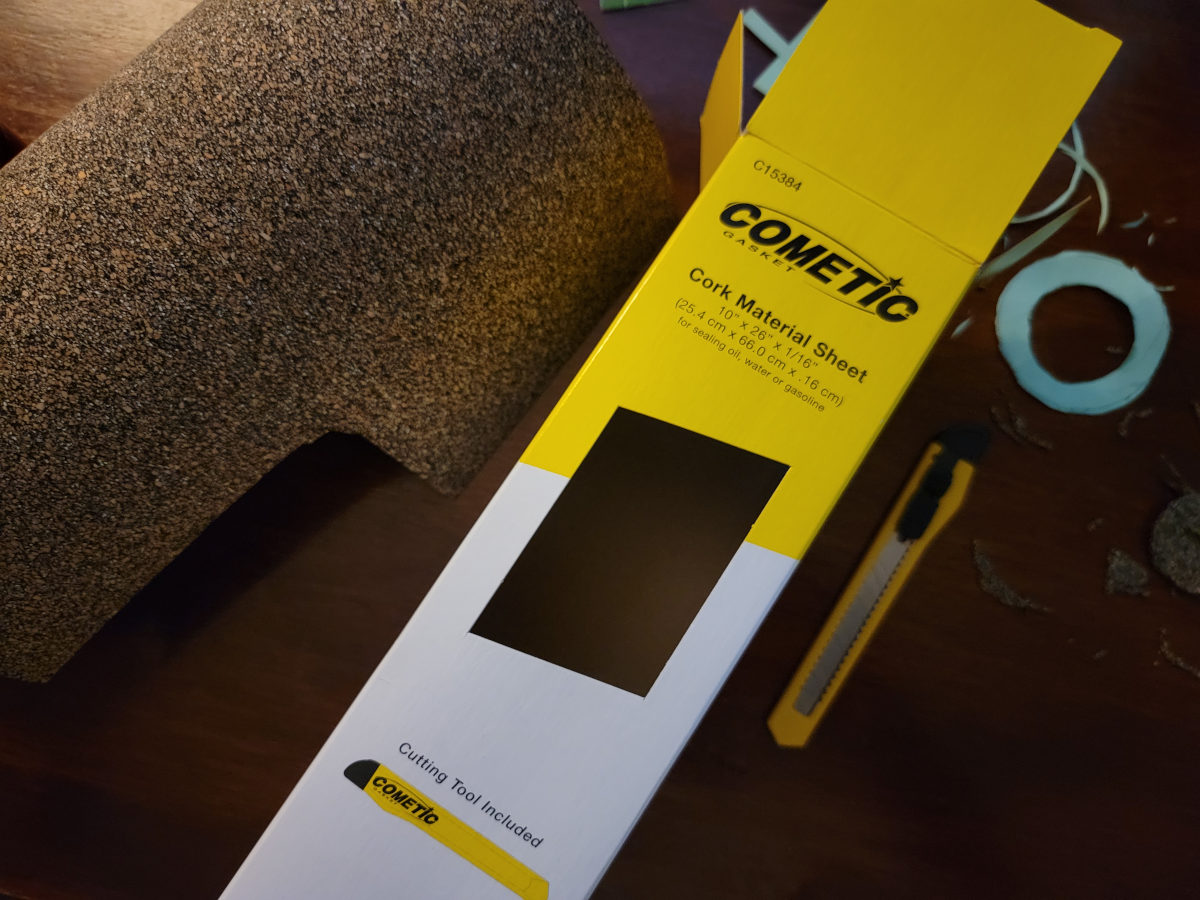
I put the old cap back on for the time being. The flimsy little rubber gasket that came with the new cap was way too thin to make a decent seal. I started googling around and found that lots of places sell new gaskets for ATVs and lawn tractors, but nothing I could find specifically for this size of cap. The best thing I found was AutoZone sells rolls of “rubberized cork” gasket material (AutoZone link). Oddly, the package even comes with a utility knife. Also, to be fair, O’Reilly also sells it, but is a couple of dollars more.
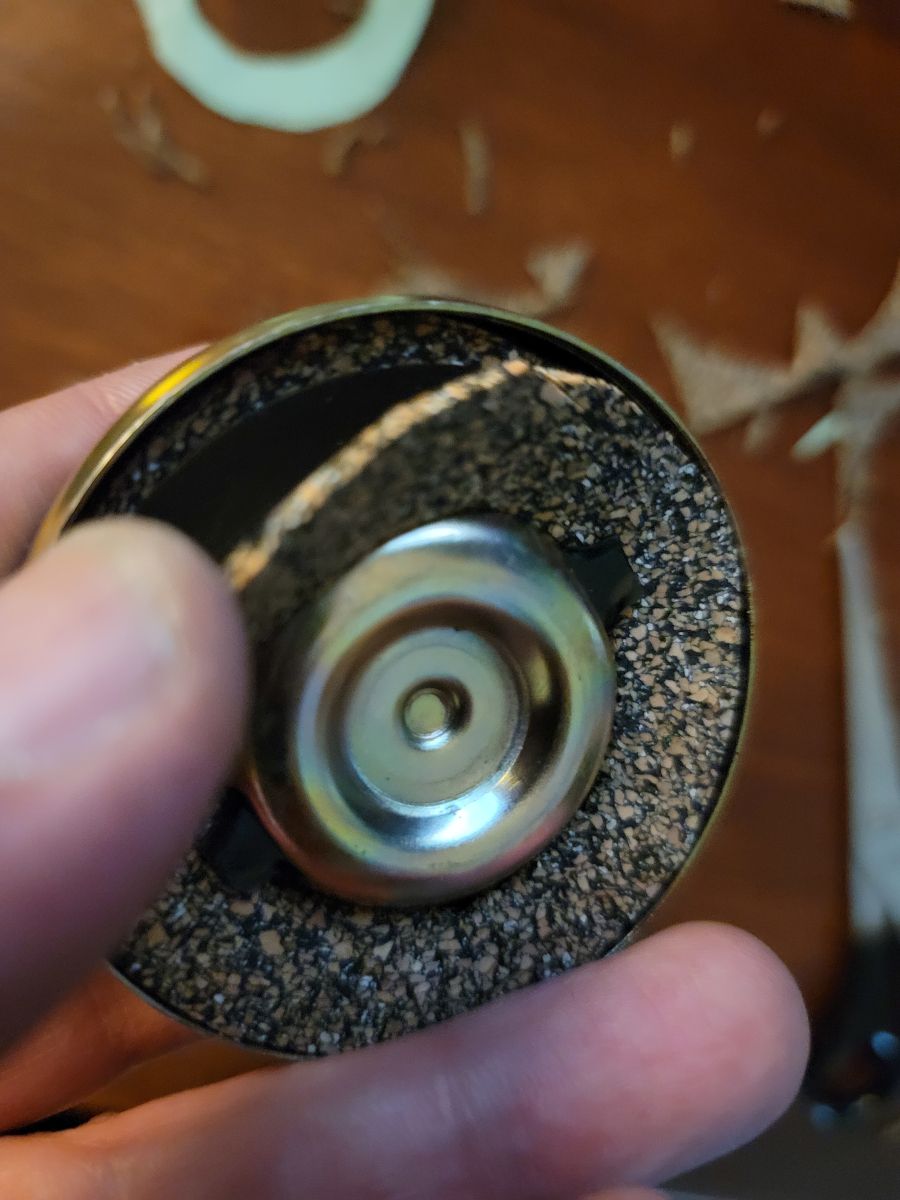
I traced out the thin gasket that came with the new cap and cut out a couple of new gaskets.
Two layers of cork gasket ended up being too thick, but one layer of cork and the thin rubber gasket was enough for a nice, tight fit. I haven’t had any additional issues with it.
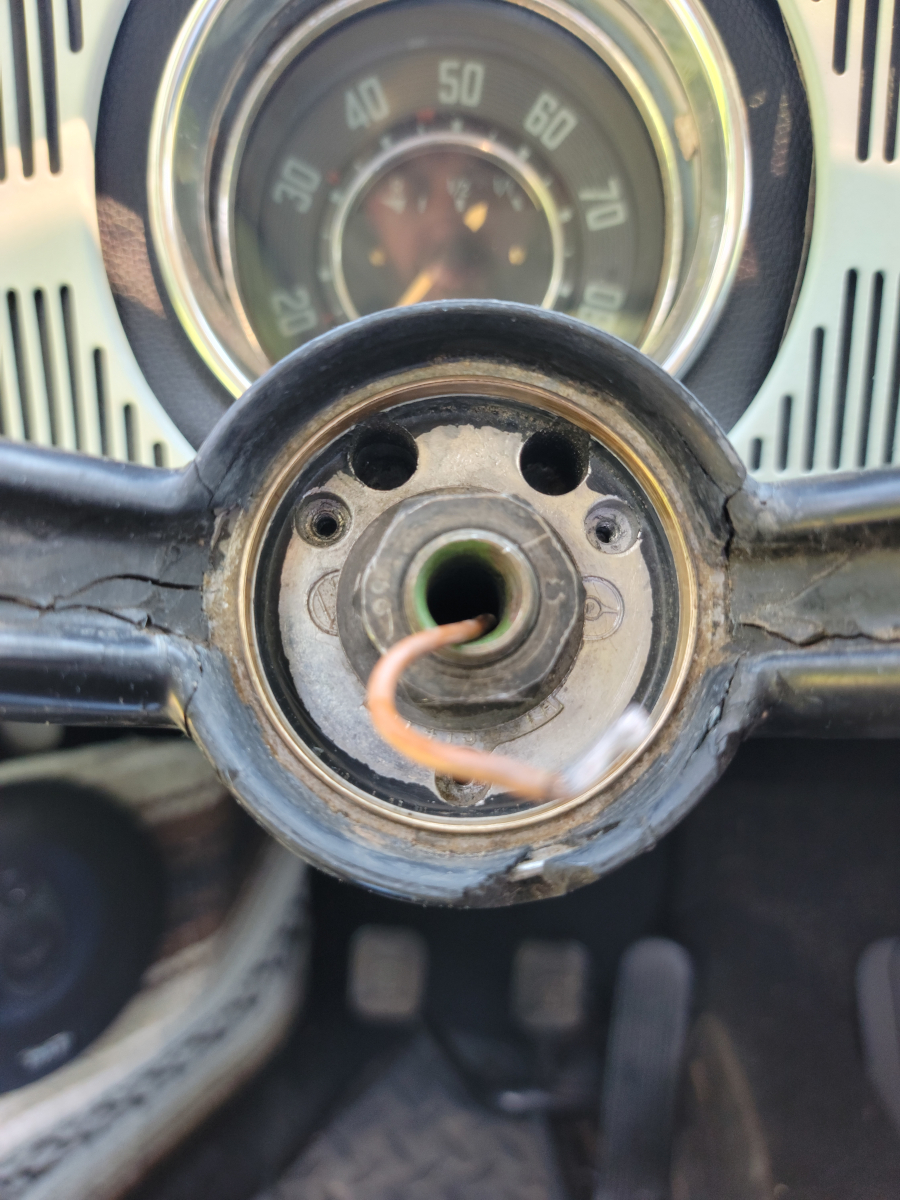
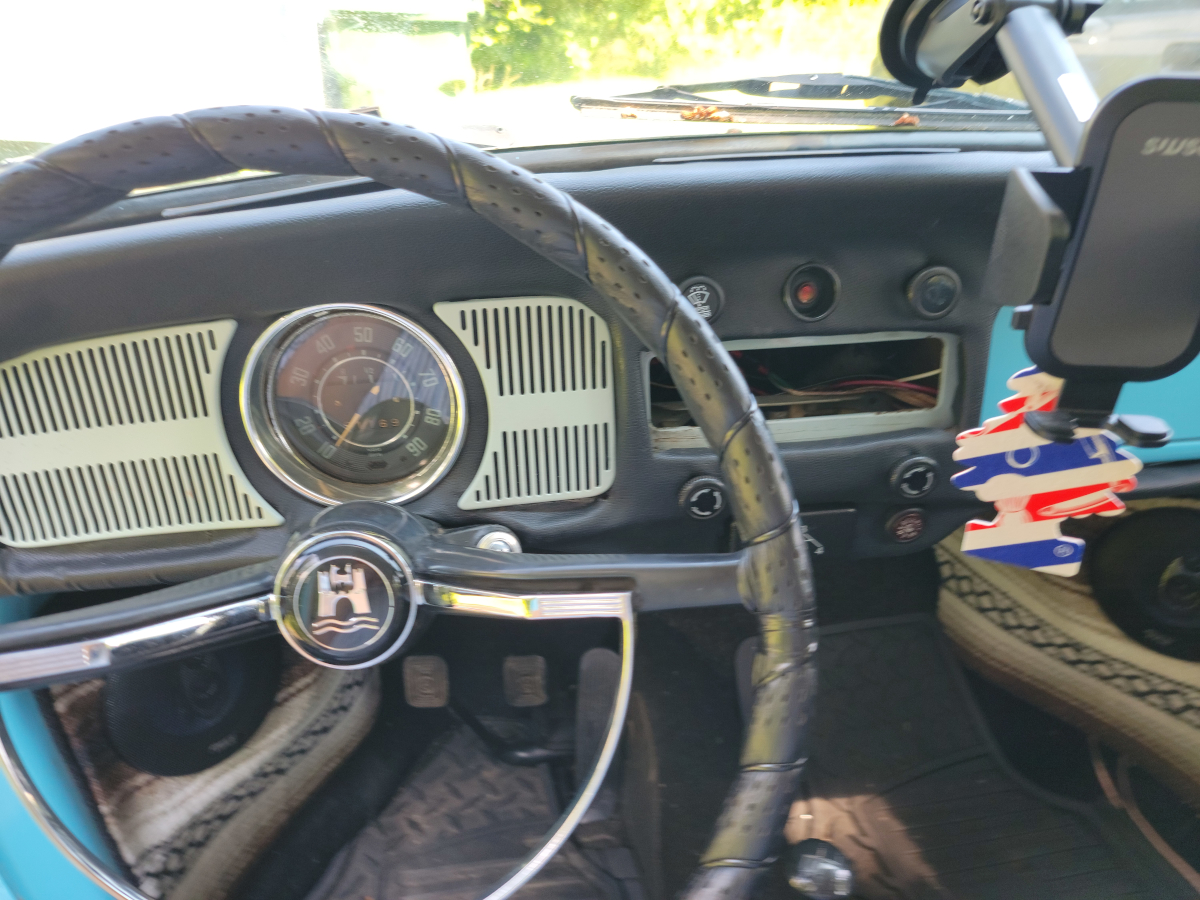
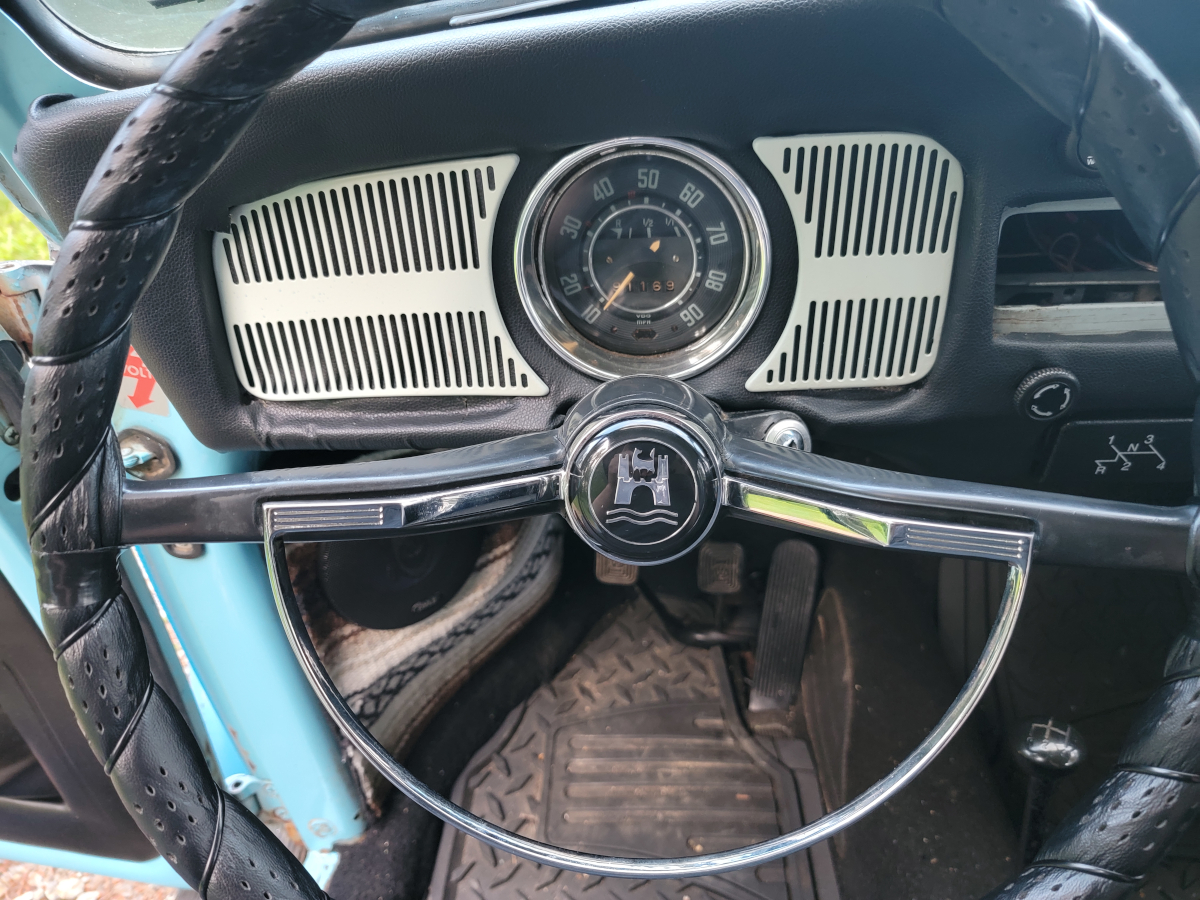
In my previous post, Replacing the Ignition Switch, I didn’t have much success getting the horn tooting again after having the steering wheel apart. This evening, I’m taking it all back apart to see if I can clean up the contacts and reassemble it correctly.
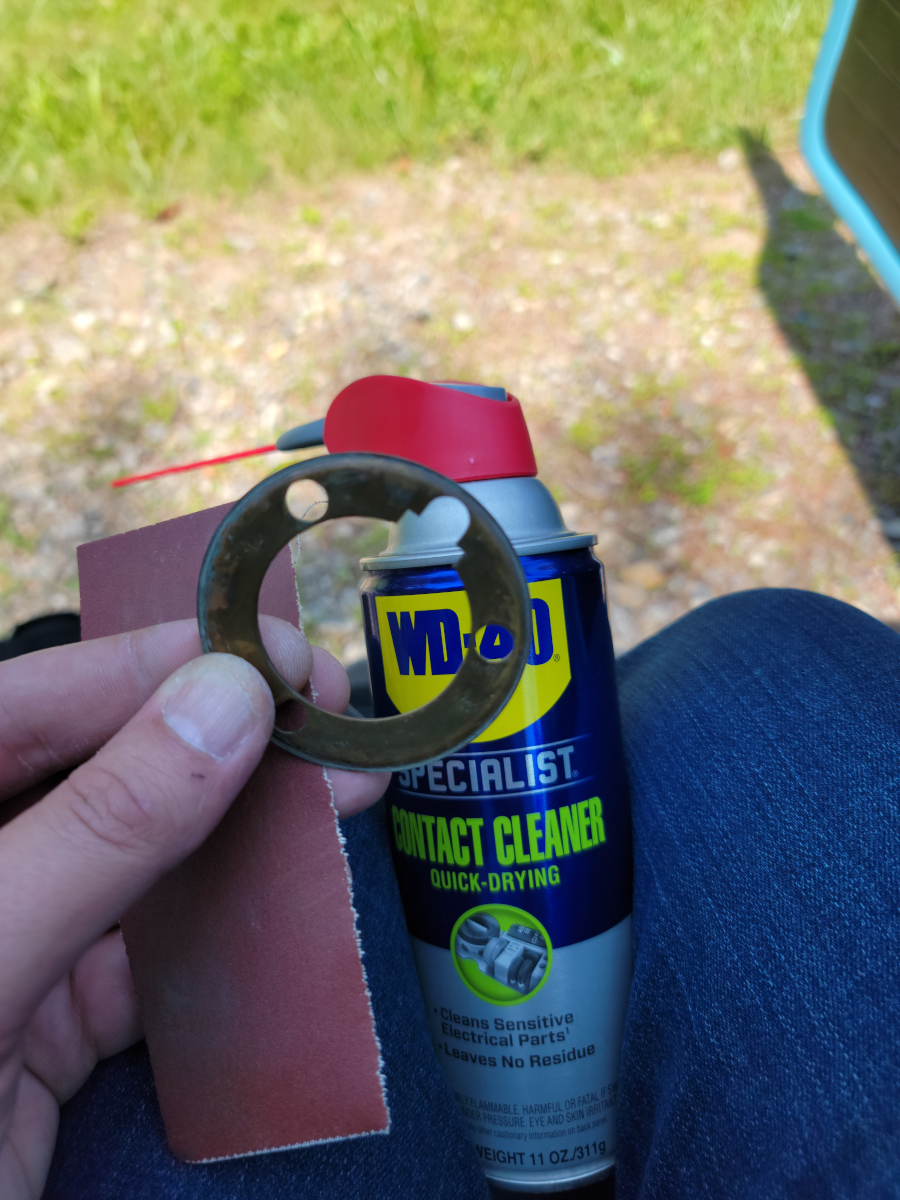
I armed myself with some emery paper and a can of WD-40 Contact Cleaner (Amazon link).
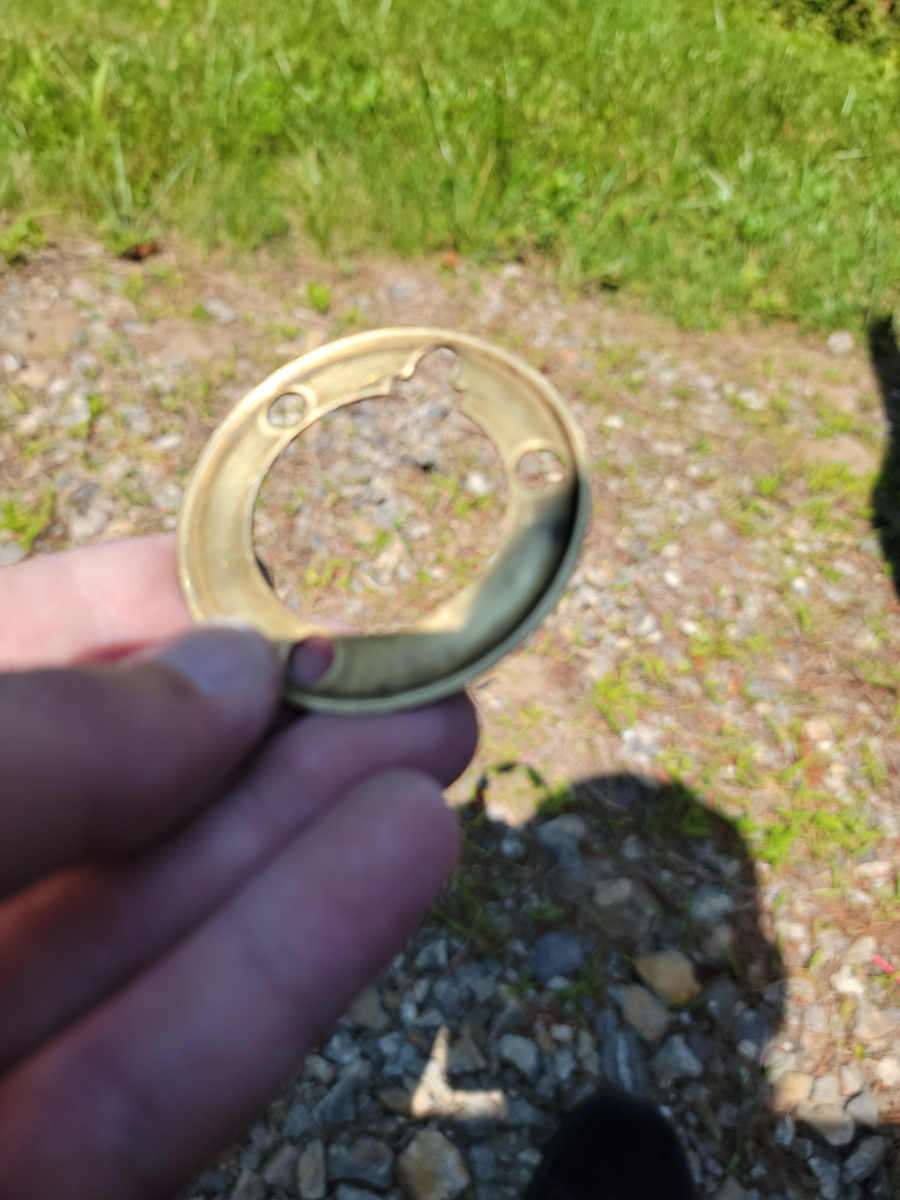
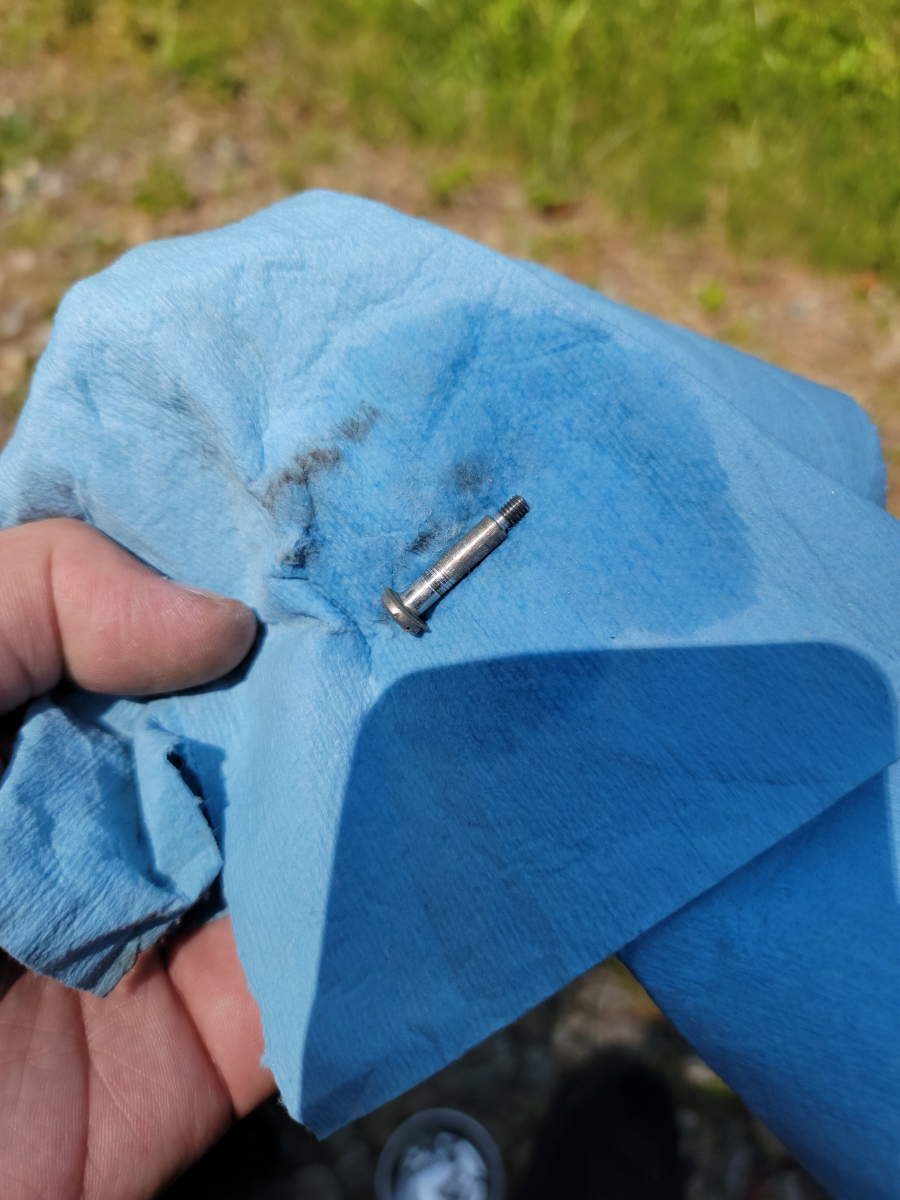
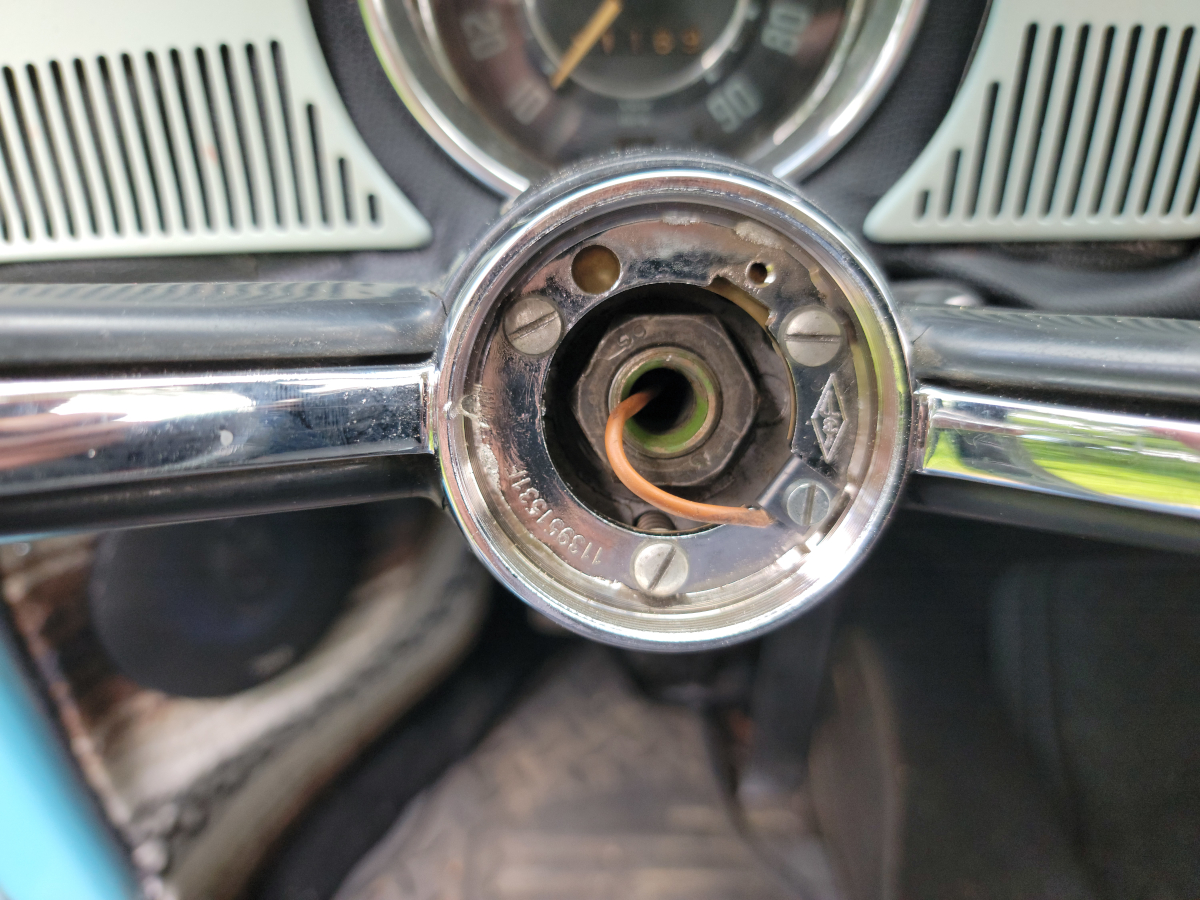
I got the copper horn contact ring polished up first.
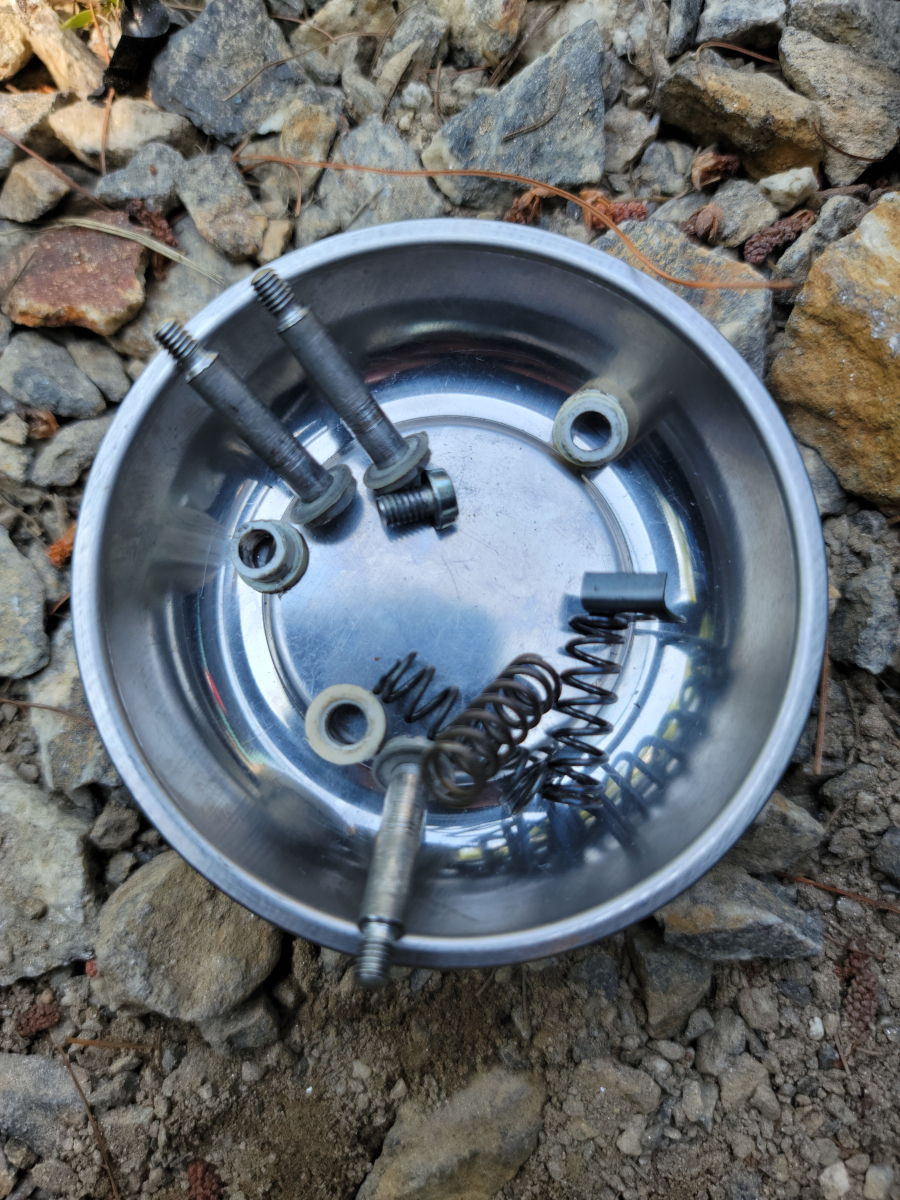
Next I would need to move on to all of that old hardware.
And finally, cleaned off the contact ring in the wheel itself.
I have had this all apart a few times now, for different reasons, including trying to get the horn working again after taking it apart the first time. At best, I have been able to get it kinda working in one direction or the other if you hold your mouth just right.
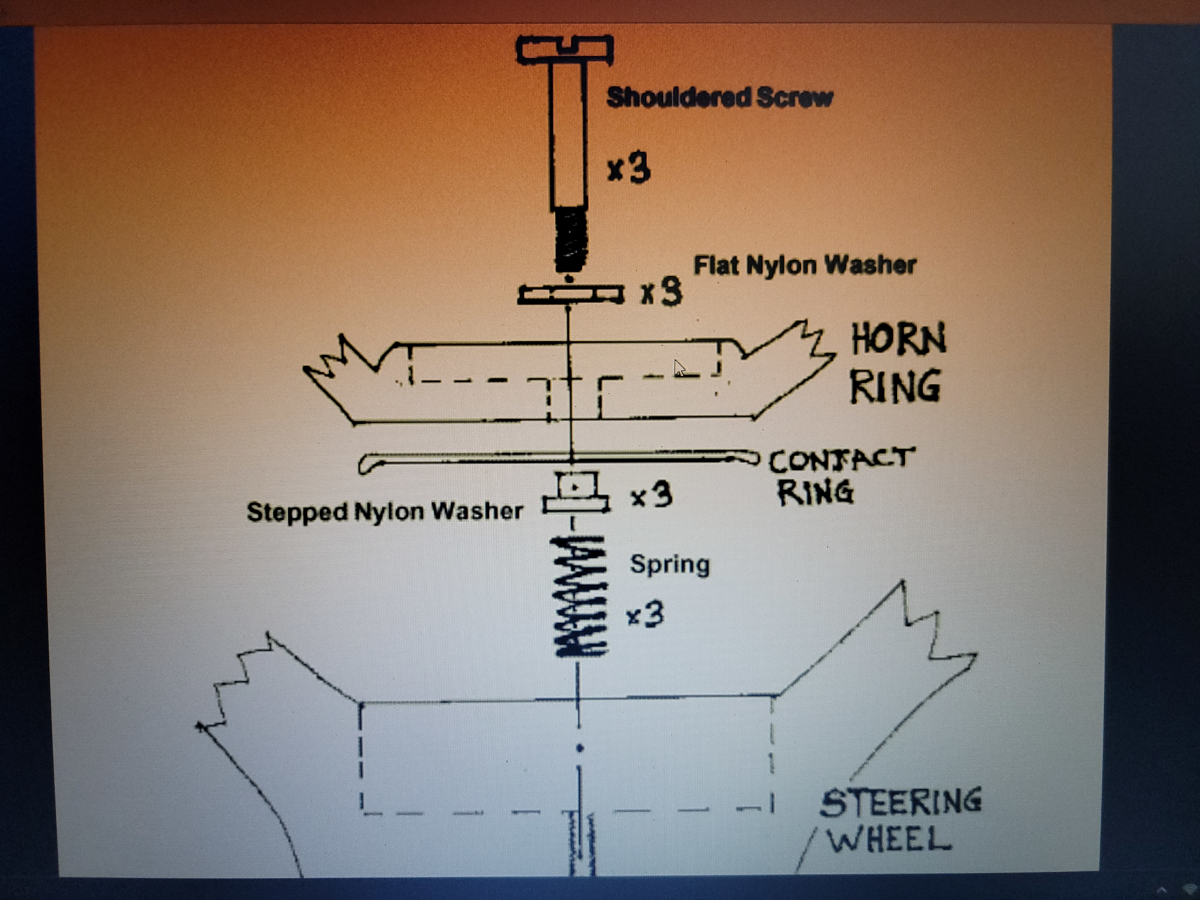
I googled it and came up with the following image on the samba, credited to a site that doesn’t have that image up anymore.
That’s a picture I snapped with my phone off the laptop screen, so copy of a copy of a copy, but it’s clear enough for me to make sure it all went back together as intended. What a pain.
Also, it didn’t work and the horn is still nah, bro.
Yesterday evening after work, I started disassembling the steering wheel/horn/turn signal assembly to be able to get to the ignition switch.
I only got so far before I found that I didn’t have the right size socket. My largest Stanley set only goes up to 22mm. Then of course, I have a 32mm impact socket for the axle nuts. Anyway, the info I found online said it was either going to be a 24mm or 27mm, with 27mm being the appropriate one for a 1968.
I went to O’Reilly and picked up both 24mm and 27mm deep well sockets. It was dusk by the time I got home and settled. So, I put it off until this evening.
It was a 27mm nut after all.
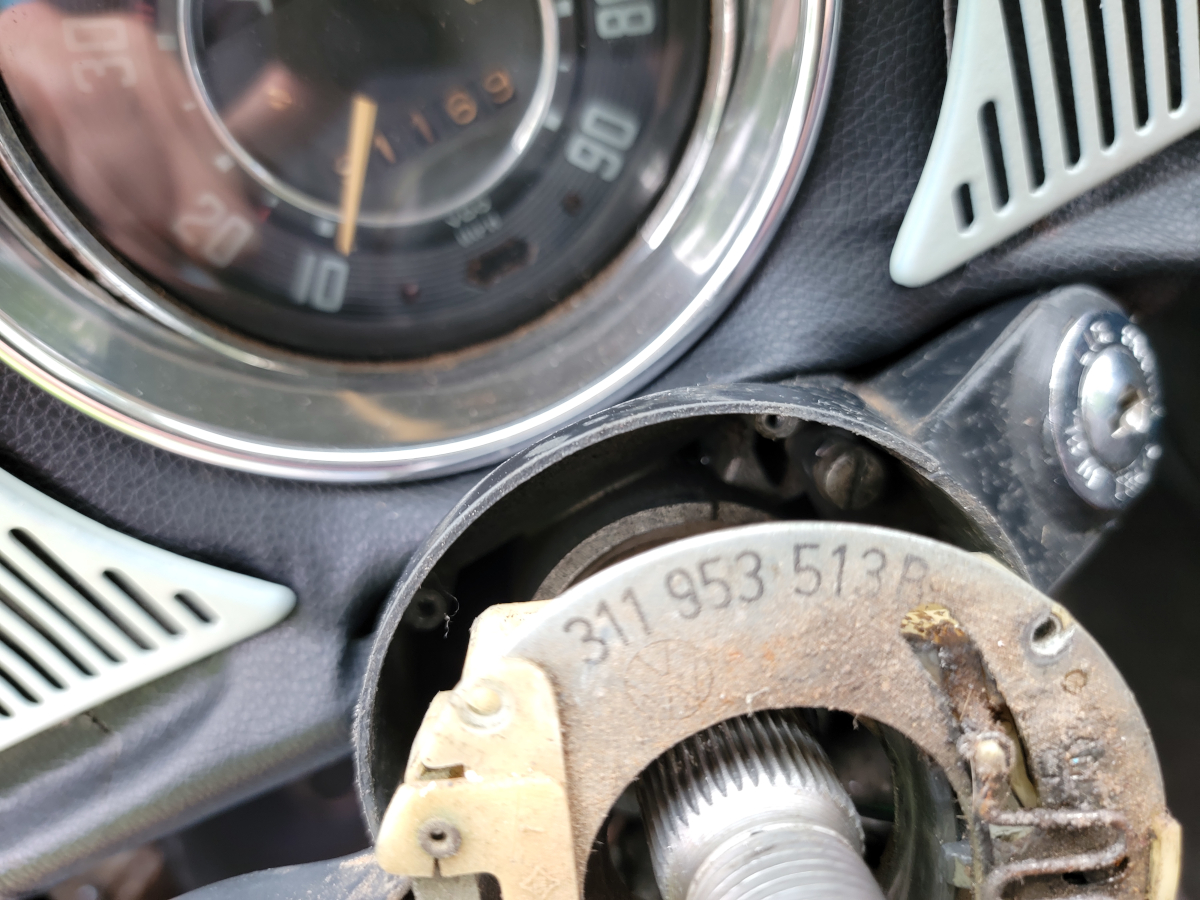
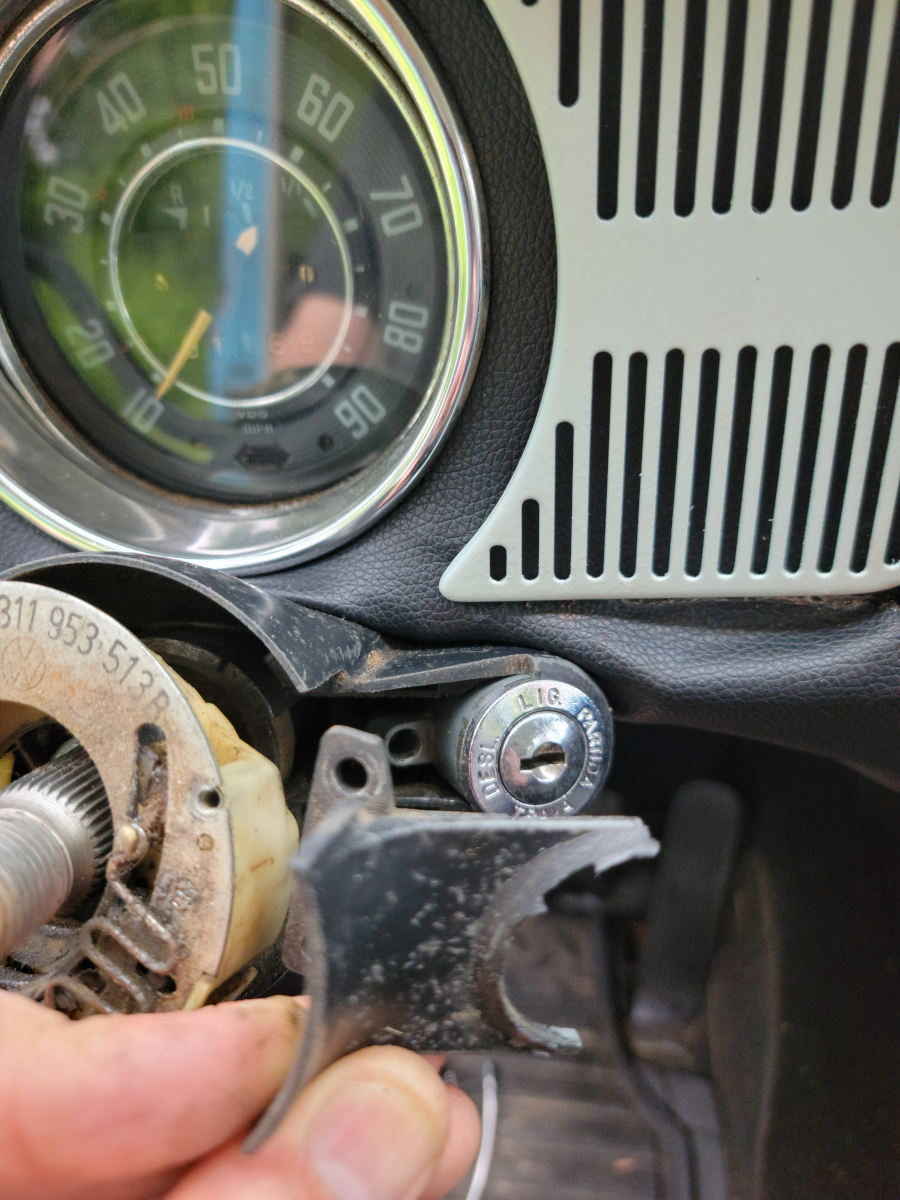
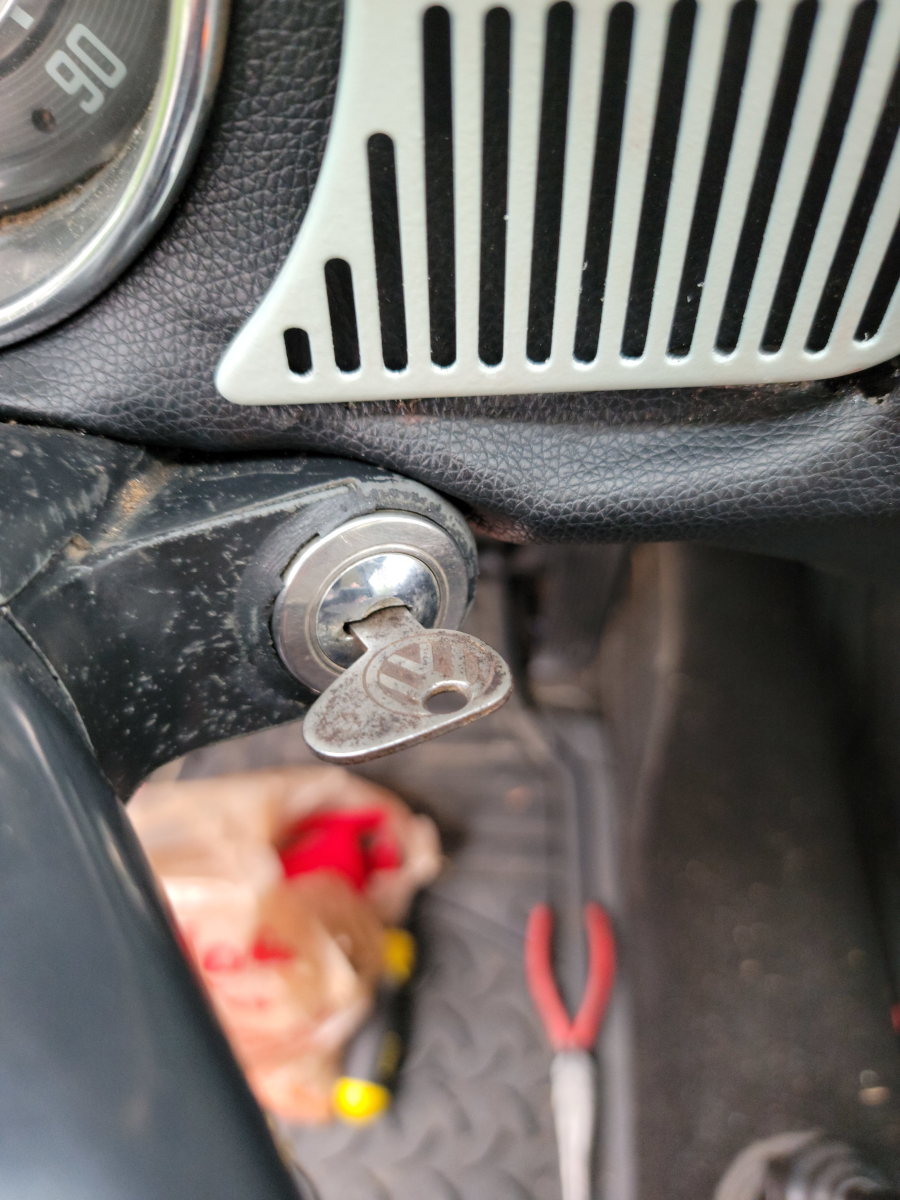
The metal cover/trim piece around the ignition switch was only held on by one screw. The other one was missing. That’s fine. One screw appears to be plenty. It isn’t exactly a comfortable fit to get back in there. When I removed the screw, it fell off the end of the screwdriver and tried to fall down into the steering column cover.
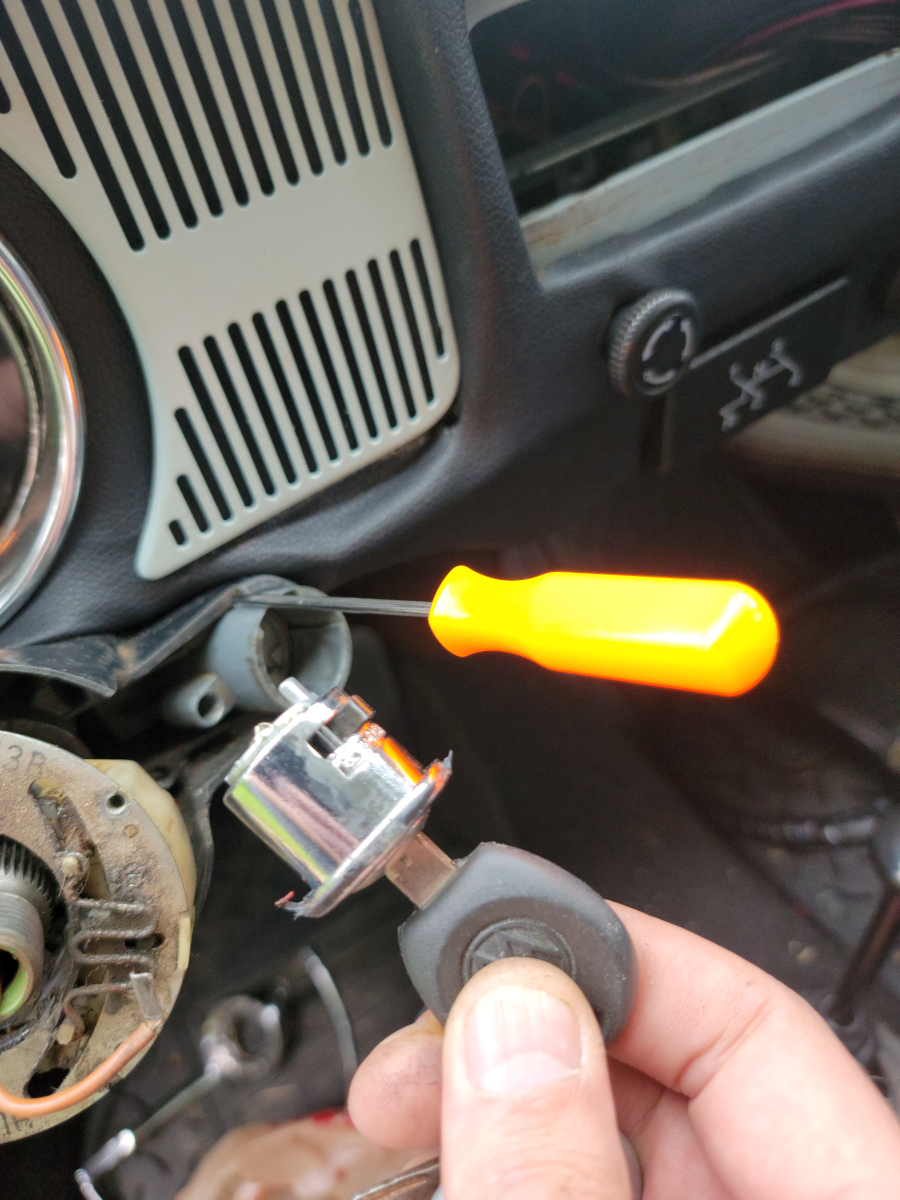
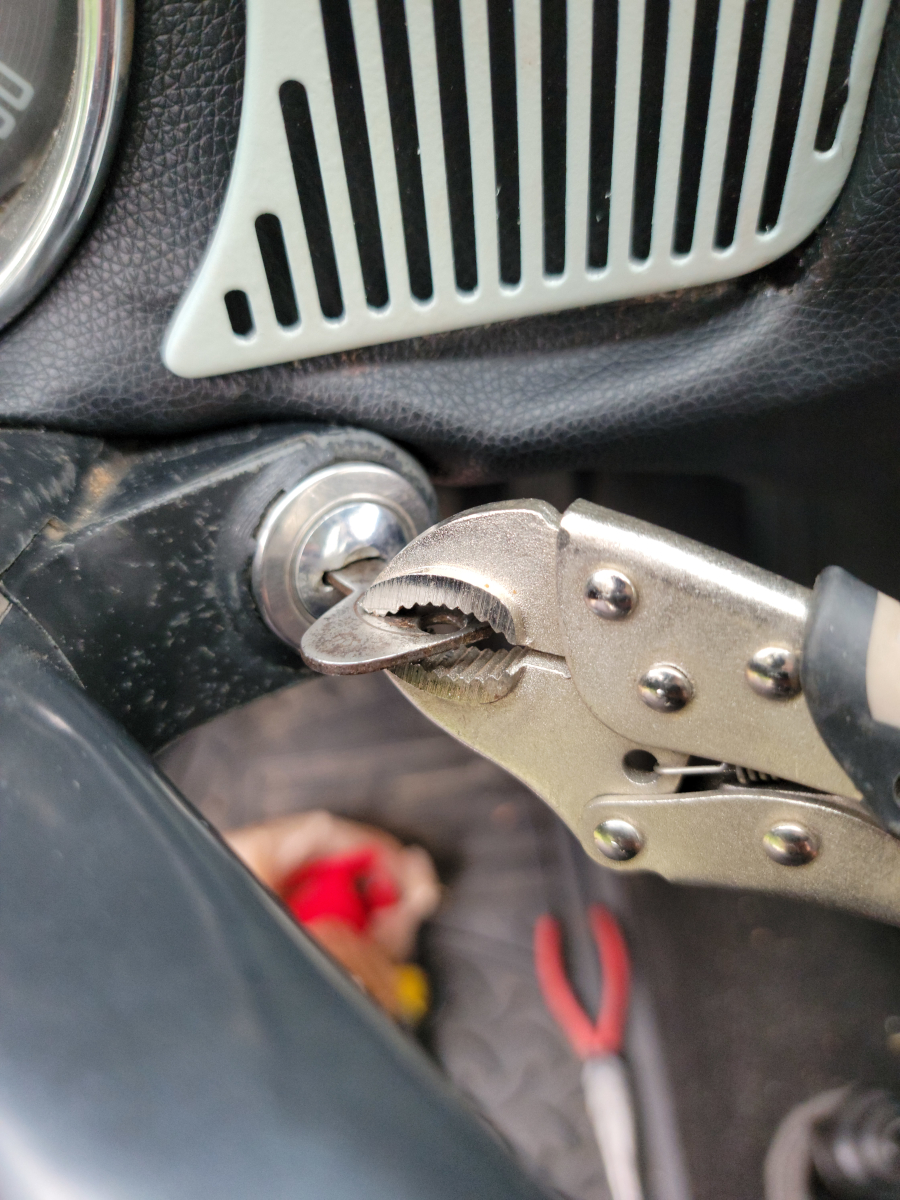
With the key in the ignition, I was able to pull the switch assembly out a little bit. From there I got a pick down into a hole and released the tumbler/switch.
The new tumbler/switch mounted up with no issues.
So I then started buttoning it all back up.
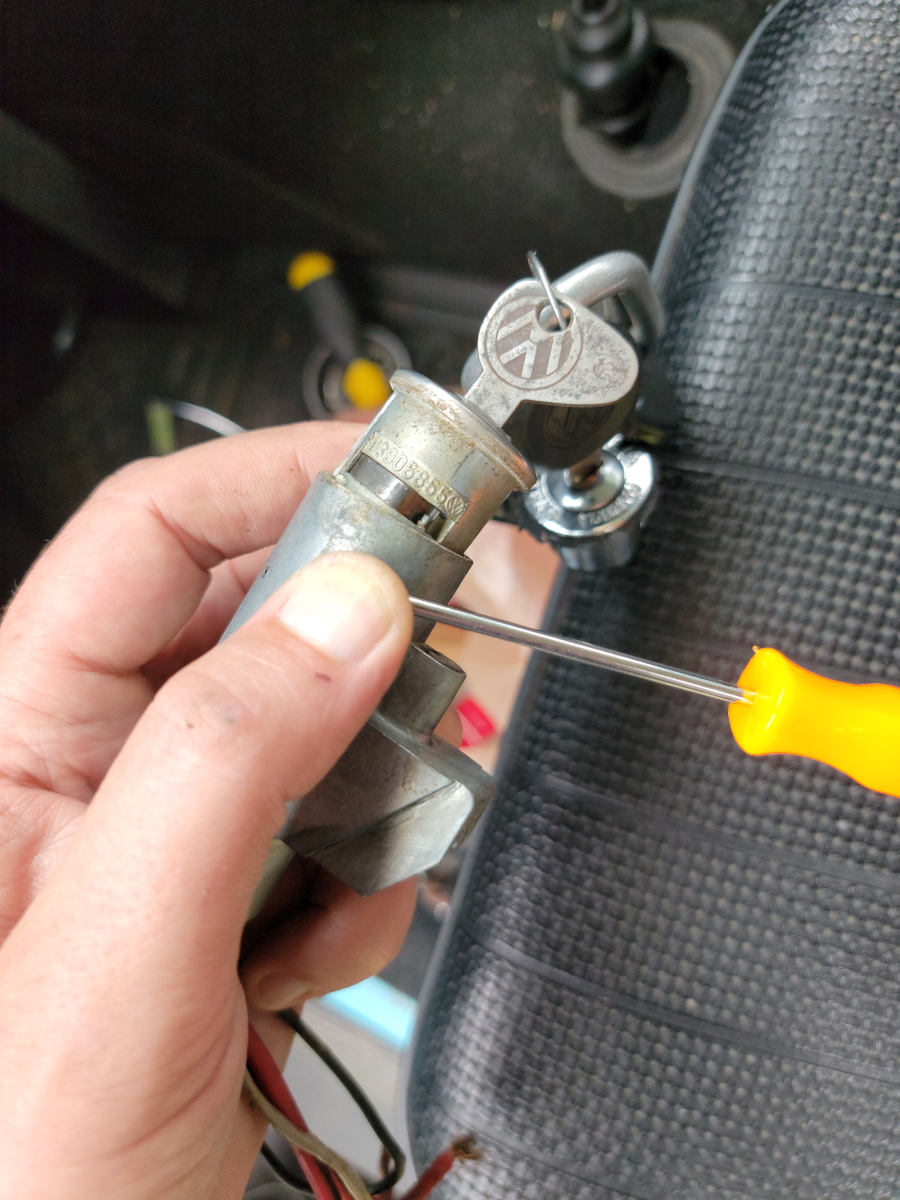
From what I have read, 1968 is a unique year in this area. The ignitions are supposed to be interchangeable 1968 through 1970. This new one is from a 1970 model. I’m not sure what’s happening. Once I got it all reassembled (with the horn working perfectly, BTW) I found that the key wouldn’t pull back out of the ignition.
I have heard that the 1969-70 models had a steering lock on the ignition and 1968 does not. That may be what’s happening here. The two cylinders appear to be physically identical. Once the new one is slotted all the way back in and tight, the key won’t come out when in the Off position.
I had to completely disassemble it, including undoing my masterful horn ring adjustment…
I found that if I don’t fully seat the switch – with just a tiny gap – everything functions properly. However, in that state, you can pull the ignition switch out with the key when the car is on. I will have to be careful not to leave the switch hanging on my key ring. It happened with the car running a couple of times already.
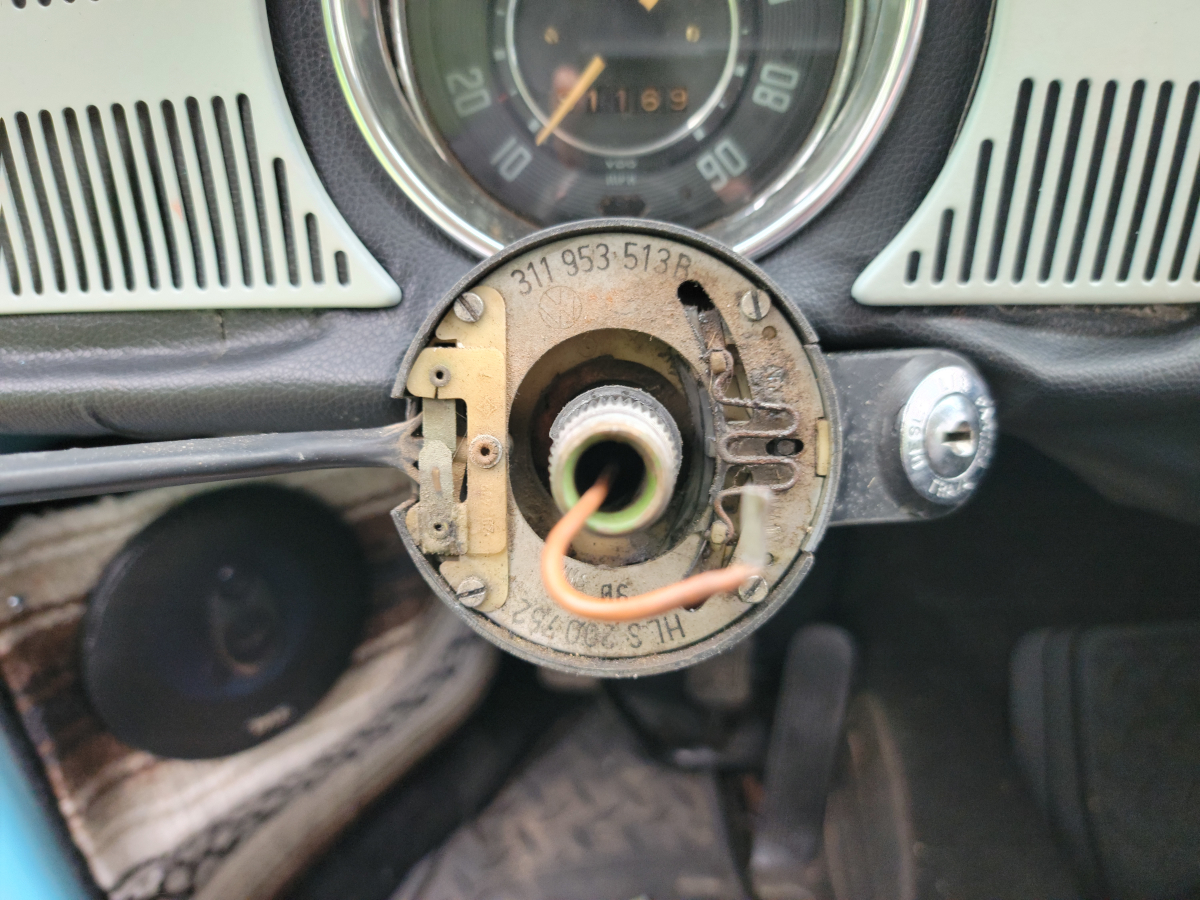
When I got it all buttoned up, the horn wasn’t working properly. I had this problem last time I had it apart, when replacing the horn ring. After fussing with the three screws for a long while, I could only achieve one of the following. One side works, the other side works, or constantly honking. I never actually got it fully functional again.
I’m going to put this away for now. I will tear it all back apart soon to get those contacts cleaned up. I have some WD-40 Electrical Contact cleaner spray. I’ll hose everything down with and scuff up the contact surfaces to get them all shiny.
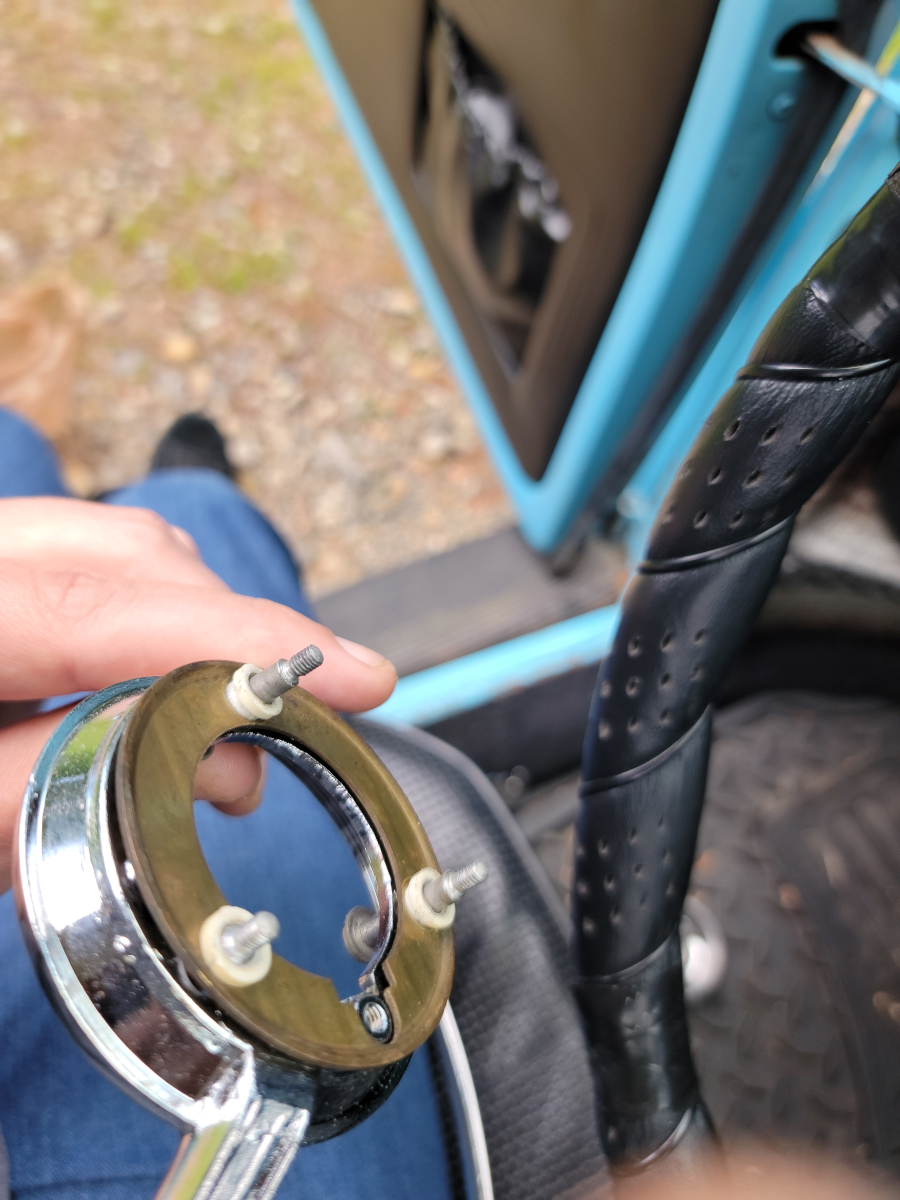
Hopefully, I don’t need to replace the plastic/nylon isolators around the horn ring screws. They are available to order online if it comes to that.
In Part 1, I connected a windshield wiper/washer switch from a Peterbilt truck in my 1968 Beetle and greatly improved functionality by adding intermittent wiper speeds.
When I opened the bonnet, I noticed the new seal I mounted had pulled out of the channel. I fixed that and moved on.
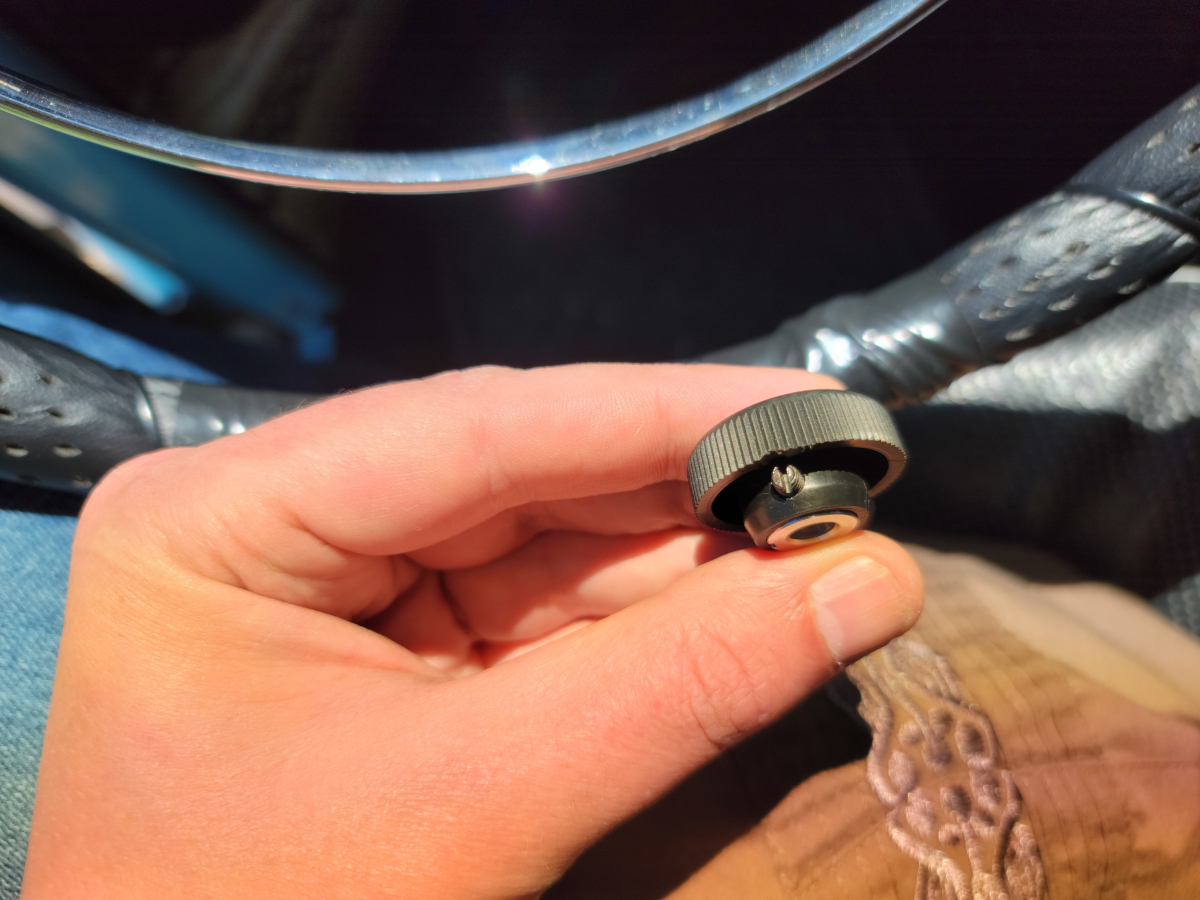
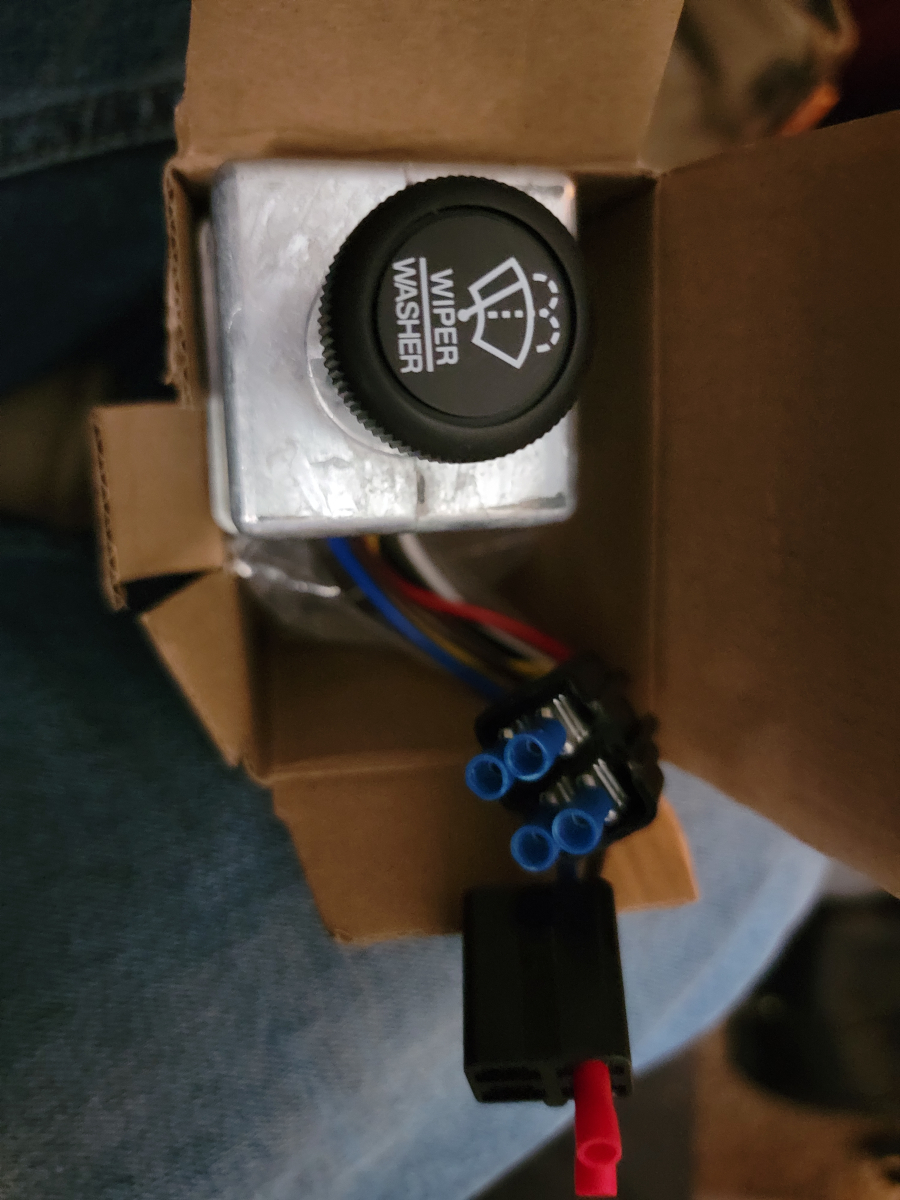
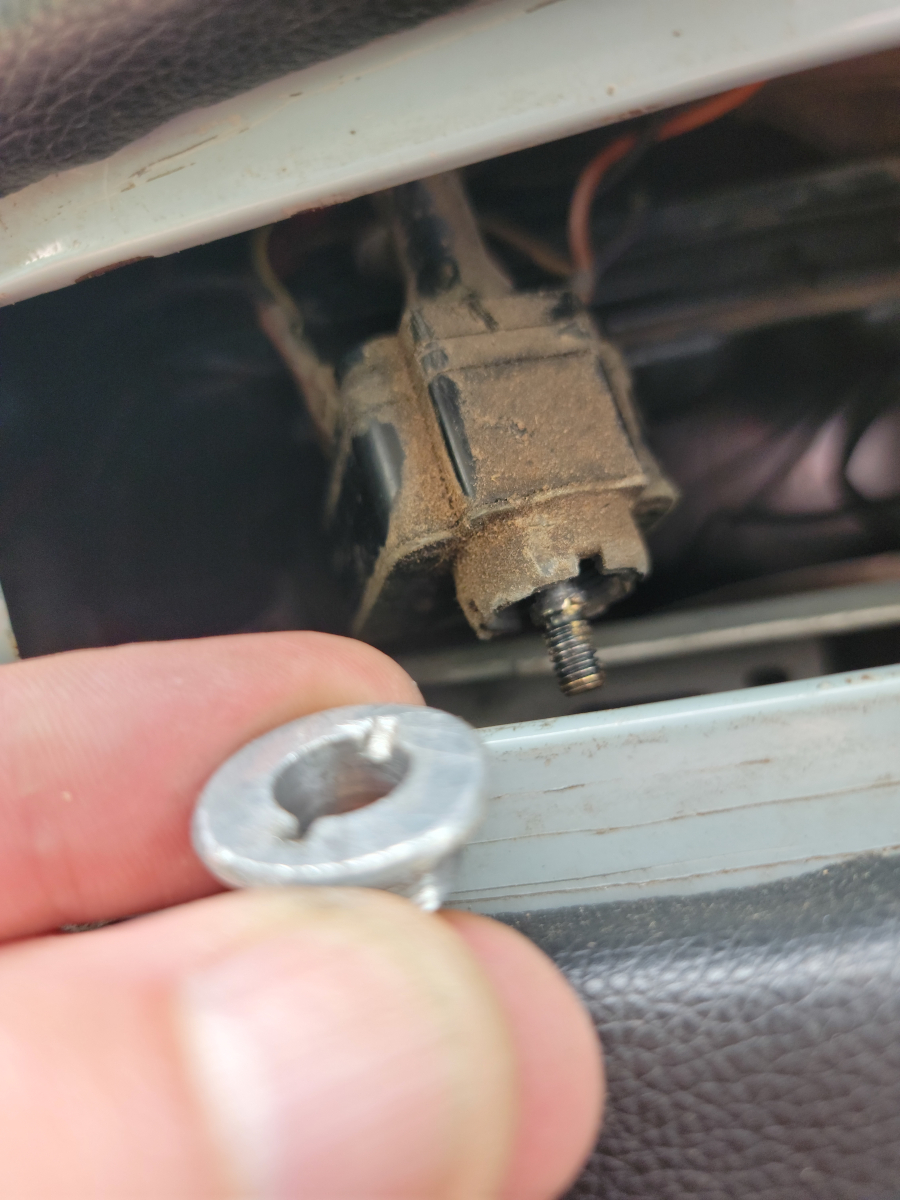
I got the new switch mounted, but the shaft is just a little too short for the knob to mount and push button work properly.
There’s a little set screw on the bottom of the knob. I struggled finding a screwdriver that would fit it. I eventually used one that came with a pair of glasses I bought.
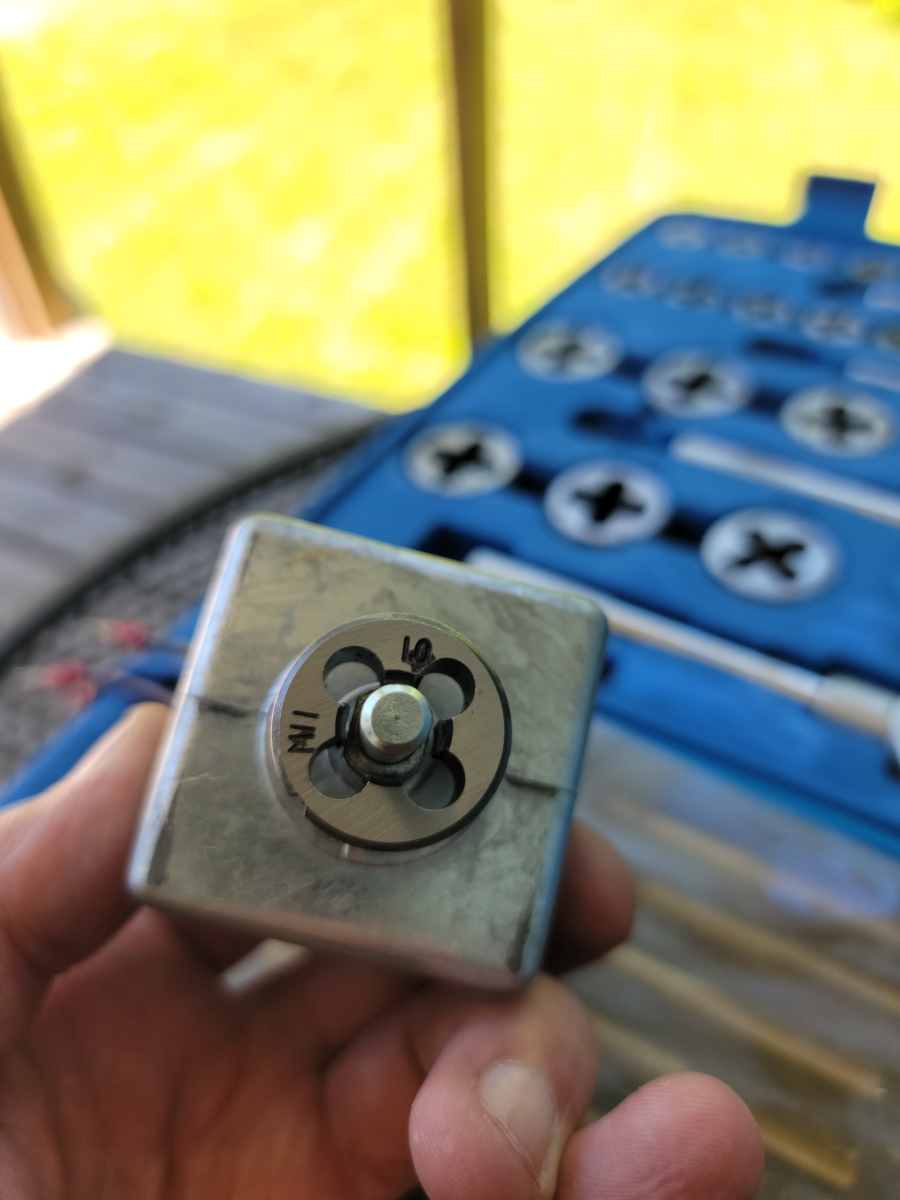
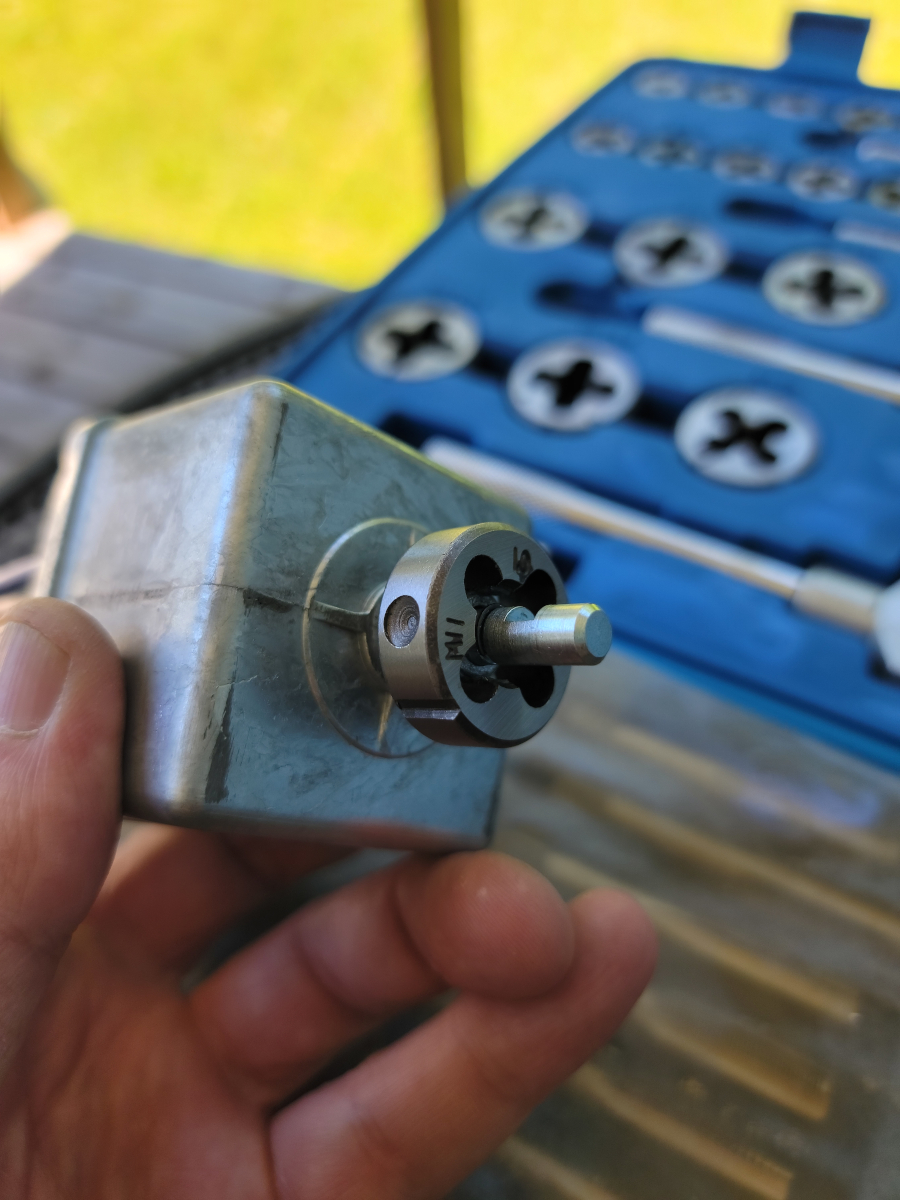
In following with the quality level of other parts I have bought in the last year, the threads on the new switch were toast after test fitting it the first time. The threads are 11 x 1.0. Ask me how I know…
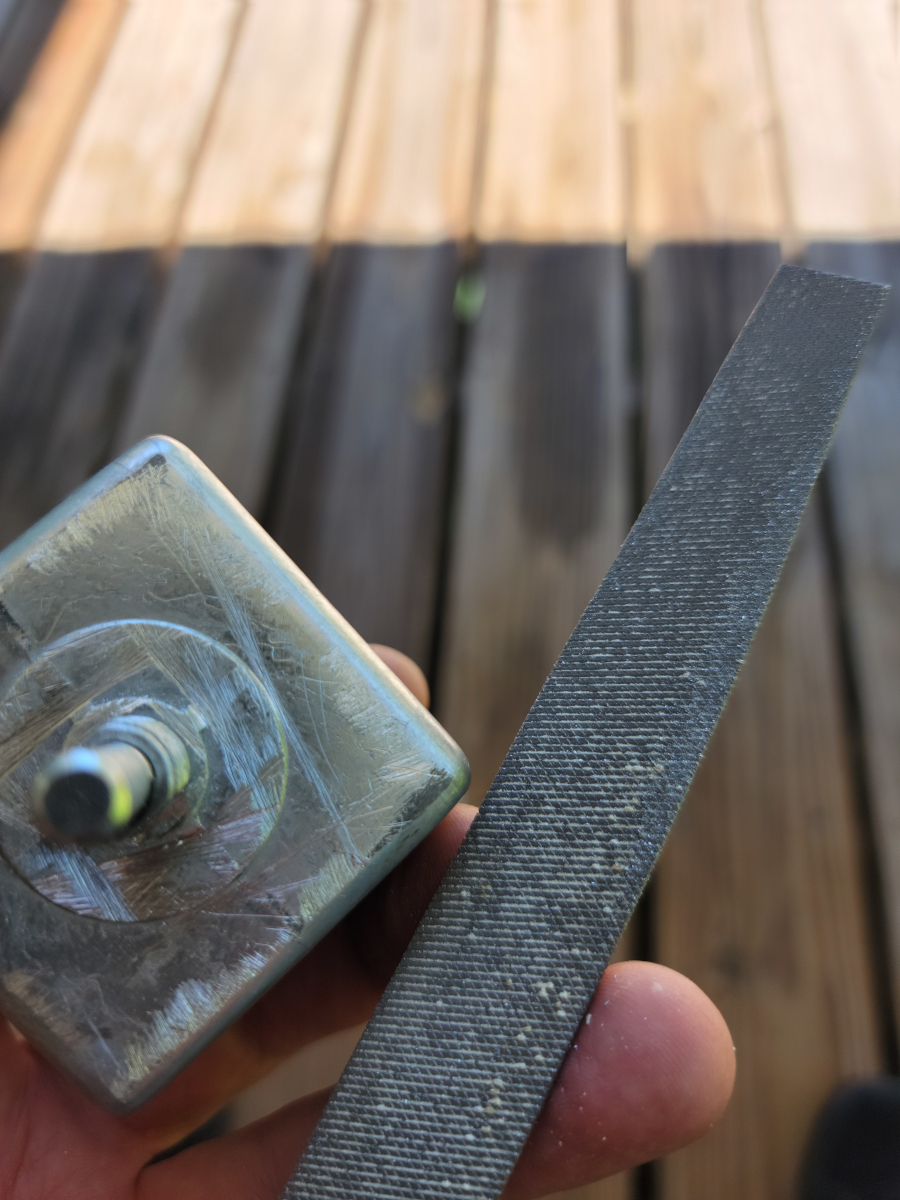
There was a double nut, one on the back side and a washer/nut on the front side. The shaft was almost long enough to work, so I may have gotten away with just removing the back nut, but I decided to file down those cross markings on the face of the switch to gain an extra 1/32″ of an inch or so.
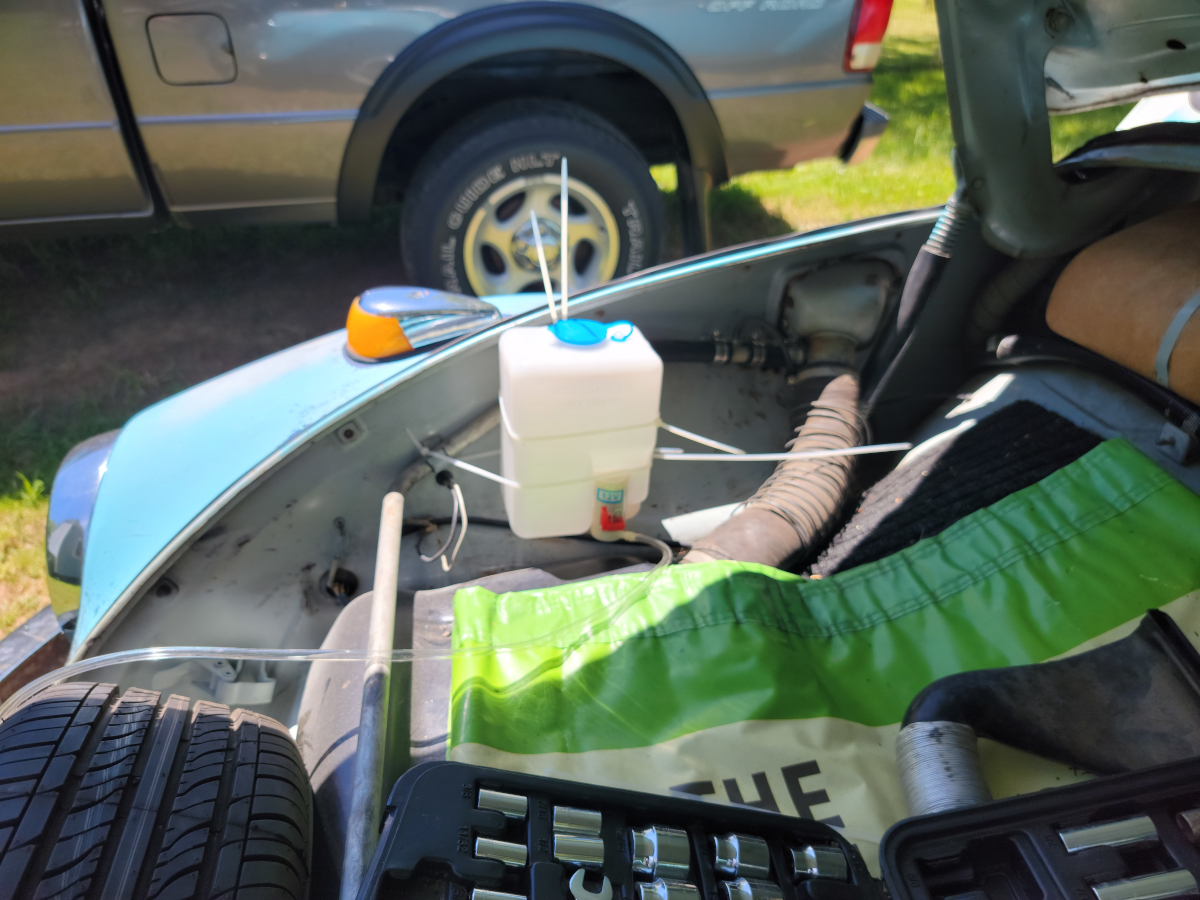
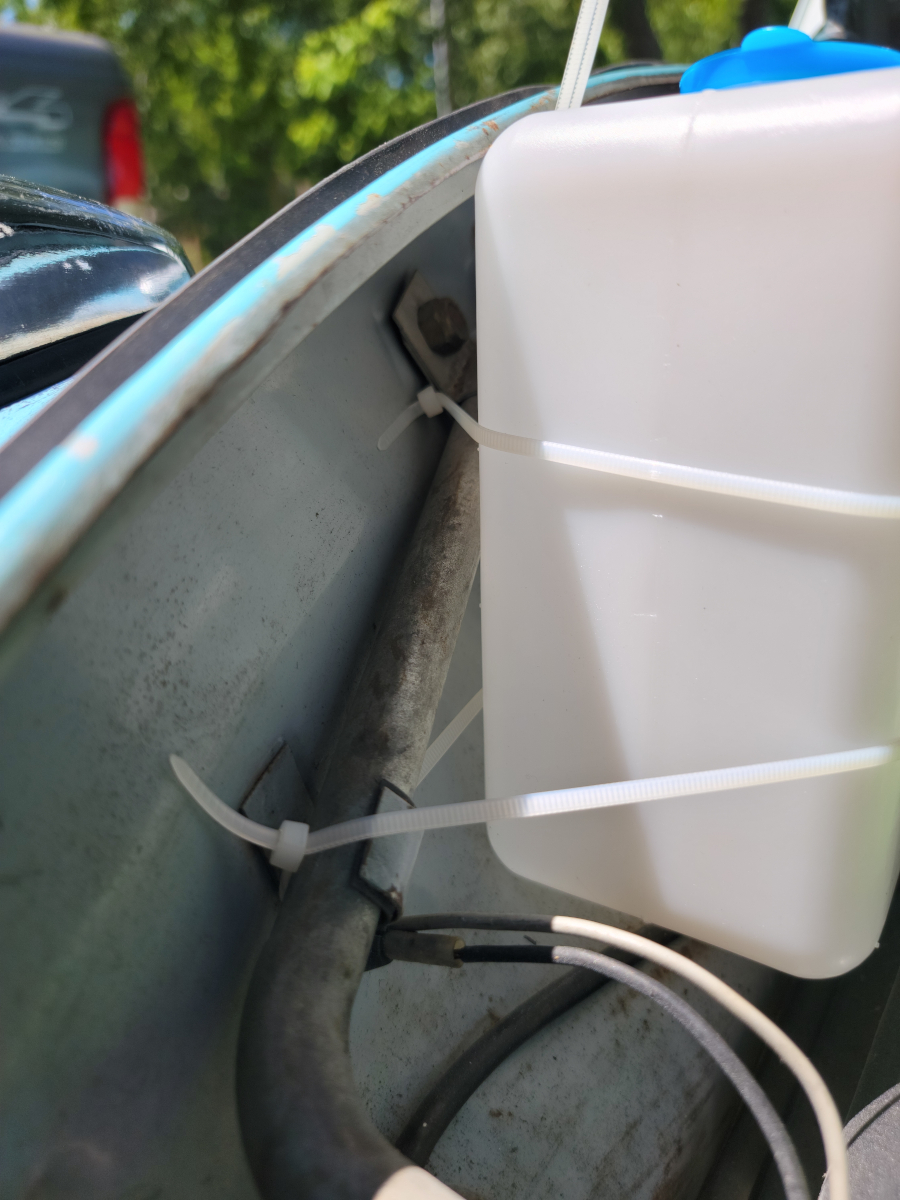
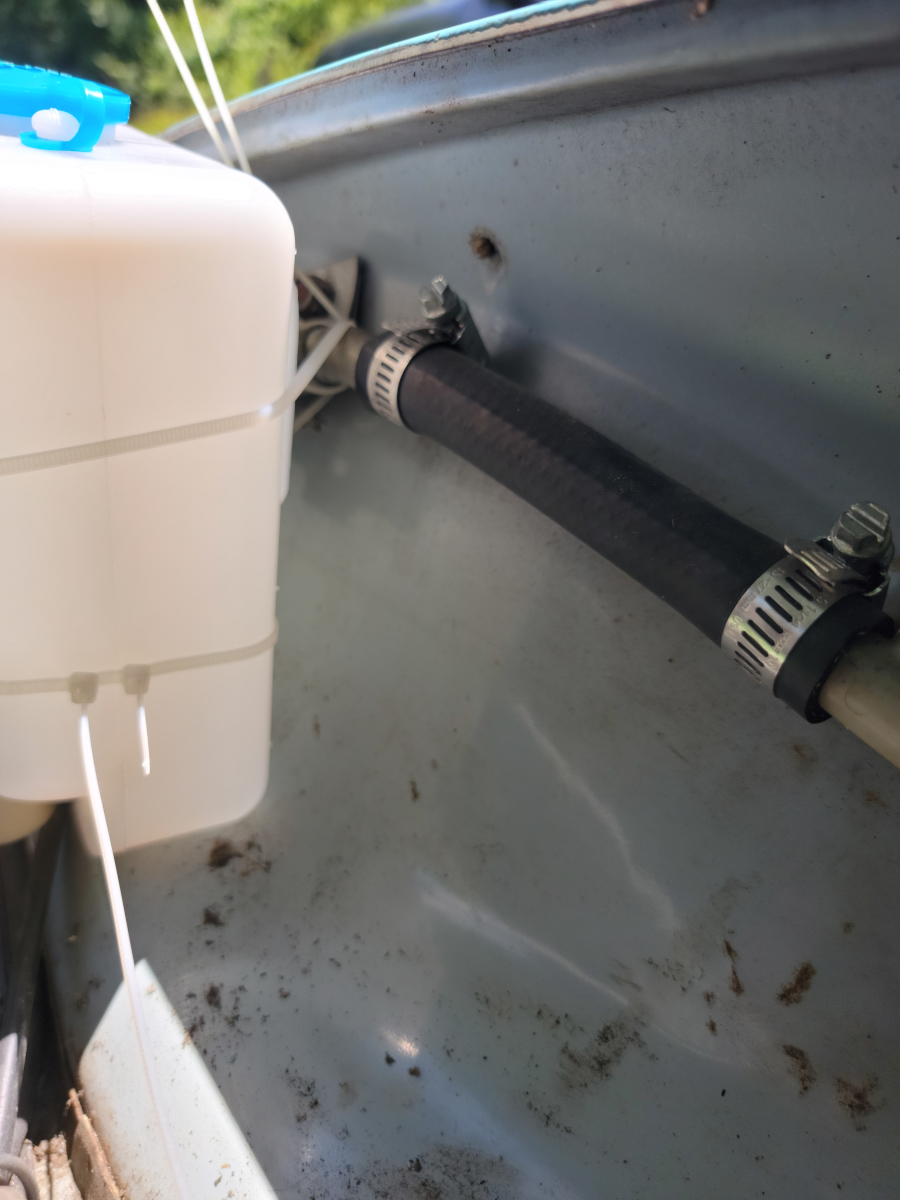
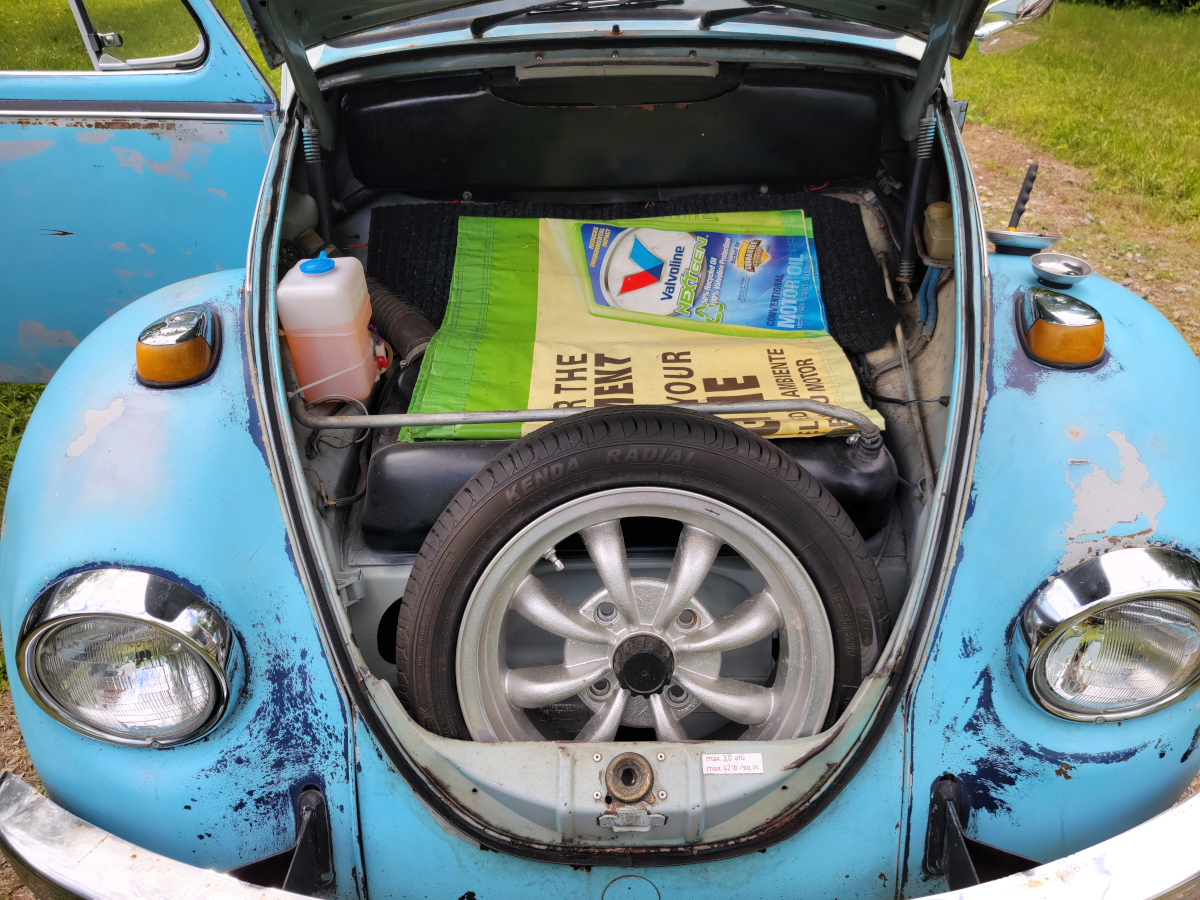
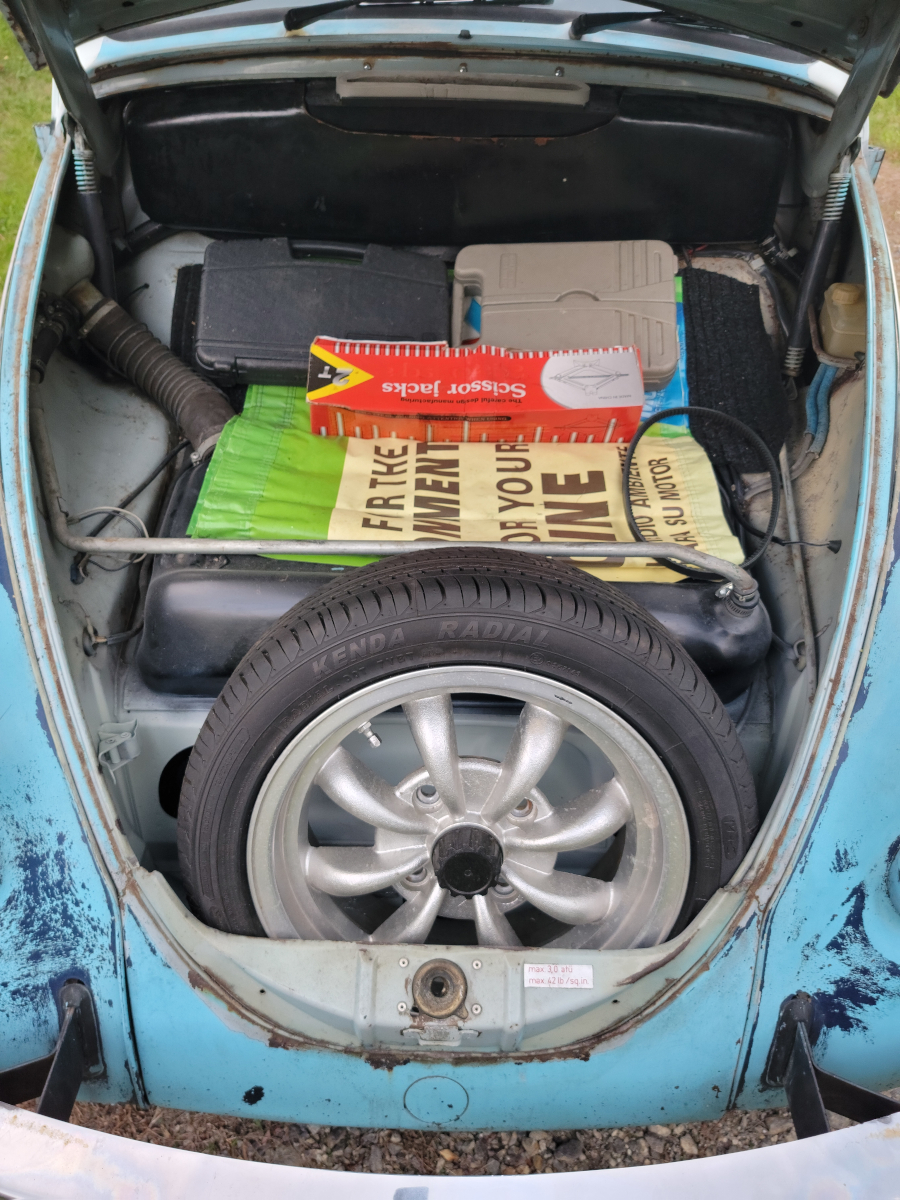
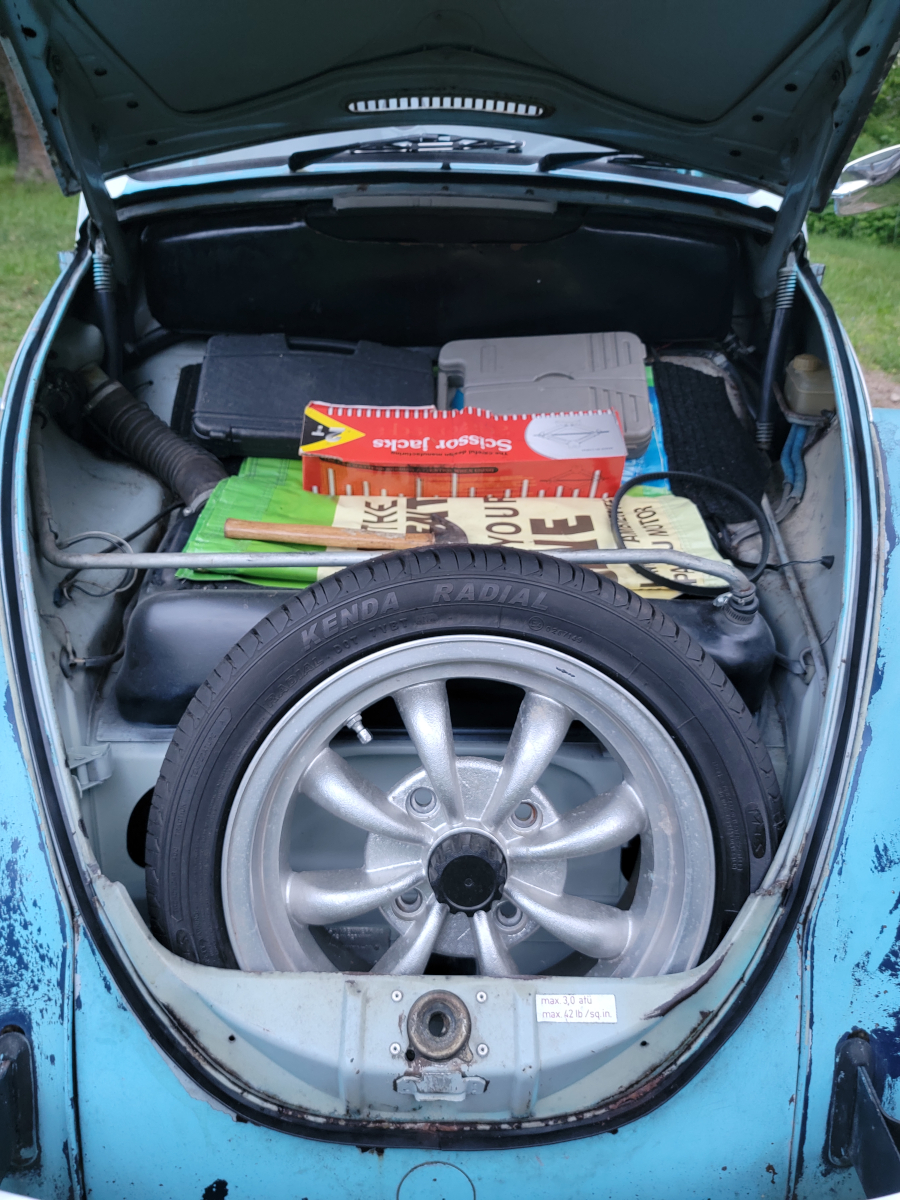
I got that mounted and the switch was physically functional, so mission accomplished. Next, I moved on to mounting the washer tank. There’s no flat surface in there, since the original tank sat in a cubby hole behind the spare tire. The metal return line for the gas tank has solid body brackets in place and I was able to assemble an array of zip ties (seven of them, to be exact) and got the tank mounted.
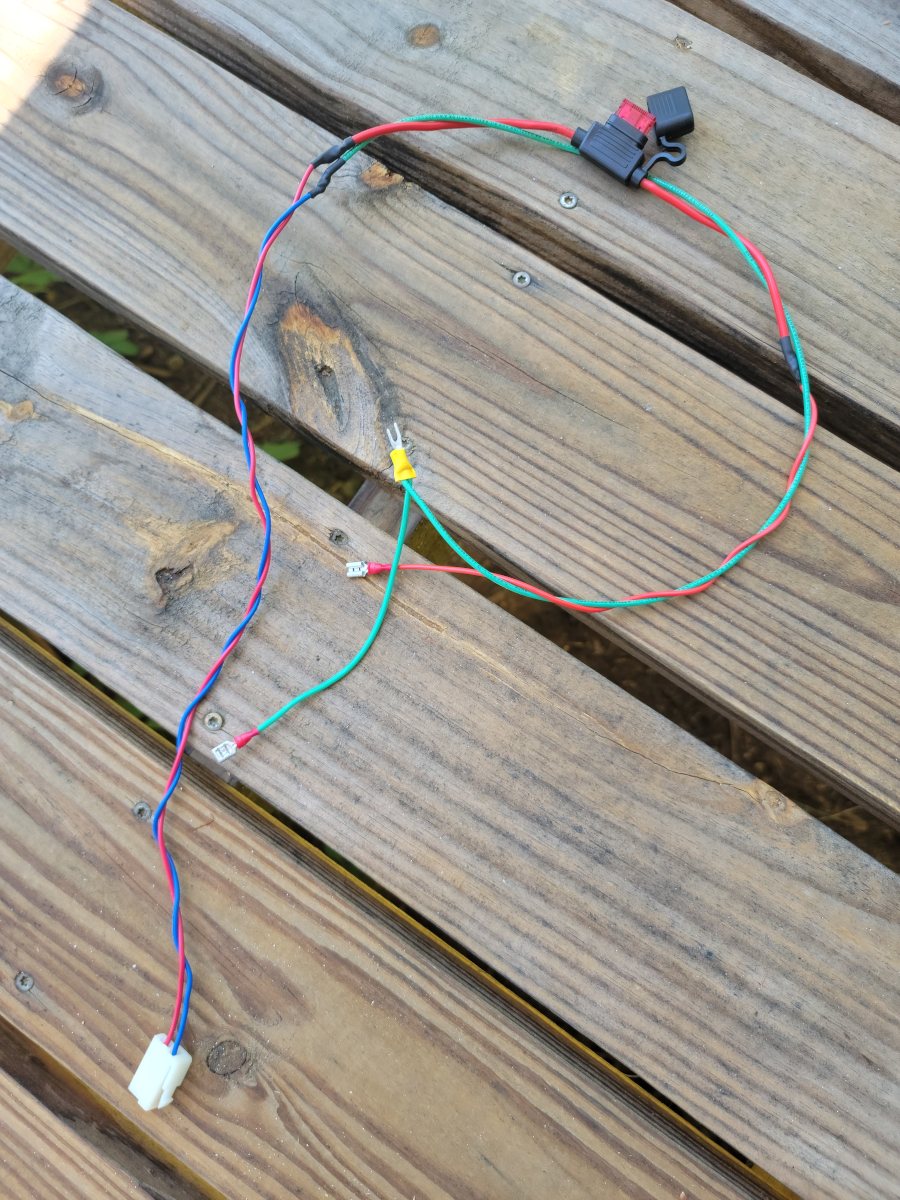
And now for the last two wires, running power from the push button on the switch to the fluid pump in the tank and a ground. The original switch was grounded on its face to the dash metal, so there was no specific ground wire.
On the end of the blue (blue?) ground wire on the pump, I added some green wire (green?) and attached a female spade connector for the ground wire on the new switch, a forked adapter to attach to the body ground. On the power line, I added an inline fuse holder with a 10 amp fuse.
Once that was connected and routed around the front trunk, I added a little washer fluid and tried it out.
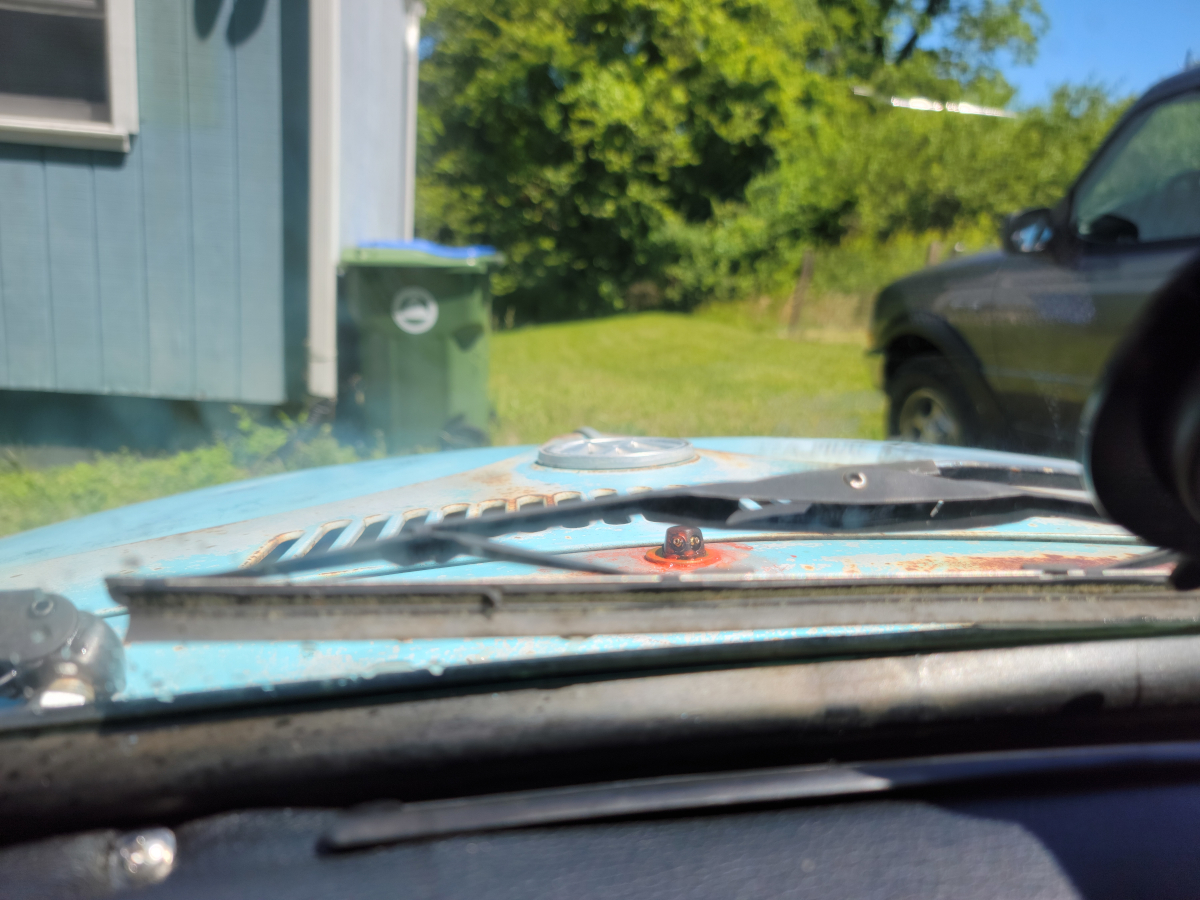
As you can see, either the original nozzles are missing from the spray head or it was just that way by design. In either case, it’s kind of a gusher. The tank/pump came with two spray heads, so I mounted one of them.
I had previously (twice) ordered new windshield wiper/washer knobs and buttons. I need a new knob because the old one tends to spin on the threads when I try to turn the wipers off. I wanted a new button just for vanity reasons, the print has mostly worn off.
The new knobs had differing belly depths, neither of which would work. The new buttons also both had differing pin lengths, neither of which would work with either the new or old knobs. More junk.
The original plan was to keep the existing switch and find an original washer tank and hook it all back up to the spare tire to get it all functional. It’s such a charming and weird setup.
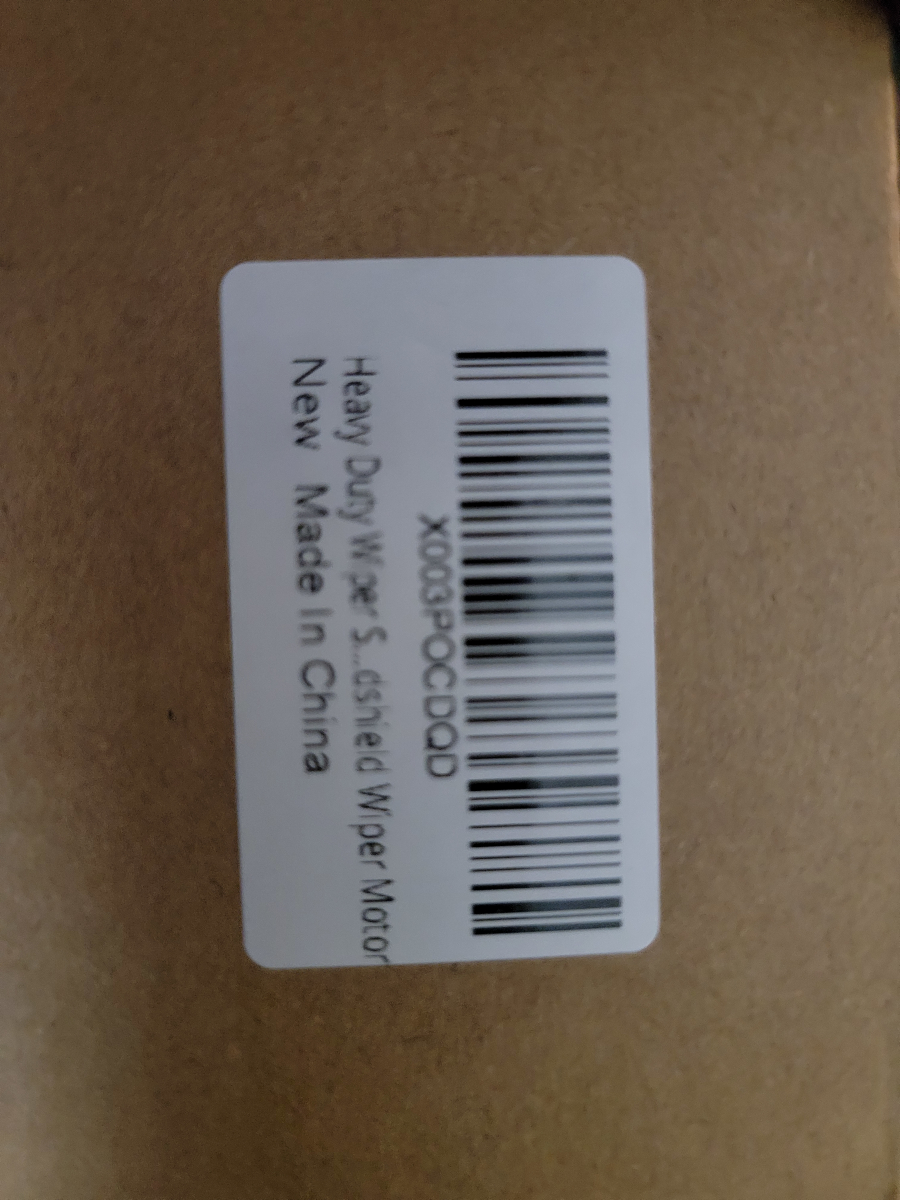
As I was googling around looking for alternatives, Amazon pops up with this item (Amazon link) from Peterbilt models 378/379/387/220.
I did some further reading and it had the right number of wires (6) and right number of speeds (2), so I decided to give it a try. With all the aftermarket parts failures I’ve had in the last year, I guess that’s where I’m at. Peterbilt? Sure.
There’s just as much of a chance it will work as something that is listed specifically for my model and year of Beetle.
I also ordered an add-on washer fluid tank and pump (Amazon link). We’ll get to that later.
First, I need to figure out the wiring for the switch and see if it’s going to work. I found a bunch of info on the samba, with various wiring diagrams.
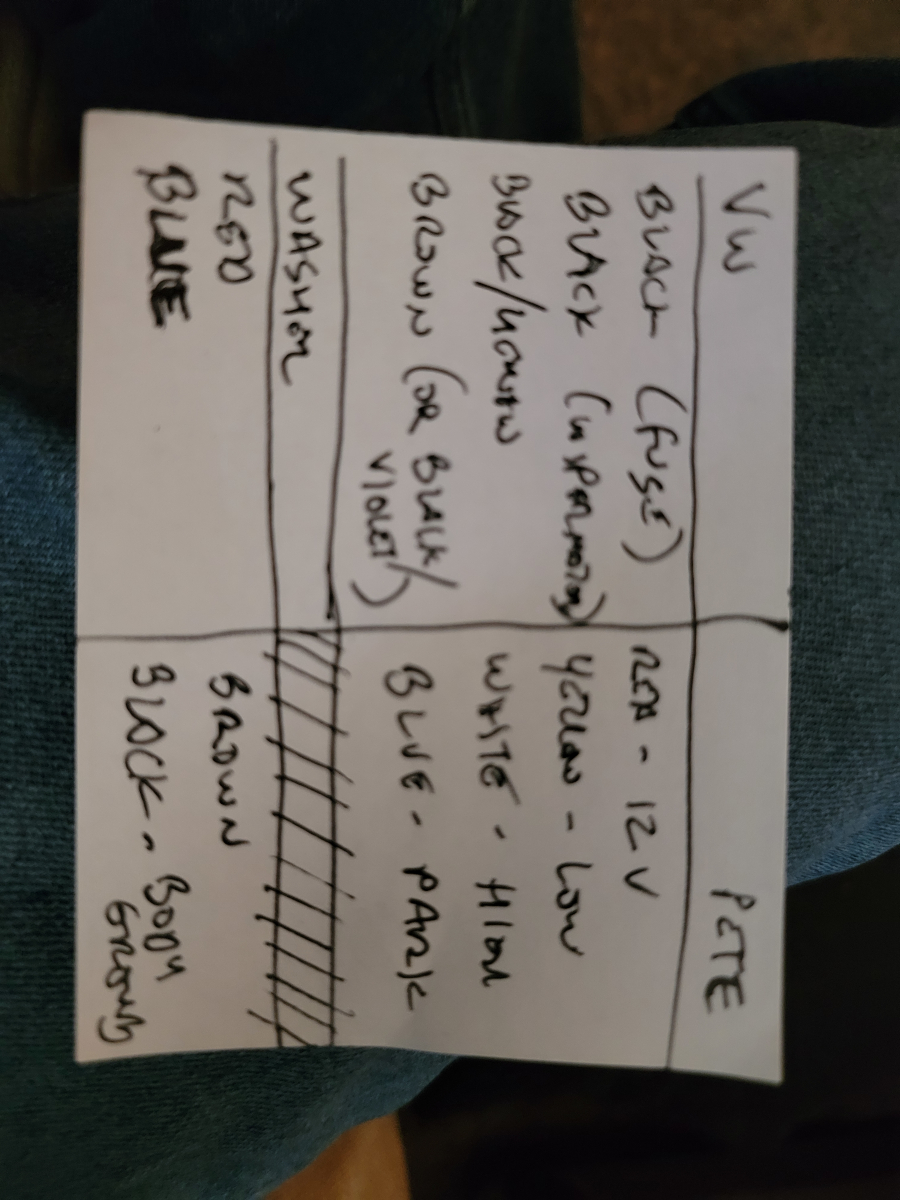
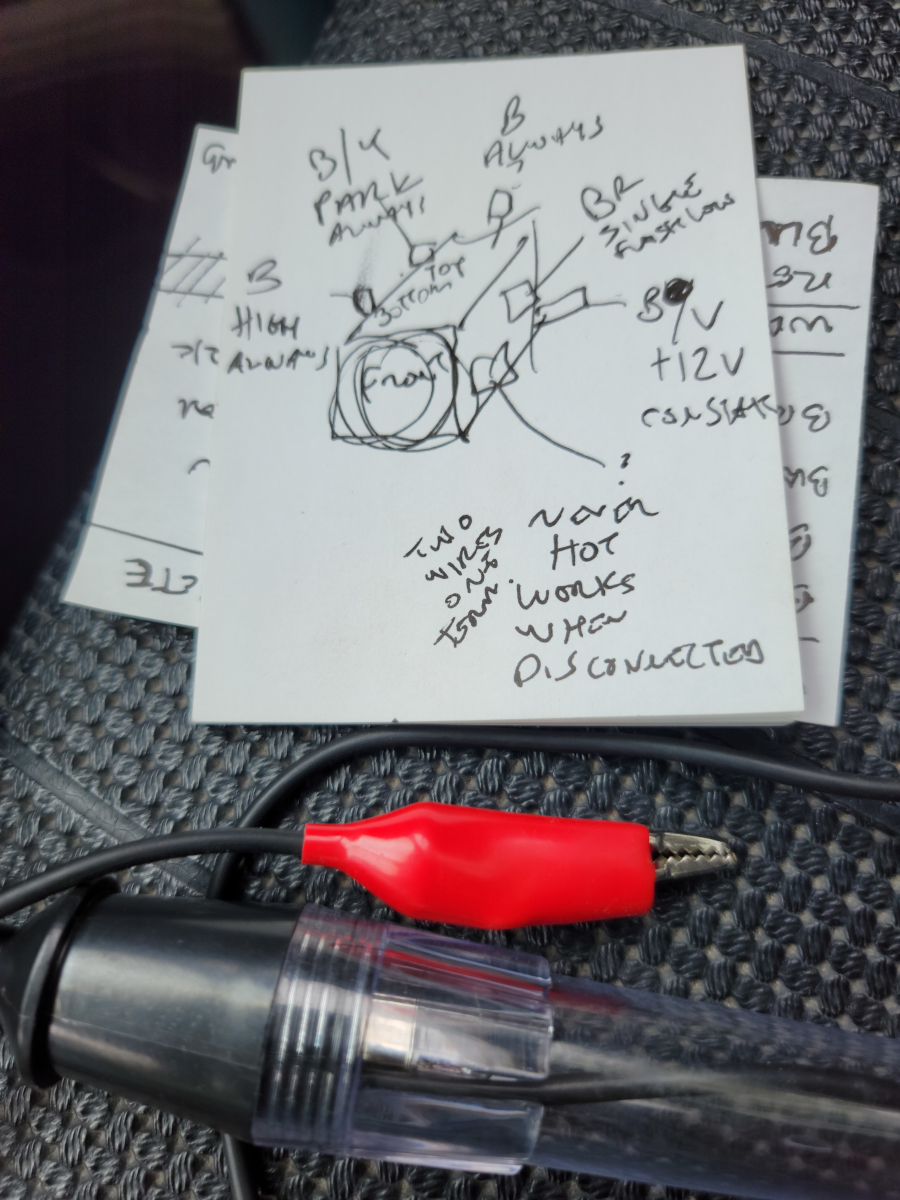
I clearly don’t understand how to read wiring diagrams, because the notes below are what I wrote down on my cheat sheet before heading outside. The Pete switch came with connector pinouts with wire colors.
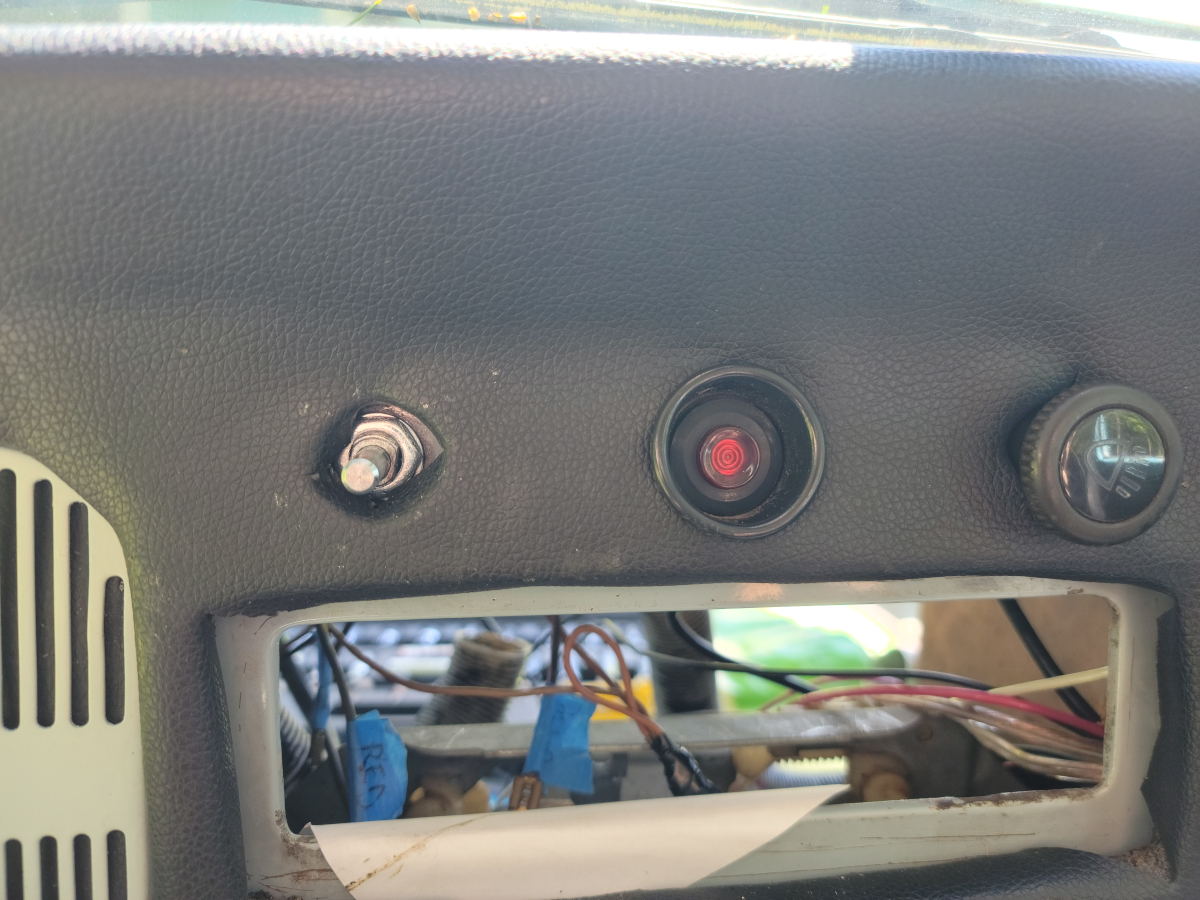
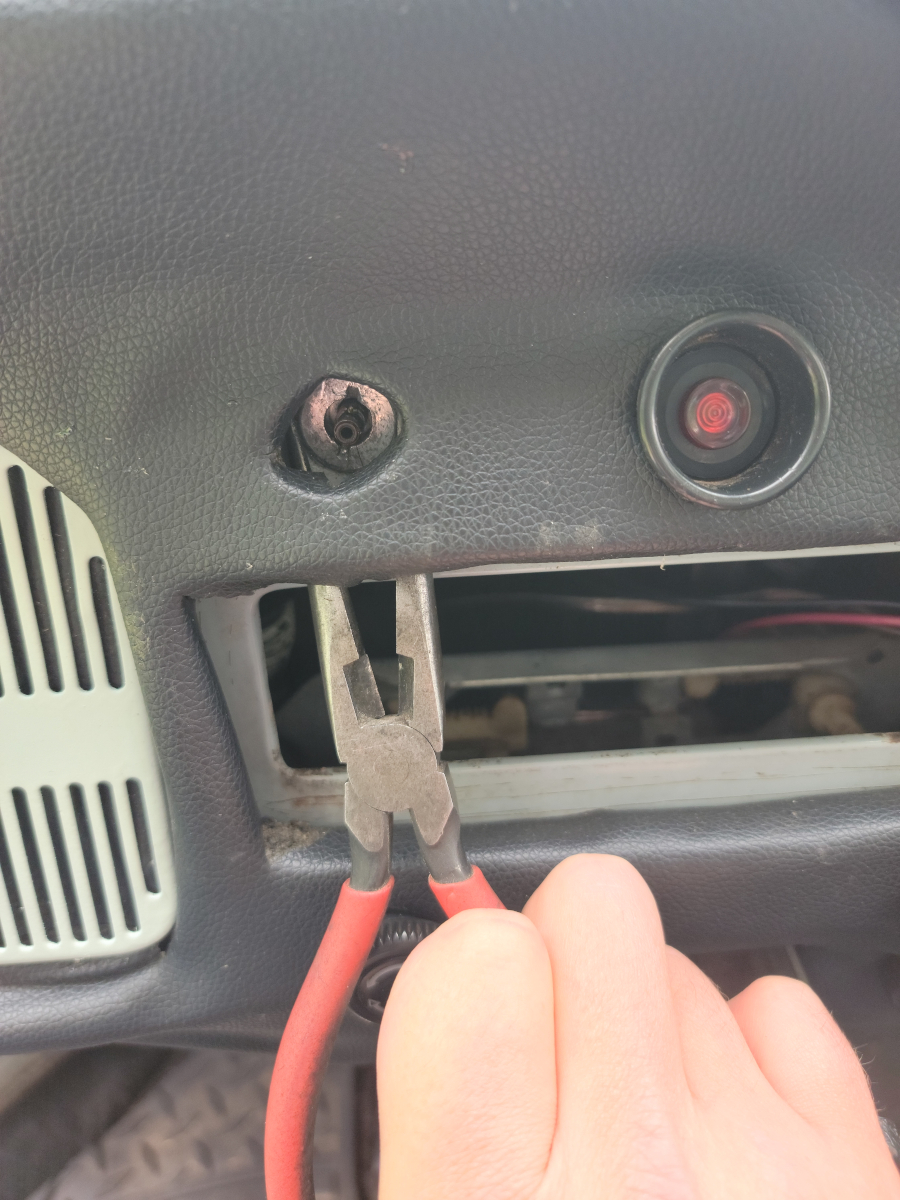
Step one in the car was to get the old switch out. This is all much easier (though still not easy) with the radio opening in the dash still empty.
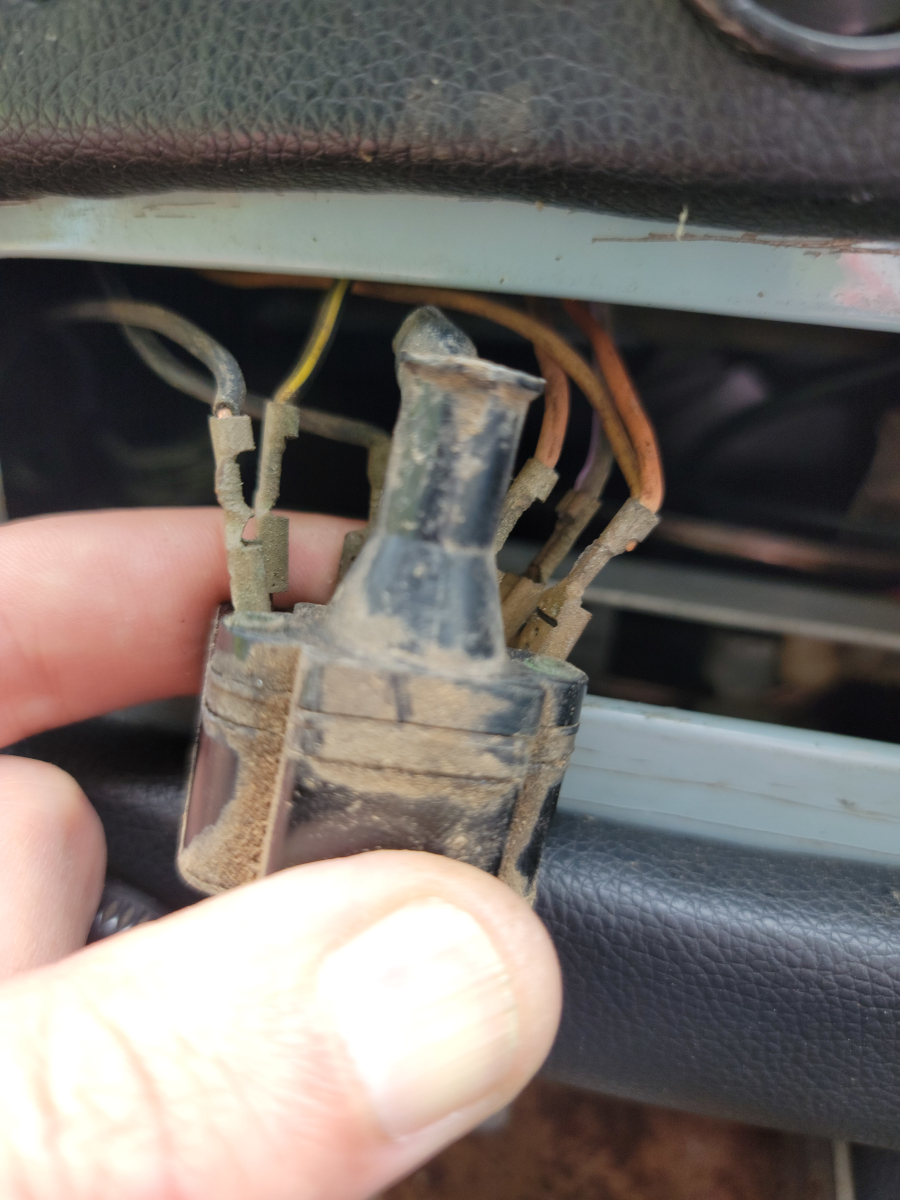
When I pulled the switch out, there were extra wires that weren’t on the diagrams or my notes.
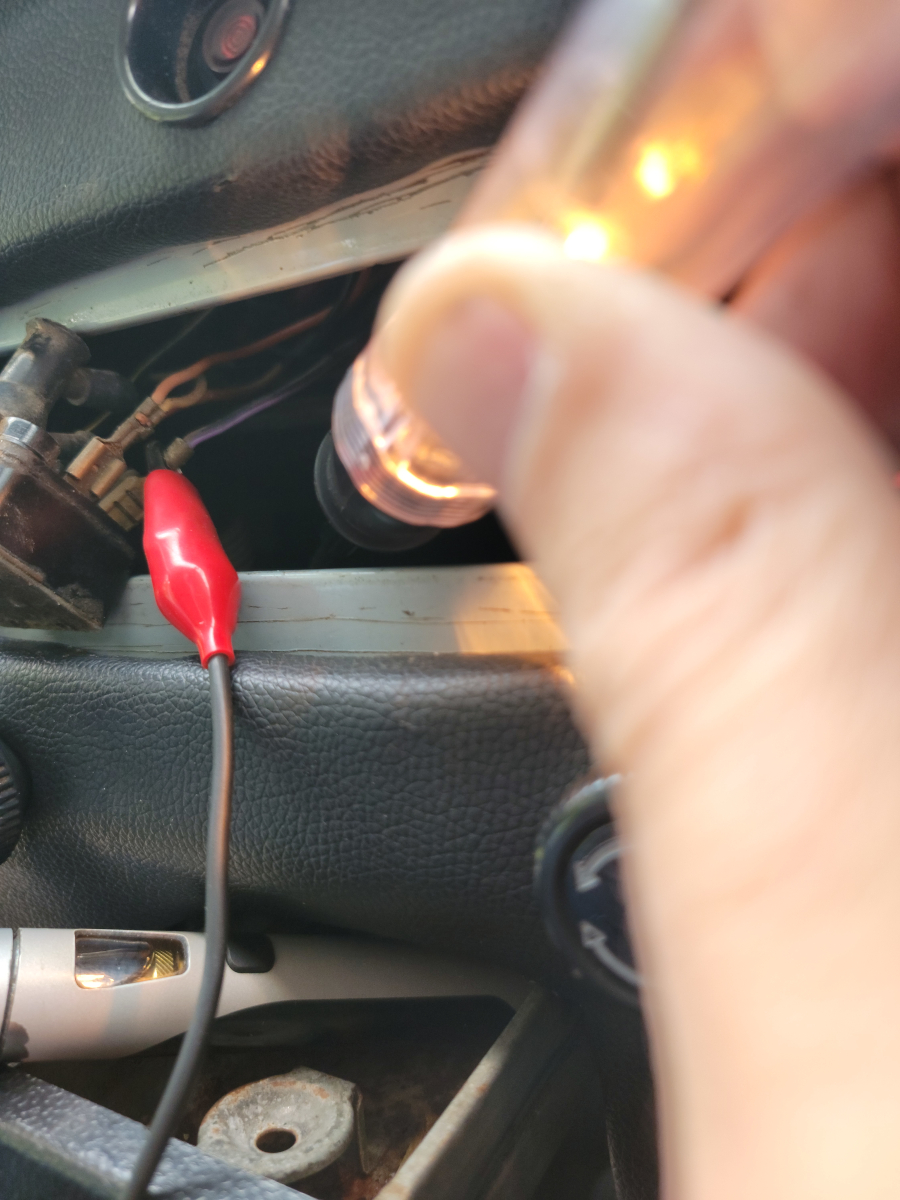
So, I got out my test light and mapped each connector.
Vape in the ashtray is a nice touch.
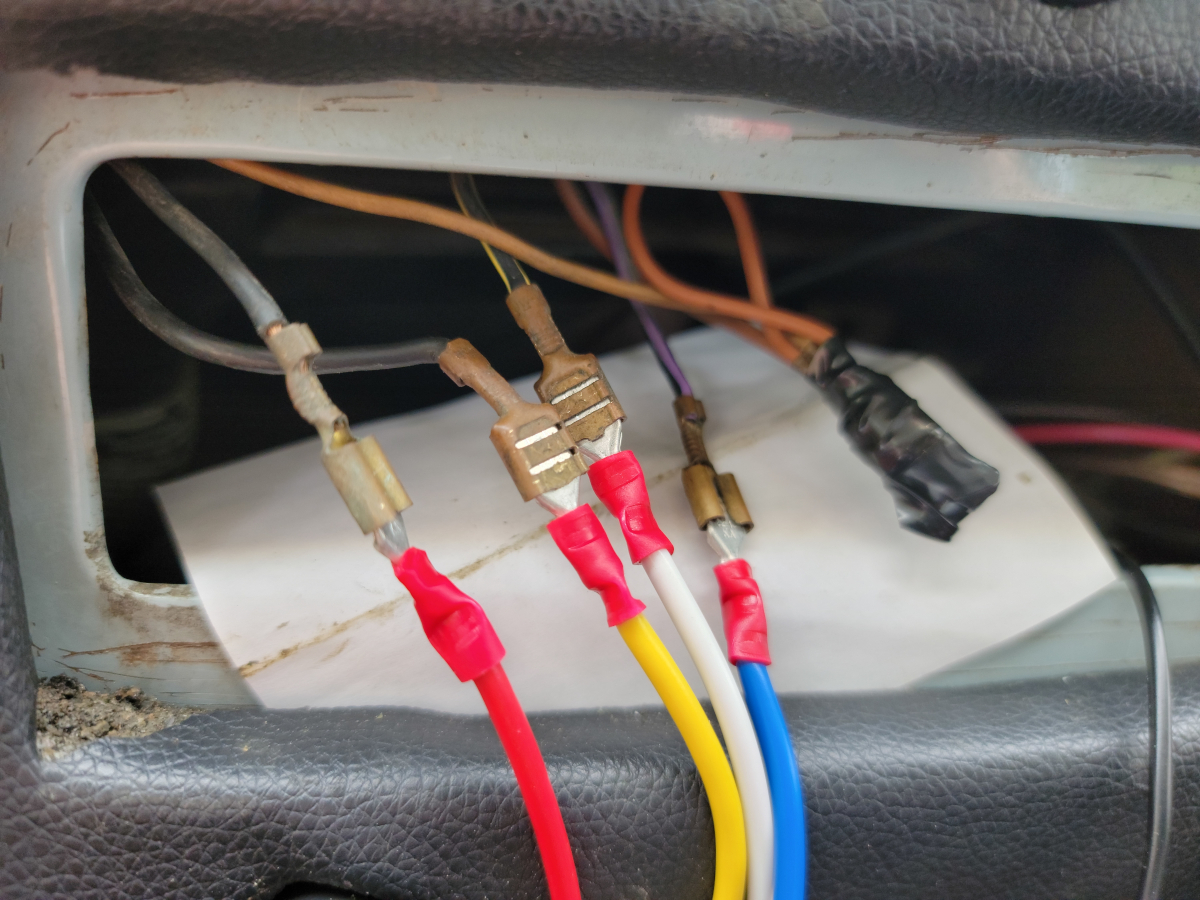
When I went back through and started connecting wires to the new switch, clearly my notes above had a couple of problems. Eventually, I found a magical combination:
With these four pairs of wires connected, I have what appears to be a huge variety of intermittent wiper speeds (on the slow end, like 30 seconds, and up to like one second), then a click for low speed and a second click for high speed. Of course, it’s an old Beetle, so high speed would be overwhelmed by a light shower, but anyway…
WOW. Another win!
Ironically, it’s about to start raining, so I’ll pick this up tomorrow and finish the job.
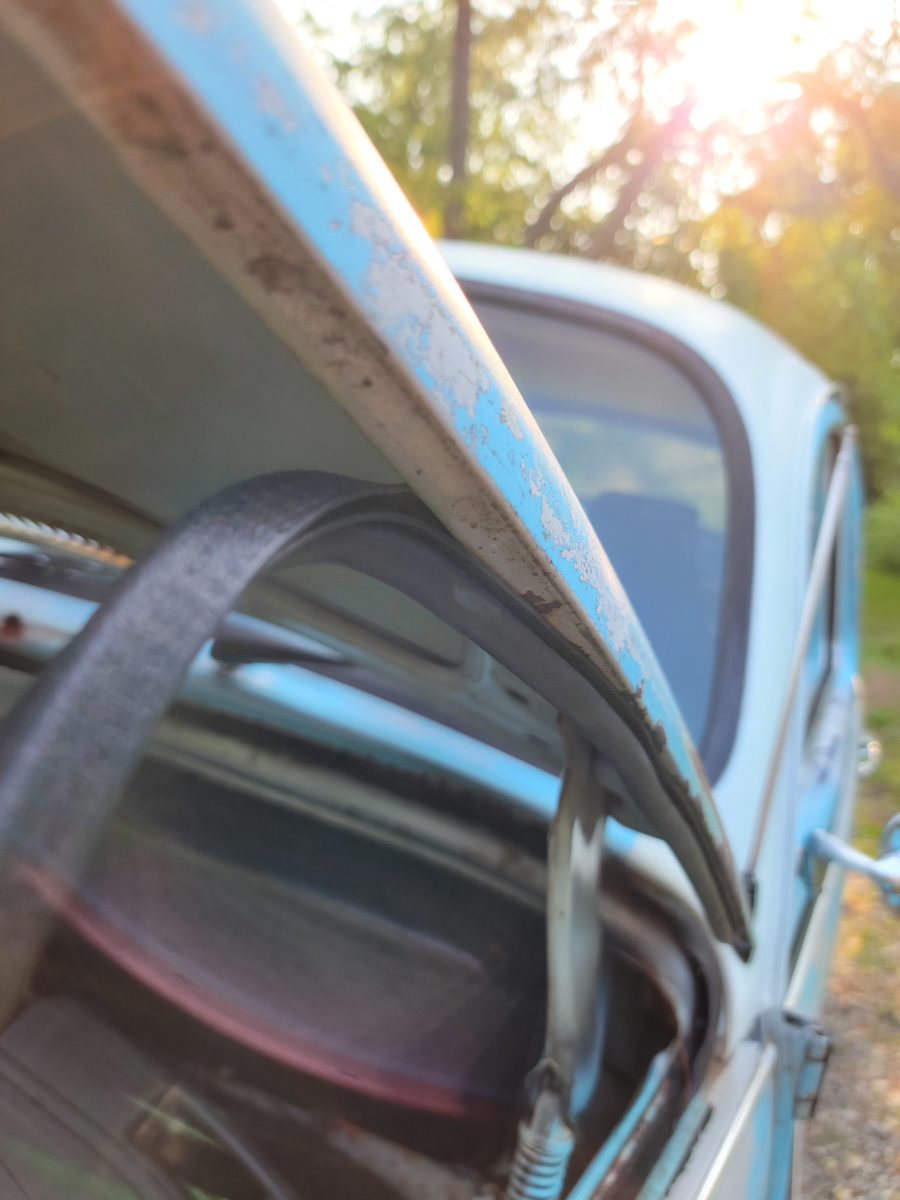
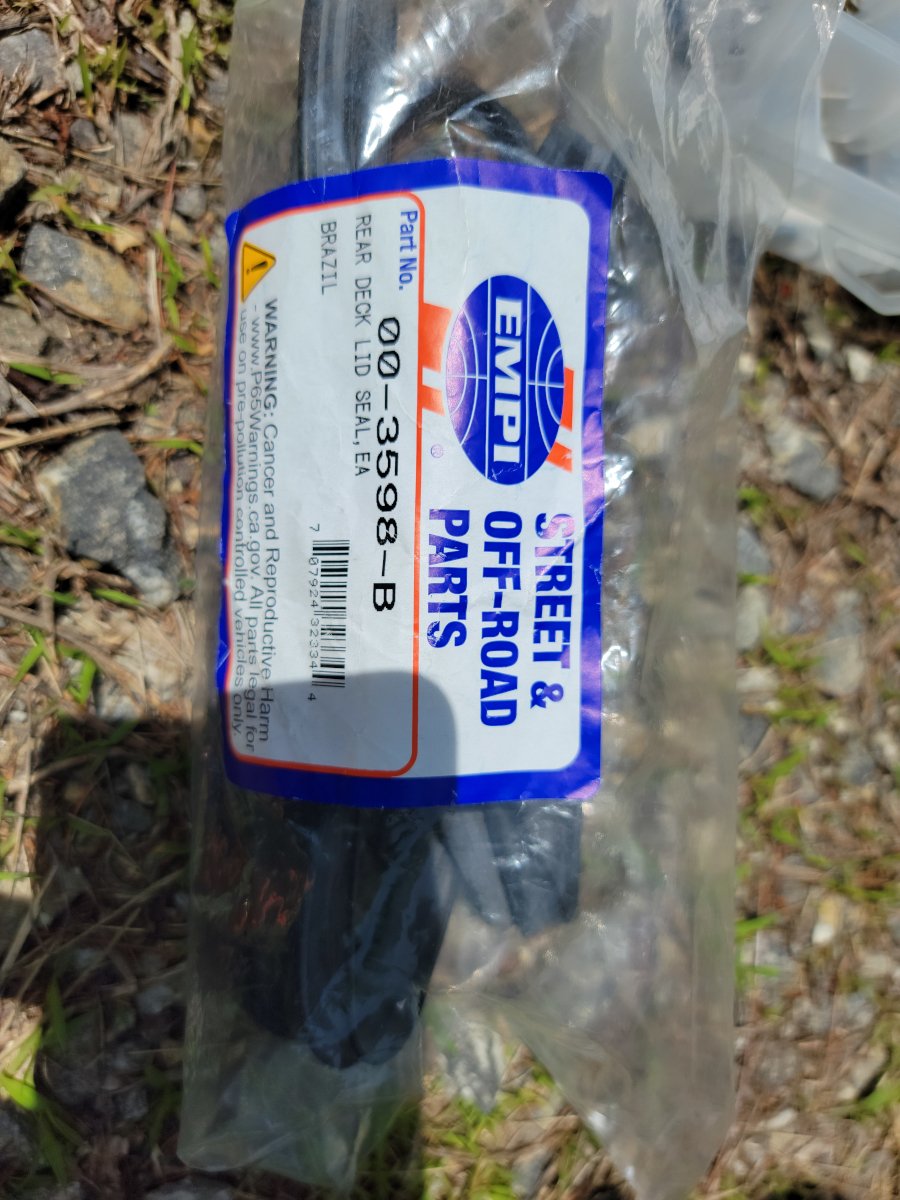
A couple of evenings ago, I replaced the front hood seal. That process went so well, I decided to replace the rear deck lid seal as well. As with the front hood seal, I have had the new seal laying around since I purchased the car. After reading posts on the samba, I was scared off by the complexity of the install process.
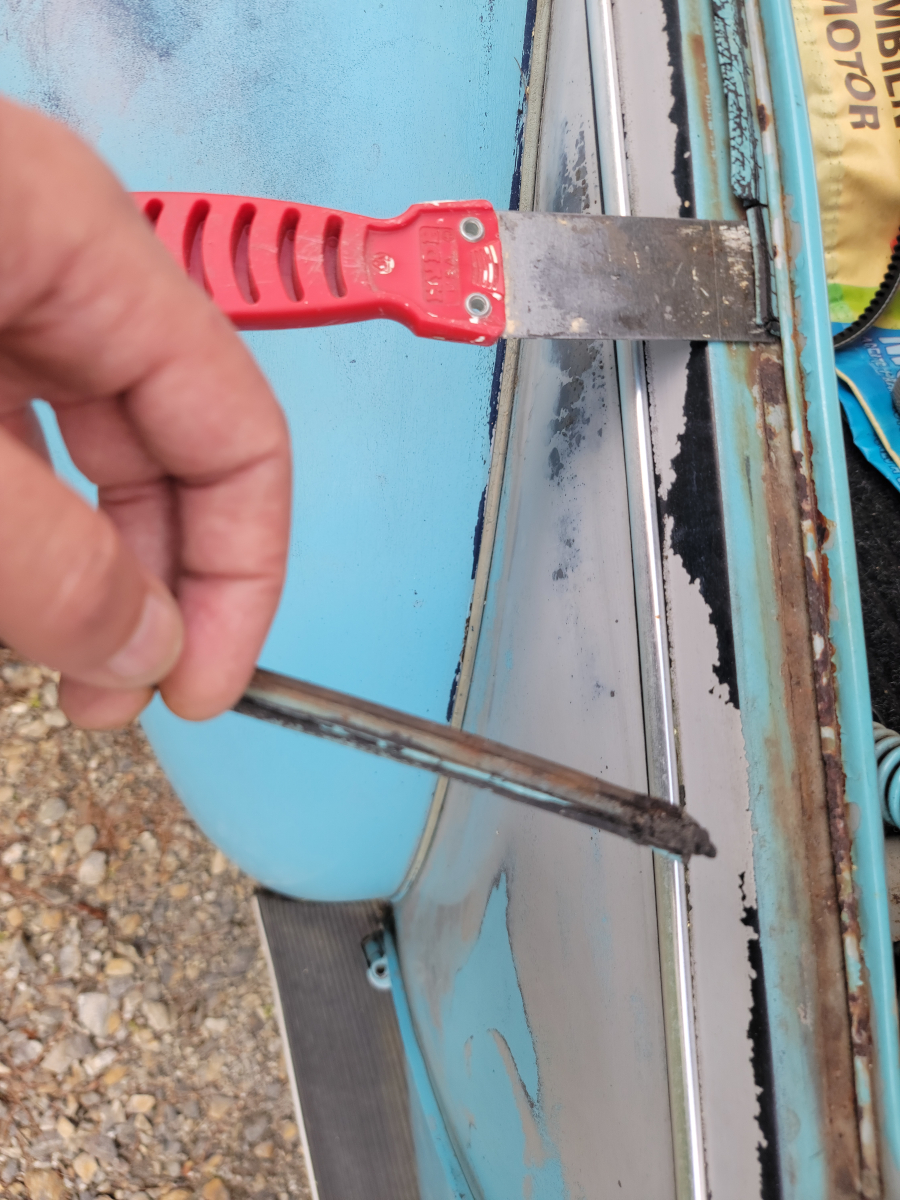
So anyway here I go. Starting at the driver side top, I used the same approach as before. I used a putty knife to pry the lip on the channel up a little. The side came out very easily.
Around the bottom, I ran into a little more problems. The channel had been bent in and out multiple times. It was very rusty and didn’t just pry up as cleanly as the sides.
I was able to remove it cleanly eventually. Moving on to the passenger side, that came out with no dramas.
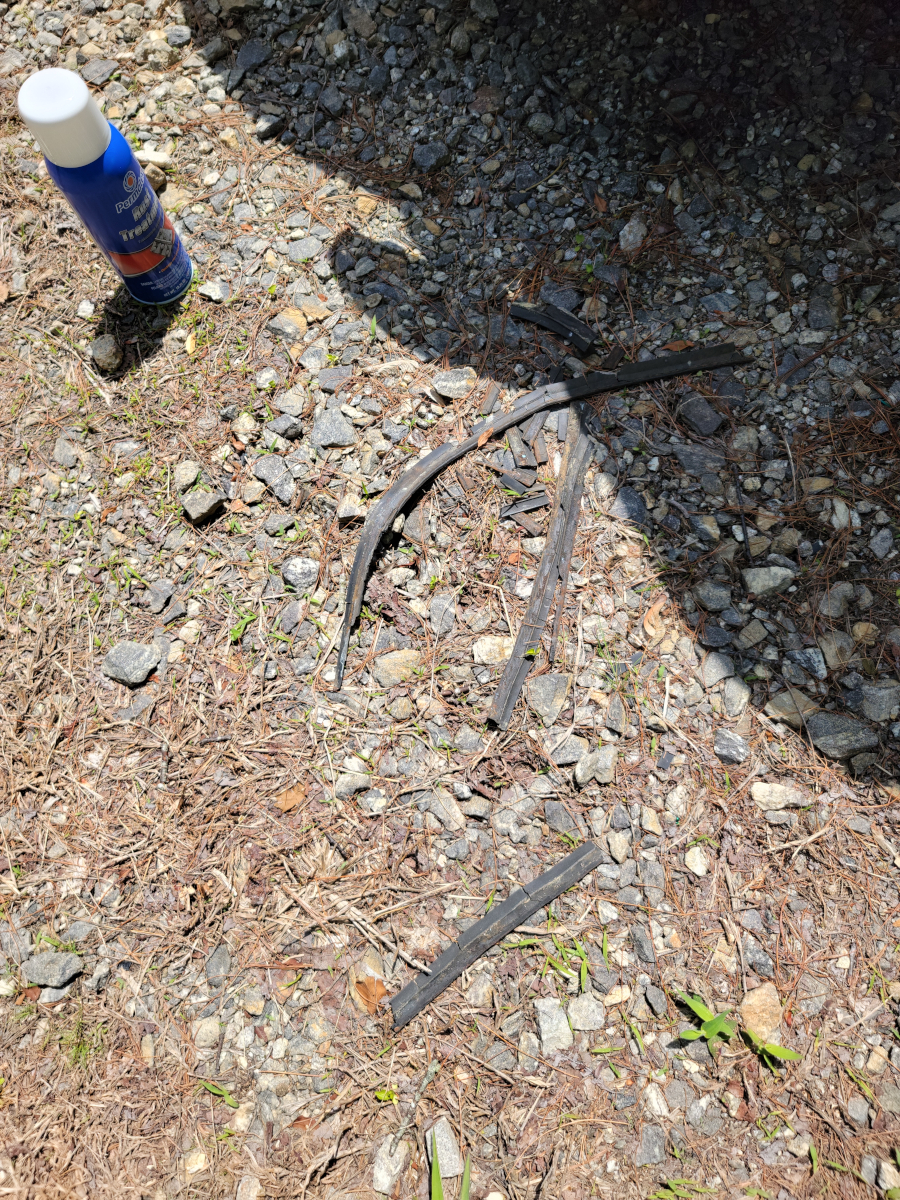
I grabbed a stiff nylon brush and cleaned off all of the loose rust and debris. Then I sprayed a quick coat of rust treatment.
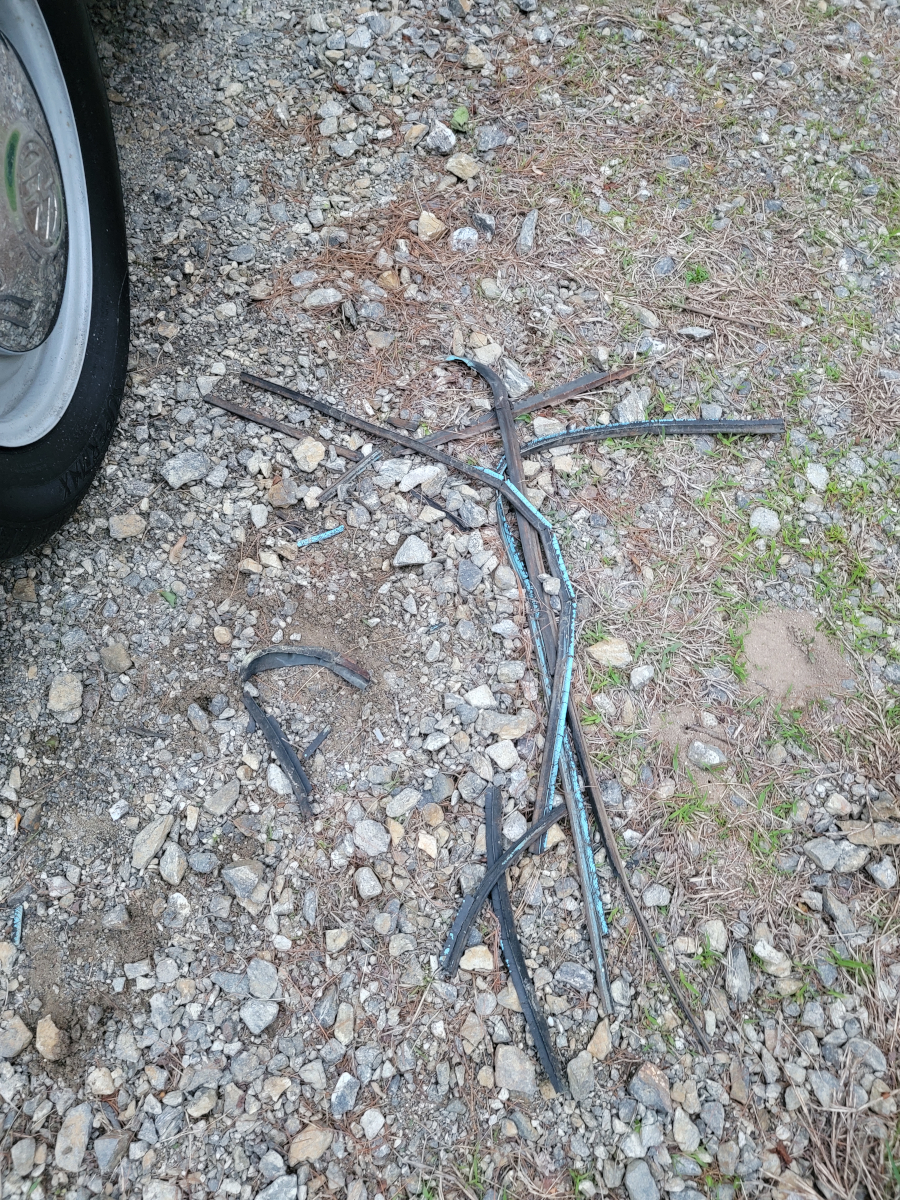
The old seal in the rear was much more pliable than the one in the front. However, it did still crumble to pieces as I was removing it.
Back to the front…
This time, I decided to give the rust treatment some more time to dry. My fingers are still black from that mess before. So, I moved back to the front to finish up with those top corners.
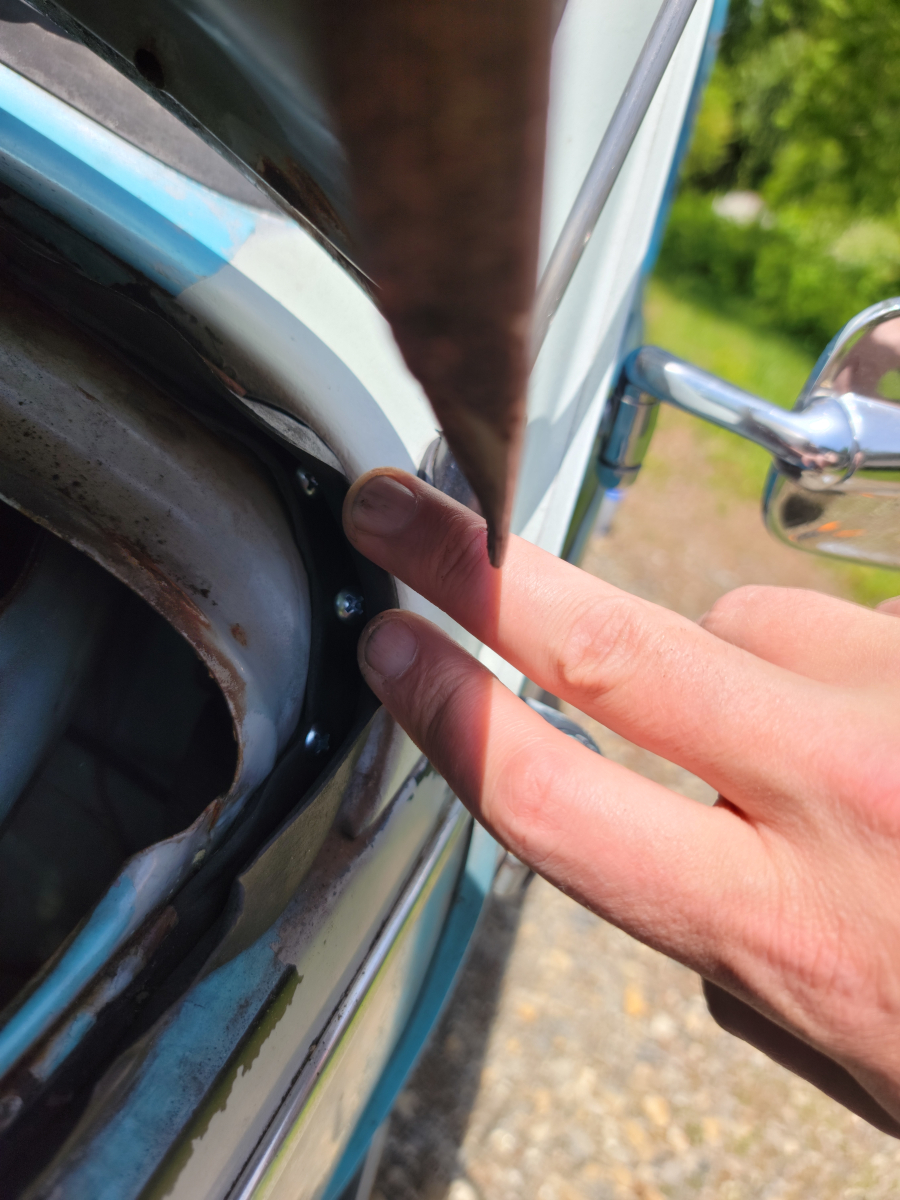
My original plan was to use the black push tabs that are found all over the place on my Ranger. But after closer inspection, the holes in the beetlebug shell are much smaller. I decided to rivet them on instead. After a couple of attempts, the rivets that I had weren’t deep enough to actually grab.
Being lazy and wanting to cross this off the list, I just used some self tapping screws instead. It is a very loose fit, but there is a bit of thread that will grab. The fit is loose enough that I could pull them out by hand if I tried. But they’re tight enough they won’t come out on their own. I didn’t check, but I’m pretty sure these screws are stainless or at least zinc coated or something.
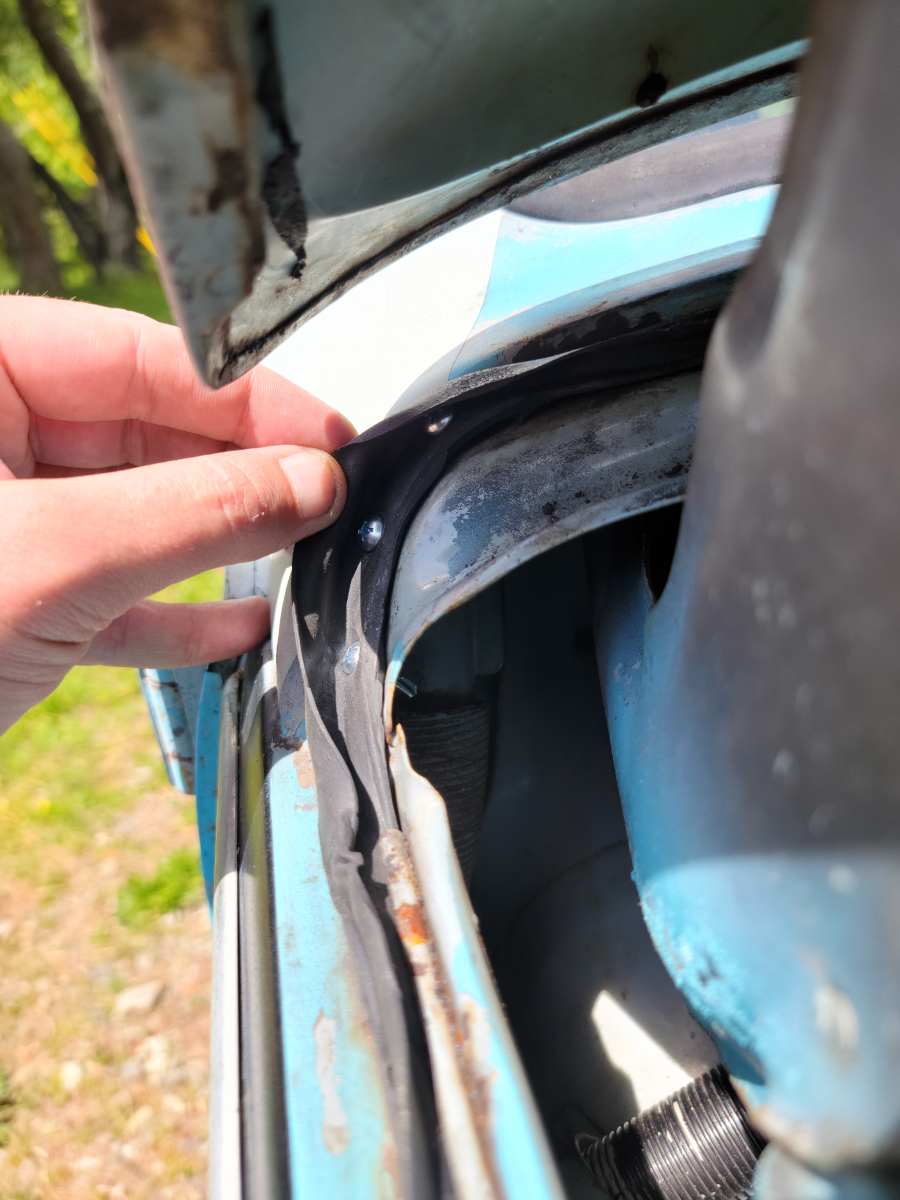
The passenger side went on easily as well.
Back to the back…
The rear deck lid seal I bought was also made in Brazil, but this one was an Empi brand (Amazon link).
It installed without issue. There were a few extra inches at the end that I snipped off.
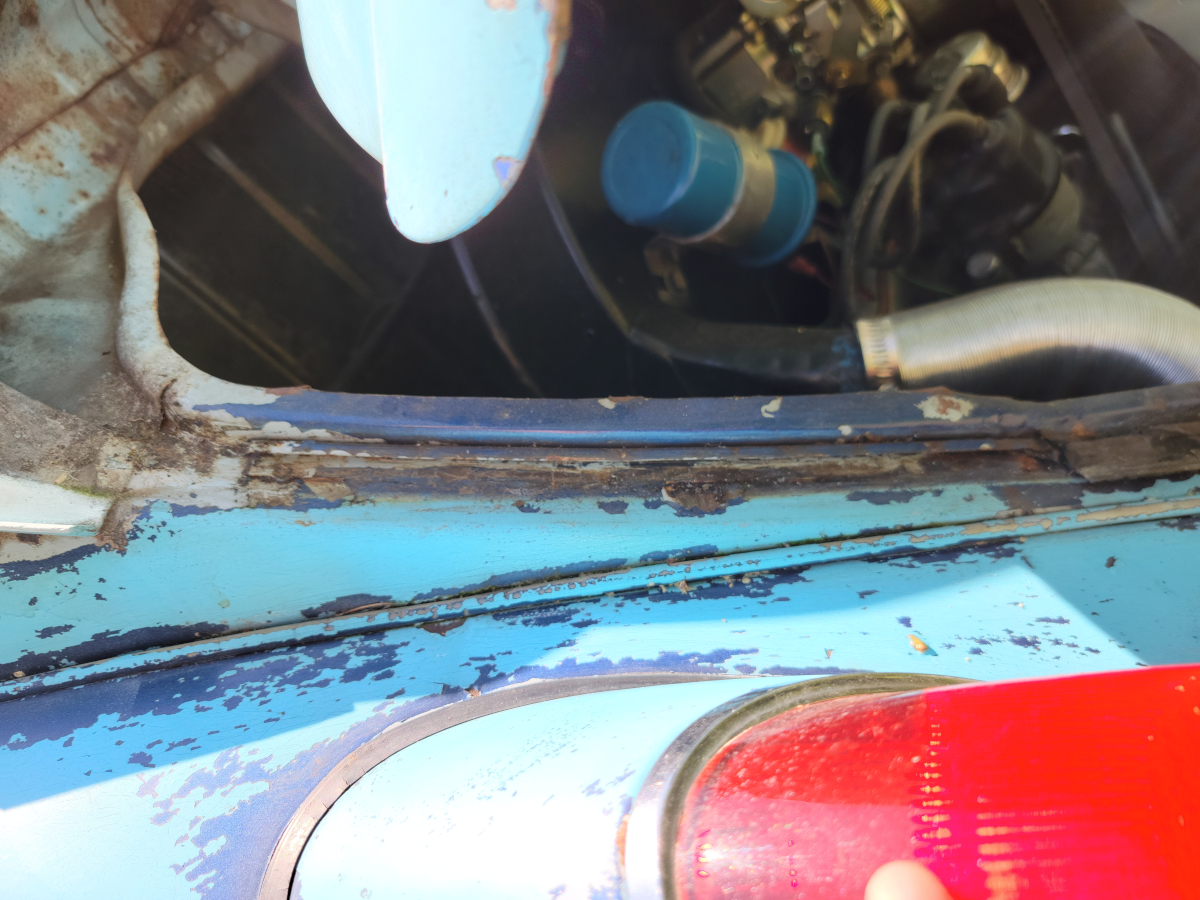
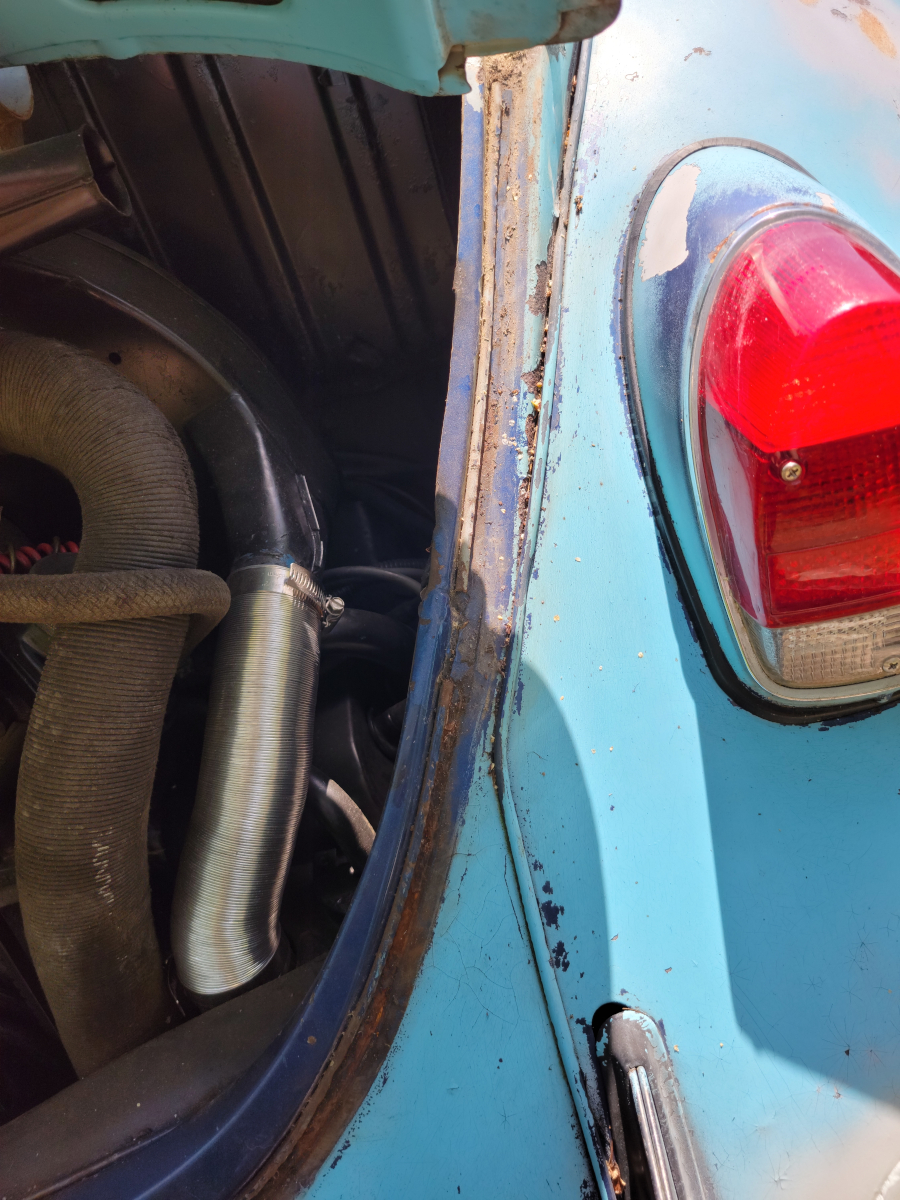
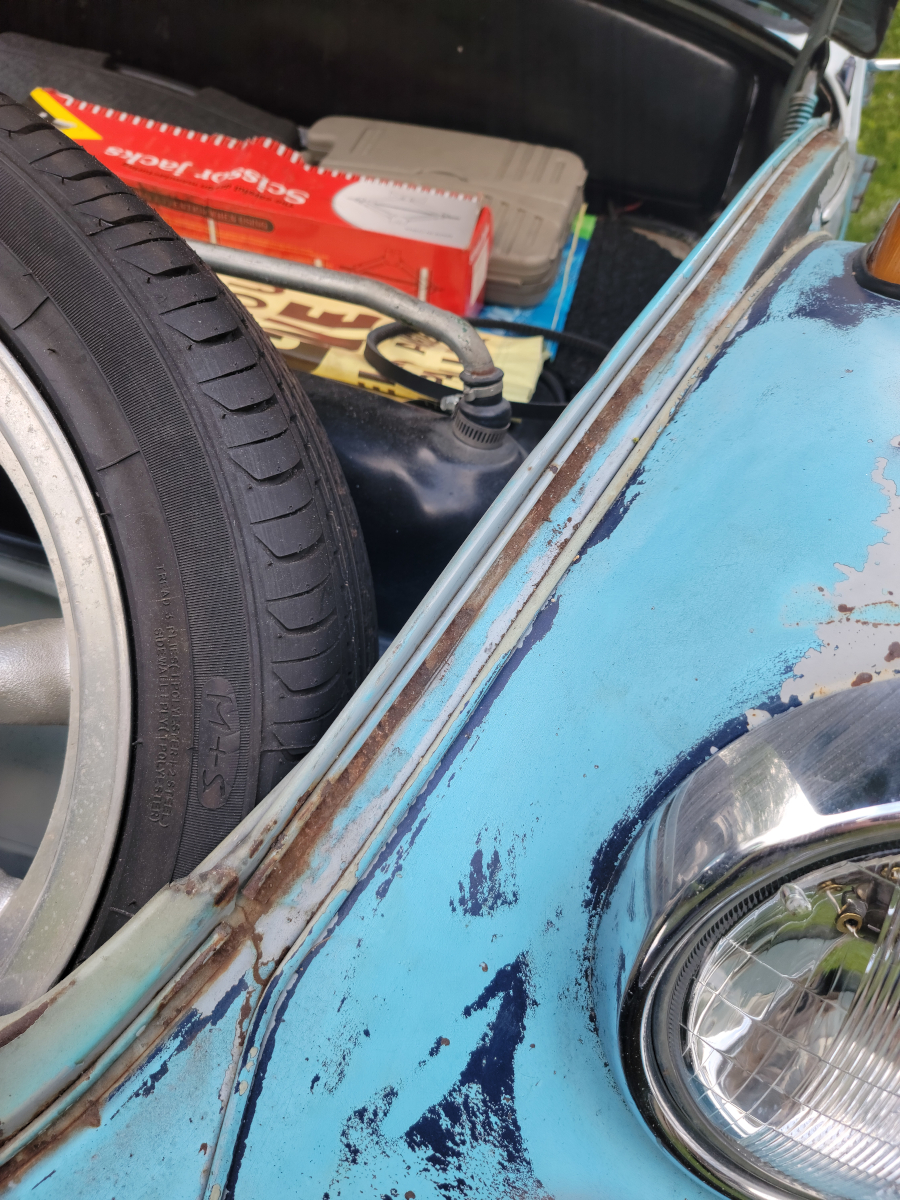
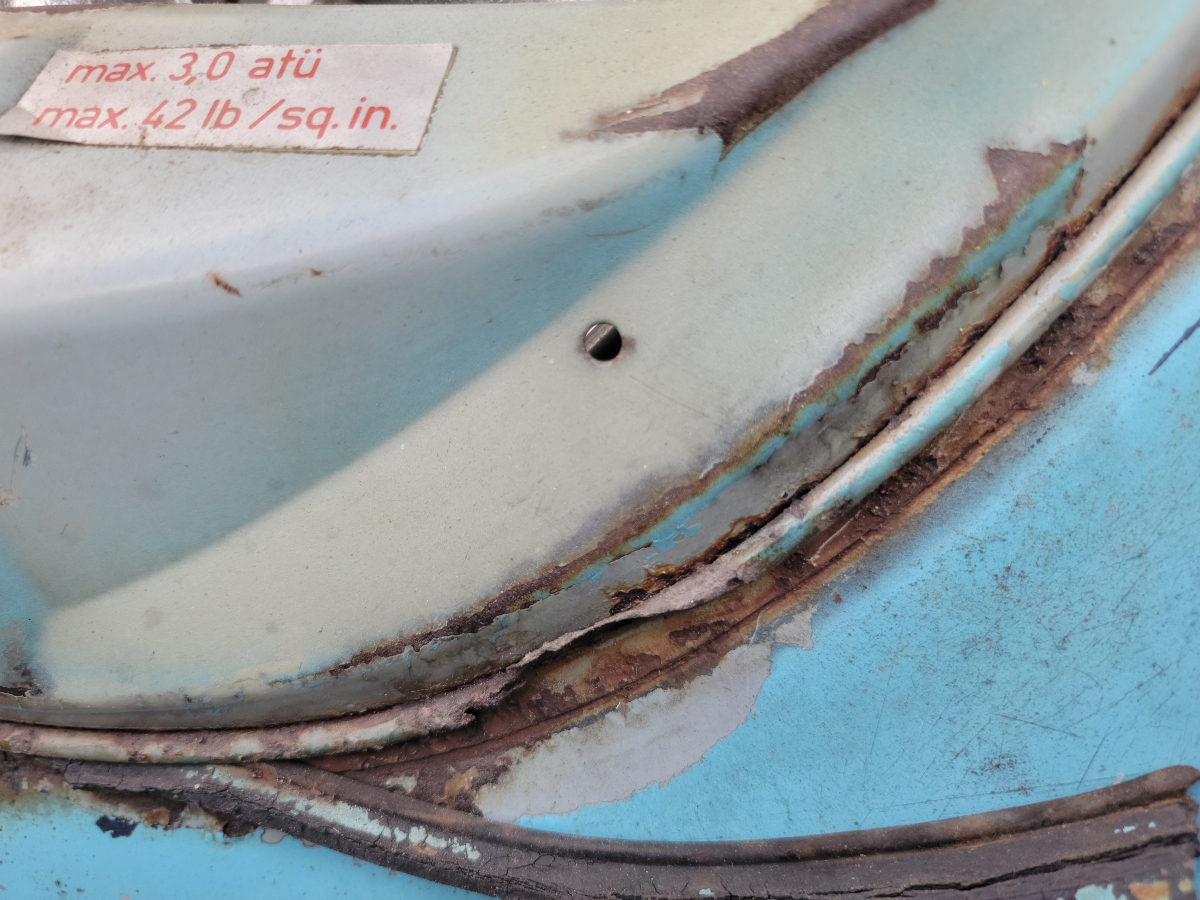
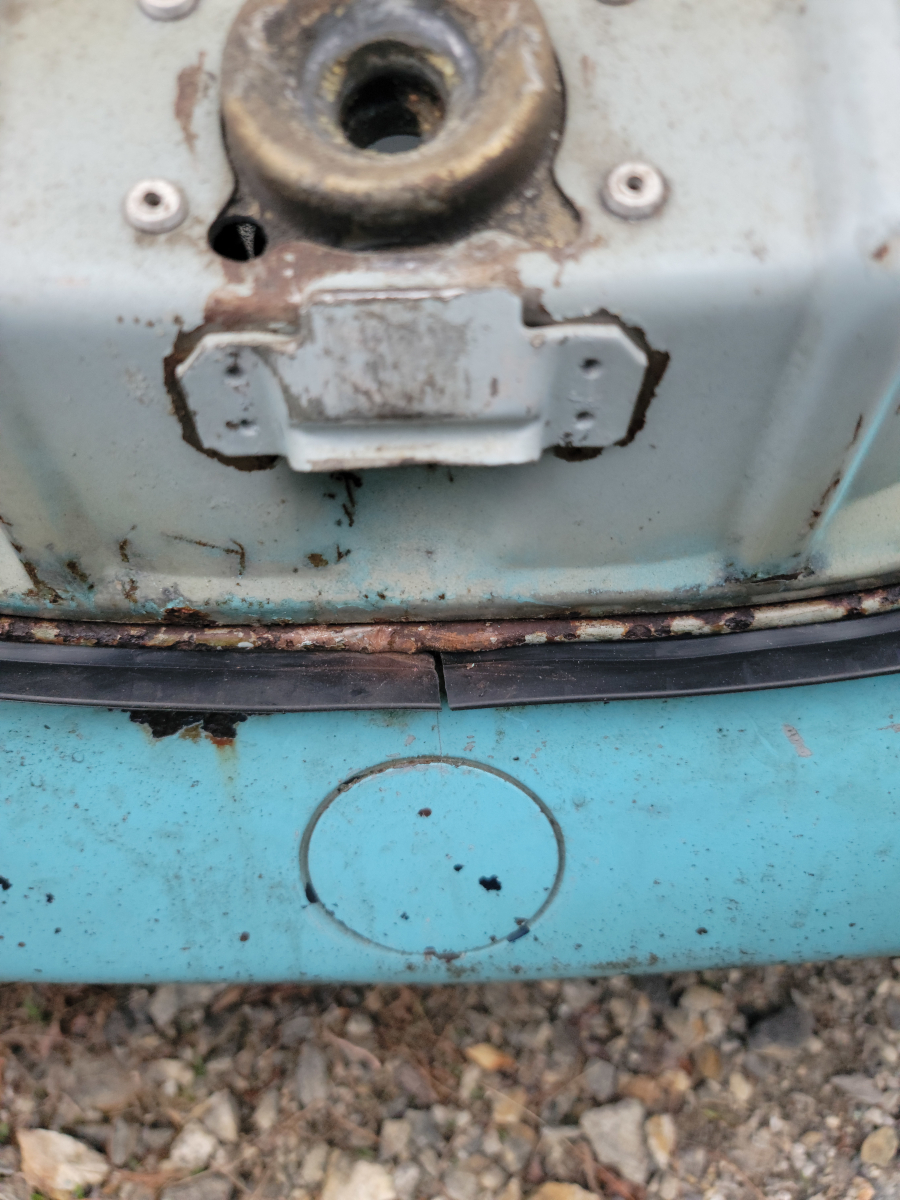
With the deck lid up in my teeth, I noticed some deep rust and bubbling paint down around the bottom. I scraped off the loose rust and then gave it a coat of rust treatment. Once that dried, I added a coat of primer, then a coat of matte vintage blue.
One of the first batches of parts that I ordered for this car included a new front hood seal. I then did some reading online about how to install it and decided maybe it didn’t need replaced after all.
Today, I randomly found a video saying to just pry up on the lip a little with a putty knife. This will make it easier to remove the old seal and install the new one. Common info online is you should start at one corner and feed it through the channel around the whole thing. Clearly, those people don’t have a channel/lip as rusty and mauled up as mine.
The front hood seal that I ordered was from jbugs, a Brazilian variety (jbugs link). And so it begins…
I’m not sure why I wasn’t expecting it to be rusty under there, but it was. I may just be ignorant.
Around the front, there was a big ol’ mess to be had.
That wasn’t me with the putty knife. That was existing damage. You can tell because there’s a spot on the old seal that doesn’t have rust on it 🙂
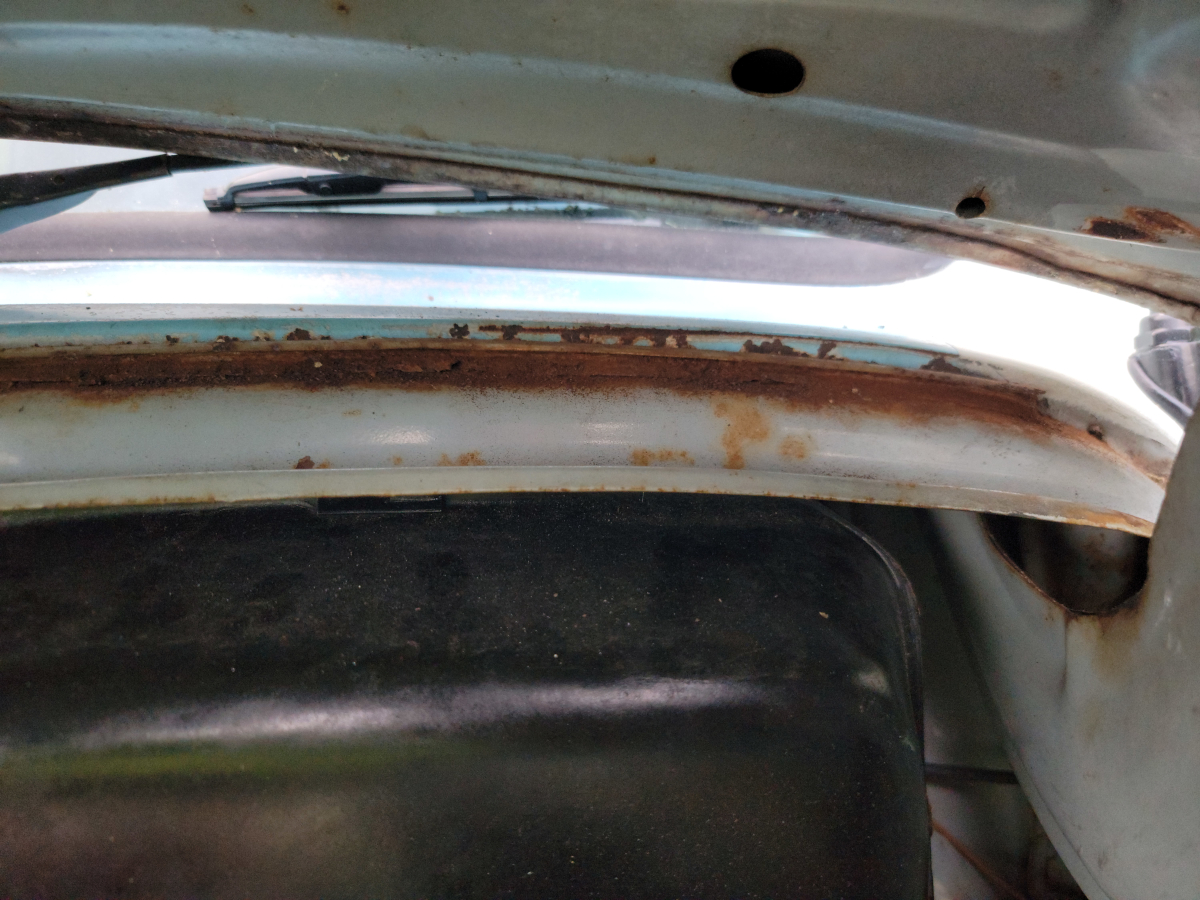
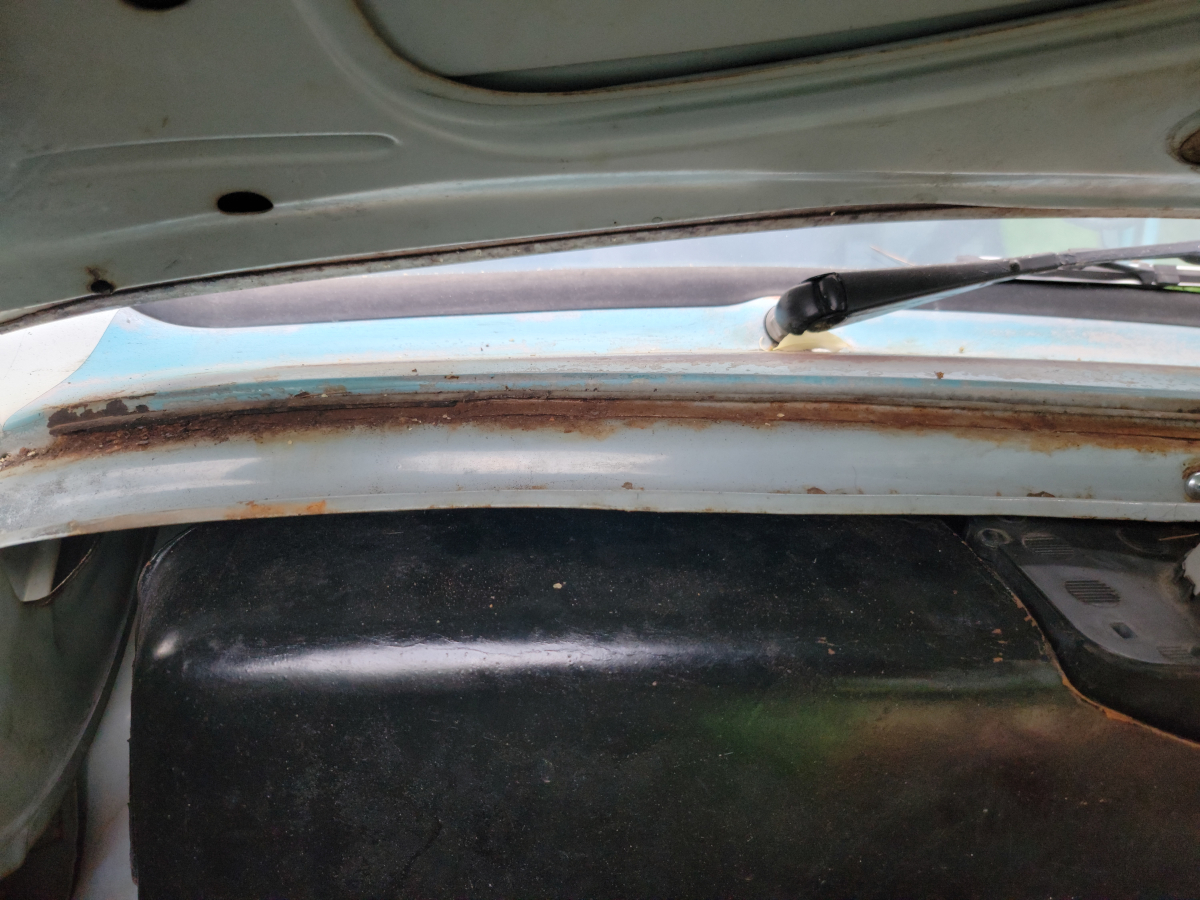
I removed both sides first, before starting on the bend-over-fest that was the back (windshield) side. It was VERY rusty and as expected, VERY cramped working conditions up in there.
Removing the seal from the back side kind of made me want a bowl of Wheaties. And to cry a little. The rust was so big and flaky. Luckily, the lip is a separate piece of steel tack welded on, so… sacrificial?
I used a stiff nylon brush to clear out loose rust and debris from the channels. Then I gave it all a quick spray of rust treatment. Not the kind that turns it black, just darker and shiny. That probably means it really works good.
I let that dry just long enough to get tacky and make a real mess of everything. Then I started installing the new seal. I started at one of the back corners. Both of which have a wide, dished out shape with three rubber pegs underneath. Those “match up” with three holes in the body. To be fair, they were pretty close. They could probably be forced in uncomfortably. However, the rubber is so soft, they just popped right back out when I pushed them in. Using a screwdriver and brute force, I could feel the whole peg coming through from underneath, but they wouldn’t stick.
I will probably have to cut those pegs off and use some plastic trim fasteners to jam down through there. My Ranger is full of them and I have a pack laying around here somewhere for just that reason.
Anyway, I made it all the way around the front and both sides, leaving the bendy-overy bit until last.
I had to trim a few inches off of each end, where they meet in the middle.
Now all that was left was to finish that back edge. There was still so much debris in the channel that it really fought me much more than anywhere else. The channel was now so wide in a few places – likely where the rust was previously so thick – I had to get back in there with the putty knife and tiny hammer to bend the lip back down a bit to hold it all in place.
That’s as good as I could have hoped for this evening. It was getting dark, though you can’t really tell by the phone pictures.
I went around and collected all of the scraps of old seal and made a tiny little pile.
I will get back to this soon to finish mounting those back corners.
I made a trip back to my parents’ in Thomasville for the weekend. It was my birthday. Now I’m older than I was then.
I was googling around to see if there were any Beetle Boneyards in the area that were open to the public. My dad and I like walking around junkyards and I need a lot of parts! I found Bugs & Buggies Kustom Autowerks in Denton, NC, which is only 20 minutes or so away. Nice. Their website said they have a graveyard of around 40 cars. Nice.
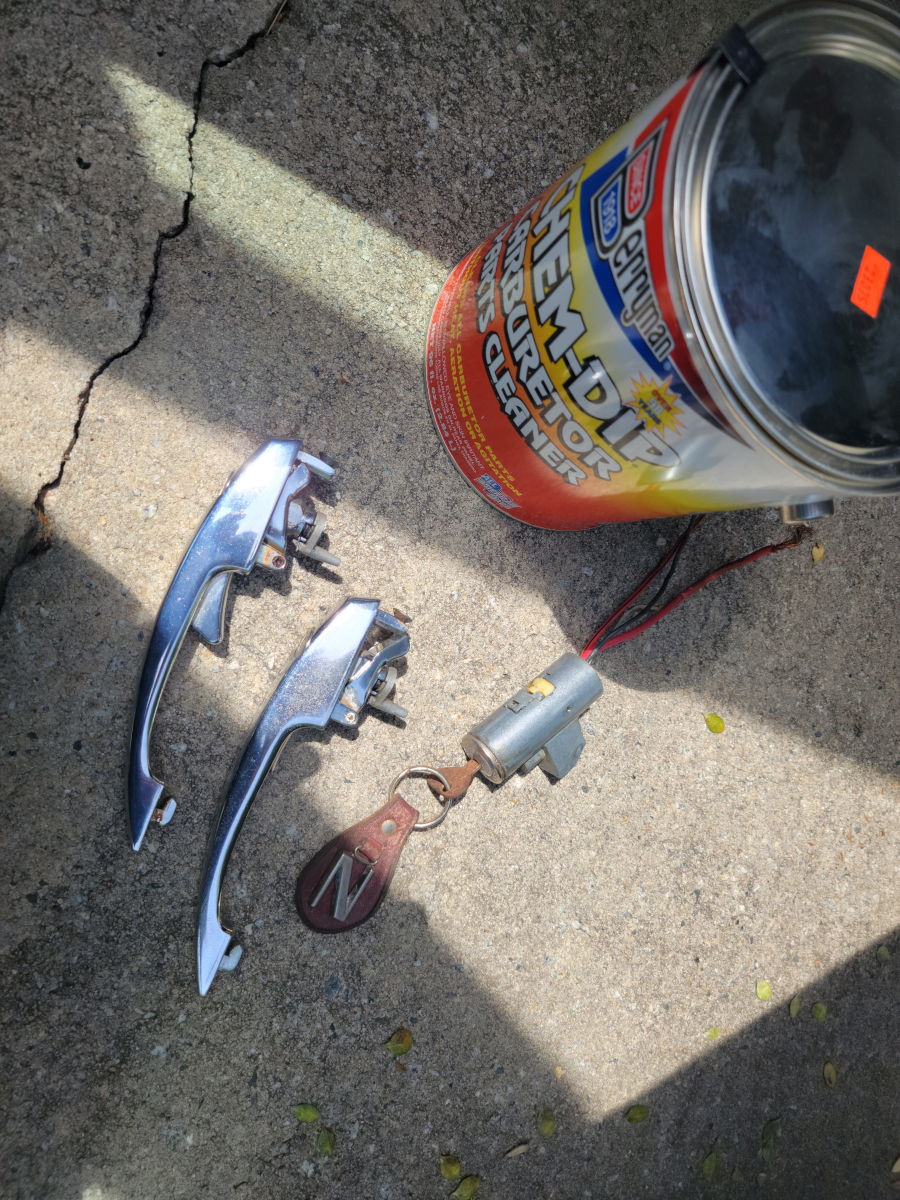
So, we headed over there Friday afternoon to see what’s up. Super nice people! I ended up with a matched set of door handles and ignition switch, all working off the same key. Very reasonable price, especially considering I just randomly popped in and interrupted their work day to go pull parts for me.
I think he said the donor car was a ’70, which used the same hardware. It had the same kind of key that my ’68 came with. I wasn’t ever sure if that was an appropriate era key or not, since it didn’t actually fit any of the keyholes in the car. Apparently, it was.
I have mentioned previously that I replaced the door handles with a pair I bought on Amazon (Amazon link), but the keys that came with them were generic universal keys, like those you find on the Dorman wall at the parts store. Luckily, the cylinder sizes were the same. I re-keyed the original driver side door lock cylinder to match the key that came with the car. The passenger side cylinder was too far gone to do anything but rob wafers out of. So, the passenger side was still keyed to the generic Amazon key. The ignition key was yet another era of VW key. Dude said it was likely aftermarket as well.
Anyway, I finally found an excuse to buy a bucket of Berryman Chem-Dip (O’Reilly link). I soaked the new/old handles in there for a few hours and it did a bang-up job of cleaning them up. One of the door handles had even been painted white. The paint was stripped clean and everything shined up quite nicely.
Did I mention free key ring?
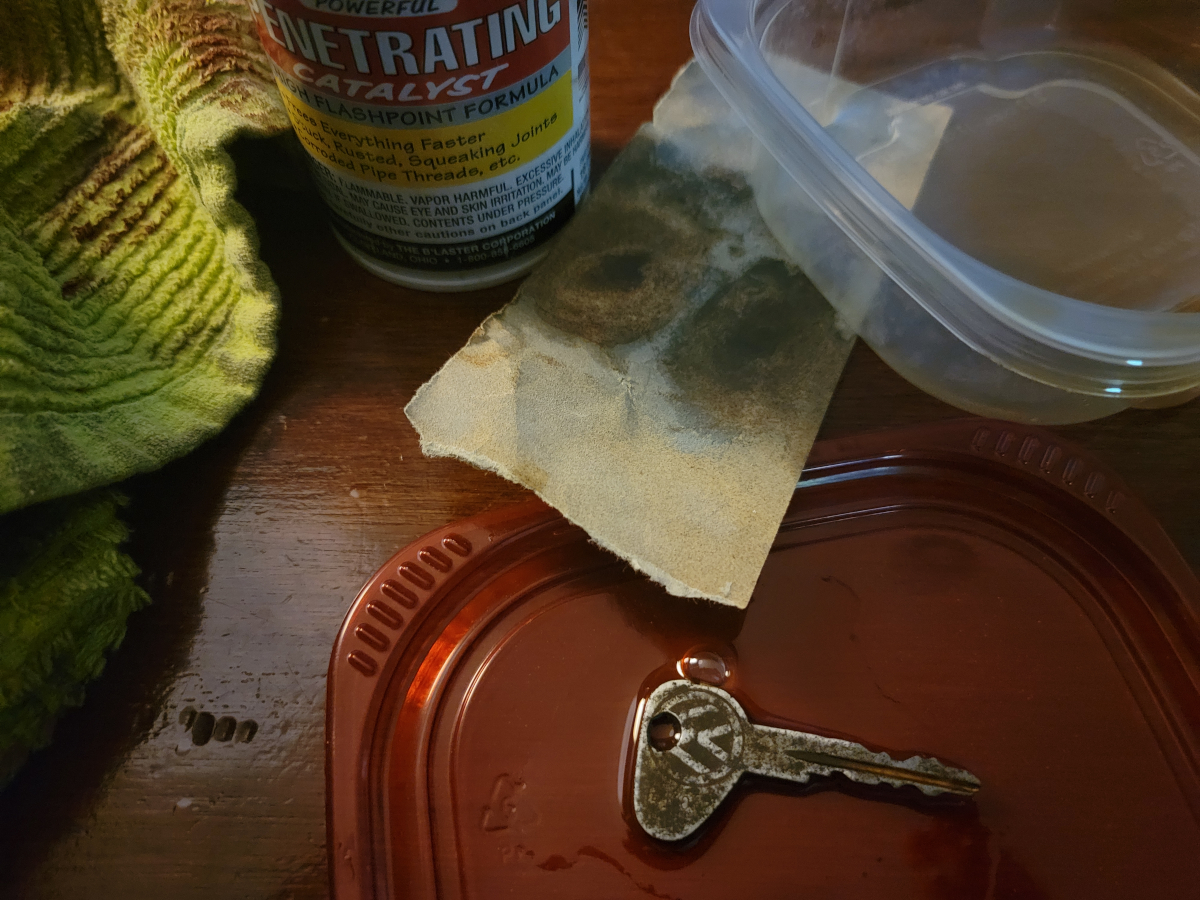
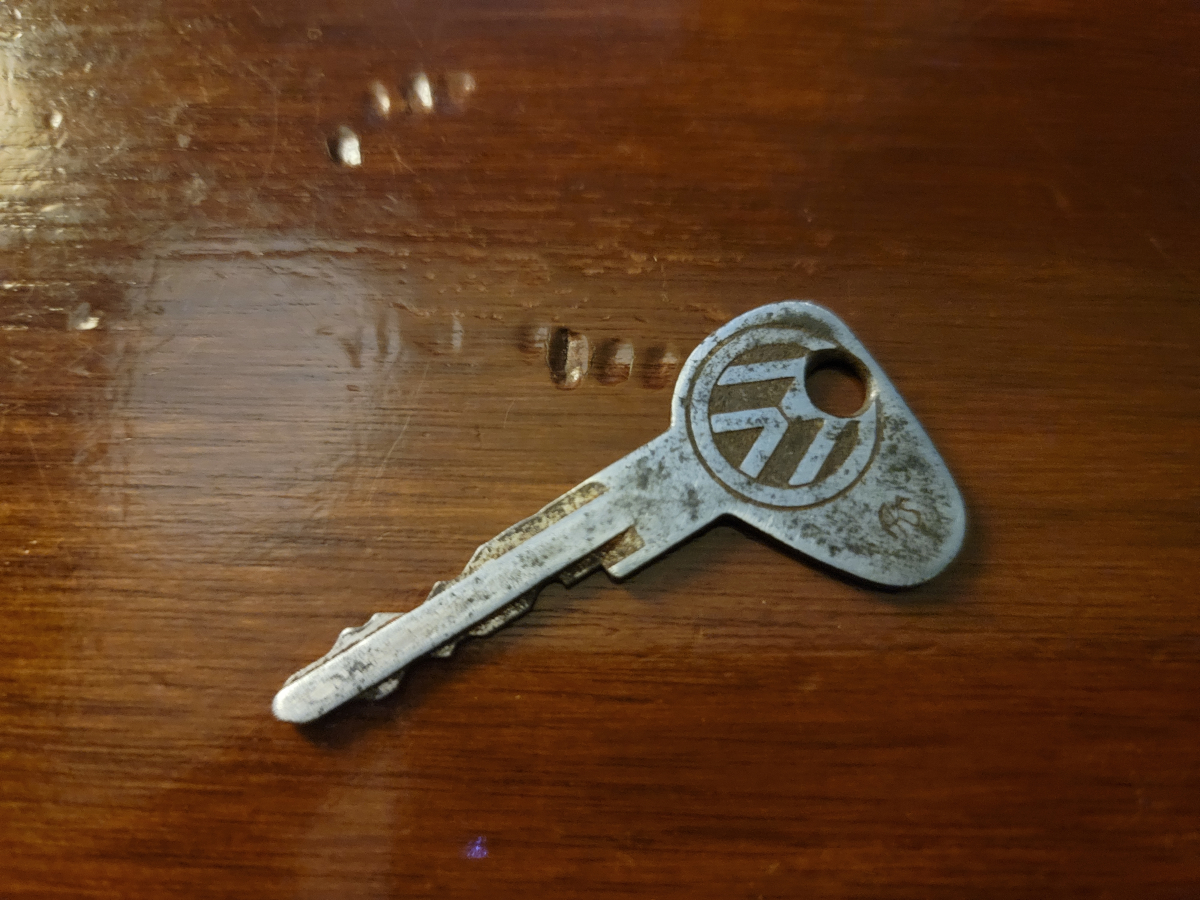
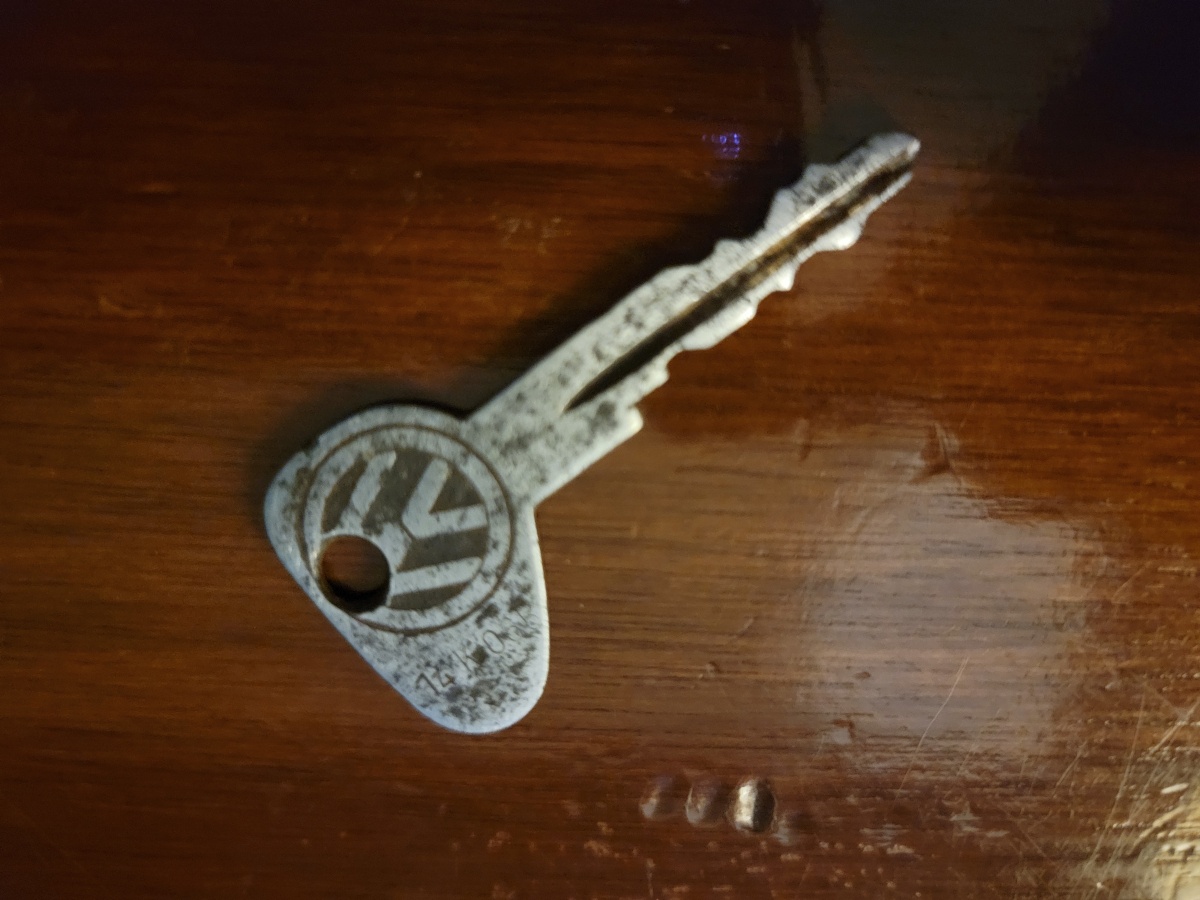
The key was very rusty, as you can see in the picture above. I soaked it in PB Blaster for a little while this evening, then hit it with some 300 grit sandpaper.
It’s still crusty looking, but that’s fitting for the car. I also have two Pacific key blanks (cencaldistributors ebay link) waiting to be cut.
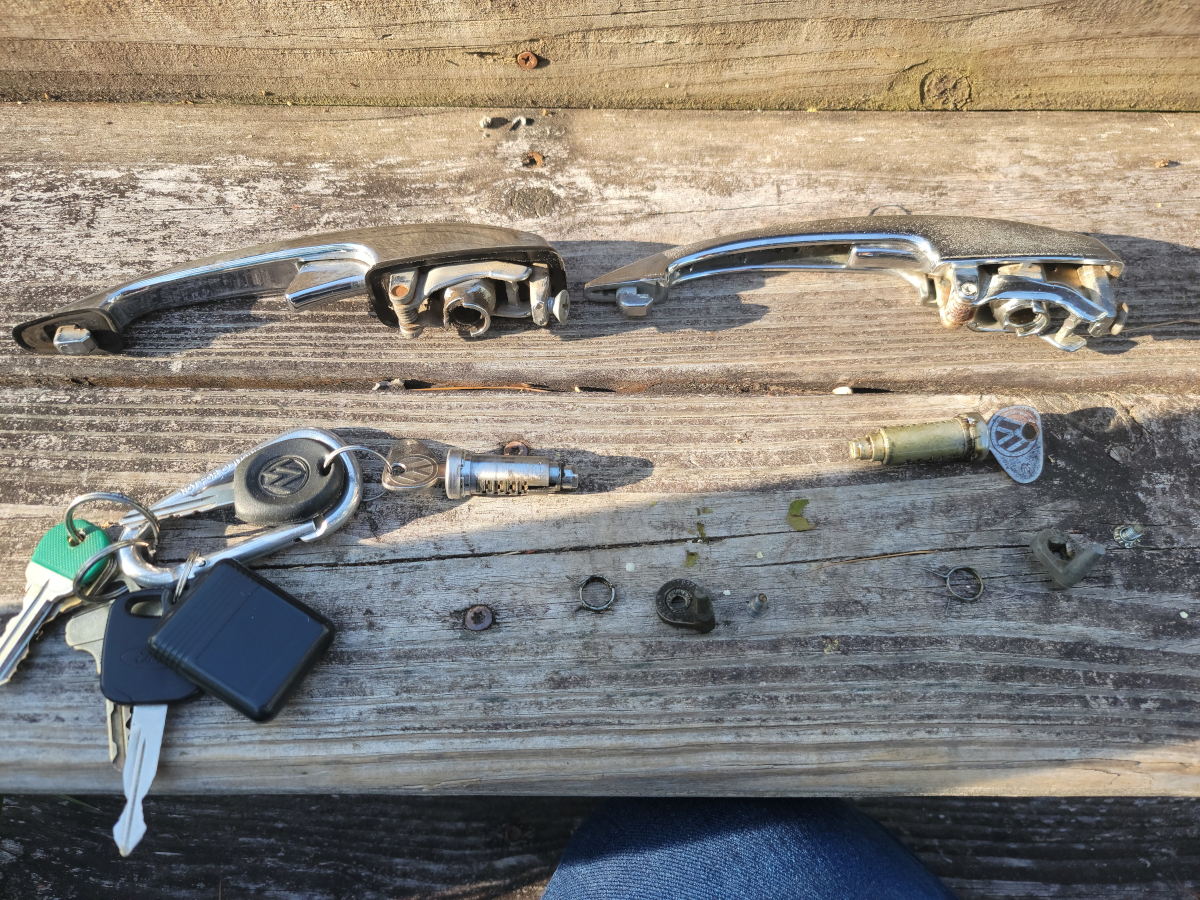
I took the driver side door handle off and swapped the cylinder over.
Then I swapped the cylinder over on the passenger side.
No dramas. Everything worked as expected and now I’ve got two spare sets of door handles. The spring on one of the triggers is rusted and busted. One of the cylinders is shot. The other two have universal Amazon keys.
The ignition switch is another job for another day. I need to take the horn ring assembly back apart and get that working better. It only makes partial contact in certain areas some of the time since I had it apart to replace the horn ring and center cap.
As an Amazon Associate I earn from qualifying purchases. I also often provide links to products on other sites that do not provide affiliate income.