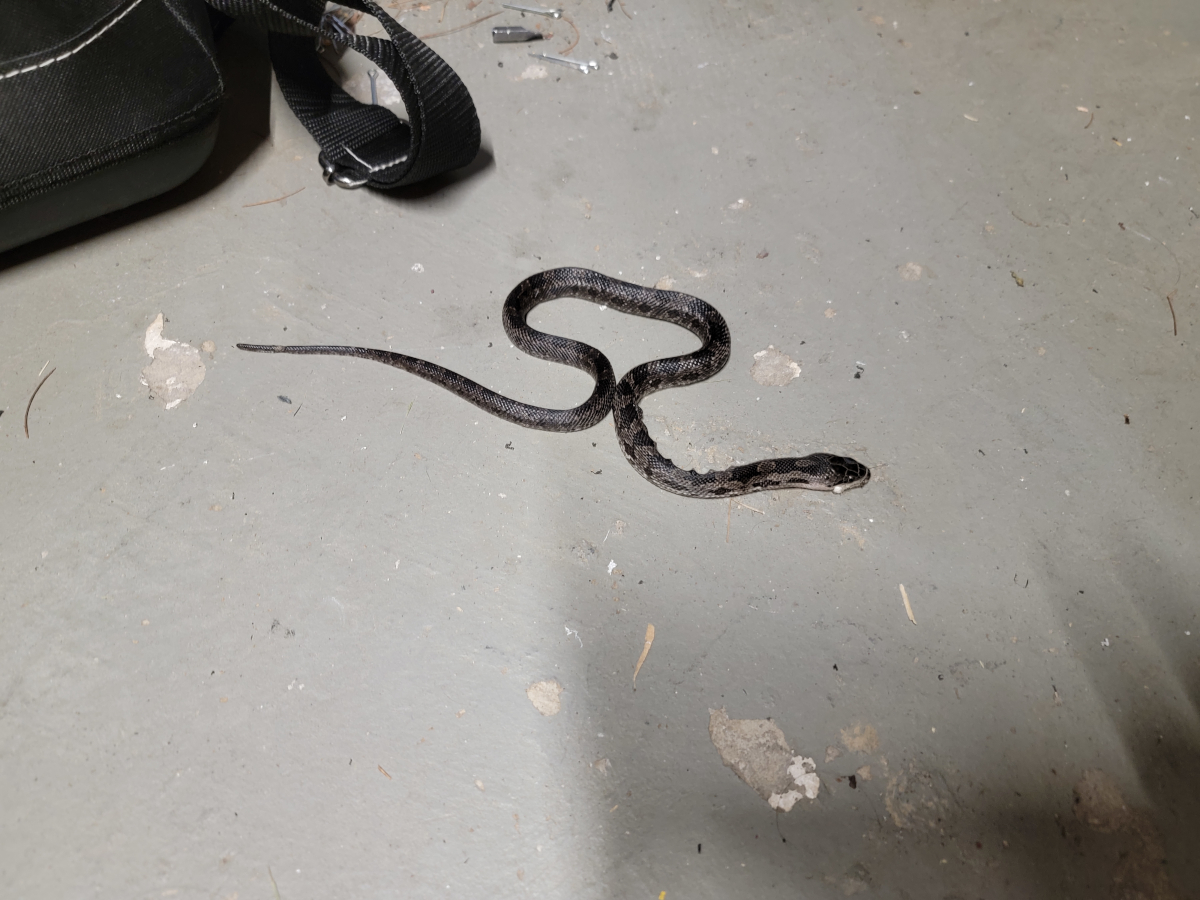
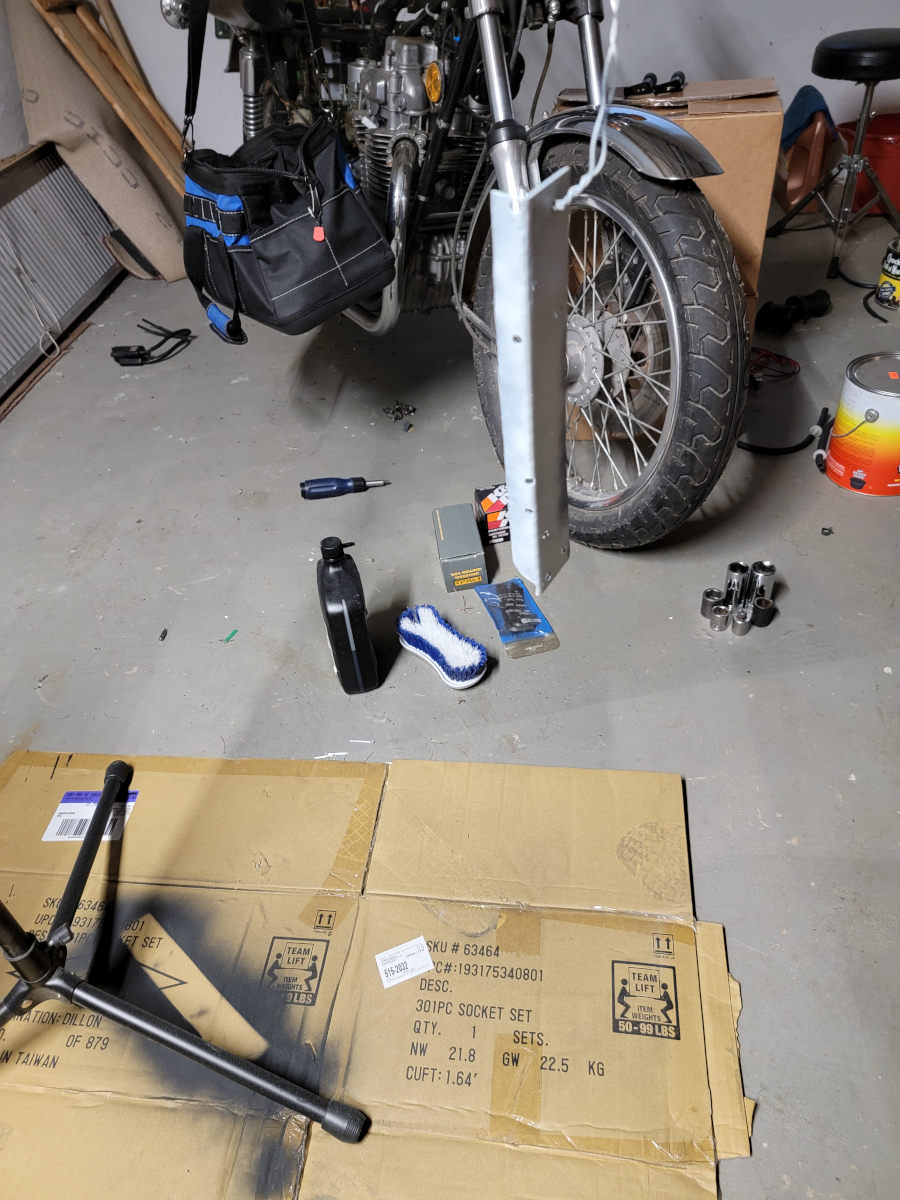
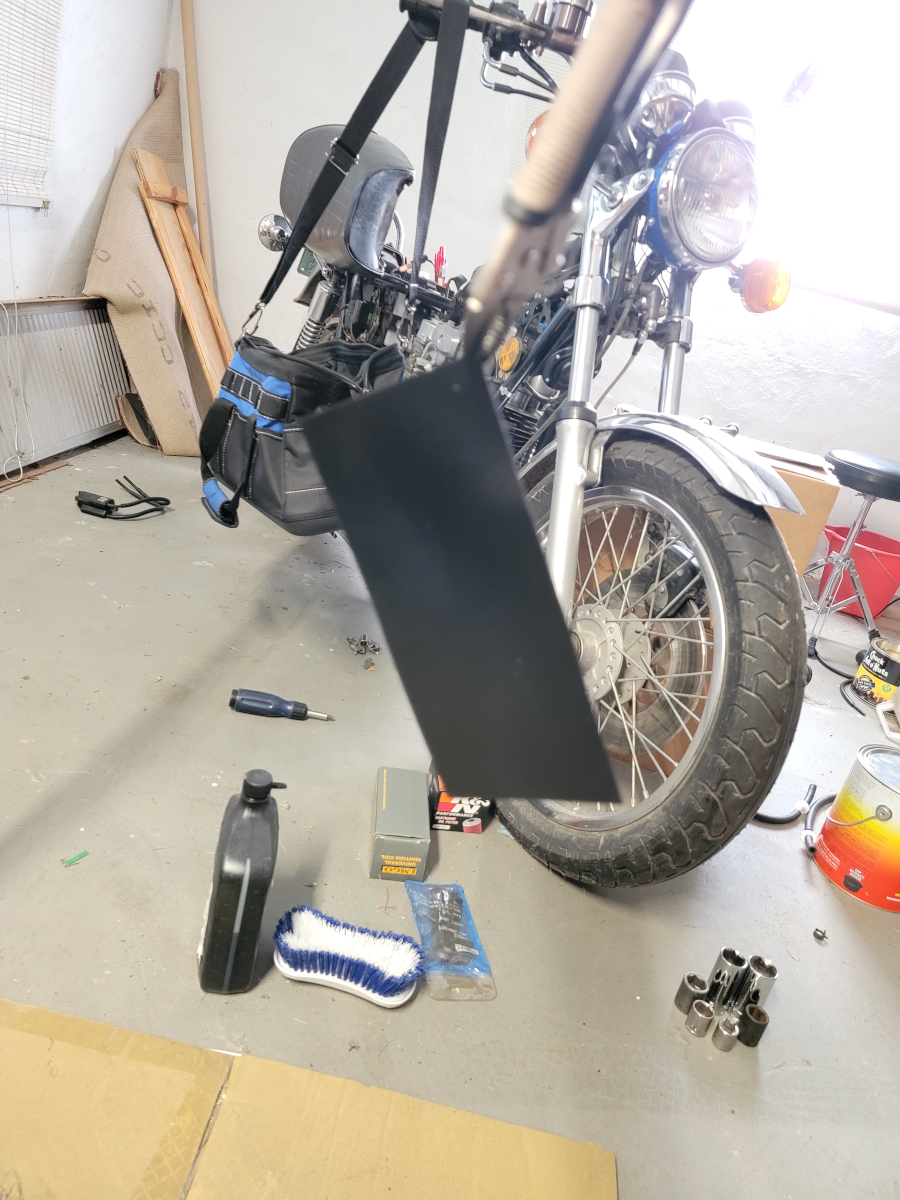
Let’s start this off by saying GET OUT OF MY HOUSE YOU TINY BABY RAT SNAKE!
I’m glad it was outside of the tool bag. If I had found it in there wrapped up in my tools, it would have been a lot more of a shock. I don’t have a phobia of snakes, but my monkey brain still tingles. Oddly, wet cardboard gives me the same sinking feeling. Weirdo.
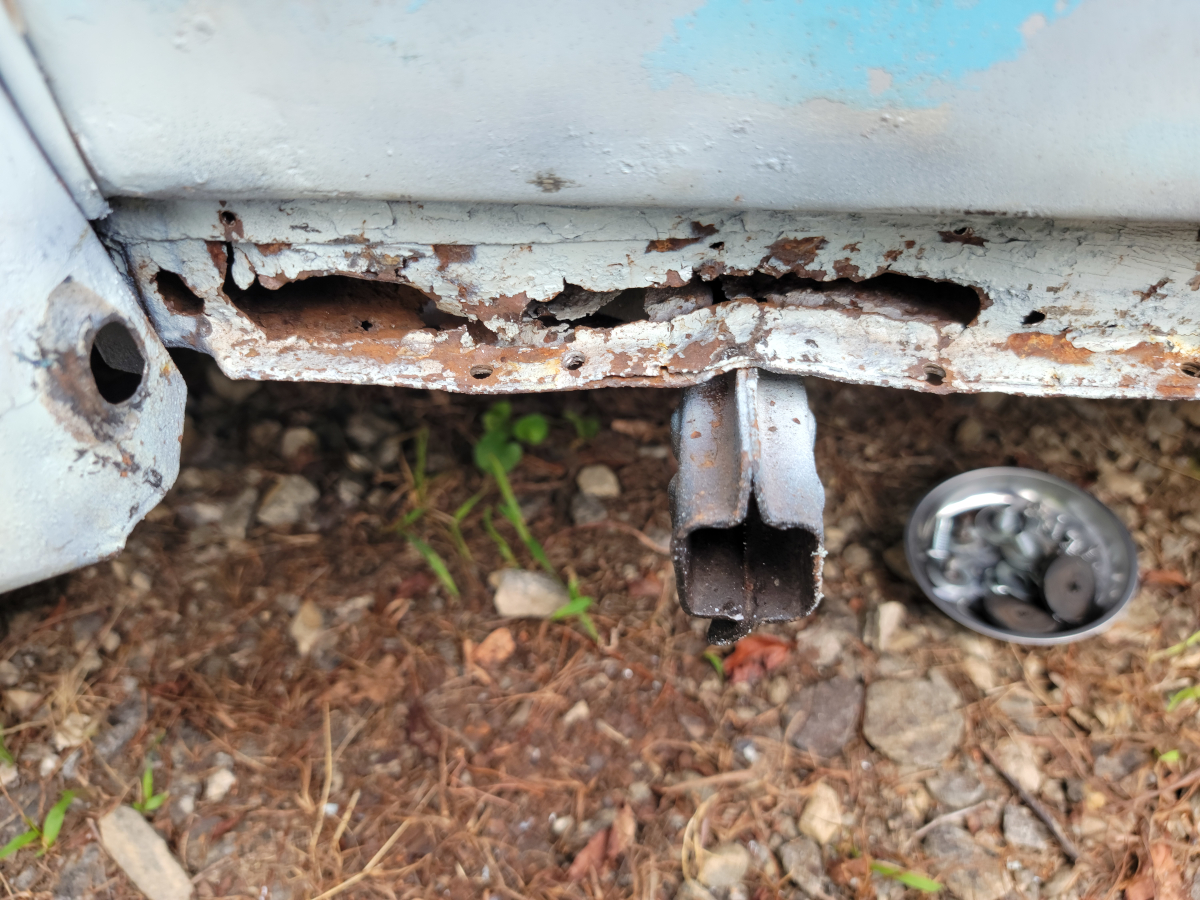
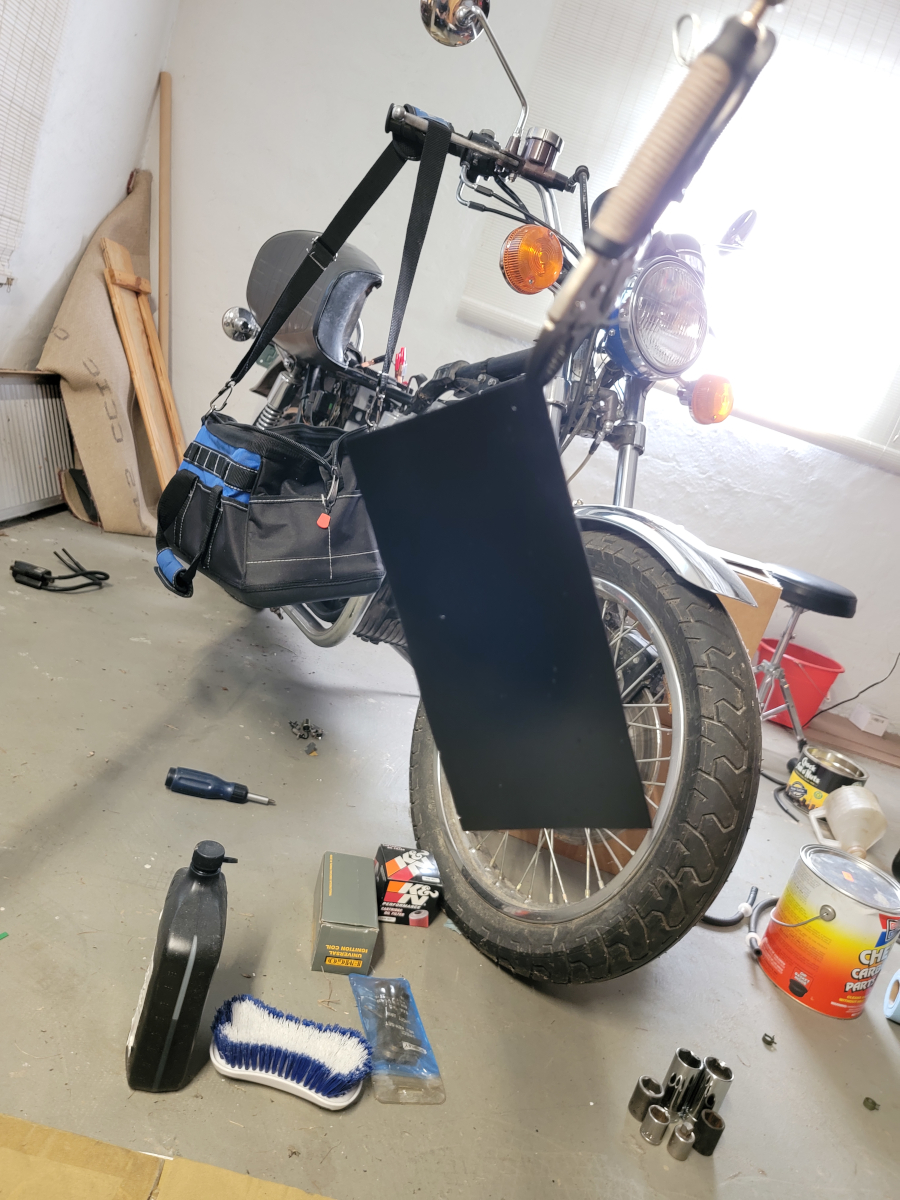
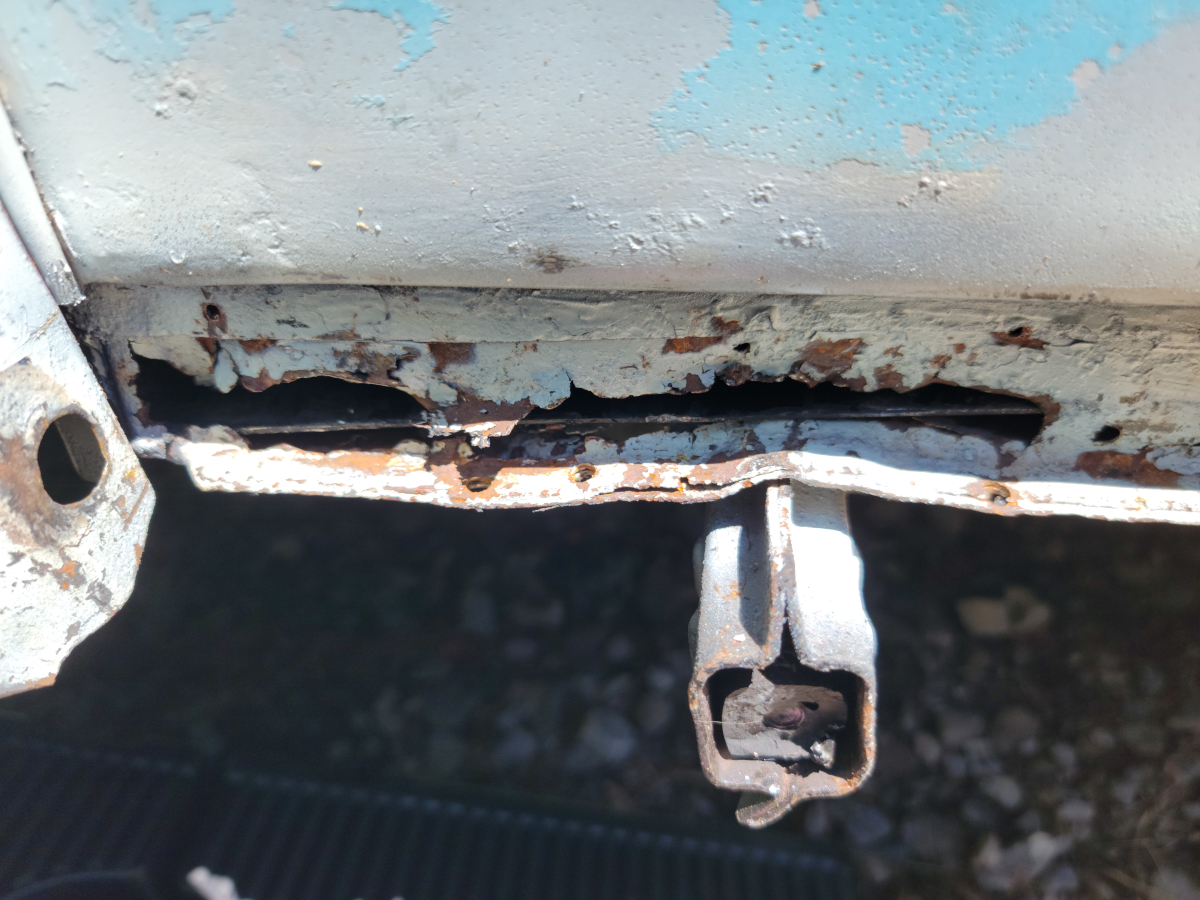
OK, so there is another thing I need to address before getting started… This project is a mess. My “repairs” are intended to be temporary. At least until I can get access to a welder and spend some time cutting and cleaning and plating things up “properly”. In Rust (Not) Repair – Part 1, I plated the C channel on the side, but got lazy and didn’t cut the contour into the rear edge, so it didn’t properly cover the affected area.
So, that’s where I’m going to start.
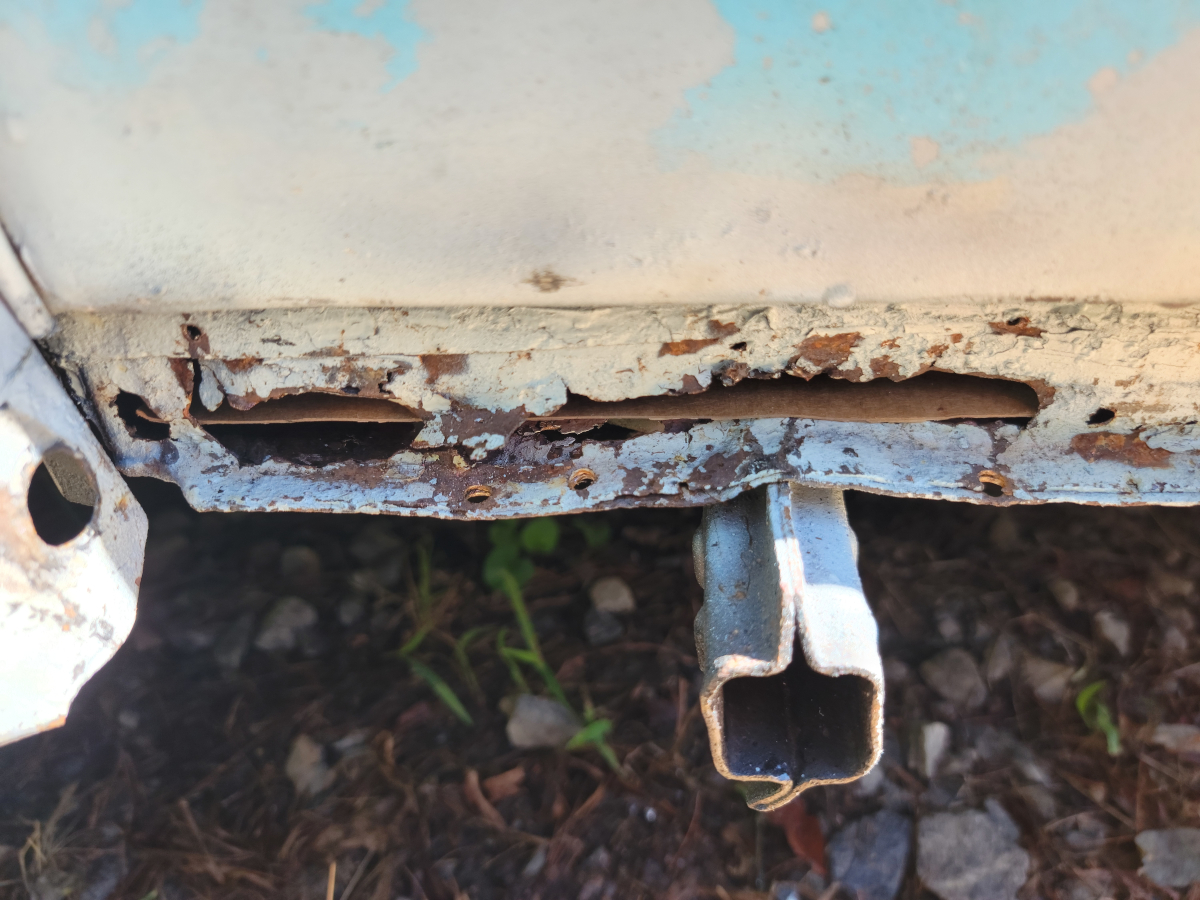
While the plate is off, I’ll take this opportunity to clear off a lot of the loose rust. Inside the heater channel behind, there is a lot of flaky rust that I was able to “sweep out” with a long screwdriver.
It doesn’t really translate in the picture above, but there is a handful of loose rust chunks piled up under there.
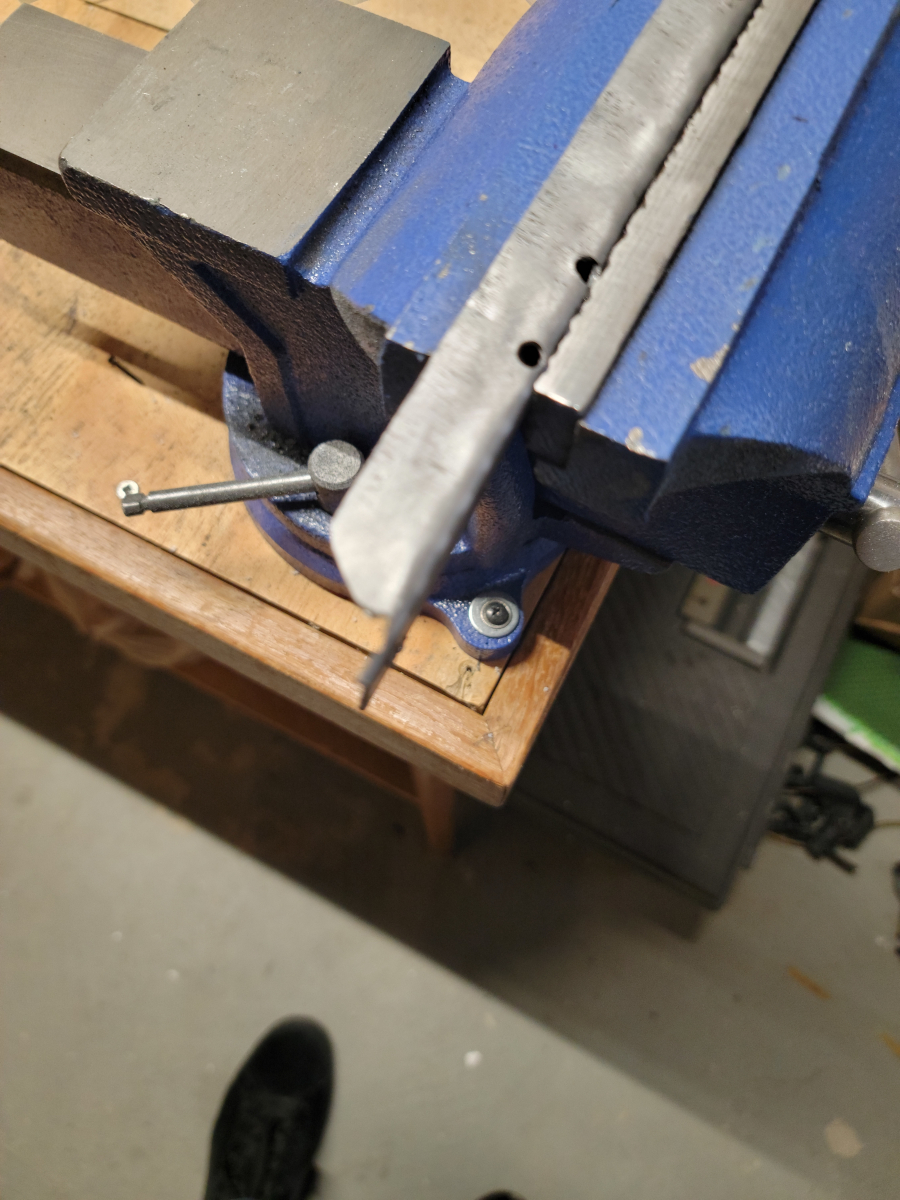
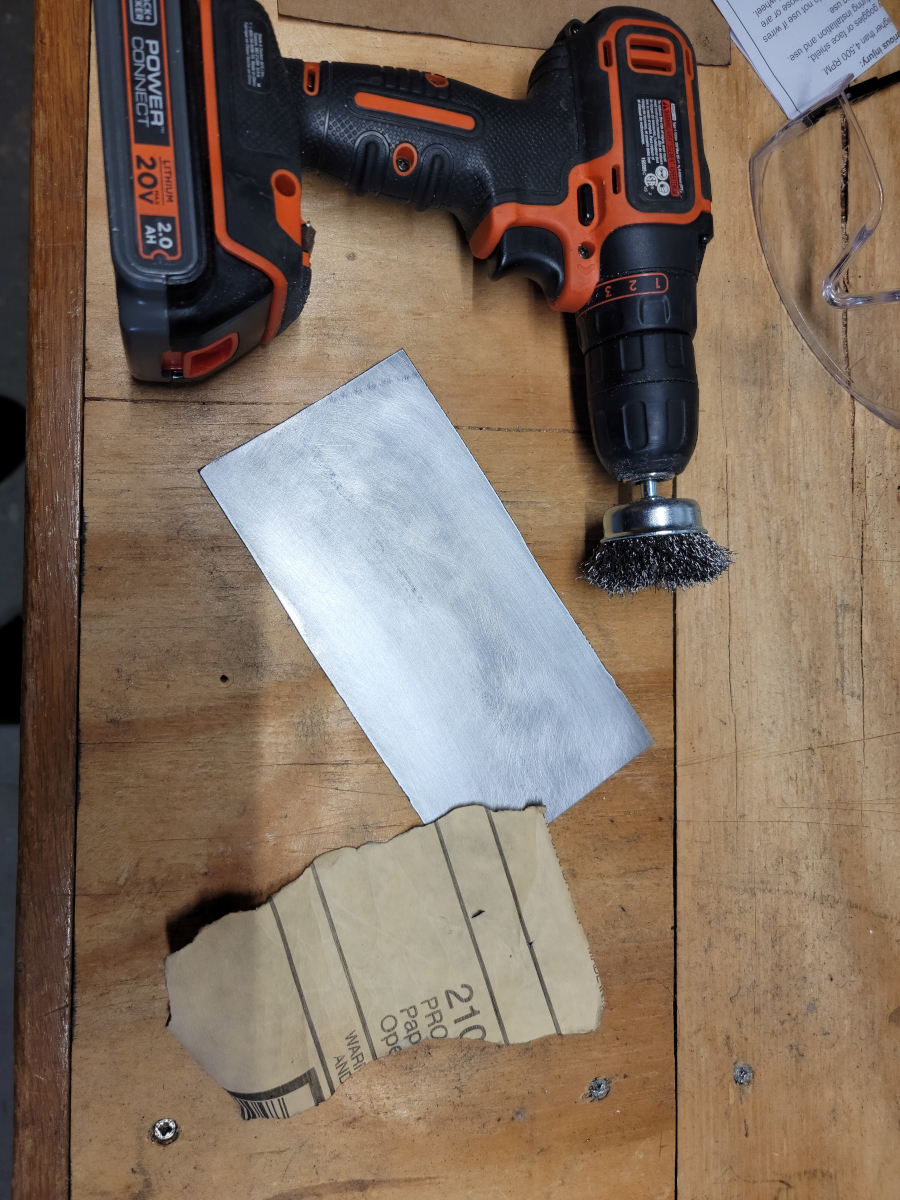
Since the previous layers of primer and paint peeled off so easily, I got out the wire cup brush and cleaned the side plate back to bare metal. I mounted it in the vise, getting ready for a couple of cuts.
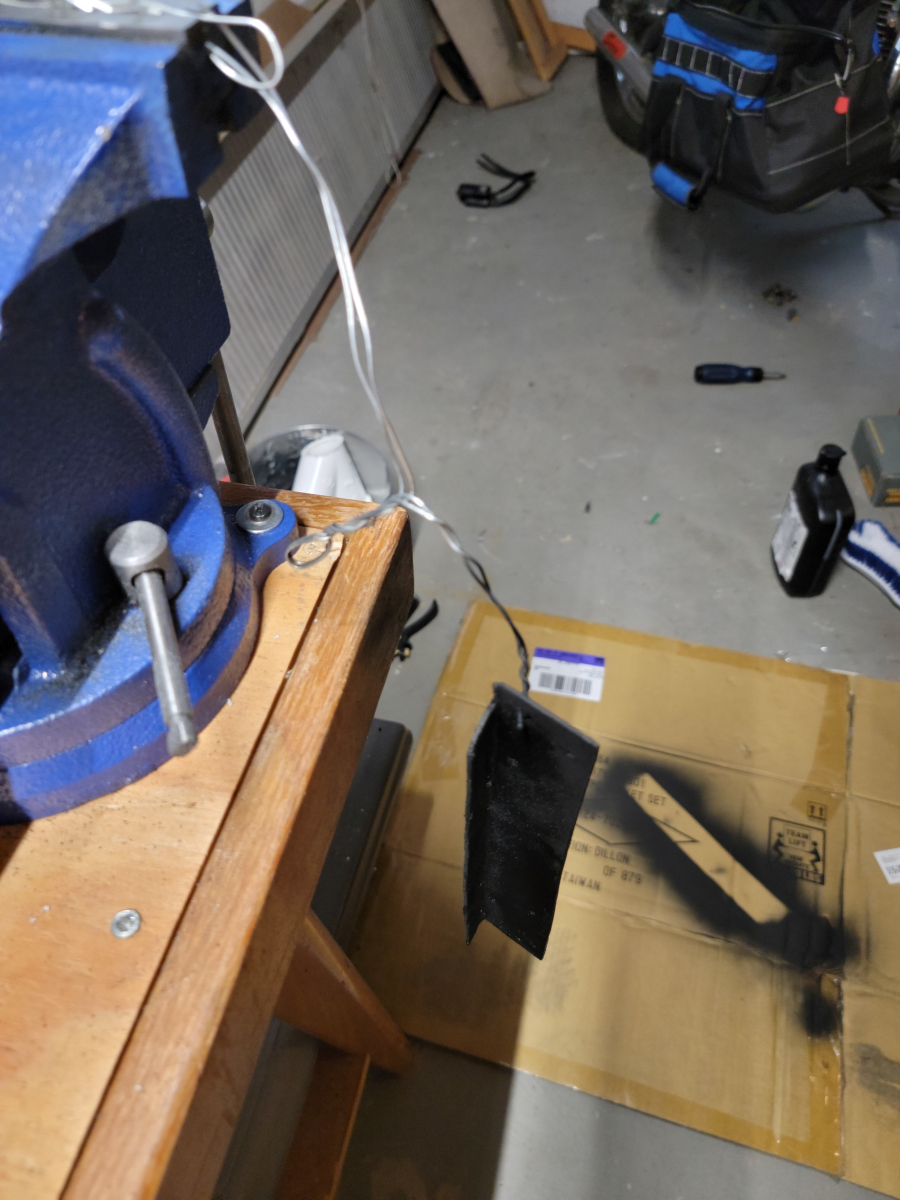
Death wheel engaged. I made the cuts and sanded off the burred edges, then lightly sanded it all over, and cleaned with acetone before beginning the prime and paint process. I was trying different hanger methods, to be able to access both sides at a time, rather than laying it on the cardboard on the floor.
Hanging it out of the vise on mechanics wire was not optimal. I moved on to a boom mic stand, which worked a lot better. I still haven’t gotten the Kawasaki running, but progress has actually been made.
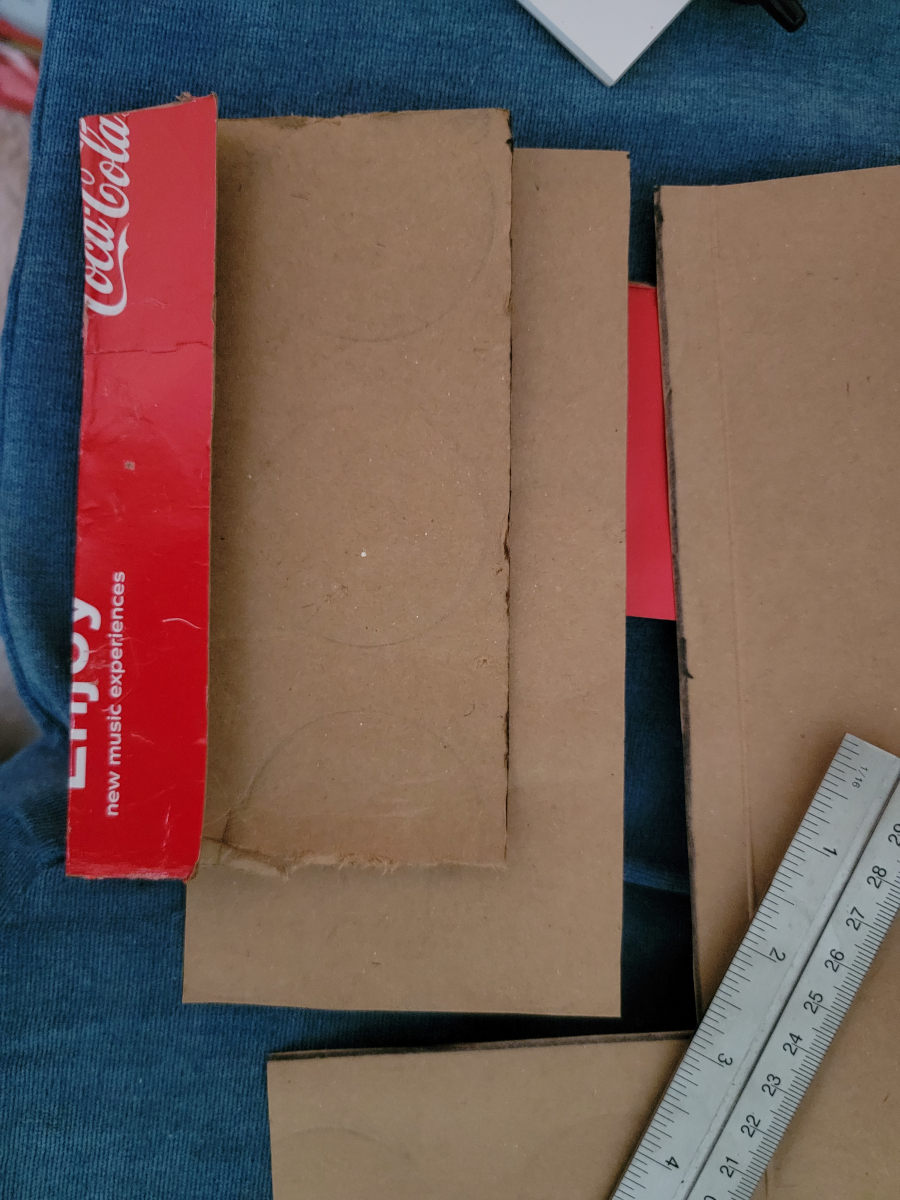
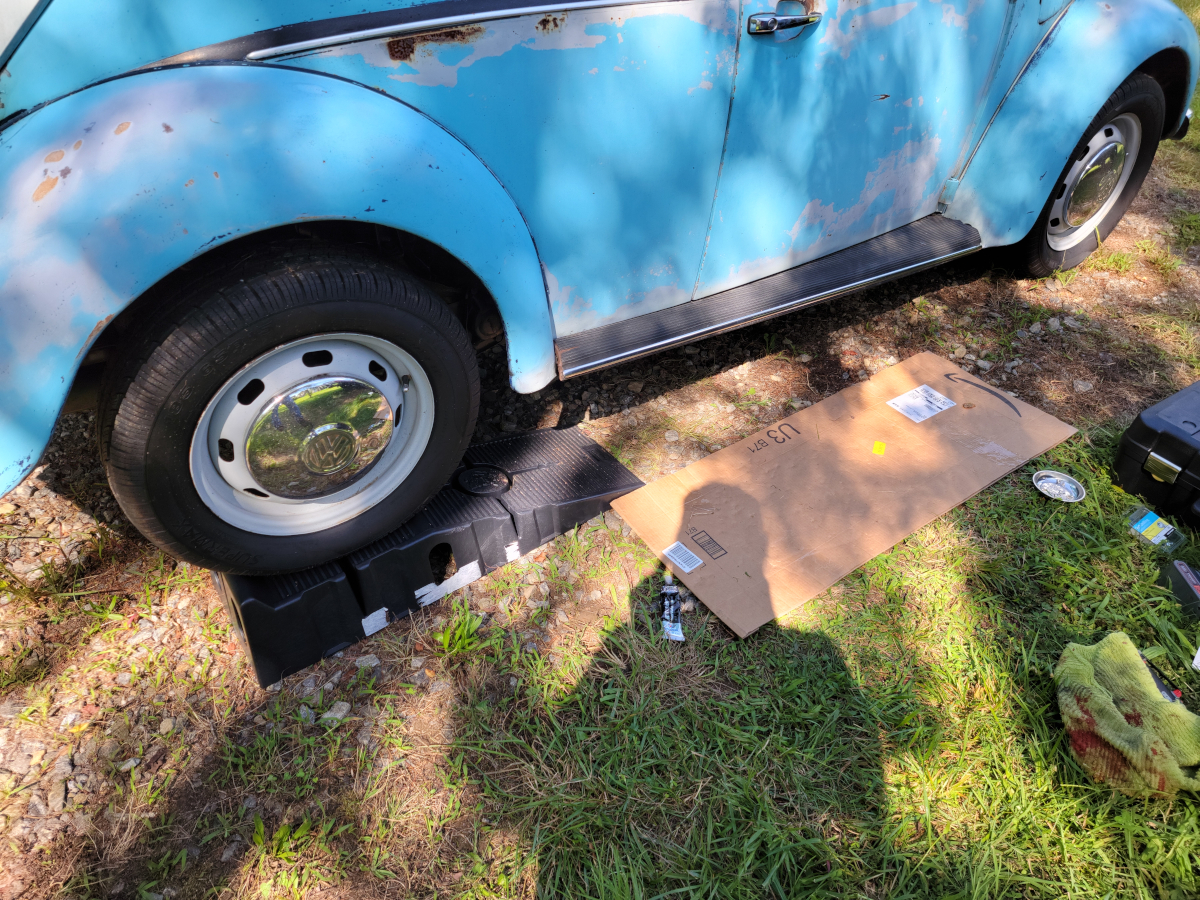
Back outside, I used the same Coke 12 pack box to cut a template for the floor plate.
Fits perfectly!
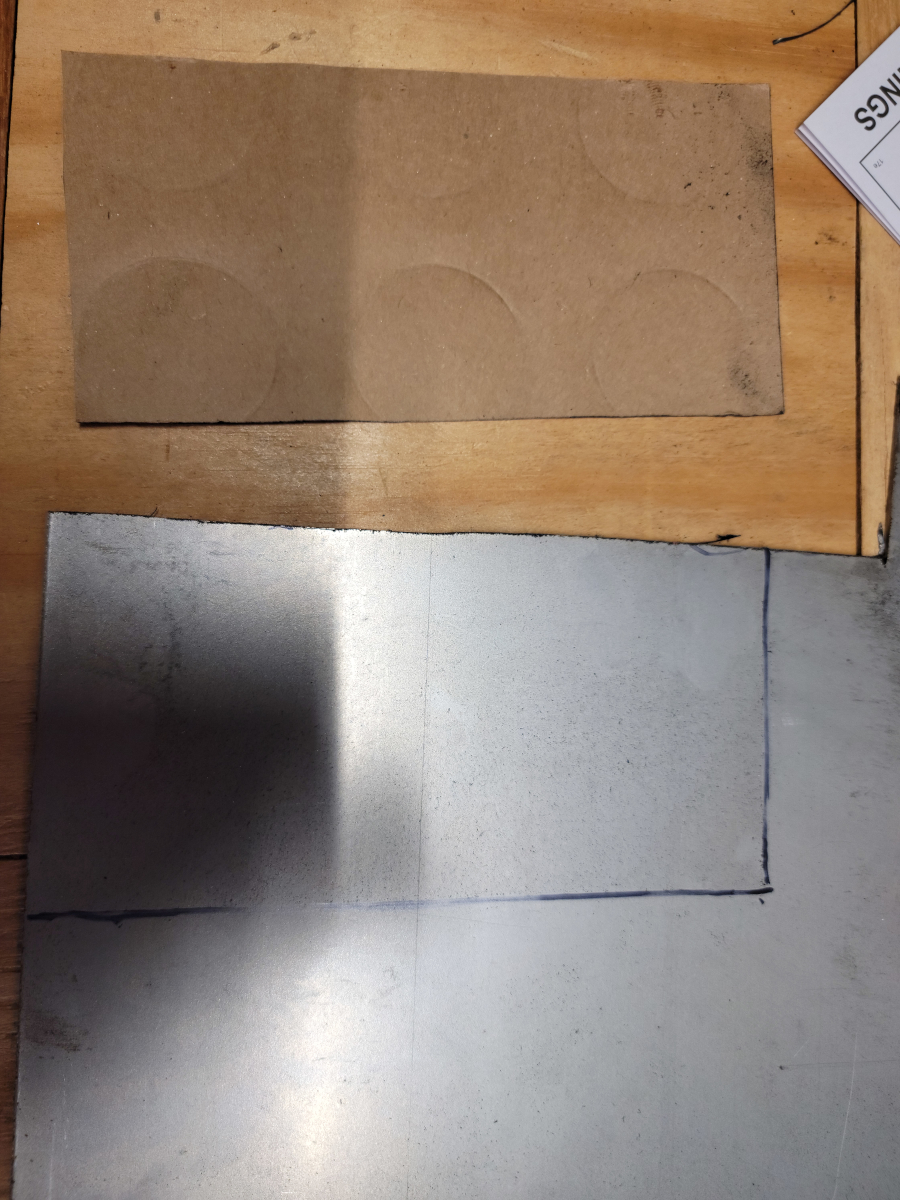
I moved back down to the basement and marked out the template on the sheet steel.
Death wheel engaged!
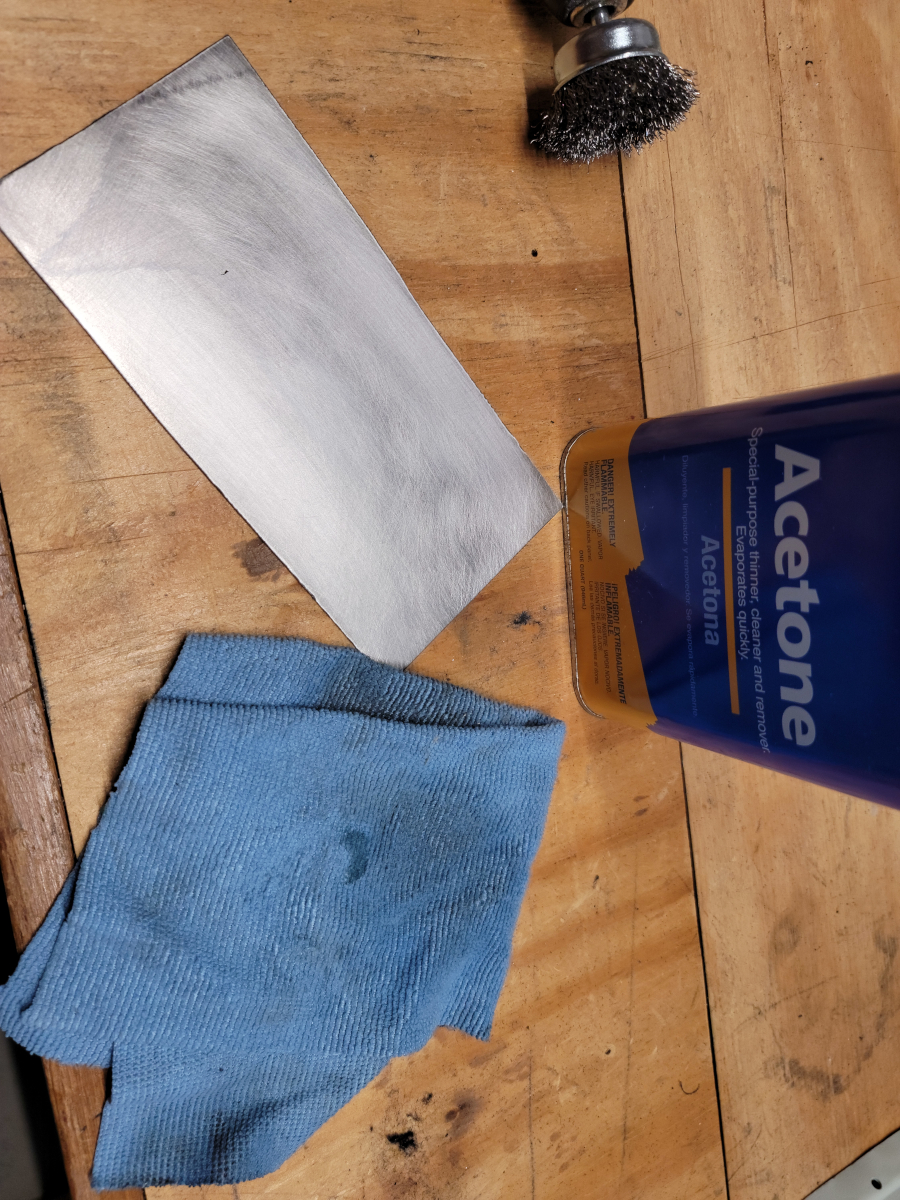
Once again, I cut out the shape, sanded the burrs off the edges, hit it with the cup brush, then lightly sanded it.
Then I washed it down with acetone, getting ready for primer and paint.
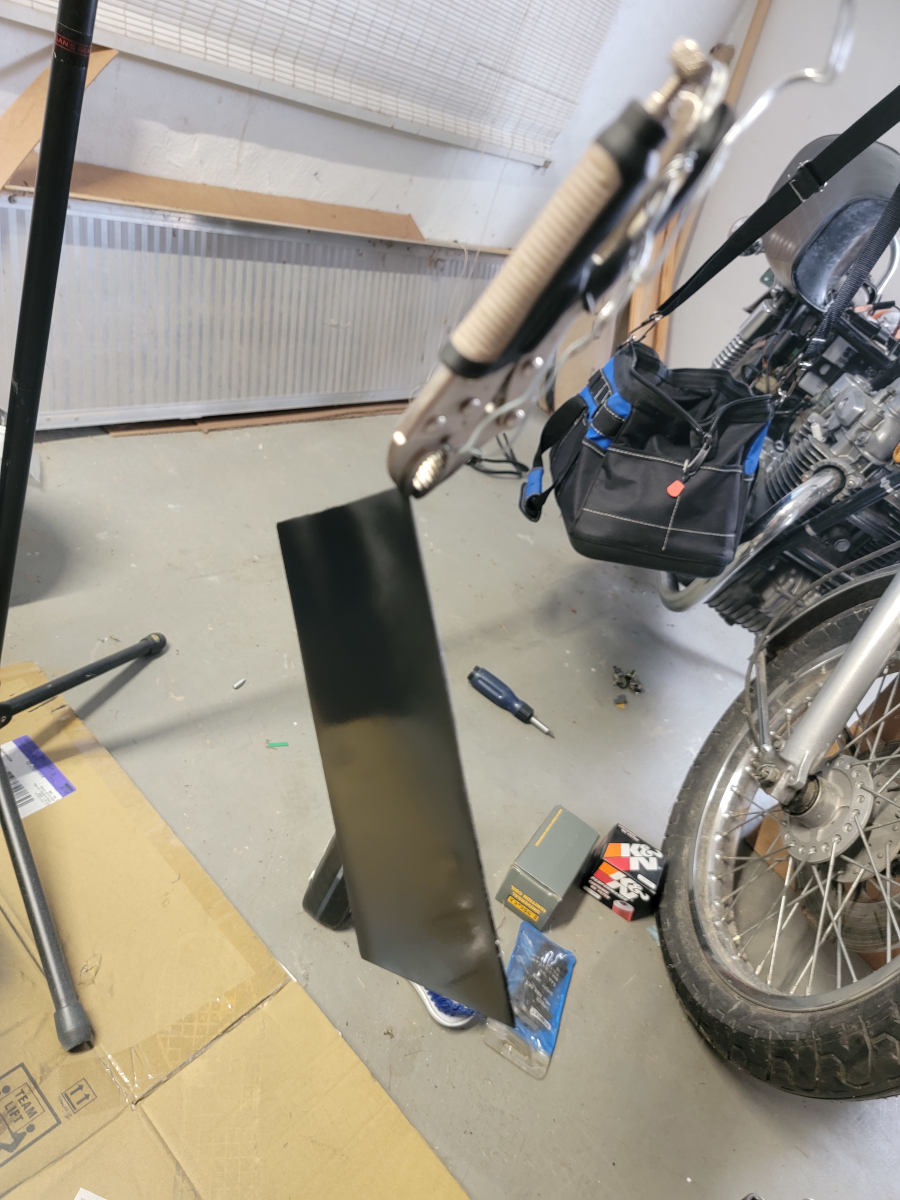
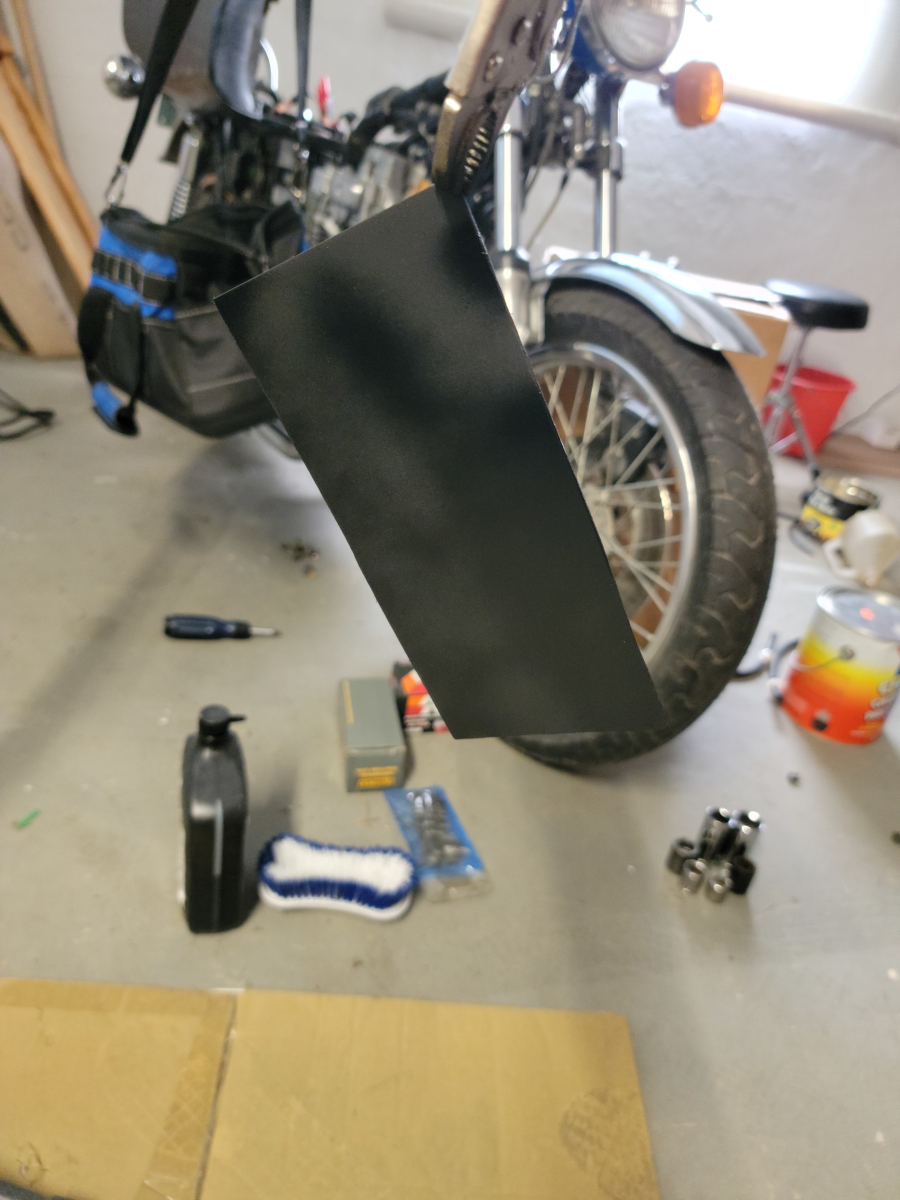
The new plate doesn’t have any holes to hang by the mechanics wire, so I added tiny Harbor Freight vise grips to the assembly.
I rotated and hung it by a different corner for each coat.
Primer, primer
Paint, paint
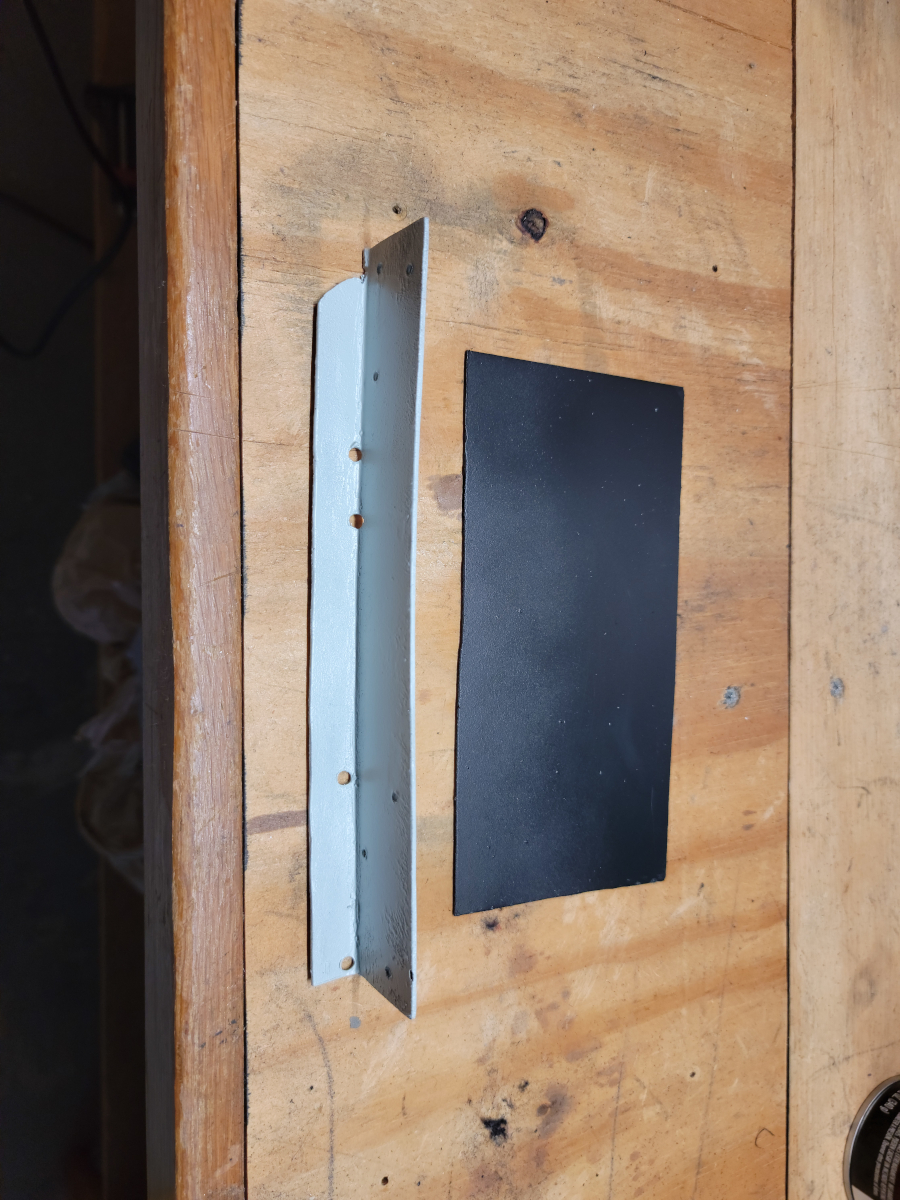
And here are the “finished” products.
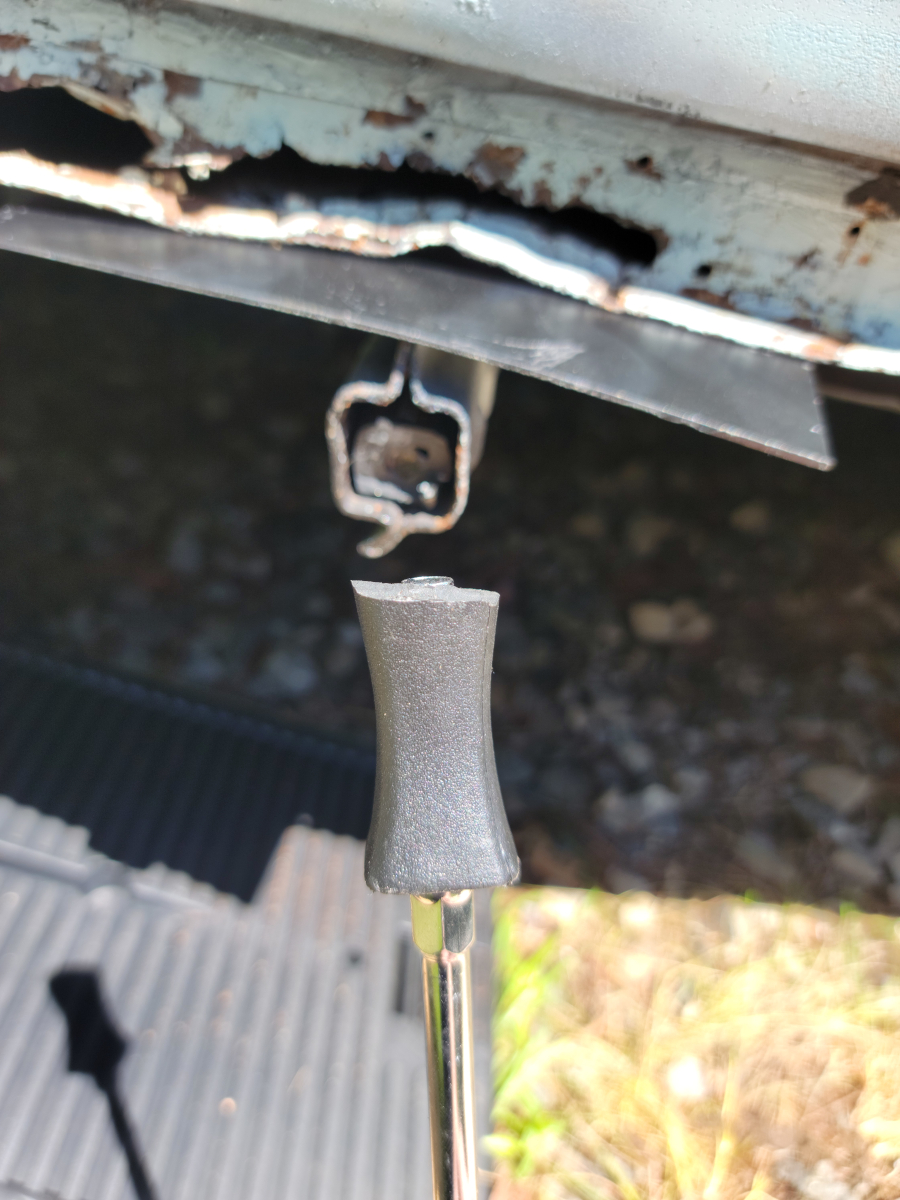
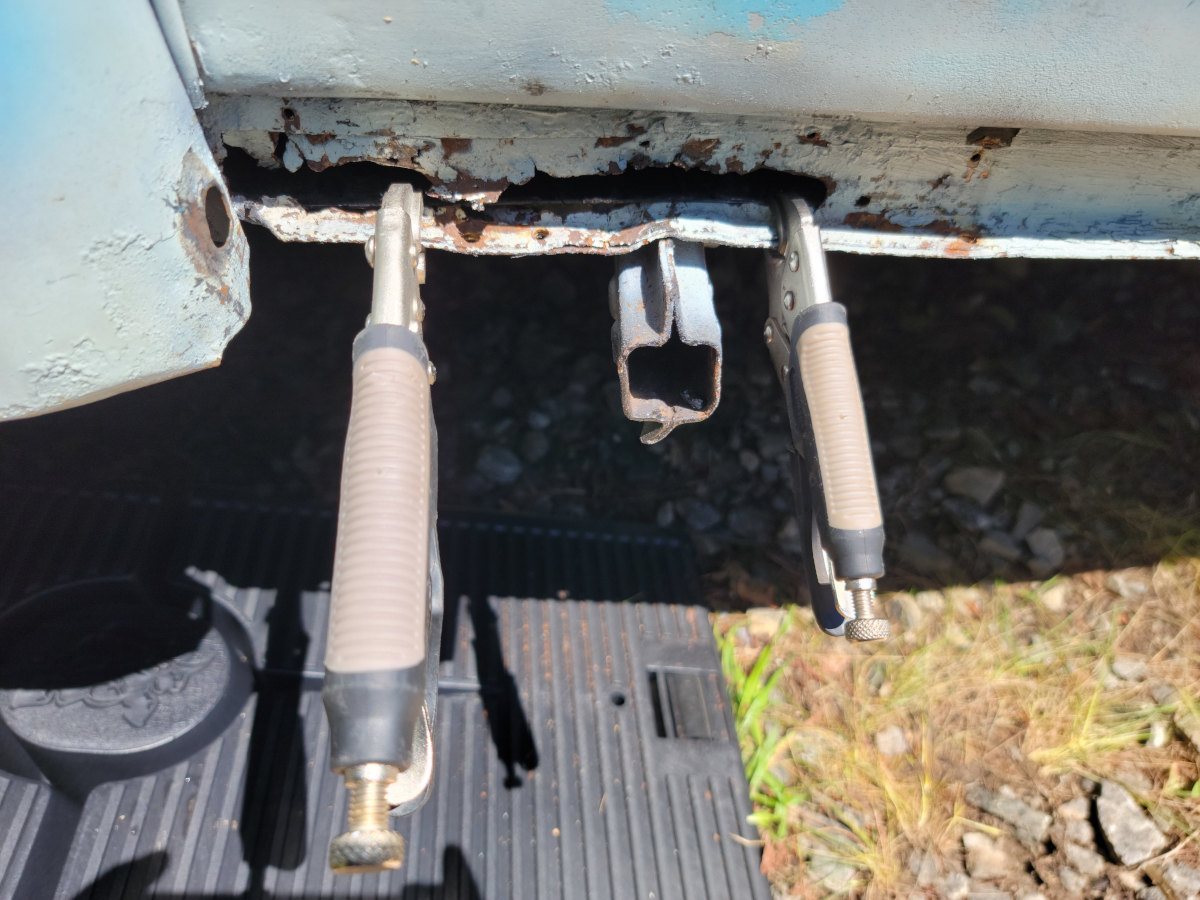
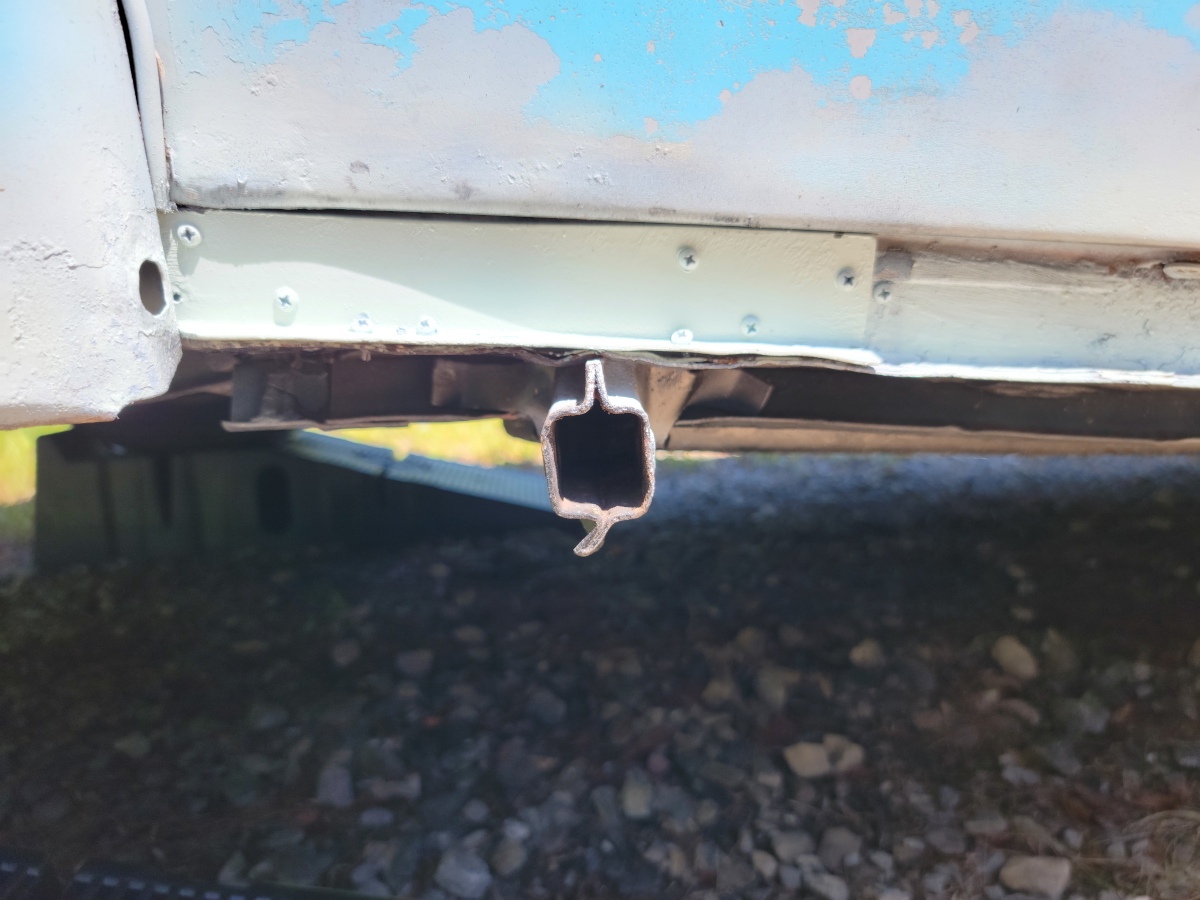
When I saw how much of a gap was going to be in between the floor and the plate, I decided maybe it would be better to put the plate underneath instead. To do that, I would need to pull the factory jack point down to make room for the plate.
It just so happens the handle of the largest standard screwdriver from my Harbor Freight tool kit fit in there perfectly and was doing a good job until…
Dang.
Pittsburgh tools have a lifetime replacement warranty, but I’m not sure they would replace it for something like this. Clearly it wasn’t being used as it’s intended. Anyway, I need to get the rest of the handle out of there.
Needle nose pliers engaged! Also, as you can see in the pic, I had to put the plate inside after all, so all that was pointless.
Back to the vise grips, which did a decent job of pinning the plate down to the floor.
I feel like an official
TRIGGER WARNING
is the right thing to do here. For those who might be super-sensitive to terrible automotive hackery, consider yourself warned.
This is where it all goes wrong.
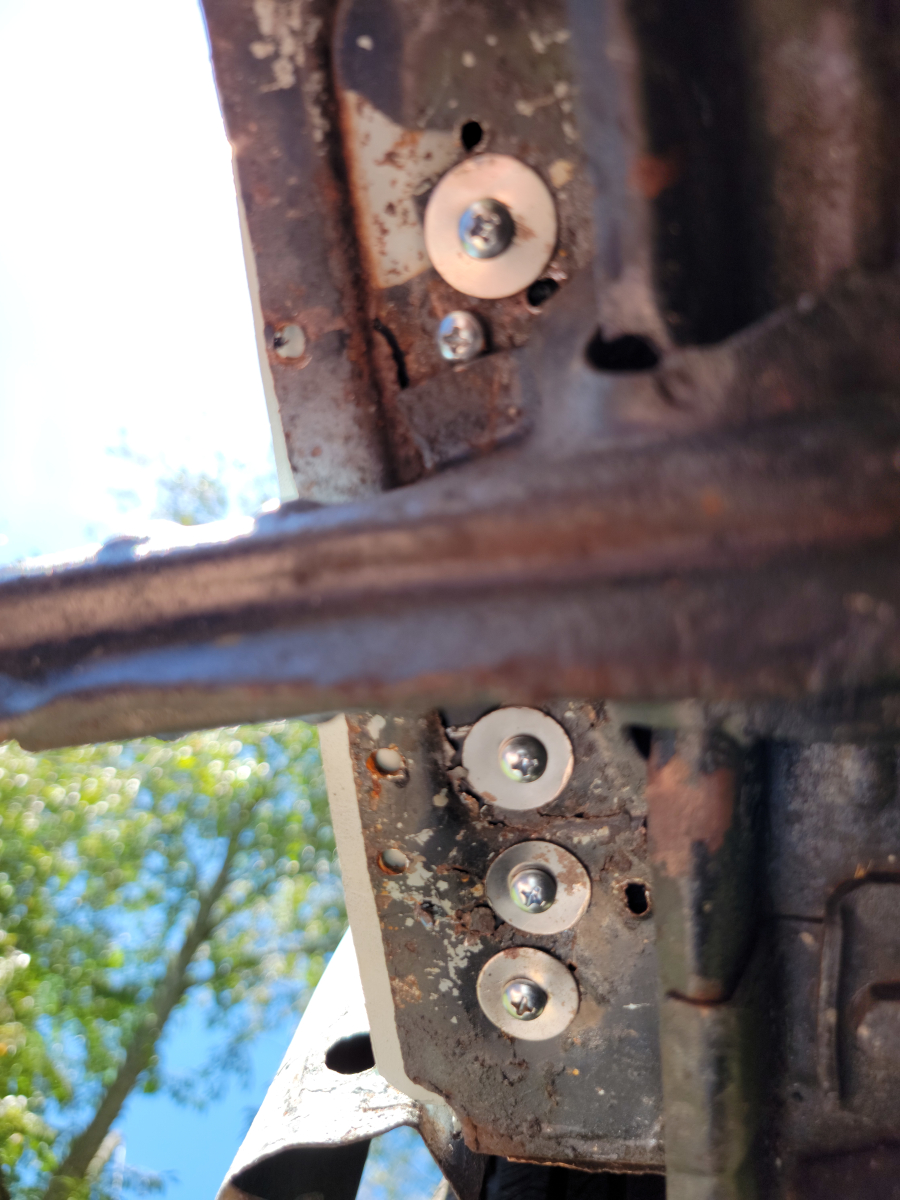
The old floor really needs to be cut out and replaced along the side. The metal is so thin and rusty, the self tappers were pushing right through what was left of the metal.
I just happened to have a handful of very thin and flimsy washers that came with the new running boards.
What a mess. My intention at that moment was to smear all of the remaining (rust and failed self tapper) holes with JB Weld Steel Stik. In perfect harmony with how everything else has been going, I seem to have lost the new pack I had laying around. I was drenched in sweat and was done for the day by this point. So, I just hosed the whole area down with Rust Barrier and DE1634. Hopefully, that will slow down the rust by an extra week or two.
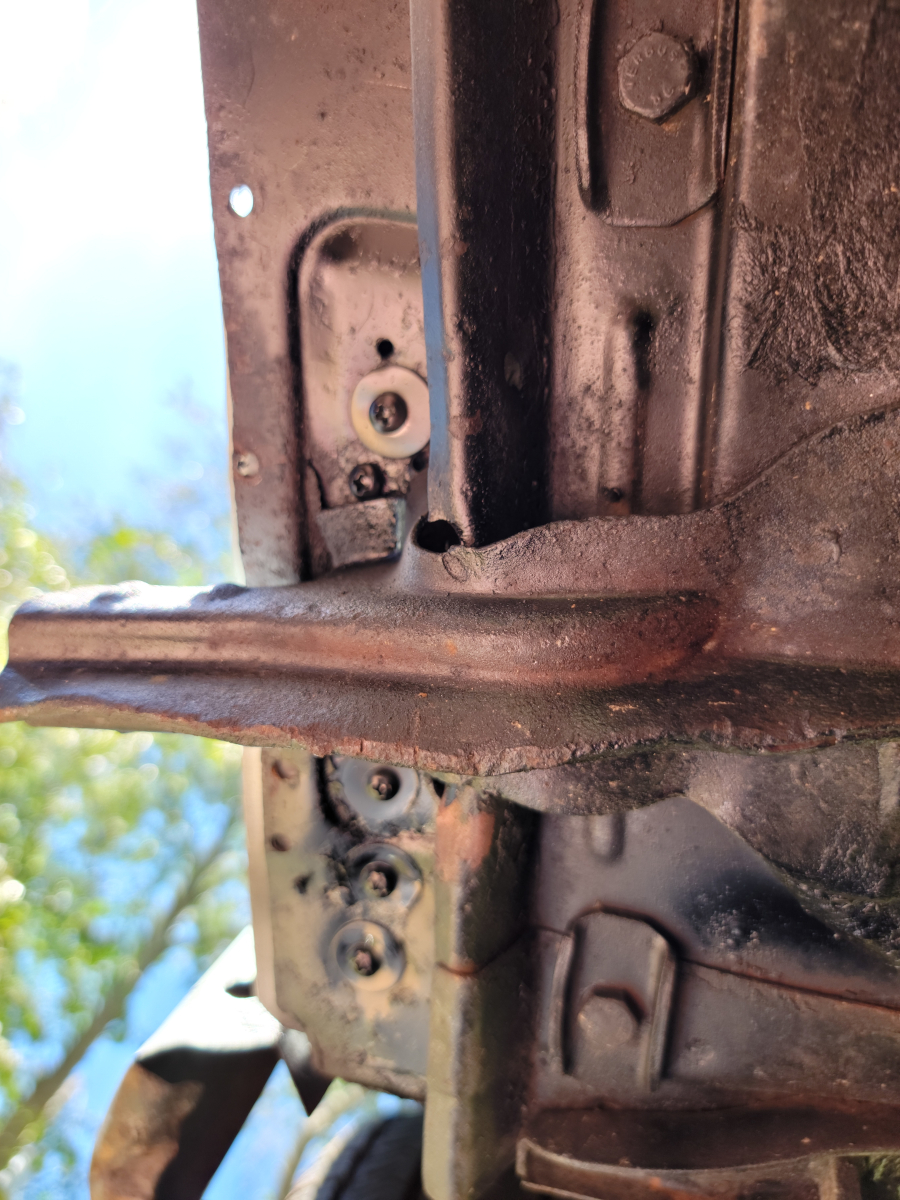
The C channel is apparently more out of shape now than it was the first time around. Clearly, the plate doesn’t fit nearly as well now. However, it is at least able to be tucked in behind the fender.
Running board re-mounted to hide this nightmare until a later date.
I am truly sorry to anyone this post has negatively affected. I promise I will try to do better in the future.
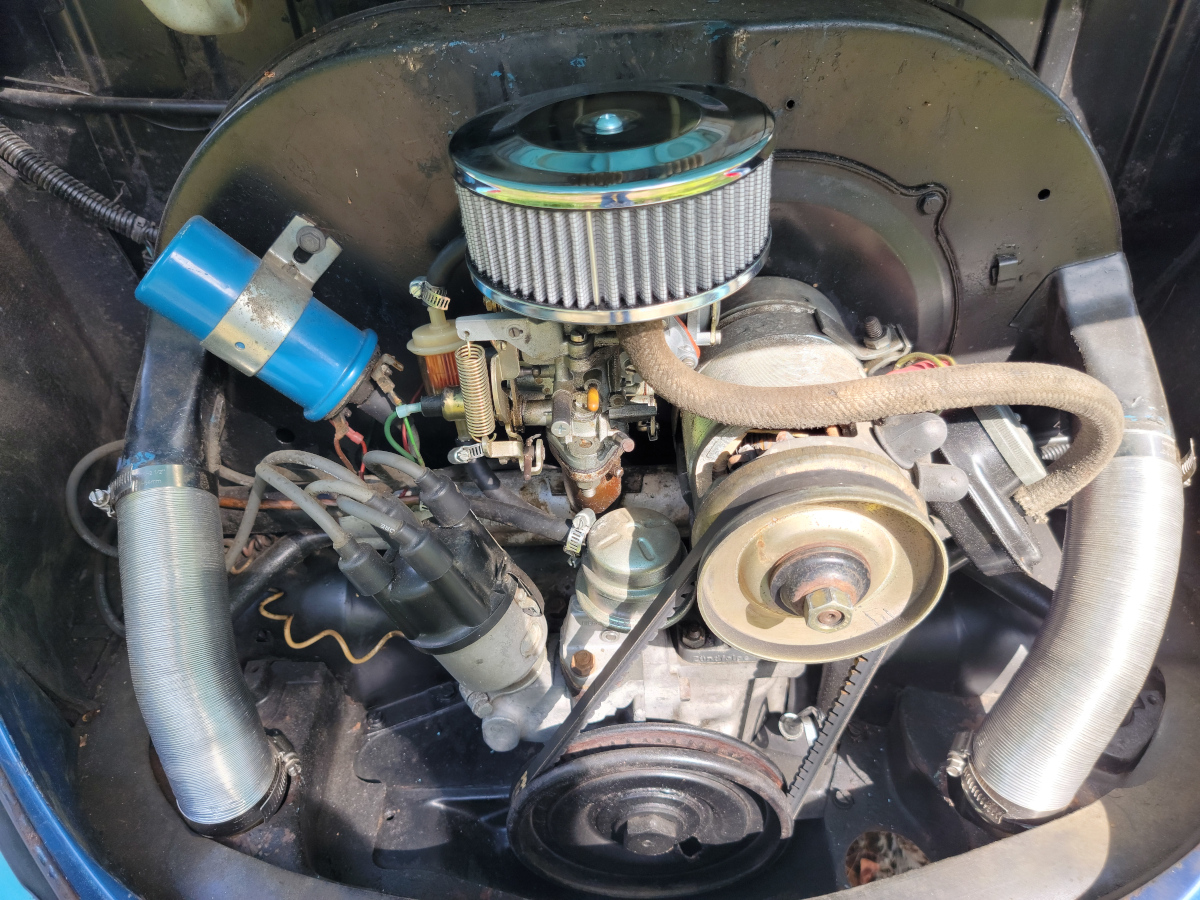
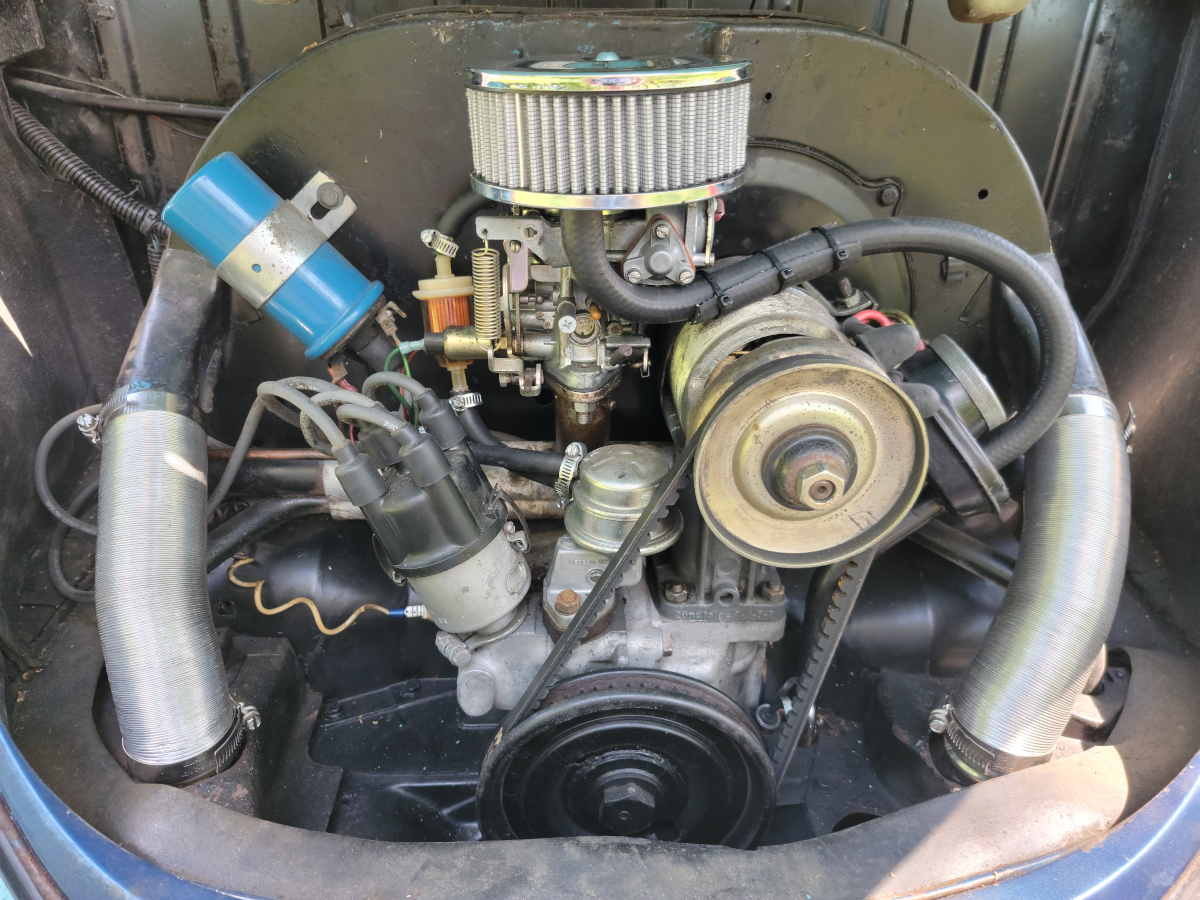
A few days ago, I ordered this Empi foam air cleaner (Amazon link).
It’s a good fit, but I feel like it could use a half inch riser on top of the carb. The air cleaner sits at a little bit of an angle against the top of the choke assembly. Also, the position of the crankcase ventilation nipple on this air cleaner makes it a little too far of a stretch for the old hose.
I stopped by O’Reilly this afternoon and picked up two feet of 1/2 inch fuel line. The original hose is about 14 inches, so I figured that 24 would give me plenty to work with.
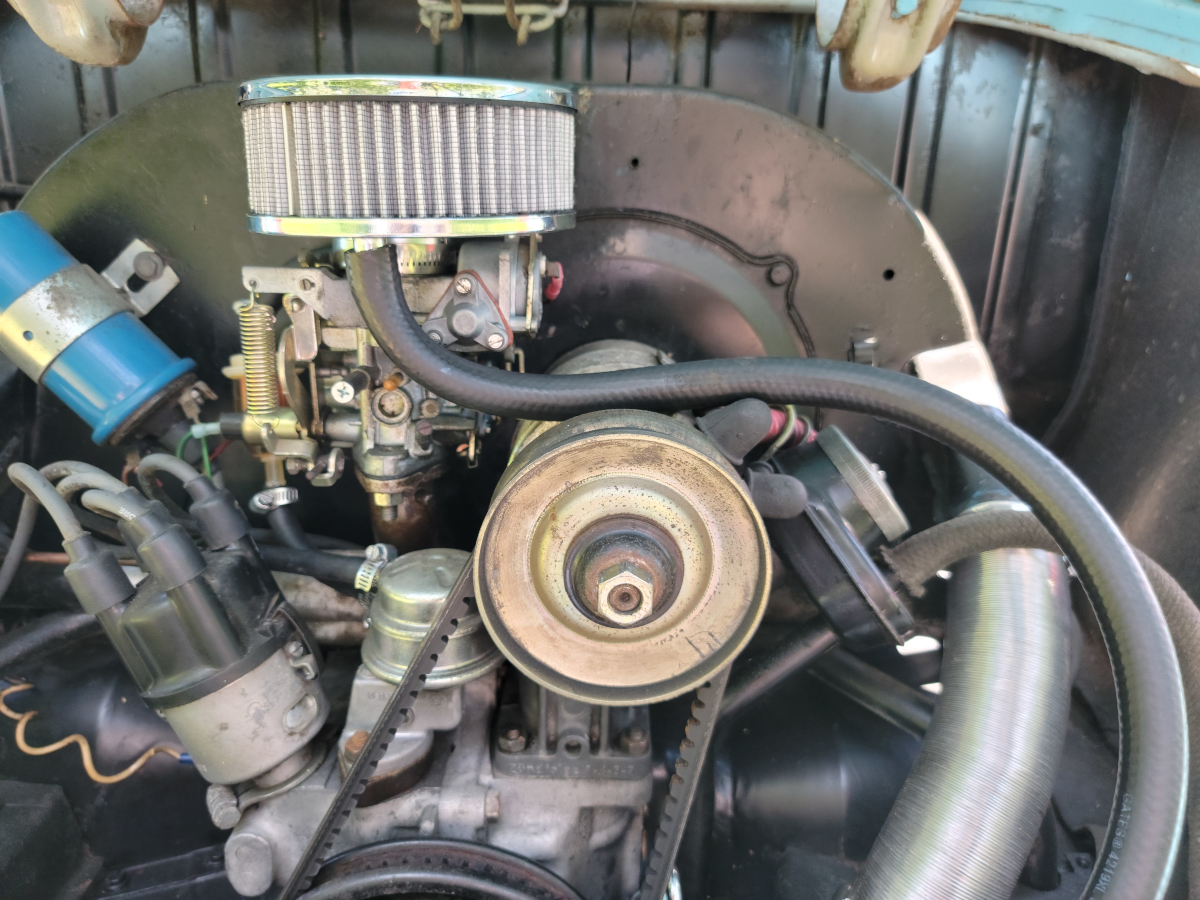
I tried various positions and routing, but “down and out” was the only one that would work. I could have routed it around the whole engine bay if I had another foot of hose, but who really cares how it looks. New, shiny rubber front and center.
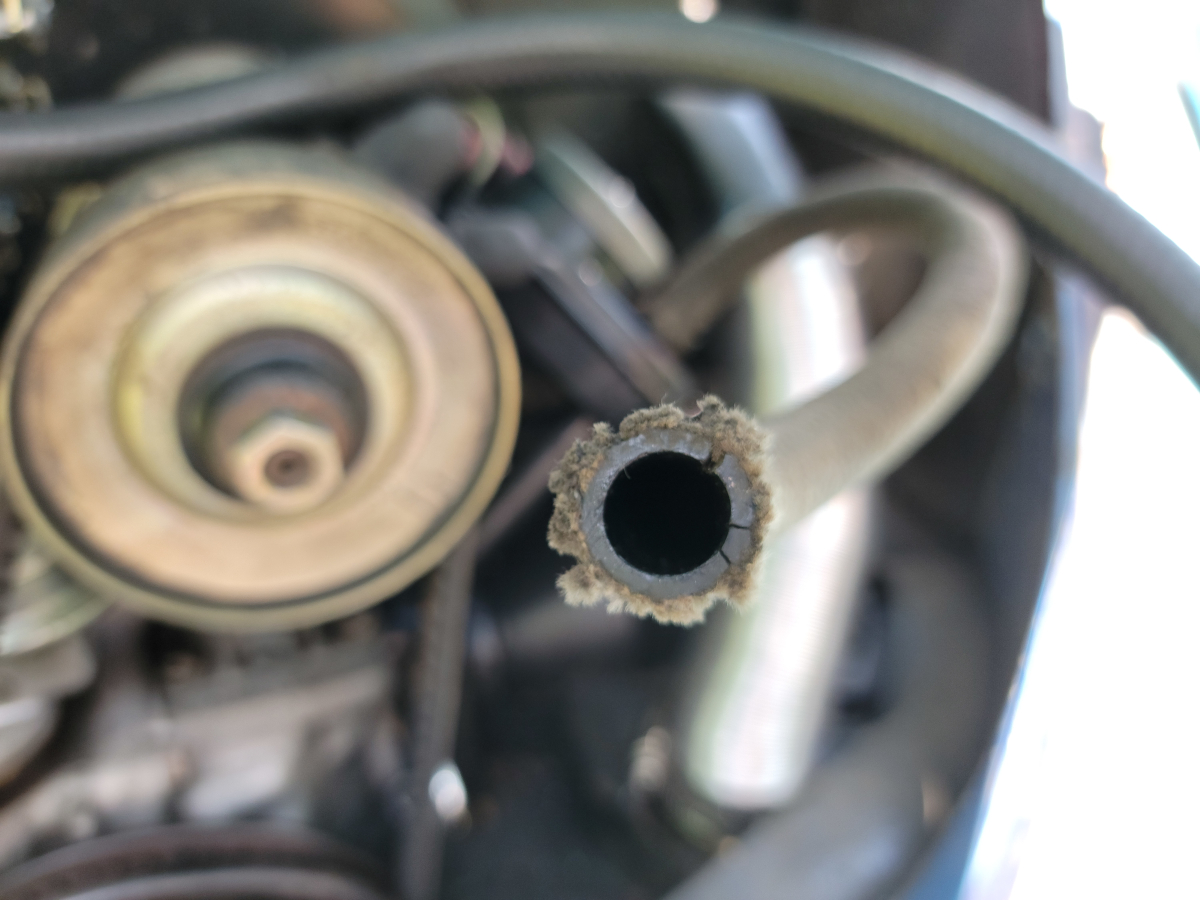
Speaking of which, the old, fabric wrapped hose wasn’t doing too well.
That looks like the fuel lines did. Don’t be fooled by the nice condition of the fabric covering.
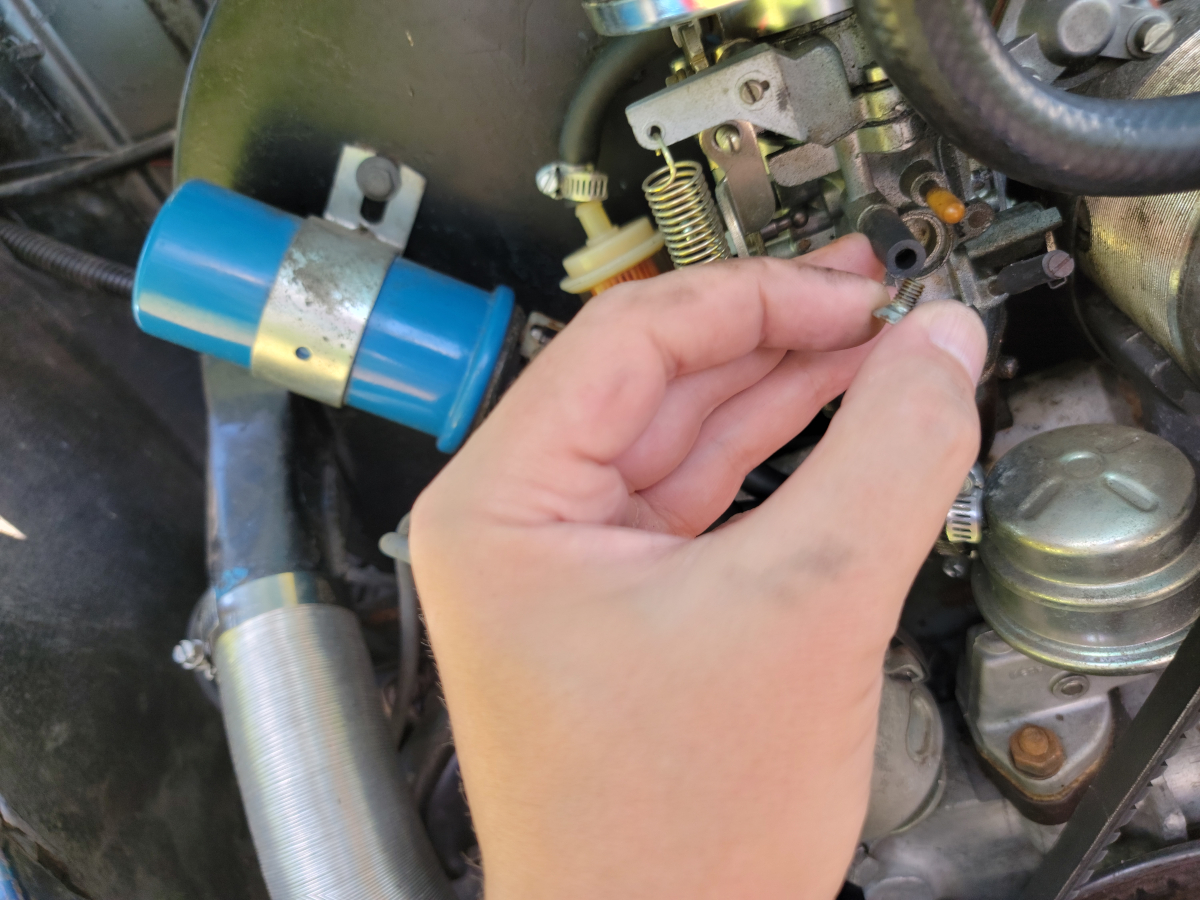
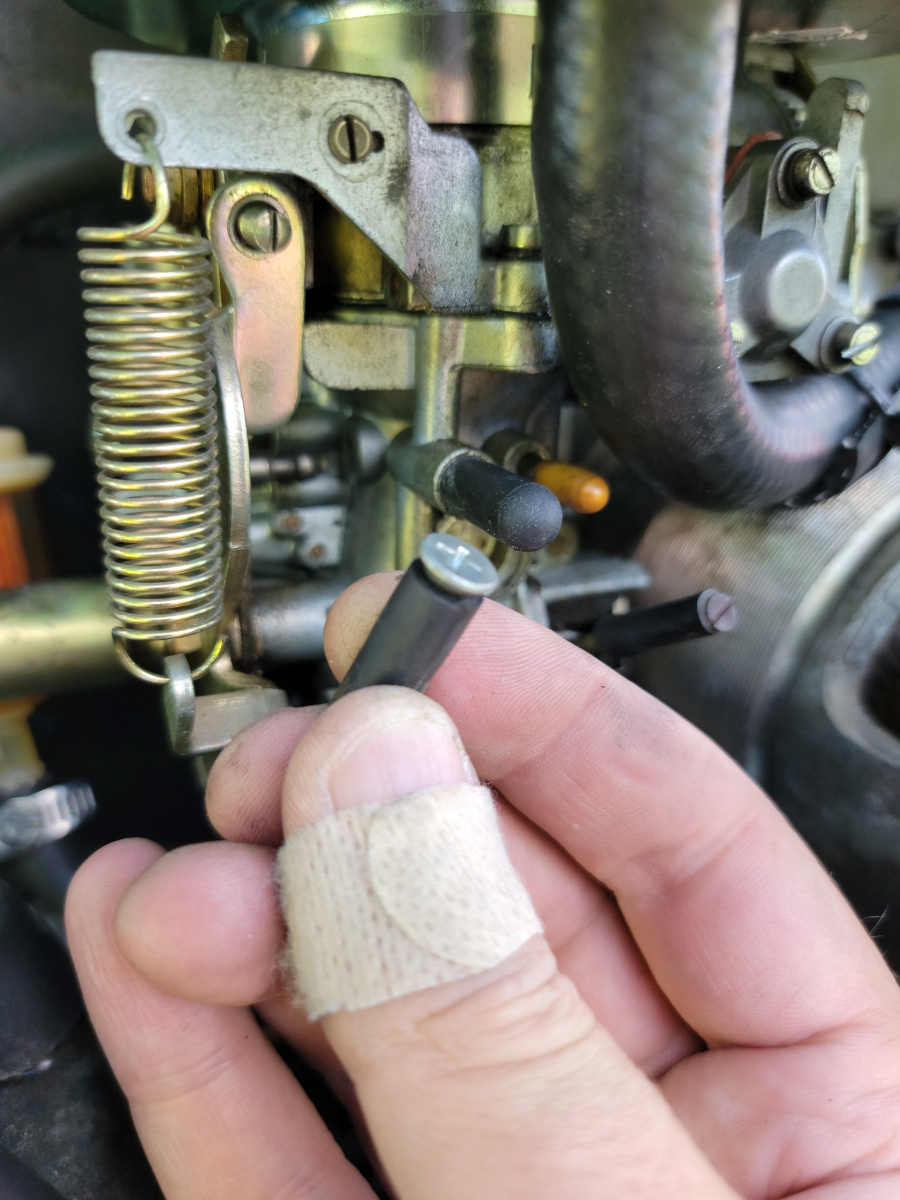
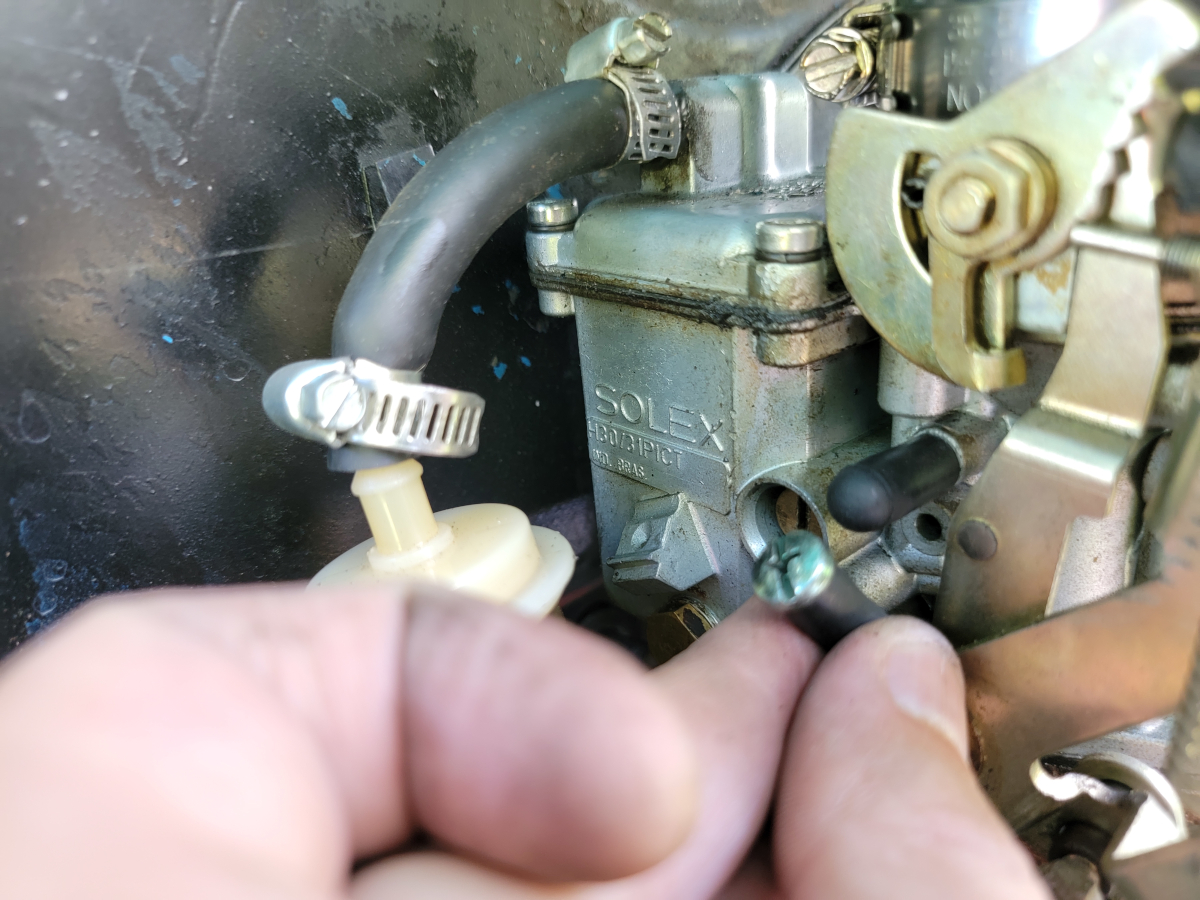
I happened to brush my hand against this “vacuum cap” and the screw fell out. It was a really loose fit. I’ll get back to that once I’ve finished the job at hand.
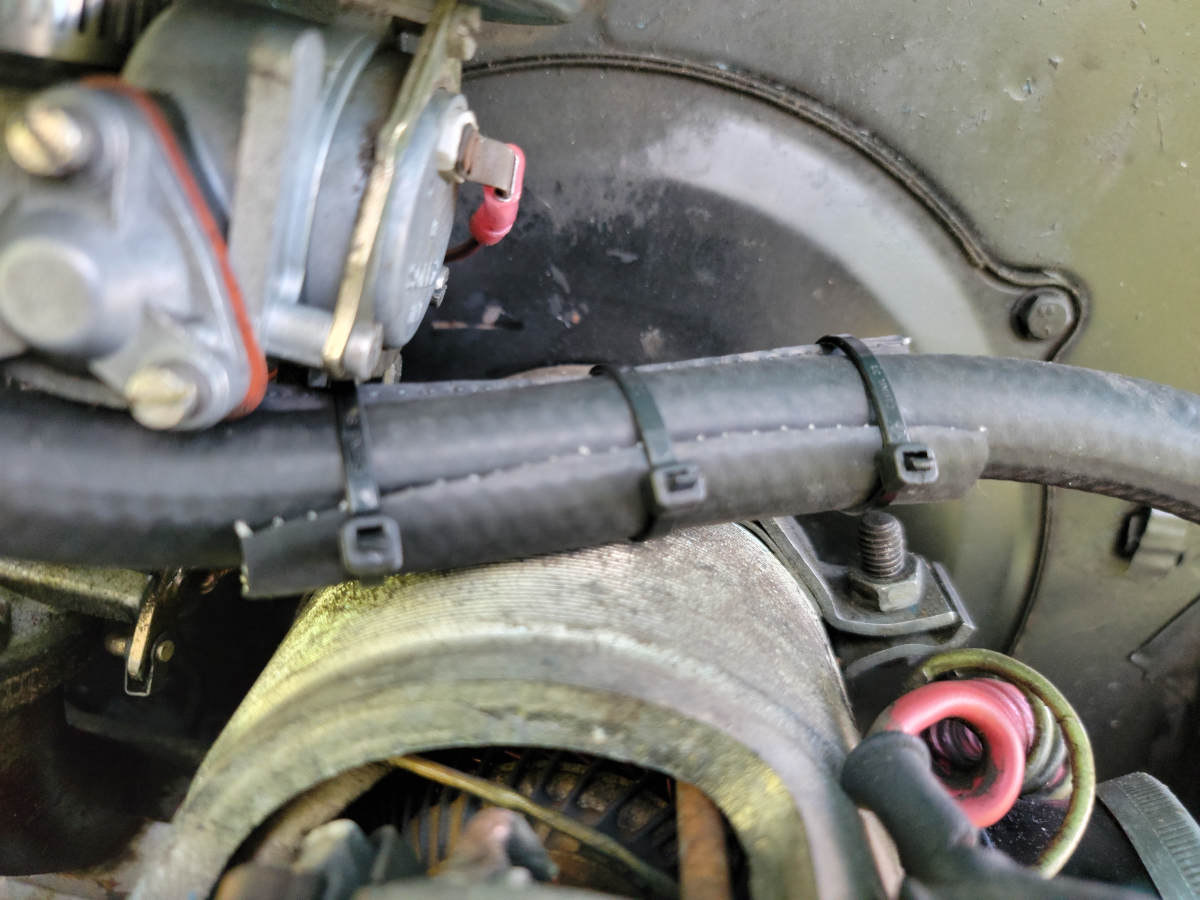
Once I gave in and routed the vent hose across the top of the generator, I had cut off a few inches to get a good, clean fit. Knowing that this new hose is going to be jiggling around rubbing against everything, I took one of the off-cuts of fuel line and taco’ed it around the new hose. A few zip ties snugged it up.
She’s not going to win any beauty pageants, but it’s fine.
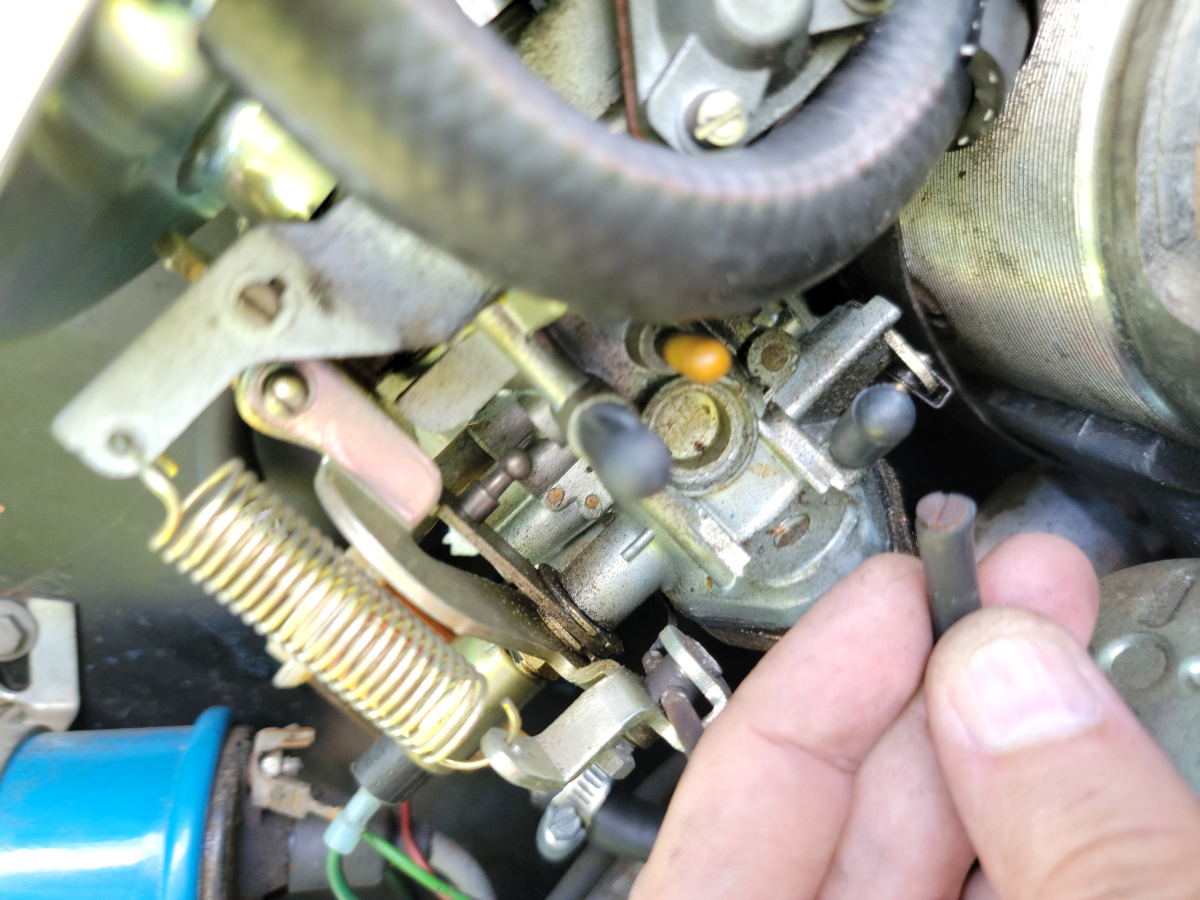
I had bought a pack of assorted vacuum caps off the wall at O’Reilly last year and never got around to replacing those homemade “screw jammed in a hose” deals.
I manage to cut myself every time I’m working on something. This time, it was my super sharp pocket knife that tried to take half my thumb off.
Last one…
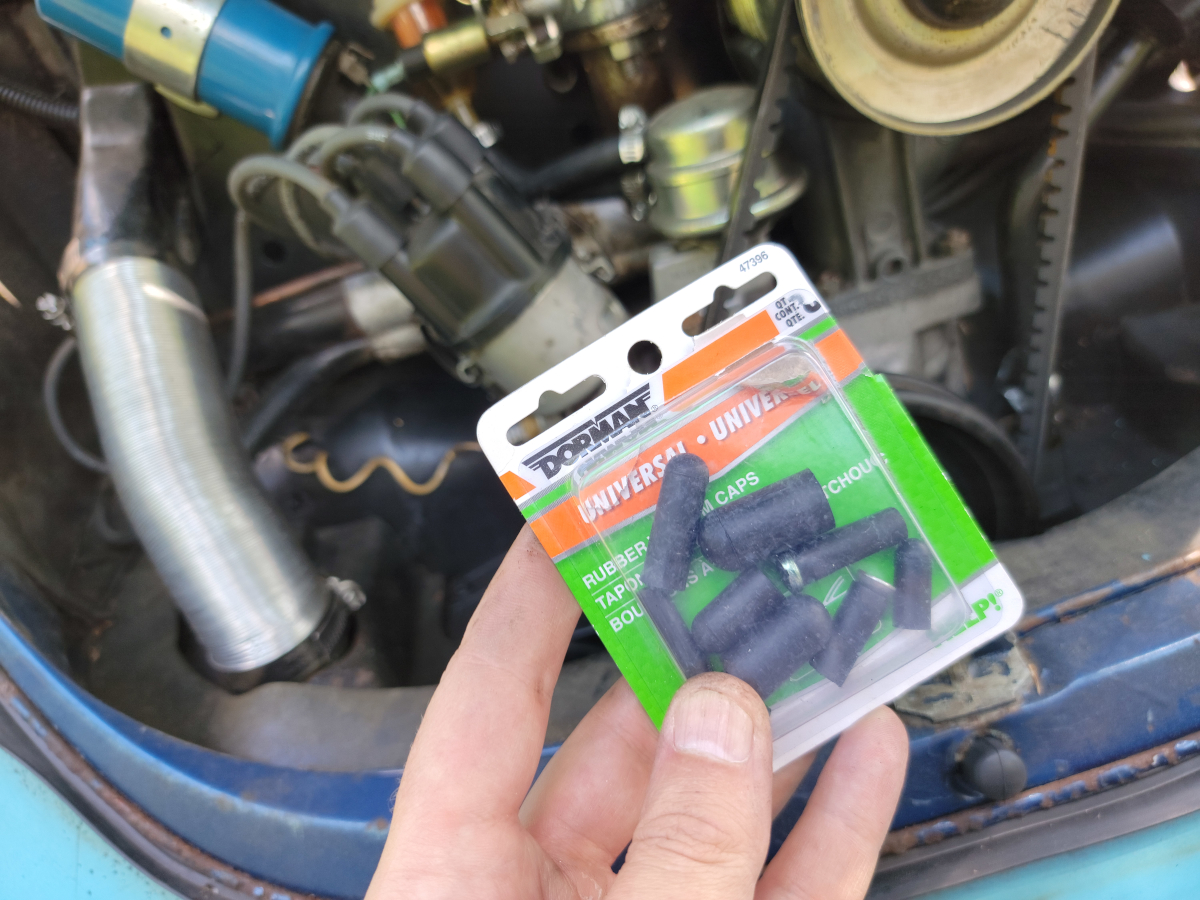
And when finished, I chucked all of the old ones back in the pack, so when these crappy Dorman parts fail, I can go back to what had been working on there for years.
As an Amazon Associate I earn from qualifying purchases. I also often provide links to products on other sites that do not provide affiliate income.