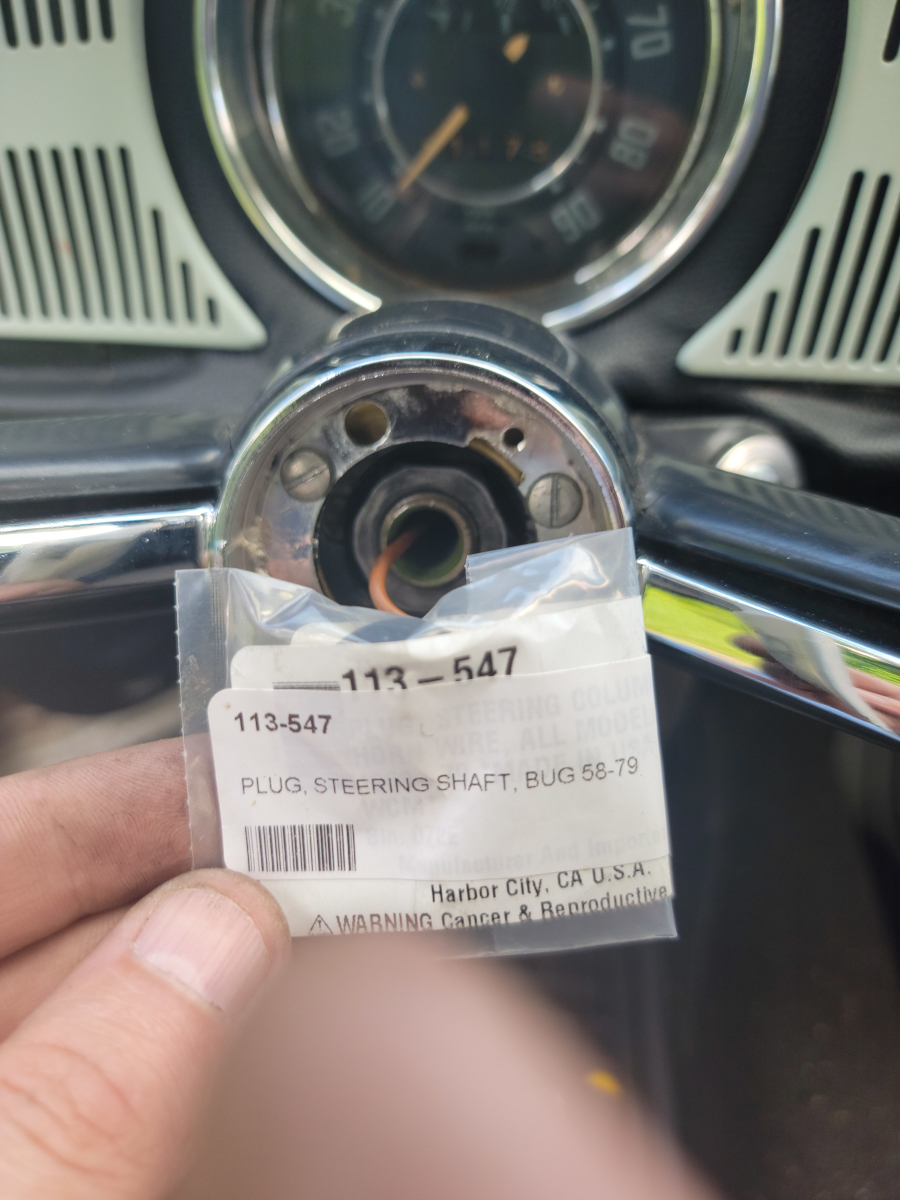
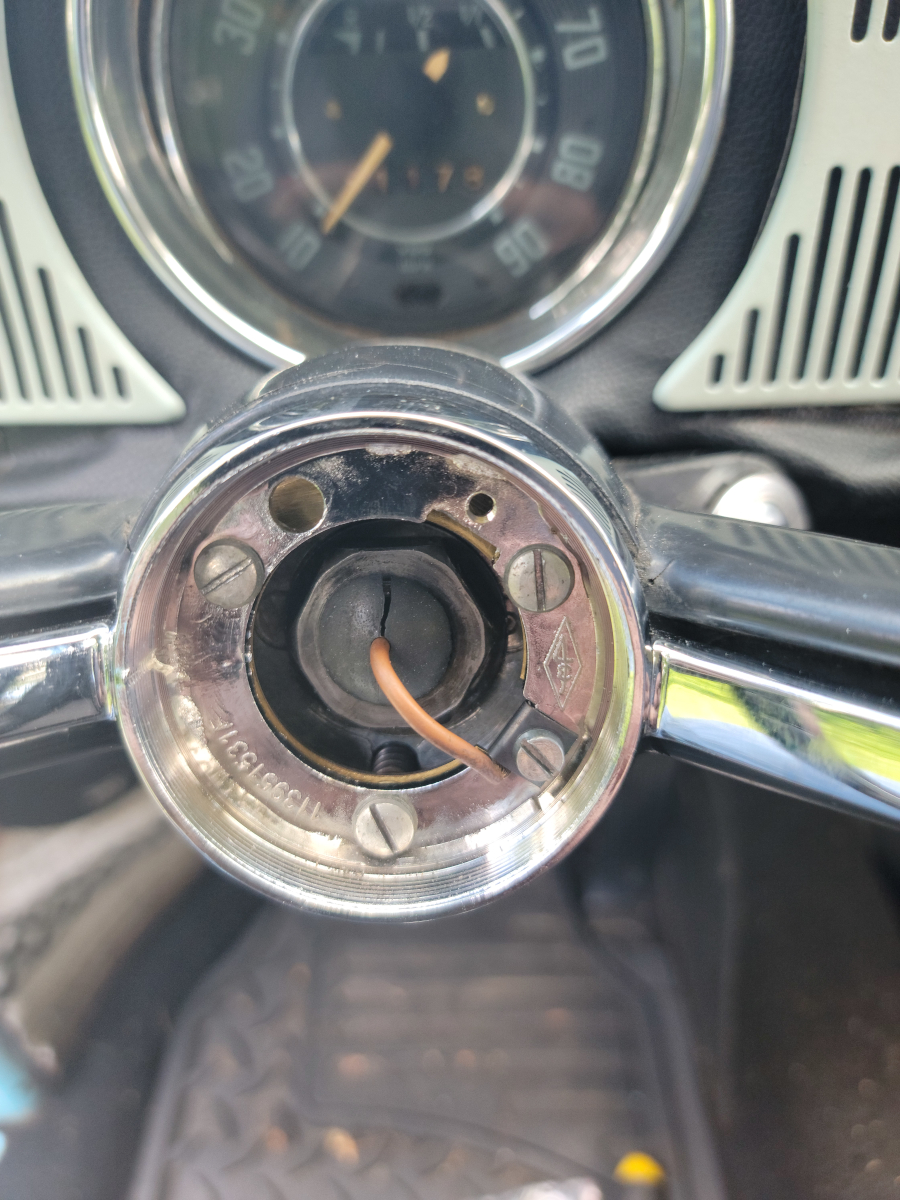
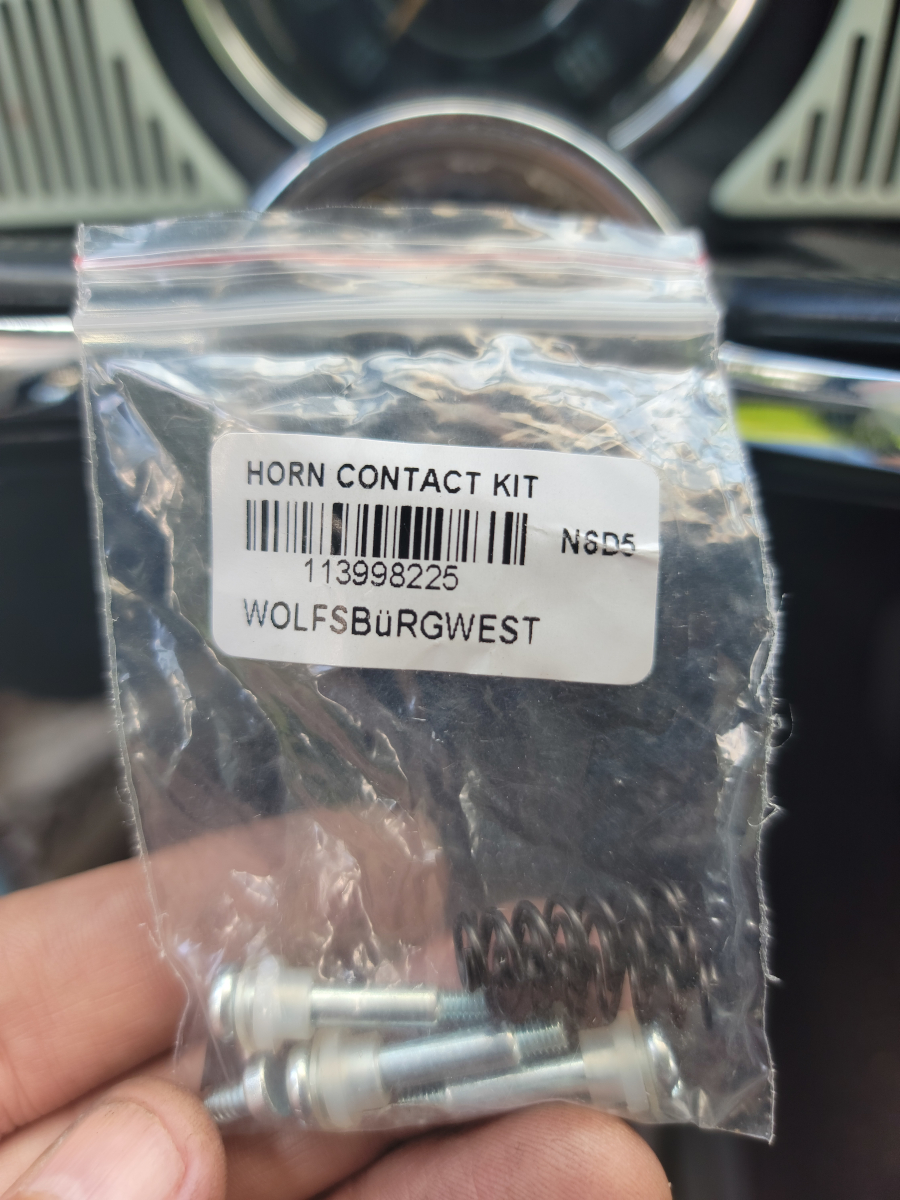
As a last ditch effort to getting the horn working again, I bought new horn ring hardware and replaced the missing wire insulator.
Being too lazy (and frankly, stupid) to bother trying to thread that tinned wire tip through the tiny hole in the new plug, I just sliced it open like a hot dog bun.
It’s an insulated wire, anyway, so I’m not sure it’s even necessary. I’m just getting desperate at this point.
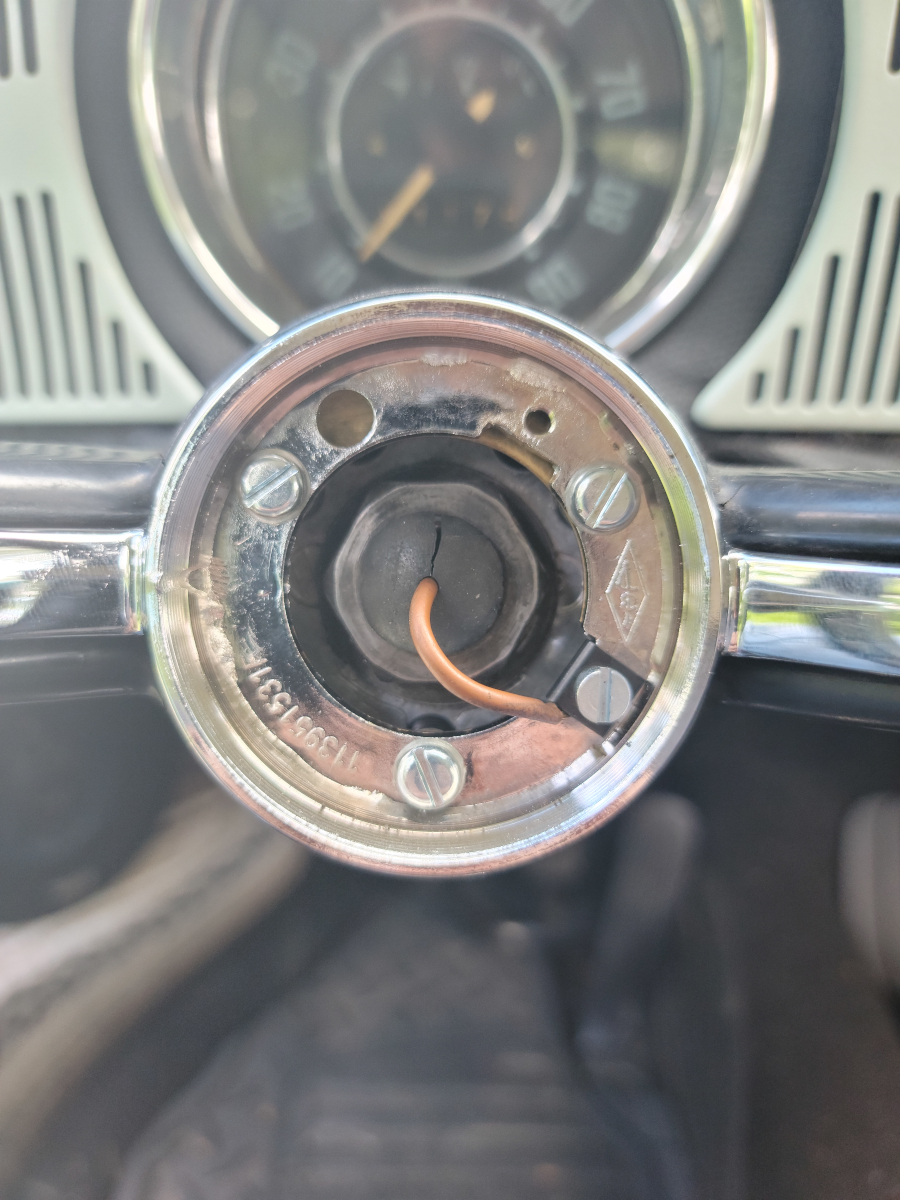
Throw parts at the problem if you’re not smart enough to figure it out!
Still no dice (or horn… there never were any dice).
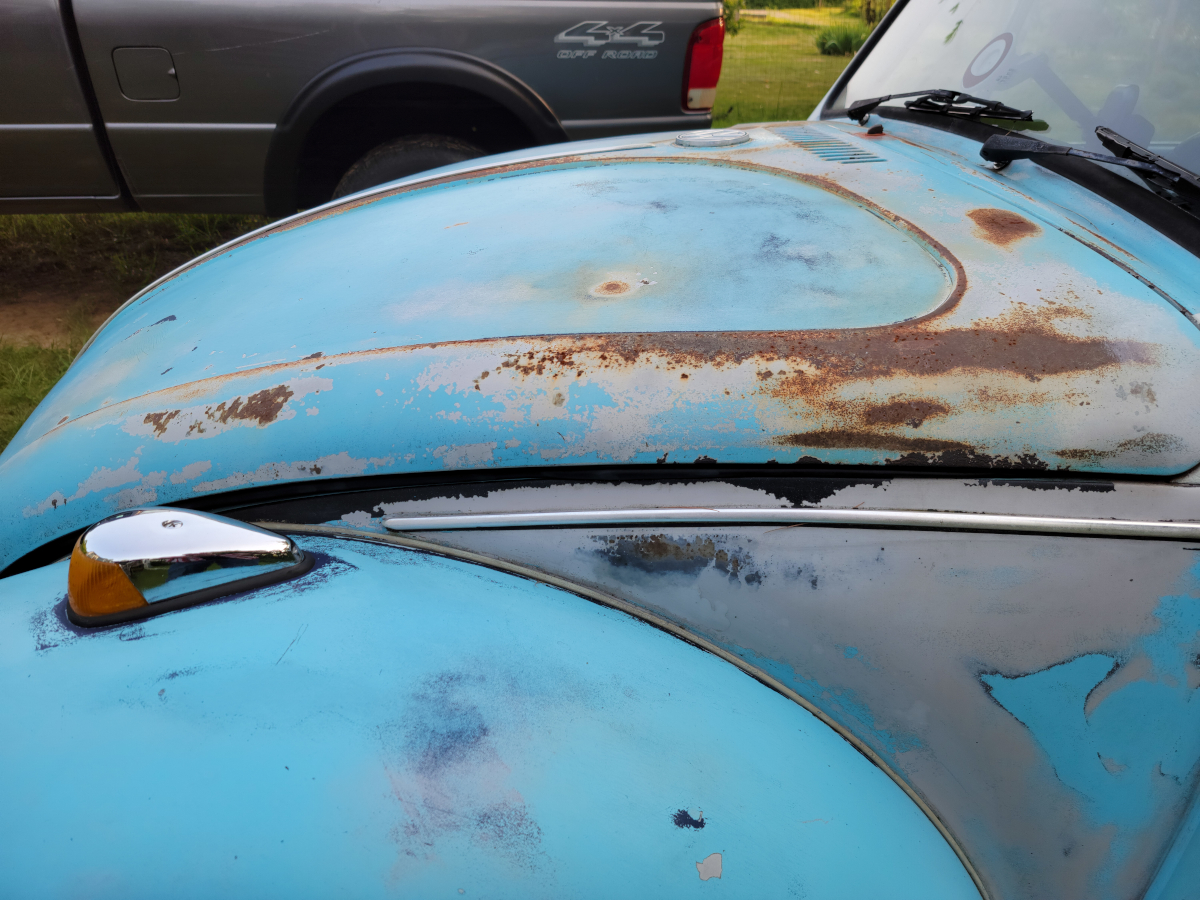
After Replacing the Front Hood Seal, I still have some wind coming through the dash when driving. Not as bad as it was, but definitely still an issue. I have mentioned before that the front end of the car has had a smoosh and the bonnet is out of round, as compared to the body it’s supposed to be sealing against.
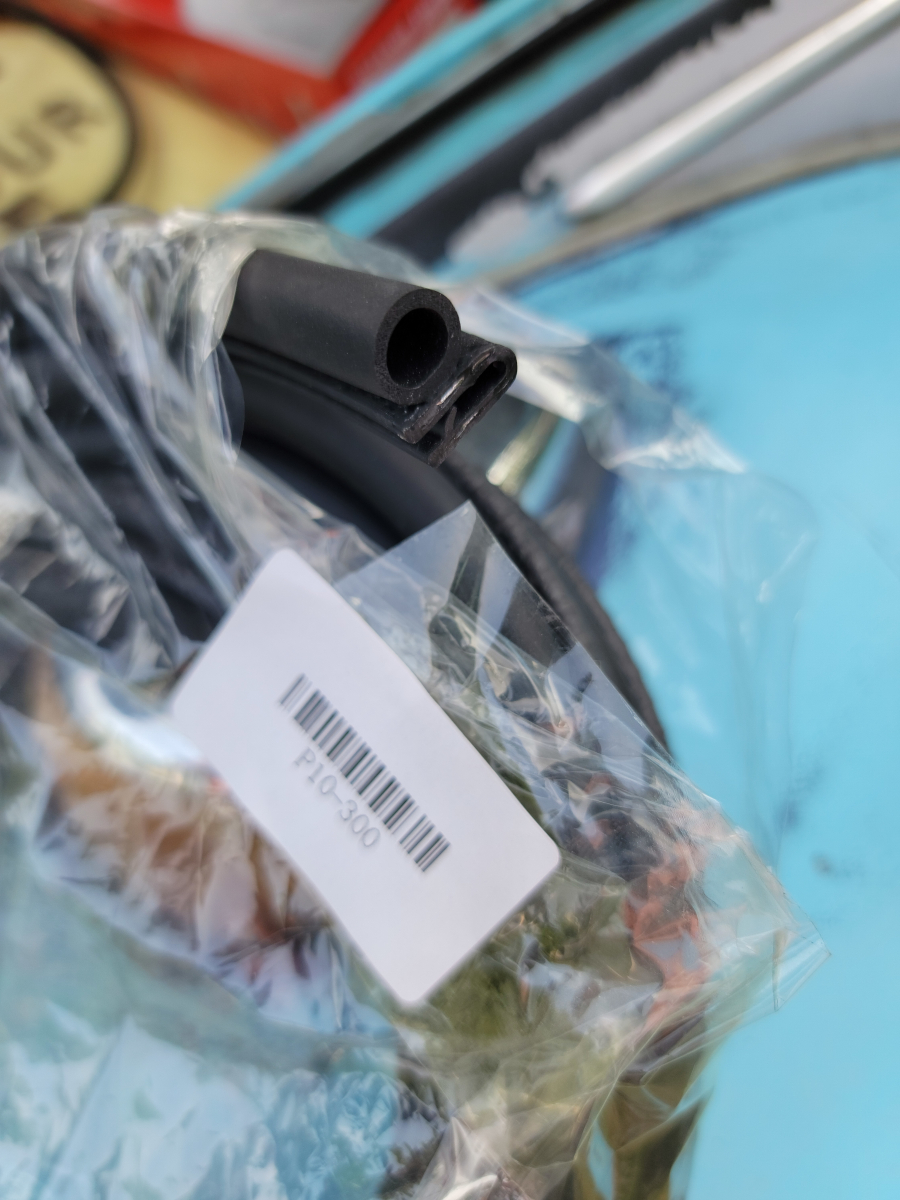
I had previously seen a video of someone installing a Brazilian lip style slip on hood seal. The information I found online said that it can be used with or without the factory seal. Alright, I’ll give it a whirl (jbugs link).
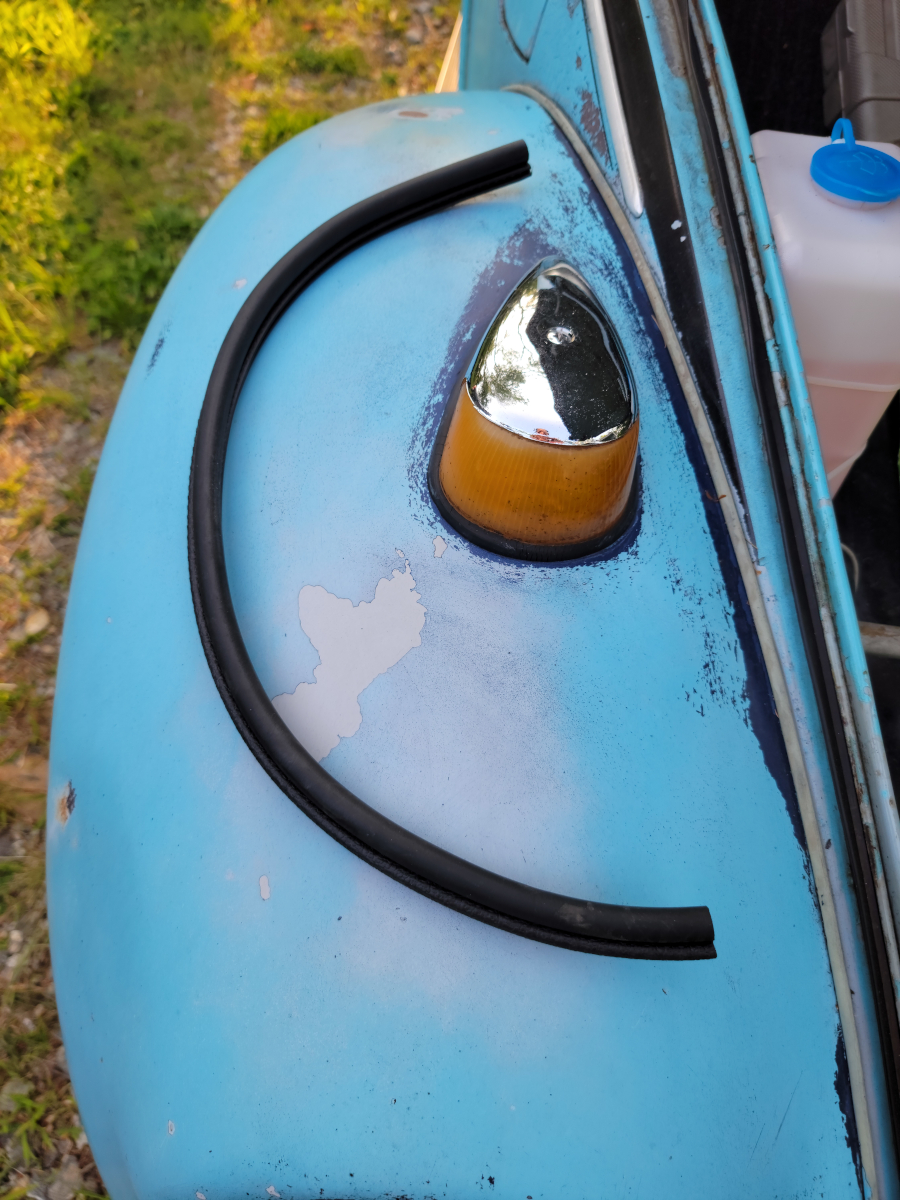
It started going on fairly easily, but there were a couple of places that it didn’t want to fully “slip-on”.
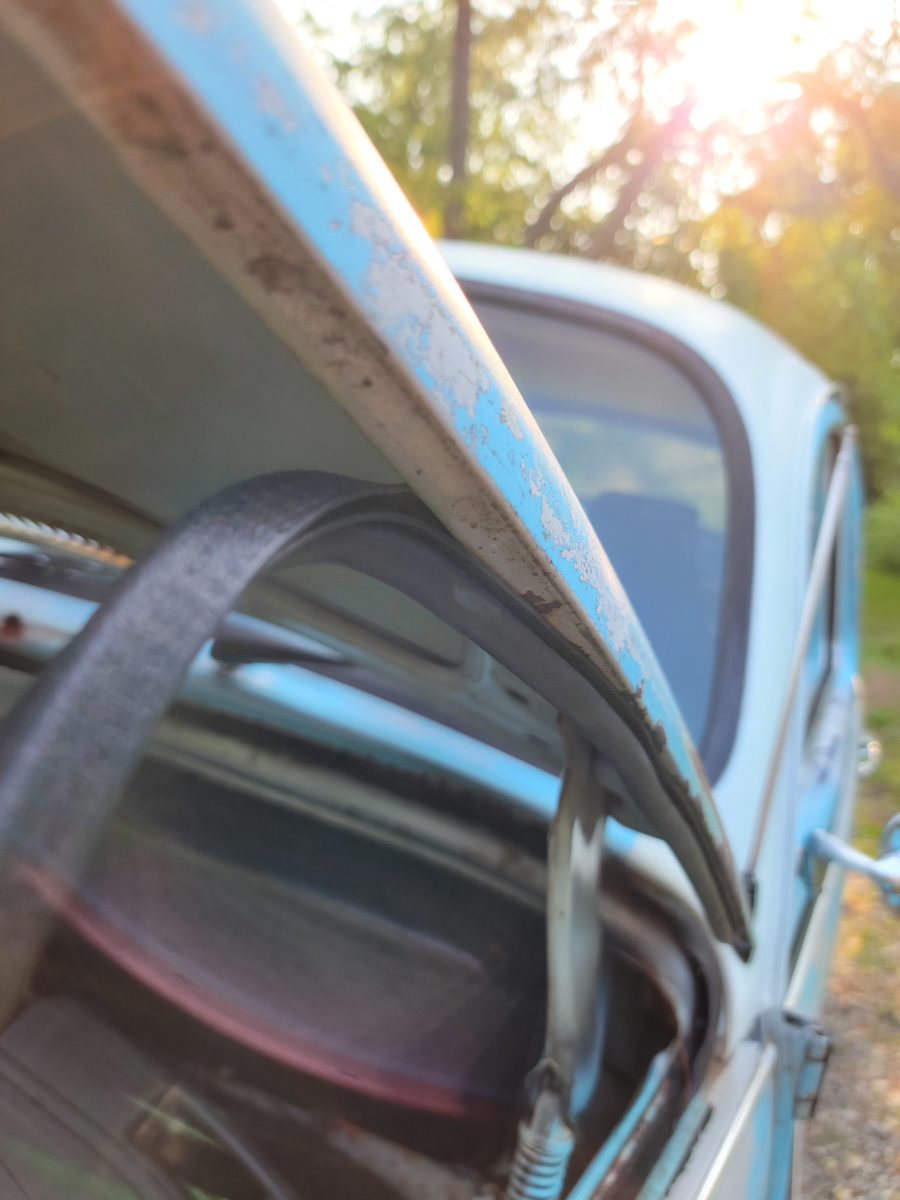
I got the whole thing mounted up and there was a nice chunk left over at the end.
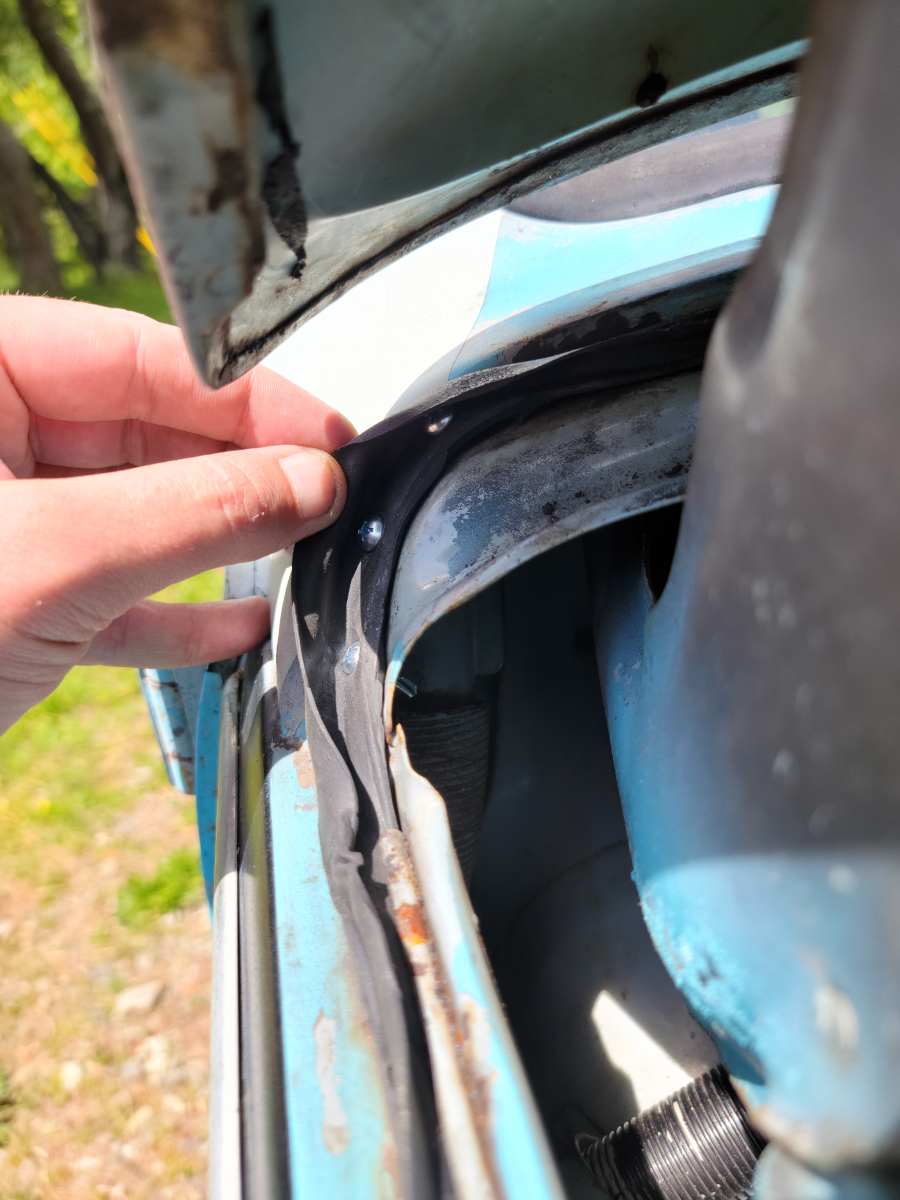
It’s not exactly clear in this picture, but you should be able to see dat gap tho.
It’s still not a tight seal. I have a feeling only replacing the bonnet will fix that.
The added thickness at the top end has also made it really hard to close. It just barely clips into place now. I’m out of adjustment on the striker. It’s as far out as it will go.
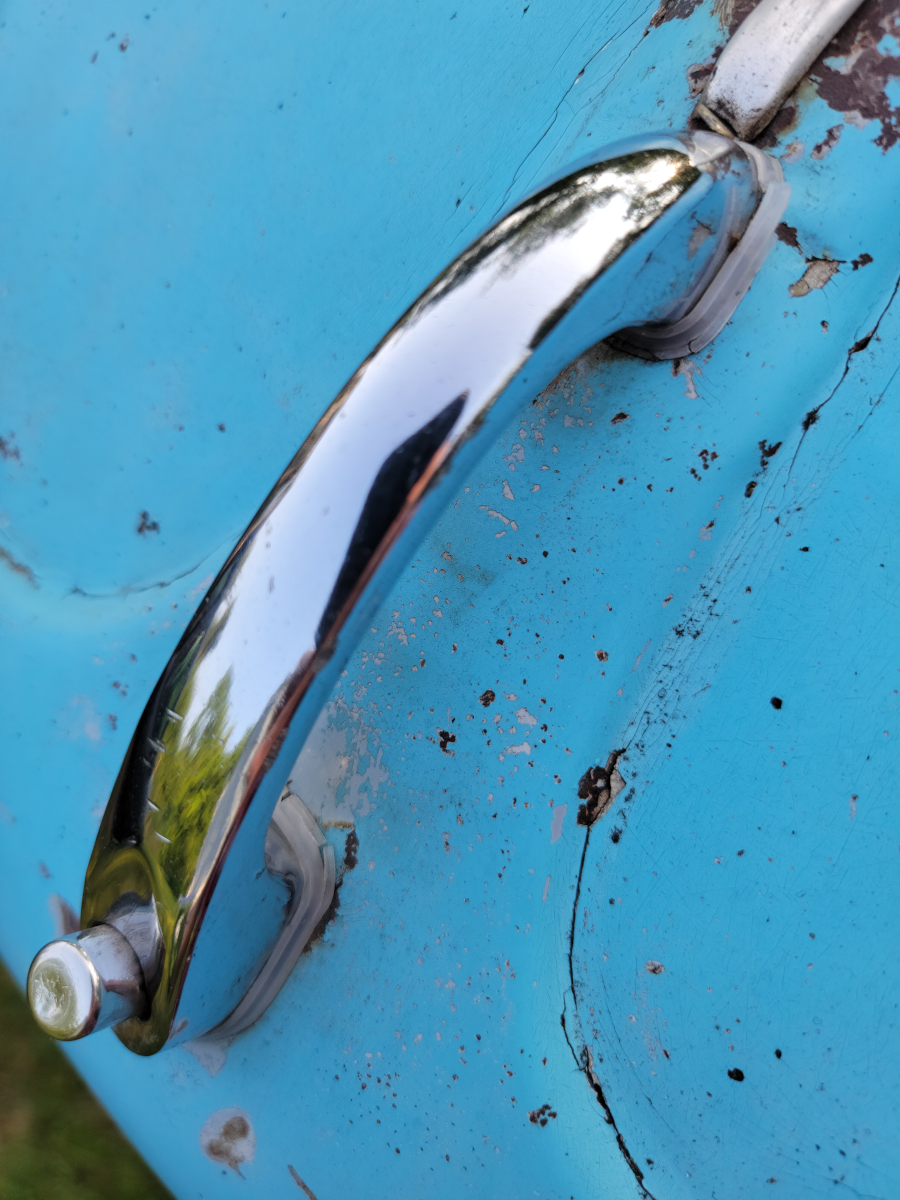
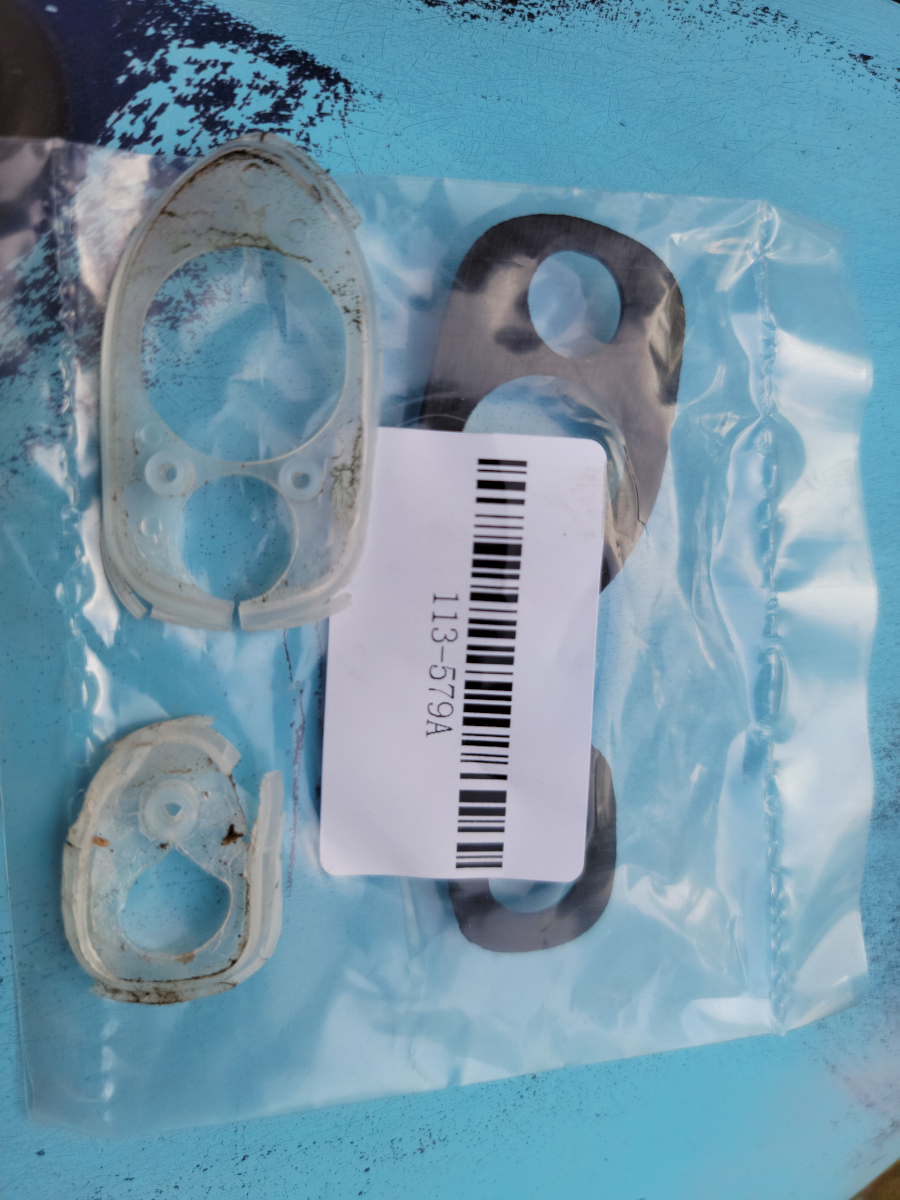
While I’m here, I may as well replace the handle seals.
One of the first things I replaced on this car was those handle seals. The new parts (matching what was on there previously) were clear(ish), hard plastic. The new ones cracked and broke within a month or two. This time, I picked up soft black rubber ones (jbugs link).
They installed without issue and will hopefully last longer than the previous ones I wasted money on.
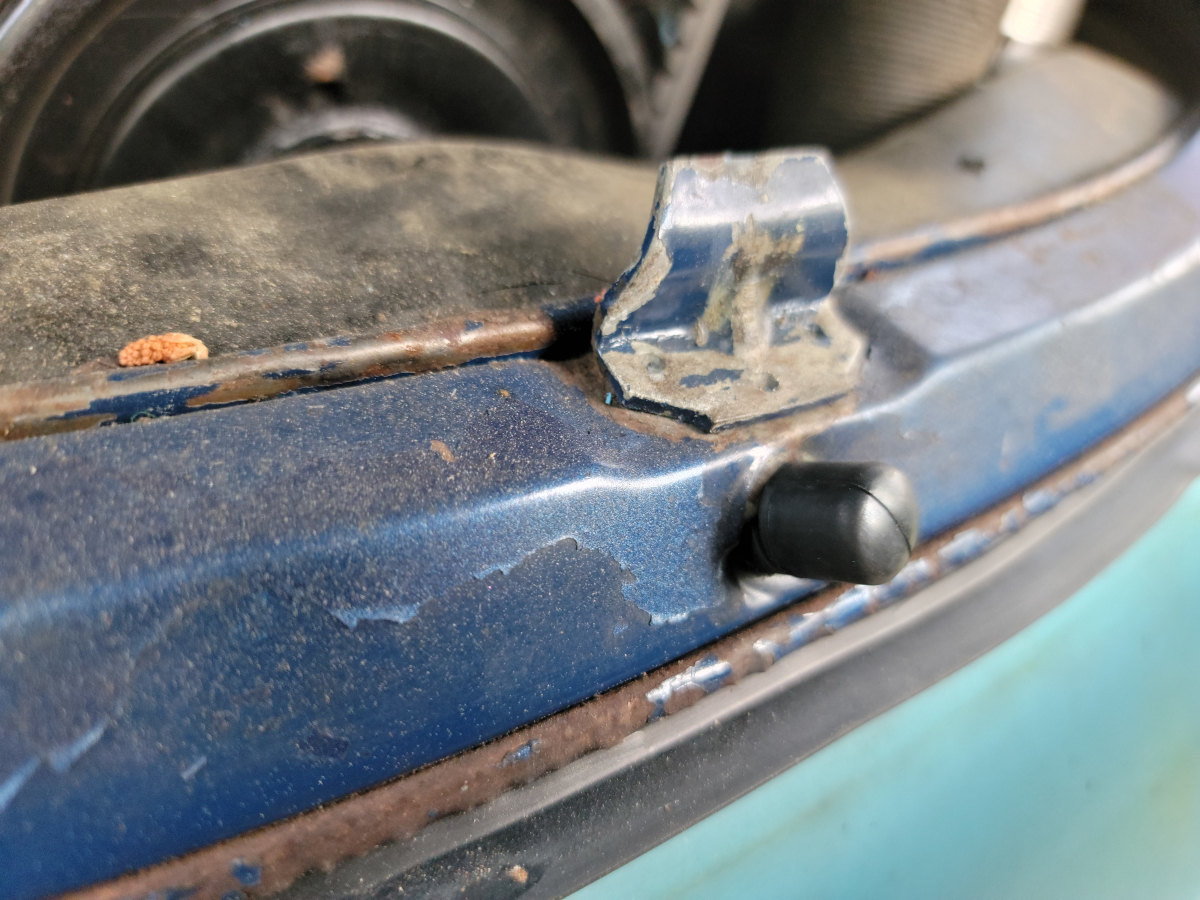
Apparently, I had recently gone on another buy cheap parts online spree, because I also had a new engine cover bump stop (jbugs link) waiting to be installed.
For once, I’m not replacing something that was in awful condition. This time, it was missing altogether.
I had to thread it in all the way, but it’s a nice, tight fit back there now.
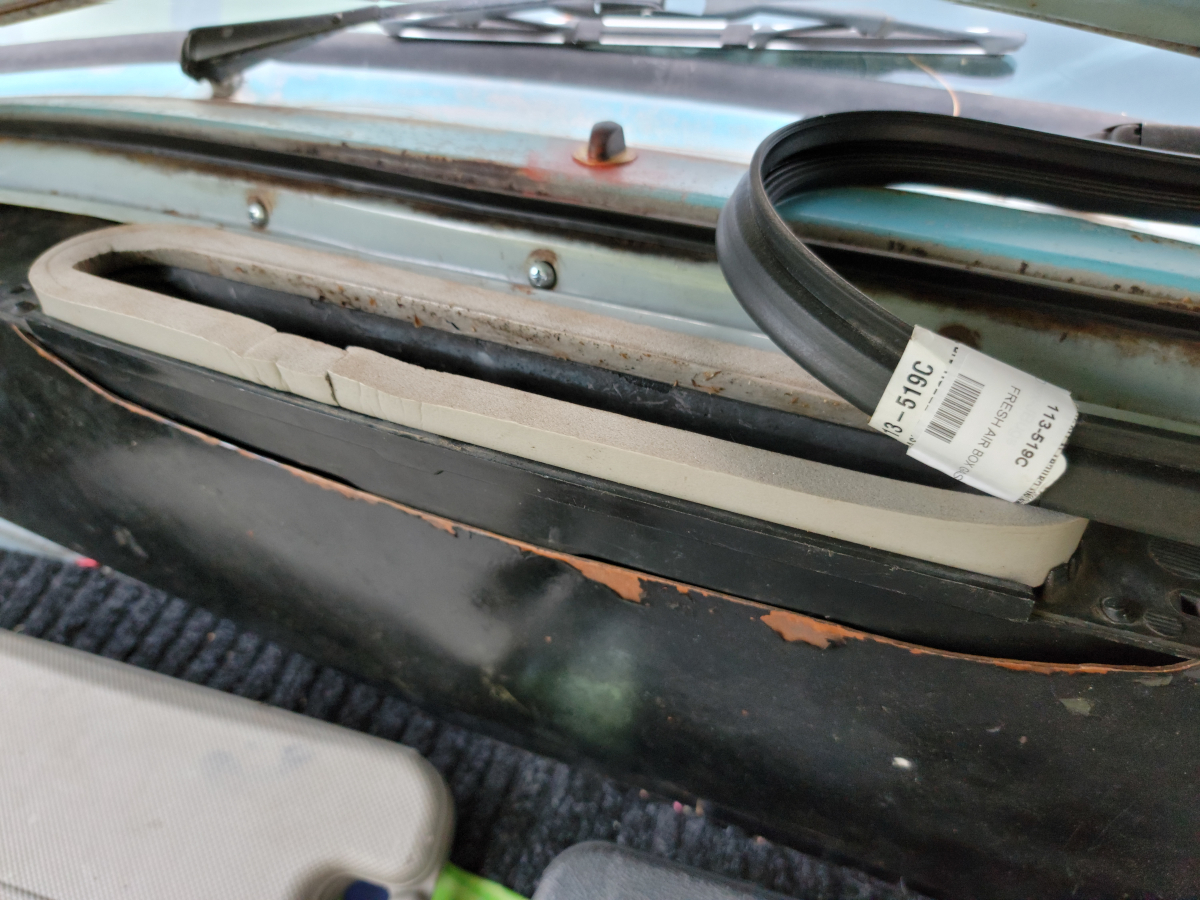
Lastly, fresh air box seal I made from (not very) adhesive weather stripping back in I Give Up was annoyingly still sticky enough to grab half of the debris that fell through the grate. The last item in my shopping spree was a new fresh air box seal (jbugs link).
There is a thick glue joint that only wanted to fit into one of the corner cracks. Jamming it in there made the glue joint moan a little.
I don’t have terribly high hopes for its longevity.
A couple of evenings ago, I replaced the front hood seal. That process went so well, I decided to replace the rear deck lid seal as well. As with the front hood seal, I have had the new seal laying around since I purchased the car. After reading posts on the samba, I was scared off by the complexity of the install process.
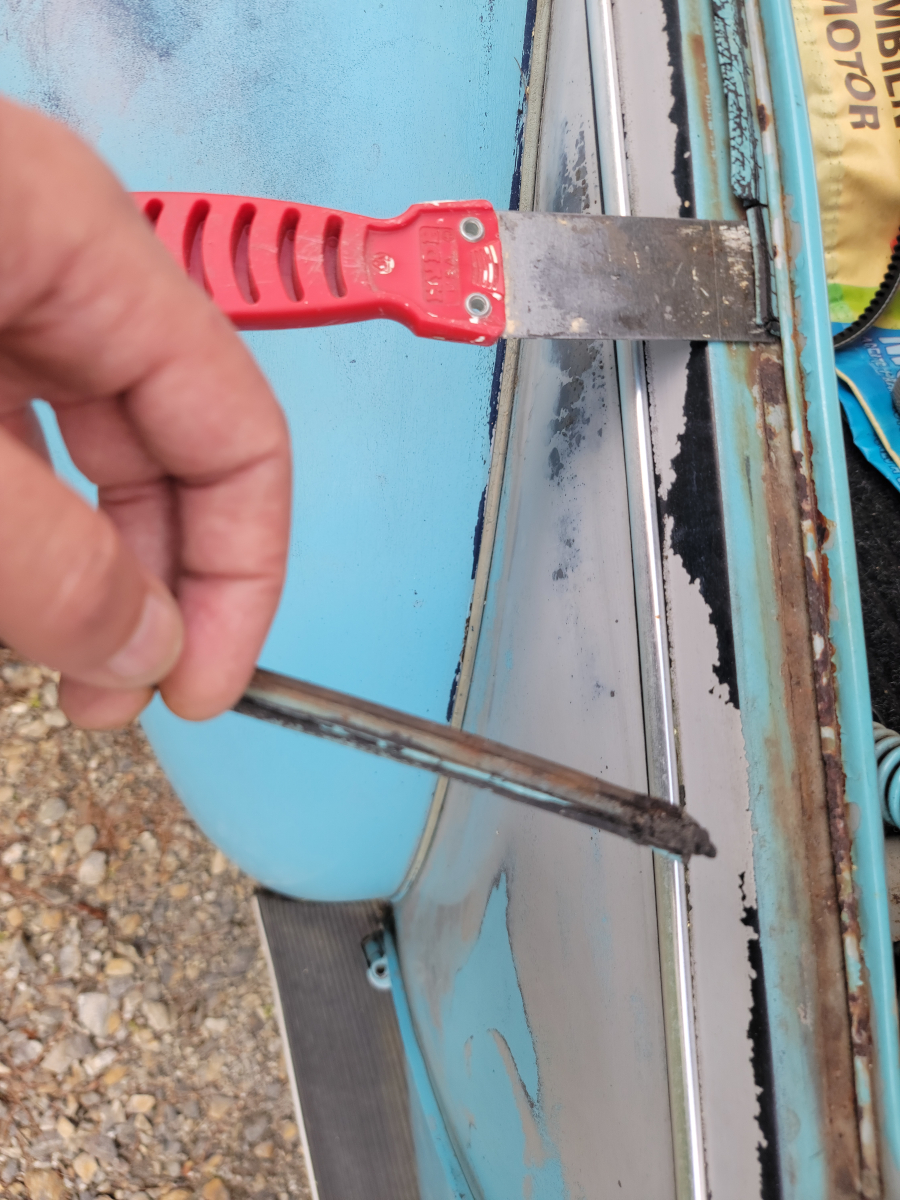
So anyway here I go. Starting at the driver side top, I used the same approach as before. I used a putty knife to pry the lip on the channel up a little. The side came out very easily.
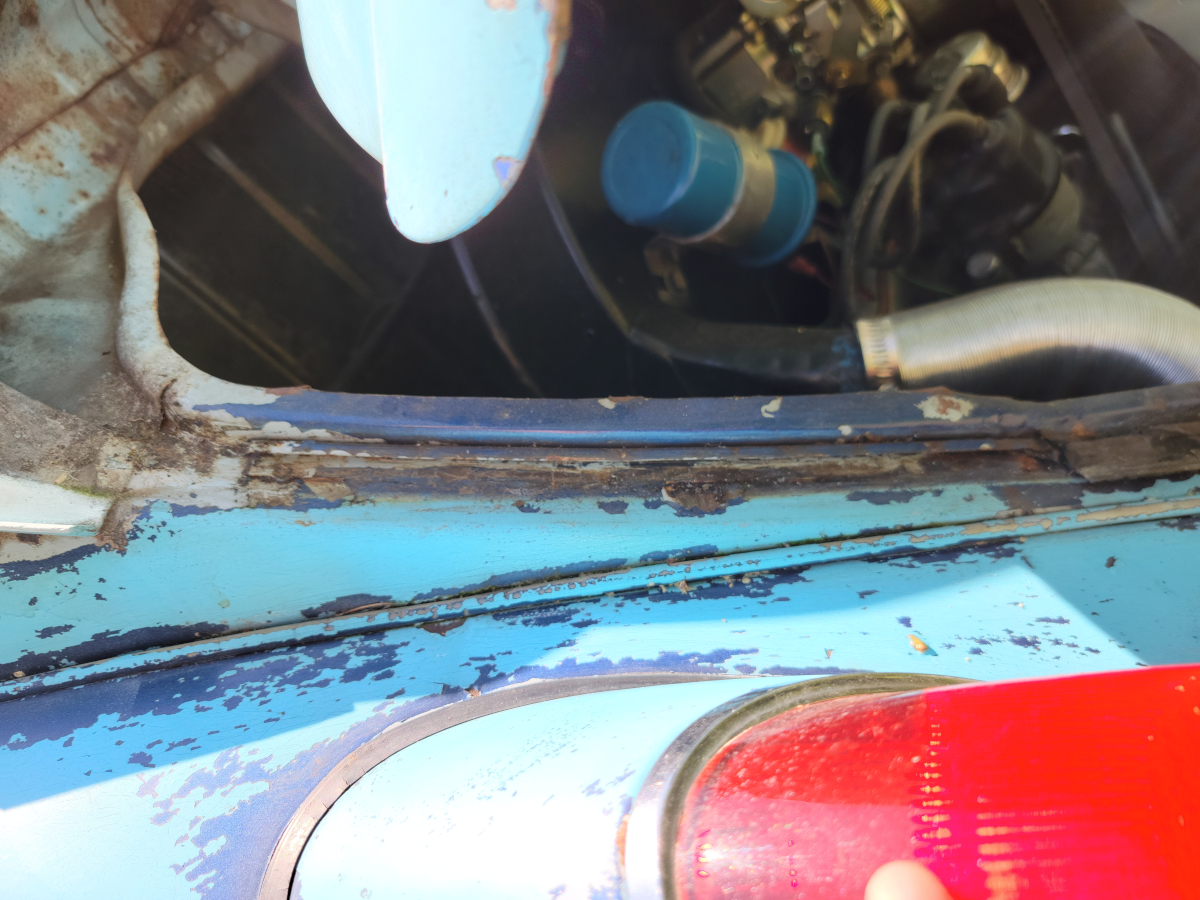
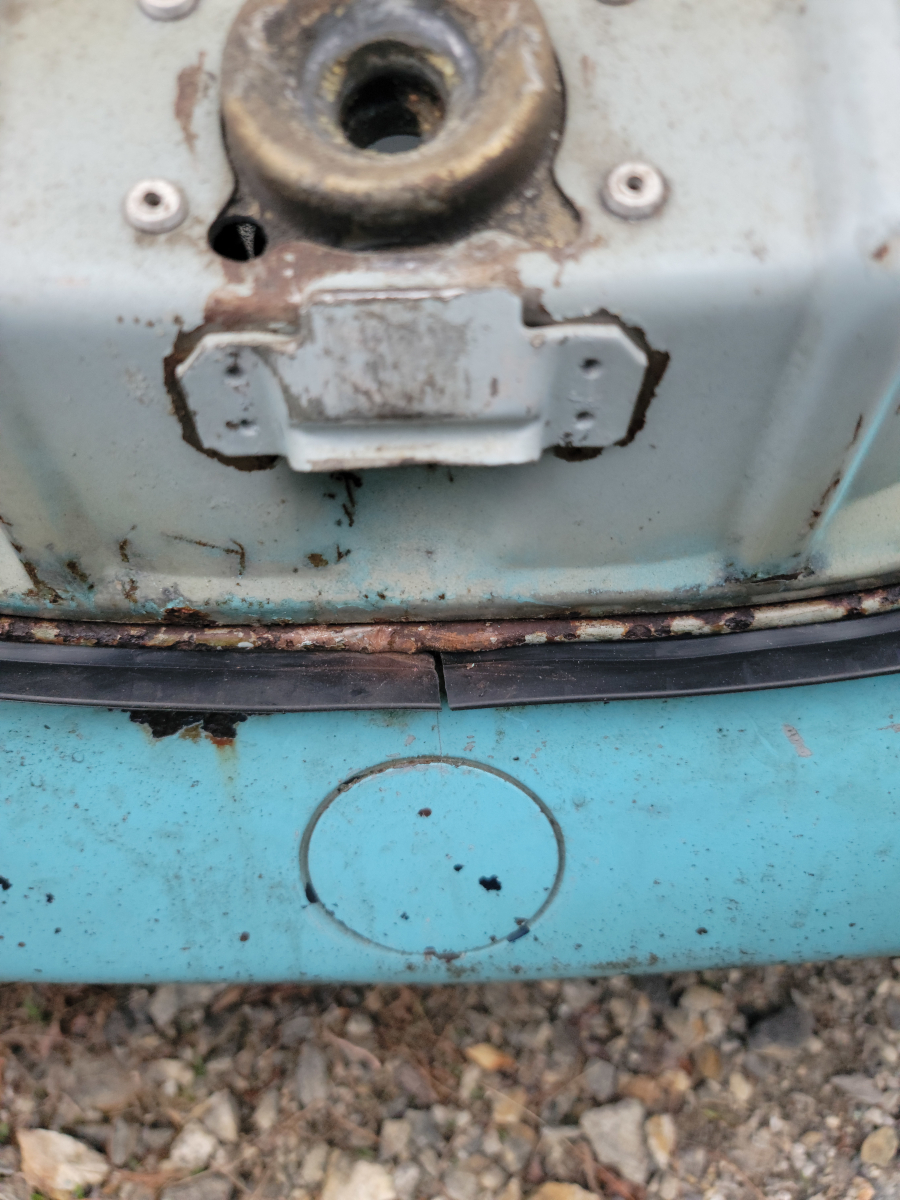
Around the bottom, I ran into a little more problems. The channel had been bent in and out multiple times. It was very rusty and didn’t just pry up as cleanly as the sides.
I was able to remove it cleanly eventually. Moving on to the passenger side, that came out with no dramas.
I grabbed a stiff nylon brush and cleaned off all of the loose rust and debris. Then I sprayed a quick coat of rust treatment.
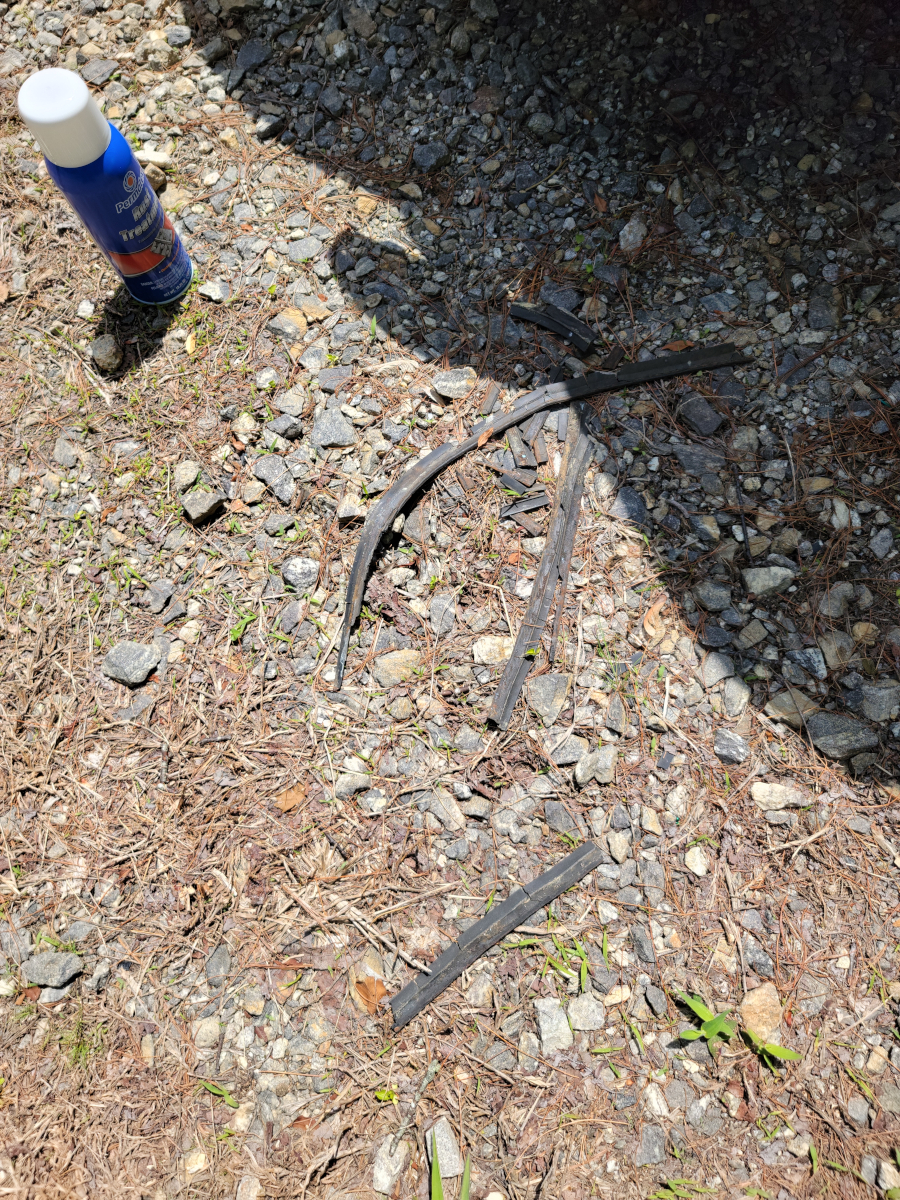
The old seal in the rear was much more pliable than the one in the front. However, it did still crumble to pieces as I was removing it.
Back to the front…
This time, I decided to give the rust treatment some more time to dry. My fingers are still black from that mess before. So, I moved back to the front to finish up with those top corners.
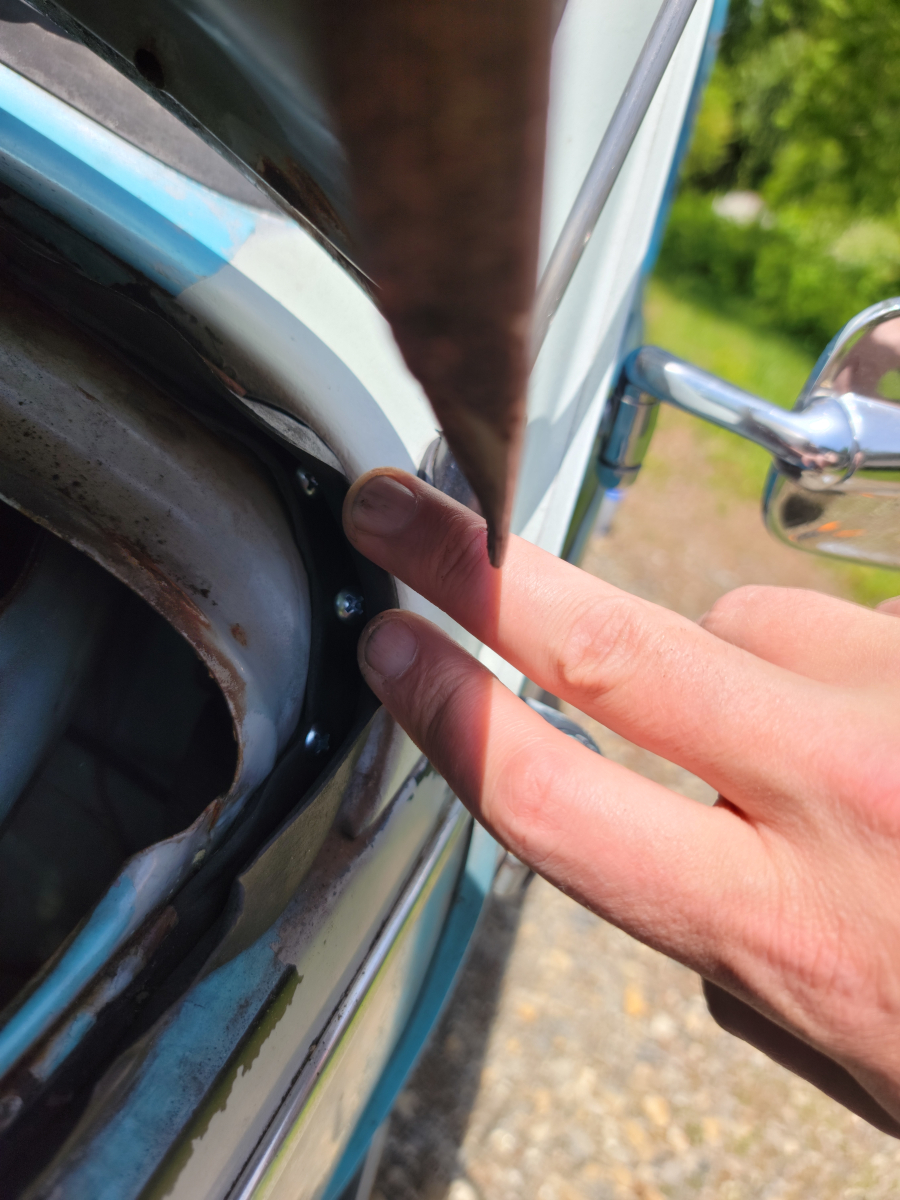
My original plan was to use the black push tabs that are found all over the place on my Ranger. But after closer inspection, the holes in the beetlebug shell are much smaller. I decided to rivet them on instead. After a couple of attempts, the rivets that I had weren’t deep enough to actually grab.
Being lazy and wanting to cross this off the list, I just used some self tapping screws instead. It is a very loose fit, but there is a bit of thread that will grab. The fit is loose enough that I could pull them out by hand if I tried. But they’re tight enough they won’t come out on their own. I didn’t check, but I’m pretty sure these screws are stainless or at least zinc coated or something.
The passenger side went on easily as well.
Back to the back…
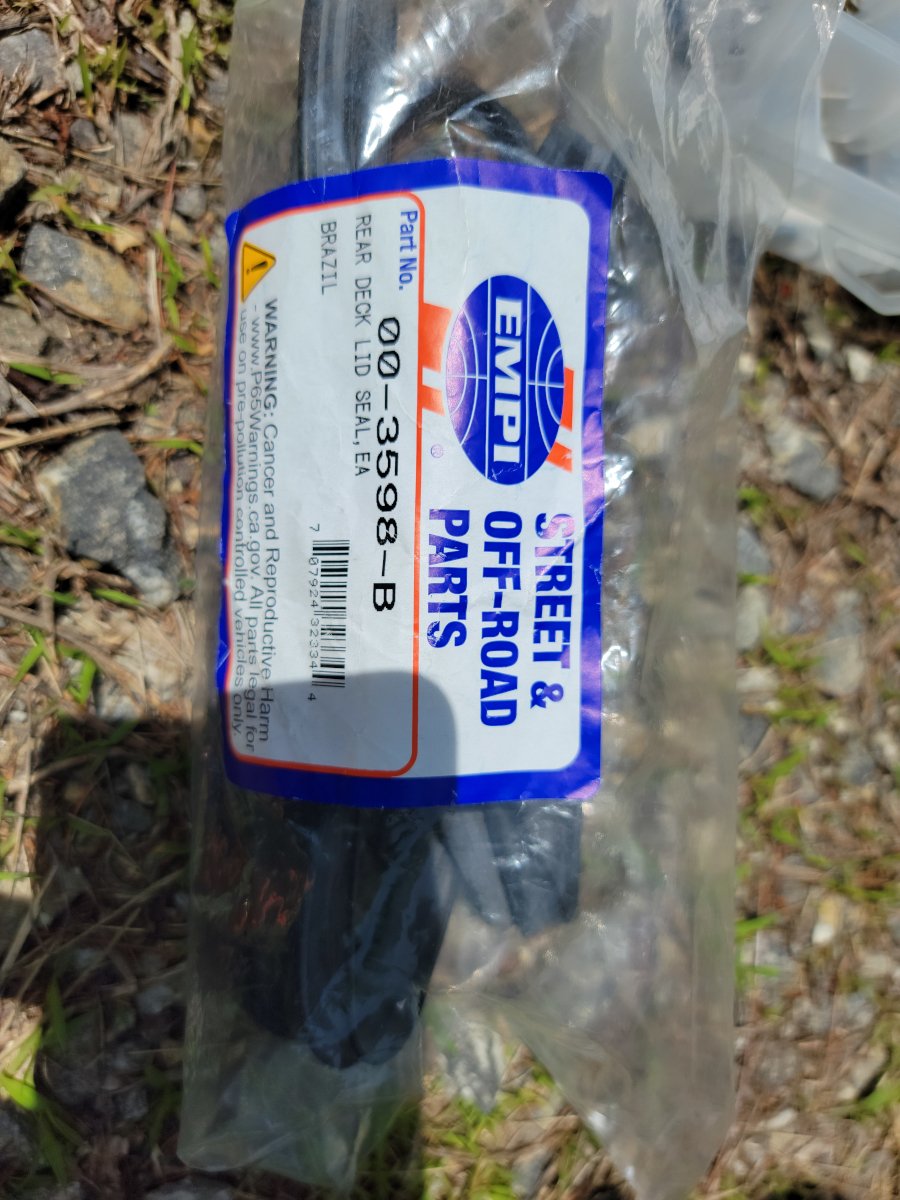
The rear deck lid seal I bought was also made in Brazil, but this one was an Empi brand (Amazon link).
It installed without issue. There were a few extra inches at the end that I snipped off.
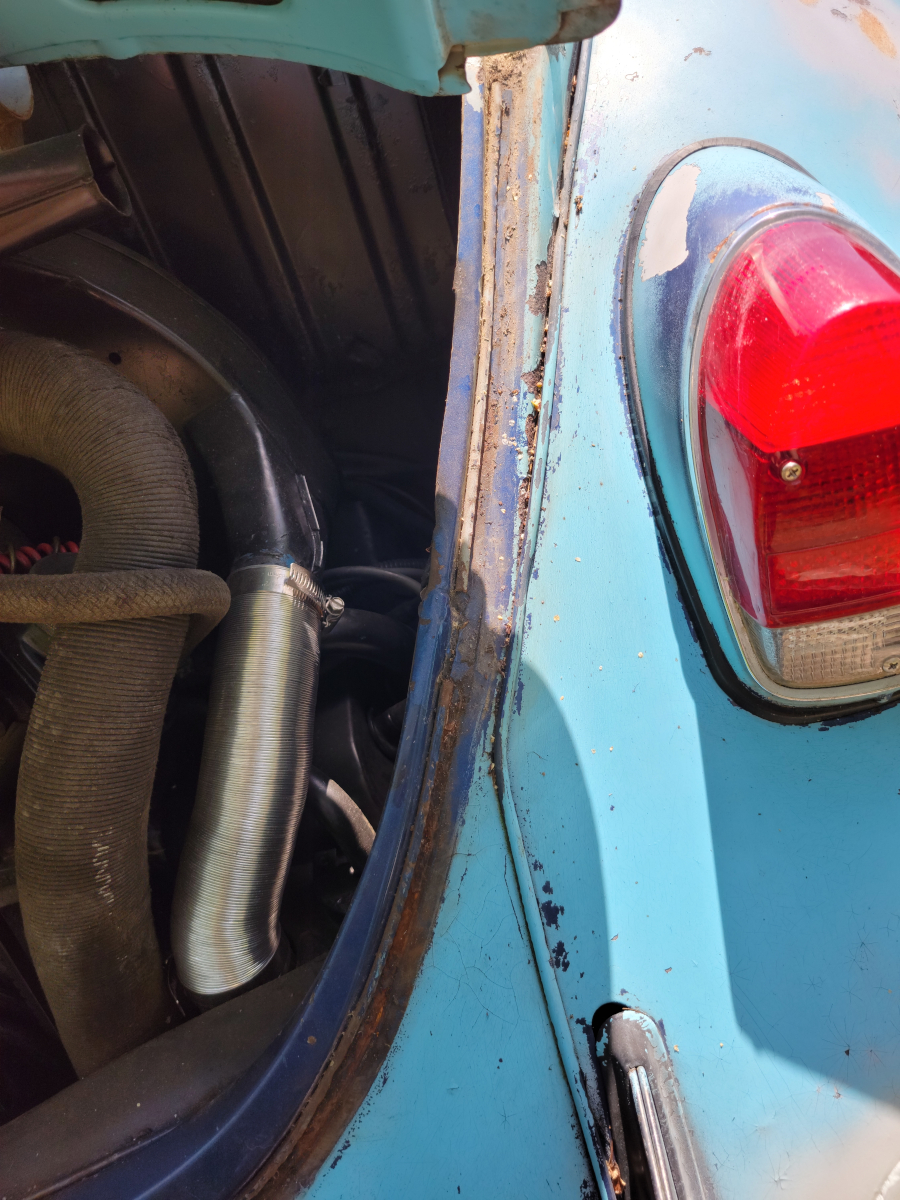
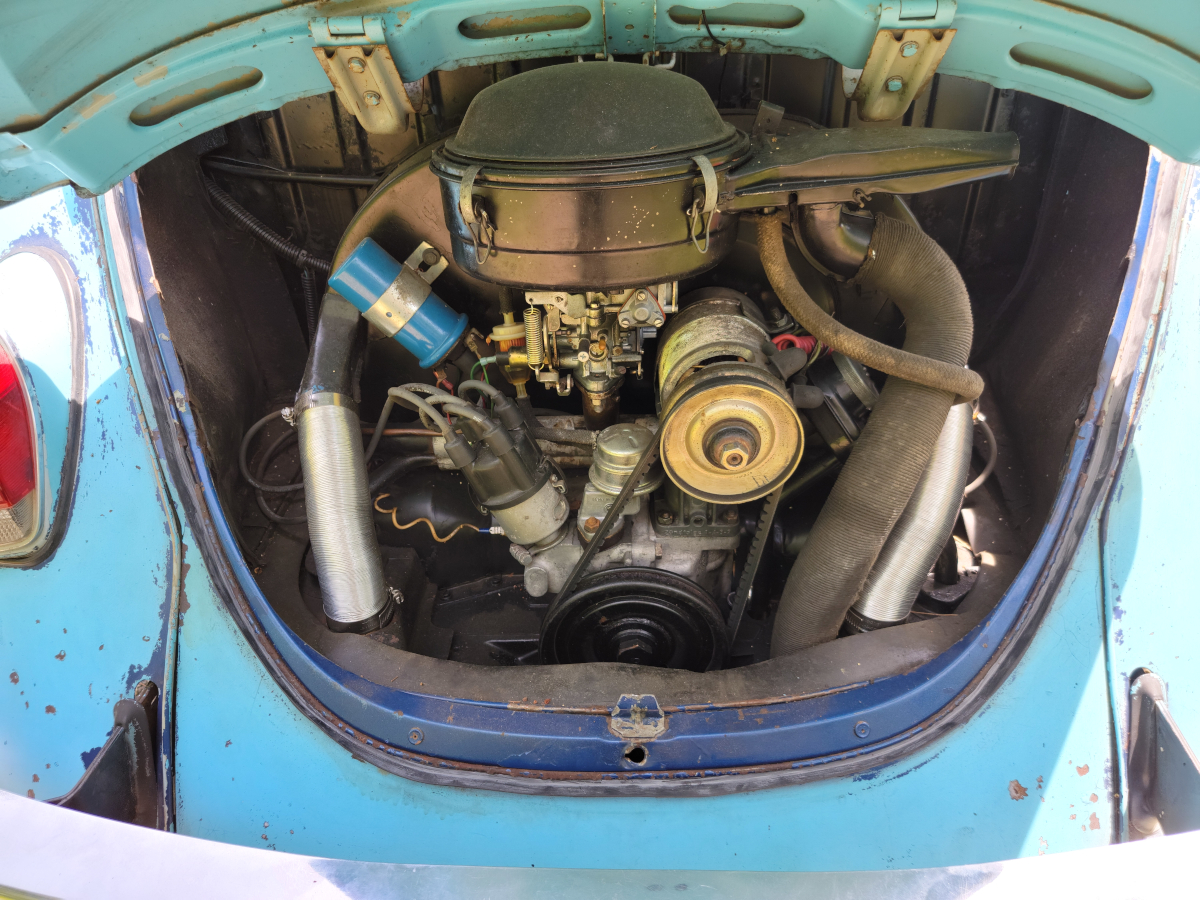
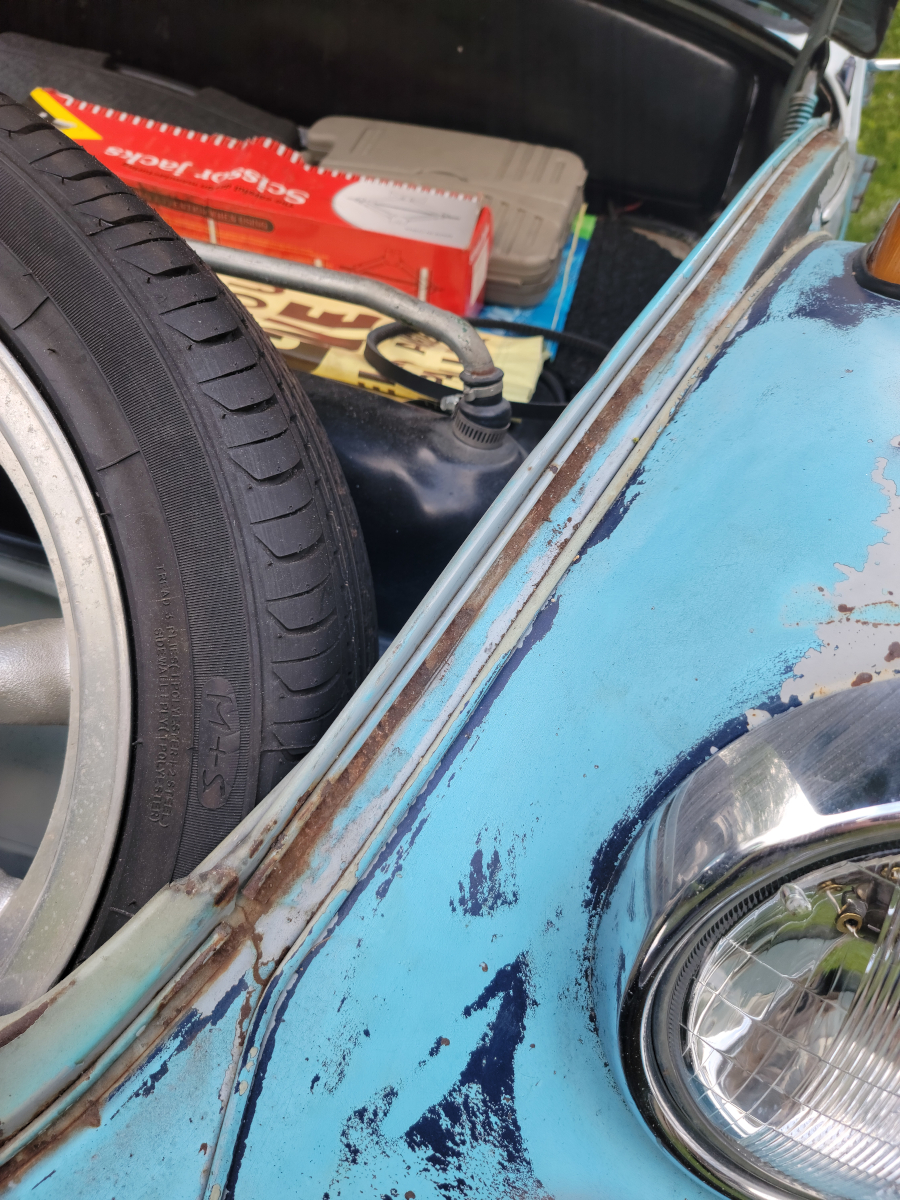
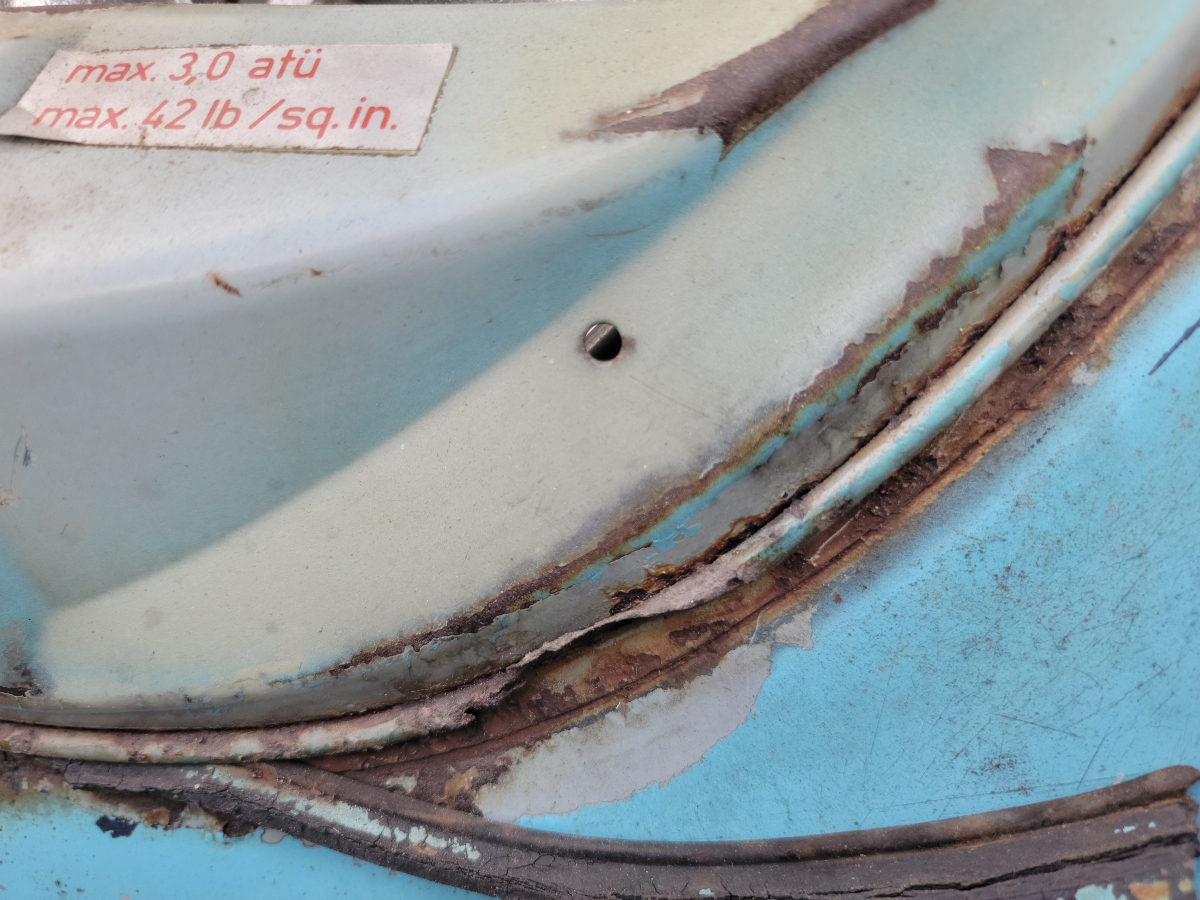
With the deck lid up in my teeth, I noticed some deep rust and bubbling paint down around the bottom. I scraped off the loose rust and then gave it a coat of rust treatment. Once that dried, I added a coat of primer, then a coat of matte vintage blue.
One of the first batches of parts that I ordered for this car included a new front hood seal. I then did some reading online about how to install it and decided maybe it didn’t need replaced after all.
Today, I randomly found a video saying to just pry up on the lip a little with a putty knife. This will make it easier to remove the old seal and install the new one. Common info online is you should start at one corner and feed it through the channel around the whole thing. Clearly, those people don’t have a channel/lip as rusty and mauled up as mine.
The front hood seal that I ordered was from jbugs, a Brazilian variety (jbugs link). And so it begins…
I’m not sure why I wasn’t expecting it to be rusty under there, but it was. I may just be ignorant.
Around the front, there was a big ol’ mess to be had.
That wasn’t me with the putty knife. That was existing damage. You can tell because there’s a spot on the old seal that doesn’t have rust on it 🙂
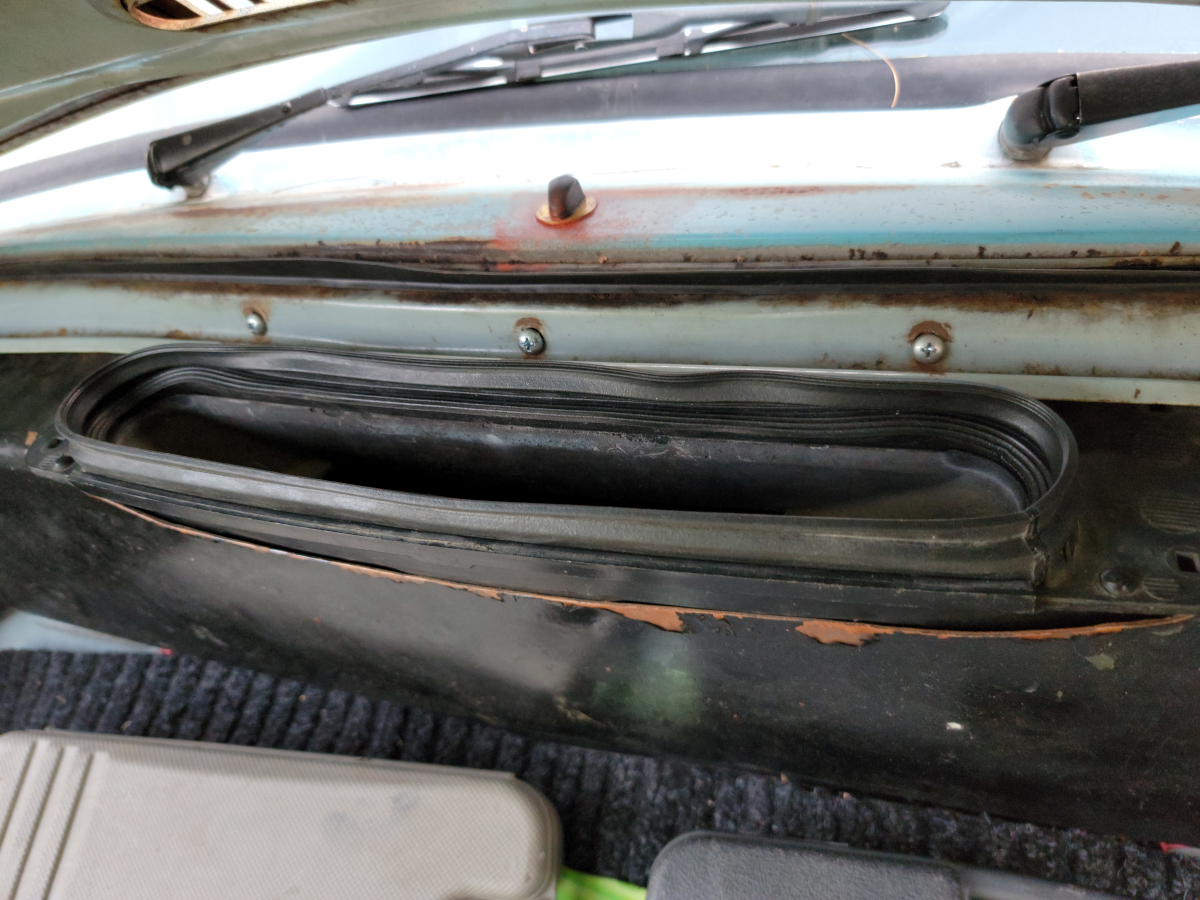
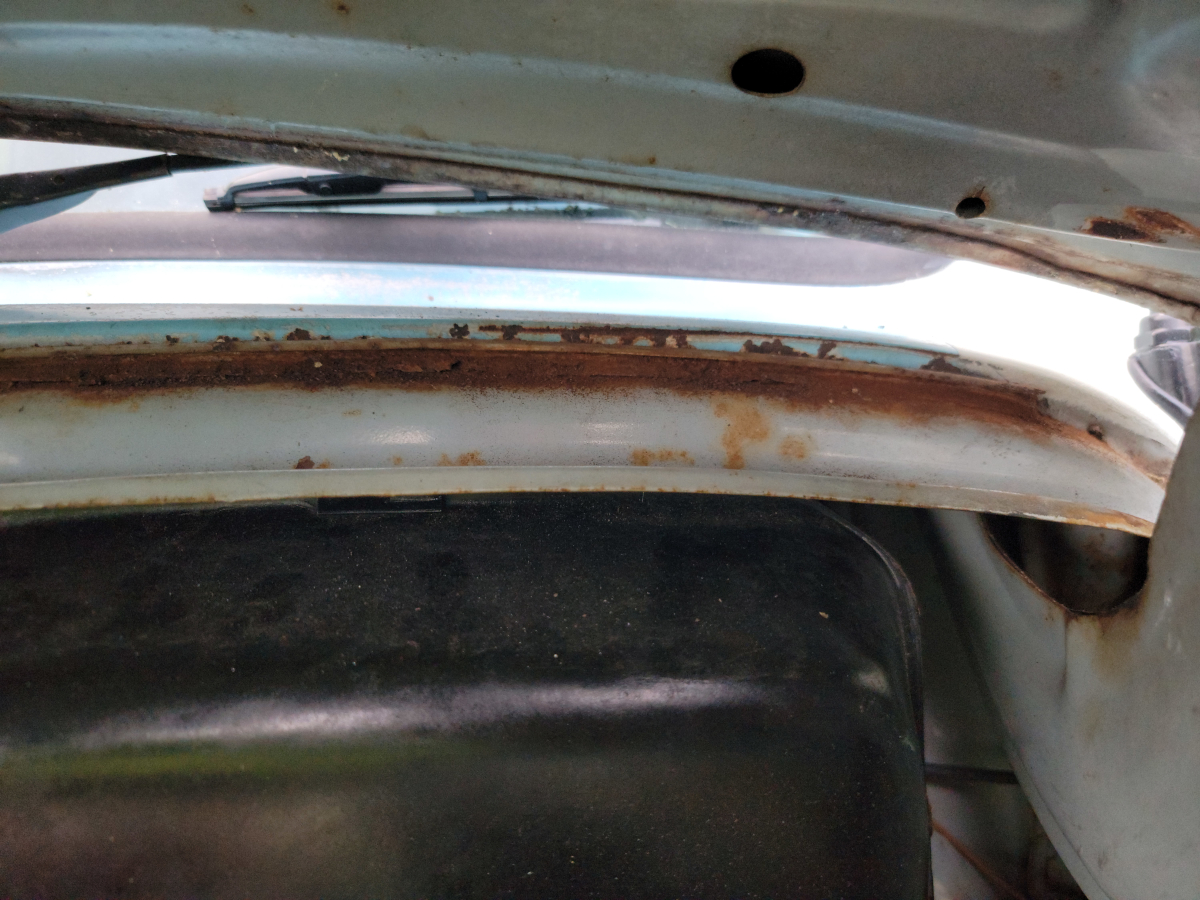
I removed both sides first, before starting on the bend-over-fest that was the back (windshield) side. It was VERY rusty and as expected, VERY cramped working conditions up in there.
Removing the seal from the back side kind of made me want a bowl of Wheaties. And to cry a little. The rust was so big and flaky. Luckily, the lip is a separate piece of steel tack welded on, so… sacrificial?
I used a stiff nylon brush to clear out loose rust and debris from the channels. Then I gave it all a quick spray of rust treatment. Not the kind that turns it black, just darker and shiny. That probably means it really works good.
I let that dry just long enough to get tacky and make a real mess of everything. Then I started installing the new seal. I started at one of the back corners. Both of which have a wide, dished out shape with three rubber pegs underneath. Those “match up” with three holes in the body. To be fair, they were pretty close. They could probably be forced in uncomfortably. However, the rubber is so soft, they just popped right back out when I pushed them in. Using a screwdriver and brute force, I could feel the whole peg coming through from underneath, but they wouldn’t stick.
I will probably have to cut those pegs off and use some plastic trim fasteners to jam down through there. My Ranger is full of them and I have a pack laying around here somewhere for just that reason.
Anyway, I made it all the way around the front and both sides, leaving the bendy-overy bit until last.
I had to trim a few inches off of each end, where they meet in the middle.
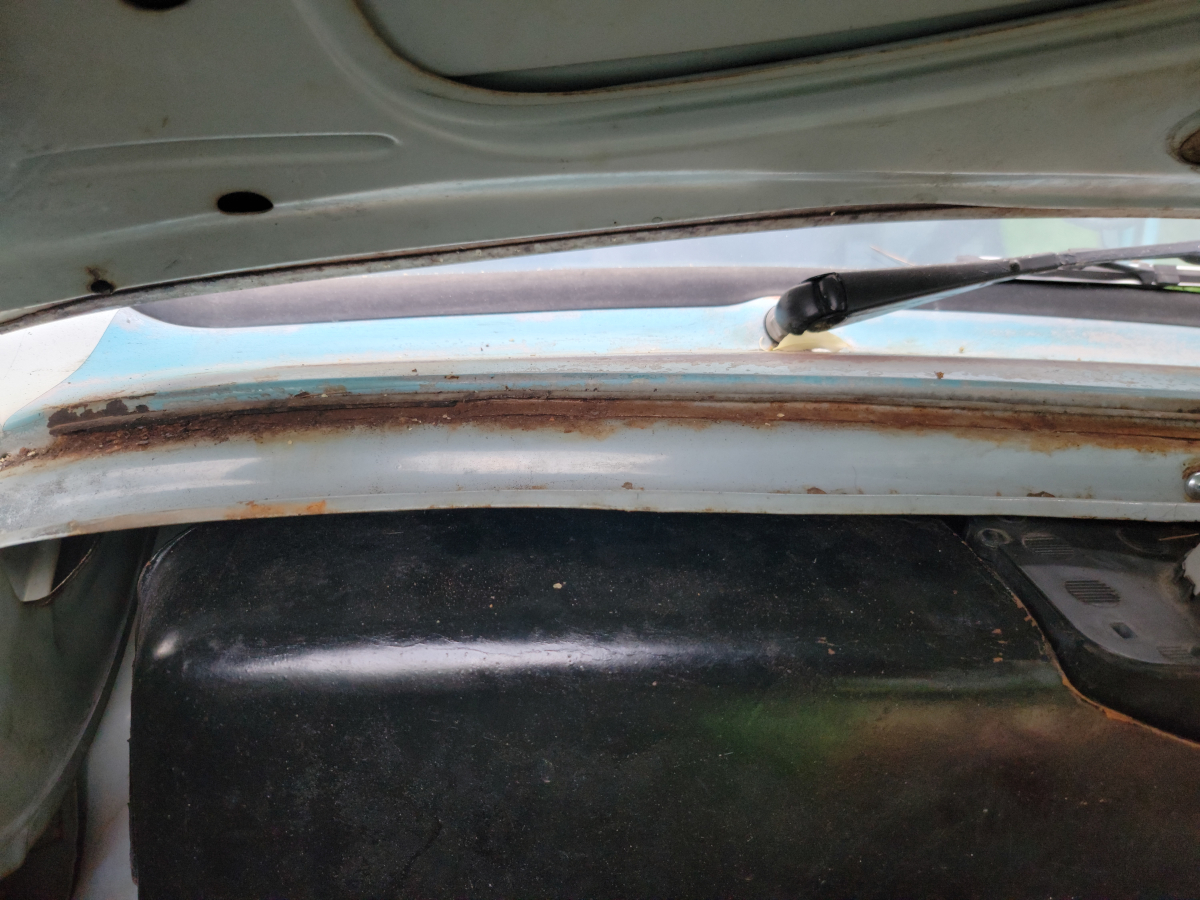
Now all that was left was to finish that back edge. There was still so much debris in the channel that it really fought me much more than anywhere else. The channel was now so wide in a few places – likely where the rust was previously so thick – I had to get back in there with the putty knife and tiny hammer to bend the lip back down a bit to hold it all in place.
That’s as good as I could have hoped for this evening. It was getting dark, though you can’t really tell by the phone pictures.
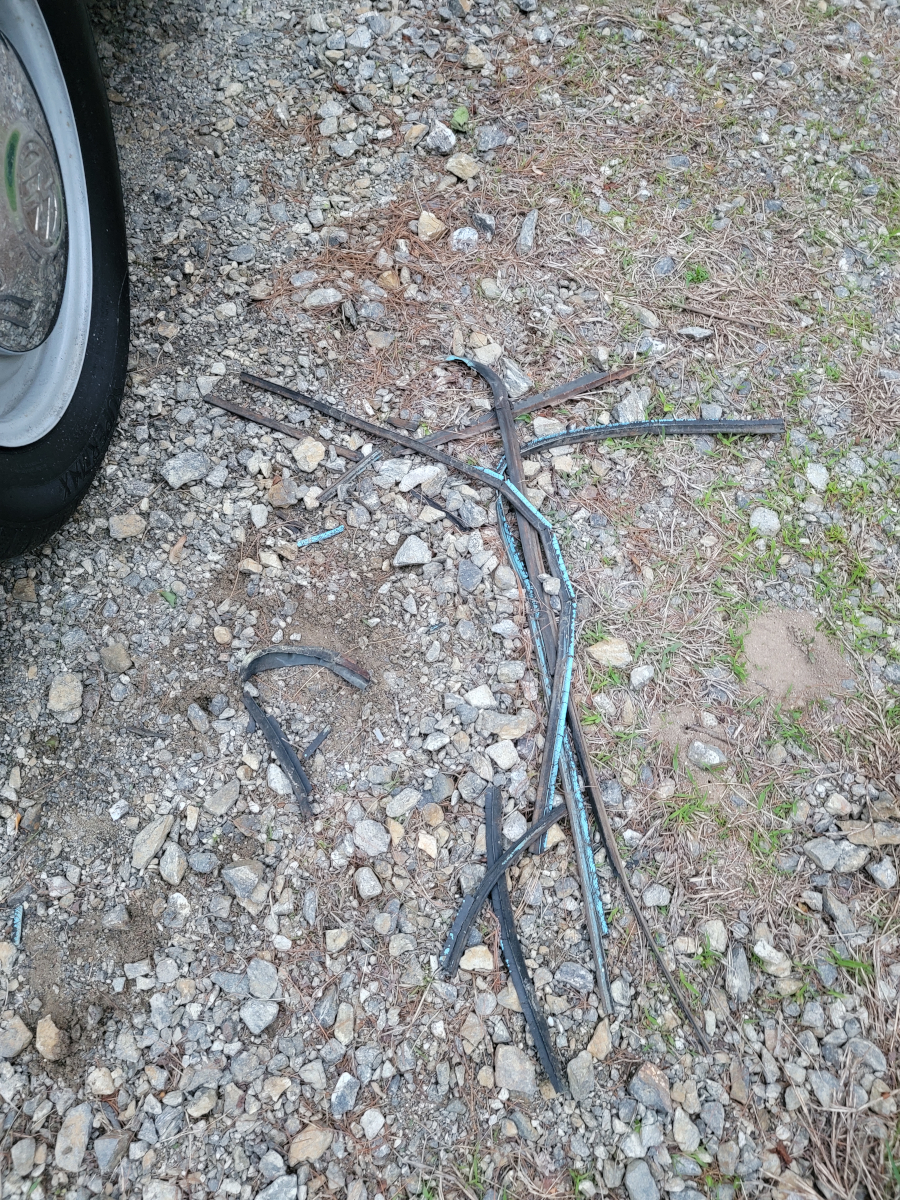
I went around and collected all of the scraps of old seal and made a tiny little pile.
I will get back to this soon to finish mounting those back corners.
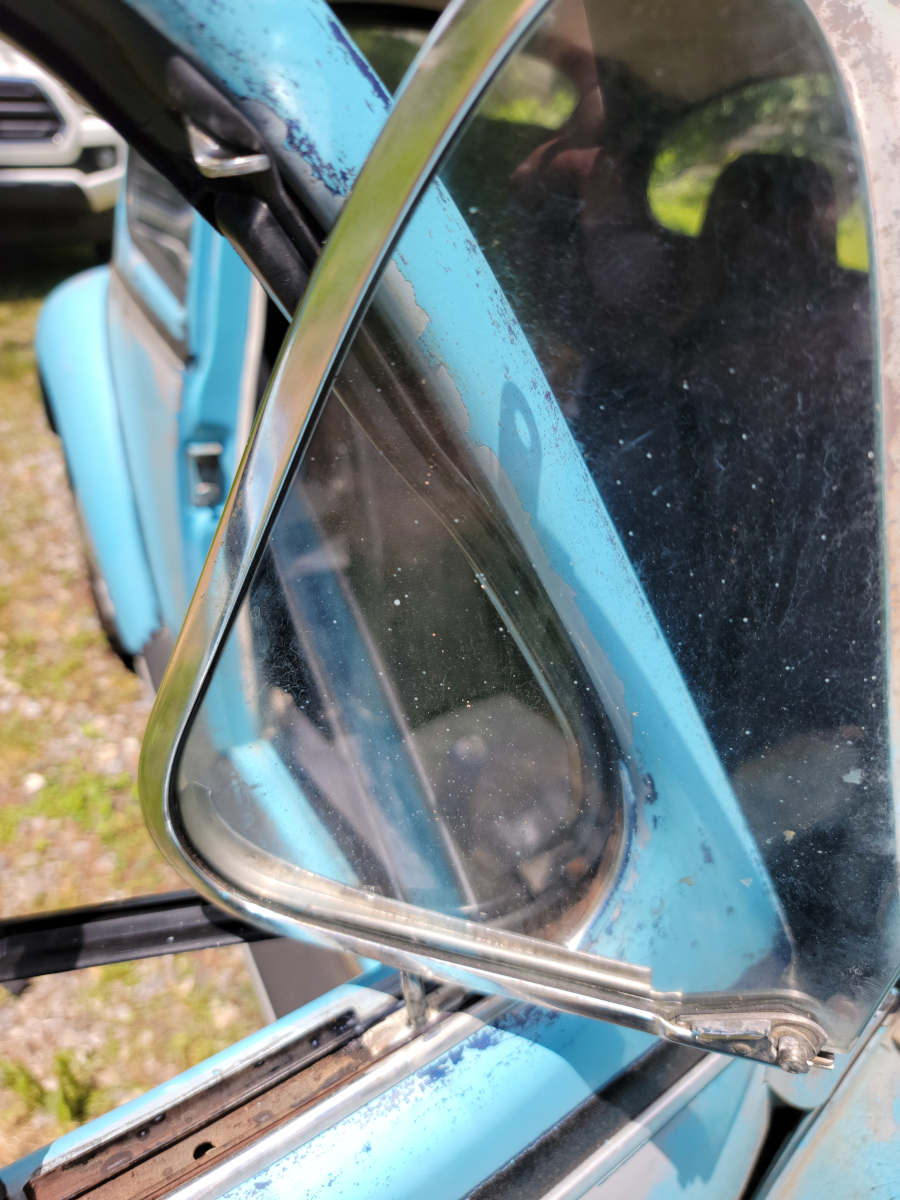
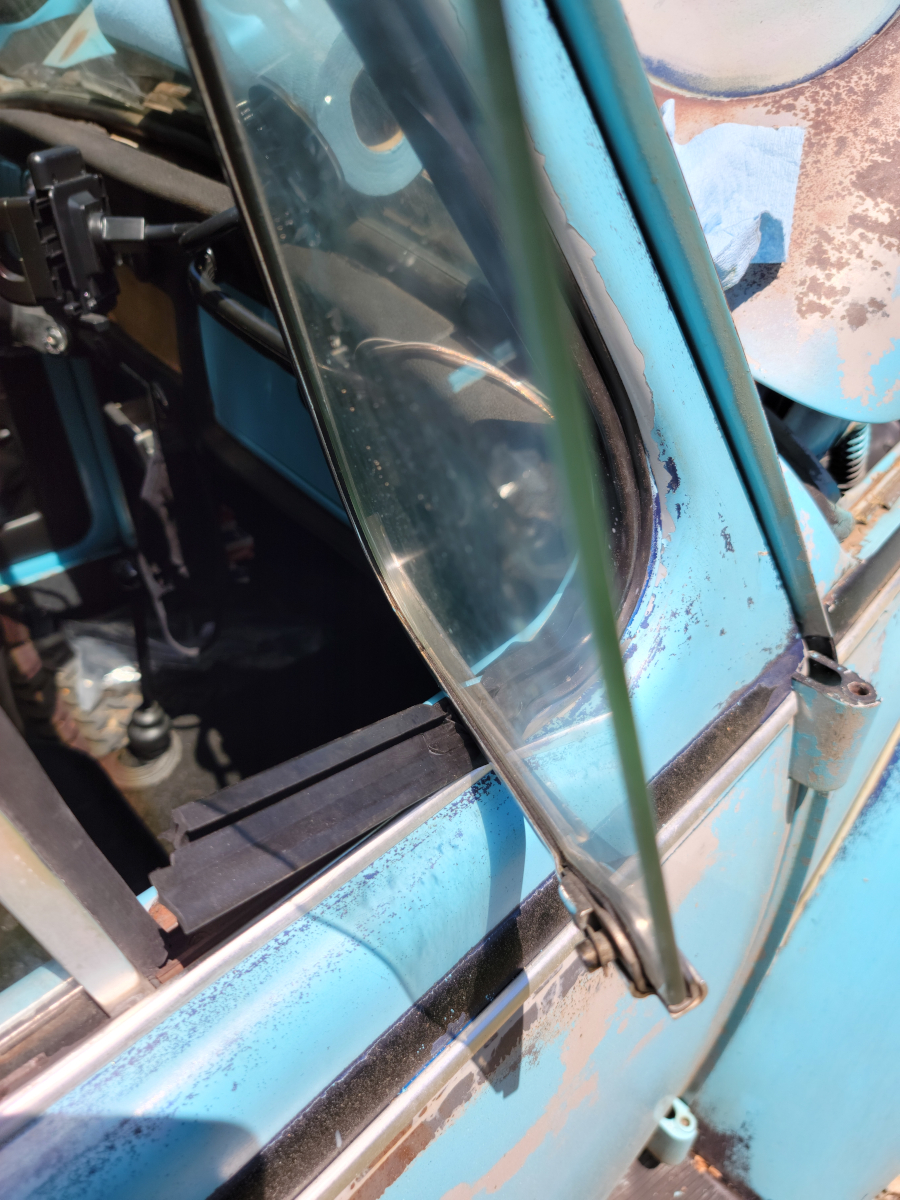
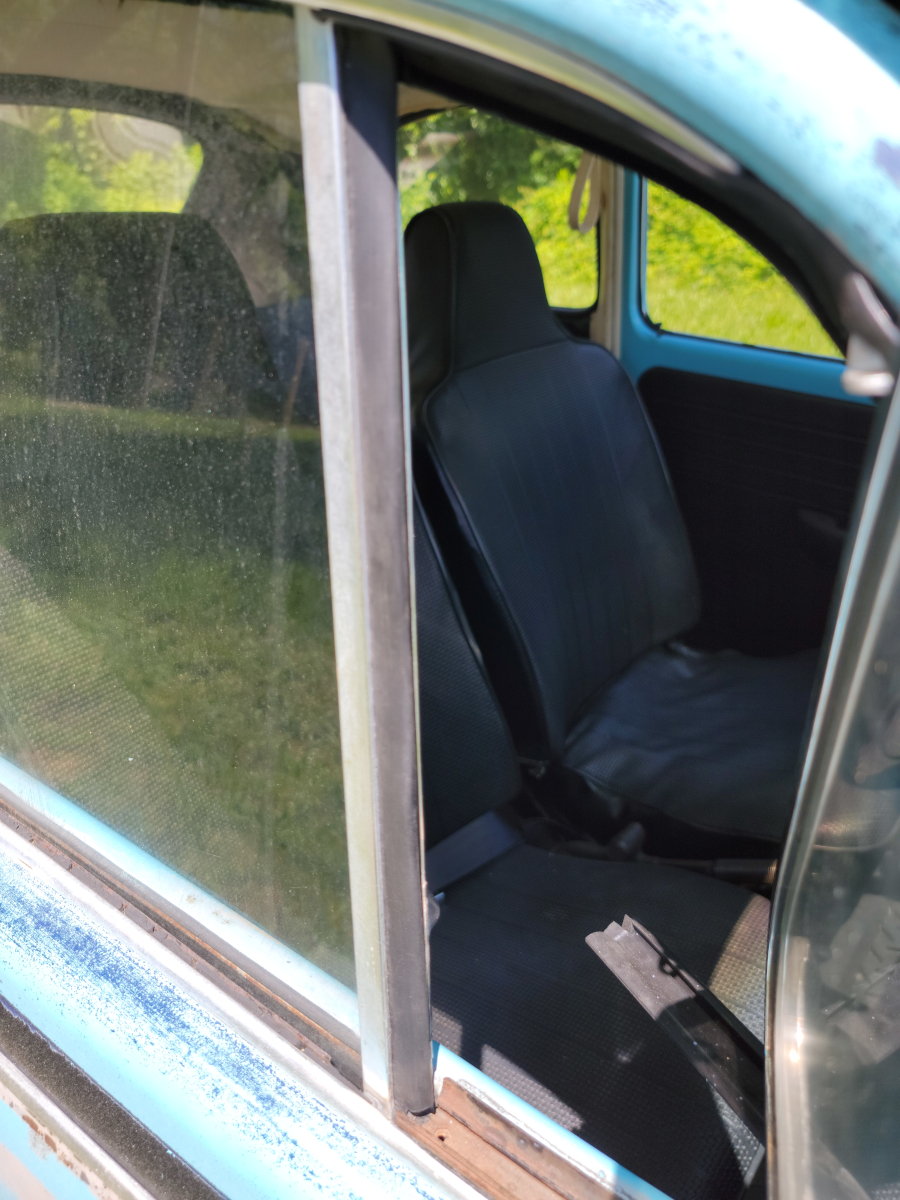
I bought a set of door glass rubbers/felts/scrapers, because they are all dry, cracked, and broken. When I saw how much disassembly was actually necessary to replace all of them in each door, I decided to start small and just do the vent windows.
Starting on the passenger side, I drilled out the rivet on the top hinge.
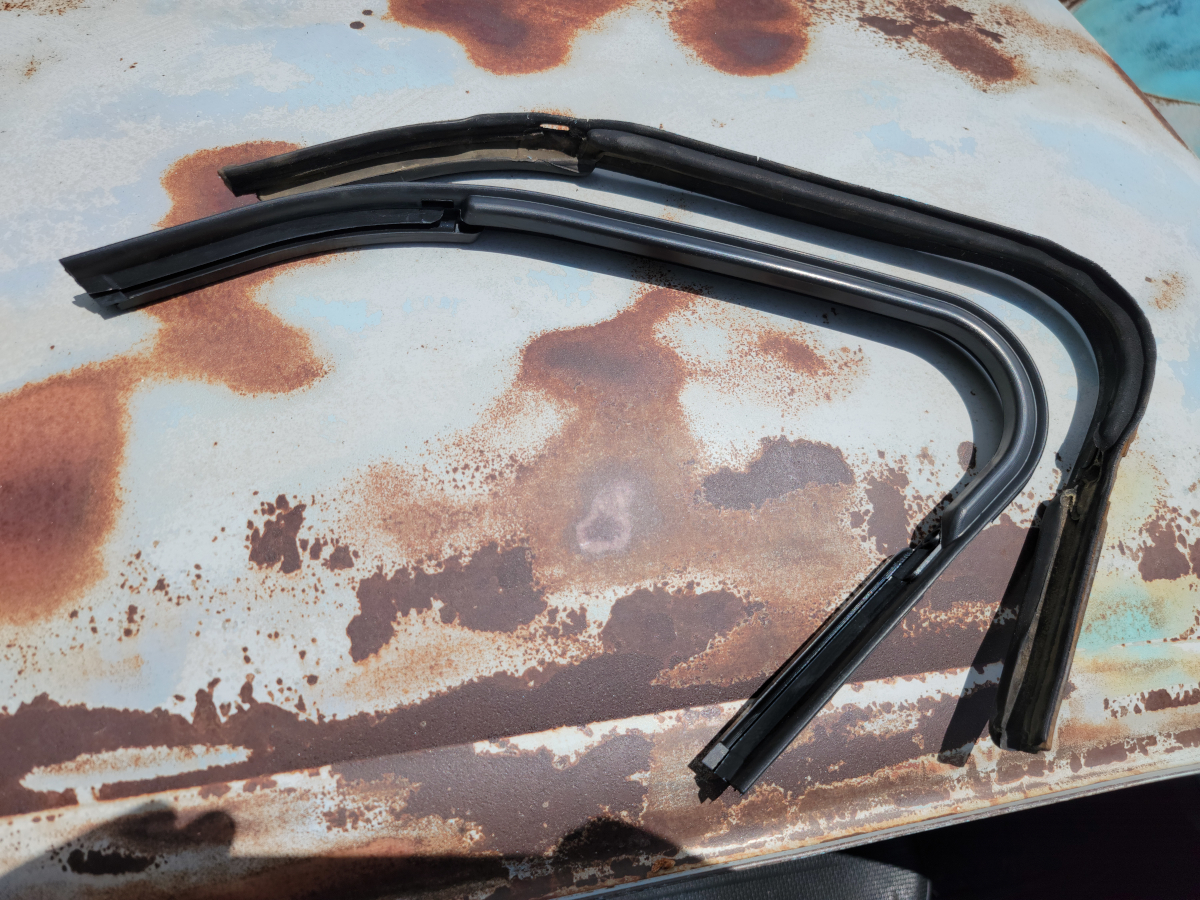
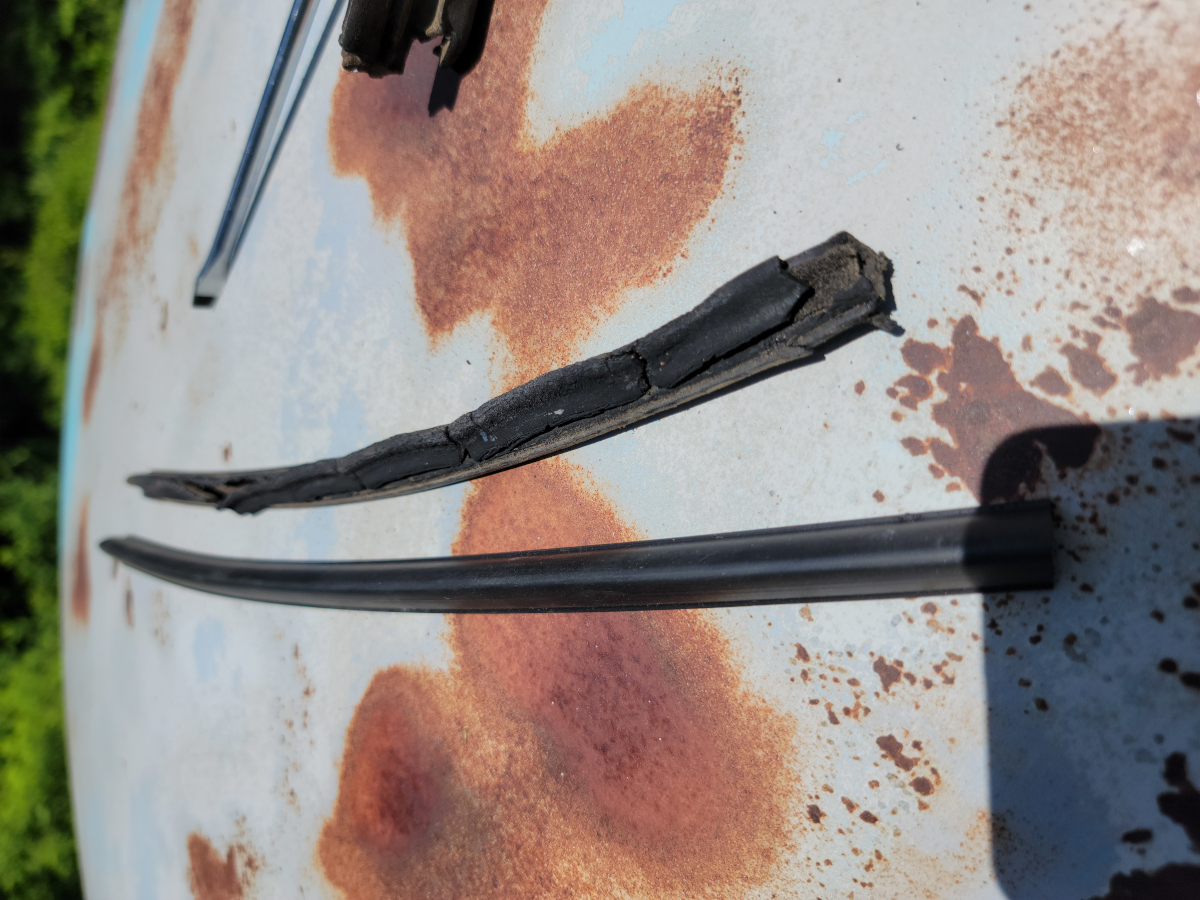
And then removed the old gasket. Here are the old and new seals, side by side for comparison.
They look very similar in size and shape, so that’s a good start. But, I quickly realized, the measurements were off just enough that the new seal wasn’t going to sit flush.
The distance between the slot that is molded in the top for the hinge bracket and the hole in the bottom for the hinge pin is an extra 3/8″ or more larger than the original, so the seal is floppy around the edges. I made some “precision” cuts around the bottom end to shorten it and make it fit against the back side of the vent window opening.
But it still didn’t sit right in the frame and was too thick below the window, so it bunched up when opening or closing the window.
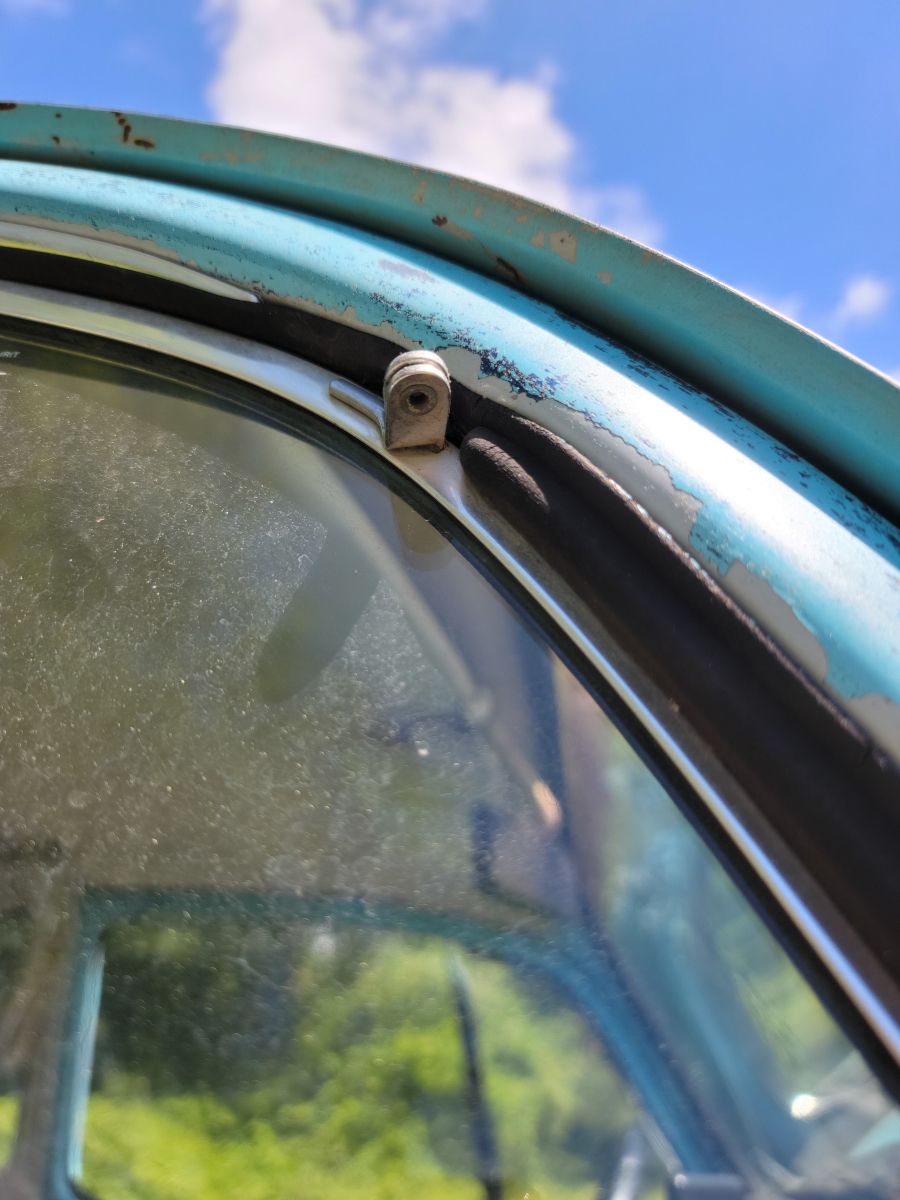
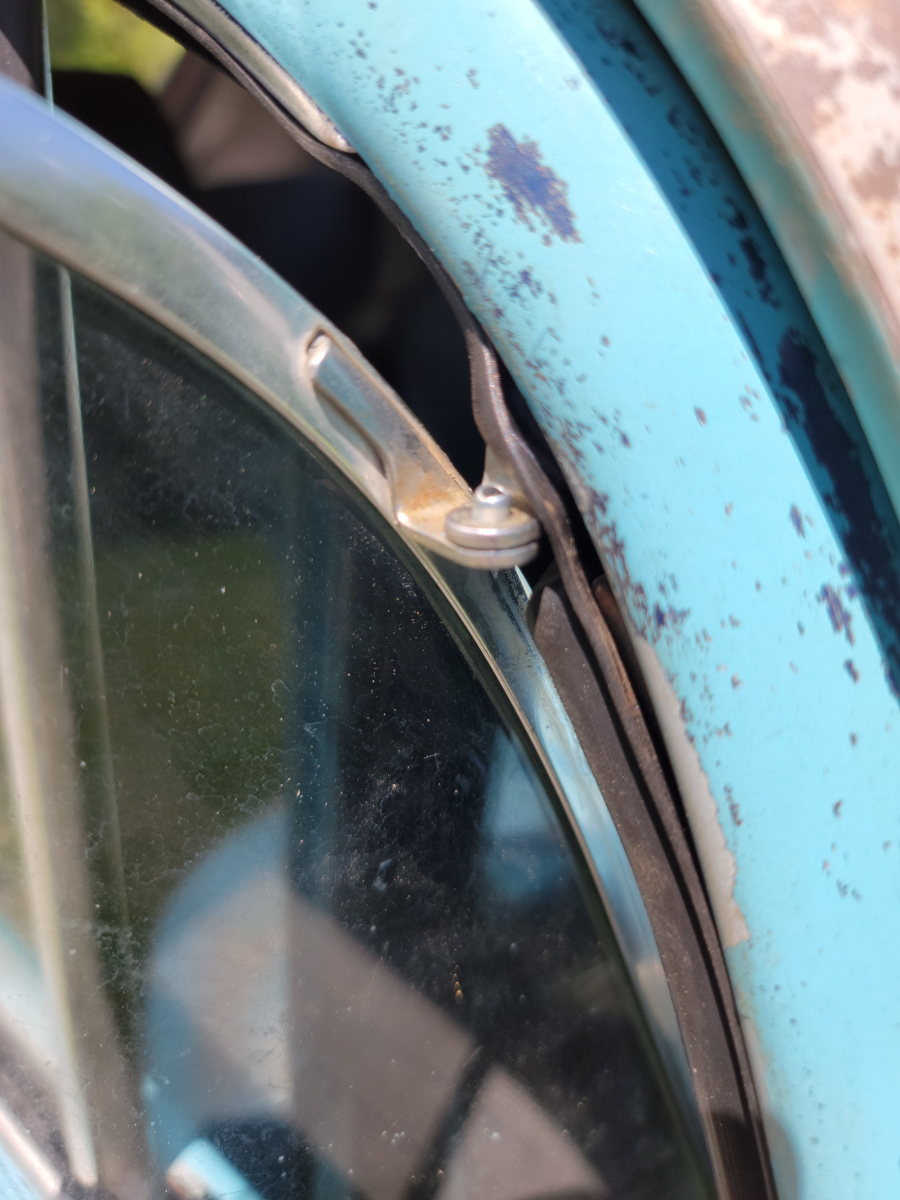
My first attempt at pop-riveting the top hinge didn’t go so well…
…so I didn’t mind having to drill that back out to put the crusty old window seal back in.
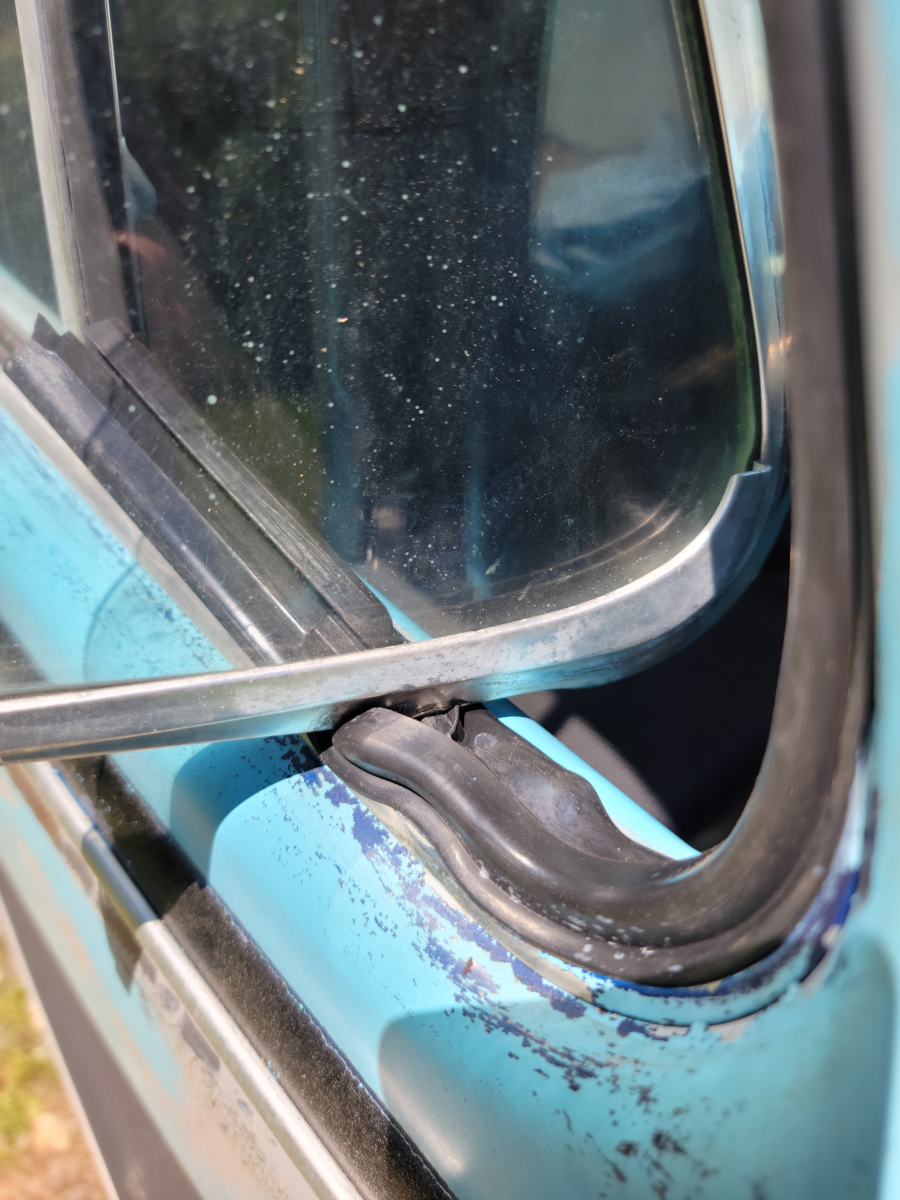
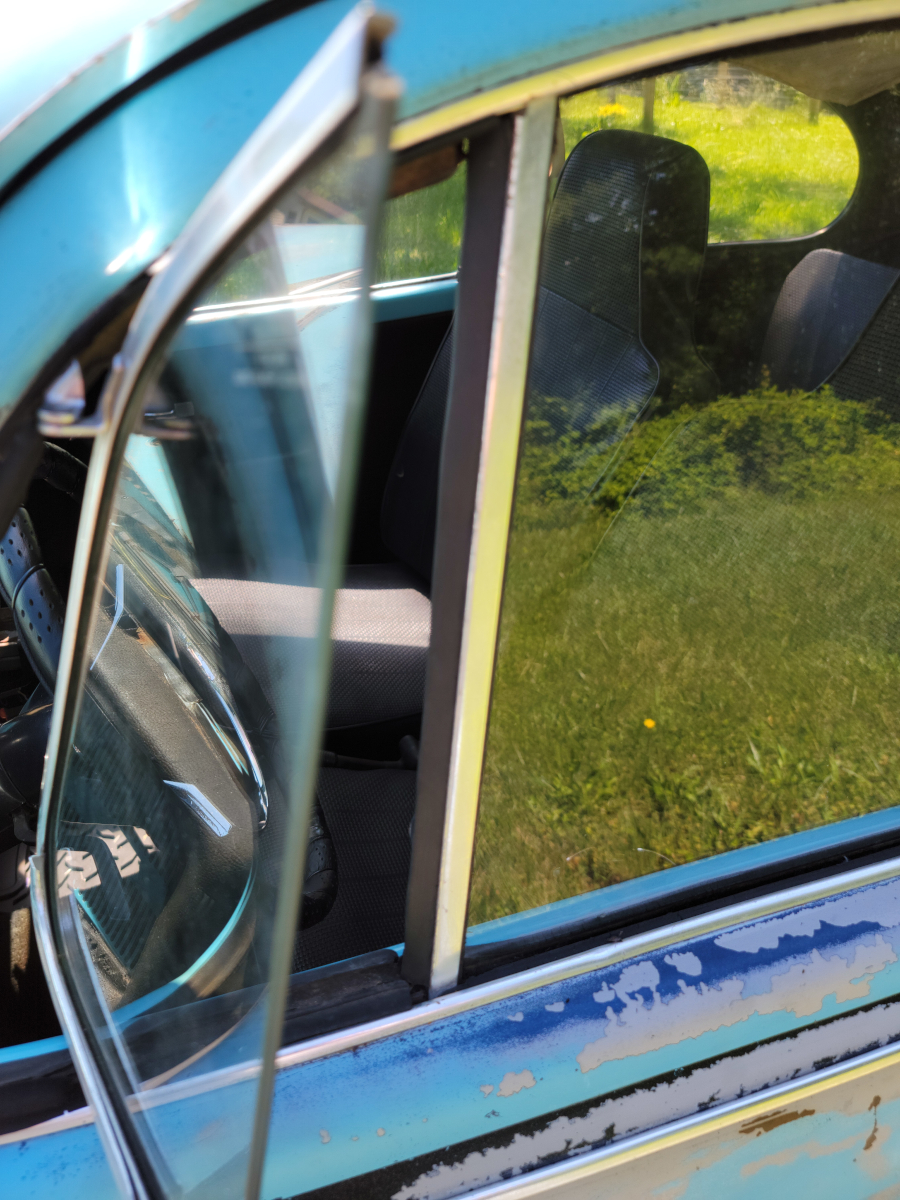
While I was there, I decided to go ahead and replace the vertical seal along the back edge of the vent window. Here are the old and new seals together for comparison.
Luckily, that went more smoothly than the main vent window seal did.
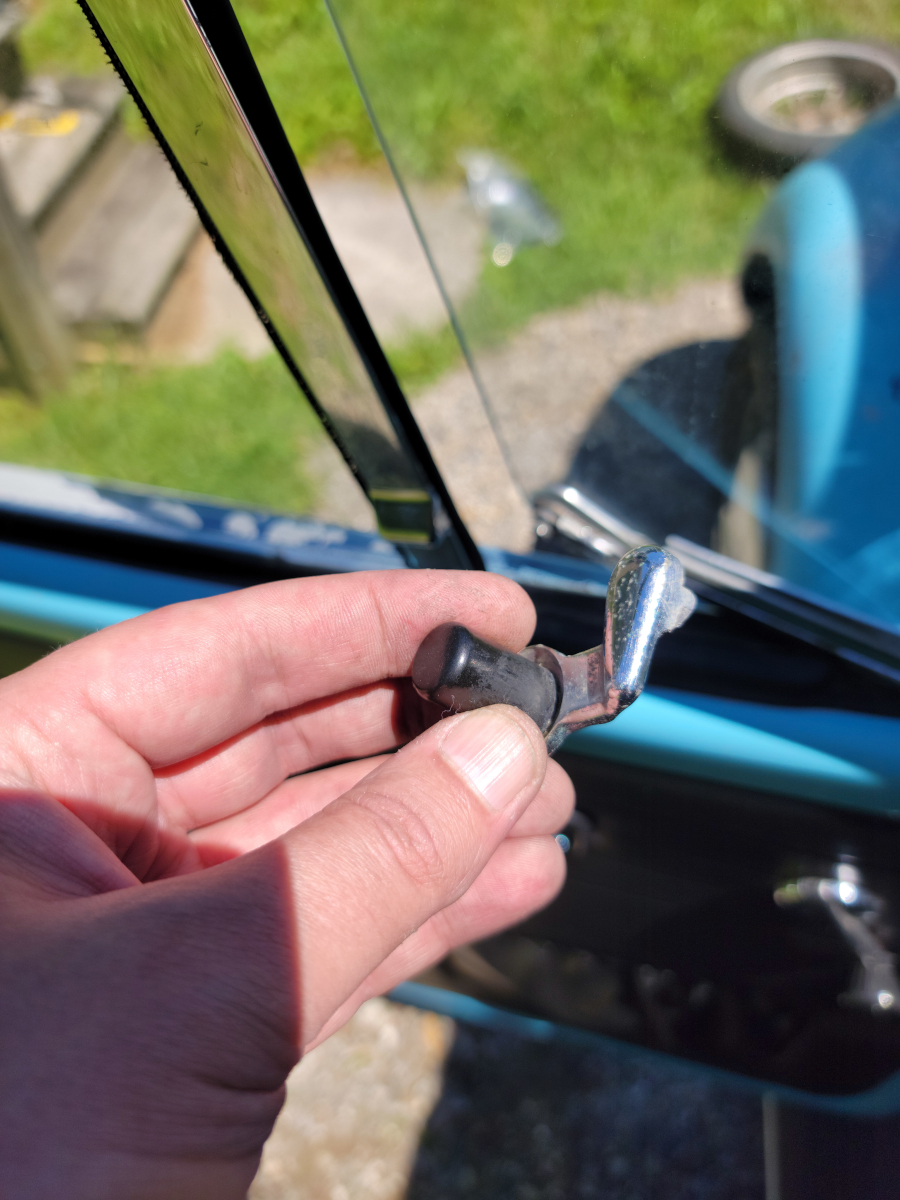
The lock/handle broke off of the passenger side vent window a while back. I have new ones, but it looks like a tough job that I’m not quite ready to take on. When I opened the driver side vent window to replace the vertical seal on it, that lock/handle snapped off as well.
It didn’t match the one on the passenger side and isn’t the correct one for this year of car, but it looks like a factory fit, so likely a window from a different year had been swapped in at some point.
The rear vertical seal went in on the driver side without issue.
With as big of a job as it looks like it’s going to be to tear the doors apart to replace all these other rubber and felt seals and scrapers, I’m not ready to take that on at the moment either. Also, the kit for both doors was over $350 and the first seal I tried to mount didn’t fit and was clearly not the right size.
That doesn’t instill much confidence in how the rest of the process is going to go, but that has basically been my experience with aftermarket parts for this old car. Nothing fits right and I can’t ever tell if it’s because the original part that was on the car wasn’t from a ’68 model or just that the aftermarket is a criminal enterprise these days.
As an Amazon Associate I earn from qualifying purchases. I also often provide links to products on other sites that do not provide affiliate income.