Be Gone, SteelStik Blobs

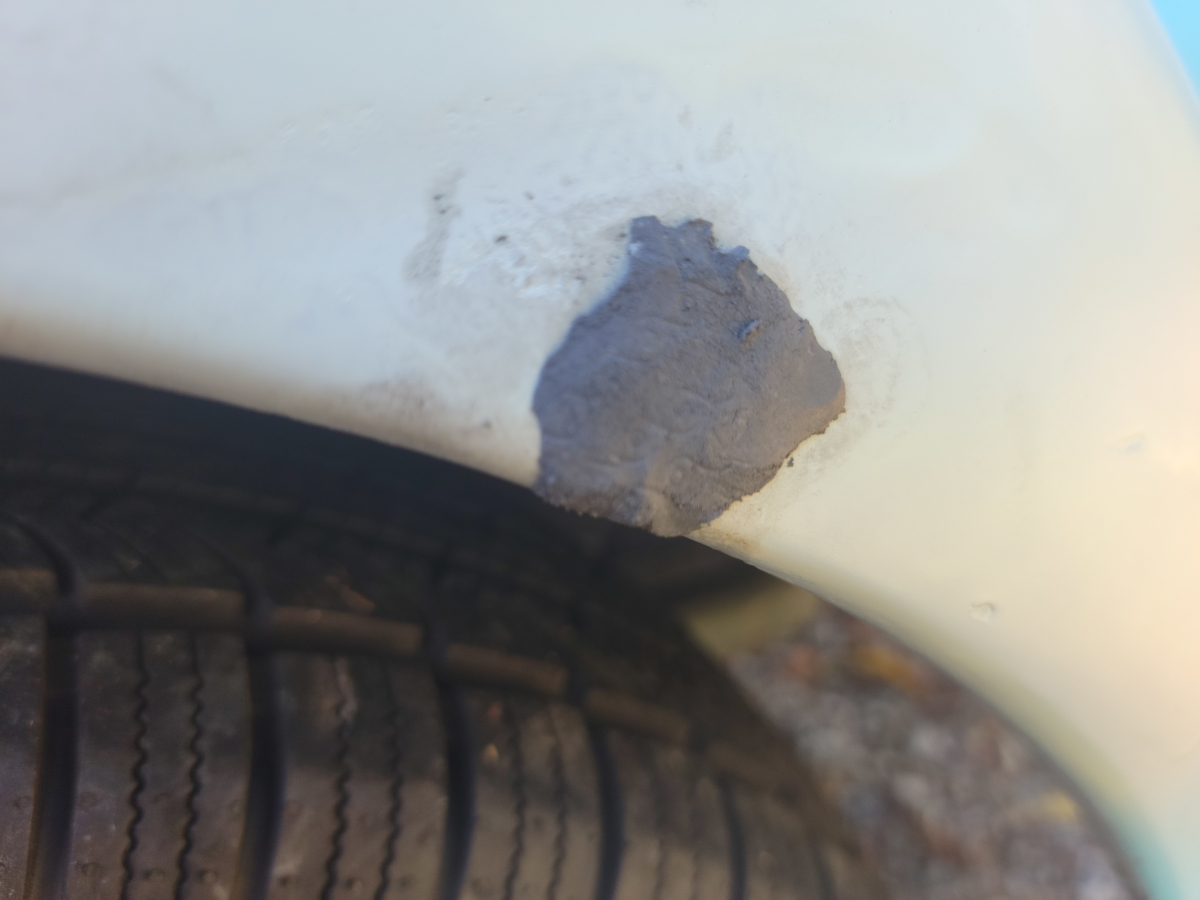
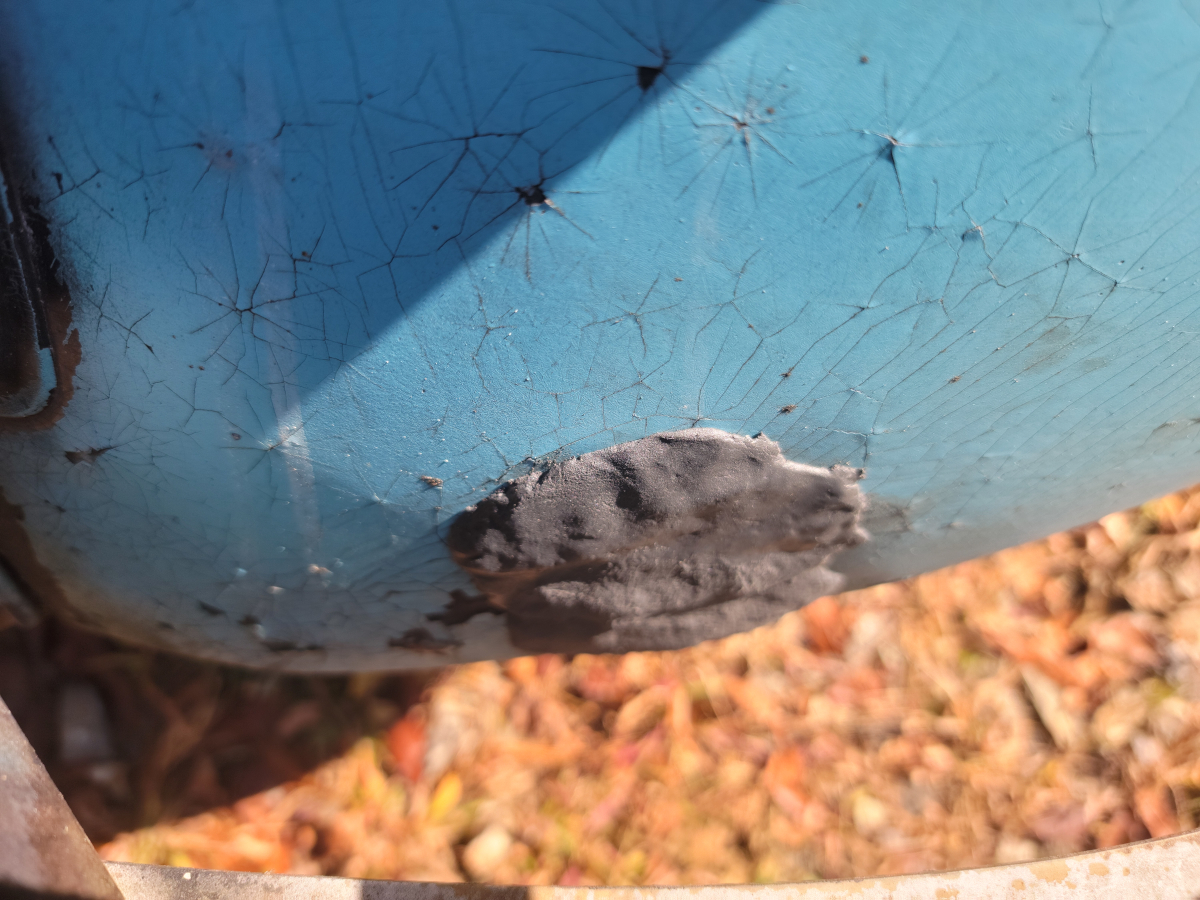
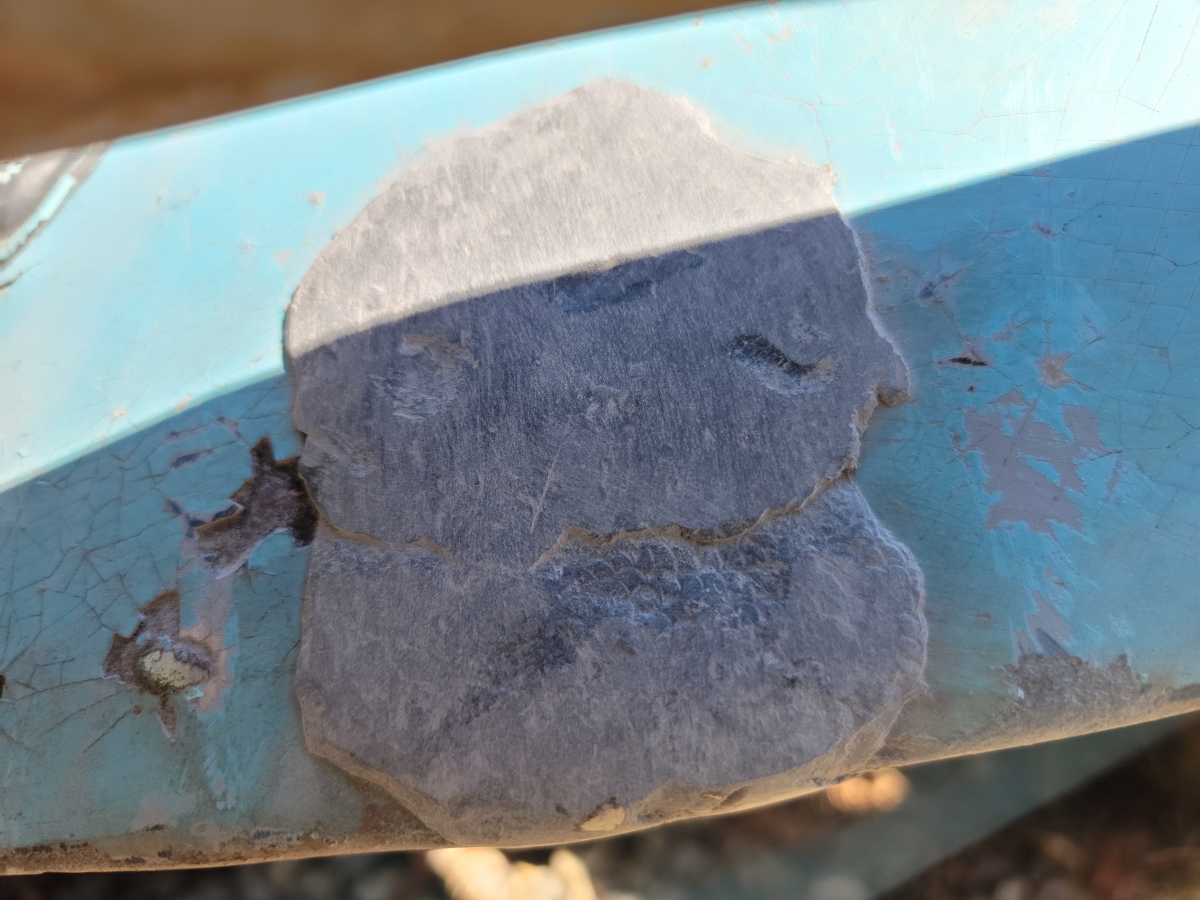
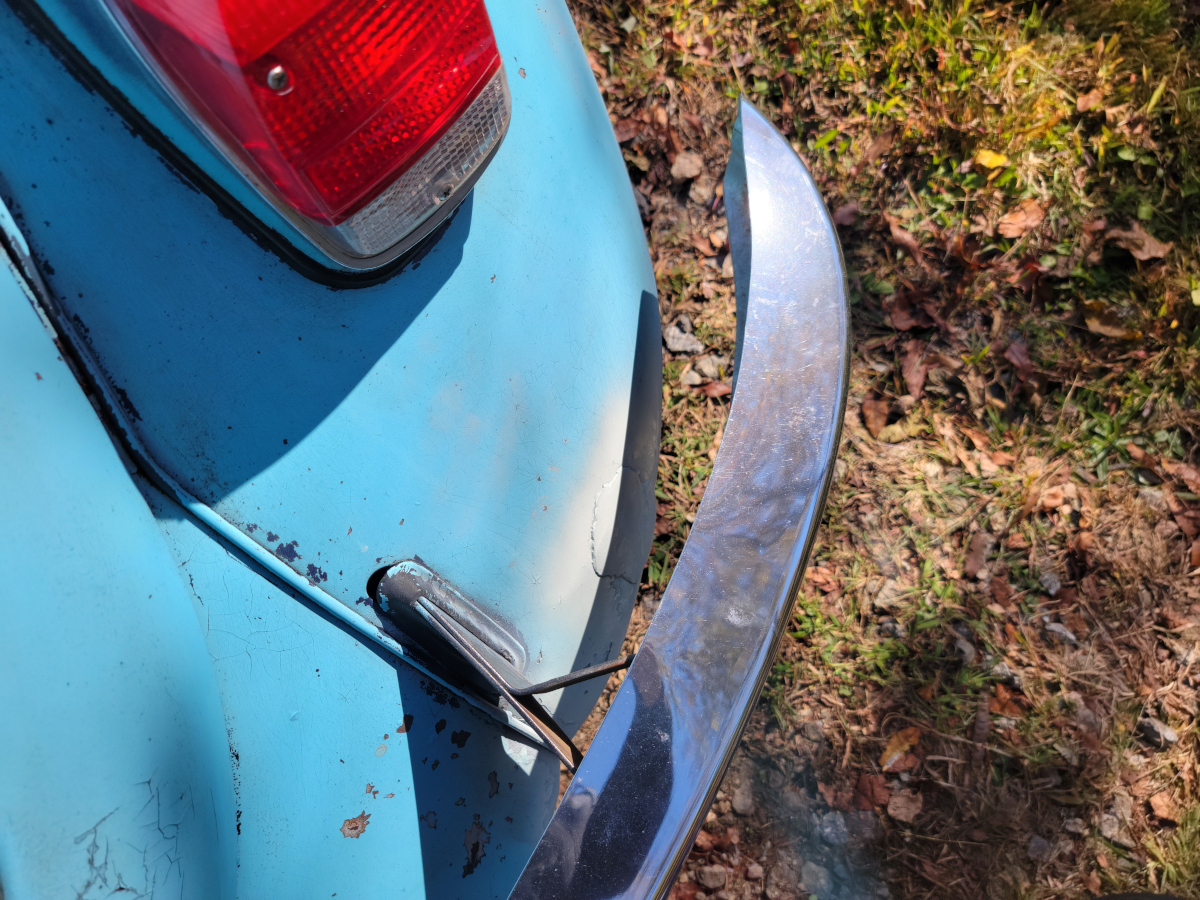
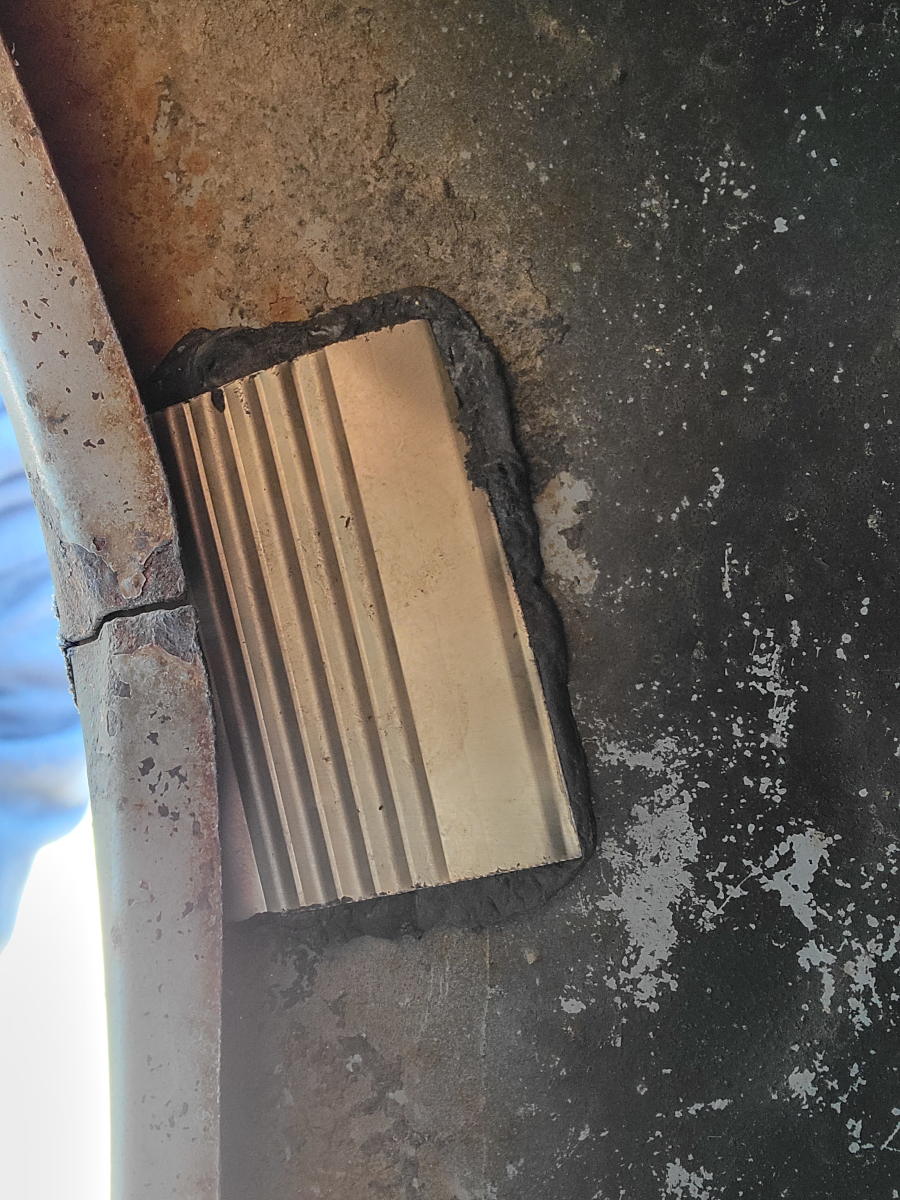
I previously added backing reinforcements and filled some cracks in the body work:

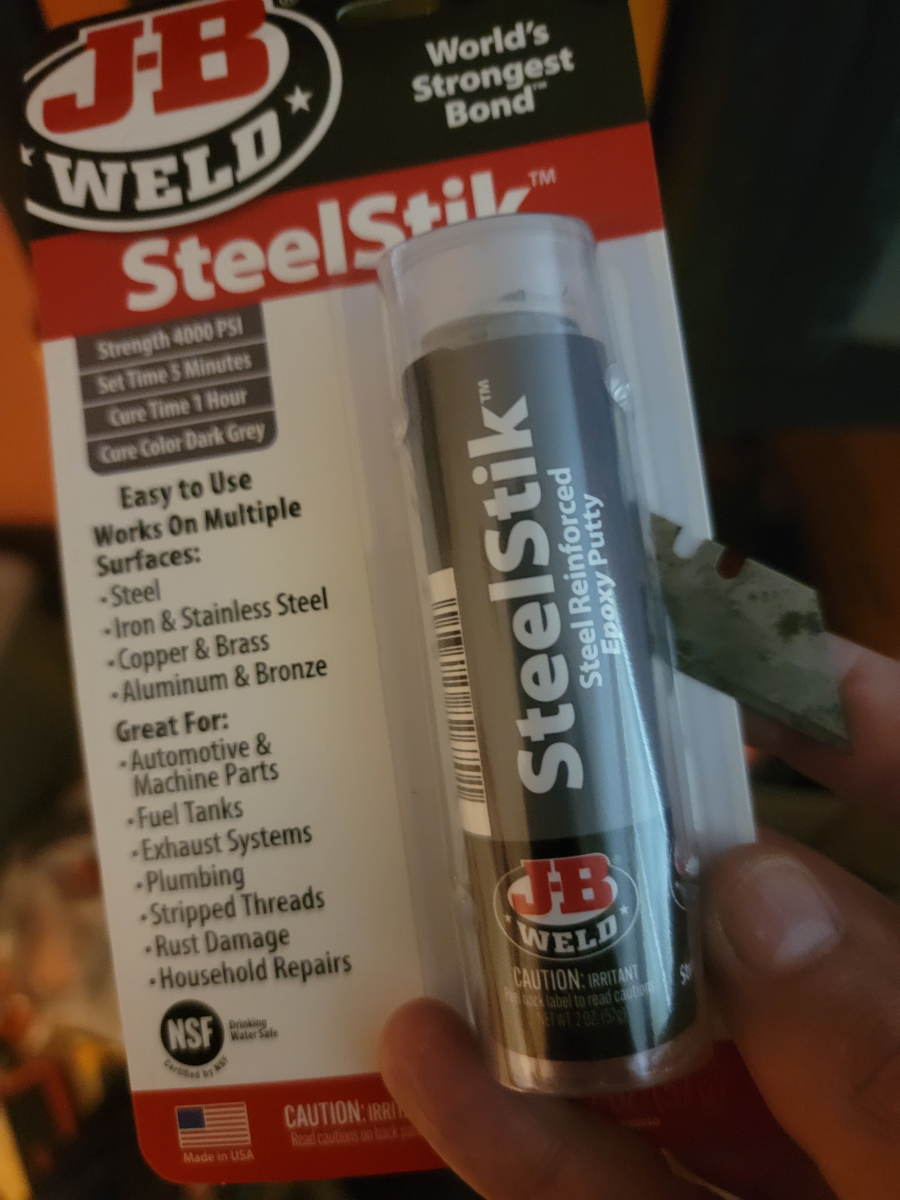
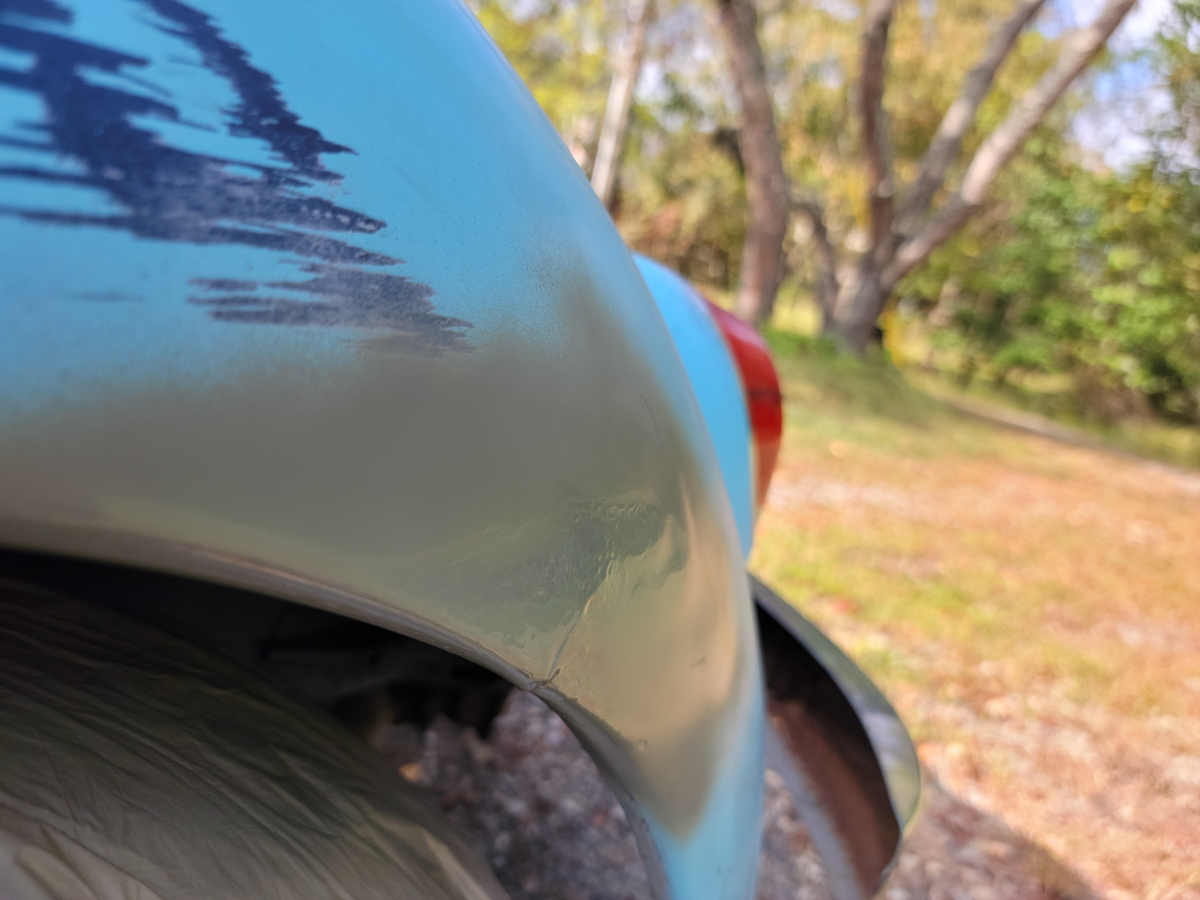
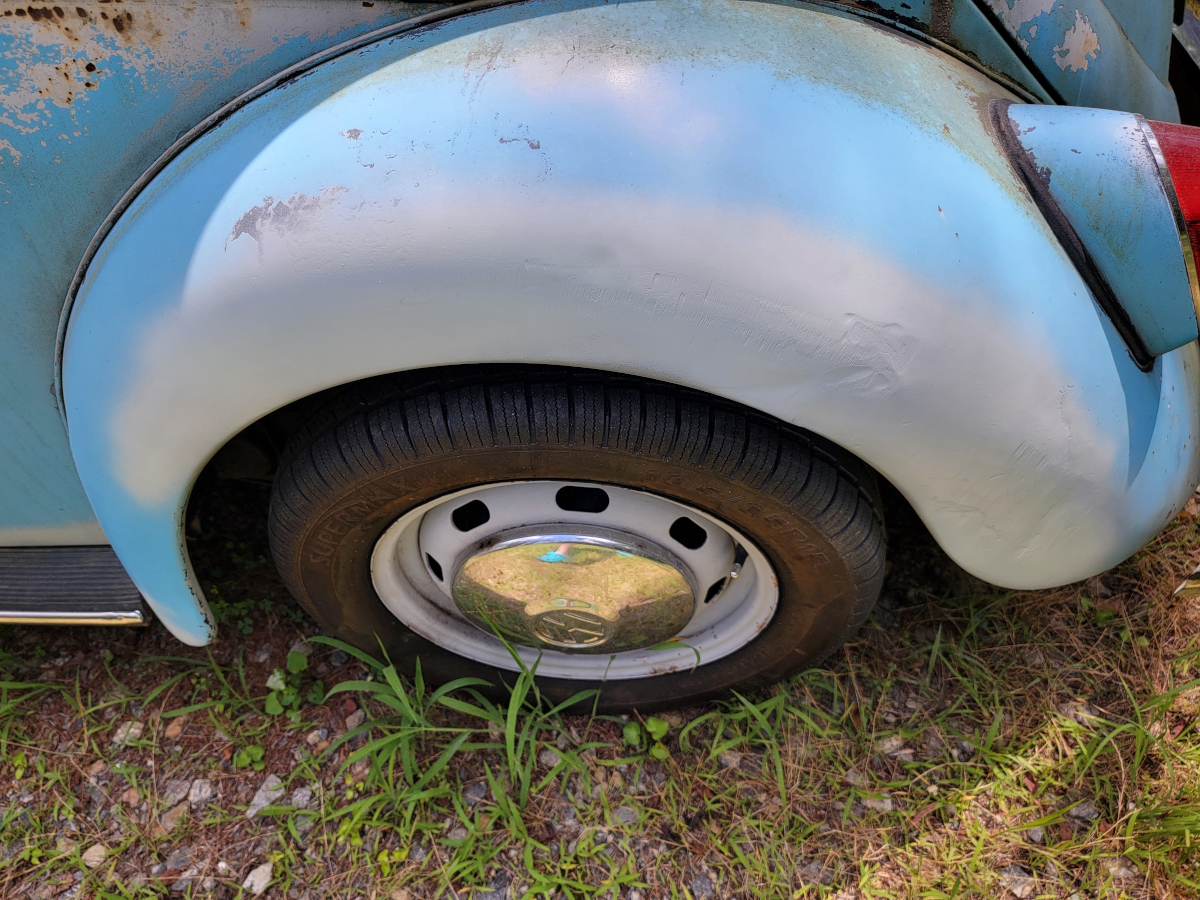
I used too much SteelStik and left a blobby mess, thinking I could just file it down smooth. After an hour with a file, I gave up on it and just sprayed the spots with Krylon Fusion Matte Vintage Blue (of course).

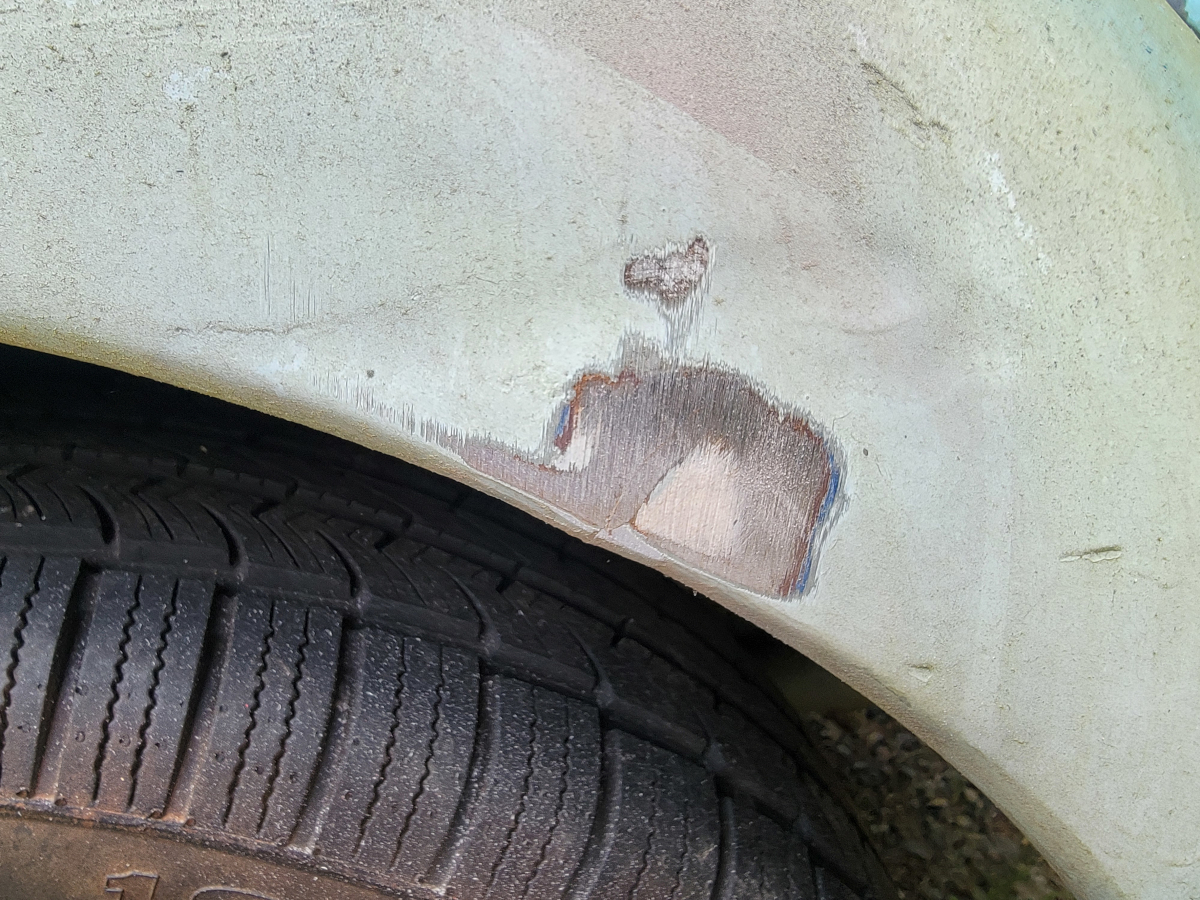
I recently picked up handy Bandfile Belt Sander from Harbor Freight (link):

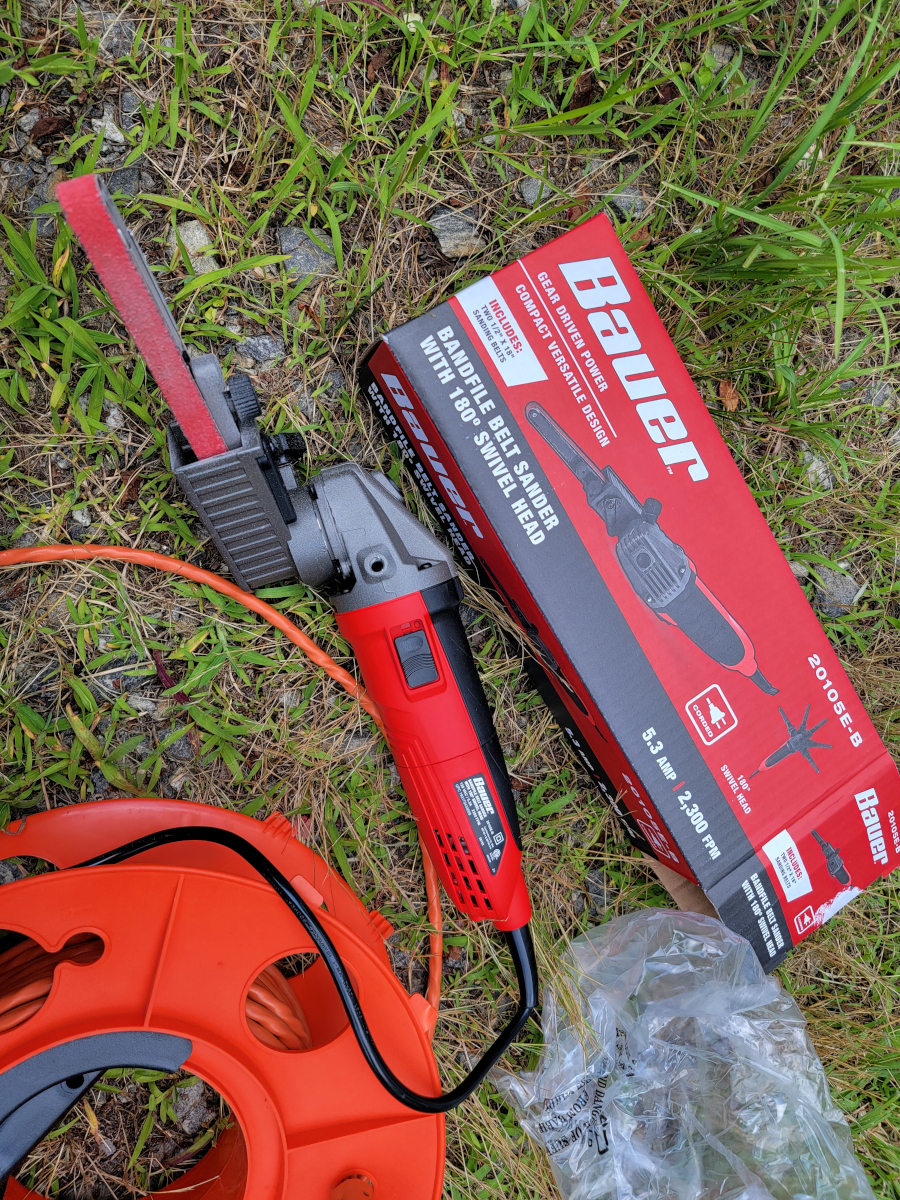
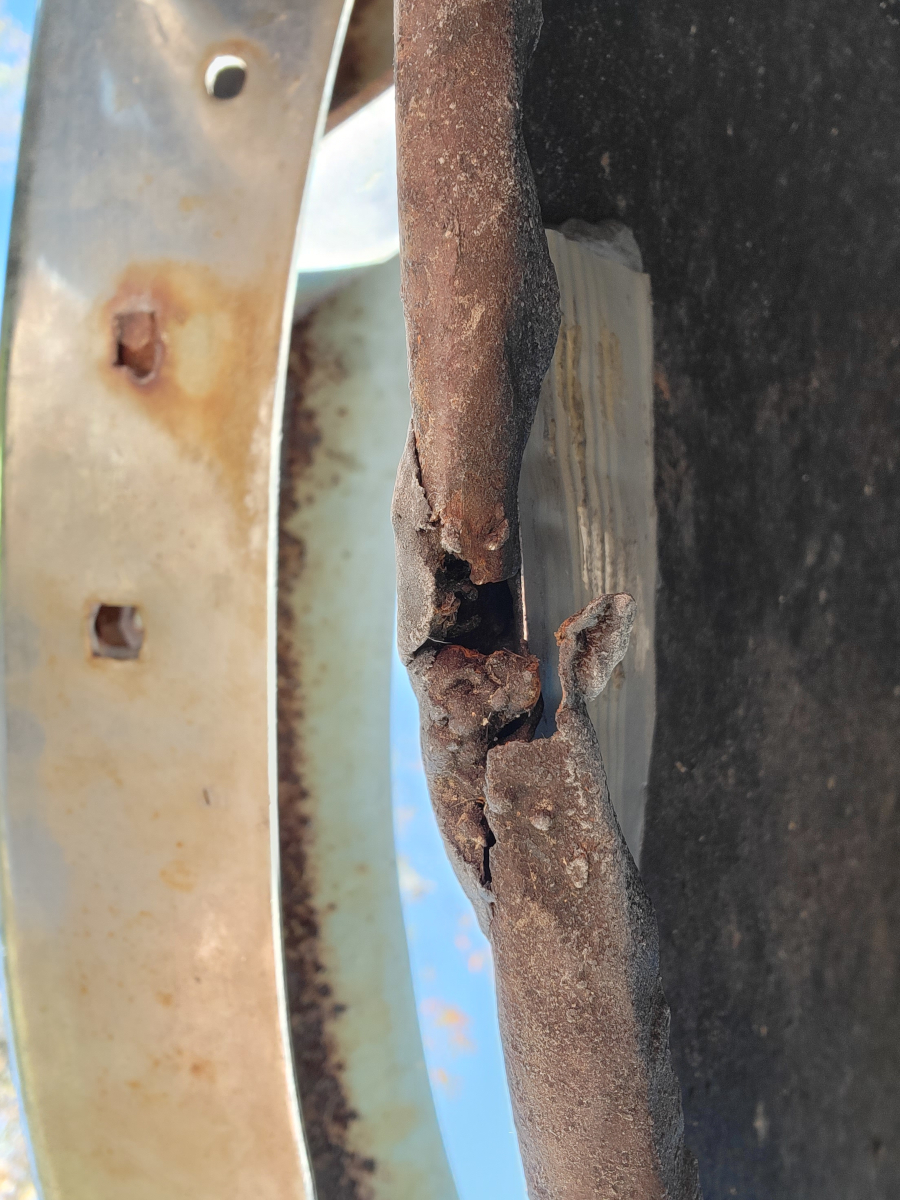
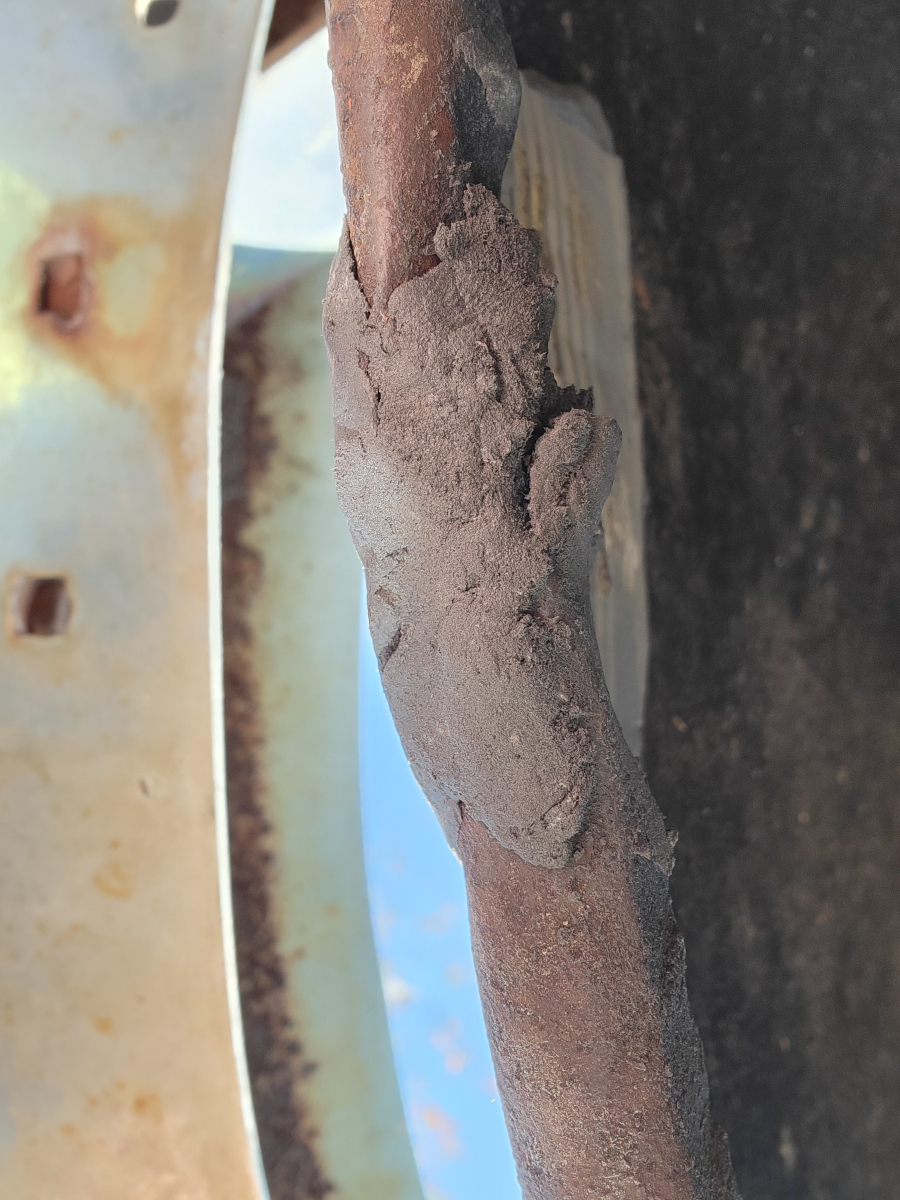
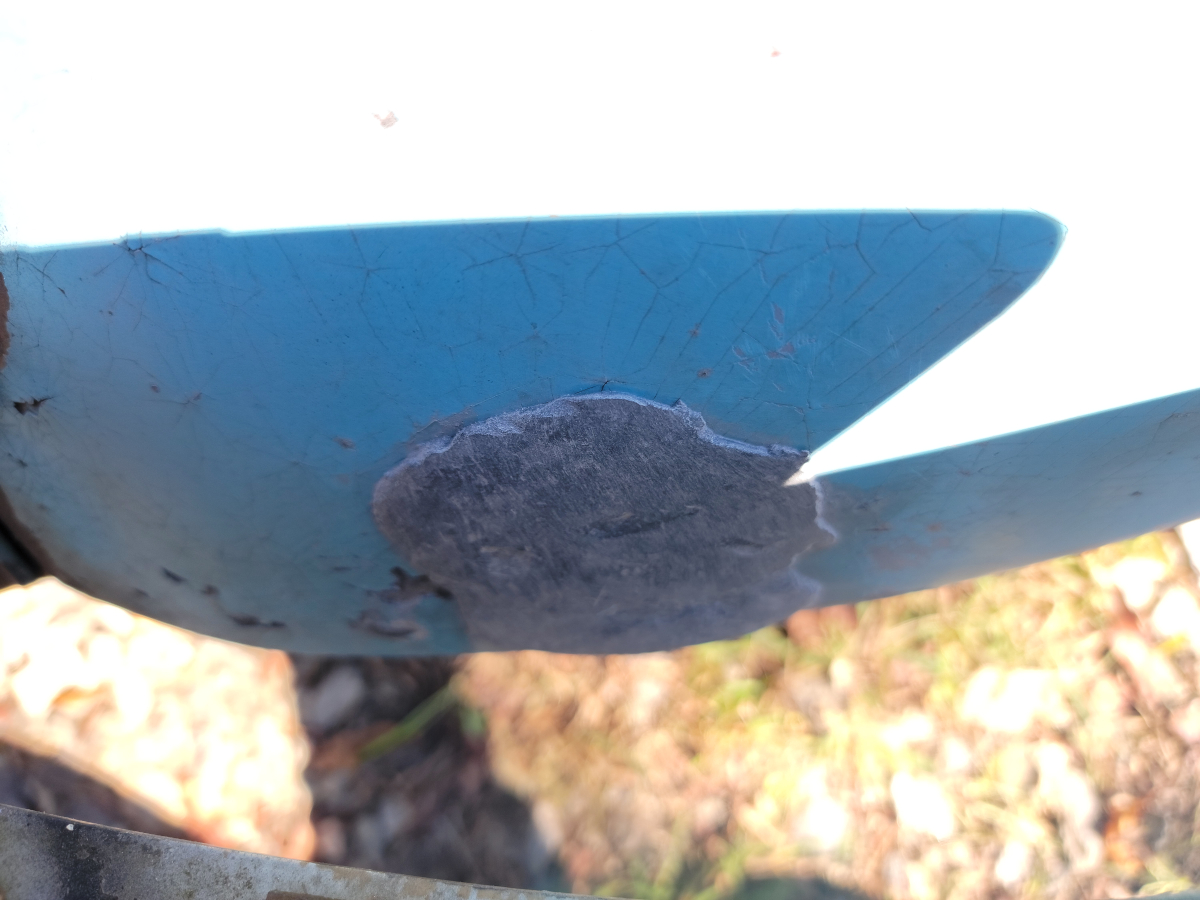
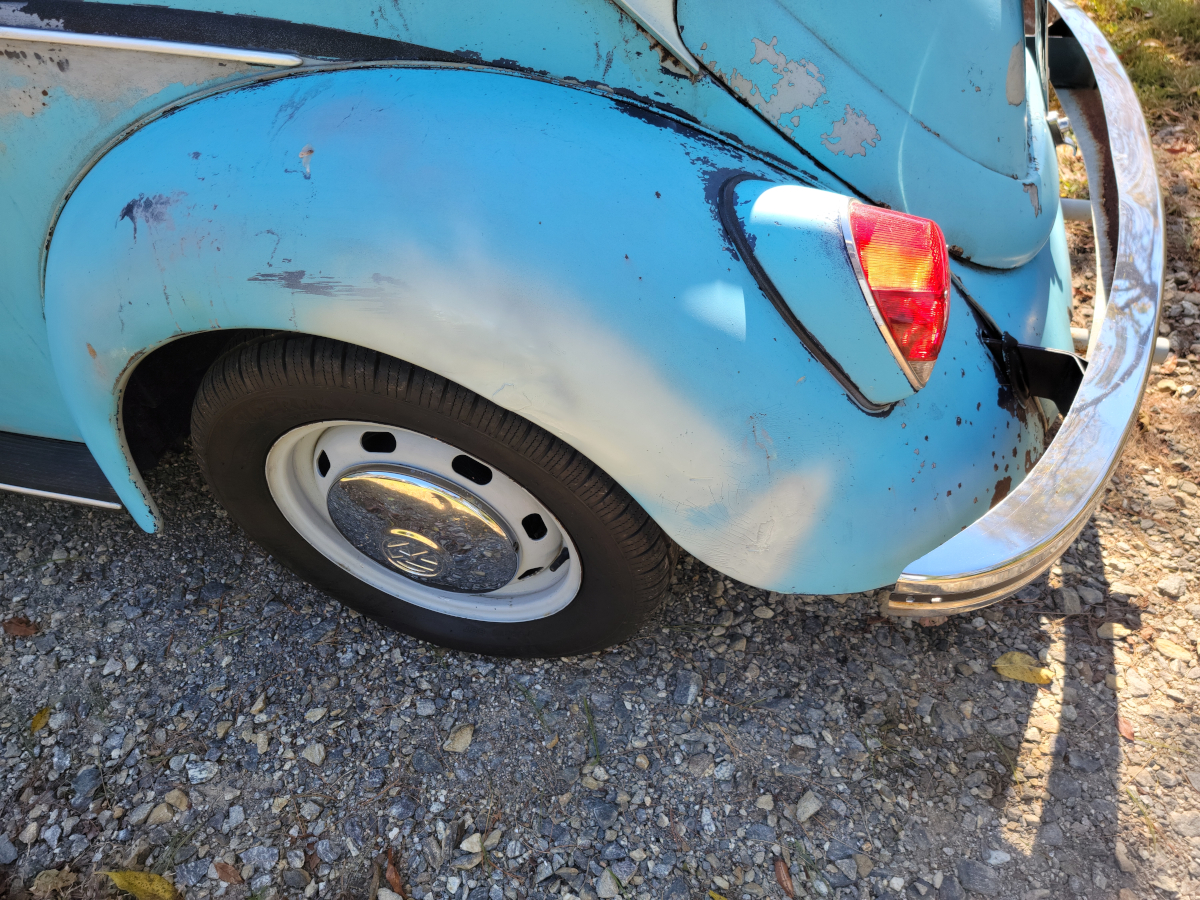
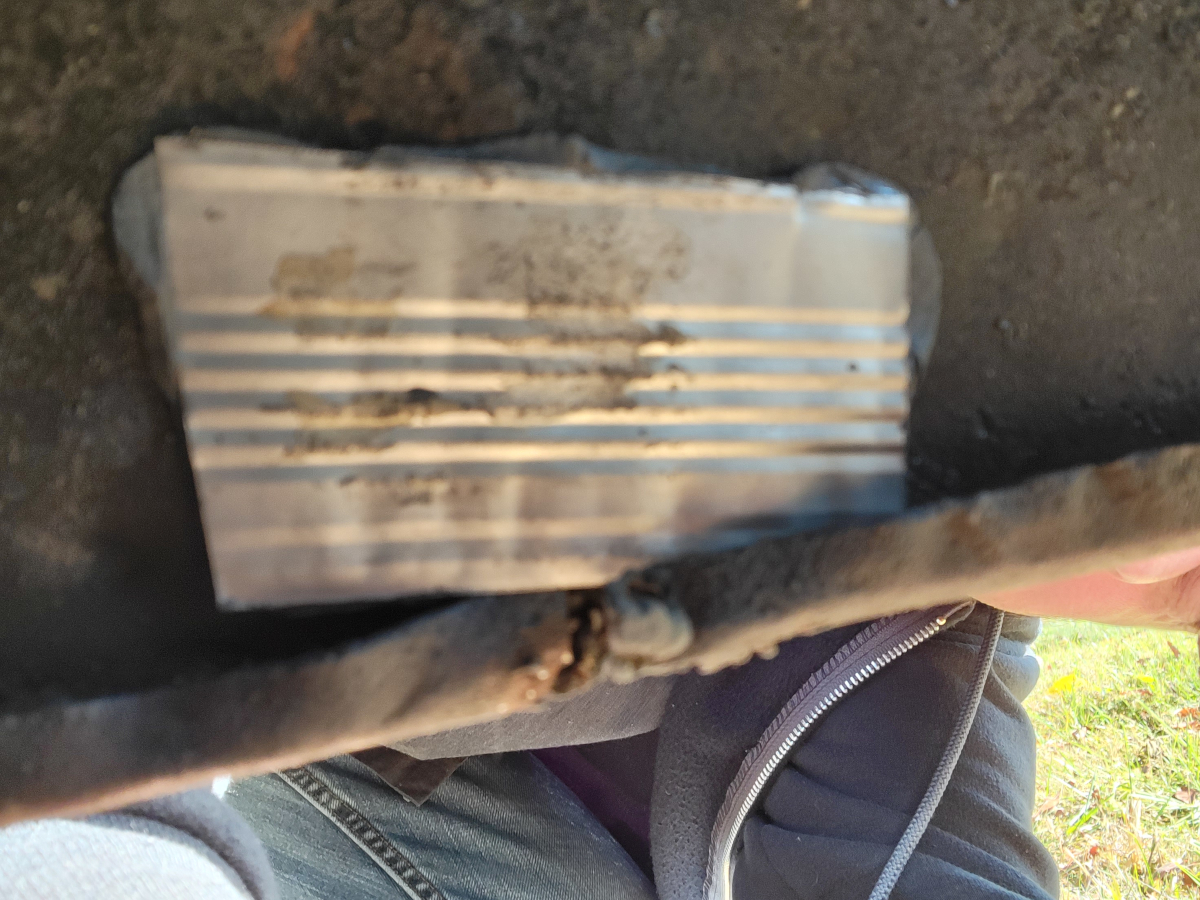
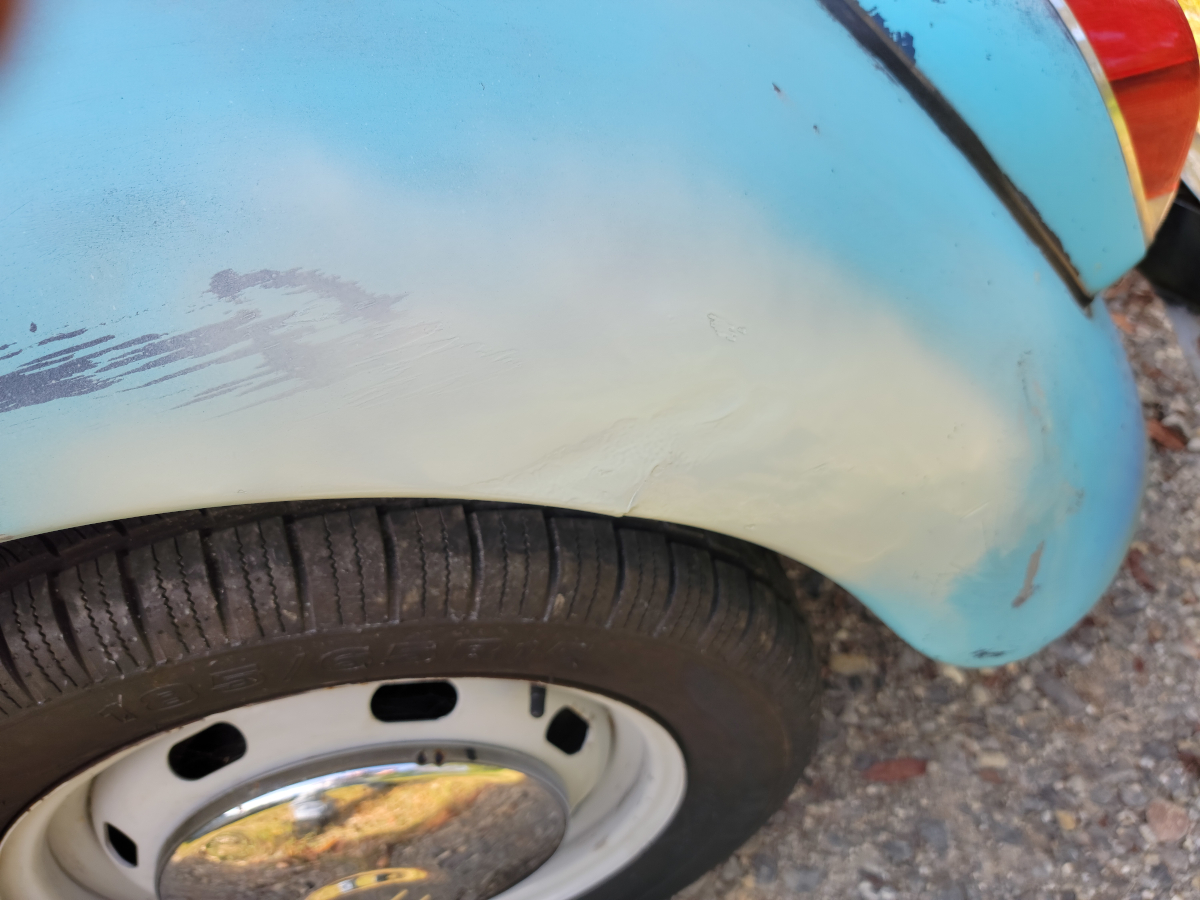
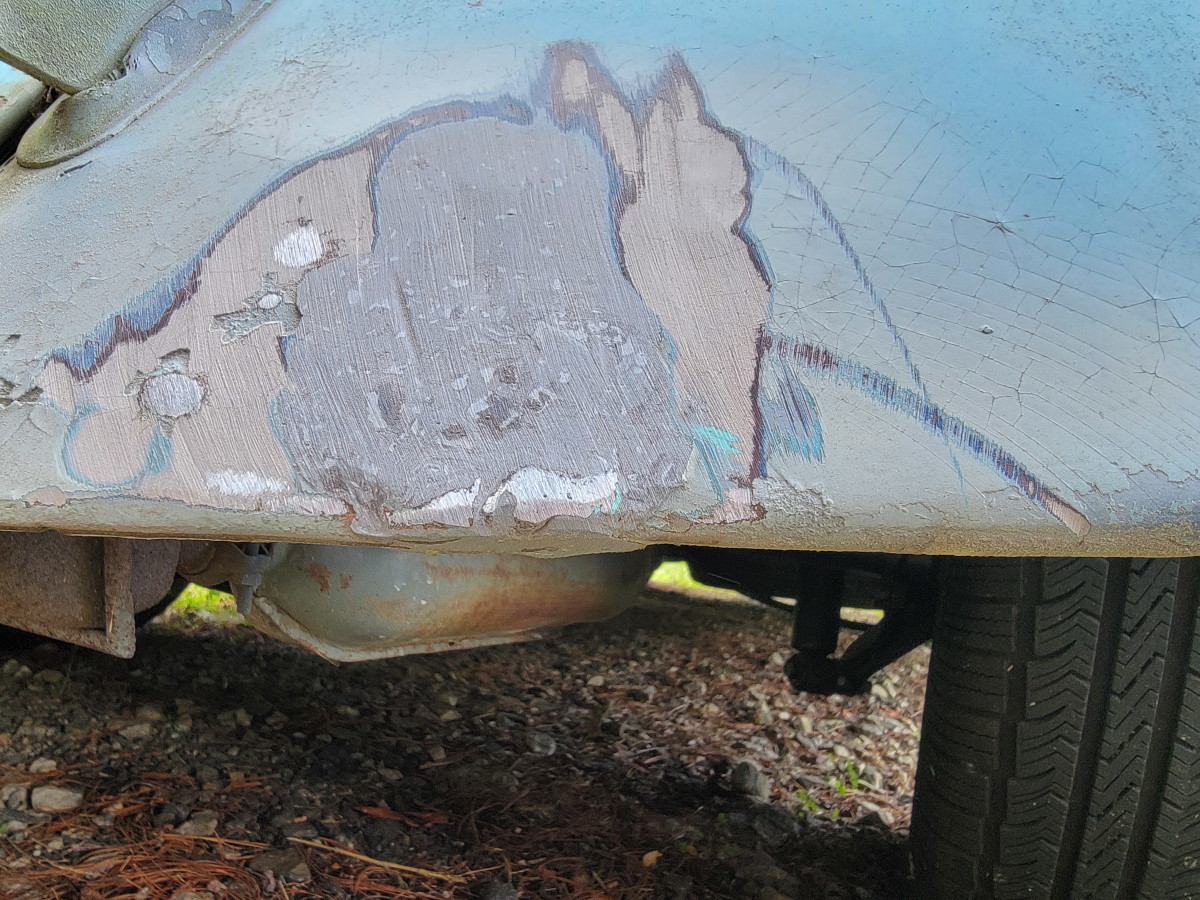
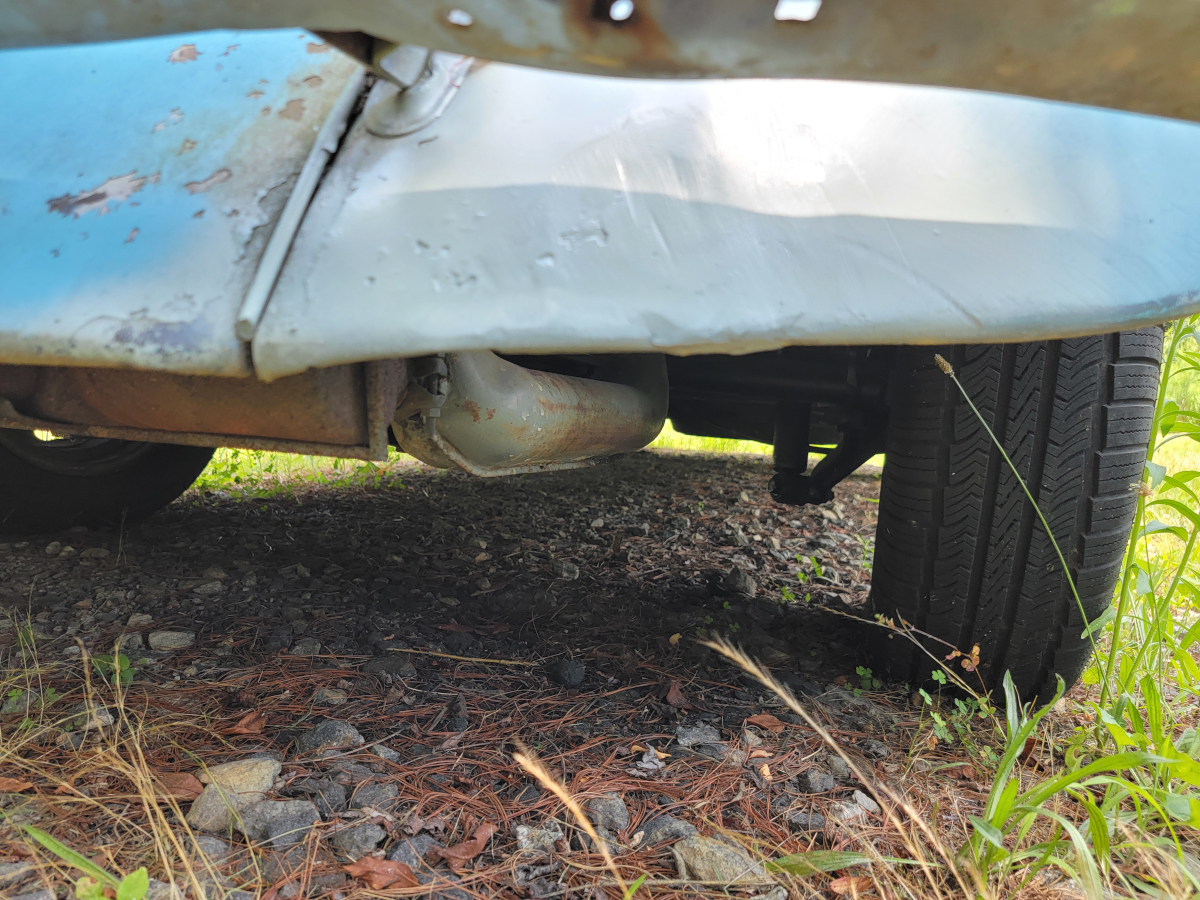
Not so much of a big deal on the side of the fender, but my regular palm sander wouldn’t have fit up in between the rear bumper and rear skirt where the other big ouchy is located. I used a little too aggressive of a belt , but it took the blob right off.

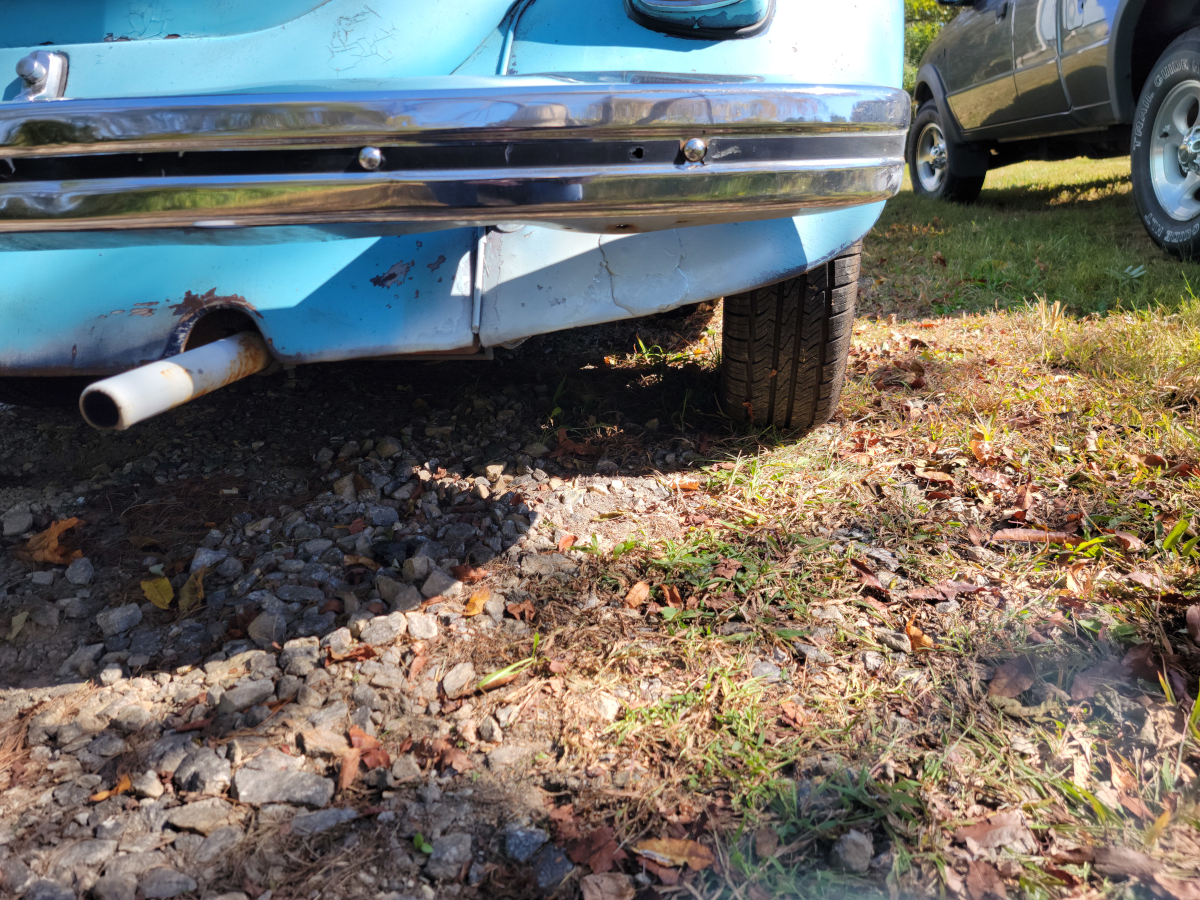
The story was the same around the back.

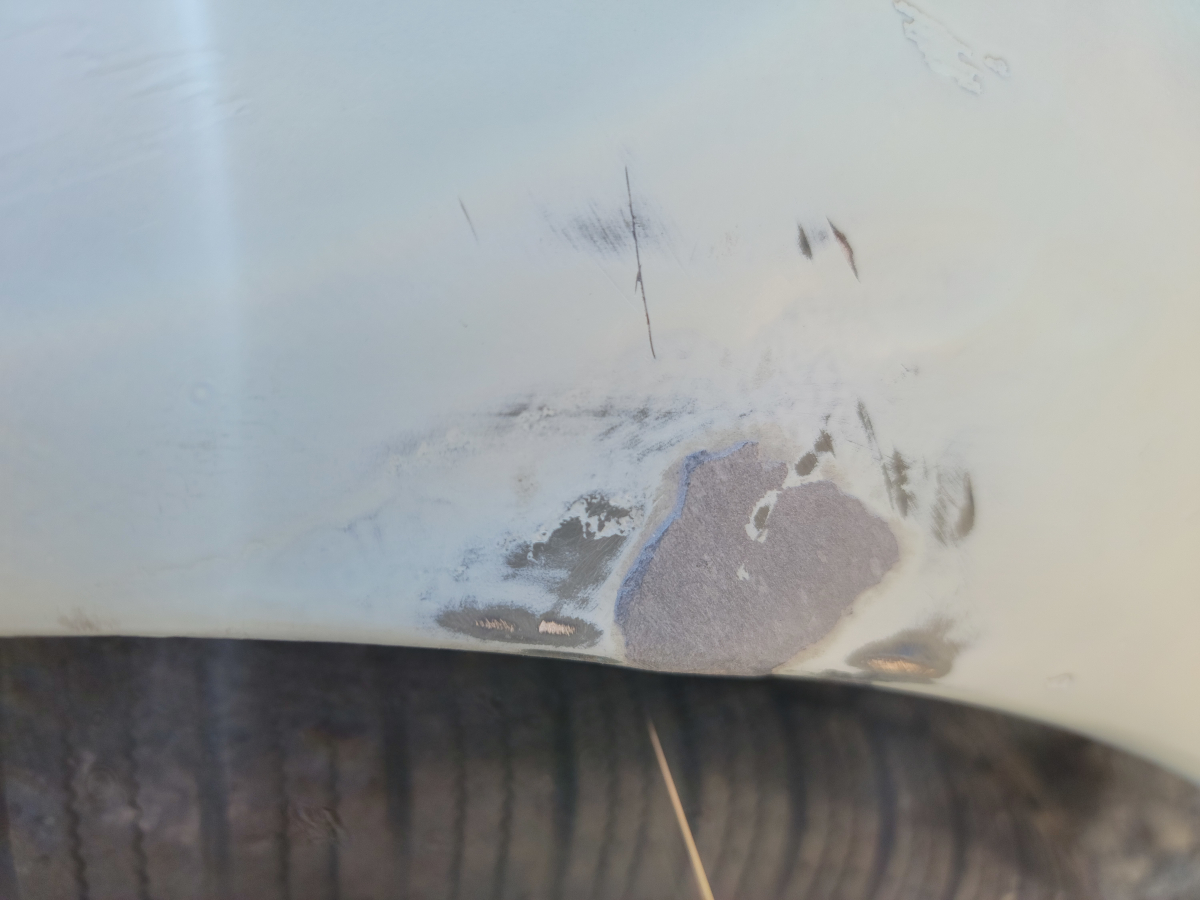
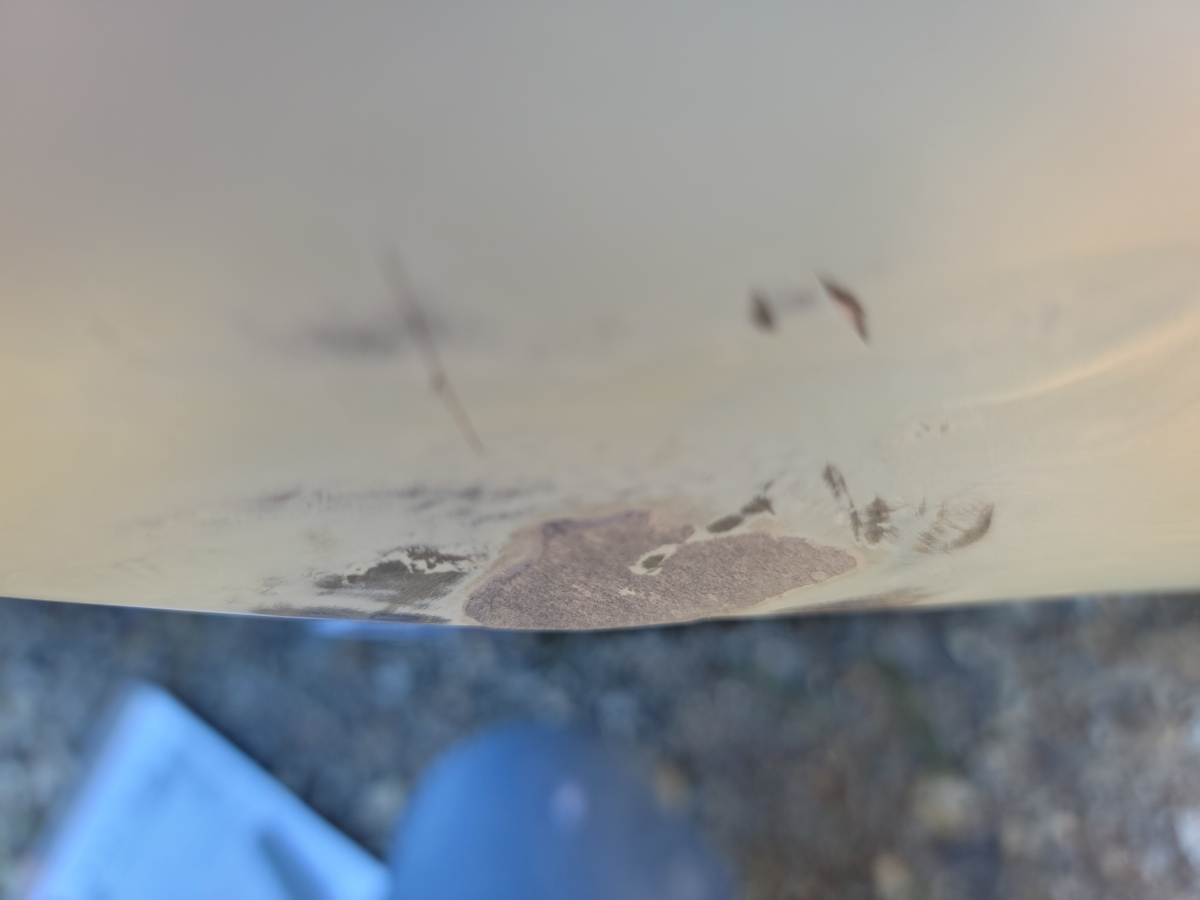
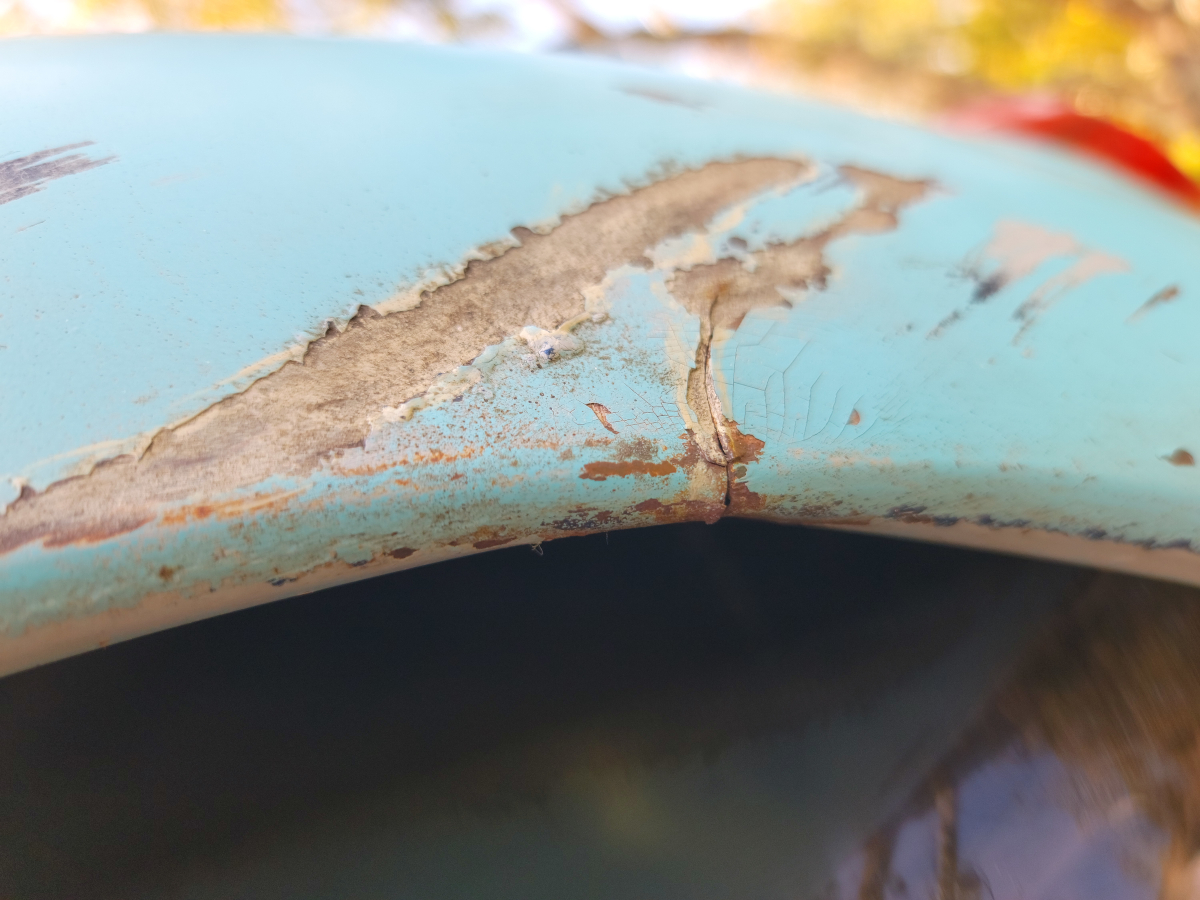
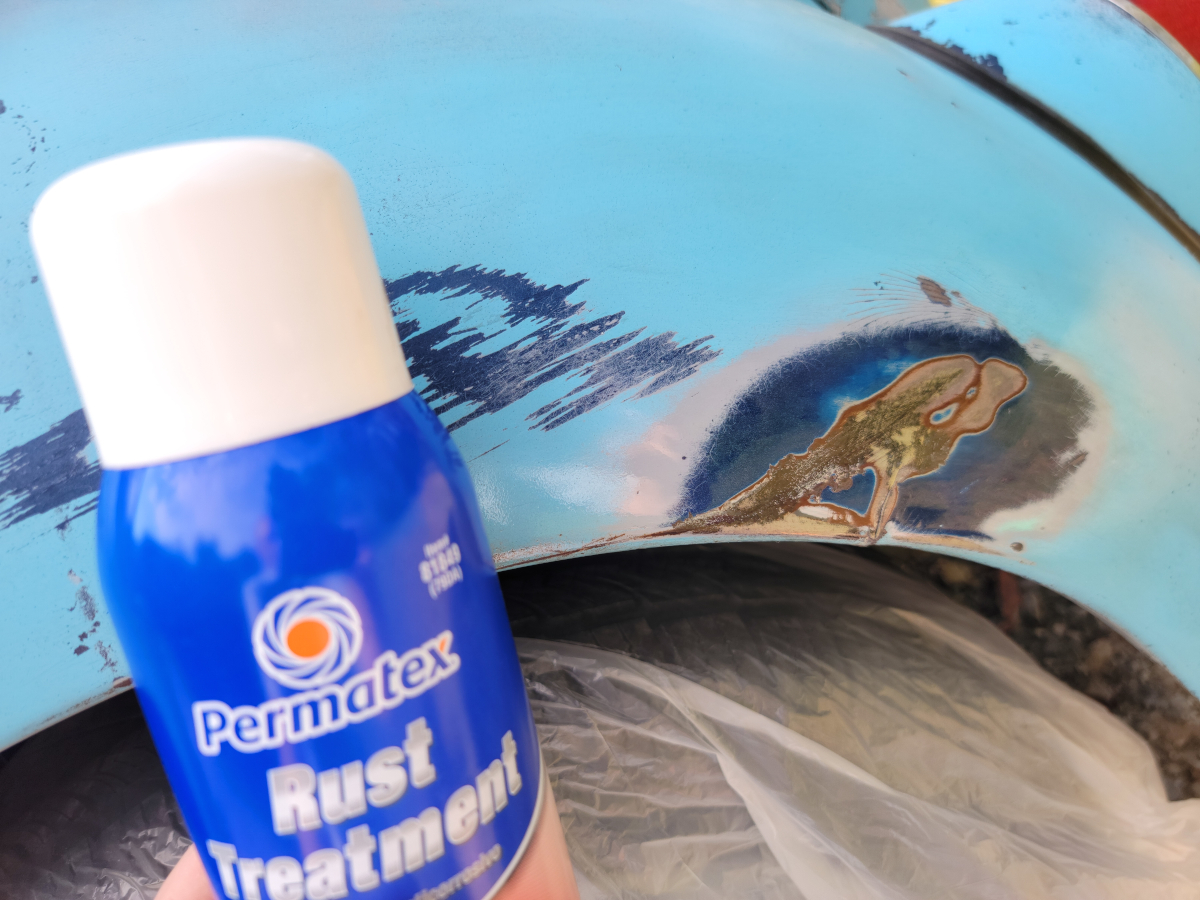
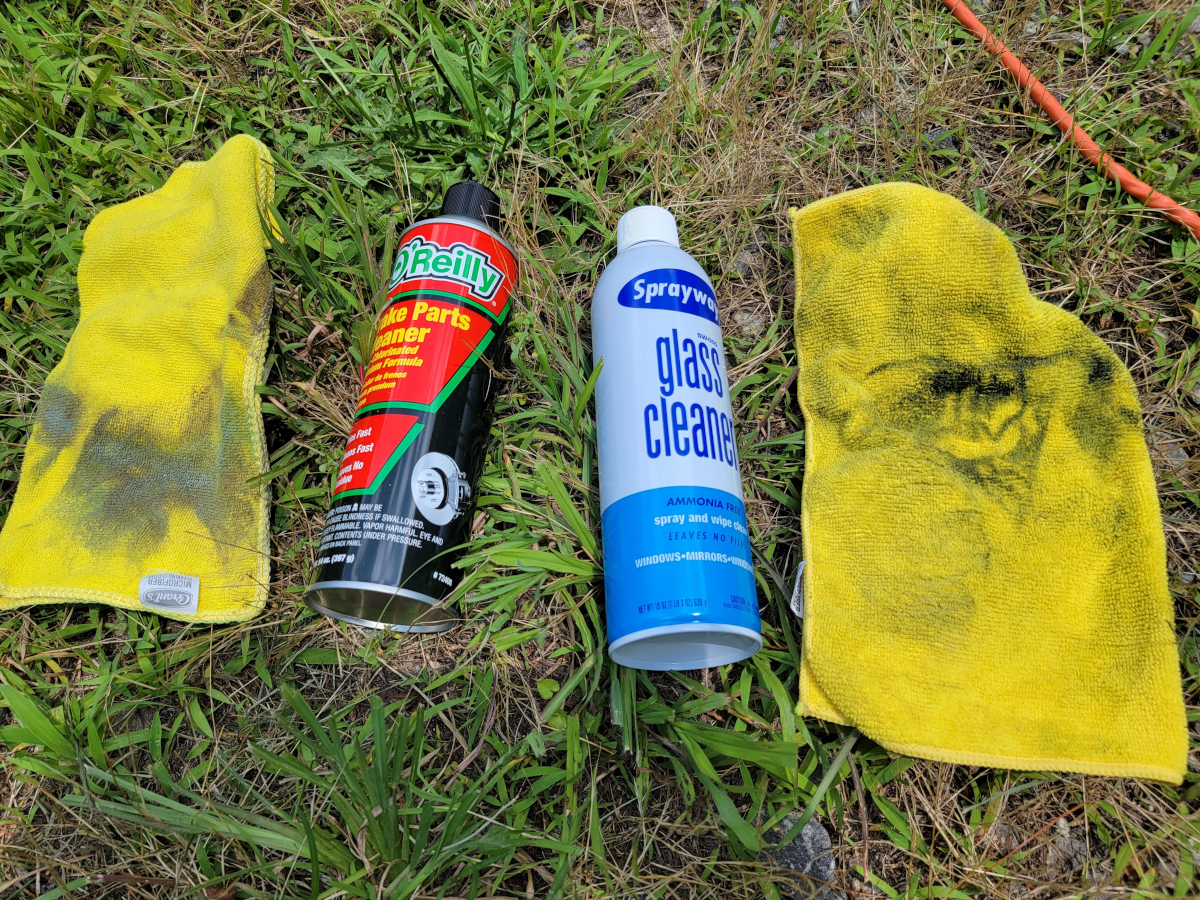
I cleaned off the affected areas with brake parts cleaner, then Sprayway glass cleaner.

Then I added a couple coats of primer.

And again on the rear…

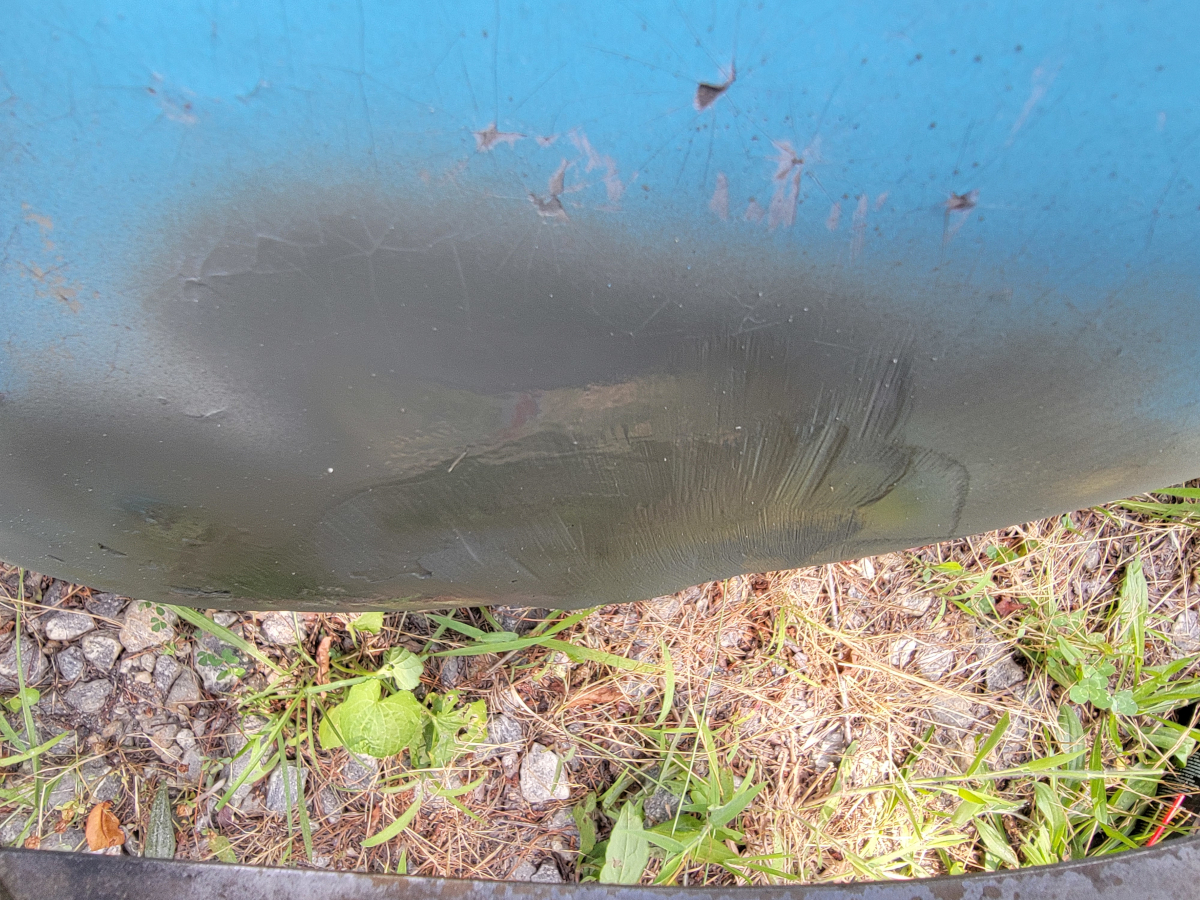
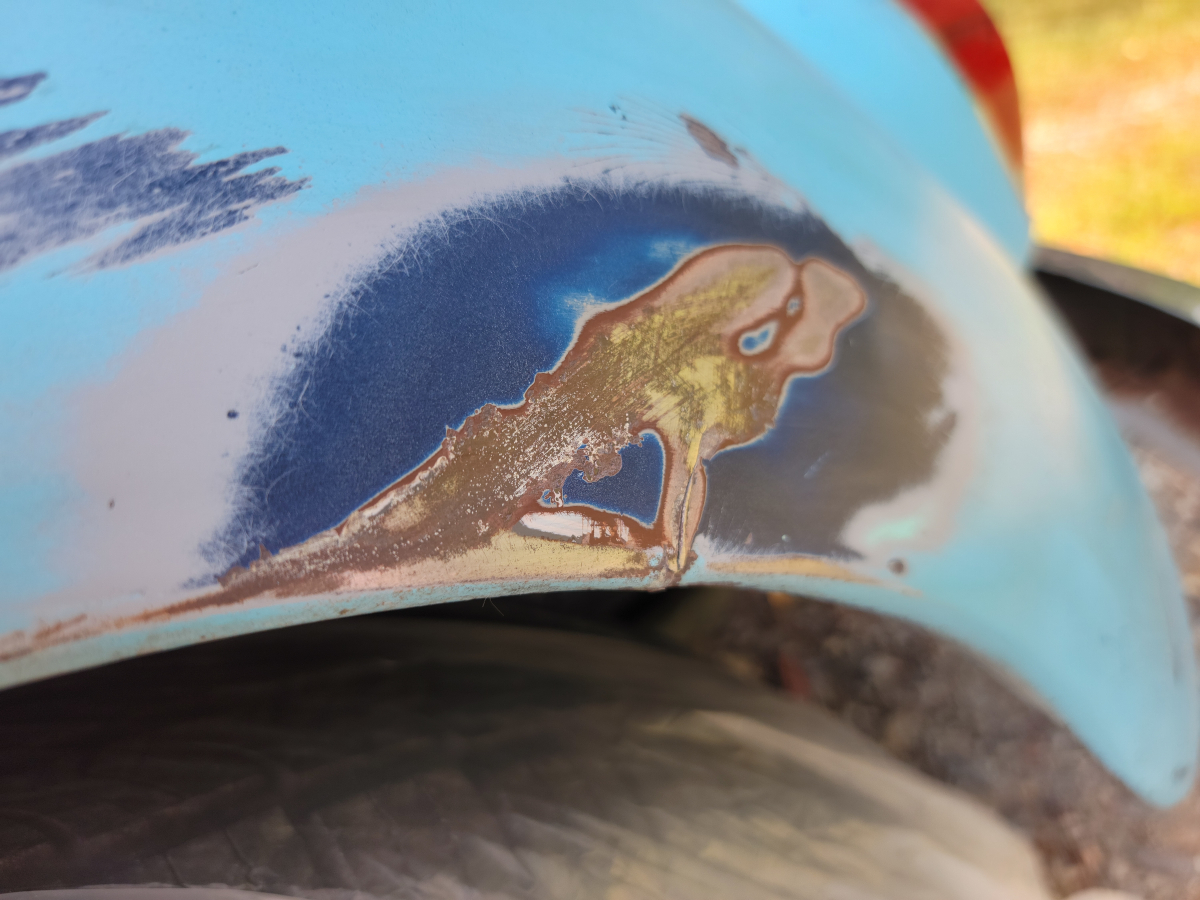
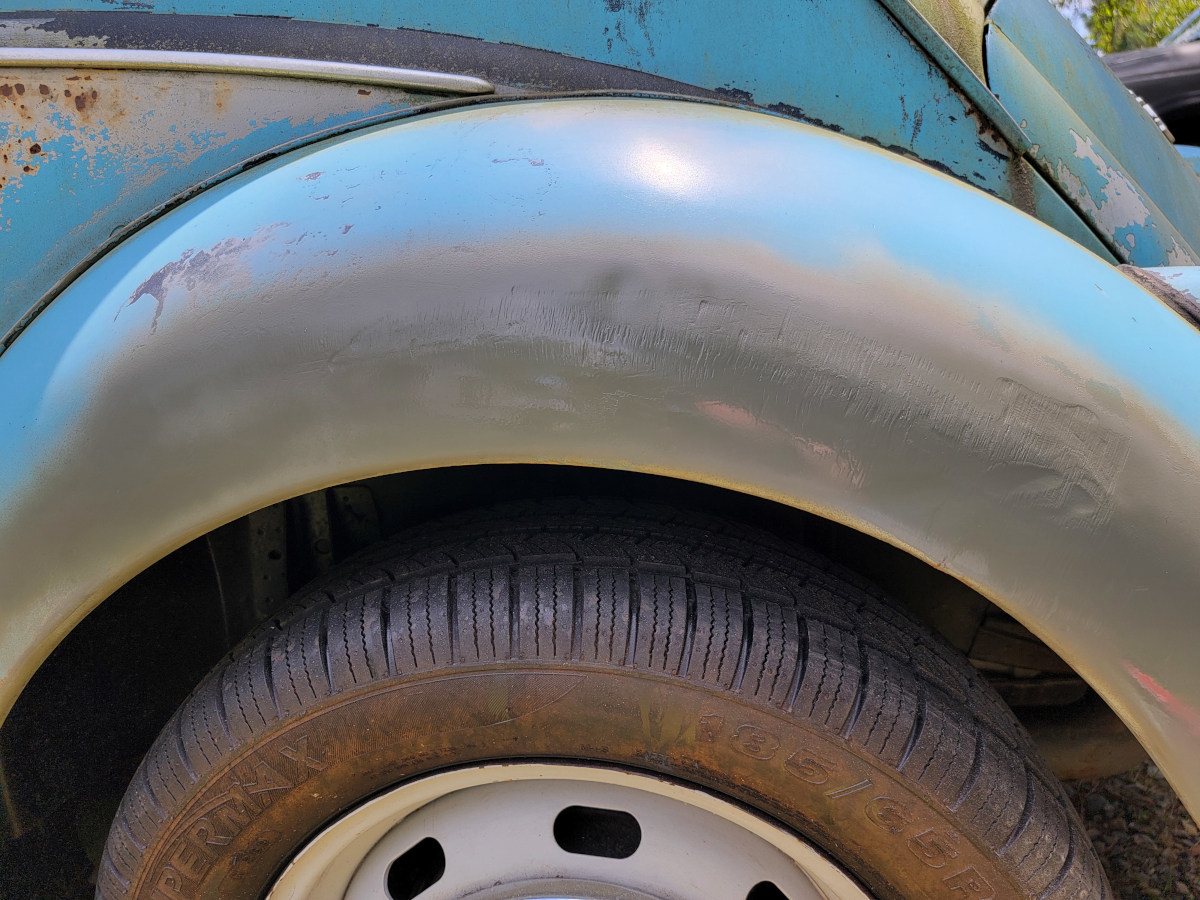
Then I wiped it all down again and sprayed it blue.

It’s rough as guts, but at least it’s smoothable-outable now. Those fenders are covered in a thick layer of filler, though the steel as visible from the underside is totally smooth and unharmed. I’m guessing they may just have rust pitting like the roof did and bonnet does.

While I’m out here, I may as well fit those new wipers I bought.

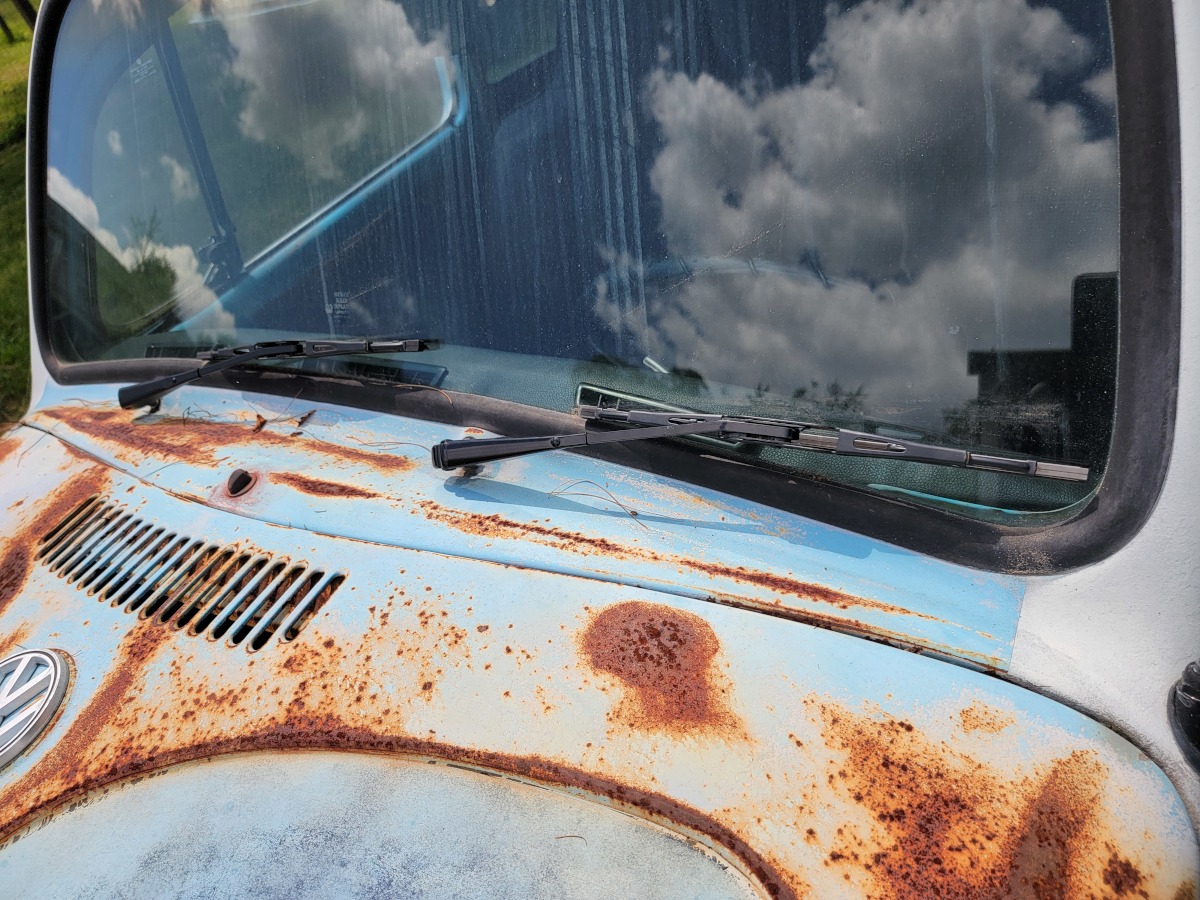
This after giving up on finding springs small enough, yet strong enough at any local hardware or auto parts stores, as seen in the series of posts below:

SteelStiks Part 2

I had such good luck with the patches in the fenders last time, I decided to see how it would work on the outside. I couldn’t get it as thin as I would have liked, but I knew I would be filing and sanding it down anyway.

Since a little goes a long way with this stuff, I rolled some up and reinforced inside the rolled lip of both fenders behind the cracks. I also filled the underside of that smoosh on the rear to try and reshape the bottom edge of the lip.

Letting those sit overnight, I went back with the highest grit sandpaper I had and it barely left a mark on that epoxy putty. It really is hard stuff once it has set. So, I after them with a coarse metal file.

They are still wayyyy too thick, especially on the passenger’s side rear. I will have to eventually go back with an electric sander to get that the rest of the way down. For the time being, it’s better than it was, being untreated rusty metal exposed.

Shot a quick coat of matte vintage blue and called it a day.

Bean Dips and SteelStiks

Both rear fenders have cracks from old damage.

I bought a tube of JB Weld SteelStik (Amazon link), which is steel reinforced epoxy putty. When dried, it is hard enough to drill and tap, so I figured it would work well to reinforce the back side of the fenders, behind the cracks.

I had a can of bean dip from the previous Sunday’s football watching festivities. I cut patches out of the ribbed aluminum can with tin snips, covered them with epoxy putty, and sandwiched them on the back side of the fenders.

The picture on the left is the driver’s side fender. The crack there is very thin, a clean break, but wraps all the way around the lip. The one on the right is the passenger’s side. The crack there is much worse – not even really a crack. It’s very old damage, below the bumper, with flaps of deeply rusted metal. I bent everything back in shape as well as I could, to get a flat surface for the patch.

After the epoxy set up, the fenders are now solid and the cracks don’t flex. So, that was a success. At least in the short term. We’ll see after some weather cycles if that epoxy holds up.

On that driver’s side fender there were old, bad repairs and it looked nasty. I sanded around the area, then rust treated, primed, and painted.