Replacing the Rear Brake Drums

A couple of months ago, I purchased new brake drums all around. More than one of the existing drums are out of round and the front right tends to grab the pad at really unexpected times, trying to pull the car off the road.

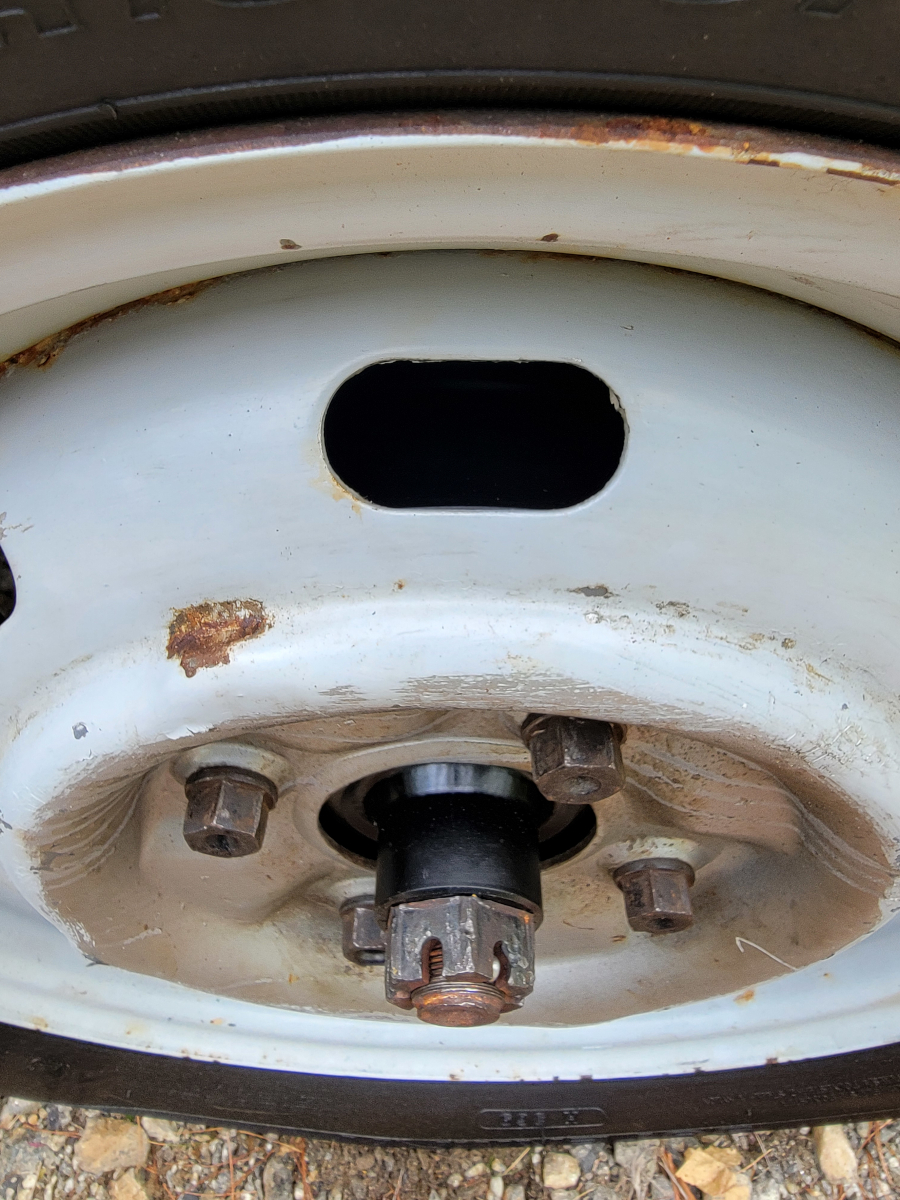
After jacking up the rear driver side wheel, I pulled the old brake drum off.

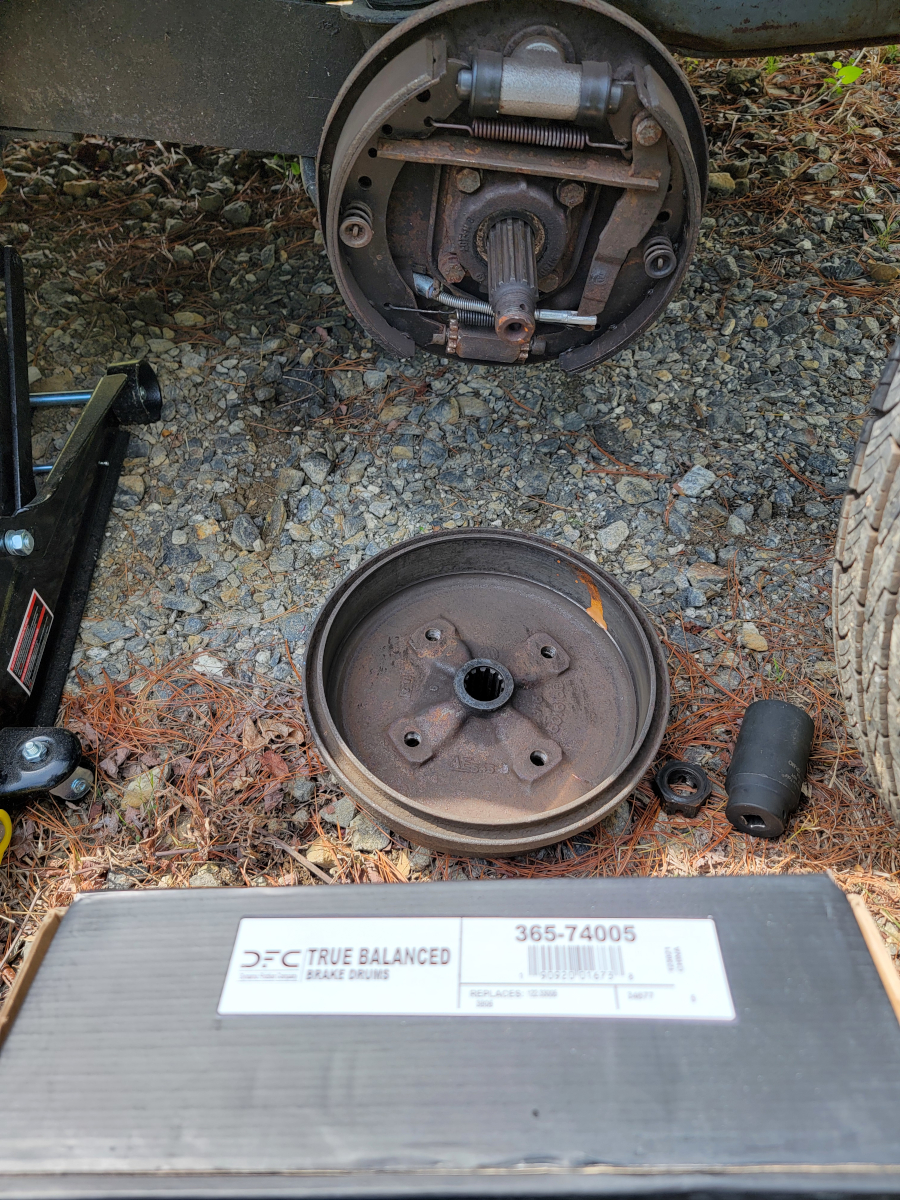
Things are dry, which is good, but a little rusty.

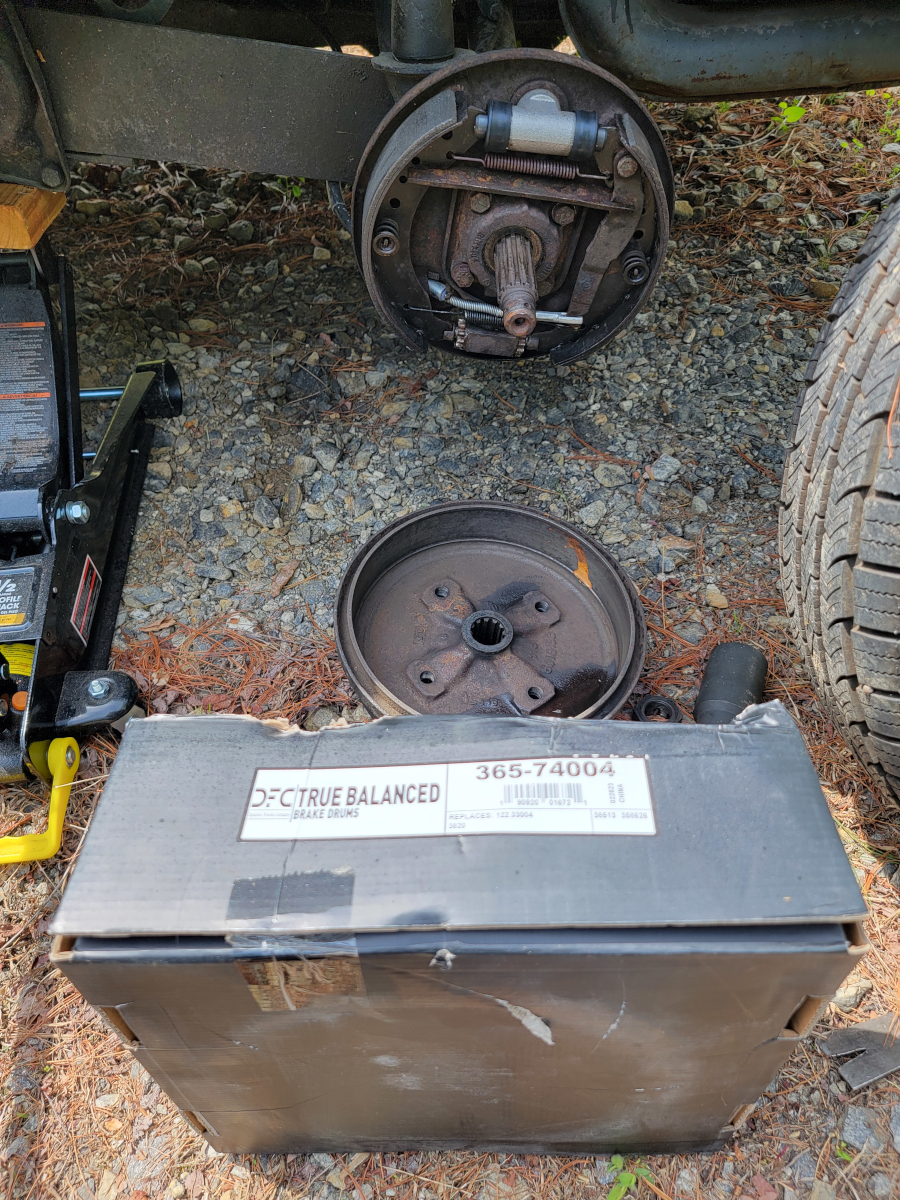
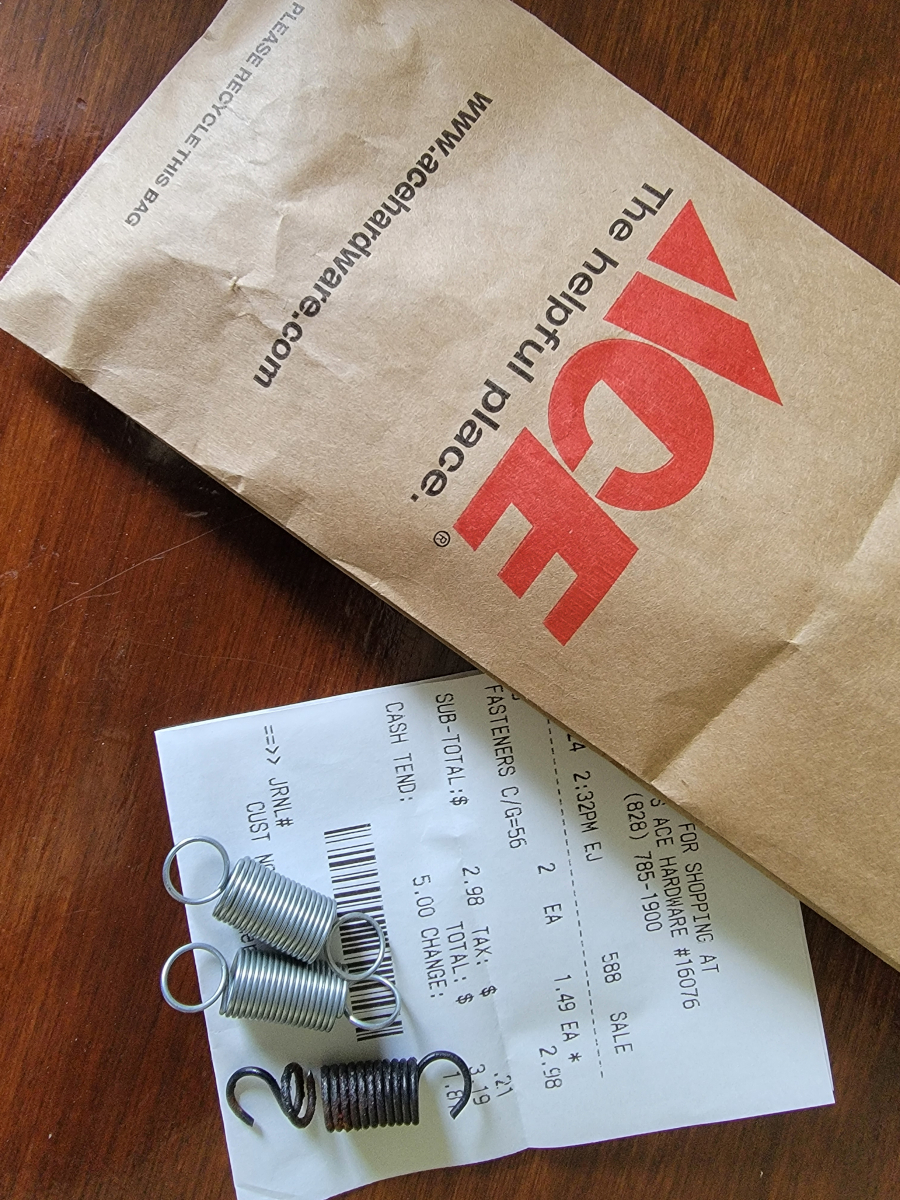
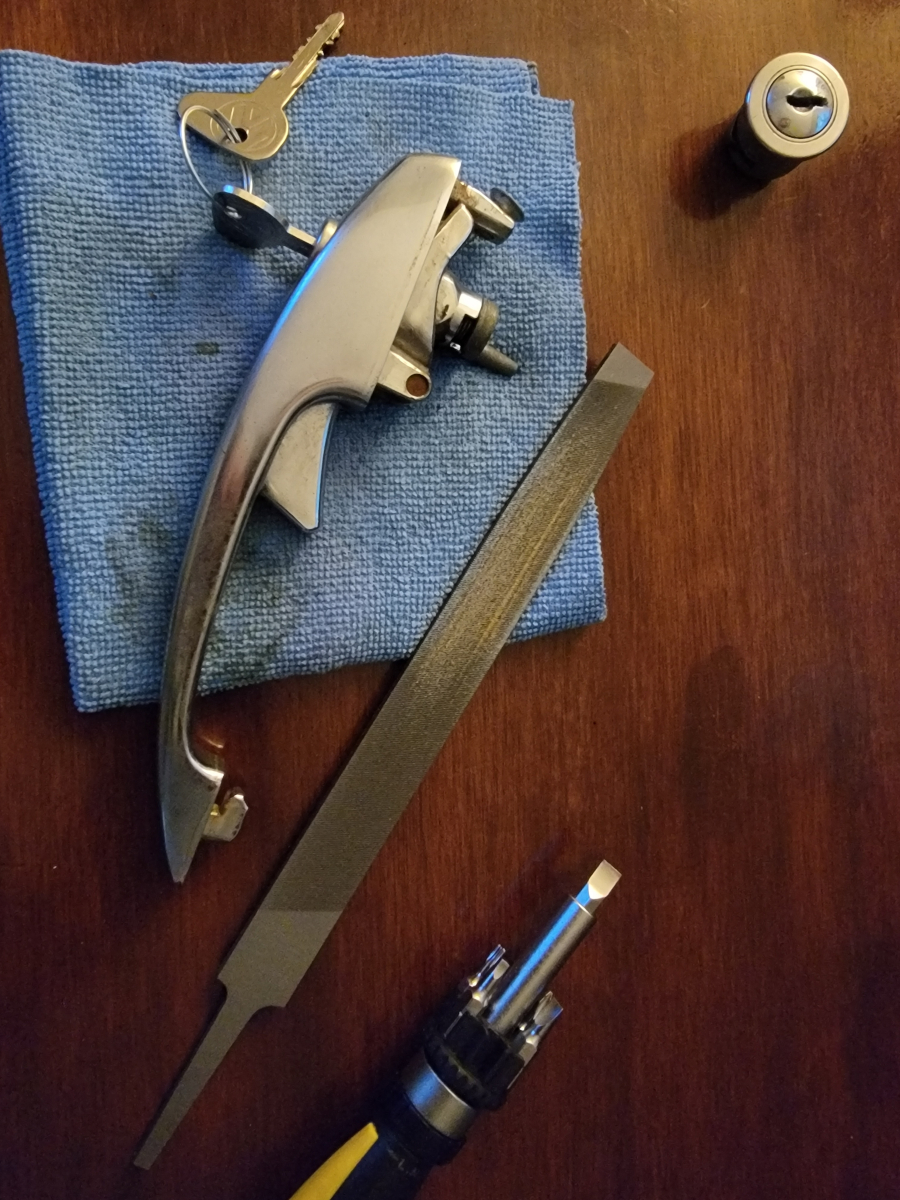
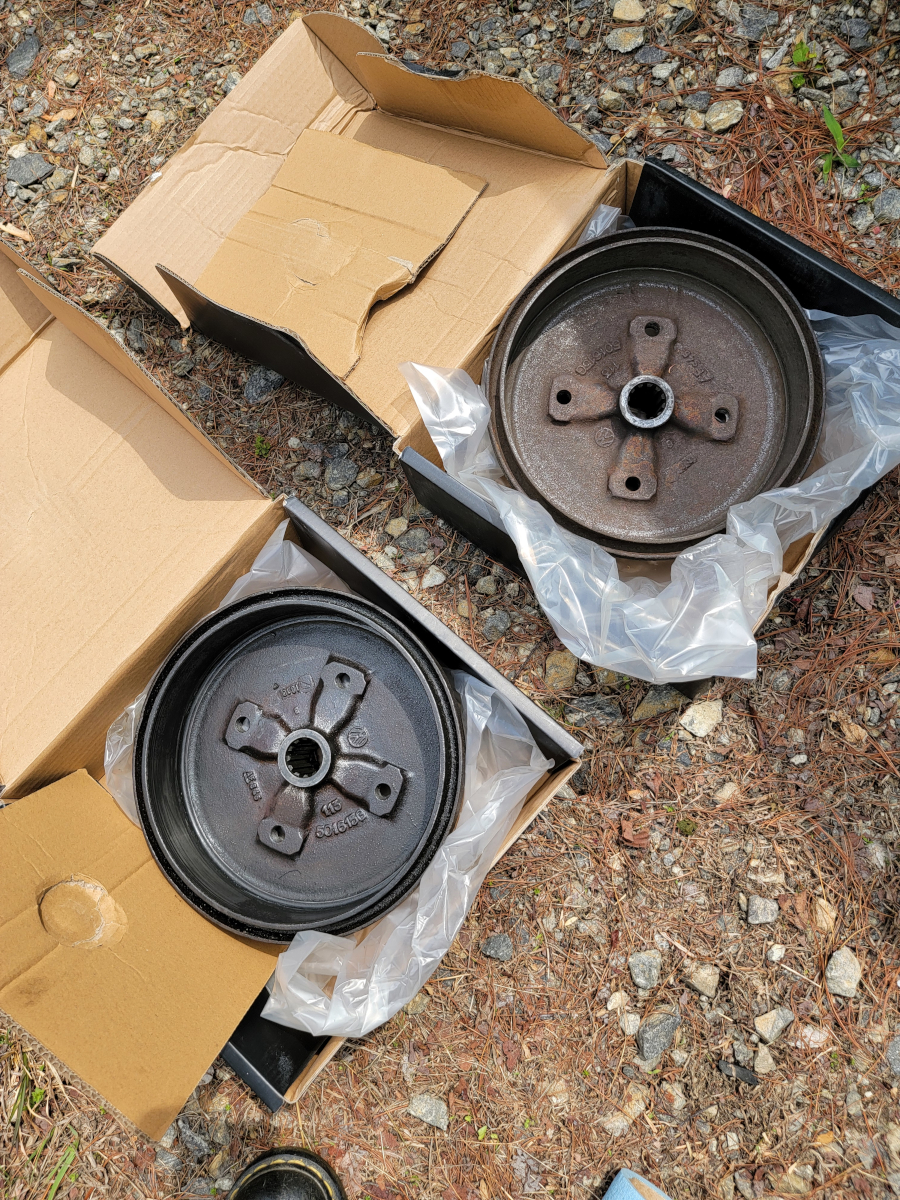
After hosing everything down with brake parts cleaner and wiping down the new brake drum, I realized I had grabbed one of the new front brake drums. The part pictured above, 365-74004 is the rear drum.

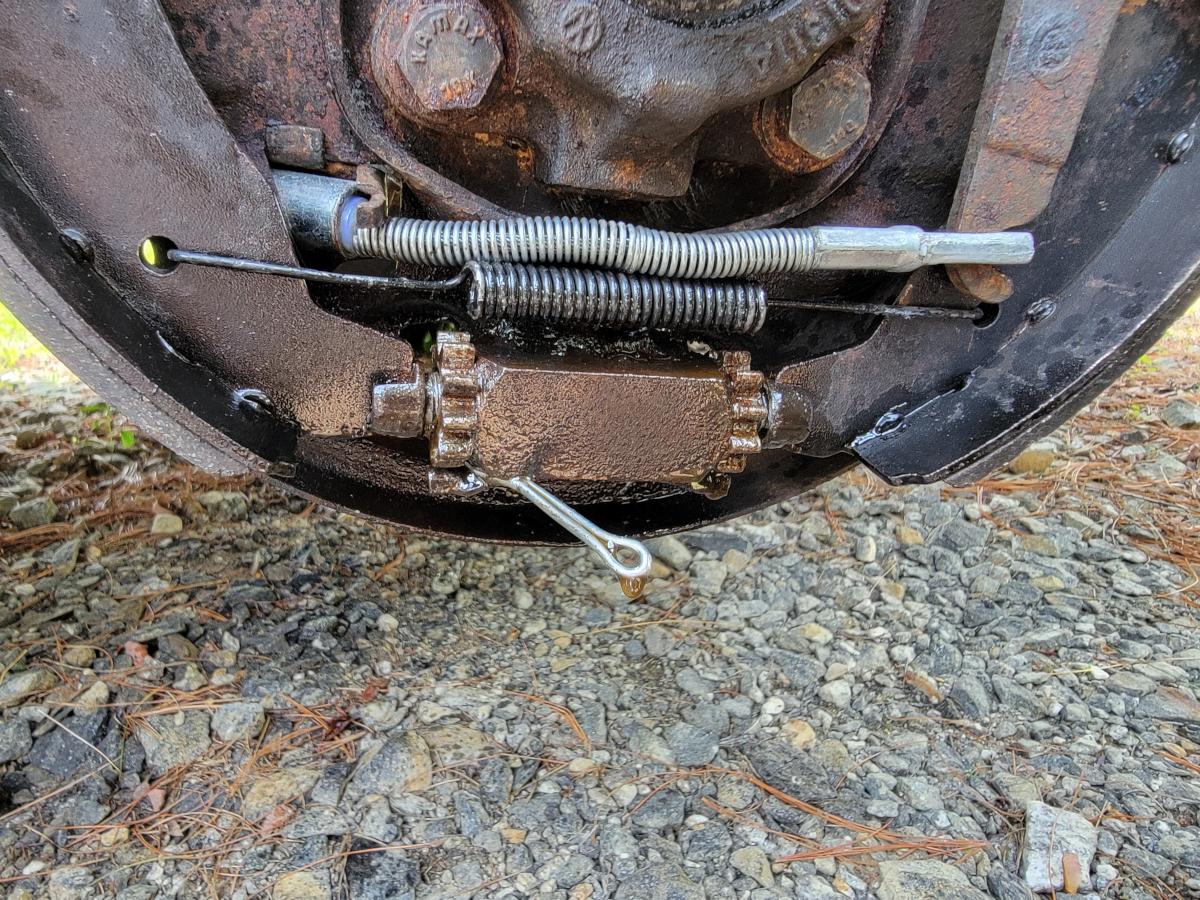
These star adjuster wheels were both frozen/stuck. I spent a long time trying to get them freed up, spraying PB Blaster several times, before giving up. Finally, I just took the bottom spring off and was then able to pull the bottom ears of the brake shoes out of the adjuster ends. Then I used a large flat screwdriver to turn the adjuster bolts manually.

Eventually, I got a nice, snug fit of the new drum over the shoes and buttoned it all back up. I forgot to take a picture before I got the wheel back on.

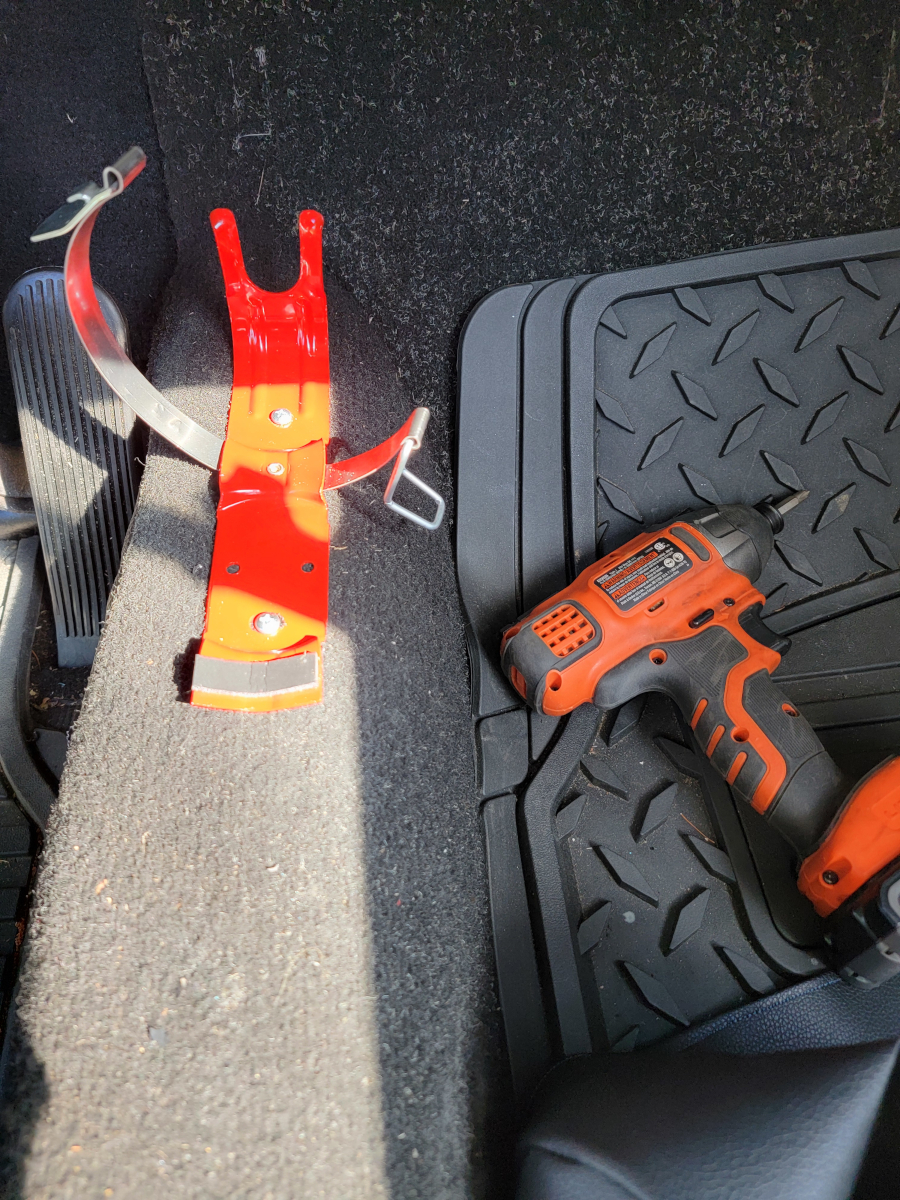
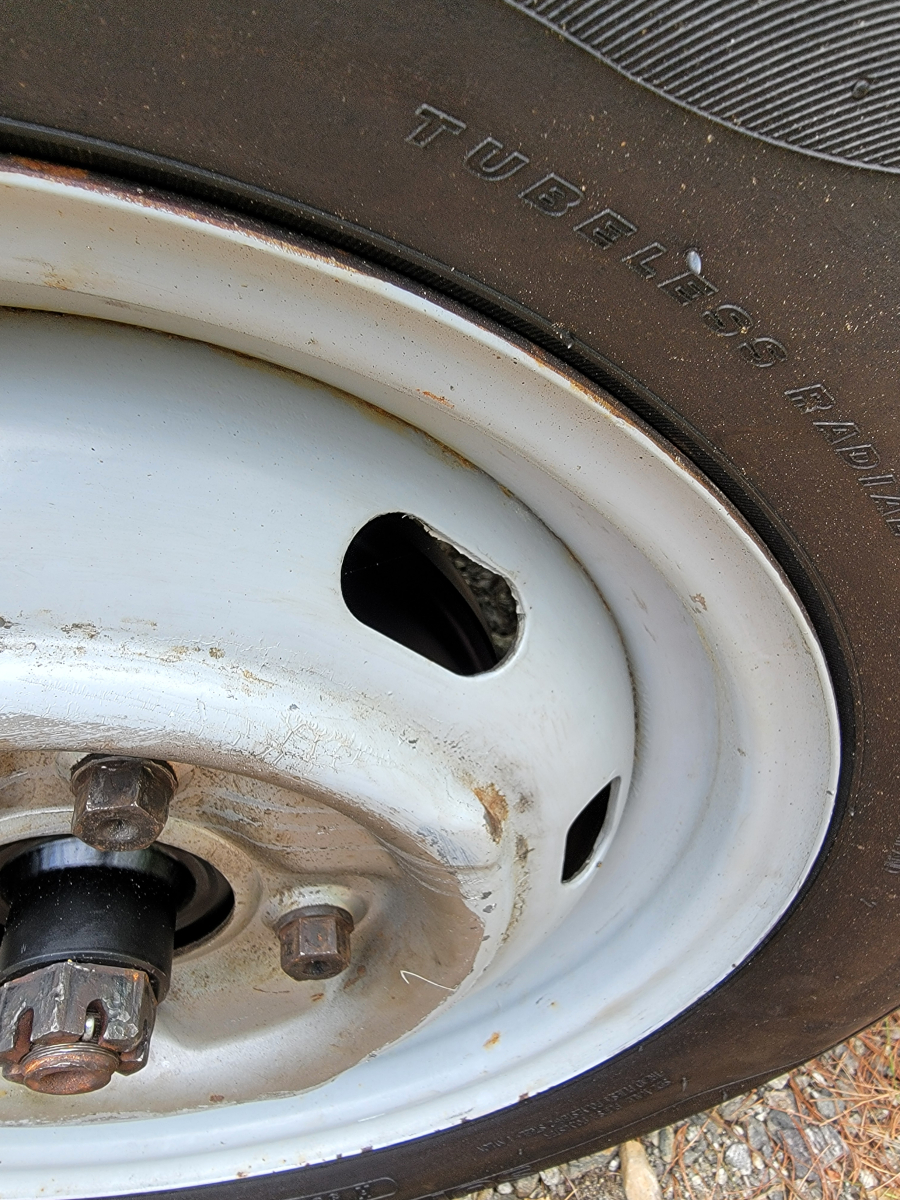
You can kind of see a bit of it in there. It’s painted black and surprisingly, the brake parts cleaner didn’t seem to wipe the paint off, so that’s good.

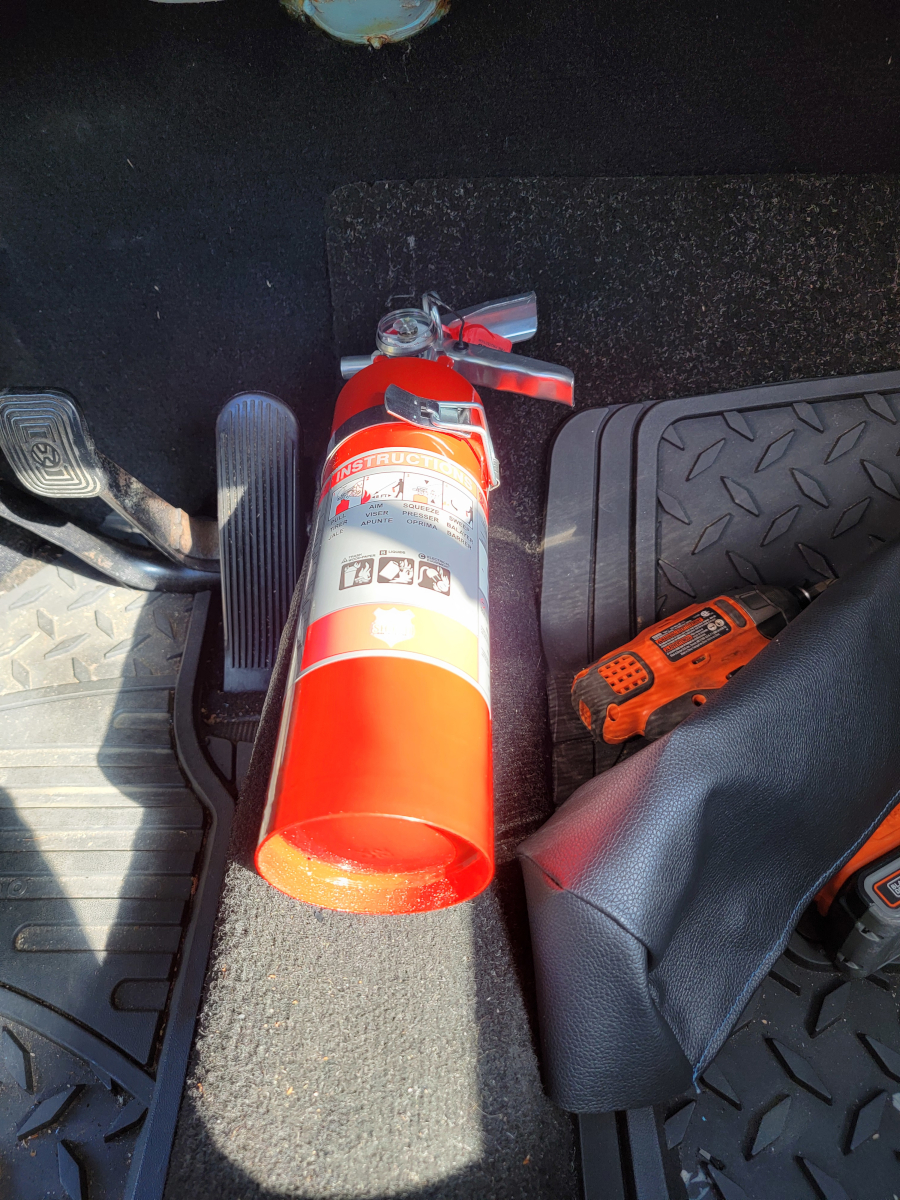
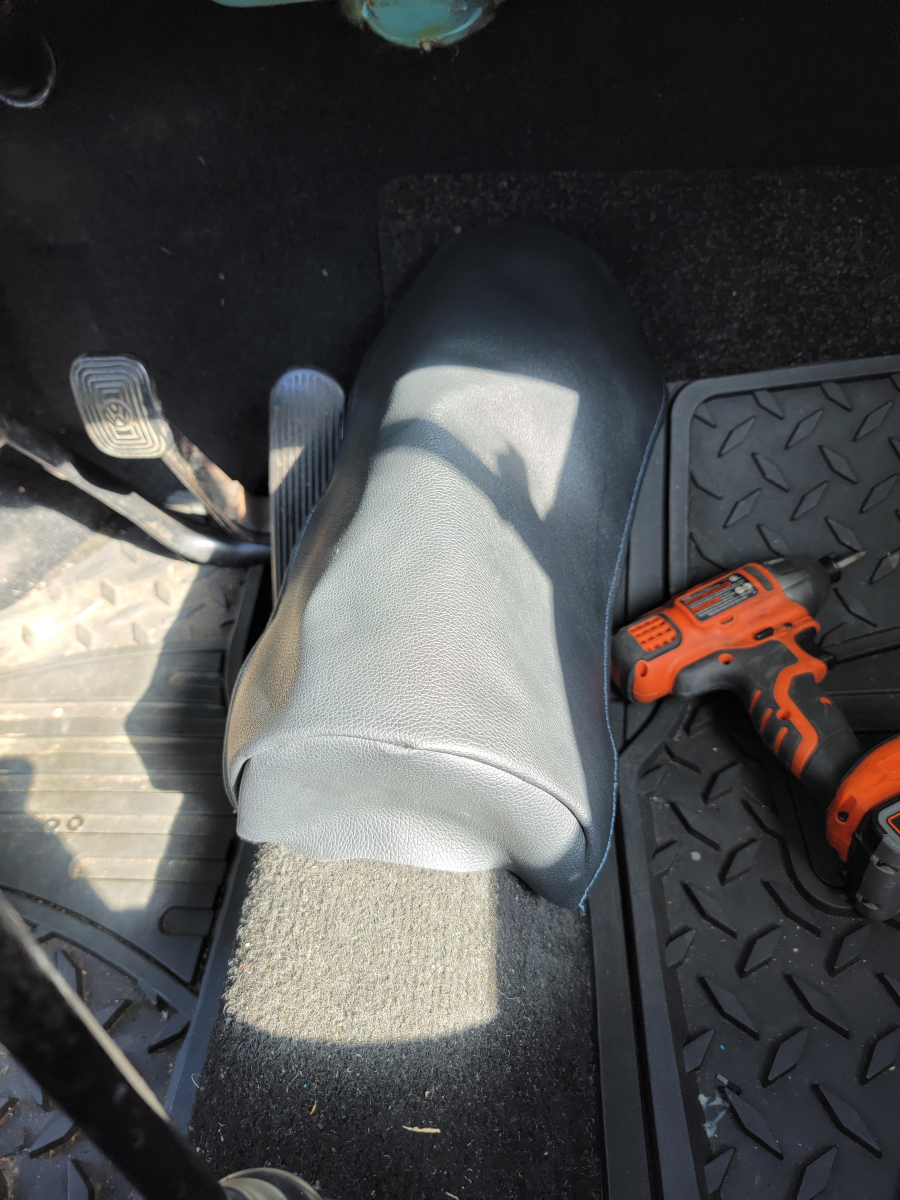
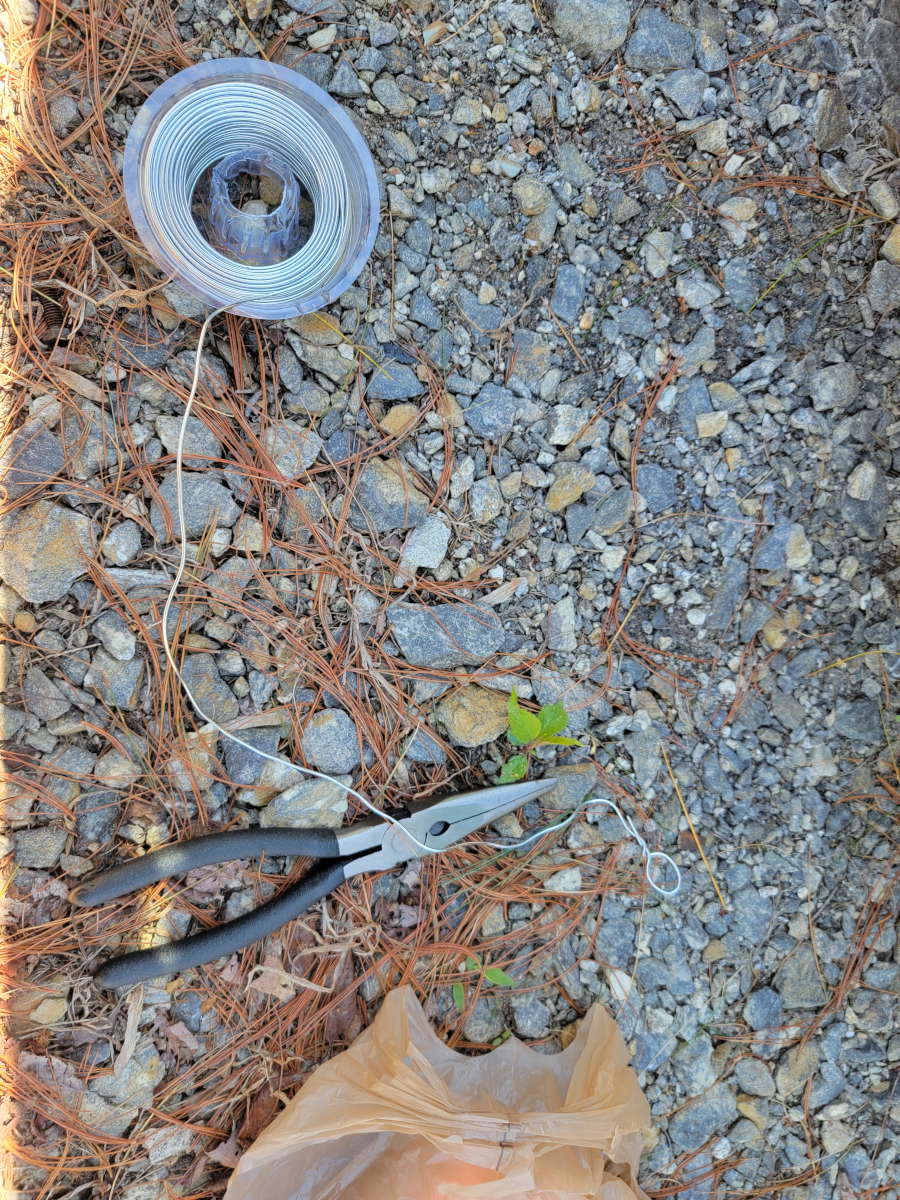
Apparently, I gave up on documenting the process completely at this point, as the only other picture I took was once I finished up and was packing things away.

Unfortunately, I found that the passenger side rear drum was wet inside – black. Goopy and black. I wondered if the new brake cylinder I replaced last year was leaking again, but it doesn’t appear to be the case. The brake fluid reservoir is still completely tip-topped up.

Is it possible that transaxle oil is traveling down the axle?

I put the parking brake on full, put the car in neutral, and wasn’t able to push it. The brakes appear to be tight. I will take the car out for a runaround later today.

Wiper Arms and Tension Headaches

When preparing my Ranger to go up for sale, I noticed the wiper arms looked really shoddy. Paint faded and chipped and surface rust. The ones on the Beetle had previously been painted but were also looking pretty shabby. I decided to take them all off, clean them up, and paint them.

The wiper arms appear to be interchangeable on the Beetle, but they are different. Likely one was just replaced from a different year. The Ranger appears to have identical left and right arms. I kept them all separated and labeled just in case.

Wiper blades off…

…and hit them with a scrap of 180 grit sandpaper I had laying around.

It smoothed the rough paint edges and left a nice scuff for the new paint to stick to.

I wiped them down with acetone to get rid of dust, dirt, and oils.

And gave them a coat of Dupli-Color Rust Barrier.

And then a couple of coats of Dupli-Color DE1634.

The wipers don’t work very well in the Beetle, like they don’t have enough tension against the window to actually clear anything. I wanted to check the springs, to see if I could cut and stretch them or find beefier replacements.

As soon as I gripped it with needle nose pliers, the rusty spring snapped. So, it was time to put the wipers back on the Ranger and go parts shopping.

Nice.

I went first to O’Reilly, figuring they would have that type of thing in the hardware aisle, but they only had bigger sizes, like throttle return springs.

There’s an Ace Hardware next door that usually has better hardware than parts stores and even big places like Lowes and Home Depot.

I found a close match here. The spring is a little smaller diameter and a little longer, so I figured I would have to do some surgery.

I didn’t take that picture specifically to post here. They didn’t have any writing implements in the hardware aisle to note the item number or price on the bag.

That’s the first time I have purchased something with cash in quite a while. I try not to stick retailers with equal amounts of credit card processing fees and purchase price.

They mounted back up without issue and look nice. They kind of disappear into the windshield trim, as it should be.

New Key, Who Dis?

After AAA and their mysterious Fletcher locksmiths wasted half of my precious weekend, I decided to reach out to a local locksmith one evening last week. He met me in a parking lot an hour later and cut the new keys for me.

There is something entirely strange going on with the driver’s side door handle, lock cylinder, or both. For whatever reason, the cylinder doesn’t turn more than half way anymore. I sprayed it down with WD-40 and worked the springs and wafers around, thinking it was just gunked up in there.

I eventually gave up and took a file to it, smoothing down the tiny rough edges of wafers that were sticking up. The old key worked perfectly in this door lock and the ignition. The new key works perfectly in the ignition, but binds up in the door lock. Who knows. I tested the new key in the passenger side door handle and it works perfectly there, so problem solved!

Swapped them over. Officially, I am back to the same key for all three slots, even if only two of them actually work.

Installing the Fire Extinguisher and Cover

After sewing a black vinyl fire extinguisher cover, it’s time to actually install the thing.

I purposefully aligned it a little off center on the tunnel, because my big ol’ gas pedal foot was hitting the extinguisher when it was centered. A couple of self tappers held it in tight.

There was another black foam pad on that center bit that I later found stuck to my hoodie. Stuck that back in place and clamped in the fire extinguisher.

And now with the vinyl cover in place.

The end caps are a little long, since the tunnel is round-ish. I cut a couple of slits in each end, hoping it would lay better.

But, meh. Again, it’s fine. I think I will probably make a new cover later. We’ll see where that eventually lands on the project priority list. It may be determined by whether the wind whips this cover around while driving with the windows down. I may see if I can Velcro the cover down at a later time.

Replacing the Ignition Switch and Door Handle (Temporarily)

Since I was able to successfully break into my Beetle earlier after losing my only key, now I have to swap the old ignition switch and door handle with ones that I have keys for. Once I get a new key made, I will be able to swap the matching set back in.

As mentioned in the Replacing the Ignition Switch post last year, the new switch I purchased doesn’t allow the key to be removed when it is fully clipped into place. It’s therefore really easy (too easy, actually) to remove. It only took the tip of a pick.

Back in the house, I inventoried all of my key related parts to find the old ignition switch and door handle with mismatched keys.

Using the same pick in the appropriate spot, I was able to release the old ignition tumbler from the switch.

And it slotted right back into place.

Since I have already changed door handles so many times, I didn’t bother taking pictures of the process, but here that is installed.

And for my own future reference (or for a talented thief to take this thing off my hands) here are the details from the ignition cylinder with key code.

I had a brainstorm shortly after this and called AAA to clarify if getting a replacement key cut was a covered service. They confirmed that they would cover up to $150, so great! They transferred me over to Roadside Assistance, who scheduled the service.

Spoiler alert, twelve hours later, AAA called me back (after midnight) to apologize that no one ever called or came and rescheduled for the next day. Spoiler alert #2, they called back thirteen hours later and cancelled the service because “You’re in Asheville and the locksmith is in Fletcher.”

It’s now my problem to go have a key cut and turn in the receipt to AAA for reimbursement. Excellent service, as expected these days.

I. Lost. My. Only. Key.

I’m an idiot. We have established this. My key ring is a Harbor Freight carabiner. Keys fall off of it in my pocket all the time.

While I was out of town at my mom’s house, one day I happened to notice the Beetlebug key was nowhere to be found. I searched all through my dirty laundry, inside and around all of the cars and trucks that I had driven, in the yard, etc. When I got back to Asheville, I searched my yard and driveway, around the house, etc.

The key was gone. It could have been dropped at any variety of grocery stores, gas stations, I-40 rest areas, and restaurants spanning 170 miles between Asheville and Thomasville.

I purchased that key with matching door locks and ignition cylinder while visiting Thomasville last summer in Replacing Door Lock Cylinders (Again). As further proof of my idiocy, I purchased two new key blanks to have new keys cut, but clearly never did have those keys cut, so here we are.

Let’s Break In!

I gathered some break-in supplies: mechanics wire, plastic trim tools, and a Harbor Freight pick set.

My first attempt failed, because the mechanics wire is very thin. Once it would get a bend in it, all leverage was lost.

As mentioned previously, I’m an idiot and tried the same approach two more times with similar results.

After doubling (and later tripling) the mechanics wire, I was finally making some progress.

Worst crane game ever, but I finally got it!