Roof Paint Part One

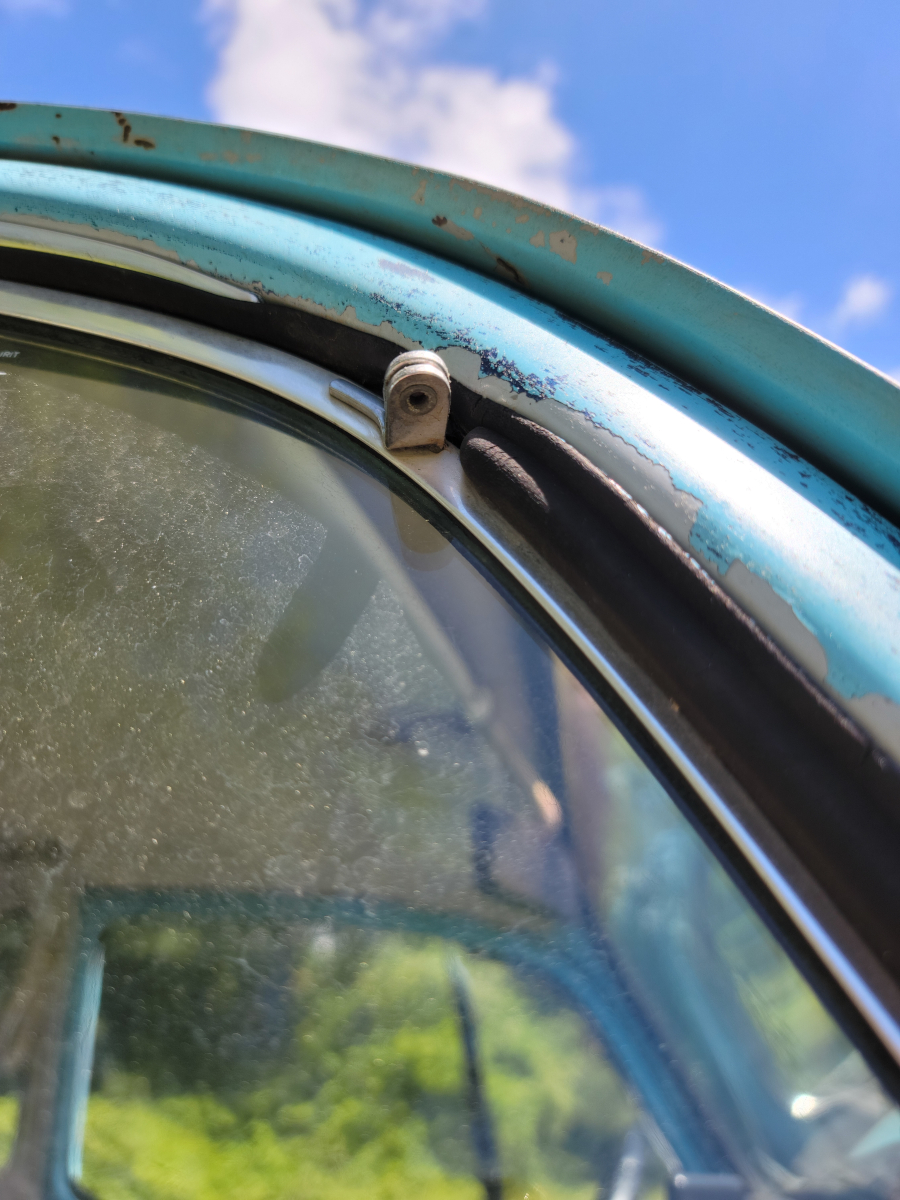
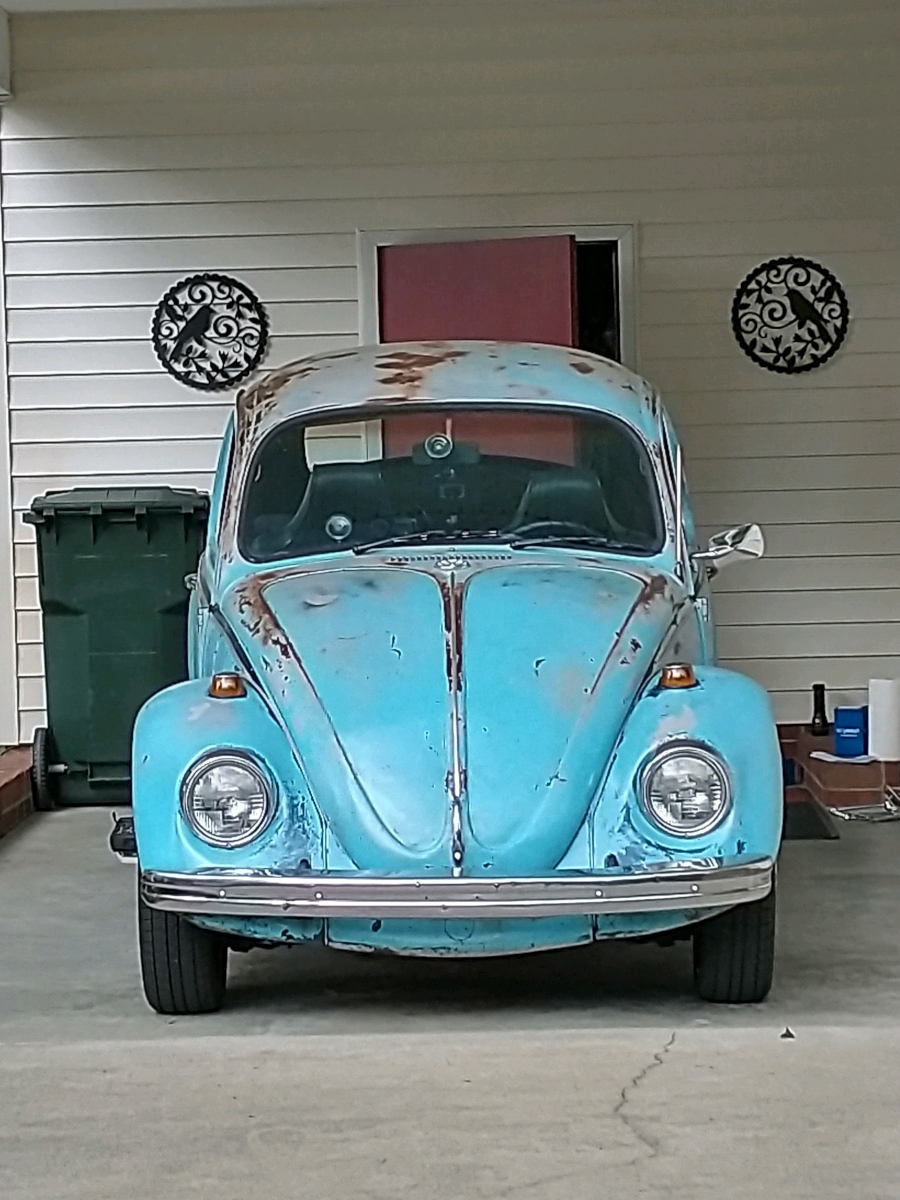
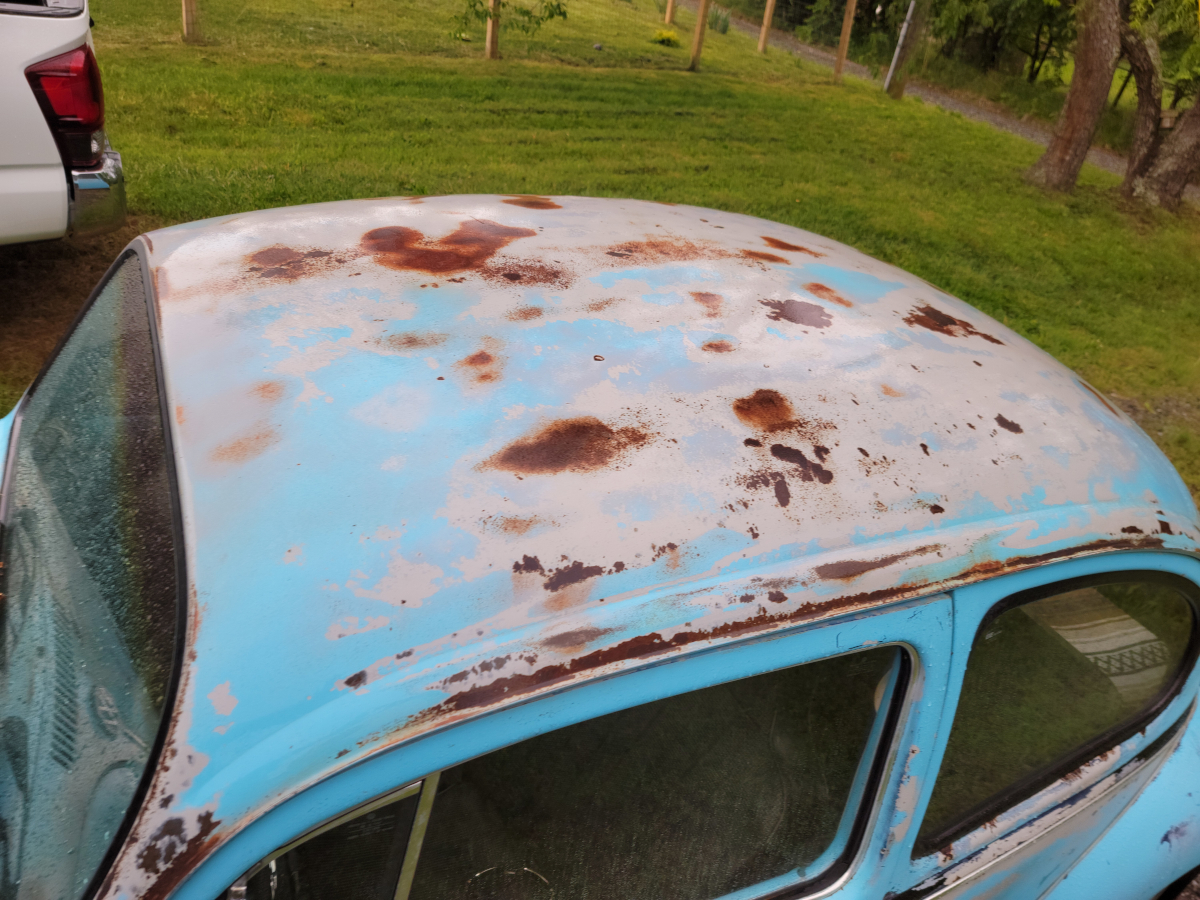
As mentioned in the Panel Beater post, my last batch of shine juice clotted up and became tacky cement on the car. It wouldn’t wash off. Mineral spirits wouldn’t take it off. I ended up wiping the whole car down with Acetone, which accomplished a couple of things.

It easily cleaned off the shine juice residue, but also removed the top layer of dead paint. Since I have been washing the car with Scotch-Brite pads and CLR, it didn’t break my heart that more of the light blue paint was coming off.

What did break my heart was seeing that the sun-burnt rust spots on the roof were much more deeply pitted than I had previously noticed. I felt like I needed to take action beyond keeping it oiled up with shine juice to try and slow that rust down. Having ten cans of that Matte Vintage Blue spray paint sitting around didn’t help to deter me from the bad ideas that were creeping up.

I got a can of Sprayway glass cleaner, a sanding block and some 220 grit wet/dry sandpaper and went to work.

After getting it smoothed out for the most part and fading up the edges of remaining blue paint, I got it all washed and wiped down with another several rounds of Sprayway.

A few places had bare metal peeking through, but for the most part, it was down to rust and factory paint.

I had some brown packing/craft paper laying around from various parts shipments and decided that would be good enough for masking the windows.

I started off with two or three coats of rust converter spray.

And then two coats of primer.

It was still early in the day, like 11:30AM, but the sun was out and the primer seemed to be drying in the air in between the can and the car body. There was a ton of over-spray. I got (what I thought would be) a lint-free cloth to wipe it down in between coats…

…but clearly that just made a mess. I went back inside and found a microfiber rag that did a great job cleaning the lint and dust off. The primer was still really textured, though and I wasn’t sure about the amount of time needed for that to properly set up, to withstand another wet sanding.

I put a thin coat of color on next.

And then another.

By this time, it was after 5:00PM and I didn’t want fresh paint getting wet overnight, so I decided to stop here.

After removing the masking:

Goodbye, Matte Vintage Blue

After finding a decent color match with the Krylon Fusion All in One Matte Vintage Blue, which I sprayed in the spare tire well, I decided I should go buy another can or two to keep around. I went back to Lowe’s where I originally bought that paint and that whole line of paint was removed from the shelves, with no empty slots.

Looking on the Lowe’s website, the paint was still listed, but was marked unavailable. Further researching on the Krylon website, it looked like Ace Hardware was the only other place where it was available. Not knowing for certain what my paint plans are, I decided to stock up, and went around to every Ace Hardware in reasonable driving distance, from Candler to Swannanoa, and bought every can. In five stores (three didn’t stock it to begin with), I found ten cans.

Vent Window Rubbers

I bought a set of door glass rubbers/felts/scrapers, because they are all dry, cracked, and broken. When I saw how much disassembly was actually necessary to replace all of them in each door, I decided to start small and just do the vent windows.

Starting on the passenger side, I drilled out the rivet on the top hinge.

And then removed the old gasket. Here are the old and new seals, side by side for comparison.

They look very similar in size and shape, so that’s a good start. But, I quickly realized, the measurements were off just enough that the new seal wasn’t going to sit flush.

The distance between the slot that is molded in the top for the hinge bracket and the hole in the bottom for the hinge pin is an extra 3/8″ or more larger than the original, so the seal is floppy around the edges. I made some “precision” cuts around the bottom end to shorten it and make it fit against the back side of the vent window opening.

But it still didn’t sit right in the frame and was too thick below the window, so it bunched up when opening or closing the window.

My first attempt at pop-riveting the top hinge didn’t go so well…

…so I didn’t mind having to drill that back out to put the crusty old window seal back in.

While I was there, I decided to go ahead and replace the vertical seal along the back edge of the vent window. Here are the old and new seals together for comparison.

Luckily, that went more smoothly than the main vent window seal did.

The lock/handle broke off of the passenger side vent window a while back. I have new ones, but it looks like a tough job that I’m not quite ready to take on. When I opened the driver side vent window to replace the vertical seal on it, that lock/handle snapped off as well.

It didn’t match the one on the passenger side and isn’t the correct one for this year of car, but it looks like a factory fit, so likely a window from a different year had been swapped in at some point.

The rear vertical seal went in on the driver side without issue.

With as big of a job as it looks like it’s going to be to tear the doors apart to replace all these other rubber and felt seals and scrapers, I’m not ready to take that on at the moment either. Also, the kit for both doors was over $350 and the first seal I tried to mount didn’t fit and was clearly not the right size.

That doesn’t instill much confidence in how the rest of the process is going to go, but that has basically been my experience with aftermarket parts for this old car. Nothing fits right and I can’t ever tell if it’s because the original part that was on the car wasn’t from a ’68 model or just that the aftermarket is a criminal enterprise these days.

Brake Fluid Eats Paint

I used to carry a spare quart of oil and a can of brake fluid in the spare tire well. The brake fluid tipped over at some point and a couple of drops of juice leaked out the top. The new paint I had sprayed in there was ruined. Turned to goop and wiped off with the brake fluid.

So, I cleaned it all up and roughly masked off the stuff I didn’t want to over-spray.

Put down a couple of coats of primer

and a couple of coats of fresh paint.

This is from the same cans of primer and paint, but for some reason, the color was off from what I had sprayed before, which was really noticeable when I pulled the masking tape off.

Panel Beater

Note: I apologize in advance for the pictures in this post. I didn’t have a whole lot of day light left when I started this process and couldn’t get very good before and after pictures. Decided to go ahead and post this up anyway for posterity.

So, there are lots of whiskey dents and dimples in various areas of the car, but overall, she’s sound. That old steel is thick enough, I felt pretty good about my chances of being able to massage them back out.

My toolbox for this session was this hammer and dolly set (Amazon link).

Starting with the left rear fender:

The last time I washed the car and slathered on the mix of boiled linseed oil, mineral spirits, and WD-40 was a few weeks ago now. It’s spring time and the pollen has been thick. The worst thing about that oil finish is it’s forever tacky and rain doesn’t help to wash the gunk off. Instead, it just sets it in like concrete once it dries.

The progress pics below show what dirty hand prints and hammer/dolly mess looks like in that sticky old oil…

Moving from front to back in the picture above:

Minor dent to a minor ripple. Not too bad.

I worked on this one the longest. I was able to get the crease at the top-right smoothed out and the lowest spot is now about half as deep as when I started. Definitely not a win, but we’ll call this one a draw.

Also, fun fact, this fender has a surprisingly thick layer of body filler over the whole thing. Hammering away from on top and below, this stuff didn’t crack or fall off at all. The paint was crazed to begin with. I have never seen body filler this resilient. I don’t know what this stuff is, but it’s quality!

I am considering this one a win. It is completely smoothed out, save for the smallest low-spot crevice. It is creased pretty hard down in there and I came at it from every angle, trying out several different combinations of hammers and dollies from above and below. I think the body filler was fighting me once it got down to such a fine crease.

There is still a lot of work to do on this fender alone, not to mention the rest of the car, but I’m pretty happy with my first attempt at metal massagery and what I was able to accomplish in only 40 minutes.

Road Trip and Lots of Progress

I took a road trip to my parents’ house a couple of hours away. Well, normally it’s a couple of hours away on the highway at modern car speeds. I plugged their address into Google Maps and enabled the Avoid Highways option, so it turned into a 4 1/2 hour trip instead. It was a rainy Saturday morning, but was a nice drive nonetheless. I mounted a cheap action cam (Amazon link) to the windshield and filmed the trip.

The last time I was there working on the car, we found that the brake master cylinder was very old and weepy, explaining the near non-existent brakes. Also, the swing axle boots were completely destroyed. I ordered a Dorman master cylinder (Amazon link) and Beck Arnley swing axle boots (Amazon link) and ended up sitting on them until this trip.

We found that the car backs nicely up my dad’s ramps and that was super convenient.

Got the axle boots changed without any drama. The old hose clamps were much higher quality than the ones that came with the new parts, so we reused those.

Once the axles were sealed up properly, we checked the transmission gear oil and if there was any in there, it was well below finger-checker level. Put nearly two quarts of 75W-90 in before it was spilling over.

While that booty was up in the air, we continued the hunt for the mysterious clanging sheet metal. My dad found that adjusting the heat exchangers further out, adding more clearance around the exhaust headers, we could clang them around even less than before. We thought we had that mystery solved, but spoiler alert – something is still clanging around under there.

Up front, we found the last person who had the master cylinder out mounted one of the bolts in the firewall with no washer, so it was sucked in so tight, we had to try a bunch of different wrenches and sockets, trying to find one that would bite onto the little bit of exposed hex head.

A 1/4″ drive ratchet and socket ended up doing the trick, but the ratchet was so small, we couldn’t get any leverage on it to break the bolt loose. Ended up using a 3/8″ extension on the end of the 1/4″ ratchet as a cheater pipe and was able to get it broken free.

Once we had the old master cylinder out, we noticed the brake warning light switch was badly cracked and had been leaking, so with a couple of quick searches of parts stores in the area, I found an O’Reilly about 20 minutes away that had the part in stock (O’Reilly link). I was honestly quite surprised. I phoned ahead to make sure they could actually lay hands on the part. Sure enough, it was there.

Horizontal crack is noticeable in the pic above

For the trip home, I went the normal highways route, again recording video. Fun fact, I was able to make it up Black Mountain on I40 in 4th gear, never falling below 50MPH. Last trip I made, I was in 3rd most of the way up, struggling to even get it up to 50MPH.