Let’s button this up…

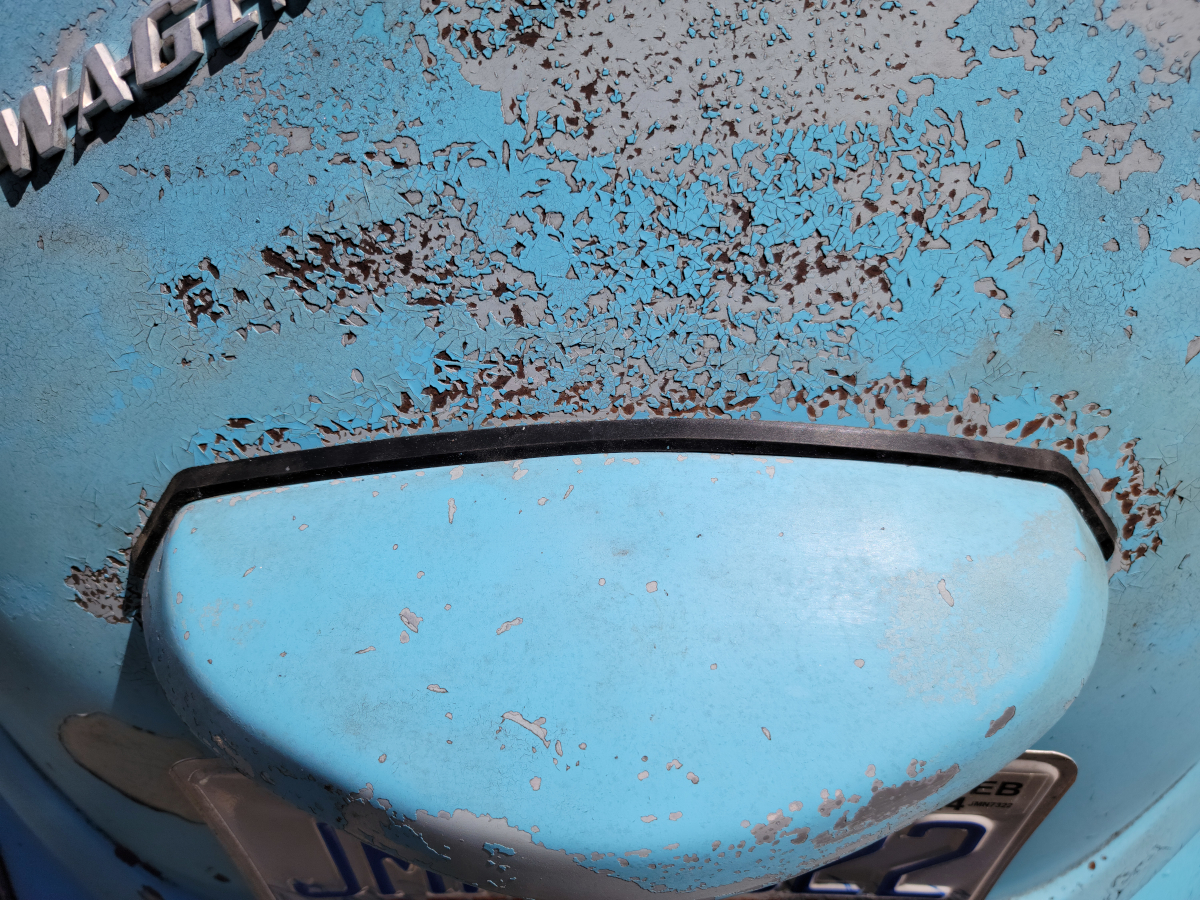
I ordered a license plate housing gasket to replace the old, dry, cracked, and broken unit. Let’s add that to the “Easy Wins” list.

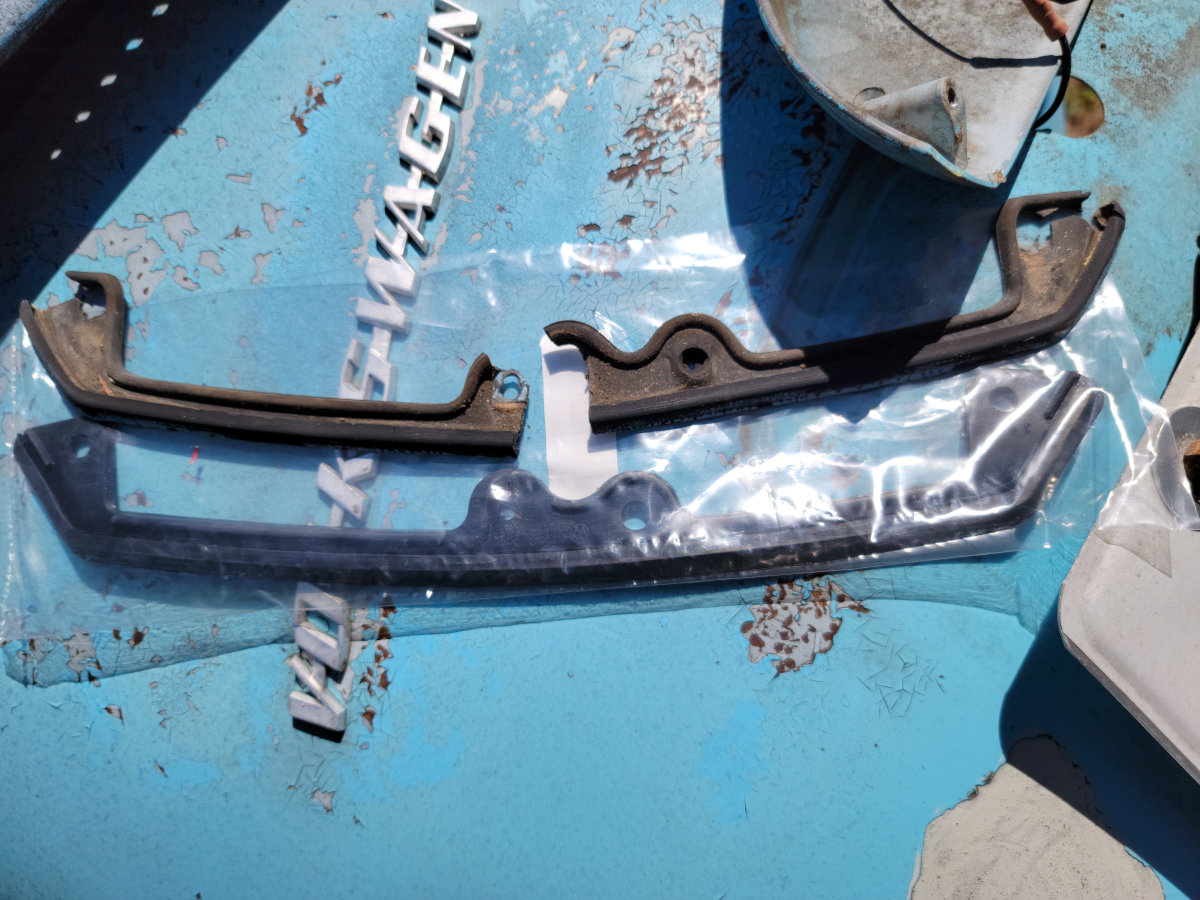
And then replaced it.

As I was trying to unscrew the nuts from underneath the engine cover, every one of them just unscrewed the stud from the cover itself. Either way, they all came out easily.

I didn’t think the gasket was going to fit. Using a flat blade screw driver helped stretch it around the edges of the license plate light housing. I was then able to tighten everything down.

Next, I carried both halves of the back seat from the basement and reinstalled them.
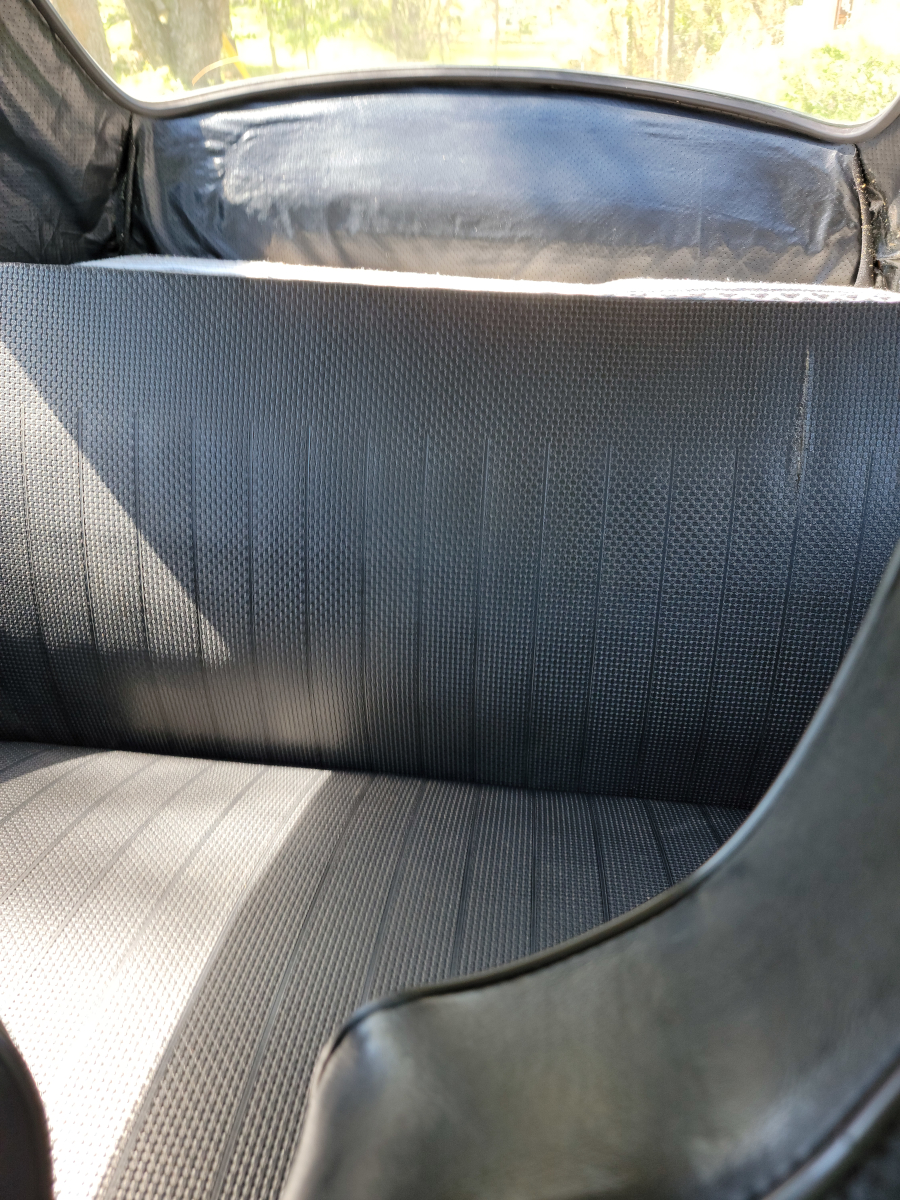
Kinda…

I have added a lot of additional padding in the seat base. The additional thickness against the bottom edge of the seat back is too much to fit once the seat back is bolted in place. It will take muscle that I don’t have available at the moment.

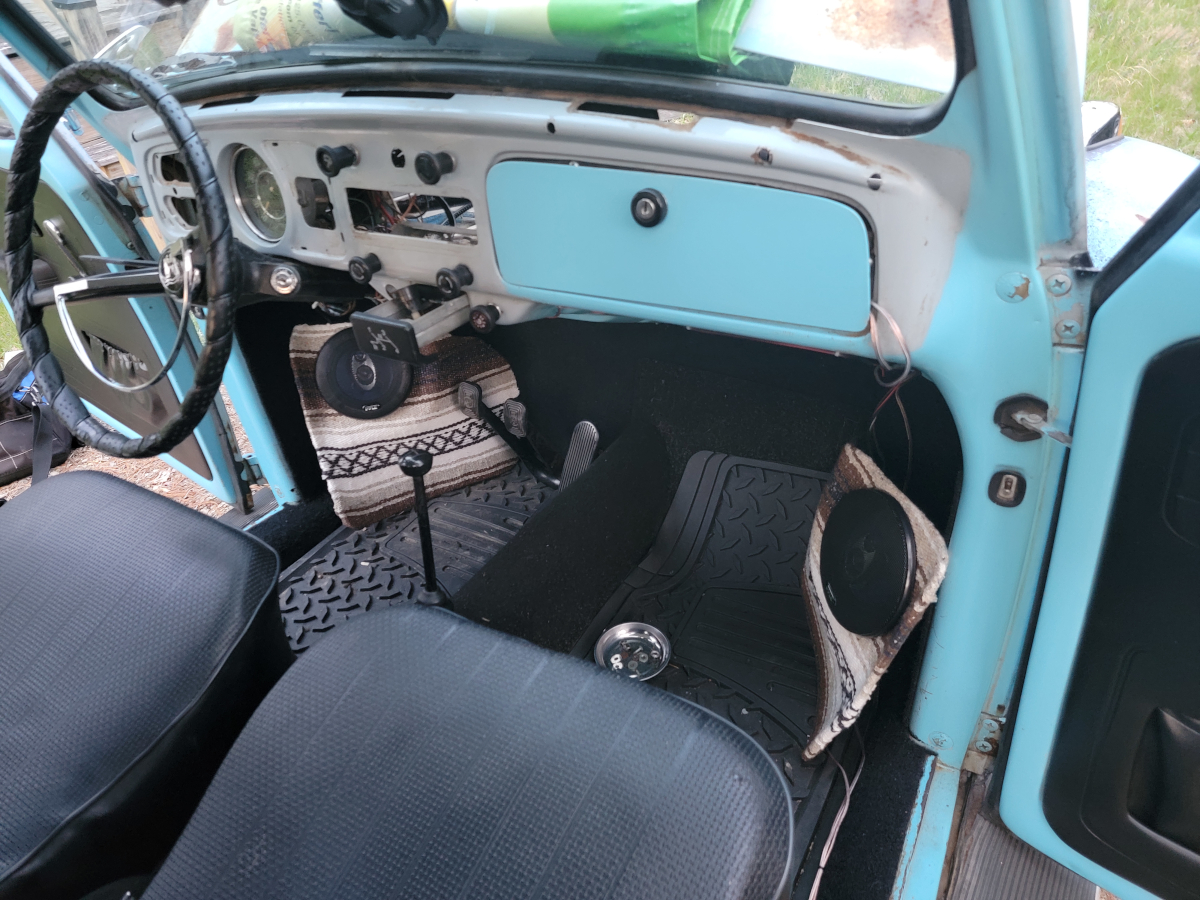
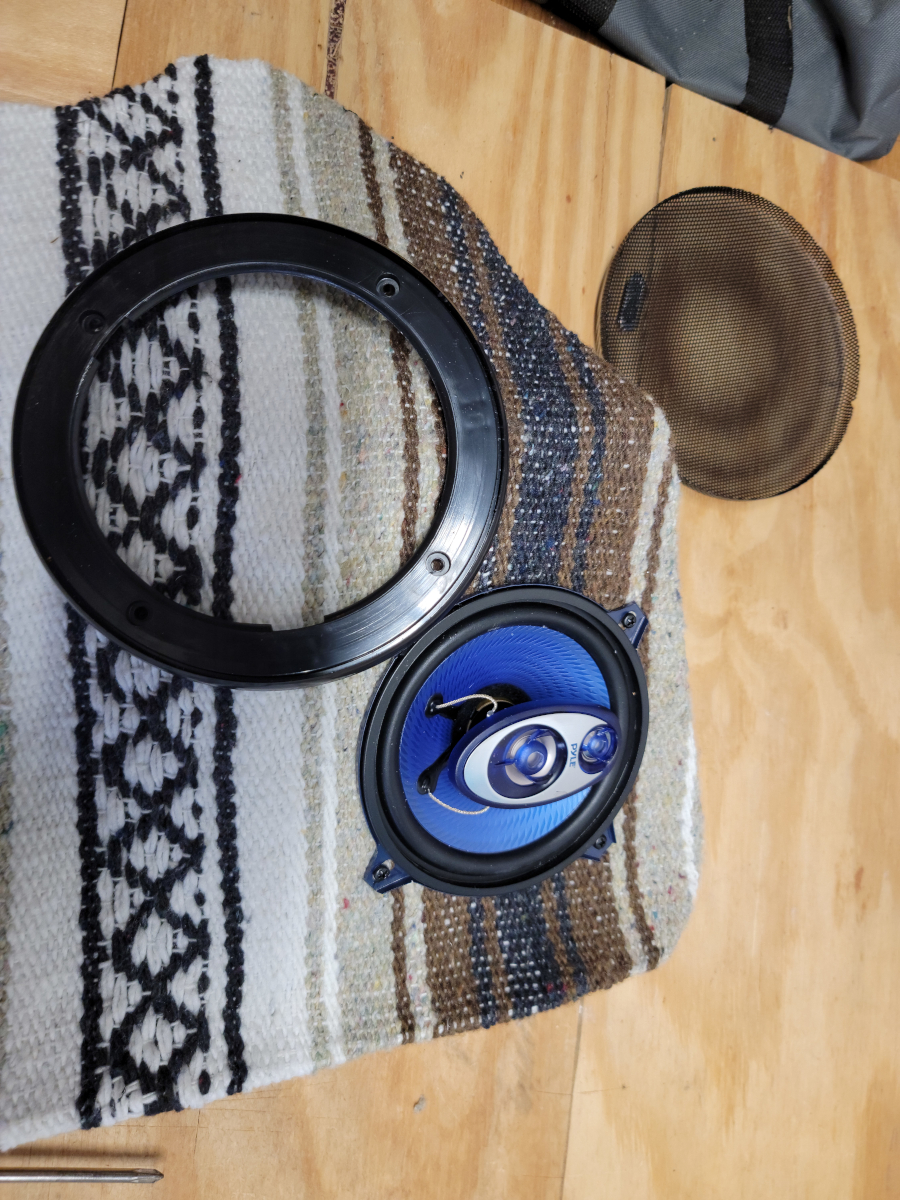
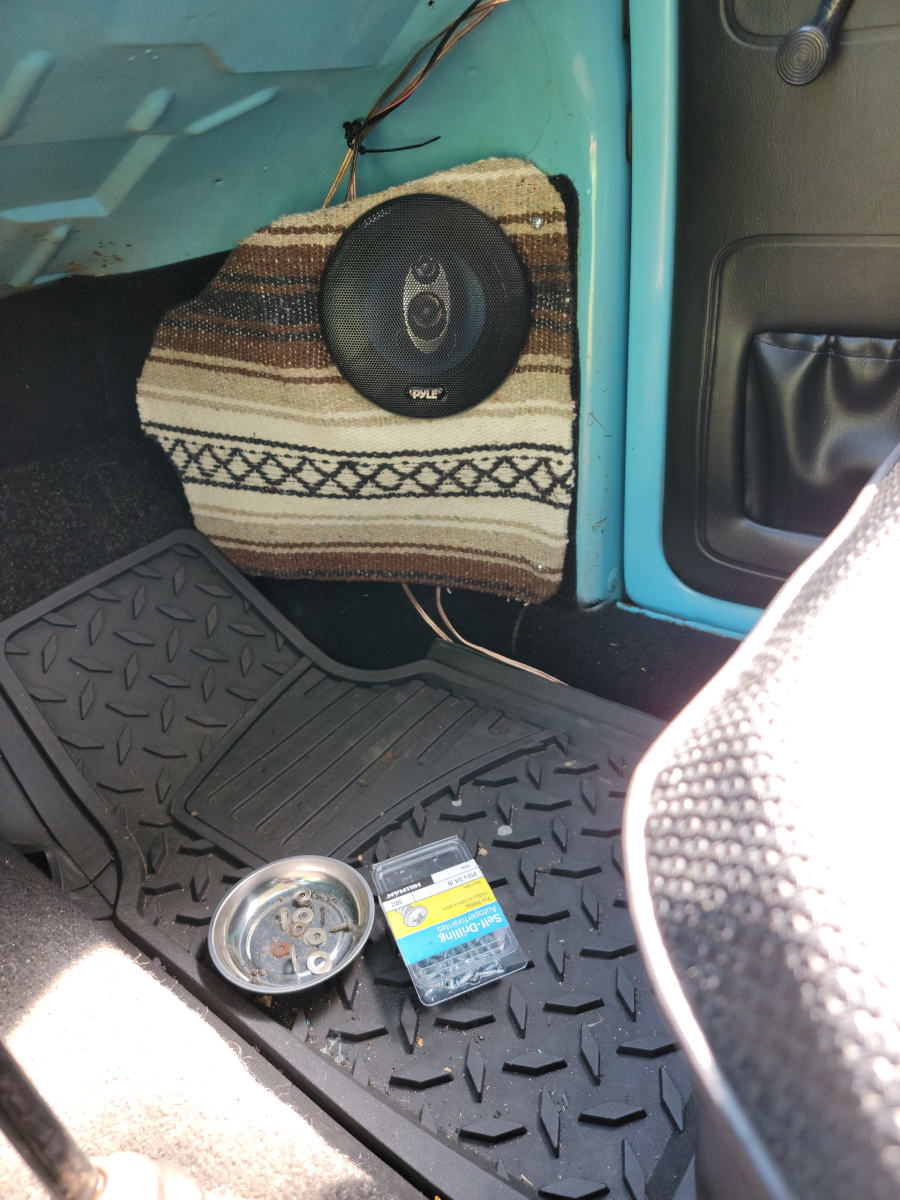
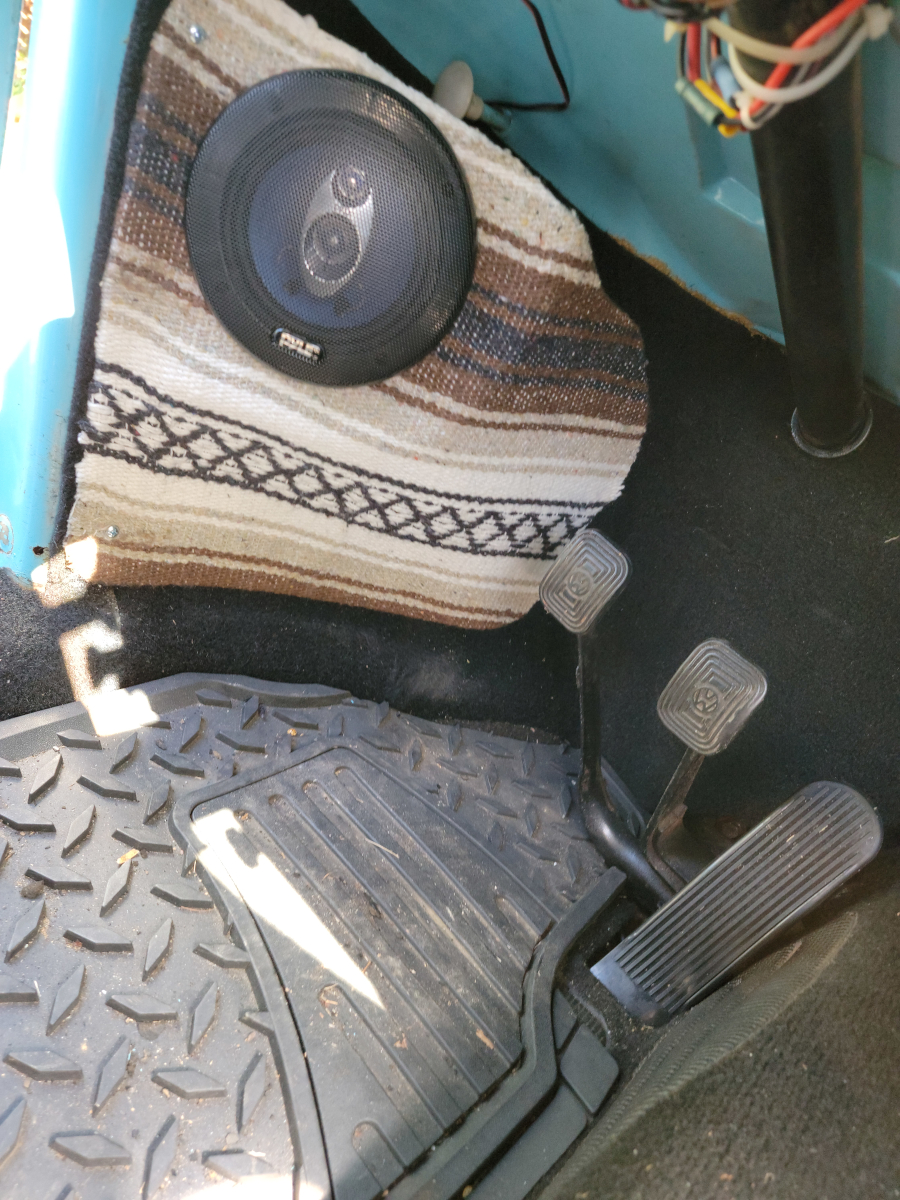
Let’s move on to the front.
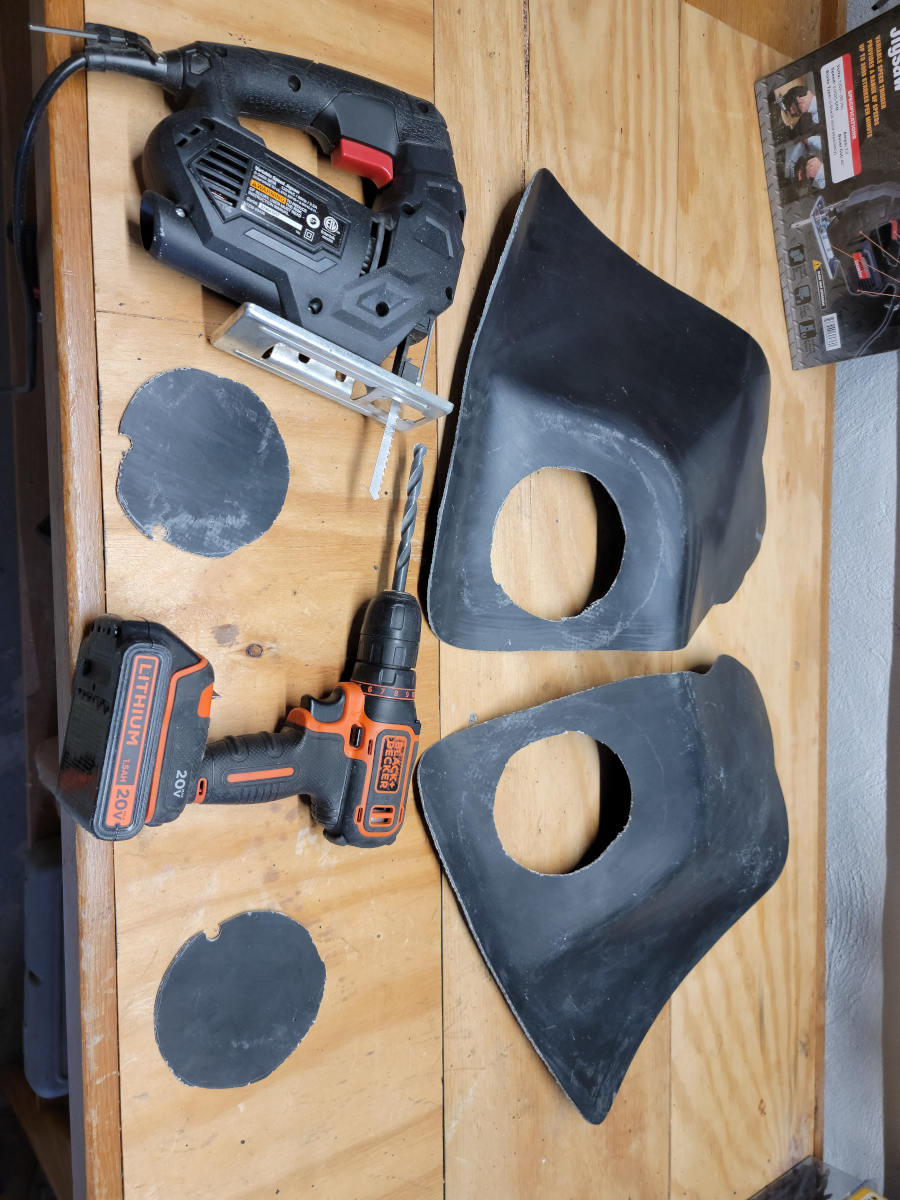
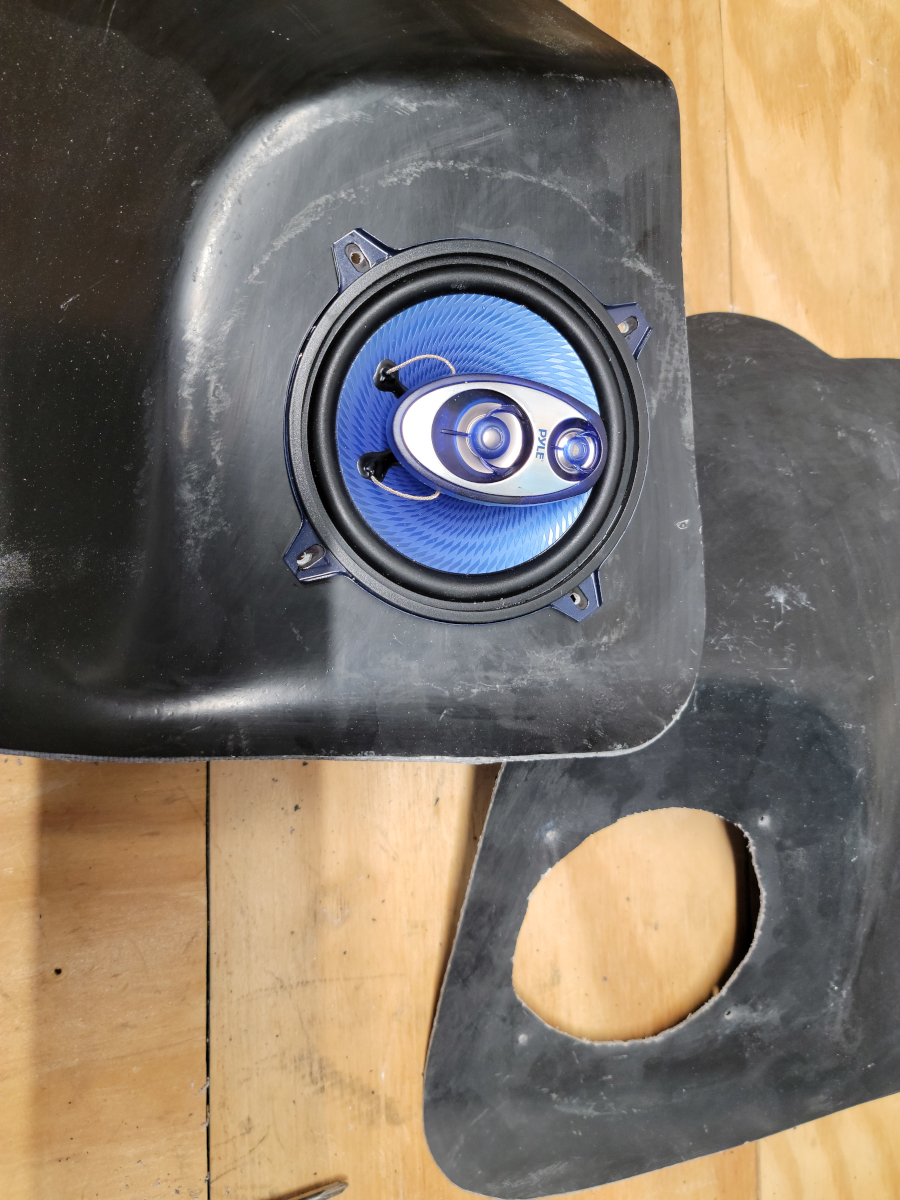
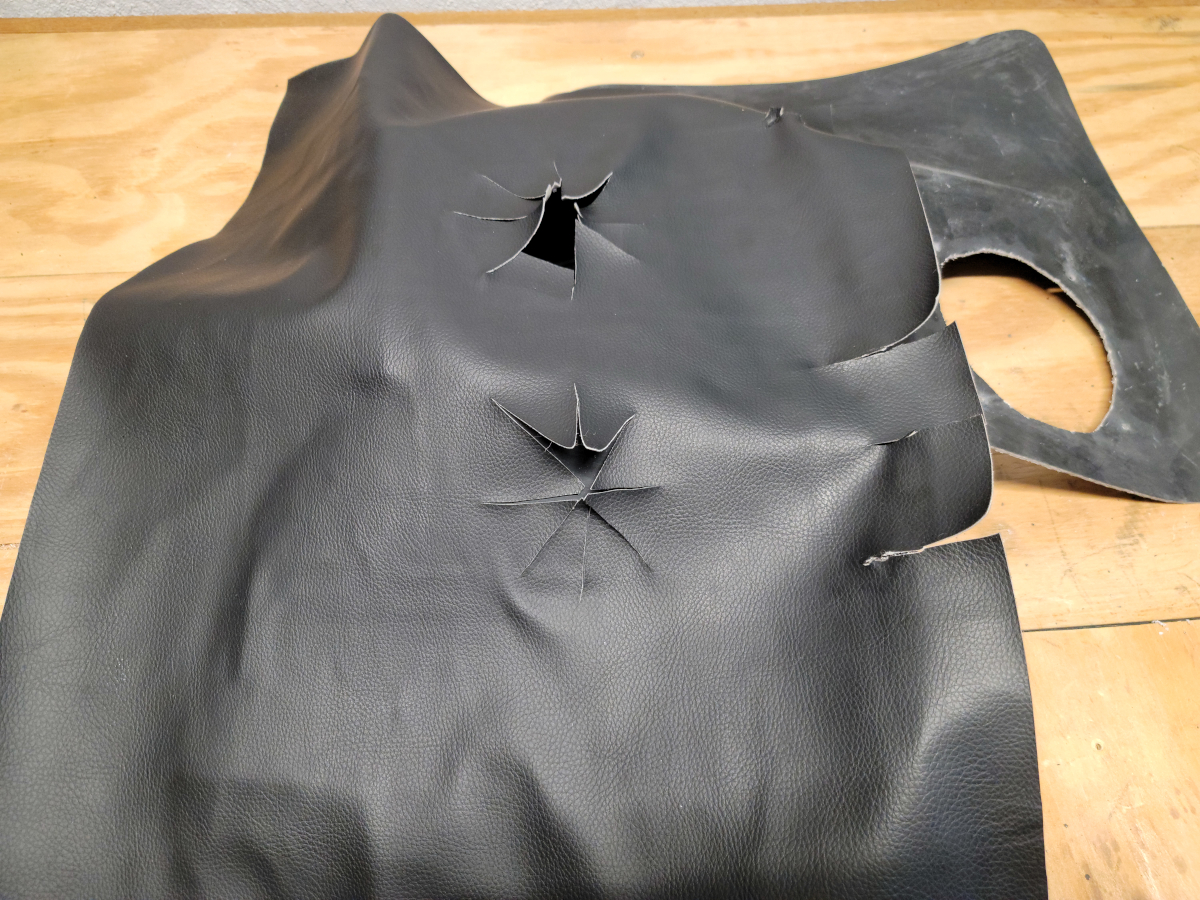
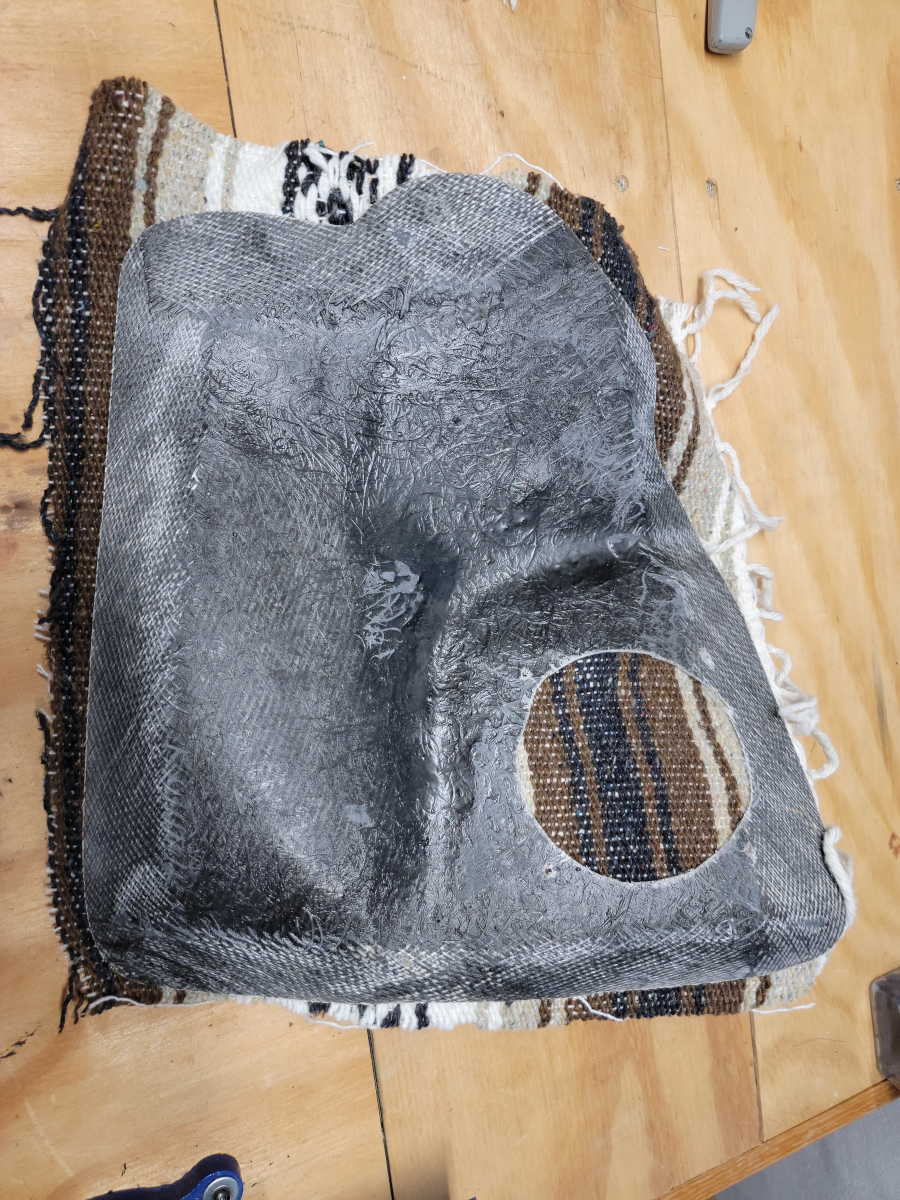
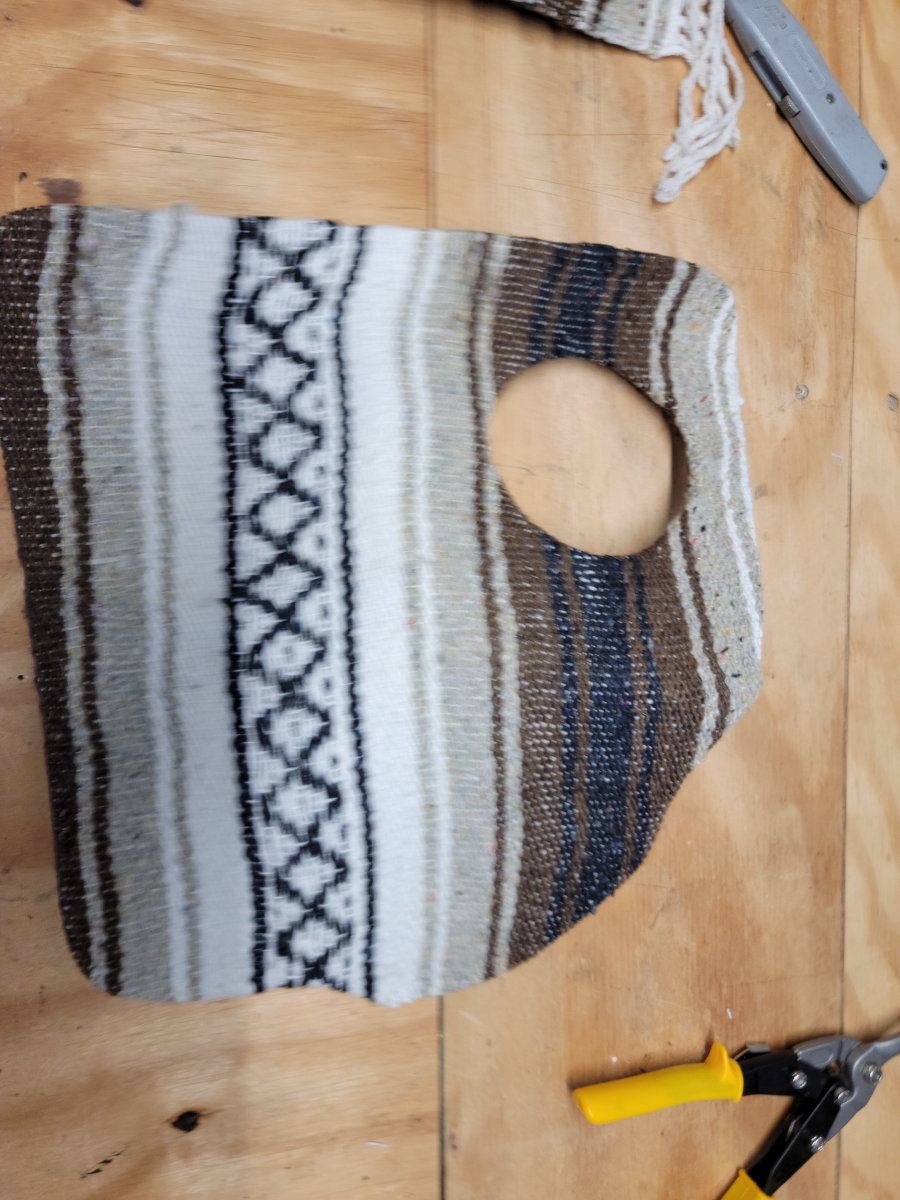
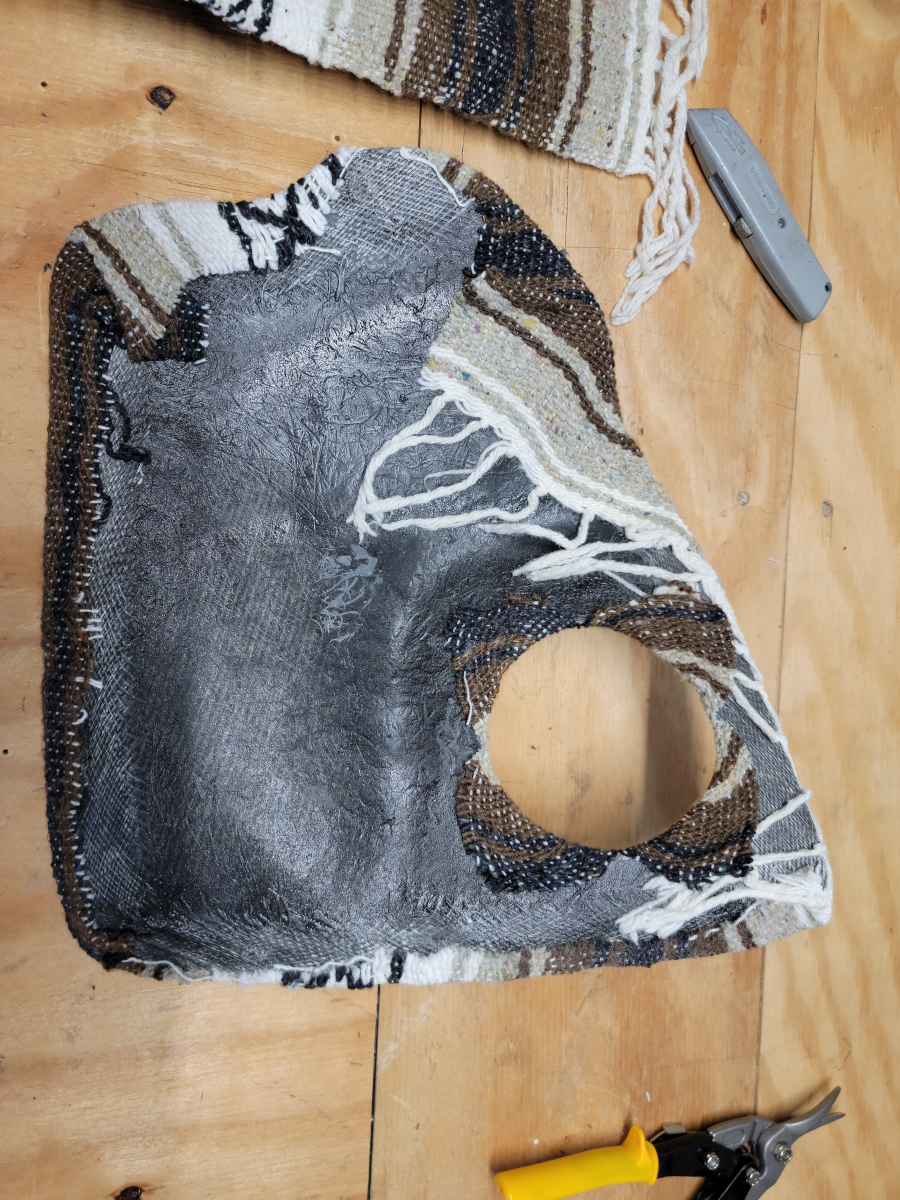
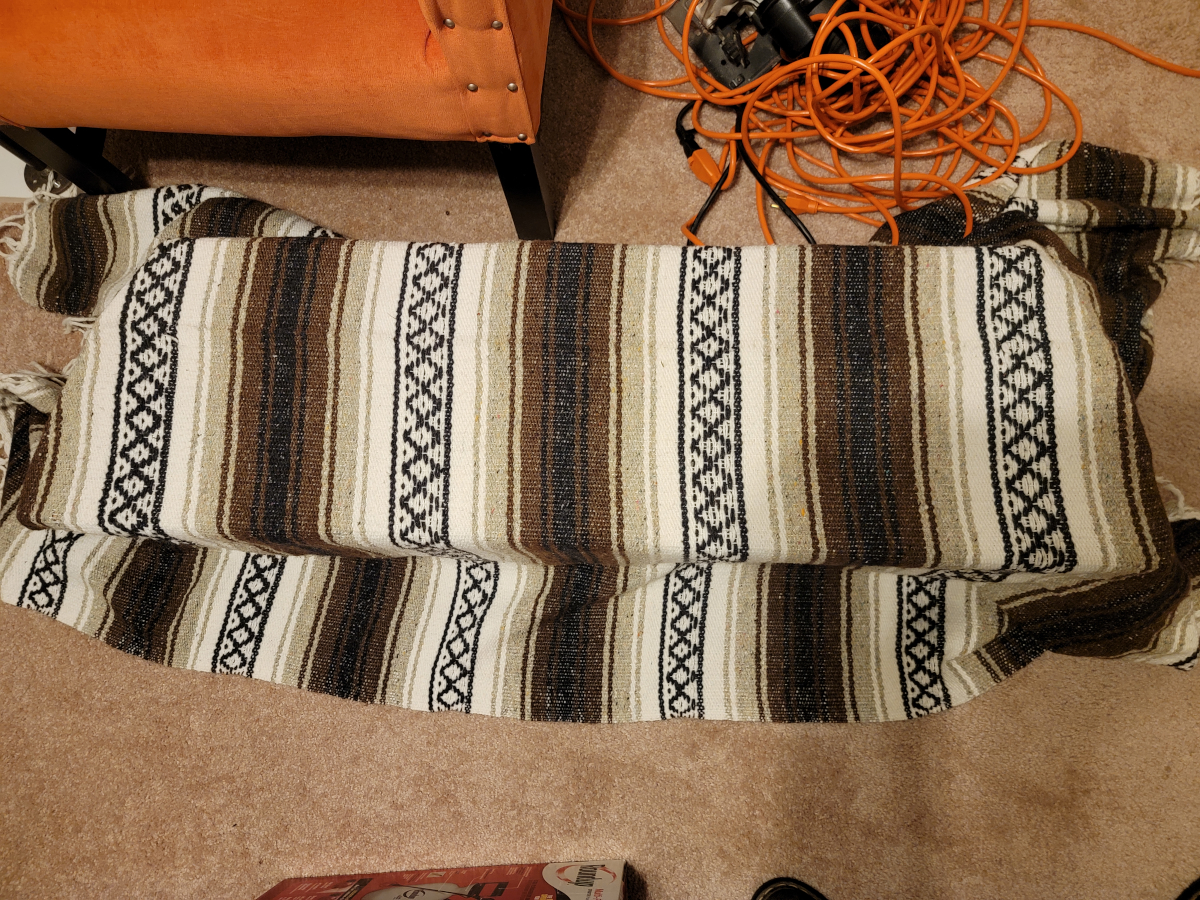
More effort:

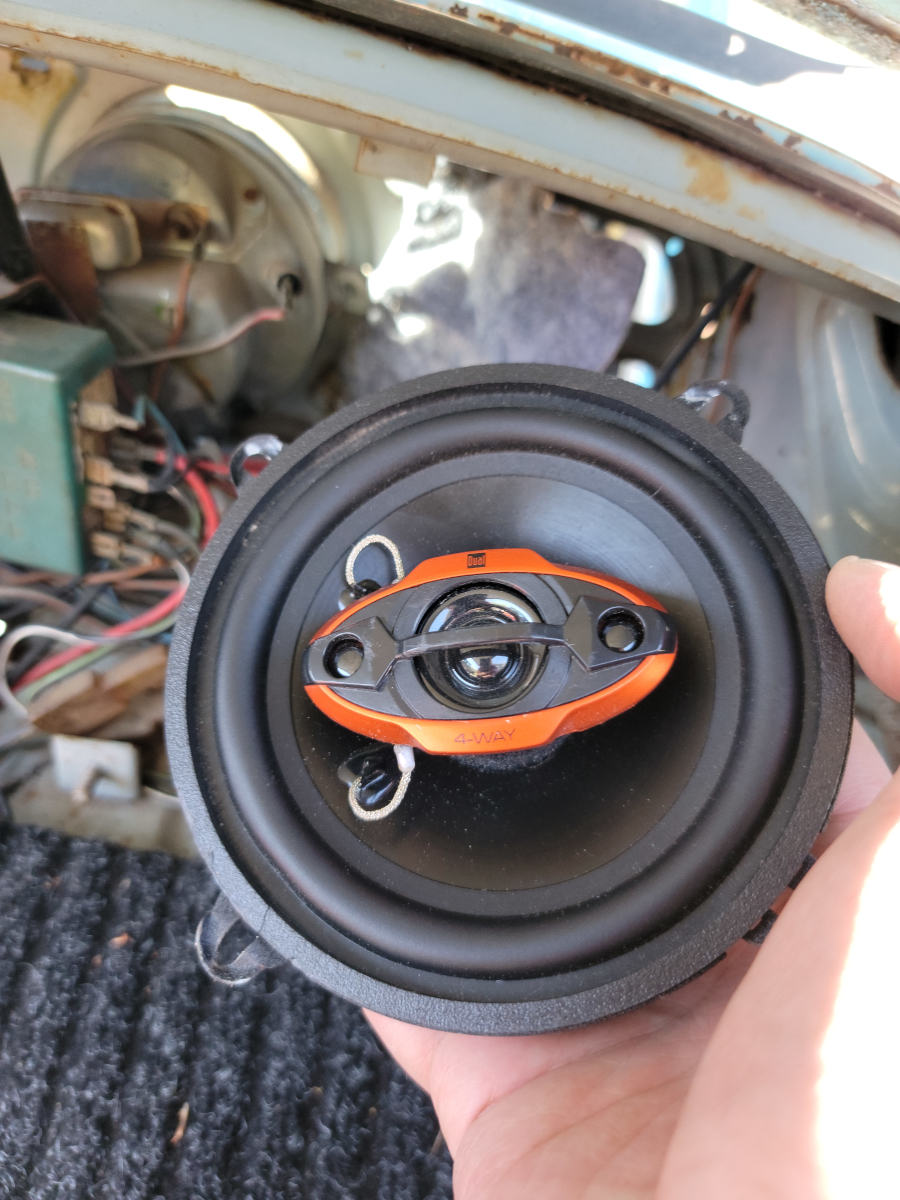
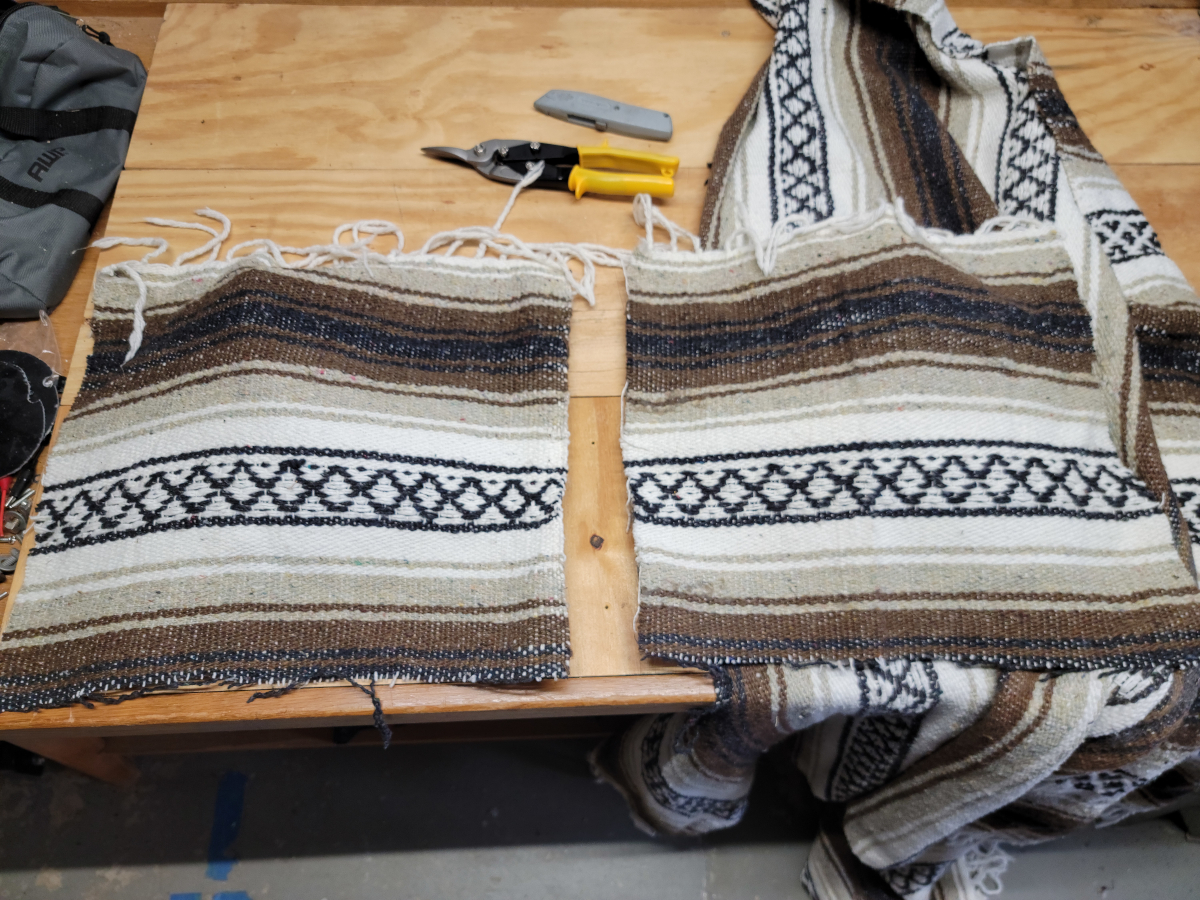
– Jam the drill with self-drilling sheet metal screws through the saddle blanket
– Through the fiberglass kick panels
– Through the actual sheet metal of the car.

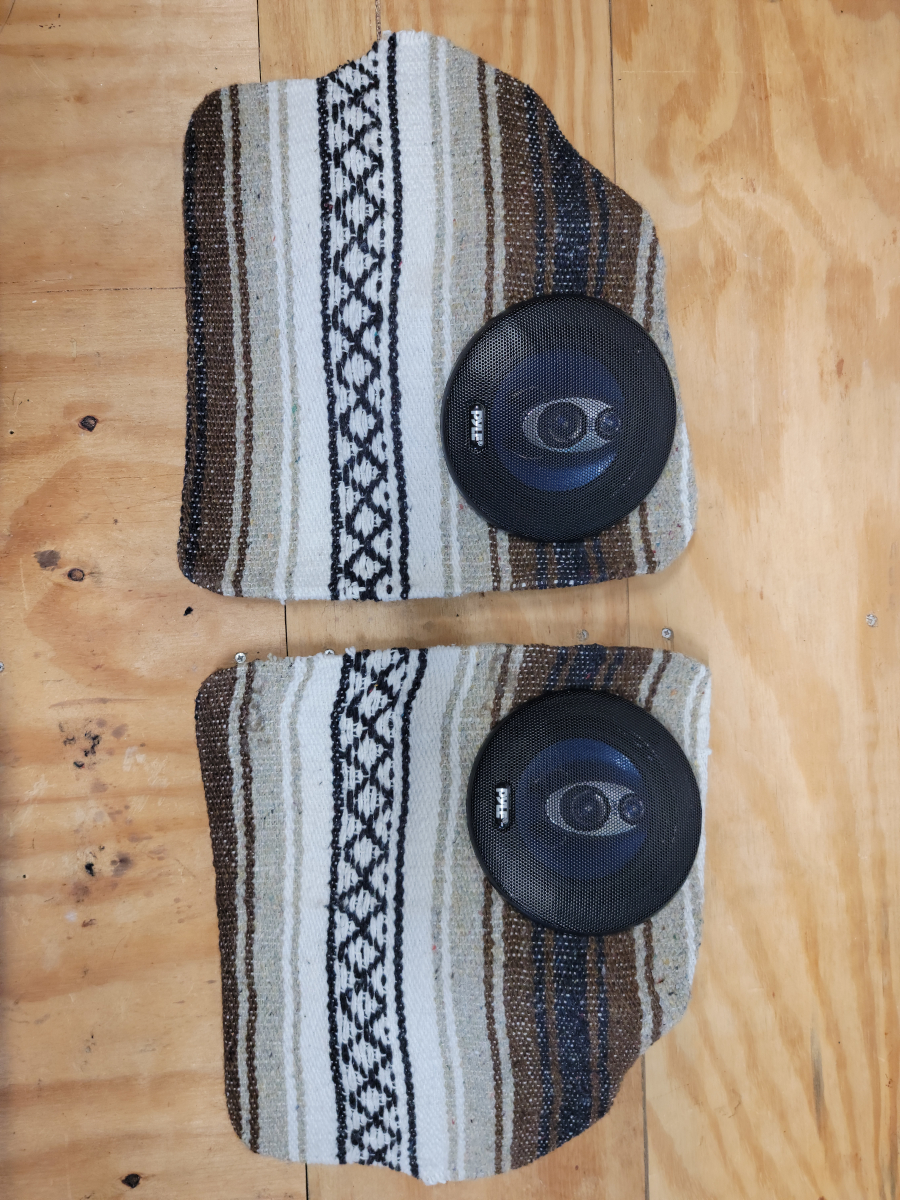
Three days later, something inside my wrist-guts still feels out of sorts from the effort.
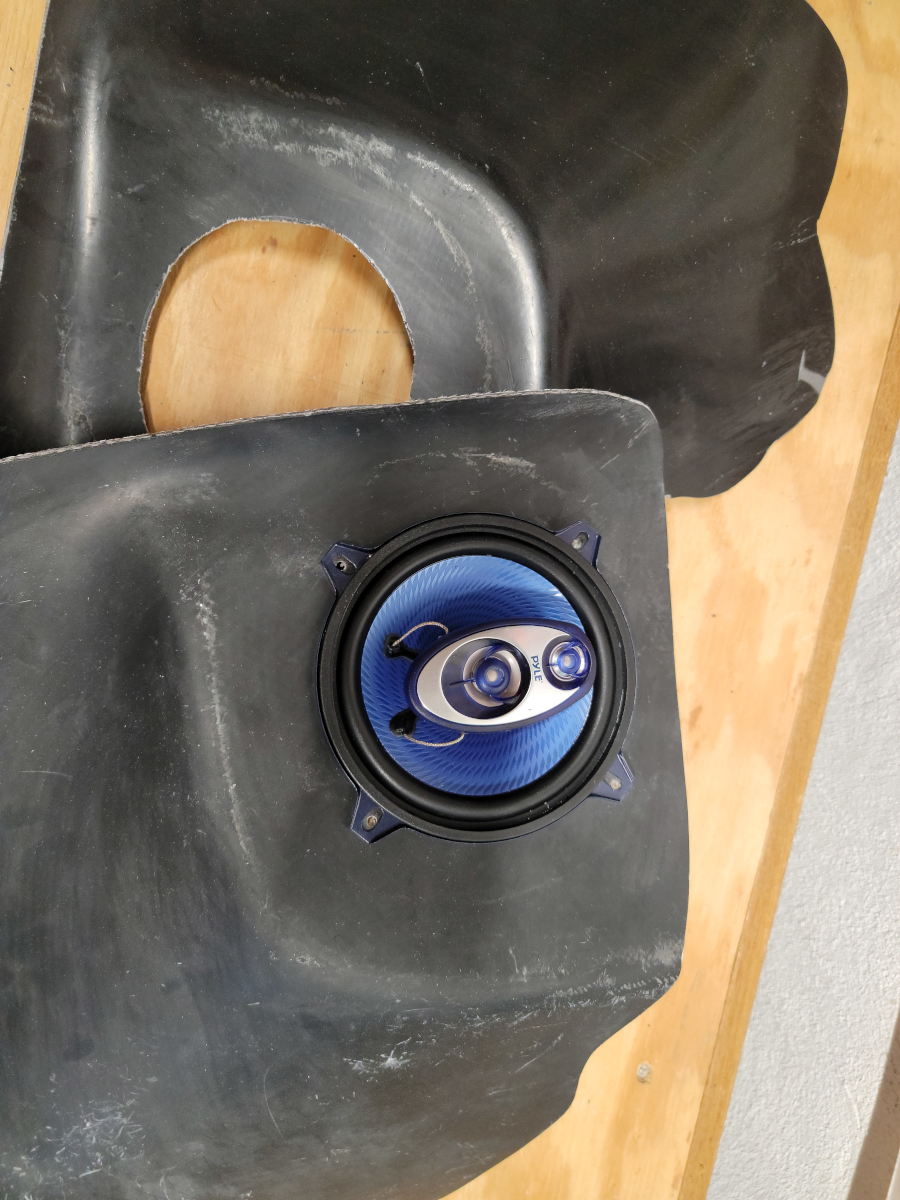
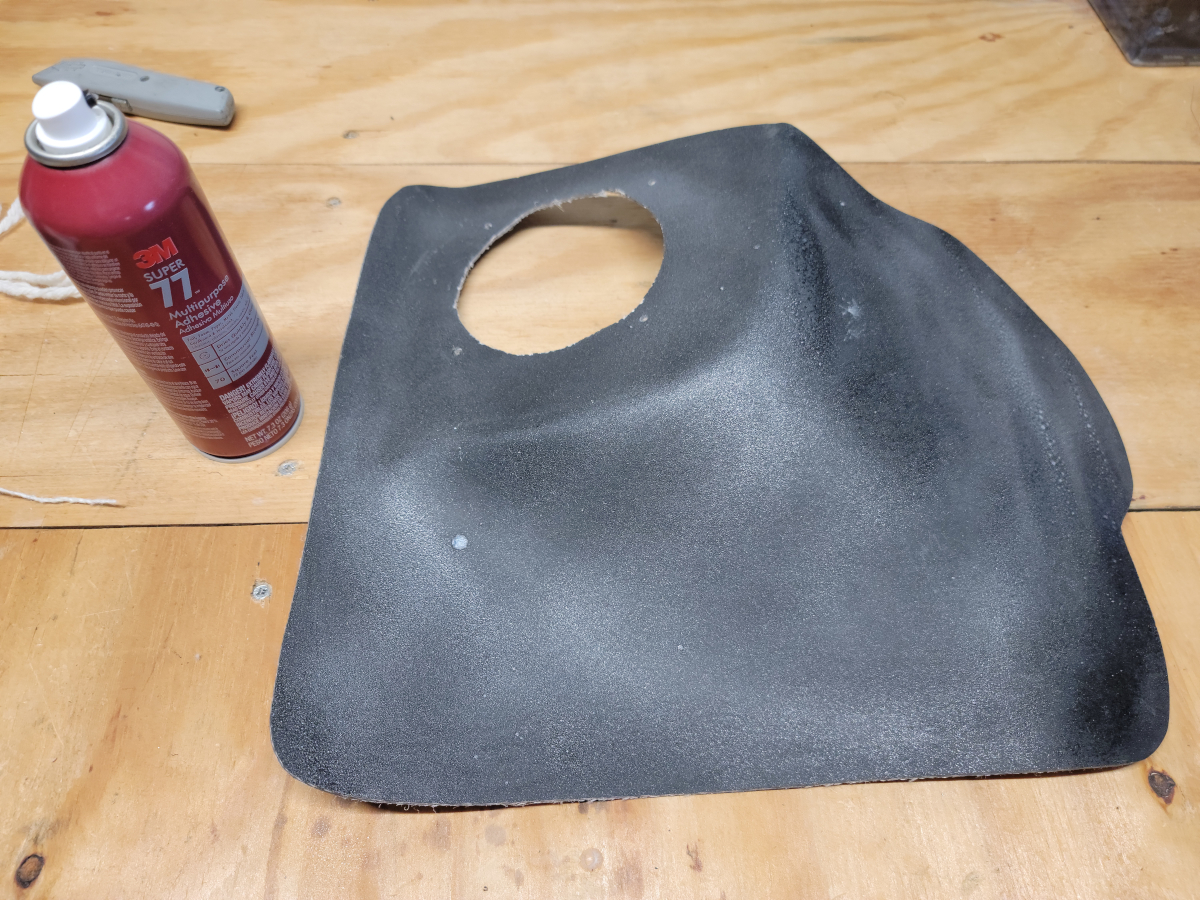
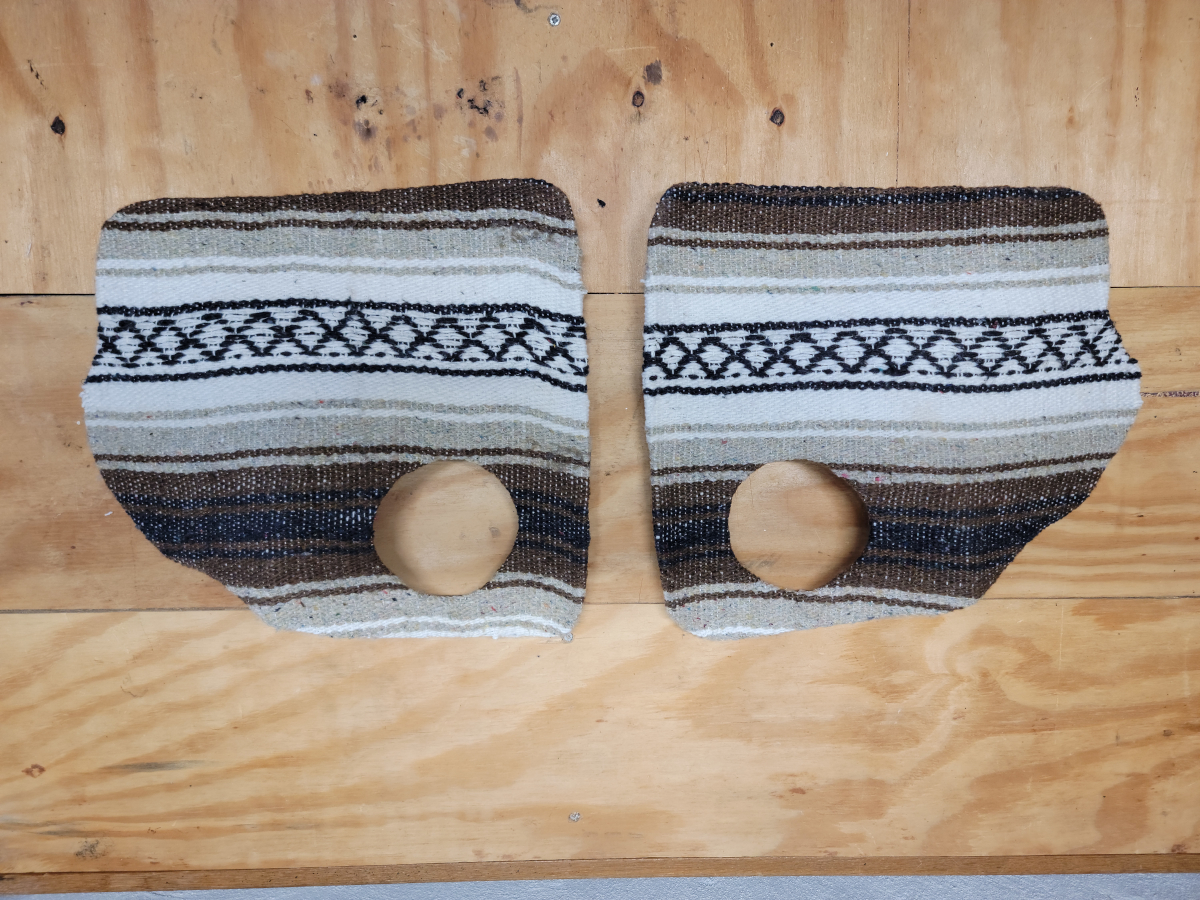
Anyway, job done.

Aaaaand done.

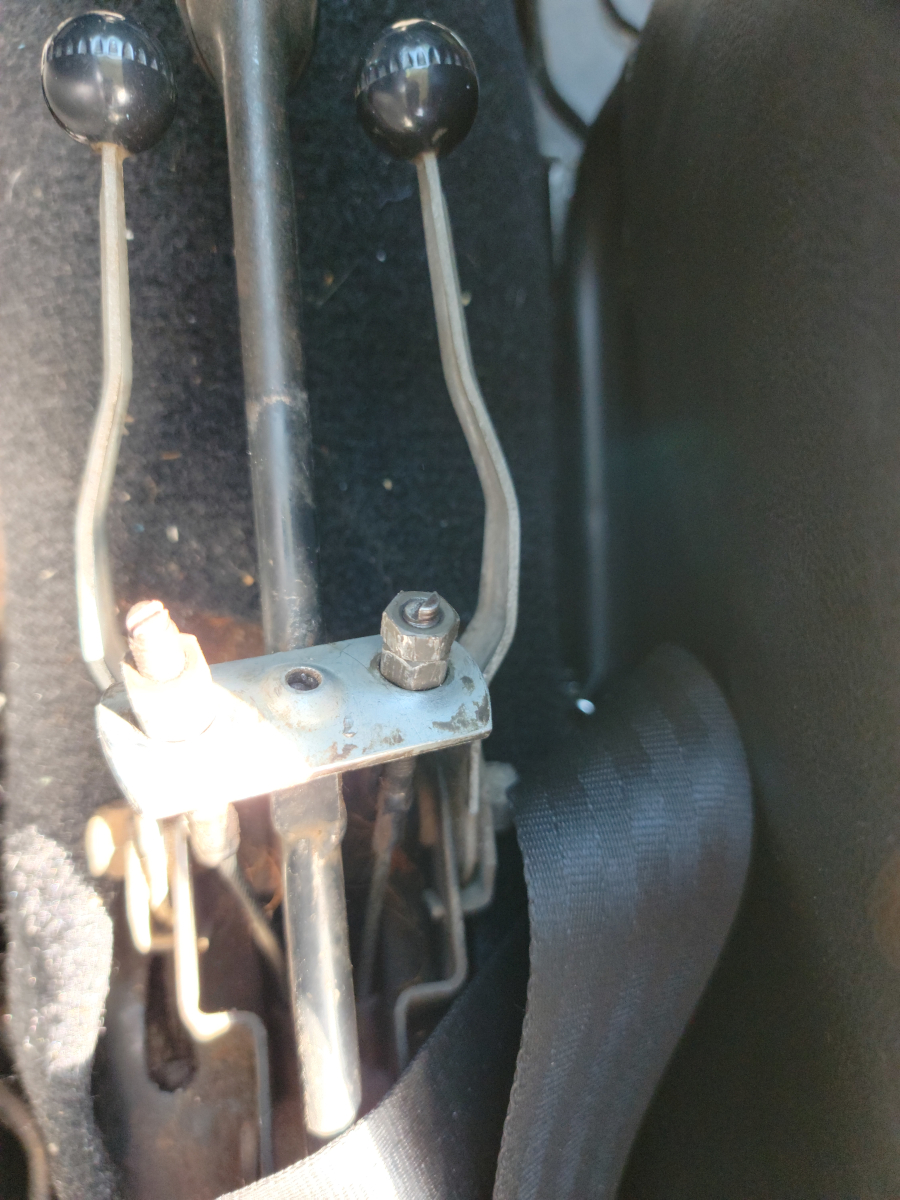
After the mess with the rear brakes was discovered, I got it all hosed down with brake parts cleaner. Then put it back together and tried adjusting the parking brake cable. Both sides would tighten all the way down without stopping the rear wheels.

Also, this is the first time I’ve had the car started up in around four months. That is by far the longest span it has sat. After four or five tries, she fired right up with no smoke, no warning lights. Ready to go.

She not stop, but will definitely go. I took a few trips back and forth in the driveway. Brakes suck. I’m tired.

Then I loosened the parking brake cables, just to make sure they wouldn’t decide to work at some point when I’m driving and lock up both rear wheels.

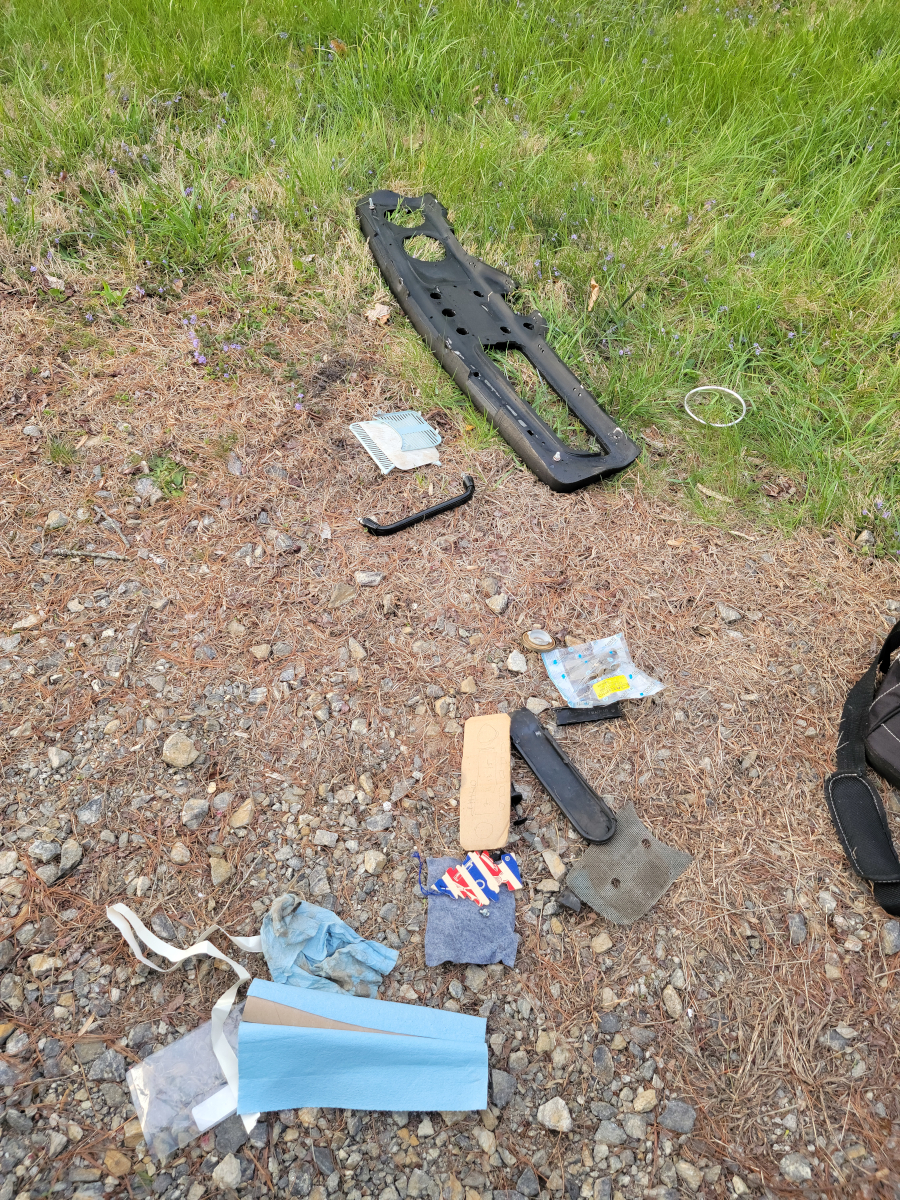
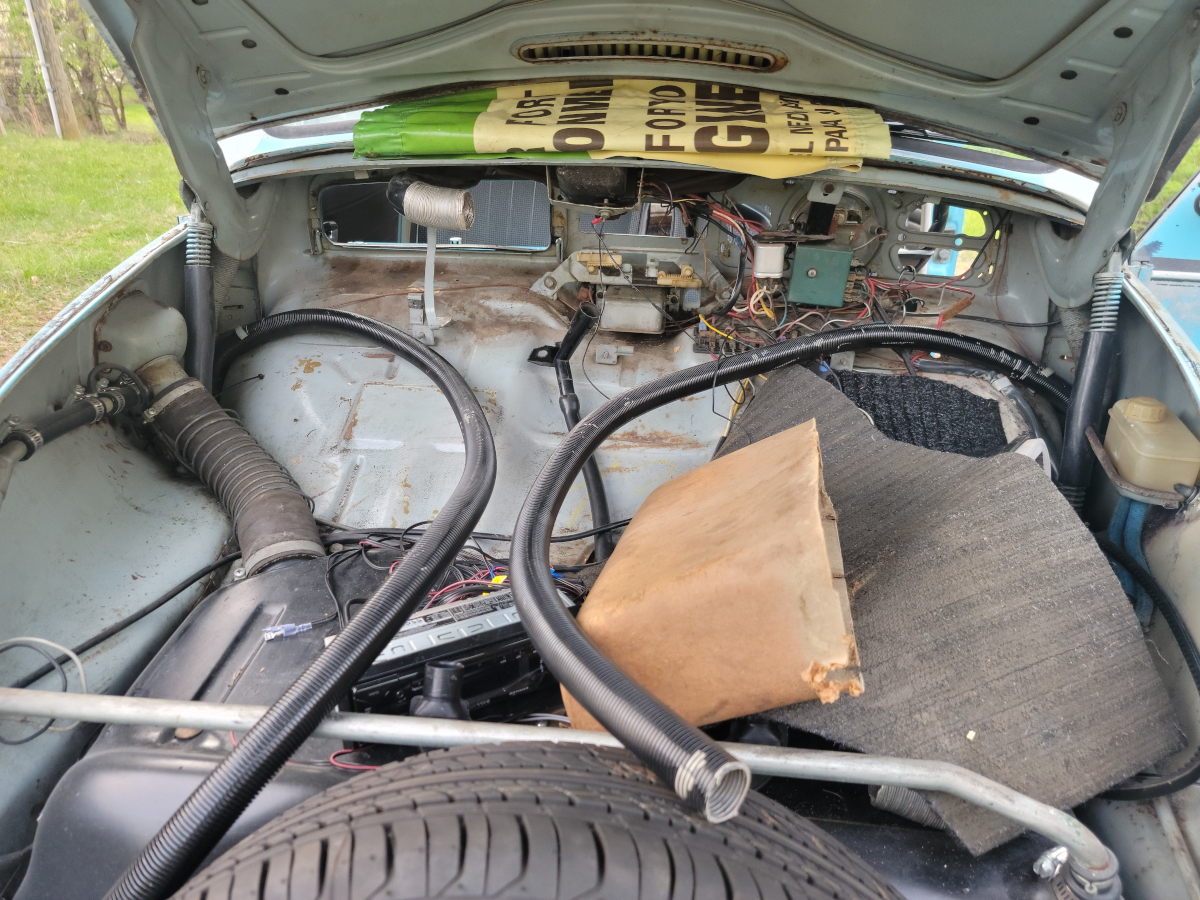
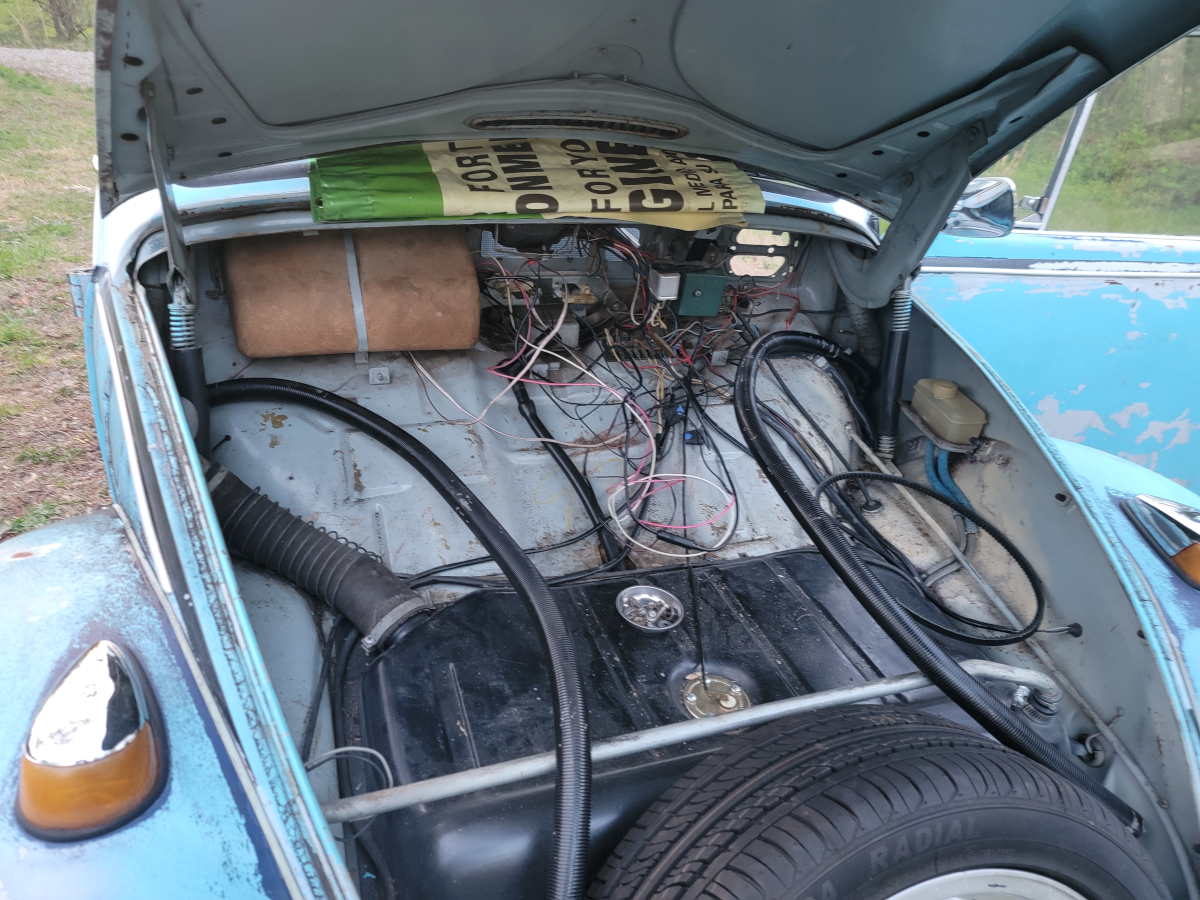
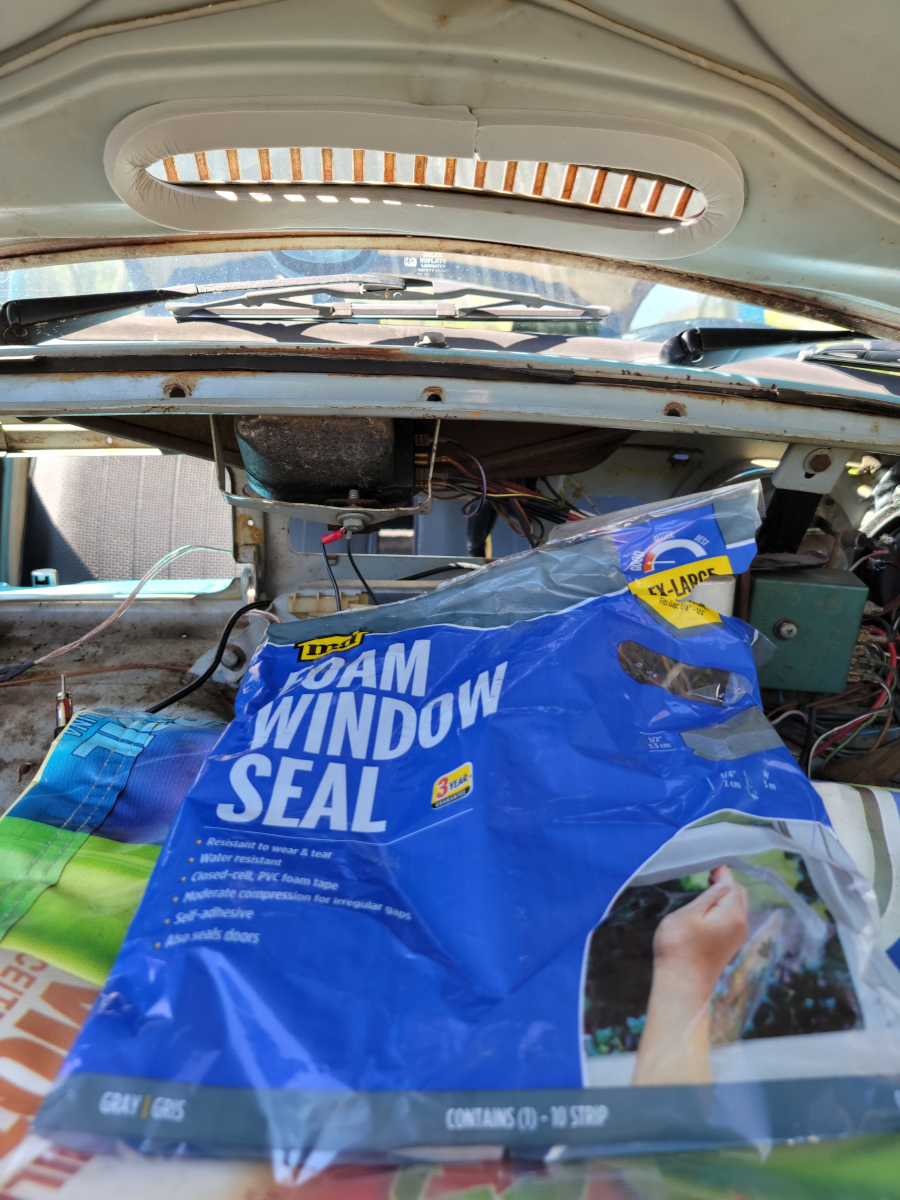
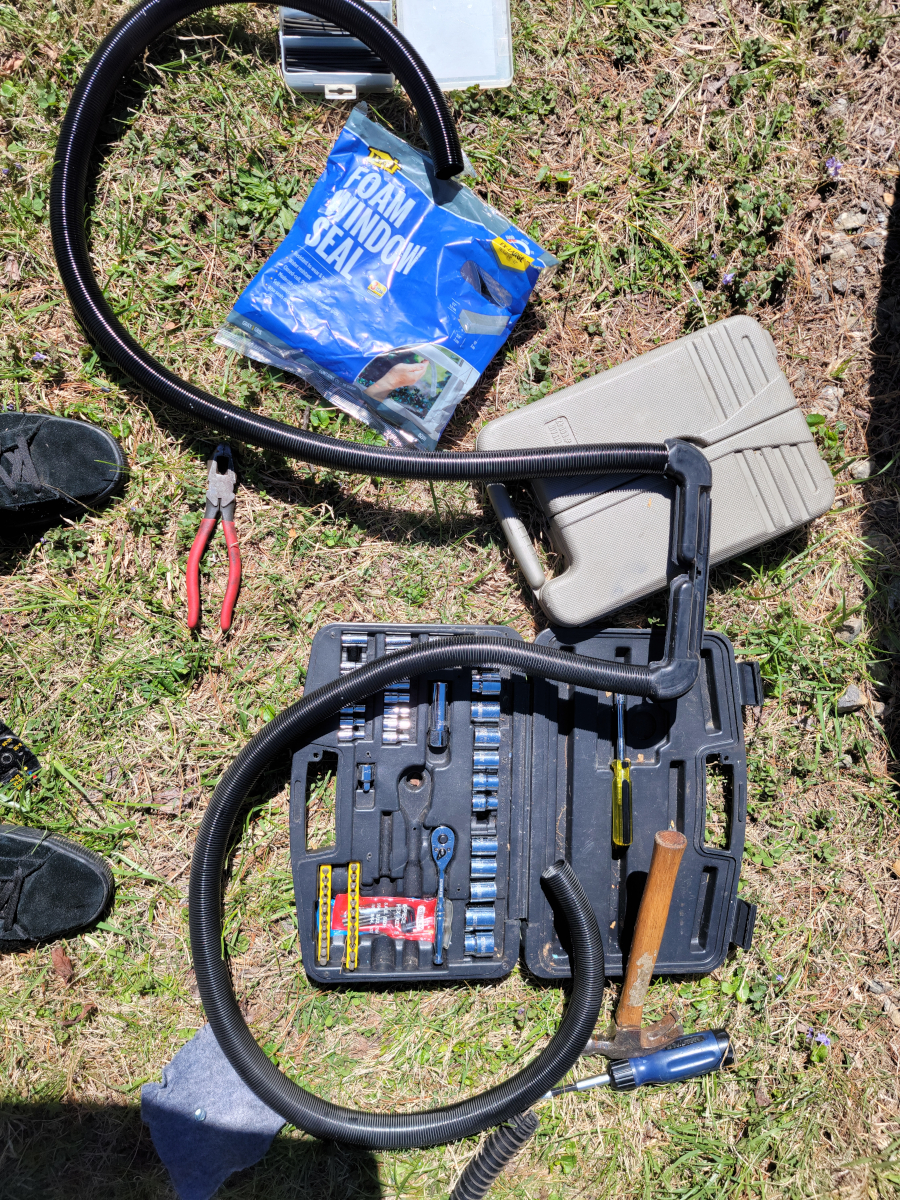
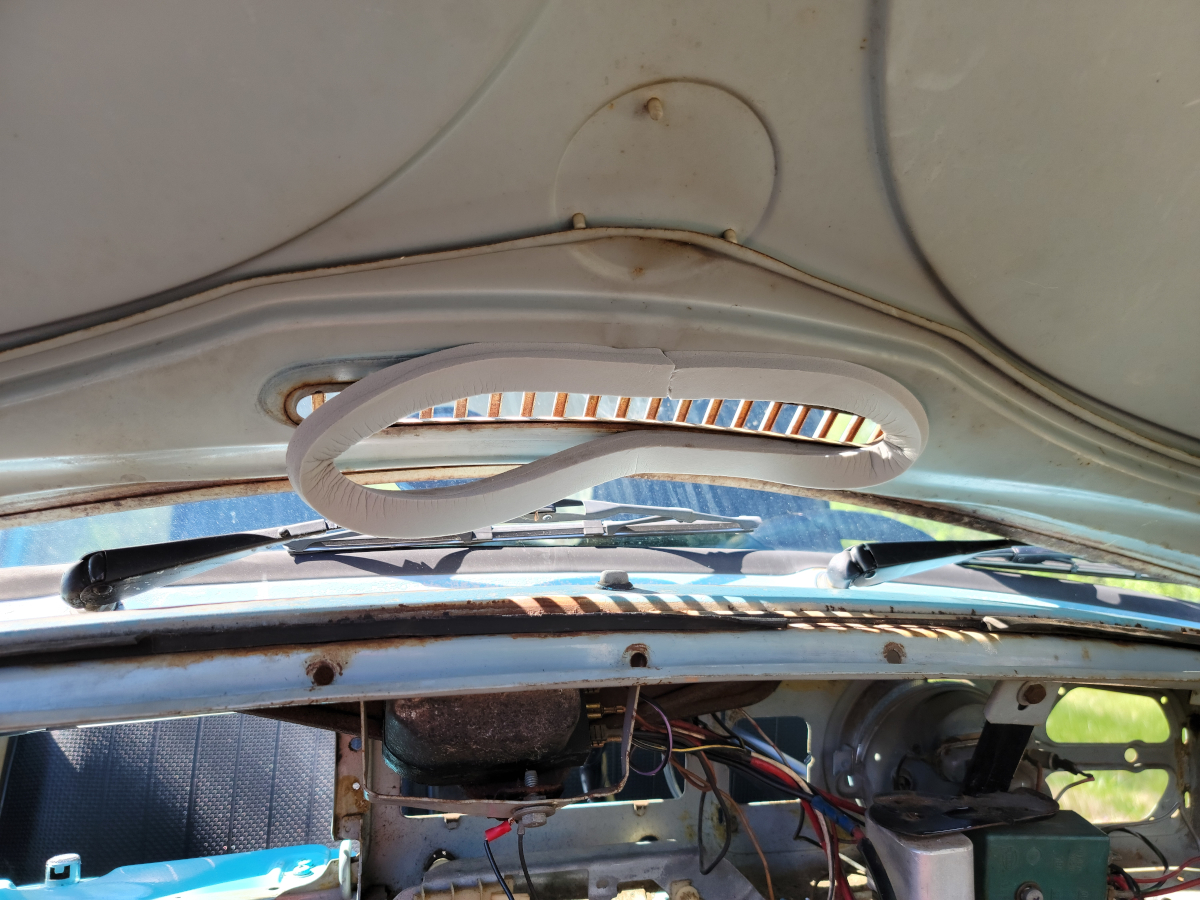
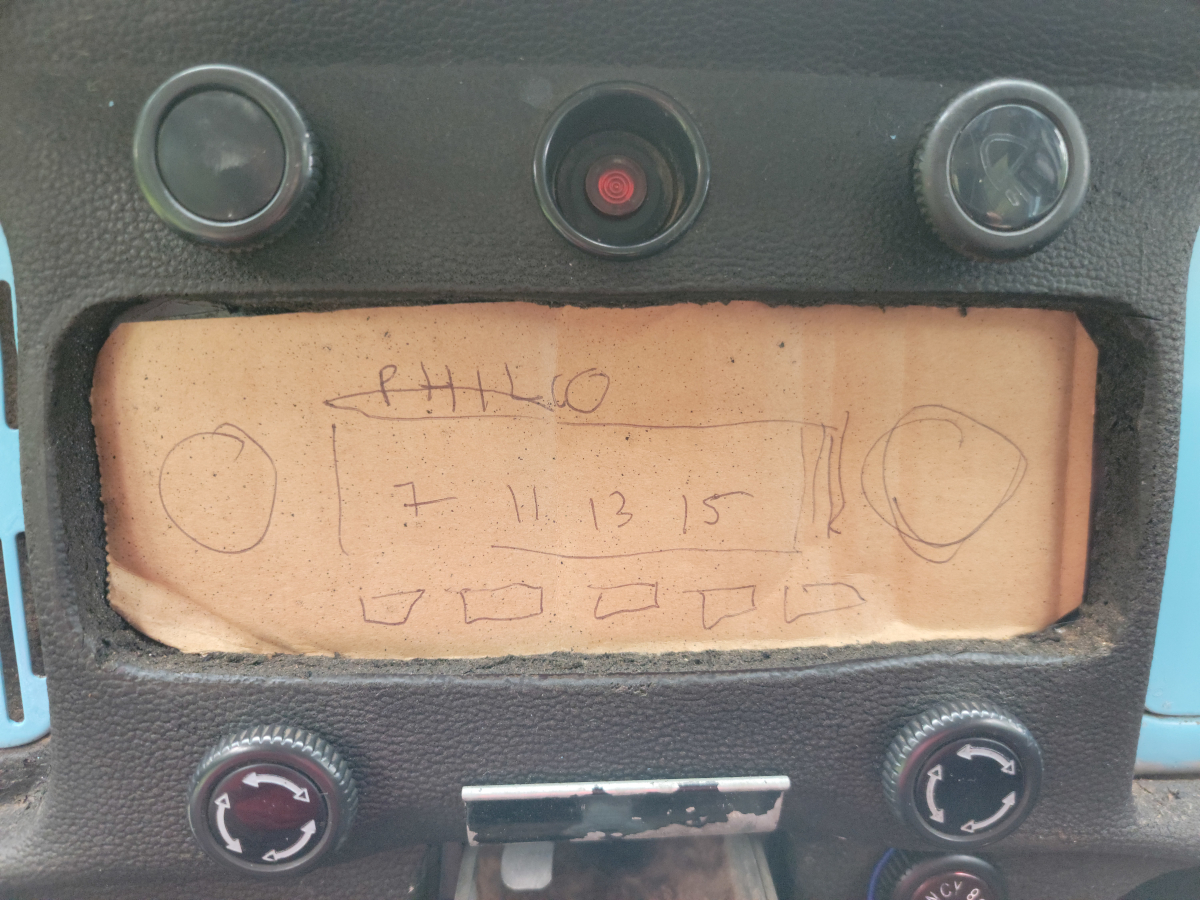
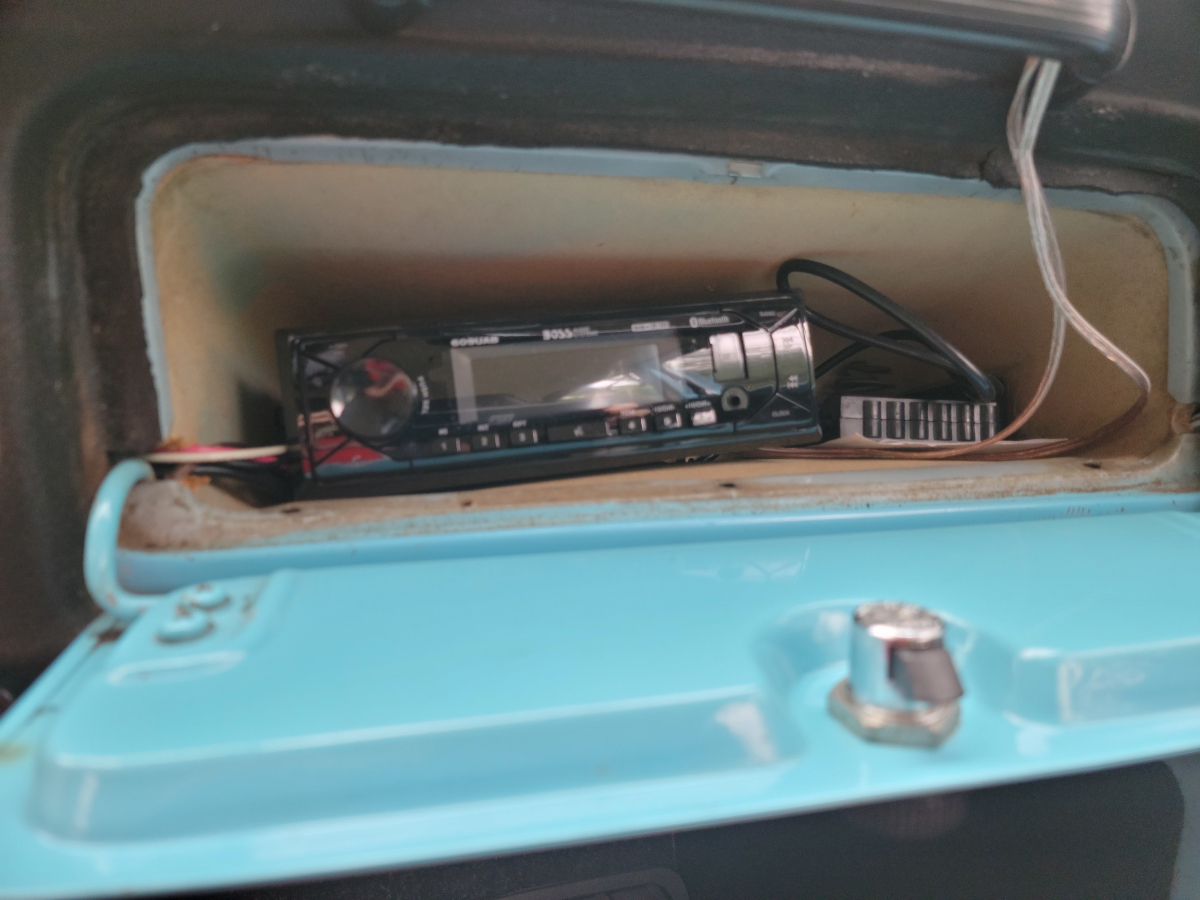
Now I move all the way back to the front and begin to reassemble the fresh air box. And packed everything neatly back up under the bonnet.

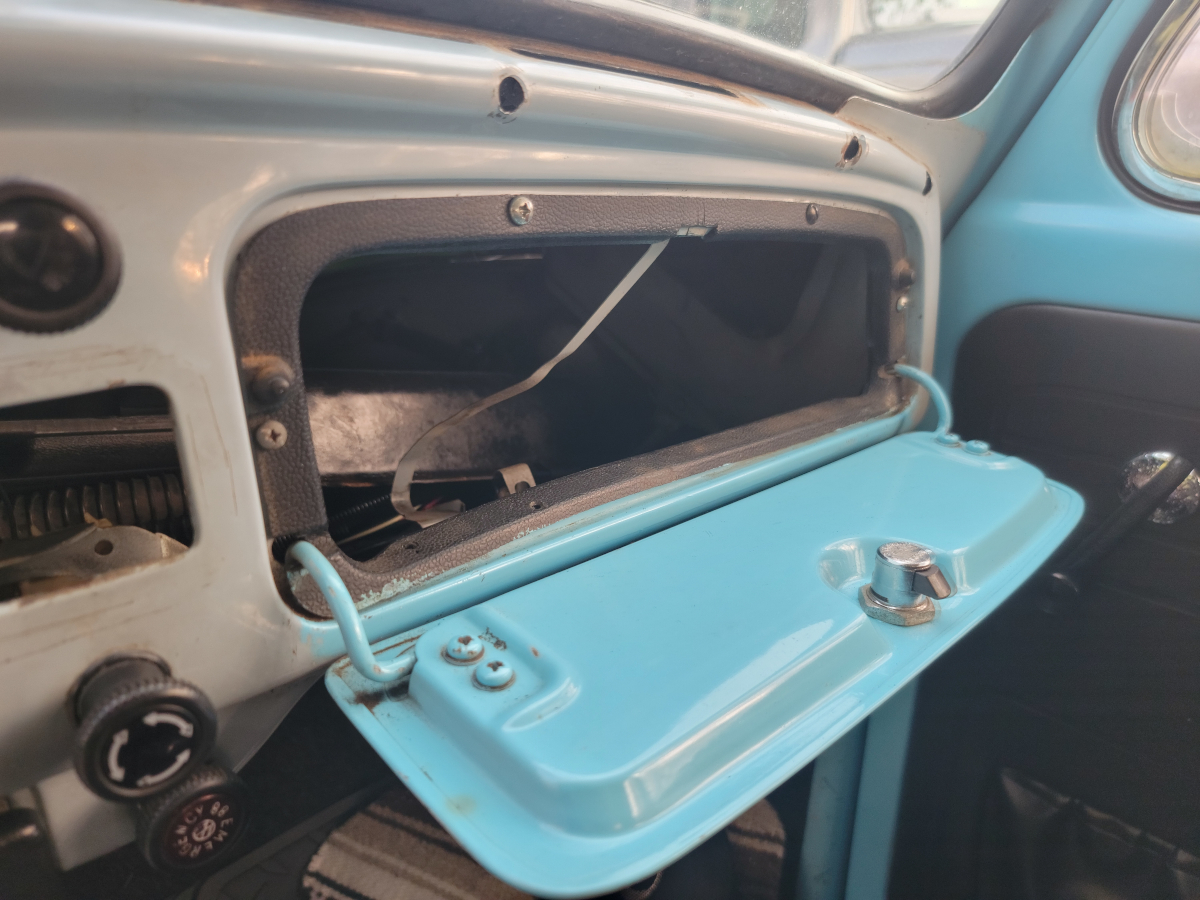
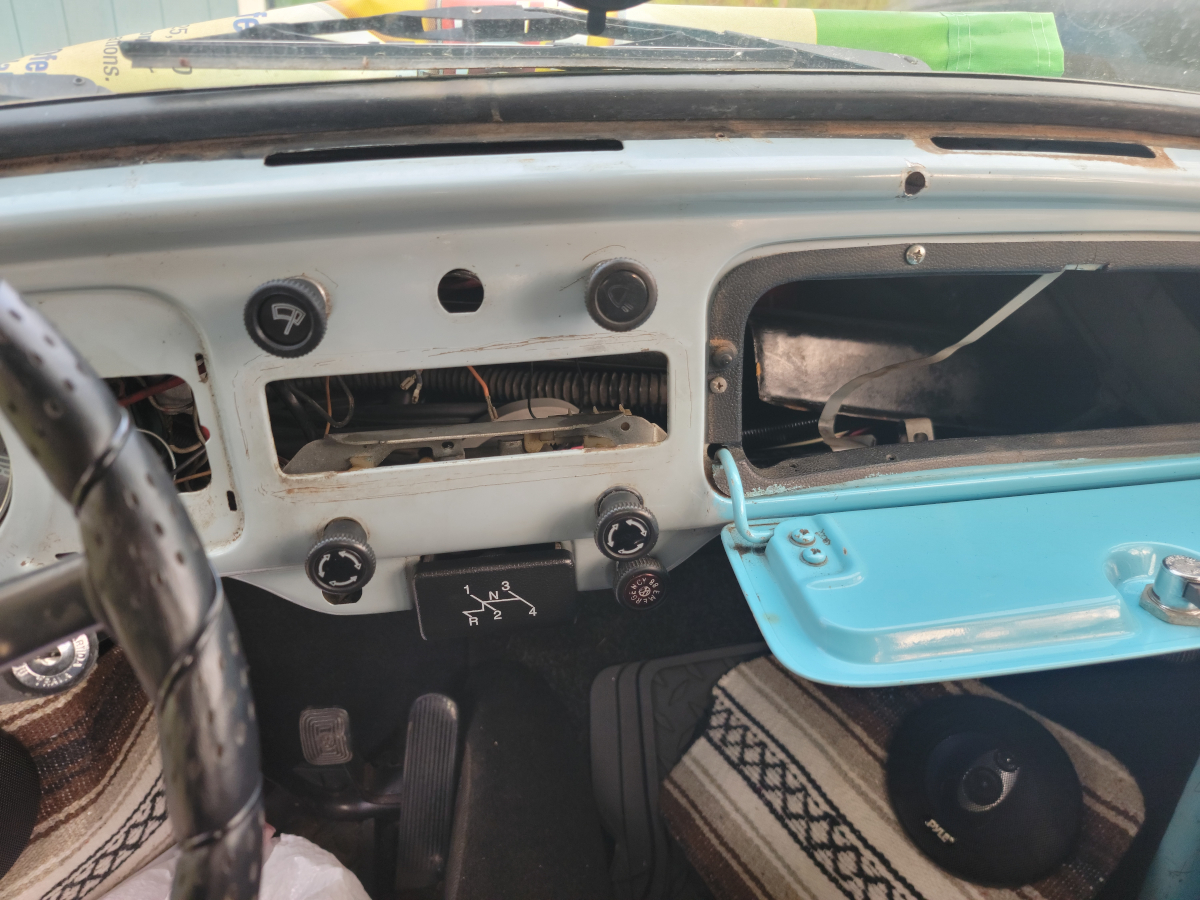
I’m half convinced that I am missing some parts. The center vent in the dash and the plumbing underneath doesn’t even closely resemble each other. Later, I read an off-topic statement in a post on the samba that said those parts don’t actually mate up.

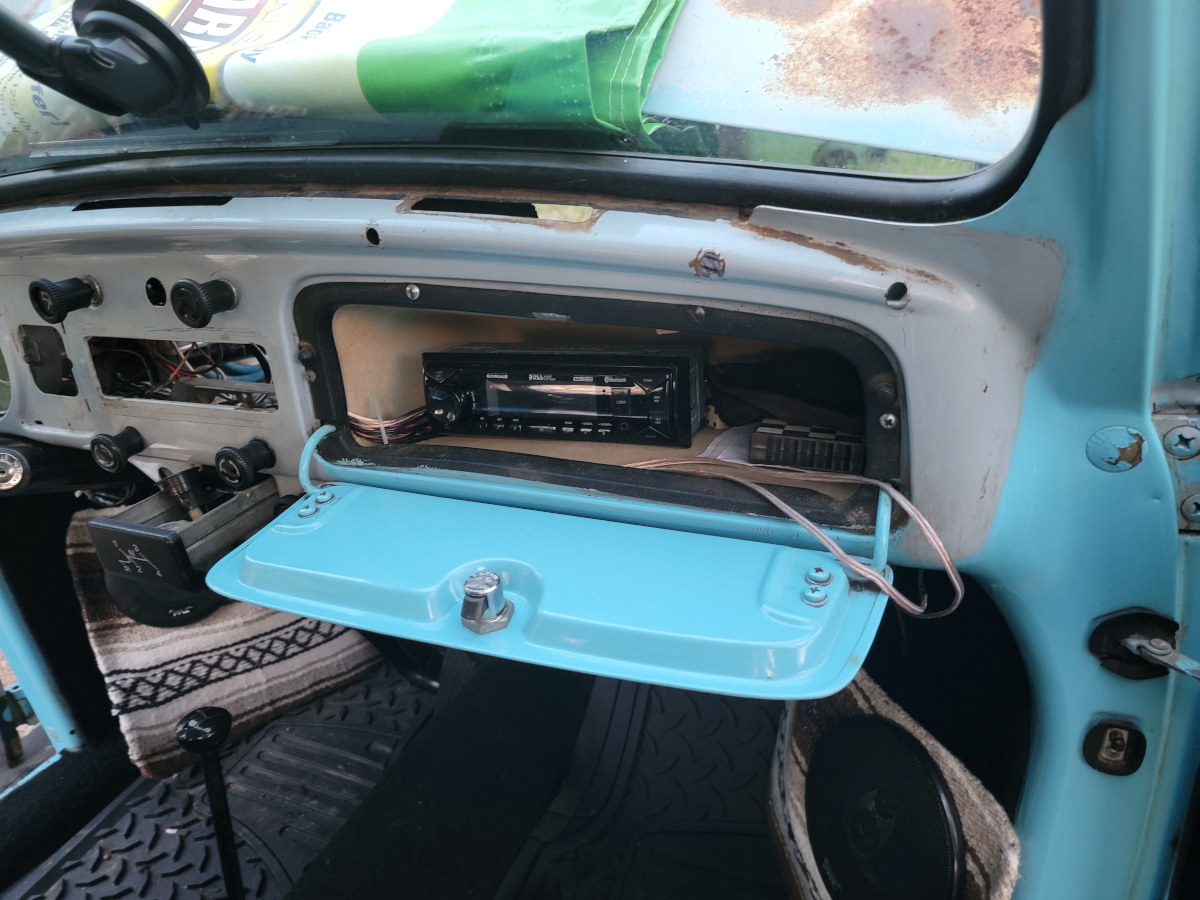
As it sits right now, there’s no dash pad and no internal vents, so I just reassembled it without the center vent. If anyone has any insight into how this thing goes back together, I would appreciate a comment or a message here. Not that I plan to need the heater any time soon. It was together when I started and I apparently didn’t pay enough attention when disassembling.

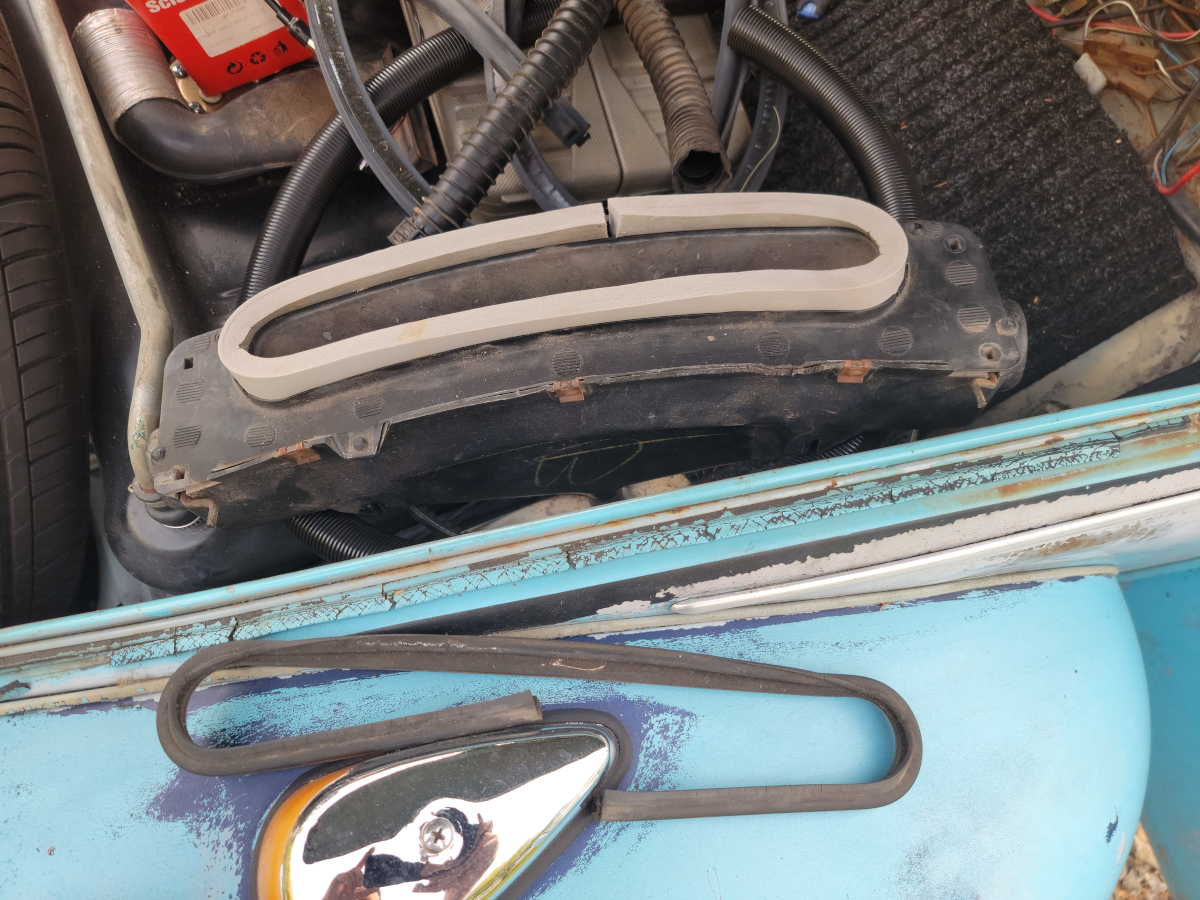
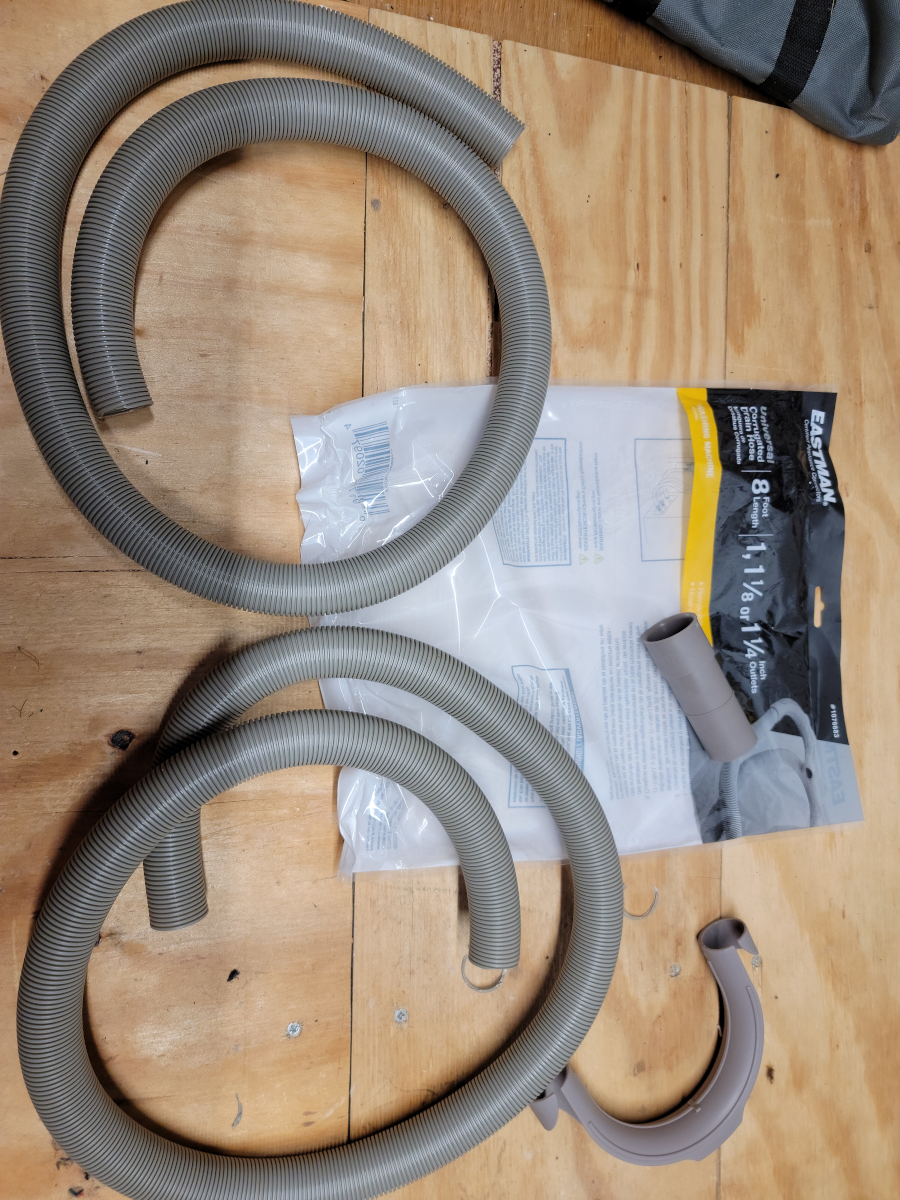
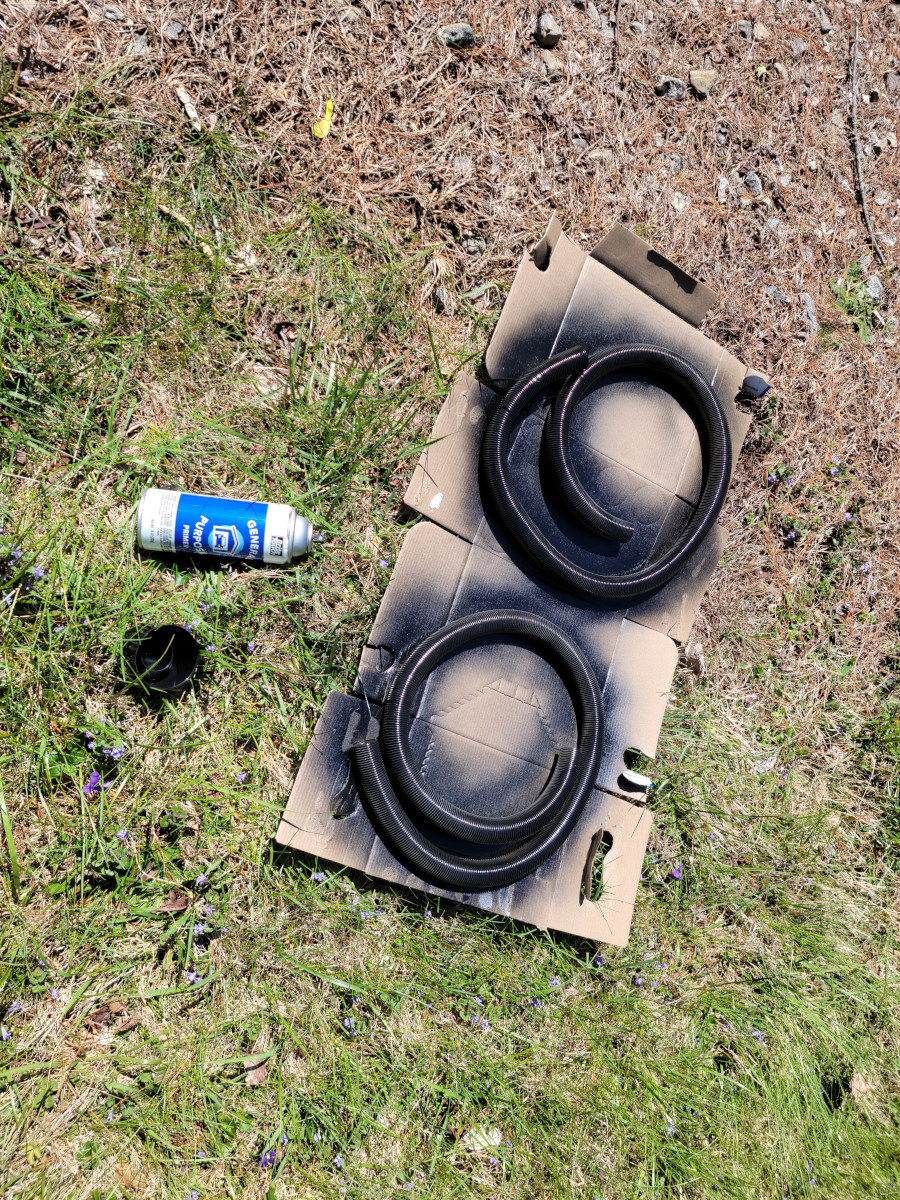
Are those hoses that I replaced not actually drain hoses? Are they heater hoses after all? Is it safe to use the washing machine drain hose I purchased to push heat into the cab?

I Give Up.

I came back out this evening after work with renewed determination to get the dash buttoned up.

After five or ten minutes of wrestling with the piece of garbage that is a $110 rubber dash pad, I threw it out into the yard and got busy reassembling the dash without it.

I don’t fully remember the story, but this plastic trim piece from around the glove box opening has been floating around in the car, laying under the passenger side seat. Screwed it back on using some of the now leftover dash pad screws.

I got most of the dash knobs and the ashtray mounted. The brake test button light thing doesn’t snug up into the hole in the dash panel. It is made to fit into the rubber dash pad.

Since the weather stripping wouldn’t stick to the underside of the bonnet, I instead turned it on its side and used that to replace the old gasket in the fresh air intake box.

Making some progress, getting organizized.

Since that mess of wiring is going to be behind and below everything else, I decided to get the stereo and speaker wires connected and routed through the car.

Not all permanently routed, just enough to be out of the way when I’m driving.

I can’t fully wrap my head around where and how those drain hoses work. My setup doesn’t match any of the pictures and diagrams I’m seeing online.

But that’s a problem for another day.

Defrost hoses

I picked up this washing machine drain hose at Lowes (Lowes link) and it fits perfectly without the need for clamps. I cut both ends off, then cut it in half. It’s an 8 foot hose, which is way more than I will need, so I can cut each side to fit.

Since Dupli-Color engine enamel has been letting me down lately, I just grabbed this can of generic black primer and gave them a few coats.

The rubber gasket around the fresh air intake box is really hard and crusty and it’s always kind of damp under the bonnet, so maybe this foam window seal will work to bridge the gap.

It’s a nice thought, but the adhesive always lets go immediately on those things, so I don’t have very high hopes.

I pulled the speaker out of the dash. I was wrong before, it’s not a Kicker, it’s a Dual.

The hoses fit tight as a glove!

Told ya.

Kick Panel Speakers

When I ordered the new vents for the dash install, I also added fiberglass kick panels to allow me to install front speakers. Because I have spent so much money already, I did the sensible thing and ordered Pyle speakers (Amazon link).

I have had nothing but good experiences with Pyle products in the past. They have always fallen into the “this thing has no business being this good” kind of category.

I previously had an 8 inch bass cannon (Amazon link), multiple sets of 5x7s (Amazon link), and my drum recording setup has four Shure 57 knock-offs (Amazon link) that were a fraction of the price. They have all been great!

I traced the openings using the paper template that came with the speakers. I drilled a hole just large enough for my jigsaw blade to fit through, then cut them out.

That is not the right blade, but it’s all I have. It needs to have much finer teeth.

Next, I put the speaker in place and drilled holes for the mounting screws.

Obviously, I don’t want to leave this ugly, raw fiberglass panel in view, so I started looking around for something to cover them with. I can order carpet pieces if I need to, but like I said before, I have already spent a lot this year.

I grabbed the bit of vinyl I peeled off the dash pad (what a fiasco), but it had too many cuts in not the right places.

Then it came to me! I had previously made a speaker hutch for the luggage compartment and just had a saddle blanket draped across it. There’s plenty of extra material there, so I cut off what I needed.

I’m confident in the strength of the 3m Super 77 (Amazon link) and have plenty left over, so I hosed the kick panel down and let the glue start to set up.

When I got the blanket fitted on the front, I flipped it over and sprayed some more glue around the edges on the back, to hold the blanket in place.

The pattern is a little crooked, but it was my first attempt. Now I know what to look out for next time.

I think they turned out great!

My original idea was to mount the speakers from the back and not use the speaker grills. The center bit of the speaker protrudes quite a ways and it wouldn’t have been flush with the face of the kick panel. OK, so I have to use the plastic trim piece and speaker grill.

I’m an idiot and got the first speaker mounted before realizing I needed the plastic trim piece under there to house the speaker grill.

Didn’t make that mistake again!

I think they turned out wonderfully!

Speaker hutch

The car came with a tape deck and one four inch speaker in the dash to the left of the steering wheel.

I bought a couple of cheap Alpine 6x9s (Amazon link), traced and cut out a template for the space behind the rear seat in a flattened cardboard box, and then cut and screwed some plywood scraps together. Cut a couple of pieces of white metal gutter guard from Lowes to use as speaker grills and covered the whole deal in a saddle blanket.

I replaced the Sony cassette player in the dash with a cardboard blank…

Why Philco?

…and installed a cheap Boss head unit (Amazon link) in the glove box.

The car came with a single 4″ Kicker speaker mounted in the dash to the left of the steering wheel. I left that in place and connected front left and right speaker wires to it.

Speaker wires were run under the carpet to the luggage compartment behind the back seat, connecting the speaker hutch.

I was expecting them to rattle, but they don’t actually sound too bad.