Windshield Wiper/Washer Switch – Part 2

In Part 1, I connected a windshield wiper/washer switch from a Peterbilt truck in my 1968 Beetle and greatly improved functionality by adding intermittent wiper speeds.

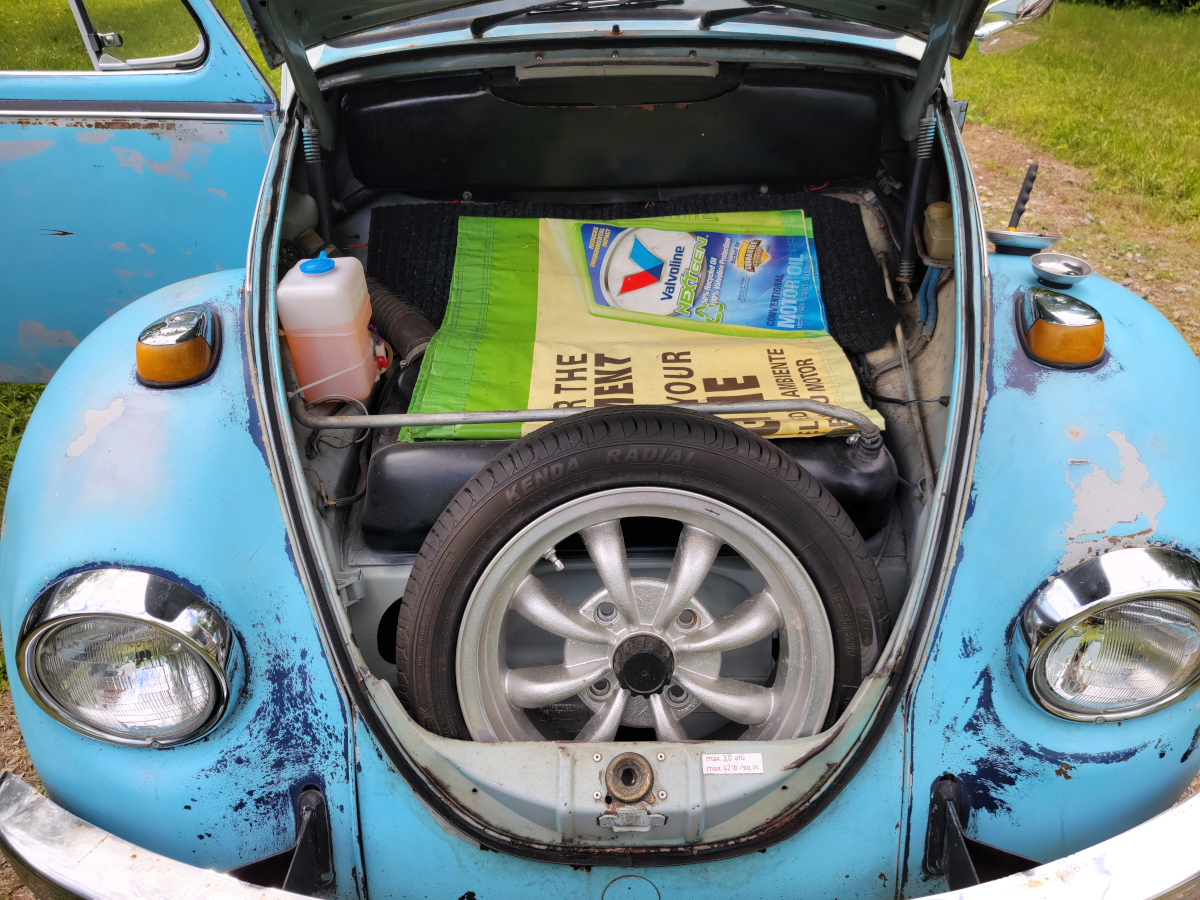
When I opened the bonnet, I noticed the new seal I mounted had pulled out of the channel. I fixed that and moved on.

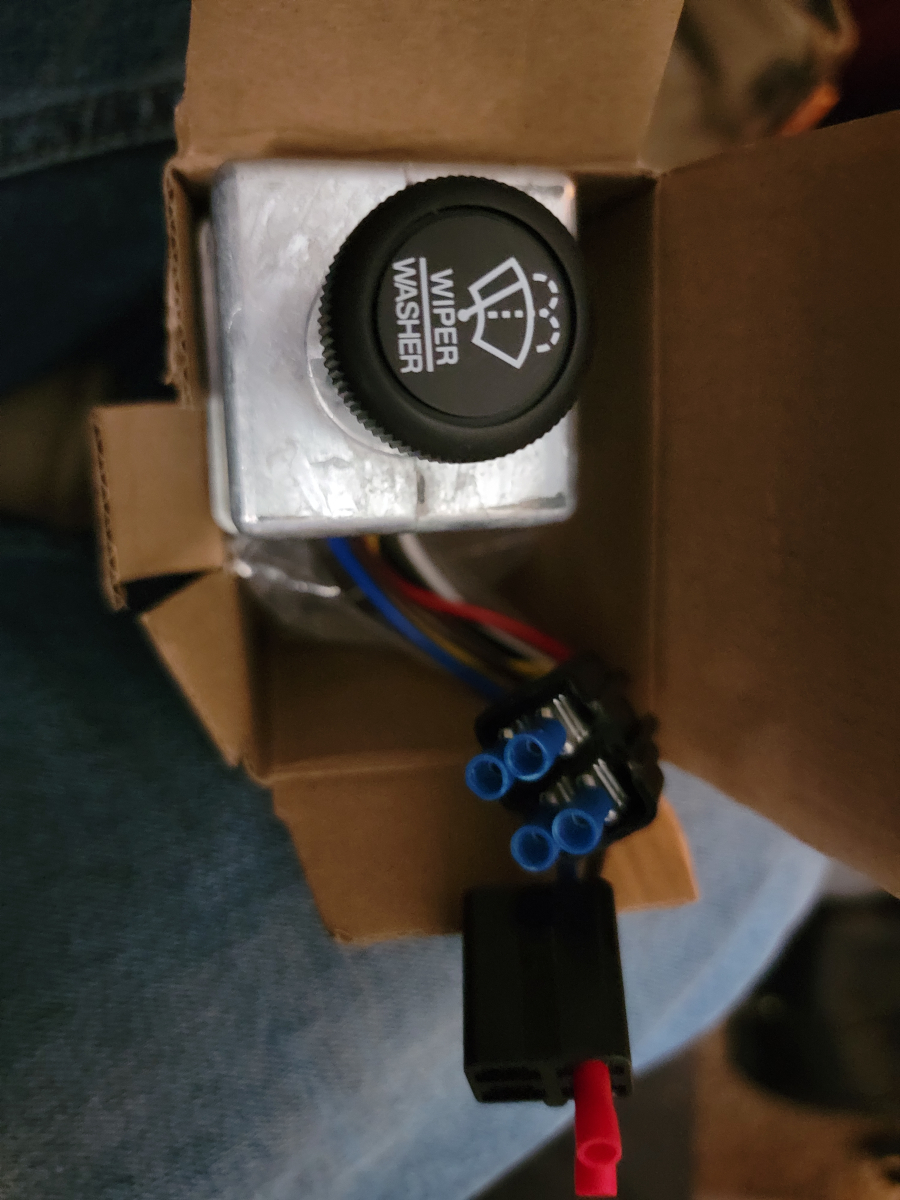
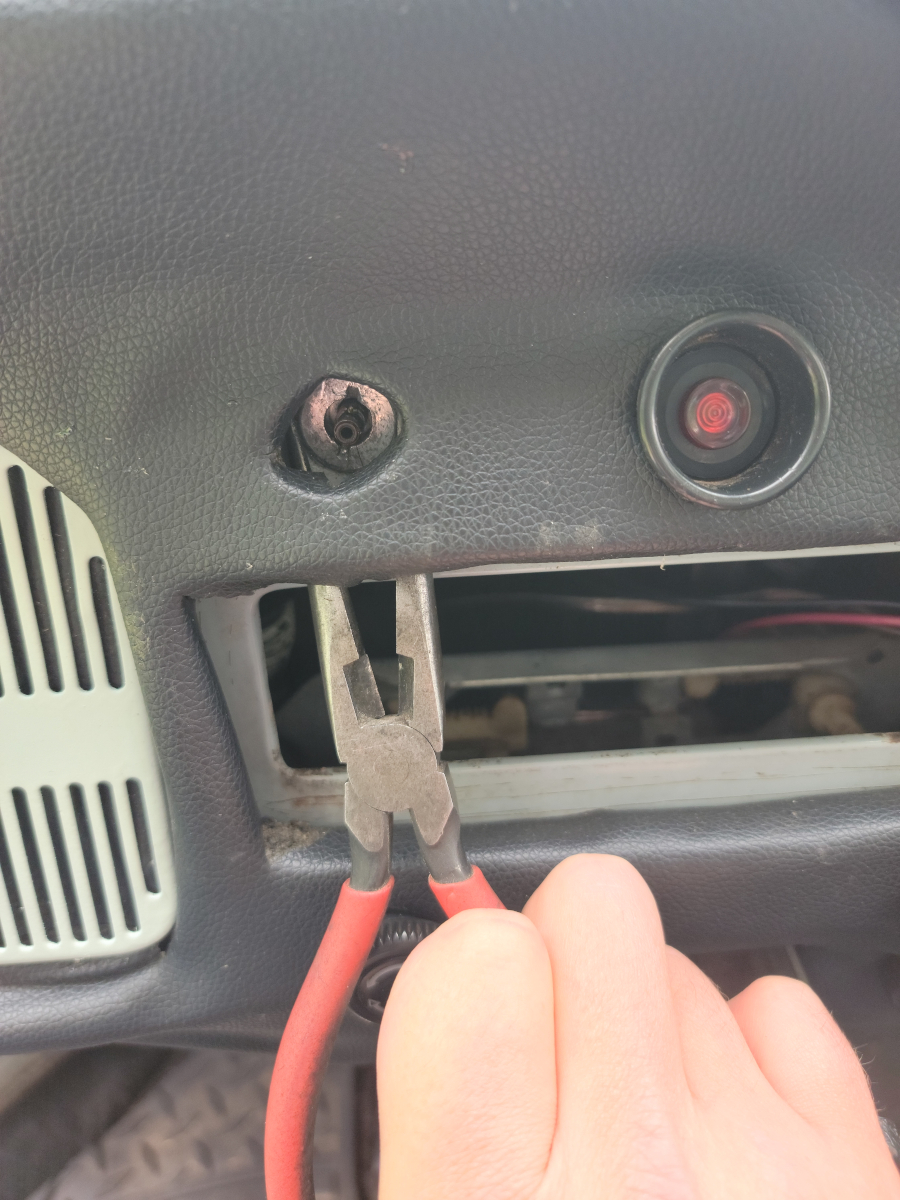
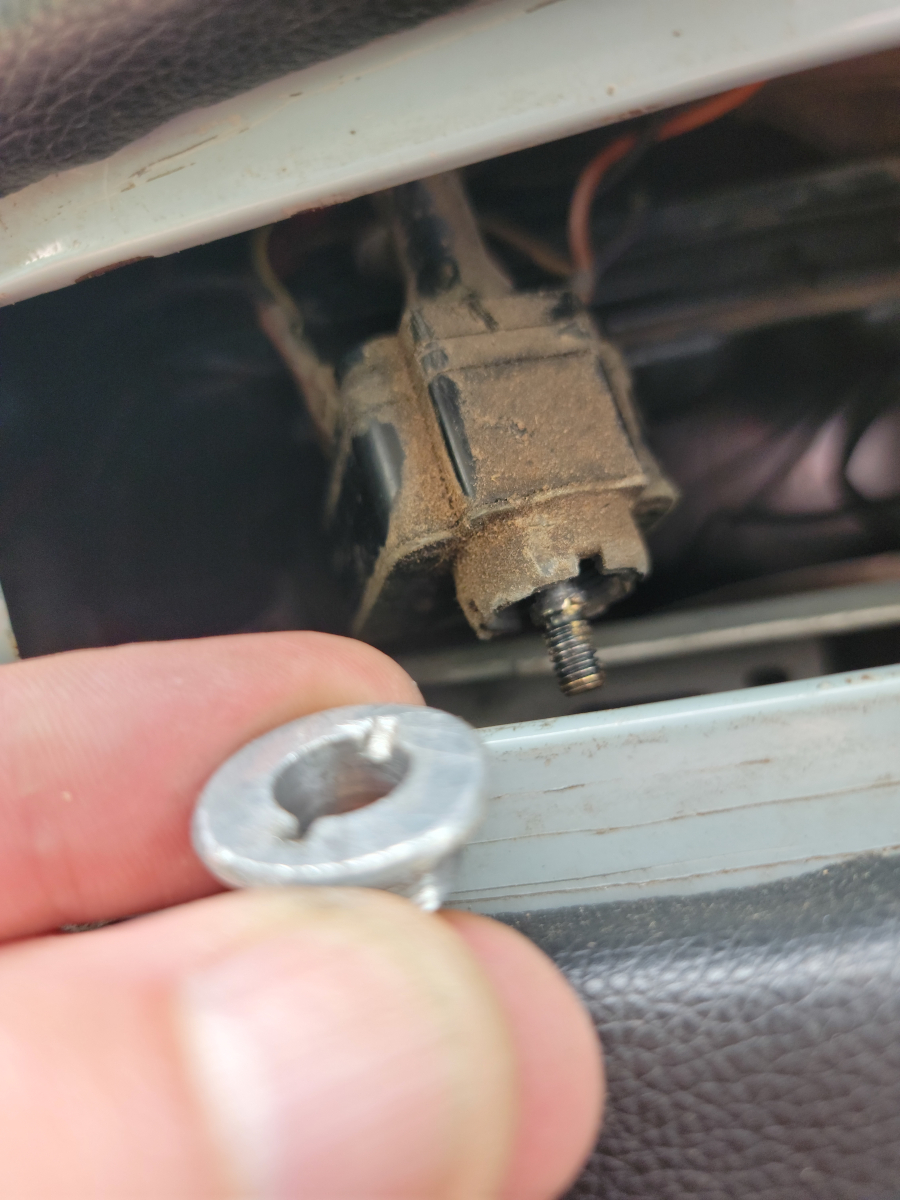
I got the new switch mounted, but the shaft is just a little too short for the knob to mount and push button work properly.

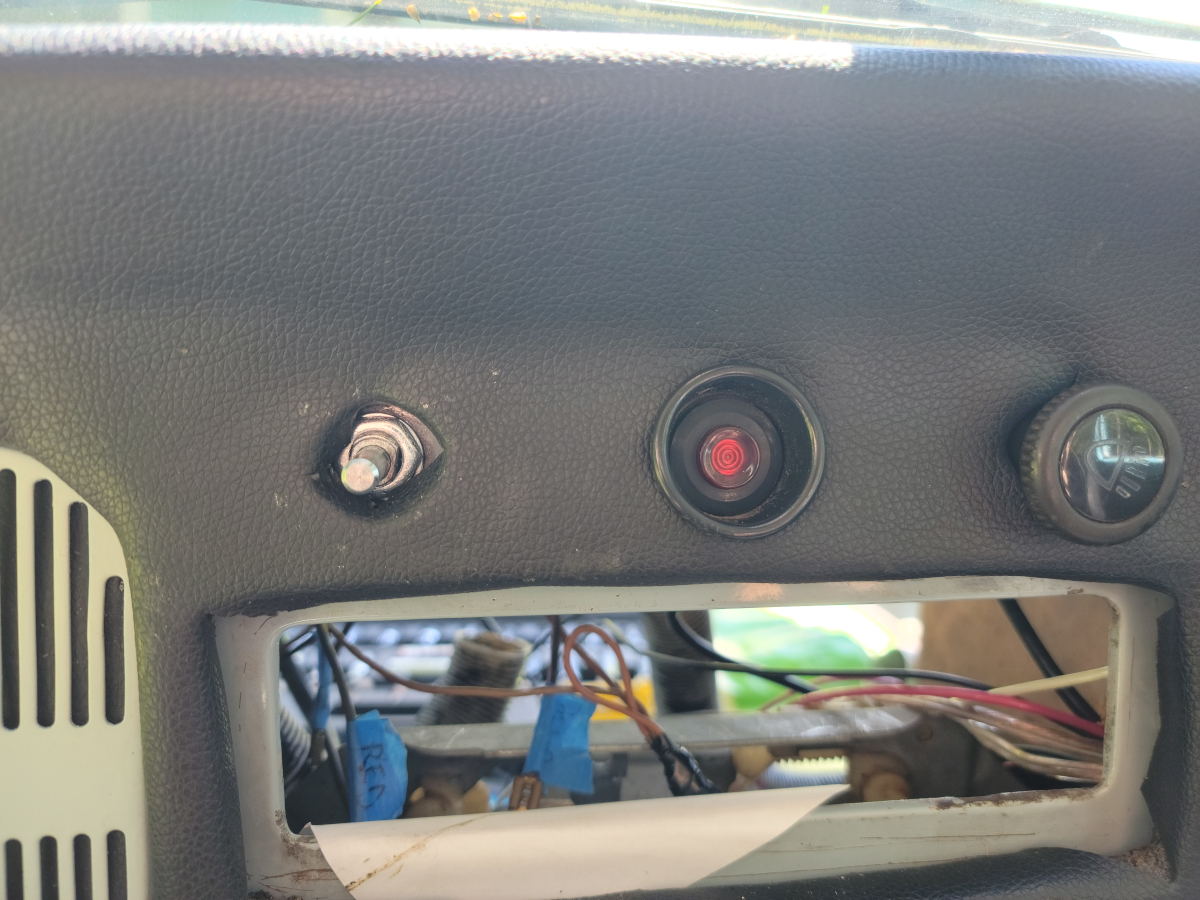
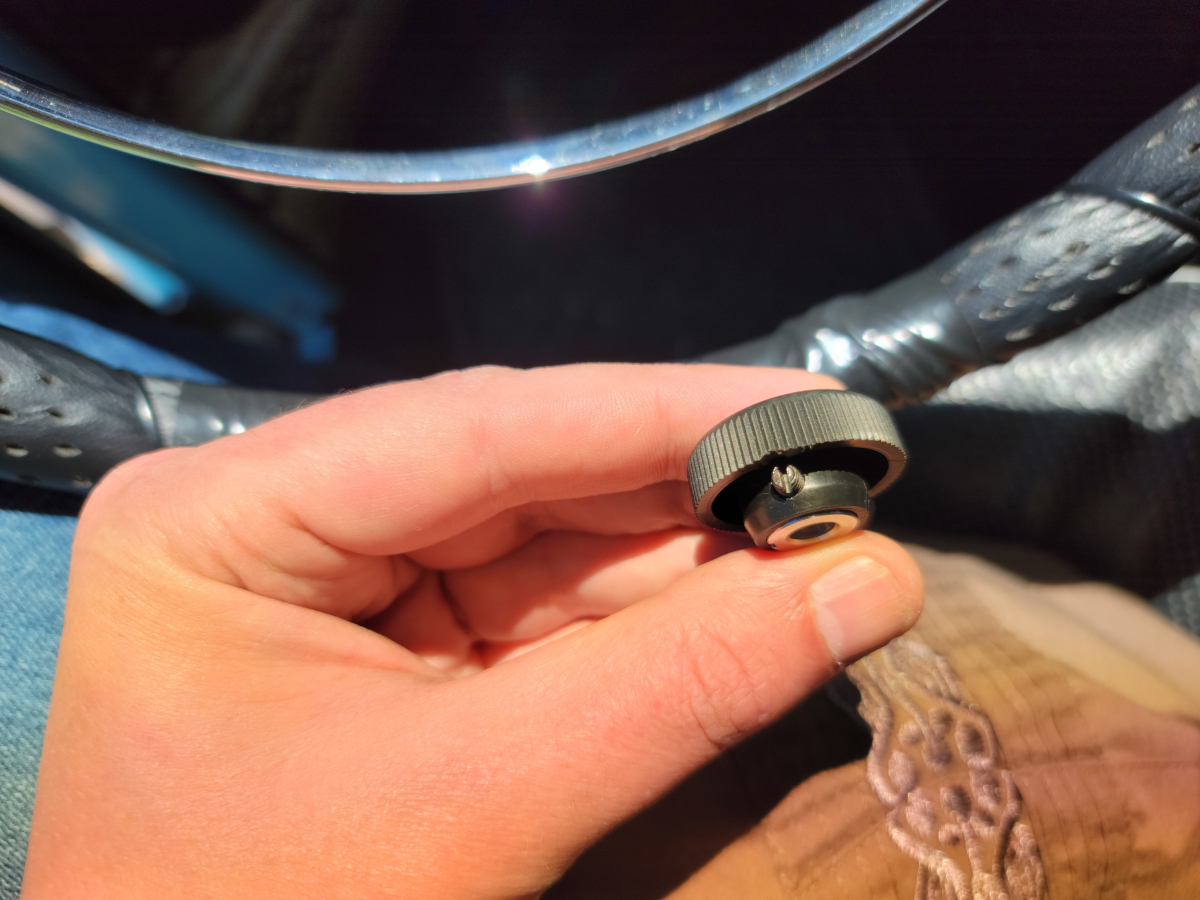
There’s a little set screw on the bottom of the knob. I struggled finding a screwdriver that would fit it. I eventually used one that came with a pair of glasses I bought.

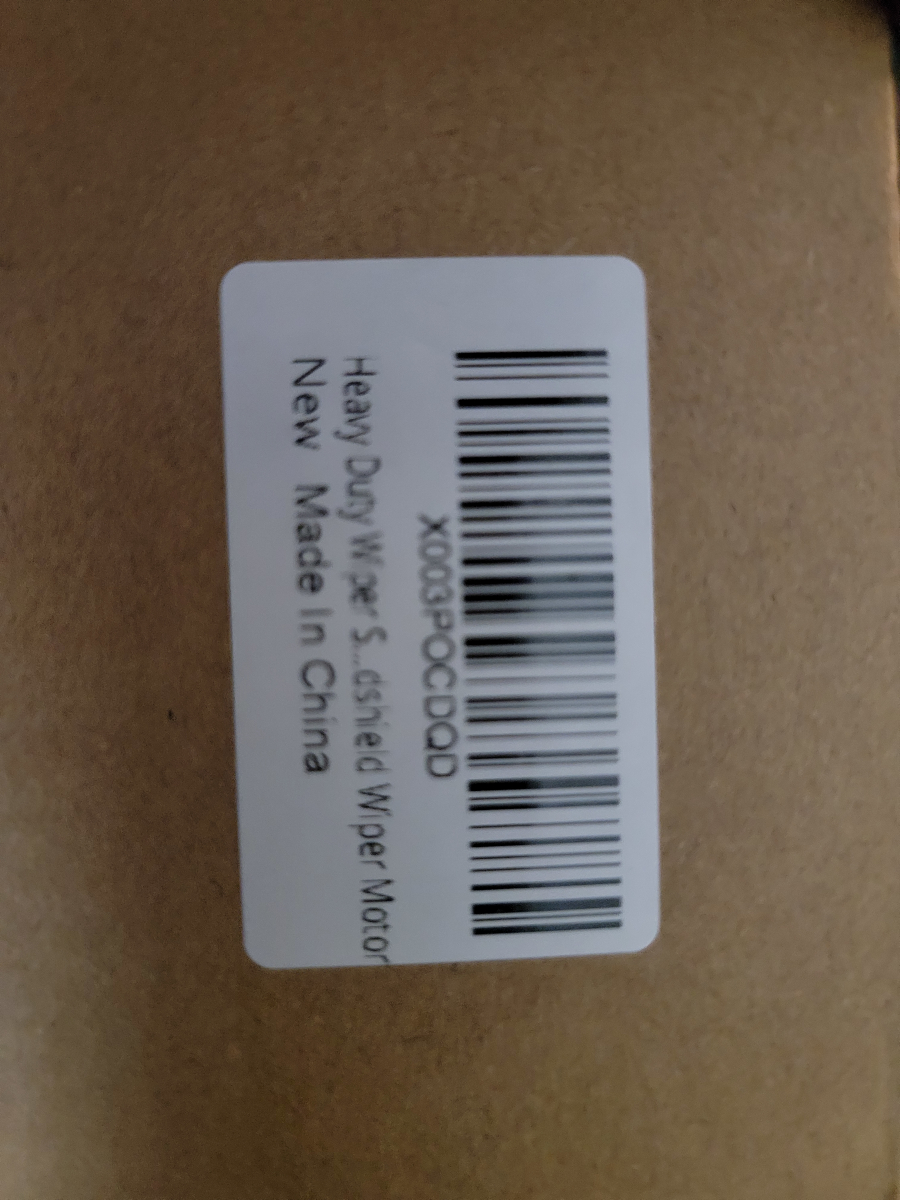
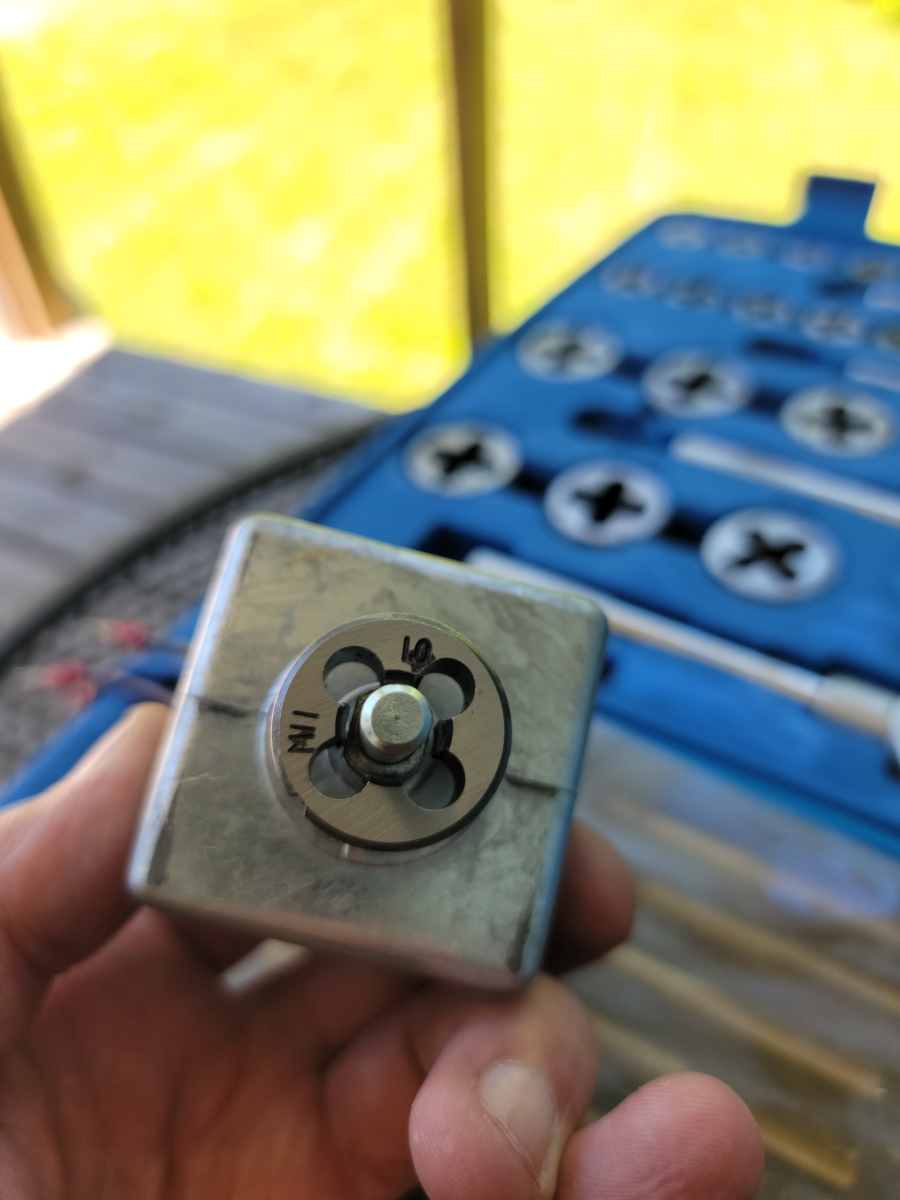
In following with the quality level of other parts I have bought in the last year, the threads on the new switch were toast after test fitting it the first time. The threads are 11 x 1.0. Ask me how I know…

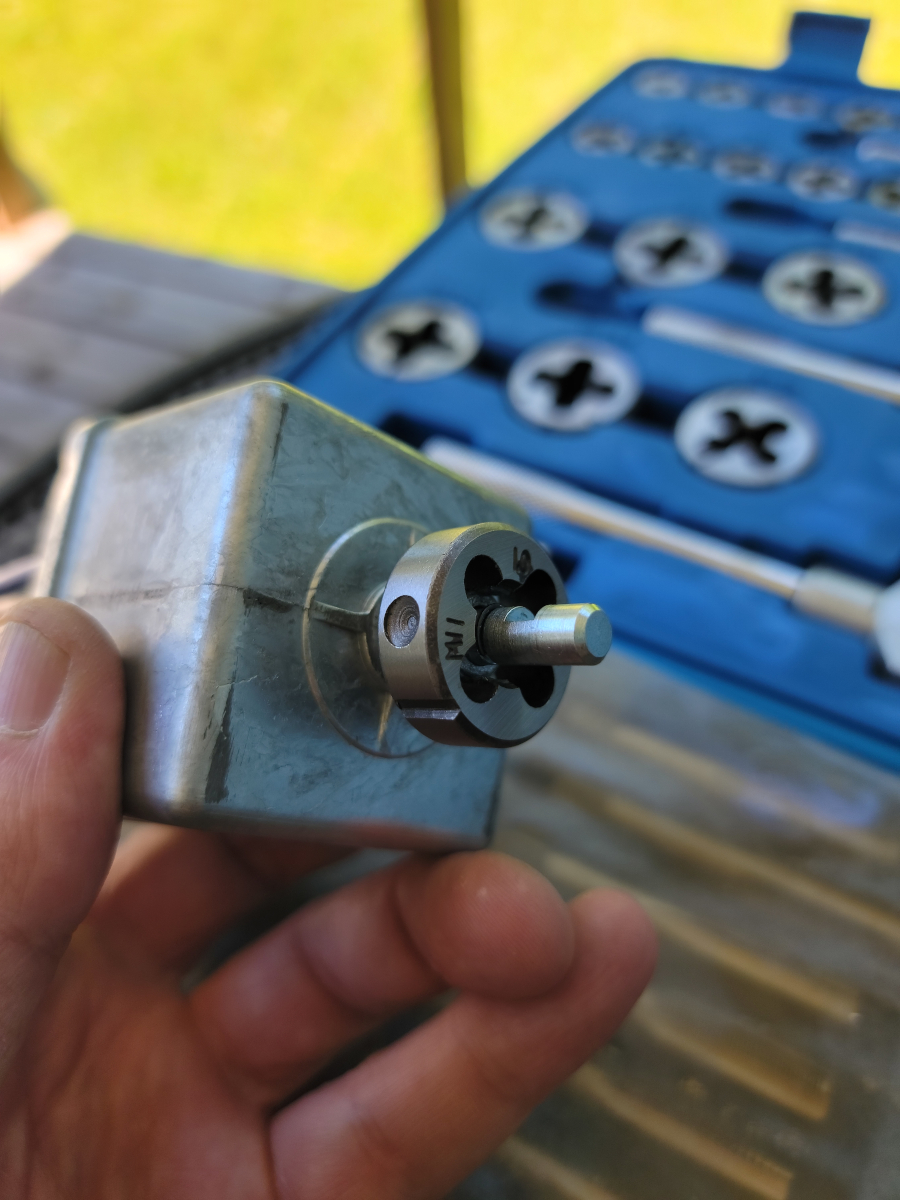
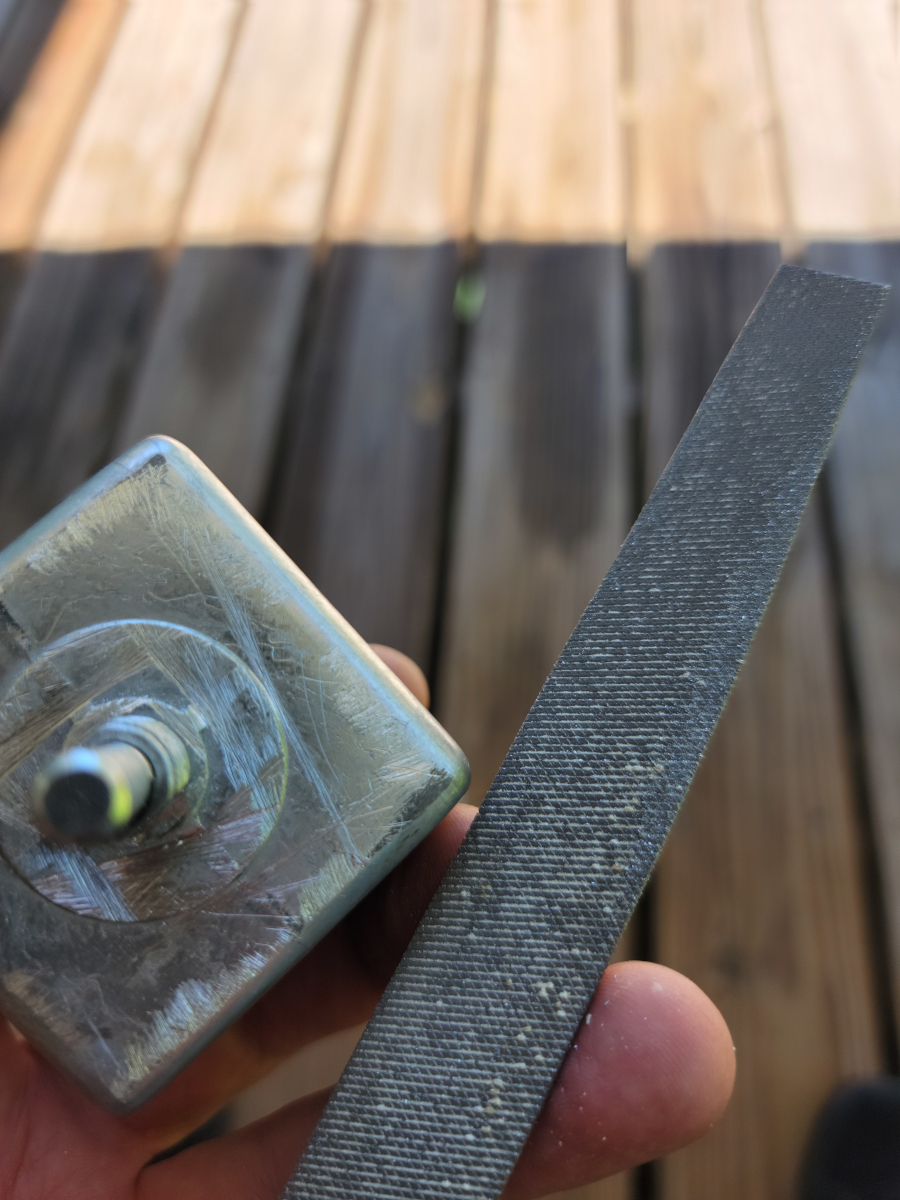
There was a double nut, one on the back side and a washer/nut on the front side. The shaft was almost long enough to work, so I may have gotten away with just removing the back nut, but I decided to file down those cross markings on the face of the switch to gain an extra 1/32″ of an inch or so.

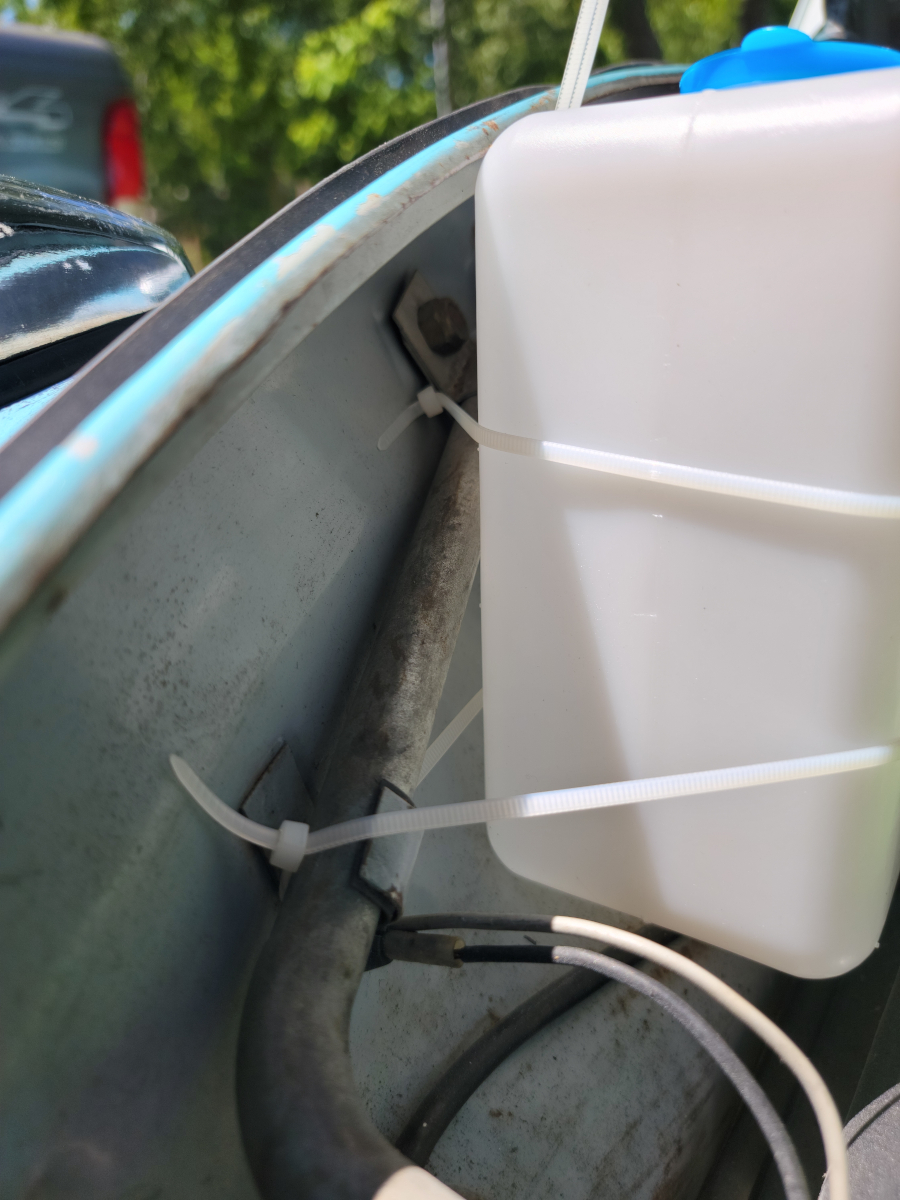
I got that mounted and the switch was physically functional, so mission accomplished. Next, I moved on to mounting the washer tank. There’s no flat surface in there, since the original tank sat in a cubby hole behind the spare tire. The metal return line for the gas tank has solid body brackets in place and I was able to assemble an array of zip ties (seven of them, to be exact) and got the tank mounted.

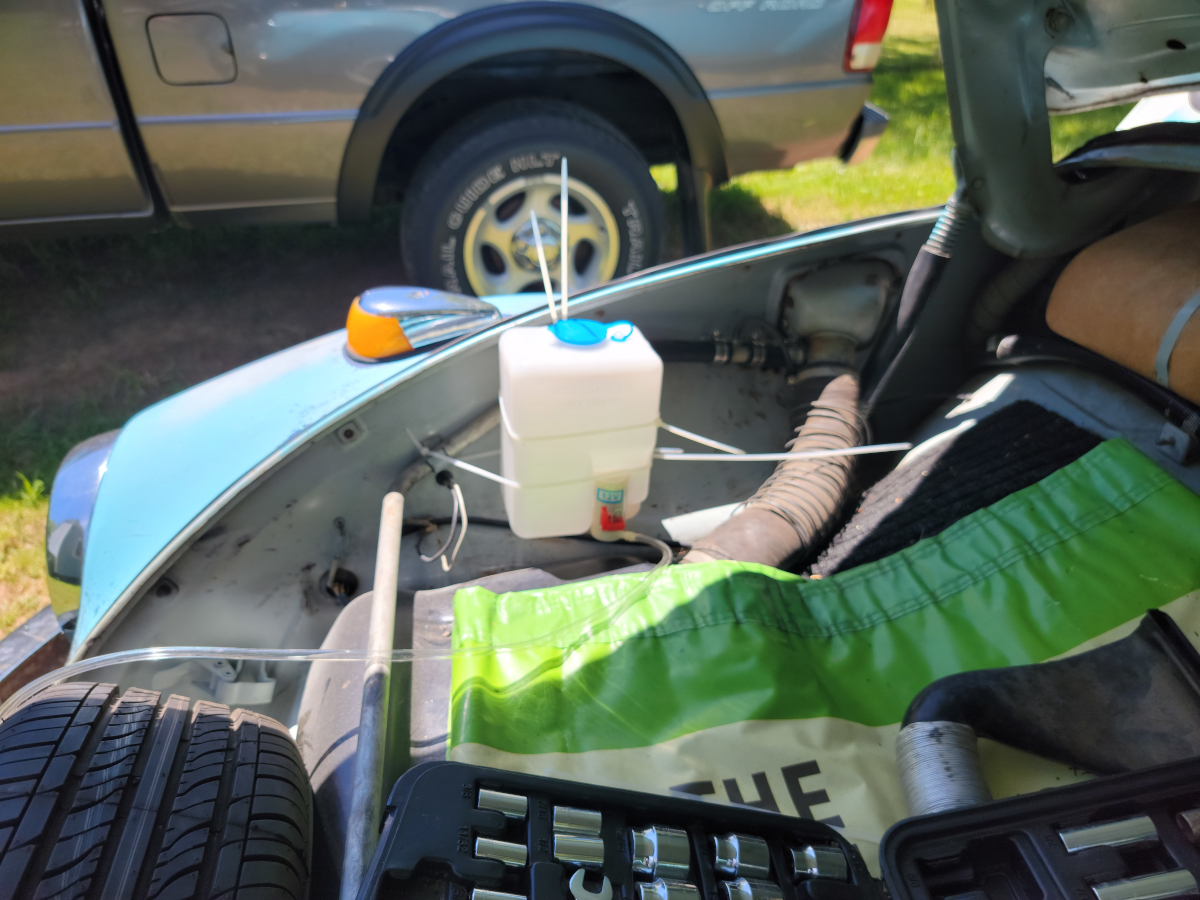
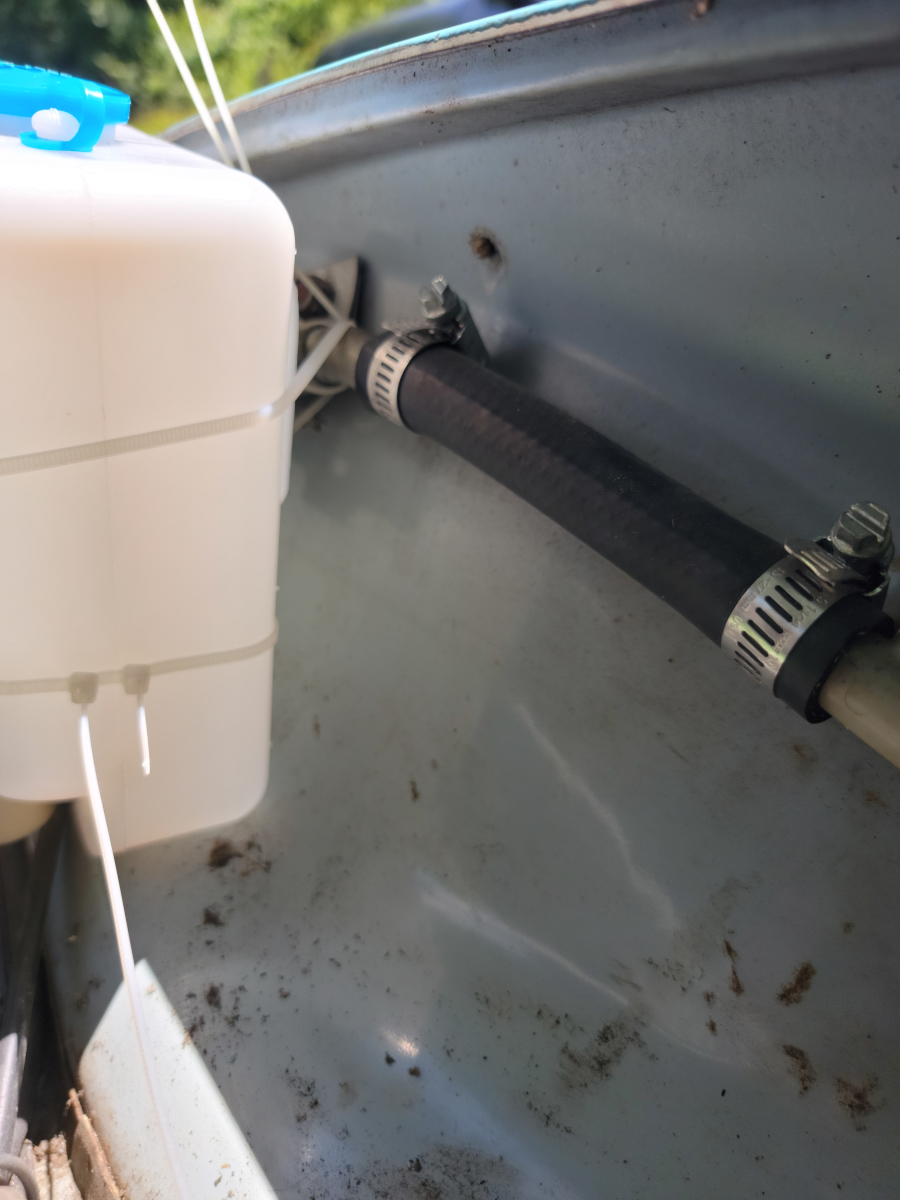
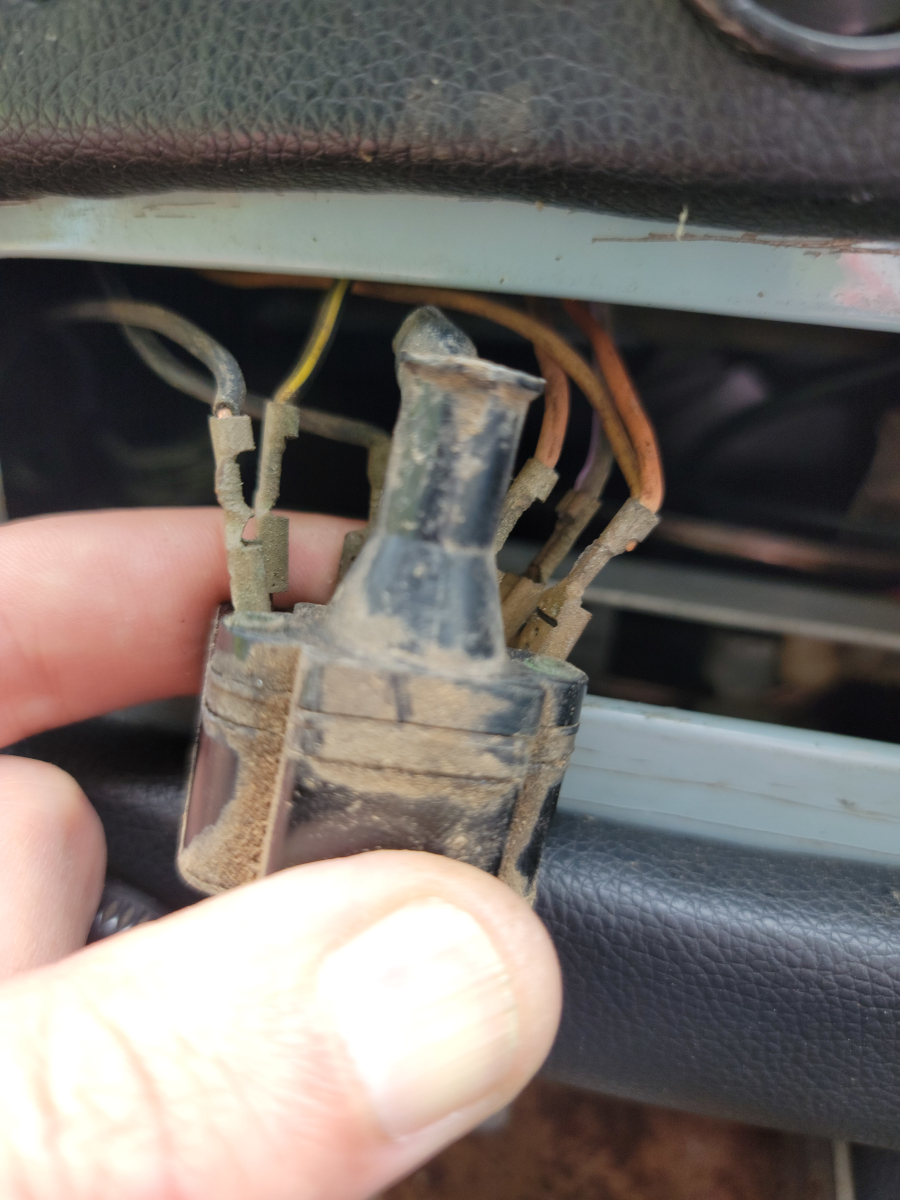
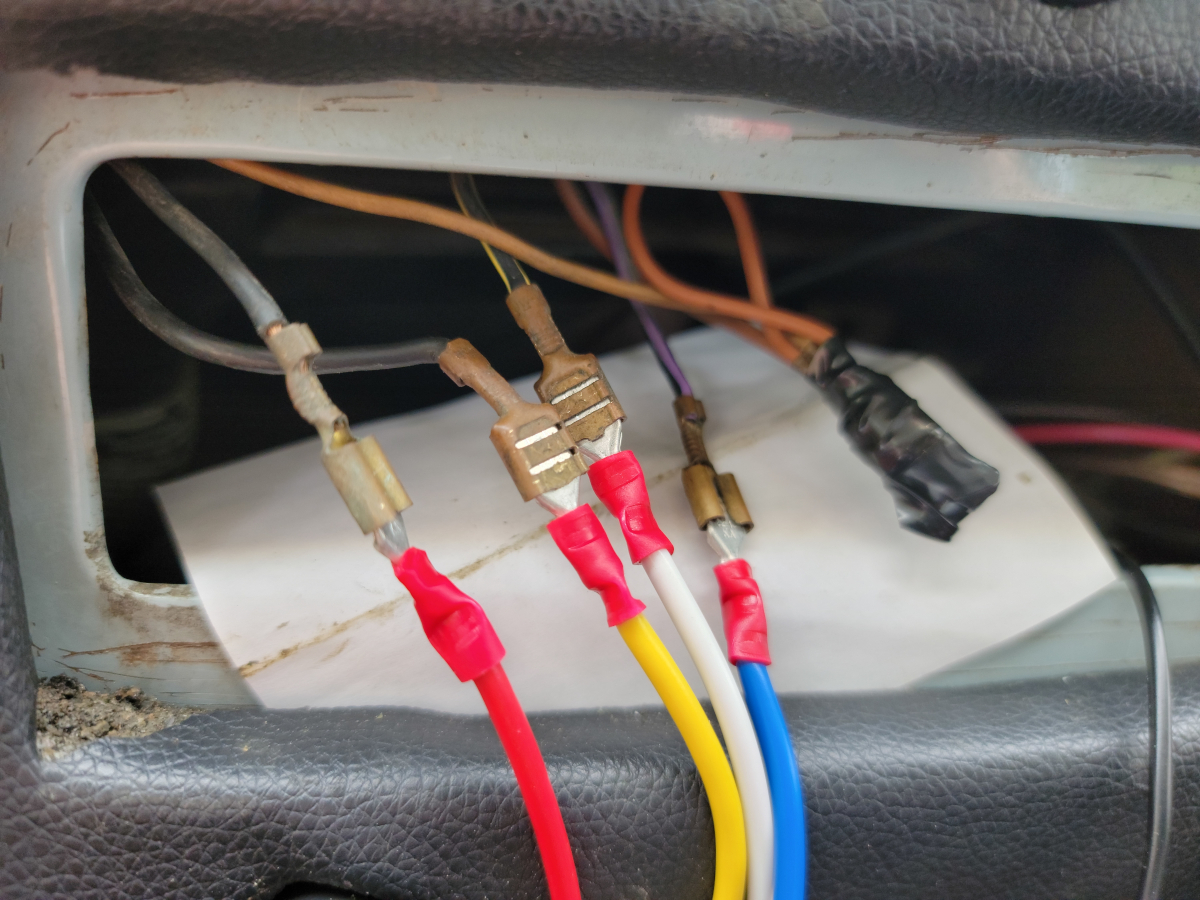
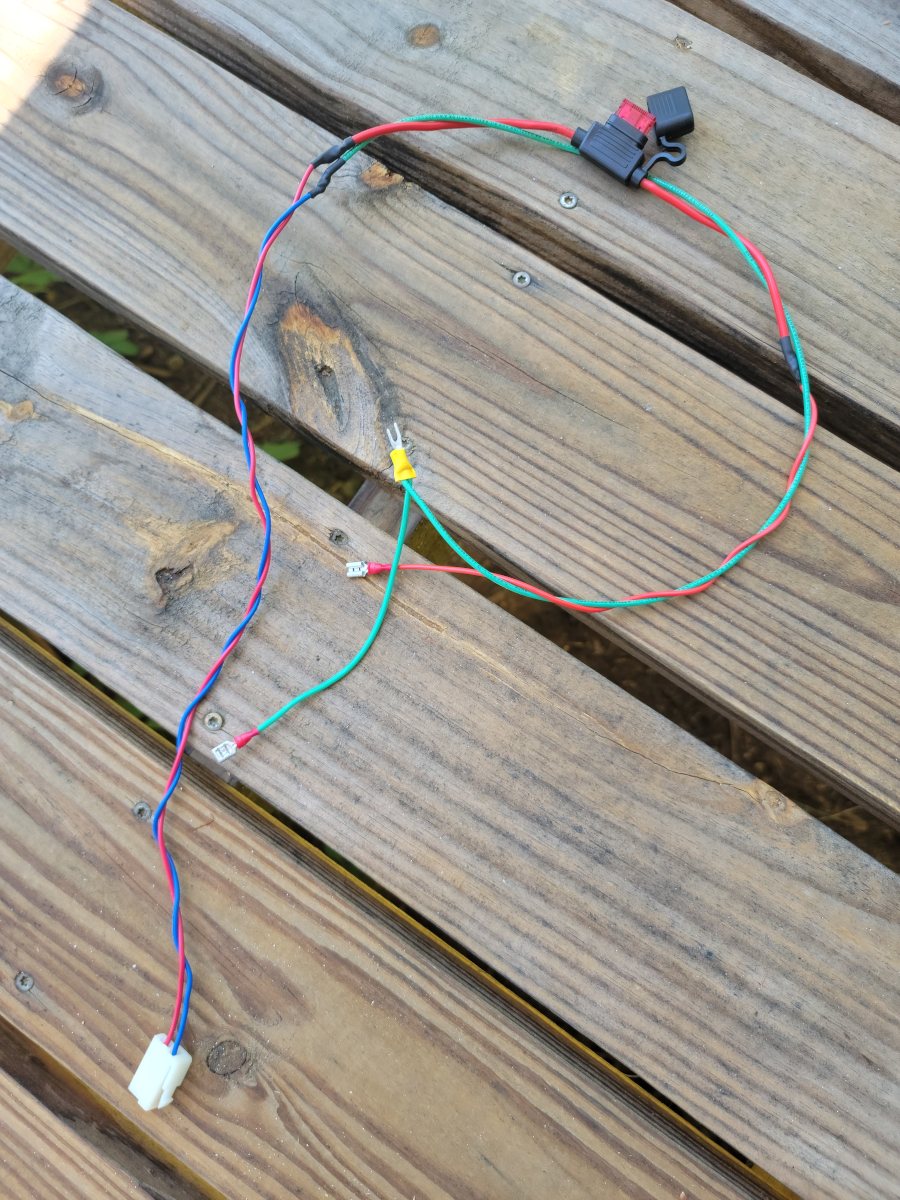
And now for the last two wires, running power from the push button on the switch to the fluid pump in the tank and a ground. The original switch was grounded on its face to the dash metal, so there was no specific ground wire.

On the end of the blue (blue?) ground wire on the pump, I added some green wire (green?) and attached a female spade connector for the ground wire on the new switch, a forked adapter to attach to the body ground. On the power line, I added an inline fuse holder with a 10 amp fuse.

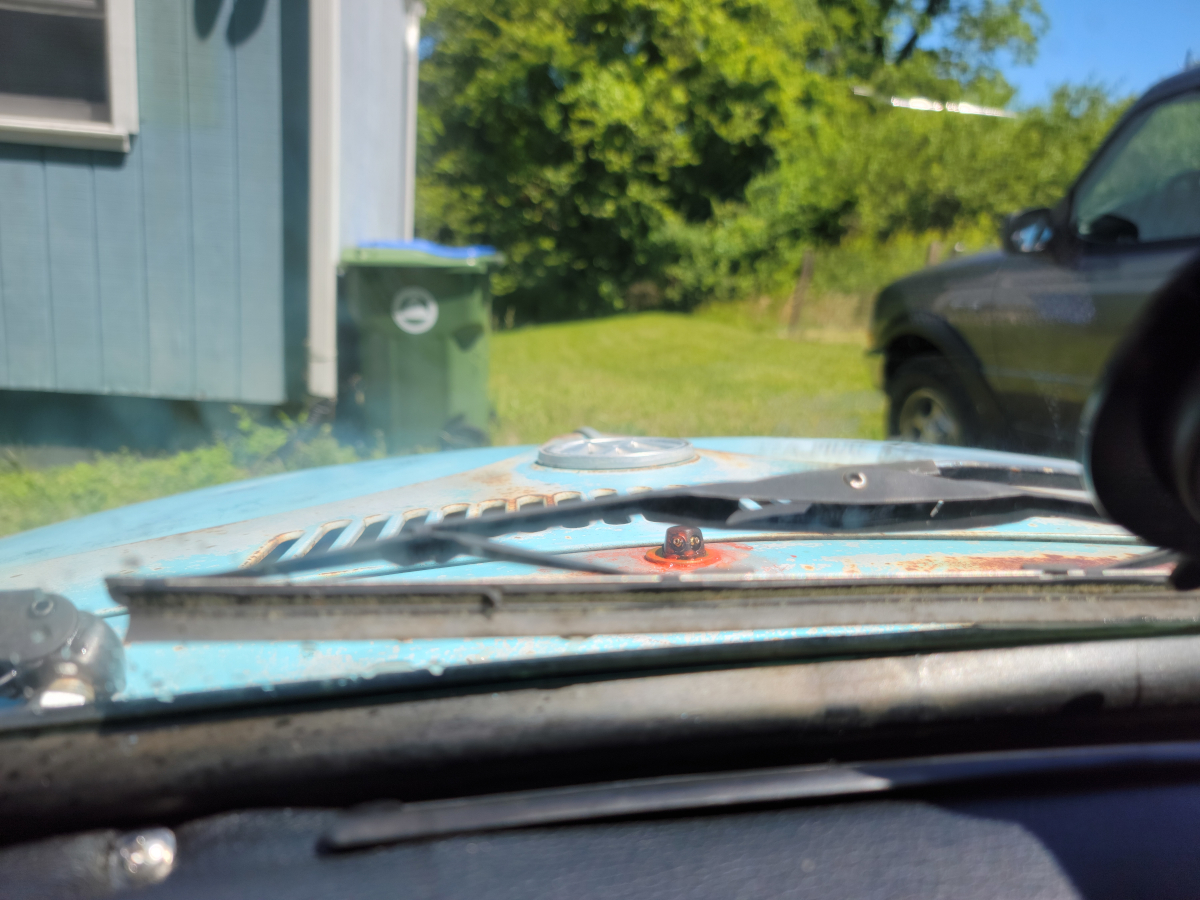
Once that was connected and routed around the front trunk, I added a little washer fluid and tried it out.

If the video embed isn’t showing, here’s the link: https://youtu.be/NDfe-cB3l1E

As you can see, either the original nozzles are missing from the spray head or it was just that way by design. In either case, it’s kind of a gusher. The tank/pump came with two spray heads, so I mounted one of them.

And then buttoned everything back up. Success.

Windshield Wiper/Washer Switch – Part 1

I had previously (twice) ordered new windshield wiper/washer knobs and buttons. I need a new knob because the old one tends to spin on the threads when I try to turn the wipers off. I wanted a new button just for vanity reasons, the print has mostly worn off.

The new knobs had differing belly depths, neither of which would work. The new buttons also both had differing pin lengths, neither of which would work with either the new or old knobs. More junk.

The original plan was to keep the existing switch and find an original washer tank and hook it all back up to the spare tire to get it all functional. It’s such a charming and weird setup.

As I was googling around looking for alternatives, Amazon pops up with this item (Amazon link) from Peterbilt models 378/379/387/220.

I did some further reading and it had the right number of wires (6) and right number of speeds (2), so I decided to give it a try. With all the aftermarket parts failures I’ve had in the last year, I guess that’s where I’m at. Peterbilt? Sure.

There’s just as much of a chance it will work as something that is listed specifically for my model and year of Beetle.

I also ordered an add-on washer fluid tank and pump (Amazon link). We’ll get to that later.

First, I need to figure out the wiring for the switch and see if it’s going to work. I found a bunch of info on the samba, with various wiring diagrams.

I clearly don’t understand how to read wiring diagrams, because the notes below are what I wrote down on my cheat sheet before heading outside. The Pete switch came with connector pinouts with wire colors.

Step one in the car was to get the old switch out. This is all much easier (though still not easy) with the radio opening in the dash still empty.

When I pulled the switch out, there were extra wires that weren’t on the diagrams or my notes.

So, I got out my test light and mapped each connector.

Vape in the ashtray is a nice touch.

When I went back through and started connecting wires to the new switch, clearly my notes above had a couple of problems. Eventually, I found a magical combination:

With these four pairs of wires connected, I have what appears to be a huge variety of intermittent wiper speeds (on the slow end, like 30 seconds, and up to like one second), then a click for low speed and a second click for high speed. Of course, it’s an old Beetle, so high speed would be overwhelmed by a light shower, but anyway…

WOW. Another win!

Ironically, it’s about to start raining, so I’ll pick this up tomorrow and finish the job.