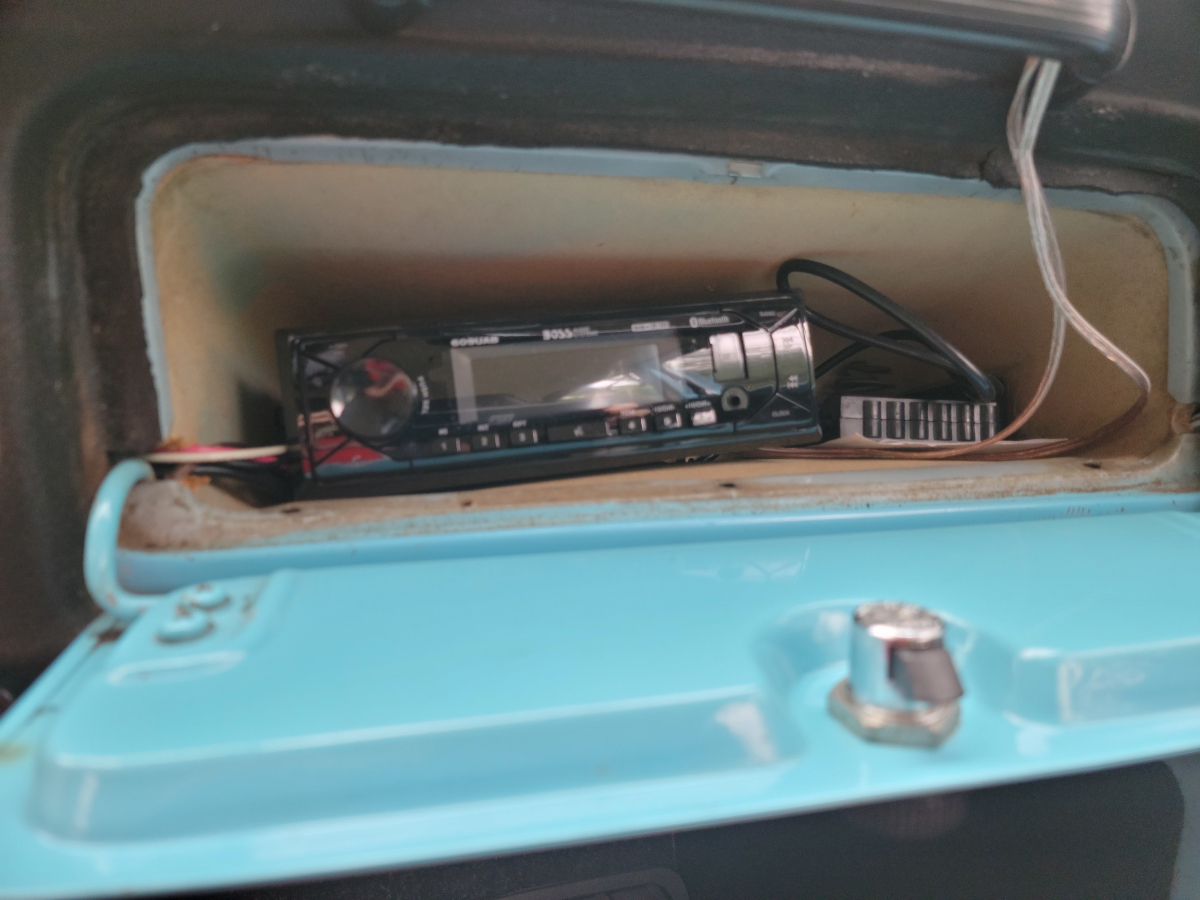
When I ordered the new vents for the dash install, I also added fiberglass kick panels to allow me to install front speakers. Because I have spent so much money already, I did the sensible thing and ordered Pyle speakers (Amazon link).
I have had nothing but good experiences with Pyle products in the past. They have always fallen into the “this thing has no business being this good” kind of category.
I previously had an 8 inch bass cannon (Amazon link), multiple sets of 5x7s (Amazon link), and my drum recording setup has four Shure 57 knock-offs (Amazon link) that were a fraction of the price. They have all been great!
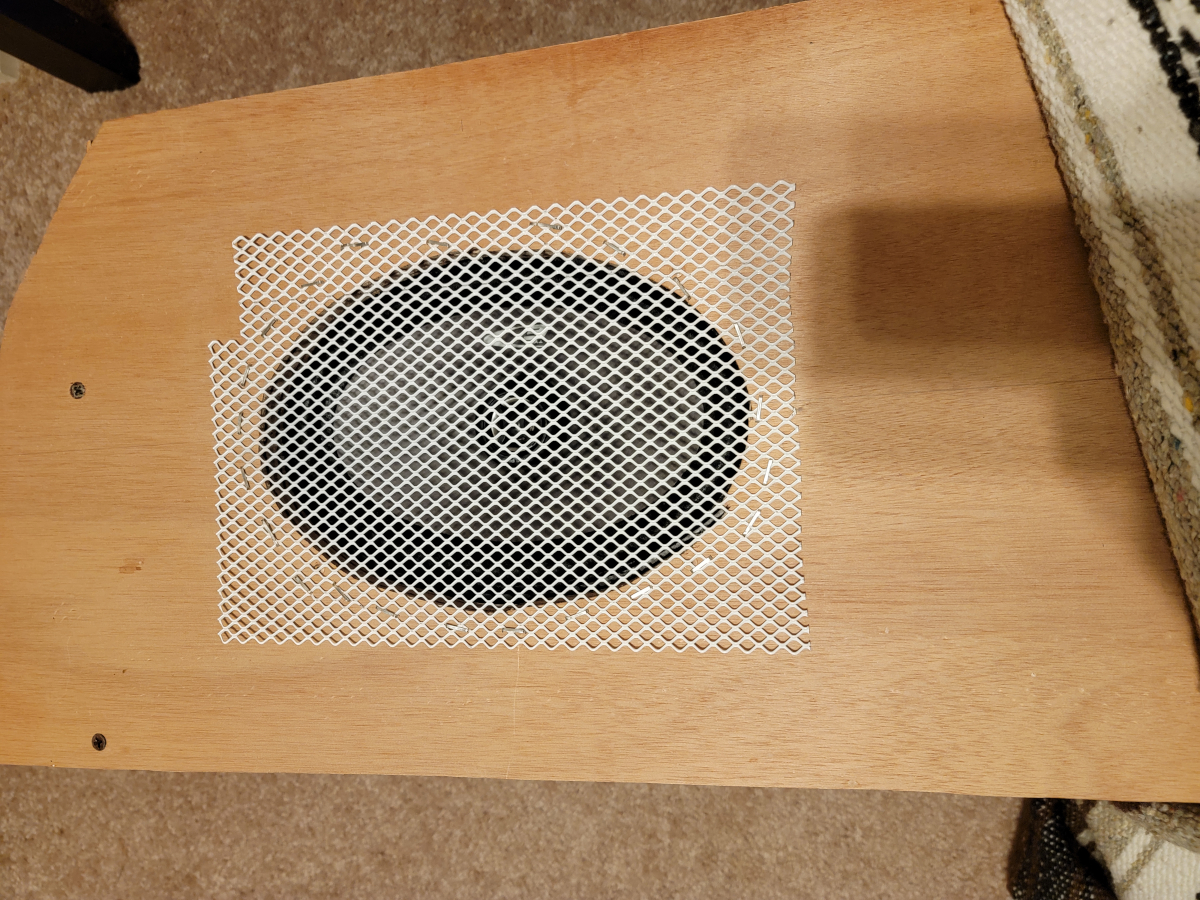
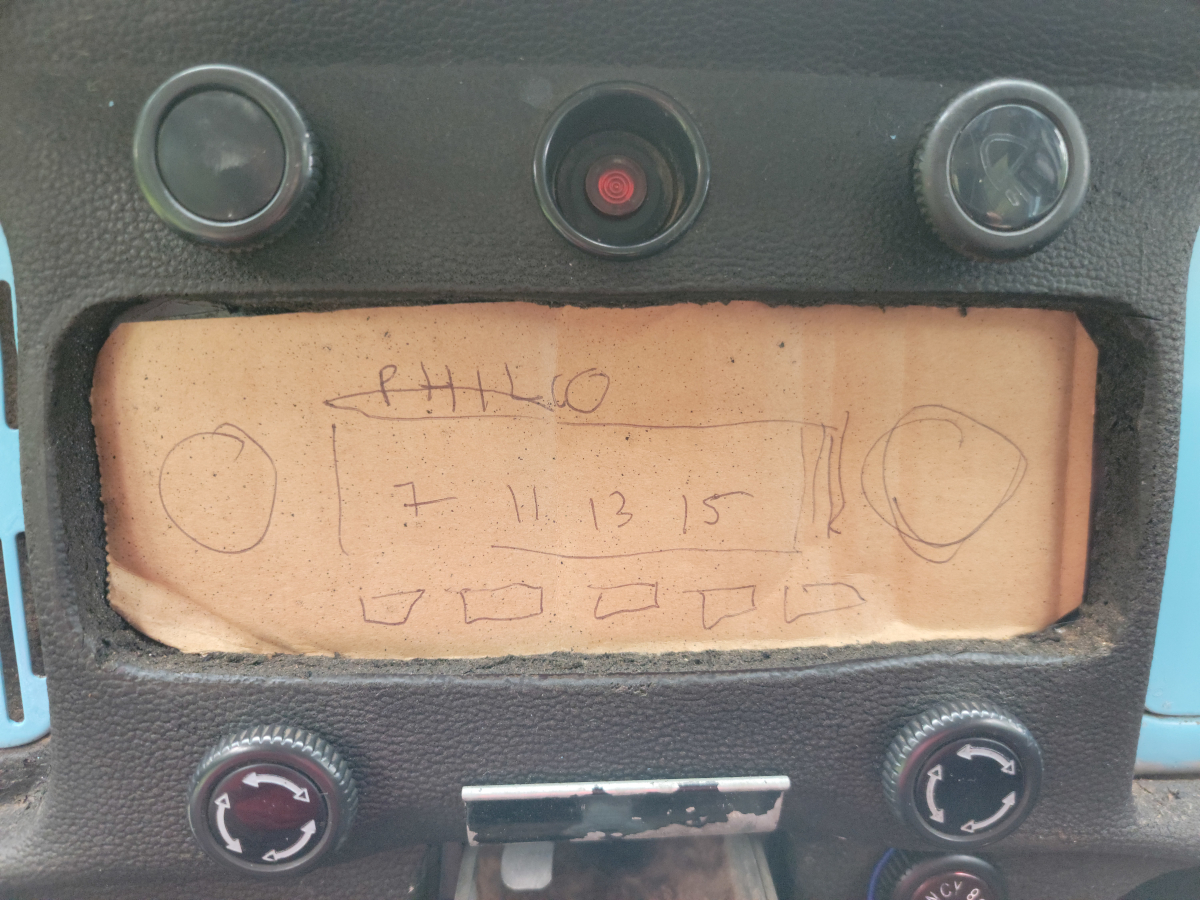
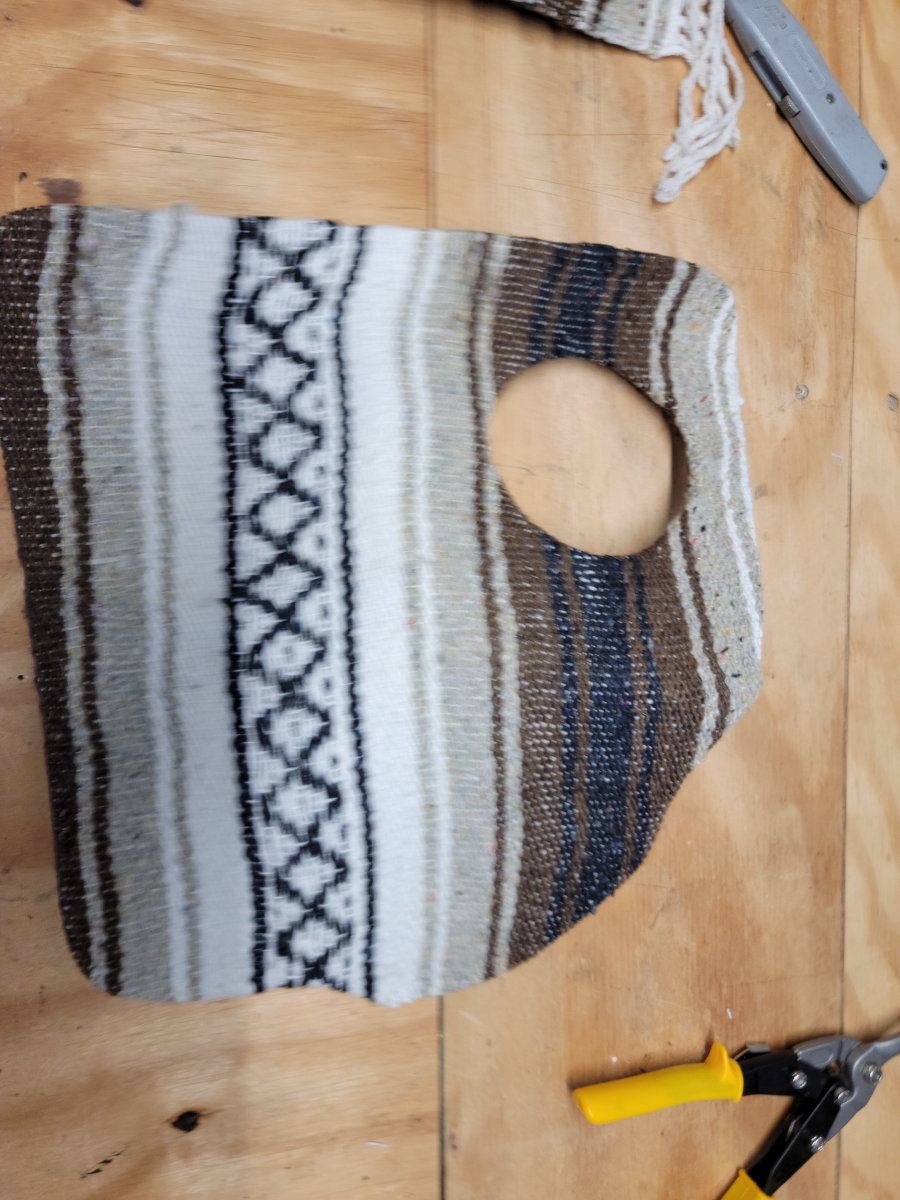
I traced the openings using the paper template that came with the speakers. I drilled a hole just large enough for my jigsaw blade to fit through, then cut them out.
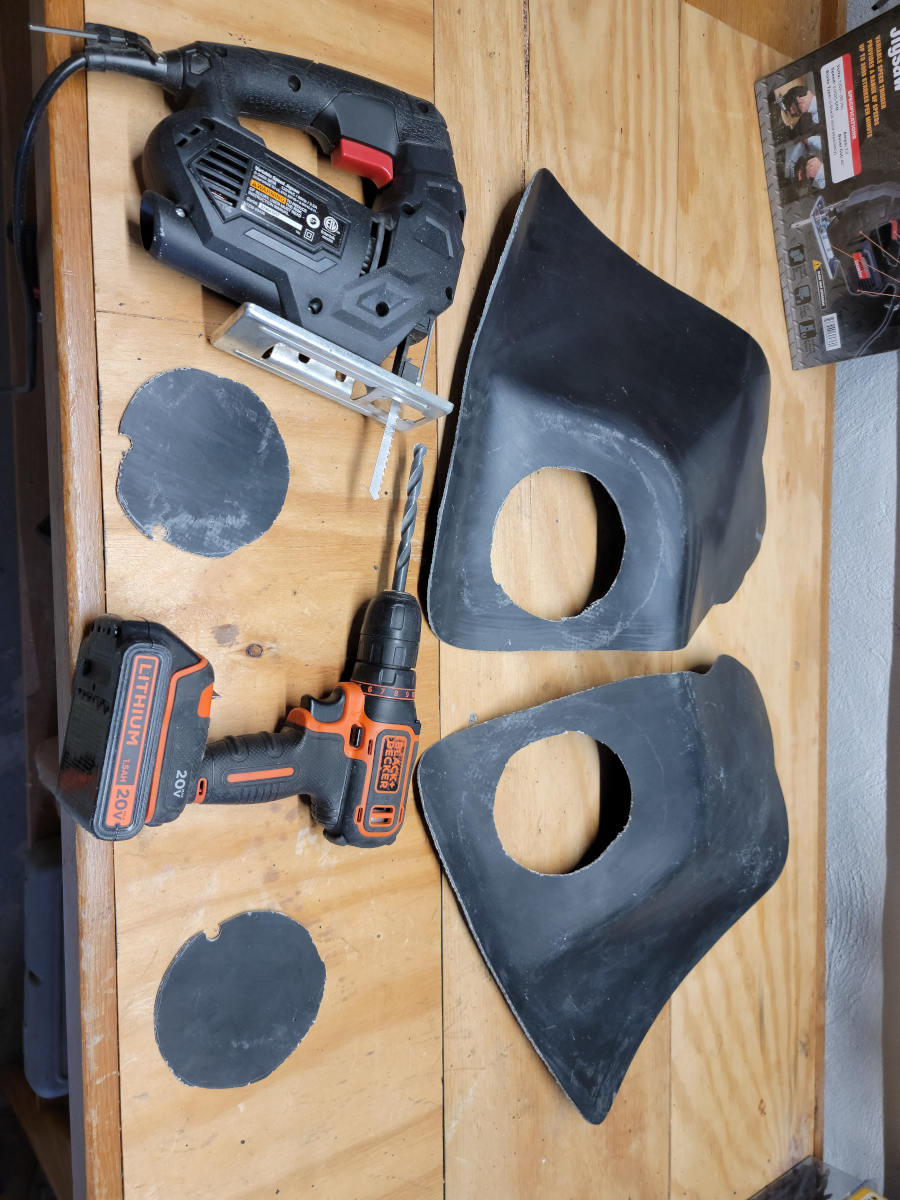
That is not the right blade, but it’s all I have. It needs to have much finer teeth.
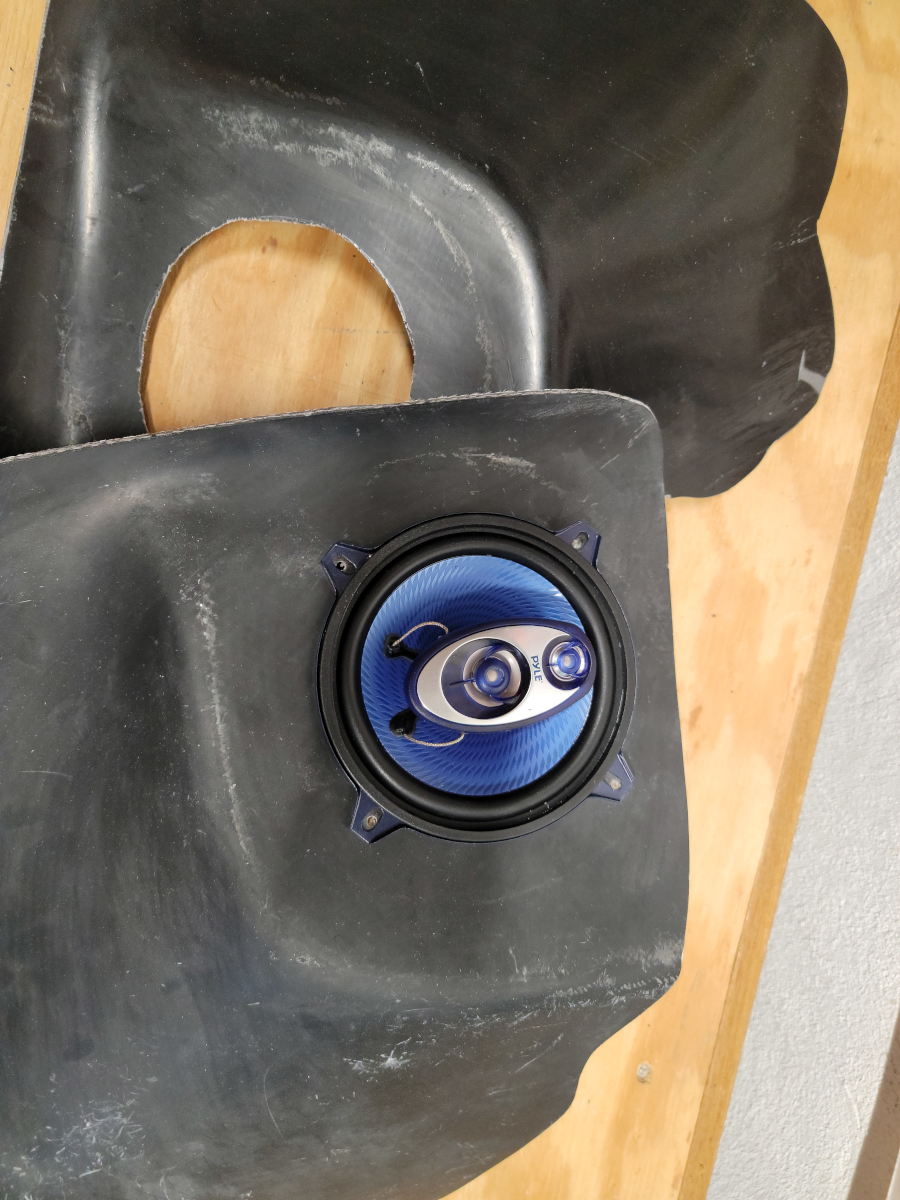
Next, I put the speaker in place and drilled holes for the mounting screws.
Obviously, I don’t want to leave this ugly, raw fiberglass panel in view, so I started looking around for something to cover them with. I can order carpet pieces if I need to, but like I said before, I have already spent a lot this year.
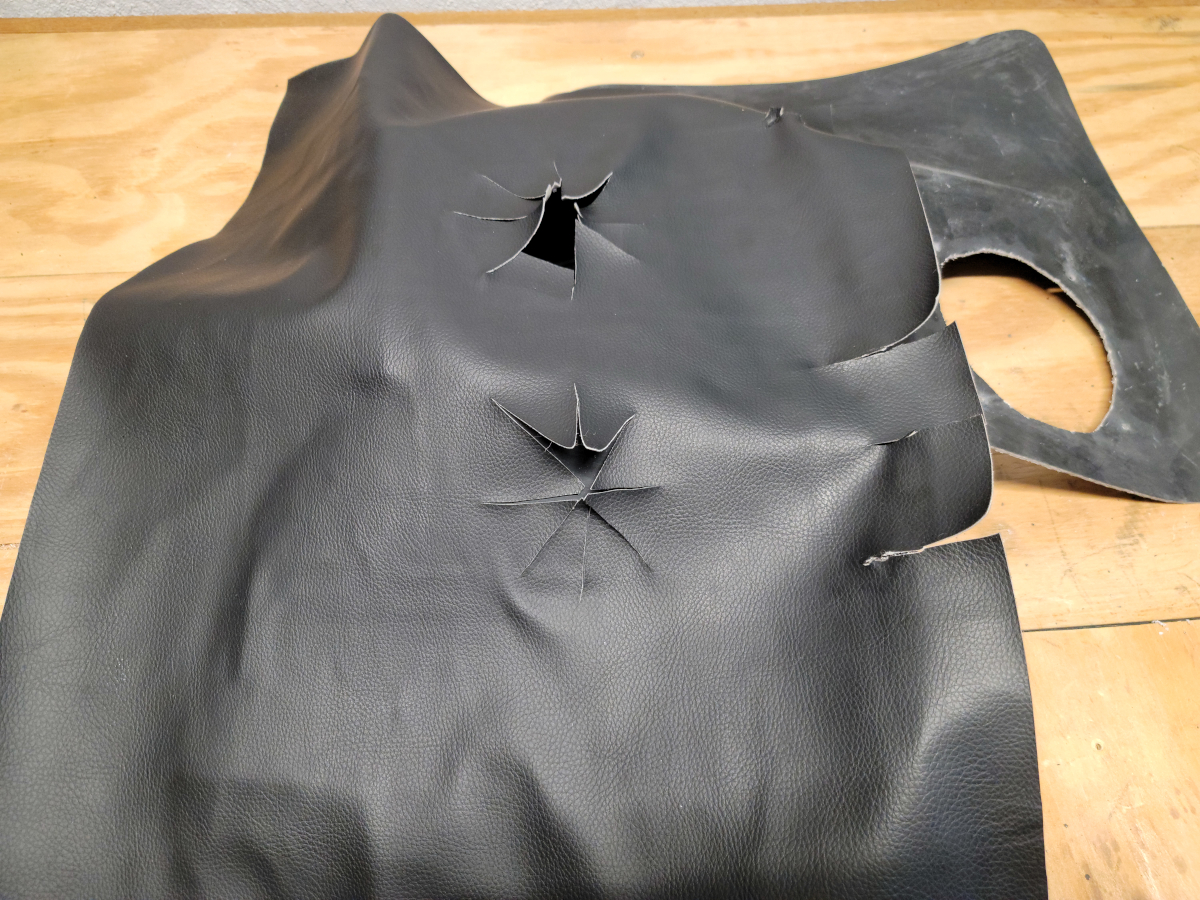
I grabbed the bit of vinyl I peeled off the dash pad (what a fiasco), but it had too many cuts in not the right places.
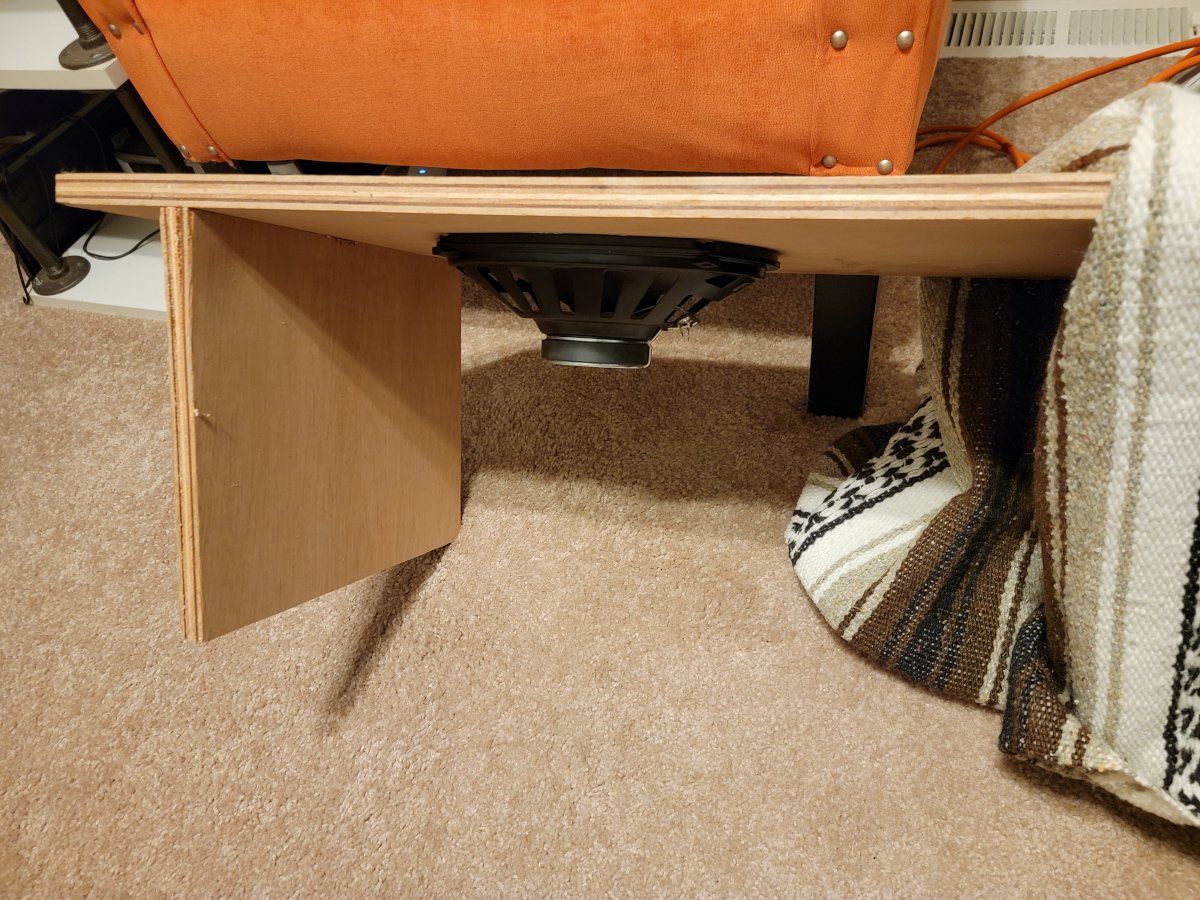
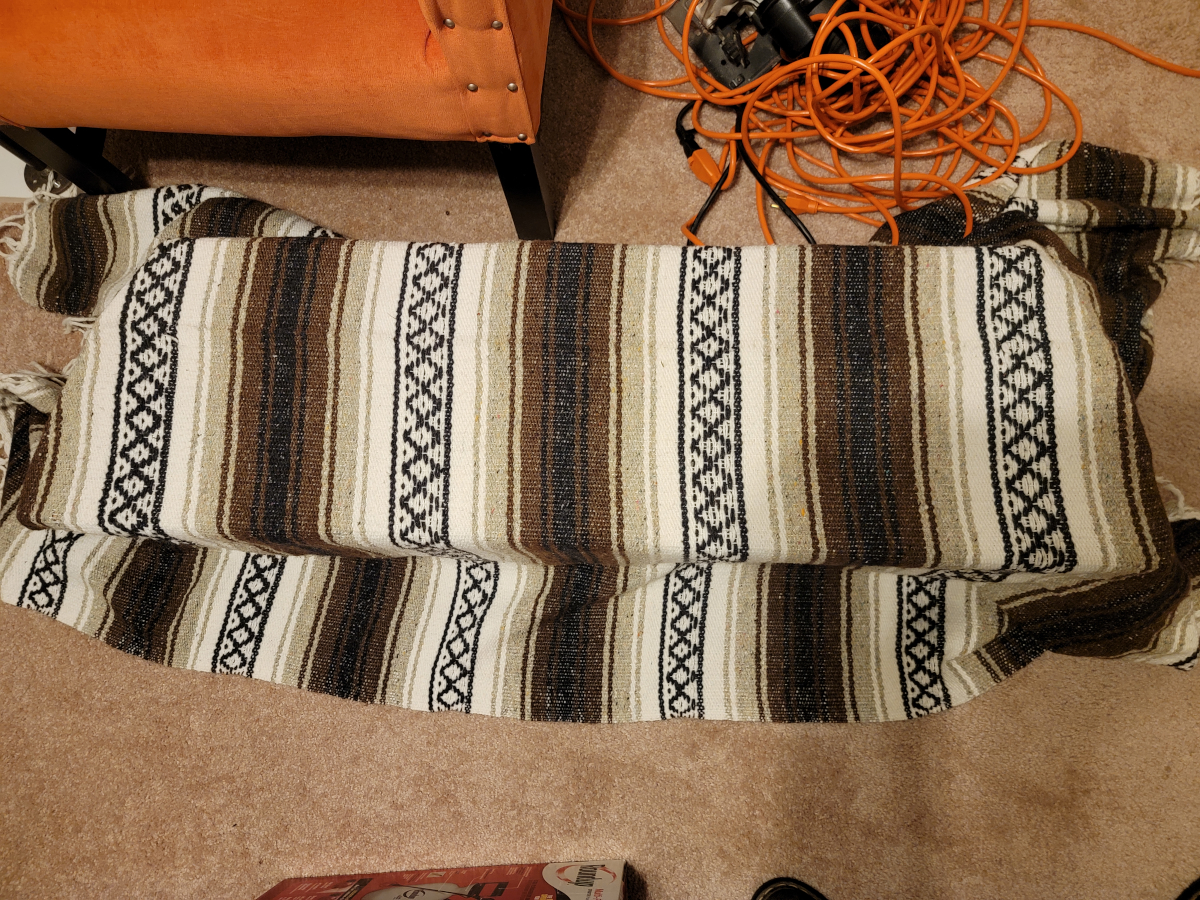
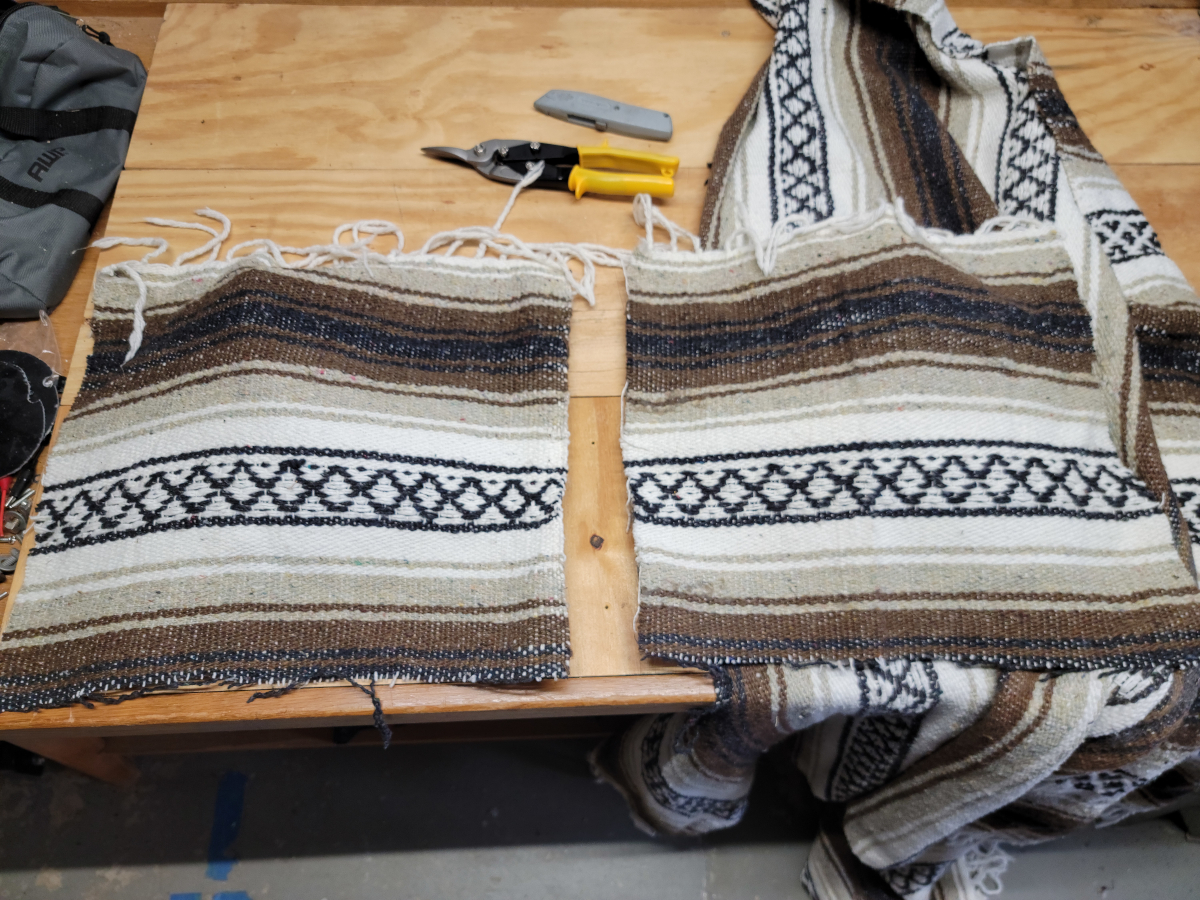
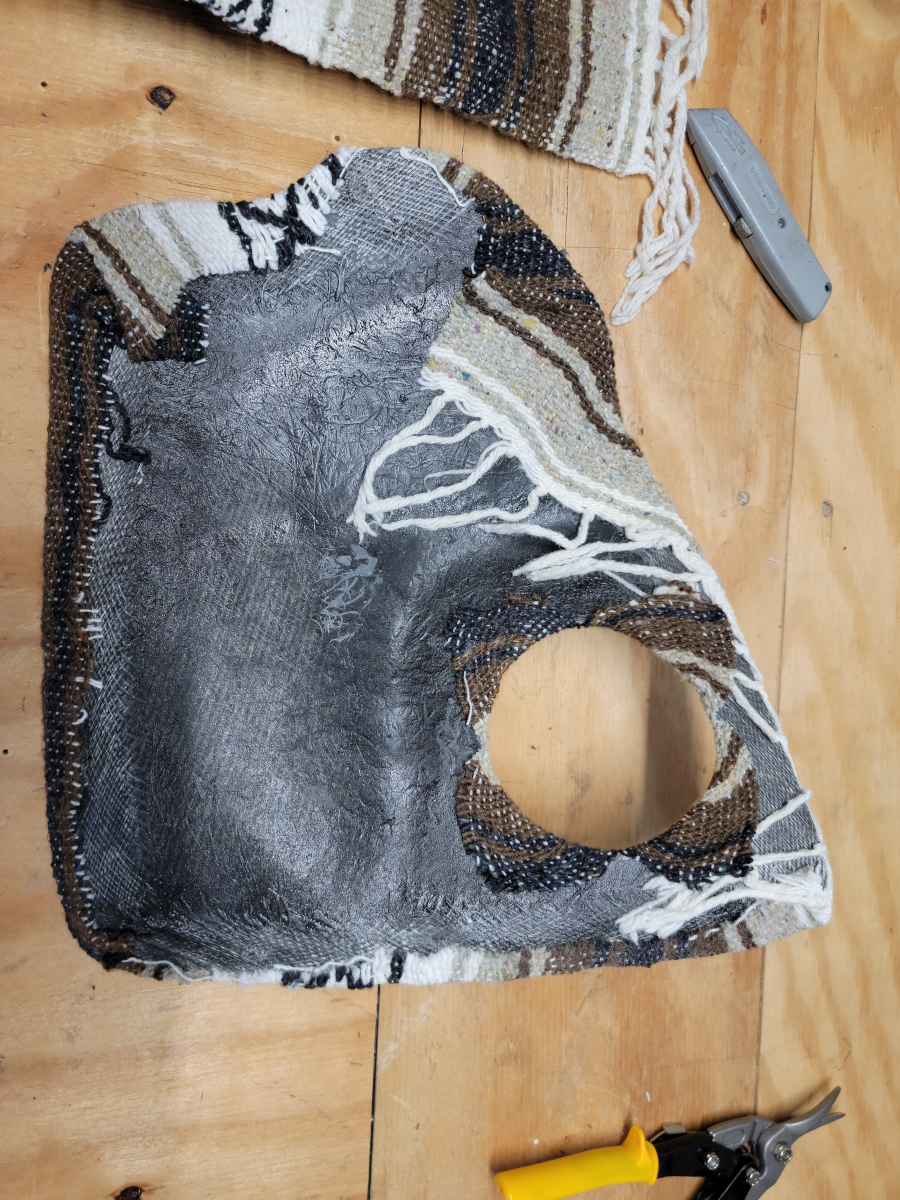
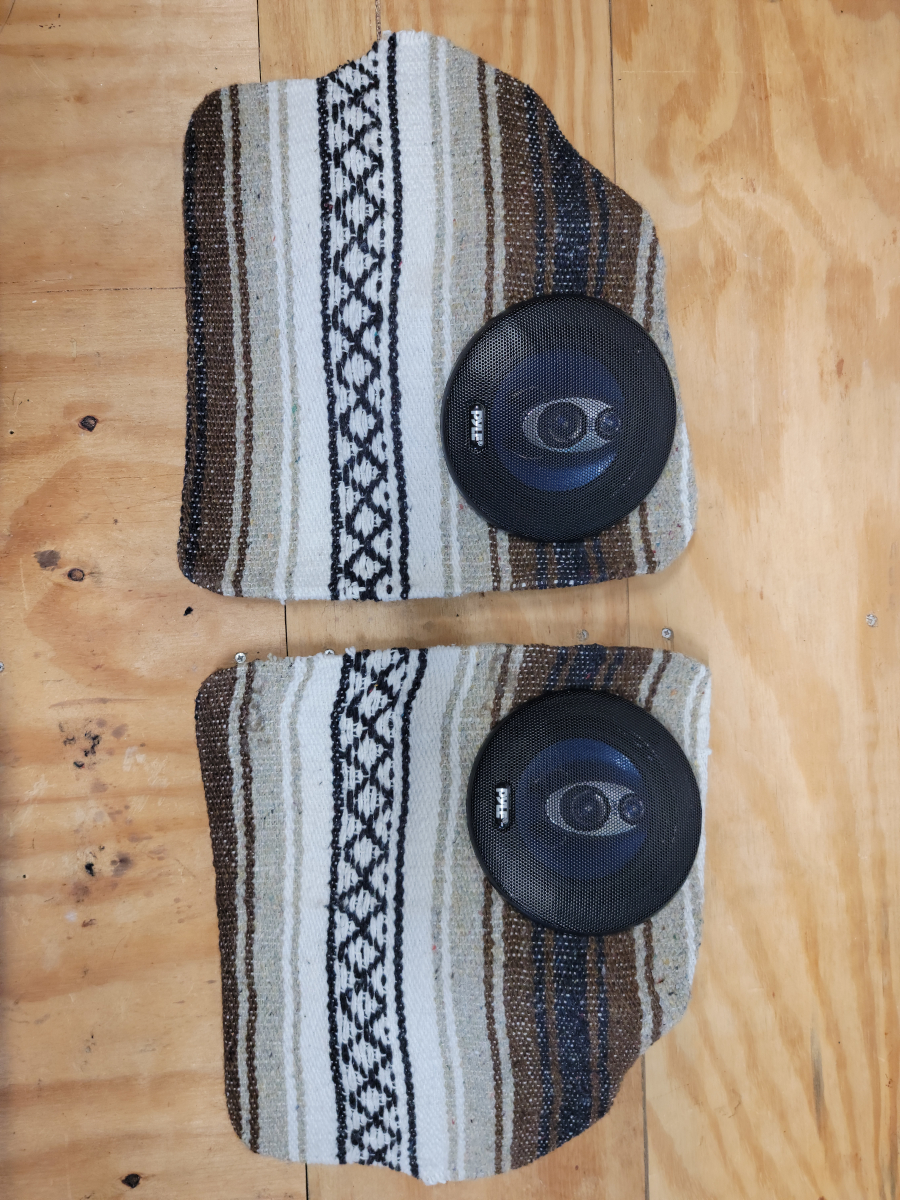
Then it came to me! I had previously made a speaker hutch for the luggage compartment and just had a saddle blanket draped across it. There’s plenty of extra material there, so I cut off what I needed.
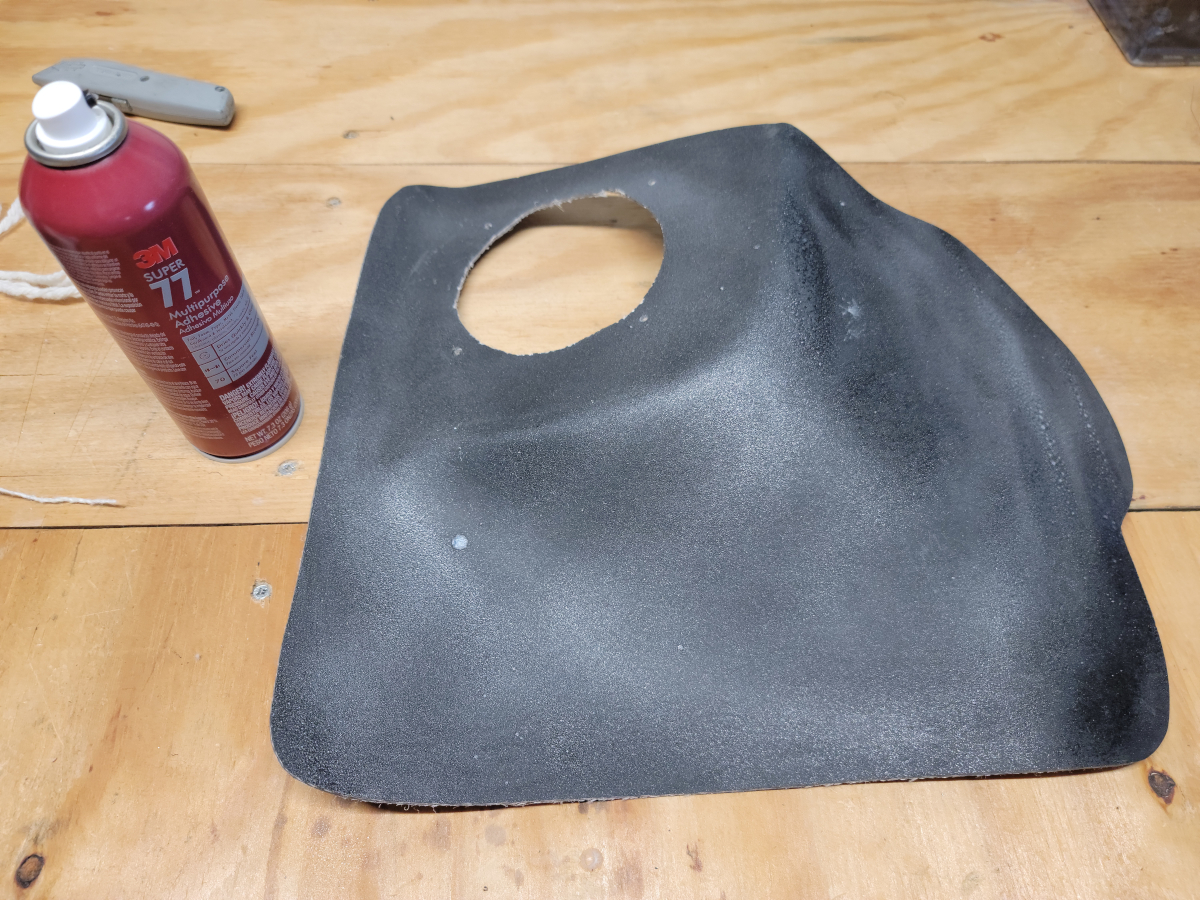
I’m confident in the strength of the 3m Super 77 (Amazon link) and have plenty left over, so I hosed the kick panel down and let the glue start to set up.
When I got the blanket fitted on the front, I flipped it over and sprayed some more glue around the edges on the back, to hold the blanket in place.
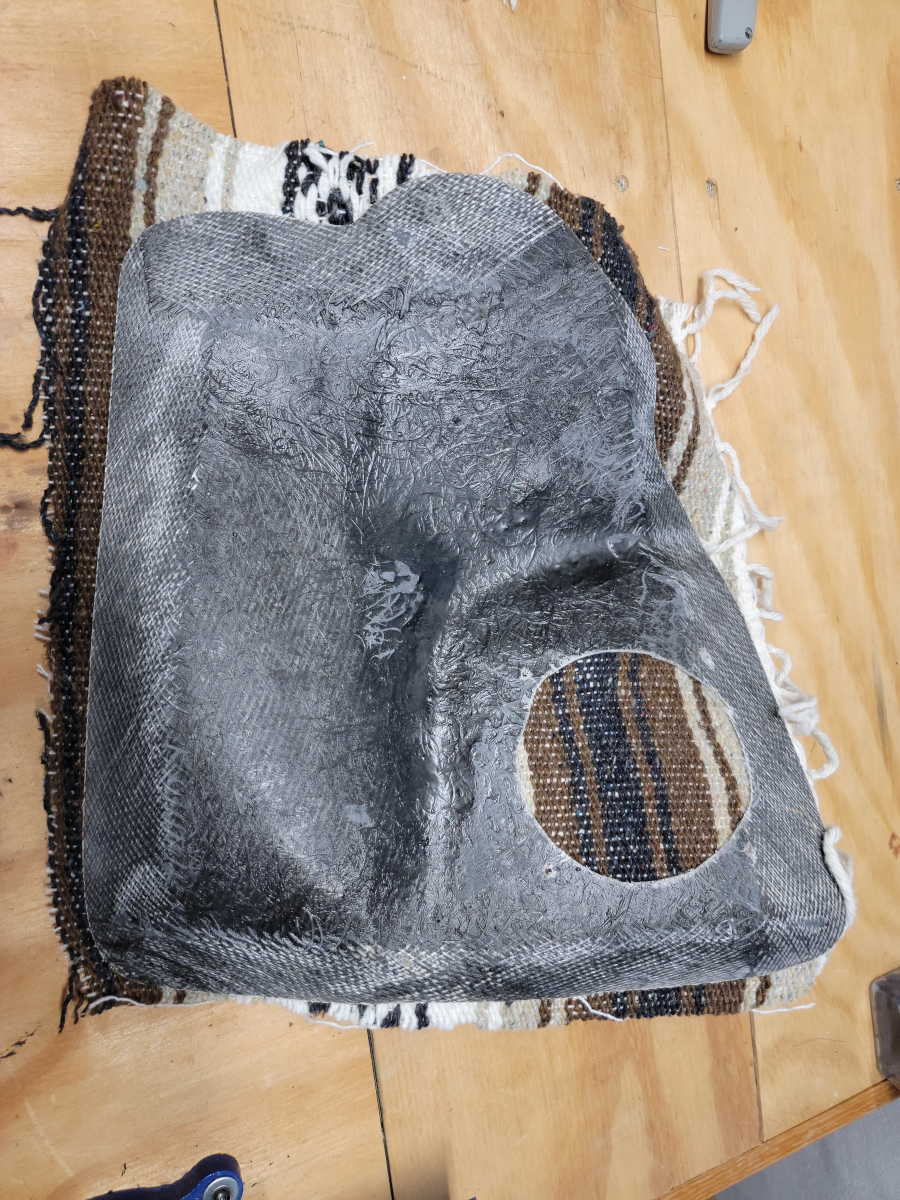
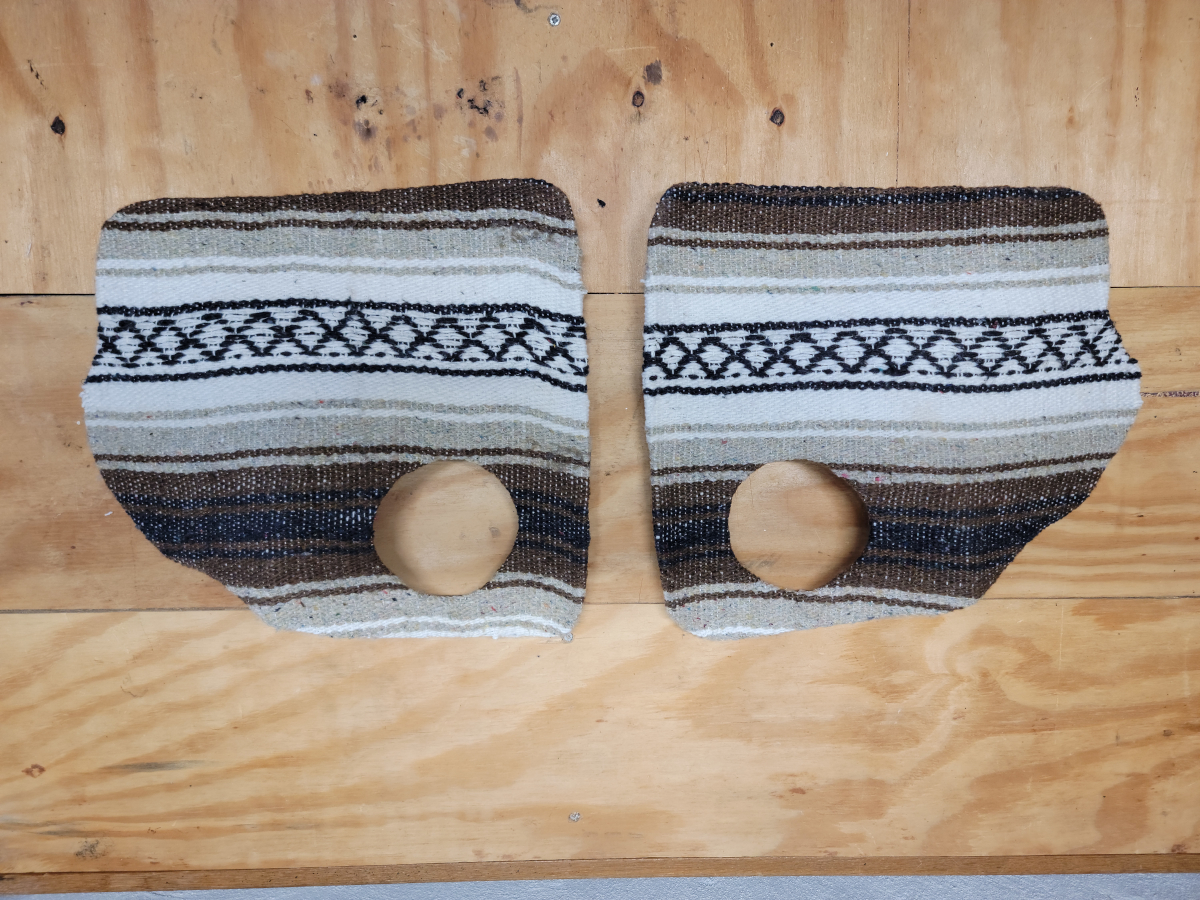
The pattern is a little crooked, but it was my first attempt. Now I know what to look out for next time.
I think they turned out great!
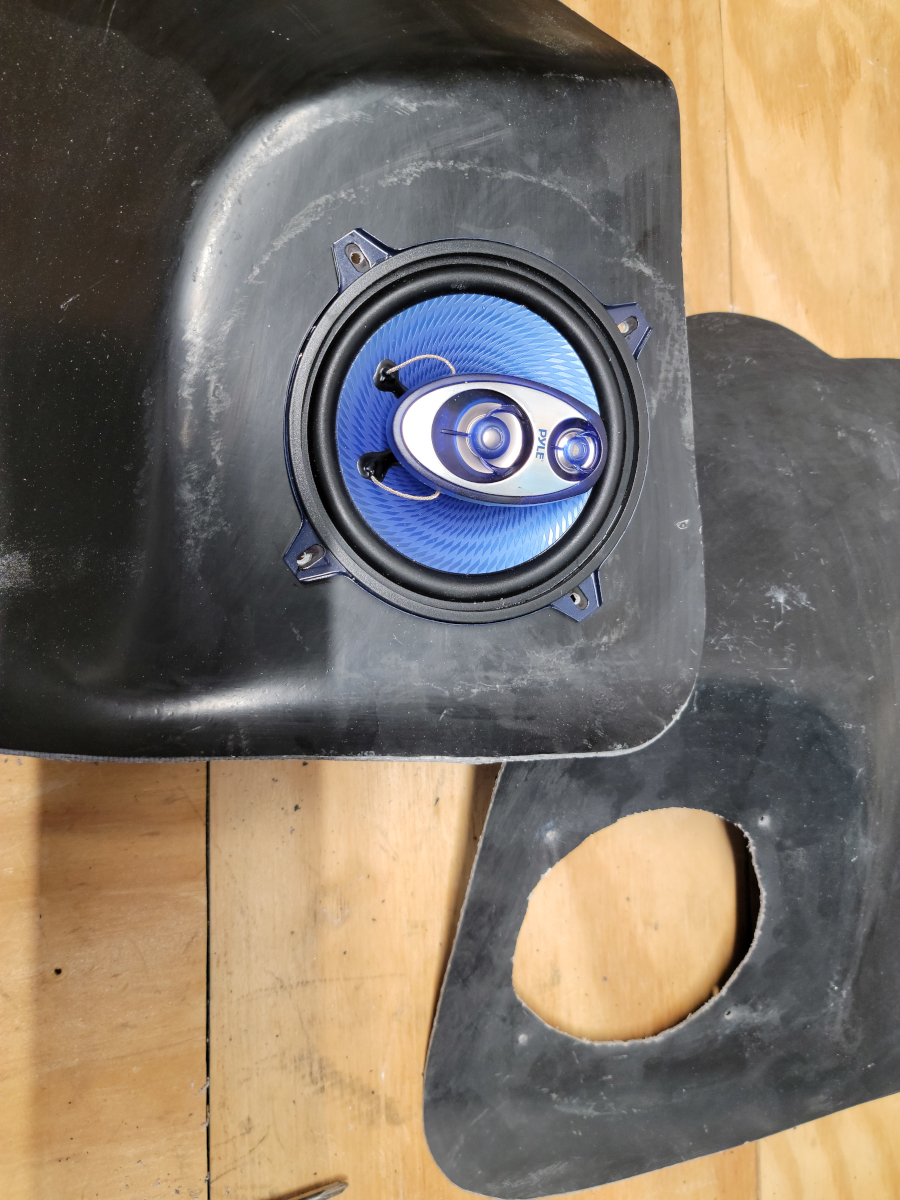
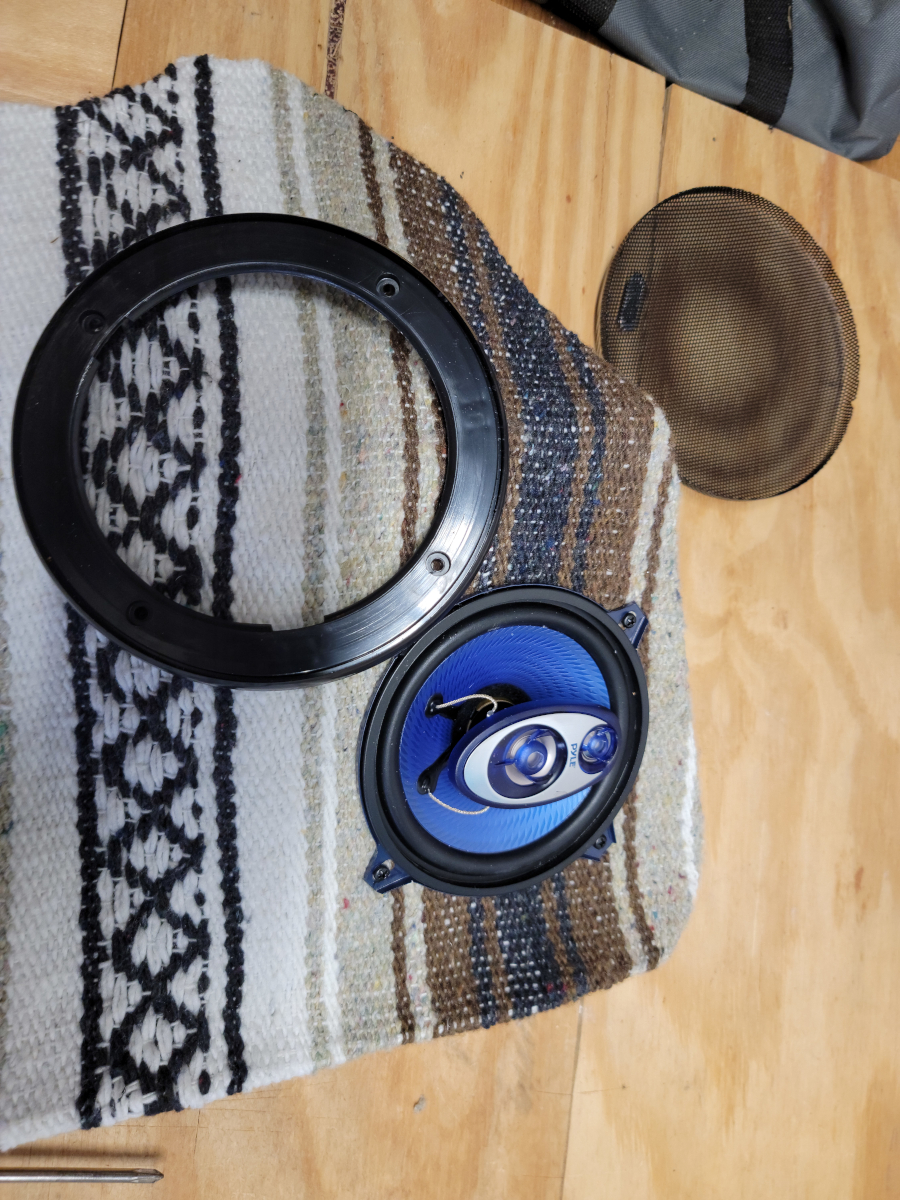
My original idea was to mount the speakers from the back and not use the speaker grills. The center bit of the speaker protrudes quite a ways and it wouldn’t have been flush with the face of the kick panel. OK, so I have to use the plastic trim piece and speaker grill.
I’m an idiot and got the first speaker mounted before realizing I needed the plastic trim piece under there to house the speaker grill.
Didn’t make that mistake again!
I think they turned out wonderfully!