Tightening the Axle Nuts

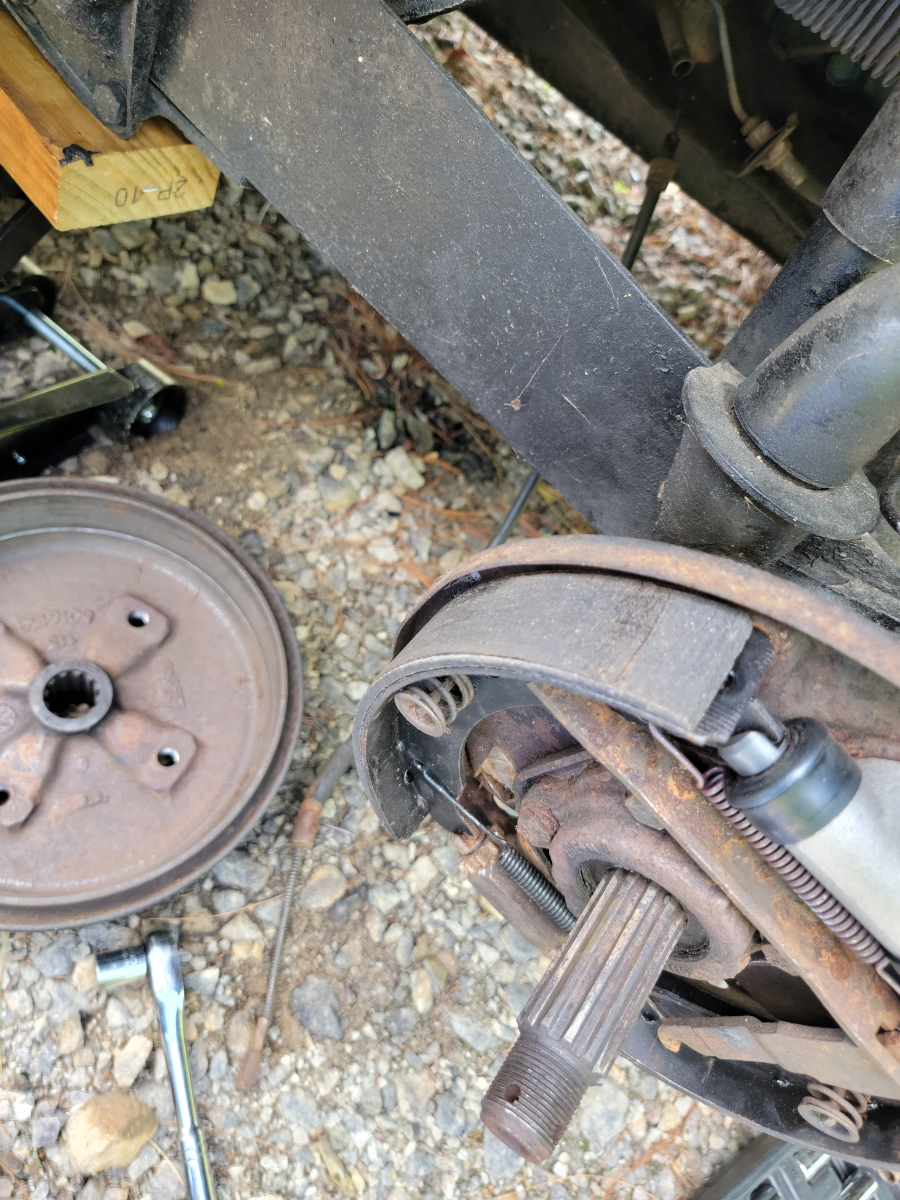
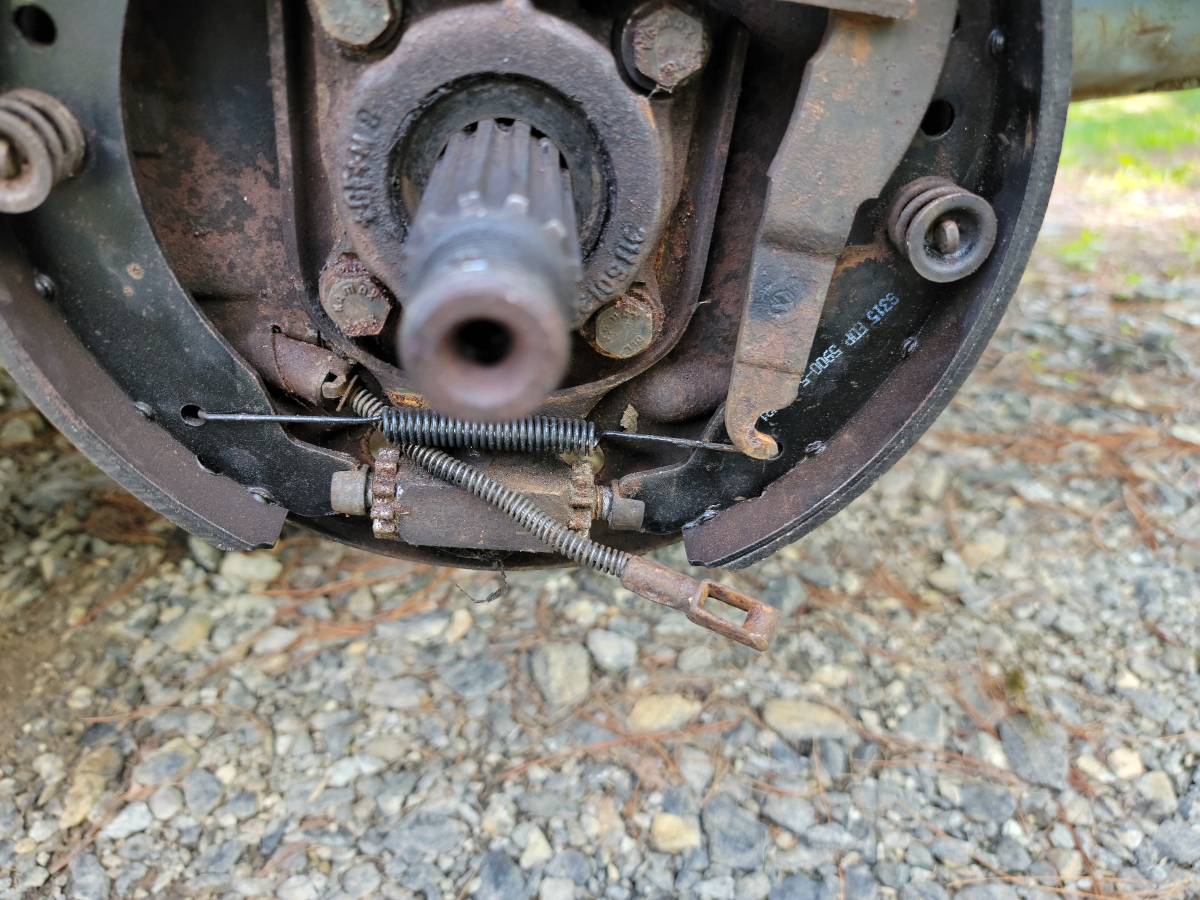
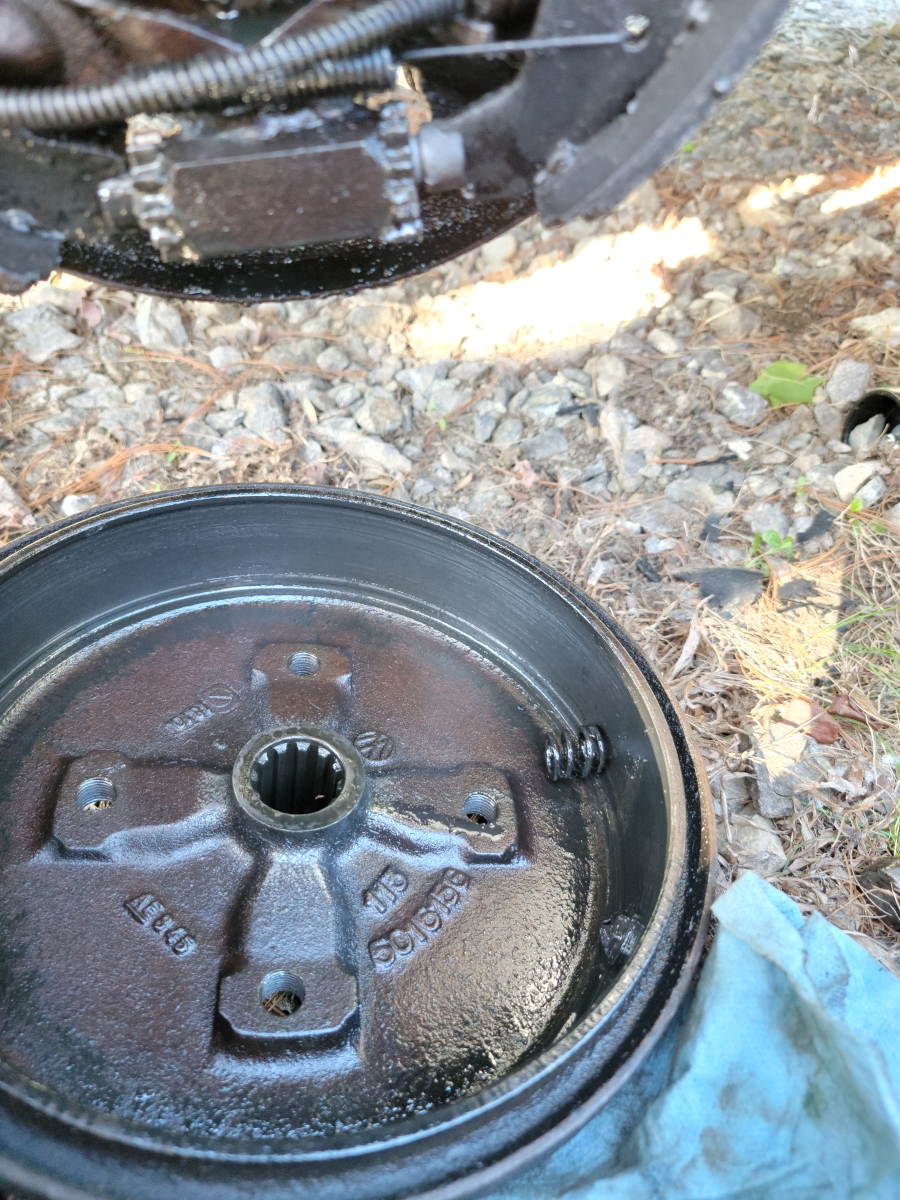
Last time I had the rear brake drums apart, I noticed there was fluid seeping in. I haven’t lost any brake fluid – like, not even a drop. So I surmised it was transaxle oil flowing down the axle, past the boot, eventually finding its way into the brake drum.

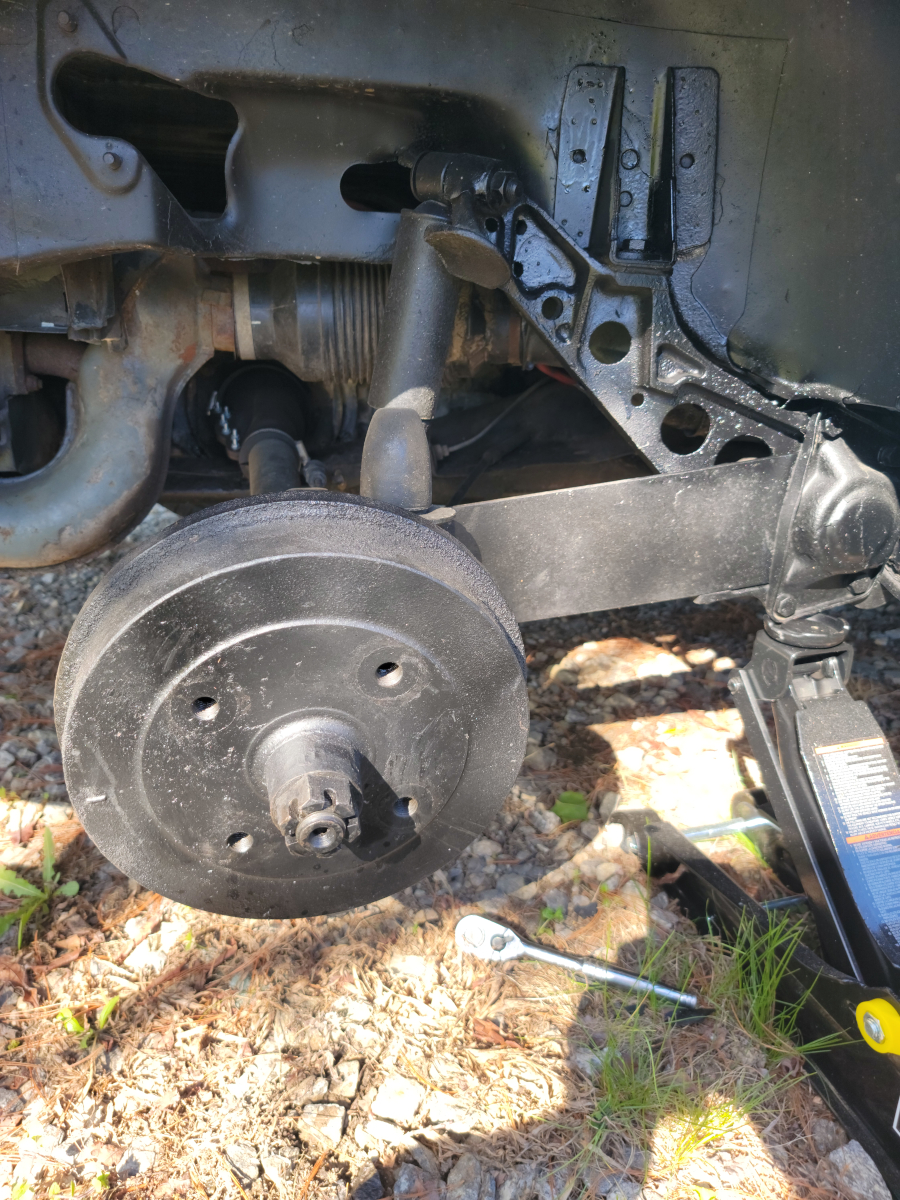
So, I headed out, jacked it up, and went to work. I very likely just got lazy last time I had the axle nuts off and only torqued them on with the cordless impact. I should know better – and did know better – but I’m guessing that’s what happened. I have a 36 inch breaker bar and a 36 inch pipe on the end of that as a “persuader”.

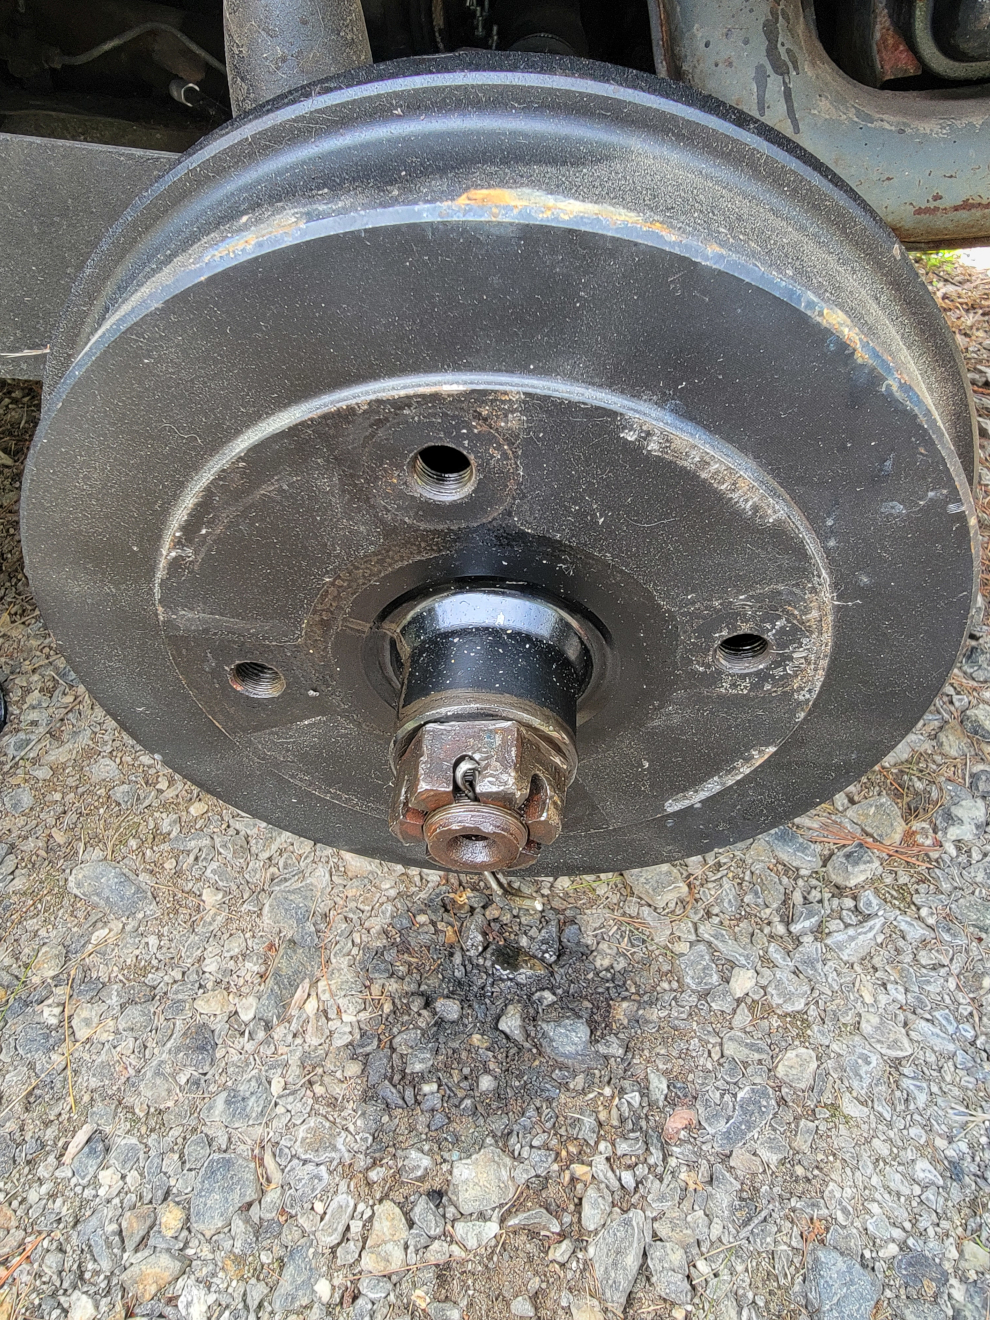
I took the wheel off, to get the cotter pin out, then put the wheel back on and lowered the car back down, putting its weight on the tire. I gave it all I had and got maybe another 1/8 of a turn. I don’t know what that equates to, torque-wise, but I’m sure it’s not 300 ft. lbs. or whatever the spec is. The tire was still turning with the full weight of the car on it and digging down into the dirt below the gravel.

I repeated the process on the passenger side and had similar results.

Knowing that the brand new brake pads I installed had likely been soaking in transaxle oil for a year and would need replaced, as evidenced by the parking brake still not holding much, I packed it all up and ordered new brake shoes.

Checking back on it a few days later, there was a new puddle inside that wheel.

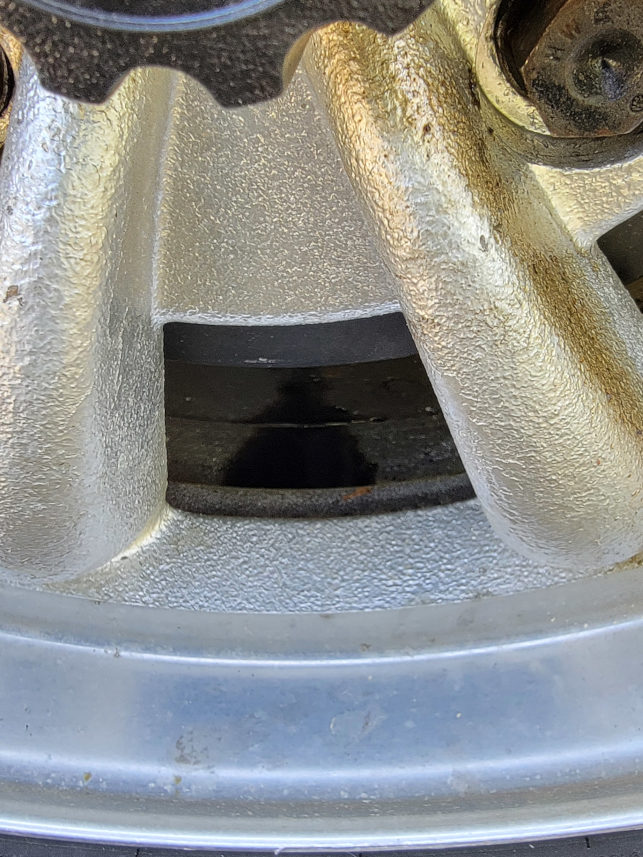
Of course, I don’t know if that is because it is still leaking or because I didn’t take the drums off and clean out the existing puddles. I am going to be optimistic and say that the problem will be fixed once I take it apart, clean everything up and install the new brake shoes.

Replacing a Parking Brake Cable

I’m about to replace the parking brake cable on the driver side, but I started off the day by reinstalling the missing knobs in the dash.

I have purchased two new wiper/washer knob sets and neither have fit correctly. The existing one has a tendency to spin on the threads when you turn the wipers on, making it difficult to turn them back off. Also, visually, the print is worn off the washer button. So, here we are, with the old button and knob mounted again.

Now, moving onto that parking brake cable. As mentioned in a previous post, the driver’s side cable adjustment was screwed down all the way and the brake was barely grabbing back there. I had the new cable on hand, so let’s dig in.

I peeled back the new rubber cover I had put on earlier and removed the double nuts.

Then I got the rear wheel up in the air and removed the cable mounting plate from the back side of the brake assembly.

It took a lot of finagling the cable ends and moving back and forth between the driver’s seat and the rear wheel, but eventually, I was able to get the old cable out. It was covered in thick, black axle grease, so that’s good.

Once I got the new cable slathered up with axle grease and fed back through to the front, it took a lot of wrangling to actually get it pulled up through from the tunnel. By the time I snapped the next picture, I had removed both front seats and the parking brake handle assembly. That made it a lot easier to get into place.

Time for a break. BEER ME.

OK, back at it.

The new cable I bought already had a crack in the black plastic sleeve. The parts aftermarket manufacturers and sellers should seriously be ashamed of themselves. I have never consistently bought so much garbage in my life.

After getting the wheel mounted and brake adjusted, I was then able to get the cable adjusted. I want to not be able to turn the wheel by hand with the parking brake handle about 3/4 of the way up. The cables will eventually stretch and brake shoes wear, so it’s good to have some room left to adjust the cable tighter as needed.

And now the rubber cover is back in place and not stretched over a hot spot of that long cable end.

Brakes again.

I previously fixed the passenger side rear brake and got it adjusted. Now it’s time for me to check the driver side.

One could wonder why the parking brake wasn’t working… I found when clipping the end of the cable back in place, there was a lot of slop and I could imagine in normal use, it could work its way off. When I was recently reviewing old posts here, I noticed when I first looked at the parking brake cables, the driver side cable was tightened down as far as it would go. Maybe this is why.

So, I clipped it back together and re-adjusted the brakes. Tightening that cable all the way back down and applying the parking brake would almost stop the wheel from turning (by hand).

Note to self: The driver side cable is the one that needs to be replaced. Now I know it is just stretched, not broken.

Then I took the passenger side wheel off again and re-adjusted the brakes.

I then tightened the passenger side cable to where I couldn’t turn the wheel by hand with the parking brake lever about 3/4 of the way up. The rear passenger side wheel is now rock solid when the parking brake is on.

I remembered that I had purchased a new dust boot cover for the parking brake assembly. Now that the parking brake is working again, this is the perfect time to install the new boot.

It’s a big stretch and not a comfortable fit. With the heater vent levers pulled through, there was just no flex or stretch to be had.

Let’s move into the back seat for better leverage.

From there, I was finally able to stretch the boot into place.

I had to put in some effort to get the carpet stretched back enough to allow all that excess rubber to be hidden below.

But, I eventually got it. You can see in the pic above, that extra long parking brake cable trying to push through the top of the dust boot.

Now, I can run, stop, and check my mail at the top of the driveway when I get home. The parking brake is essential in the mountains.

This was a much needed win.

Brakes Again?

I decided this would be a good time to replace that broken parking brake cable, since the interior is already torn apart.

I got the rear end up in the air and removed the wheel. Flaked off some more undercoating and gave it a quick shot of paint.

I couldn’t get the brake drum off and realized I was going to have to adjust the shoes in. My hands were getting wet with brake fluid as I was feeling around on the back side of the drum to remove the parking brake cable, . Poking my head around to take a look, I saw that it was super cruddy back there. I just rebuilt this brake a couple hundred miles ago!

Let’s not rush into this…

OK, back at it! I had to adjust the brakes in quite a bit to get the drum off. There is a good sized lip around the outside edge. The little T-shaped push pin thing that connects to the spring and cap was gone.

Who even knew that was possible.

I’m all out of brake parts cleaner spray and don’t feel like heading back out to the store today, so I grabbed a new T shaped pin from the front brakes hardware kit I have waiting, wiped everything down, and put it all back together.

Getting that brake shoe locked back in place should fix the parking brake problem. Turns out it wasn’t the cable after all.