
One of the first batches of parts that I ordered for this car included a new front hood seal. I then did some reading online about how to install it and decided maybe it didn’t need replaced after all.
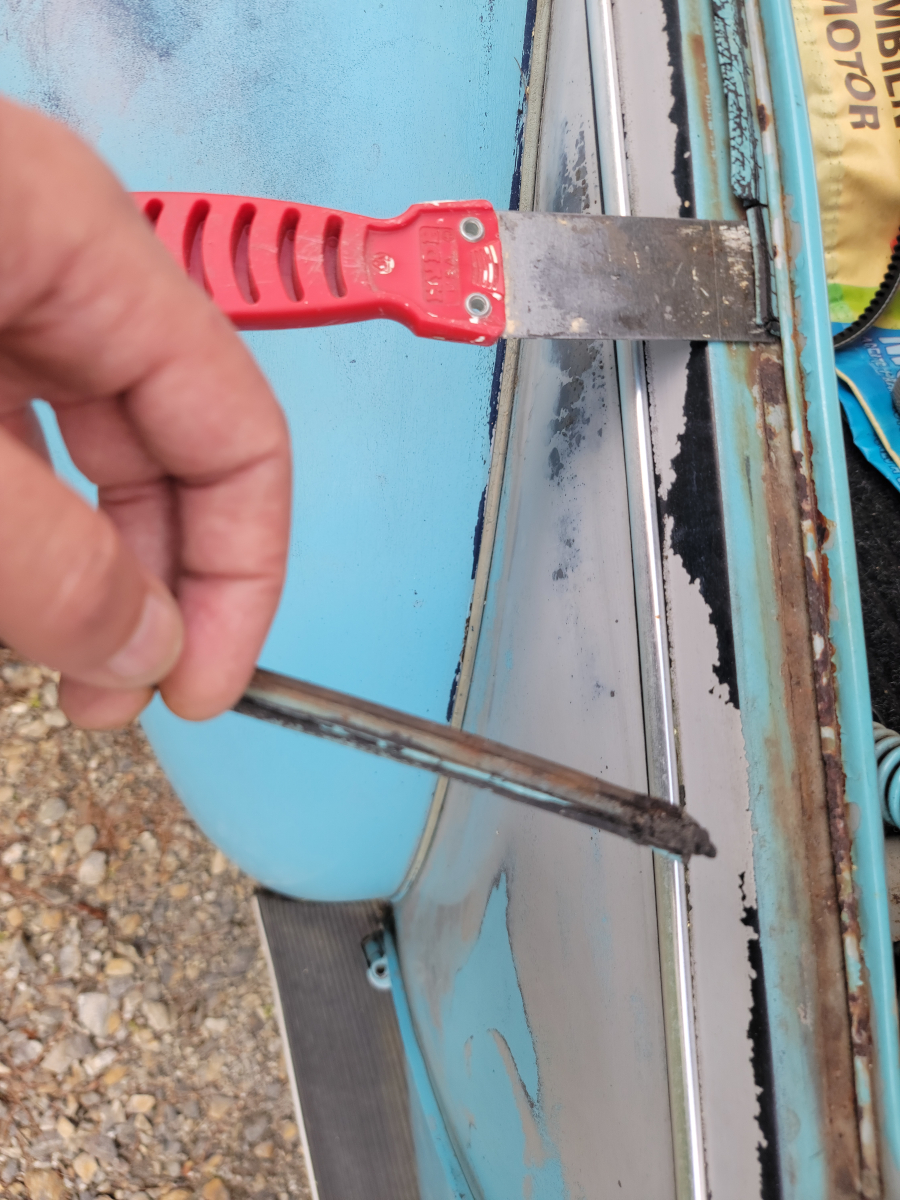
Today, I randomly found a video saying to just pry up on the lip a little with a putty knife. This will make it easier to remove the old seal and install the new one. Common info online is you should start at one corner and feed it through the channel around the whole thing. Clearly, those people don’t have a channel/lip as rusty and mauled up as mine.
The front hood seal that I ordered was from jbugs, a Brazilian variety (jbugs link). And so it begins…
I’m not sure why I wasn’t expecting it to be rusty under there, but it was. I may just be ignorant.
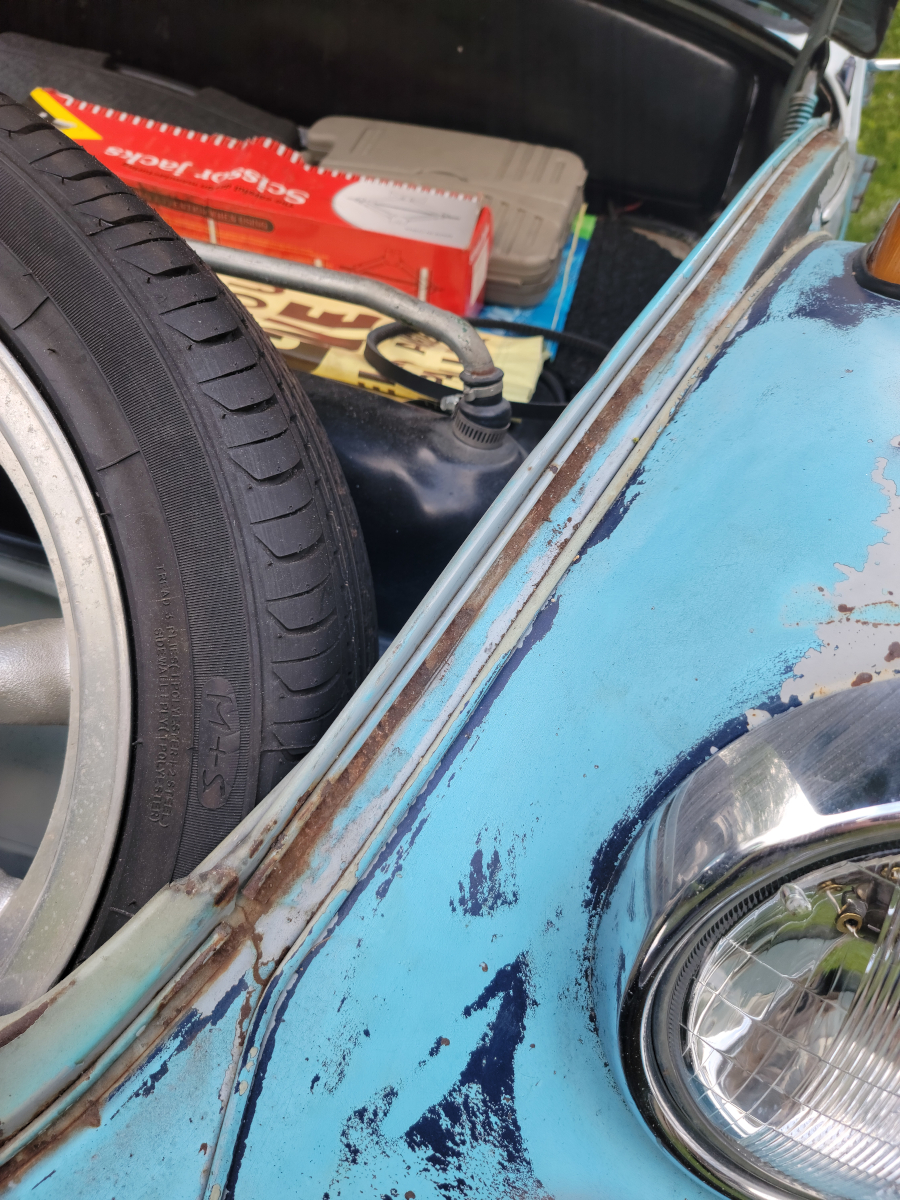
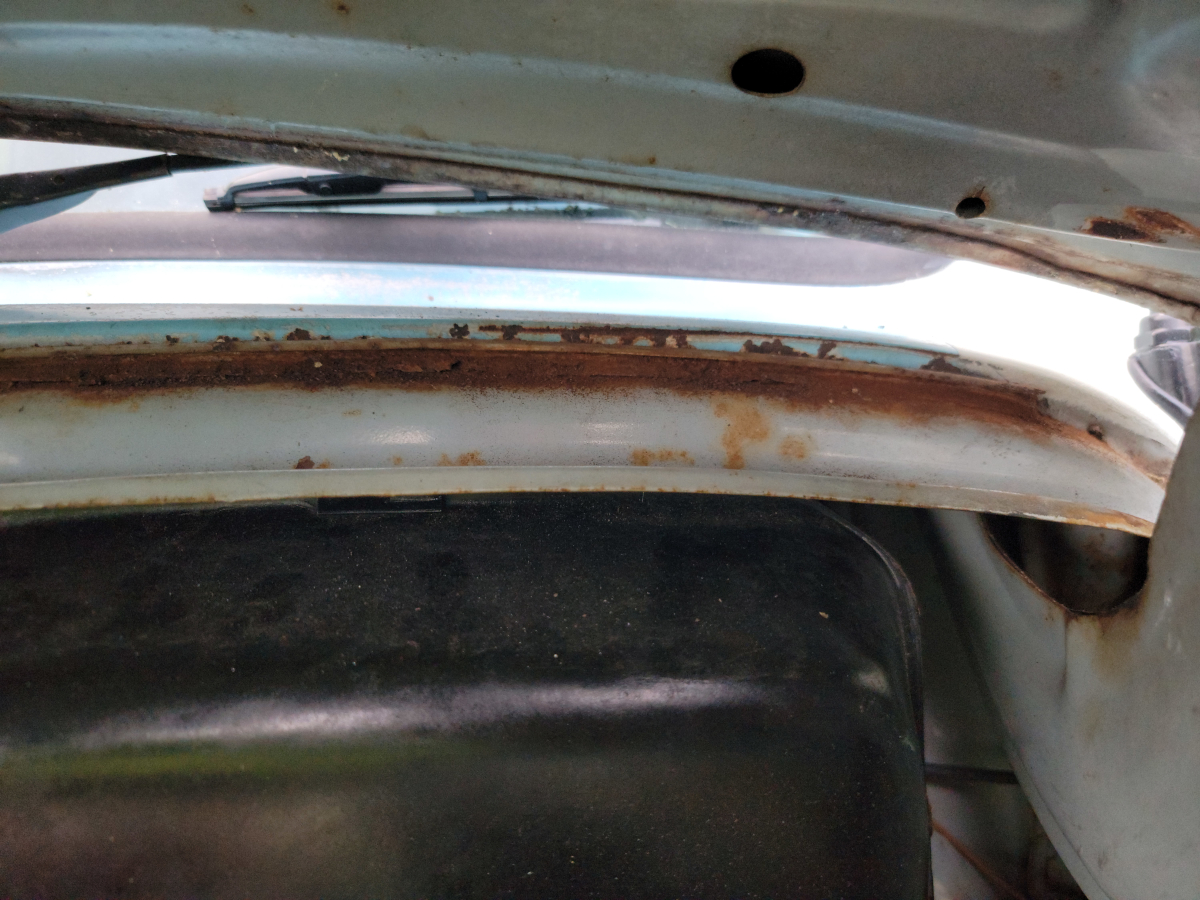
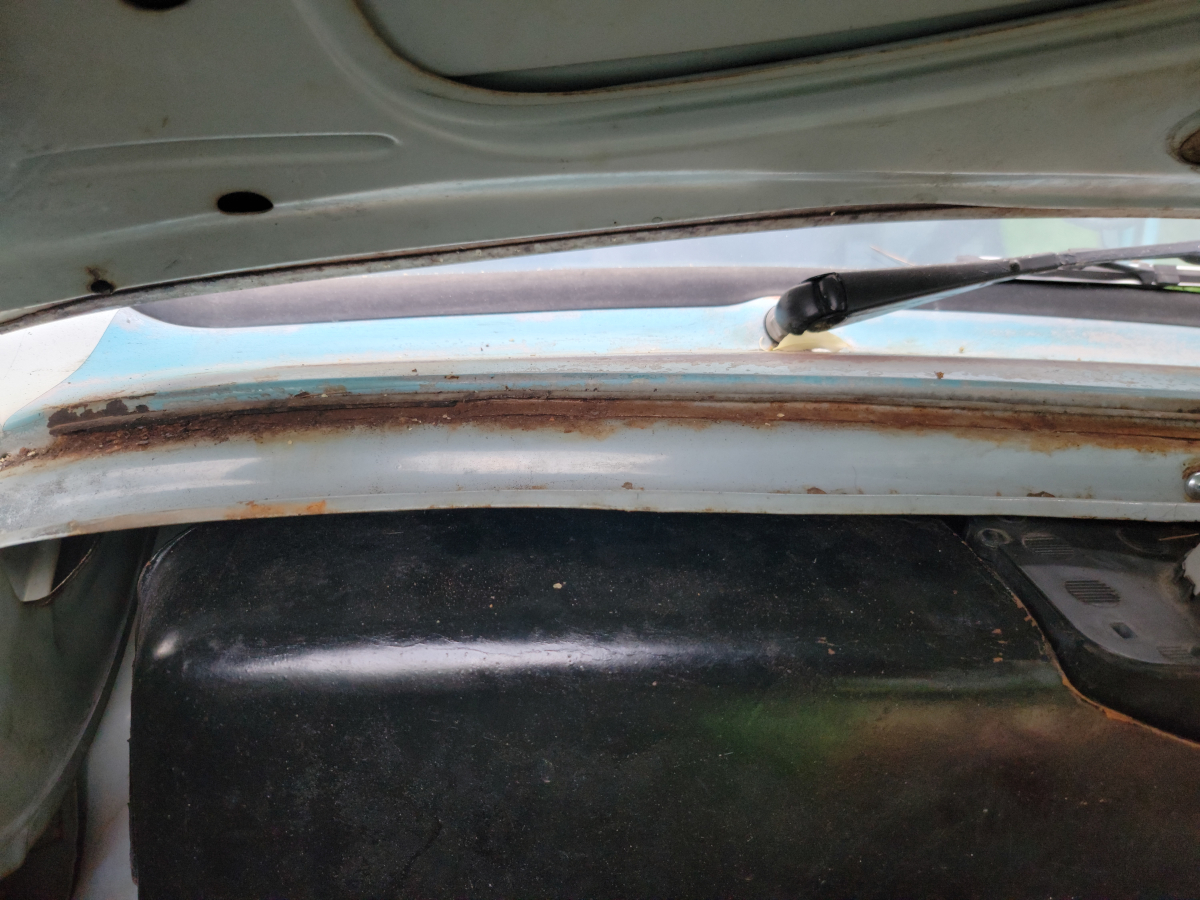
Around the front, there was a big ol’ mess to be had.
That wasn’t me with the putty knife. That was existing damage. You can tell because there’s a spot on the old seal that doesn’t have rust on it 🙂
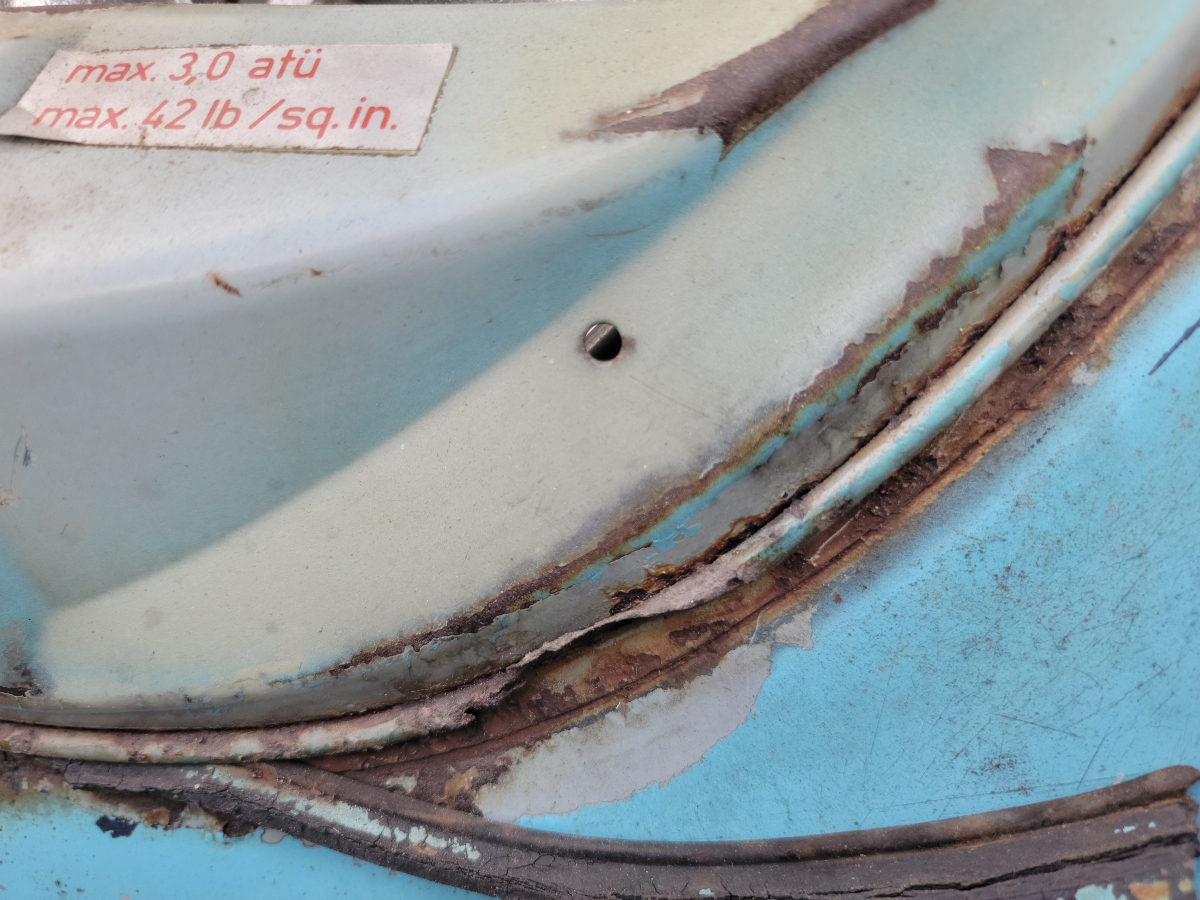
I removed both sides first, before starting on the bend-over-fest that was the back (windshield) side. It was VERY rusty and as expected, VERY cramped working conditions up in there.
Removing the seal from the back side kind of made me want a bowl of Wheaties. And to cry a little. The rust was so big and flaky. Luckily, the lip is a separate piece of steel tack welded on, so… sacrificial?
I used a stiff nylon brush to clear out loose rust and debris from the channels. Then I gave it all a quick spray of rust treatment. Not the kind that turns it black, just darker and shiny. That probably means it really works good.
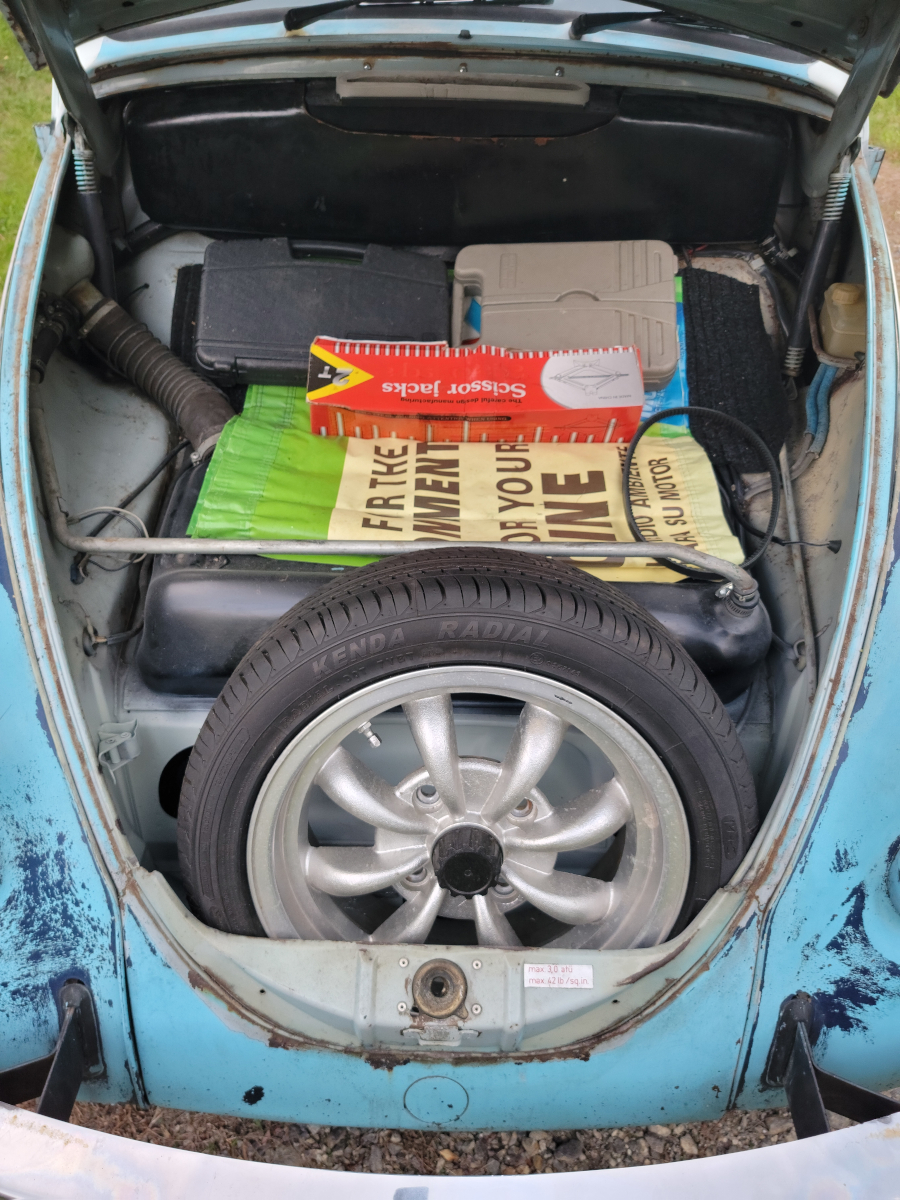
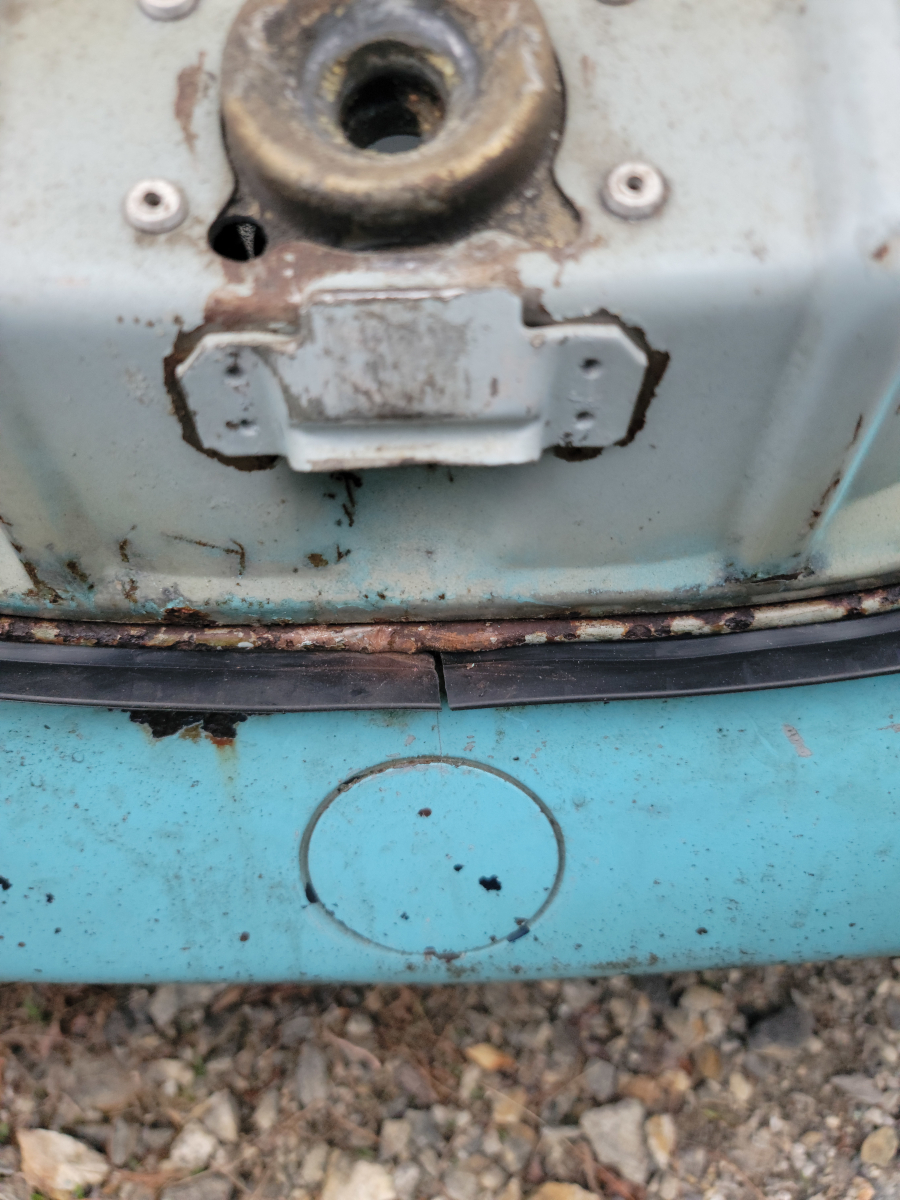
I let that dry just long enough to get tacky and make a real mess of everything. Then I started installing the new seal. I started at one of the back corners. Both of which have a wide, dished out shape with three rubber pegs underneath. Those “match up” with three holes in the body. To be fair, they were pretty close. They could probably be forced in uncomfortably. However, the rubber is so soft, they just popped right back out when I pushed them in. Using a screwdriver and brute force, I could feel the whole peg coming through from underneath, but they wouldn’t stick.
I will probably have to cut those pegs off and use some plastic trim fasteners to jam down through there. My Ranger is full of them and I have a pack laying around here somewhere for just that reason.
Anyway, I made it all the way around the front and both sides, leaving the bendy-overy bit until last.

I had to trim a few inches off of each end, where they meet in the middle.
Now all that was left was to finish that back edge. There was still so much debris in the channel that it really fought me much more than anywhere else. The channel was now so wide in a few places – likely where the rust was previously so thick – I had to get back in there with the putty knife and tiny hammer to bend the lip back down a bit to hold it all in place.
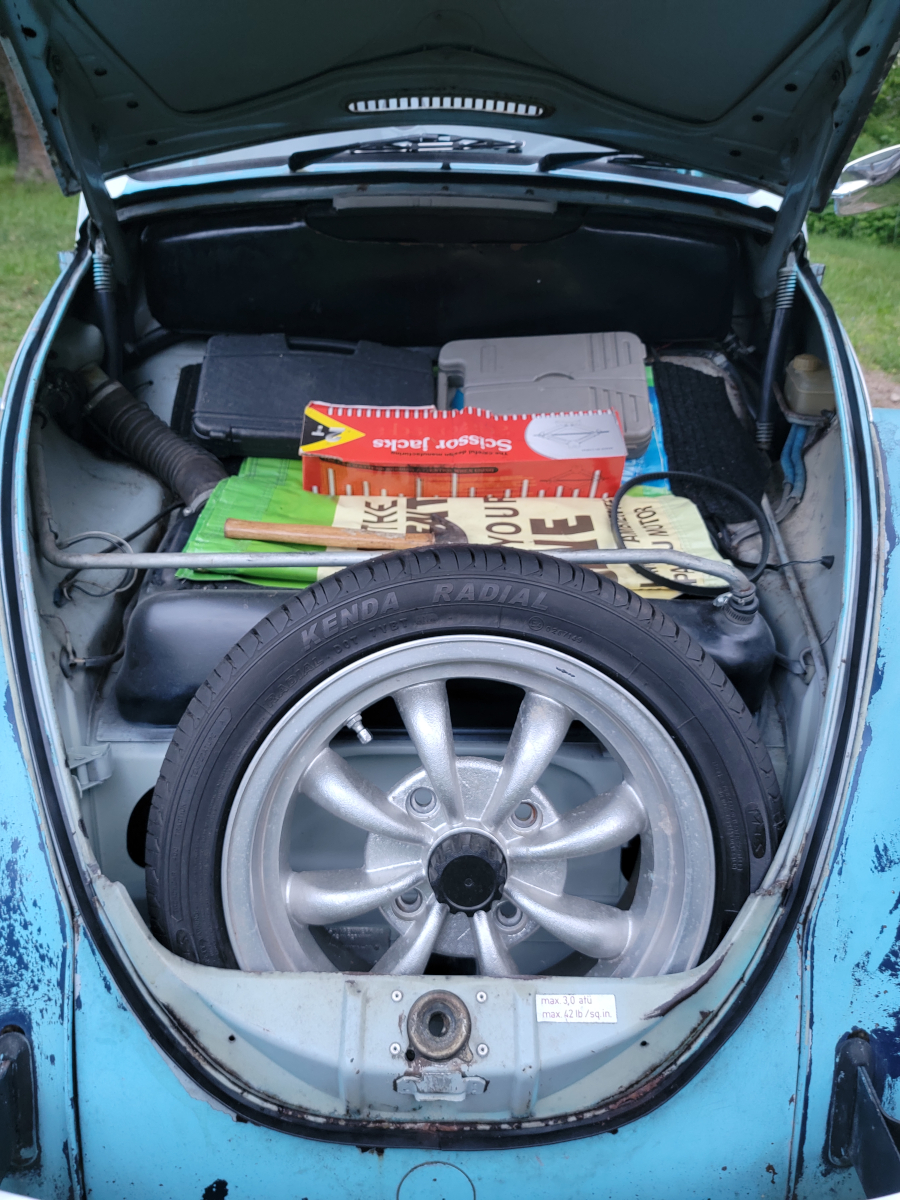
That’s as good as I could have hoped for this evening. It was getting dark, though you can’t really tell by the phone pictures.
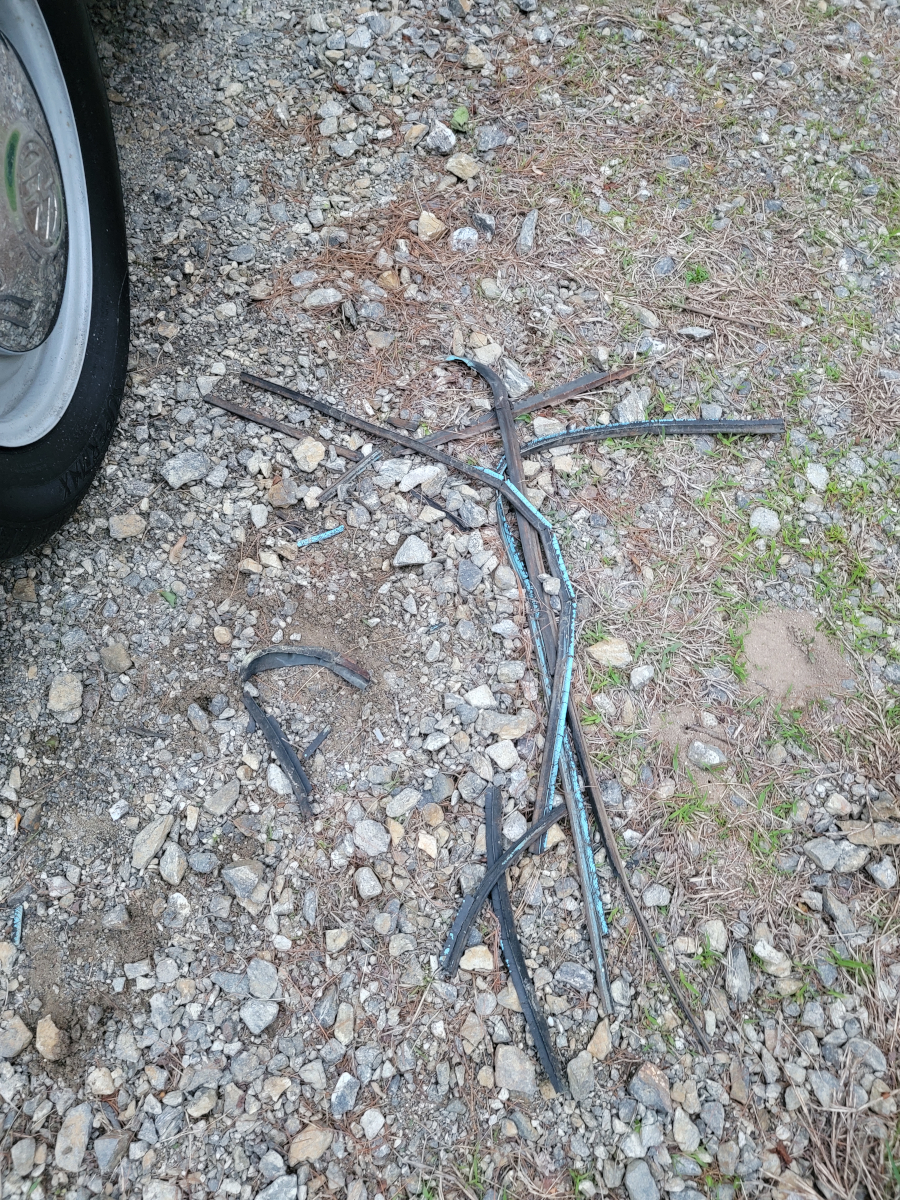
I went around and collected all of the scraps of old seal and made a tiny little pile.
I will get back to this soon to finish mounting those back corners.