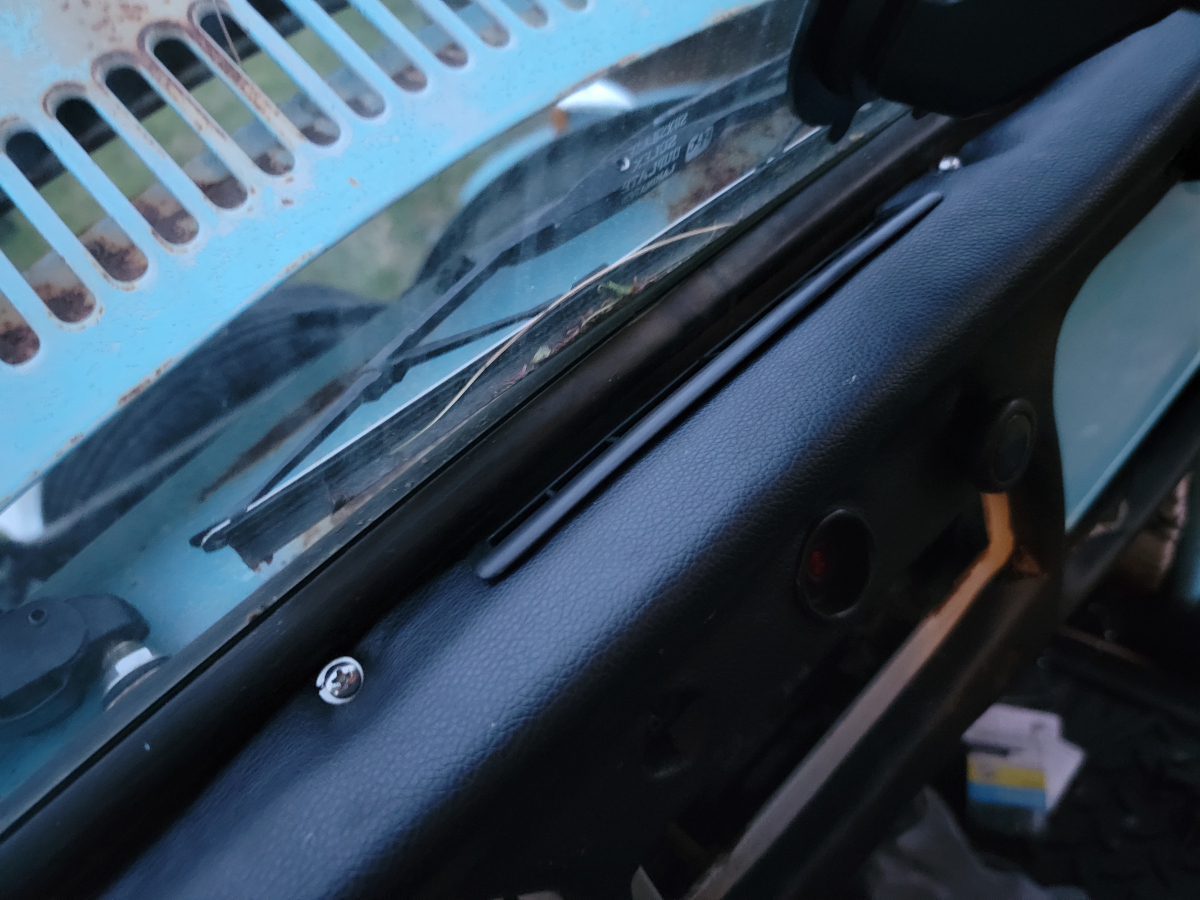
Back out in the car, it’s time to mount this monstrosity and try to put the end result into perspective. It’s hard to tell how it looks when it’s on its own. You need to see it in context. So, off we go.
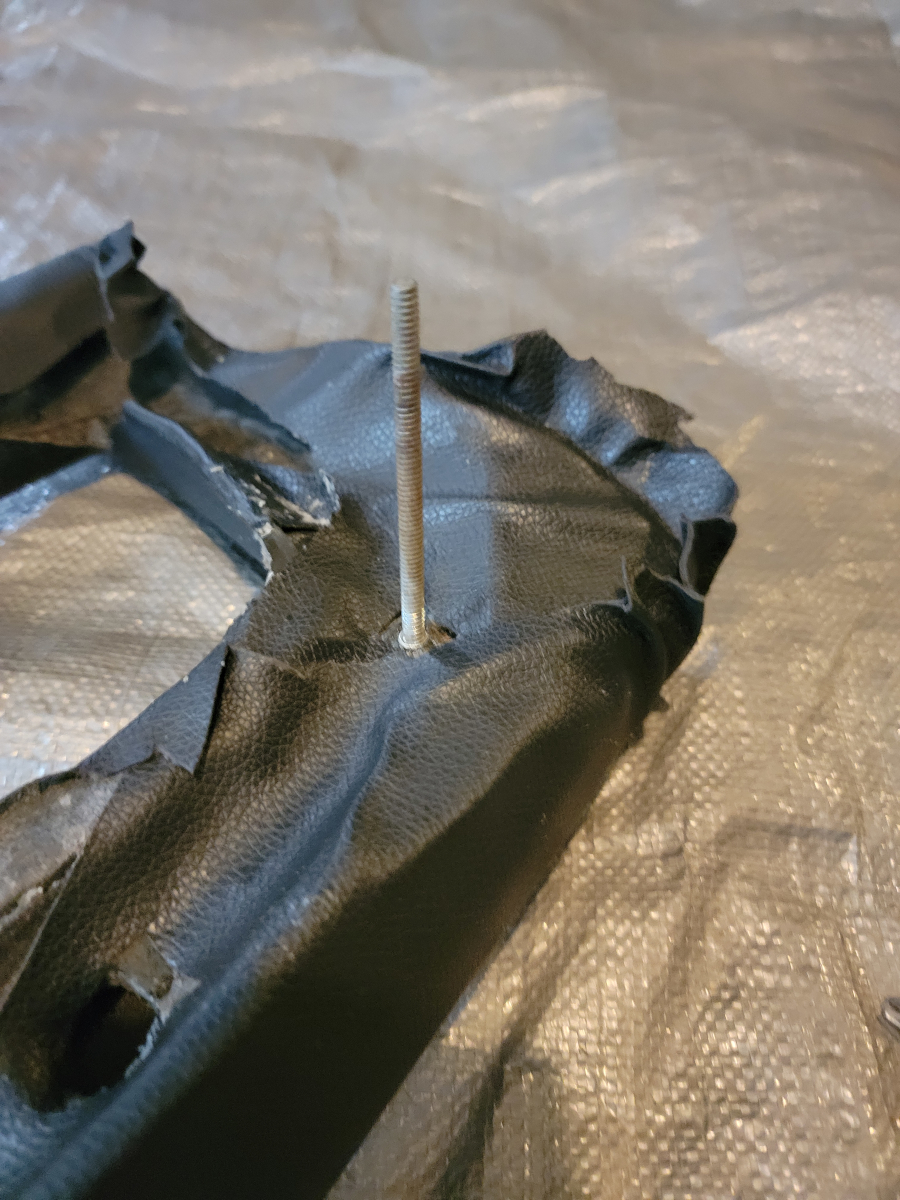
First, I mounted those long bolts in the corners.
I put all of the knobs and ash tray back in place.
Some of the knobs didn’t fit properly through the new holes with the additional vinyl pushed down through.
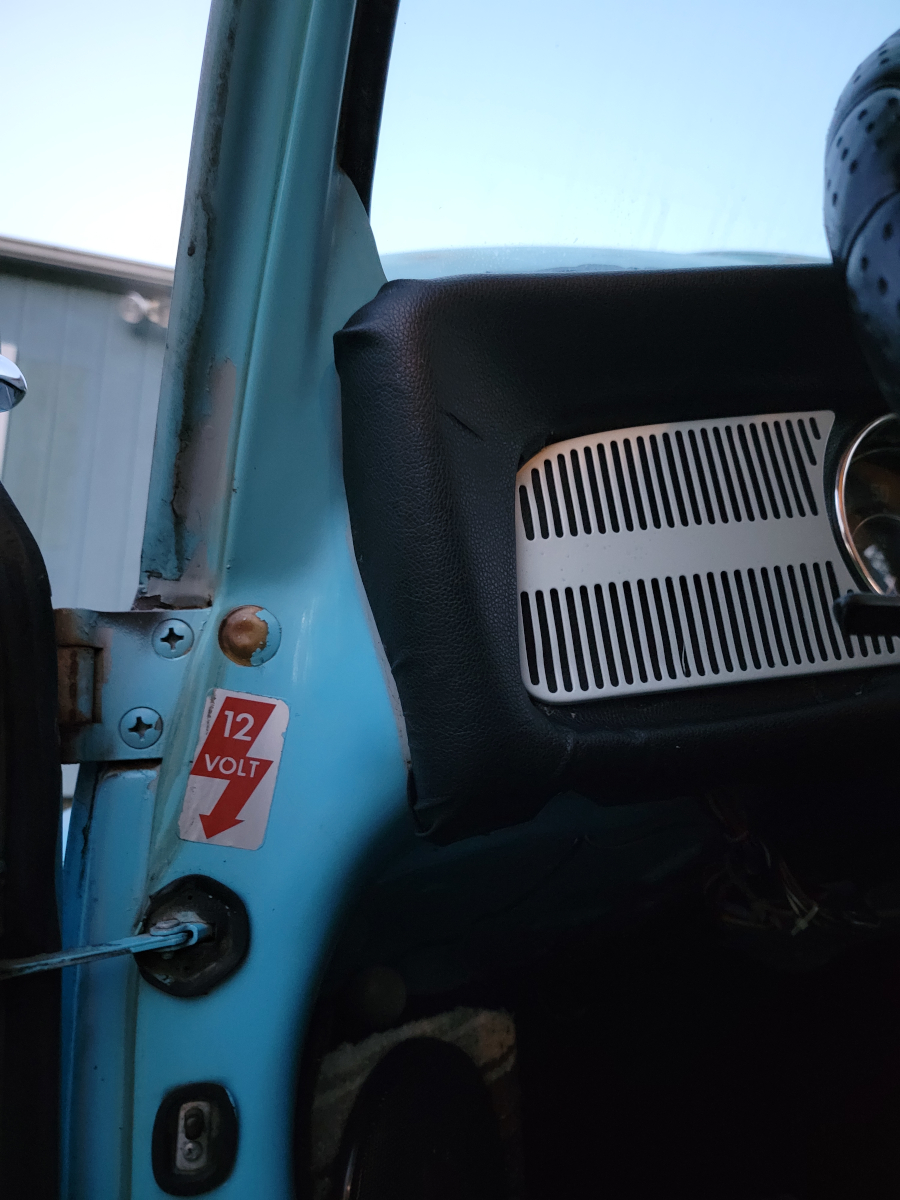
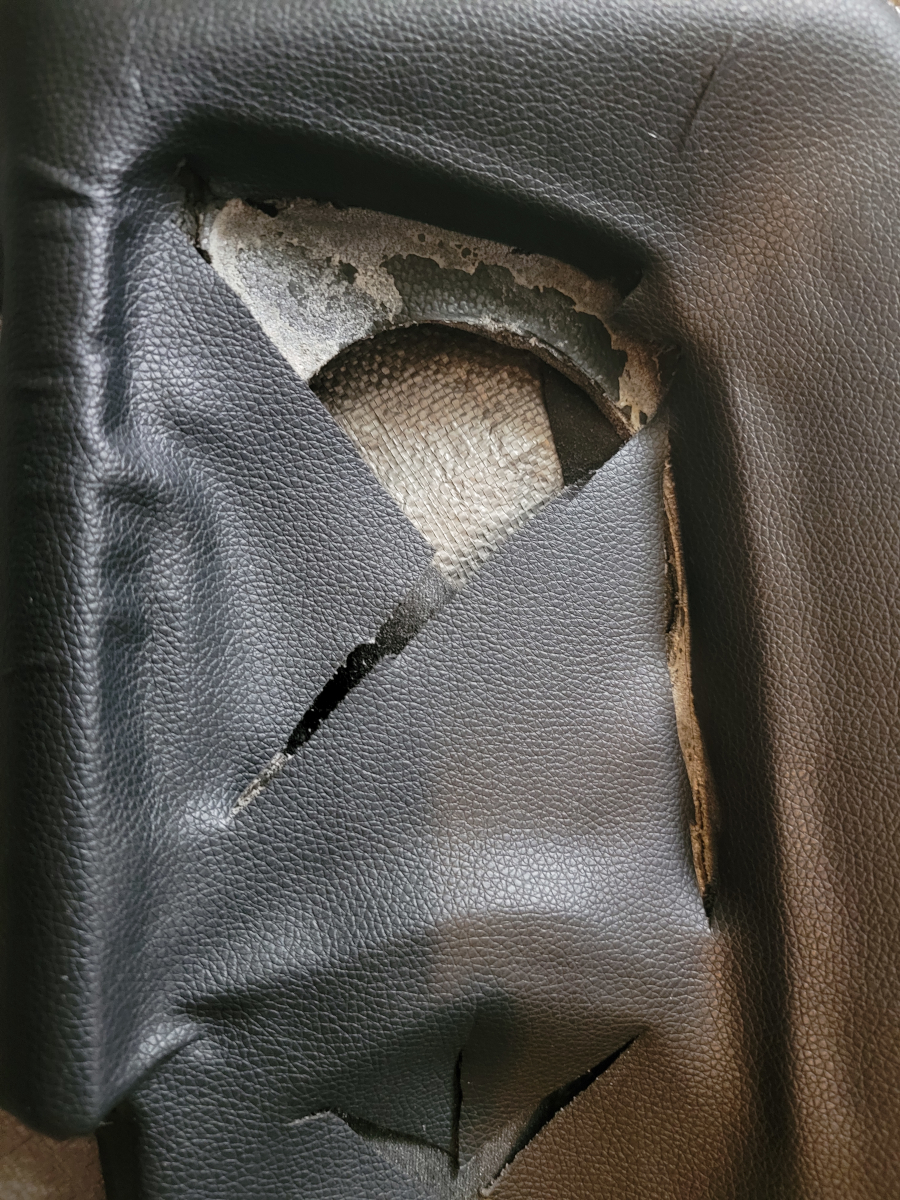
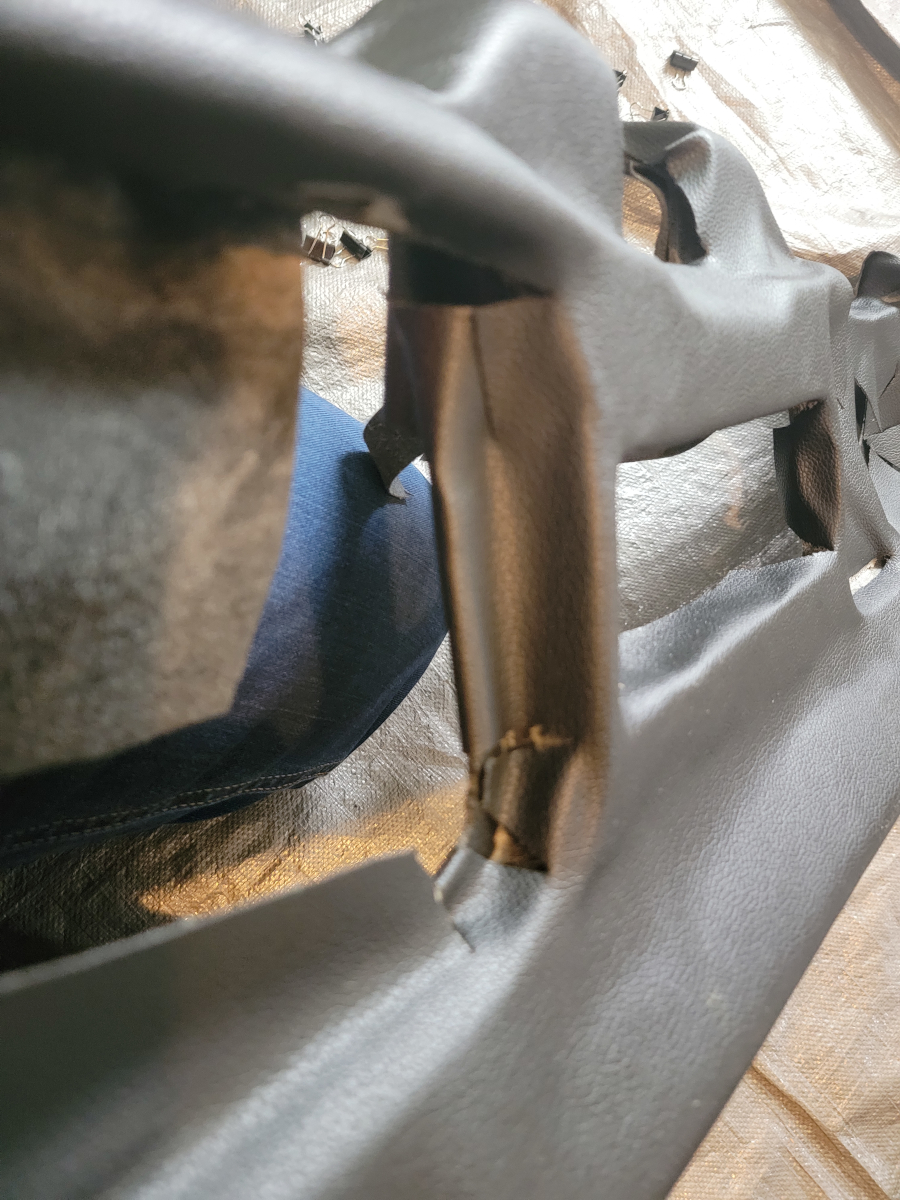
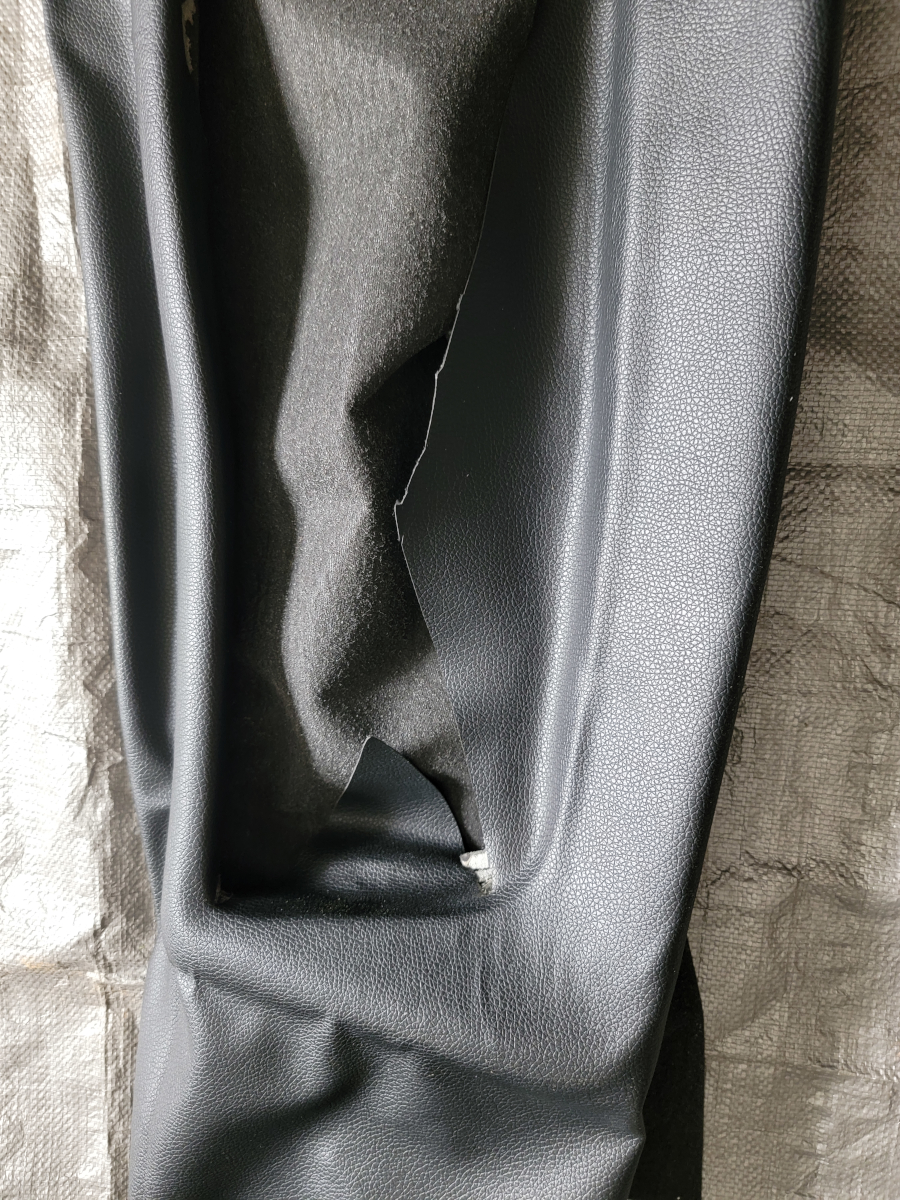
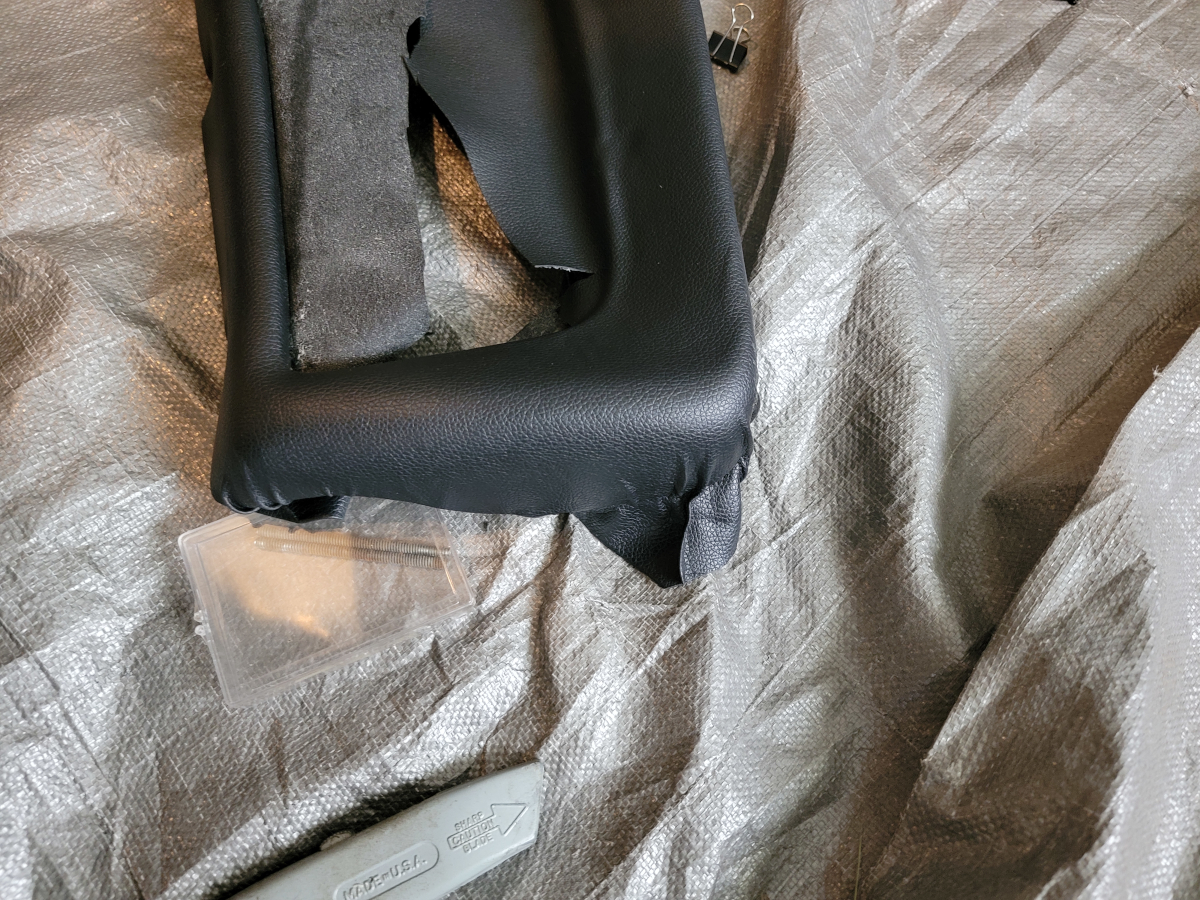
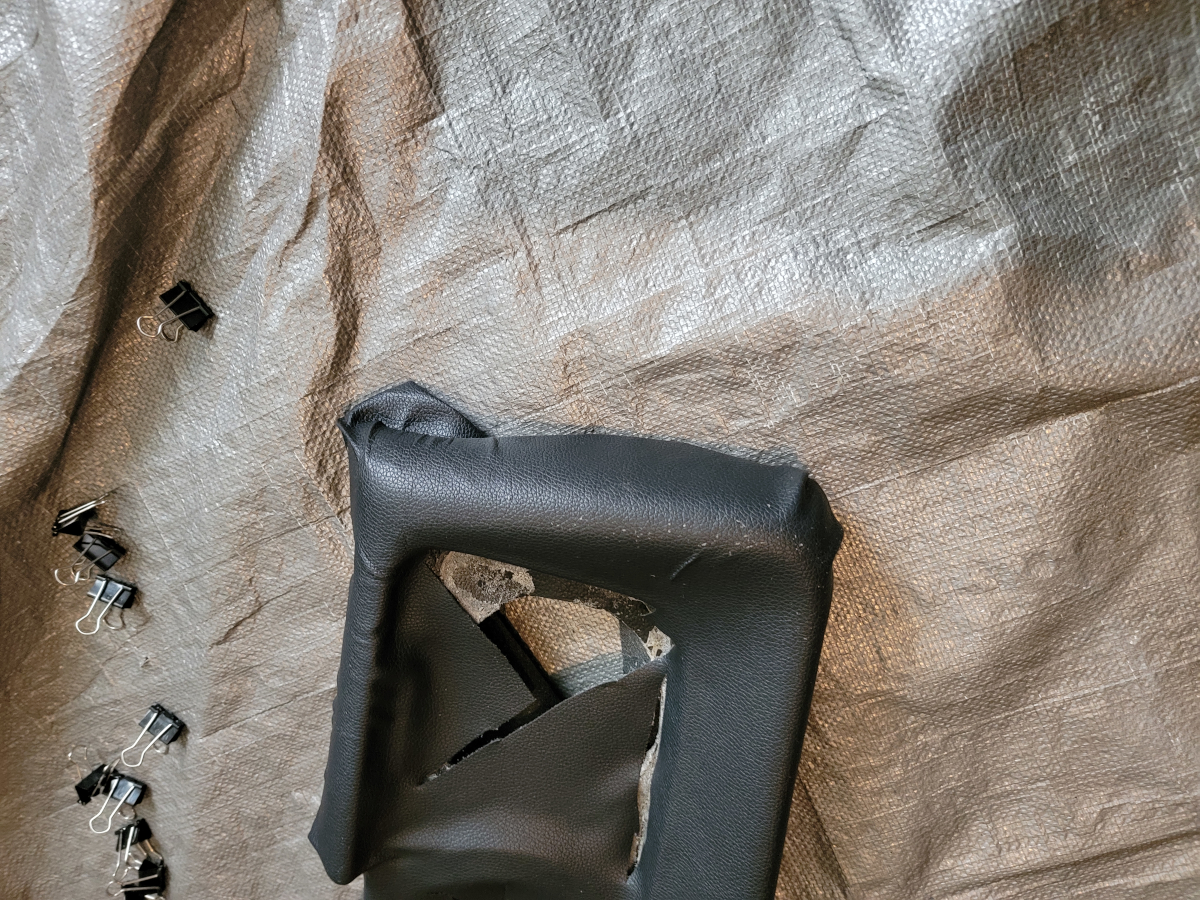
I mounted the grab handle and soon realized some of the cuts I had made in the vinyl below the glove box were too close. That’s a job for another day.
My goal has always been not to have visible patches, where I had to add vinyl after the fact, but that looks really bad. It’s a job for another day.
I don’t remember the ash tray being difficult to open before, but it’s really stiff. Like really stiff. The dash pad and extra layer of vinyl aren’t making contact with it, it’s just super tight.
I had stopped at Lowe’s earlier today and bought some new stainless sheet metal screws and washers. All of those that I removed from the dash pad before were mismatched, some were flat head, some were Phillips, some were shorter and longer.
The screw holes along the bottom weren’t lining up properly as I tried to screw them in and I was quickly losing light, so we’ll call it a day and call that a job for another day.
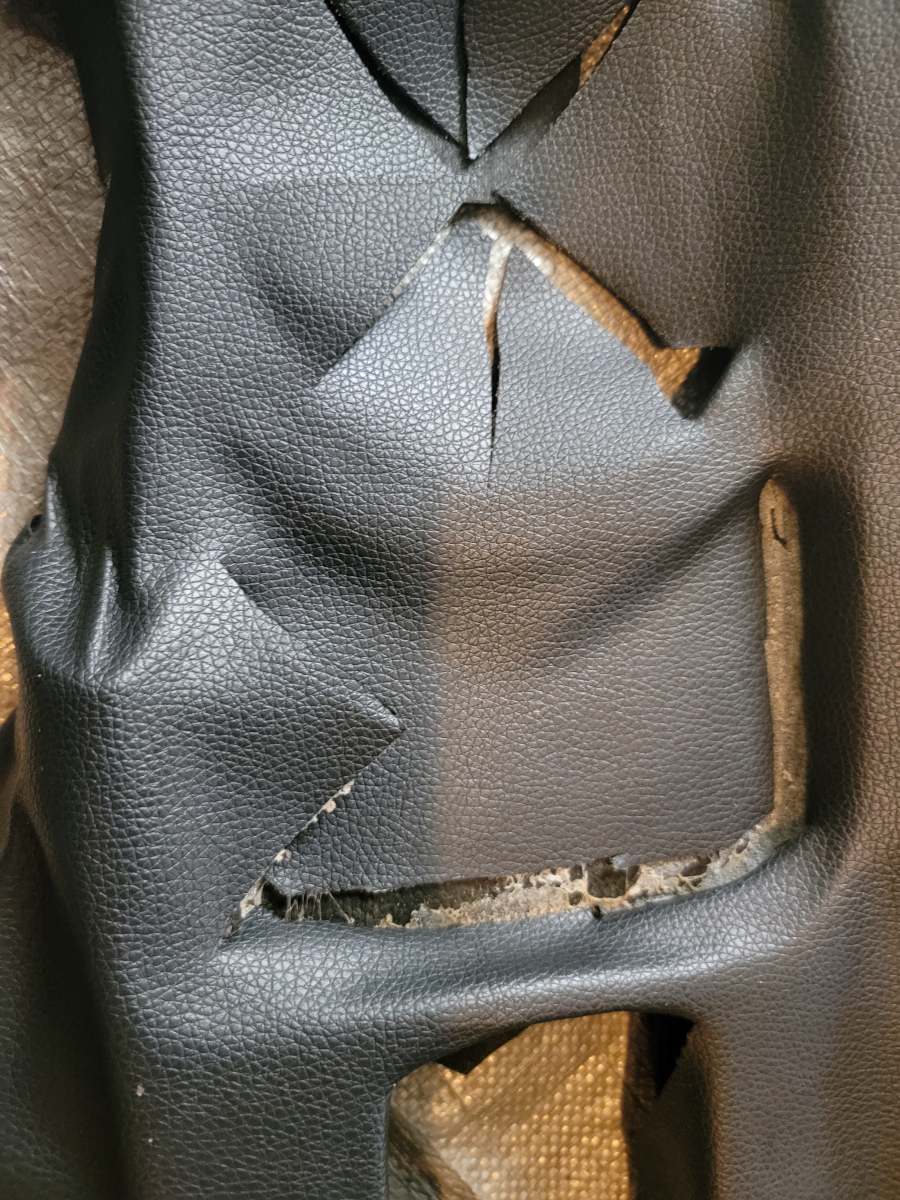
I’ve got to tighten up some of these loose corners, making little cuts, gluing little bits, and holding them down.
There’s a soft ridge around the hole for the speedometer that isn’t yet taking an acceptable shape.
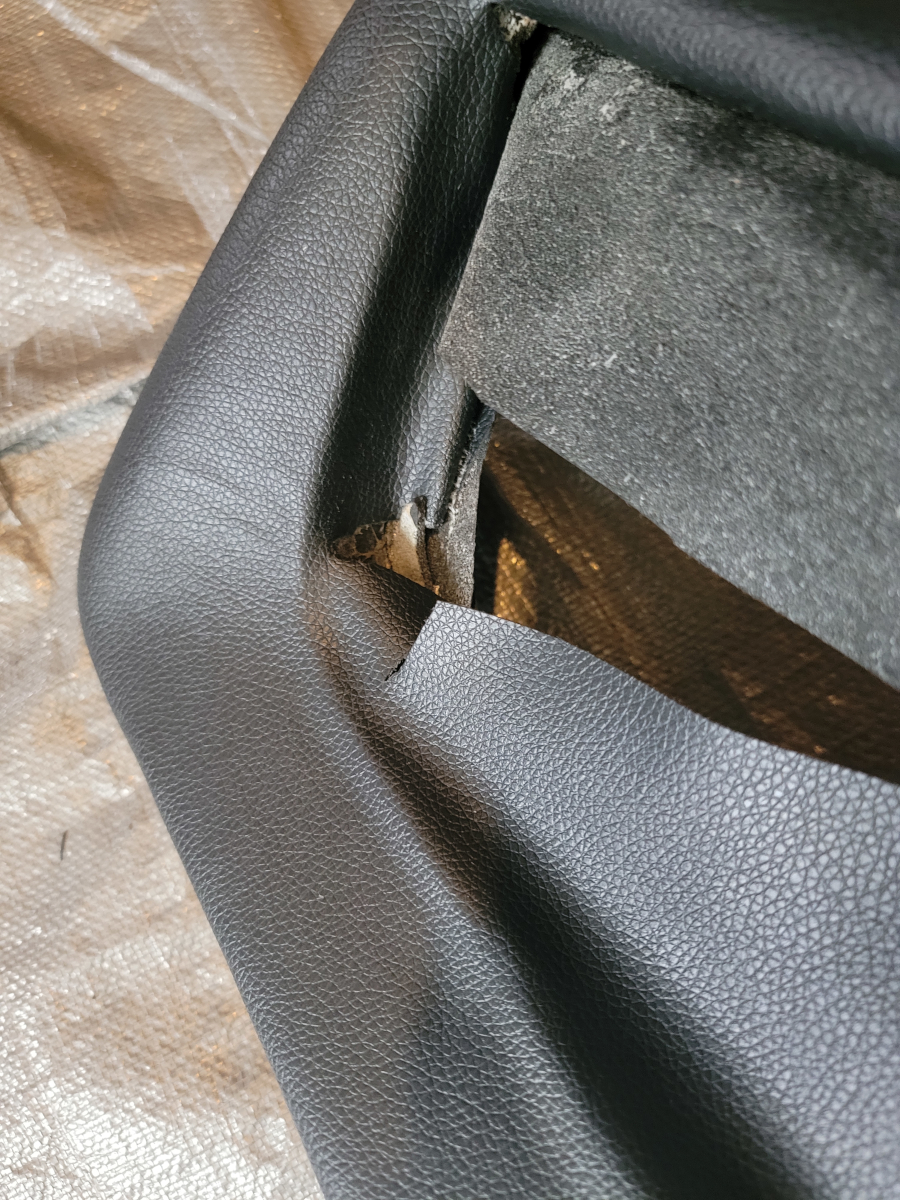
There were some more gaps over here that needed some more flaps and glue.
It’s starting to look pretty rough around the corners of the glove box. That needs some more cuts and glue.
We’re getting there, slowly, but surely.
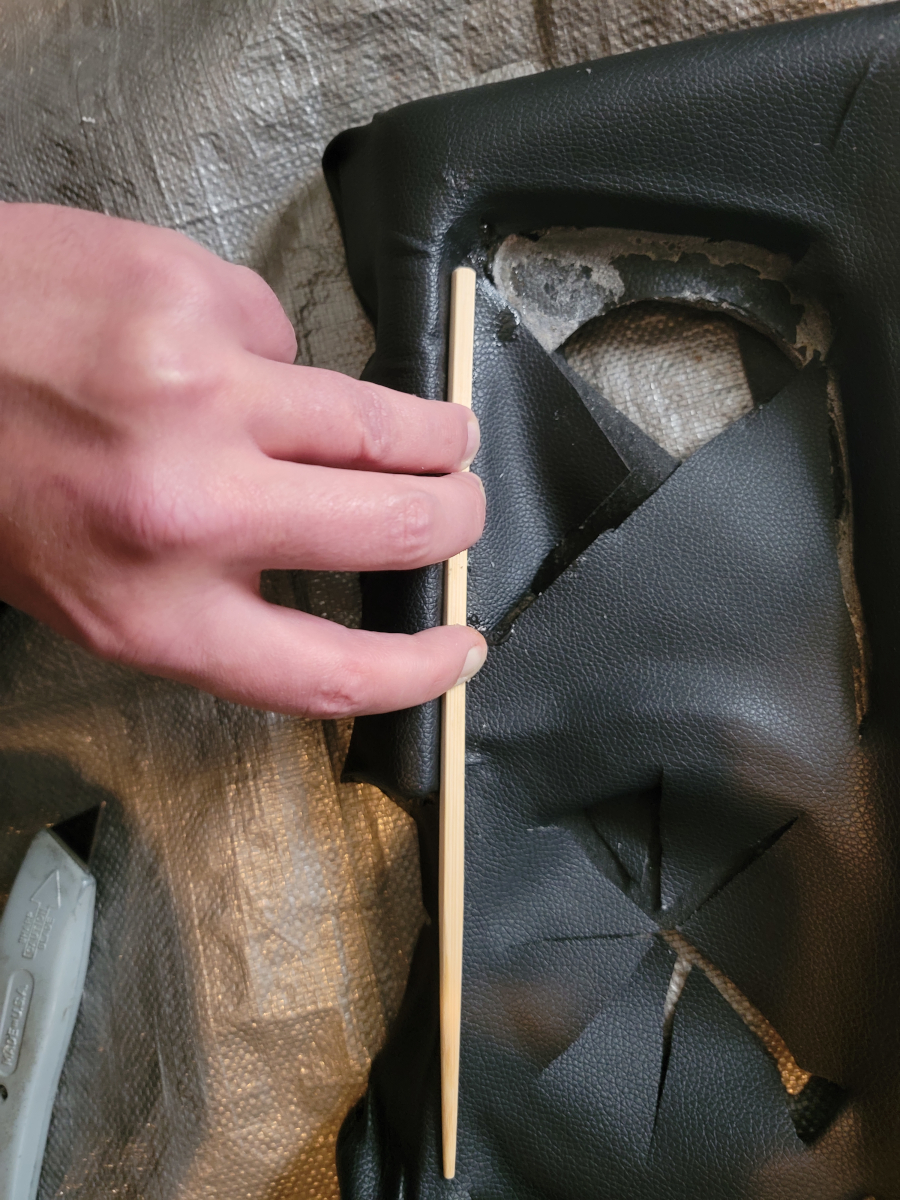
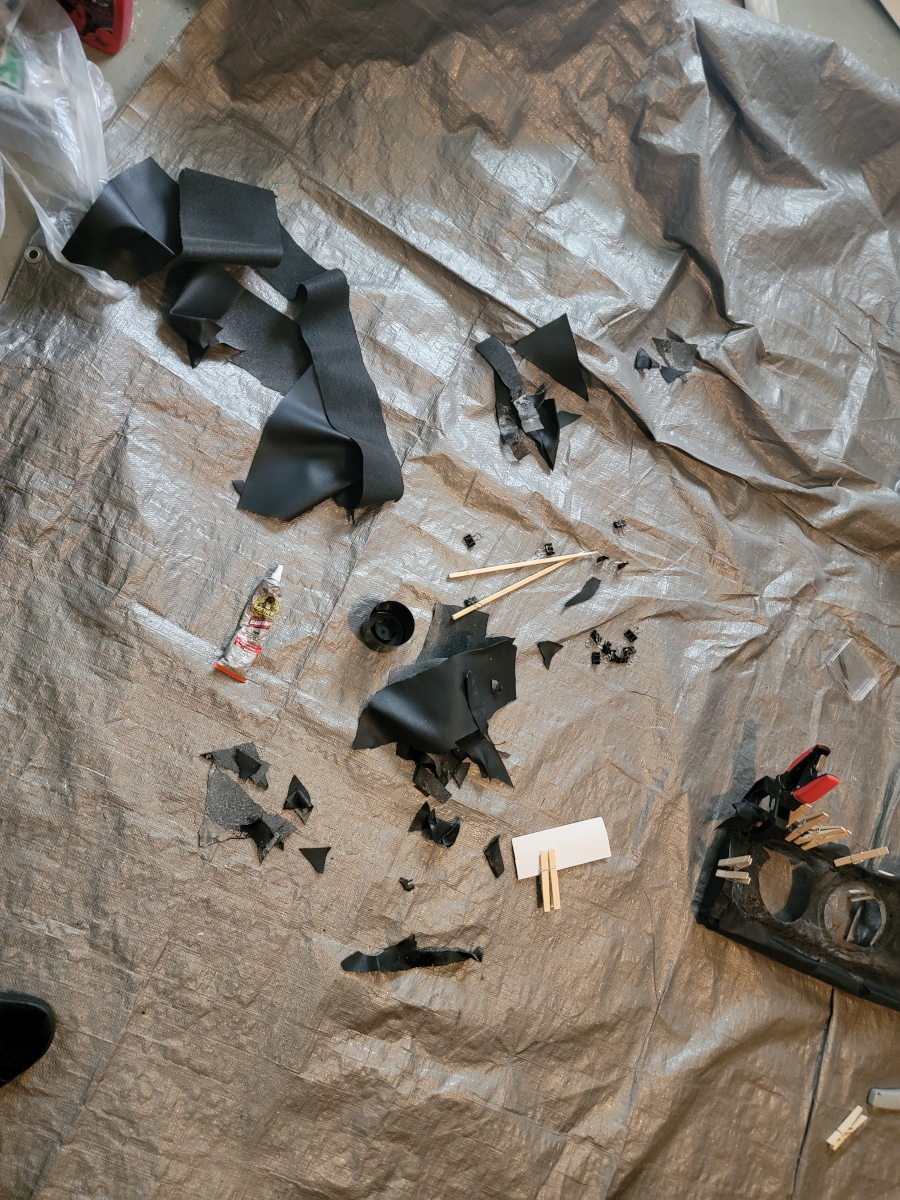
I peeled the loose edge of the vinyl back and glued up underneath the long, straight edge along the bottom of the driver side. CHOPSTICK ENGAGE!
The edge was too thick there to clamp with binder clips or clothes pins. I just held it there for a couple of minutes.
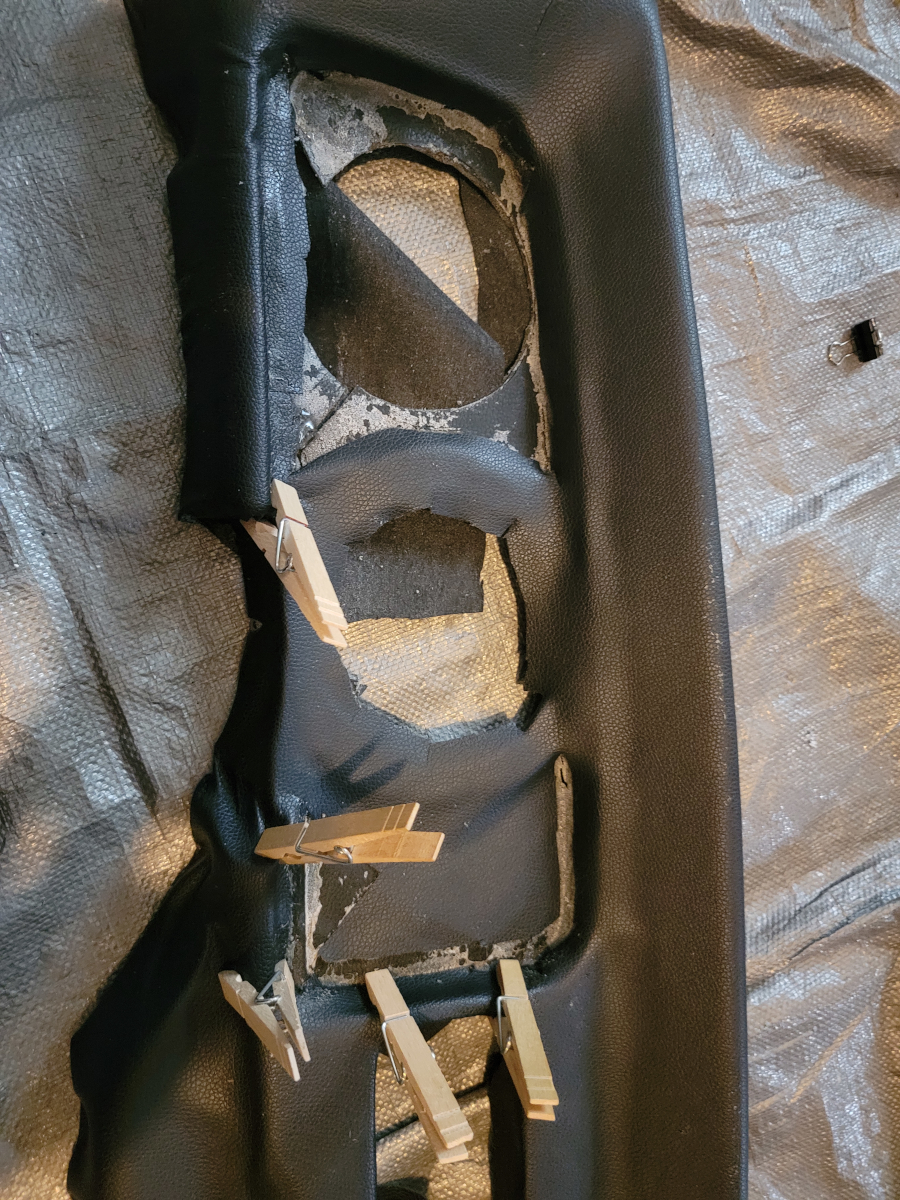
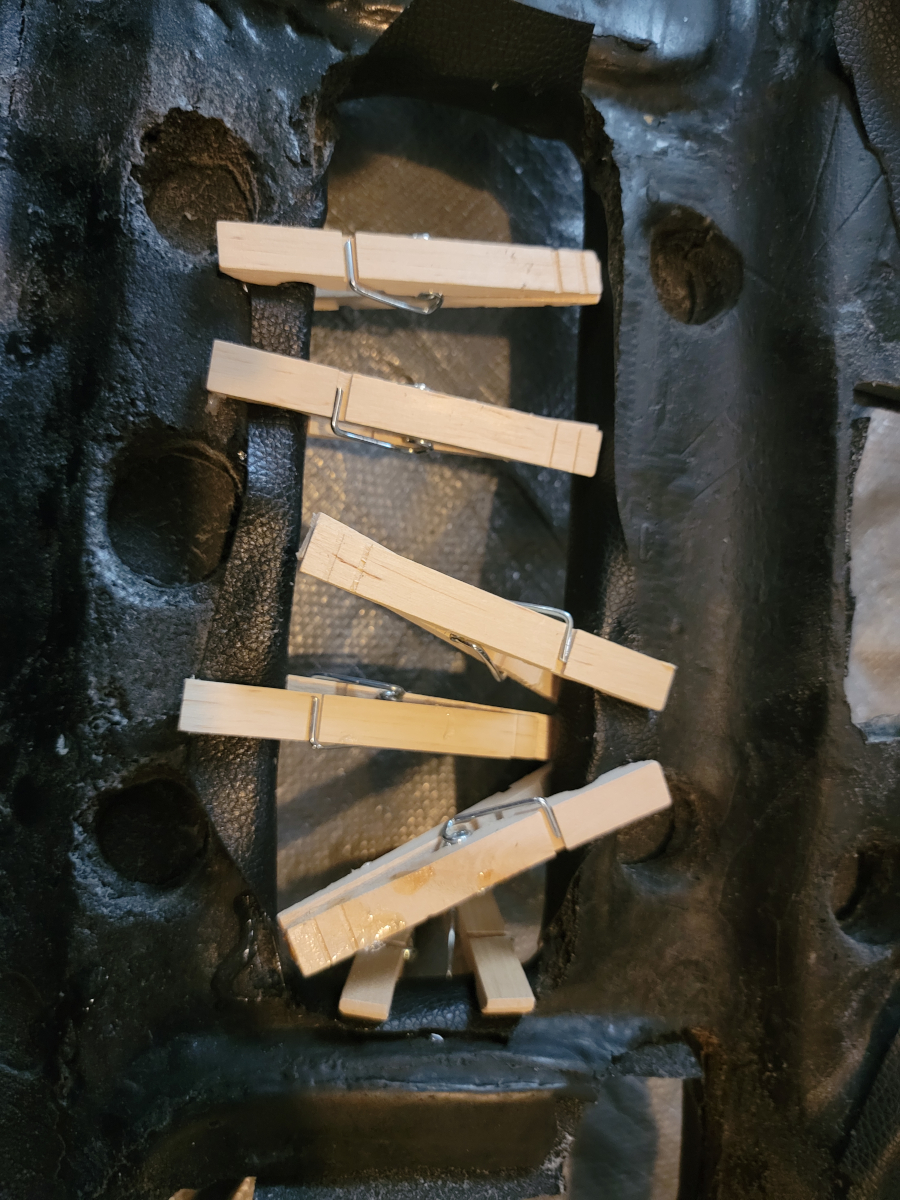
Once that set up, I moved on and started cutting, gluing, and clothes pinning some of the detail edges around the gauge cluster and stereo.
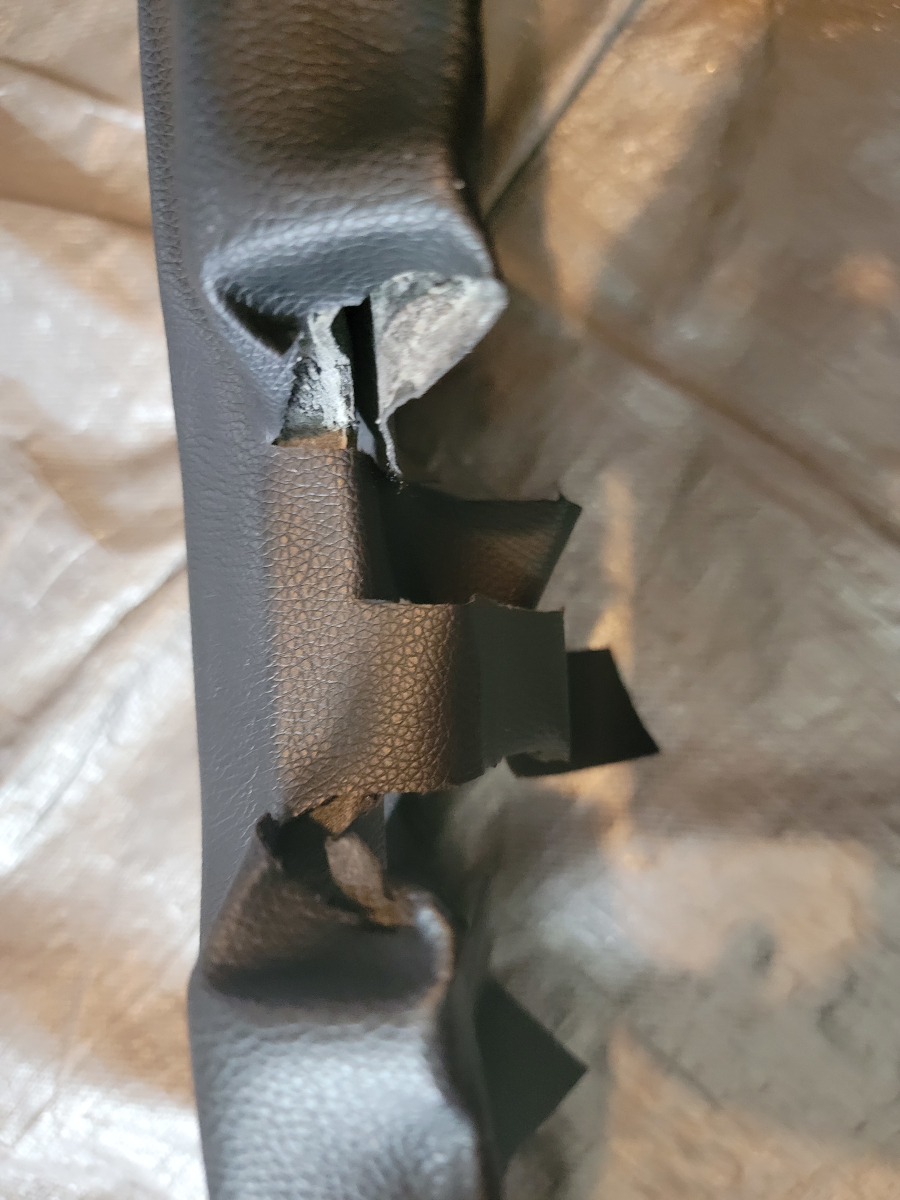
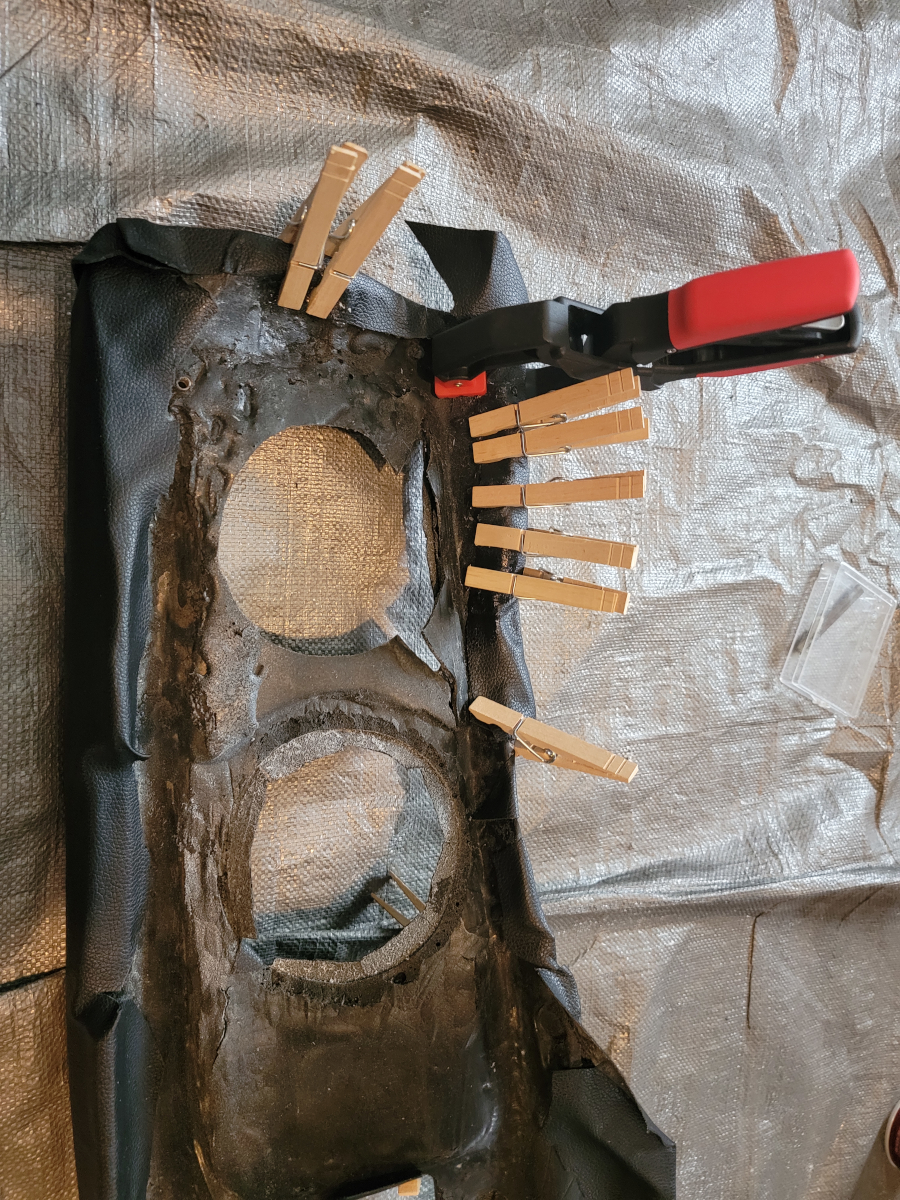
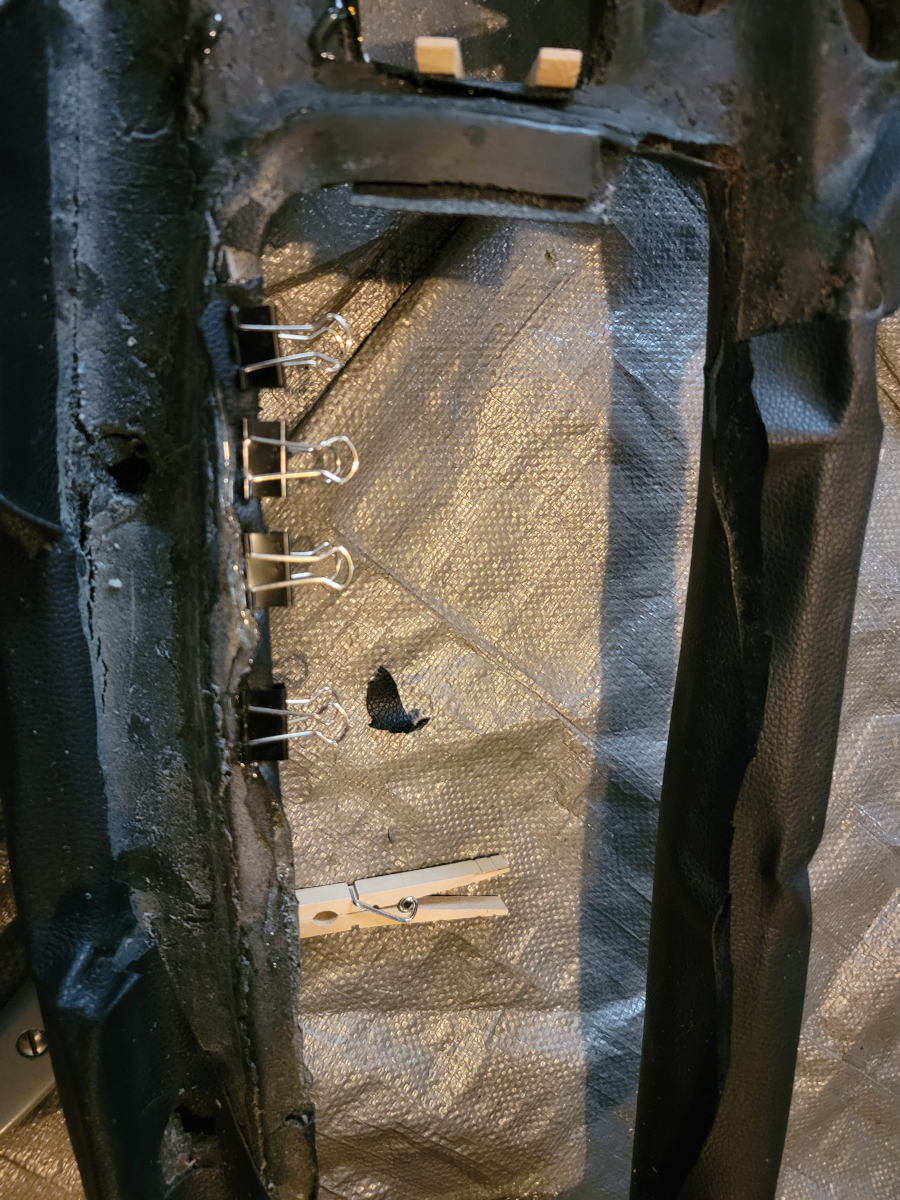
There are lots of loose little flaps around the glove box opening. More glue, more binder clips.
Moving on, there are some more loose edges around the driver side which were exposed after cutting off some more excess. Then I remembered I have this ratcheting clamp, which fit nicely on the large bottom corner. Clothes pins fit the rest of the smaller edges nicely.
I have removed quite a bit of excess vinyl, which has just been piling up over here.
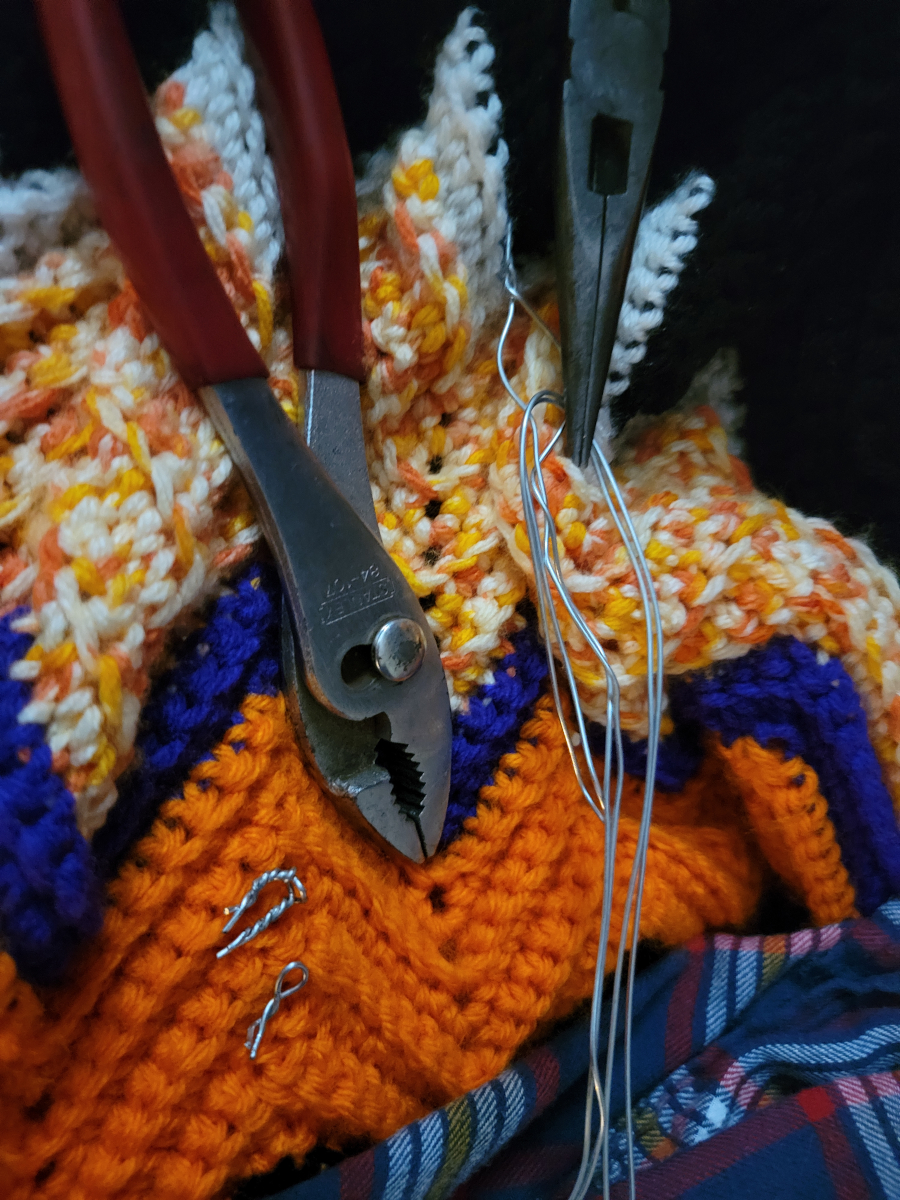
Enough of that for the moment, I decided to move back onto the ash tray, trying to find a suitable substitute for the missing spring clip washer thing that’s missing. I started twisting up little mechanics wire fittings, but nothing would grip it properly long term.
That’s the fancy new afghan my mom made for me. She would be so happy to see dirty tools laying on it.
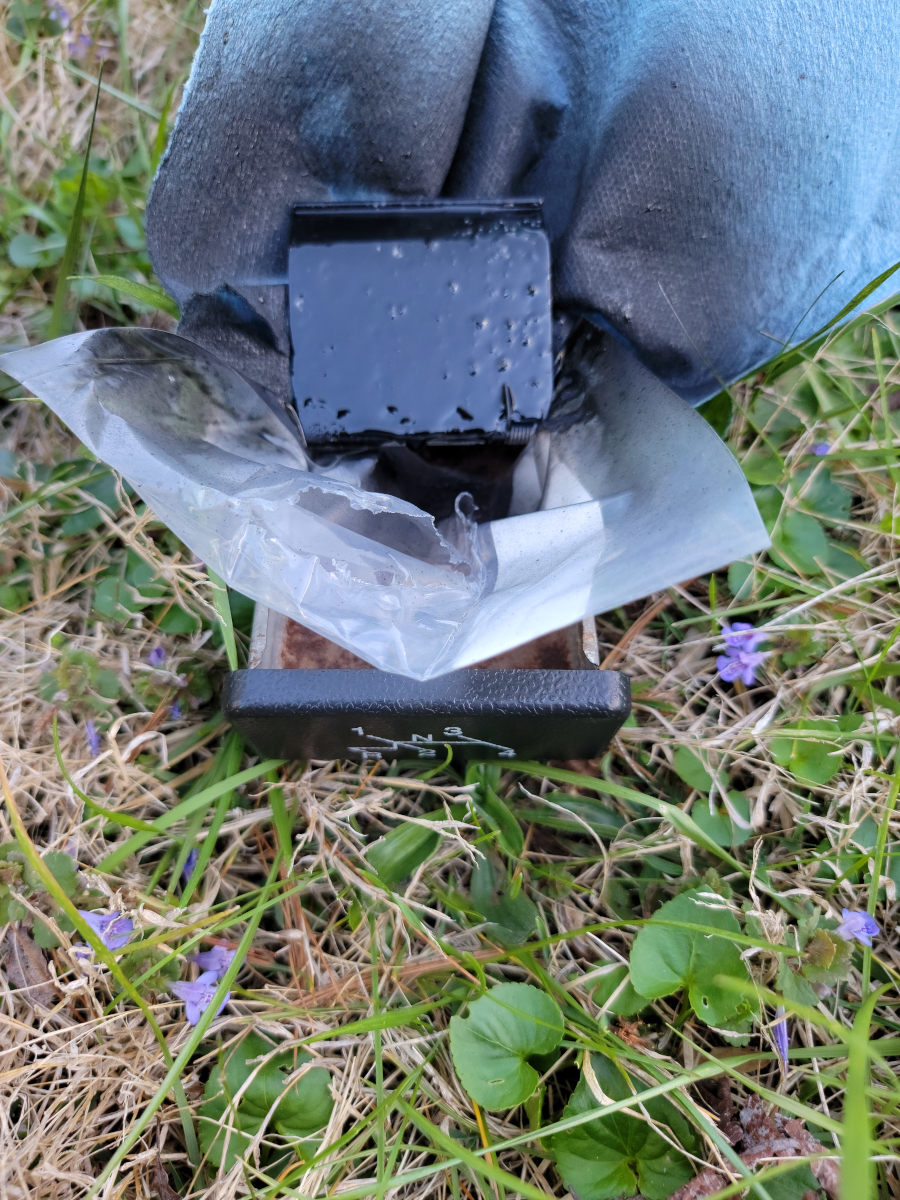
So, then I gave up and glued the face onto the ash tray.
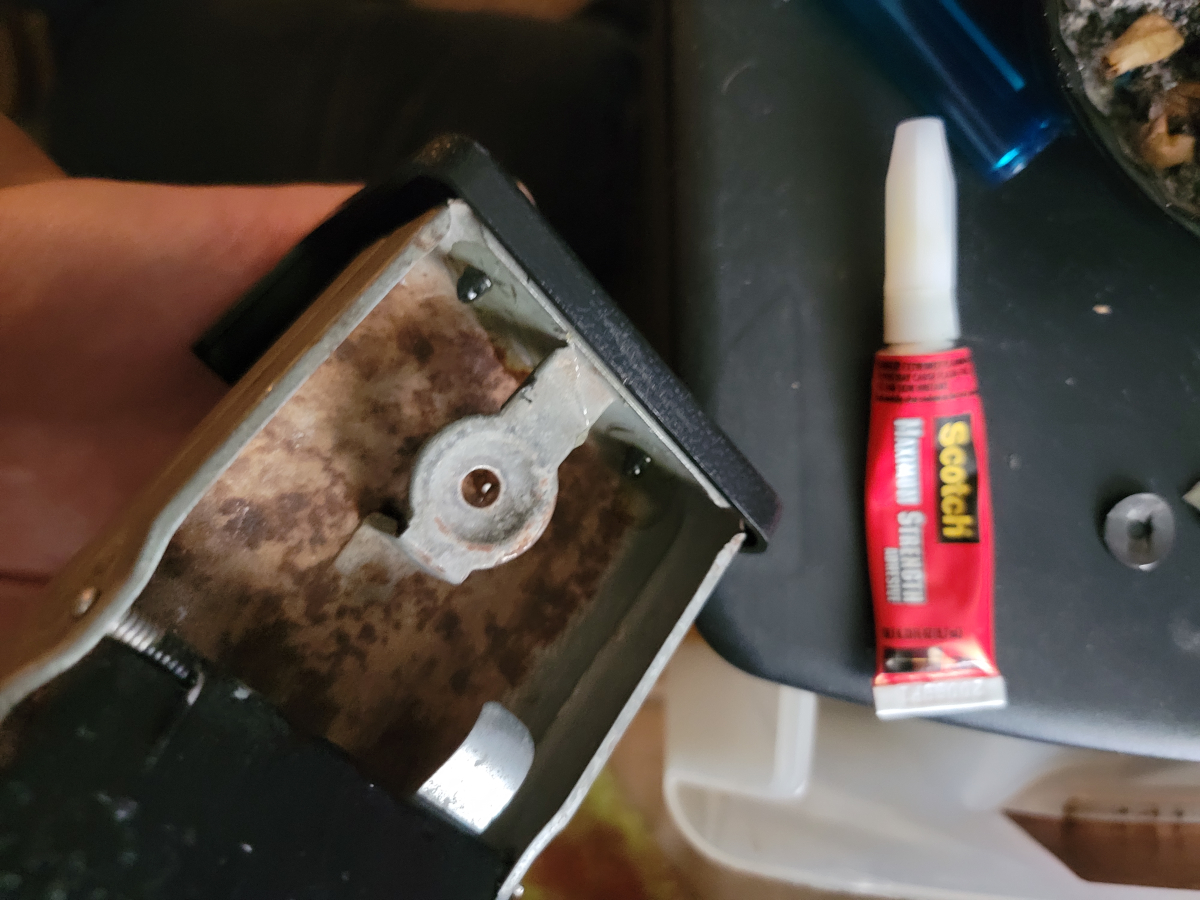
I picked up that little tube of Scotch Maximum Strength Adhesive (ScotchBrand.com link) to serve as a backup for the contact cement when trying to get the vinyl headliner glued back down. I used it liberally behind the face of the ash tray and also on the inside, to cover the pegs.
The face of the ash tray isn’t flat, it has a slight angle, so I couldn’t just clamp it down. I found just the right angle in the vice to put pressure on the contact surface to let that glue set.
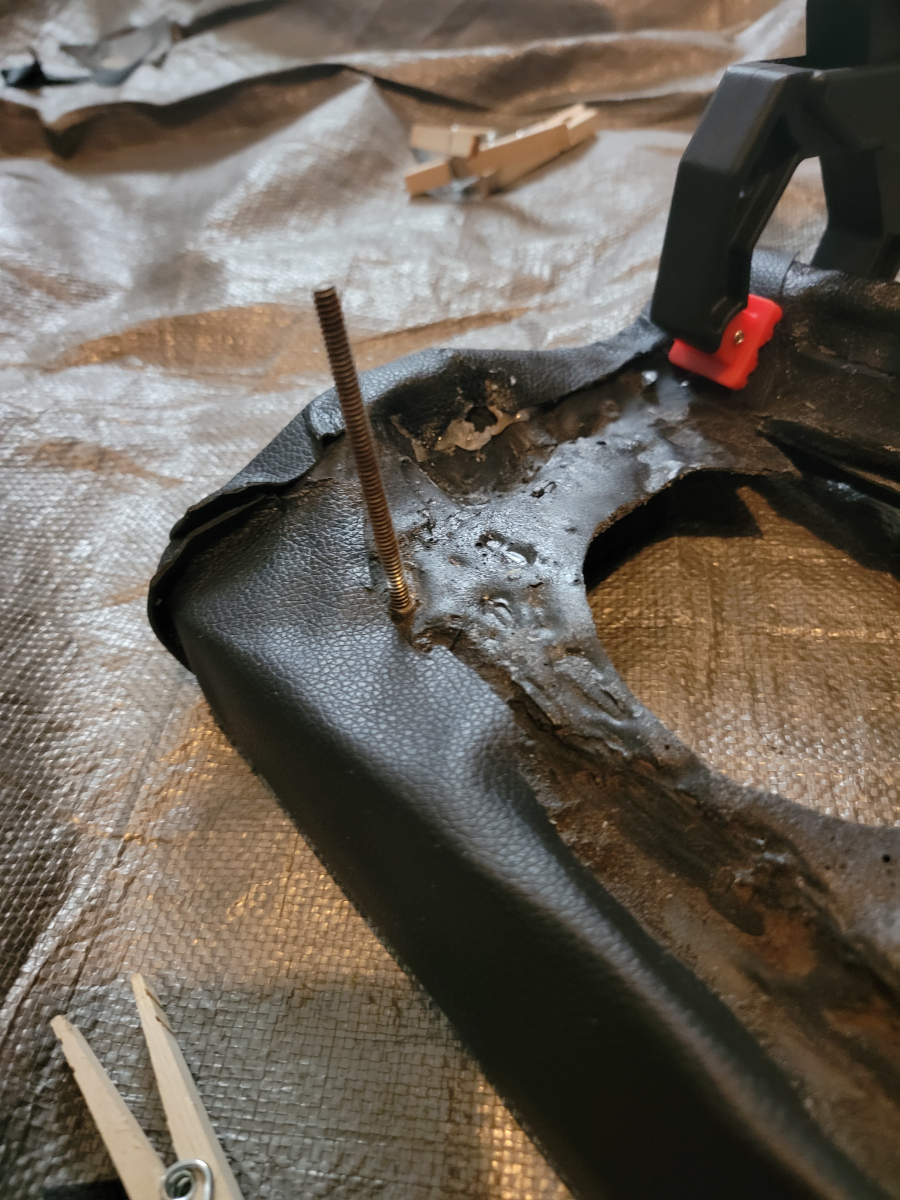
Now that the corners of the dash pad are starting to get cleaned up, I decided it would be a good time to re-mount the mounting bolts.
We’re still a little flappy around the stereo opening, so that’s the next place for cuts, glues, and clothes pins.
And then some more clips around loose edges in the glove box opening.
Another big corner, you say? Sounds like another job (the exact same job) for the ratcheting clamp.
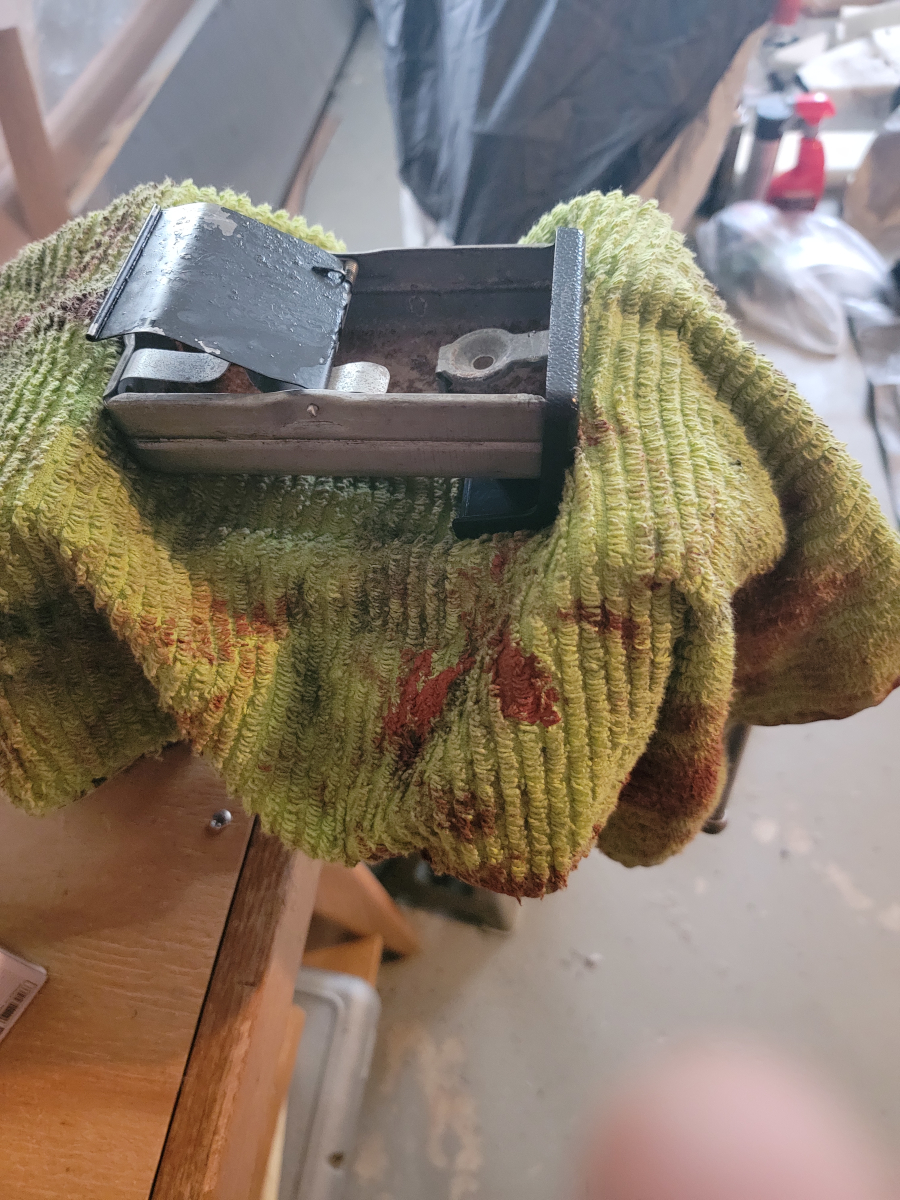
Back to the ash tray, now quite a bit later, the glue has held well. Trying to pull the pieces apart, gingerly at first, then with increasing effort, there is a little creaking sound, but it doesn’t budge.
Good enough.
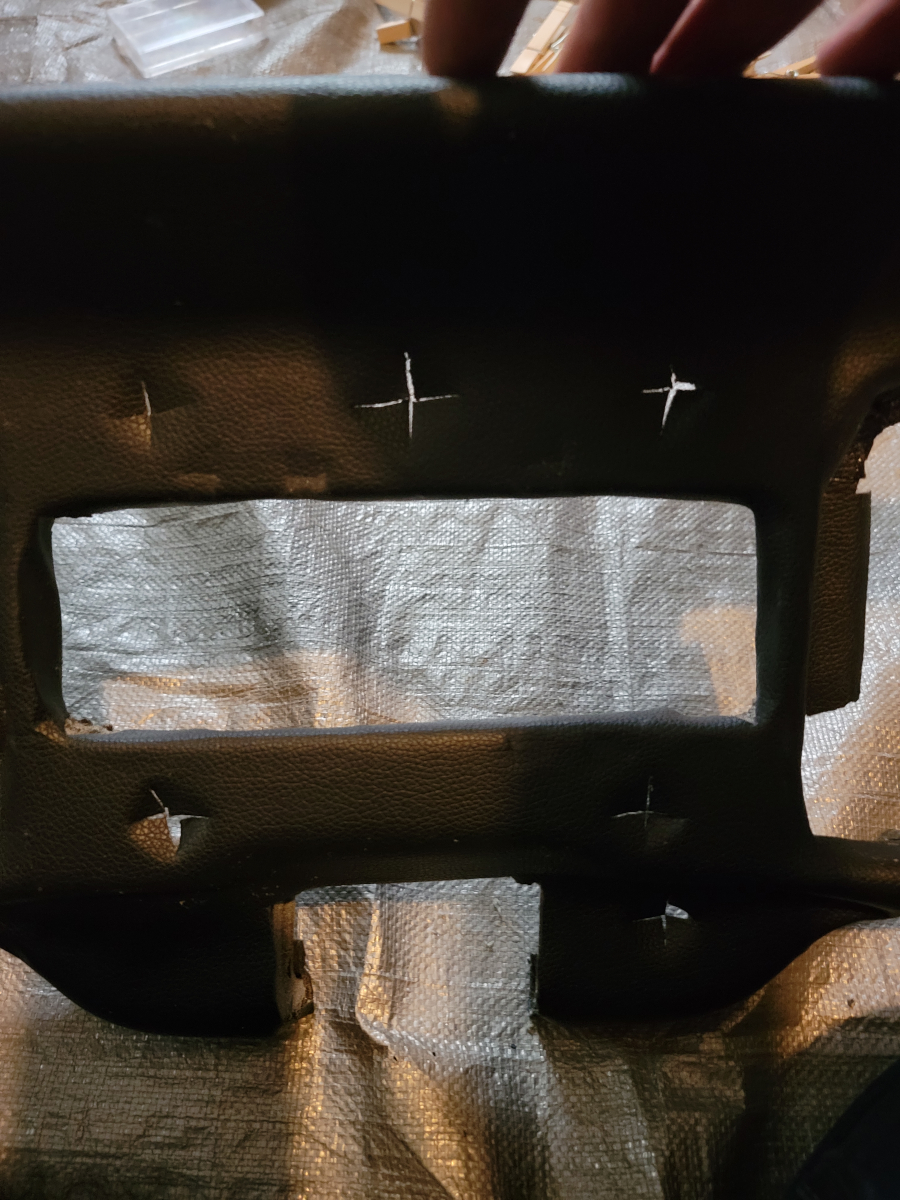
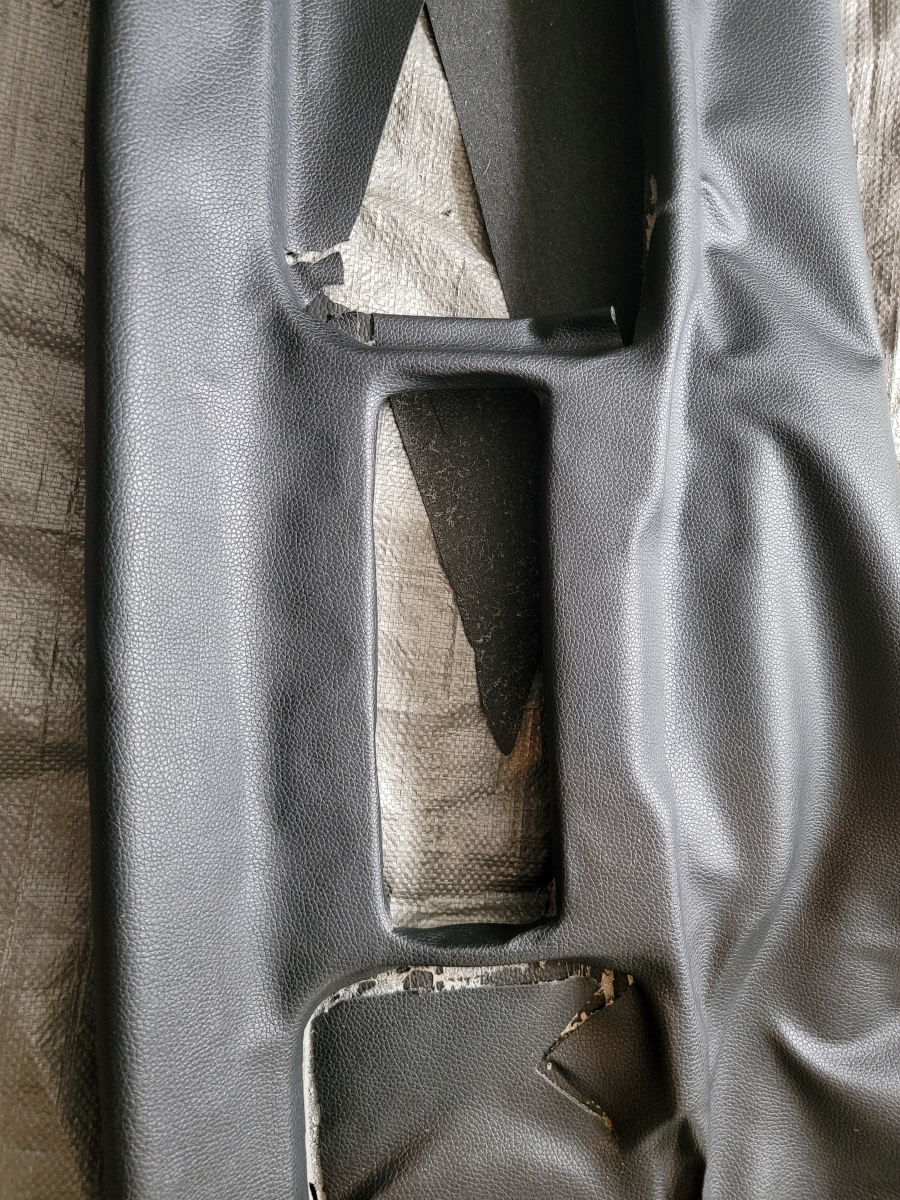
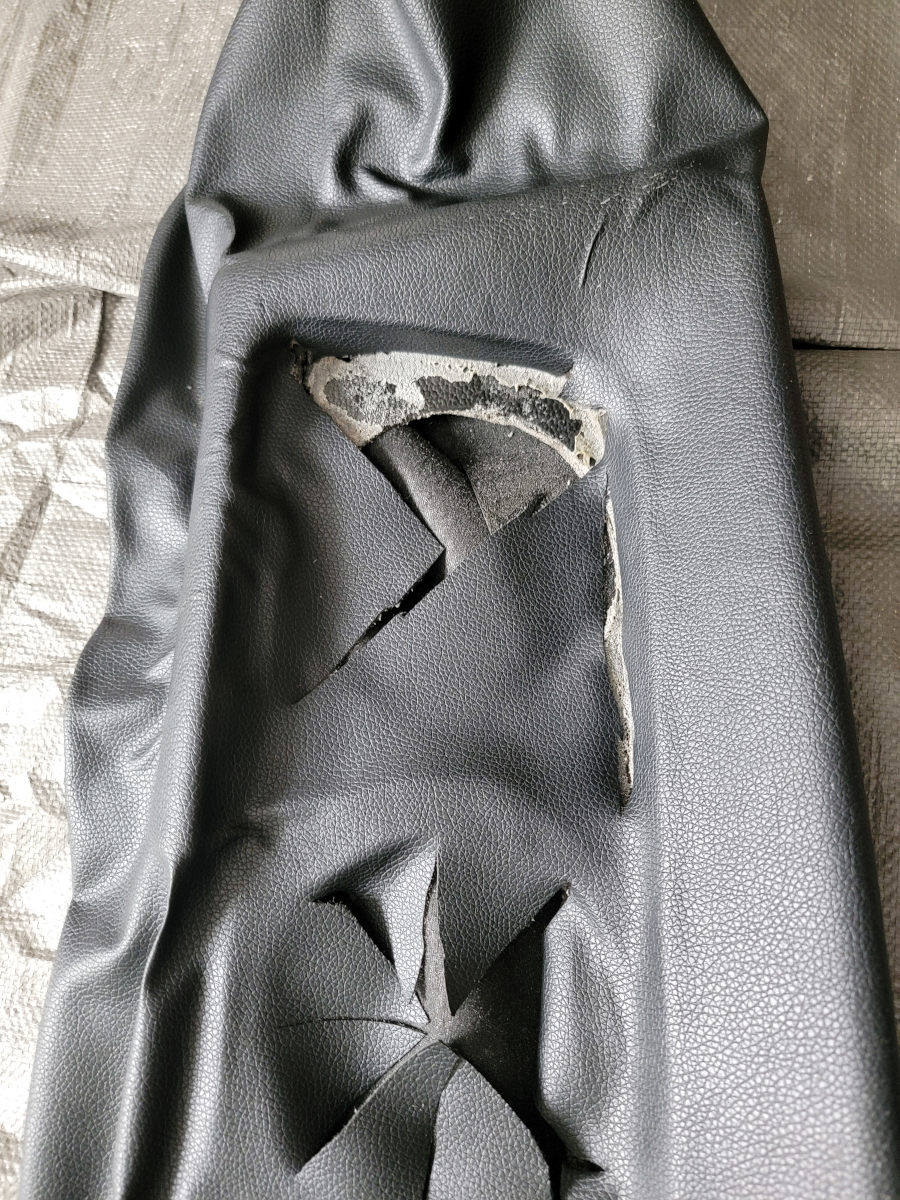
Back to the dash pad, I moved on to opening up the holes for the switches.
It’s kind of creepy looking. Like Blair Witch crosses.
I had been noticing little puddles of glue in places that I hadn’t intentionally put them and was just convinced I was being extra sloppy. Then I saw it…
Death by a thousand little squeezes.
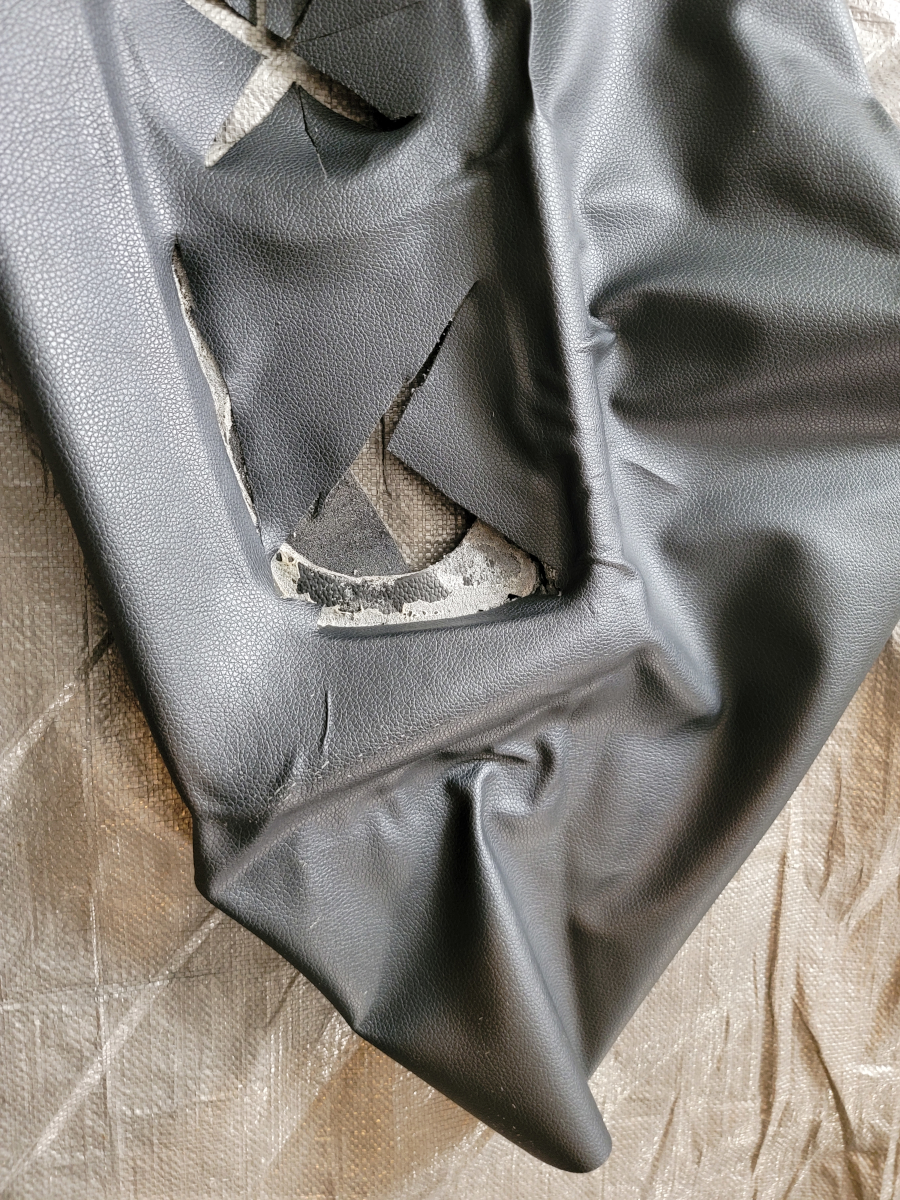
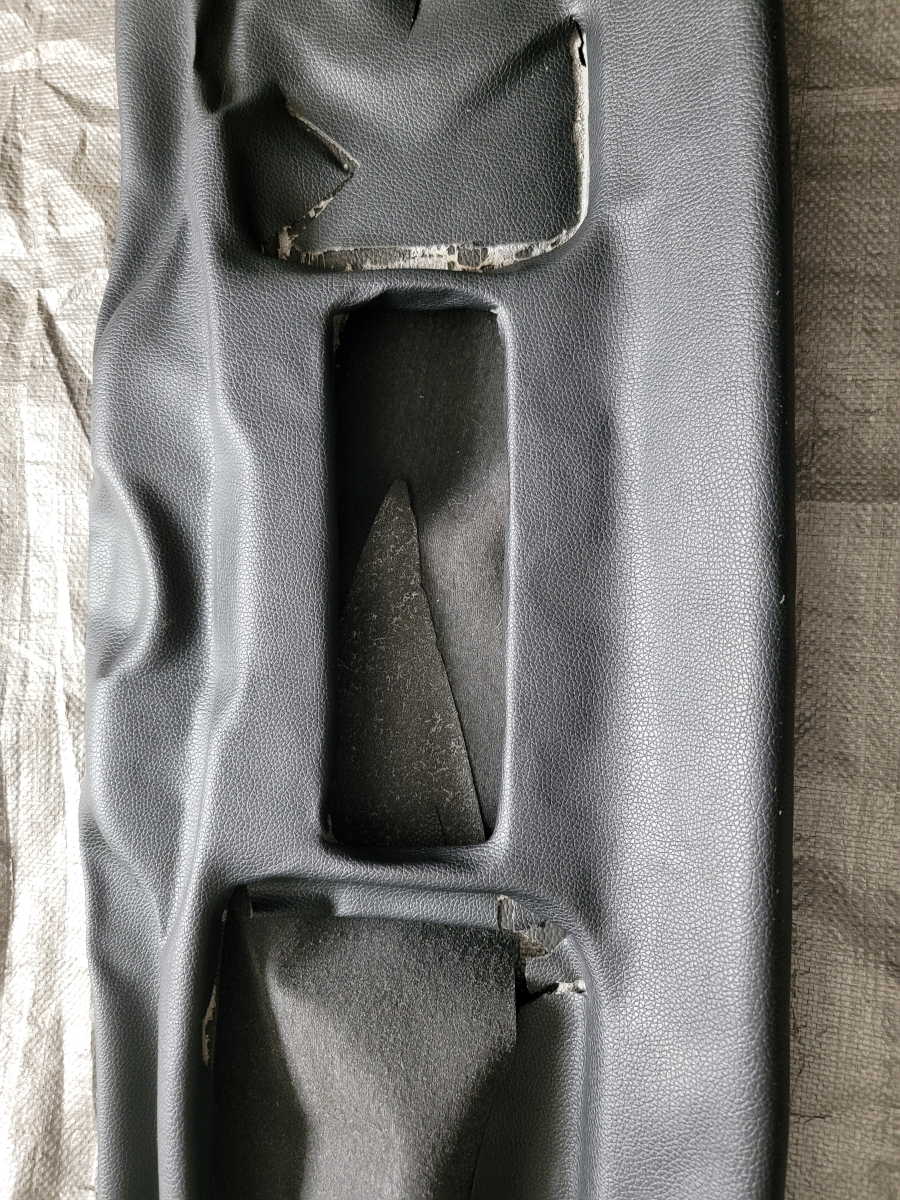
I found some more loose edges around the glove box opening. You can see how much extra glue I was using once I realized the tube was leaking. That’s not a great approach. More of this glue is not better.
Another edge on the glove box opening, just below the new opening for the grab handle.
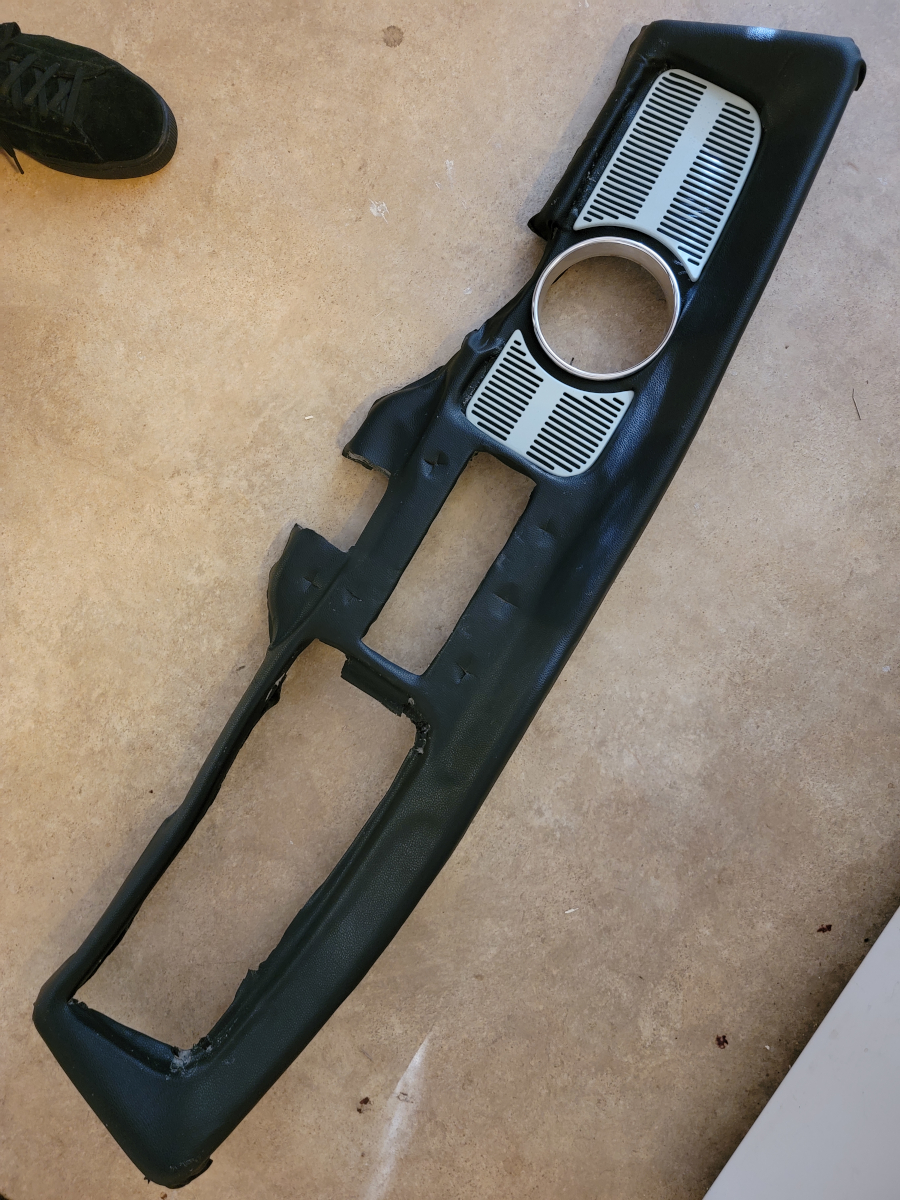
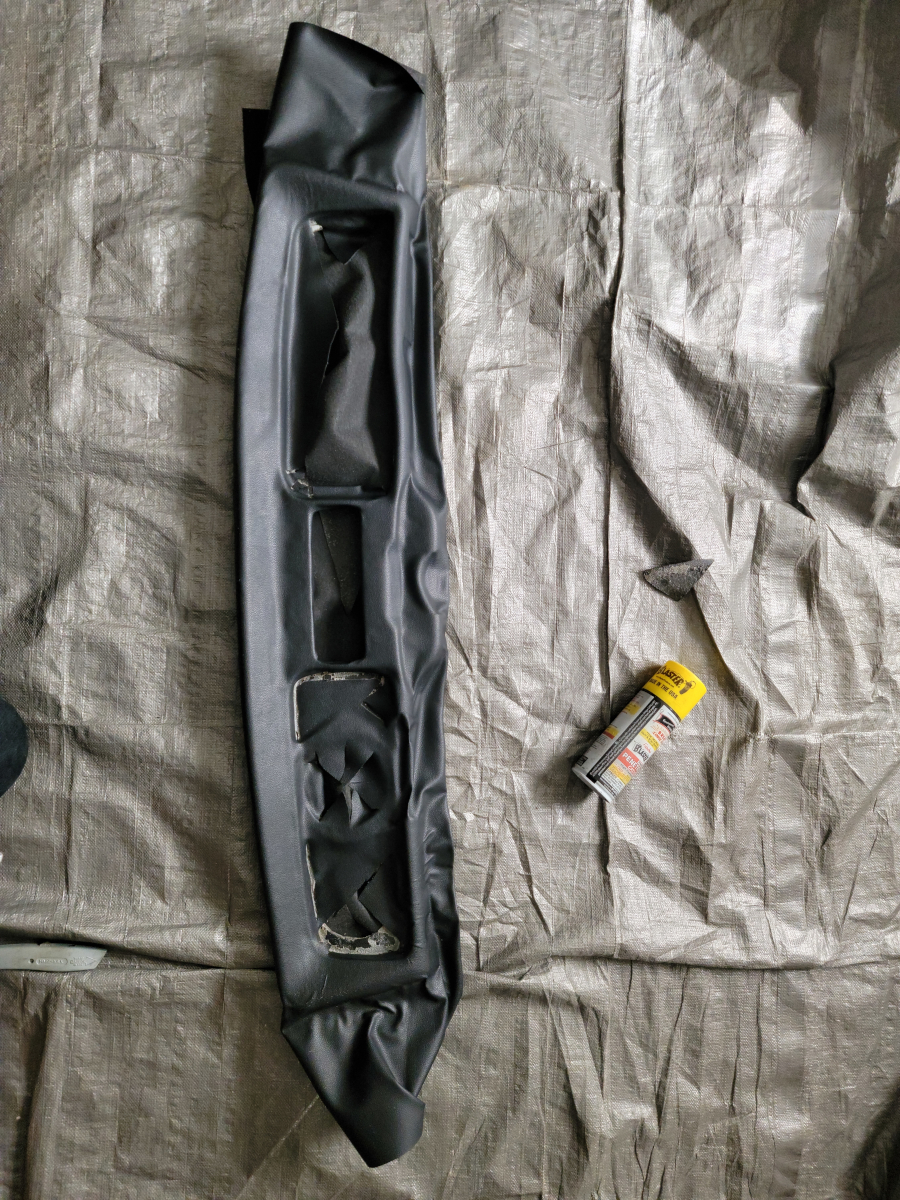
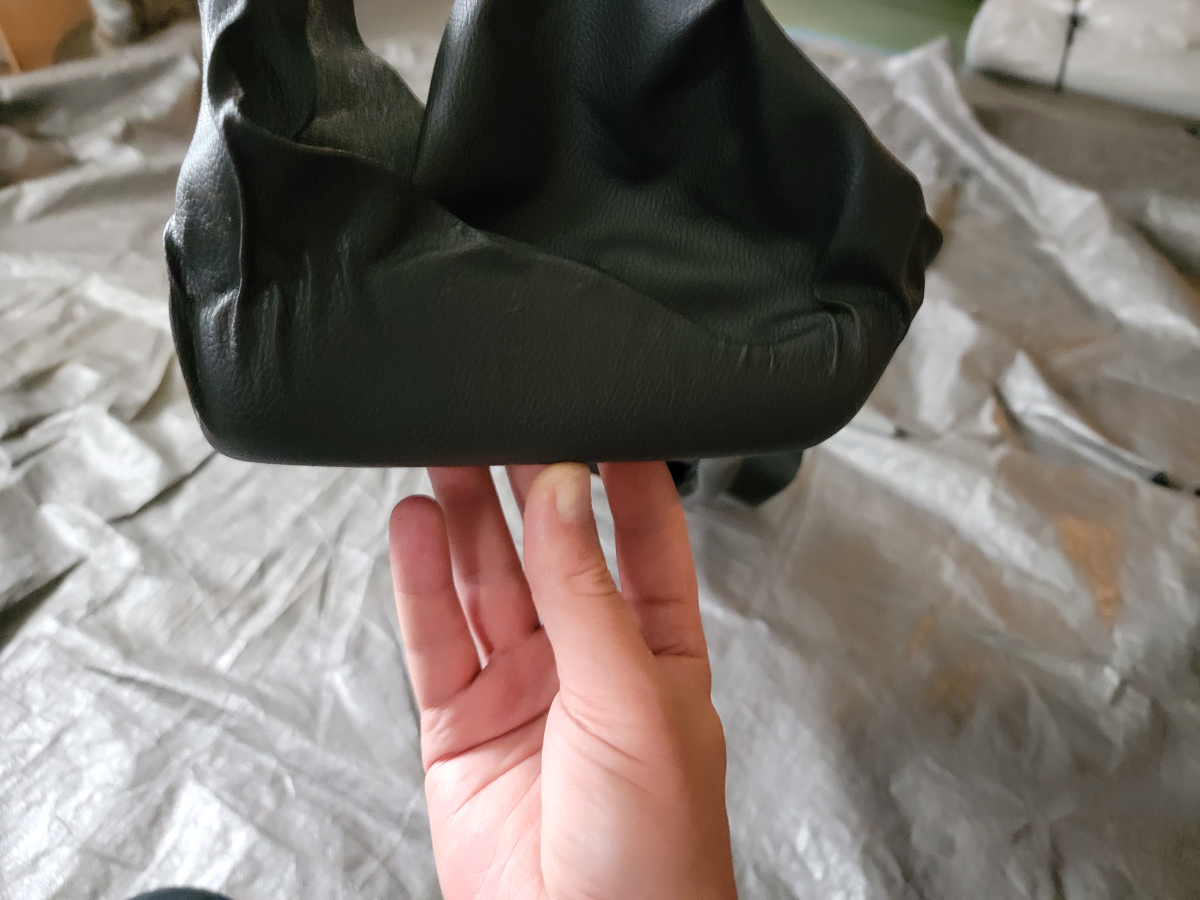
And now we’re here, kinda rough, but still kinda done, mostly because I’m kinda done with it.
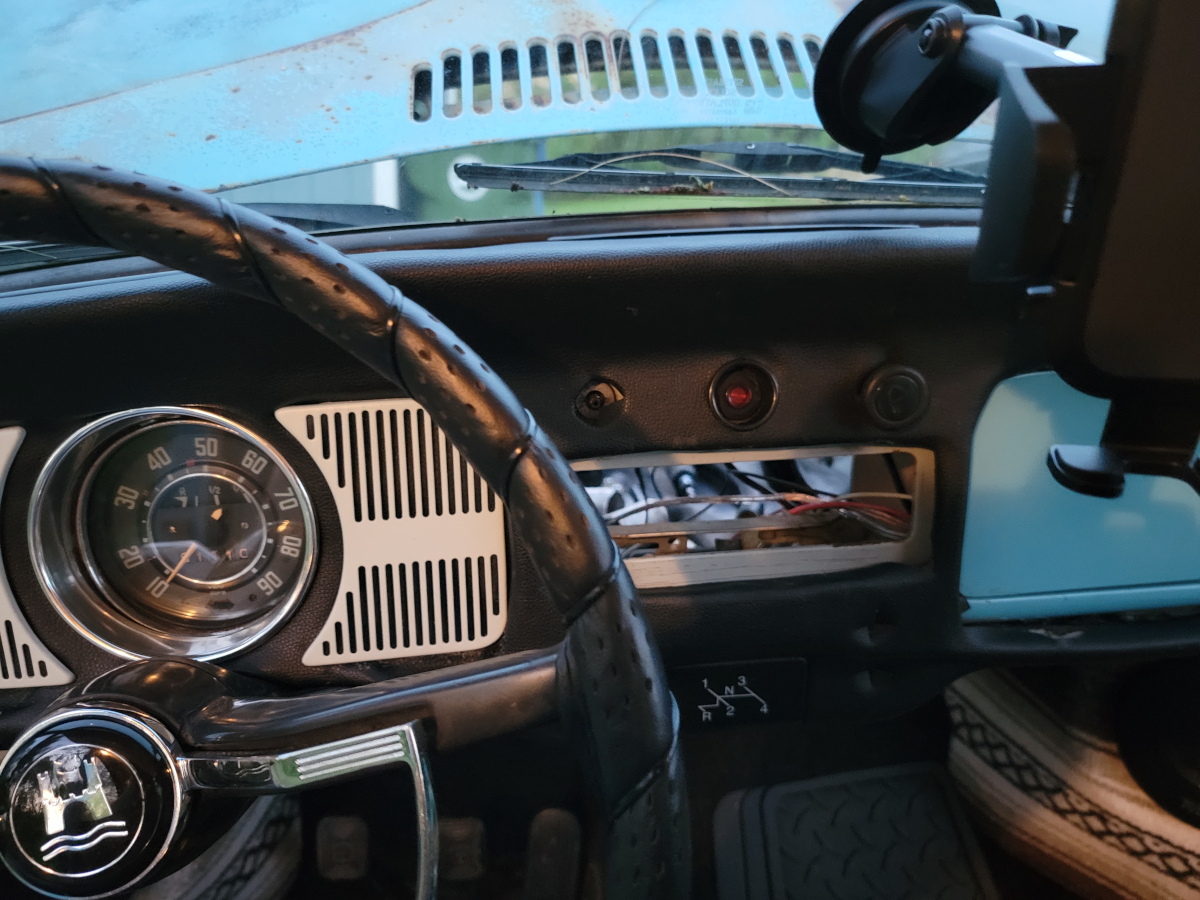
I mounted the matte vintage blue painted grills and speedometer bezel, bending the metal tabs around the back to hold them in place.
It doesn’t look great, but it looks better than it did. That has been an ongoing theme with this car.
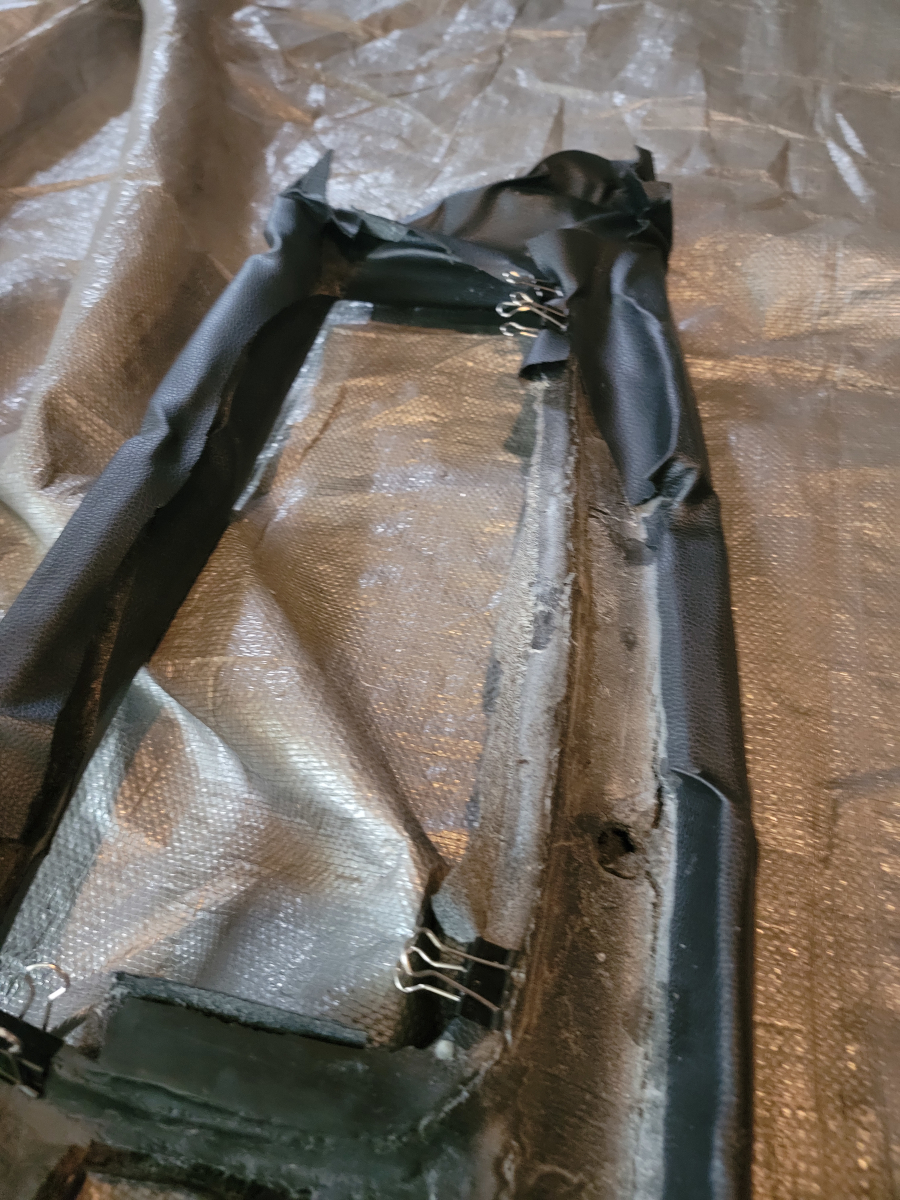
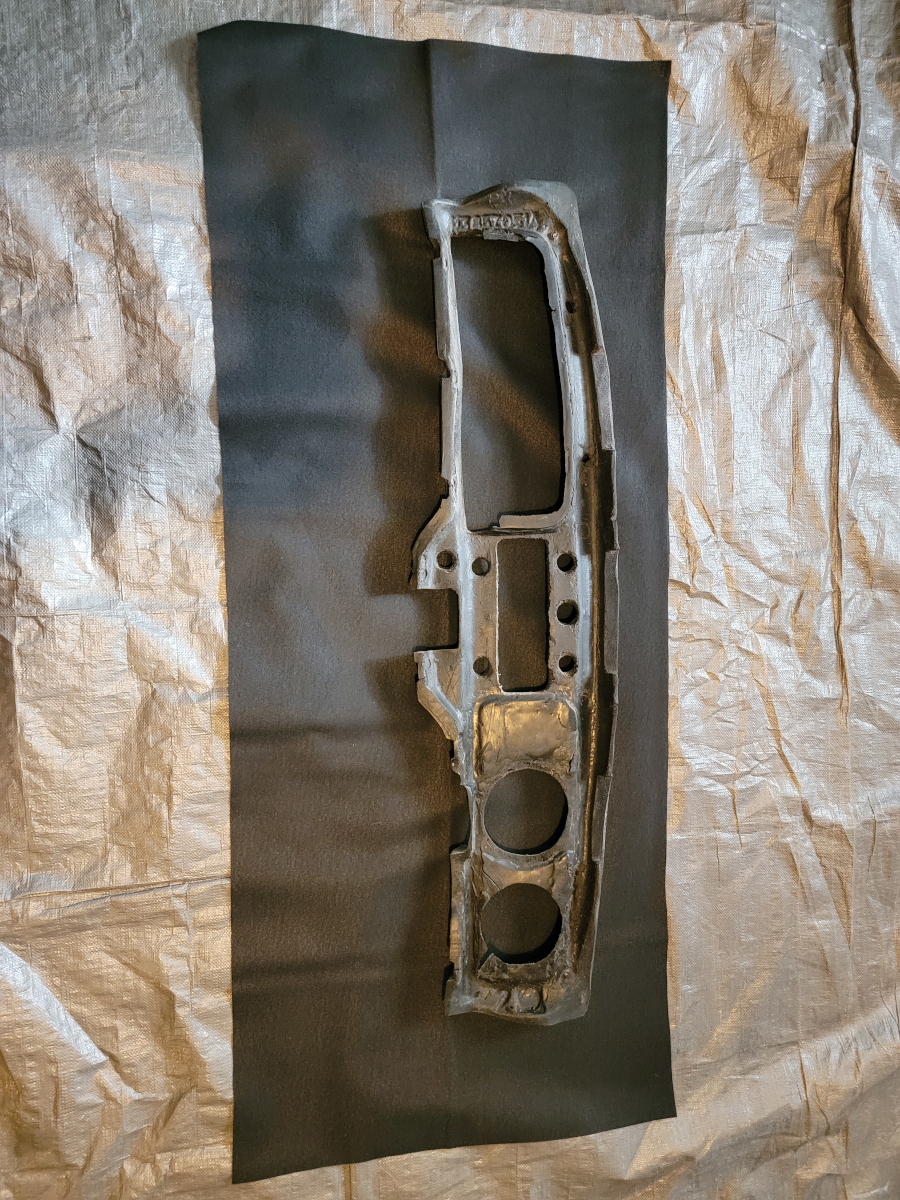
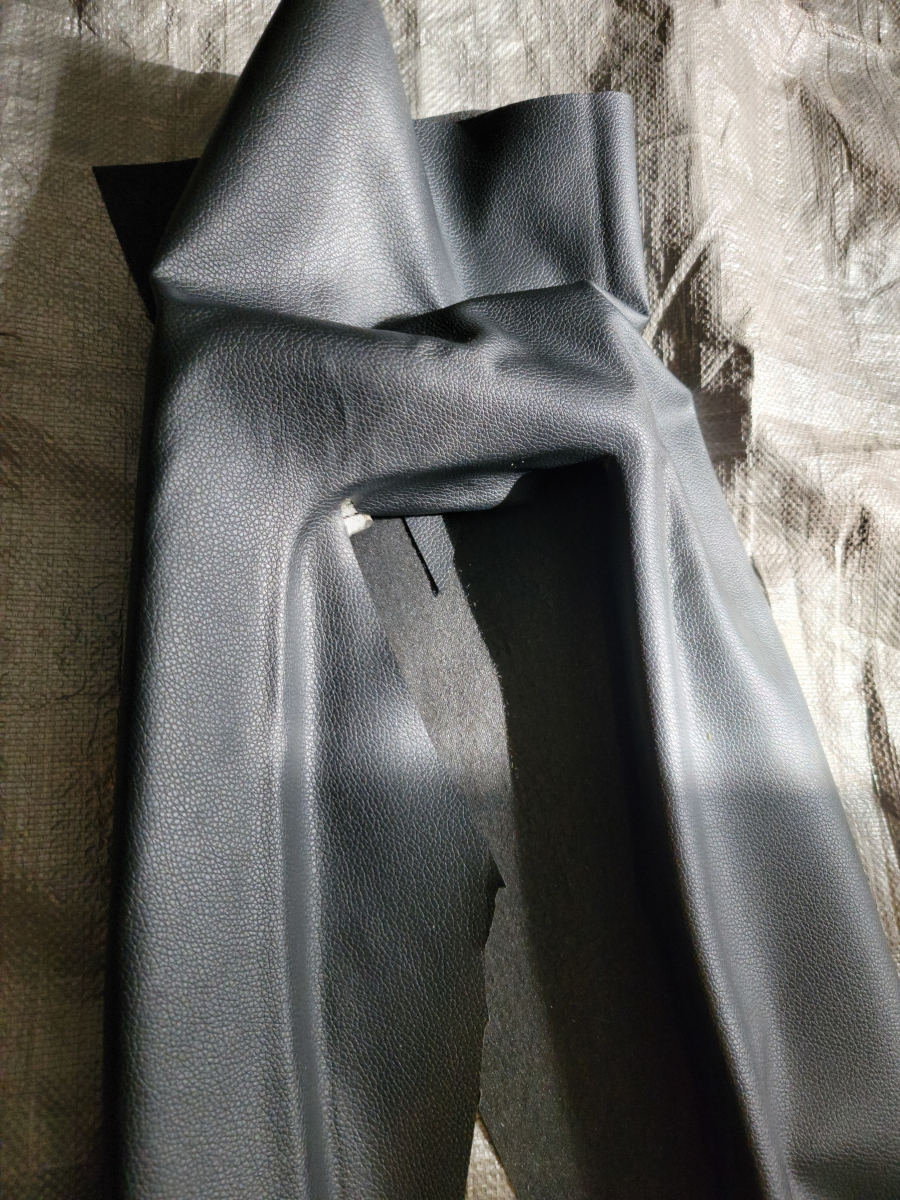
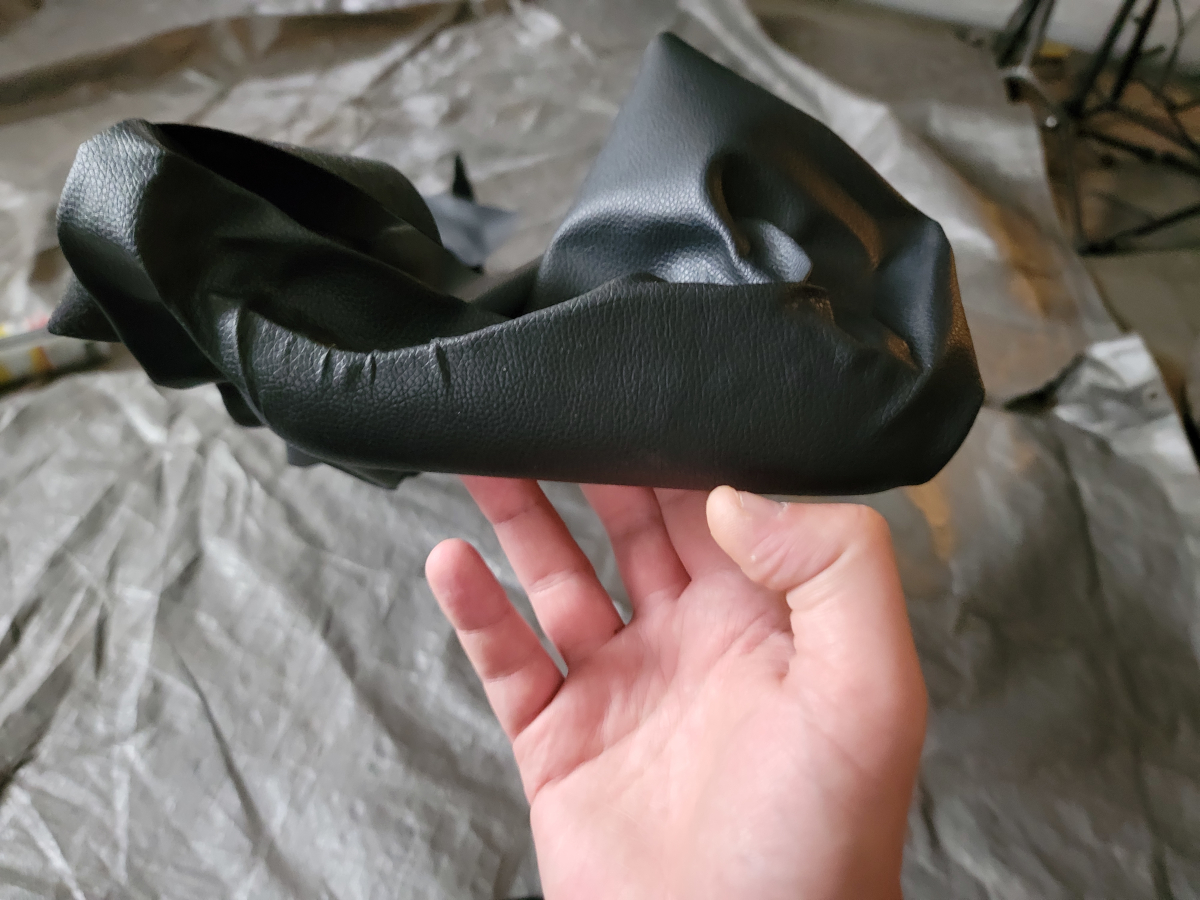
After failing to vinyl wrap the old dash pad the first time, I ordered a new dash pad, which didn’t fit. So… Plan B was always to try wrapping the vinyl again. There’s lots of leftover glue on there.
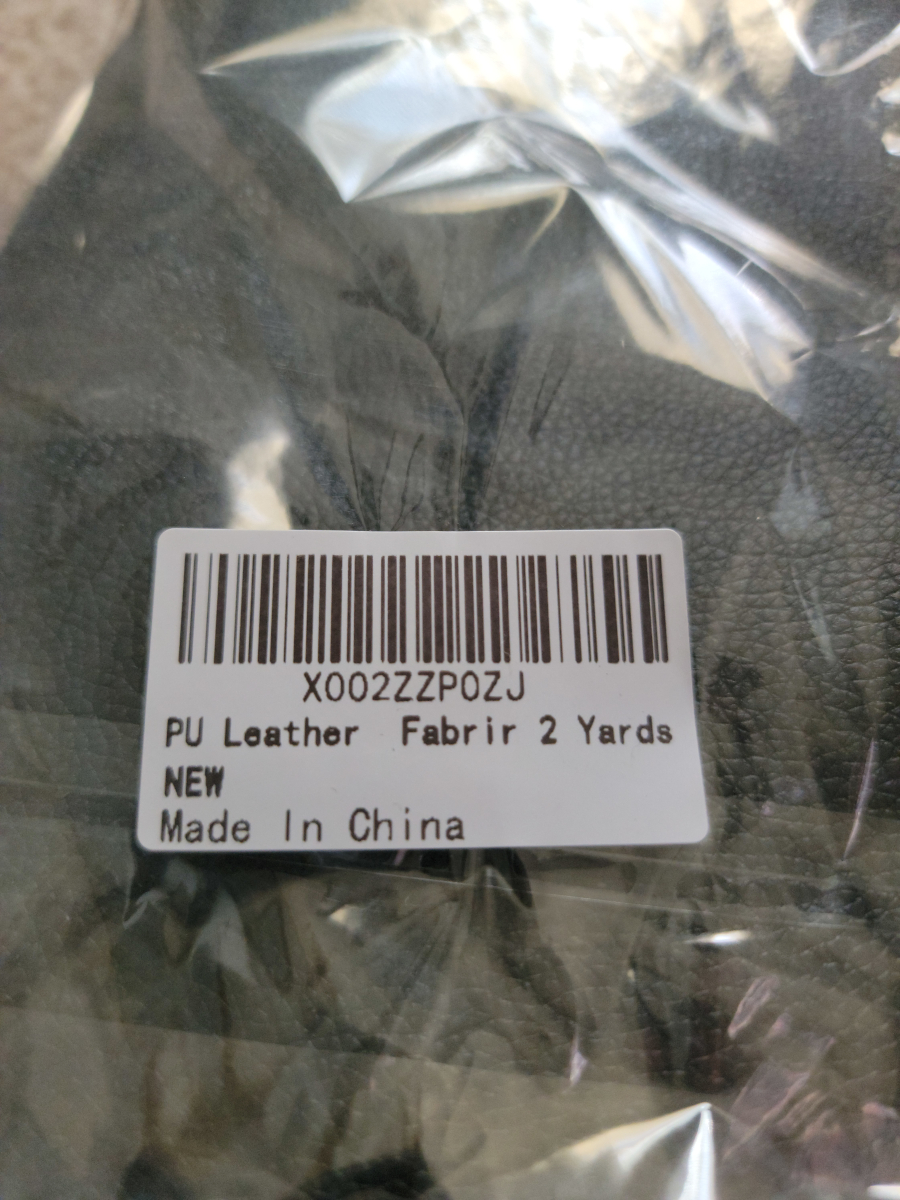
I ordered some new vinyl (Amazon link), which took a while to get here and is different than what I bought before.
This is some very nice PU Leather Fabrir 2 Yards NEW.
It has a kind of fabric backing instead of the thick 3M adhesive that the previous vinyl (Amazon link) had.
I found that rubbing the dried glue made some of it flake off around the edges. To give my thumbs a rest, I whipped out a little nylon brush that came in a Harbor Freight set (Harbor Freight link). It did a better job than my thumbs.
What I didn’t think of was that is still glue. It’s stuck all over the new vinyl. Luckily, there are 2 Yards NEW and I can just use the other end for today’s project.
Cut to size…
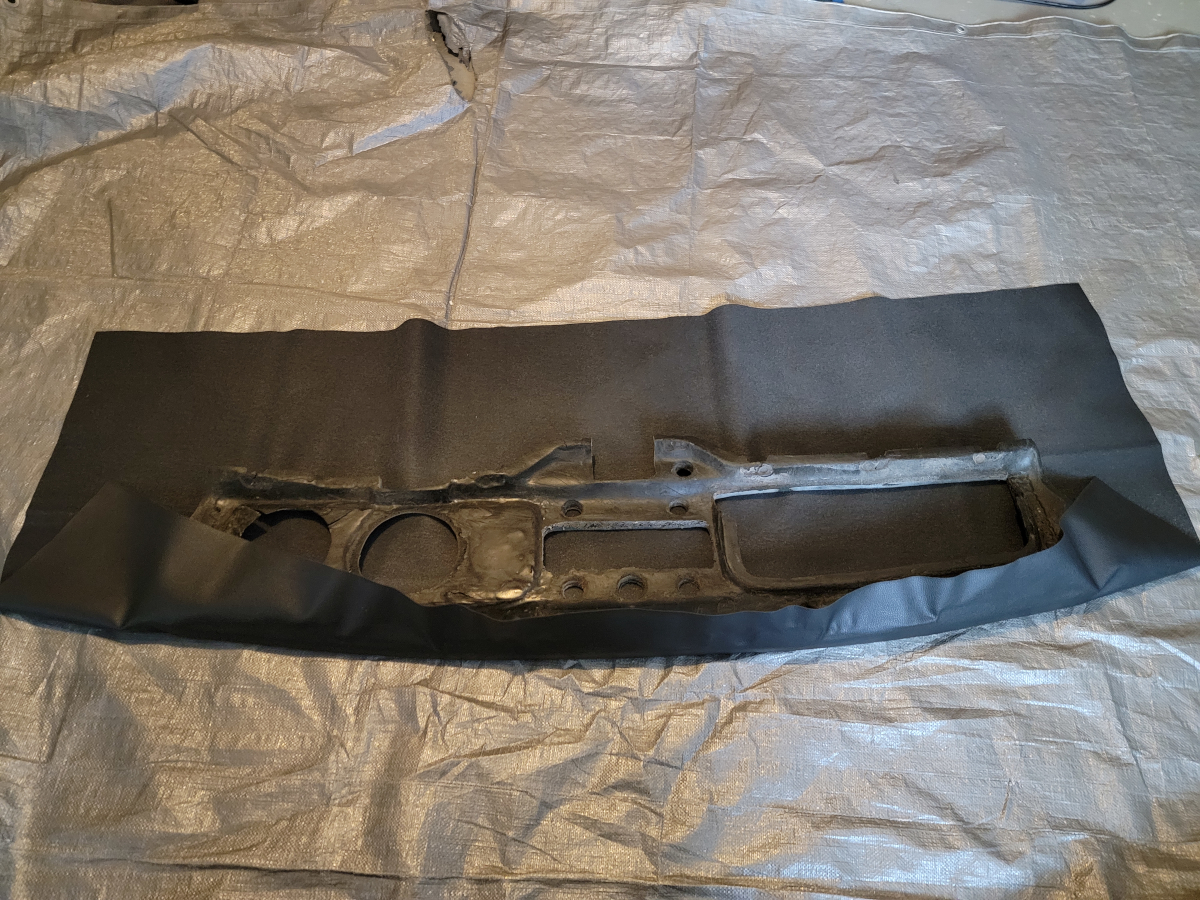
Now SPRAY GLUE ROUND ONE (NEW)!
I sprayed a stripe of 3M Super 77 (Amazon link) three or four inches wide on both the fabric and the dash pad.
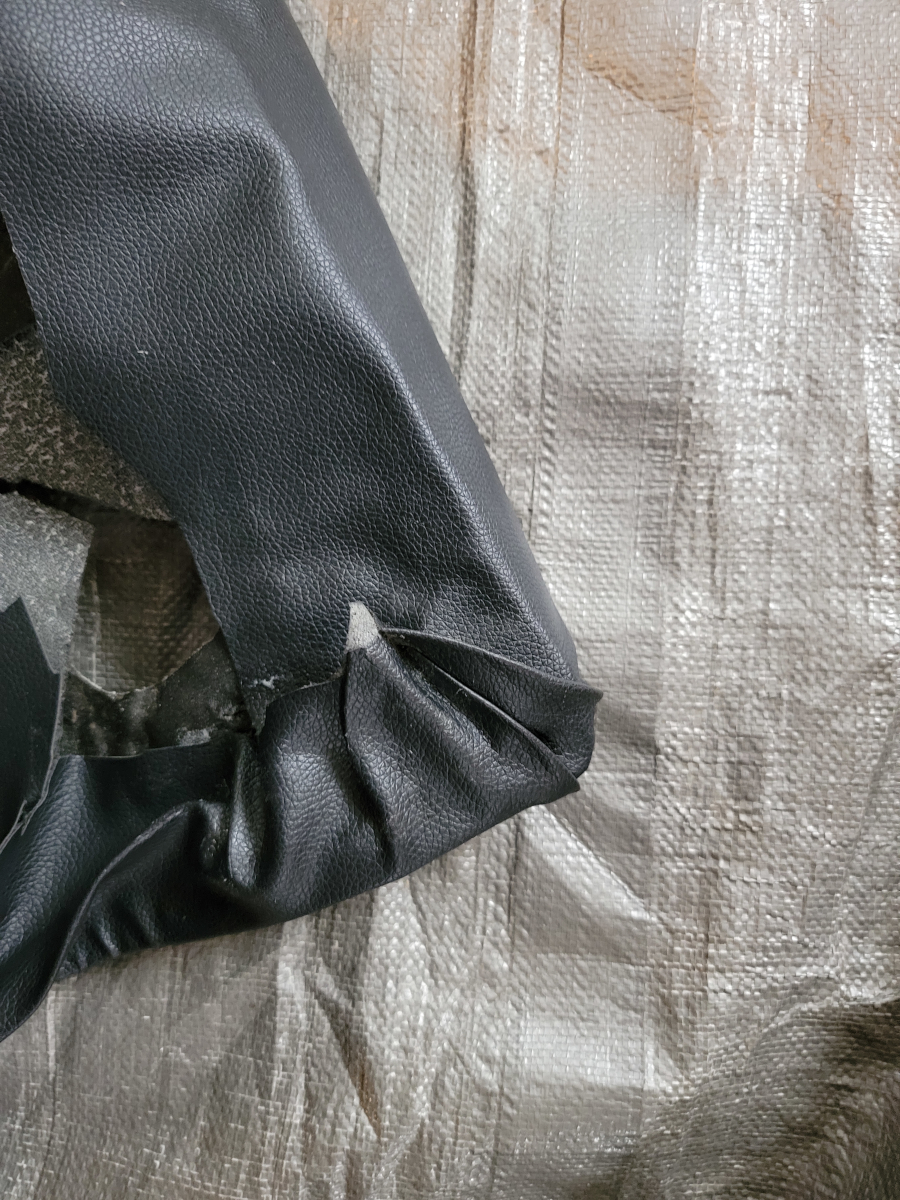
I waited for it to get tacky (you know how we do) and started smoothing the vinyl down all around the top edge. Try to leave no wrinkles.
Now SPRAY GLUE ROUND TWO (NEW)!
I flipped the dash pad over, so it was face down (you know how we do). I sprayed another few inches of glue to cover the face and underside, and then waited for it to get tacky.
Apparently, I didn’t learn from dash pad covering part one, because I stretched the vinyl over the whole face, not accounting for the low spots. The glue is drying rapidly and I have to stop to cut holes for the dash and gauge area. I guess I moved quickly enough, because I got it wrapped up pretty well.
No PB Blaster was harmed in the wrapping of this dash pad. It was only there as a prop to stand the dash pad up while the glue was drying. There’s a teeny-tiny wrinkle here that I spent a lot of time working on.
The radio area is not too bad.
Now the first corner wrinkle doesn’t look so bad.
Overall, not too bad.
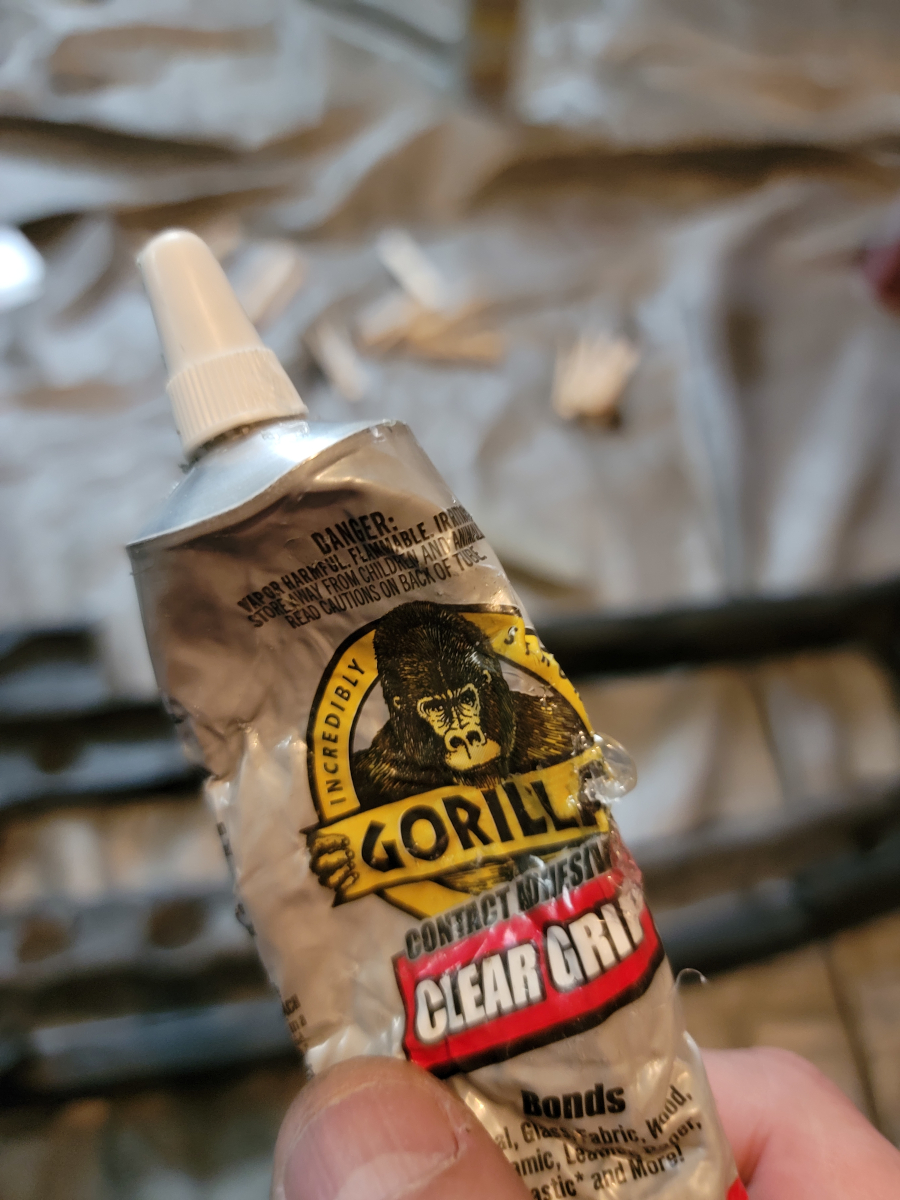
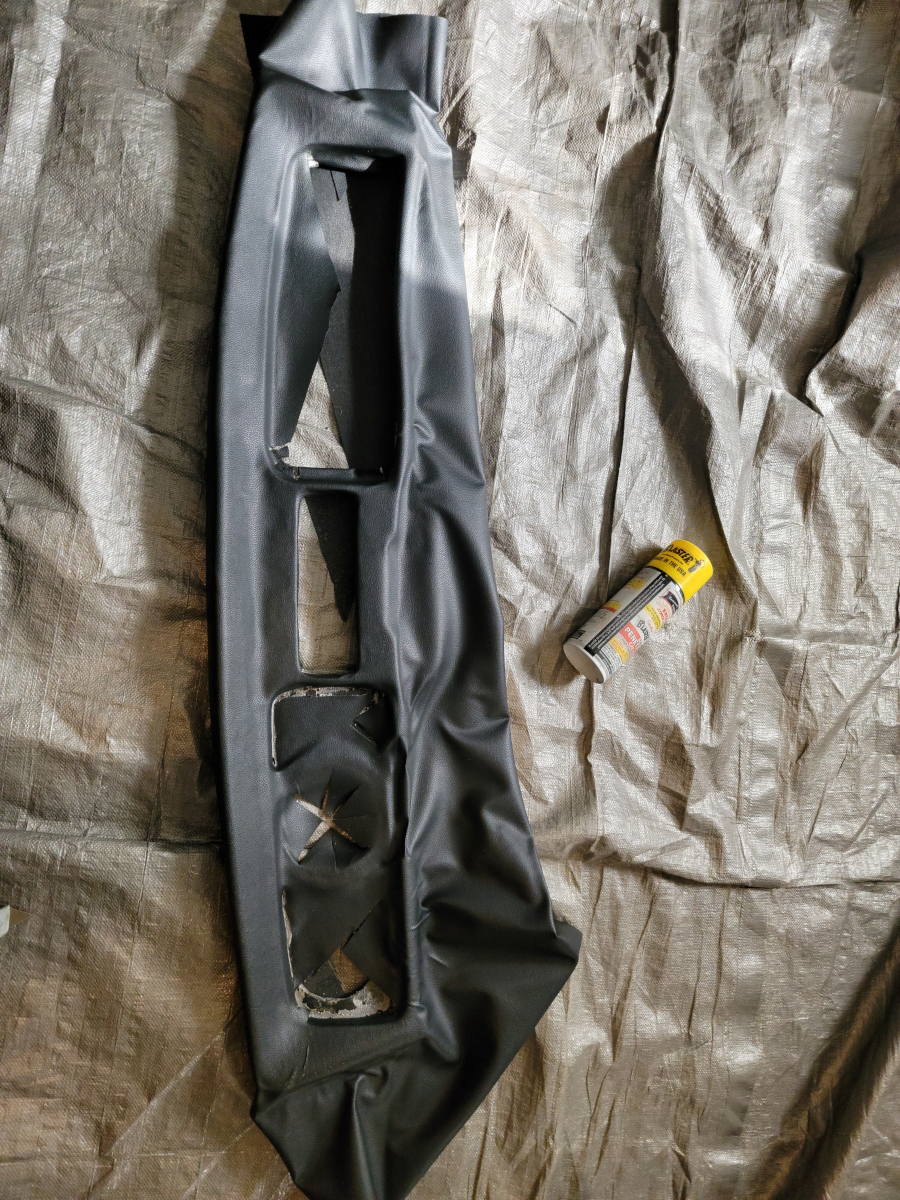
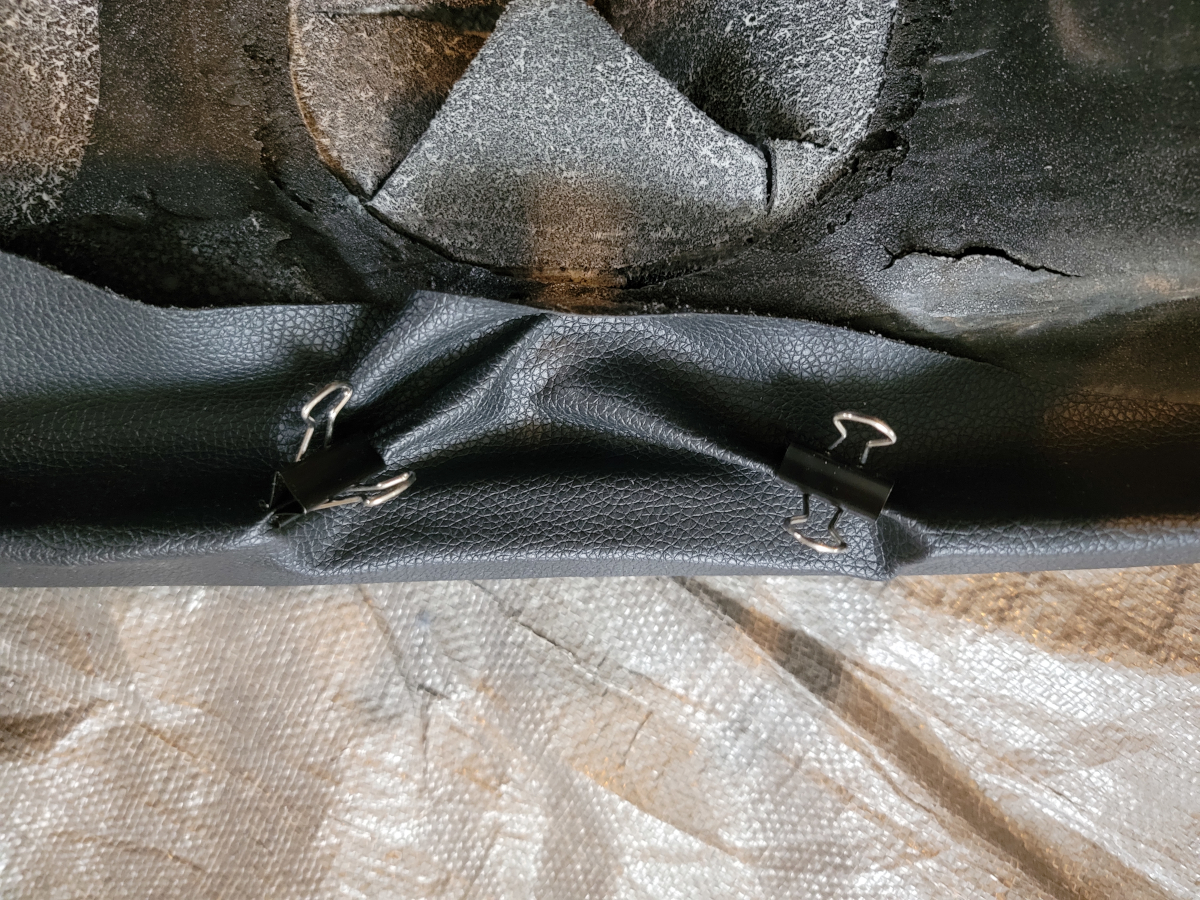
Now it’s time to start digging into that detail work. Cutting in the edges, another shot of glue – this time the Gorilla Clear Grip (Amazon link).
Loads of wrinkles around the outside edges now.
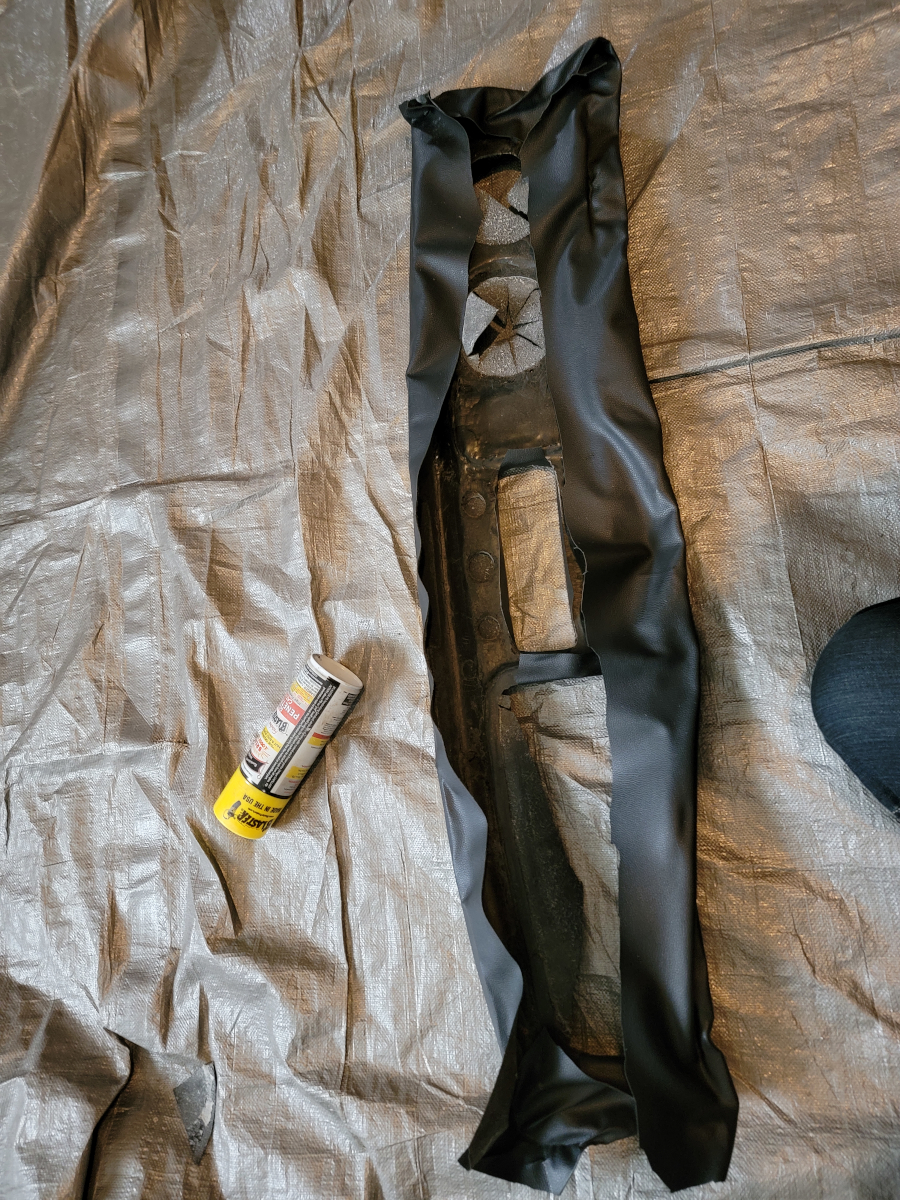
I need to trim all of the excess to give myself some room to work in there.
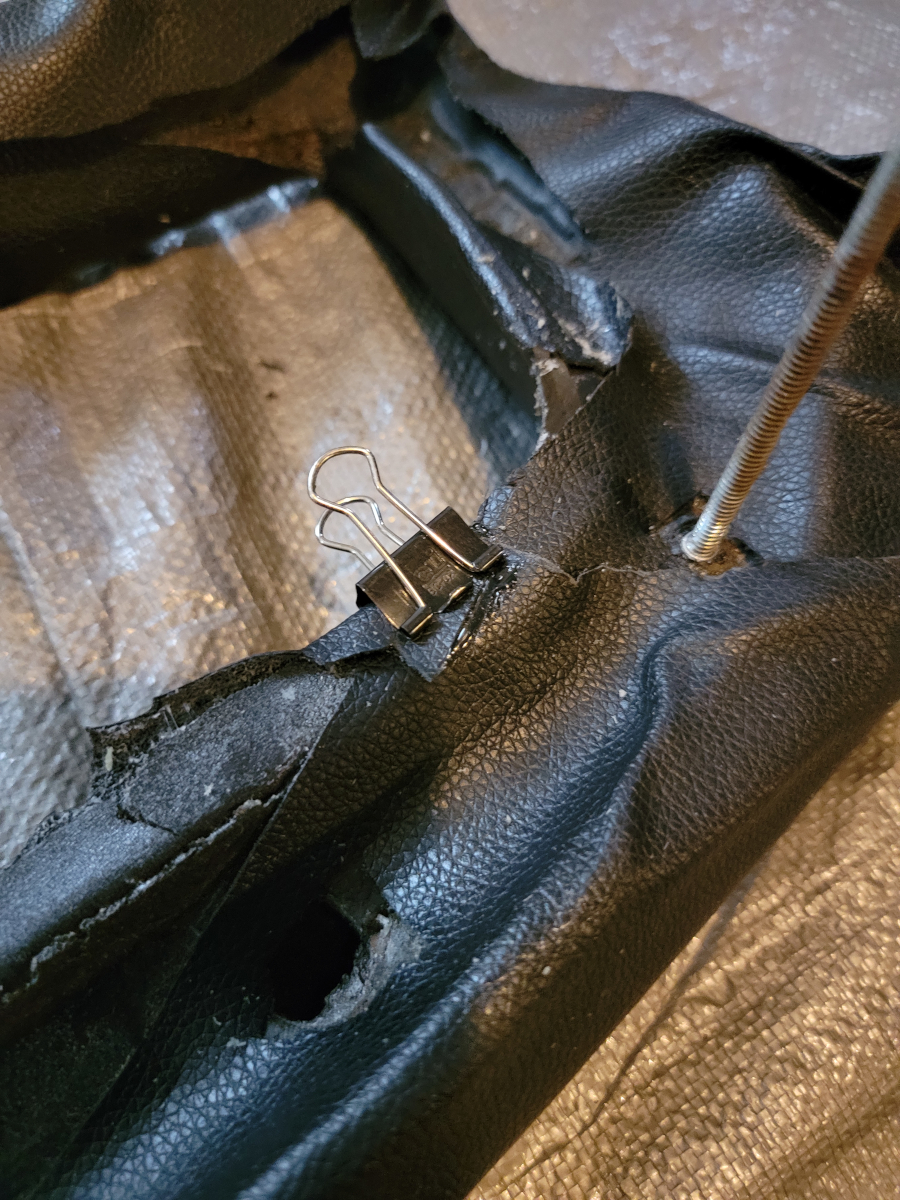
Binder clips around one of the side vent openings.
There’s a wide-open corner here, from all of the excess vinyl that was wrapped up in there.
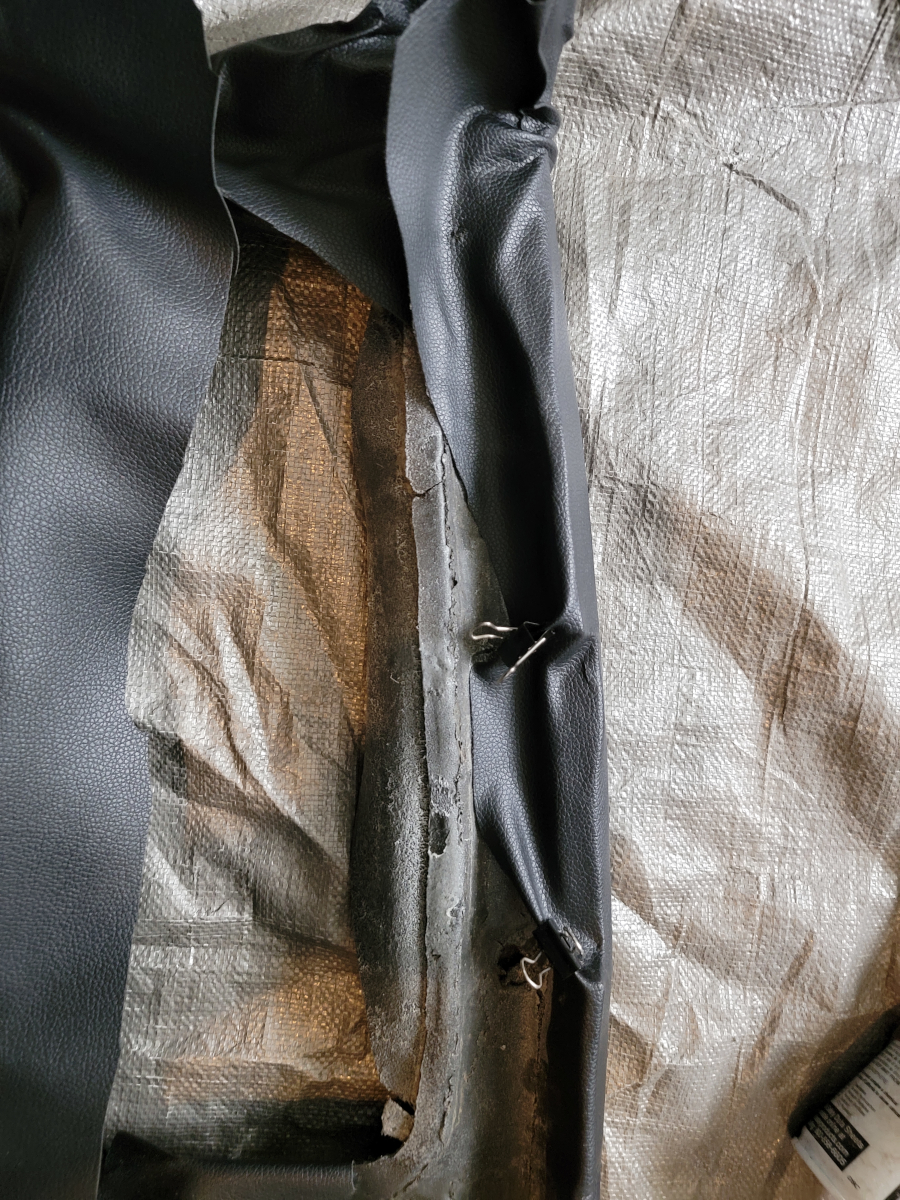
Loaded all the edges up with glue and folded them in.
Binder clips are great for these vent openings.
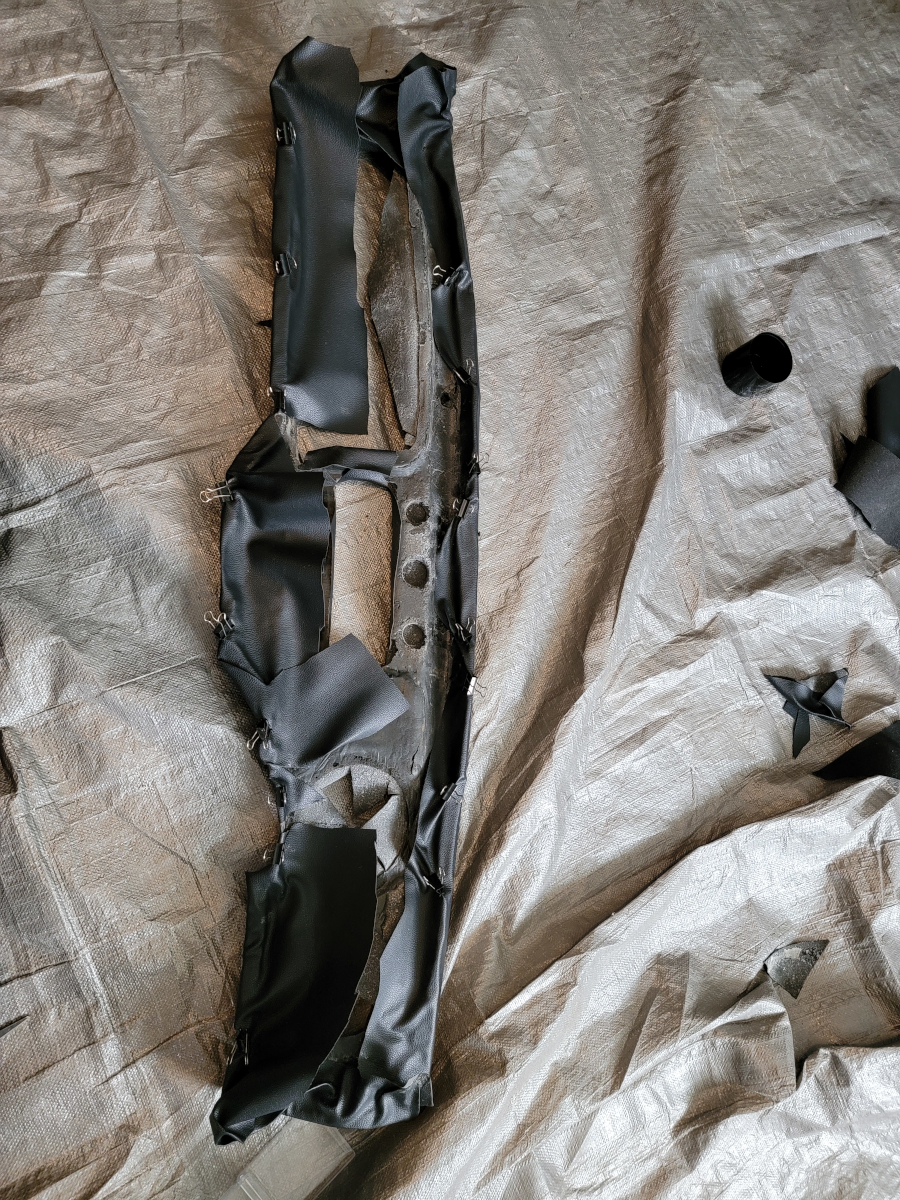
And all the flat tabs where there are screw holes.
I have soooo many binder clips. I love them.
We’re getting more and more presentable over here. I like it.
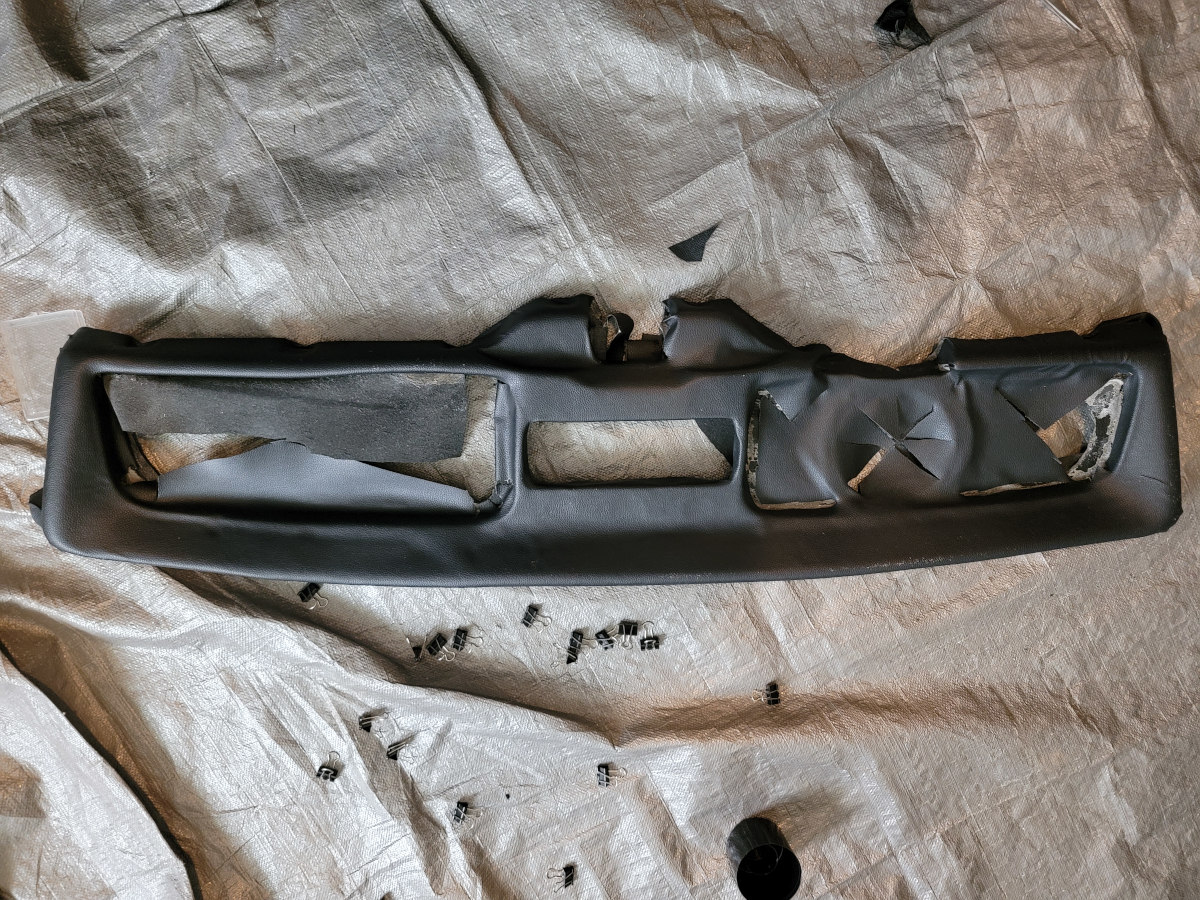
The other top corner was as mess as well and needed to be dealt with.
I’ll give it six out of ten. F PLUS.
I needed to get out in the sunlight after being hunched over on the basement floor all day.
So, I headed out and put my big ass to work, getting the rear seat, well, seated. It’s a tighter fit now with all of that padding.
I hope I don’t have to jump start or charge the battery any time soon. Getting underneath that rear seat, then putting it back in place is just about my least favorite thing. Other than dealing with drum brakes.
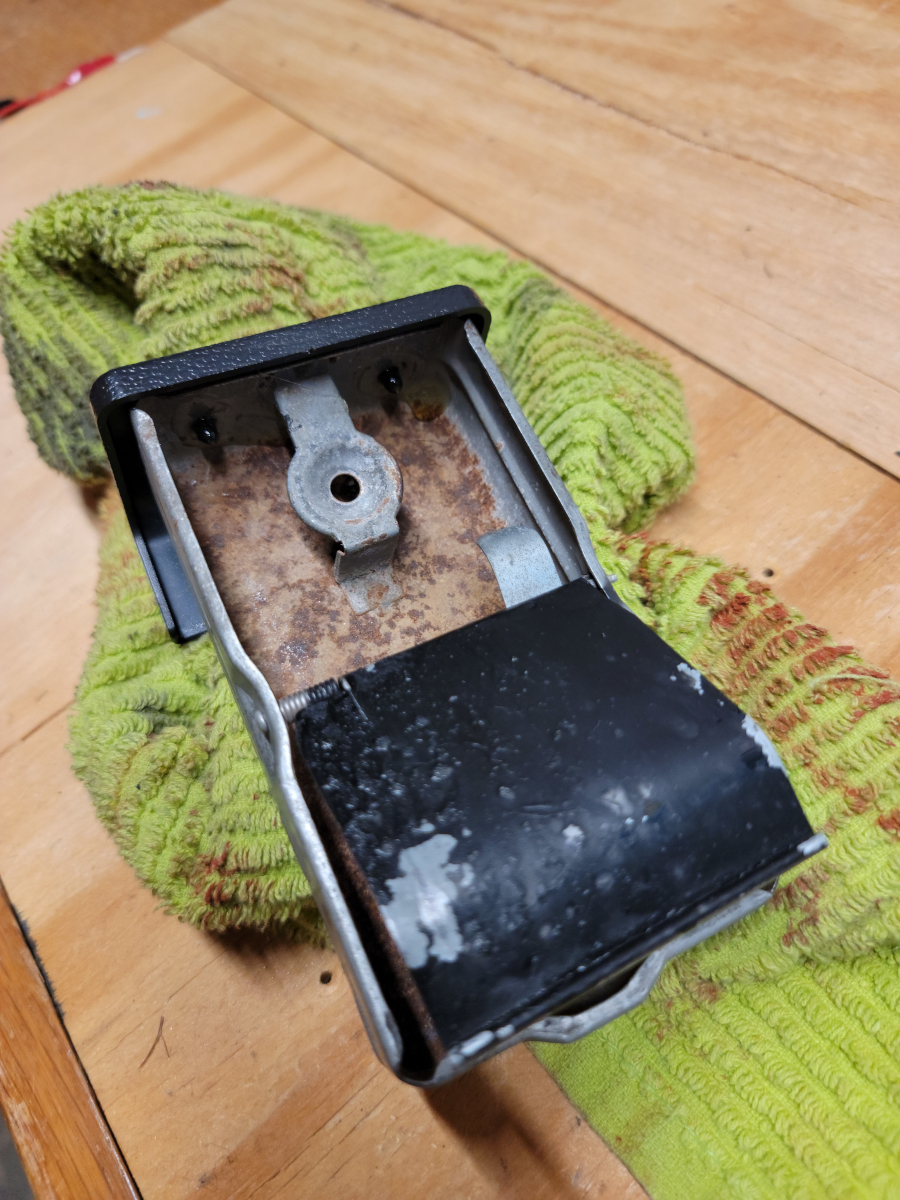
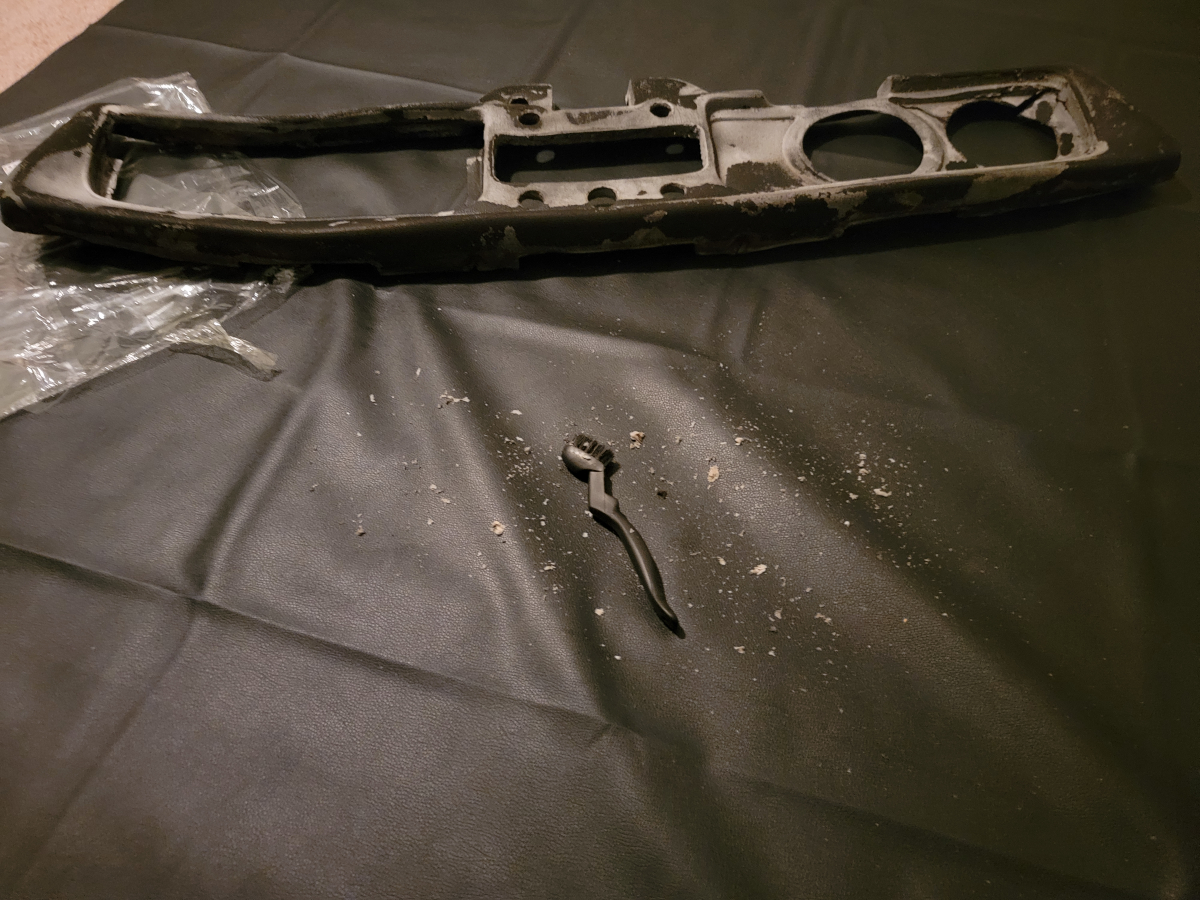
So I previously spray painted the spring lever on top of the ash tray. The 1634 was shooting silly string and apparently didn’t adhere to this metal, either.
Bummer. So I moved on to trying to lock that other tab in place. I had several pieces of metal, the little clip that speakers mount into. Kind of a washer with a split in it to catch the threads. Anyway, whatever those are called, I had a handful of them (had) and made a few attempts at bending them into shape to grip that little knob (you know how we do). But, nothing held firm for long.
Another job for another day another job for another day another job for another day another job for another day
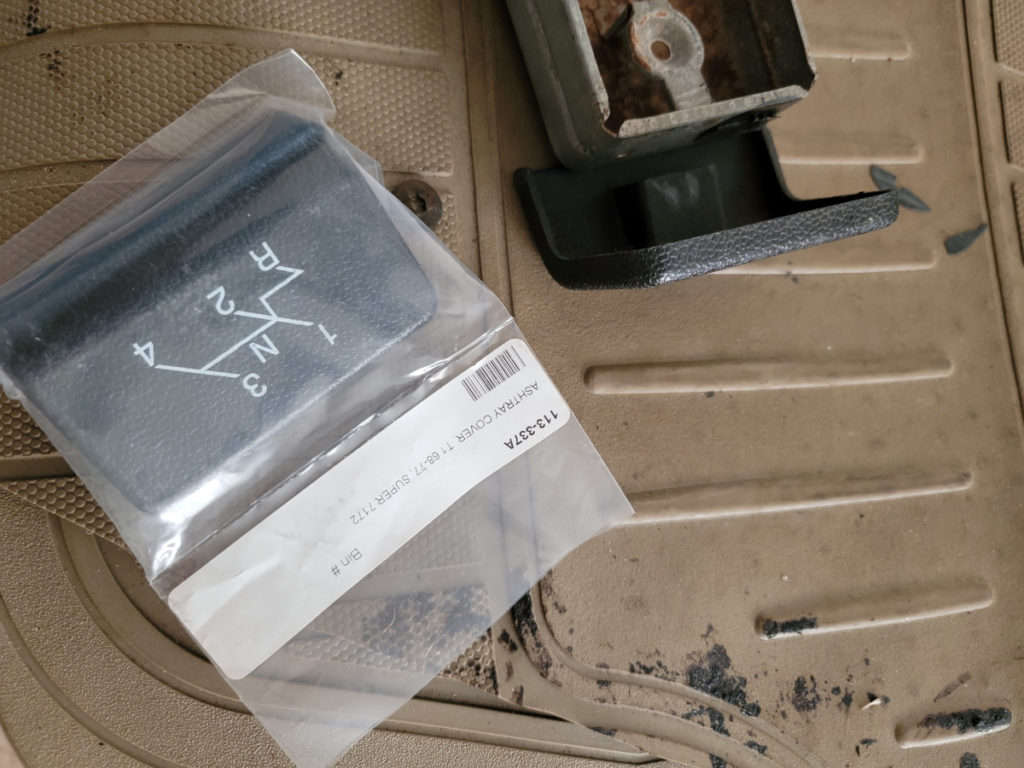
When ordering the new padded dash, I added a few other parts as well.
My ash tray face doesn’t have the shift pattern printed on it, as I have seen in lots of pictures online and in the original owner’s manual. It’s also missing one of the press nut/washers that holds the plastic face to the actual ash tray. Someone had smeared RTV or something in there to glue the old one on.
The black paint is all chipping away off the spring mechanism and that’s certainly something I can rectify.
Or at least I could if I wasn’t still making silly string from yet another can of Dupli-Color 1634 engine black…
OK, maybe not an actual win, but it will look better once mounted in the car with the ash tray closed.
It’s not dead, just sleeping.
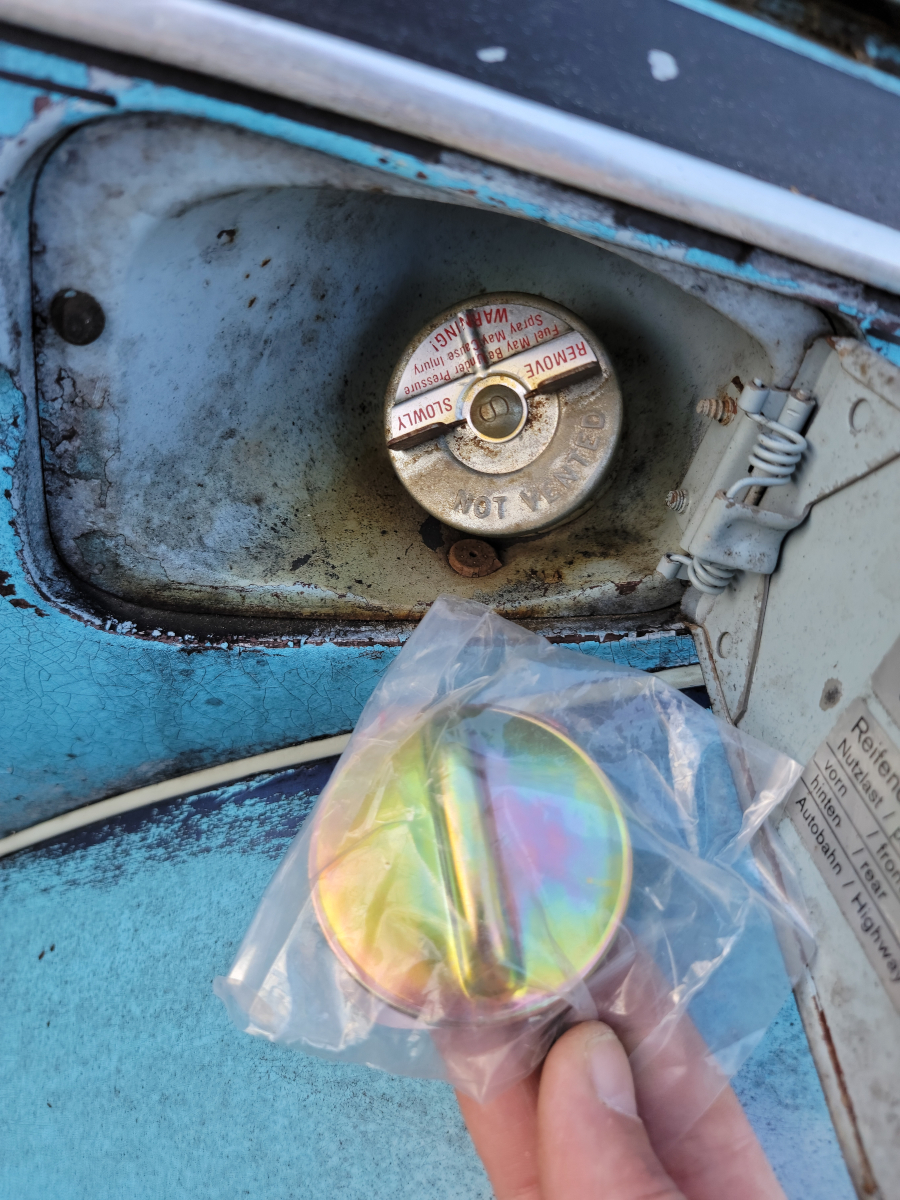
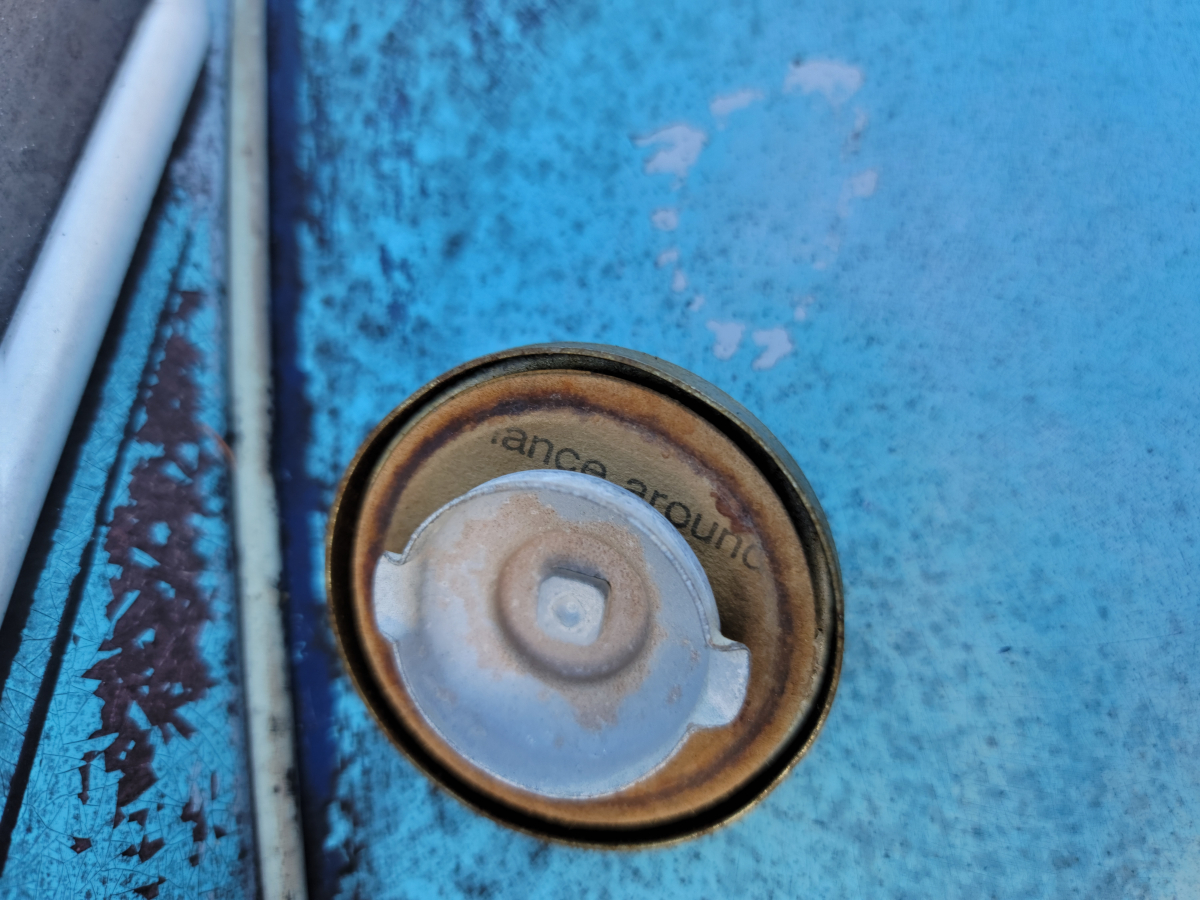
Anyway, next up we have a new, more Beetle-y looking gas cap.
This has a nice rubber gasket. The one that was in there originally had a paper gasket that looks like it has seen better days.
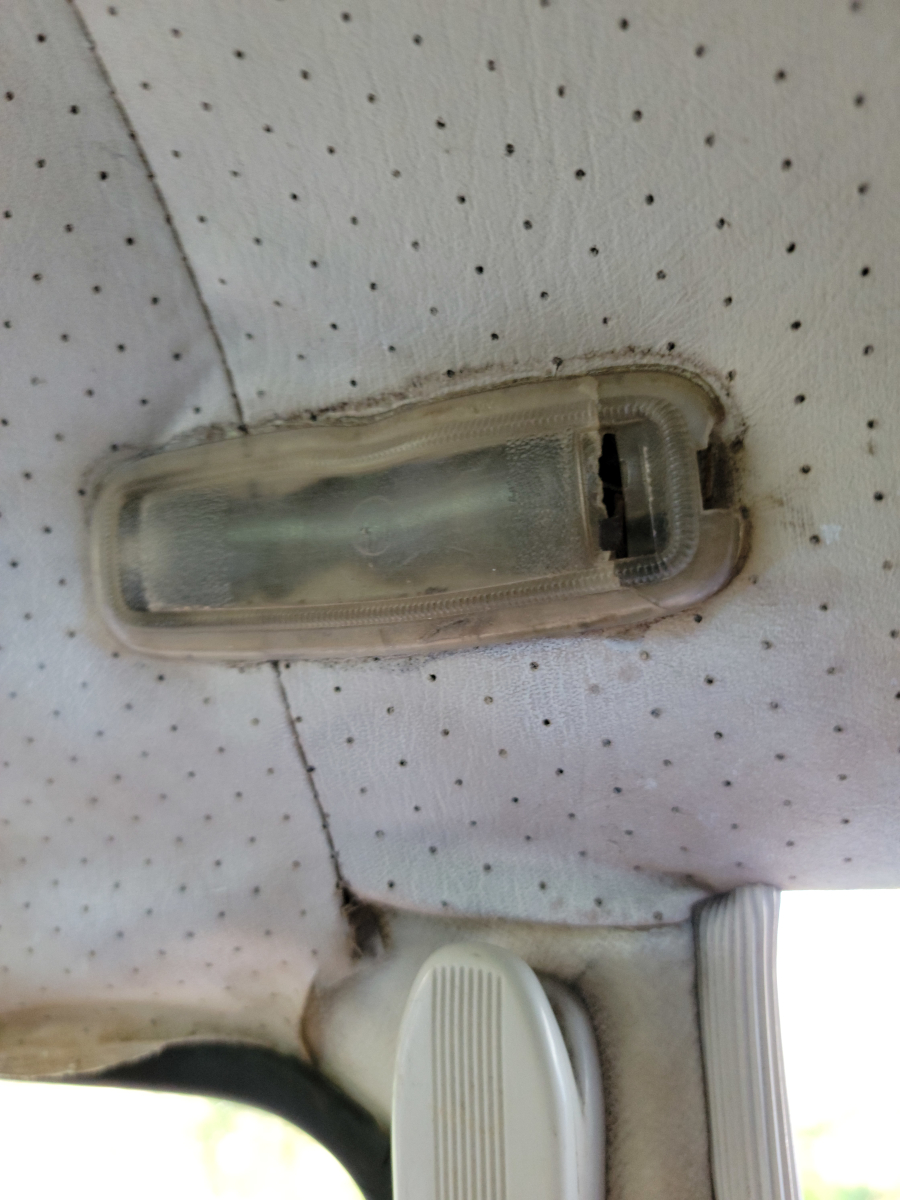
Last on the list for this wasted afternoon is the dome light.
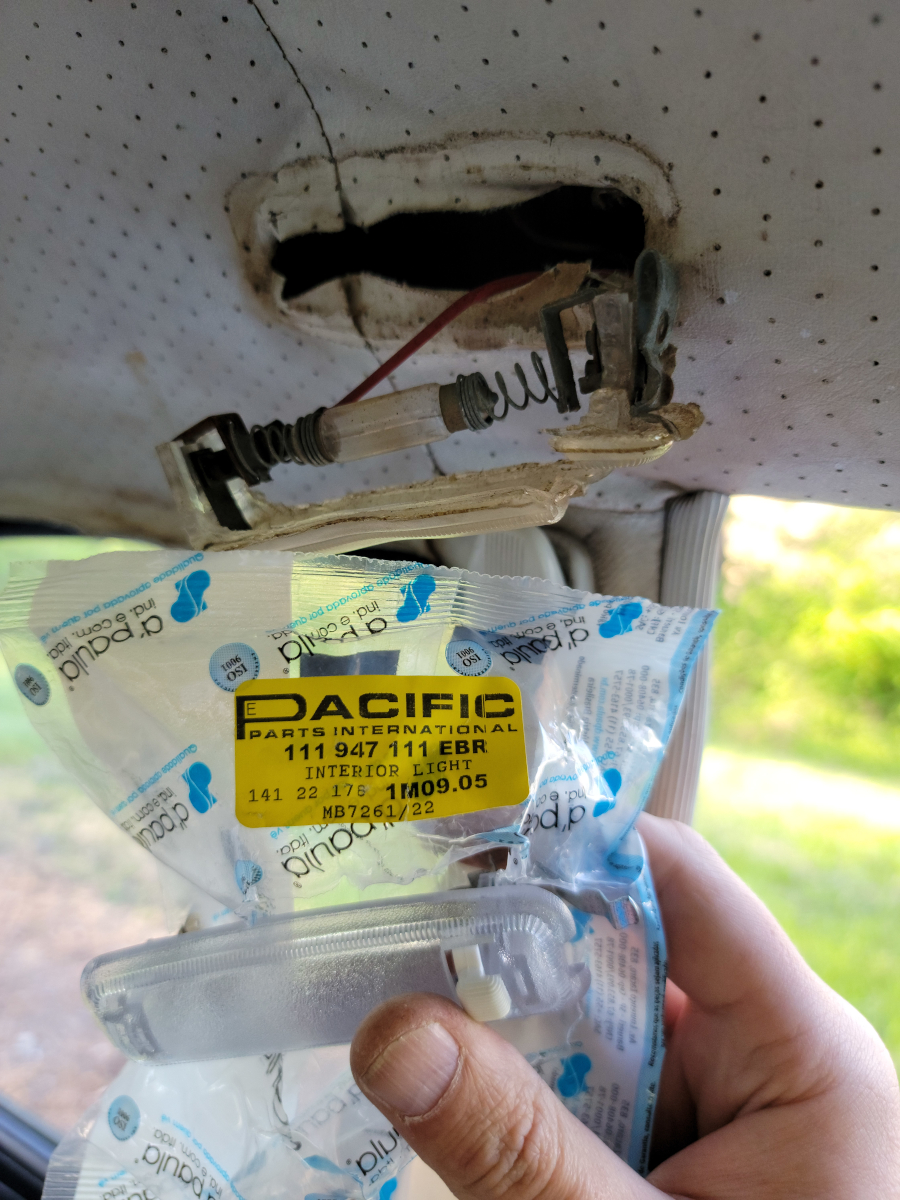
The one that’s in there looks melted. Also, when trying to pull it out in the past to check the bulb and wiring, it felt like it was going to crumble into pieces in my hand, so I left it alone.
Now that I have the replacement part in hand, that is exactly what happened when I pulled the old one out.
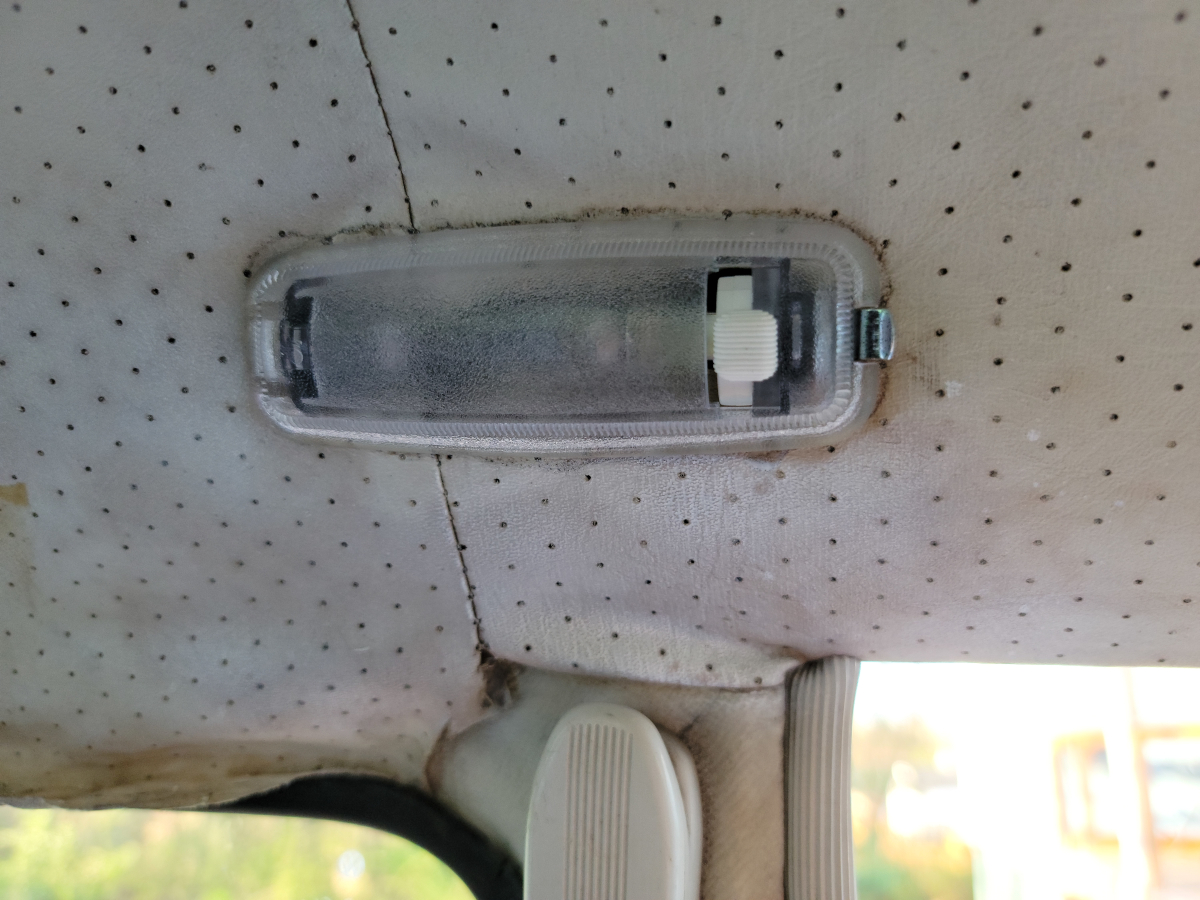
The bulb is burned out and will need to be replaced, but at least the new one fit without issue and looks nicer. Edit: I didn’t bother trying to turn it on at the time, since the glass in the bulb was blackened, but it actually does work. Not with the door switch, but it does turn on with the switch on the light itself.
As an Amazon Associate I earn from qualifying purchases. I also often provide links to products on other sites that do not provide affiliate income.