I used to carry a spare quart of oil and a can of brake fluid in the spare tire well. The brake fluid tipped over at some point and a couple of drops of juice leaked out the top. The new paint I had sprayed in there was ruined. Turned to goop and wiped off with the brake fluid.
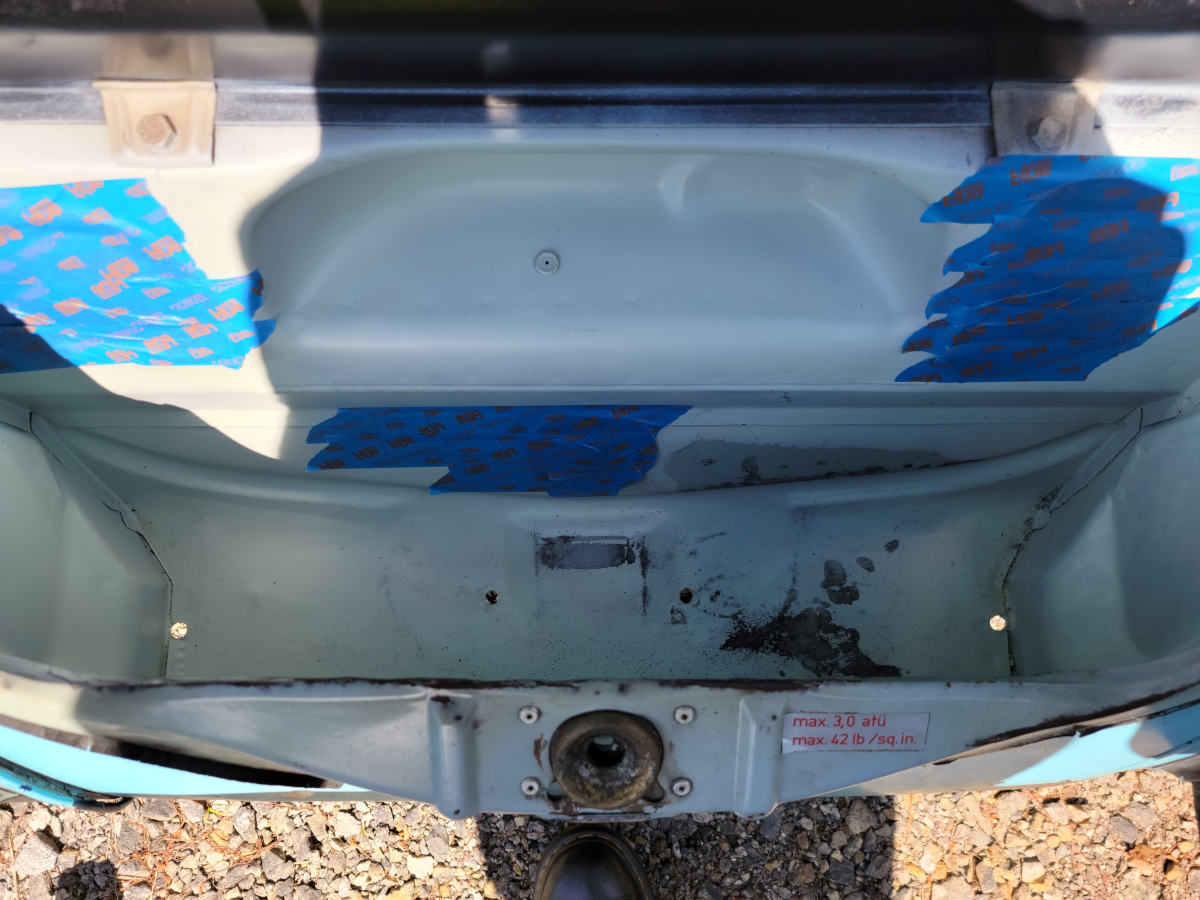
So, I cleaned it all up and roughly masked off the stuff I didn’t want to over-spray.
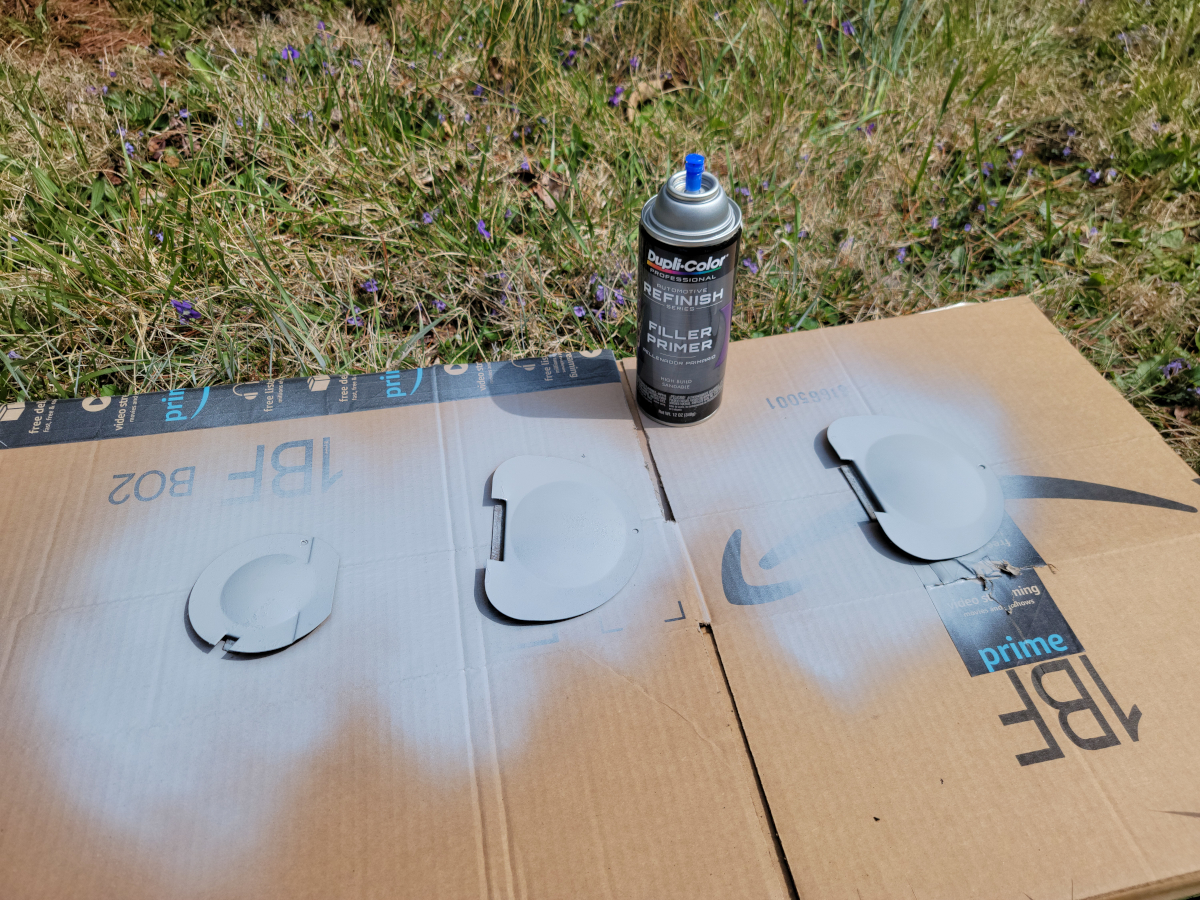
Put down a couple of coats of primer
and a couple of coats of fresh paint.
This is from the same cans of primer and paint, but for some reason, the color was off from what I had sprayed before, which was really noticeable when I pulled the masking tape off.
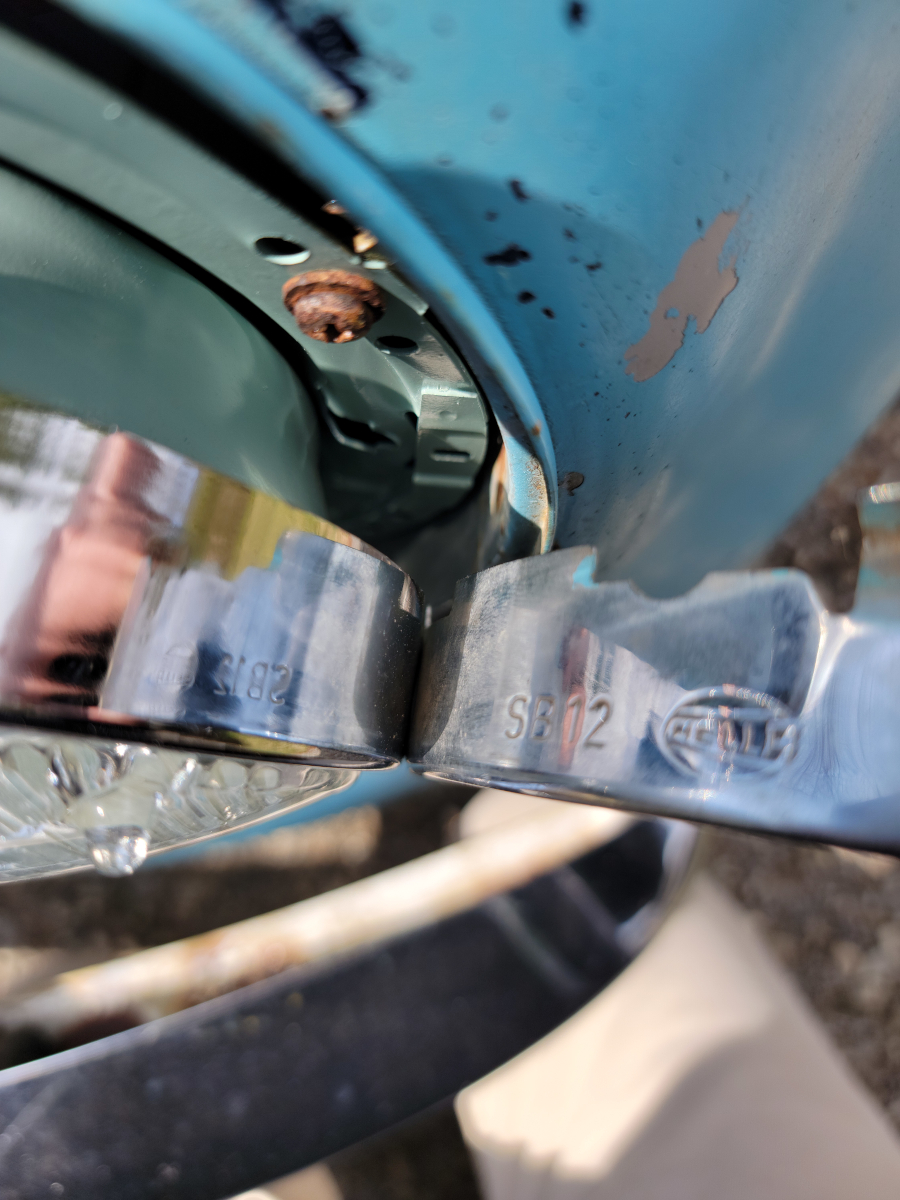
The new outer bulb brackets are the same size as the old brackets, so that’s not the problem. It looks like the bulbs are just sitting off center in the bucket. Kicking that can on down the road for another day.
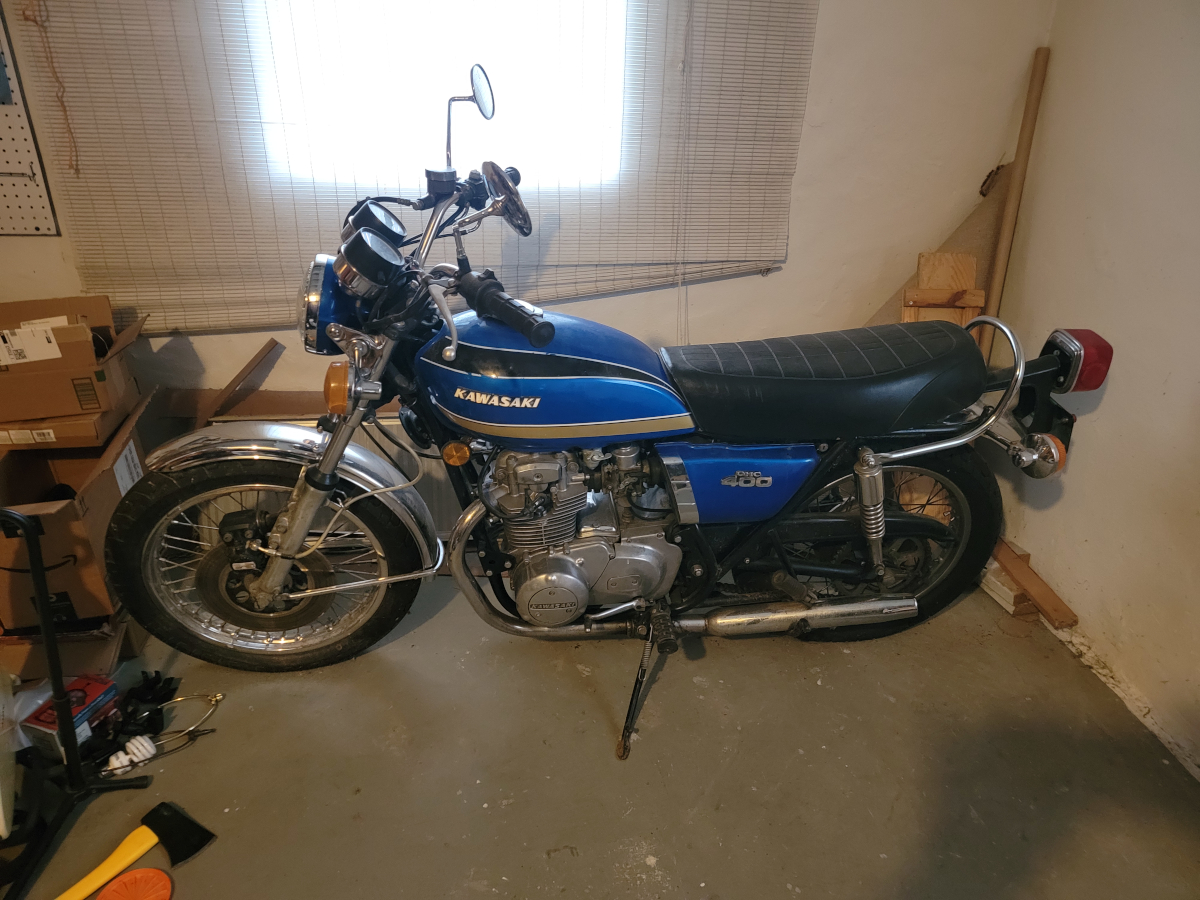
There is this thing that also needs attention.
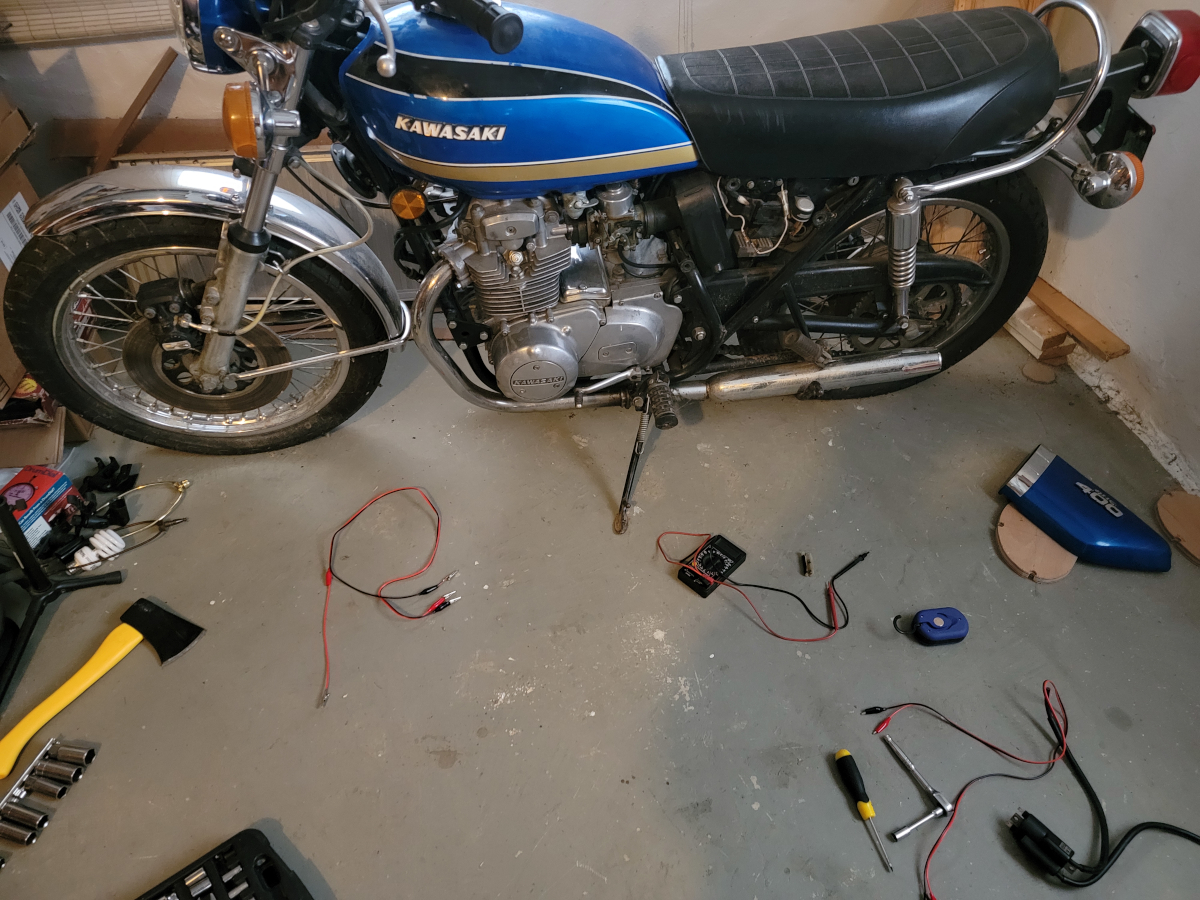
Which looked like this after a little while
and is now torn down even further… No spark. New points, condenser, coil, and a fresh fuse.
Anyway, back to the other lady.
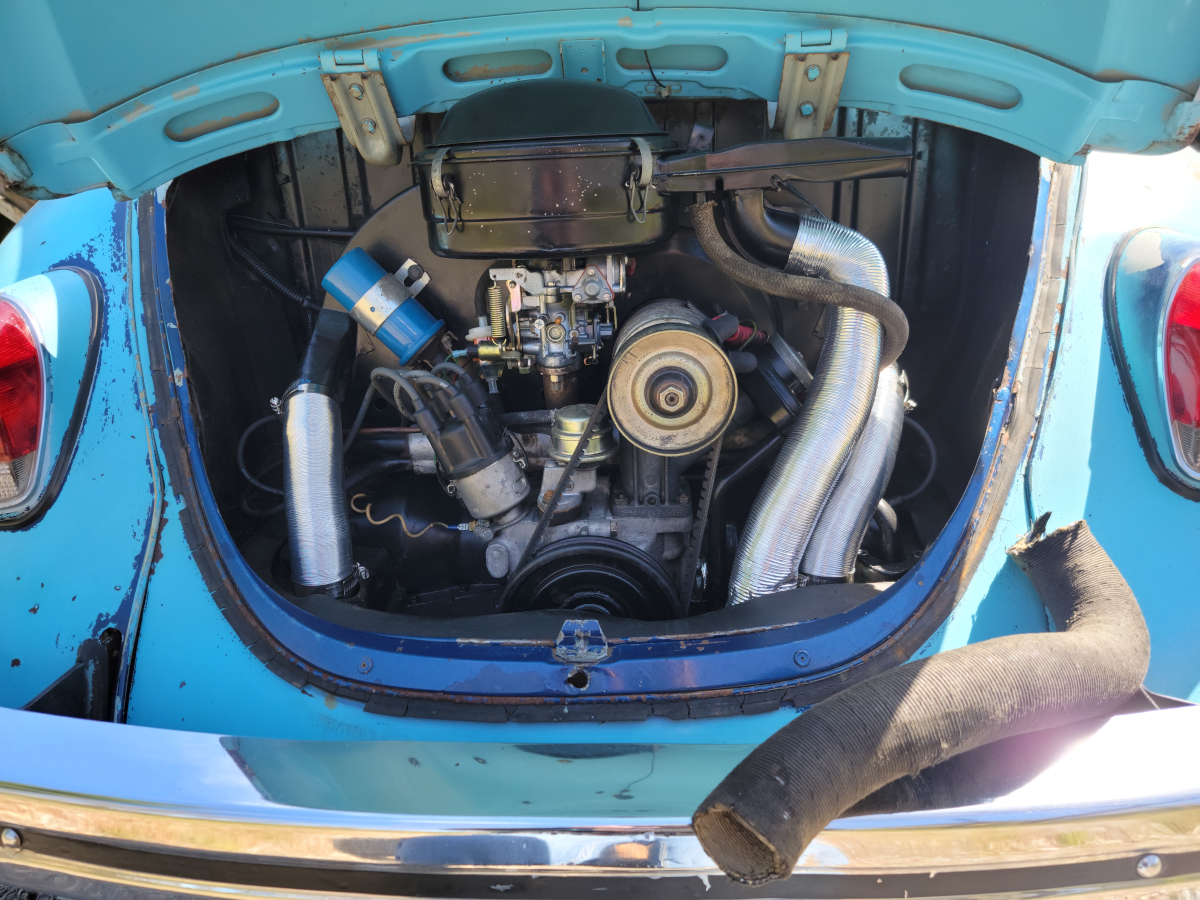
I replaced the heat exchanger hoses (which were held on with black household caulk) and the air intake hose (Amazon link). All shiny, but man that original cardboard covered hose is so much sturdier. I will likely end up having to put that back on unless I can find one that isn’t made of aluminum foil.
More of that purplish paint back here.
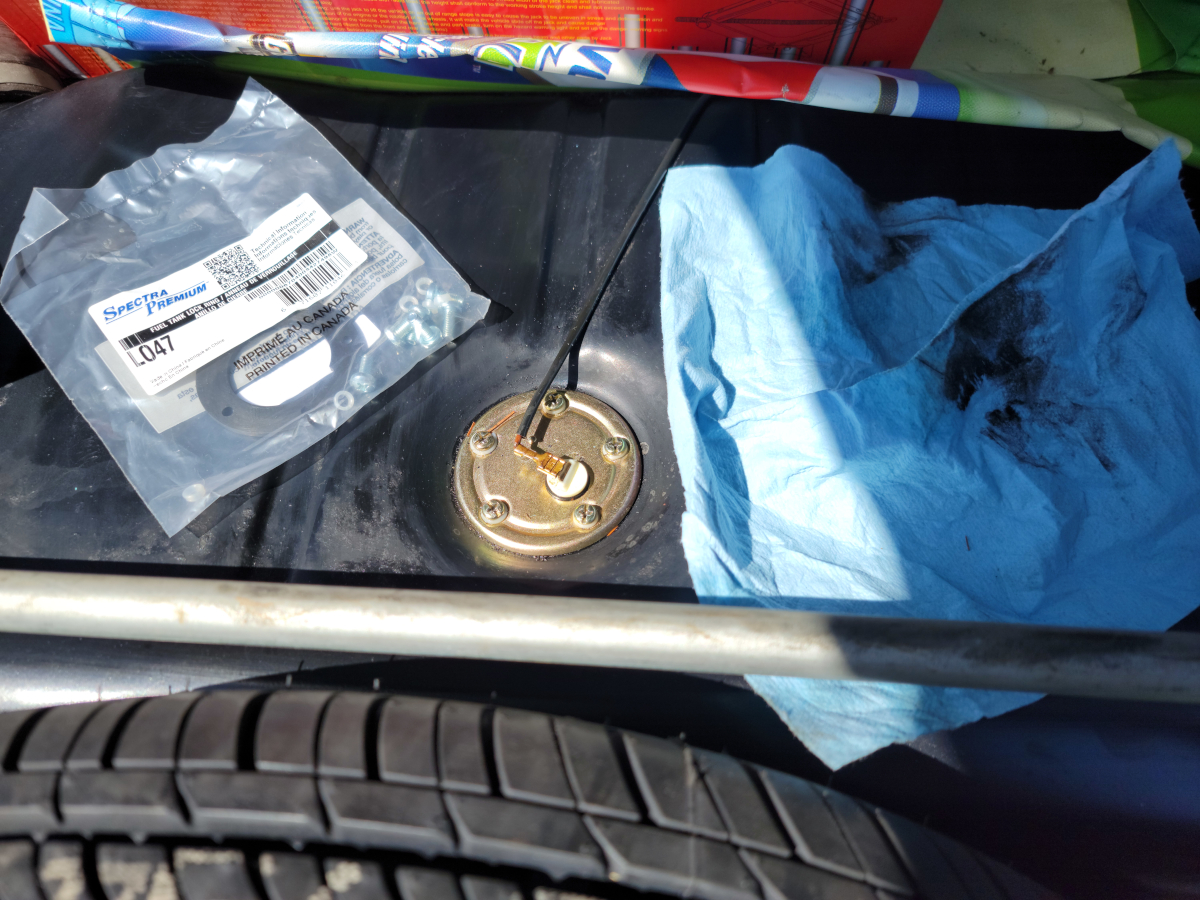
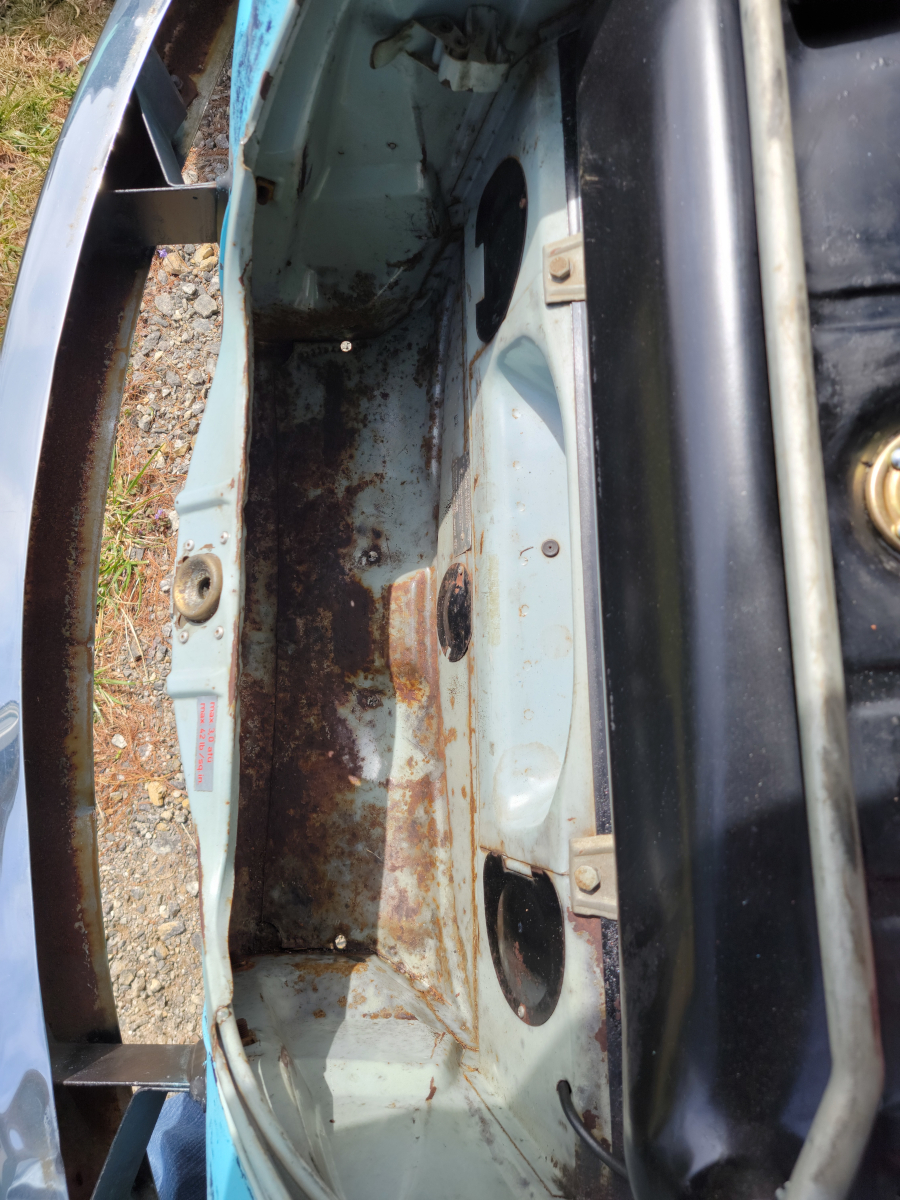
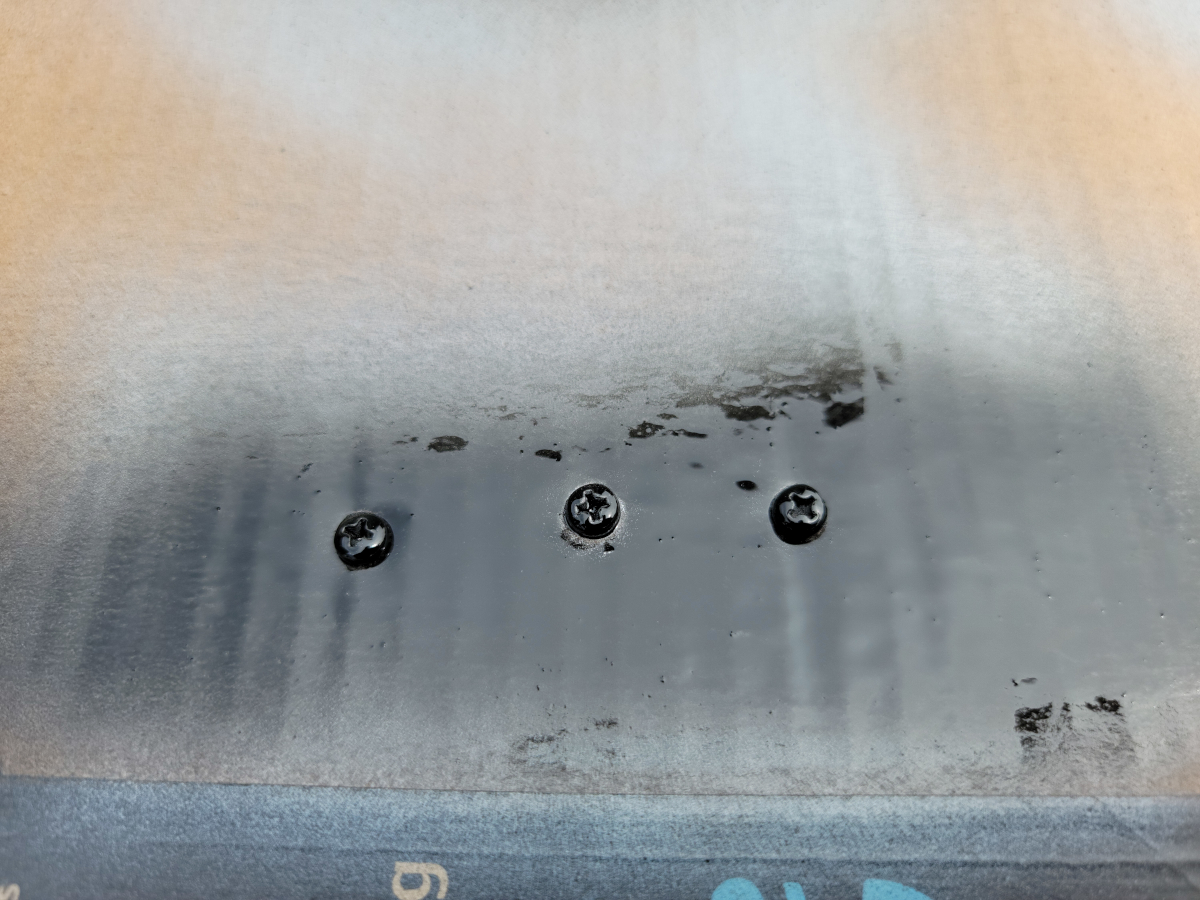
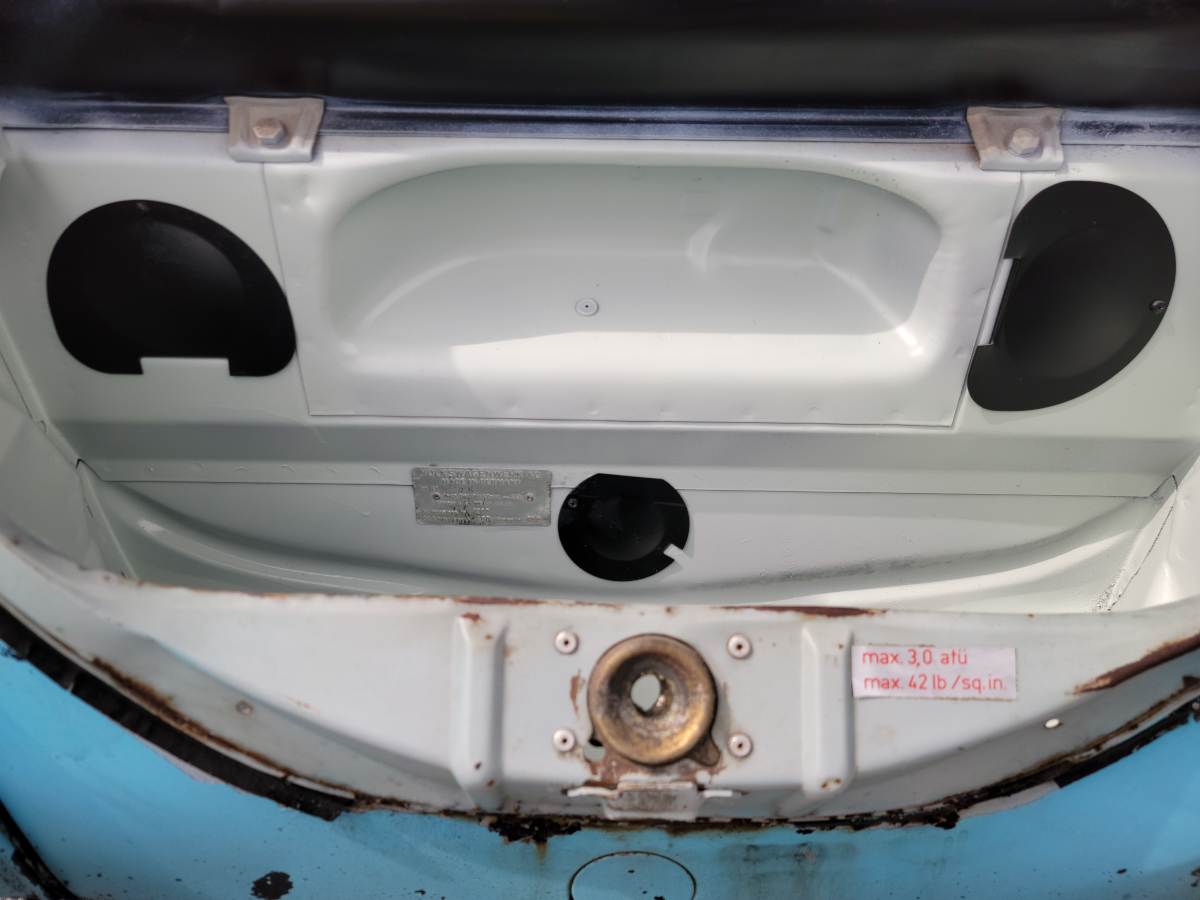
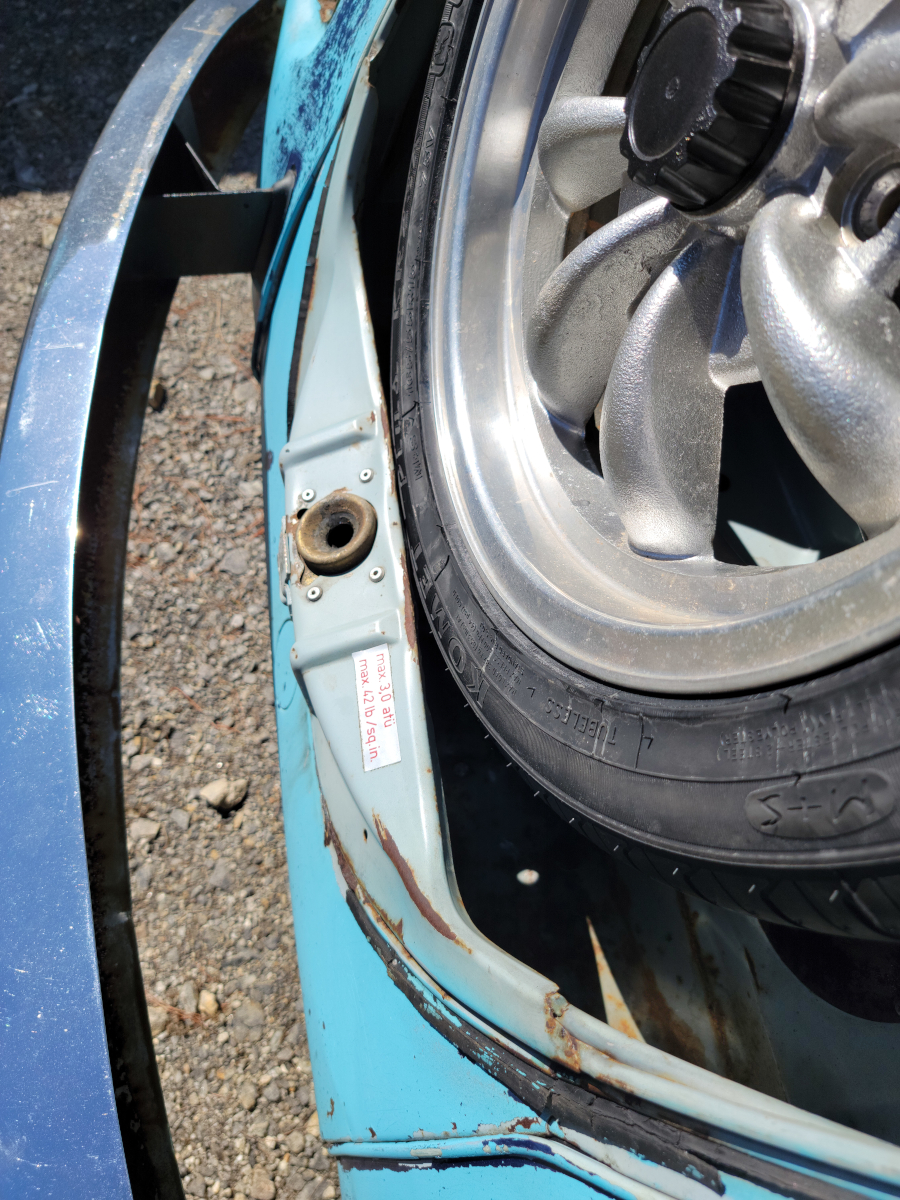
Every couple of days, when I lift up the trunk lid, the gas tank has overflowed here around the fuel sending unit. “New gas tank” he said. Sometimes it’s a little puddle and sometimes it has flowed all down the sides and into the spare tire well.
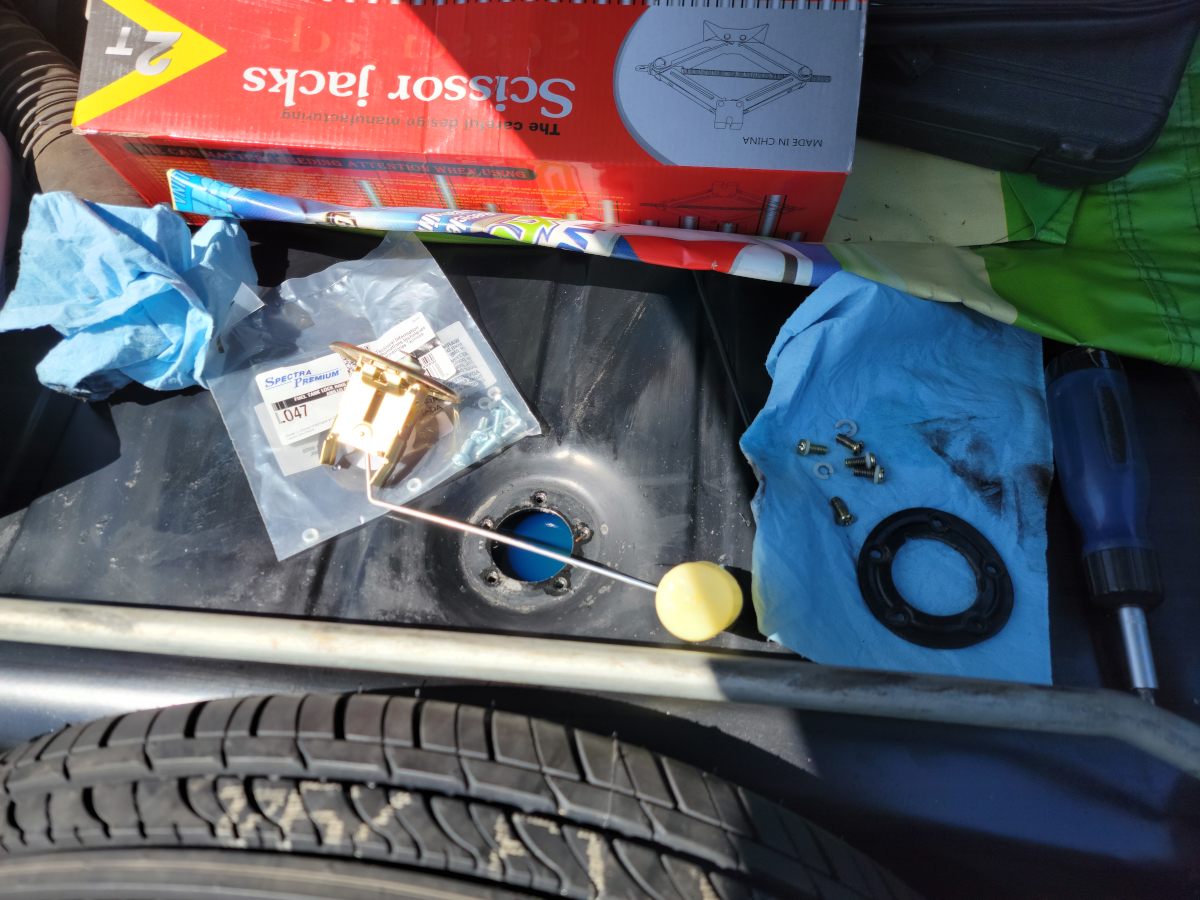
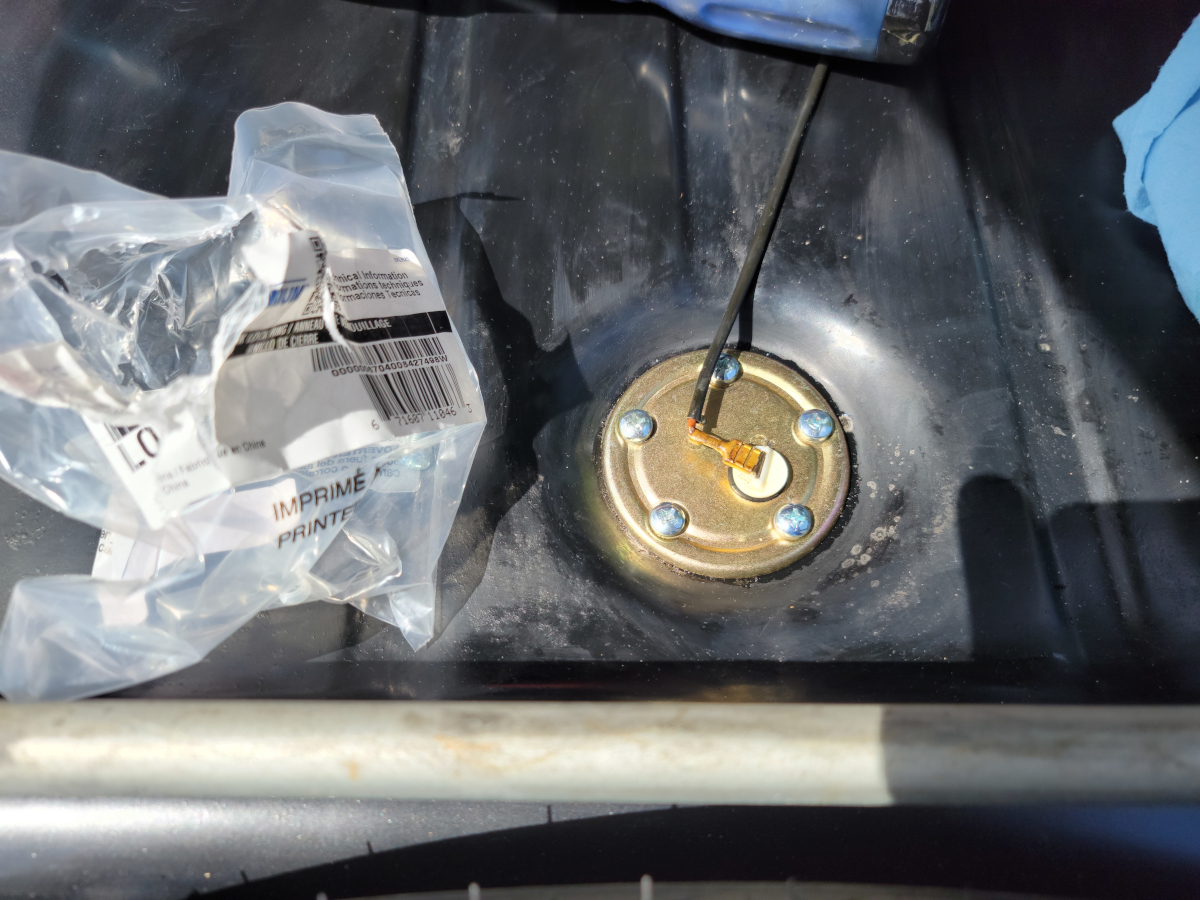
I tried to measure the resistance of the fuel sending unit with a multimeter, to figure out why the gas gauge stopped working, but either I wasn’t doing it right, or it’s dead. But either way, new gasket and mounting screws with little nylon washer things to snug down in the mounting holes better (Amazon link).
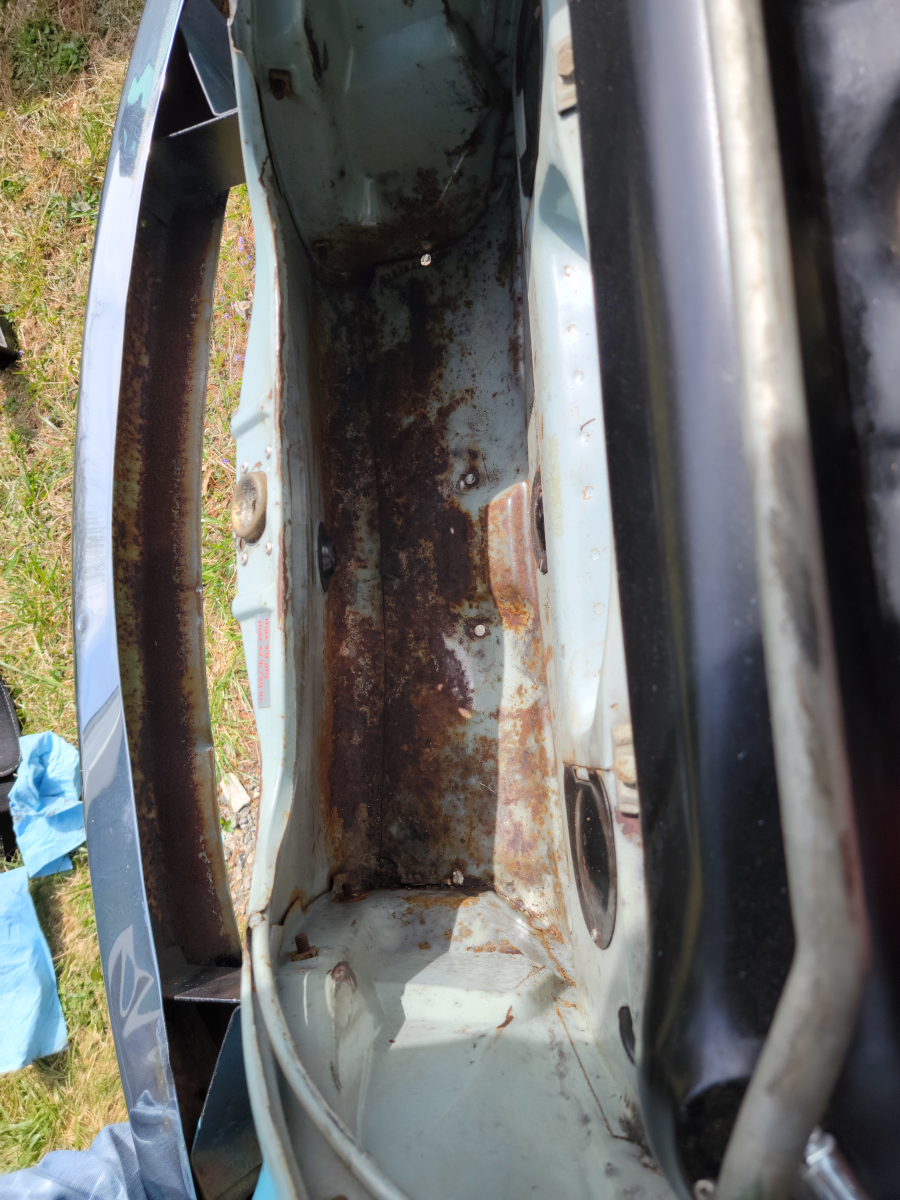
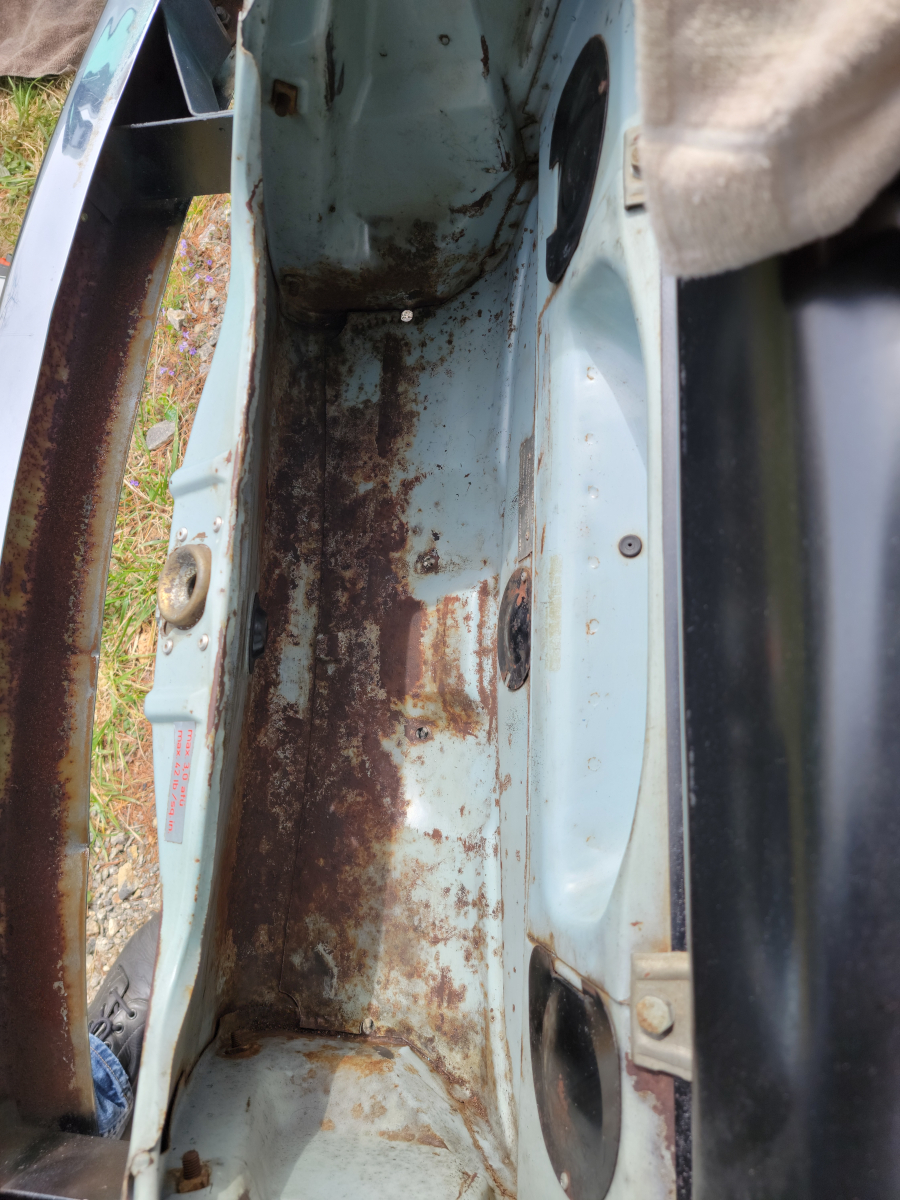
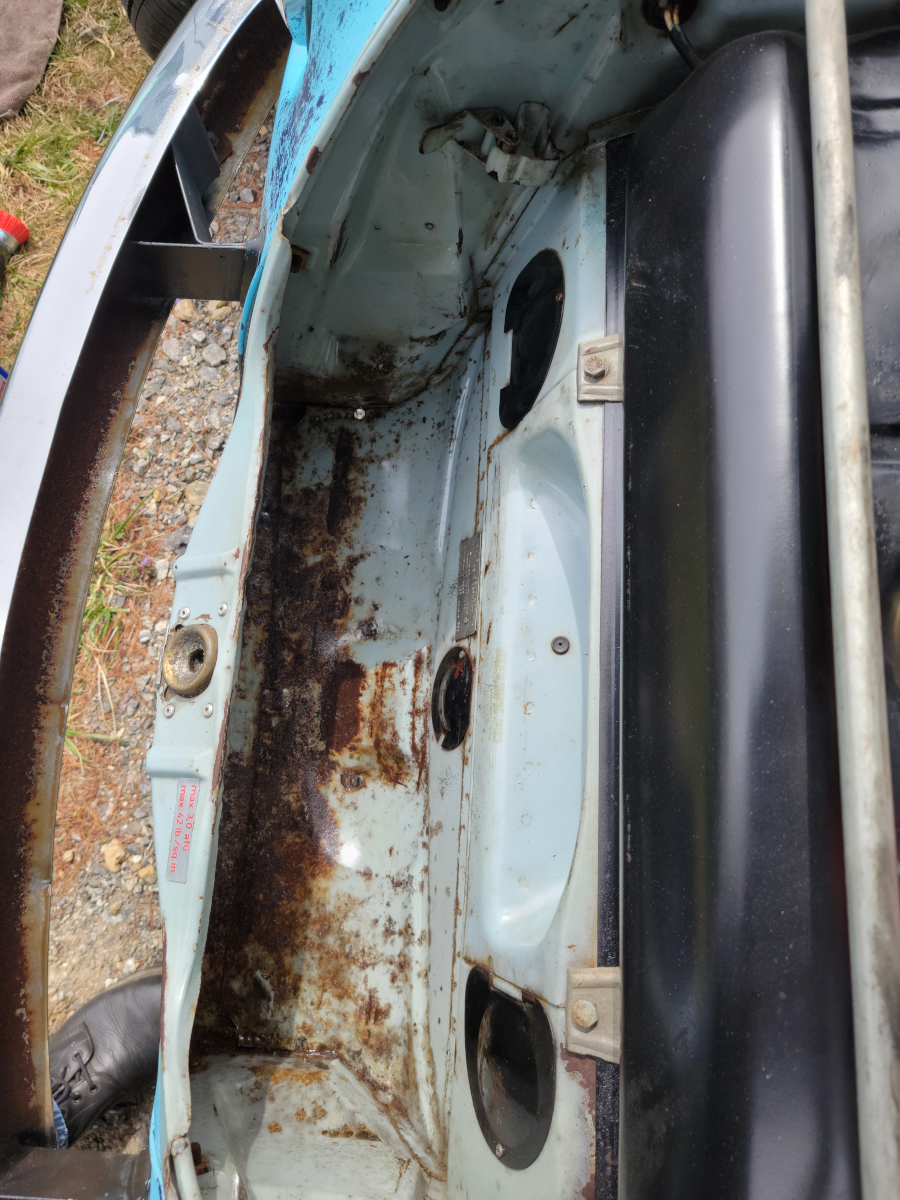
Seeing as how the spare tire well is always wet with water (and hopefully no longer with gas) it’s pretty rusty down in there. I thought that would be a good, out of sight, place to do some painting.
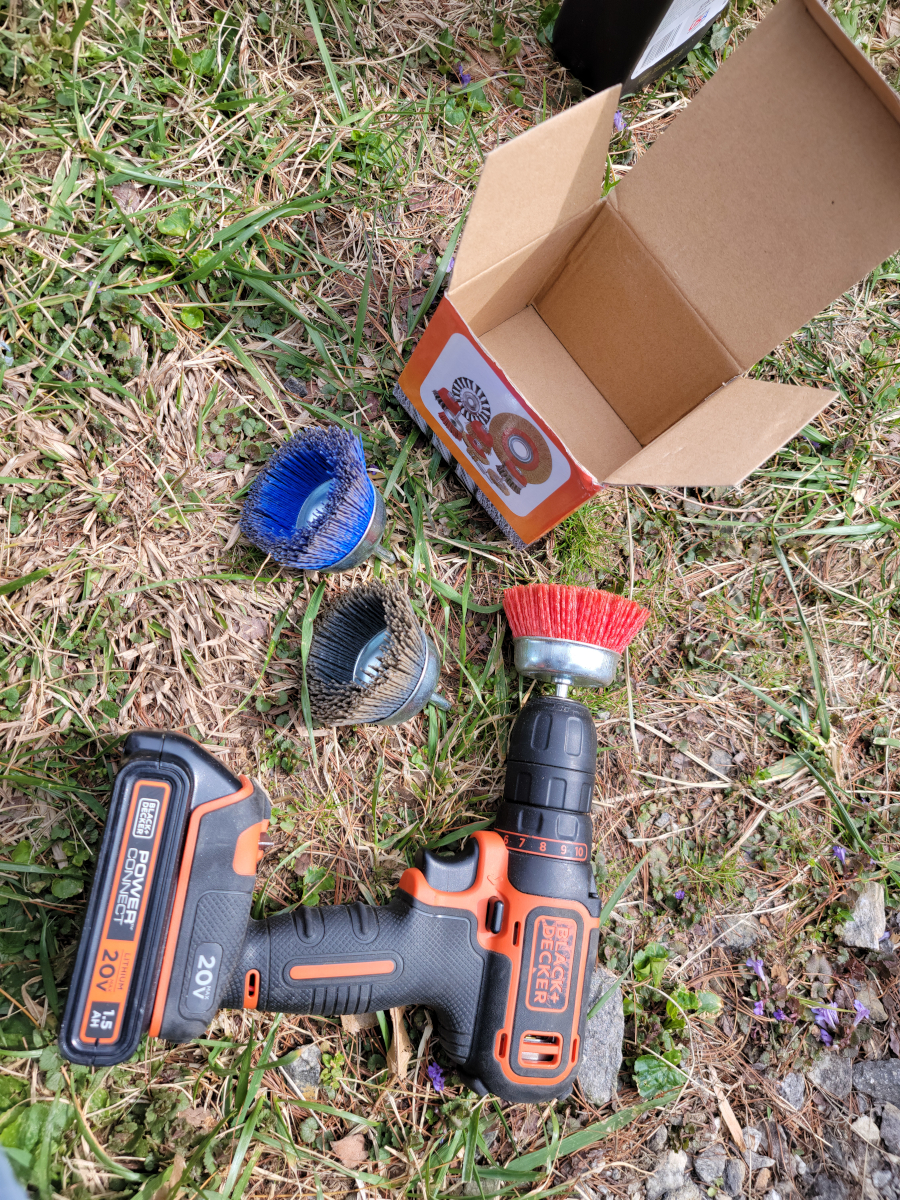
I got some nylon cup brushes (Amazon link) and went after it in the wrong order (the softest one didn’t remove much, so I stepped up and removed a little more, then stepped up to the stiffest one and removed a little more).
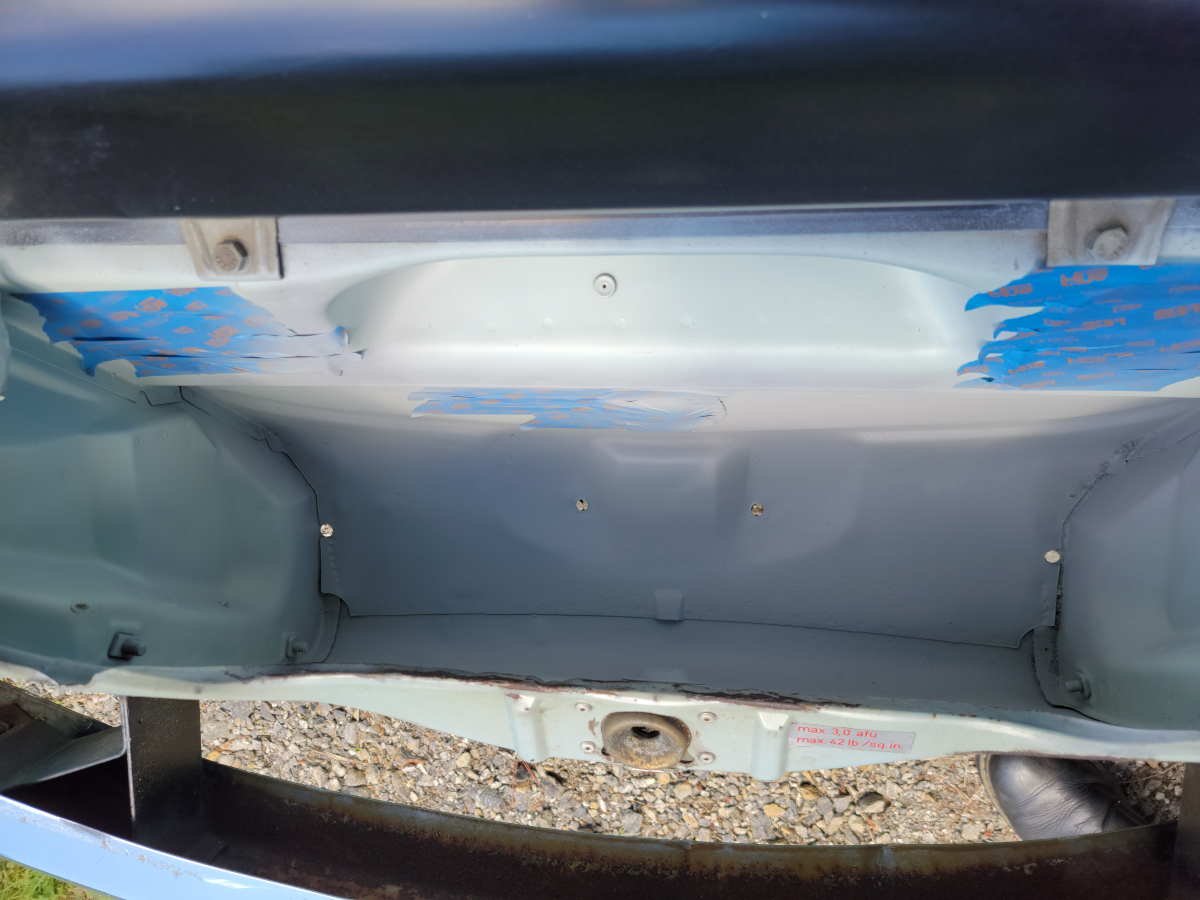
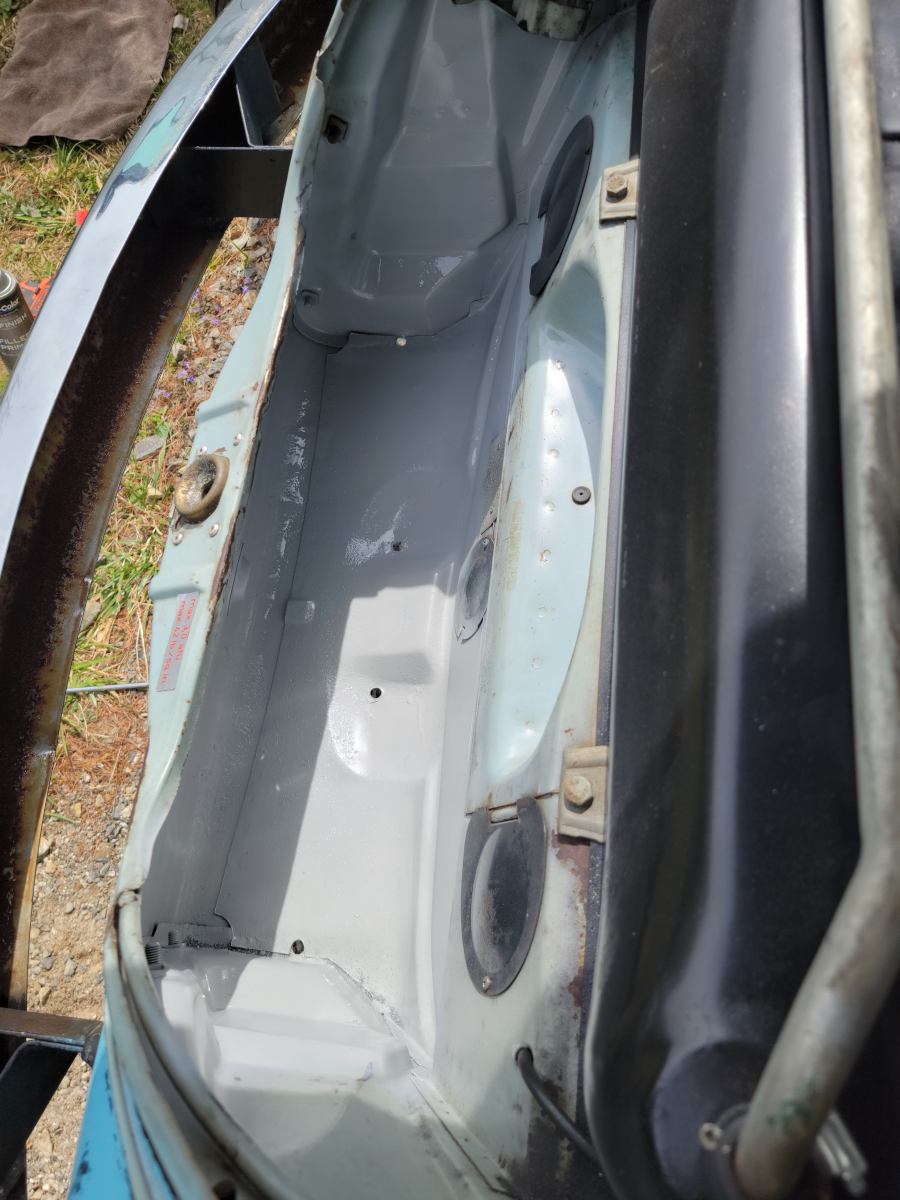
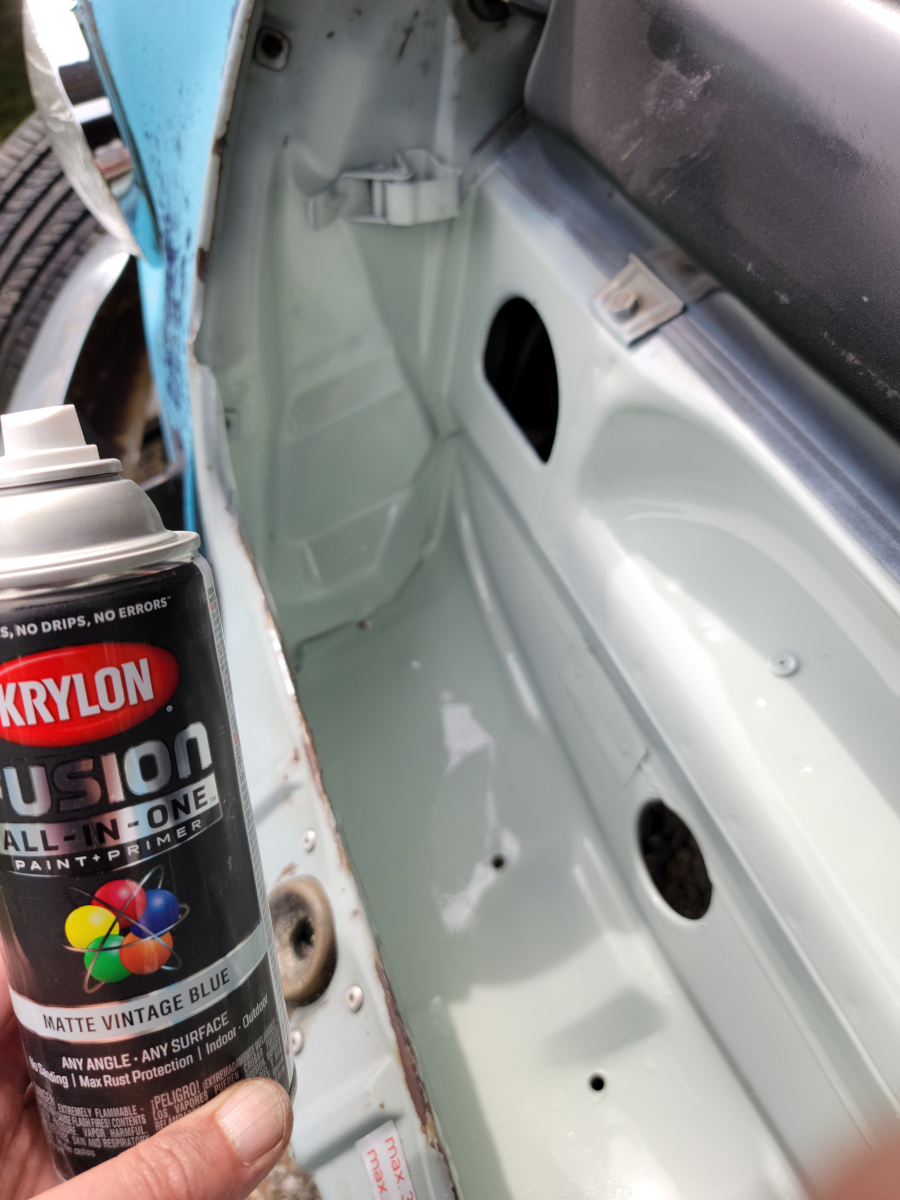
Wiped it all down with acetone and started spraying. First with rust converter, then primer.
You can see that the factory Zenith Blue paint is actually blue, when you put a gray primer up against it.
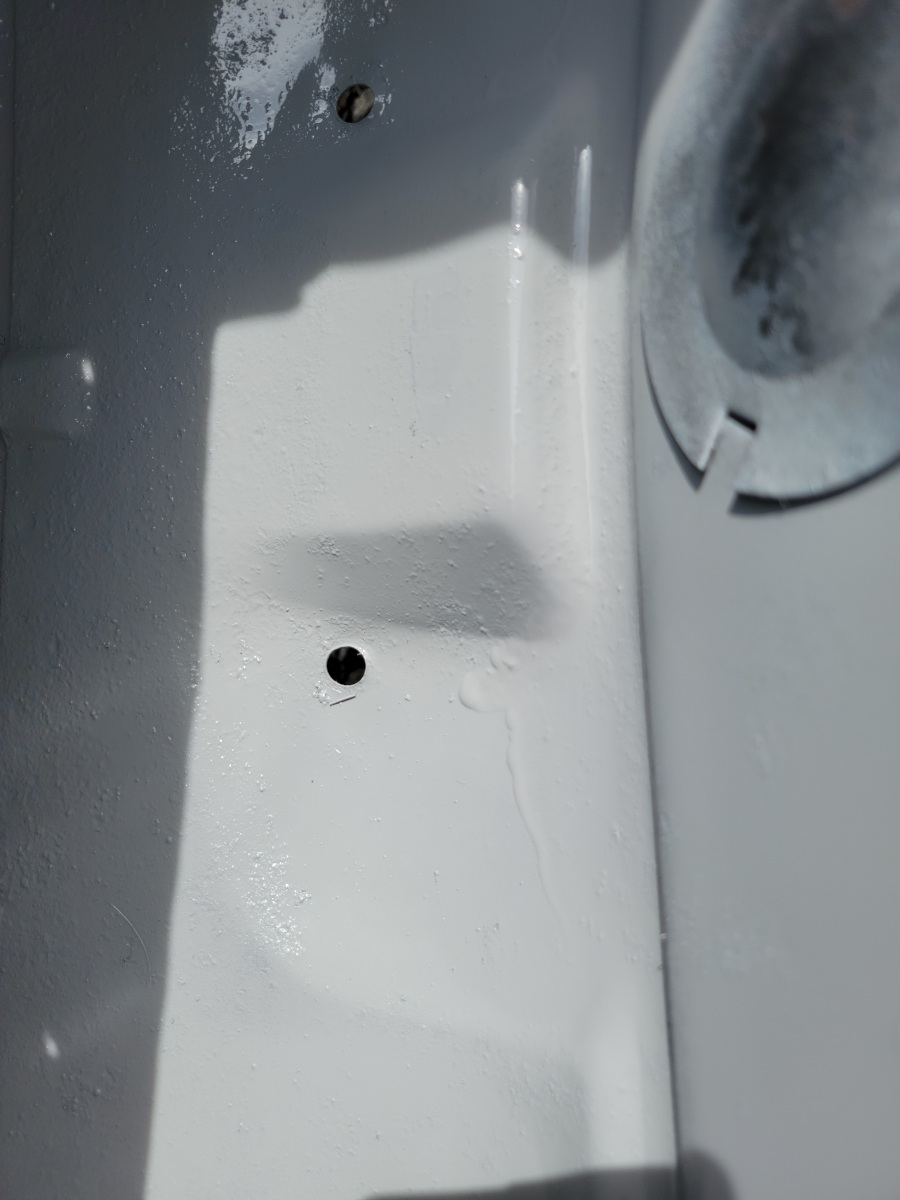
There are some weird angles in there and I had a couple of runs. I’m a well-qualified rattle can spray painter, but this Krylon Fusion 2 in 1 really runs wayyy too easily.
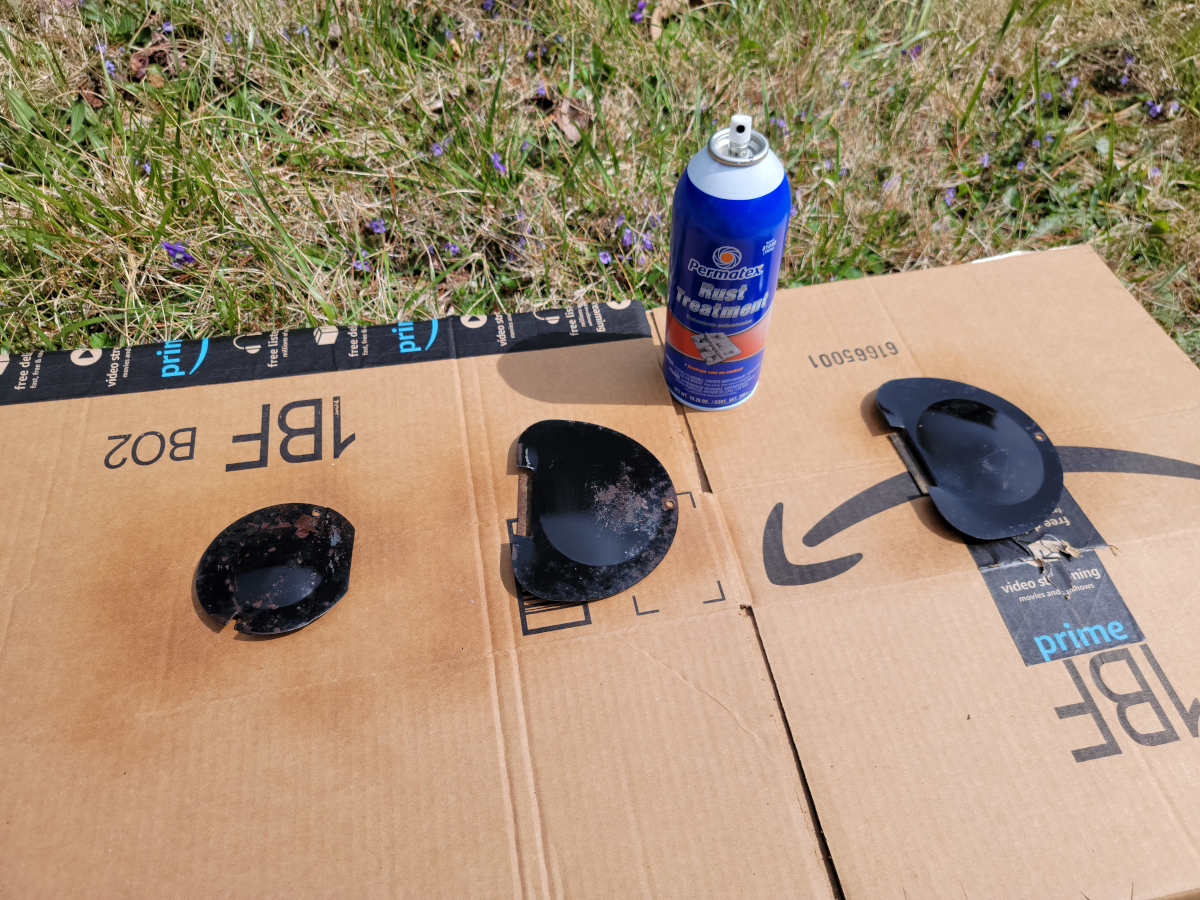
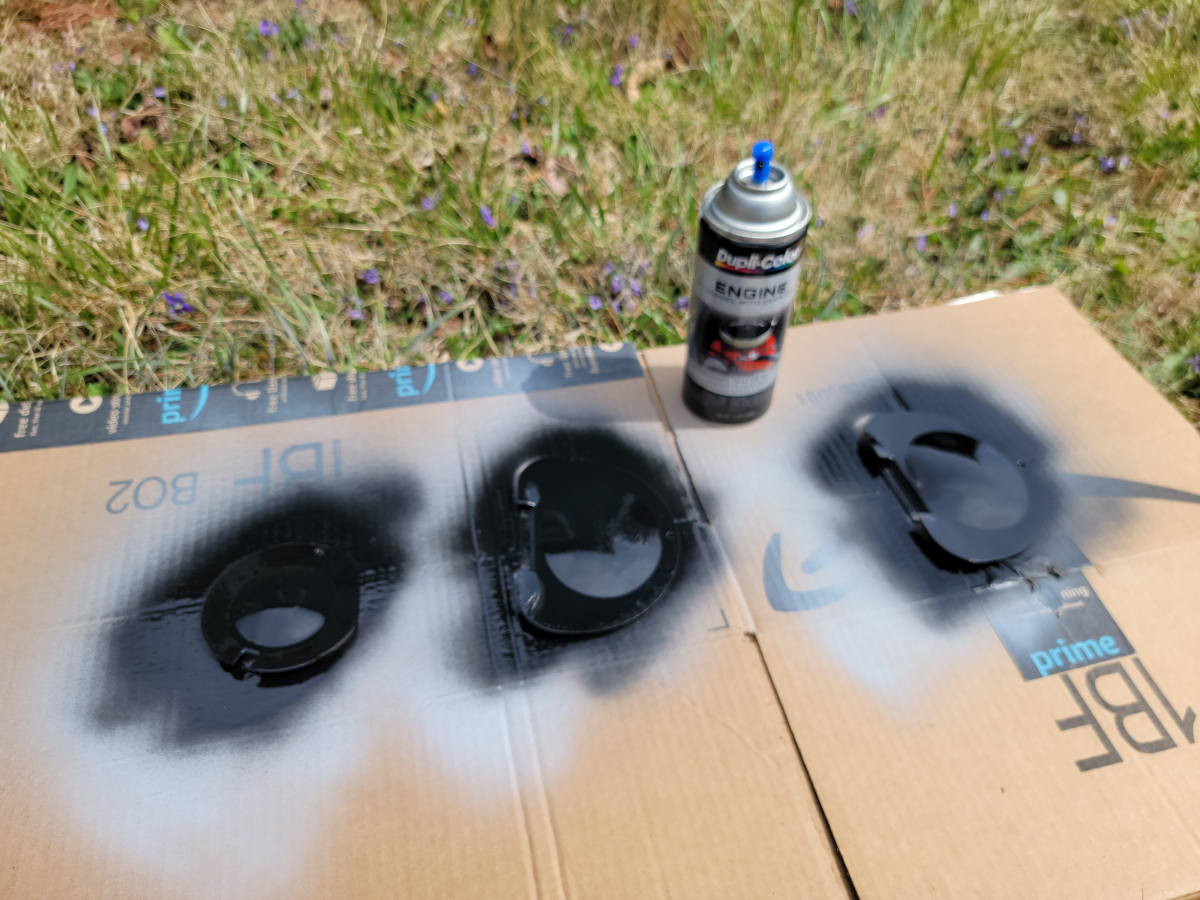
I pulled the inspection panel covers off and gave them the business as well.
Rust converterFiller primerLow glass black engine enamelRebuilt.
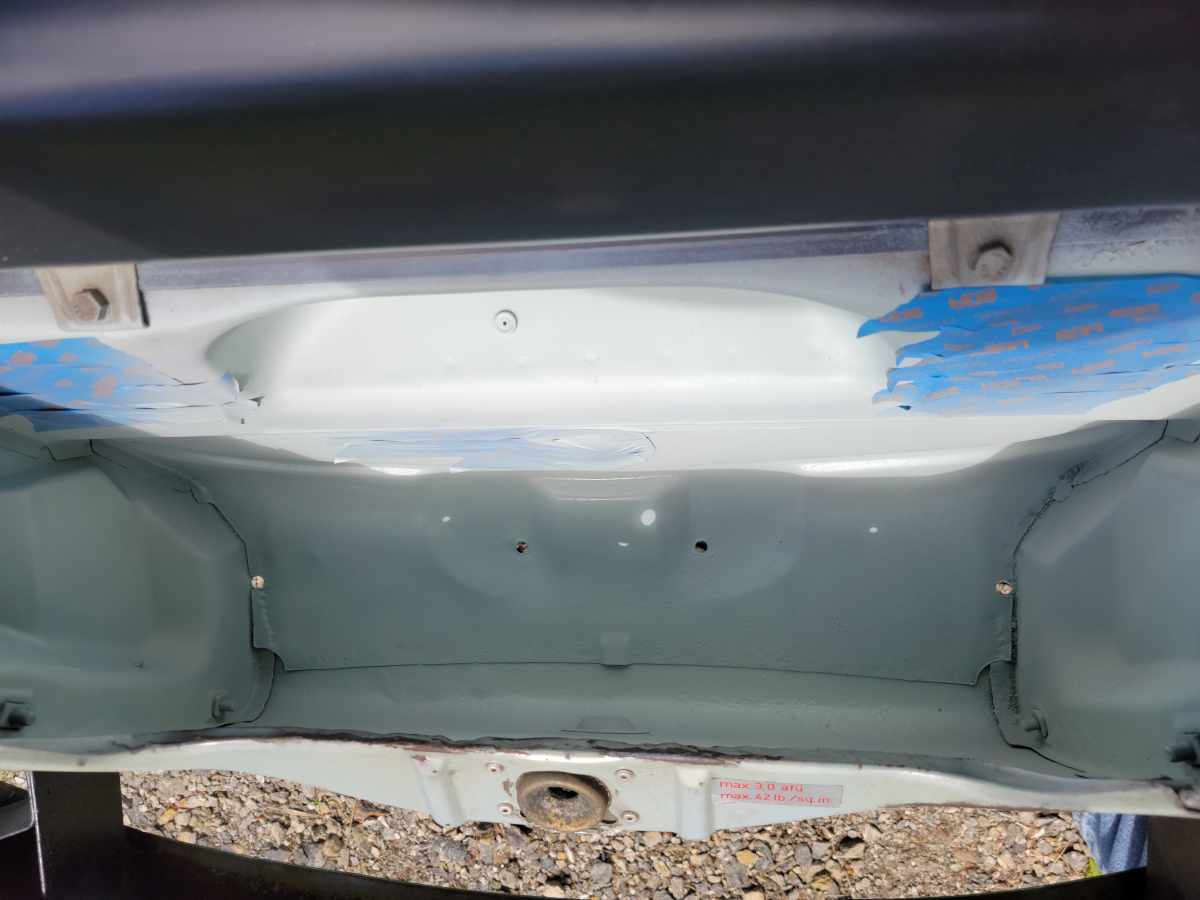
And then a couple of quick coats of Matte Vintage Blue paint, Krylon Fusion. Oh, and I did wipe off that body tag and the gas tank with acetone after each coat to get rid of the over-spray.
Note: This color is apparently no longer available from Krylon. That happens SO OFTEN – I find something I like and it immediately is removed from the marketplace. I only bought one can and am now hitting every Ace Hardware in town trying to buy up all remaining stock. They are completely gone from Lowes…
Why are there flies all over my truck?
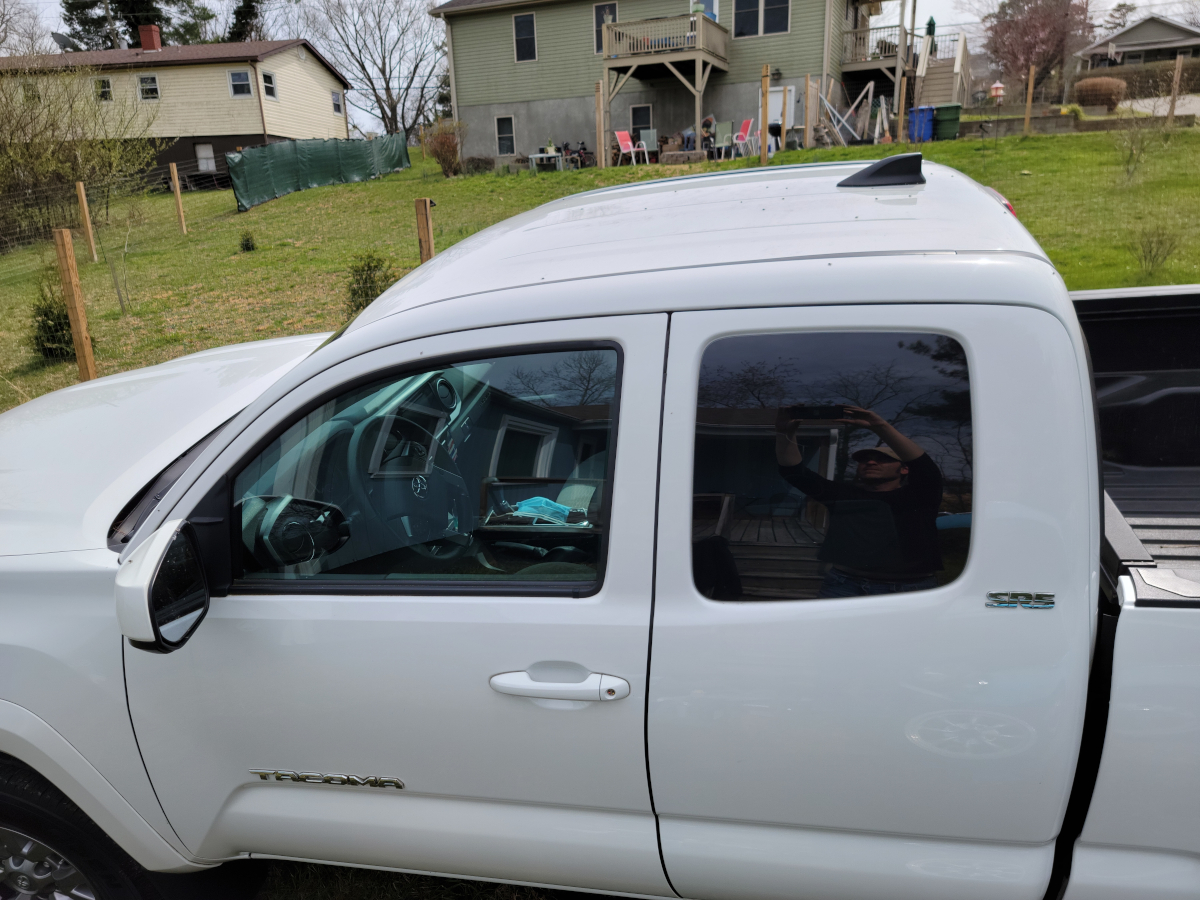
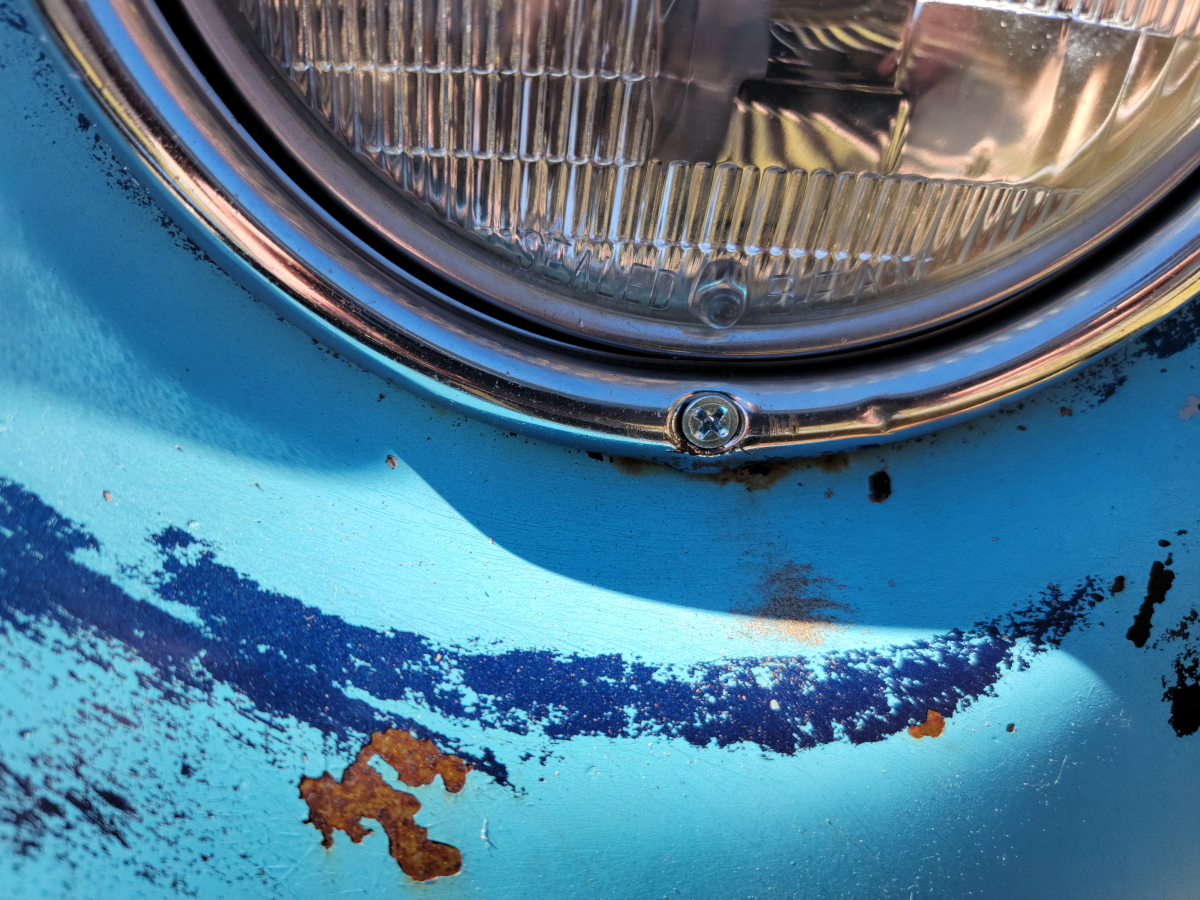
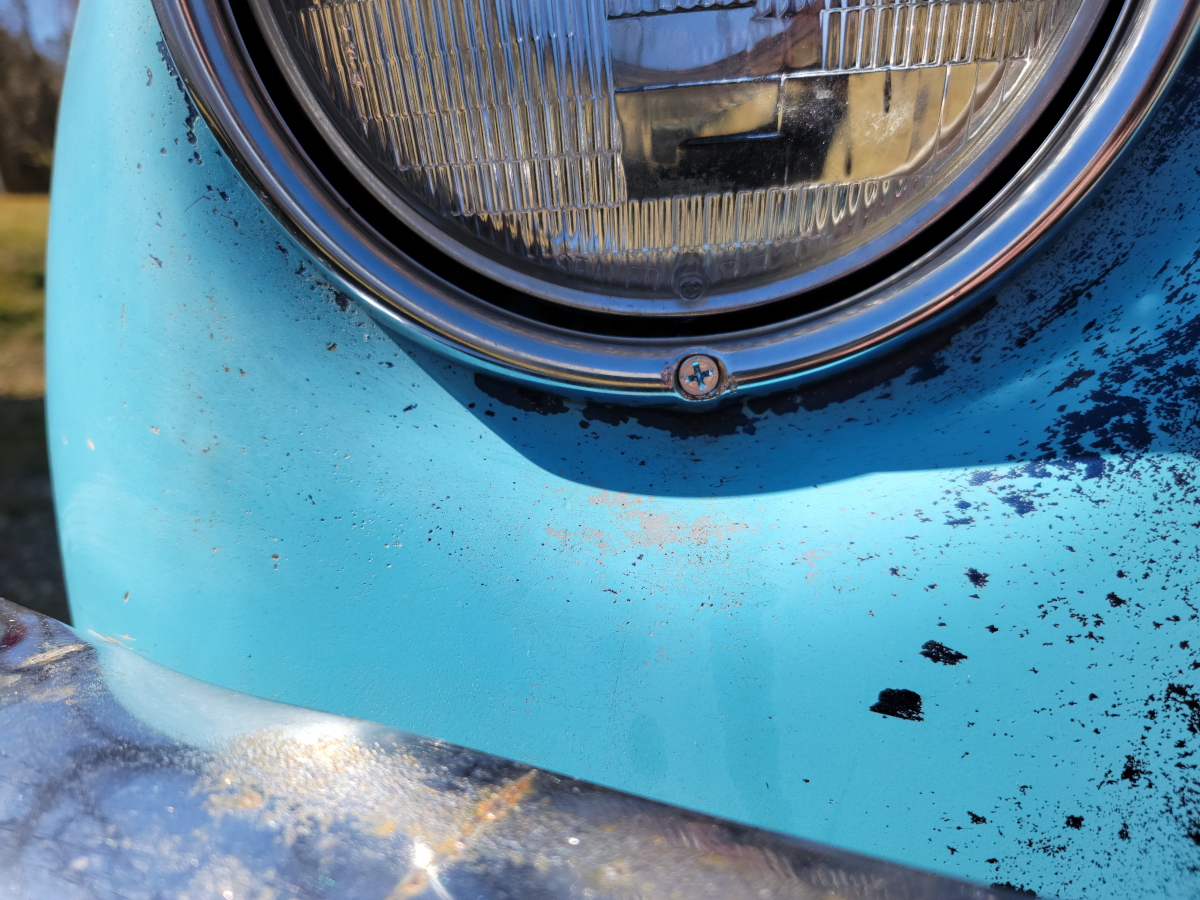
Anyway, with it all back together, it looks pretty sharp. The color match isn’t too bad for some random rattle can from Lowes.
I don’t think I would paint the outside of the car with it, but if I’m doing body work and removing rust, it would definitely be a better alternative to leaving it in primer for who knows how long.
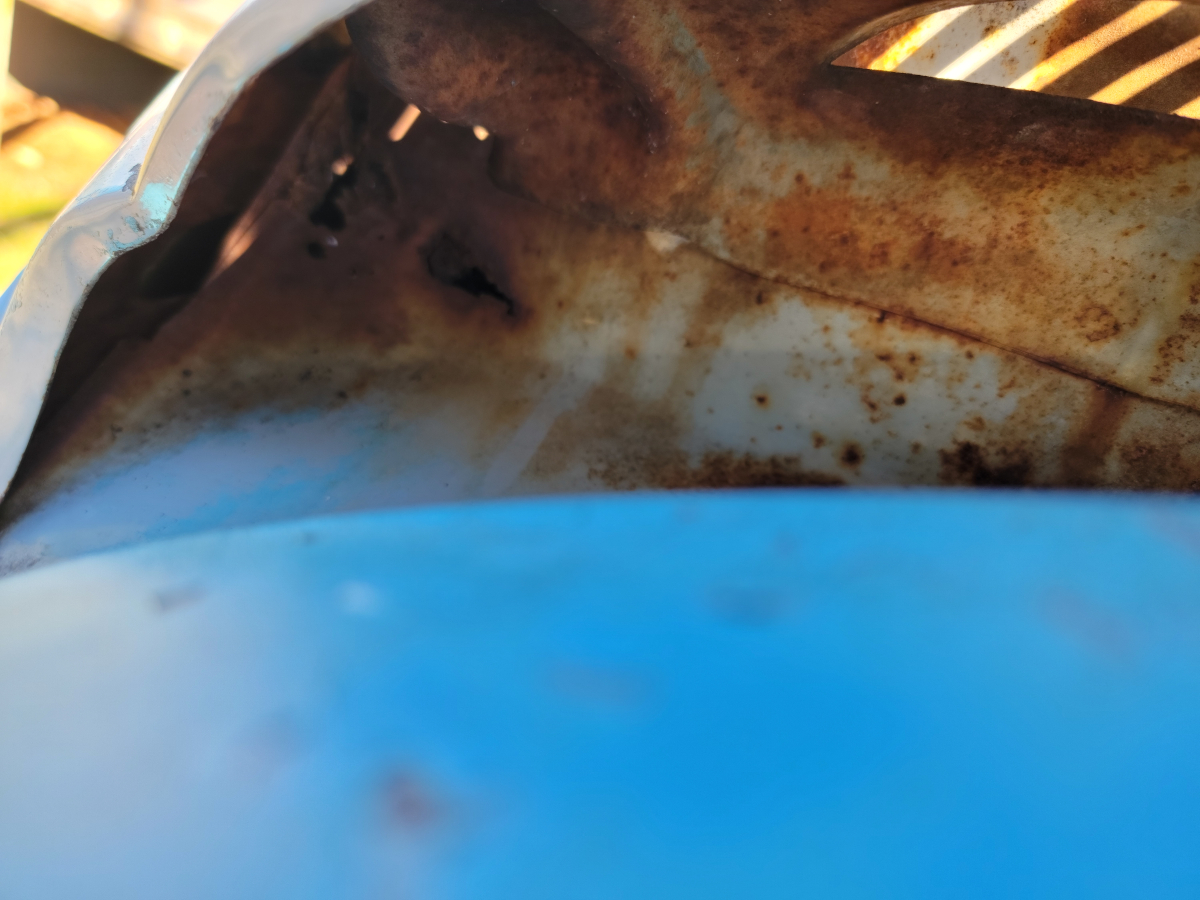
As I was poking around, I finally found an actual rust hole. If this is as bad as it gets, then the old girl is doing pretty OK.
This is at the top left corner above the engine bay, behind the air vent louvers. Not even sure how you would get up in there to fix it.
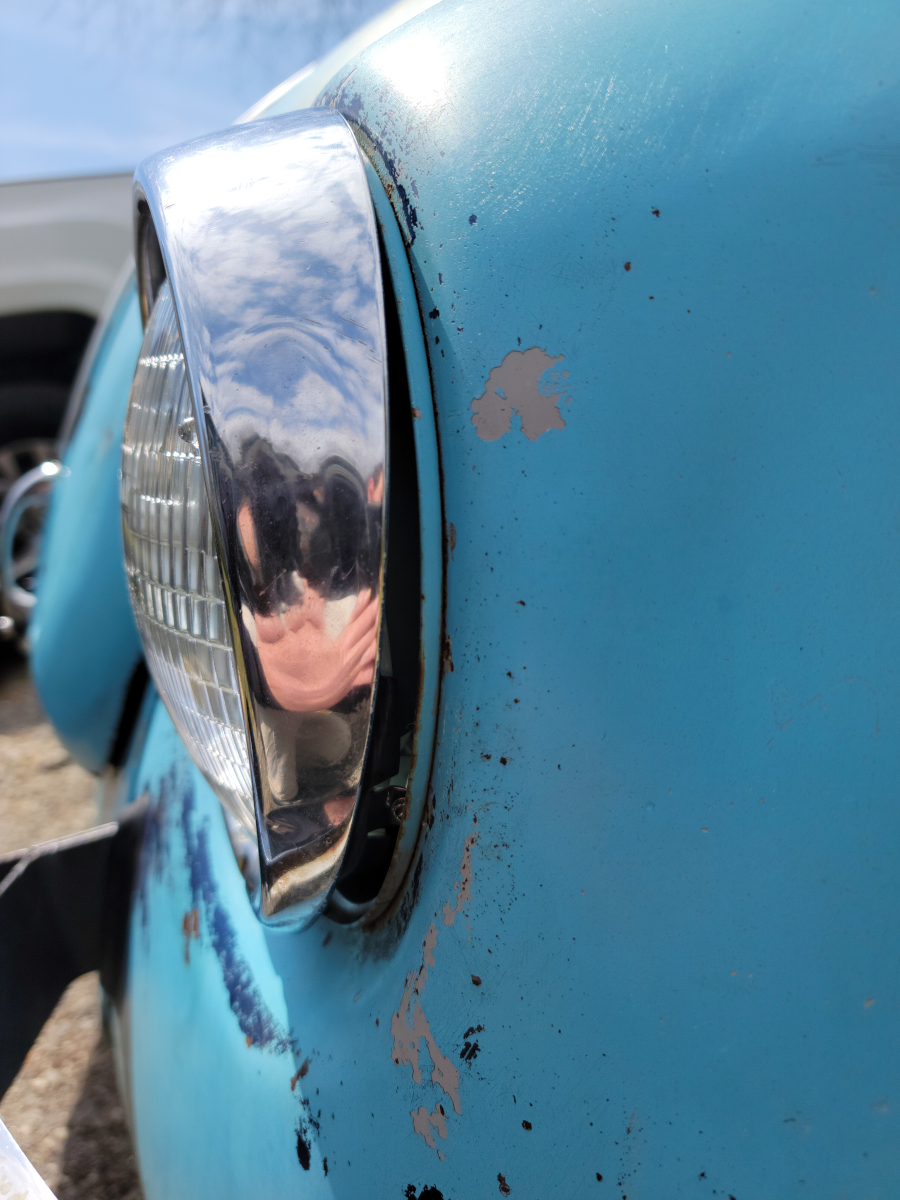
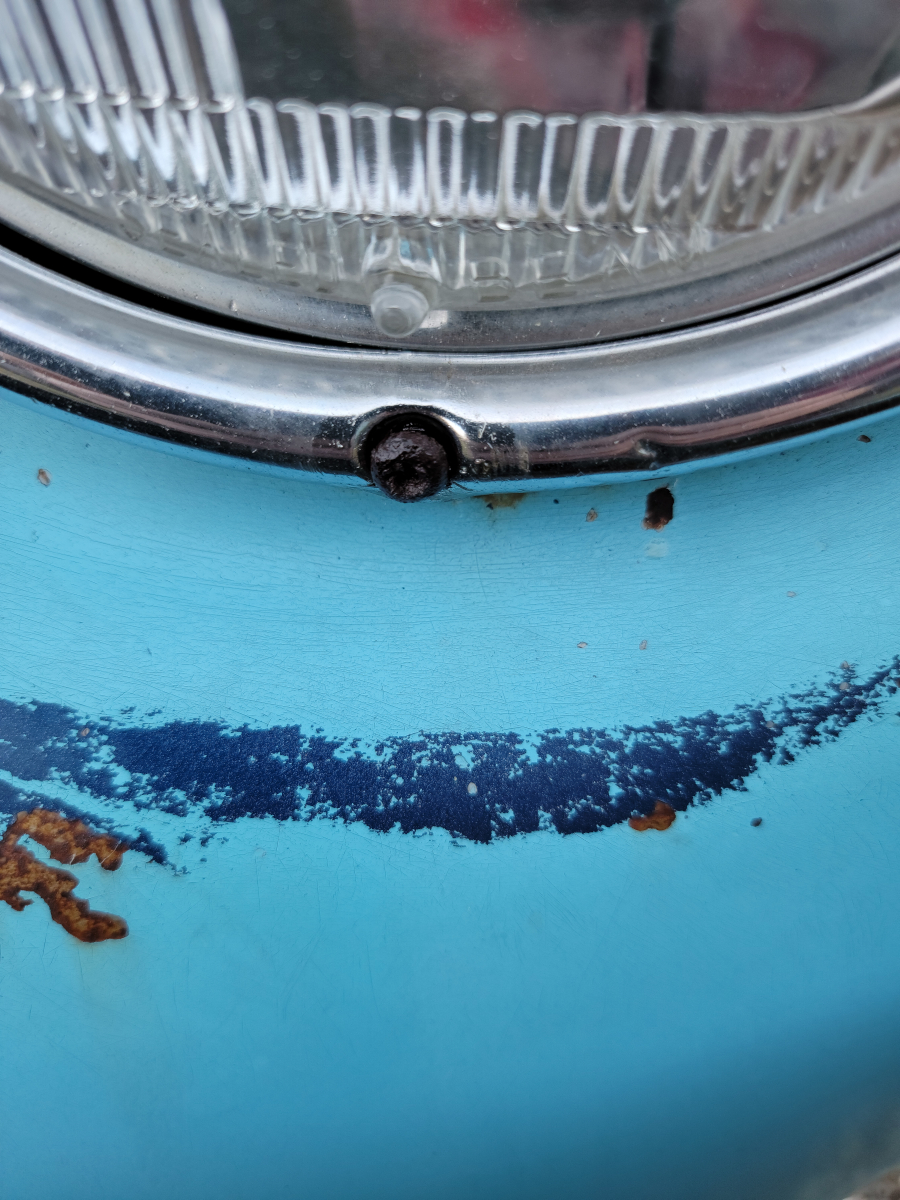
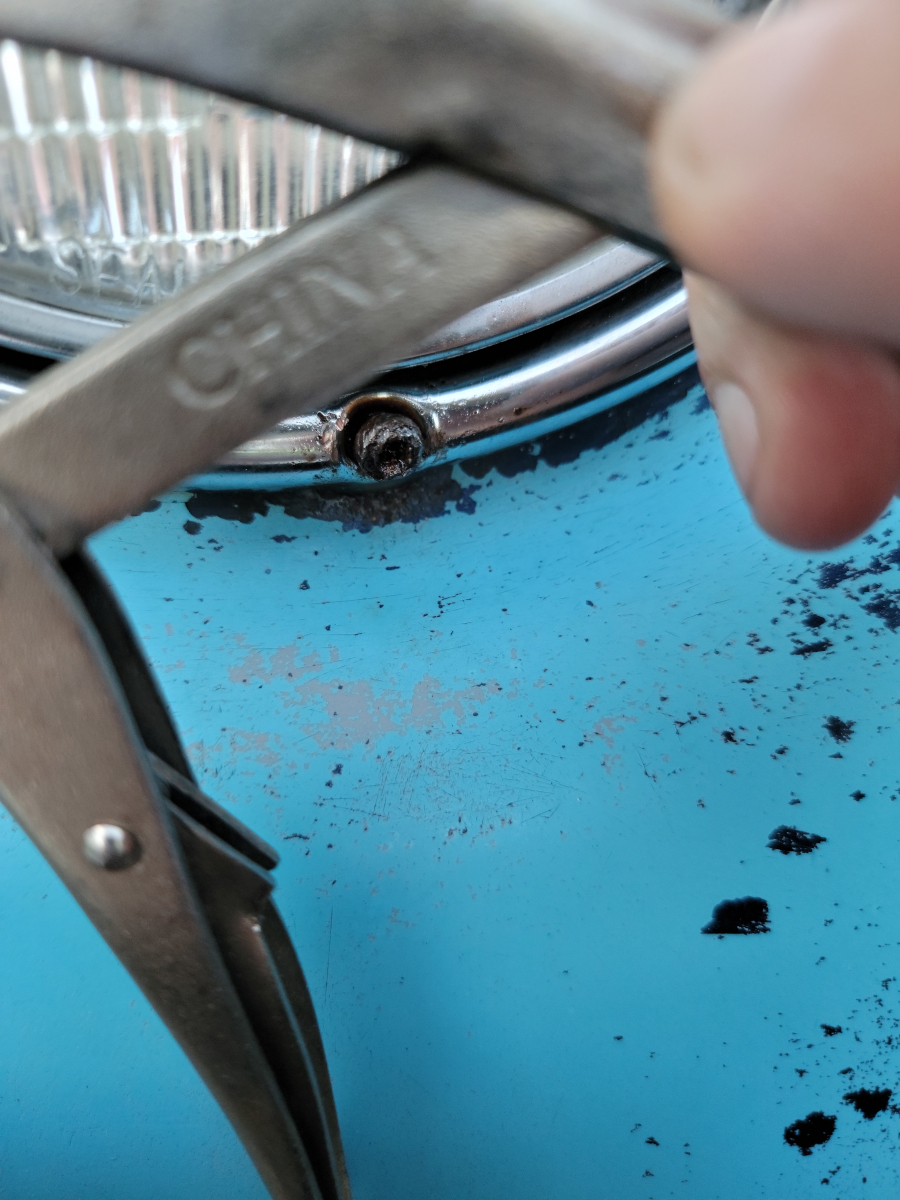
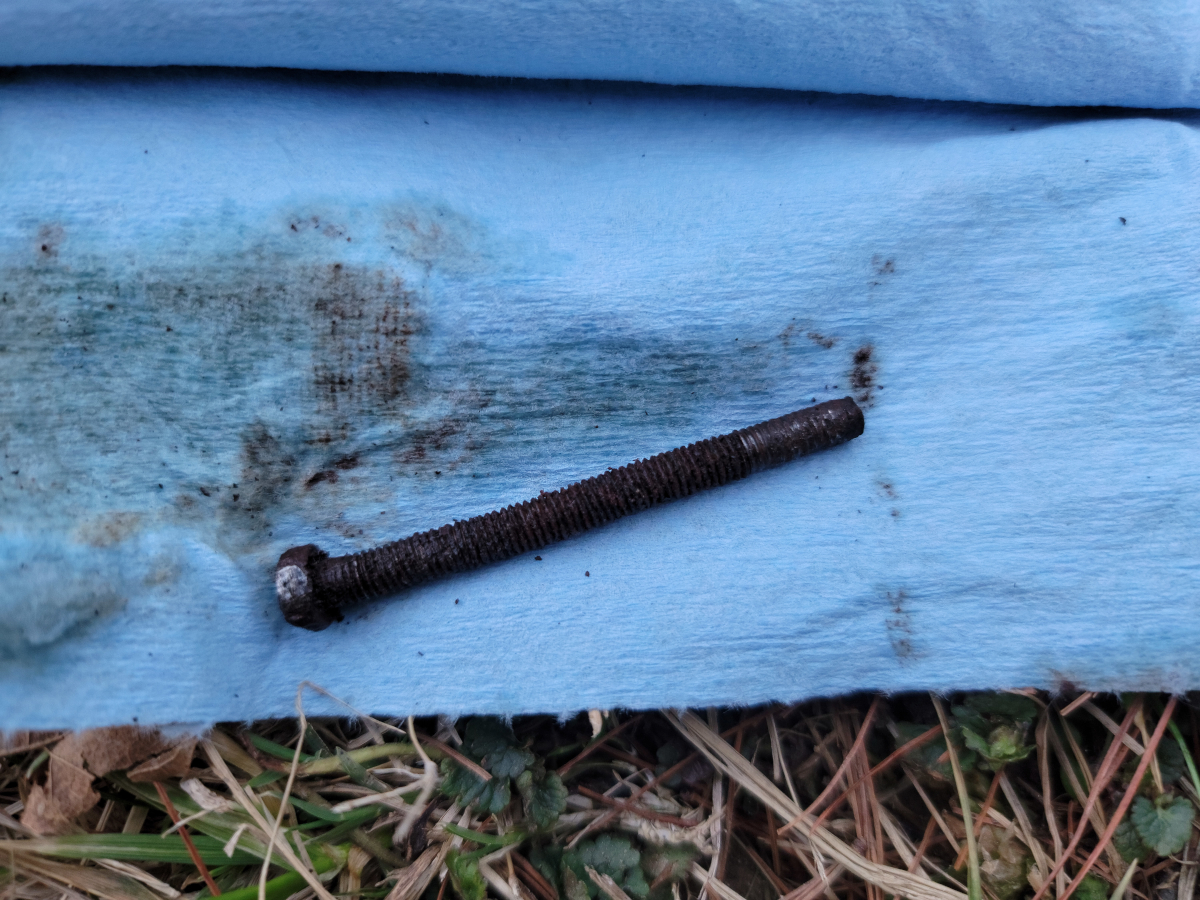
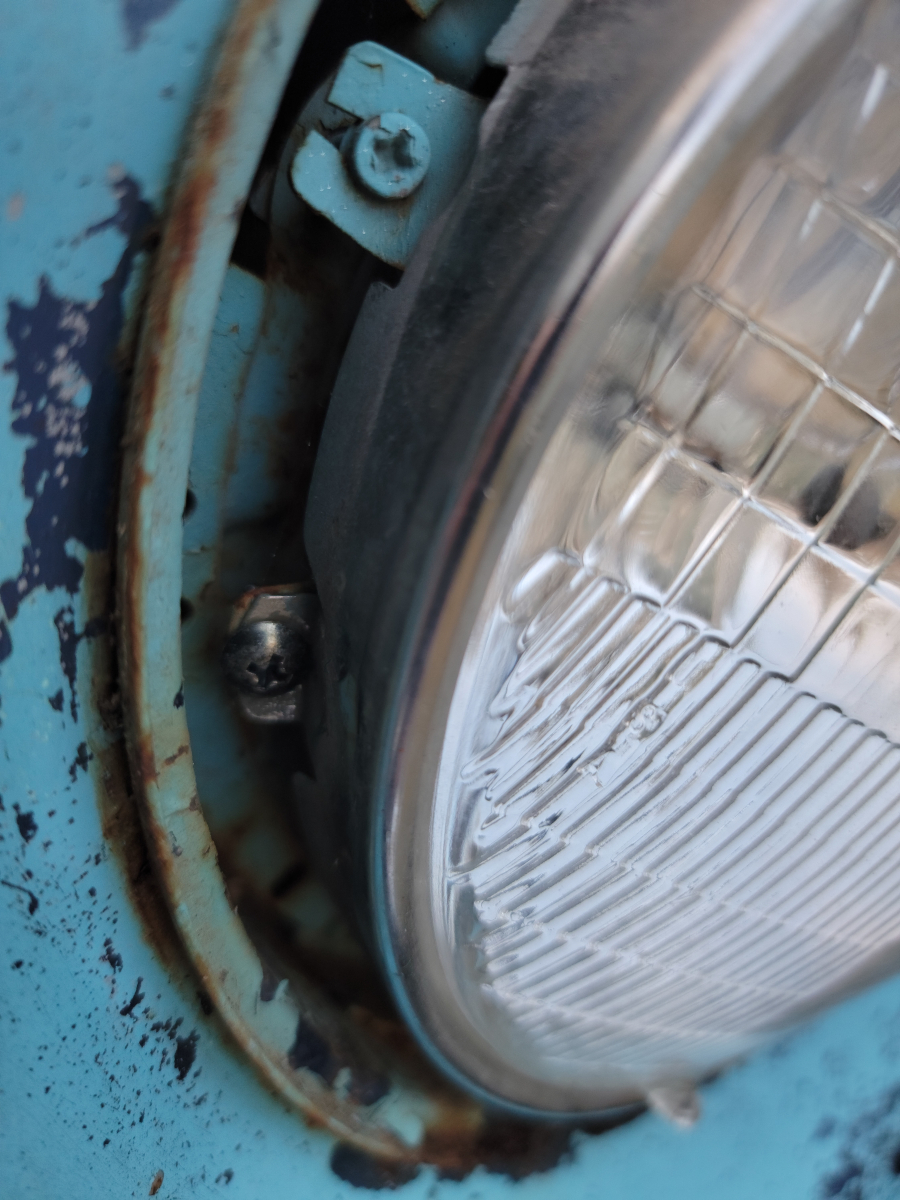
Next, the headlights were both aimed in crazy directions. Derp eyes for real. The screws to remove the chrome bezels to get back into the headlight buckets where the aiming screws are located was not going to be easy, on account of these rusted screws that wouldn’t turn with a screwdriver. Soaked them in PB Blaster for a couple of days.
There is some of that purplish blue paint I mentioned in an earlier post.
Harbor Freight sells the best screwdriver for the job.
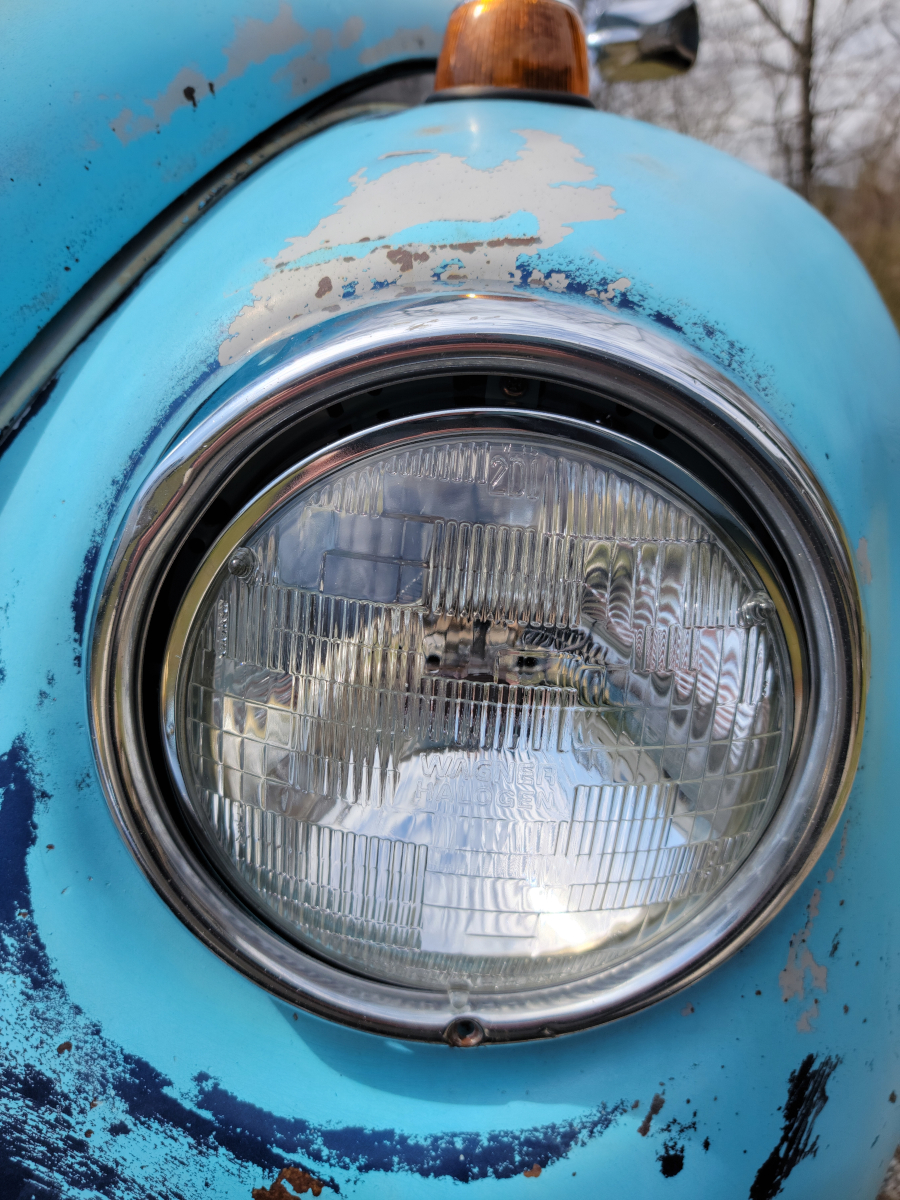
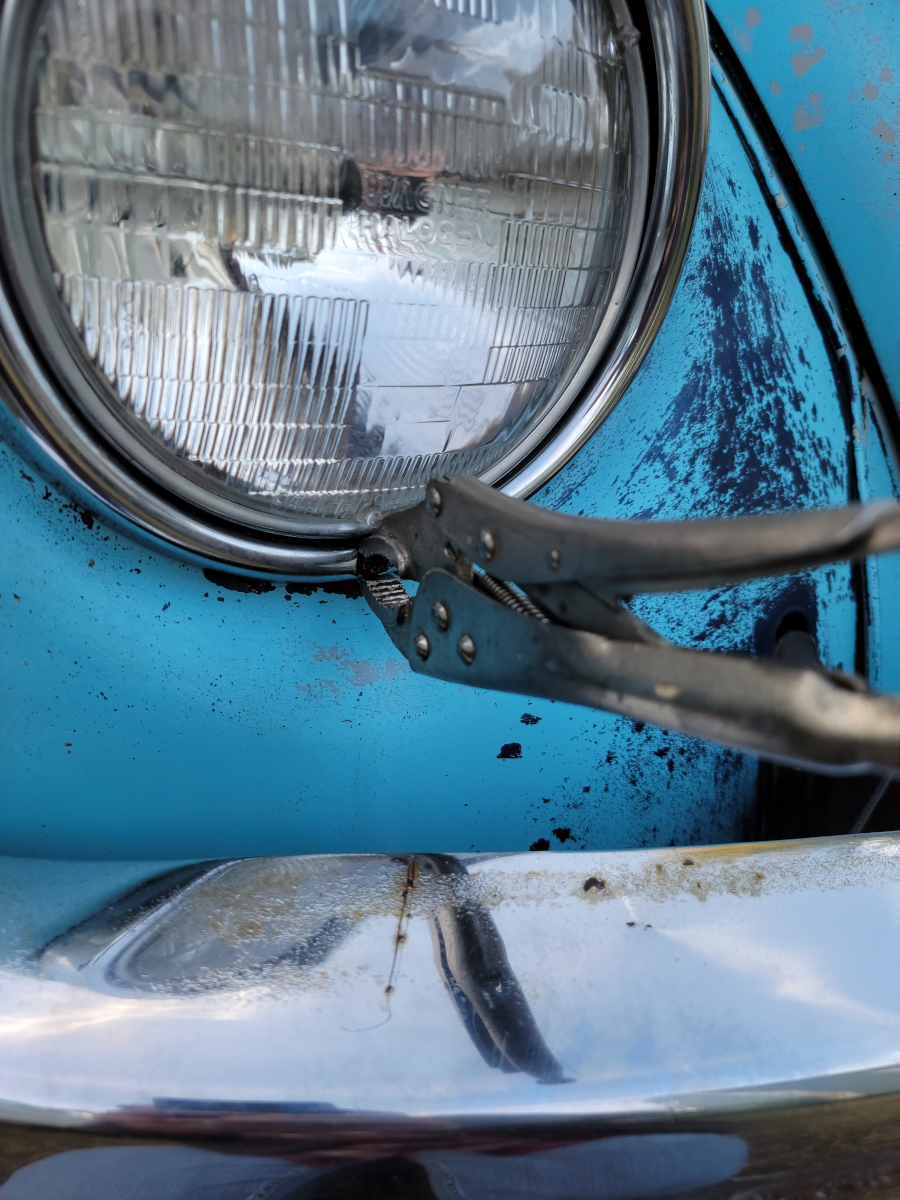
With the headlight bezels removed, I could finally get at the headlight aiming screws.
There were broken and missing screws, more rusty metal, and alas… The nylon blocks that the headlight aiming screws screw into are split and just spin without moving the headlight.
Well, at least I was able to find the right screws to replace the rusty chrome bezel screws. I took the better of the two that I had removed to Napa and they were able to identify the size and thread pattern for me, though they didn’t have any in stock. They are #10-32 machine screws. I bought some at a little Ace Hardware down the road that were 2 and 2 1/2 inches long. The ones that came out of it look like 2 1/4″ which they didn’t have in stock. The 2 inch ones worked fine.
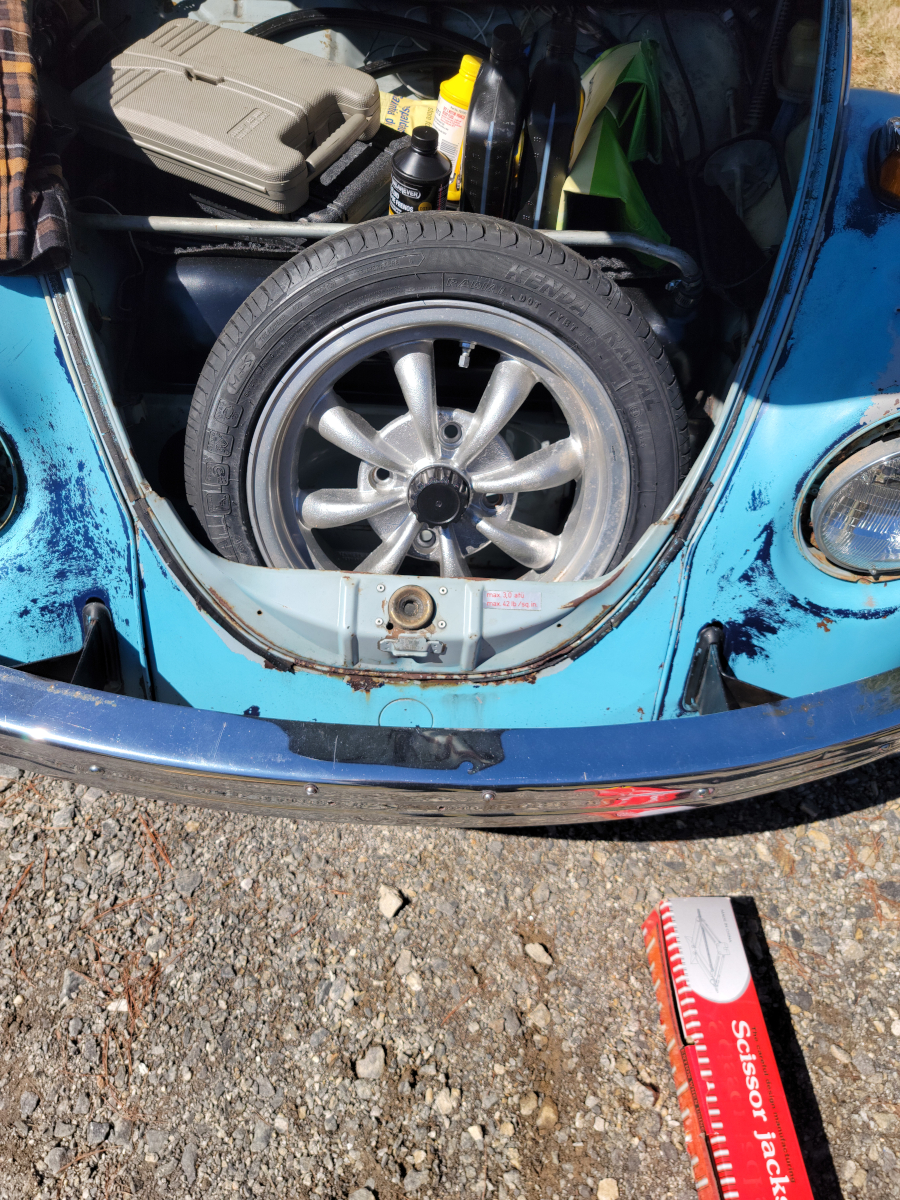
I also made a trip to a little tire shop down the street from my house and got the new tire mounted on the Empi wheel. When I got home with it and tried to put it in the spare tire well, it had apparently shrunken back into the old smooshed position.
Metal memory.
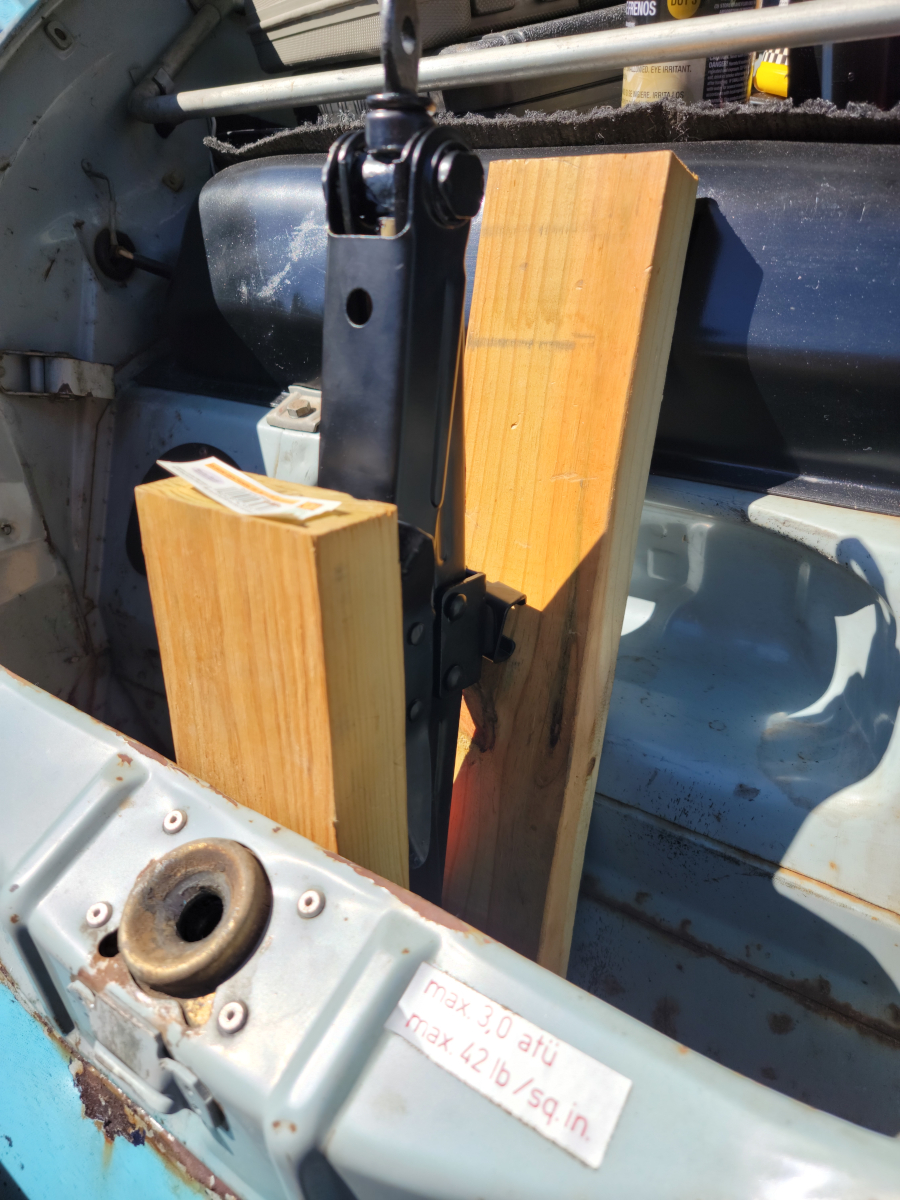
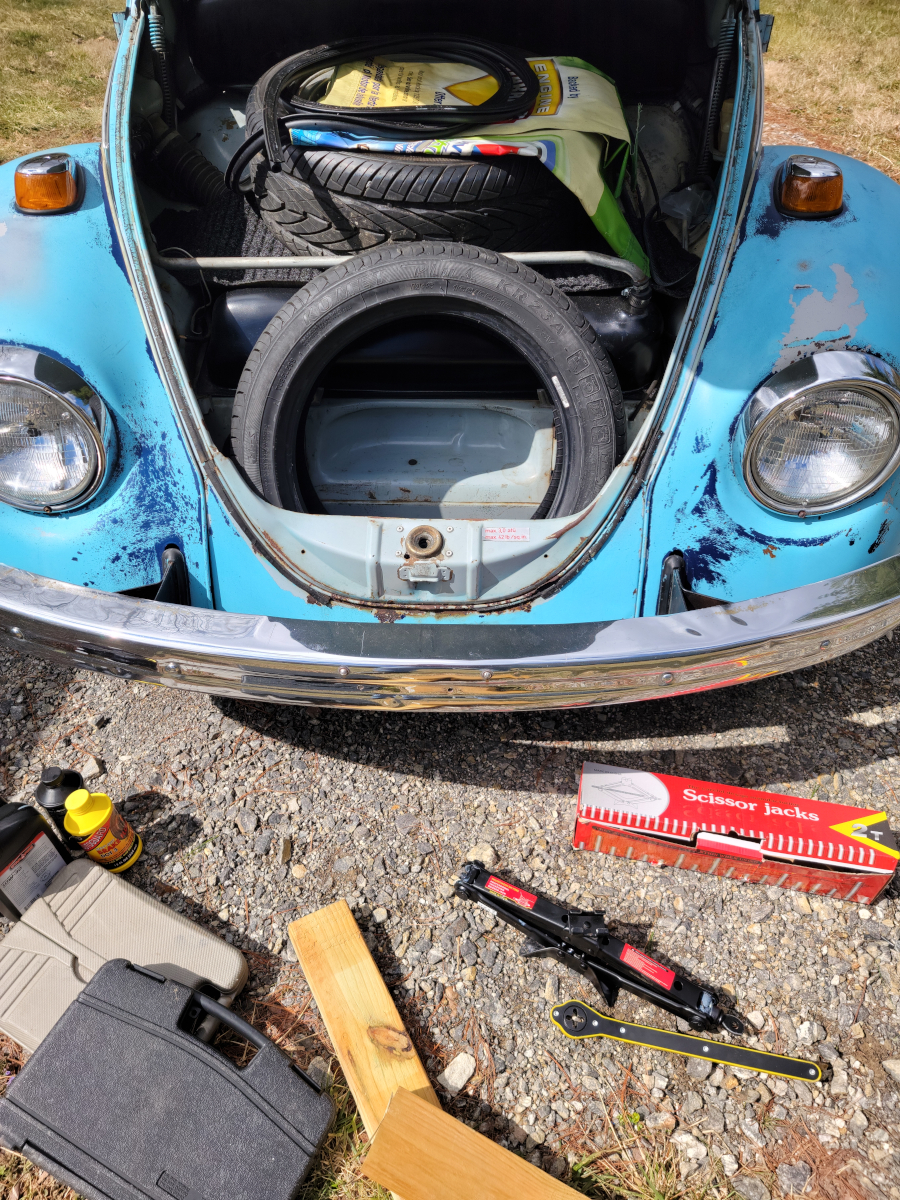
So I got the scissor jack and scrap wood out again and made it fit.
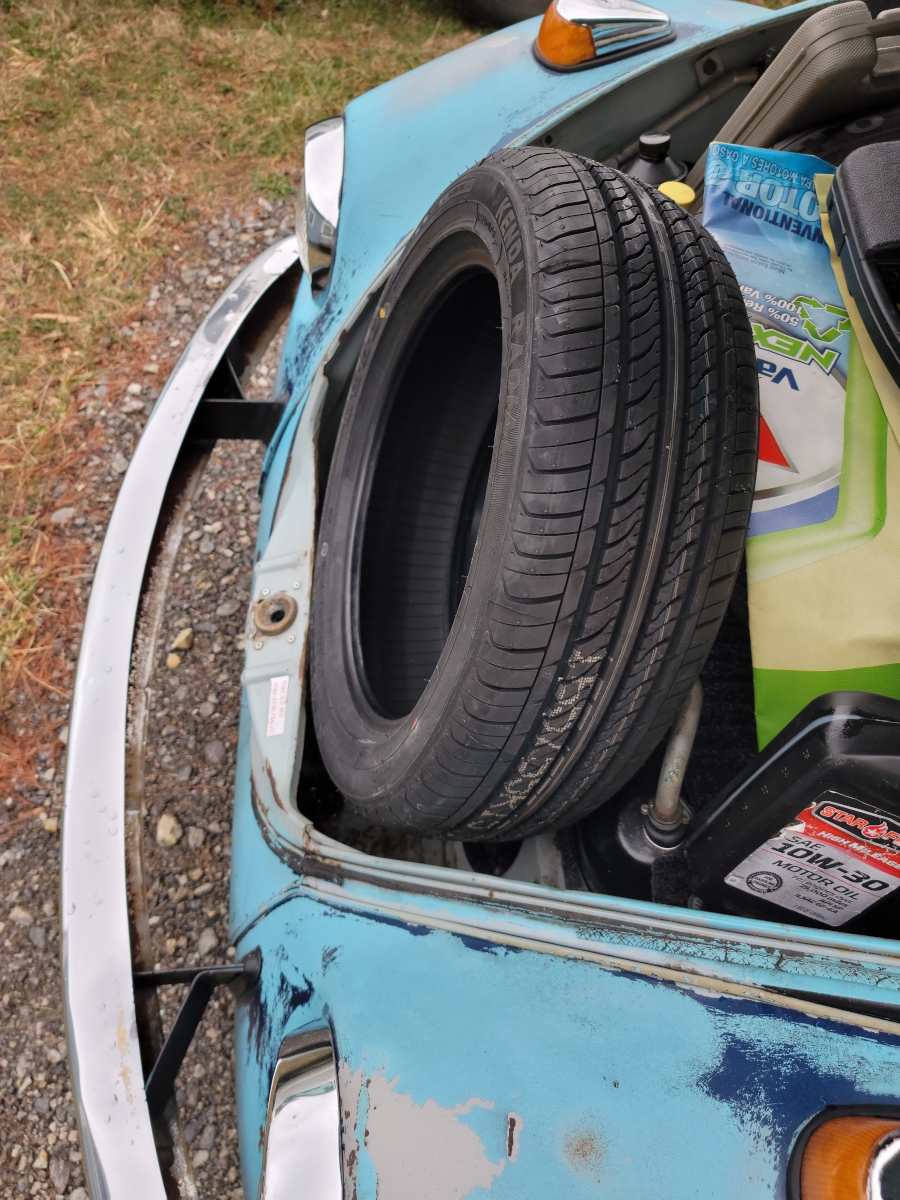
The car didn’t come with a spare tire, but did come with four “spare” rims and tires, the Empi wheels shown in the listing pictures. I had been carrying one of those wheels in the front trunk, but had to lay it down horizontally on top of the gas tank. The tires that were mounted on the Empi wheels were quite a bit wider than the stock size and it wouldn’t stand up in the spare tire well.
I ordered a new tire off of Ebay (Kenda Komet Plus Kr23 – 165/55r15) in the narrower stock size. That tire wouldn’t fit in there either.
Looks like she’s had a bit of a smoosh in the front.
Using a scissor jack (which also didn’t come with the car – Amazon link) and a couple of pieces of scrap wood, I was able to stretch it back into shape and got the tire down in there.
As an Amazon Associate I earn from qualifying purchases. I also often provide links to products on other sites that do not provide affiliate income.