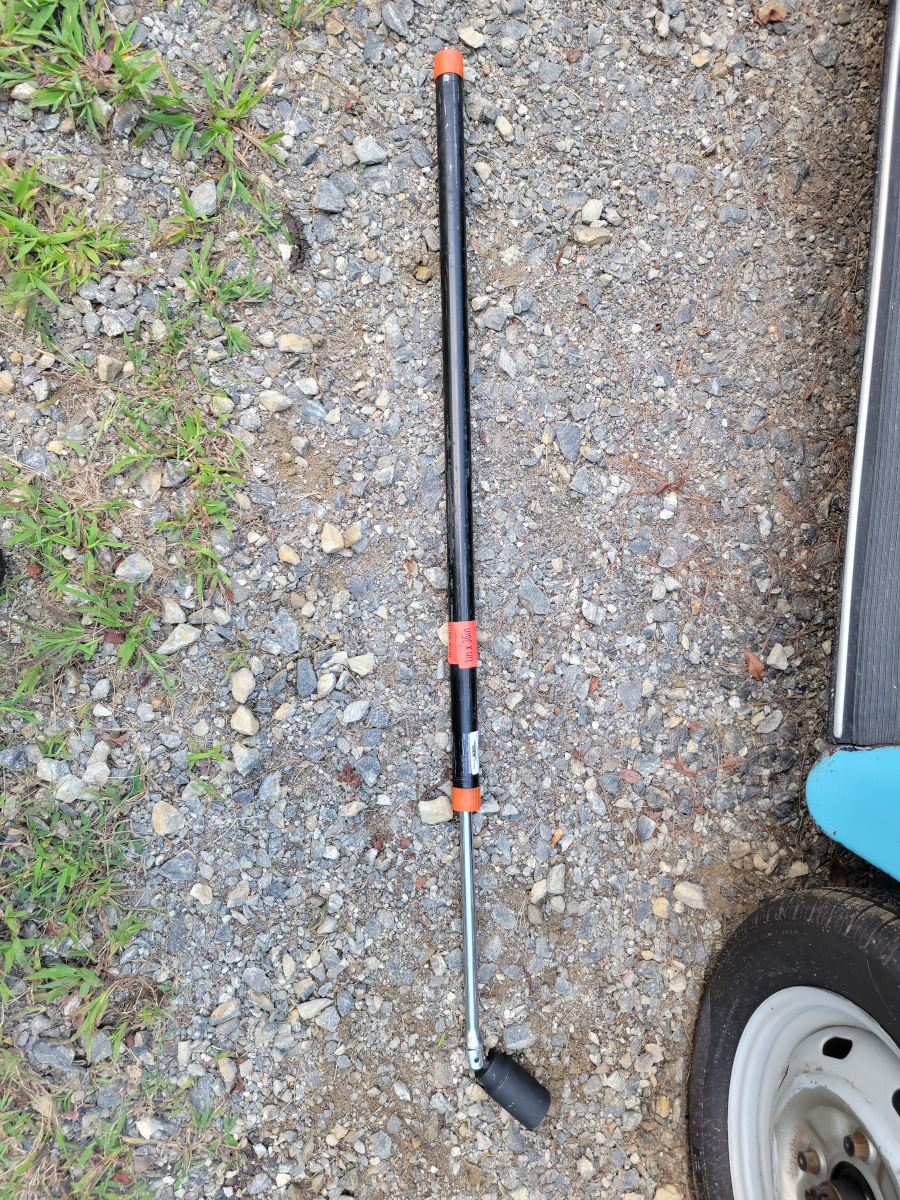
Back at it again! This time, with a 36″ cheater pipe.
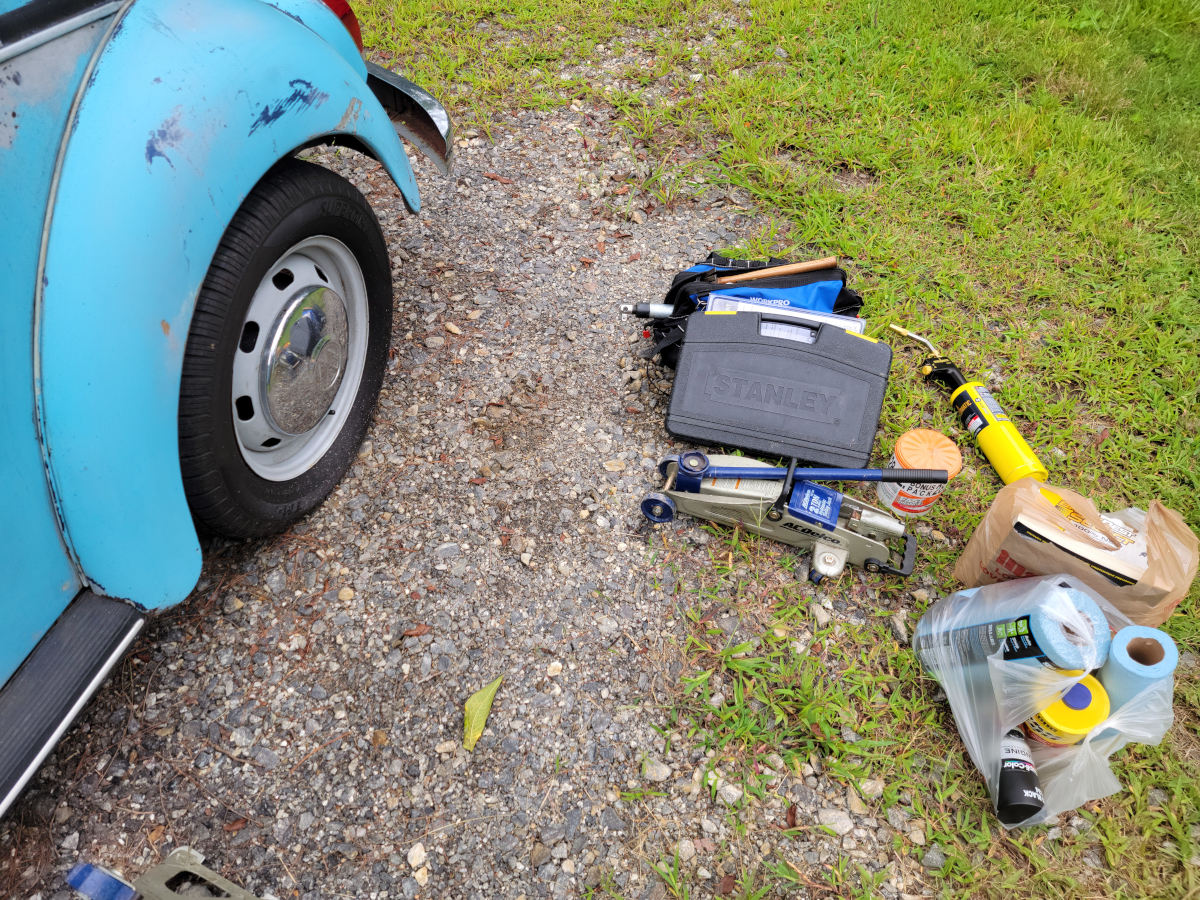
Also, I anchored the car a little better to keep it from roll starting on me.
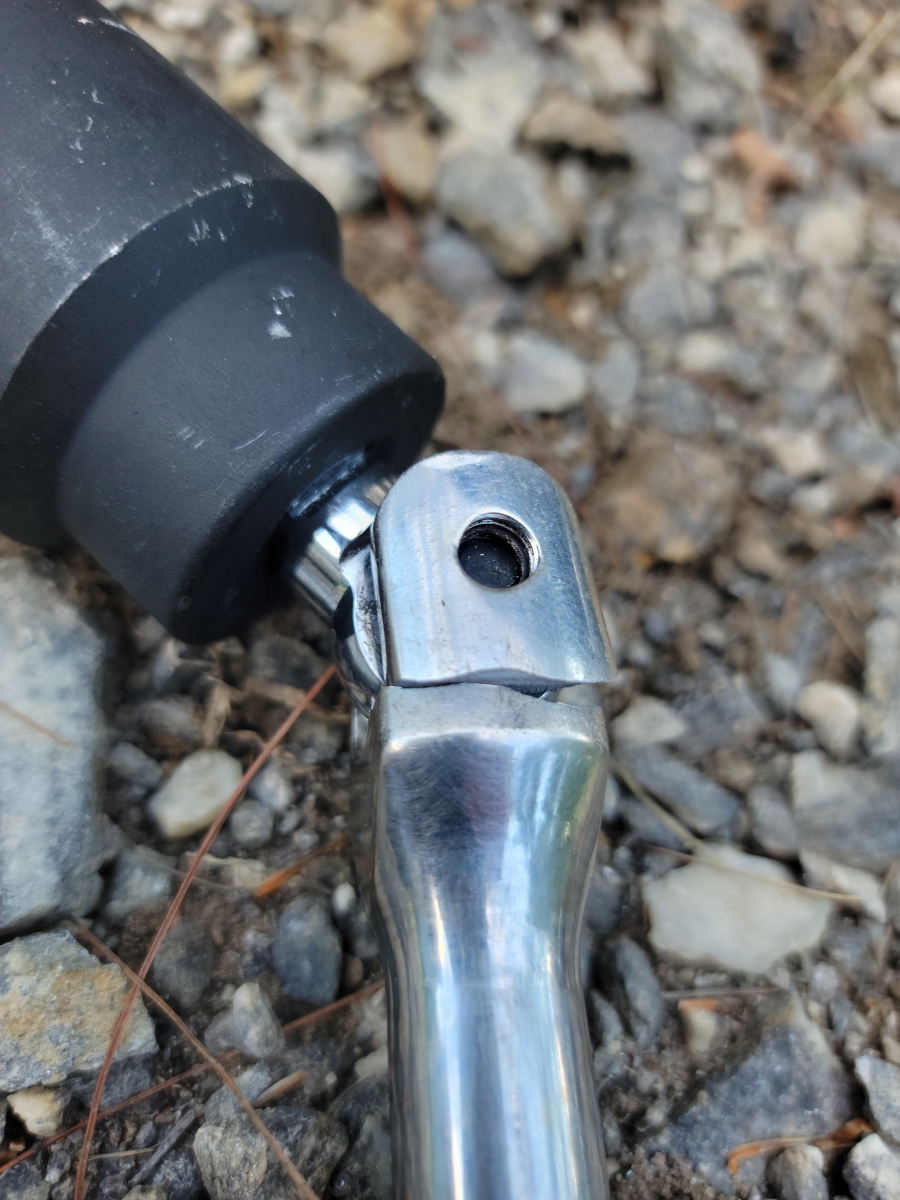
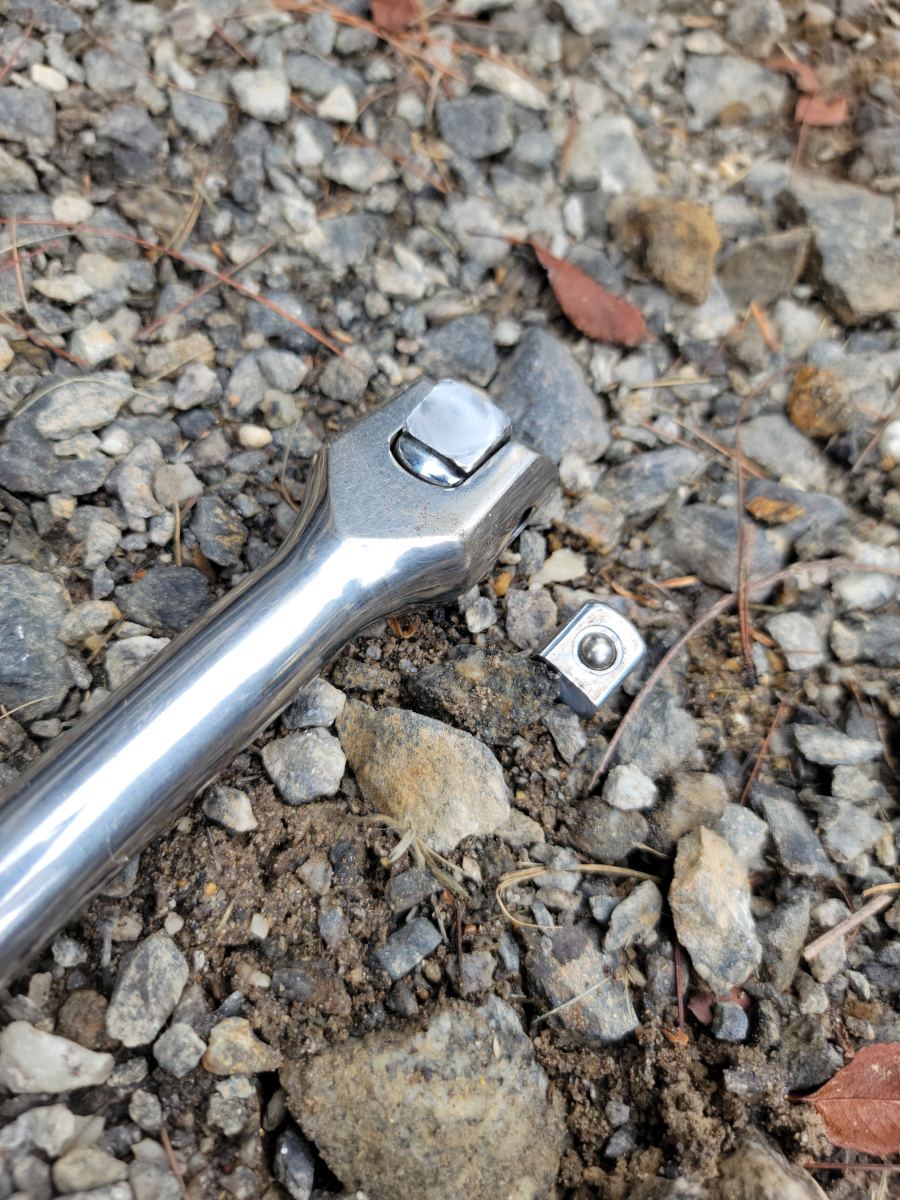
A few more rounds of heating and torquing, then the inevitable happened.
It was apparently too much to ask of Mr. Goodwrench. R.I.P.
I never did get that axle nut off, but luckily a friend was able to. With a proper garage full of proper tools and being a proper man, Dave was able to torch it up to red hot, then torque it back and forth with his 1000 ft lb air impact. We tried it with the impact before the torch and it wouldn’t budge in either direction.
FINALLY, I will be able to get that brake rebuilt.
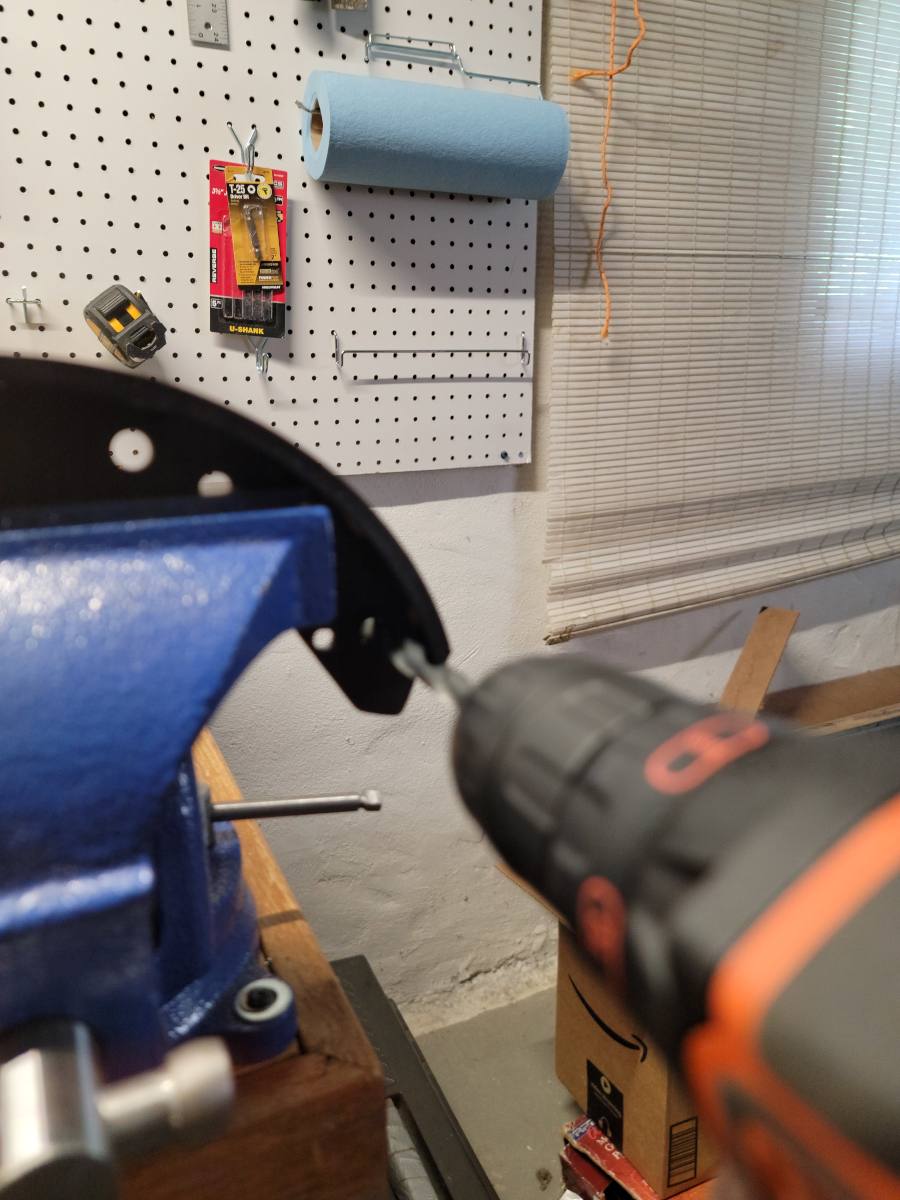
Back to that driver’s side rear wheel, I made a couple more attempts at getting the axle nut loose. For a start, I bought a Bernzomatic MAP gas hand torch kit (Amazon link)…
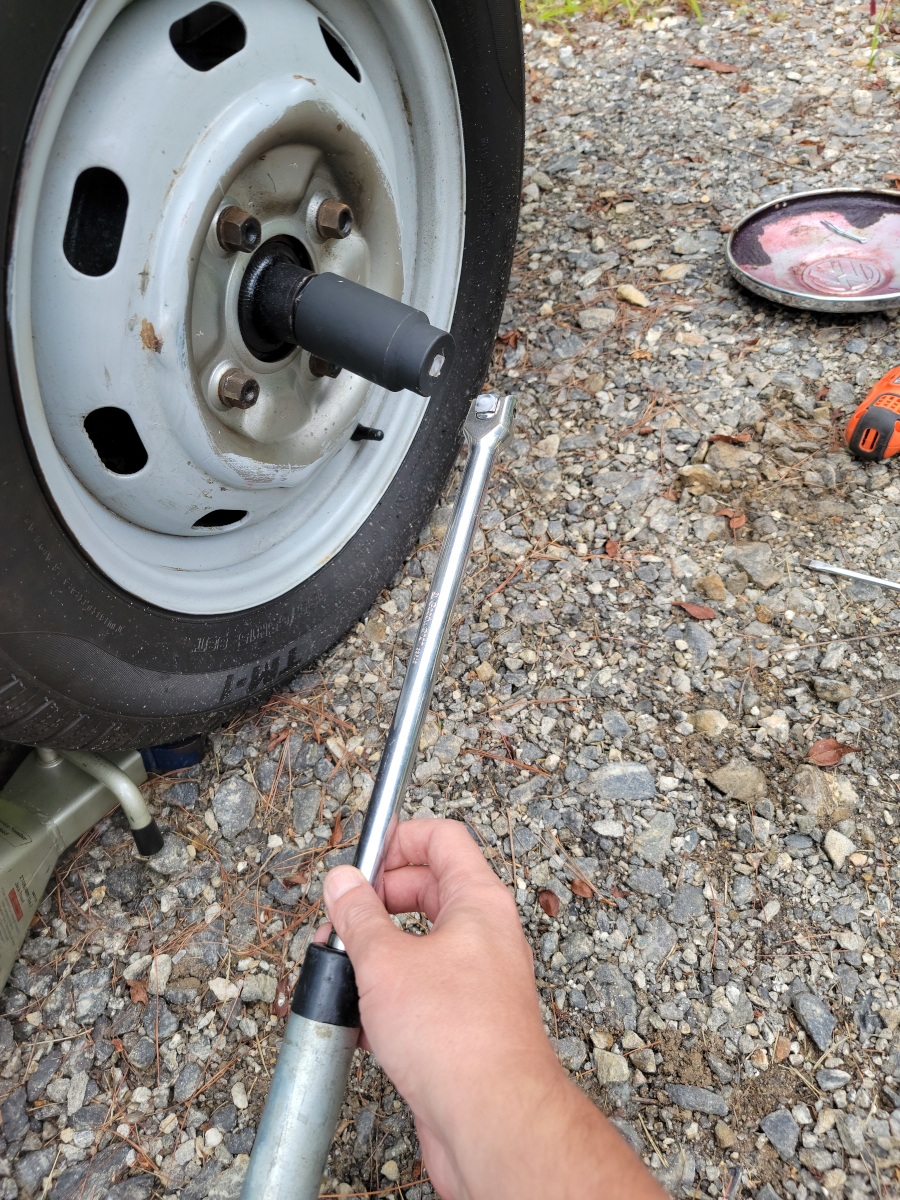
I heated the axle nut until it was smoking, then jumped up and down on it with my old faithful 17″ long Goodwrench 1/2″ drive breaker bar with an 18″ cheater pipe.
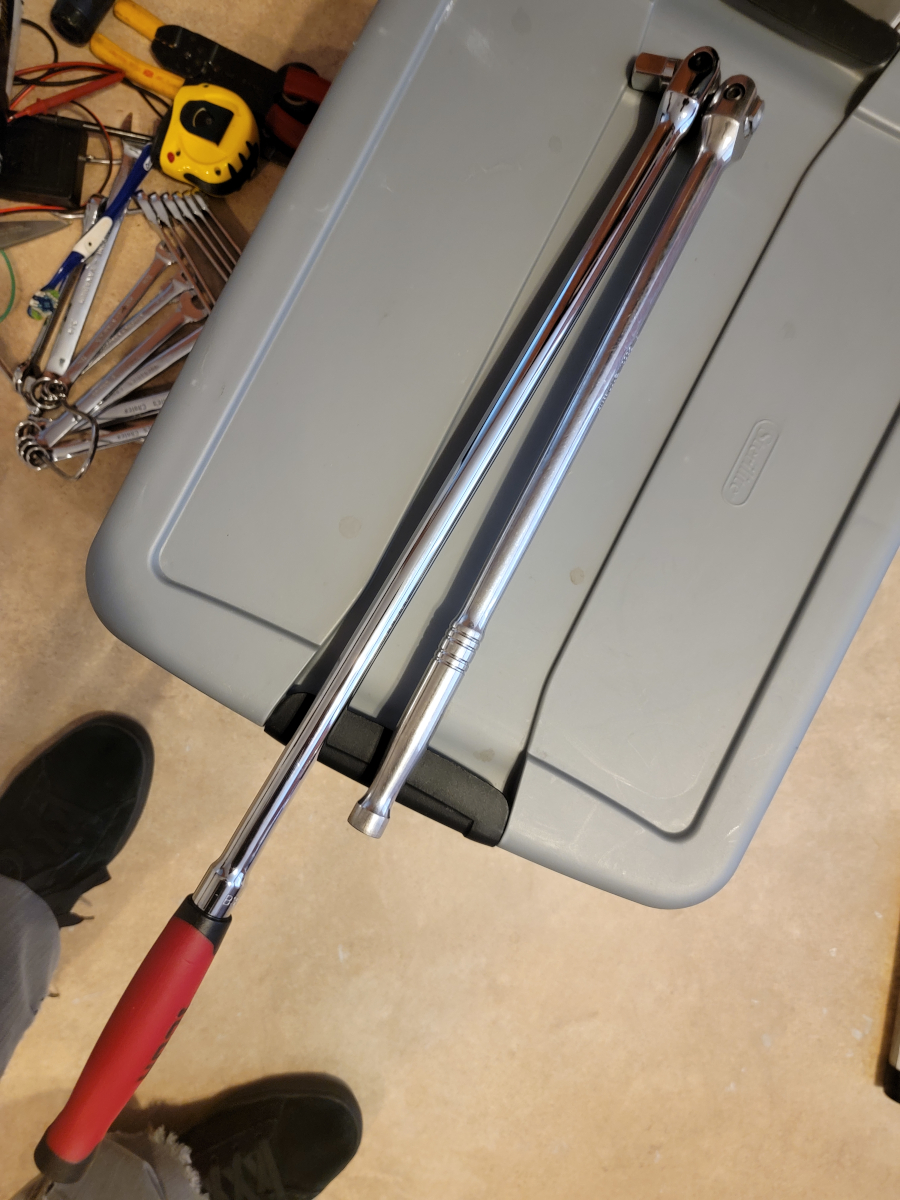
Broken breaker bar… OK, fine. I went to Harbor Freight and bought the biggest 1/2″ drive breaker bar they had, a 25″ Icon brand (Harbor Freight link).
That comfort grip TPR handle wasn’t very comfortable. Also, it was too large to fit inside the cheater pipe. That would have left me at 25″ instead of the 35″ I had with the cheater pipe.
So, looking at the business end of each breaker bar, they both had a similar allen key bolt holding the drive in. Swapped those out and was back in business with my old Goodwrench breaker bar and cheater pipe.
But, still no luck. Several cycles of heating and torquing later, the axle nut was still frozen solid.
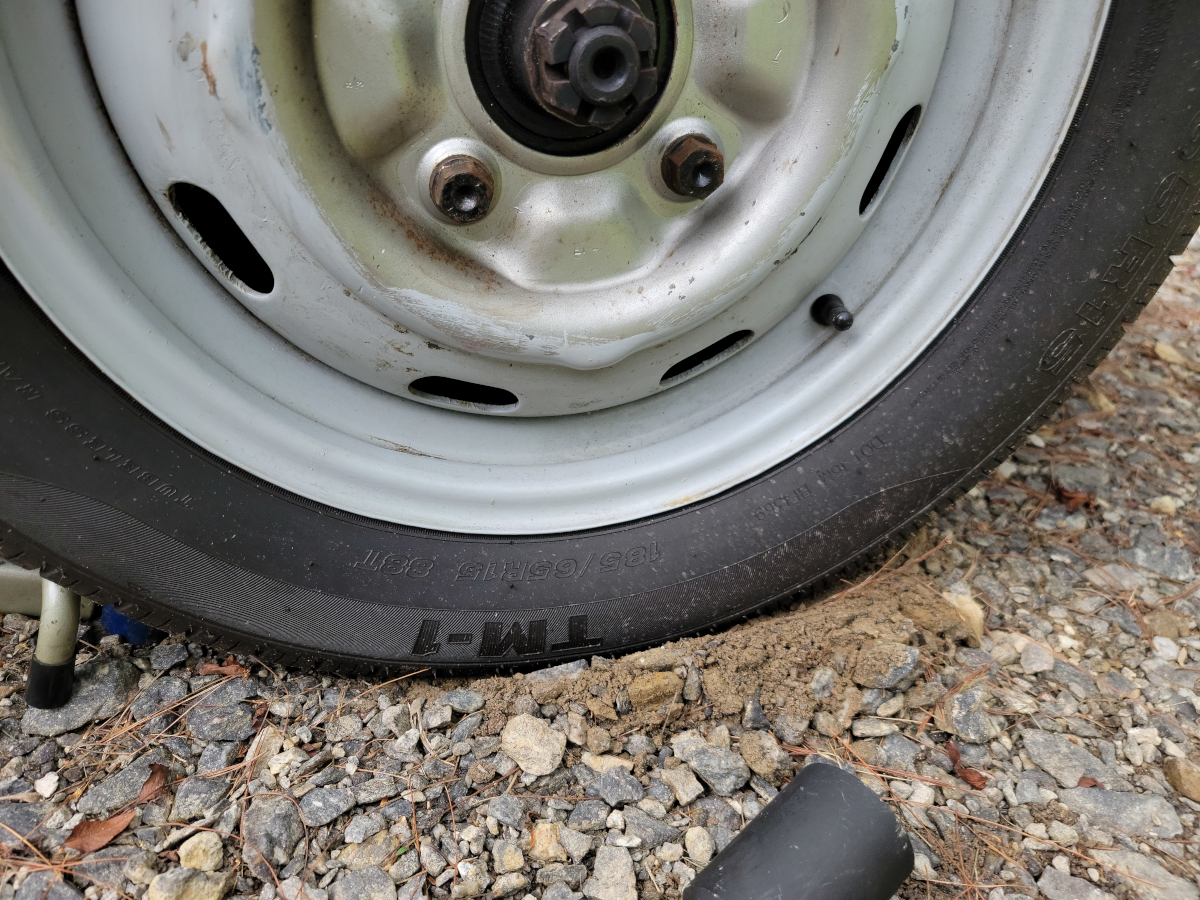
With the car in gear, the parking brake on, and a jack stand jammed up under the front of the wheel, I still managed to dig a rut by spinning the wheel…
It was also now sitting on top of that jack stand wheel chock, so I had to put it in neutral, release the parking brake, and push the car back a few inches to be able to get the jack stand out.
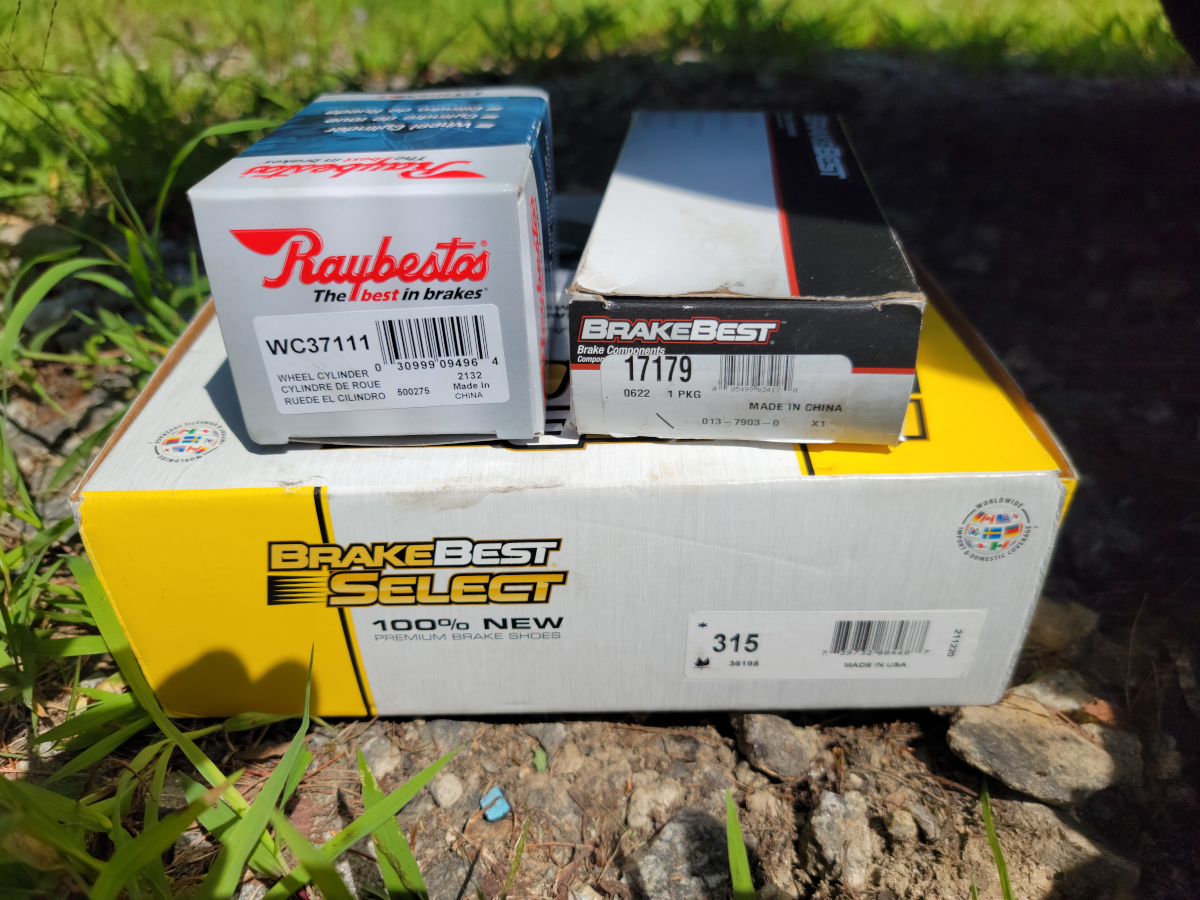
After a successful second master cylinder replacement, I went back out a couple of weeks later to adjust the brake shoes and found that both rear wheel cylinders were blown. Brake fluid all over the place in the rear. I ordered new wheel cylinders for the front (Amazon link) and rear (Amazon link), figuring the fronts would blow after replacing the rears – pressure finding the next weakest point in the pipeline.
Once I had the parts in hand, while having my morning coffee at the start of installation day, I figured I may as well replace the shoes and hardware while I was in there. Shopping around online, I found that O’Reilly had the parts in stock. Went and picked everything up and was ready to go.
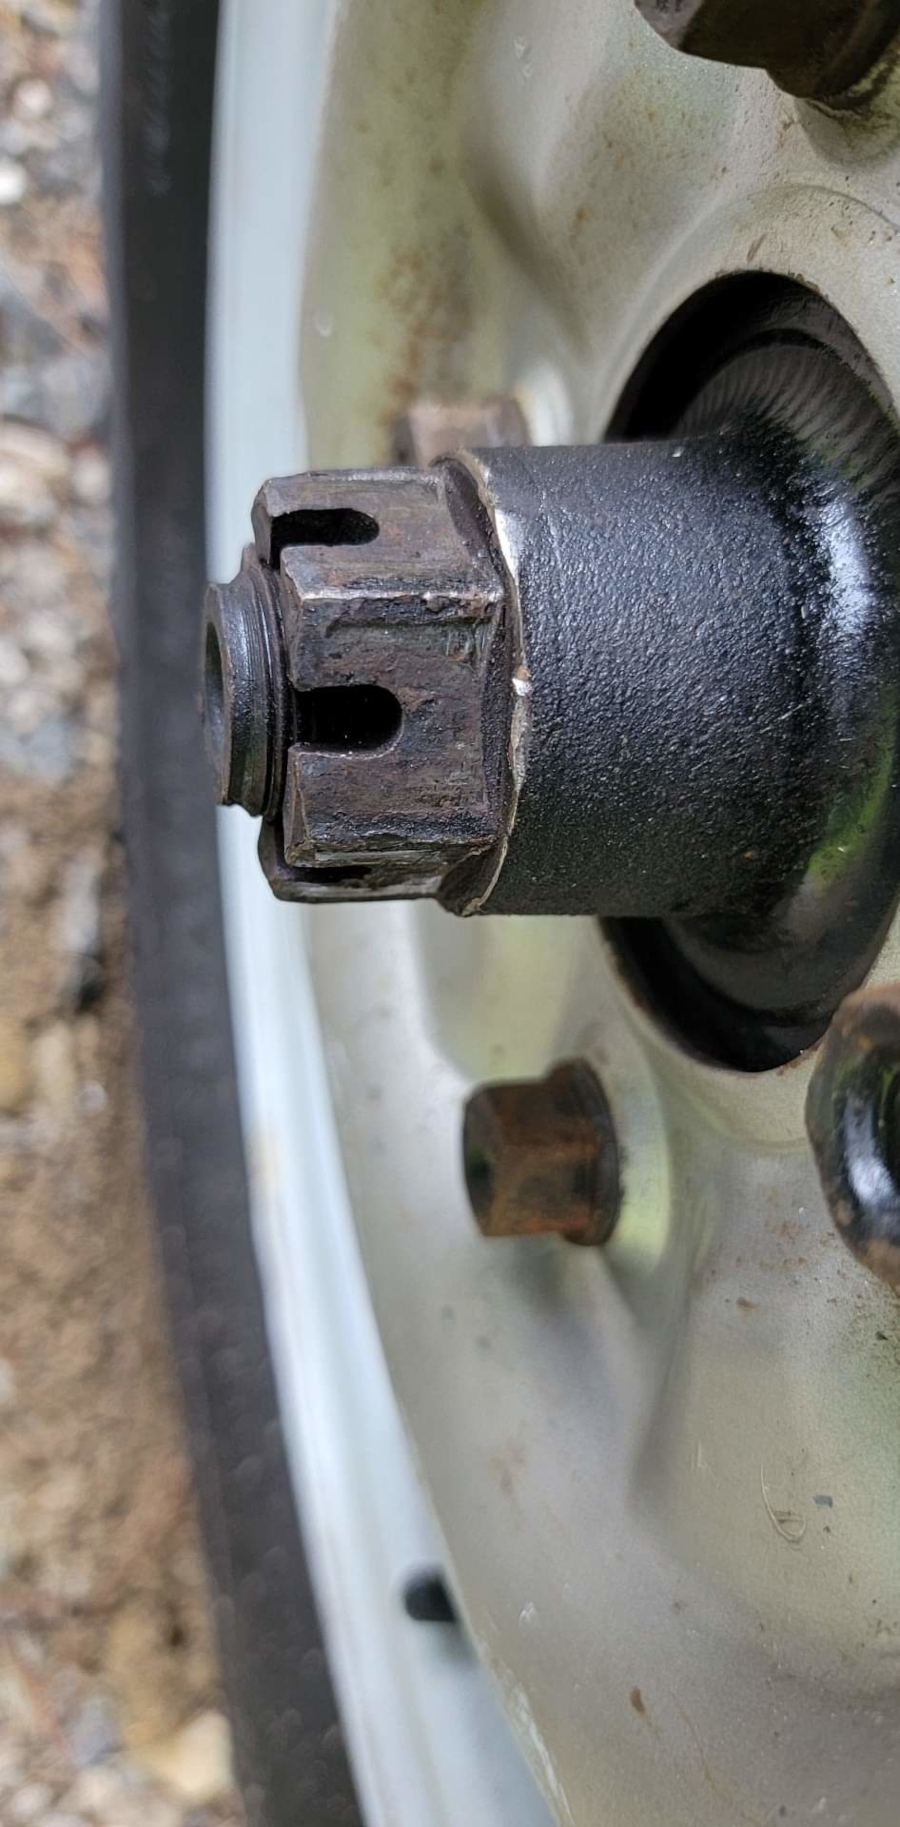
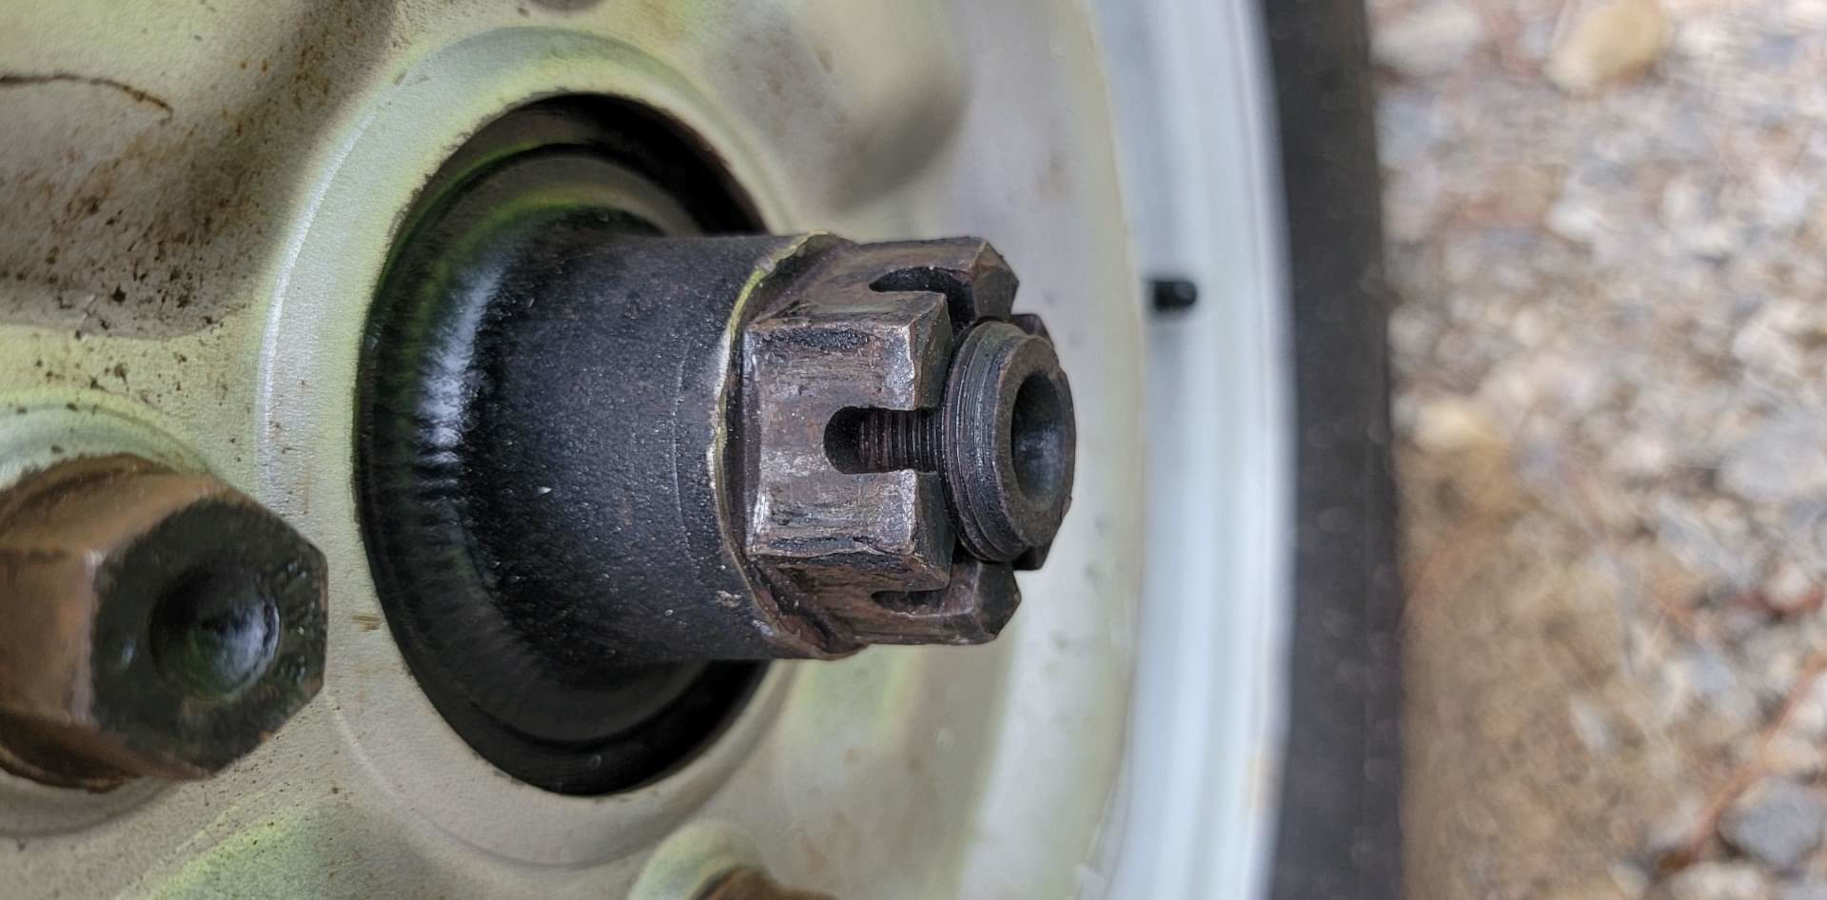
I started at the passenger rear, just like when bleeding the brakes. I was worried about the axle nut, a 32mm castle nut. I didn’t have that big of a socket, so I picked on of those up as well.
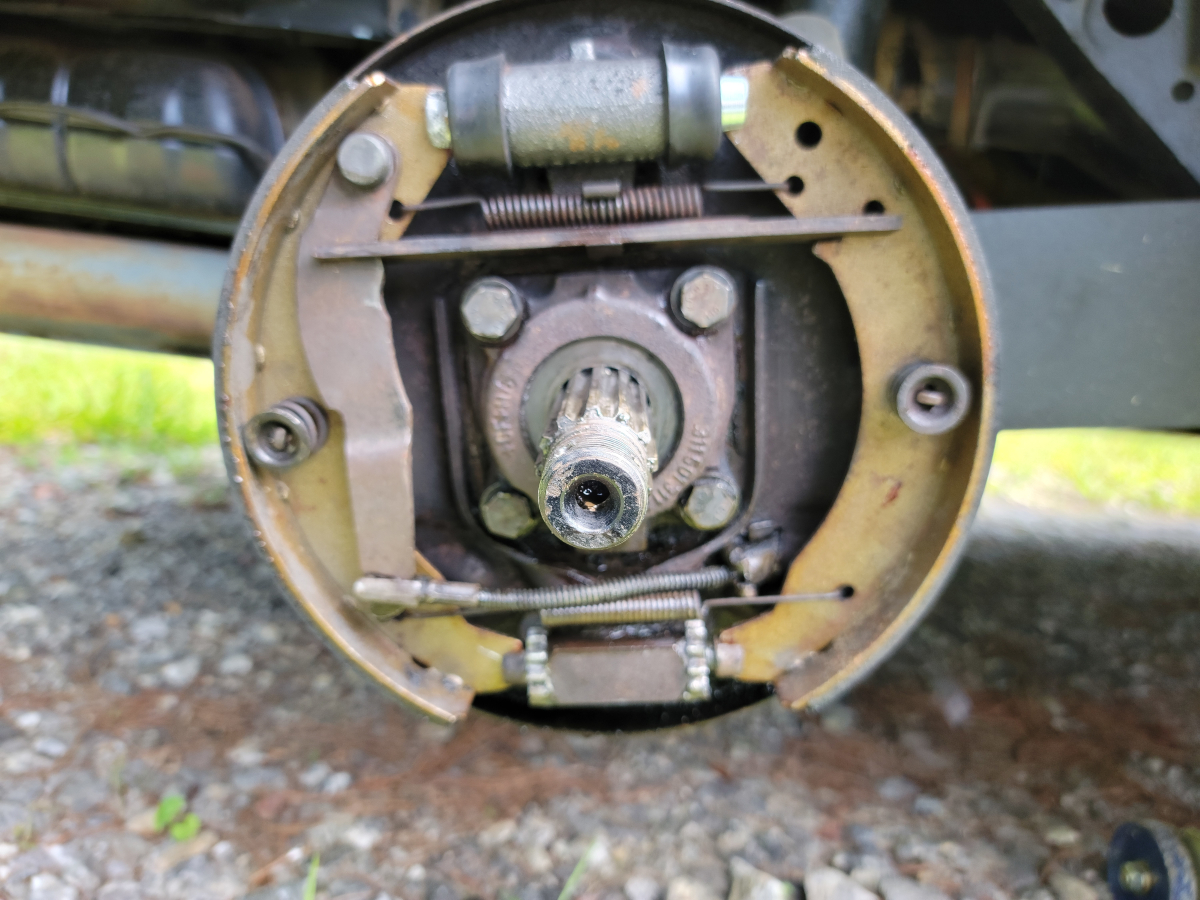
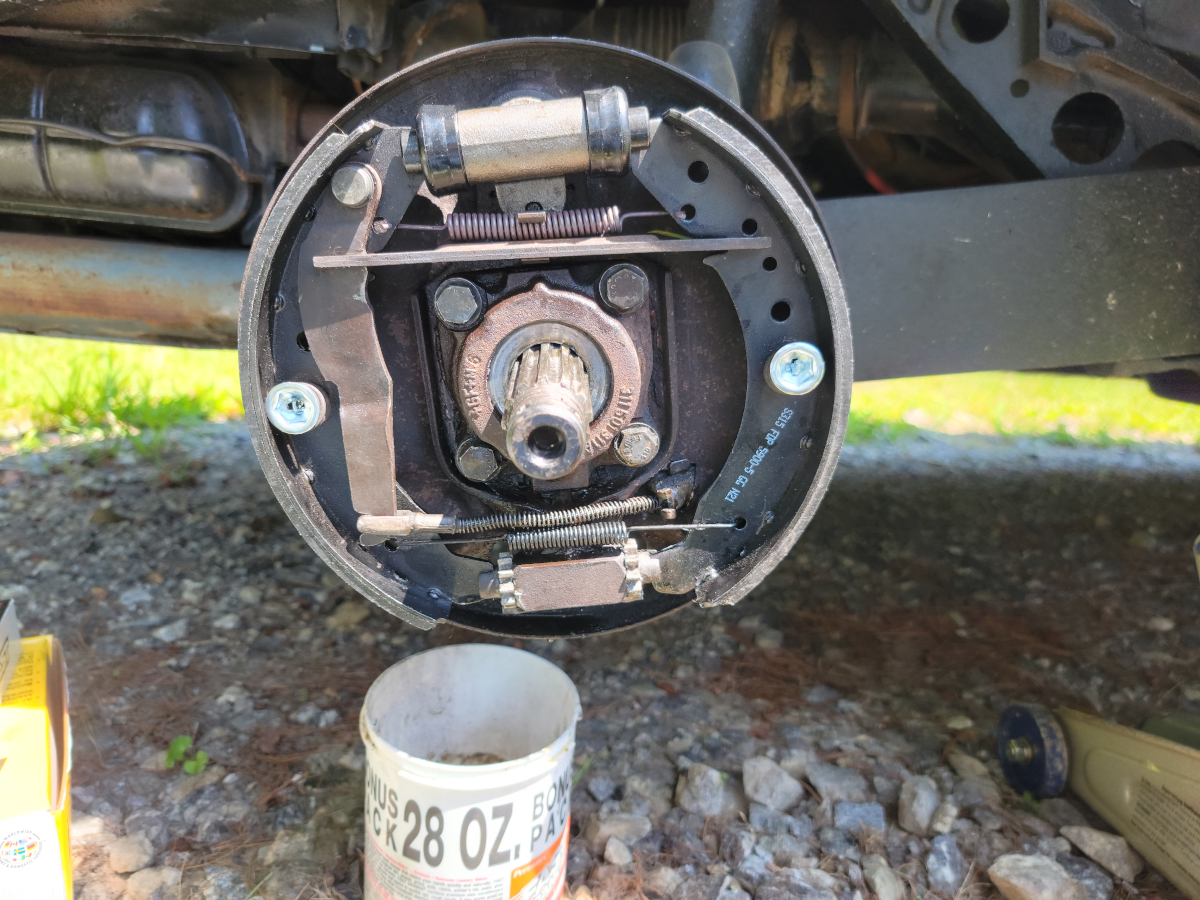
Everything came apart without issue and was surprisingly easy. I was expecting a more complicated setup, but not so much.
That picture was taken after blowing half a can of Brake Kleen and wiping everything down. The shoes were about half-life.
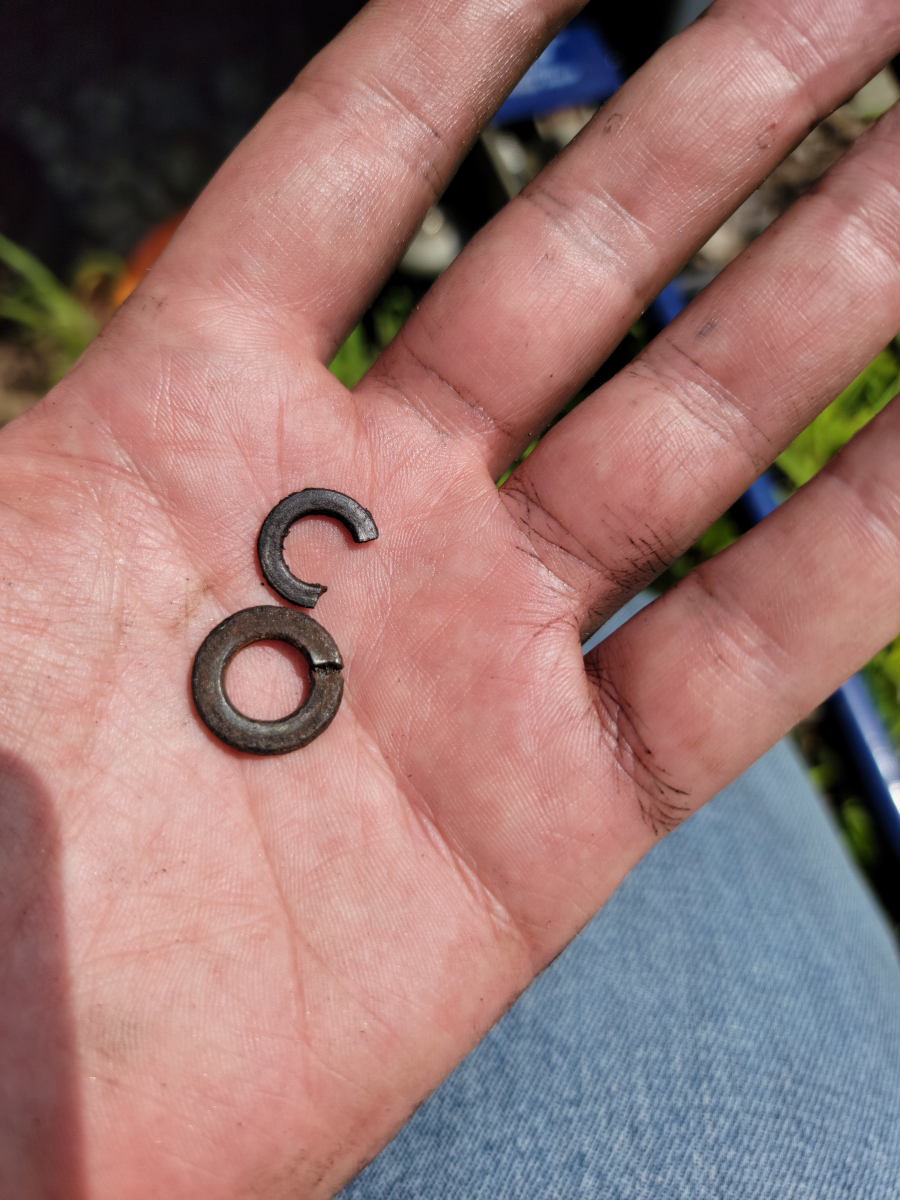
One of the washers on the back side crumbled. Replaced it with the closest I could find laying around in my somewhat organized hardware pile.
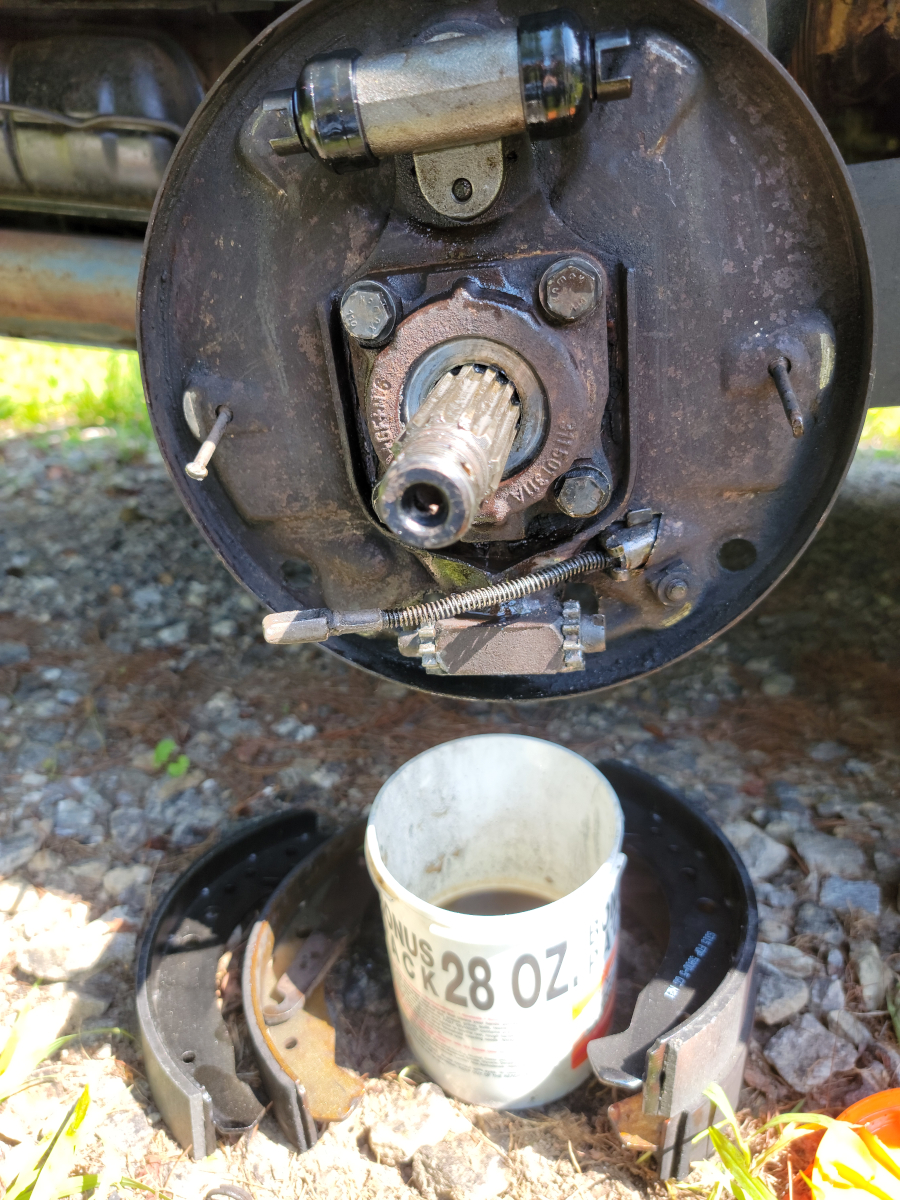
New shoes and old shoes side by side. The old hand cleaner can is a good brake fluid catcher. It’s also a good oil pan for changing the lawn mower oil.
New parts waiting to go.
As I was reassembling, there were some snags, like one of the pre-drilled holes in the shoe not being big enough for the pin.
I also had to mix and match some of the old and new parts. The new springs were significantly taller than the old springs. I couldn’t get them compressed far enough, so reused the old springs. It was still a very tight fit.
I put the drum back on, took it off, adjusted the shoes, repeated that process ten times or so, getting a nice, snug fit.
Got that wheel back together, but when I went around to do the passenger side rear wheel, the axle nut was not budging. I decided to go ahead and bleed that rear passenger side, but my manual brake bleeder vacuum gun promptly blew out and started squirting brake fluid in my face.
I was able to finish bleeding it with minimal brake fluid ingested.
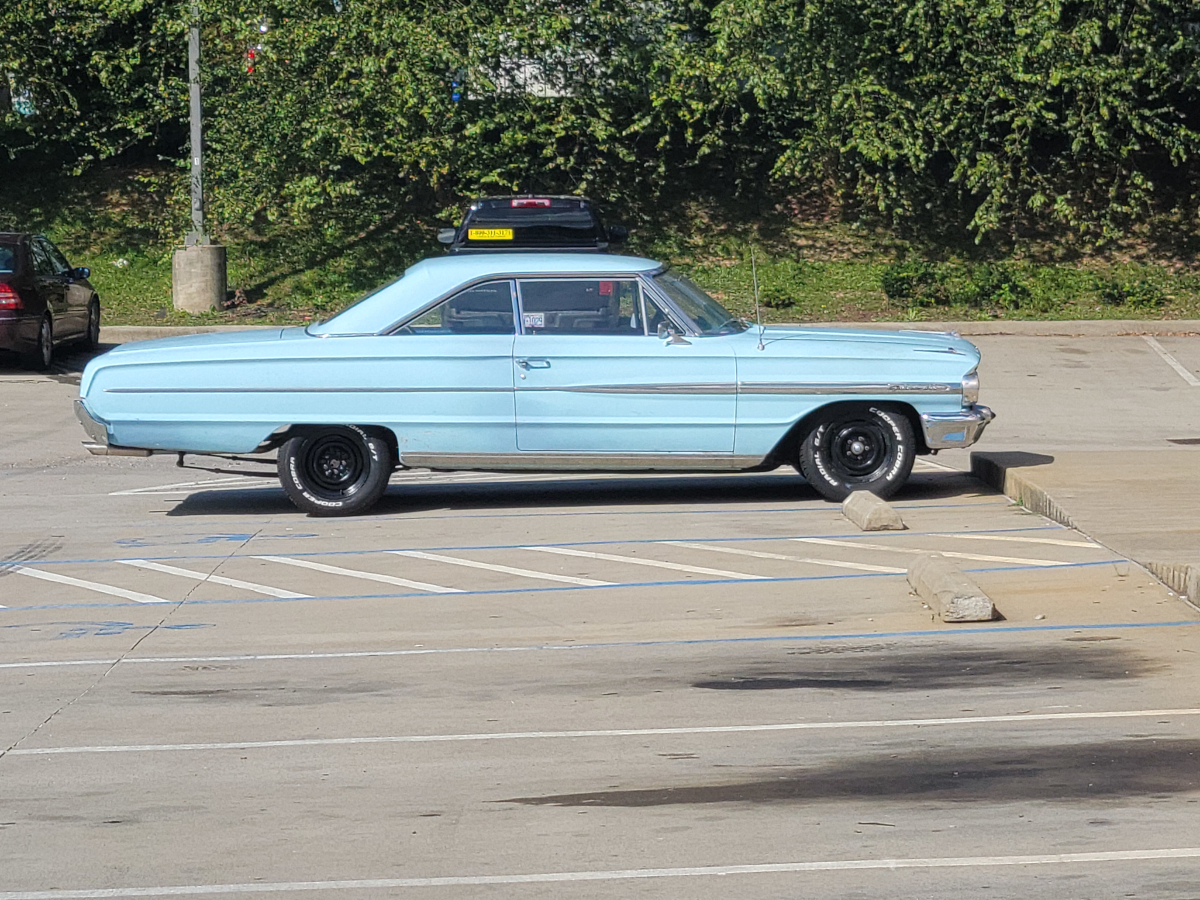
AutoZone was the only place in town that had one of those manual brake bleeder vacuum guns in stock, so I headed over there. Saw this sweet 1964 Galaxie 500 in the parking lot.
As an Amazon Associate I earn from qualifying purchases. I also often provide links to products on other sites that do not provide affiliate income.