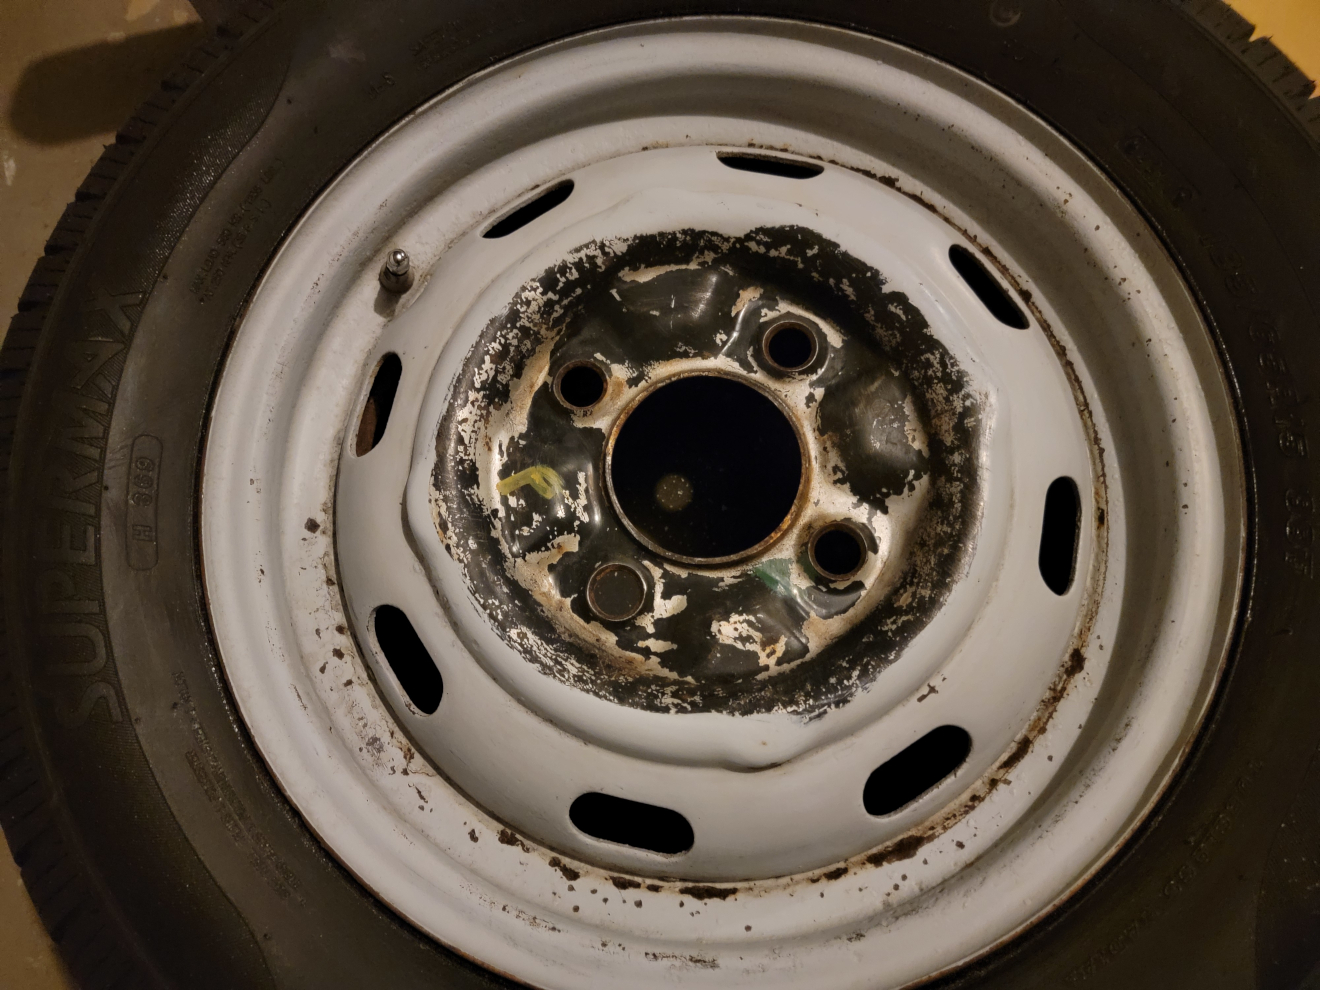
Back in Part 1, I painted the first wheel, but apparently didn’t remember to take pictures or document the process. Apparently, I did a little better at that part in this installment.
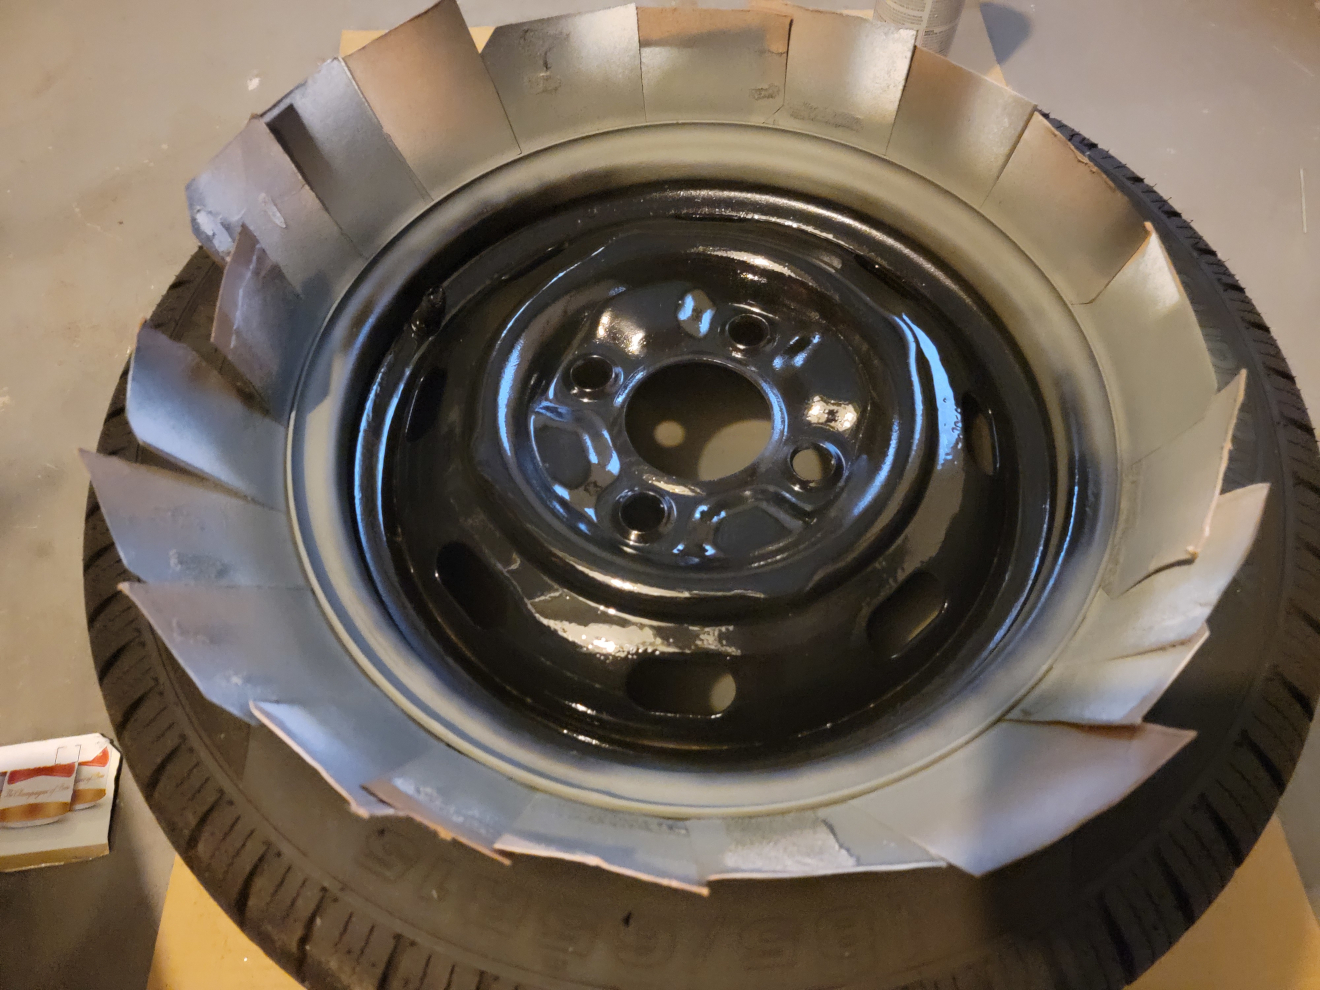
After the first one, I reversed the process. After wire brushing and cleaning up with acetone, I sprayed primer, then black paint, then masked the middle and sprayed the white paint.
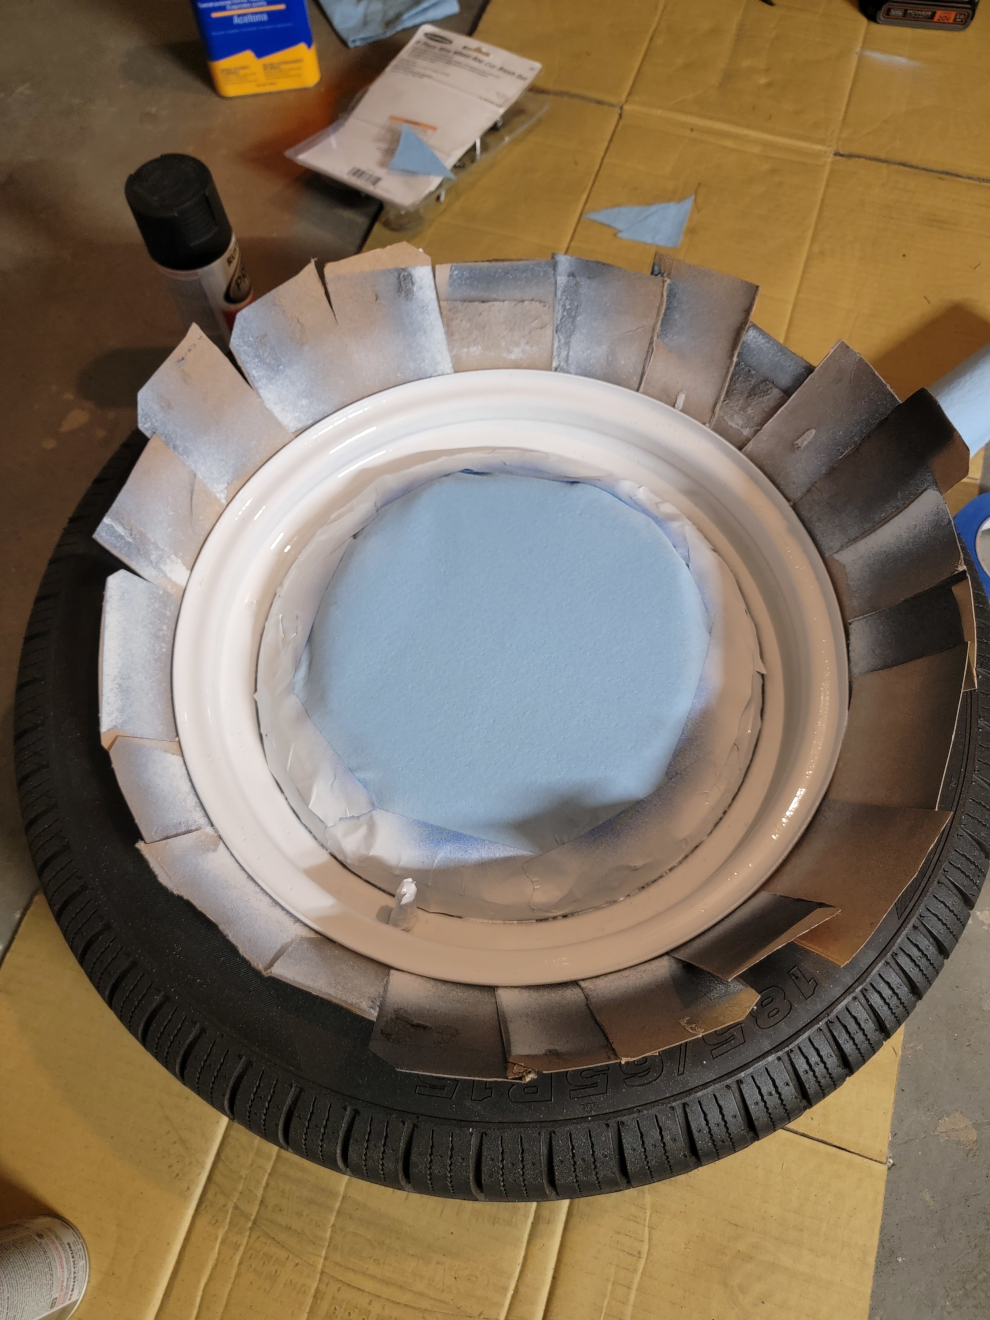
Probably works out to the same number of steps, but this way made more sense.
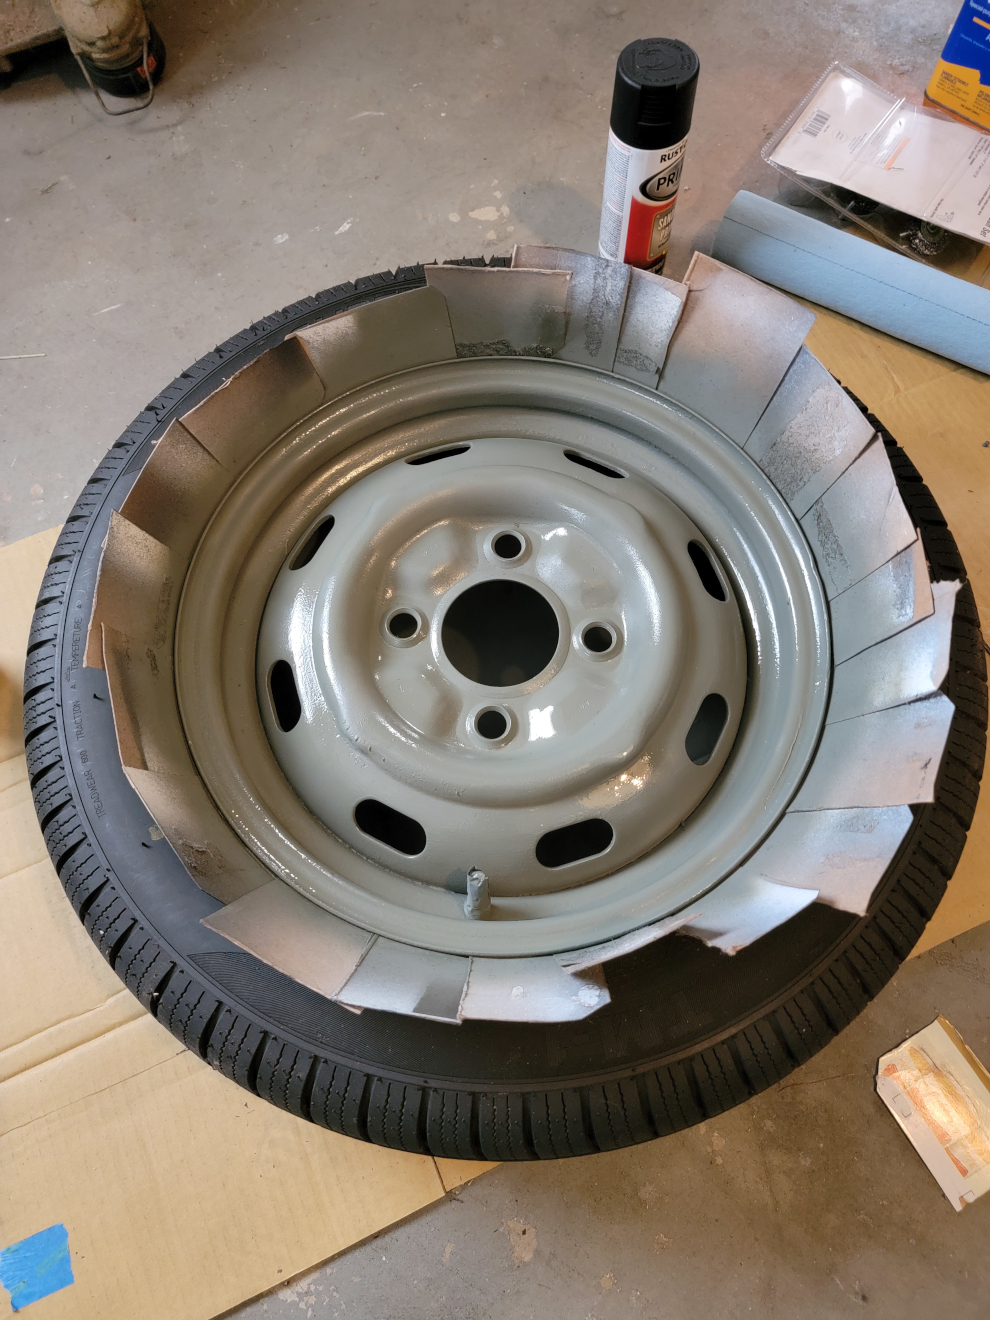
I’m not worried about any overspray that gets on the tires, since these are the dry rotted ones I replaced. It was nice of the tire shop to mount them and send them home with me, rather than disposing of them. At least I didn’t have to pay disposal fees. That’s the next guy’s problem, I guess.
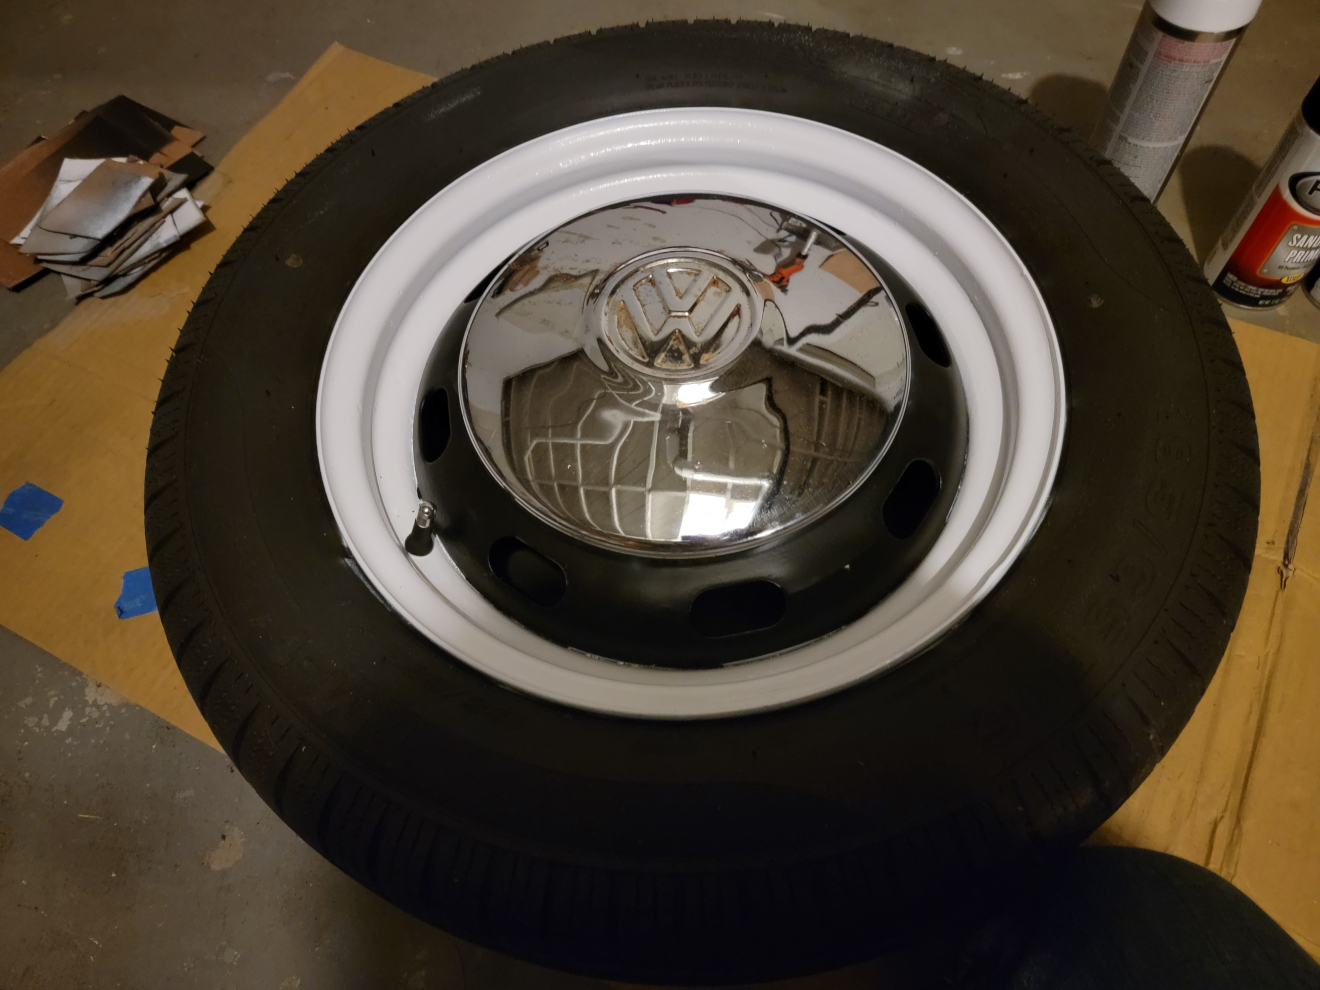
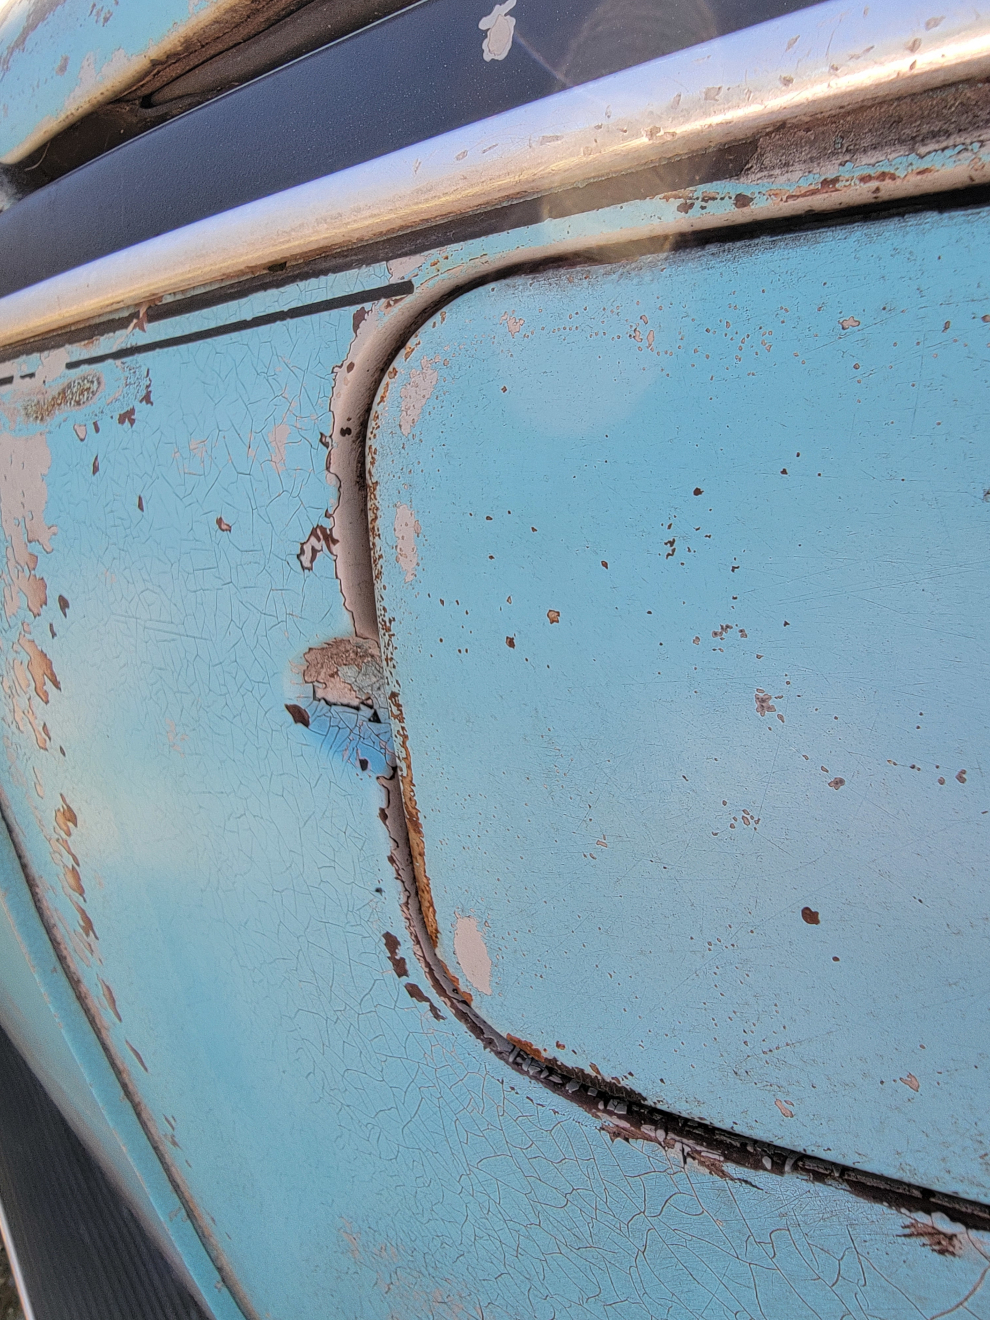
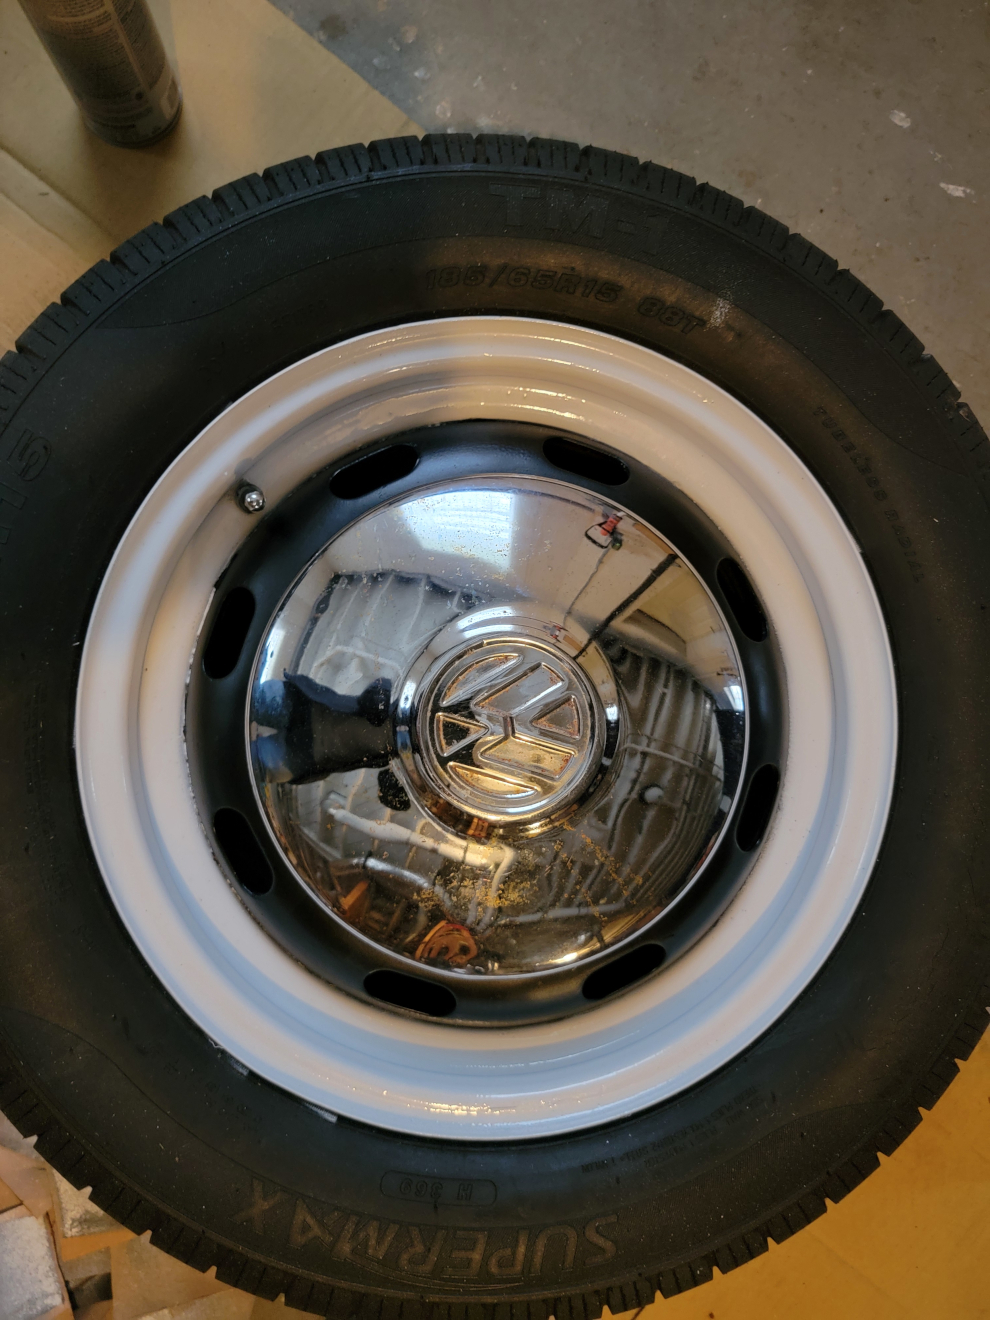
Again, the paint and masking isn’t perfect, but from ten feet away, it’s an improvement over what was there before. Speaking of which, I’m down to the last wheel (aside from the one that’s in the car as a spare). I put this one off til last, because it is the roughest and rustiest. I’m going to have to spend some more time prepping this one.