Bean Dips and SteelStiks

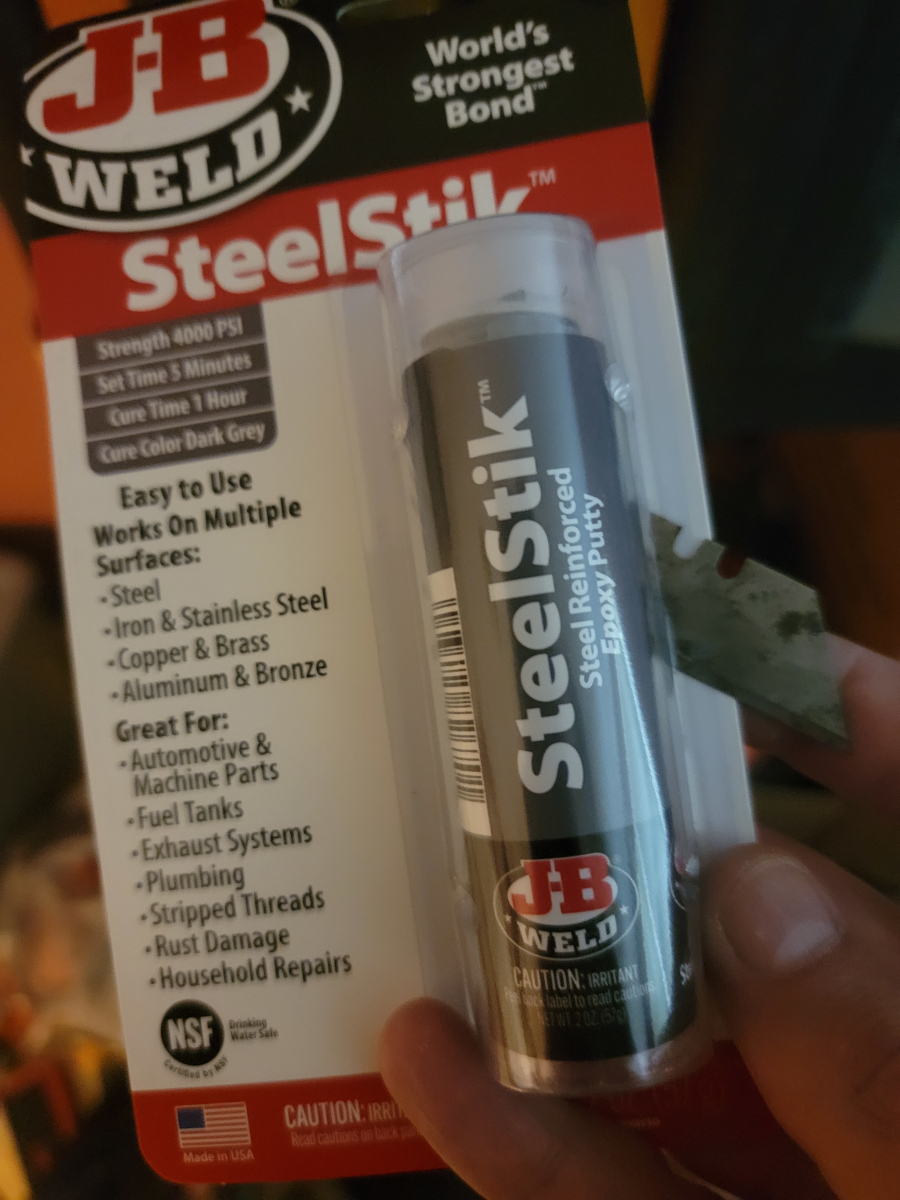
Both rear fenders have cracks from old damage.

I bought a tube of JB Weld SteelStik (Amazon link), which is steel reinforced epoxy putty. When dried, it is hard enough to drill and tap, so I figured it would work well to reinforce the back side of the fenders, behind the cracks.

I had a can of bean dip from the previous Sunday’s football watching festivities. I cut patches out of the ribbed aluminum can with tin snips, covered them with epoxy putty, and sandwiched them on the back side of the fenders.

The picture on the left is the driver’s side fender. The crack there is very thin, a clean break, but wraps all the way around the lip. The one on the right is the passenger’s side. The crack there is much worse – not even really a crack. It’s very old damage, below the bumper, with flaps of deeply rusted metal. I bent everything back in shape as well as I could, to get a flat surface for the patch.

After the epoxy set up, the fenders are now solid and the cracks don’t flex. So, that was a success. At least in the short term. We’ll see after some weather cycles if that epoxy holds up.

On that driver’s side fender there were old, bad repairs and it looked nasty. I sanded around the area, then rust treated, primed, and painted.

Raising the Roof (again)

The vinyl headliner and trim sheets are curled around the edges and peeled back. When left alone for a couple of months, it hangs down a few inches below the edges of the rear side windows and looks really nasty from the outside.

I bought some rubber cement a few months back and went around the perimeter, following the directions on the can. The end result didn’t look great, but the headliner was at least back in place with only the crispy, curly edges hanging down. As per usual, the “fix” lasted a month or two and was back to hanging around.

Using the same contact cement as before, I slathered both surfaces and waited for it to start to set up. I had also picked up some industrial strength adhesive in a little tube, like a super glue tube, but not. I dabbed some of that on the crispiest, curliest edges as well.

Unrelated, I finally bought one of those magnetized parts bowls that I had been eyeballing for years at Harbor Freight. While working on the brakes, I felt how strong the magnet was and went sopping for a set of various sized ones on Amazon (Amazon link). They worked really well to hold the edges in place as the contact cement dried.

Key and Rekey

One of the first projects I took on was to buy new door handles (Amazon link). Neither door lock worked when I got the car. The key would fit in the driver’s door, but wasn’t keyed the same. The passenger side was frozen solid and wouldn’t even allow the key to be inserted.

When I tried to mount the new handles, they were shaped a little different than the originals – more square edges – and just not as comfortable in hand. So, I swapped the new lock cylinders into the old handles. I didn’t realize at the time, the new keys don’t match the old keys. They are a standard double sided key, likely the same kind that you get with universal ignition switches at the parts store.

A few months ago, I sat down with the old cylinders and disassembled them, soaking them down in PB Blaster. I had read online that it is really easy to re-key them. There are nine tumblers and springs in each cylinder. Four on the front and five on the back.

I re-keyed them, arranging the tumblers to fit the old school VW door key that came with the car. Two tumblers in each cylinder were too long and were easily ground down to work.

Finally, today, I got back to it and swapped the re-keyed cylinder back into the driver’s door.

It’s a little notchy, but it works!

I wasn’t able to replace the one on the passenger side. I forgot that there weren’t any springs in the original cylinder on that side. Just the tumblers. Taking apart one of the cylinders from Amazon, it was a similar design, but the springs were twice as long and wouldn’t work. Another thing to add to the list.

At least I was able to delete another black plastic key head from my key chain. It’s nice having two VW keys. I would like to have them all keyed the same, but the ignition key is a different cut, obviously having been replaced at some point. The car has a locking glove box and none of the above keys will even fit into it.

Junk.

More Junk…

I was able to get the brake torn back apart and replaced the wheel cylinder again.

That’s the remnants of the bleeder screw in the bottom.

I bled the brakes all around and then adjusted them. It now has a great pedal, about 2/3 of a pedal, which is as good as it has ever been. It still doesn’t actually stop very well, but there is enough pedal to stand on if need be. It used to just clack against the floor board.

After adjusting the shoes at each wheel, I decided to check on the parking brake situation. Obviously, it wasn’t working too well. The wheel was turning when I was torquing on that rear axle nut with the parking brake on (and car in gear and wheel chocked).

I peeled back the tatty dust cover on the e-brake handle to get to the cable adjusters.

The one on the right was tightened down about half way, but with a broken screw head. The one on the left was tightened all the way down and the cable was slack.

So apparently, the parking brake hasn’t been applying on the driver’s side. That mystery is solved. And another TO DO item added to the list.

In an attempt to clean out my kitchen, which has turned into a tool shed and car parts storage, I bought a garden cart (Amazon link) to help shuttle my gear up and around from the basement.

That load would have normally taken five trips carrying everything by hand.

The End of the Rear Brake Saga Begins

Foreshadowing in the title, there…

Now that the rear brake had been gushing fluid for nearly a month, inside of that brake drum was a mess. I didn’t snap a picture before hosing it down with brake cleaner. It was awful in there. A thick black, sludgy, fuzzy (?) mess. This pic is after a can of brake clean.

That’s a little more apparent on the back of this brake shoe.

I fought with that spring clip for a long time, which is probably why I took a picture of it. Take a break from swearing at it. Eventually, I got it off.

Everything went back together with the new hardware without any further issues. This was after work one evening and I only had an hour or so of daylight left to work with.

As I was buttoning everything up, checking that everything on the new wheel cylinder was tight…

The bleeder screw broke off in the cylinder. It probably cracked when tightening it, but it actually fell off while I was tightening the hard line below it. I whacked it with the wrench a couple of times and it fell apart.

I considered trying to use an easy out bolt extractor, but it would be $15 to buy one of those to try or $20 to replace the wheel cylinder (again).

So, off to O’Reilly I went. Luckily (and surprisingly) it’s a part they keep in stock (O’Reilly link).