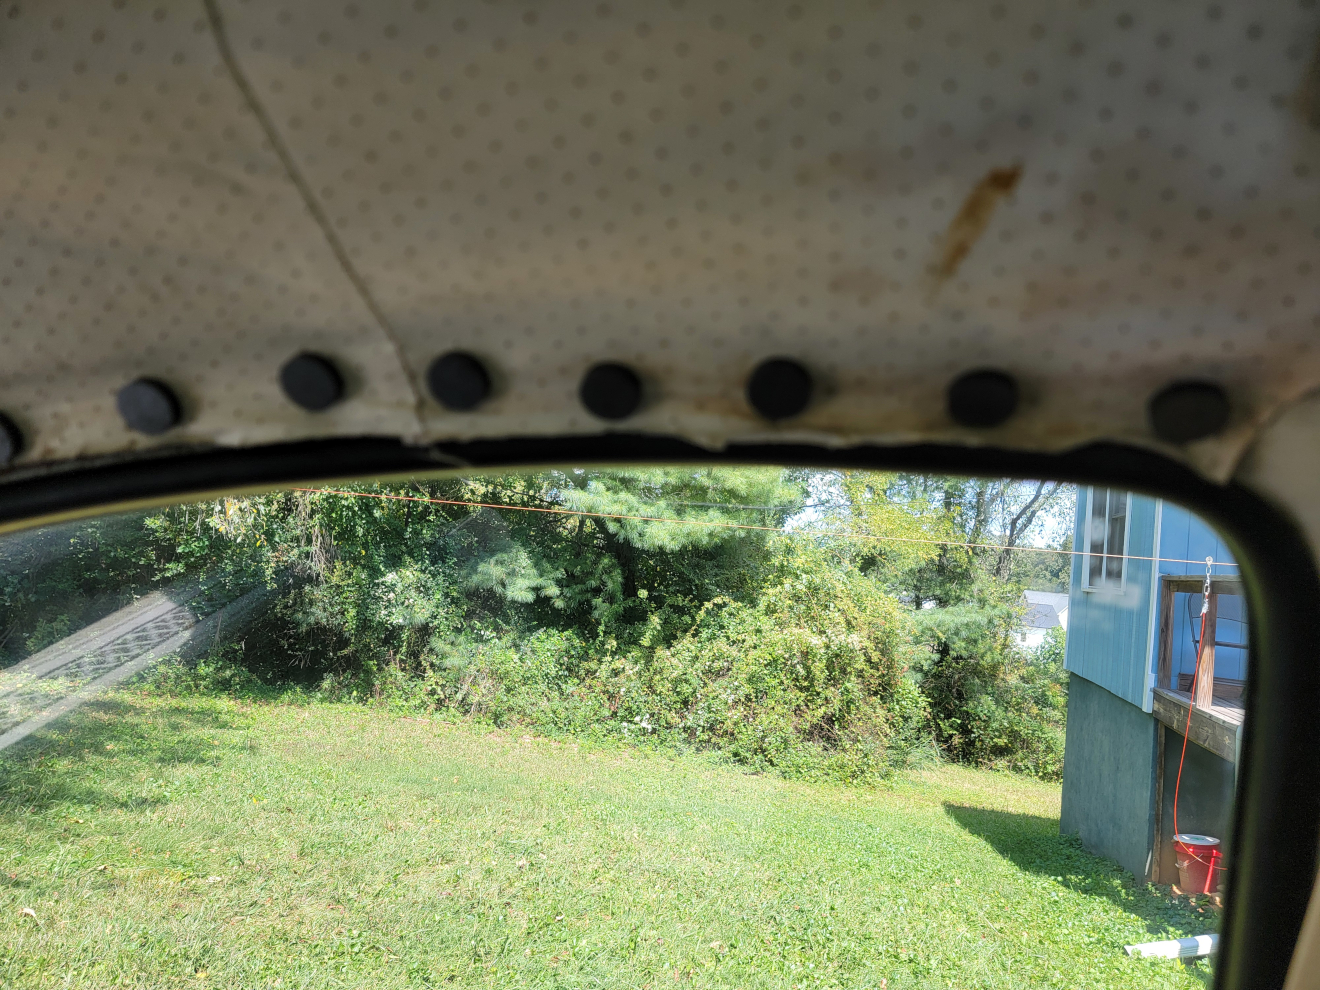
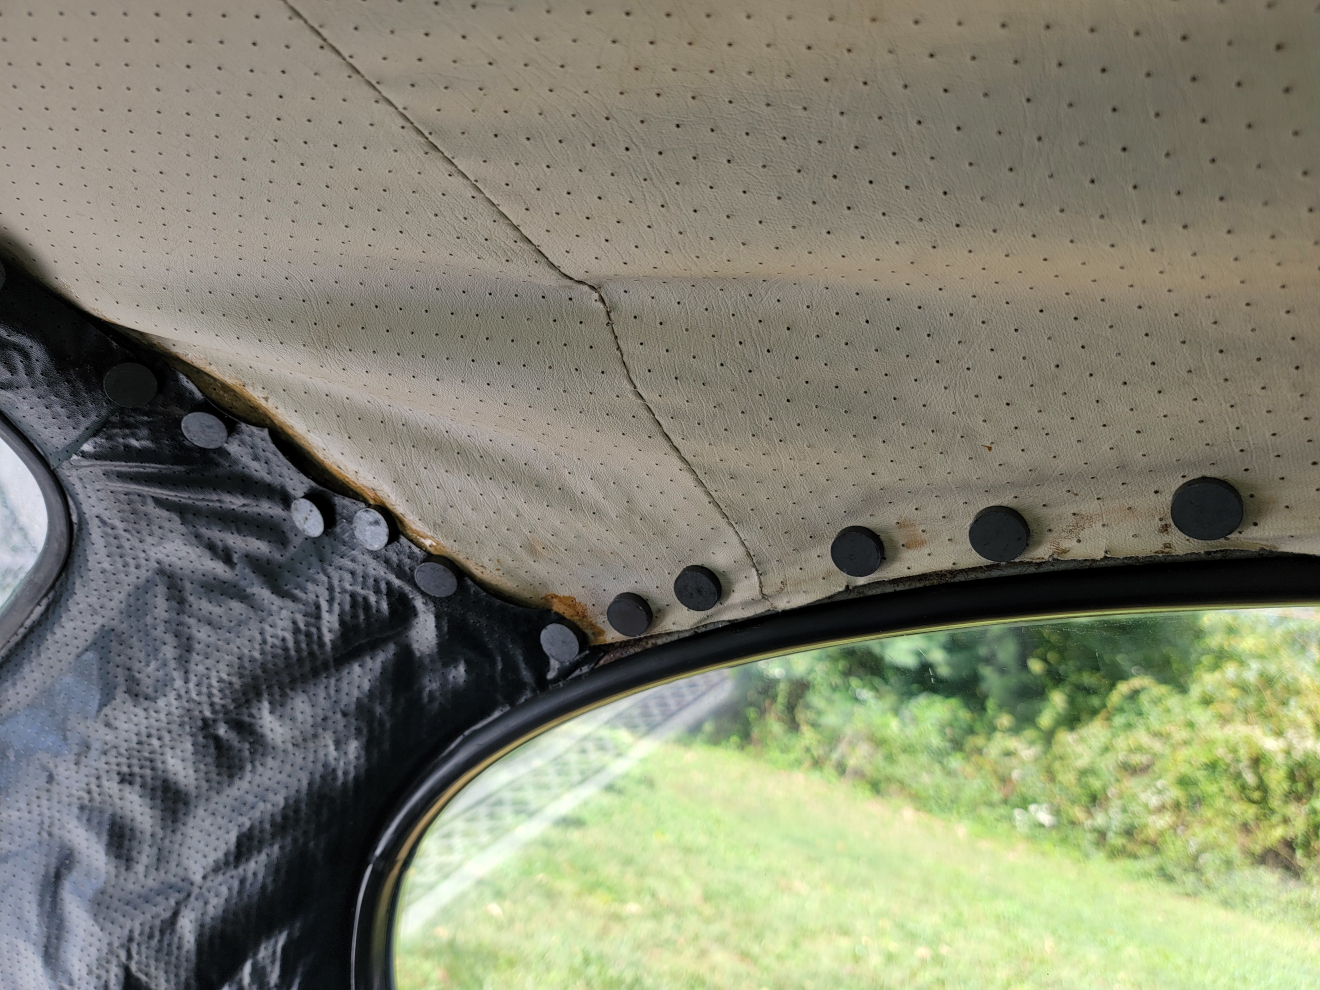
Back in Raising the Roof (again), I had tried holding the vinyl headliner up with rubber cement. It lasts less than a season before the edges are hanging down again. Since I had recently moved on to trying super glue for these types of nasty repeat interior offenders, I decided to give it a whirl up top as well.
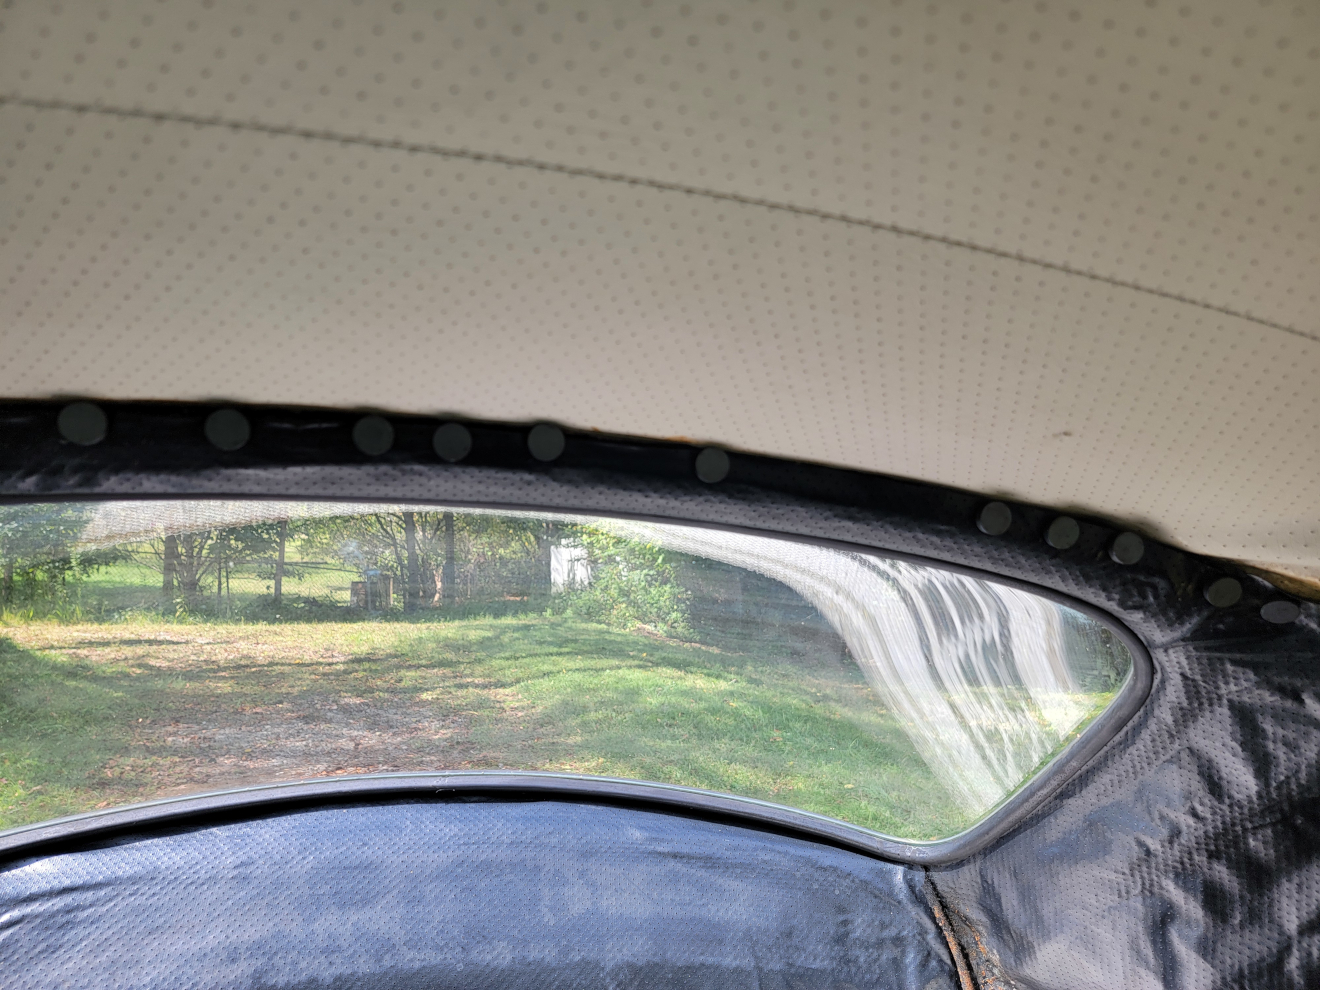
As seen in that previous post, I was using magnetic parts dishes to try and hold the vinyl up while the glue set. This time, I picked up a pack of tiny super strong magnets (Amazon link), hoping they would be easier to handle and do a better job.
Time will tell if this holds any better than previous attempts. I’m not an optimistic person…
After refurbishing the seat frames a couple of years ago, I was amazed at the price of these replacement chintzy vinyl seat covers. So, I slapped the old covers back on, hosed them down with some vinyl lube, and called it a day.
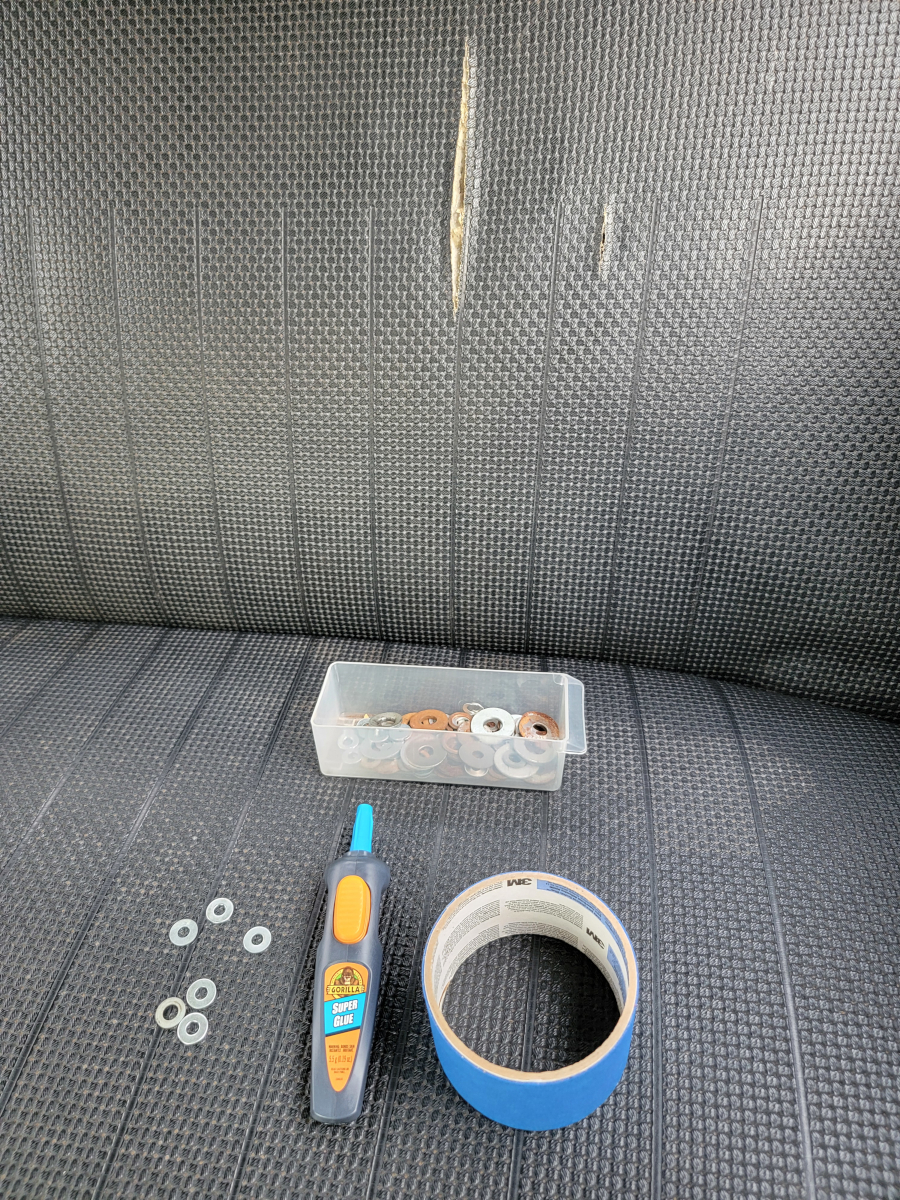
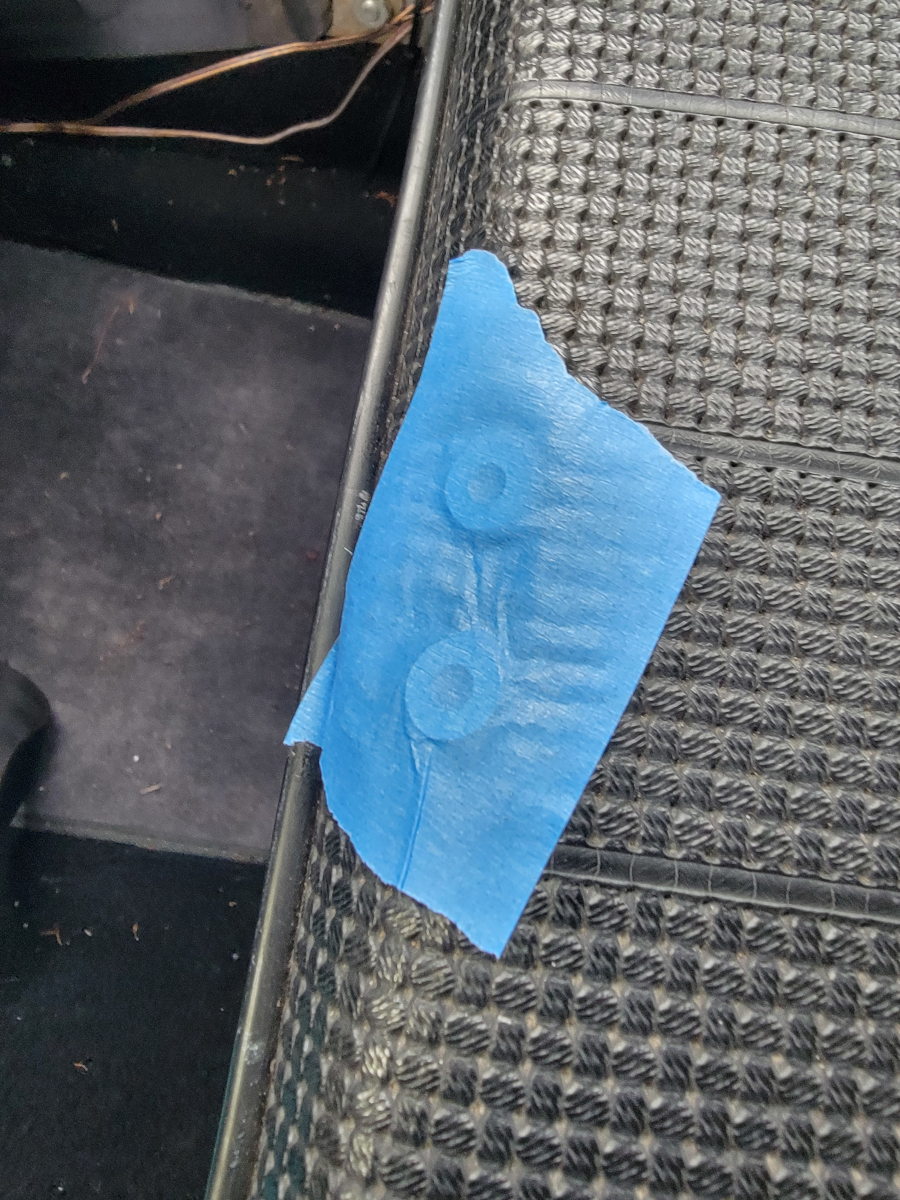
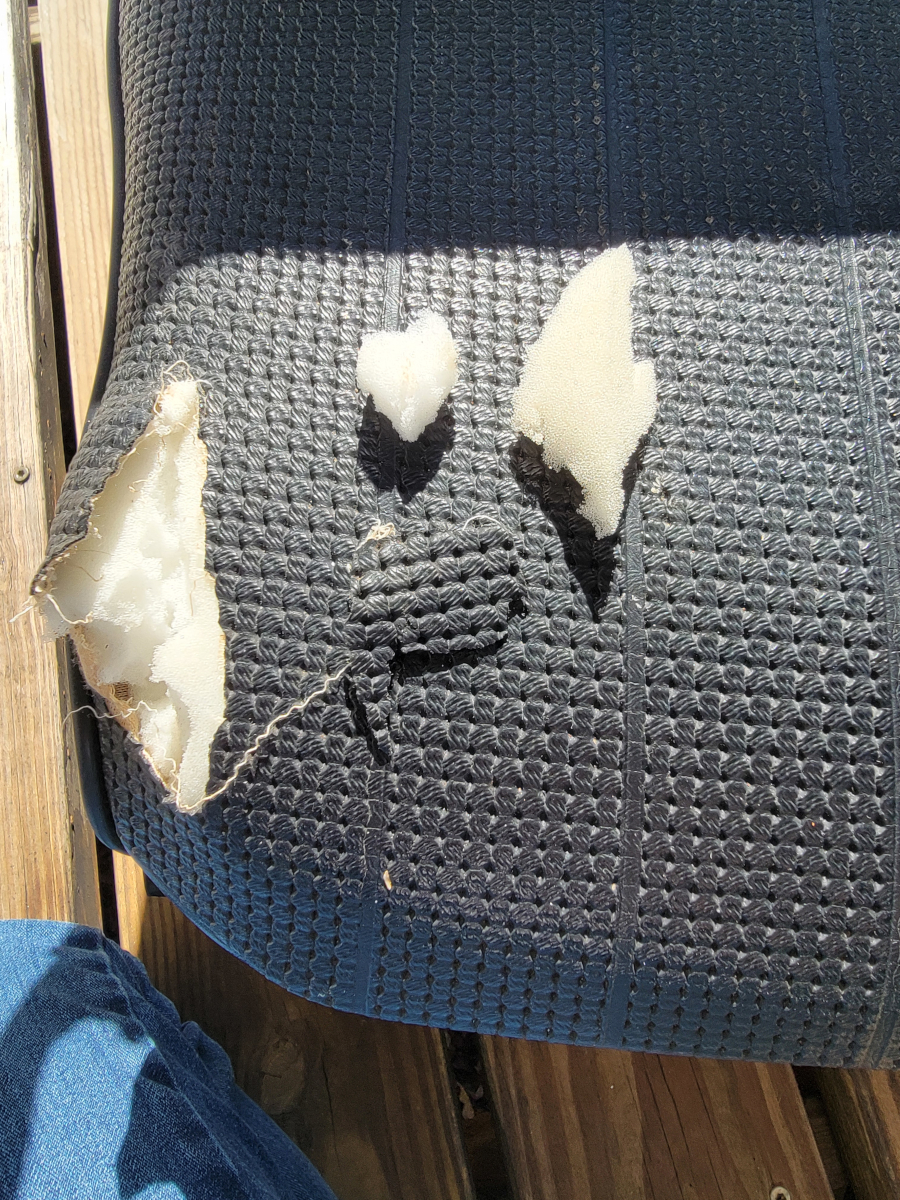
Here we are, with past problems announcing their presence louder than ever. The edges of the cracked and torn spots are now starting to curl up, looking worse than ever. Continuing down my path of using the wrong tool for the job, but having the best intentions, I whipped out a tube of super glue, some washers, and a roll of painter’s tape.
My experience with every other type of glue I have used – rubber cement, upholstery spray adhesive, E6000, Clear Gel Gorilla Glue, among others I’m forgetting – is nothing sticks for more than a season. So, now we try the absolute wrong thing. But hey, the thought was to get the top vinyl to stick to the mesh/fabric backing, which is still intact.
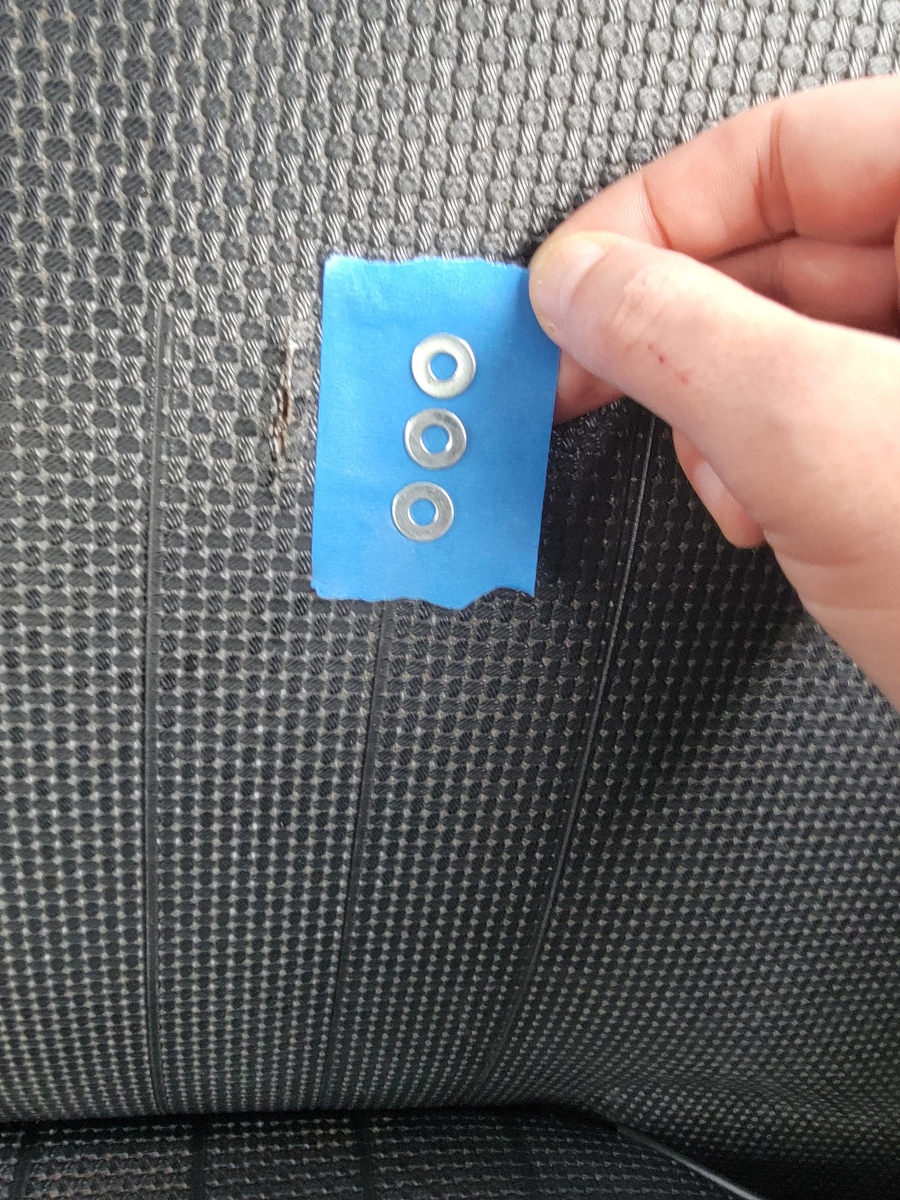
I figured those little washers could help entice the curling edges to lay flat and the painter’s tape would hold it all in place long enough for the glue to set.
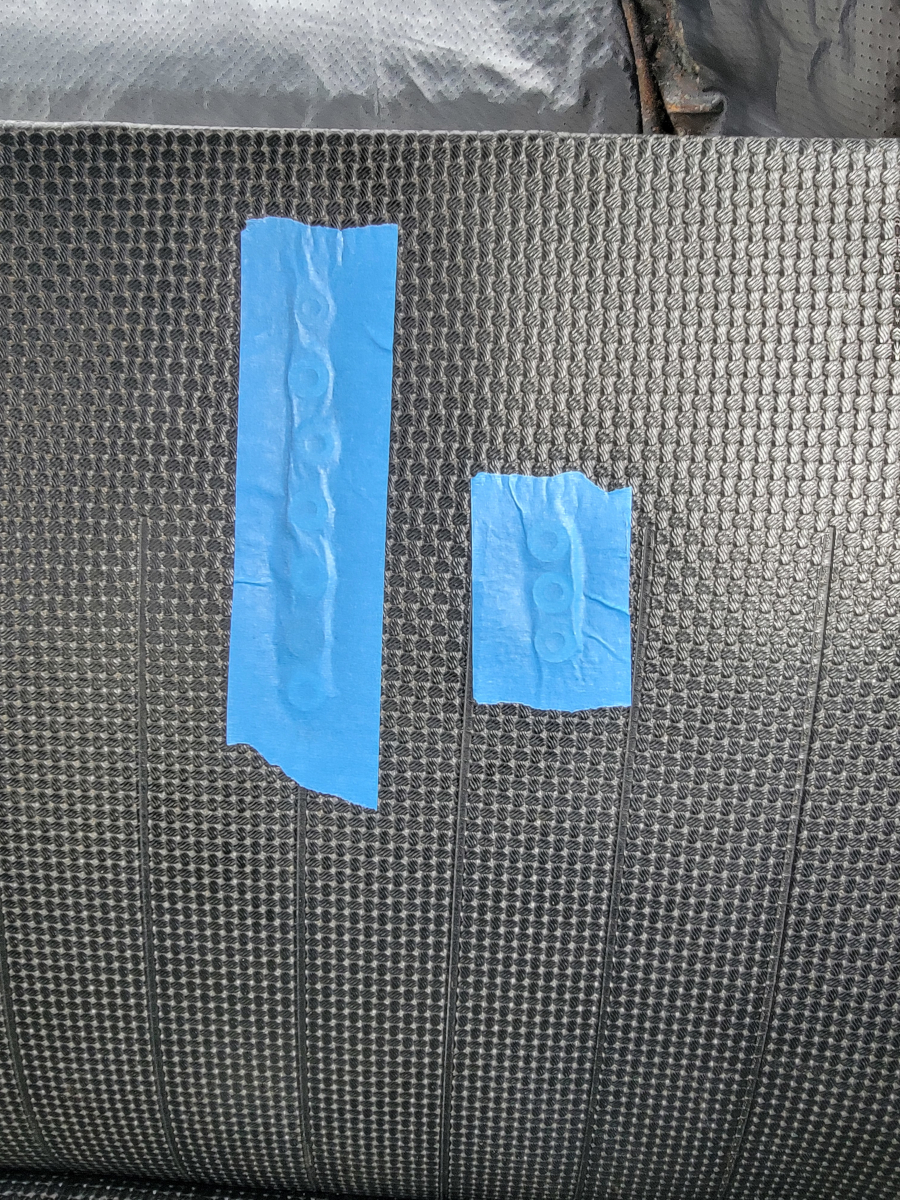
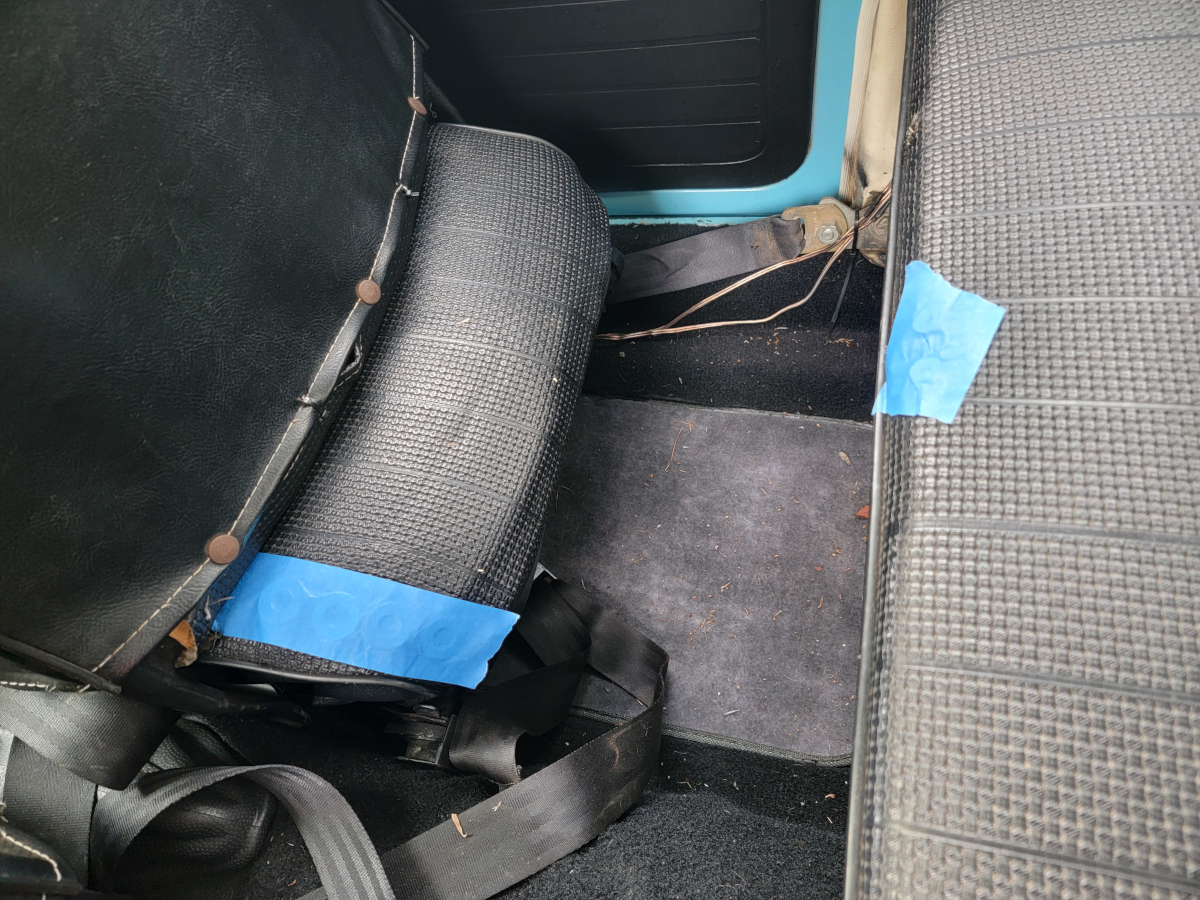
And, of course, this doozy, which I added a backing vinyl patch, glued in with one or more of the aforementioned non-sticking glue.
I glue it real super-good and tried again.
Back when I put the covers back on the front passenger seat, I apparently missed one of the bend-over-stabby-keep-it-in-place tabs… First time I rocked the seat back forward, it tore a big hole in the seat cover and new padding below. So here we are, couple years later, cleaning up an old mess…
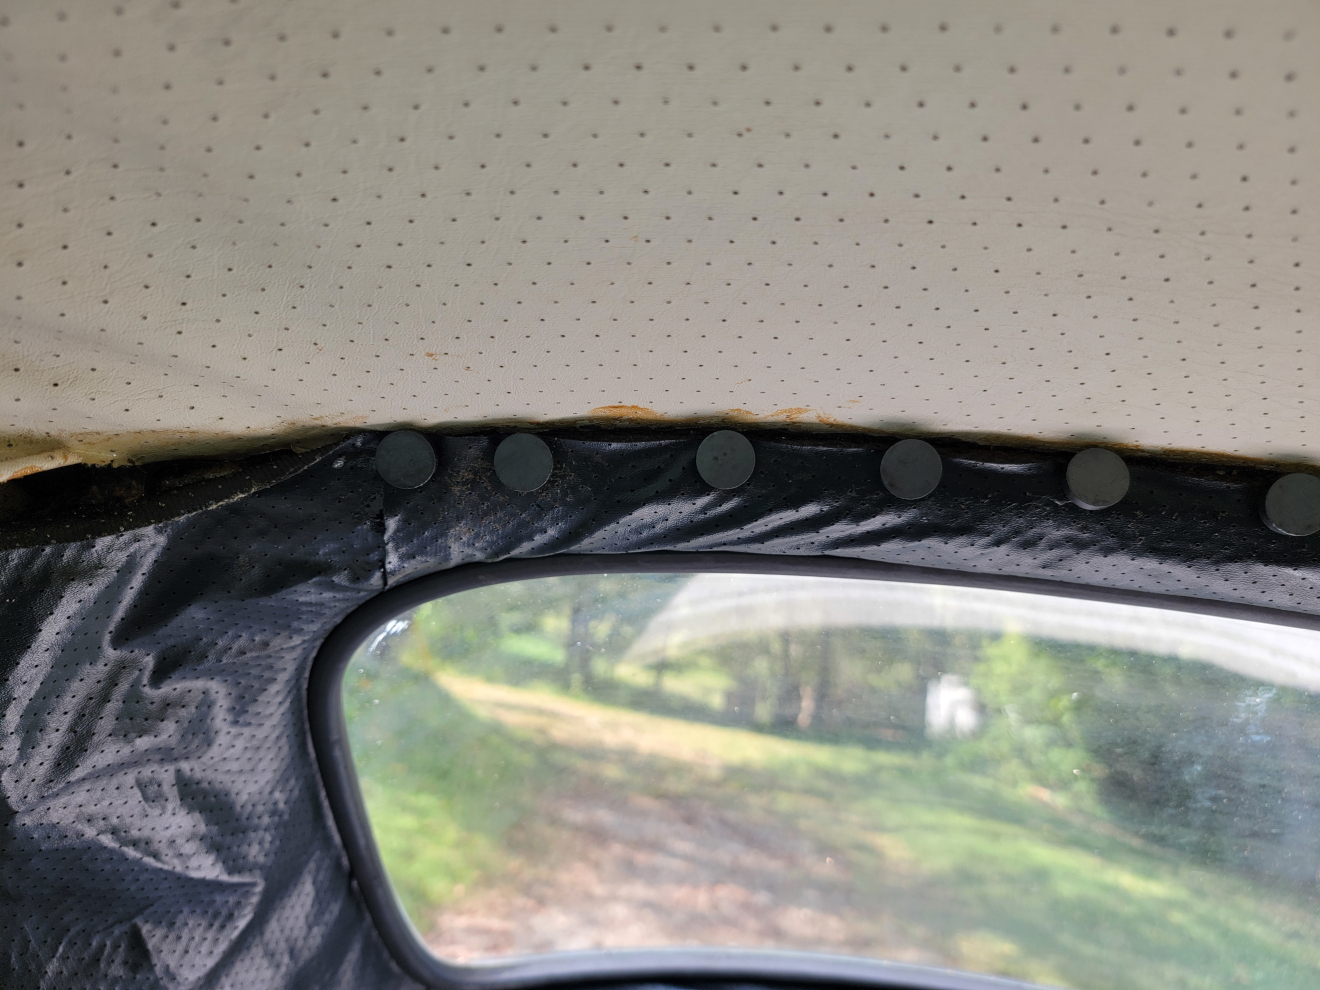
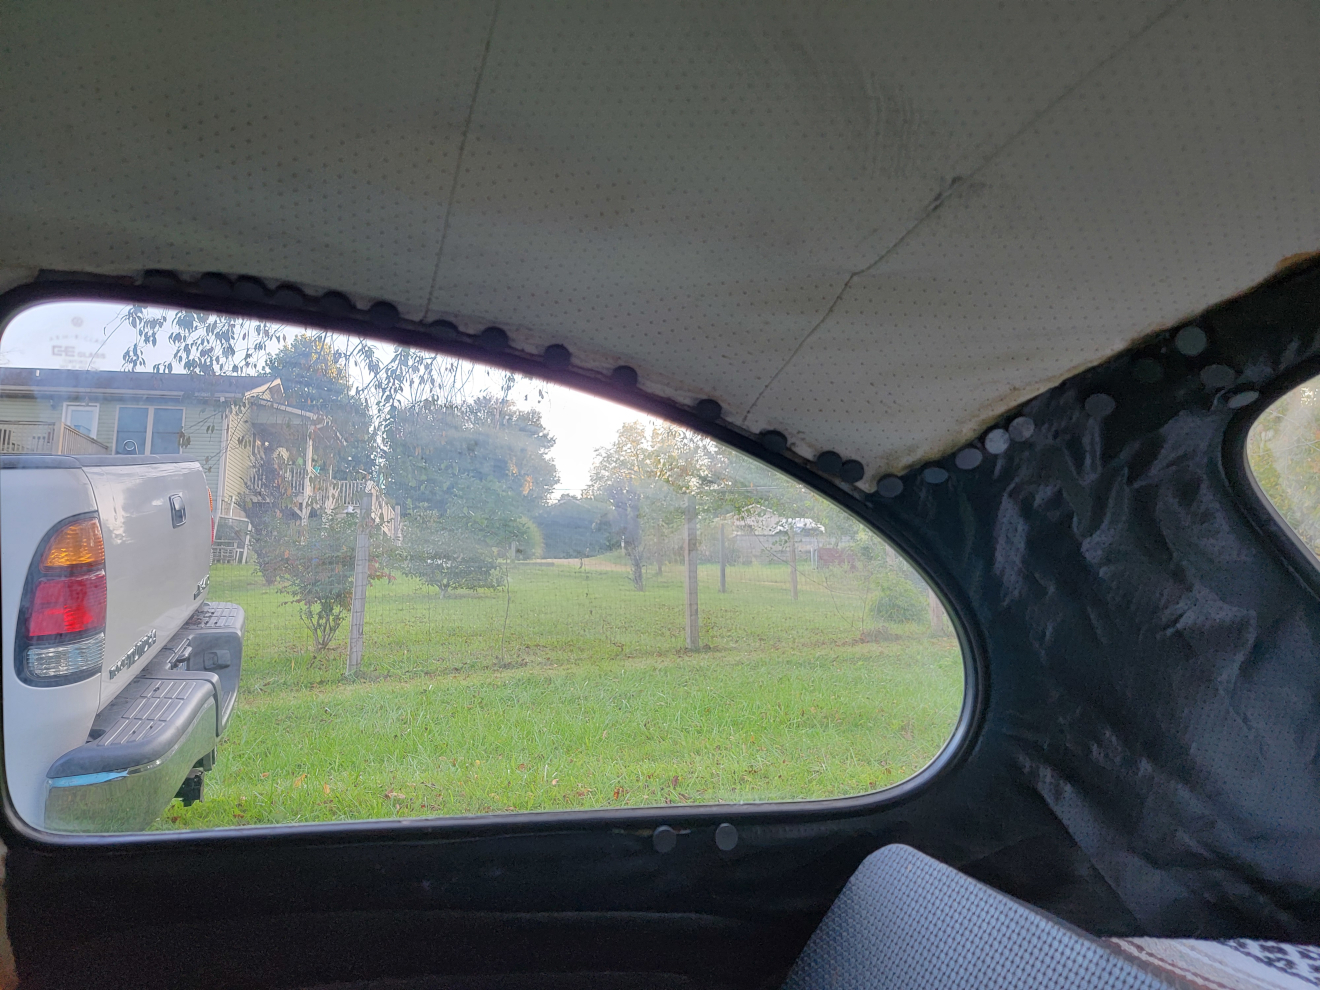
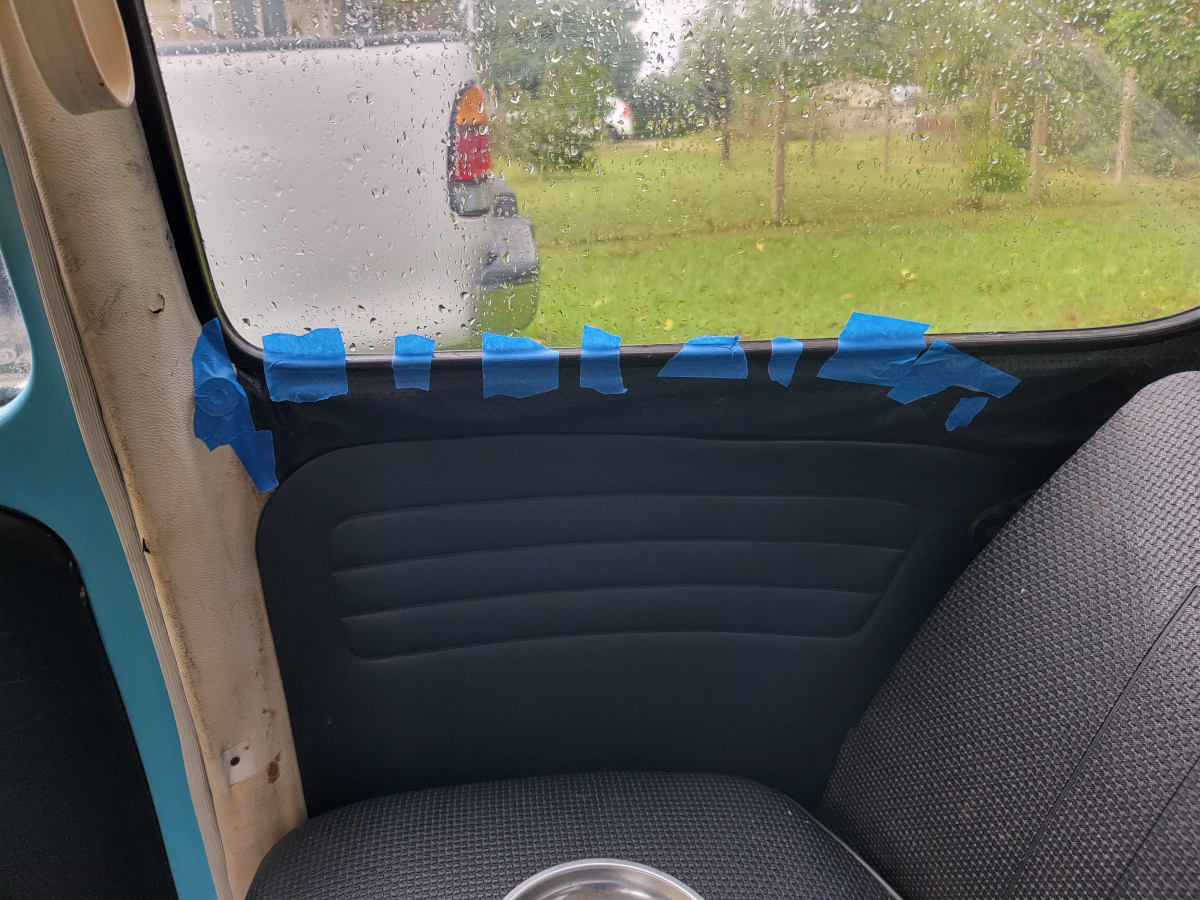
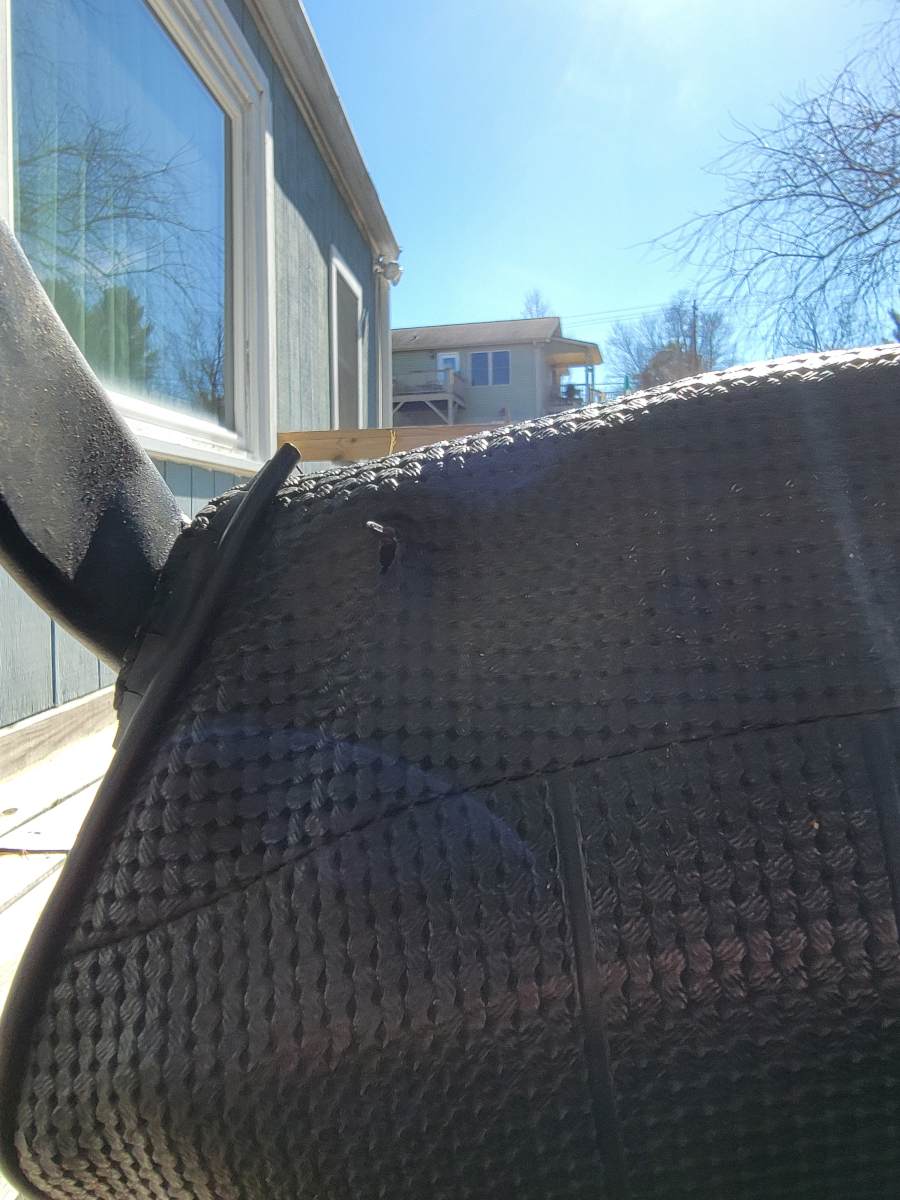
You know what? While we’re here, let’s see if we can’t make that vinyl wrap stick once and for all below the rear passenger window…
After sitting through the winter, the battery in the beetlebug was dead. After having the car for two years, this is only the third time the battery has gone flat. The first time was actually not from a lack of use at all. I was in the habit of starting the car up and letting it run every couple of weeks. I would let it heat up, then drive it back and forth in the driveway a few times to keep all the moving parts lubricated.
After one of those sessions, I found the battery was dead a couple of days later. It turns out the old style generators don’t charge at idle like more modern alternators. Letting the car sit and idle will actually run the battery down.
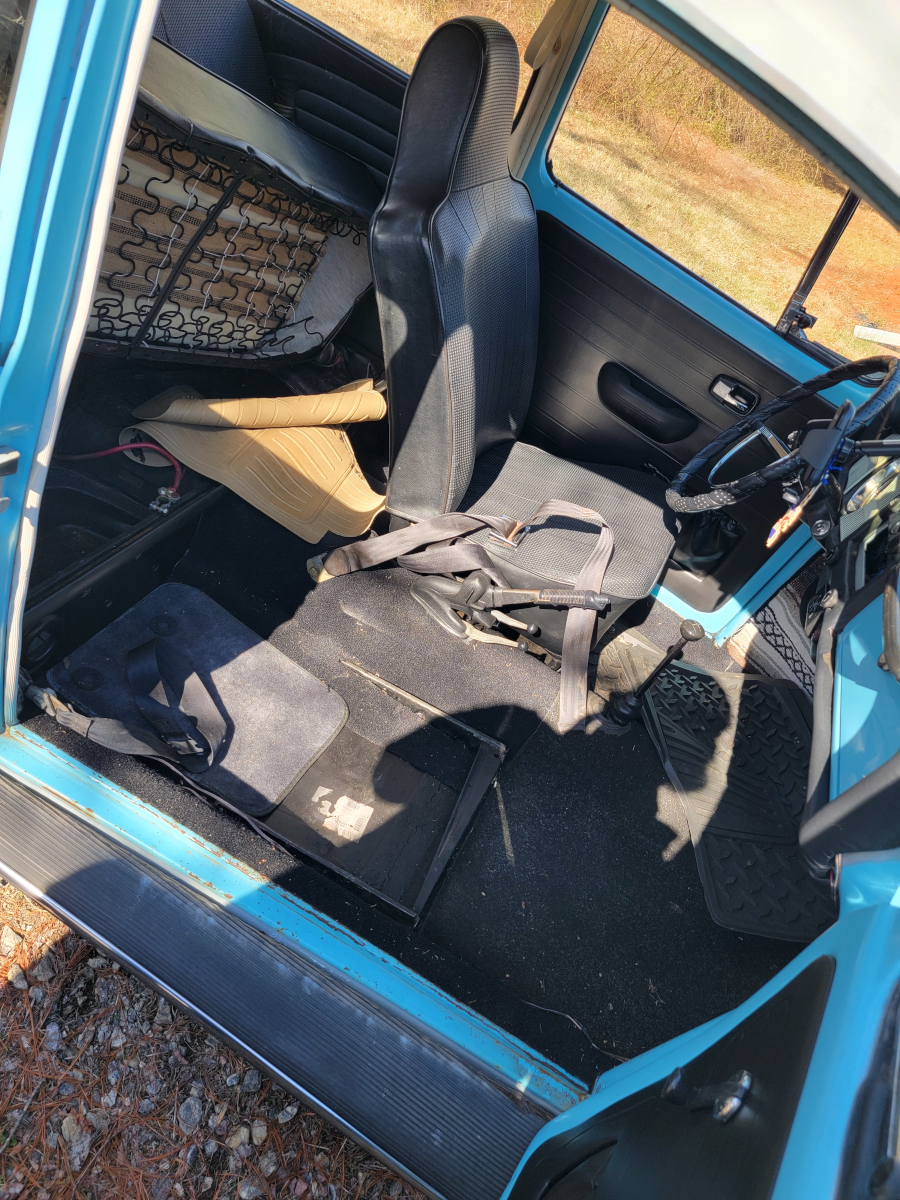
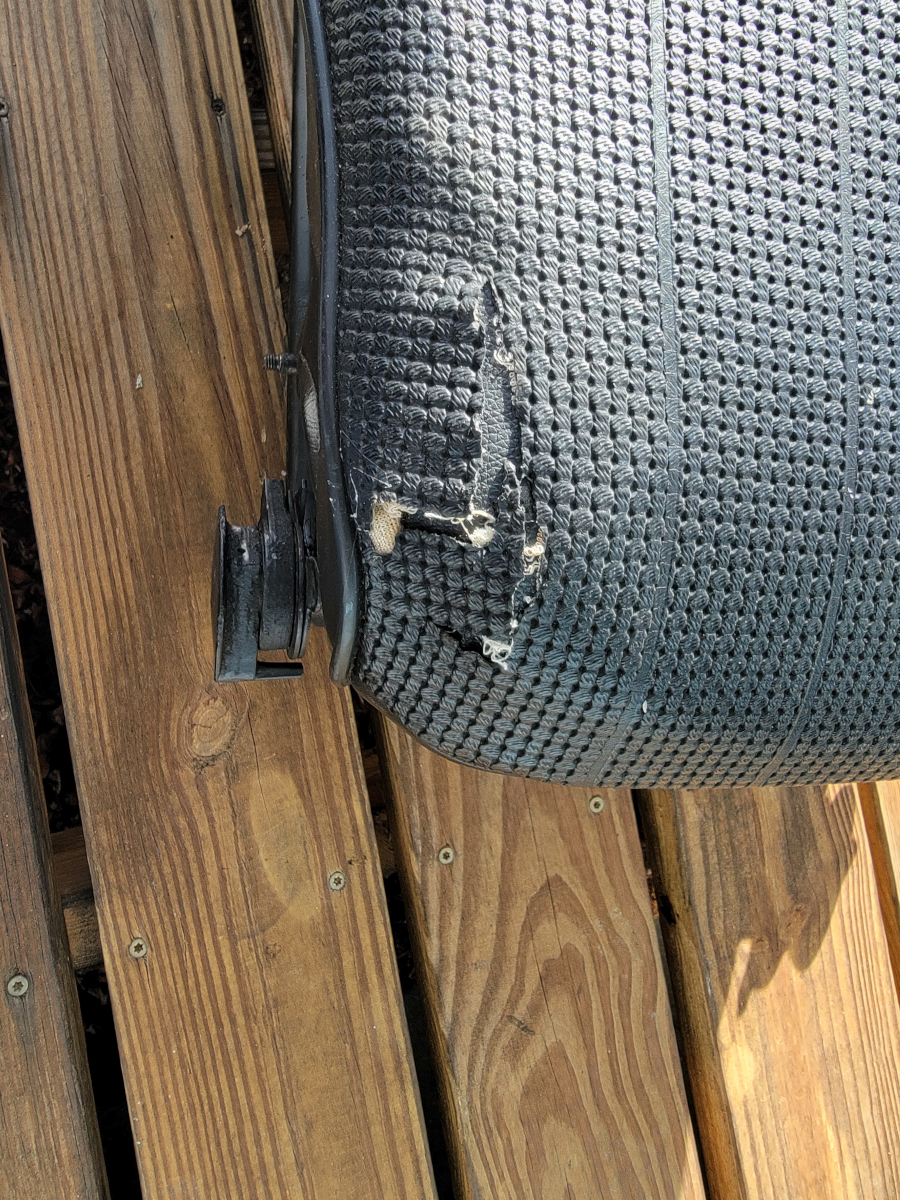
The battery is under the back seat. So, I flipped the passenger seat back forward and heard the terrible sound of seat cover ripping. One of the upholstery spikes on the bottom rail was fully extended. It tore a long gouge in the seat cover and new foam padding I installed last spring.
I connected jumper cables to my truck and started the car. I left the cables connected, hoping to get a better charge off the truck’s alternator. After letting it run for ten or fifteen minutes, I disconnected the jumper cables and turned off the car. When I turned the key, the battery was still completely dead.
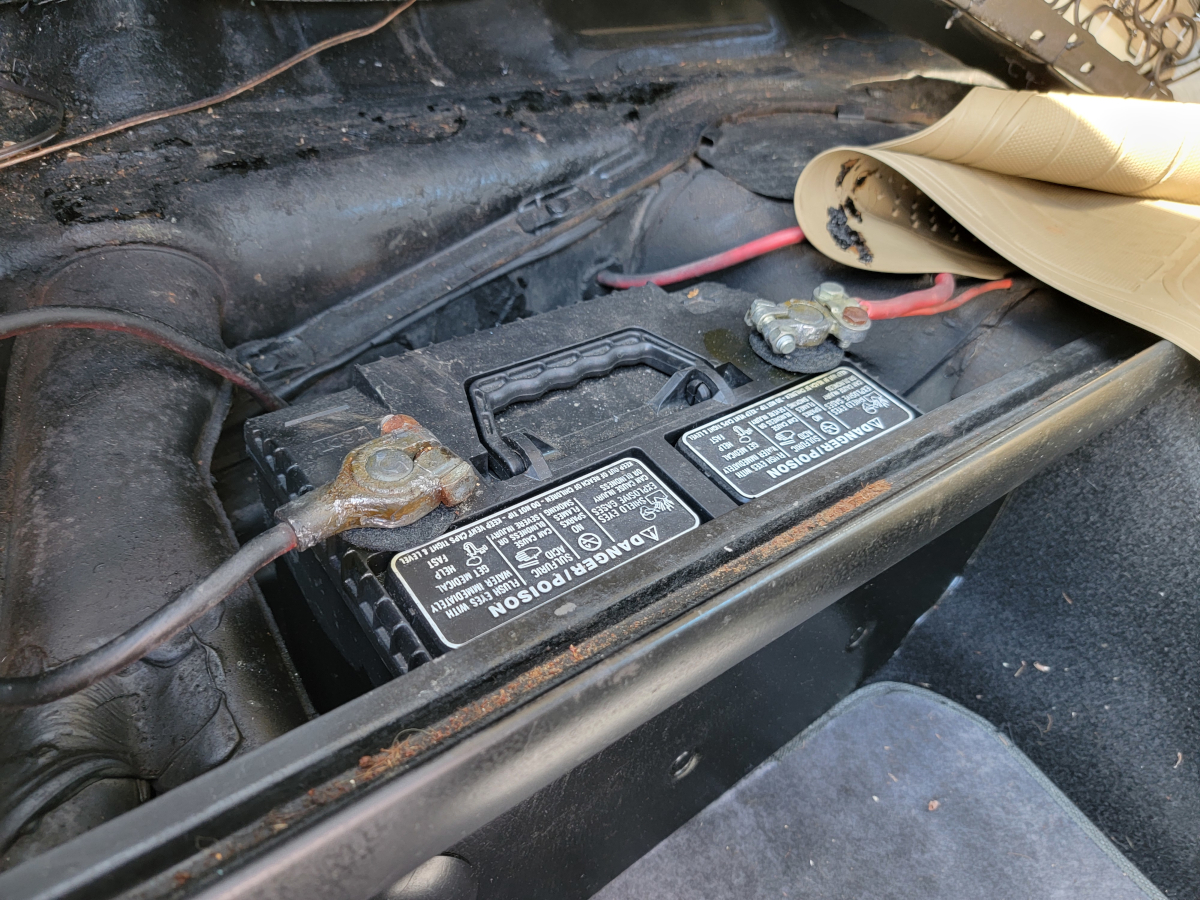
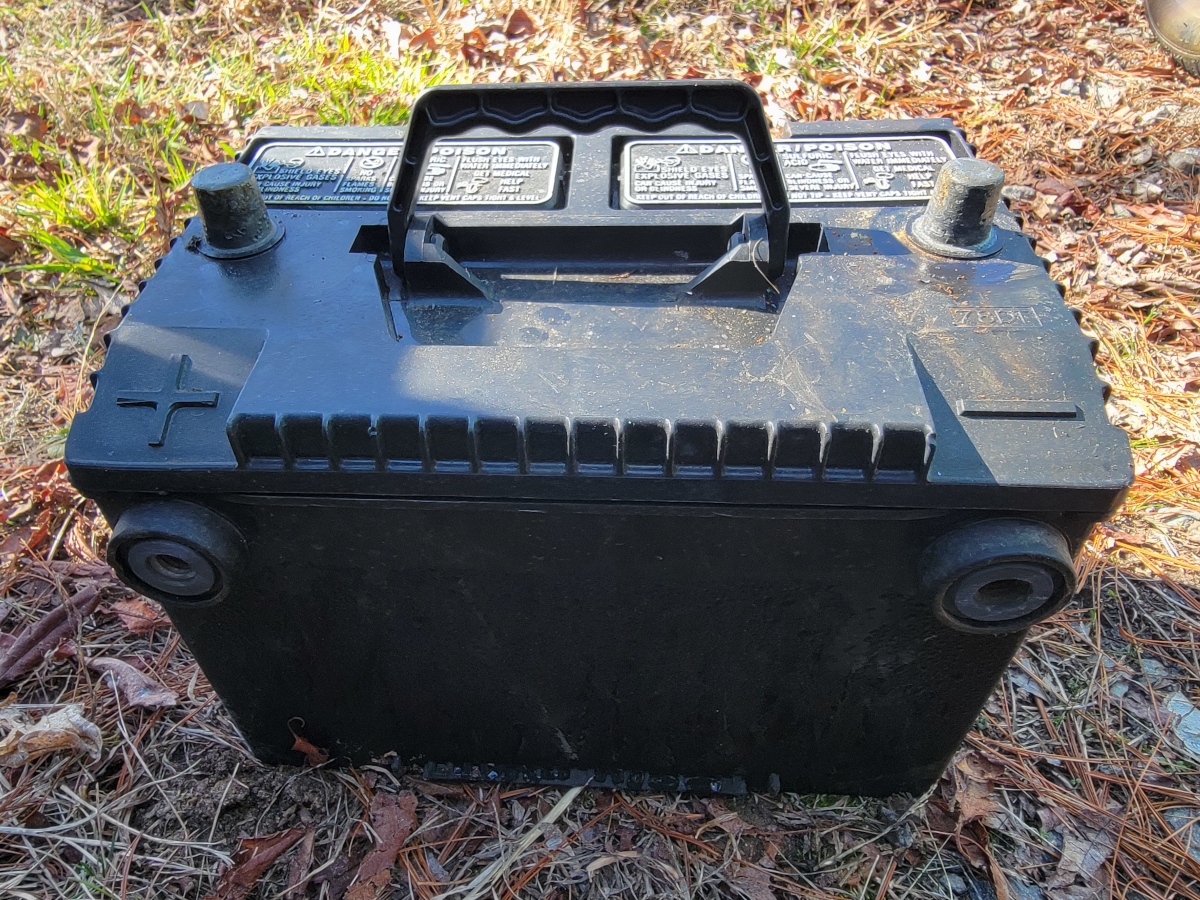
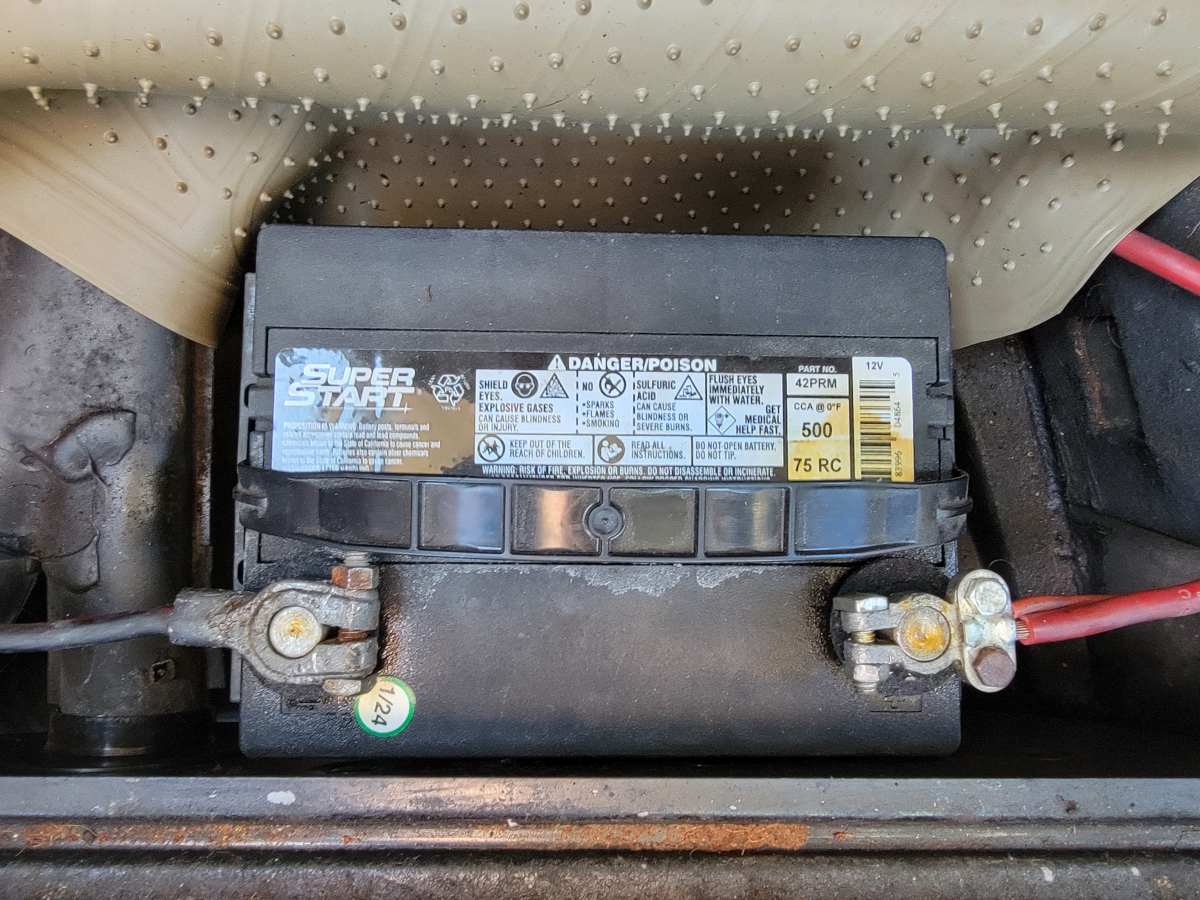
I was curious about the old battery. When I pulled it out, I noticed all of the labels/stickers/branding was gone. It has top and side posts and a handle, which is convenient.
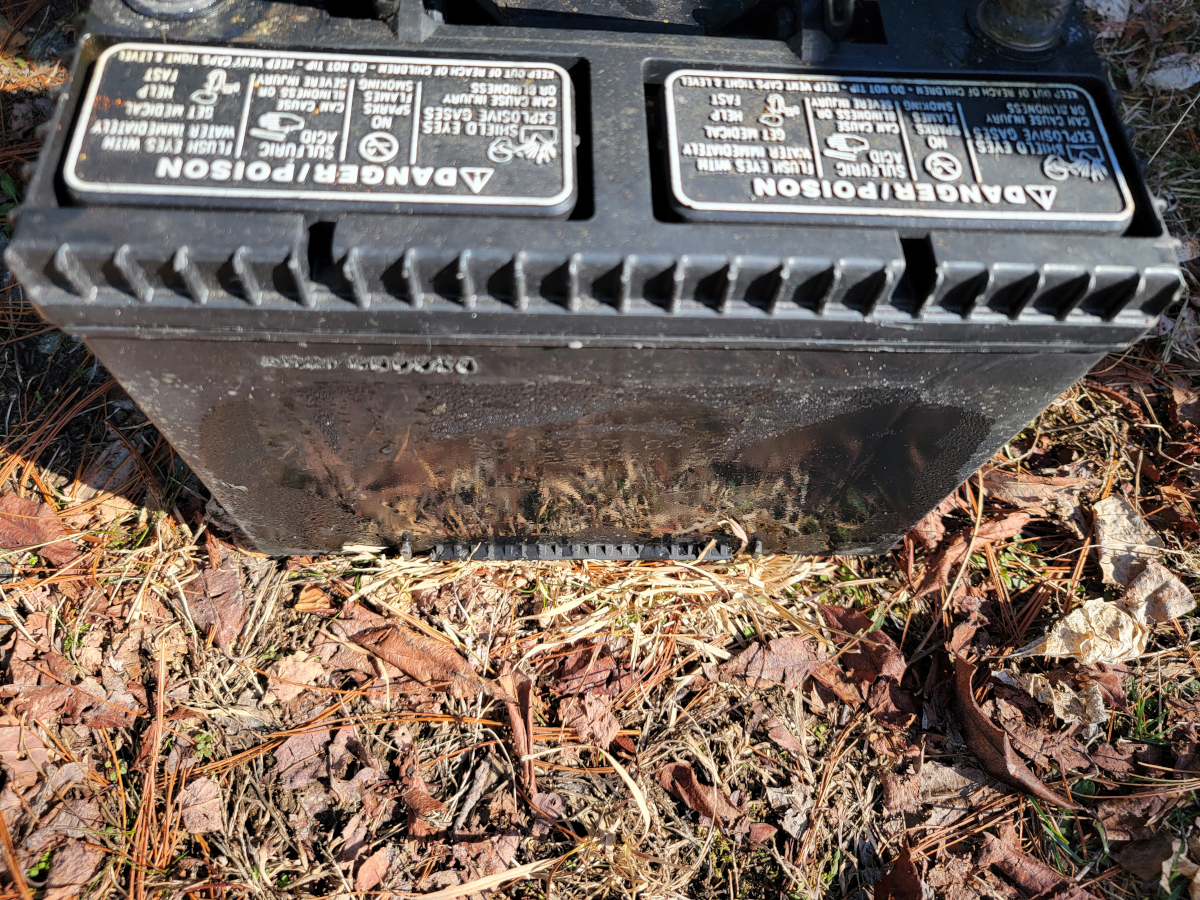
Something else caught my eye, it had condensation all over. I’m assuming that’s what happened to all the stickers.
Next, I took the passenger seat out to repair the seat cover.
I carried the seat up to the porch to have a more stable place to work on it. I separated the two halves of the seat and found the offending article.
So, I pounded that one flat. The others in the area hadn’t found daylight through the seat cover, but they weren’t exactly out of harm’s way, so I flattened them as well.
Taking inventory of the situation…
First, I glued the chunks of foam back into place with some Scotch Maximum Strength Adhesive I had laying around. In my experience, this stuff doesn’t hold up well over time. To be fair, none of the others that I have tried to either. Also, the nozzle broke in half, glued to the cap, so at least it sticks to its own packaging.
While I let that dry in the sun, I headed out to the parts store.
I haven’t purchased a battery in a few years and was surprised to find that prices have doubled. It was $194.99 for a Super Start Size 42 T5 – 42PRM (O’Reilly link).
I sprayed the anti-corrosion stuff on the terminals and installed the new battery.
Back to the front (YOU WILL DO WHAT I SAY WHEN I SAY). Sorry.
Back to the front (YOU COWARD, YOU SERVANT, YOU BLIND MAN, BACK TO THE FRONT)
…seat, I cut an oversized piece of the black vinyl that I used to recover the dash pad last year. Because the patch piece was so much bigger than the hole in the seat cover, it took some creative contortion and origami to get it in there and laying flat.
I used the rest of the tube of glue in between the vinyl patch and the shreds of seat cover to hold it in place. I thought about trying to stitch those edges together, pulling them tight. However, these old seat covers are so brittle, I knew the upholstery thread would have just pulled through.
It doesn’t look great as is, but luckily, the damage is at the back of the seat pad, right below the seat back. It’s not noticeable until you flip the seat back forward.
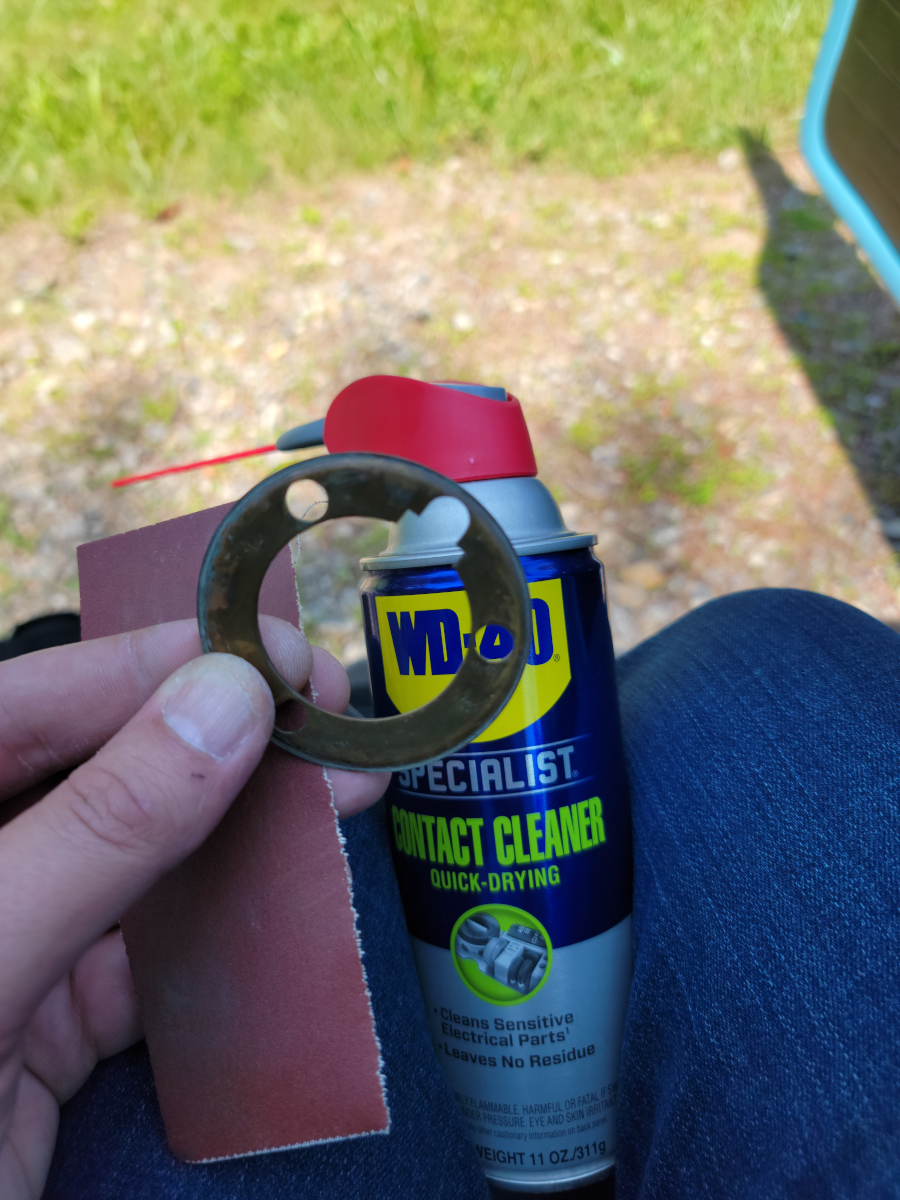
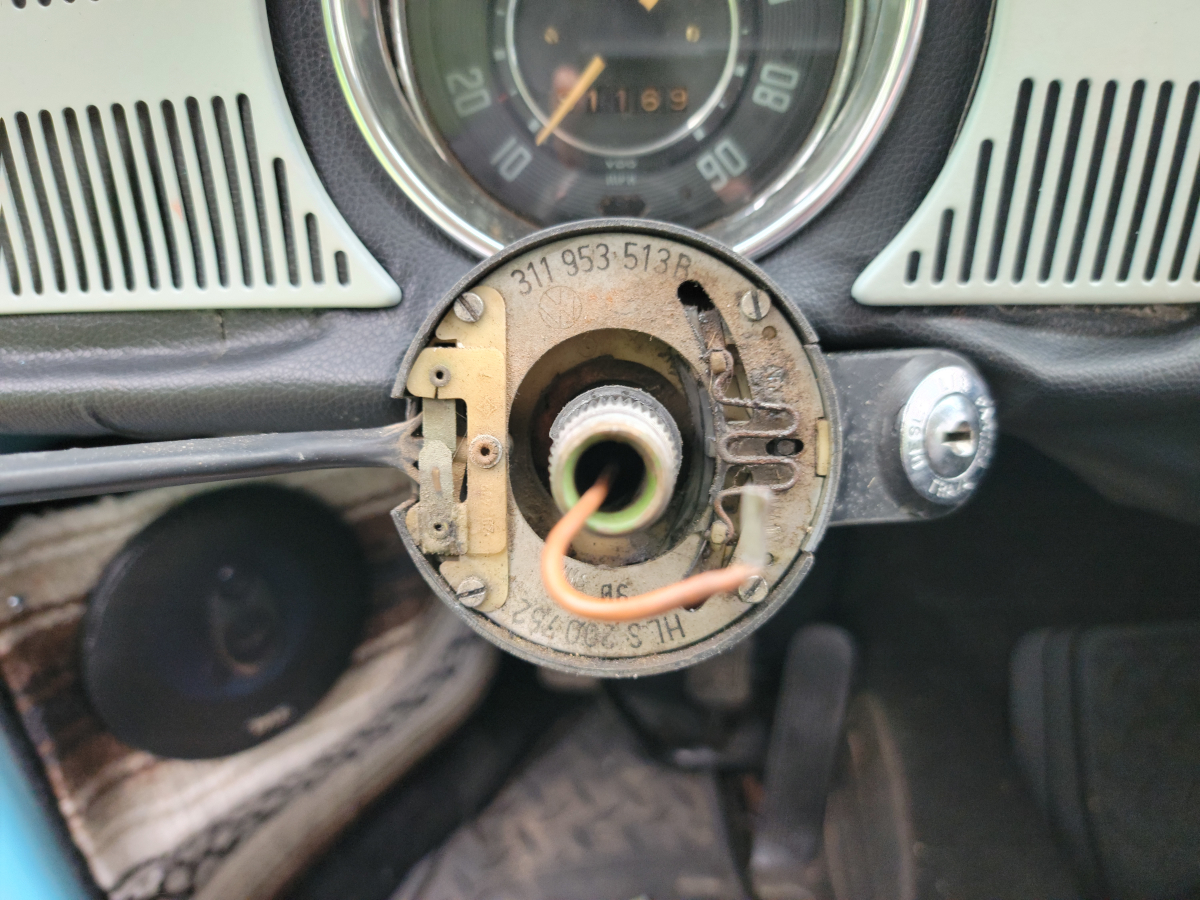
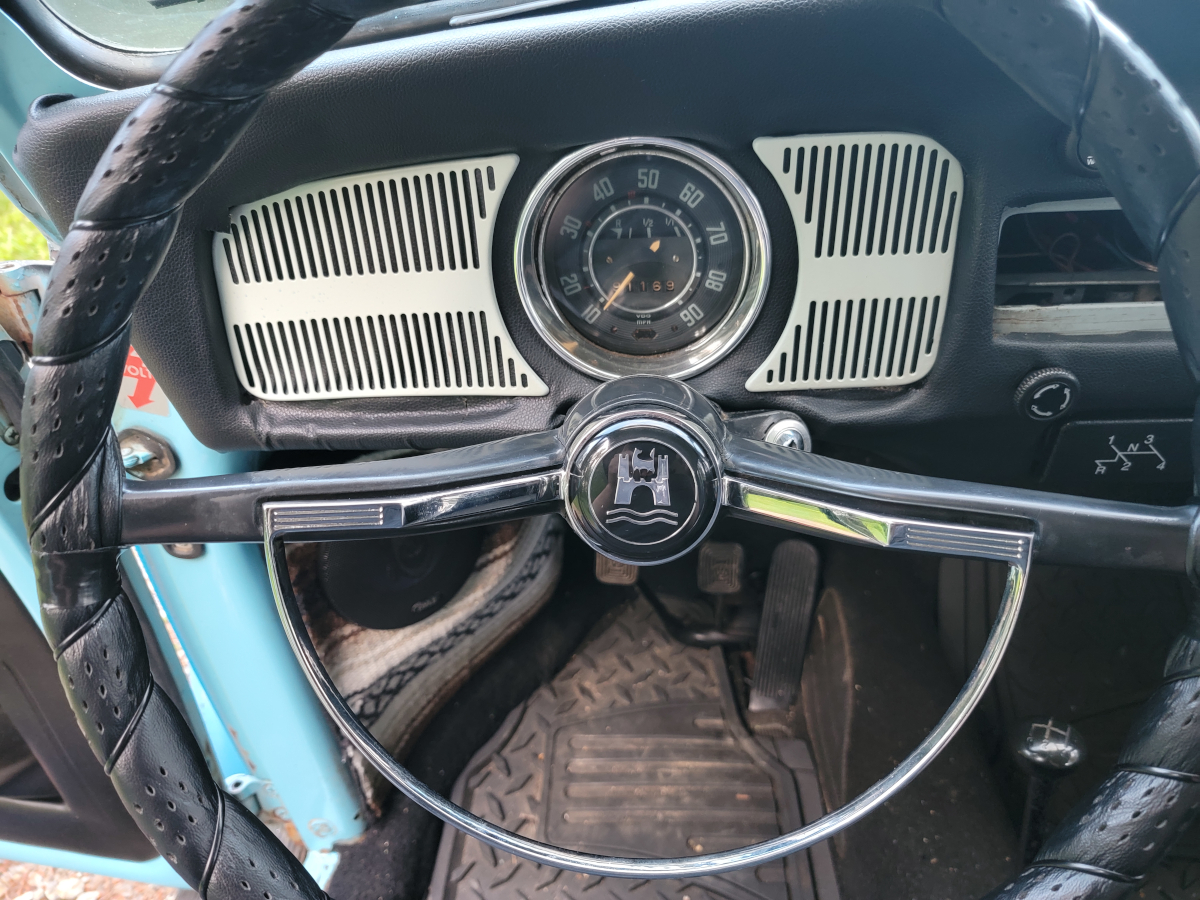
In my previous post, Replacing the Ignition Switch, I didn’t have much success getting the horn tooting again after having the steering wheel apart. This evening, I’m taking it all back apart to see if I can clean up the contacts and reassemble it correctly.
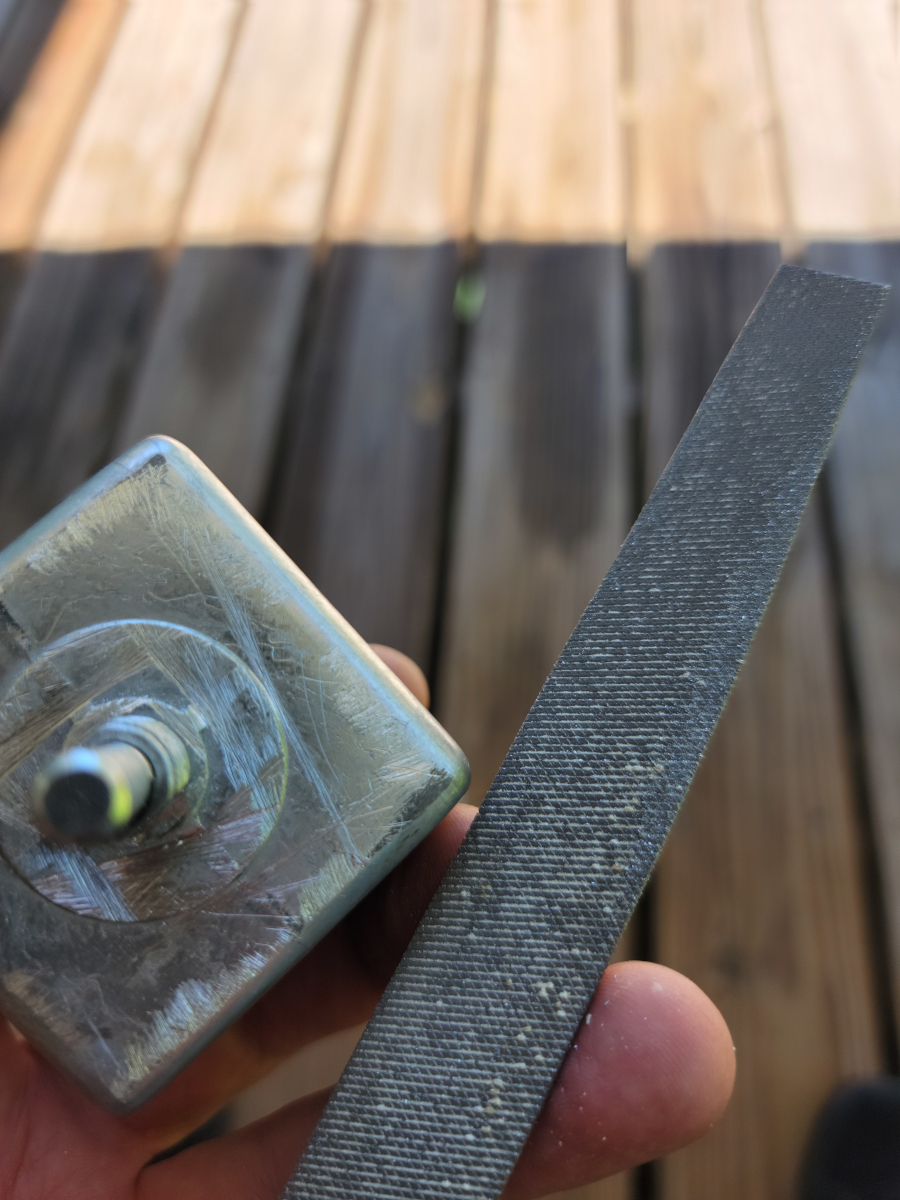
I armed myself with some emery paper and a can of WD-40 Contact Cleaner (Amazon link).
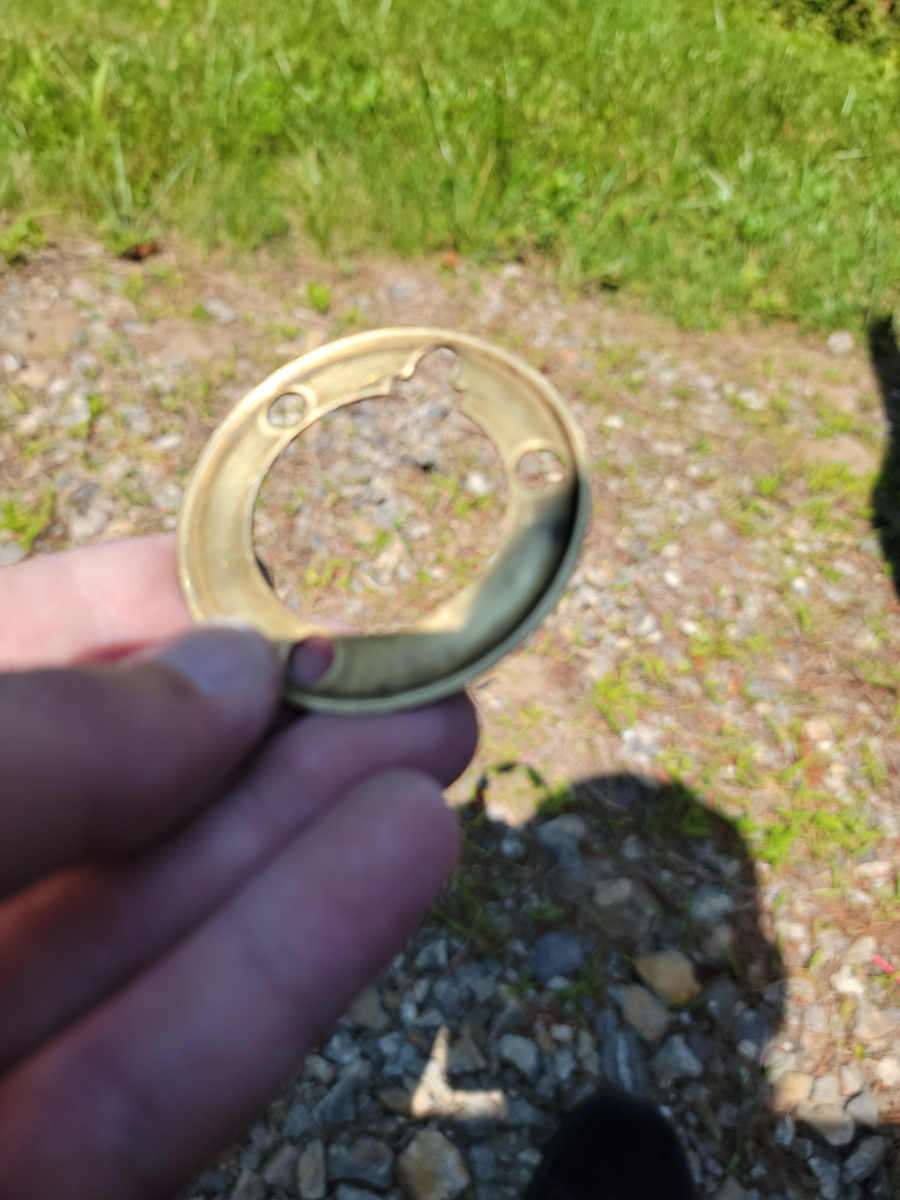
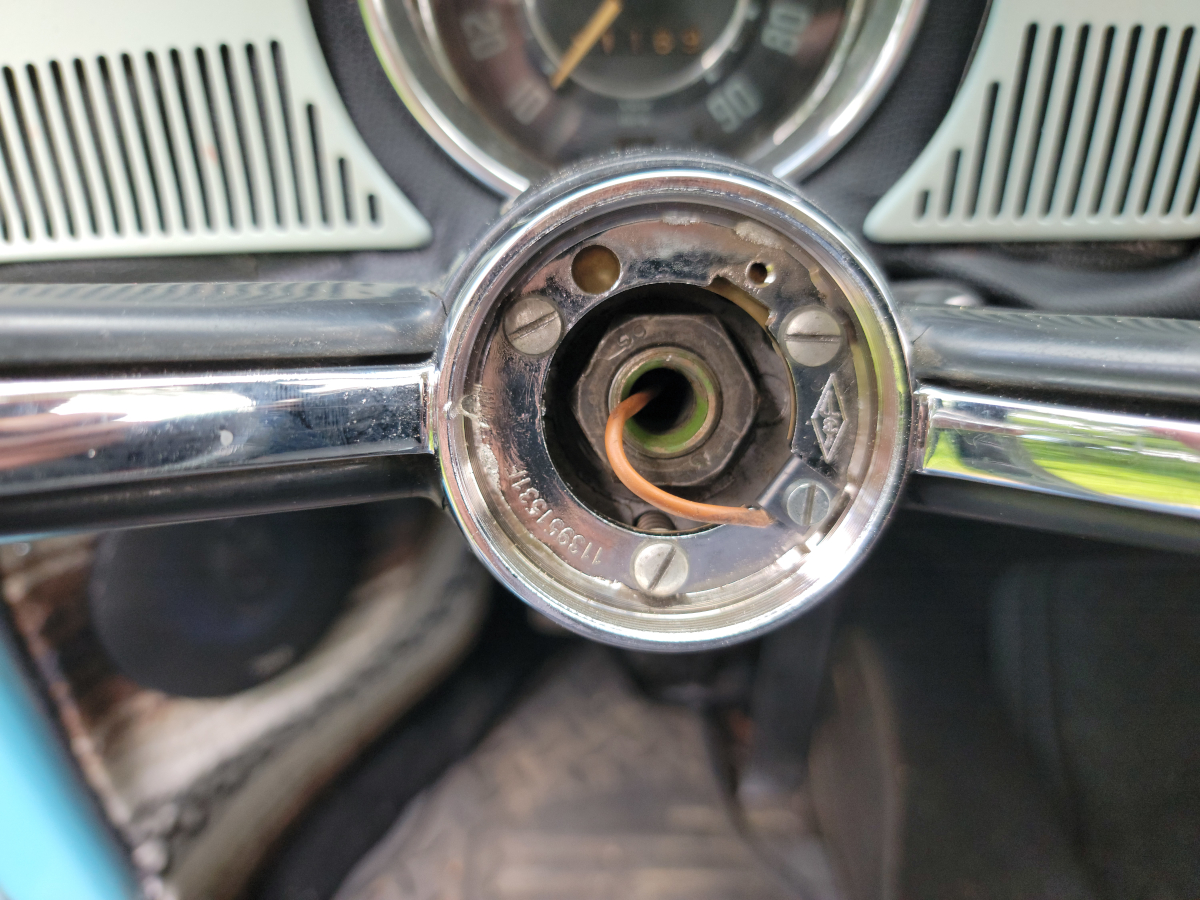
I got the copper horn contact ring polished up first.
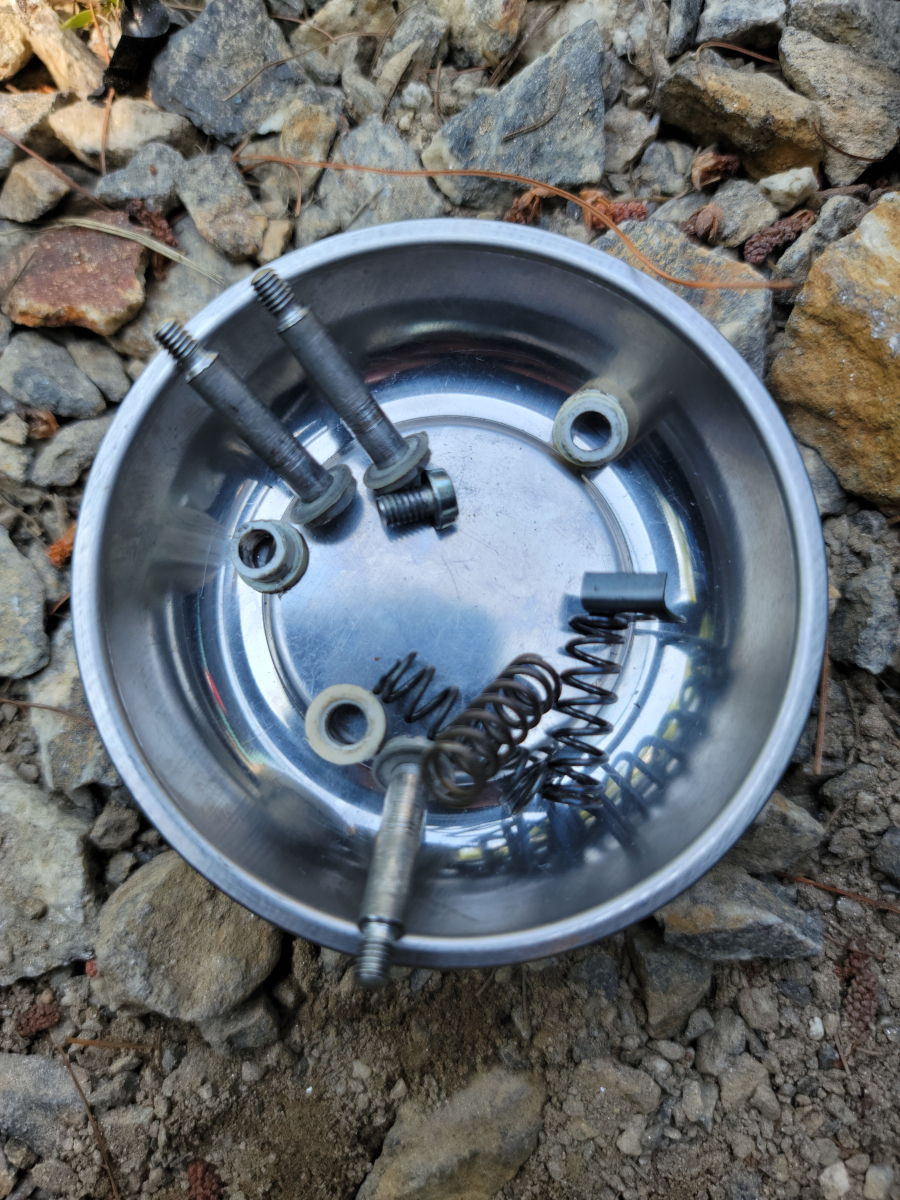
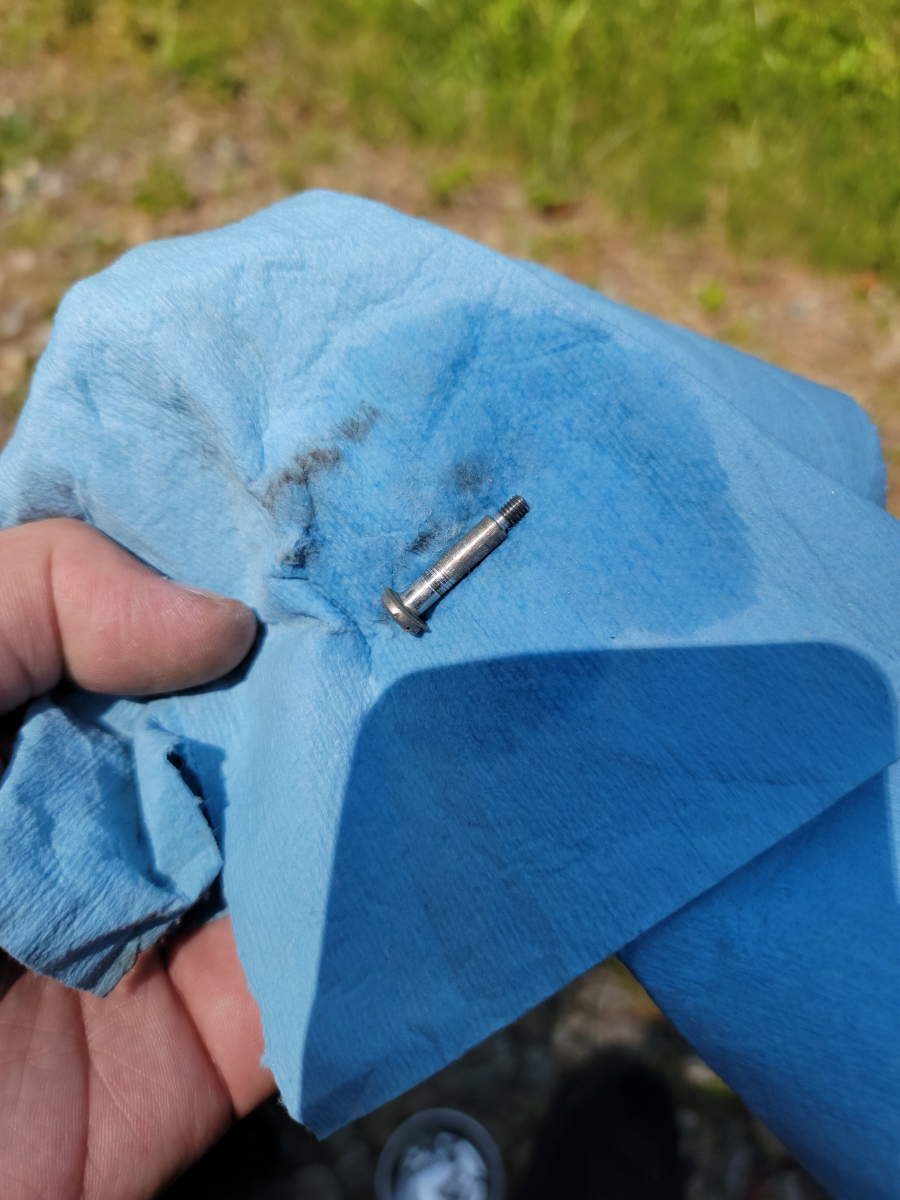
Next I would need to move on to all of that old hardware.
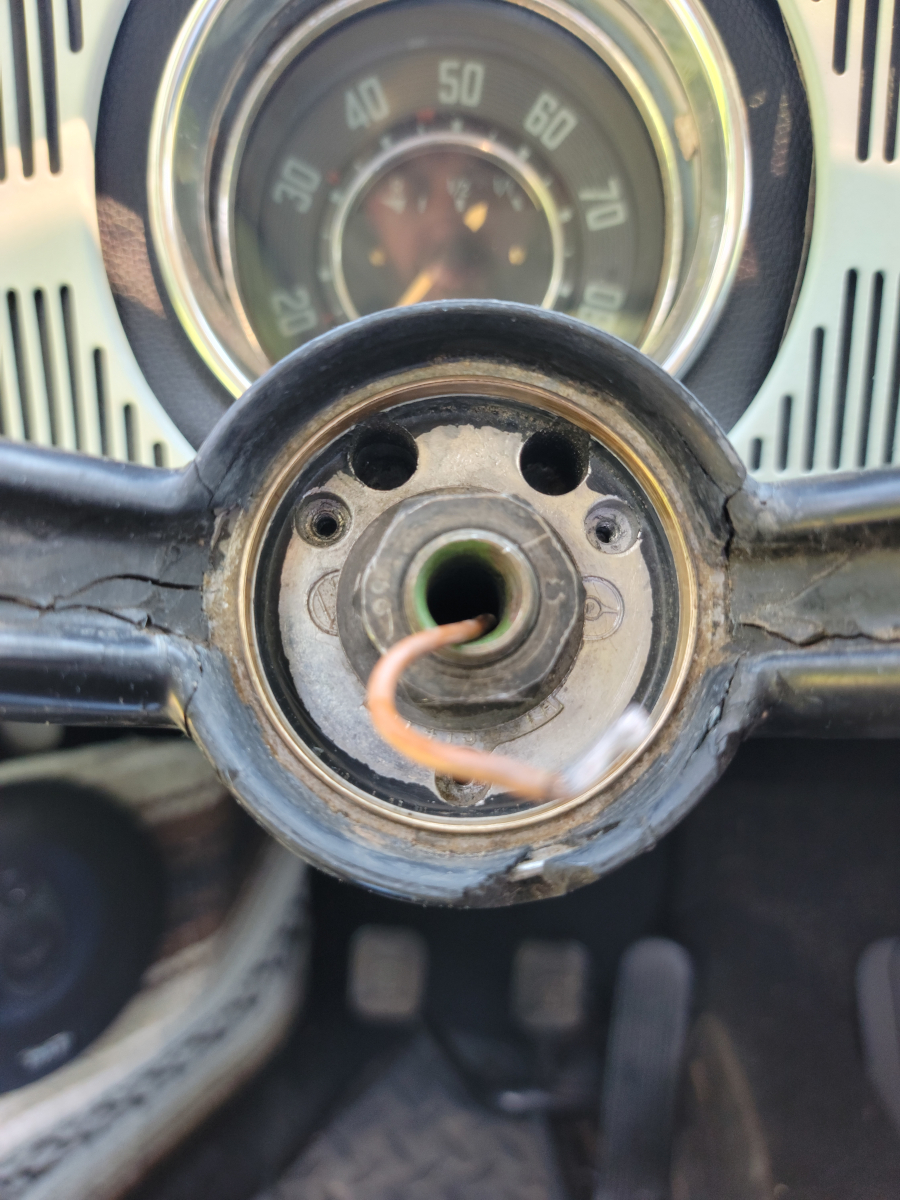
And finally, cleaned off the contact ring in the wheel itself.
I have had this all apart a few times now, for different reasons, including trying to get the horn working again after taking it apart the first time. At best, I have been able to get it kinda working in one direction or the other if you hold your mouth just right.
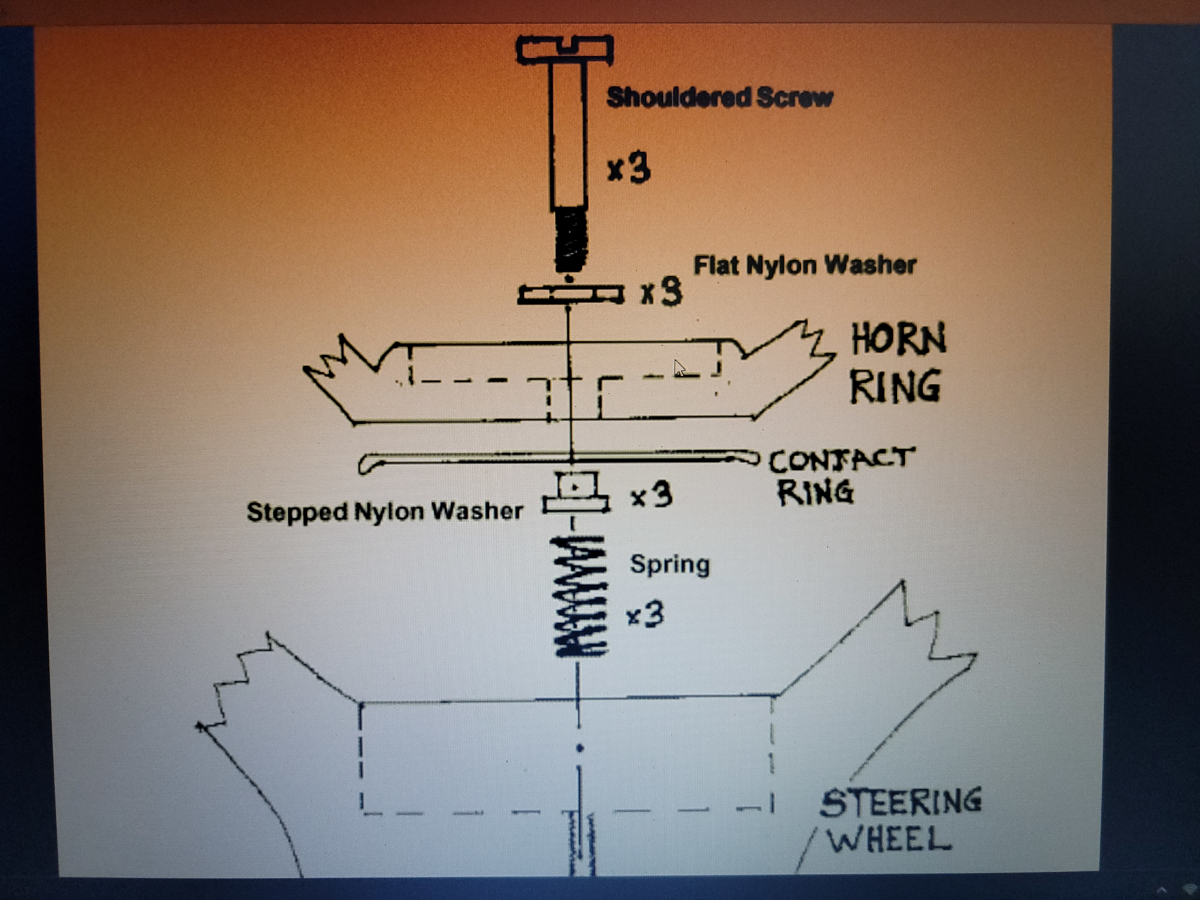
I googled it and came up with the following image on the samba, credited to a site that doesn’t have that image up anymore.
That’s a picture I snapped with my phone off the laptop screen, so copy of a copy of a copy, but it’s clear enough for me to make sure it all went back together as intended. What a pain.
Also, it didn’t work and the horn is still nah, bro.
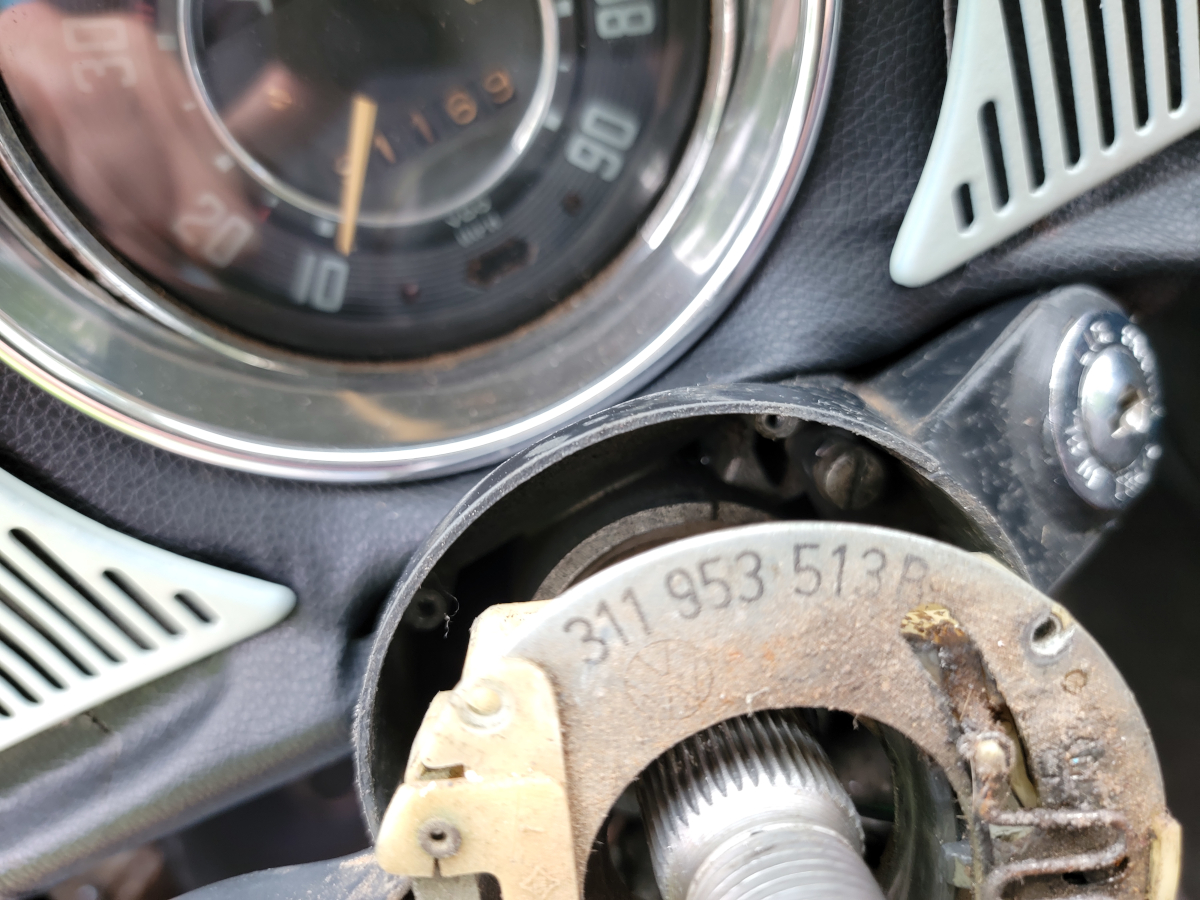
Yesterday evening after work, I started disassembling the steering wheel/horn/turn signal assembly to be able to get to the ignition switch.
I only got so far before I found that I didn’t have the right size socket. My largest Stanley set only goes up to 22mm. Then of course, I have a 32mm impact socket for the axle nuts. Anyway, the info I found online said it was either going to be a 24mm or 27mm, with 27mm being the appropriate one for a 1968.
I went to O’Reilly and picked up both 24mm and 27mm deep well sockets. It was dusk by the time I got home and settled. So, I put it off until this evening.
It was a 27mm nut after all.
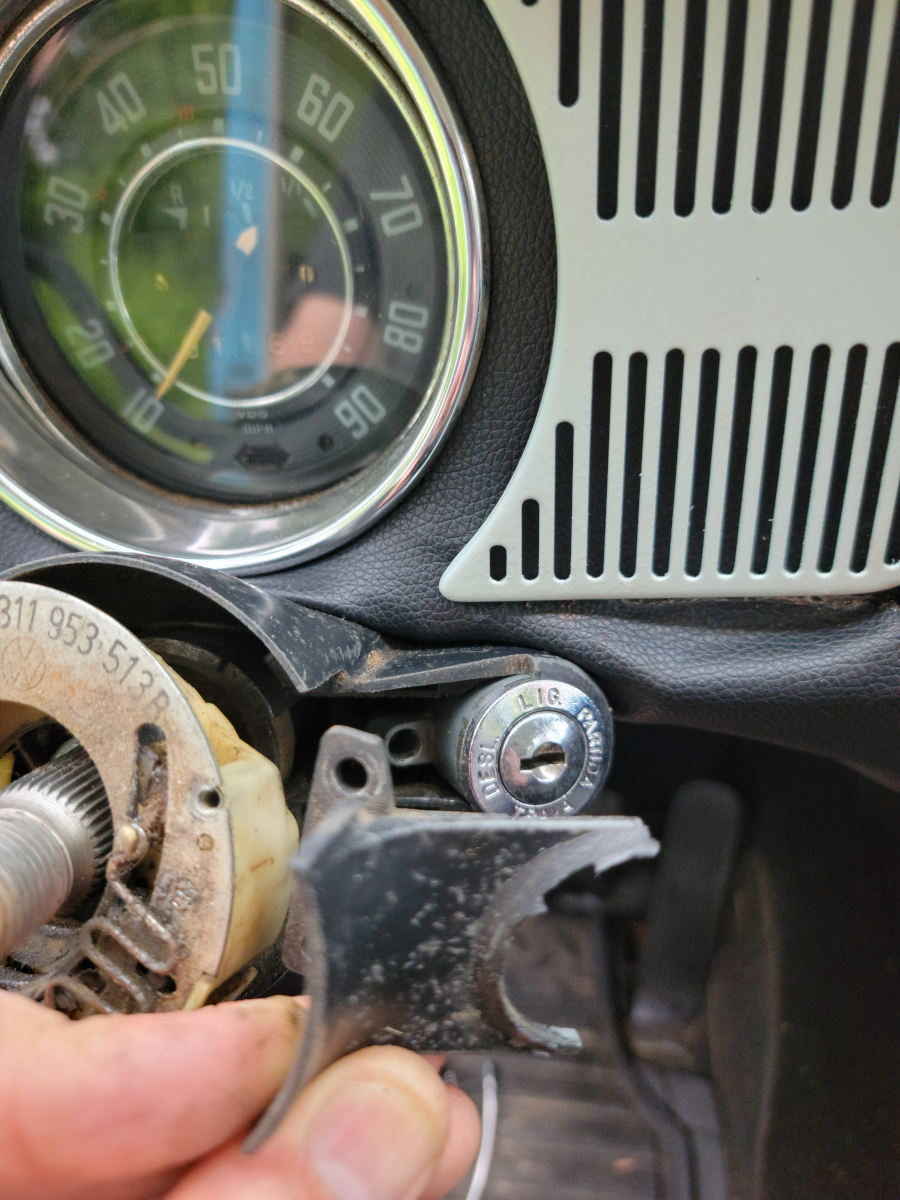
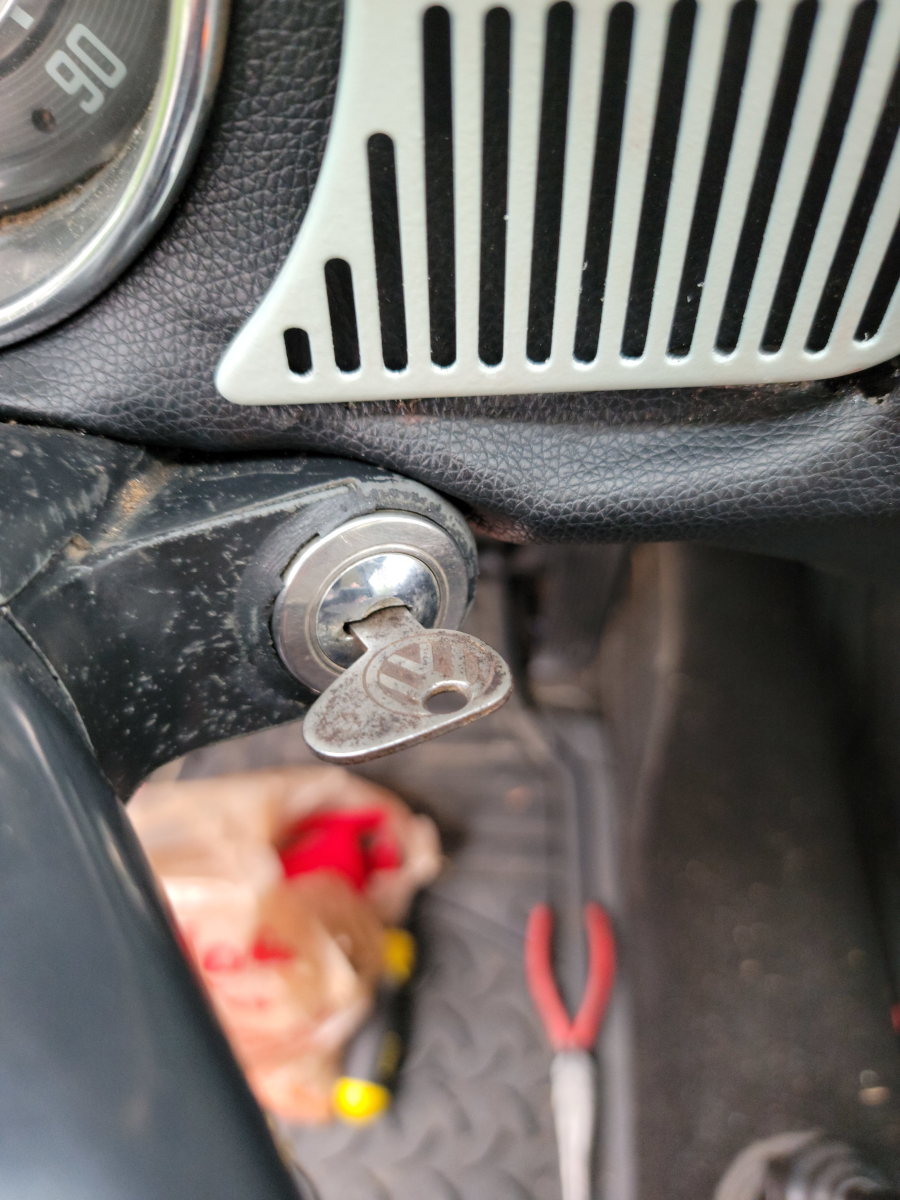
The metal cover/trim piece around the ignition switch was only held on by one screw. The other one was missing. That’s fine. One screw appears to be plenty. It isn’t exactly a comfortable fit to get back in there. When I removed the screw, it fell off the end of the screwdriver and tried to fall down into the steering column cover.
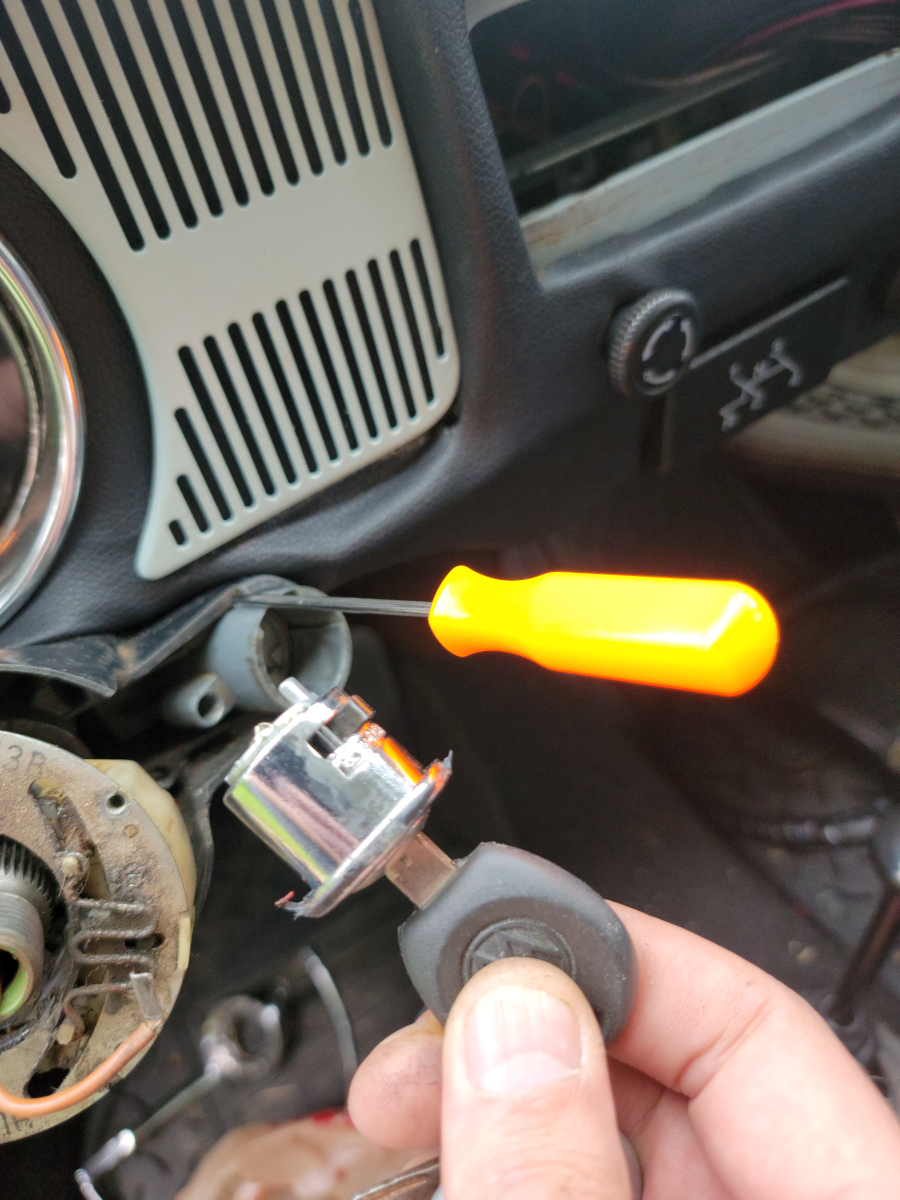
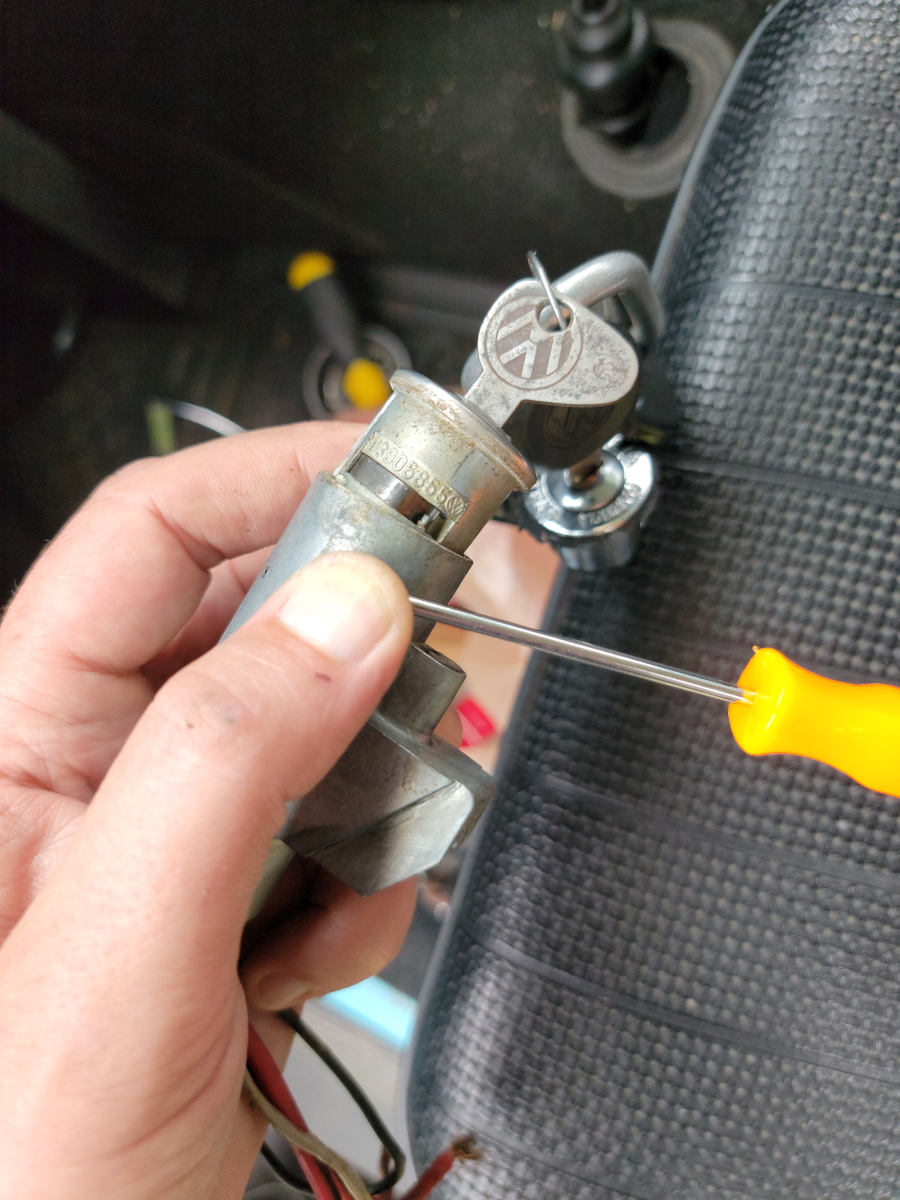
With the key in the ignition, I was able to pull the switch assembly out a little bit. From there I got a pick down into a hole and released the tumbler/switch.
The new tumbler/switch mounted up with no issues.
So I then started buttoning it all back up.
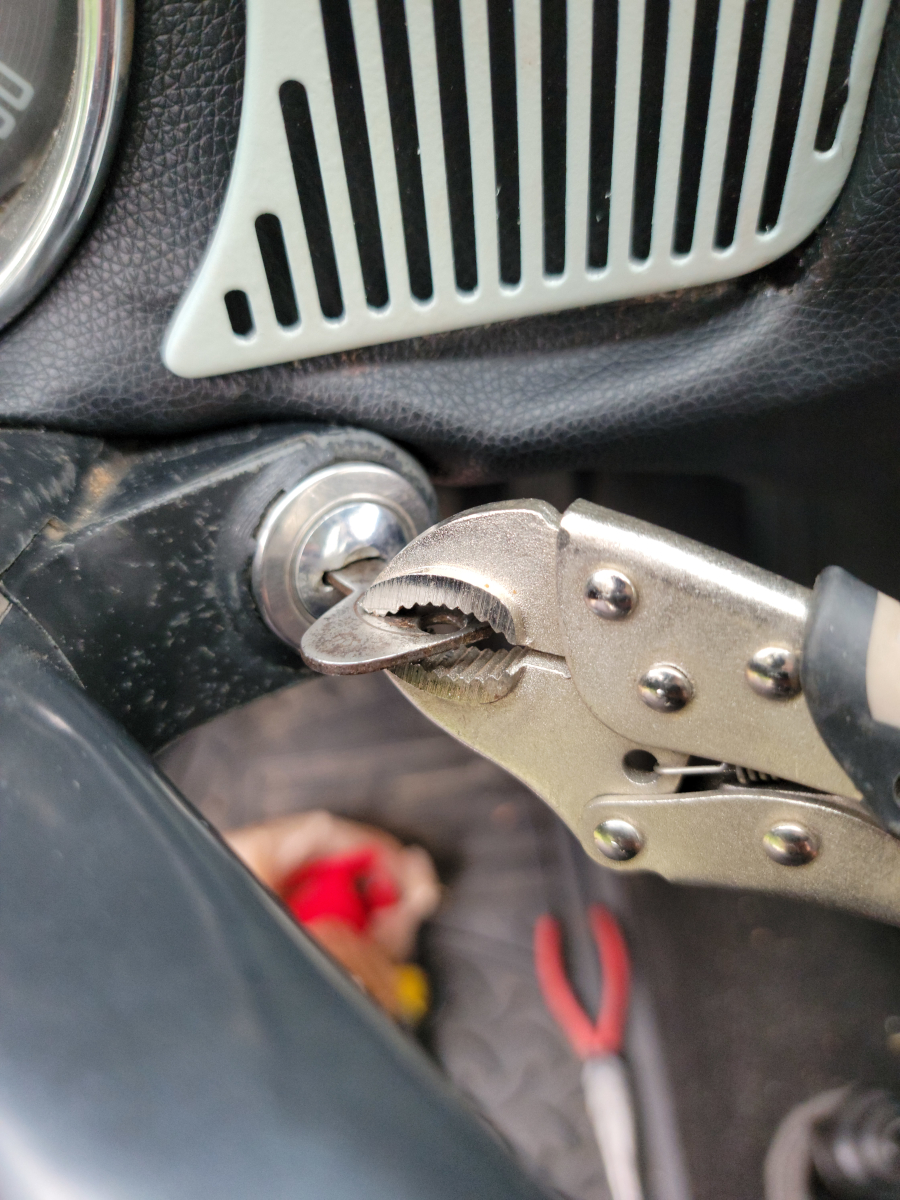
From what I have read, 1968 is a unique year in this area. The ignitions are supposed to be interchangeable 1968 through 1970. This new one is from a 1970 model. I’m not sure what’s happening. Once I got it all reassembled (with the horn working perfectly, BTW) I found that the key wouldn’t pull back out of the ignition.
I have heard that the 1969-70 models had a steering lock on the ignition and 1968 does not. That may be what’s happening here. The two cylinders appear to be physically identical. Once the new one is slotted all the way back in and tight, the key won’t come out when in the Off position.
I had to completely disassemble it, including undoing my masterful horn ring adjustment…
I found that if I don’t fully seat the switch – with just a tiny gap – everything functions properly. However, in that state, you can pull the ignition switch out with the key when the car is on. I will have to be careful not to leave the switch hanging on my key ring. It happened with the car running a couple of times already.
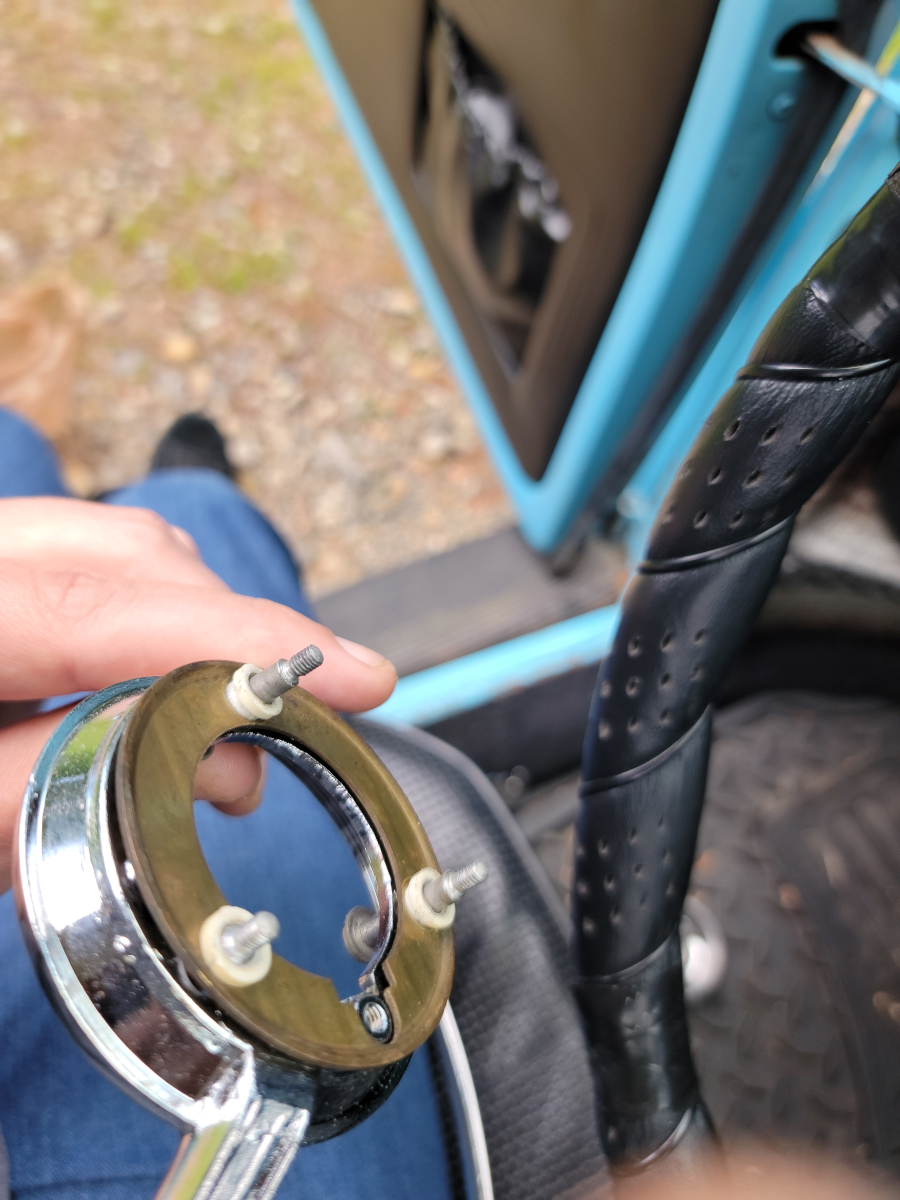
When I got it all buttoned up, the horn wasn’t working properly. I had this problem last time I had it apart, when replacing the horn ring. After fussing with the three screws for a long while, I could only achieve one of the following. One side works, the other side works, or constantly honking. I never actually got it fully functional again.
I’m going to put this away for now. I will tear it all back apart soon to get those contacts cleaned up. I have some WD-40 Electrical Contact cleaner spray. I’ll hose everything down with and scuff up the contact surfaces to get them all shiny.
Hopefully, I don’t need to replace the plastic/nylon isolators around the horn ring screws. They are available to order online if it comes to that.
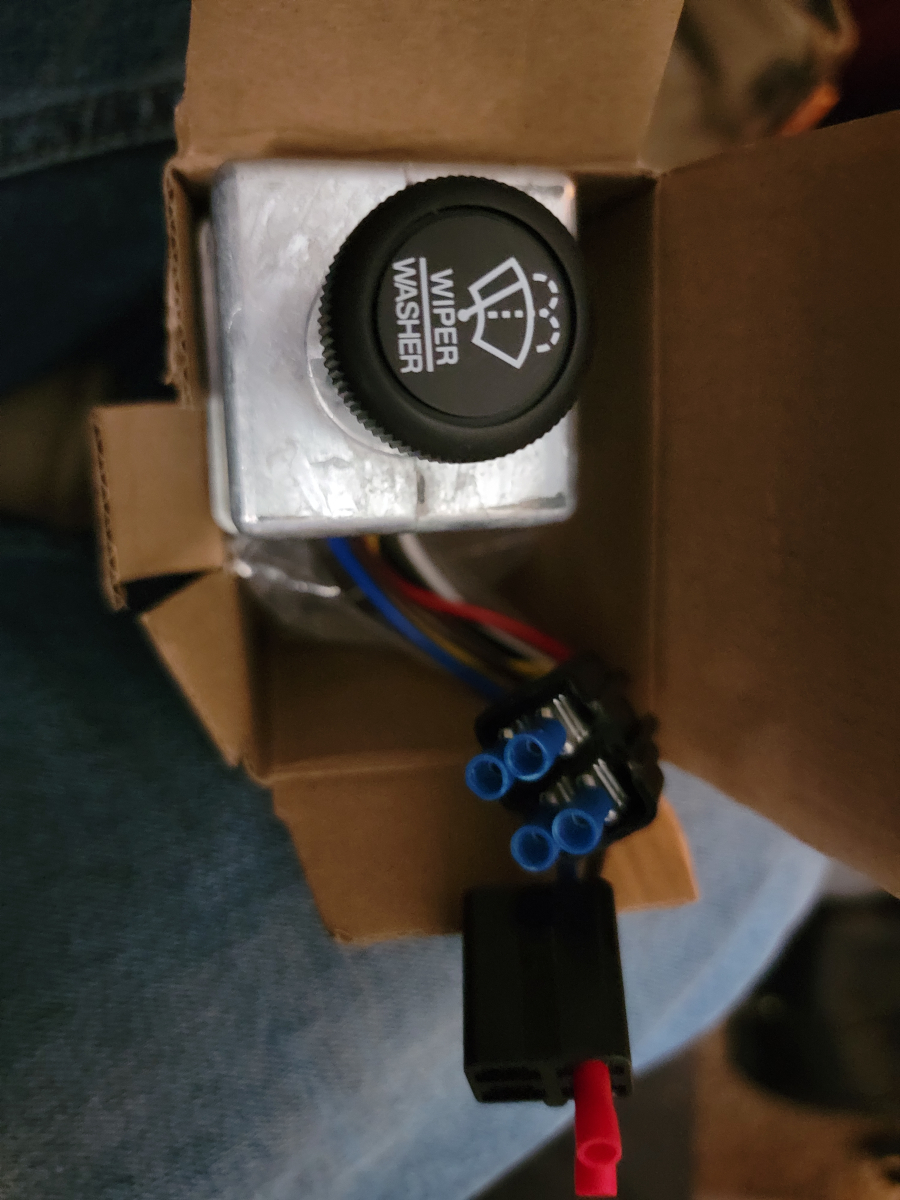
In Part 1, I connected a windshield wiper/washer switch from a Peterbilt truck in my 1968 Beetle and greatly improved functionality by adding intermittent wiper speeds.
When I opened the bonnet, I noticed the new seal I mounted had pulled out of the channel. I fixed that and moved on.
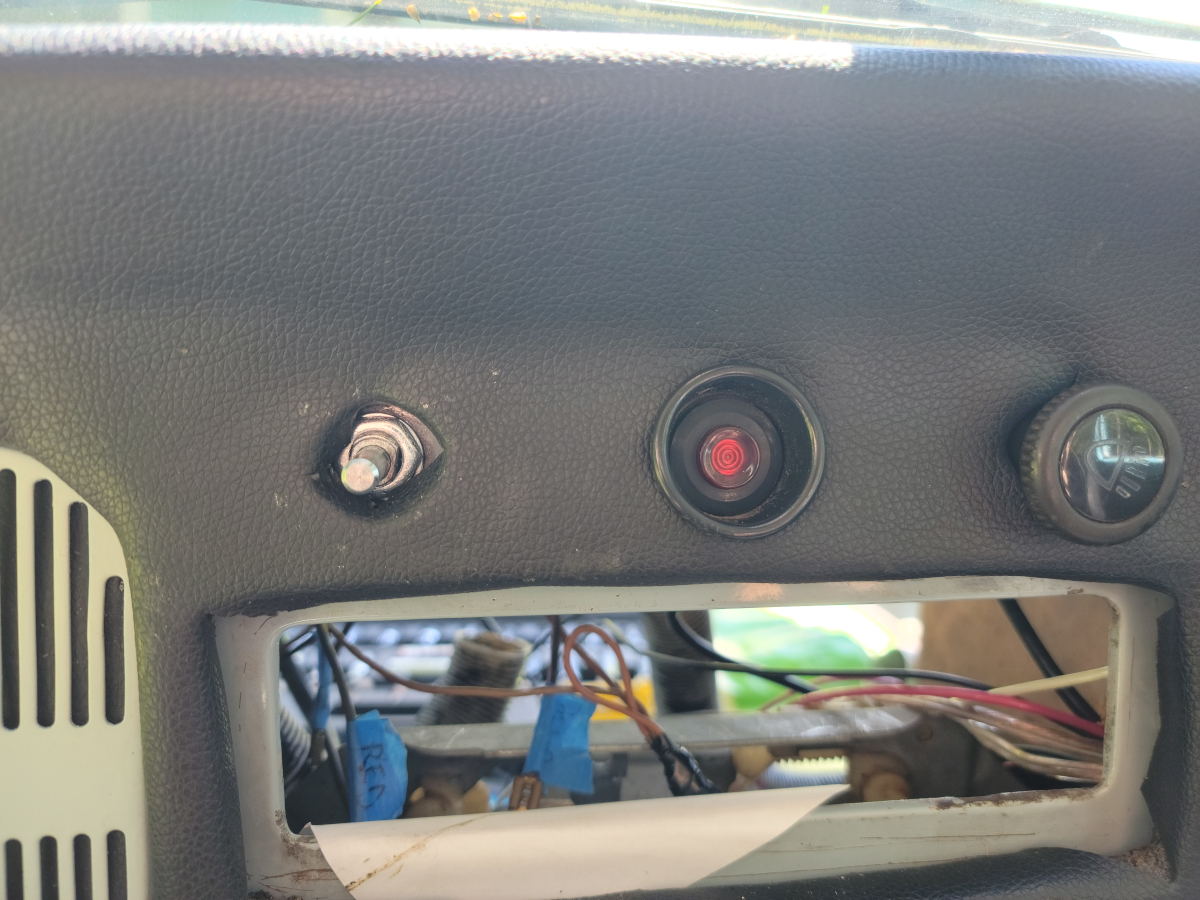
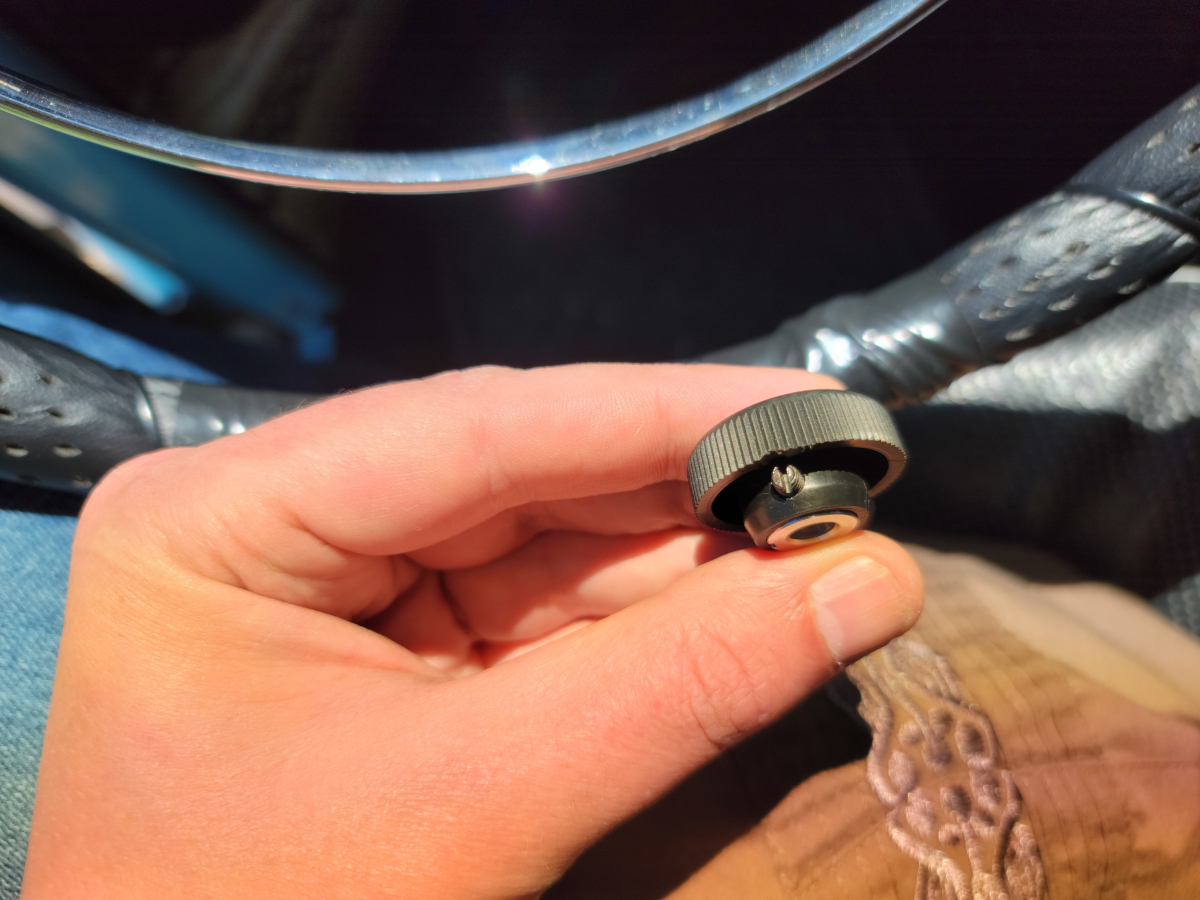
I got the new switch mounted, but the shaft is just a little too short for the knob to mount and push button work properly.
There’s a little set screw on the bottom of the knob. I struggled finding a screwdriver that would fit it. I eventually used one that came with a pair of glasses I bought.
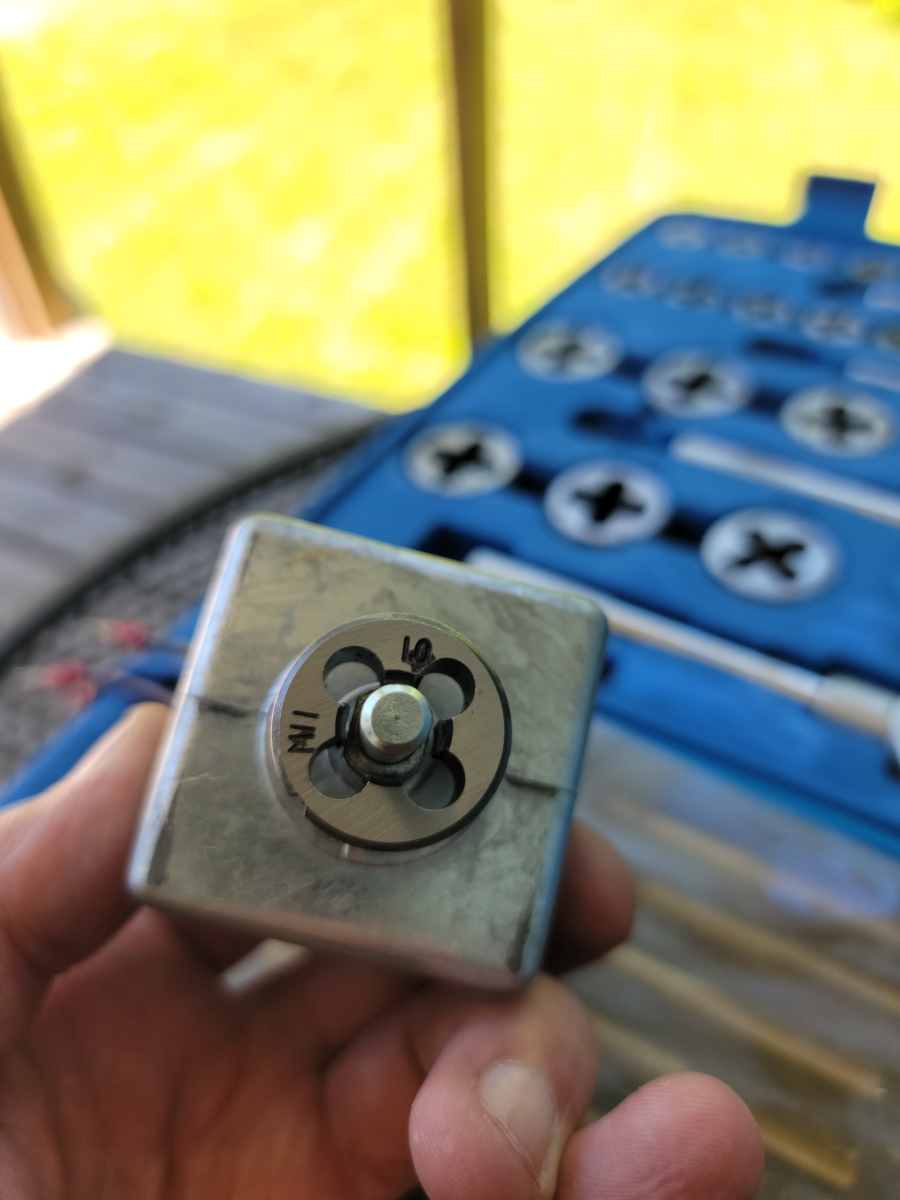
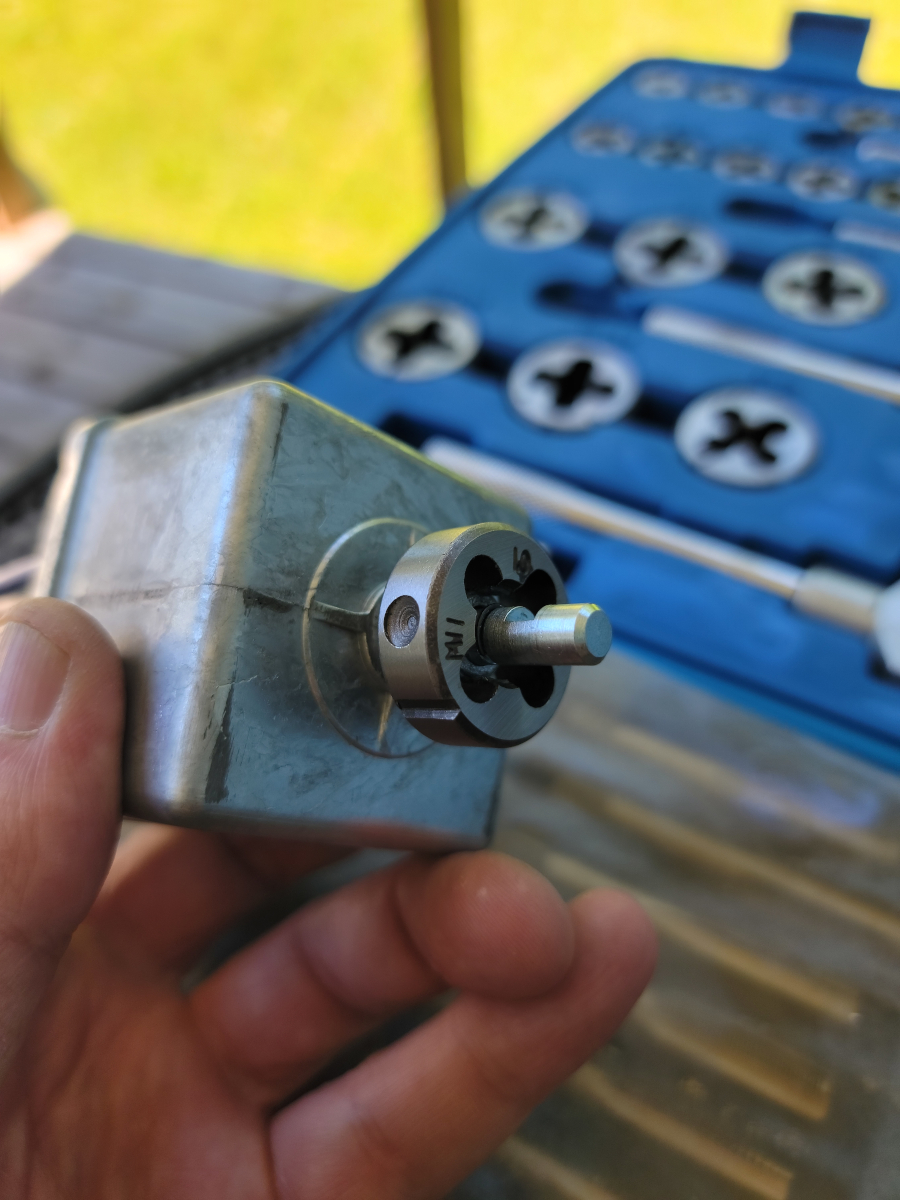
In following with the quality level of other parts I have bought in the last year, the threads on the new switch were toast after test fitting it the first time. The threads are 11 x 1.0. Ask me how I know…
There was a double nut, one on the back side and a washer/nut on the front side. The shaft was almost long enough to work, so I may have gotten away with just removing the back nut, but I decided to file down those cross markings on the face of the switch to gain an extra 1/32″ of an inch or so.
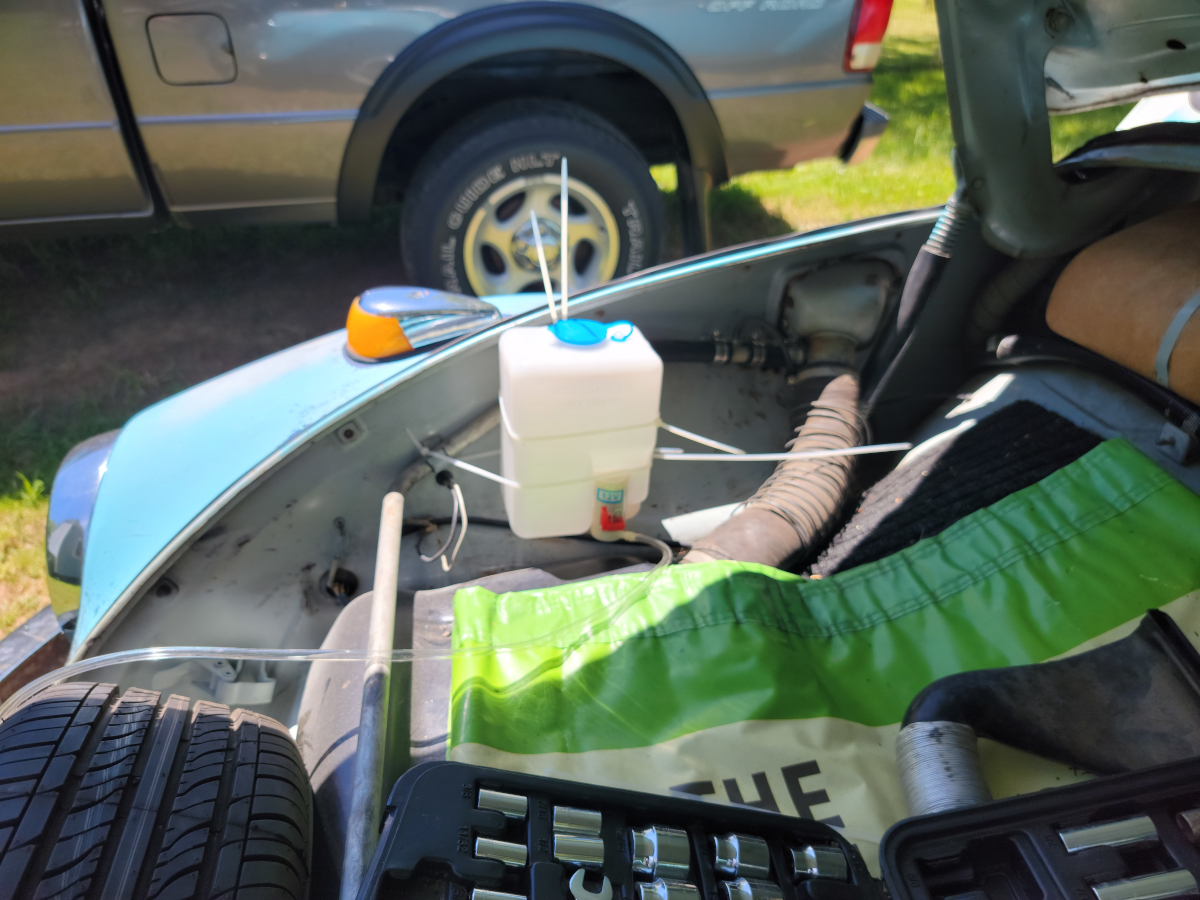
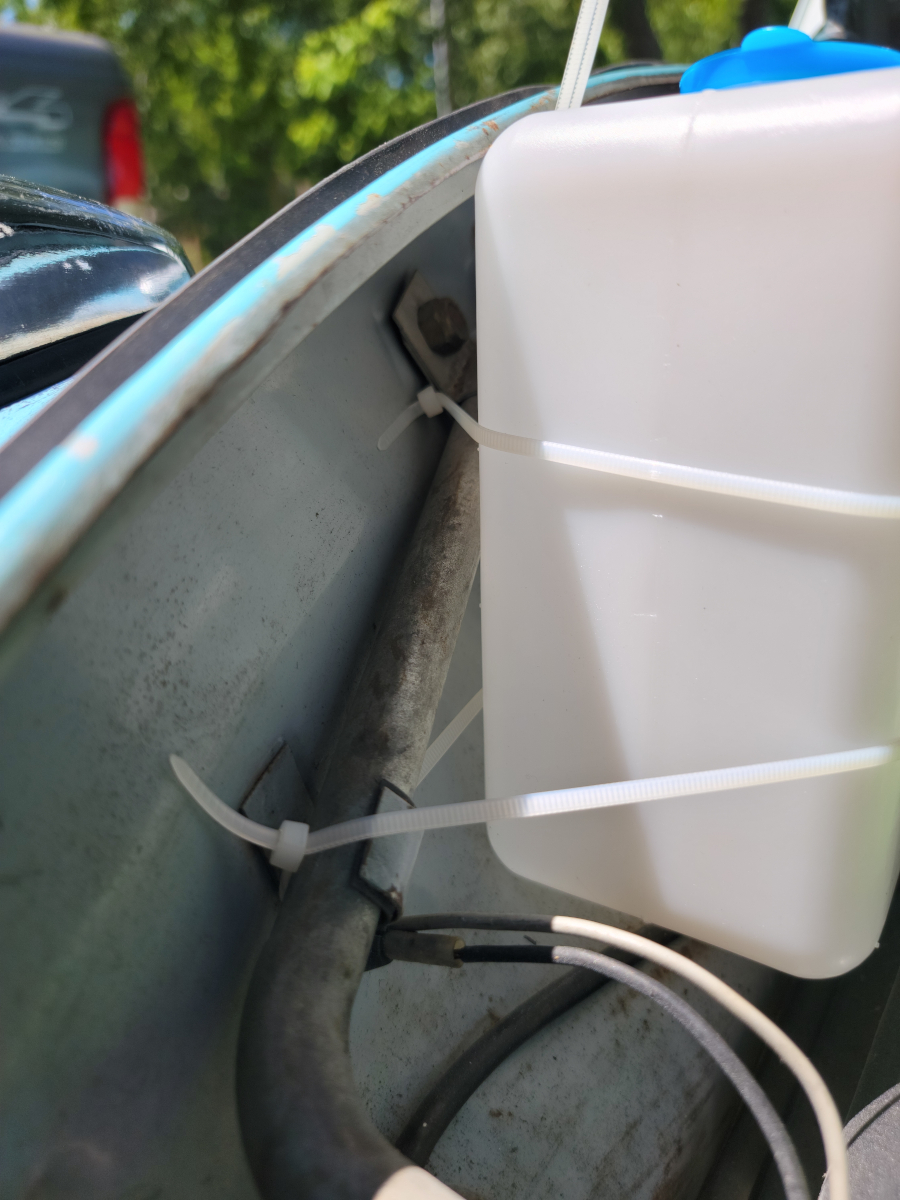
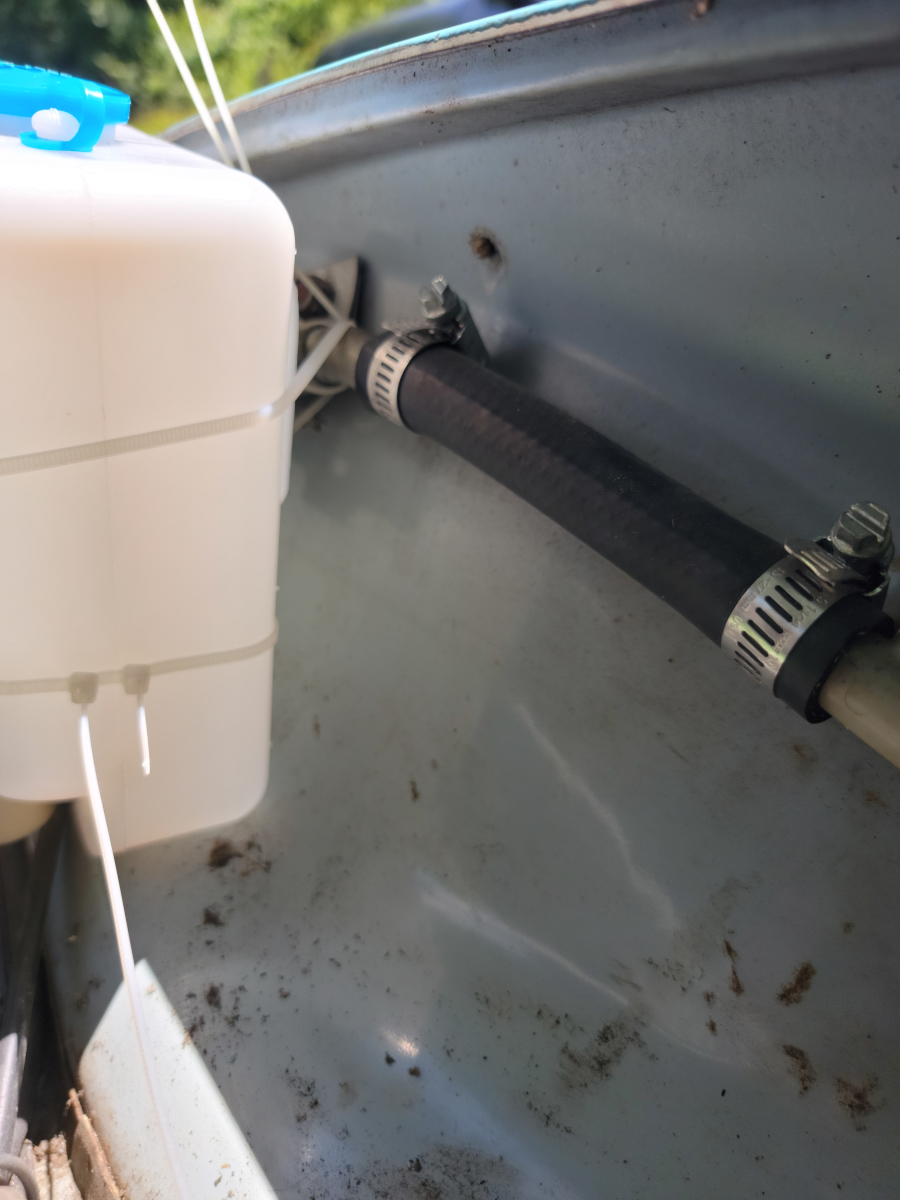
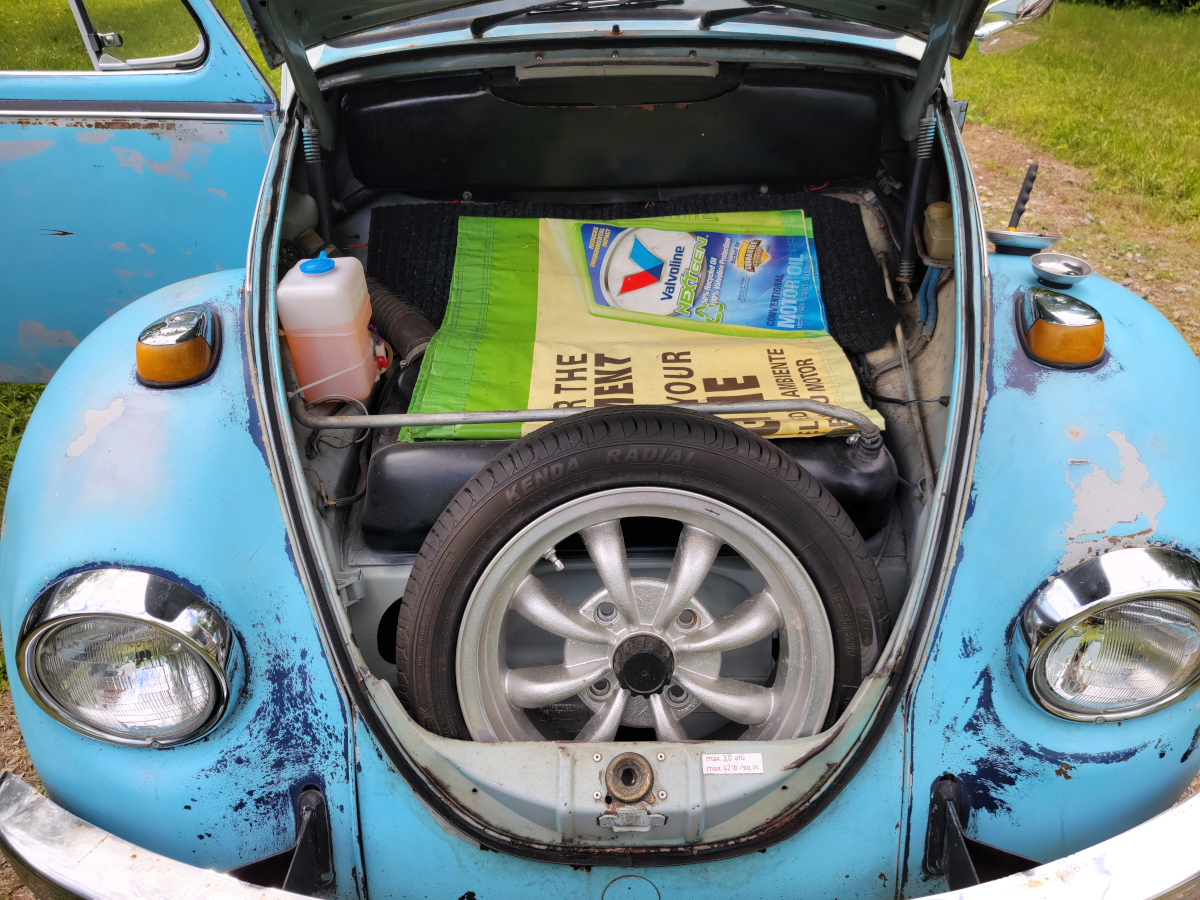
I got that mounted and the switch was physically functional, so mission accomplished. Next, I moved on to mounting the washer tank. There’s no flat surface in there, since the original tank sat in a cubby hole behind the spare tire. The metal return line for the gas tank has solid body brackets in place and I was able to assemble an array of zip ties (seven of them, to be exact) and got the tank mounted.
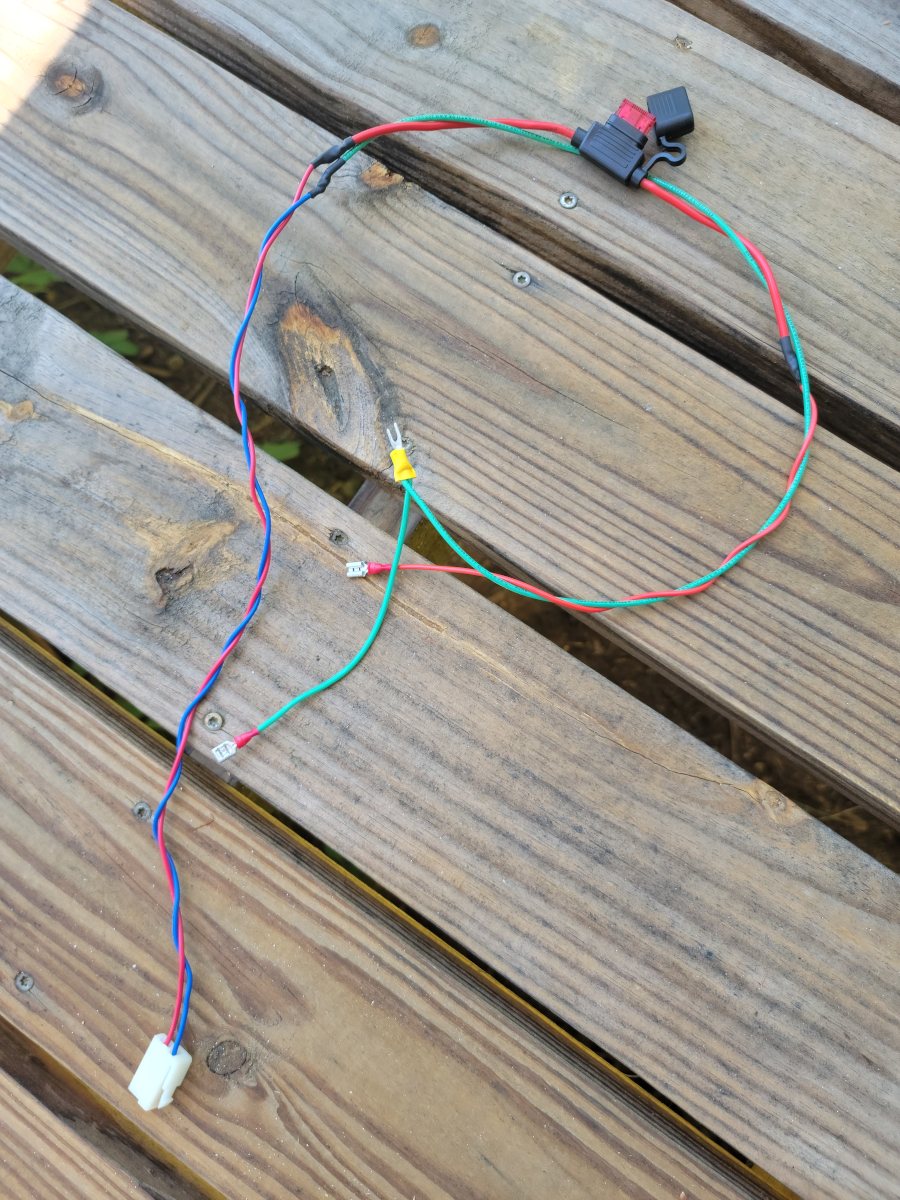
And now for the last two wires, running power from the push button on the switch to the fluid pump in the tank and a ground. The original switch was grounded on its face to the dash metal, so there was no specific ground wire.
On the end of the blue (blue?) ground wire on the pump, I added some green wire (green?) and attached a female spade connector for the ground wire on the new switch, a forked adapter to attach to the body ground. On the power line, I added an inline fuse holder with a 10 amp fuse.
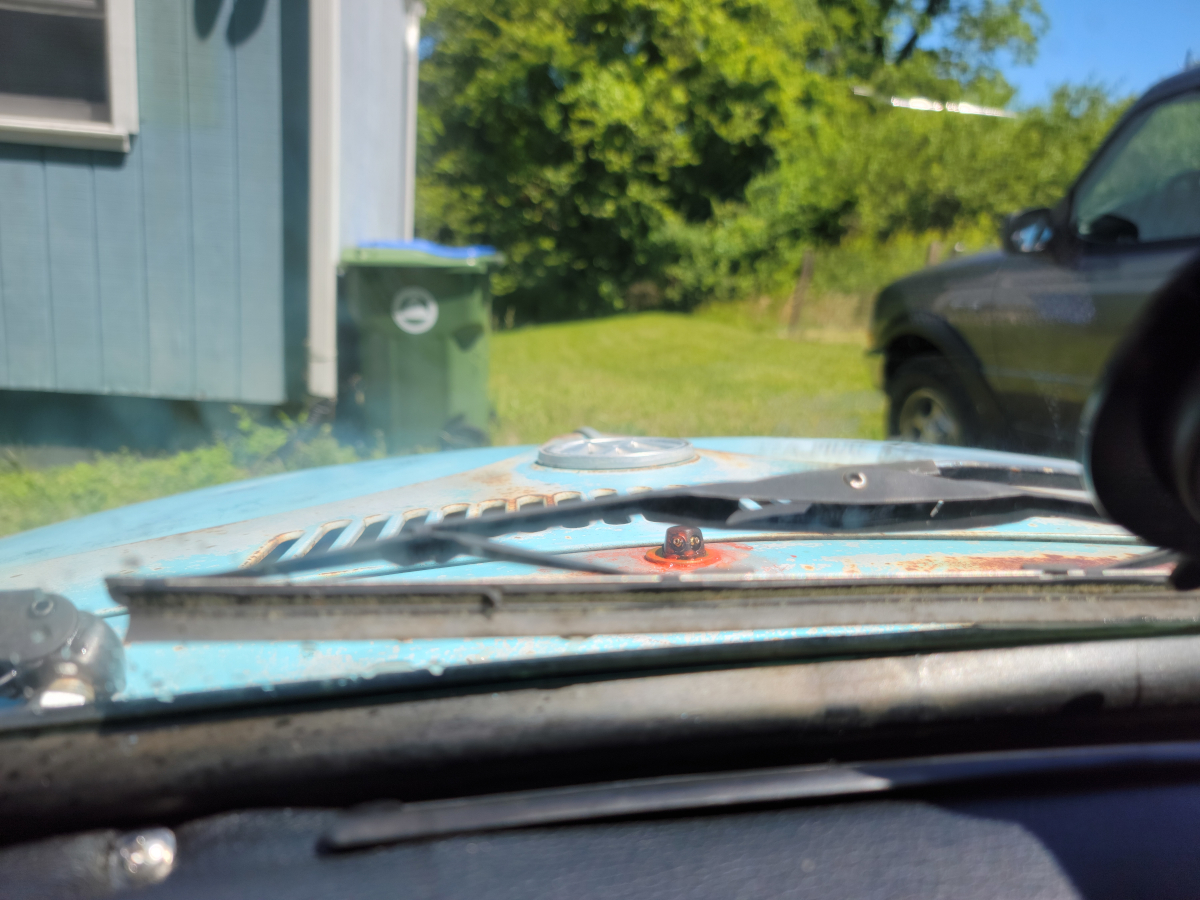
Once that was connected and routed around the front trunk, I added a little washer fluid and tried it out.
As you can see, either the original nozzles are missing from the spray head or it was just that way by design. In either case, it’s kind of a gusher. The tank/pump came with two spray heads, so I mounted one of them.
I had previously (twice) ordered new windshield wiper/washer knobs and buttons. I need a new knob because the old one tends to spin on the threads when I try to turn the wipers off. I wanted a new button just for vanity reasons, the print has mostly worn off.
The new knobs had differing belly depths, neither of which would work. The new buttons also both had differing pin lengths, neither of which would work with either the new or old knobs. More junk.
The original plan was to keep the existing switch and find an original washer tank and hook it all back up to the spare tire to get it all functional. It’s such a charming and weird setup.
As I was googling around looking for alternatives, Amazon pops up with this item (Amazon link) from Peterbilt models 378/379/387/220.
I did some further reading and it had the right number of wires (6) and right number of speeds (2), so I decided to give it a try. With all the aftermarket parts failures I’ve had in the last year, I guess that’s where I’m at. Peterbilt? Sure.
There’s just as much of a chance it will work as something that is listed specifically for my model and year of Beetle.
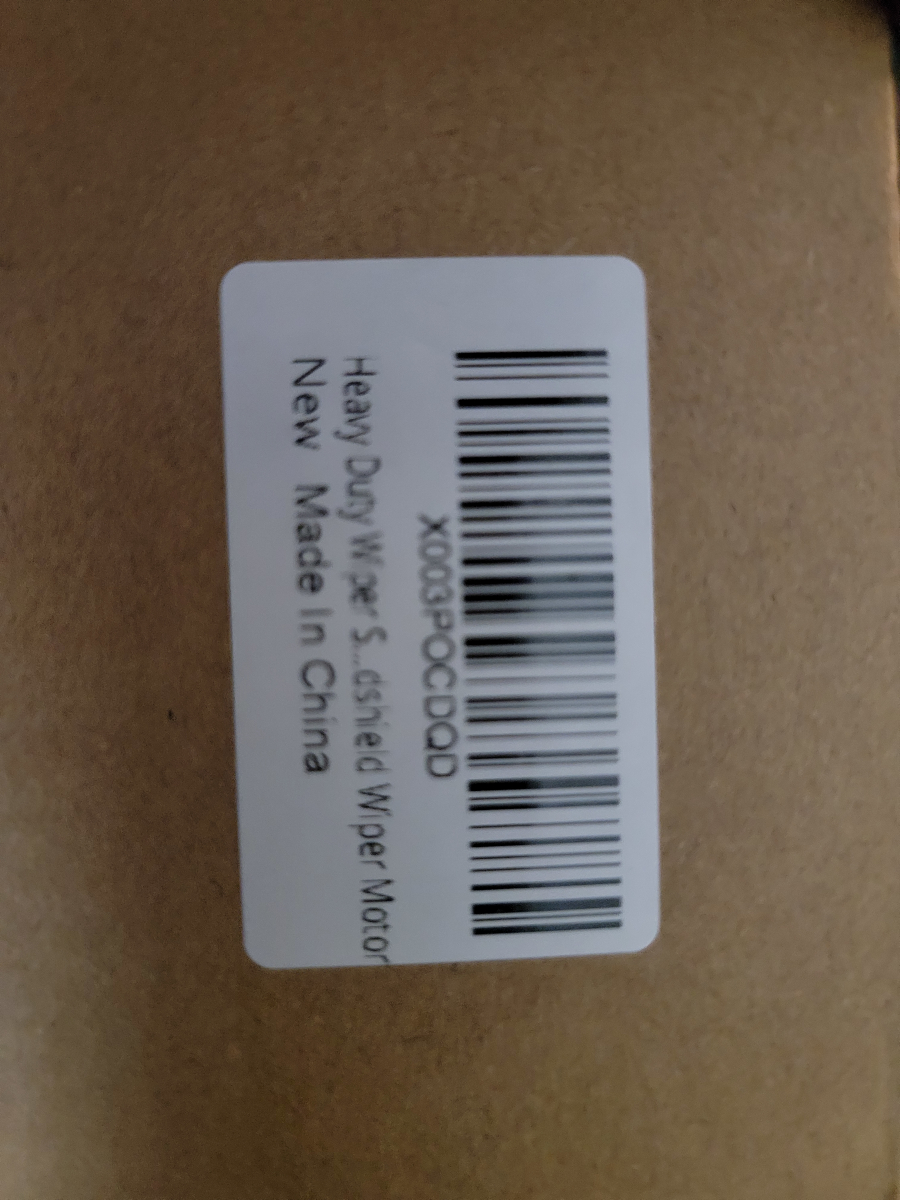
I also ordered an add-on washer fluid tank and pump (Amazon link). We’ll get to that later.
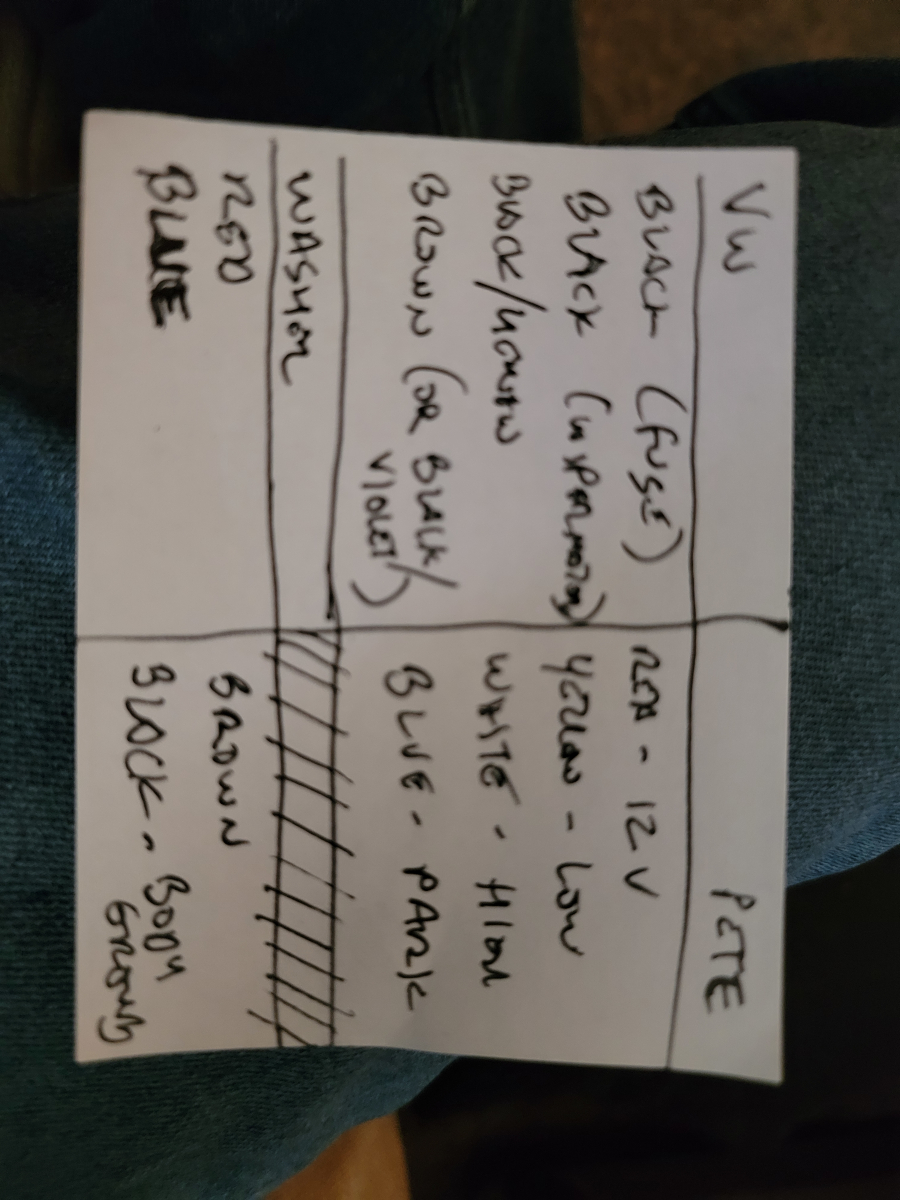
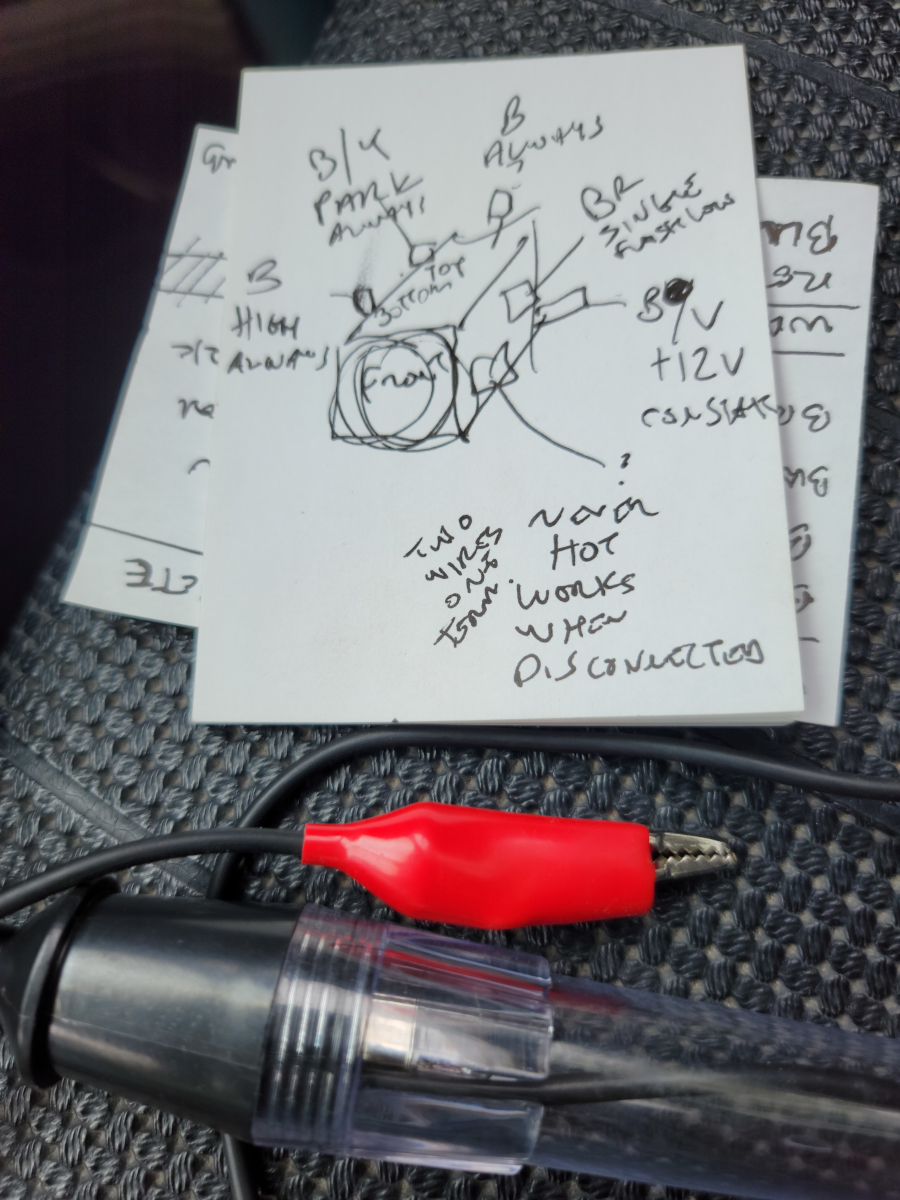
First, I need to figure out the wiring for the switch and see if it’s going to work. I found a bunch of info on the samba, with various wiring diagrams.
I clearly don’t understand how to read wiring diagrams, because the notes below are what I wrote down on my cheat sheet before heading outside. The Pete switch came with connector pinouts with wire colors.
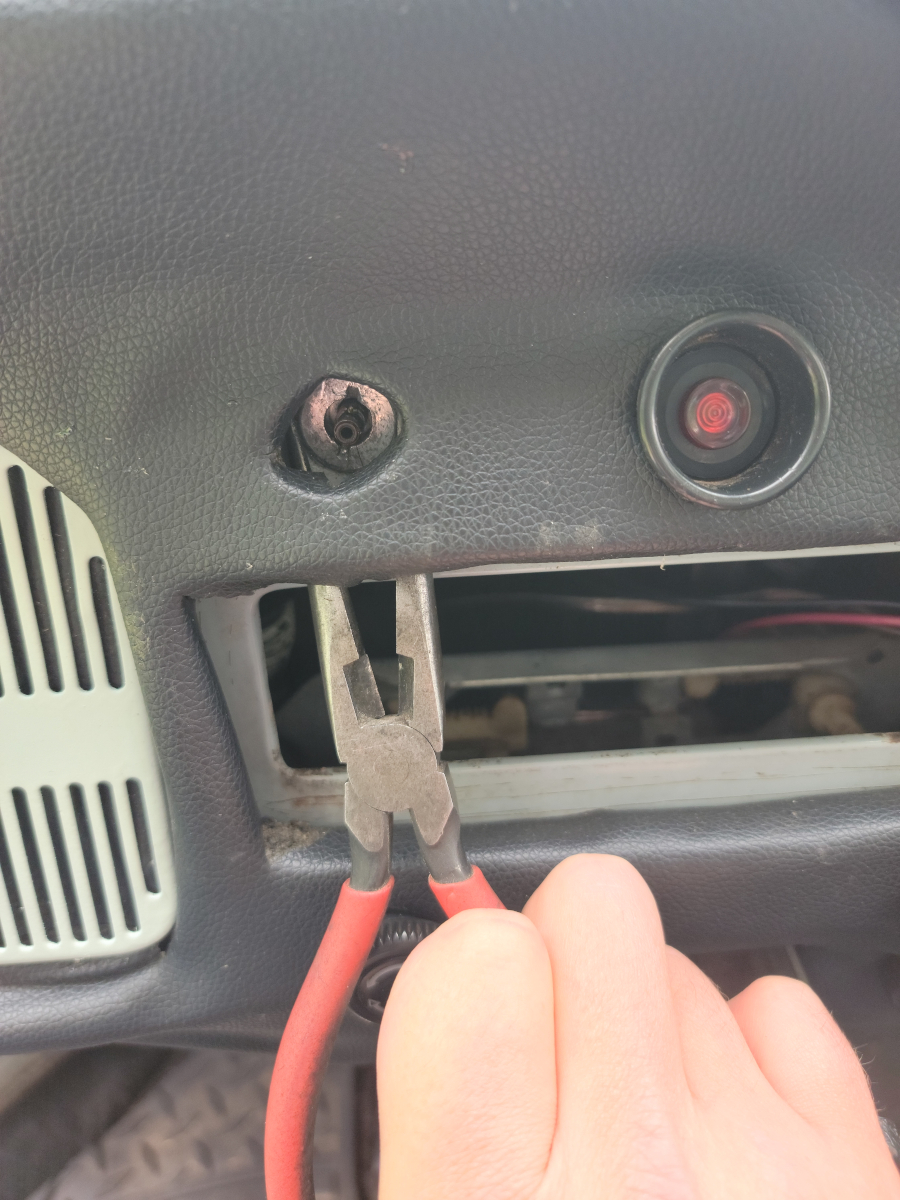
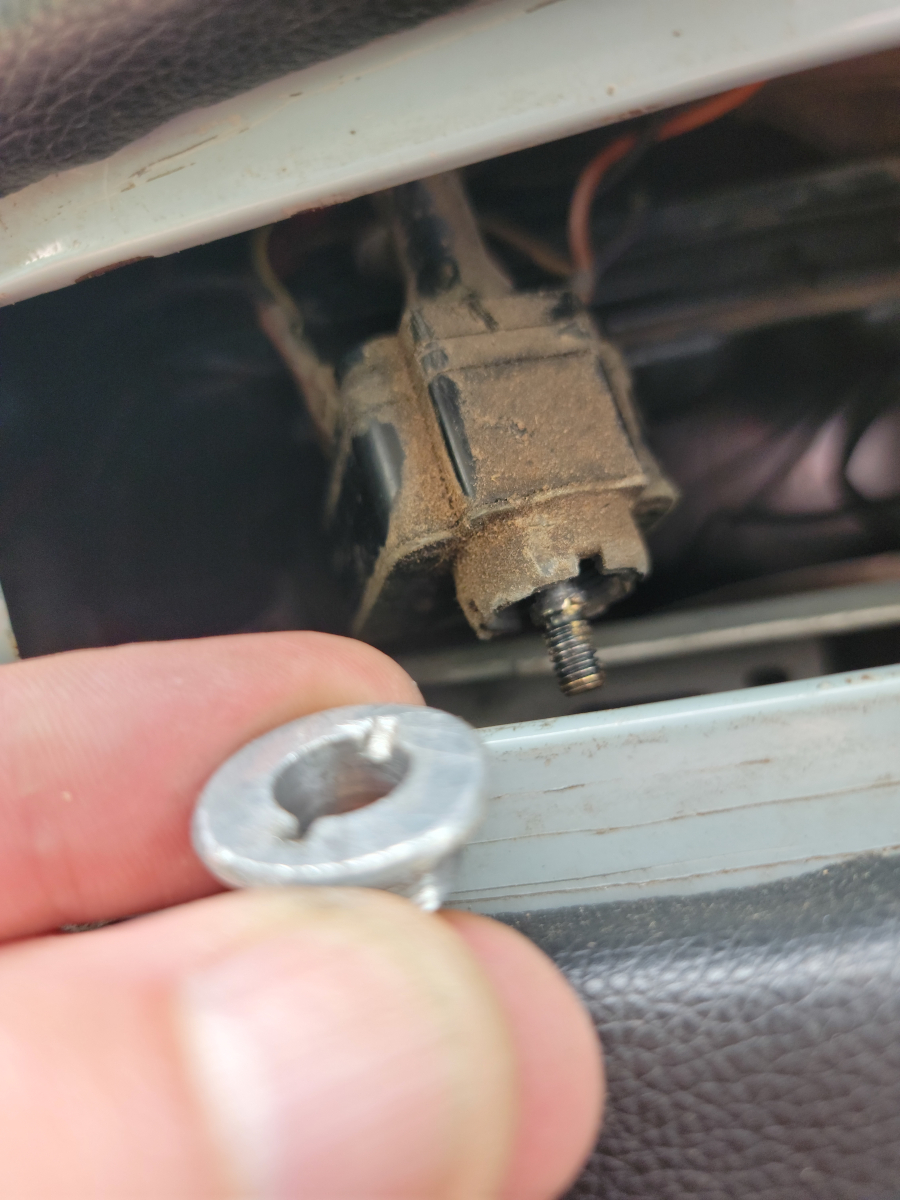
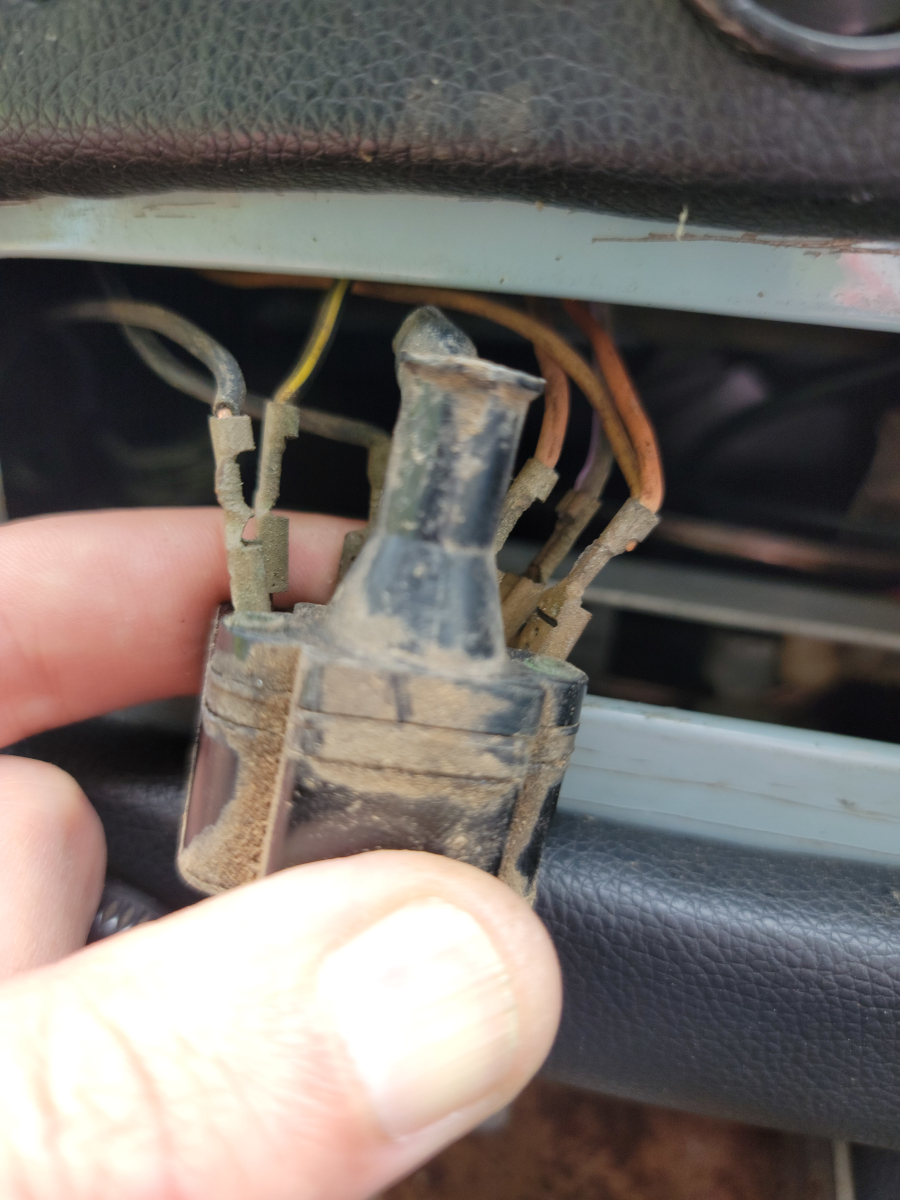
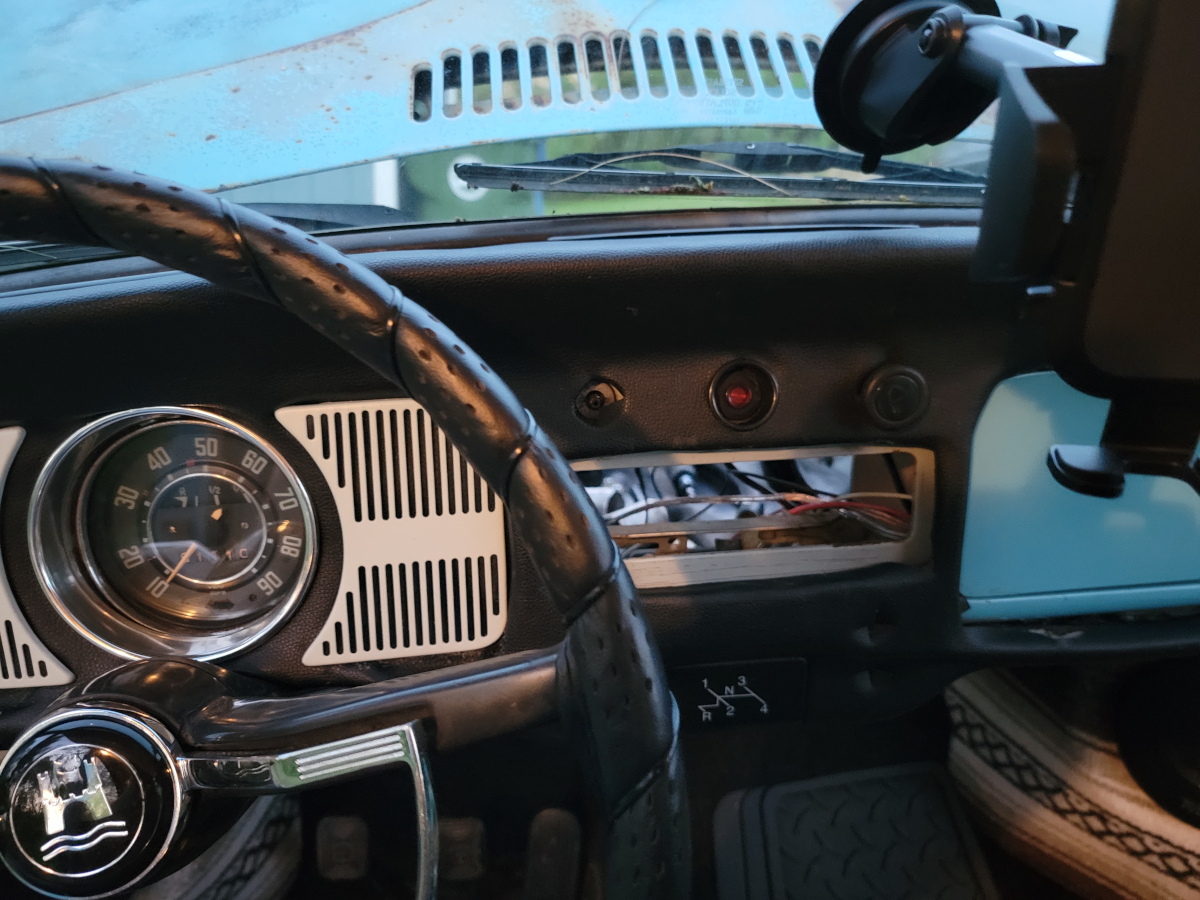
Step one in the car was to get the old switch out. This is all much easier (though still not easy) with the radio opening in the dash still empty.
When I pulled the switch out, there were extra wires that weren’t on the diagrams or my notes.
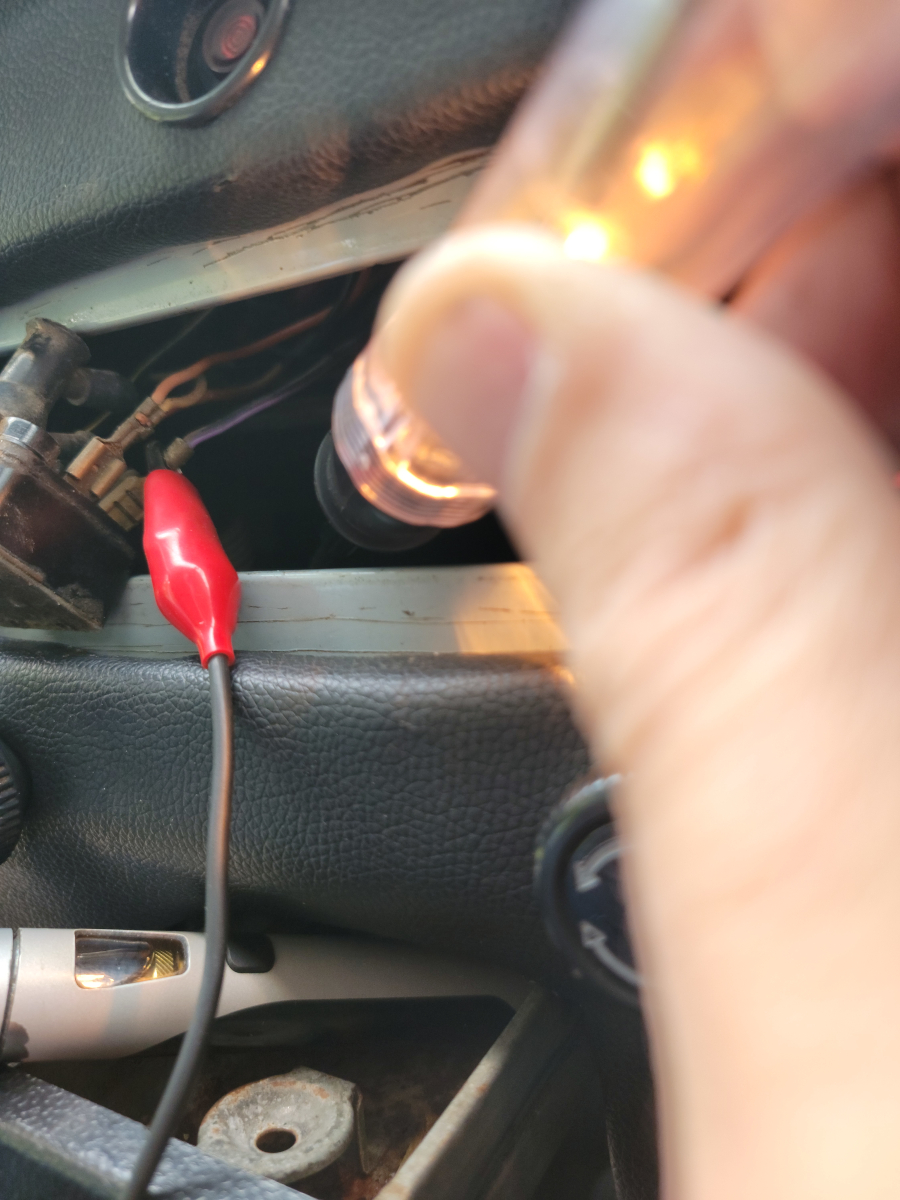
So, I got out my test light and mapped each connector.
Vape in the ashtray is a nice touch.
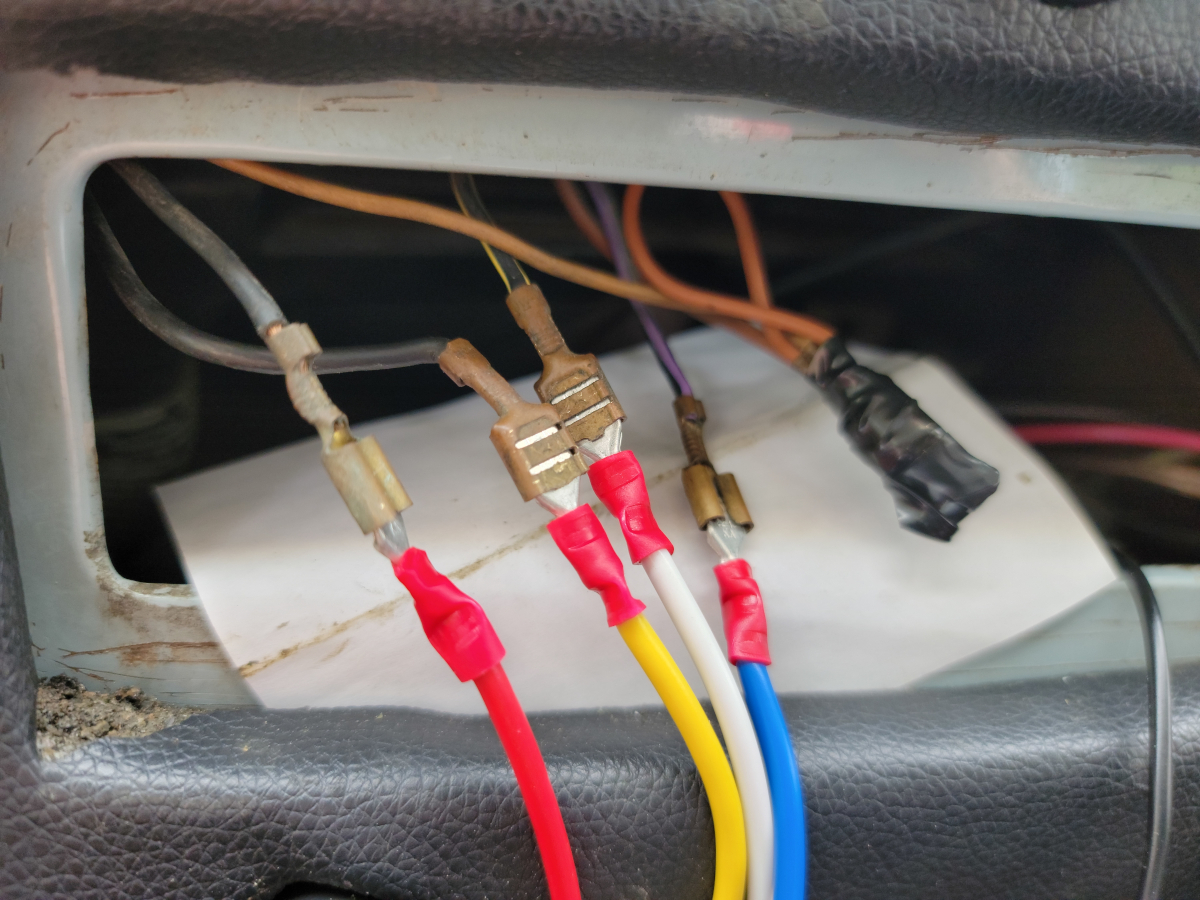
When I went back through and started connecting wires to the new switch, clearly my notes above had a couple of problems. Eventually, I found a magical combination:
With these four pairs of wires connected, I have what appears to be a huge variety of intermittent wiper speeds (on the slow end, like 30 seconds, and up to like one second), then a click for low speed and a second click for high speed. Of course, it’s an old Beetle, so high speed would be overwhelmed by a light shower, but anyway…
WOW. Another win!
Ironically, it’s about to start raining, so I’ll pick this up tomorrow and finish the job.
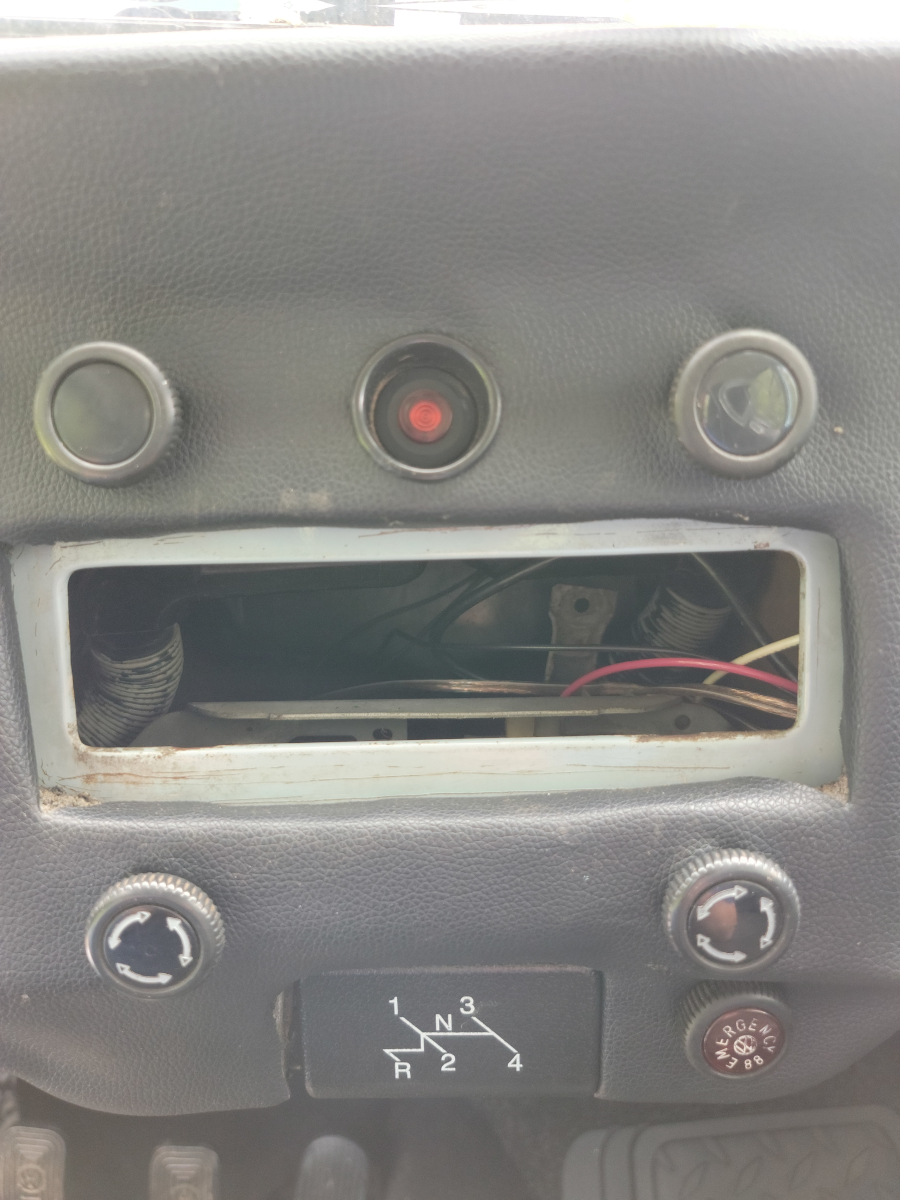
I’m about to replace the parking brake cable on the driver side, but I started off the day by reinstalling the missing knobs in the dash.
I have purchased two new wiper/washer knob sets and neither have fit correctly. The existing one has a tendency to spin on the threads when you turn the wipers on, making it difficult to turn them back off. Also, visually, the print is worn off the washer button. So, here we are, with the old button and knob mounted again.
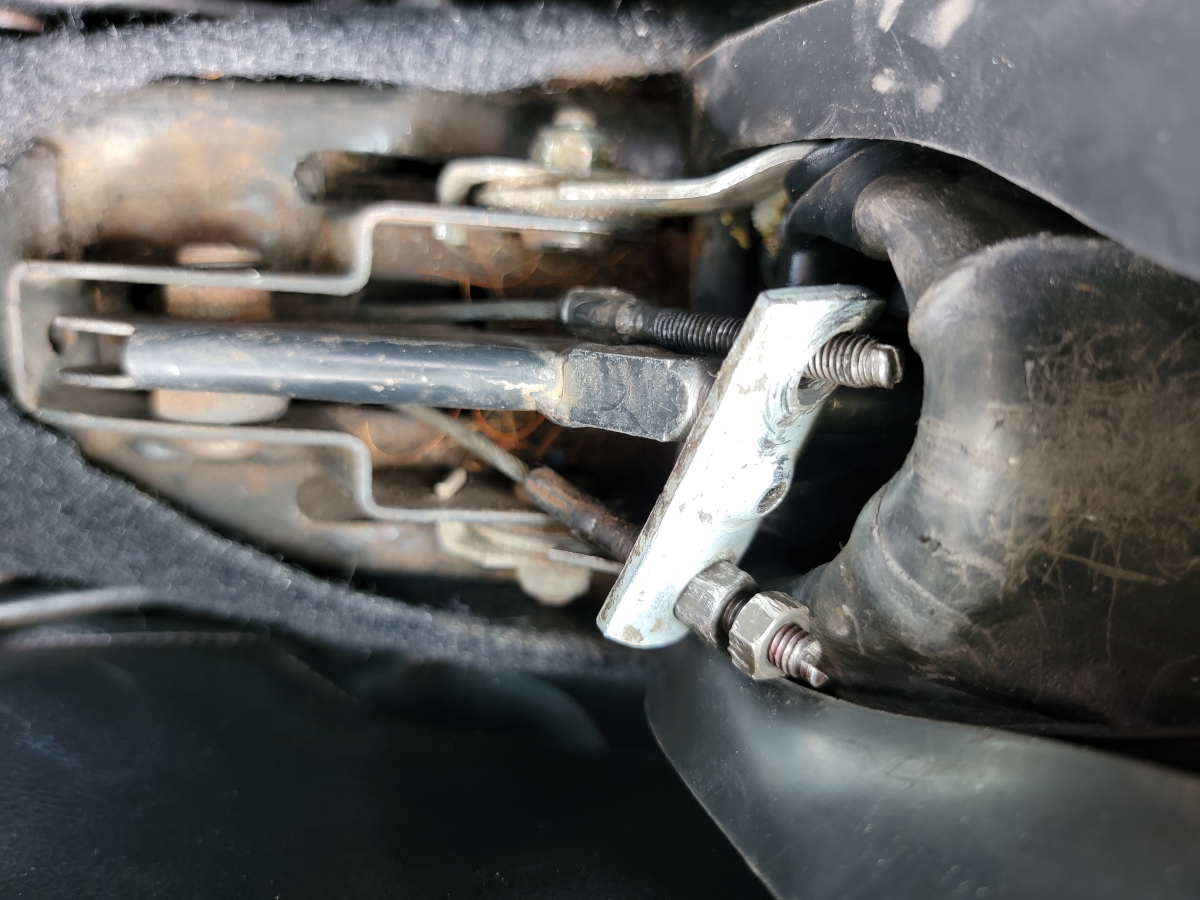
Now, moving onto that parking brake cable. As mentioned in a previous post, the driver’s side cable adjustment was screwed down all the way and the brake was barely grabbing back there. I had the new cable on hand, so let’s dig in.
I peeled back the new rubber cover I had put on earlier and removed the double nuts.
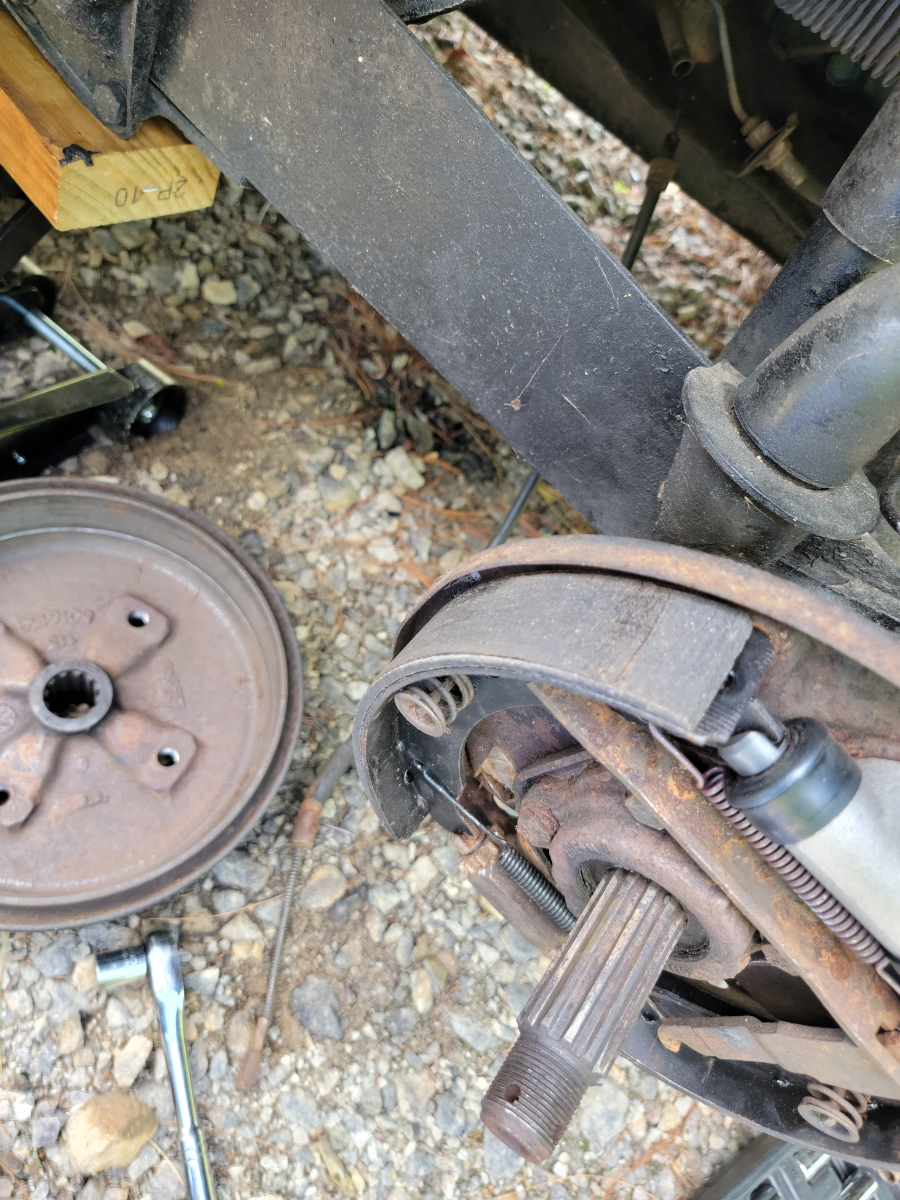
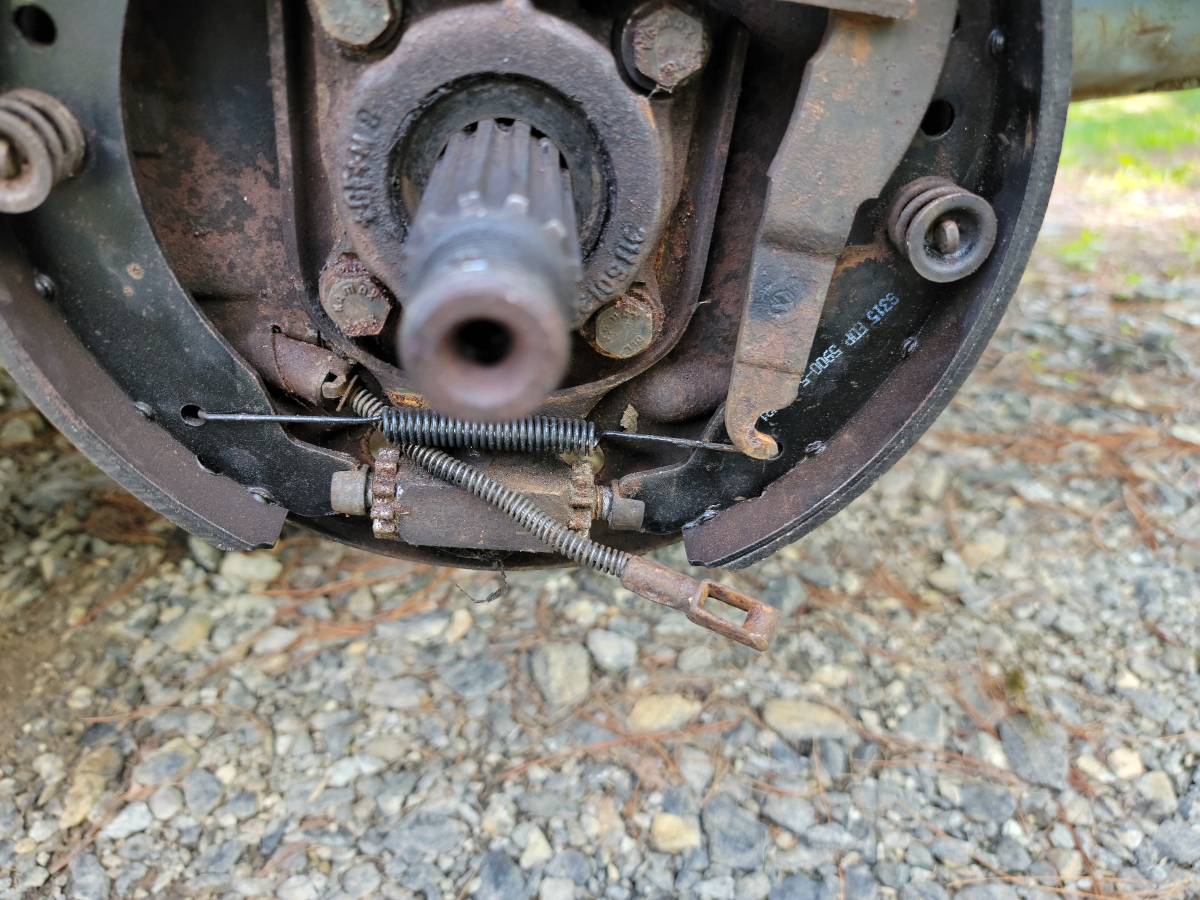
Then I got the rear wheel up in the air and removed the cable mounting plate from the back side of the brake assembly.
It took a lot of finagling the cable ends and moving back and forth between the driver’s seat and the rear wheel, but eventually, I was able to get the old cable out. It was covered in thick, black axle grease, so that’s good.
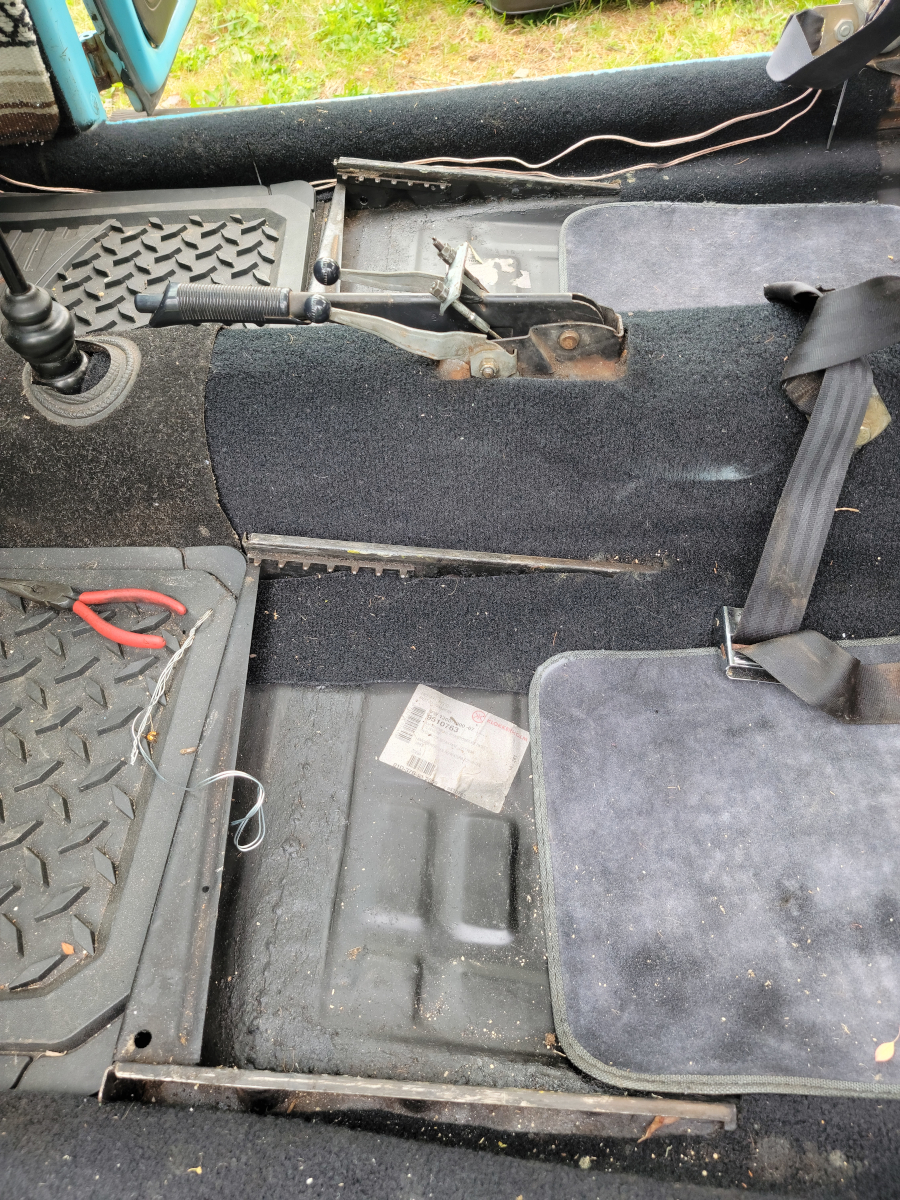
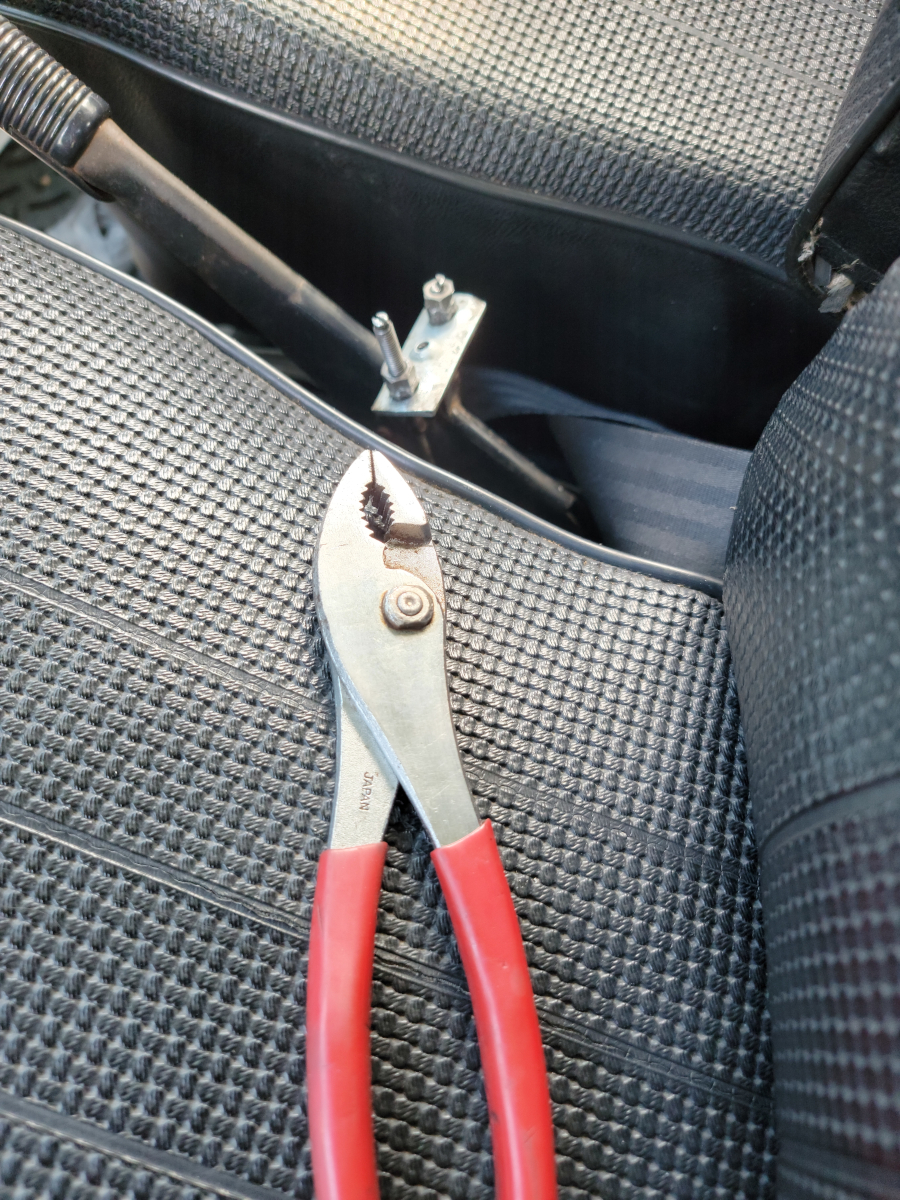
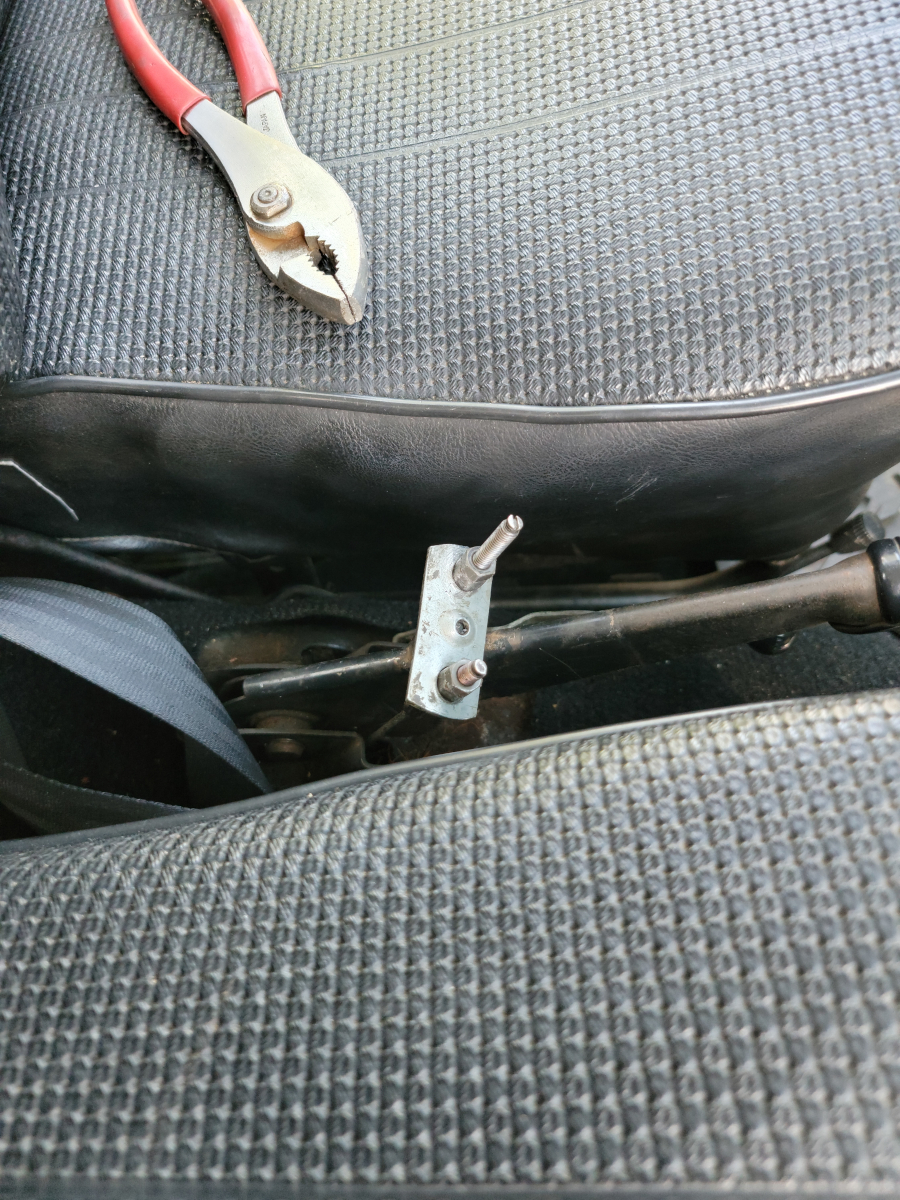
Once I got the new cable slathered up with axle grease and fed back through to the front, it took a lot of wrangling to actually get it pulled up through from the tunnel. By the time I snapped the next picture, I had removed both front seats and the parking brake handle assembly. That made it a lot easier to get into place.
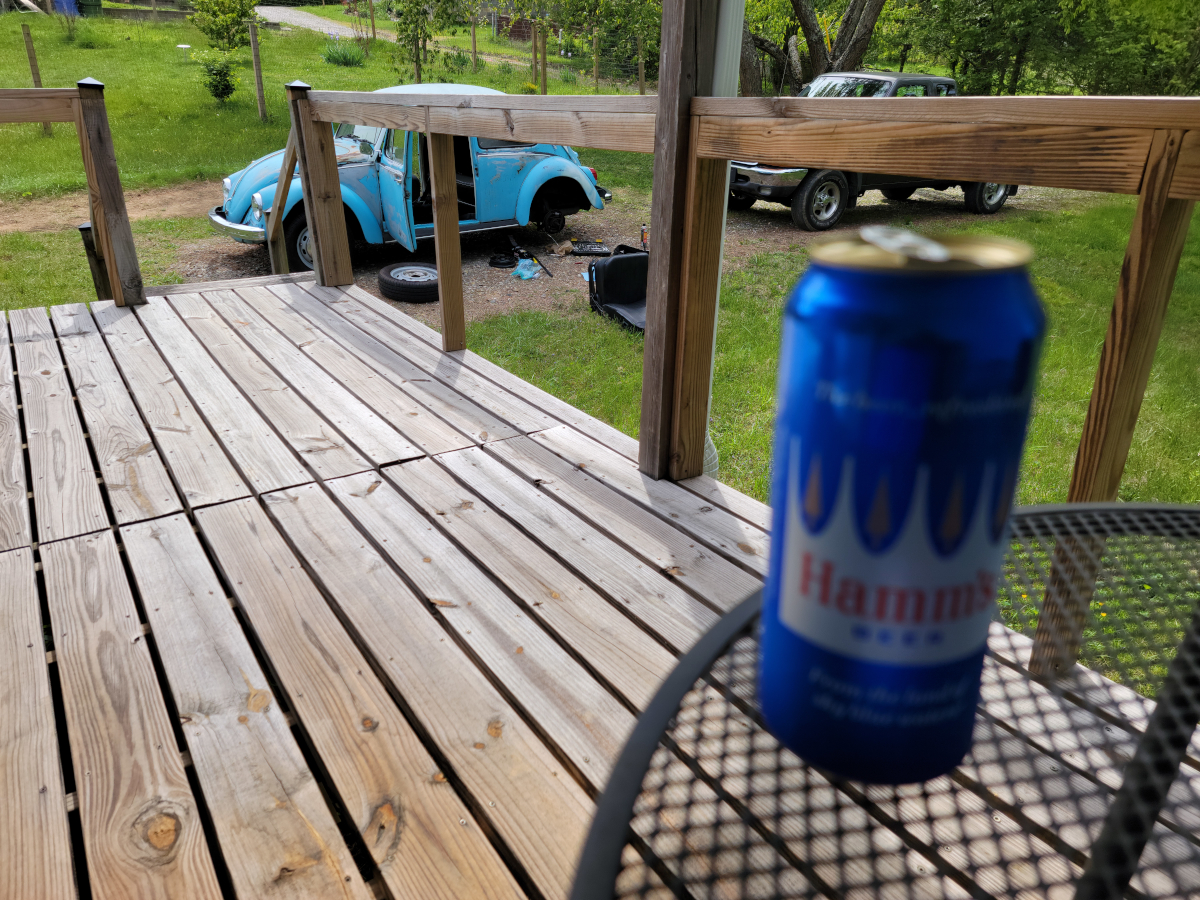
Time for a break. BEER ME.
OK, back at it.
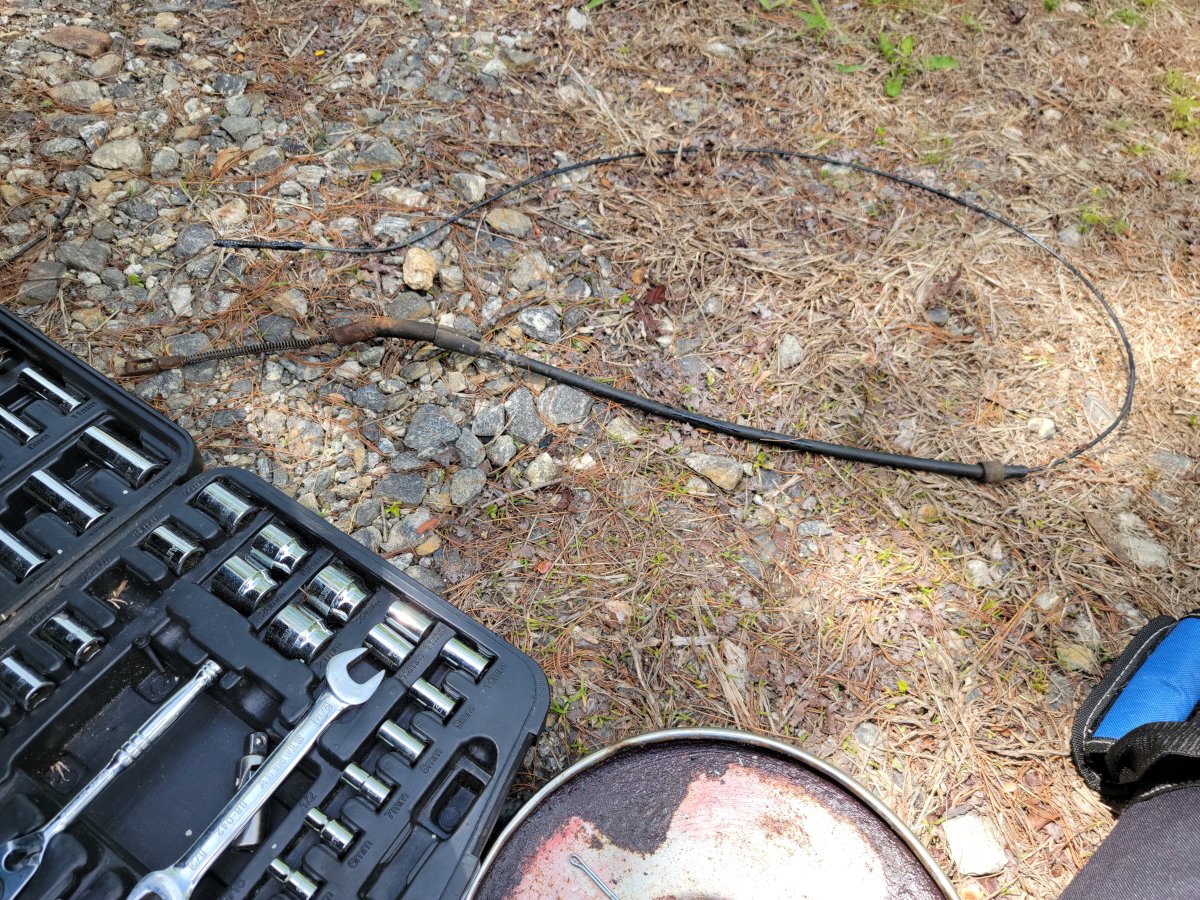
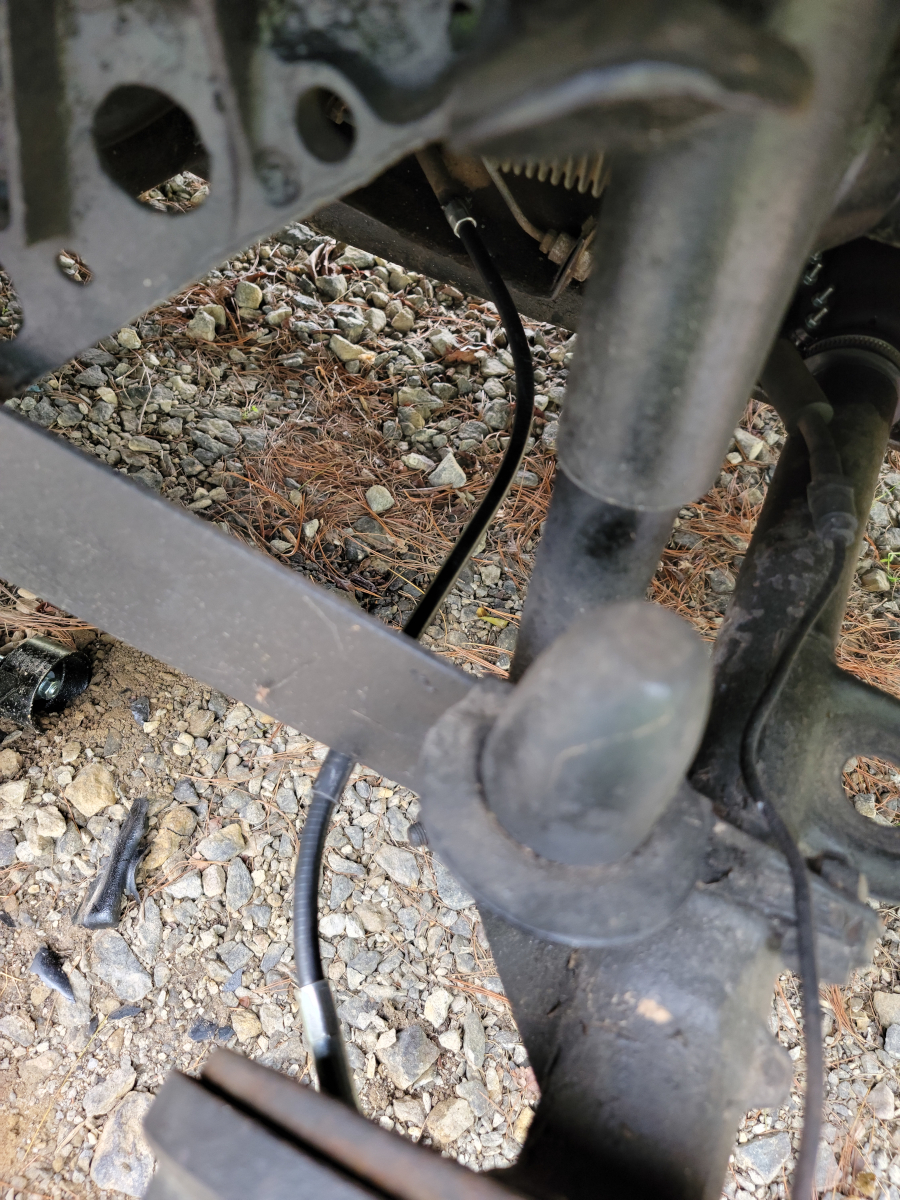
The new cable I bought already had a crack in the black plastic sleeve. The parts aftermarket manufacturers and sellers should seriously be ashamed of themselves. I have never consistently bought so much garbage in my life.
After getting the wheel mounted and brake adjusted, I was then able to get the cable adjusted. I want to not be able to turn the wheel by hand with the parking brake handle about 3/4 of the way up. The cables will eventually stretch and brake shoes wear, so it’s good to have some room left to adjust the cable tighter as needed.
And now the rubber cover is back in place and not stretched over a hot spot of that long cable end.
I previously fixed the passenger side rear brake and got it adjusted. Now it’s time for me to check the driver side.
One could wonder why the parking brake wasn’t working… I found when clipping the end of the cable back in place, there was a lot of slop and I could imagine in normal use, it could work its way off. When I was recently reviewing old posts here, I noticed when I first looked at the parking brake cables, the driver side cable was tightened down as far as it would go. Maybe this is why.
So, I clipped it back together and re-adjusted the brakes. Tightening that cable all the way back down and applying the parking brake would almost stop the wheel from turning (by hand).
Note to self: The driver side cable is the one that needs to be replaced. Now I know it is just stretched, not broken.
Then I took the passenger side wheel off again and re-adjusted the brakes.
I then tightened the passenger side cable to where I couldn’t turn the wheel by hand with the parking brake lever about 3/4 of the way up. The rear passenger side wheel is now rock solid when the parking brake is on.
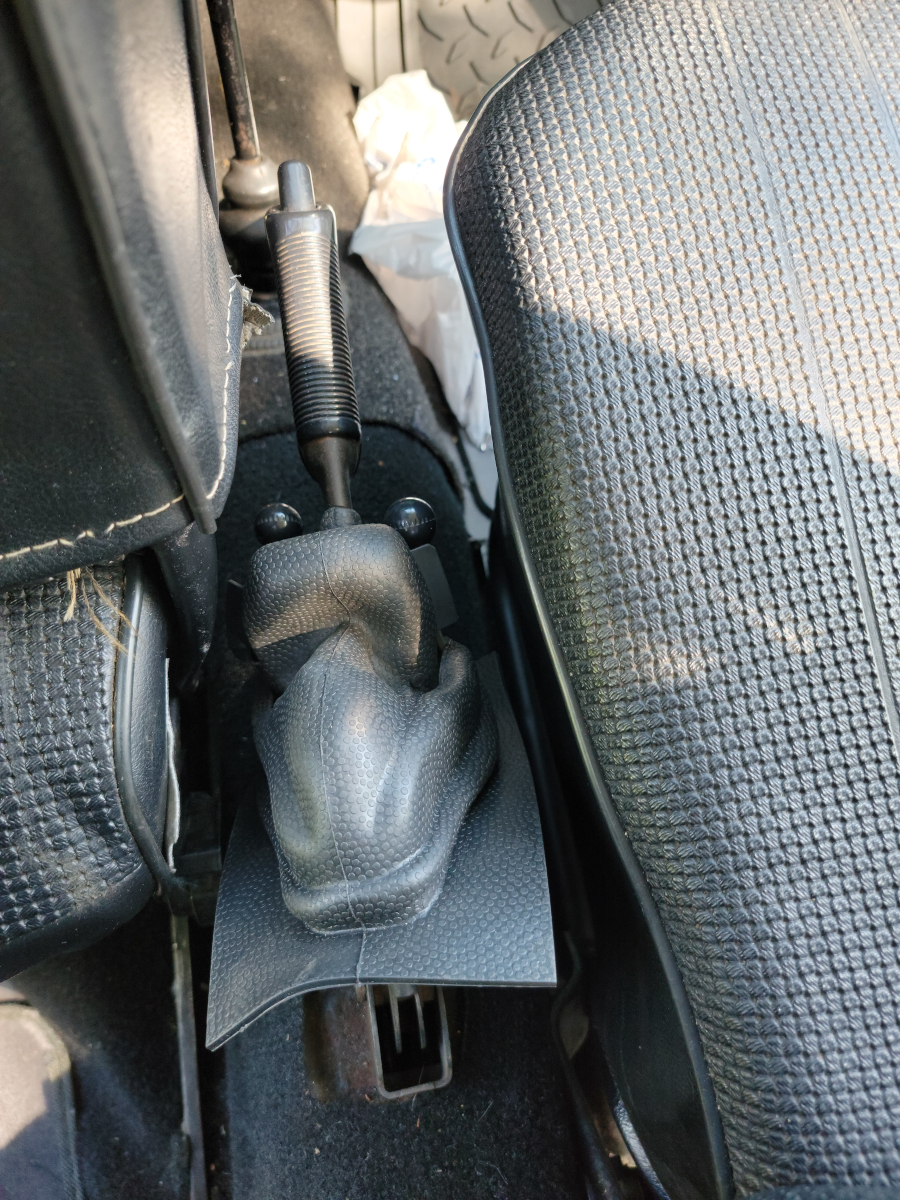
I remembered that I had purchased a new dust boot cover for the parking brake assembly. Now that the parking brake is working again, this is the perfect time to install the new boot.
It’s a big stretch and not a comfortable fit. With the heater vent levers pulled through, there was just no flex or stretch to be had.
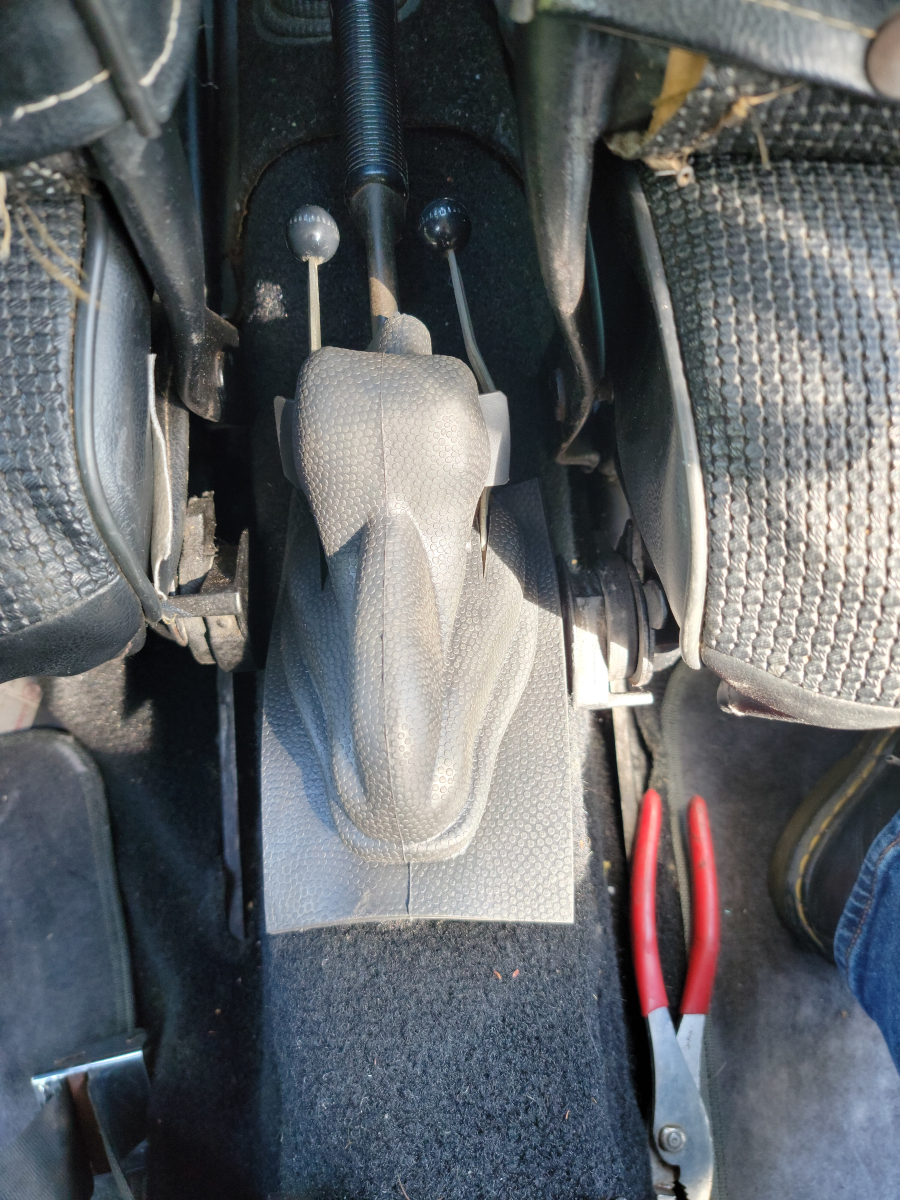
Let’s move into the back seat for better leverage.
From there, I was finally able to stretch the boot into place.
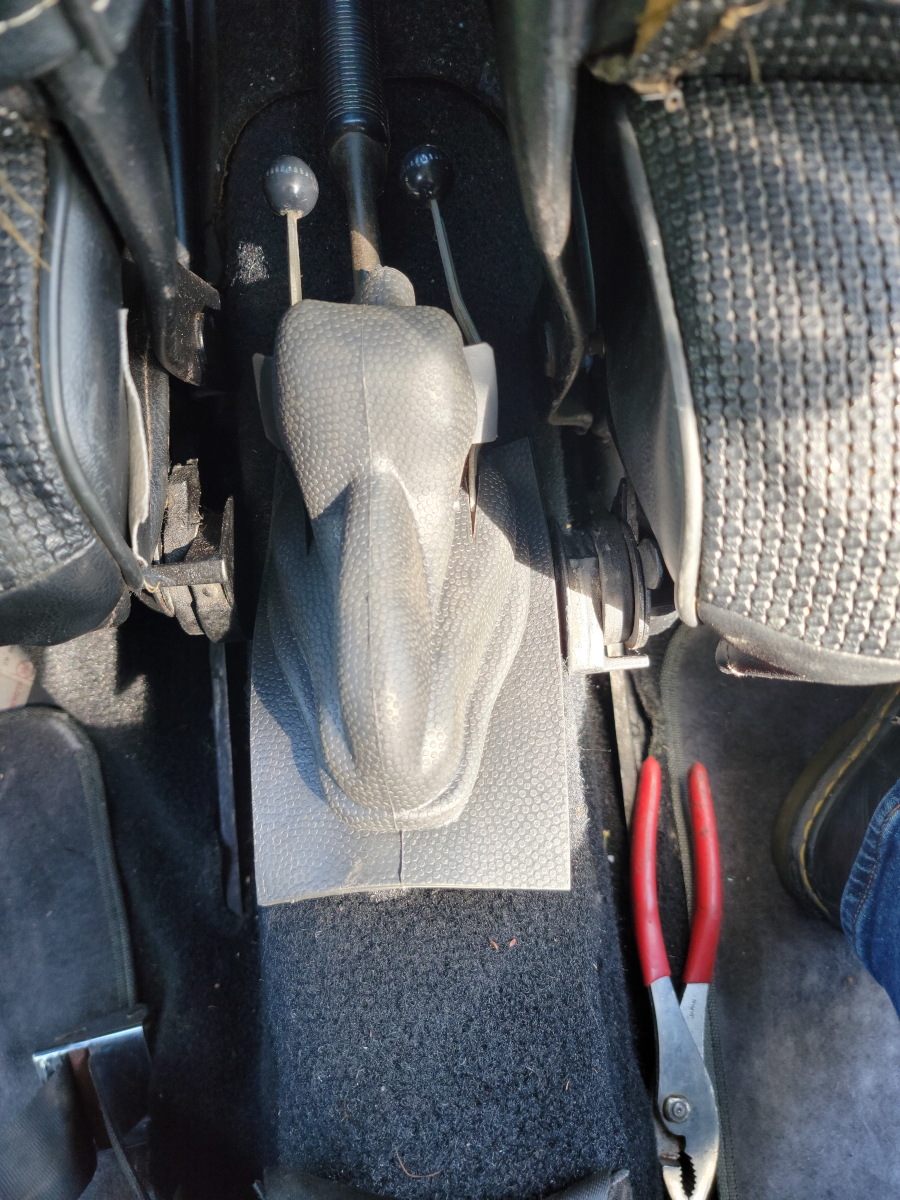
I had to put in some effort to get the carpet stretched back enough to allow all that excess rubber to be hidden below.
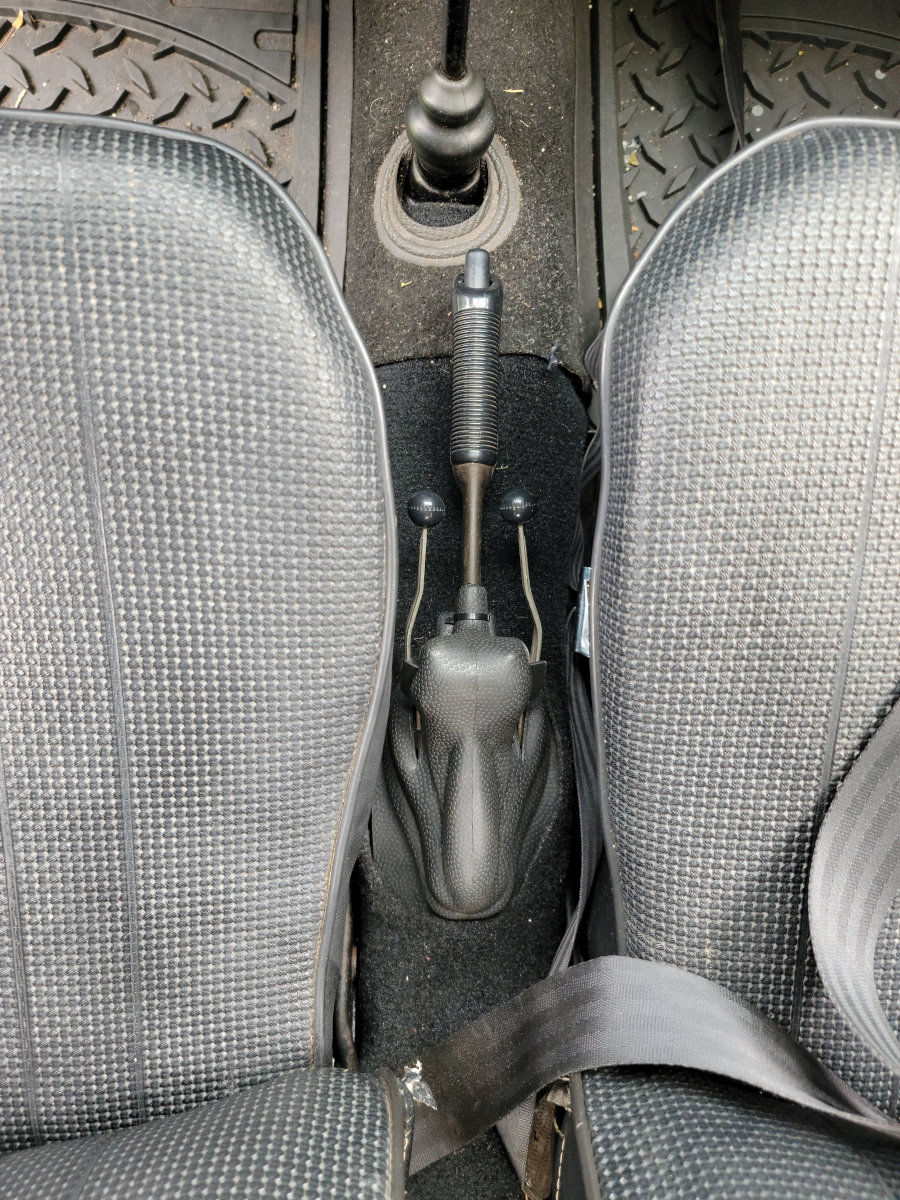
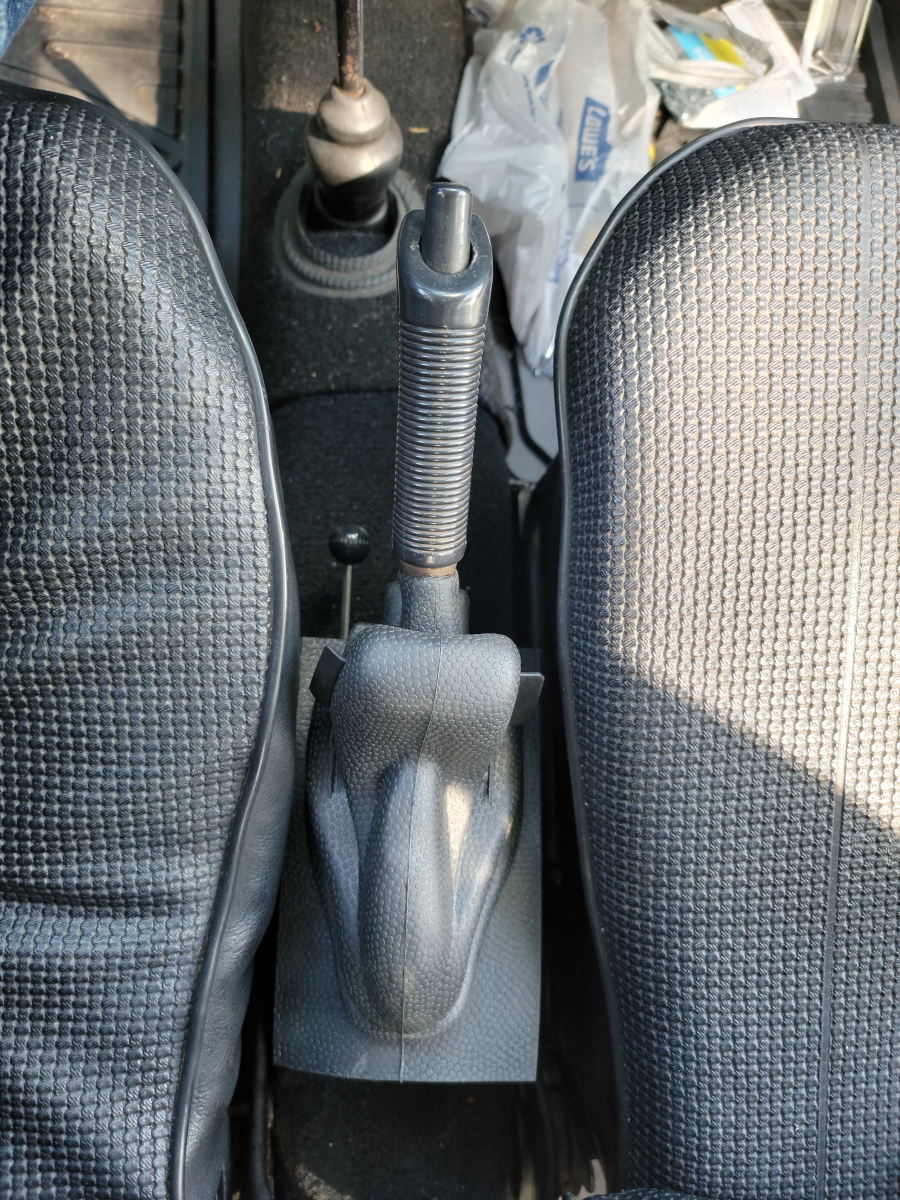
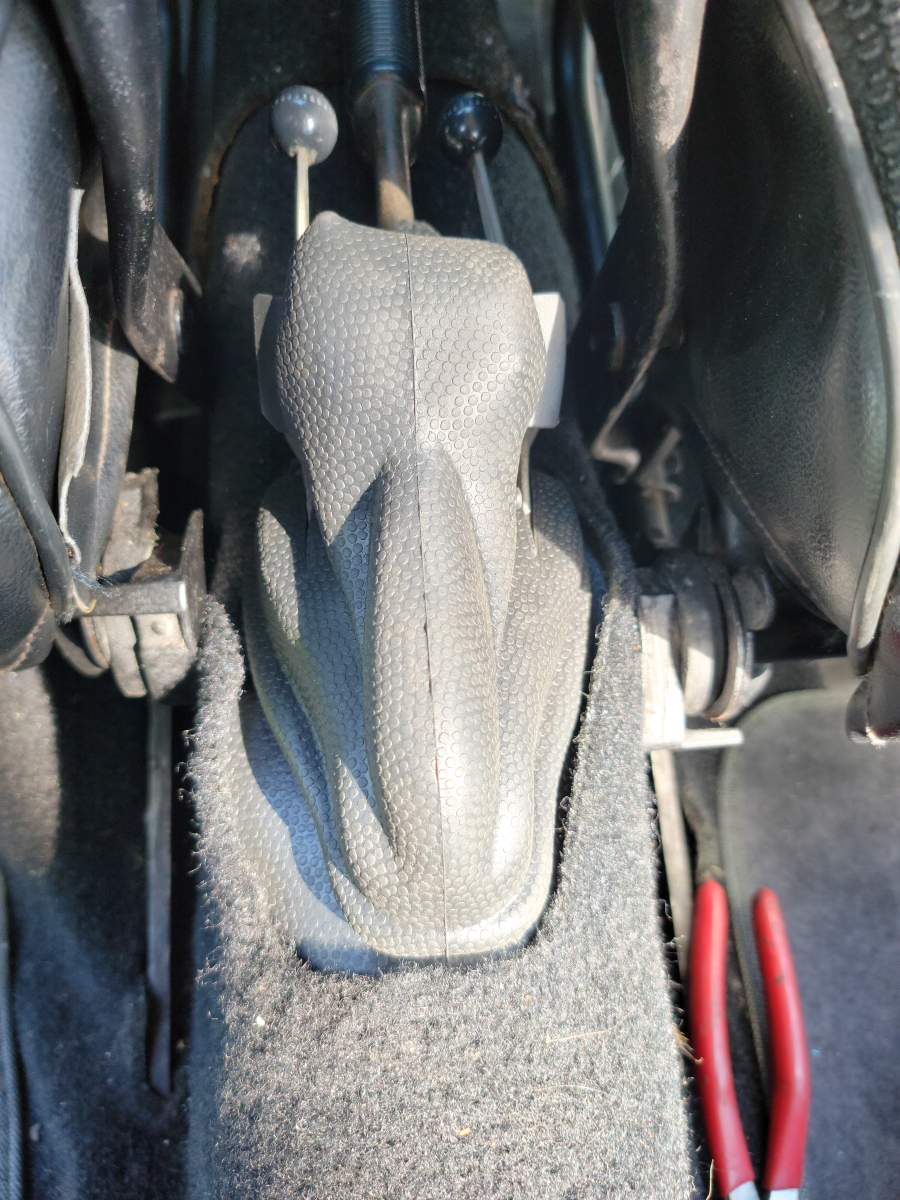
But, I eventually got it. You can see in the pic above, that extra long parking brake cable trying to push through the top of the dust boot.
Now, I can run, stop, and check my mail at the top of the driveway when I get home. The parking brake is essential in the mountains.
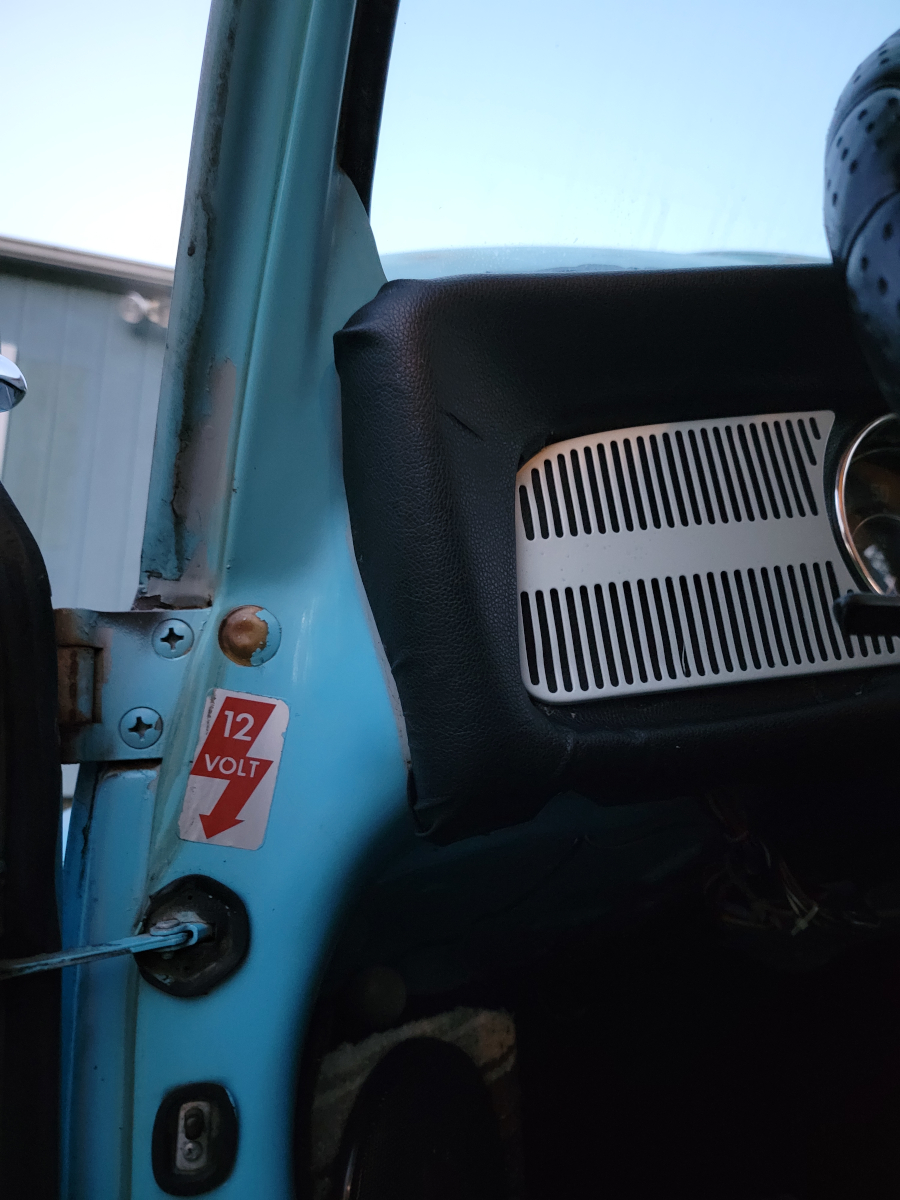
Back out in the car, it’s time to mount this monstrosity and try to put the end result into perspective. It’s hard to tell how it looks when it’s on its own. You need to see it in context. So, off we go.
First, I mounted those long bolts in the corners.
I put all of the knobs and ash tray back in place.
Some of the knobs didn’t fit properly through the new holes with the additional vinyl pushed down through.
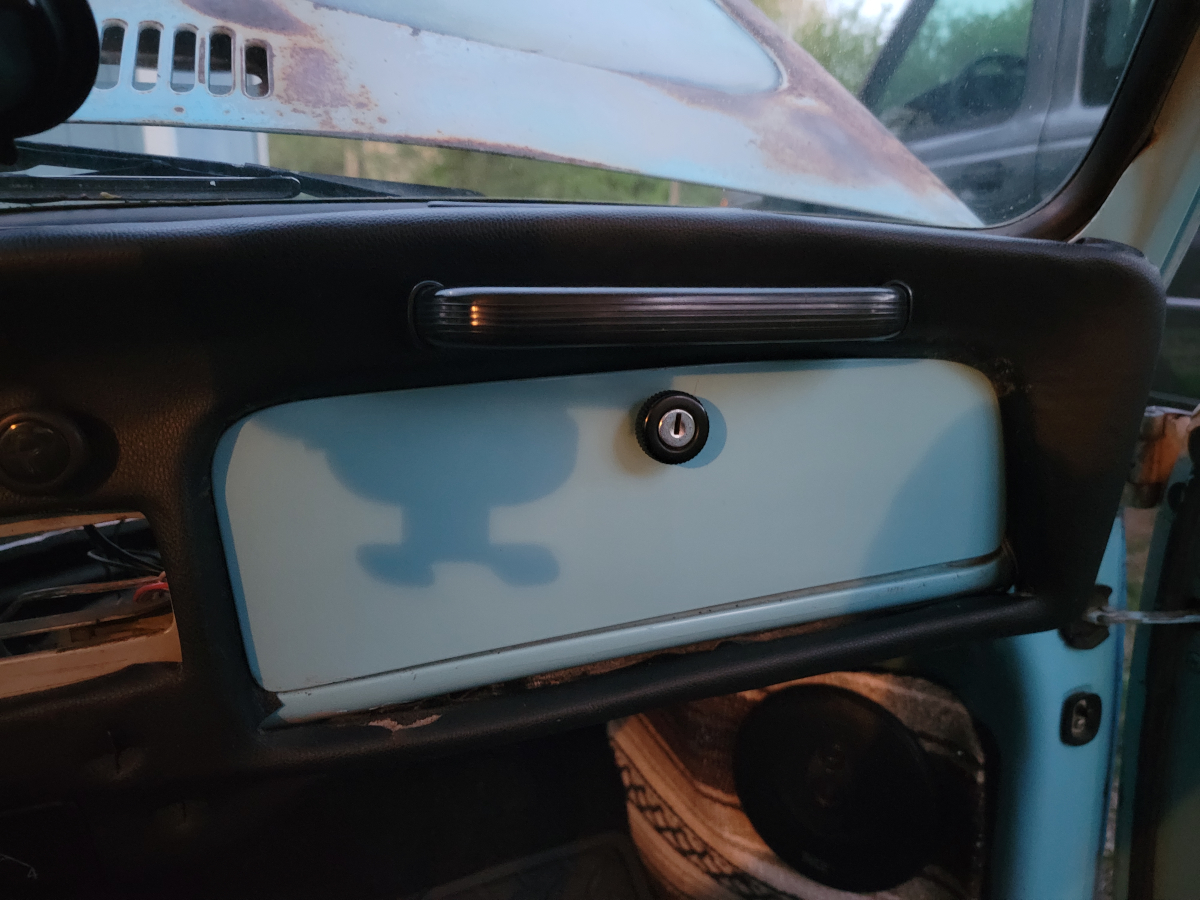
I mounted the grab handle and soon realized some of the cuts I had made in the vinyl below the glove box were too close. That’s a job for another day.
My goal has always been not to have visible patches, where I had to add vinyl after the fact, but that looks really bad. It’s a job for another day.
I don’t remember the ash tray being difficult to open before, but it’s really stiff. Like really stiff. The dash pad and extra layer of vinyl aren’t making contact with it, it’s just super tight.
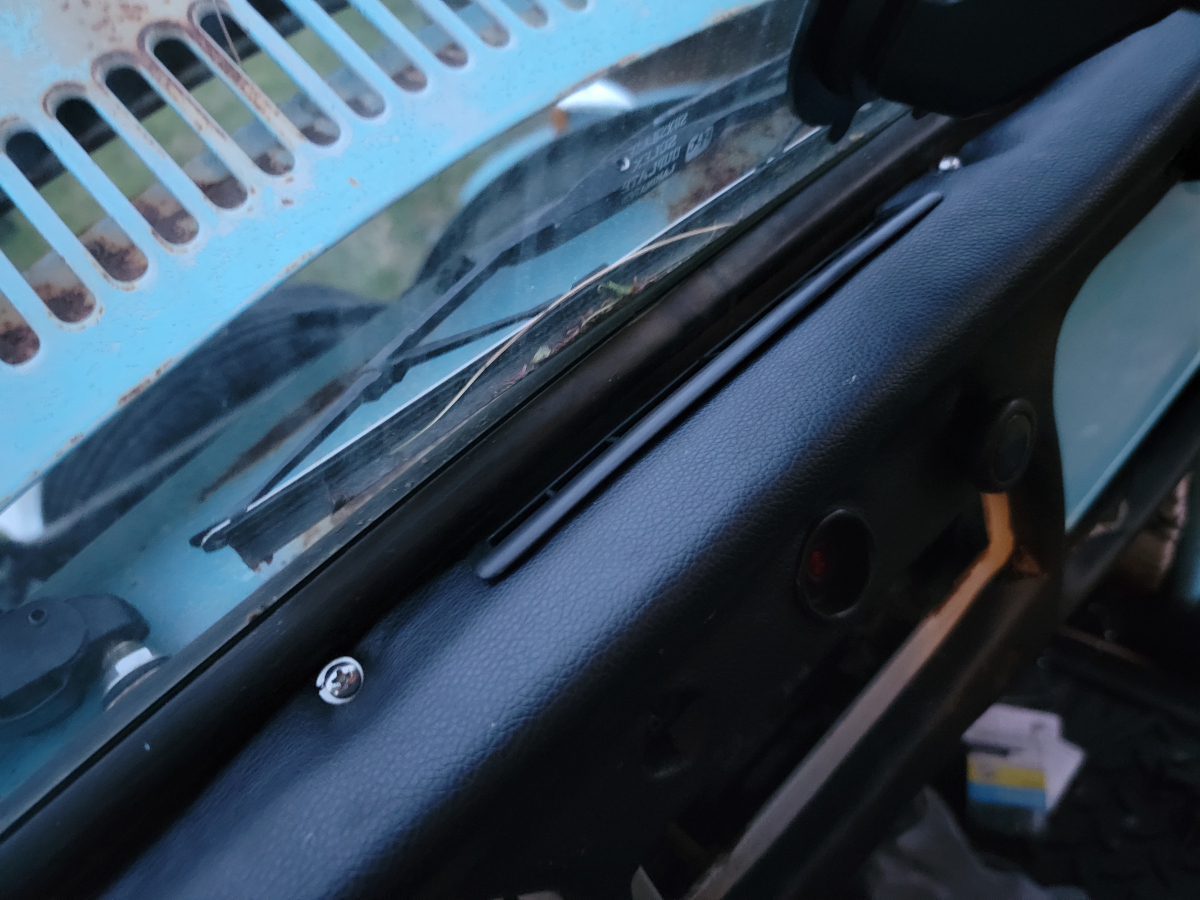
I had stopped at Lowe’s earlier today and bought some new stainless sheet metal screws and washers. All of those that I removed from the dash pad before were mismatched, some were flat head, some were Phillips, some were shorter and longer.
The screw holes along the bottom weren’t lining up properly as I tried to screw them in and I was quickly losing light, so we’ll call it a day and call that a job for another day.
As an Amazon Associate I earn from qualifying purchases. I also often provide links to products on other sites that do not provide affiliate income.