Horn Ring Hardware Take 3

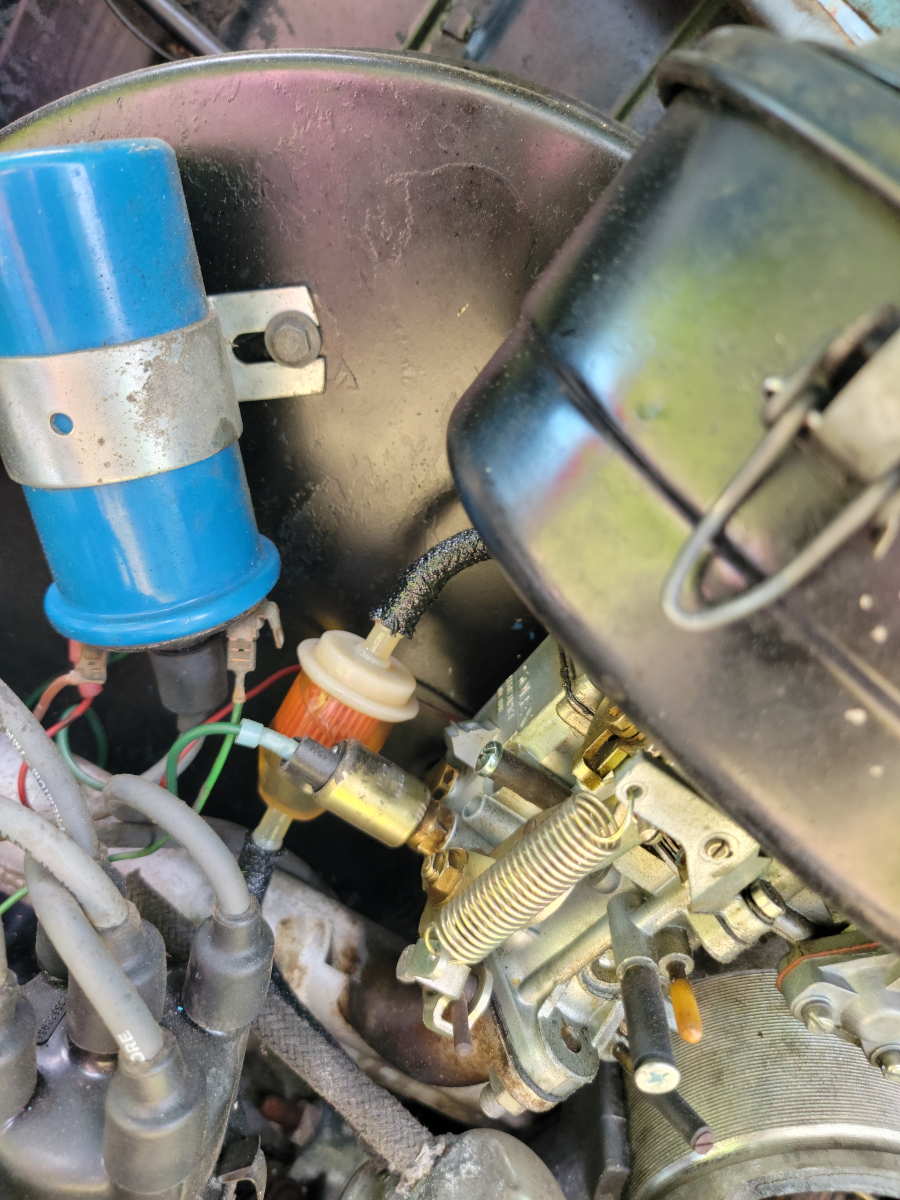
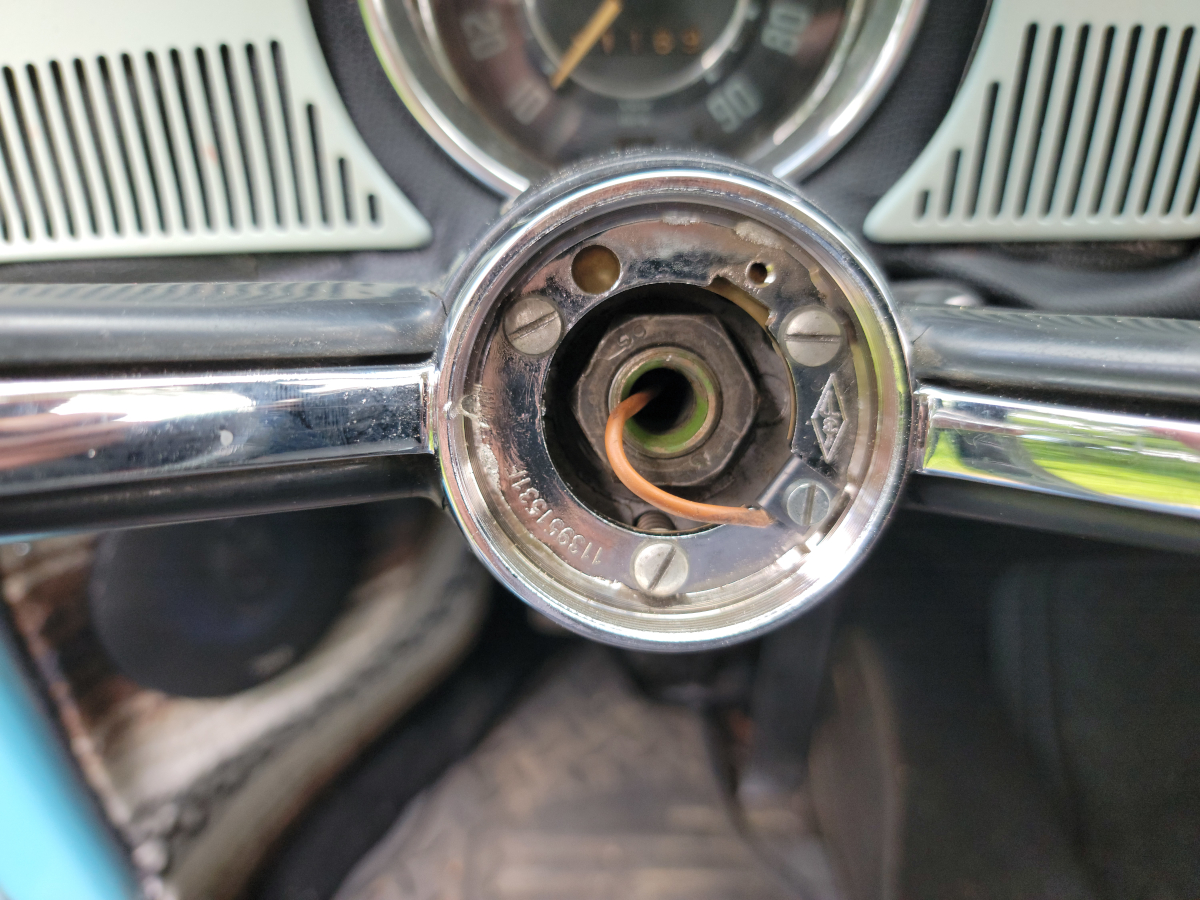
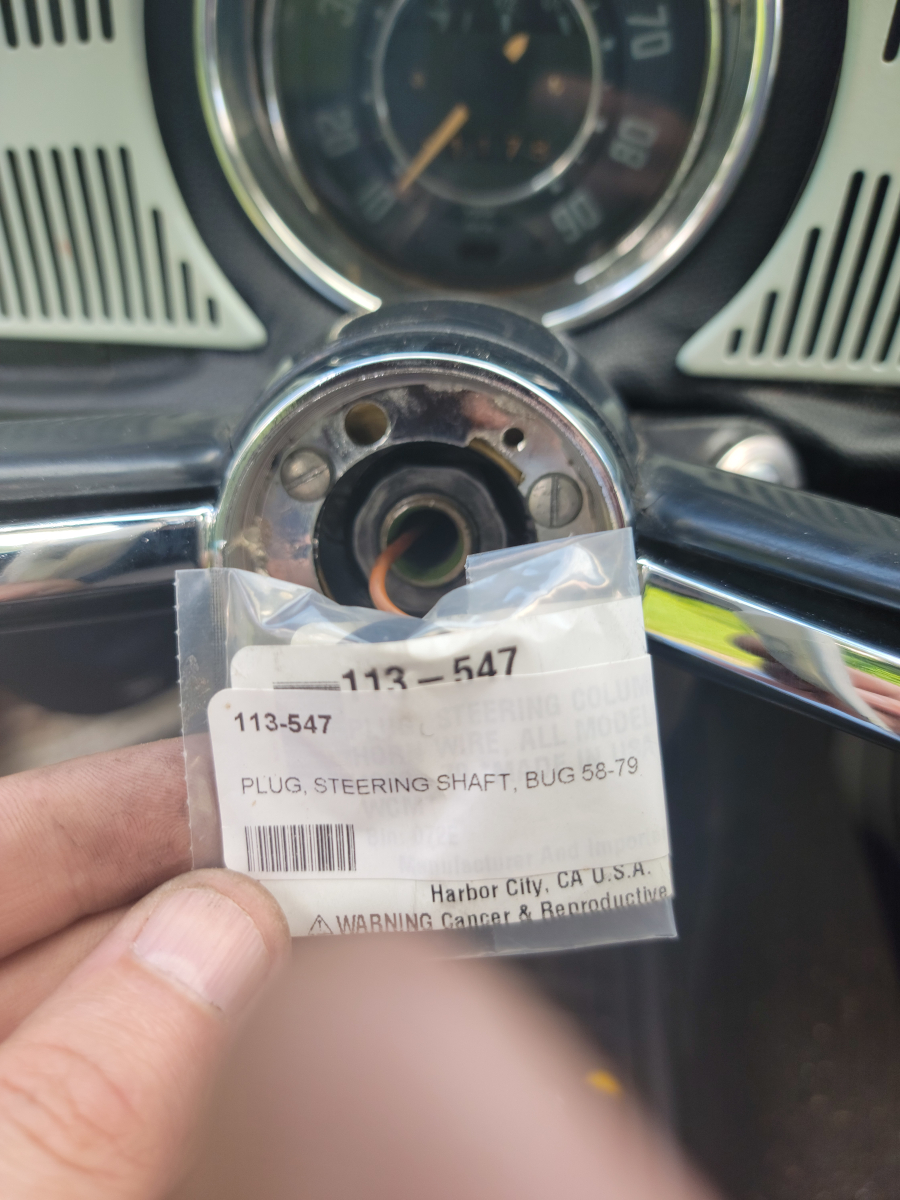
As a last ditch effort to getting the horn working again, I bought new horn ring hardware and replaced the missing wire insulator.

Being too lazy (and frankly, stupid) to bother trying to thread that tinned wire tip through the tiny hole in the new plug, I just sliced it open like a hot dog bun.

It’s an insulated wire, anyway, so I’m not sure it’s even necessary. I’m just getting desperate at this point.

Throw parts at the problem if you’re not smart enough to figure it out!

Still no dice (or horn… there never were any dice).

I’m tired.

(Please Don’t) Burn Baby Burn

I have had a couple videos of burning Beetles randomly present themselves in the last few days. Logically, fuel hose and carburetor gaskets are the biggest concern. As I was walking around the car, I decided to open up the rear deck lid and gave the fuel hoses a squeeze. They are fabric covered, so I couldn’t see anything wrong, but the rubber still felt nice and pliable.

The next time I started up the car, I smelled it.

After running for approximately twenty seconds, there was a puddle of gasoline in the bottom of the engine bay.

I had recently been troubleshooting a similar problem with my lawn mower. It doesn’t leak fuel noticeably when mowing, but over the course of the next few days after, would slowly dribble it out, soaking into the air filter. Mowing my lawn only takes a third of a tank of gas, but every time I go to mow, the tank is empty again.

ANYWAY, after disassembling everything and cleaning the carburetor, verifying the hoses and clamps were still good, I had the same problem the next time I mowed. As a temporary stop-gap until I could figure out the actual cause of the problem, I picked up a fuel petcock at Lowe’s (Lowe’s link) which also came with a foot of fuel line. Two birds, one stone!

I’m happy to report, there have been no further issues. BUT, just in case…

That’s not at all the right angle to store that at (surprise shot in the face).

More Front Hood Sealing Needed (and Other Easy Wins)

After Replacing the Front Hood Seal, I still have some wind coming through the dash when driving. Not as bad as it was, but definitely still an issue. I have mentioned before that the front end of the car has had a smoosh and the bonnet is out of round, as compared to the body it’s supposed to be sealing against.

I had previously seen a video of someone installing a Brazilian lip style slip on hood seal. The information I found online said that it can be used with or without the factory seal. Alright, I’ll give it a whirl (jbugs link).

It started going on fairly easily, but there were a couple of places that it didn’t want to fully “slip-on”.

I got the whole thing mounted up and there was a nice chunk left over at the end.

It’s not exactly clear in this picture, but you should be able to see dat gap tho.

It’s still not a tight seal. I have a feeling only replacing the bonnet will fix that.

The added thickness at the top end has also made it really hard to close. It just barely clips into place now. I’m out of adjustment on the striker. It’s as far out as it will go.

While I’m here, I may as well replace the handle seals.

One of the first things I replaced on this car was those handle seals. The new parts (matching what was on there previously) were clear(ish), hard plastic. The new ones cracked and broke within a month or two. This time, I picked up soft black rubber ones (jbugs link).

They installed without issue and will hopefully last longer than the previous ones I wasted money on.

Apparently, I had recently gone on another buy cheap parts online spree, because I also had a new engine cover bump stop (jbugs link) waiting to be installed.

For once, I’m not replacing something that was in awful condition. This time, it was missing altogether.

I had to thread it in all the way, but it’s a nice, tight fit back there now.

Lastly, fresh air box seal I made from (not very) adhesive weather stripping back in I Give Up was annoyingly still sticky enough to grab half of the debris that fell through the grate. The last item in my shopping spree was a new fresh air box seal (jbugs link).

There is a thick glue joint that only wanted to fit into one of the corner cracks. Jamming it in there made the glue joint moan a little.

I don’t have terribly high hopes for its longevity.

Fuel Cap Troubles

Back in A Few Easy Wins, I replaced the fuel filler cap (jbugs link). The old one was clearly aftermarket, form over function, and the paper gasket had clearly soaked up its last bit of gas.

After my next fill-up, I had the strong smell of gasoline when I pulled back in the driveway. Upon inspection, the cap was clearly not sealing and plenty of gas had sloshed around and out the top. It was puddled behind the fuel door and had run down the side of the car.

I put the old cap back on for the time being. The flimsy little rubber gasket that came with the new cap was way too thin to make a decent seal. I started googling around and found that lots of places sell new gaskets for ATVs and lawn tractors, but nothing I could find specifically for this size of cap. The best thing I found was AutoZone sells rolls of “rubberized cork” gasket material (AutoZone link). Oddly, the package even comes with a utility knife. Also, to be fair, O’Reilly also sells it, but is a couple of dollars more.

I traced out the thin gasket that came with the new cap and cut out a couple of new gaskets.

Two layers of cork gasket ended up being too thick, but one layer of cork and the thin rubber gasket was enough for a nice, tight fit. I haven’t had any additional issues with it.

Let’s Try to Get This Horn Working

In my previous post, Replacing the Ignition Switch, I didn’t have much success getting the horn tooting again after having the steering wheel apart. This evening, I’m taking it all back apart to see if I can clean up the contacts and reassemble it correctly.

I armed myself with some emery paper and a can of WD-40 Contact Cleaner (Amazon link).

I got the copper horn contact ring polished up first.

Next I would need to move on to all of that old hardware.

And finally, cleaned off the contact ring in the wheel itself.

I have had this all apart a few times now, for different reasons, including trying to get the horn working again after taking it apart the first time. At best, I have been able to get it kinda working in one direction or the other if you hold your mouth just right.

I googled it and came up with the following image on the samba, credited to a site that doesn’t have that image up anymore.

That’s a picture I snapped with my phone off the laptop screen, so copy of a copy of a copy, but it’s clear enough for me to make sure it all went back together as intended. What a pain.

Also, it didn’t work and the horn is still nah, bro.

Replacing the Ignition Switch

As mentioned in Replacing Door Lock Cylinders (Again), I purchased a pair of door handles and ignition switch with matching key at Bugs & Buggies Kustom Autowerks in Denton, NC. I replaced the door lock cylinders in that post last month, but had moved on to other things and never got around to replacing the ignition switch.

Yesterday evening after work, I started disassembling the steering wheel/horn/turn signal assembly to be able to get to the ignition switch.

I only got so far before I found that I didn’t have the right size socket. My largest Stanley set only goes up to 22mm. Then of course, I have a 32mm impact socket for the axle nuts. Anyway, the info I found online said it was either going to be a 24mm or 27mm, with 27mm being the appropriate one for a 1968.

I went to O’Reilly and picked up both 24mm and 27mm deep well sockets. It was dusk by the time I got home and settled. So, I put it off until this evening.

It was a 27mm nut after all.

The metal cover/trim piece around the ignition switch was only held on by one screw. The other one was missing. That’s fine. One screw appears to be plenty. It isn’t exactly a comfortable fit to get back in there. When I removed the screw, it fell off the end of the screwdriver and tried to fall down into the steering column cover.

With the key in the ignition, I was able to pull the switch assembly out a little bit. From there I got a pick down into a hole and released the tumbler/switch.

The new tumbler/switch mounted up with no issues.

So I then started buttoning it all back up.

From what I have read, 1968 is a unique year in this area. The ignitions are supposed to be interchangeable 1968 through 1970. This new one is from a 1970 model. I’m not sure what’s happening. Once I got it all reassembled (with the horn working perfectly, BTW) I found that the key wouldn’t pull back out of the ignition.

I have heard that the 1969-70 models had a steering lock on the ignition and 1968 does not. That may be what’s happening here. The two cylinders appear to be physically identical. Once the new one is slotted all the way back in and tight, the key won’t come out when in the Off position.

I had to completely disassemble it, including undoing my masterful horn ring adjustment…

I found that if I don’t fully seat the switch – with just a tiny gap – everything functions properly. However, in that state, you can pull the ignition switch out with the key when the car is on. I will have to be careful not to leave the switch hanging on my key ring. It happened with the car running a couple of times already.

When I got it all buttoned up, the horn wasn’t working properly. I had this problem last time I had it apart, when replacing the horn ring. After fussing with the three screws for a long while, I could only achieve one of the following. One side works, the other side works, or constantly honking. I never actually got it fully functional again.

I’m going to put this away for now. I will tear it all back apart soon to get those contacts cleaned up. I have some WD-40 Electrical Contact cleaner spray. I’ll hose everything down with and scuff up the contact surfaces to get them all shiny.

Hopefully, I don’t need to replace the plastic/nylon isolators around the horn ring screws. They are available to order online if it comes to that.