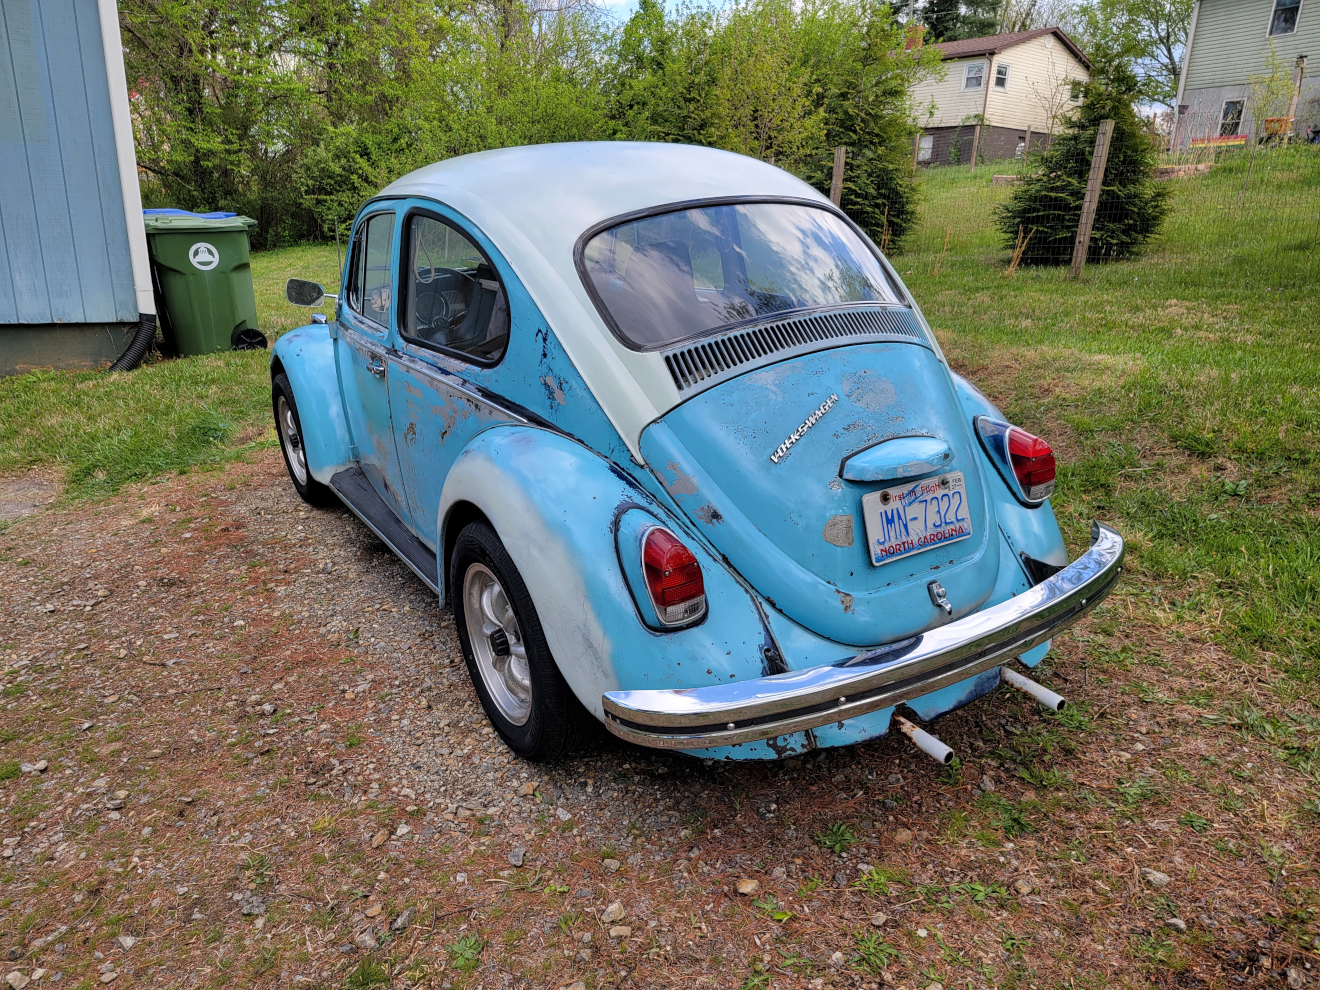
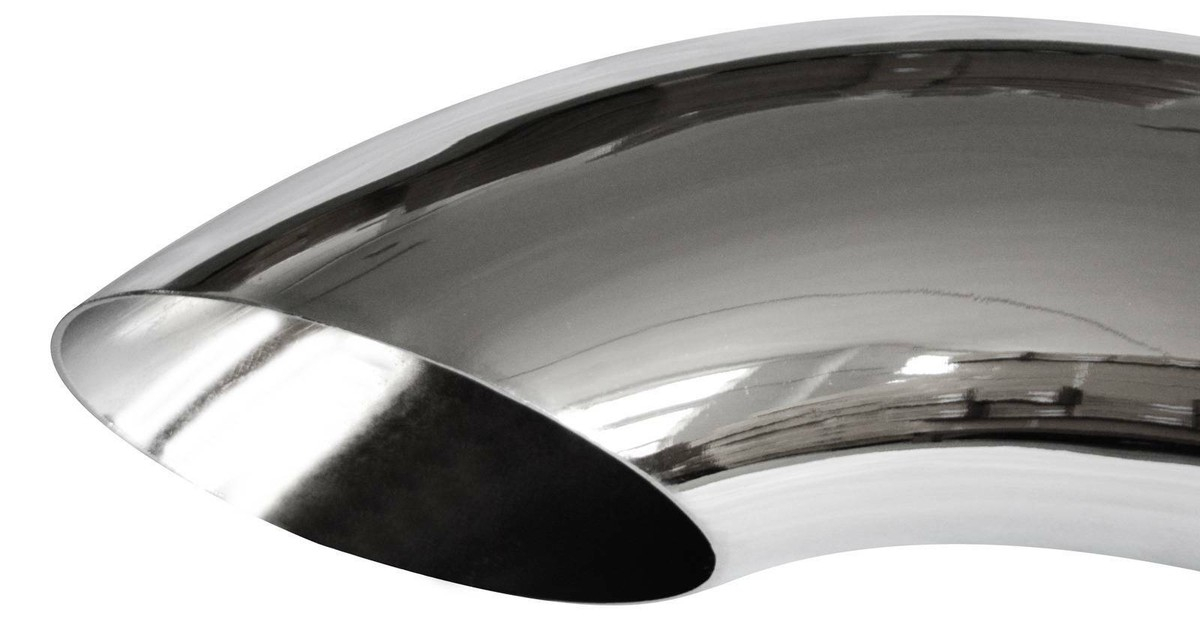
As was previously predicted in Oh, Danny Boy…, the simplest and quickest solution was to bolt on some exhaust tips. I have always preferred this style, with just the curved bit protruding:
But apparently, at only 1.5 inches diameter, choices are fairly limited. There are lots of terrible, TERRIBLE options for a ’93 Civic in 2004 available for super cheap:
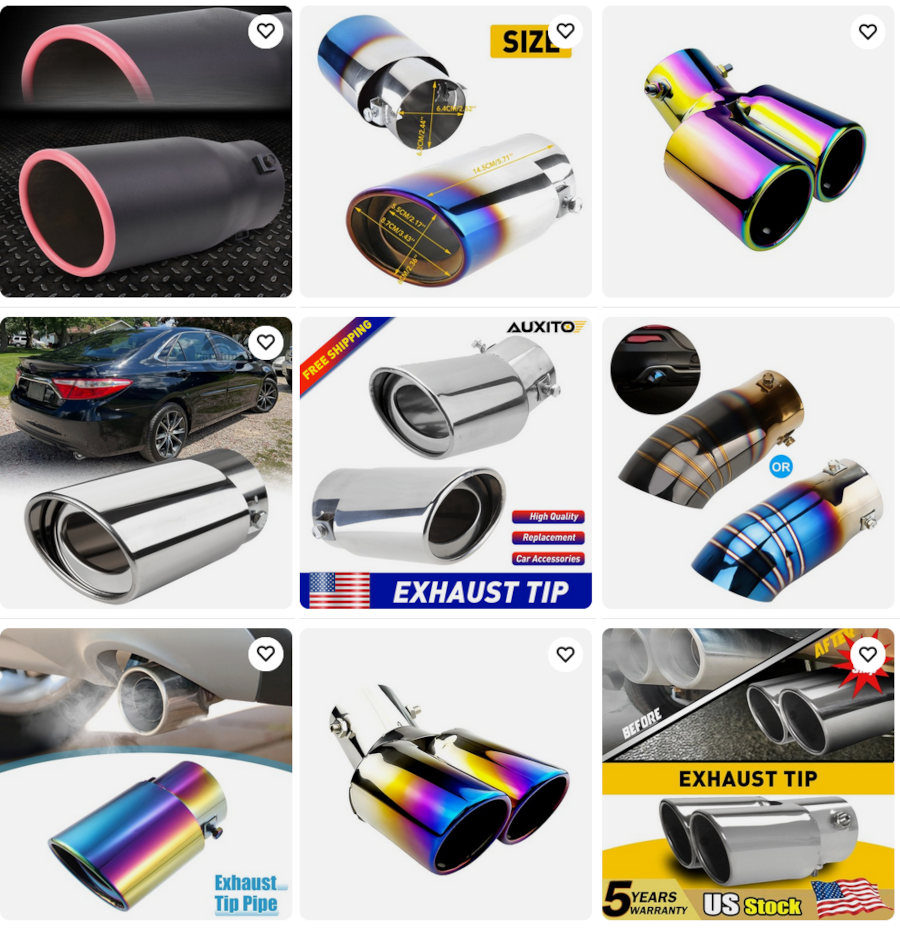
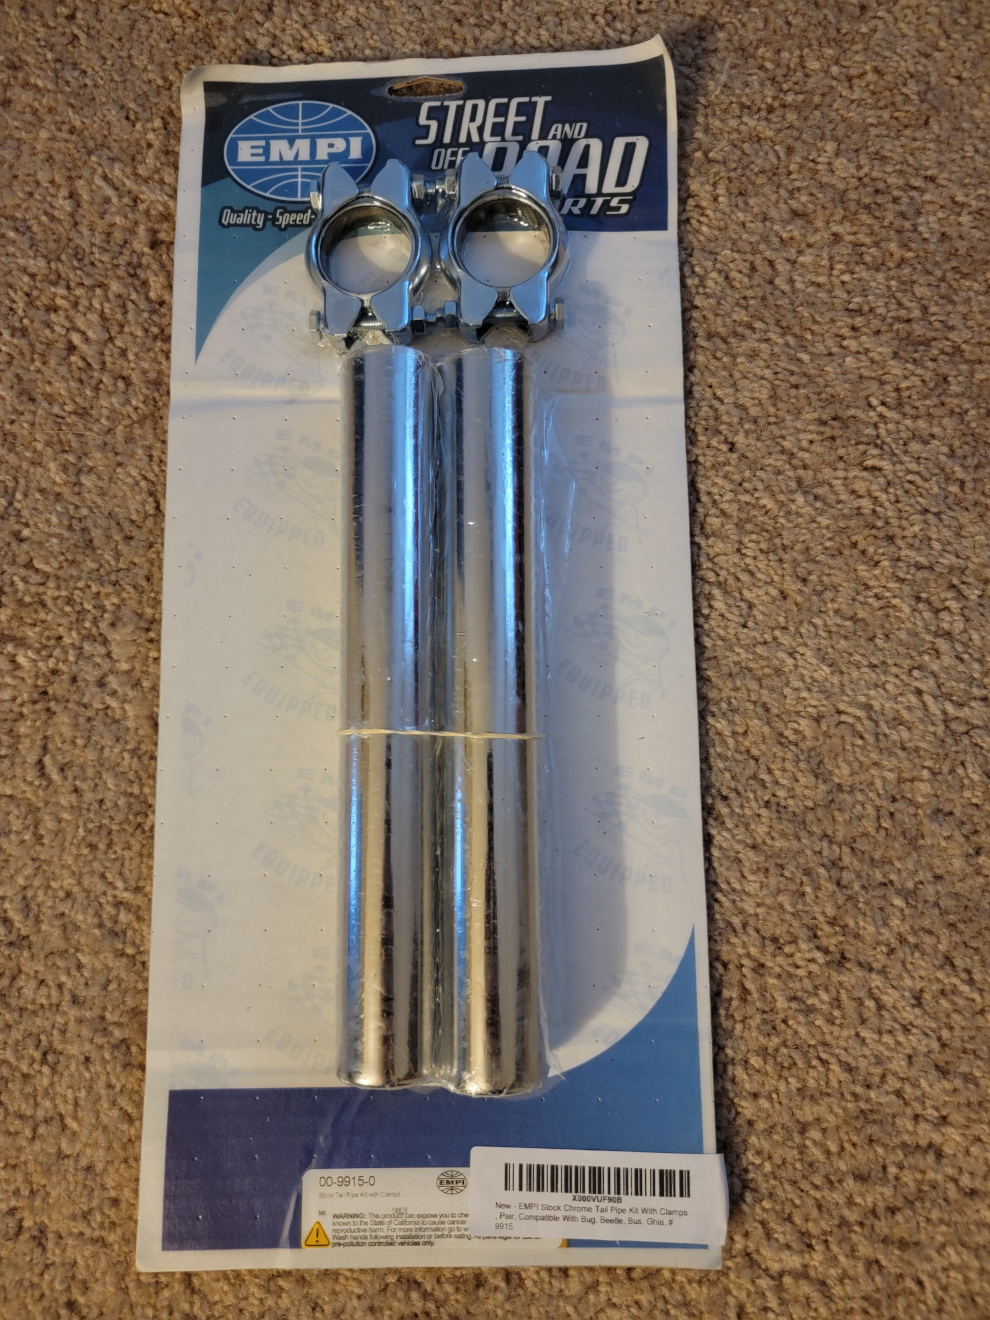
There’s no accounting for taste. So, the smallest, straightest, solid-colorest/non-neon-rainbowest, single output tippest I came across was a pair of these (Amazon link). It still up-sized it to a 2 inch, but that’s the best option I could find.
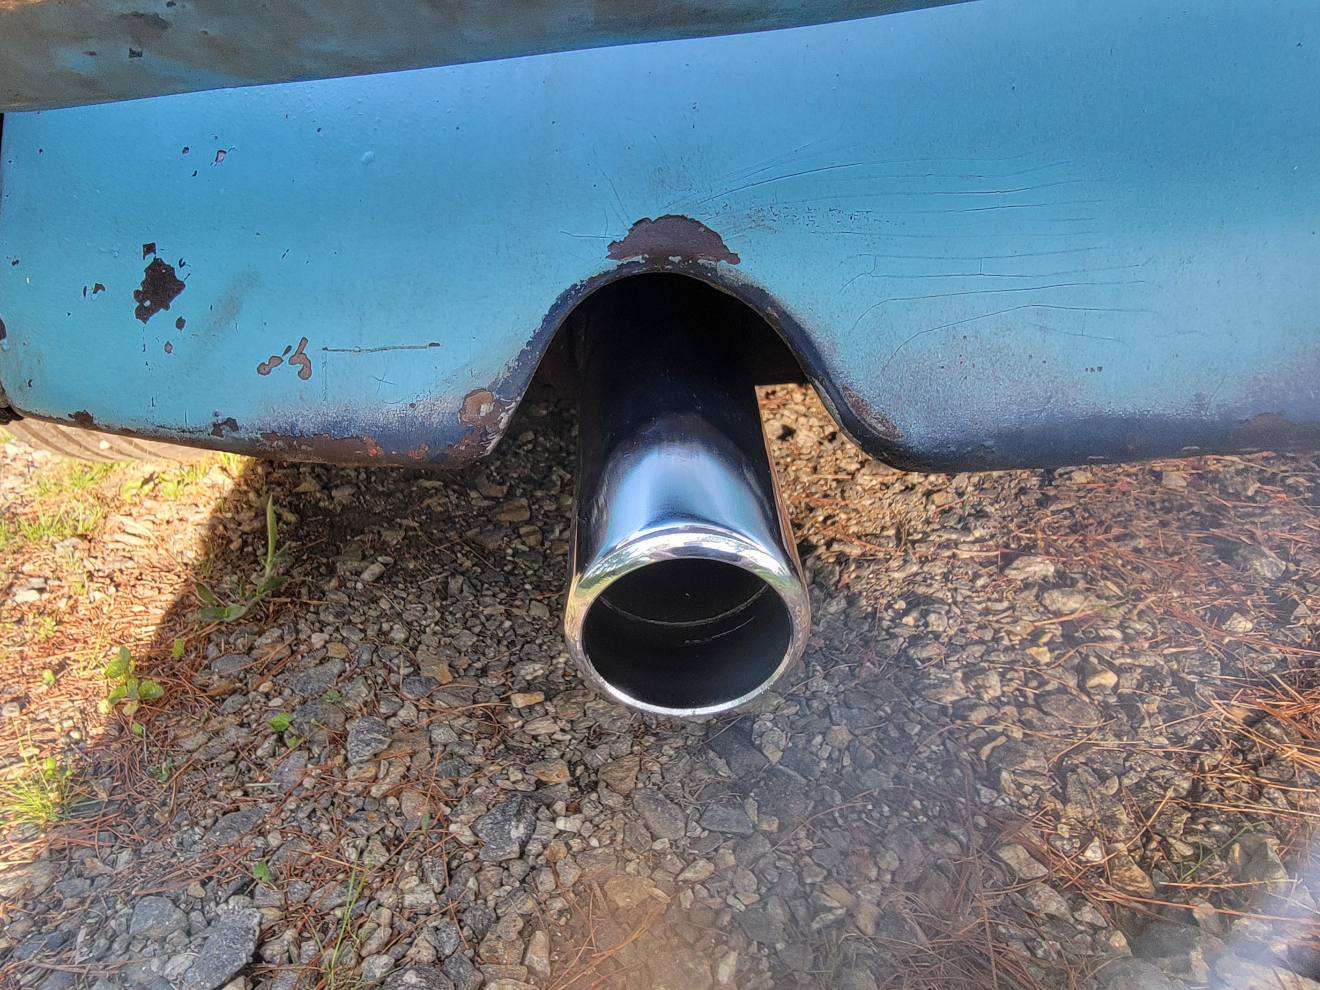
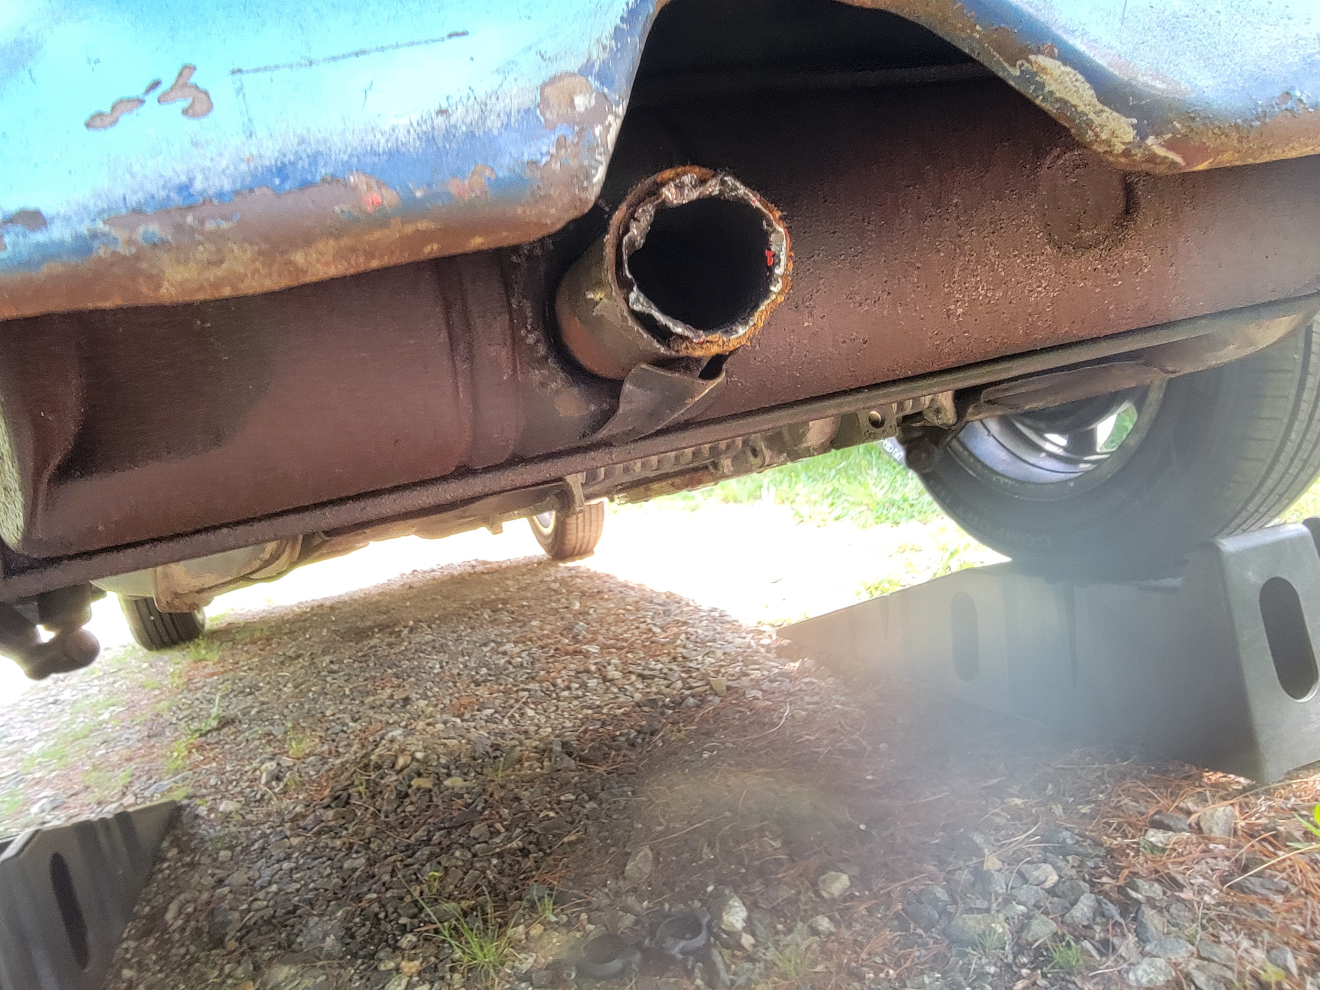
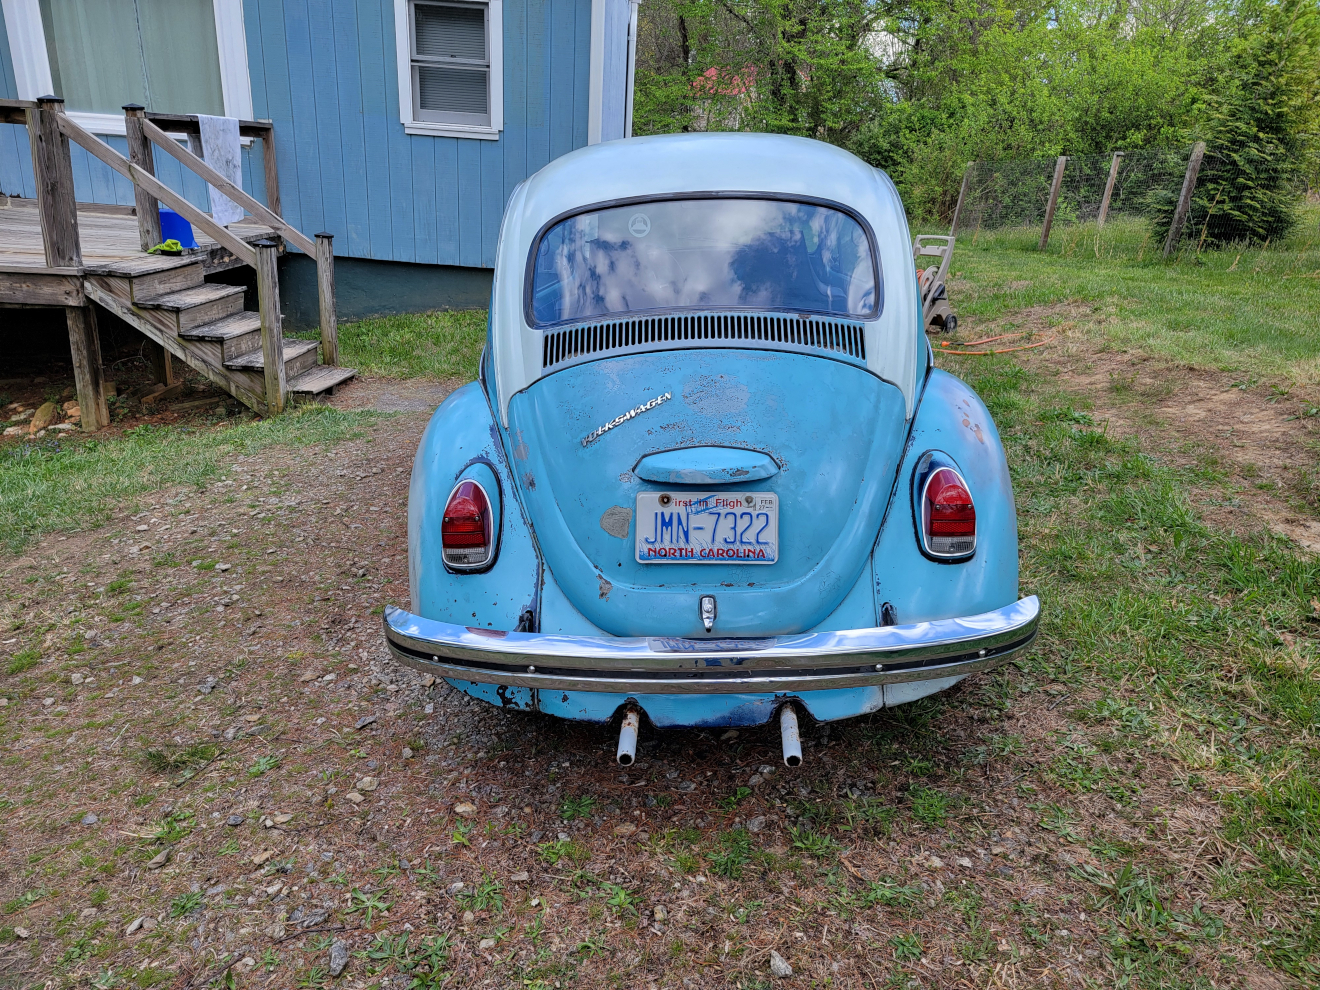
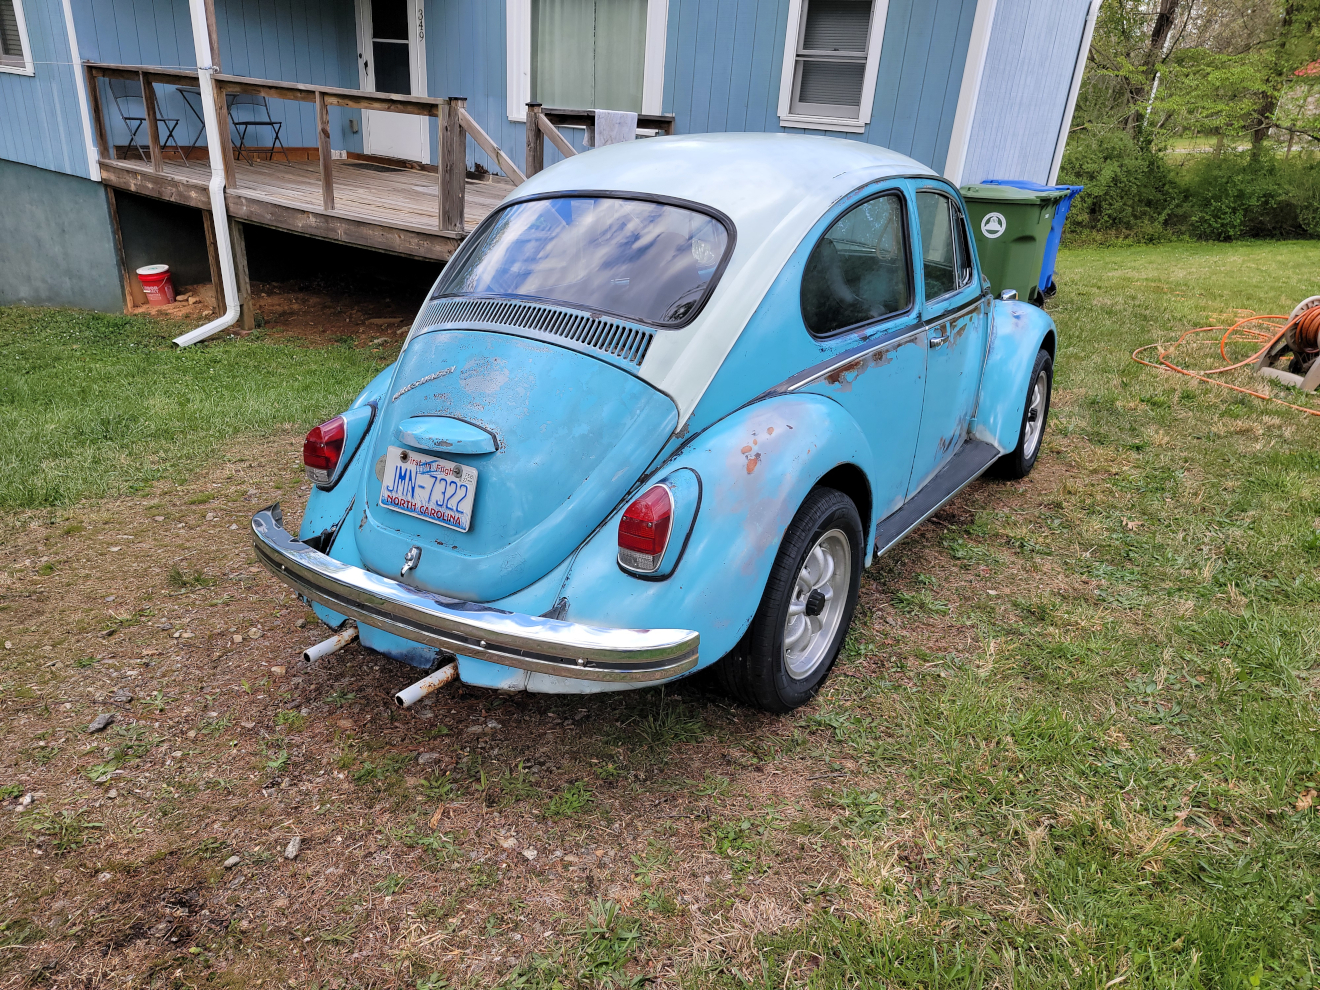
Driver’s side, then both from above:
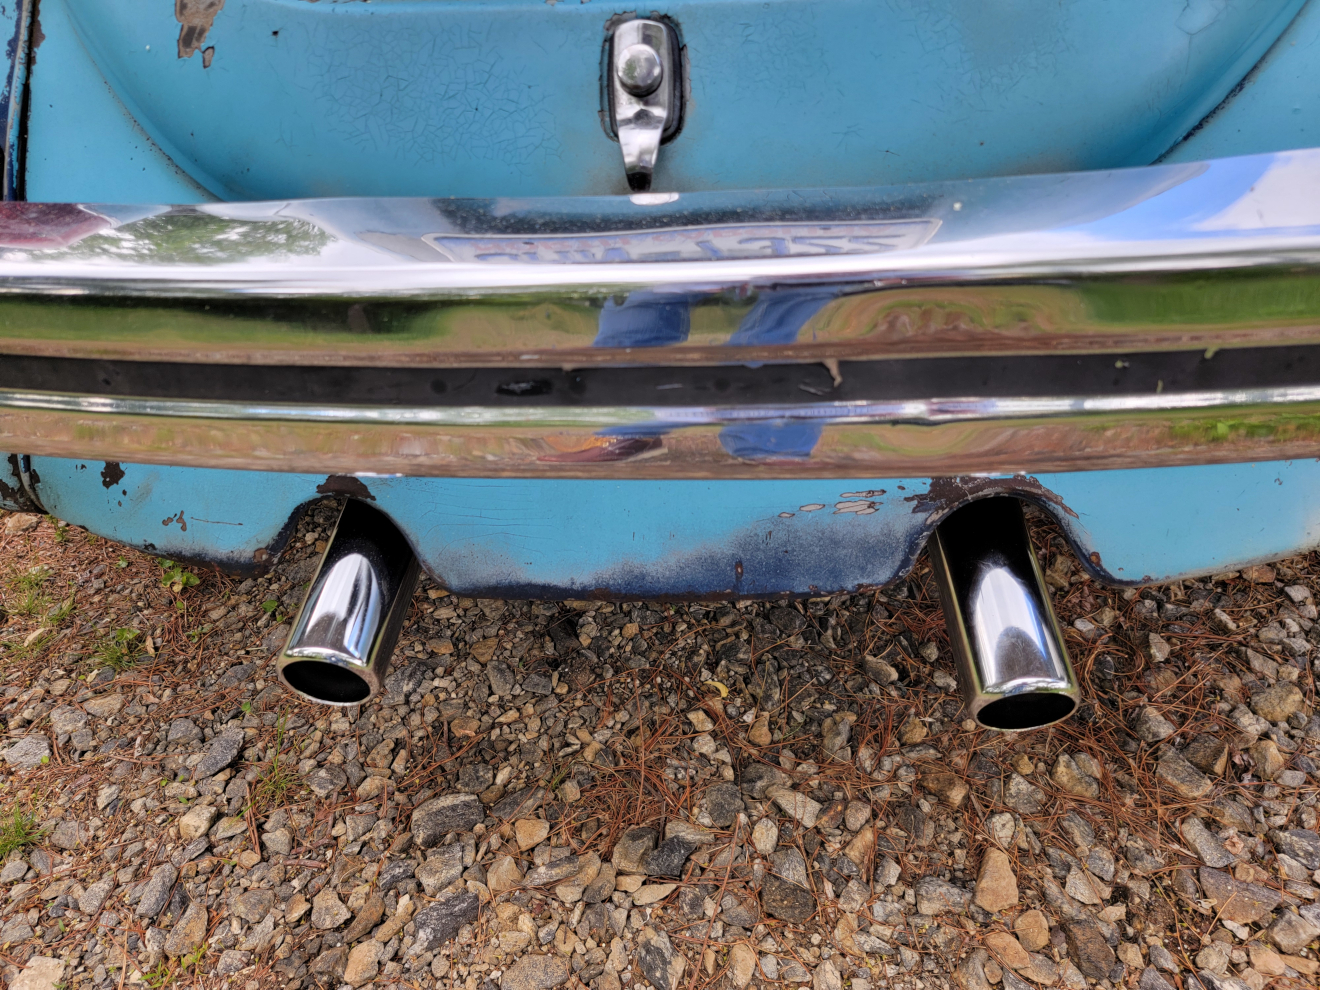
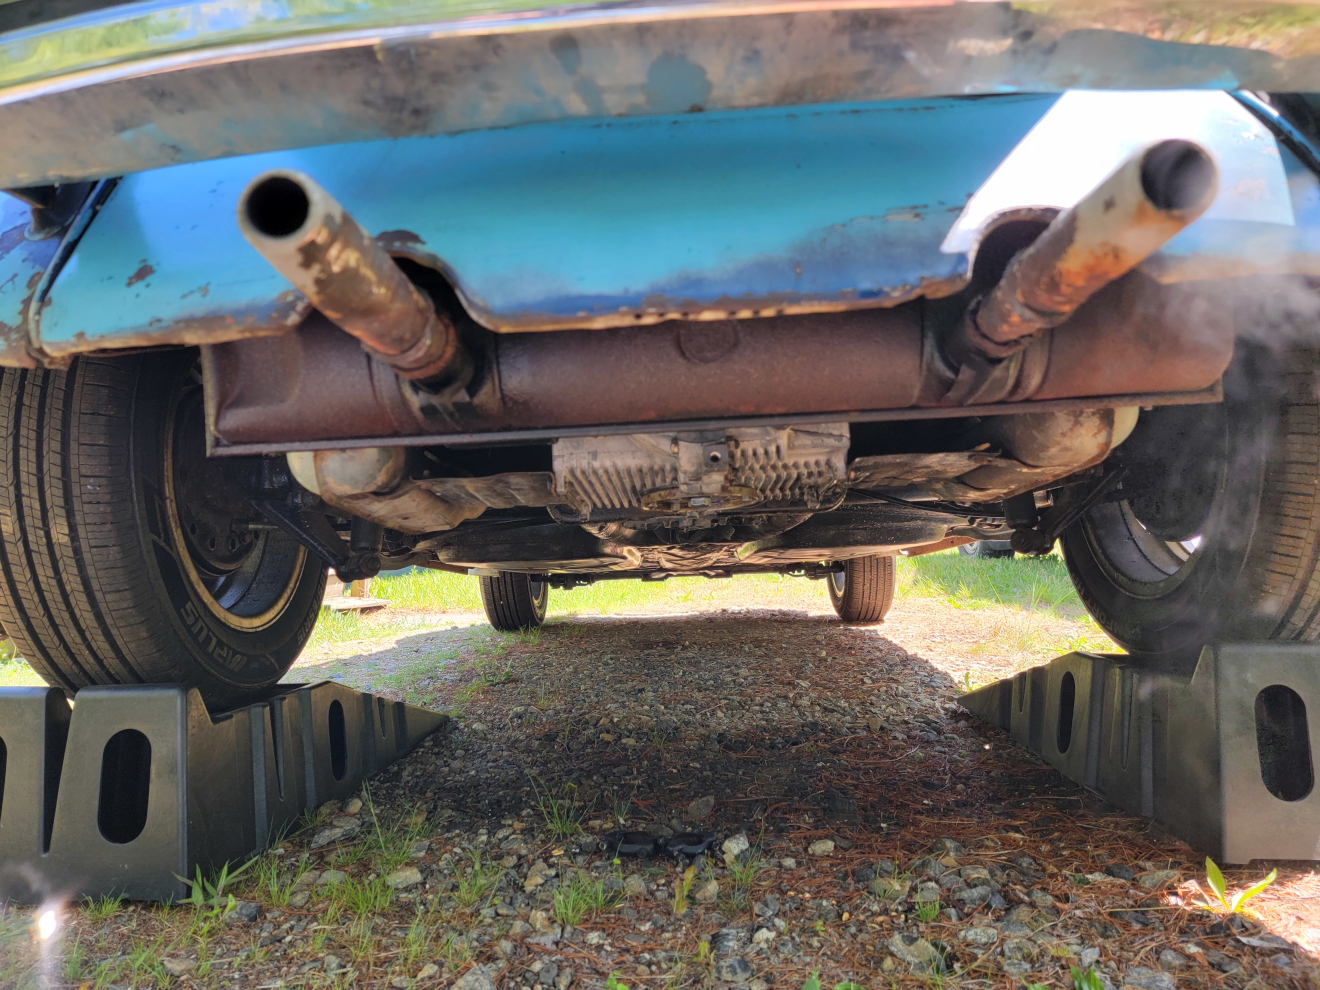
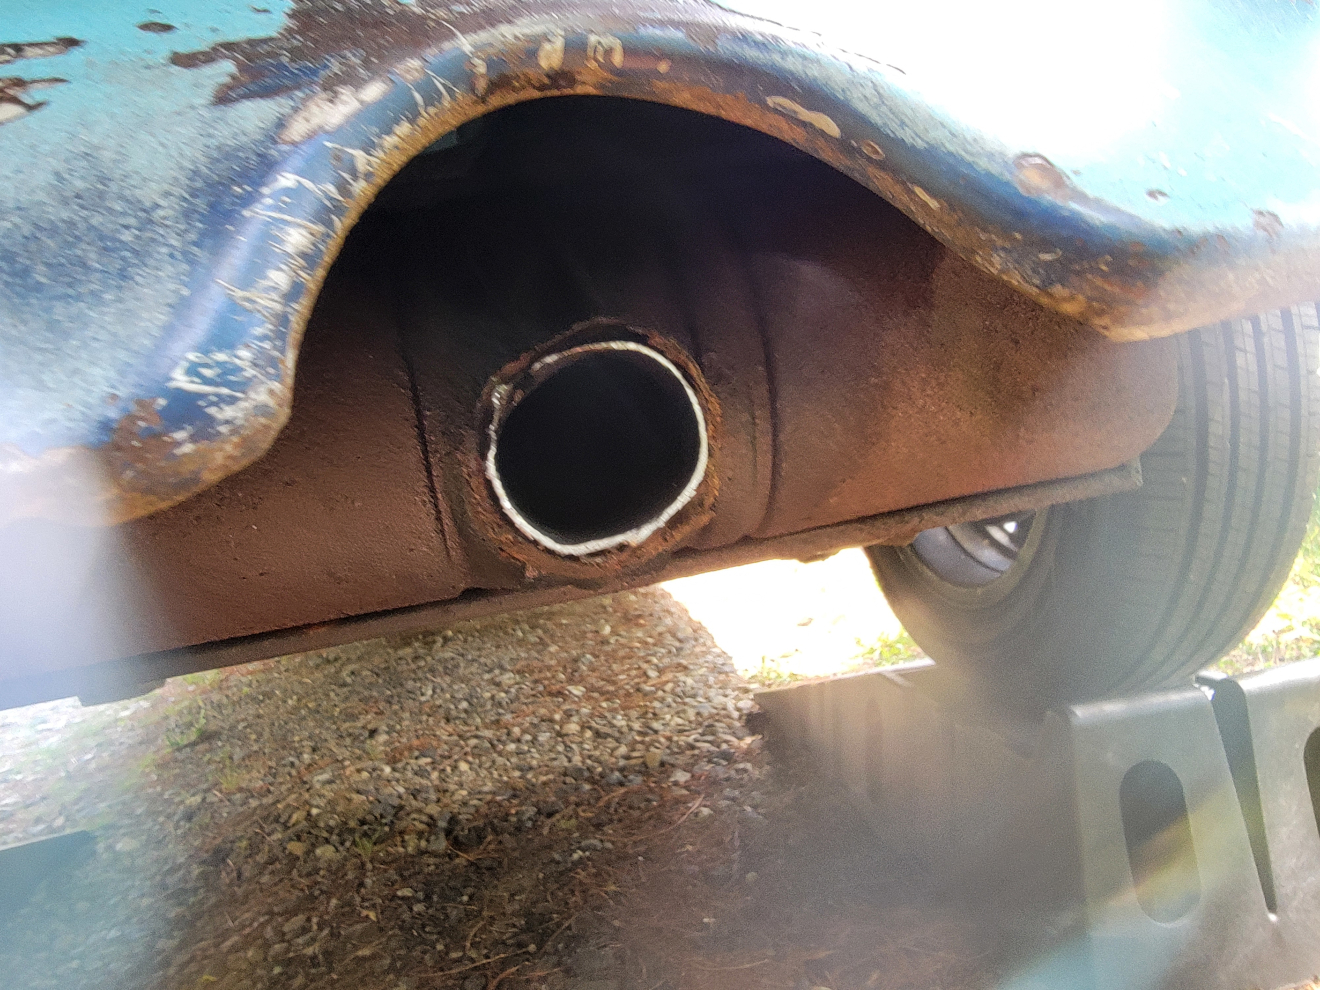
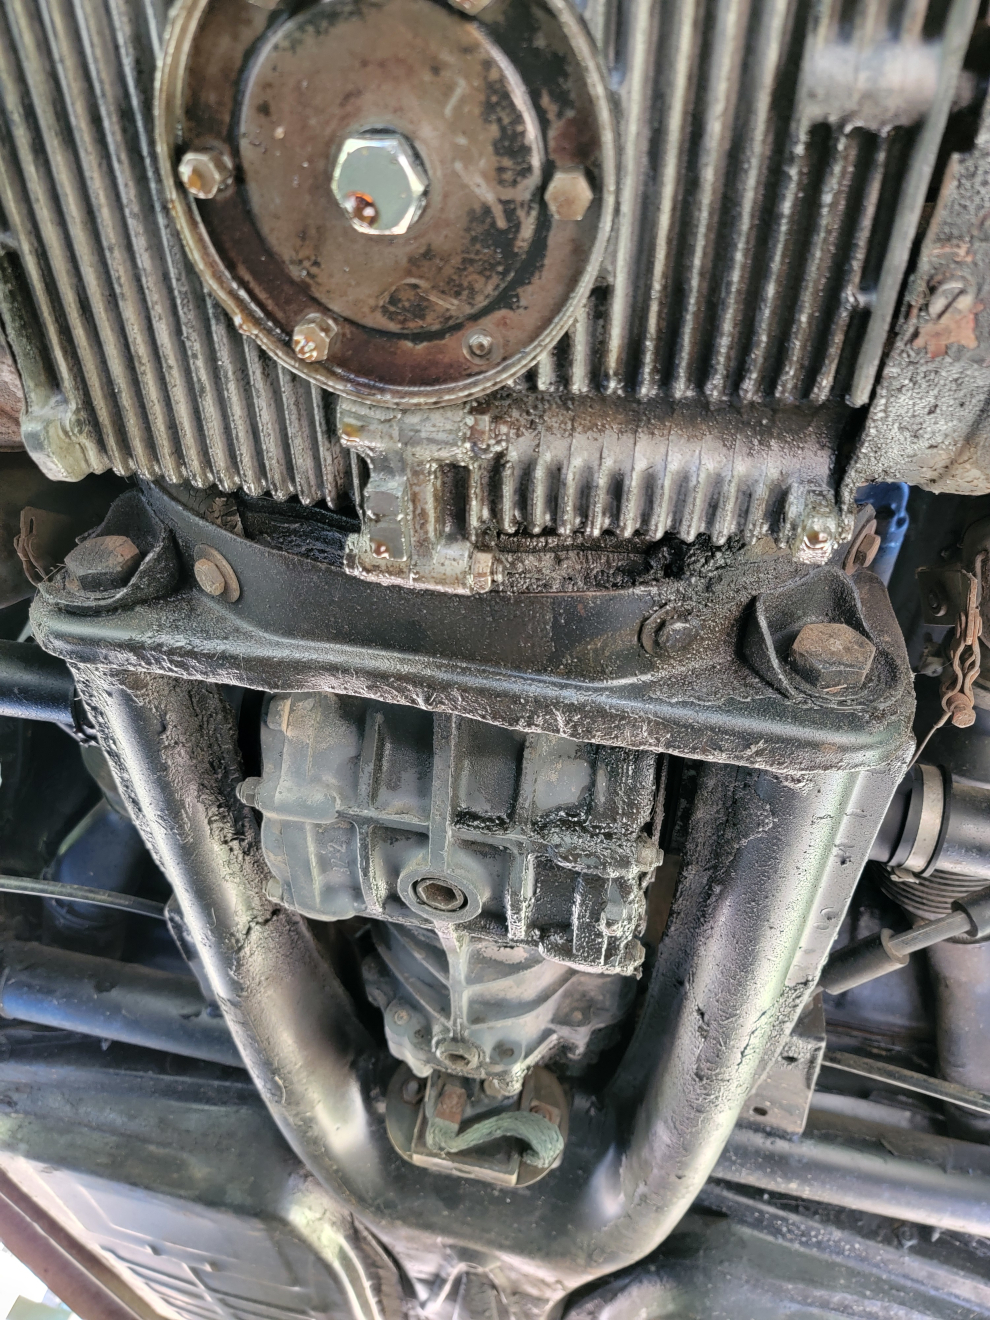
And finally from underneath:
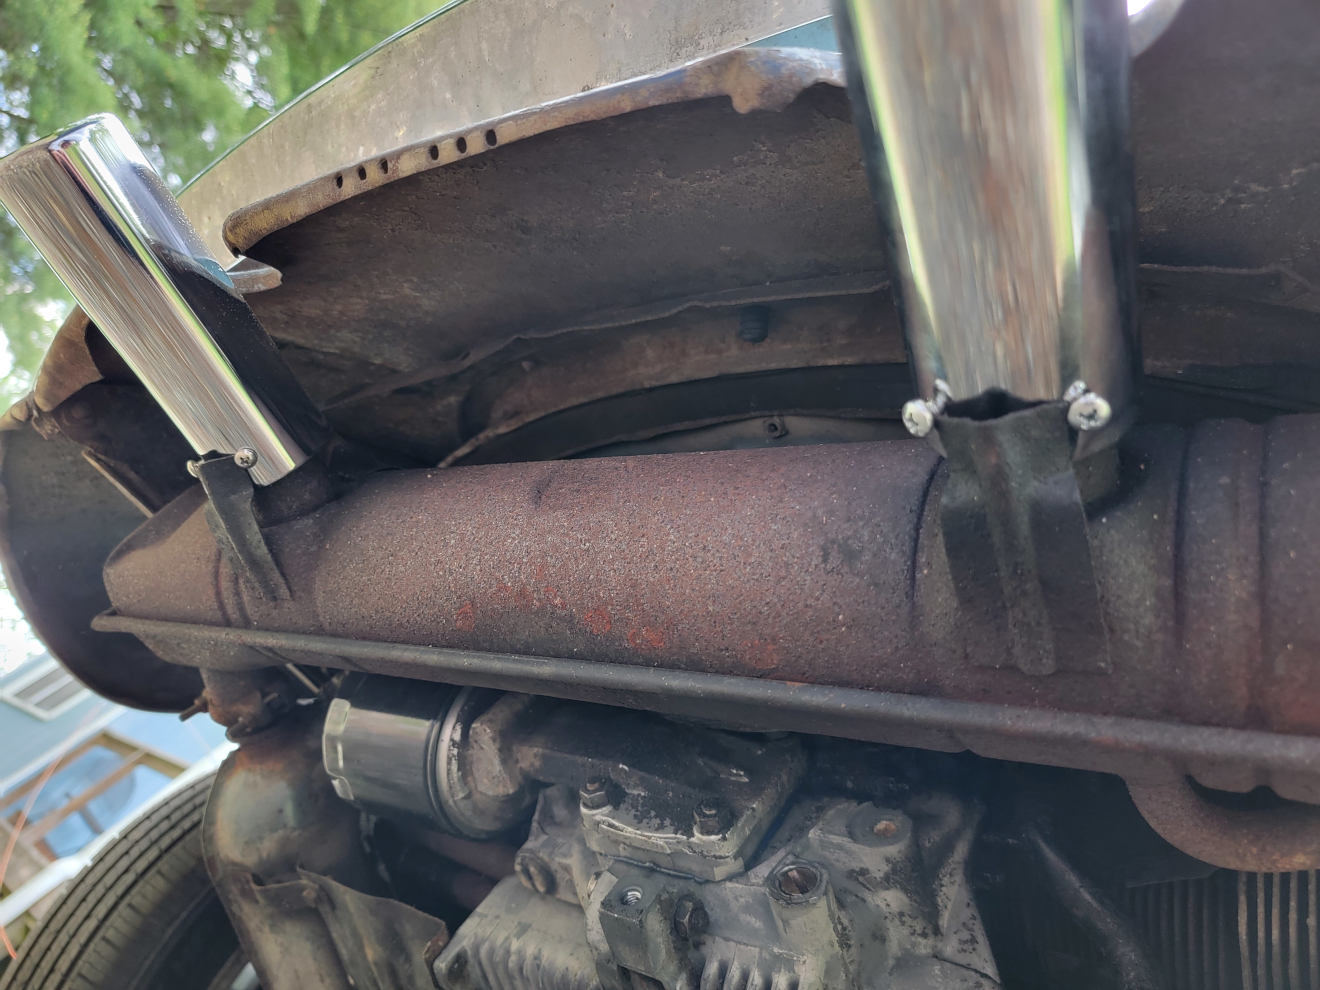
I did straighten them out and even them up after taking the pictures.
Hopefully, this is enough to keep the exhaust fumes outside the passenger compartment. We’ll see. If not, it’s another $120+ for a decent muffler. It sounds pretty good without the pea shooters, I must say.