That title is probably over-selling it. Whatever the end result is, it will probably be a lateral promotion.
The steel wheels are pretty rusty, so needed quite a bit of cleanup. They had also apparently been roughly painted with brushed on gray house paint at some point. They looked good from ten feet away, which is the best I can hope for, I suppose.
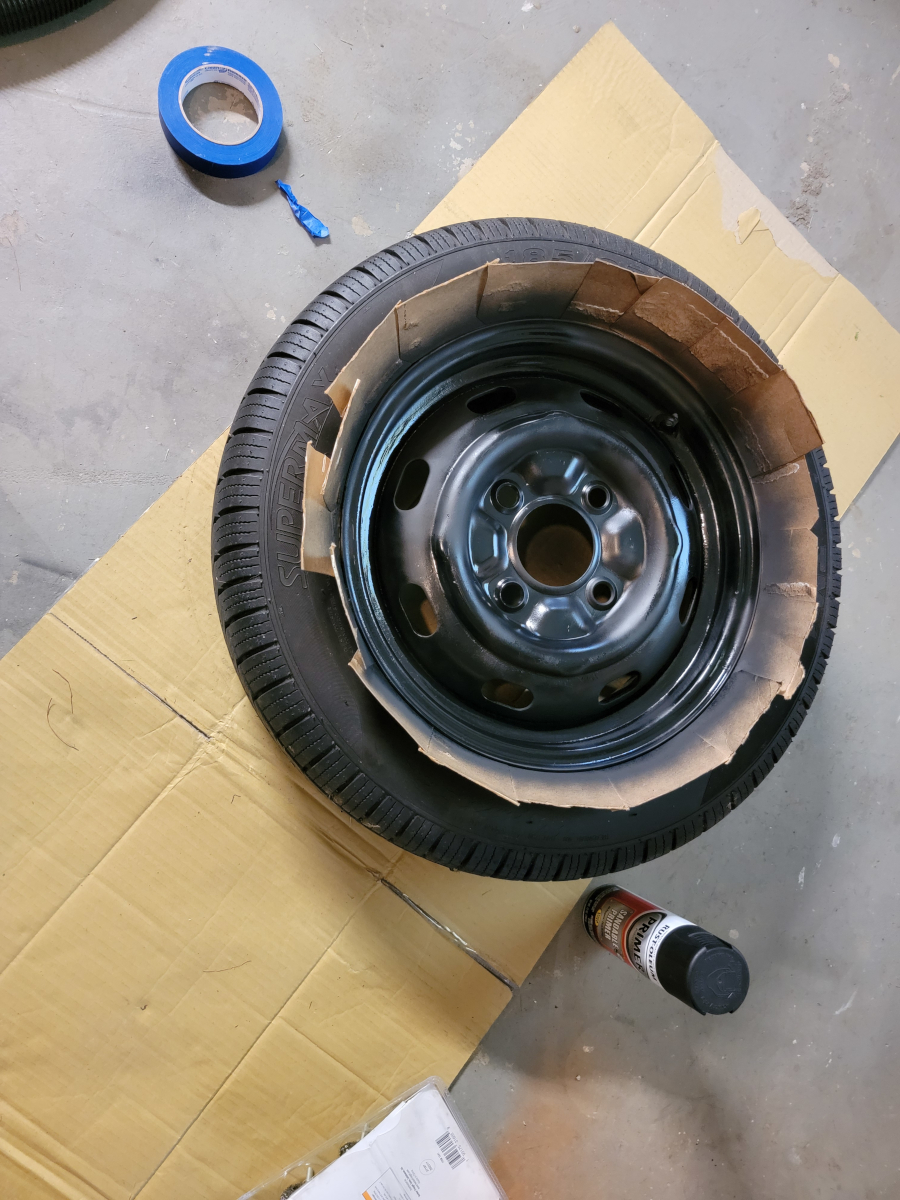
I wire brushed the first wheel, chipping off any loose paint and rust, then cleaned it with acetone. I don’t play cards, so did the next best thing and cut up a beer case into playing card sized pieces. I jammed them in the crack, separating the tire from the rim, before spraying rust treatment and primer.
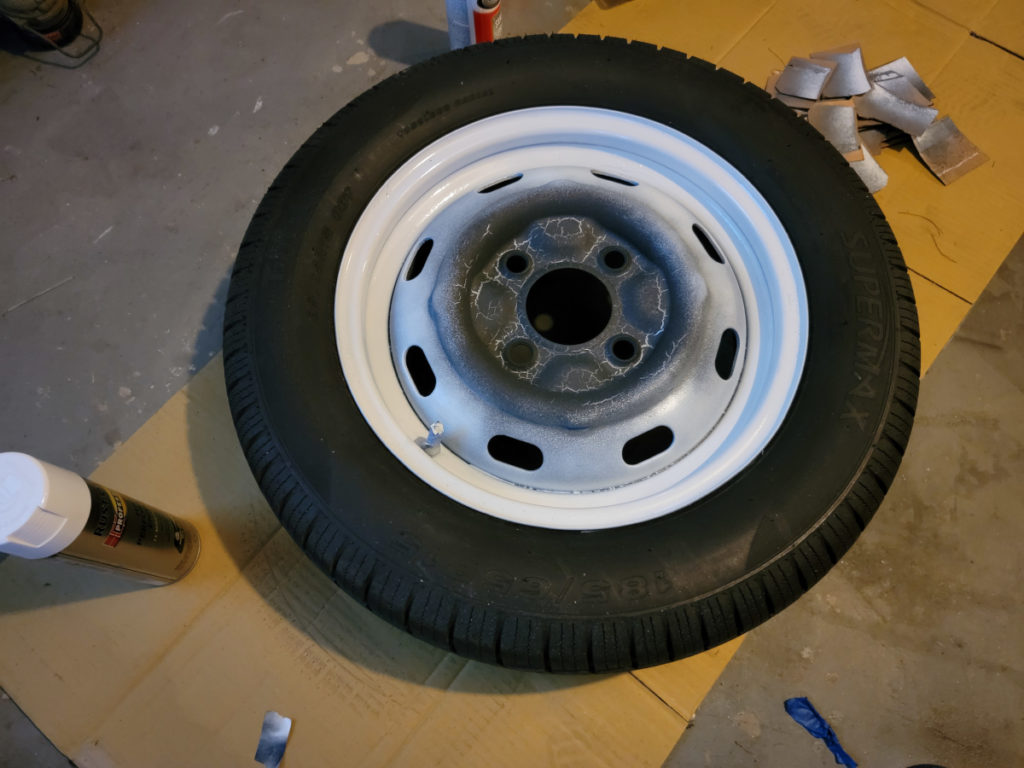
Then white paint around the outside.
I didn’t bother masking the middle, since that’s going to be a whole separate step whenever I get back to it.
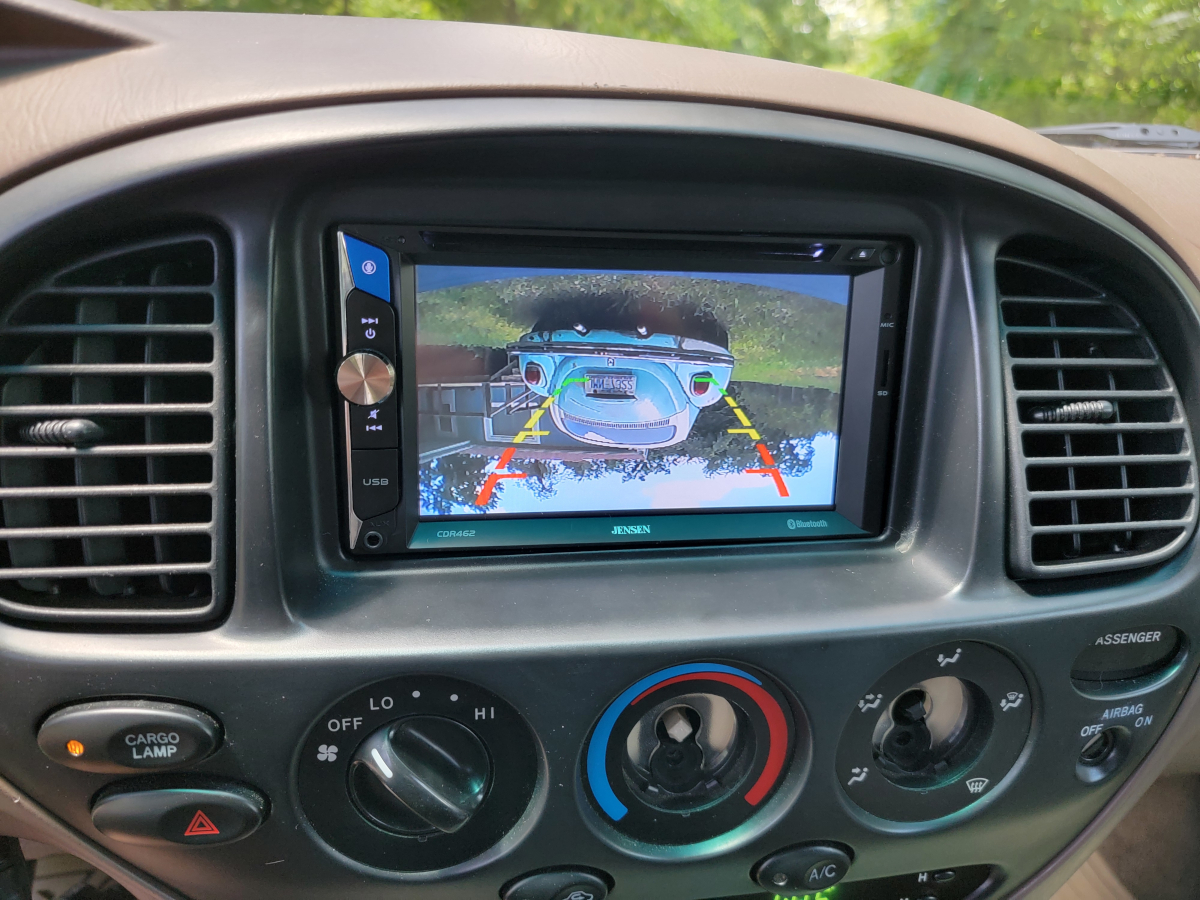
With a truck load of tires and wheels, I drove down to my local tire shop and waited three hours while they got everything mounted up. Back home, the Empi wheels went straight on.
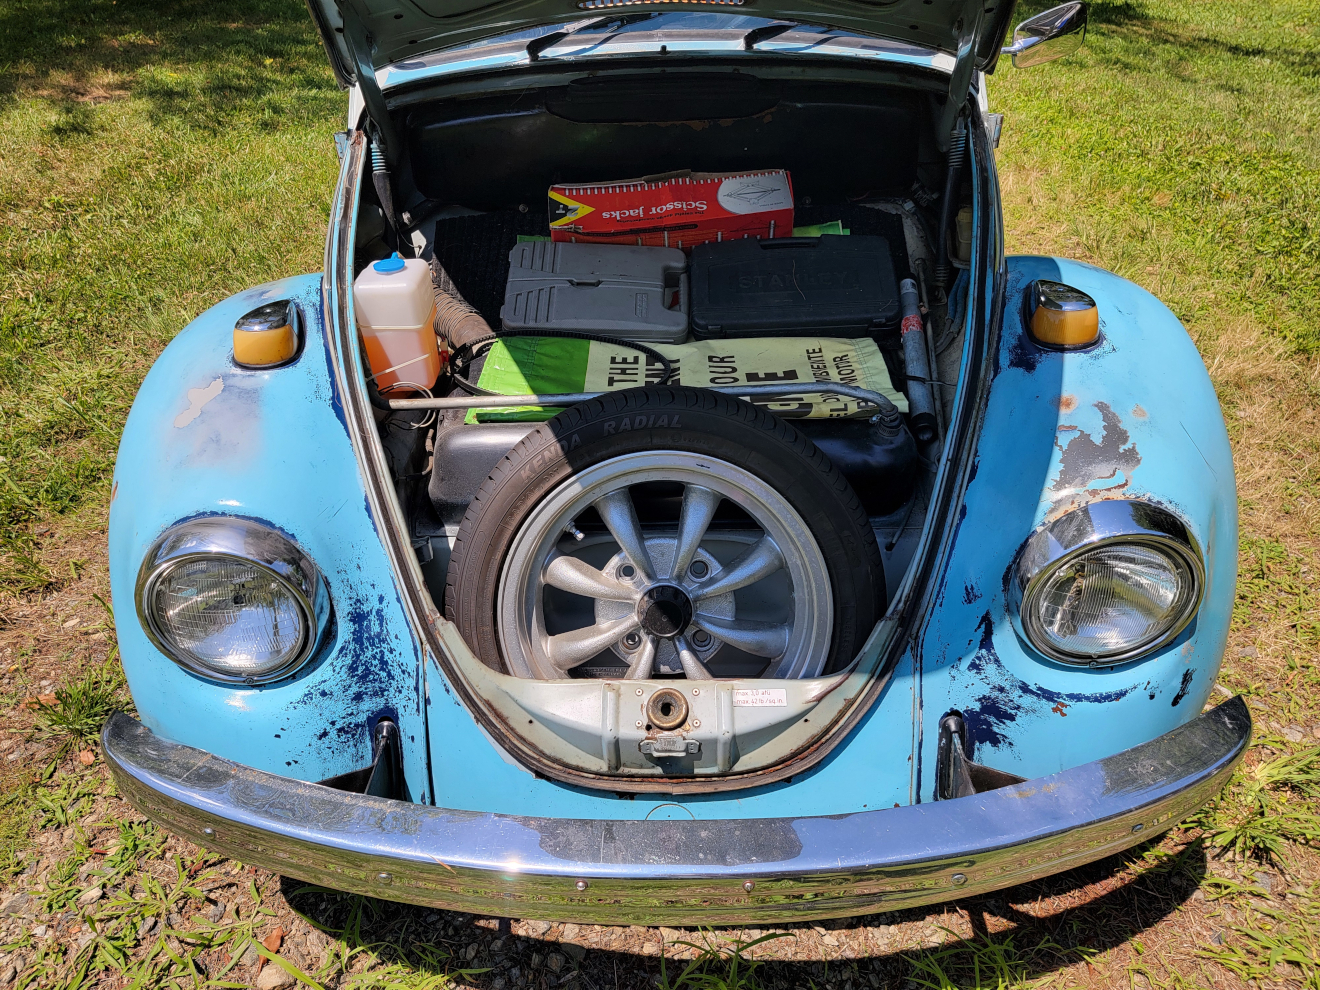
They spent far too long stacked up in the basement. I love them. The offset is super-tough lookin’. Oh yeah, and don’t forget the steelie spare…
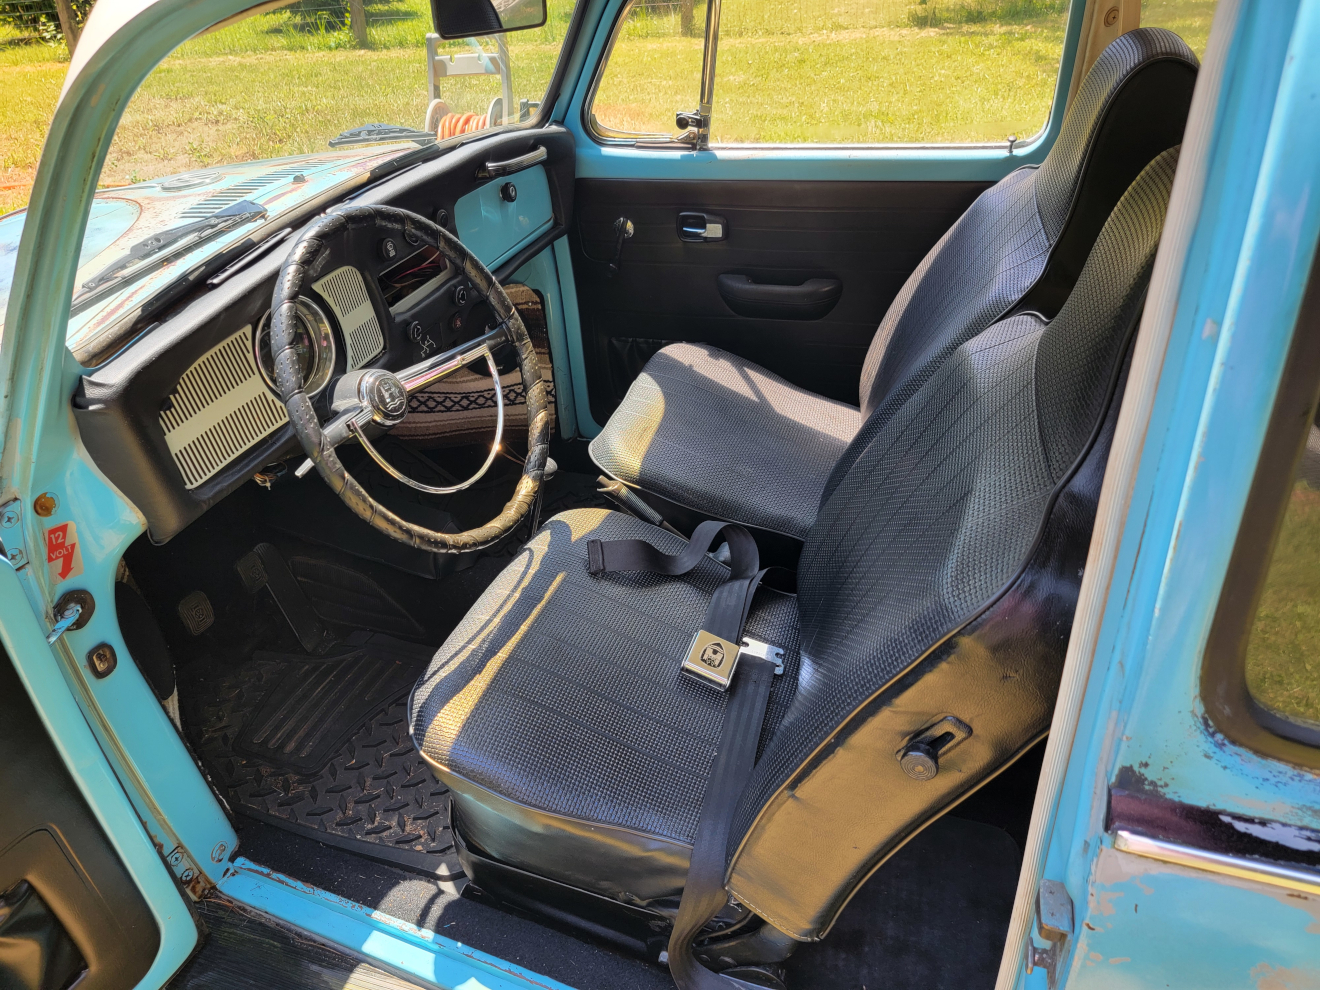
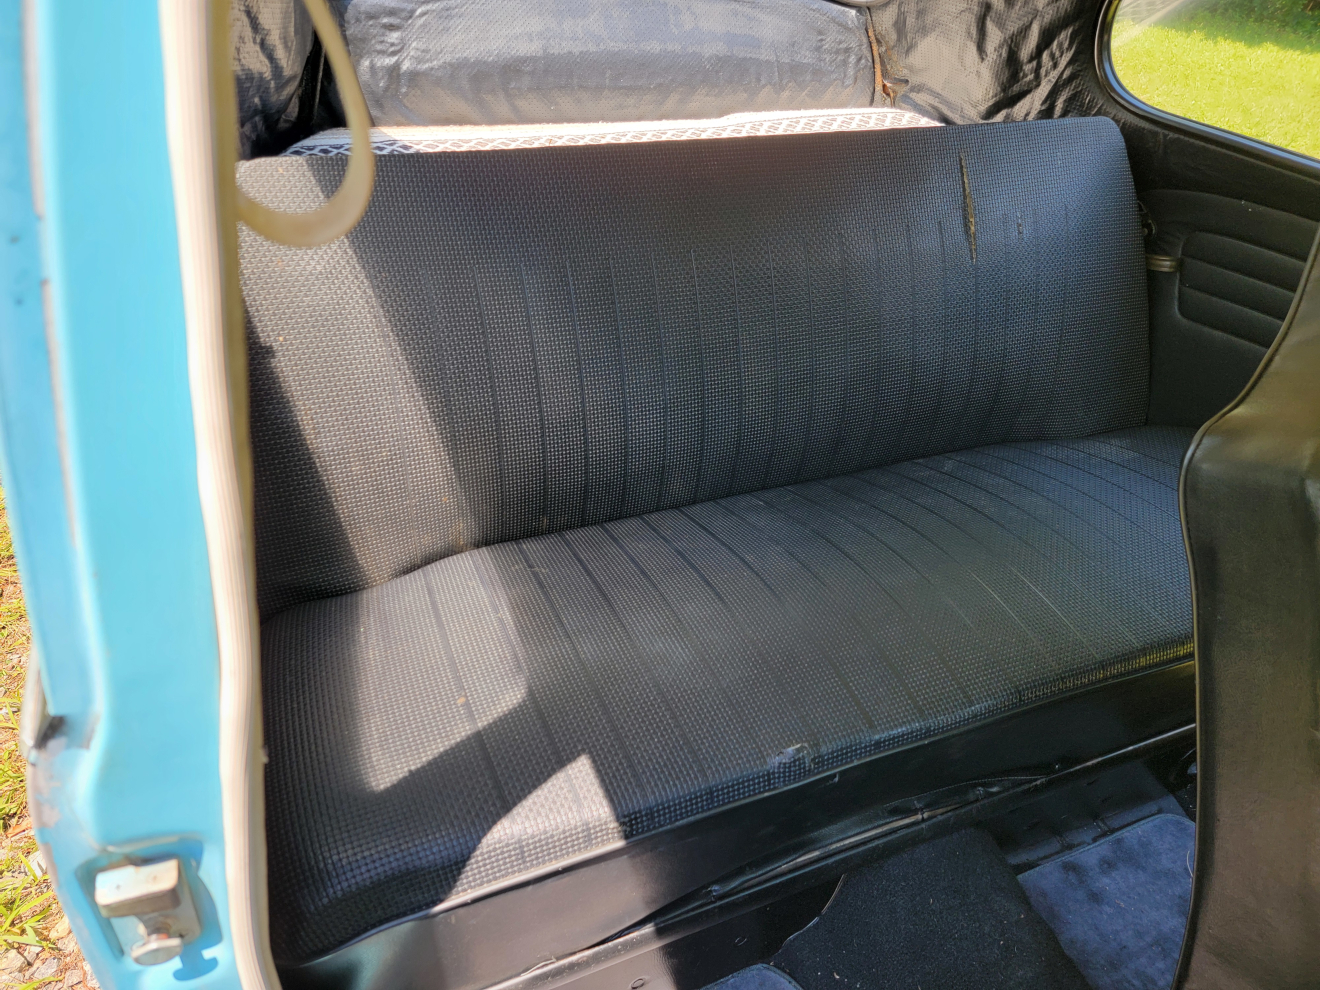
After refurbishing the seat frames a couple of years ago, I was amazed at the price of these replacement chintzy vinyl seat covers. So, I slapped the old covers back on, hosed them down with some vinyl lube, and called it a day.
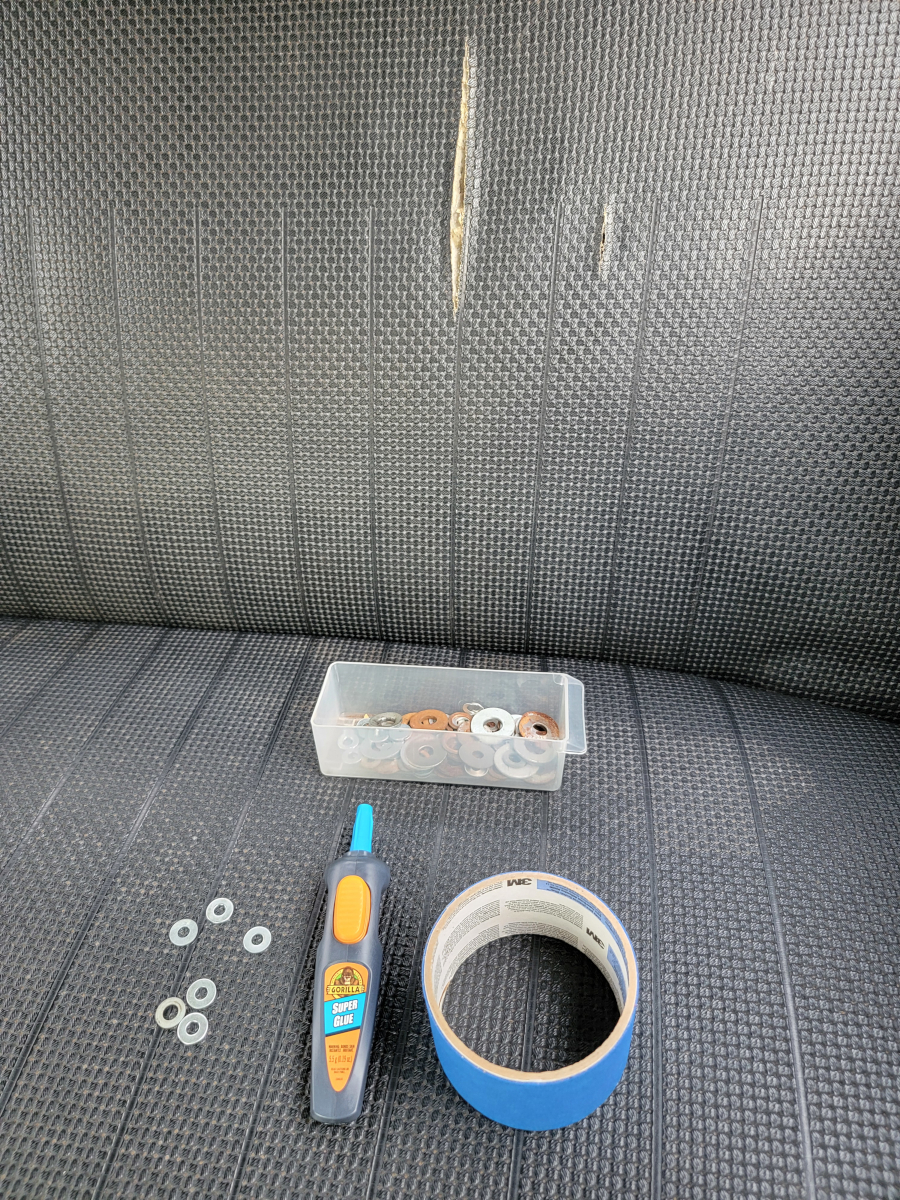
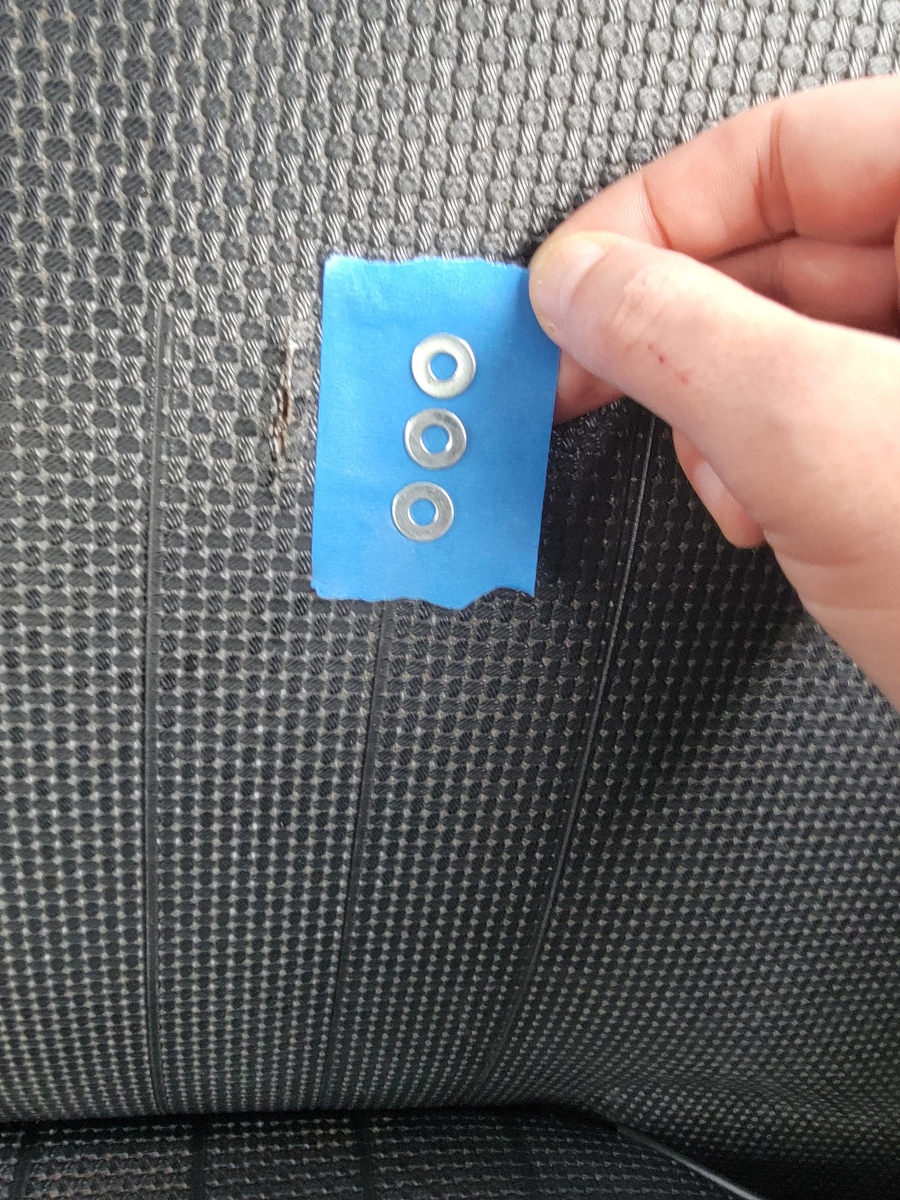
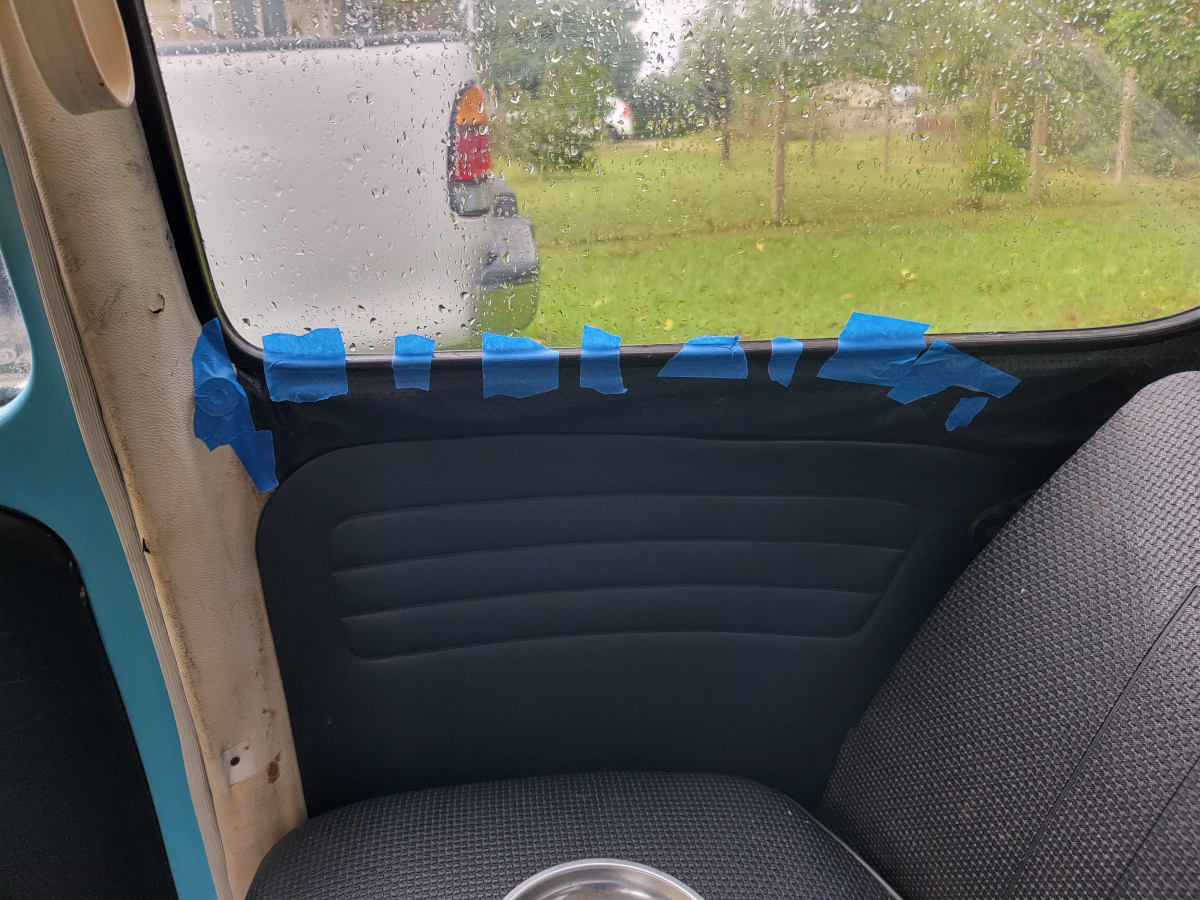
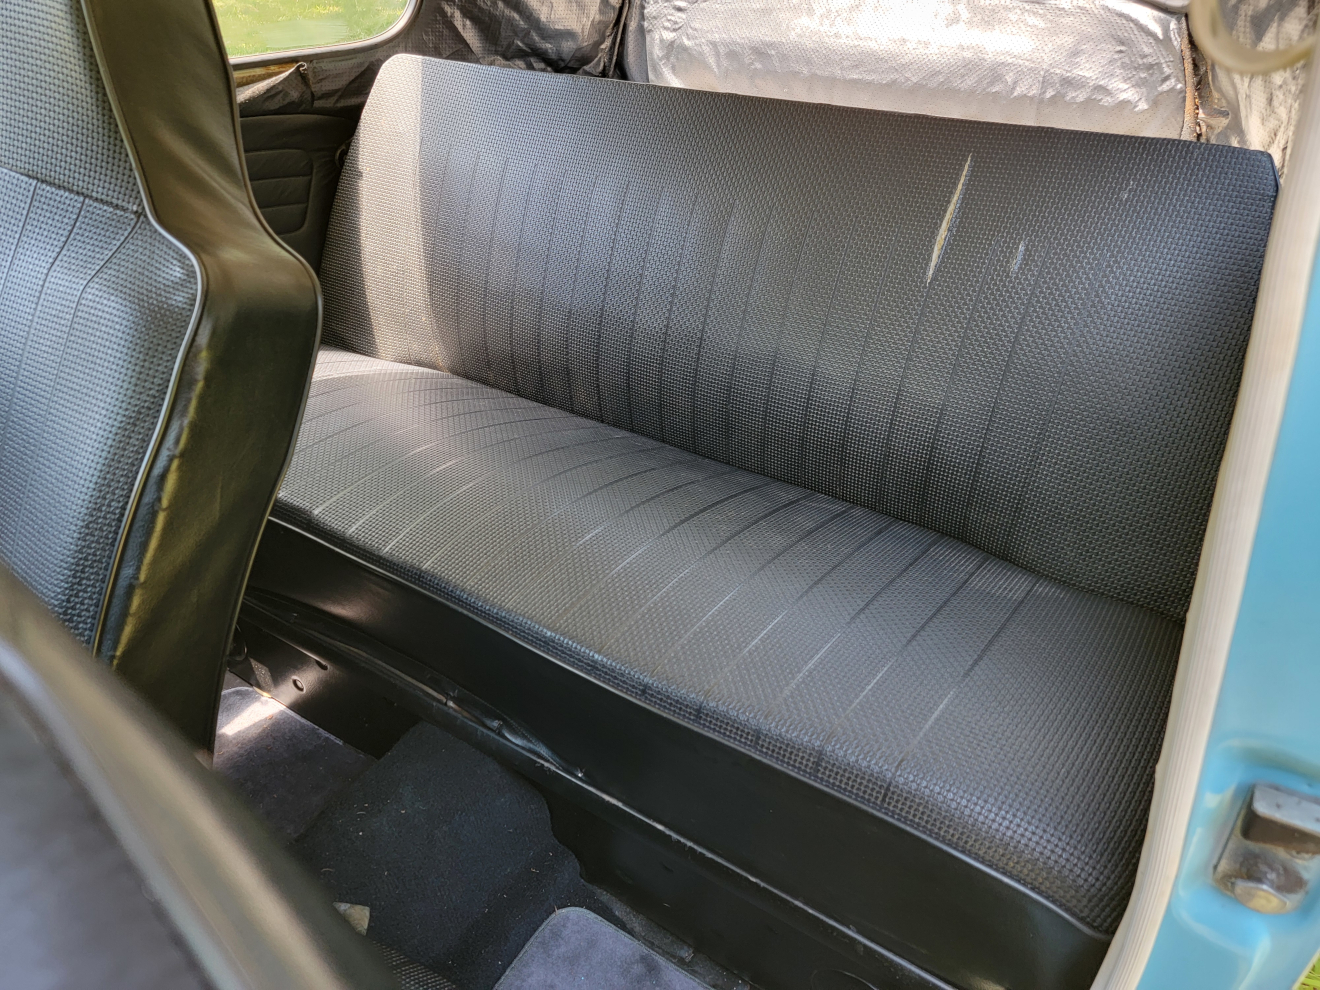
Here we are, with past problems announcing their presence louder than ever. The edges of the cracked and torn spots are now starting to curl up, looking worse than ever. Continuing down my path of using the wrong tool for the job, but having the best intentions, I whipped out a tube of super glue, some washers, and a roll of painter’s tape.
My experience with every other type of glue I have used – rubber cement, upholstery spray adhesive, E6000, Clear Gel Gorilla Glue, among others I’m forgetting – is nothing sticks for more than a season. So, now we try the absolute wrong thing. But hey, the thought was to get the top vinyl to stick to the mesh/fabric backing, which is still intact.
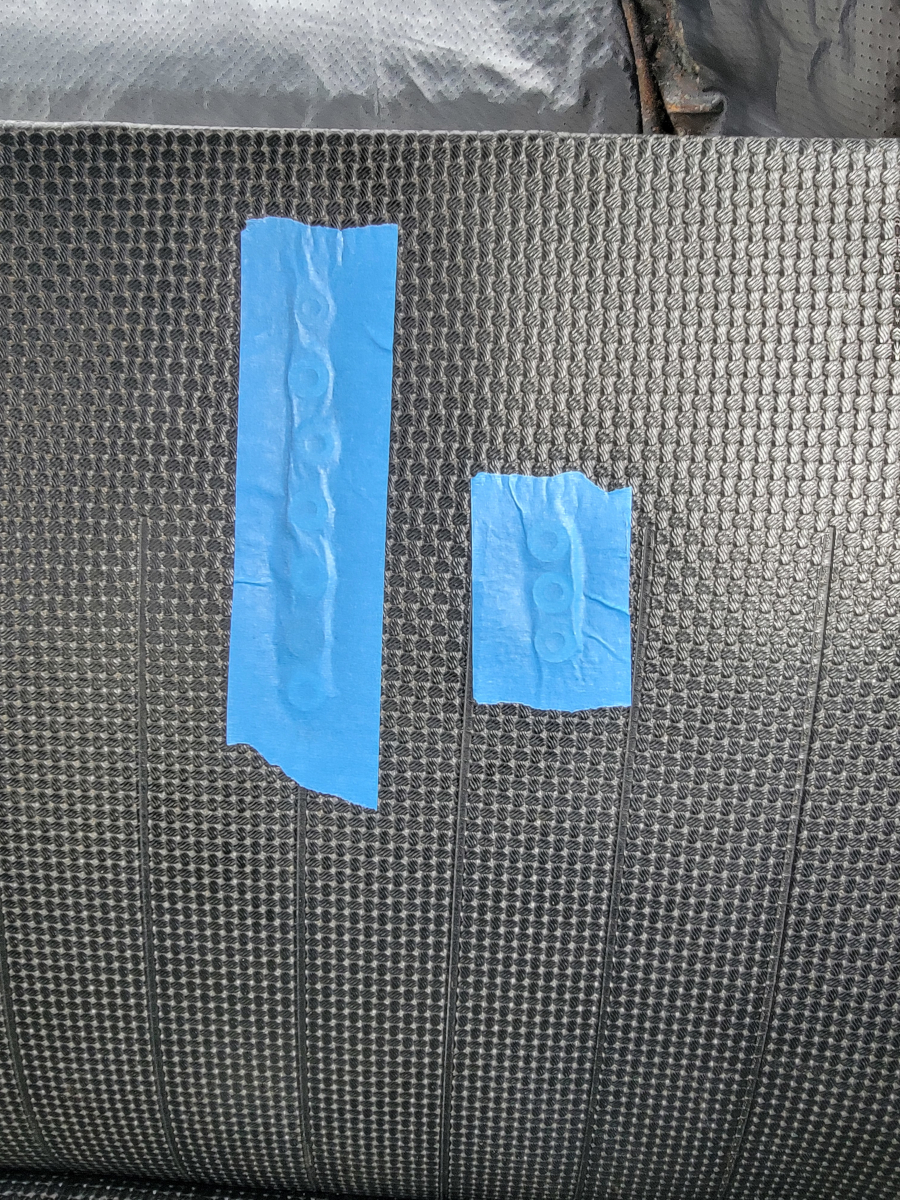
I figured those little washers could help entice the curling edges to lay flat and the painter’s tape would hold it all in place long enough for the glue to set.
And, of course, this doozy, which I added a backing vinyl patch, glued in with one or more of the aforementioned non-sticking glue.
I glue it real super-good and tried again.
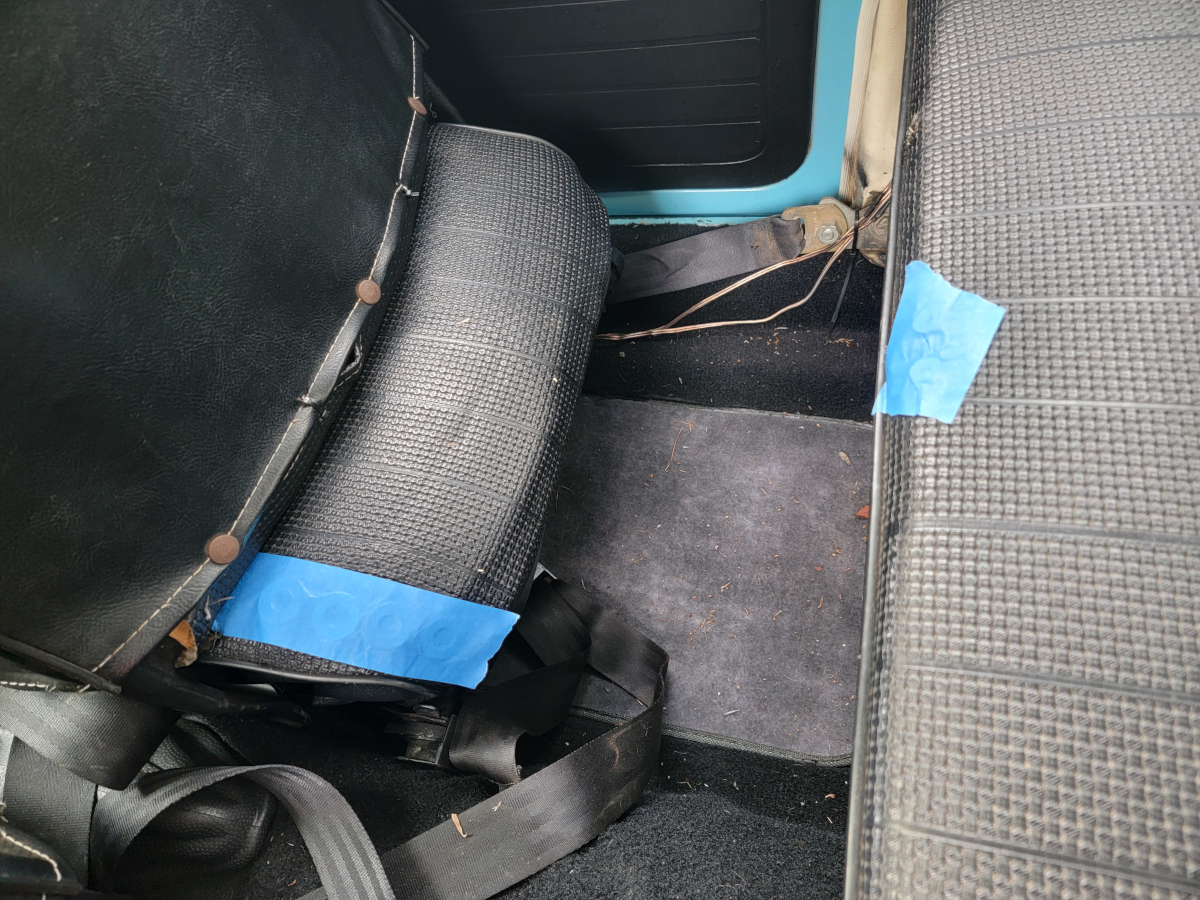
Back when I put the covers back on the front passenger seat, I apparently missed one of the bend-over-stabby-keep-it-in-place tabs… First time I rocked the seat back forward, it tore a big hole in the seat cover and new padding below. So here we are, couple years later, cleaning up an old mess…
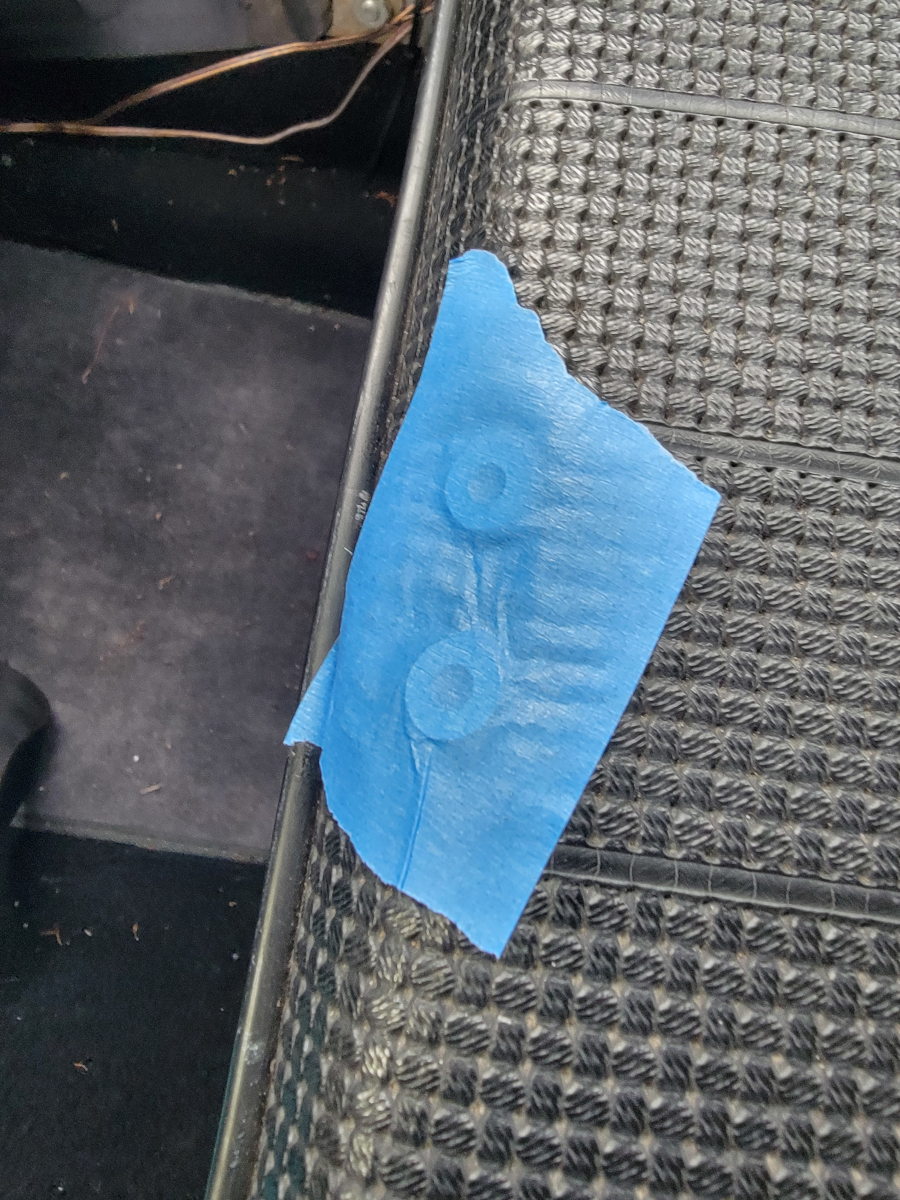
You know what? While we’re here, let’s see if we can’t make that vinyl wrap stick once and for all below the rear passenger window…
So, I never listed the beetlebug for sale. I still have mixed feelings about it.
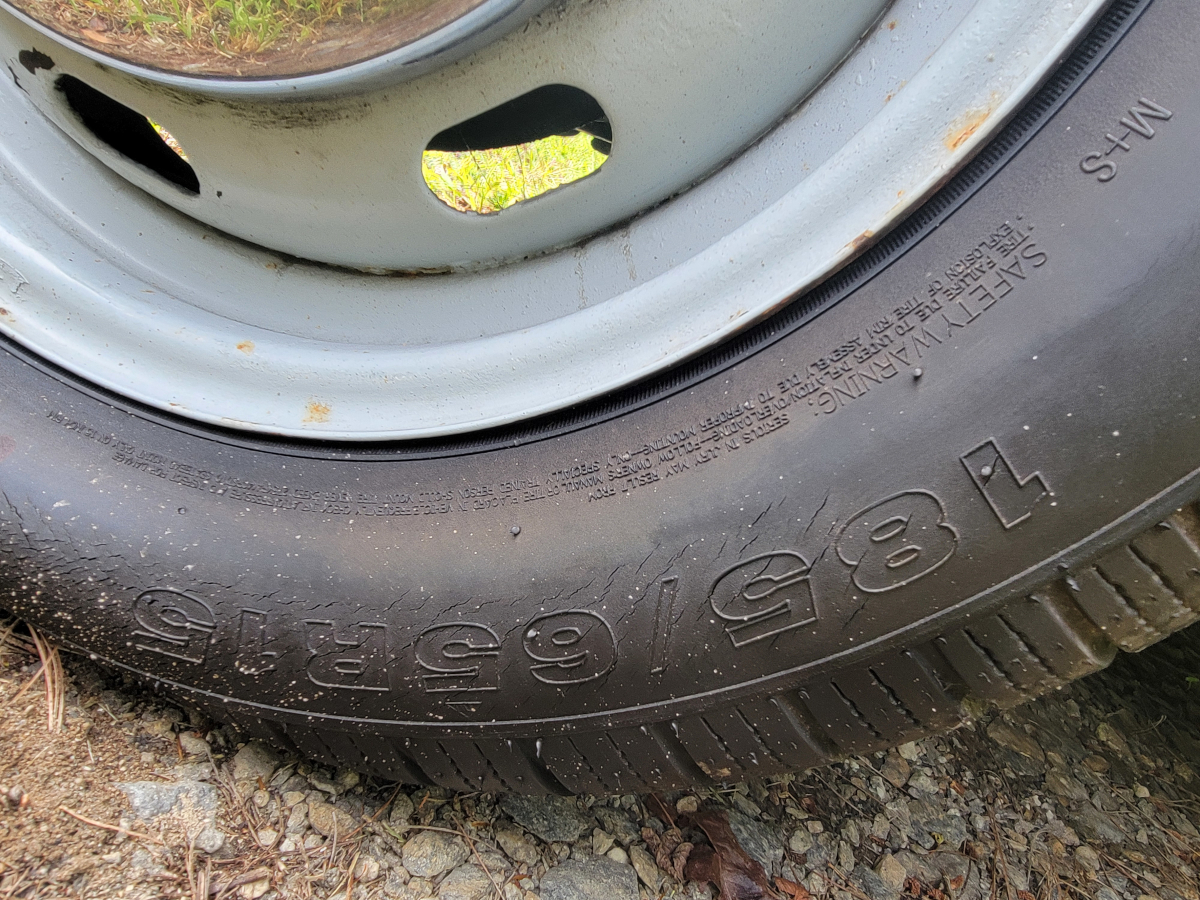
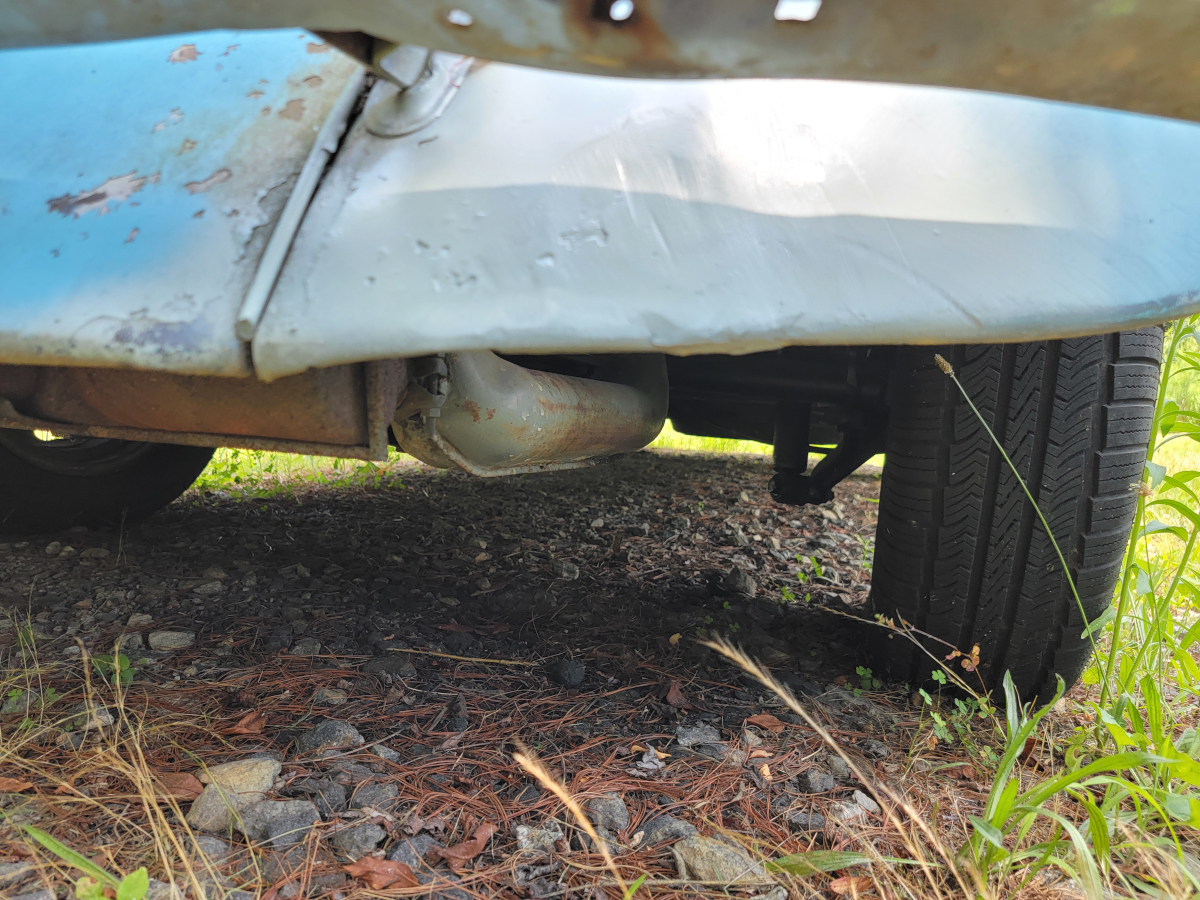
But, here we are… The car came with two sets of “new” tires when I bought it. The ones on the Empi wheels, I’m pretty sure had about 100 miles on them, but were eight or ten years old and had dry rot cracks on the tread face. The tires on the steel wheels were the “good” ones that I have been driving on for three years.
Or NOT driving is more the issue…
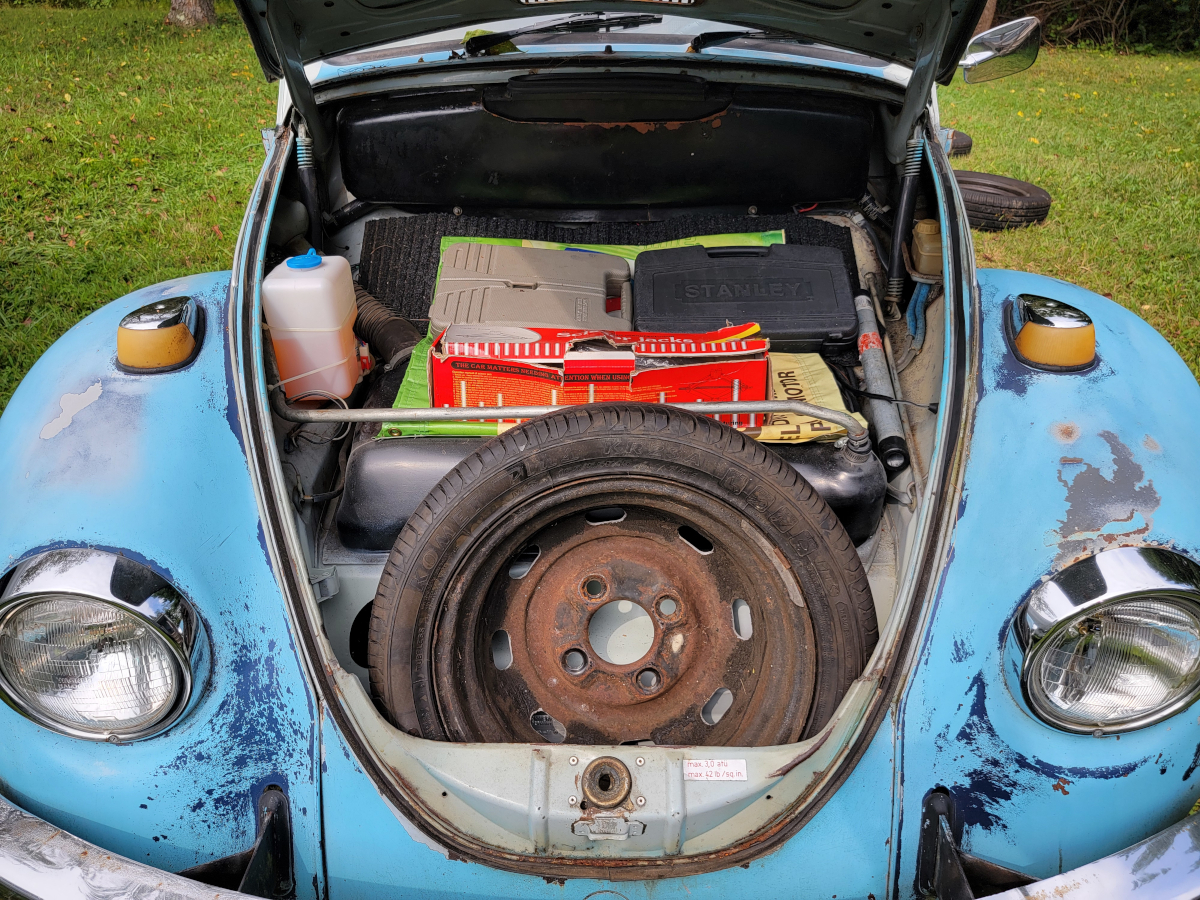
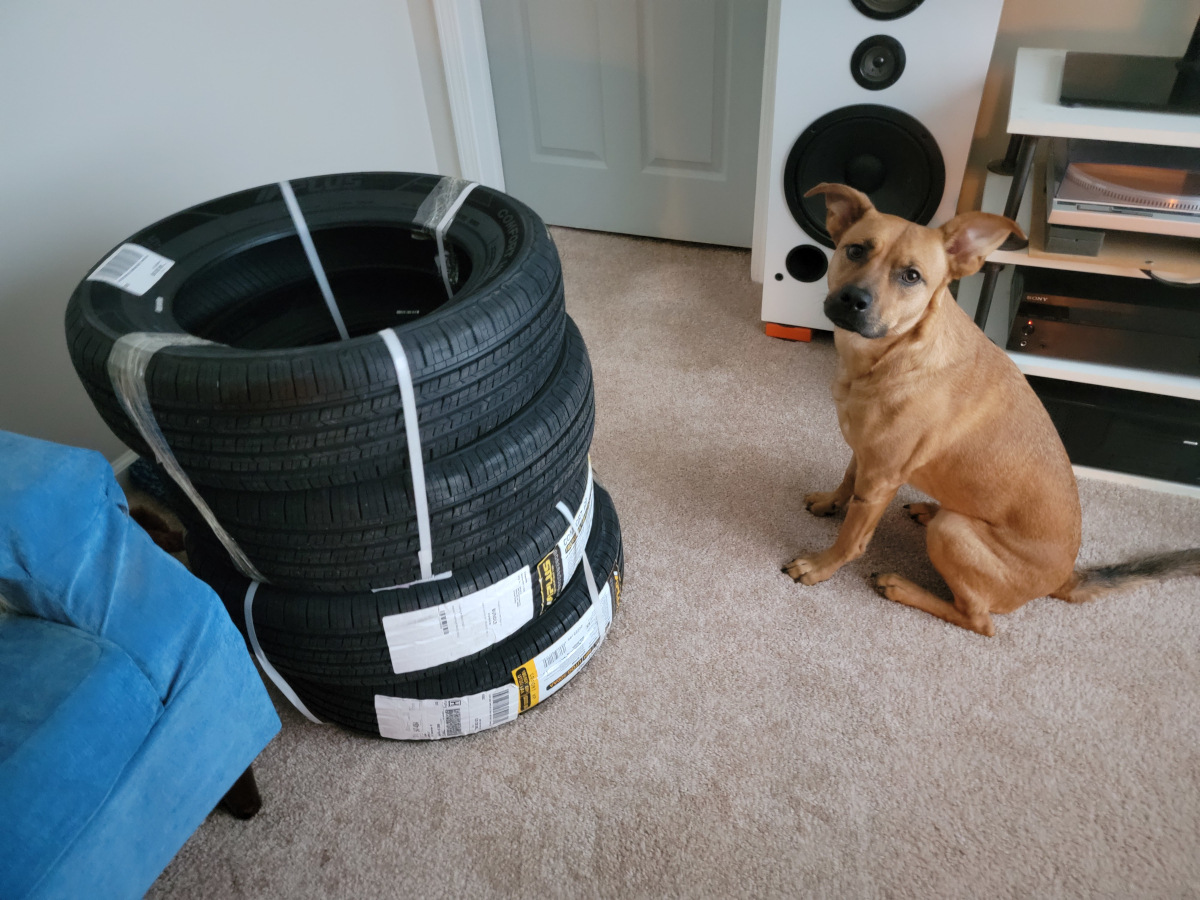
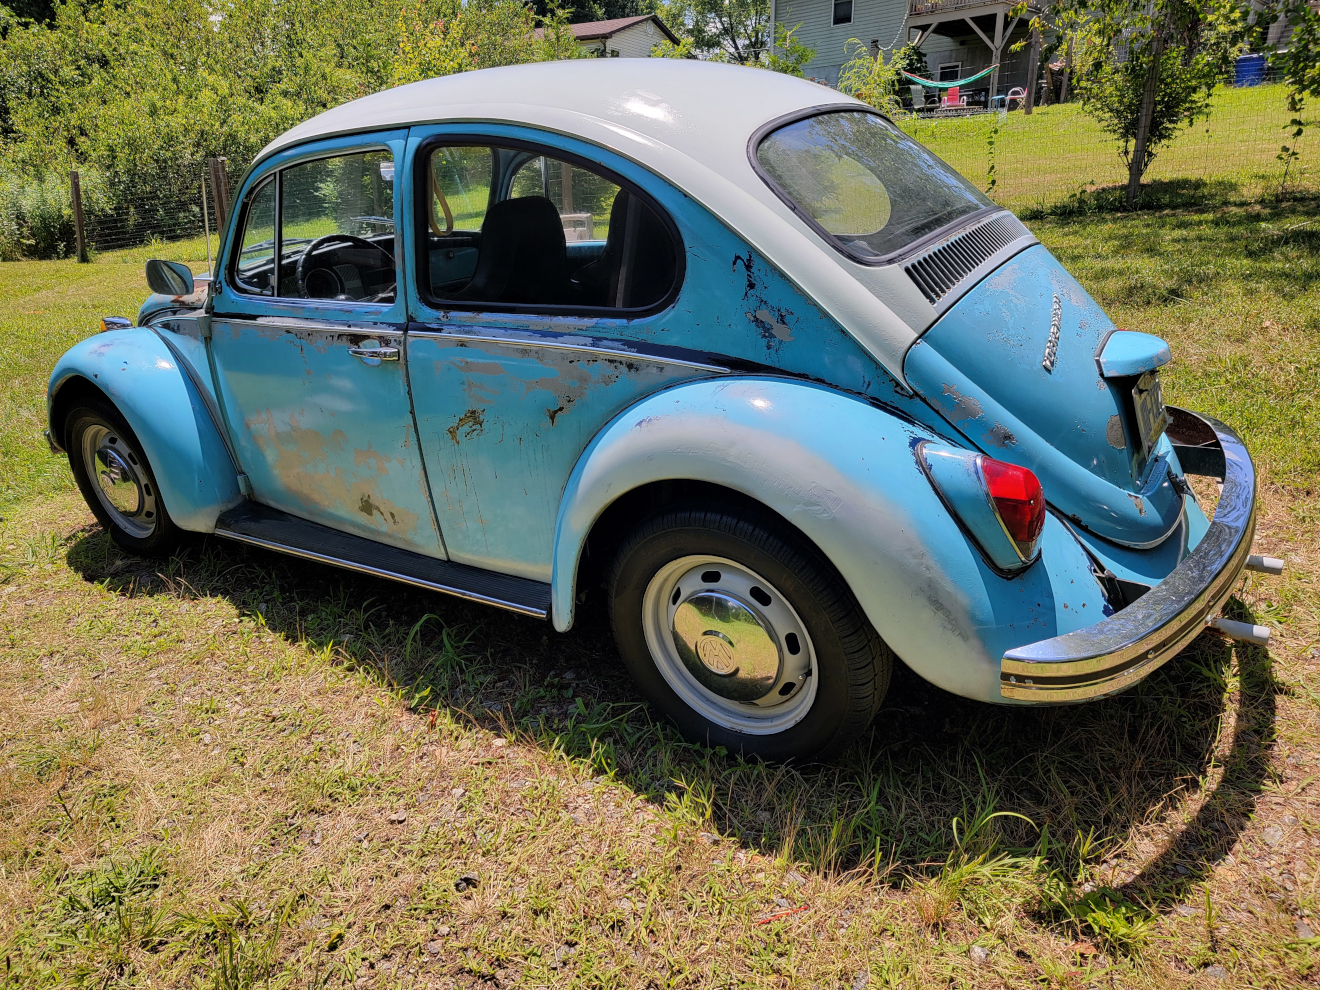
This was the pic I snapped on my phone to get the tire size to order new rubber. Which were quickly delivered.
That’s Sunny Orla/Nancy/Drue enjoying the dankness. She’s a good girl.
I’m going to have the new rubber put on the Empi wheels and roll with those skates on for a while. I had purchased a tire to use as a spare, which is now on an Empi wheel in the frunk. That will need to be swapped over onto one of the steelies, too.
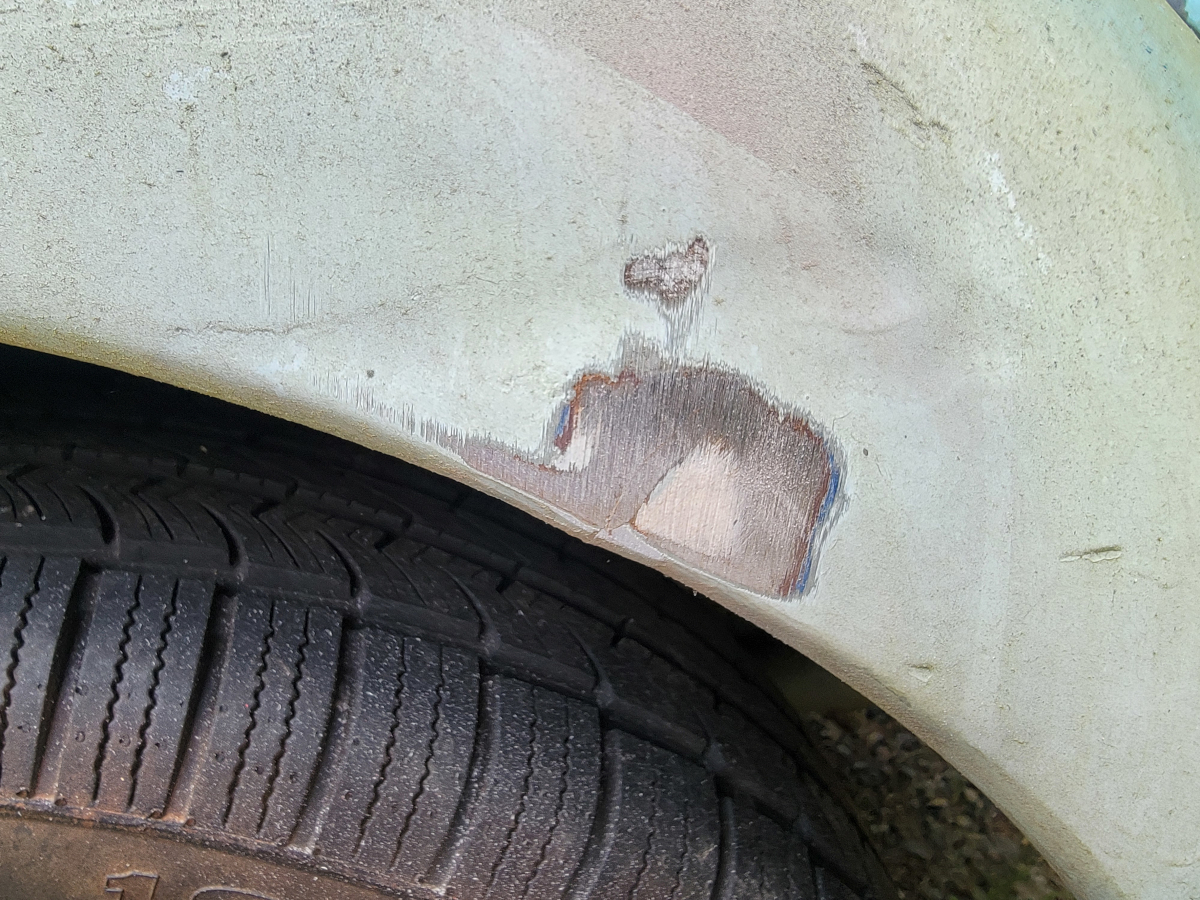
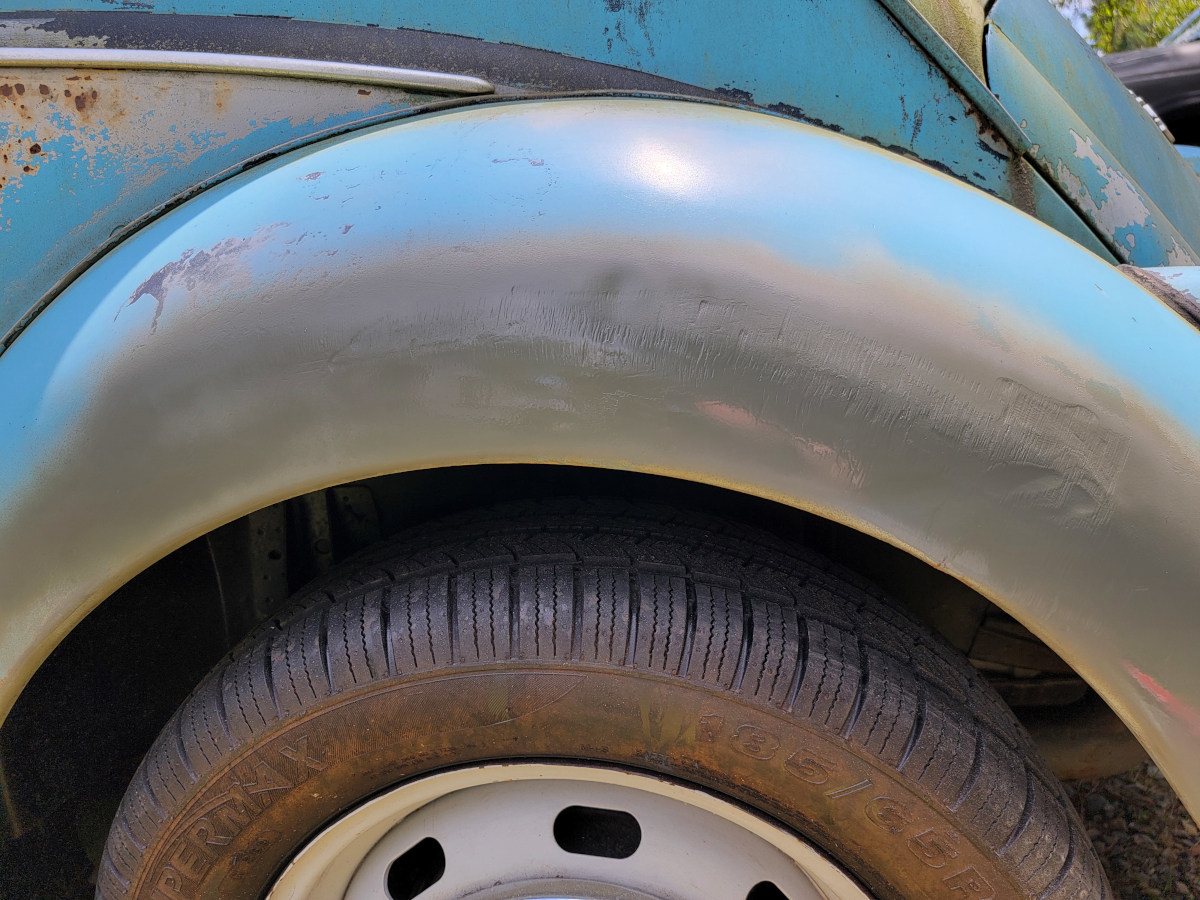
I used too much SteelStik and left a blobby mess, thinking I could just file it down smooth. After an hour with a file, I gave up on it and just sprayed the spots with Krylon Fusion Matte Vintage Blue (of course).
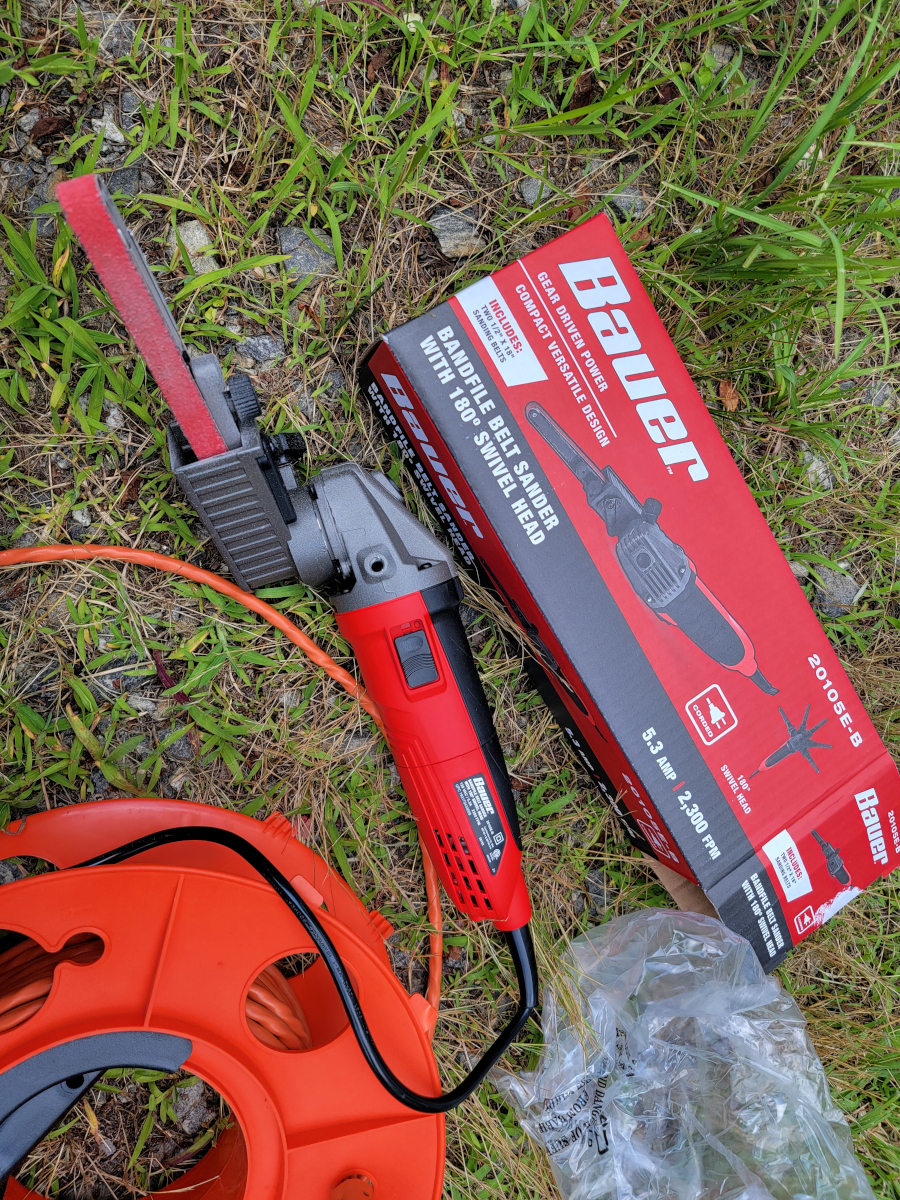
I recently picked up handy Bandfile Belt Sander from Harbor Freight (link):
Not so much of a big deal on the side of the fender, but my regular palm sander wouldn’t have fit up in between the rear bumper and rear skirt where the other big ouchy is located. I used a little too aggressive of a belt , but it took the blob right off.
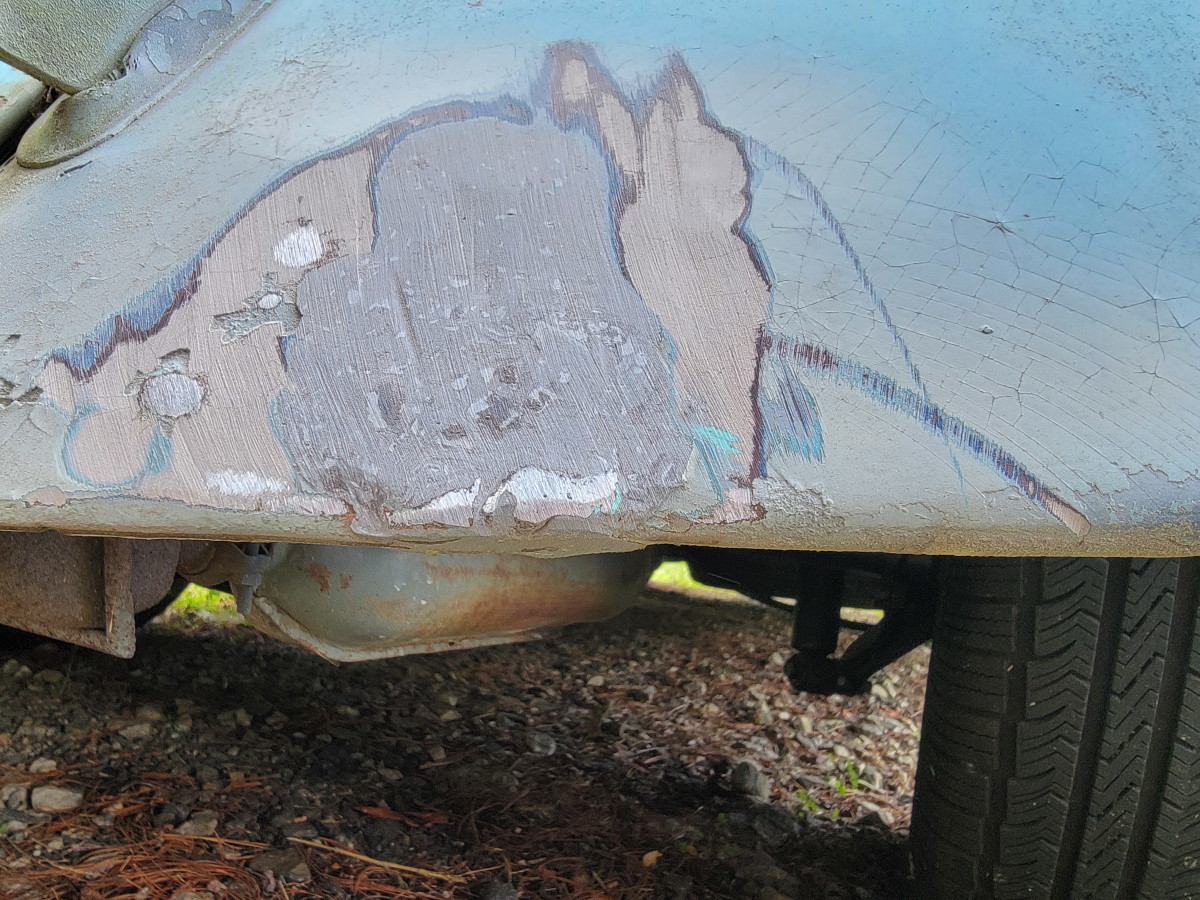
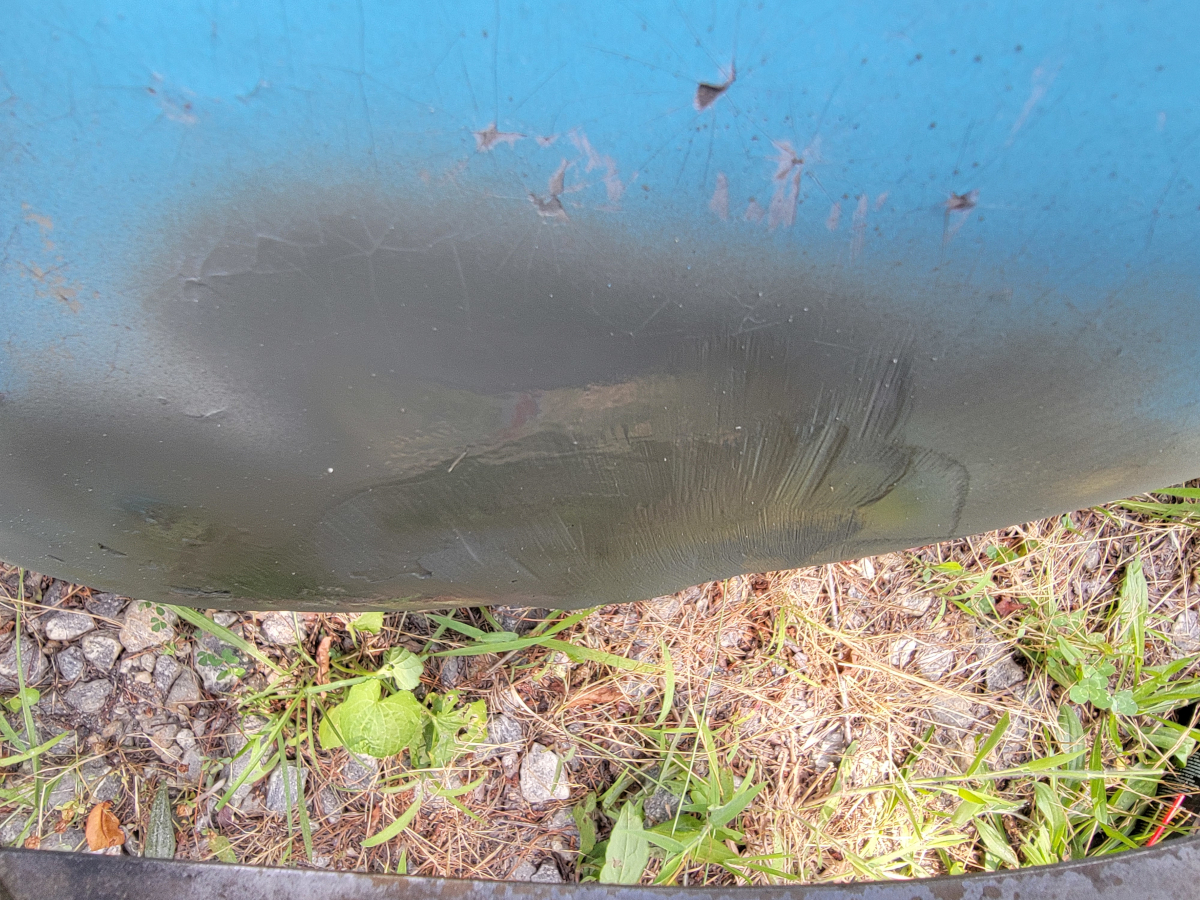
The story was the same around the back.
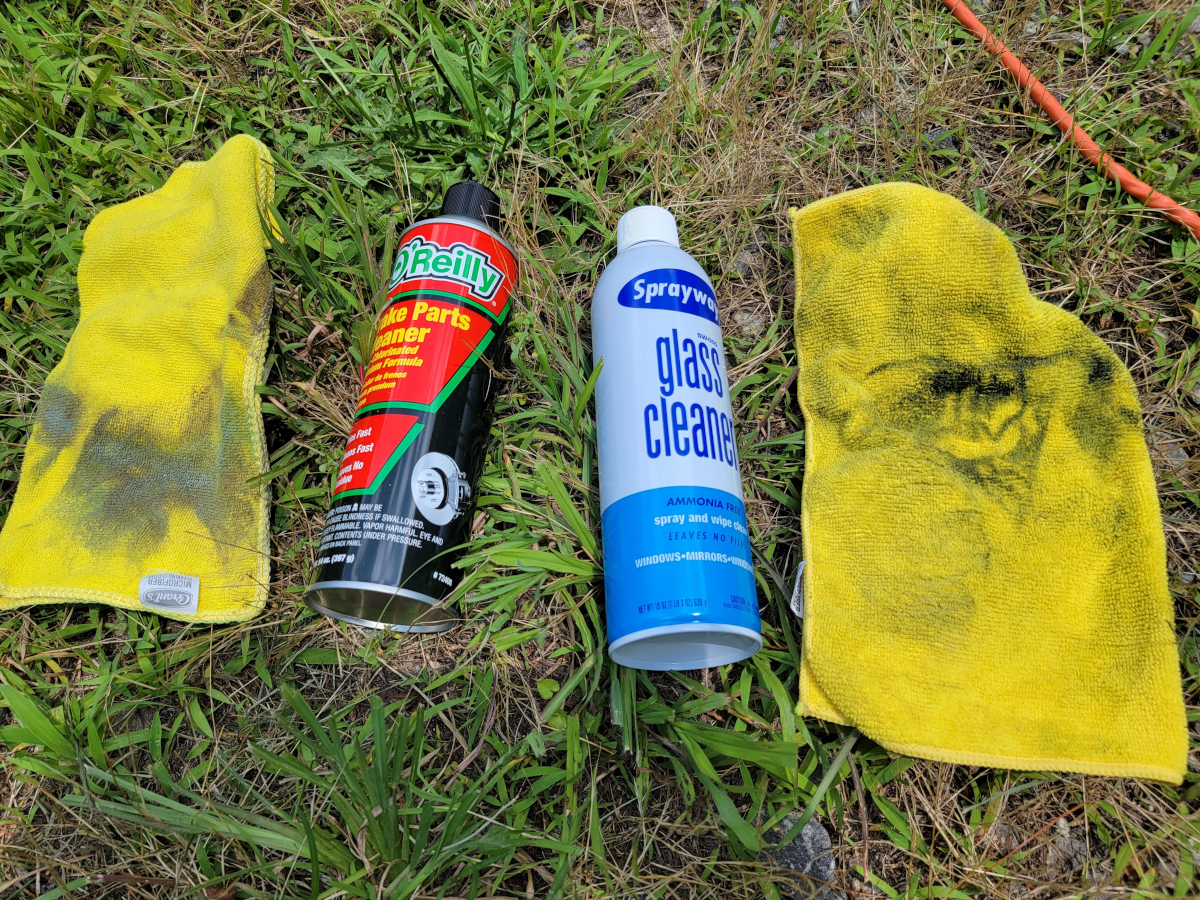
I cleaned off the affected areas with brake parts cleaner, then Sprayway glass cleaner.
Then I added a couple coats of primer.
And again on the rear…
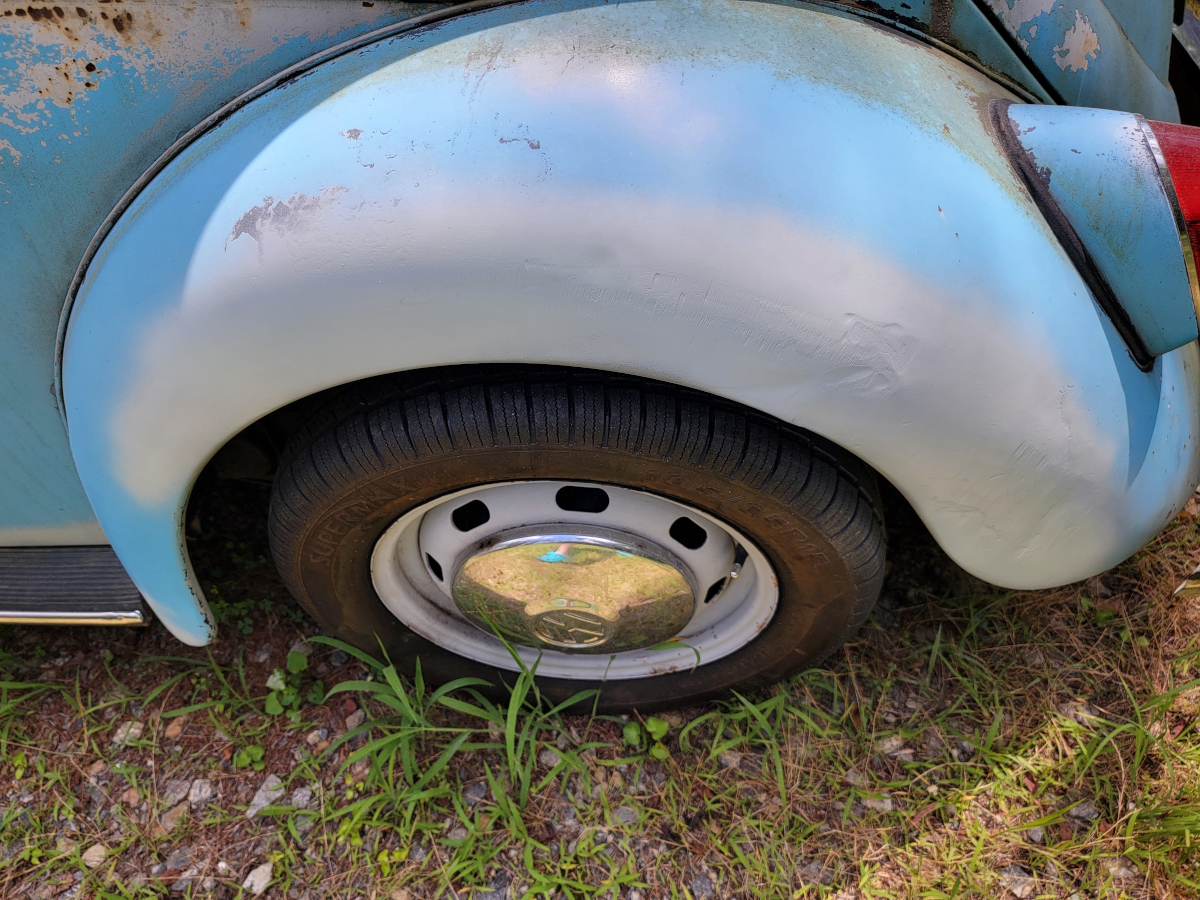
Then I wiped it all down again and sprayed it blue.
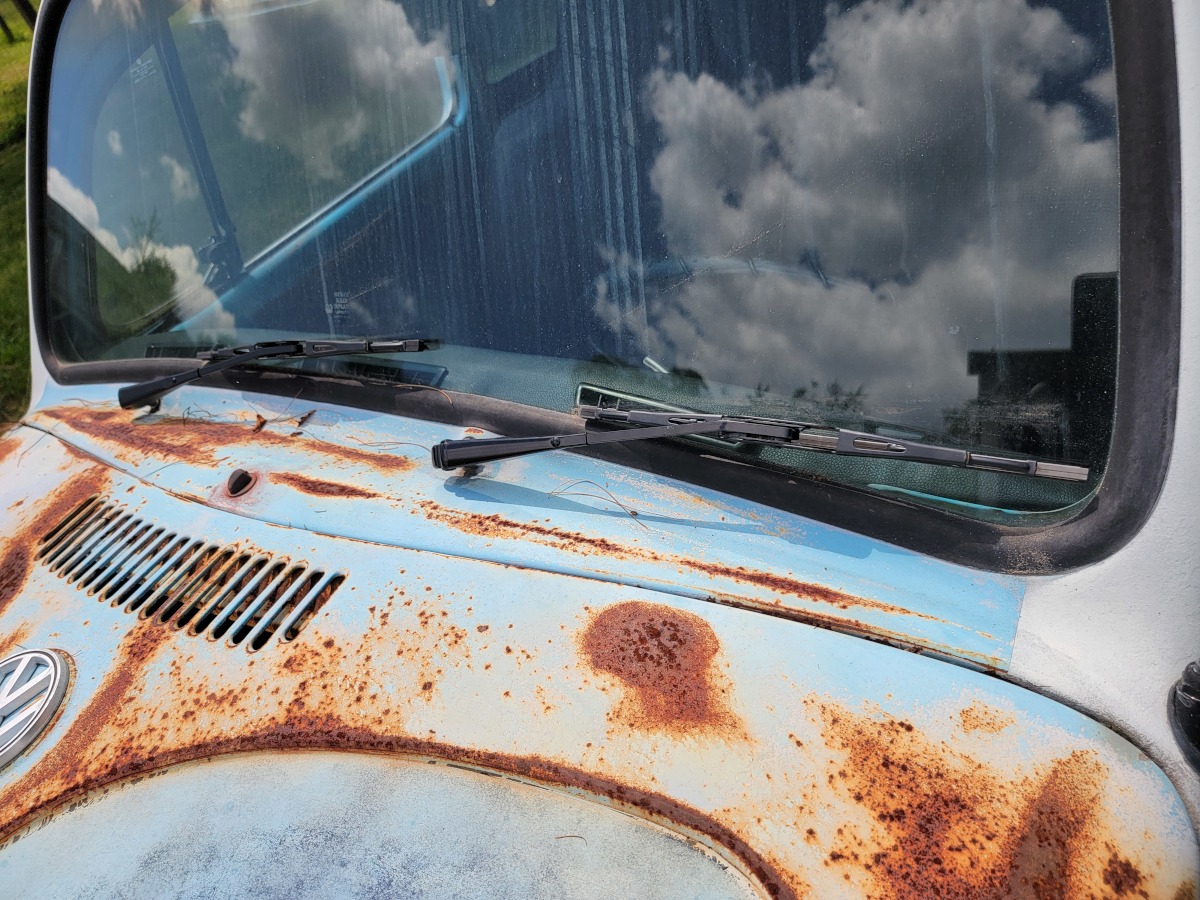
It’s rough as guts, but at least it’s smoothable-outable now. Those fenders are covered in a thick layer of filler, though the steel as visible from the underside is totally smooth and unharmed. I’m guessing they may just have rust pitting like the roof did and bonnet does.
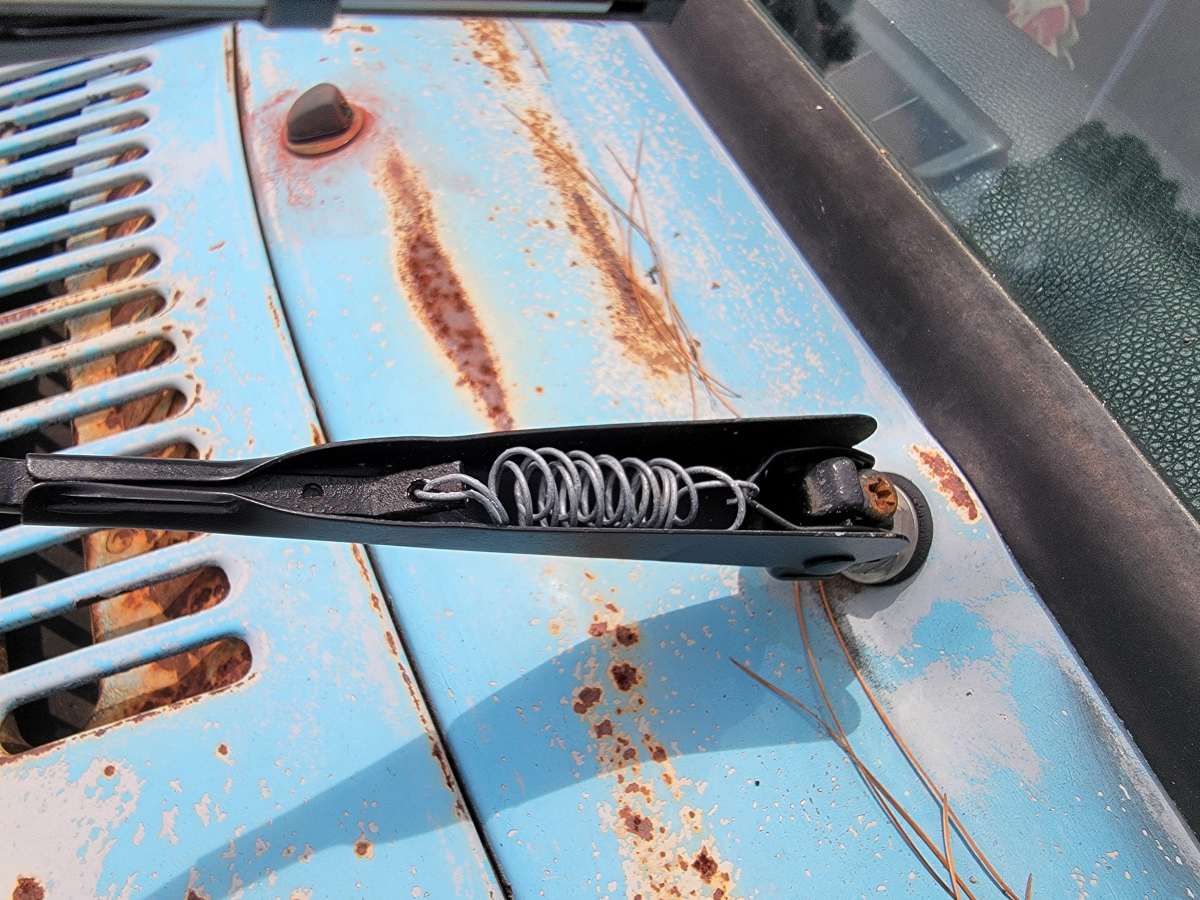
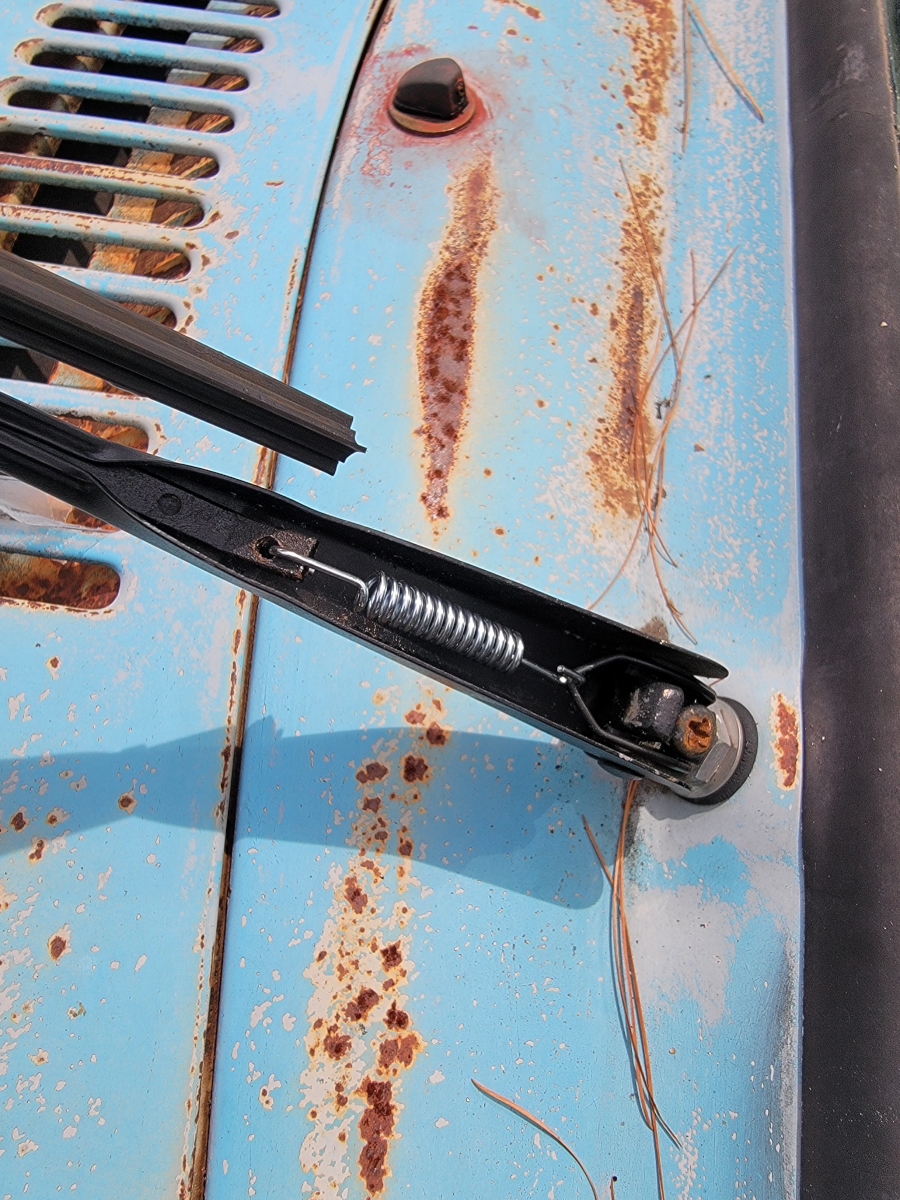
While I’m out here, I may as well fit those new wipers I bought.
This after giving up on finding springs small enough, yet strong enough at any local hardware or auto parts stores, as seen in the series of posts below:
As clearly seen by the lack of update posts here, I haven’t been investing much time on the old girl. Nor have I spent much time enjoying her. After my dad passed away at the end of 2023, I have been spending increasingly more time out of town, staying at my mom’s. But when I’m home, I just don’t have the drive (pun) that I had previously.
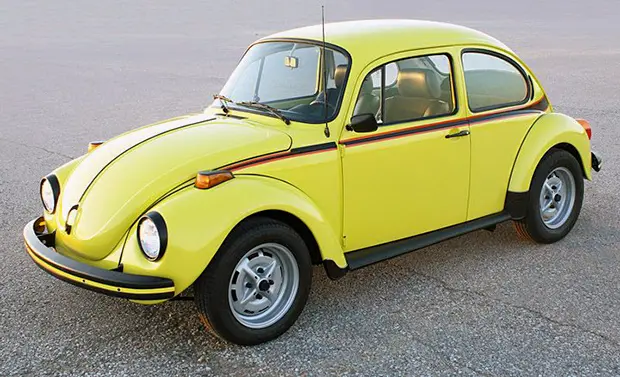
A couple times a month, I would talk to my dad about projects and reminiscing about his old 73 Sports Bug, as seen here at SEBeetles (link):
She’s a beaut, Clark.
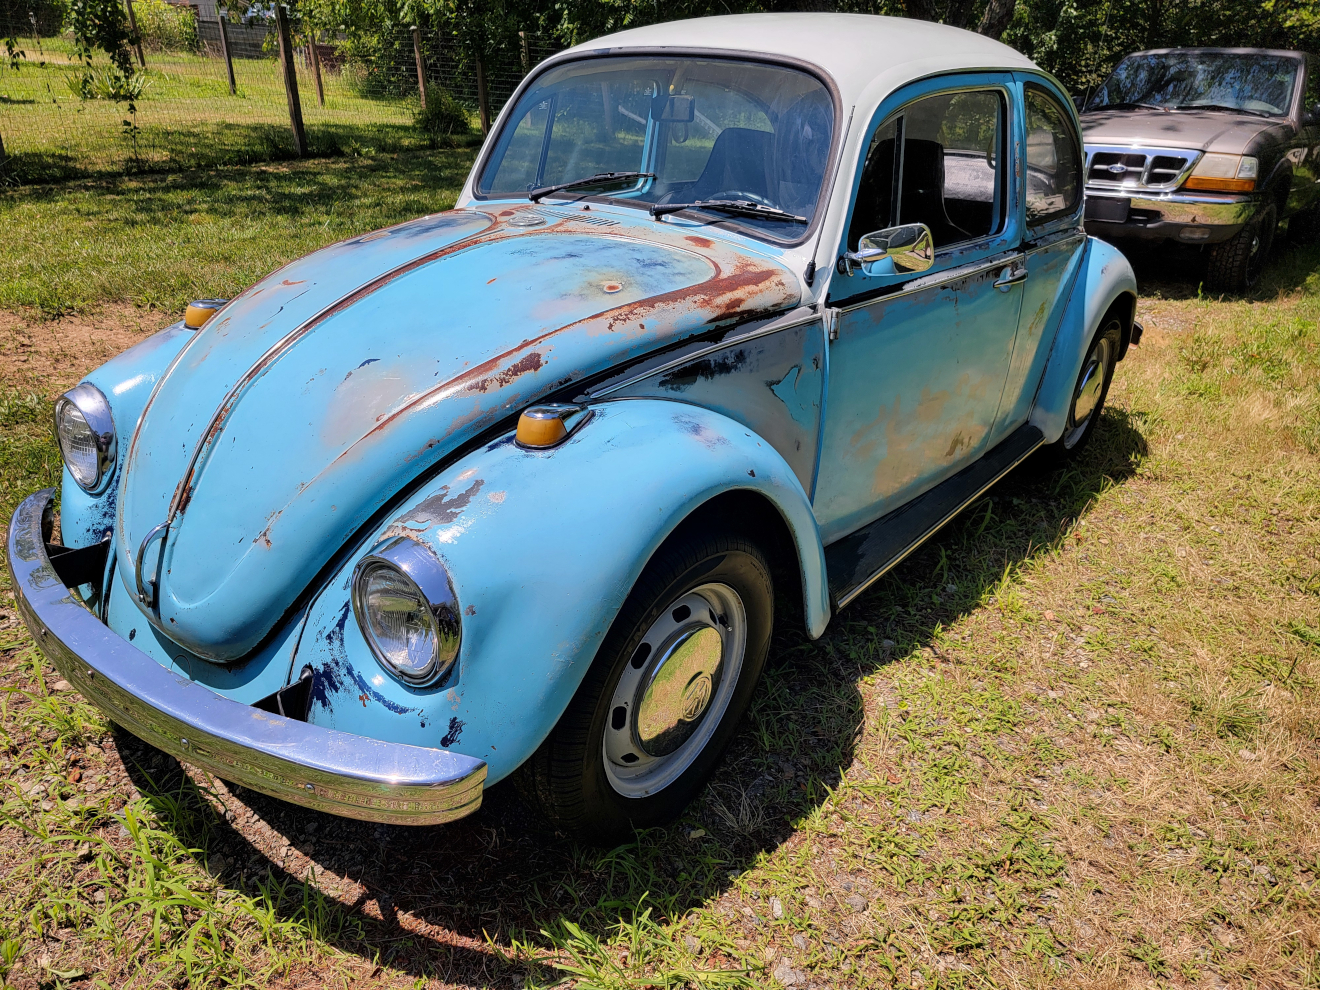
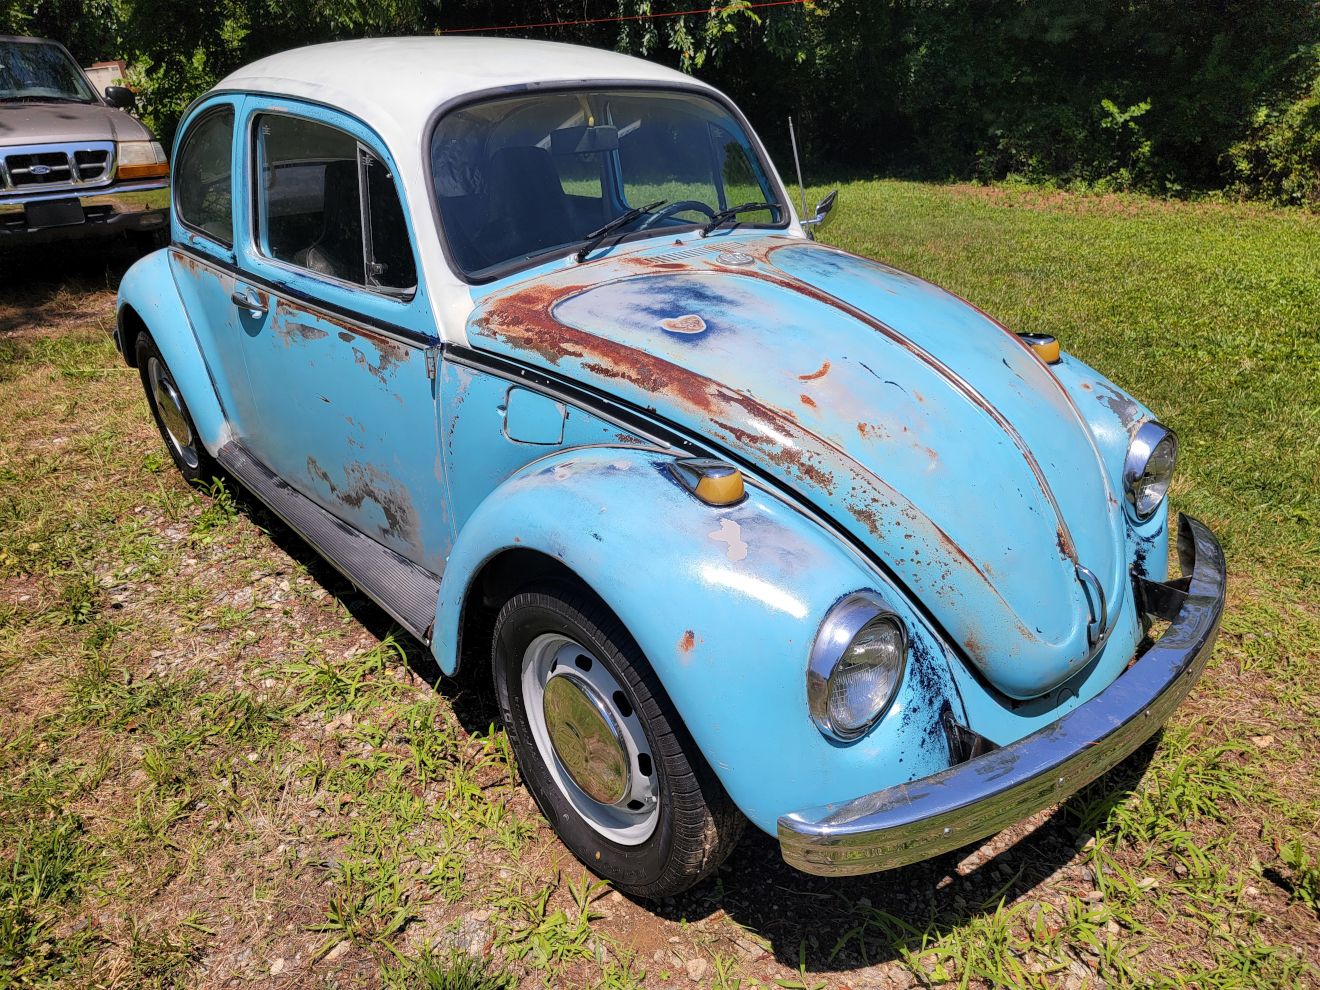
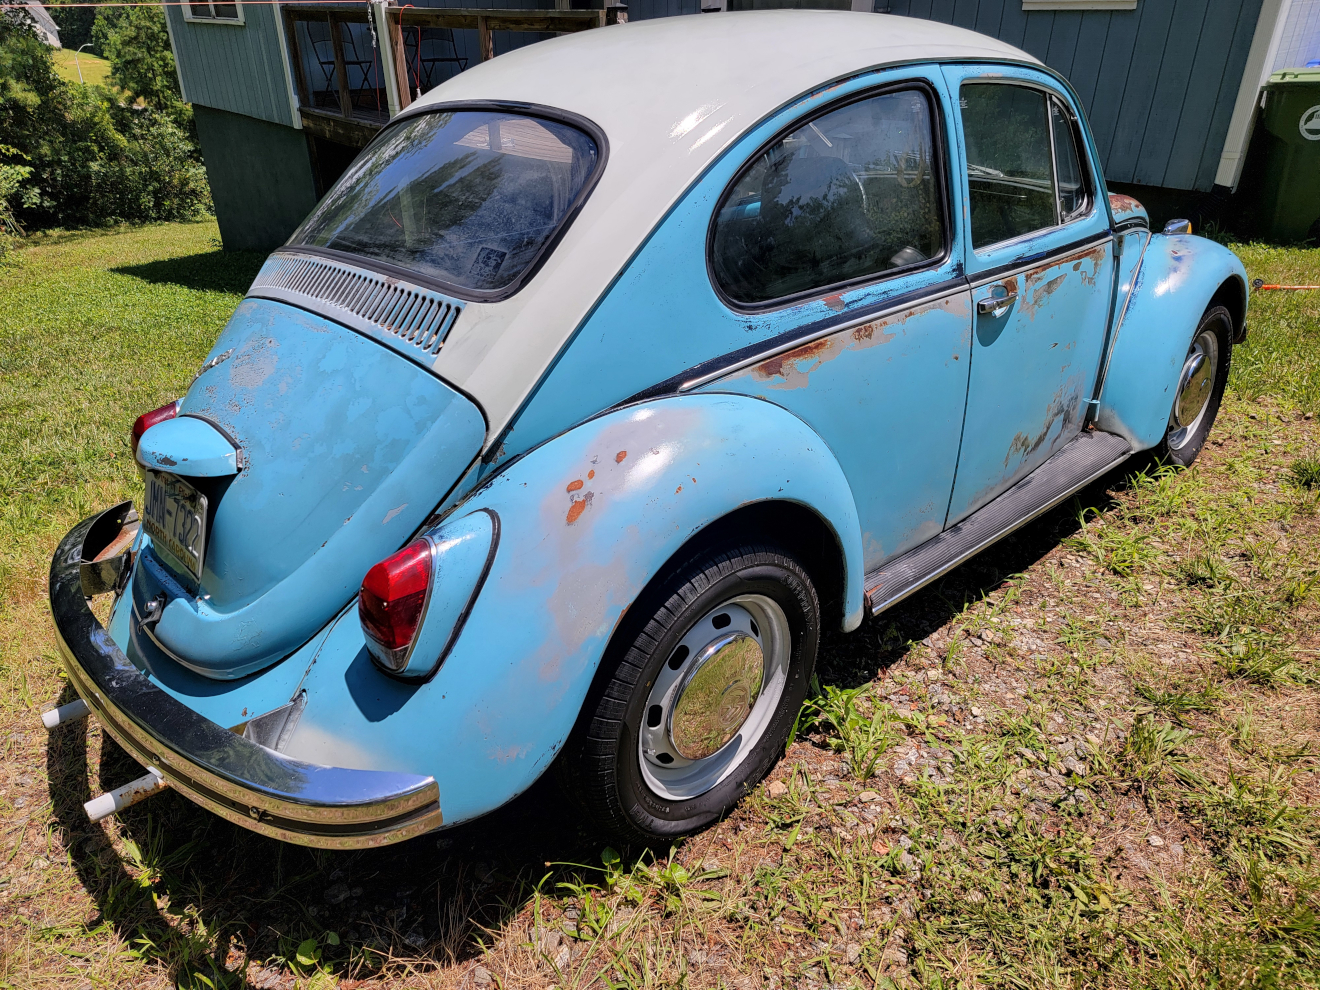
Anyway, here we are. I gave her a wash and polish this afternoon and took the obligatory pics for the online ad.
My dad’s Tundra was still sitting in Thomasville, so to make that process work out, I would need to sell the Ranger in Thomasville, to be able to drive the Tundra back home.
Coming home from the grocery store one night, I pulled into my parking space on the hillside and heard a big clunk in the rear end. I put the truck back in gear and moved it forward and back, to make sure I hadn’t locked up the rear end or something. Everything worked fine, no noise, cool.
Mental note: Check that out in the daylight and see what’s up.
Leaving the house once a week has its down-sides. Such as forgetting mental notes.
Next time I drove the truck, I heard another little clunk back there as I got out out on the road. I finished my round trip and as I pulled back into the parking space on the hillside, another big clunk. It was daylight this time, so I didn’t need to warn future me again about the inherent danger.
Climbing under the truck, my worst fears were realized. Both rear leaf spring mounts were rusted through and broken. The entire box in the spare tire area is terribly rusted, but I thought the actual frame rails were fine. Just scaly.
Newp.
Cool, cool, cool. OK. So, yeah… What am I going to do with this beautiful, valuable machine now that I don’t need it and it needs major work to be able to get any money out of it?
I’m already in it wayyyy over its actual value, having bought it at pandemic pricing from a dealership. The way over book value sales price I was asking before was going to net me a few thousand dollars loss. Now, I’m probably down over ten grand if I were to sell it in its current state.
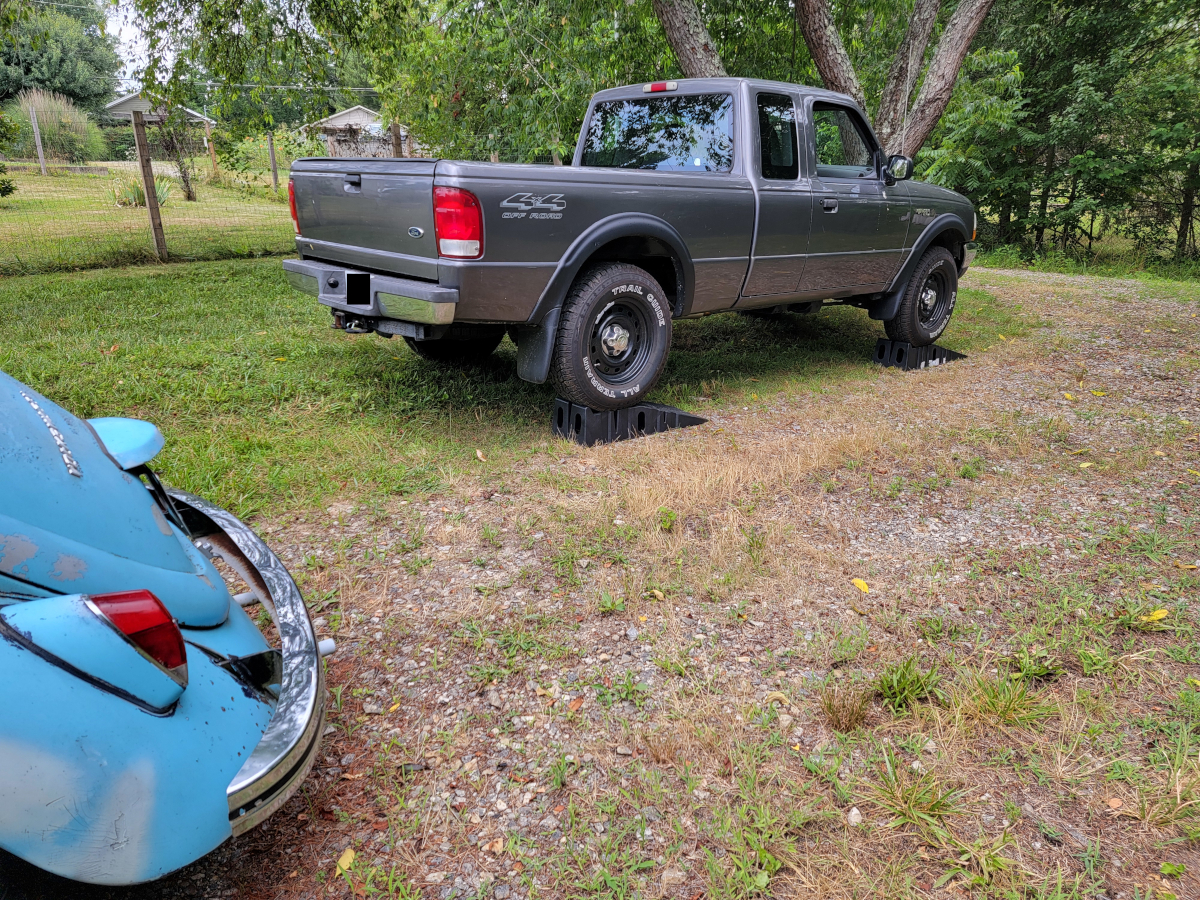
I ended up having a friend drive me to Thomasville to pick up the Tundra. For the time being, the Ranger is yard art.
My dad passed away last year and I inherited his truck, since it was otherwise going to sit unused.
I hesitantly got my Ranger cleaned up and ready to sell. I had shopped around for a long time looking for that specific model – 2000 with 5 speed, 4×4, and a 4.0 liter engine. Very low miles for the age and basically everything was original. I had intended to keep it around as my daily driver and as another project vehicle – as if Tallulah Beetlebug doesn’t have my TO DO list and bank account sweating hard enough…
I posted pics in Ranger For Sale Or Rent, so that I would be able to easily access them when posting on Craigs List and Marketplace.
When I listed it for sale, I was asking a lot for it, way over the KBB book value, because honestly, find another one like this for that published price. I had a ton of interest, people from up to three states away wanting to come look at it. One person actually did make it over and took it for a spin. When they got back, they thanked me and quickly left.
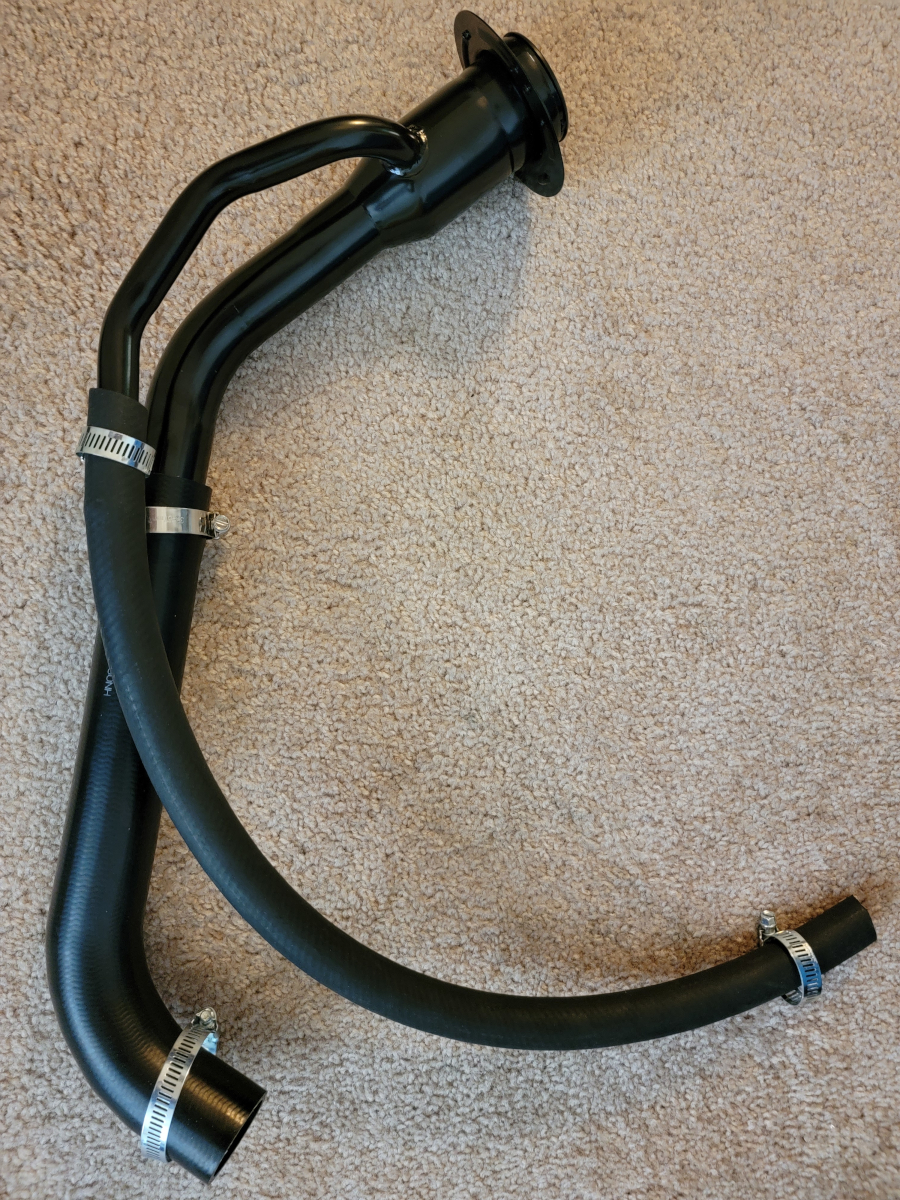
That evening, as I was fueling up for the trip home, I noticed fuel pouring out on the ground under the truck. When I got up under there to look, the metal fuel filler neck, which was VERY rusty, was broken, like someone was doing chin-ups with it. Fair enough, you found a fault. Thanks for mentioning that and not just running off.
So, I was able to trickle enough fuel into it to get the half tank necessary to get me home, back up the mountain. Took about 20 minutes to add 1/4 tank. That was definitely the most expensive 1/4 tank of gas I have purchased, since about 900% of it went on the ground.
I ordered a new filler neck online and purchased hoses at the local parts store.
The next weekend, I headed back to Thomasville and spent a few hours trying to drop the tank and replace the filler neck. The year before, I had a rusted brake hard line blow out and replaced it, but wasn’t able to drop the tank at that time to be able to properly tuck the new line up into the frame rail. It was wrapped in rubber hose the length of the truck, to make sure it didn’t rub against things and break the new line.
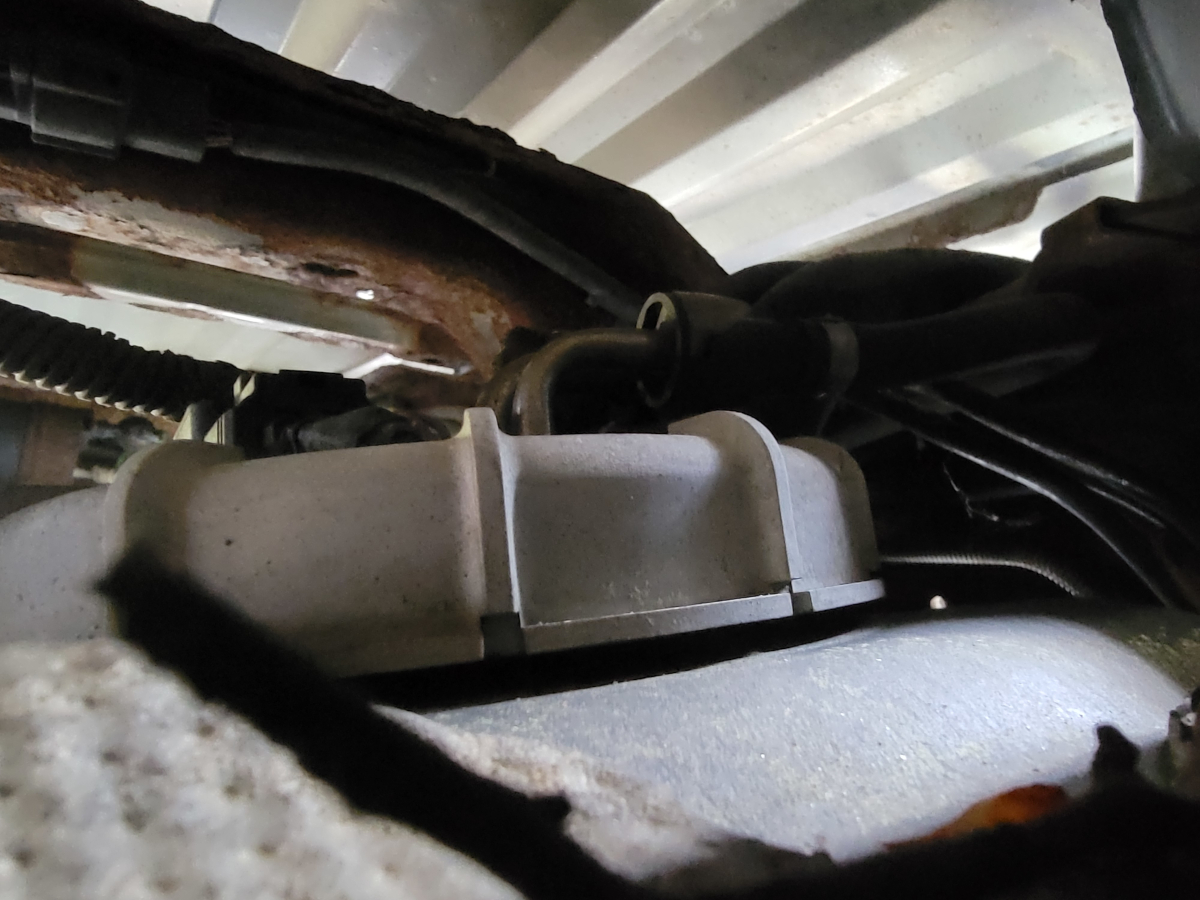
Anyway, I got the tank straps disconnected, but for whatever reason, was not able to get the tank to drop more than three or four inches. That gave me enough room to (very uncomfortably) replace the filler neck and hoses. I was still mostly working blind throughout the process, as that three or four inches was just enough to get my hands up in there, but not to be able to see anything.
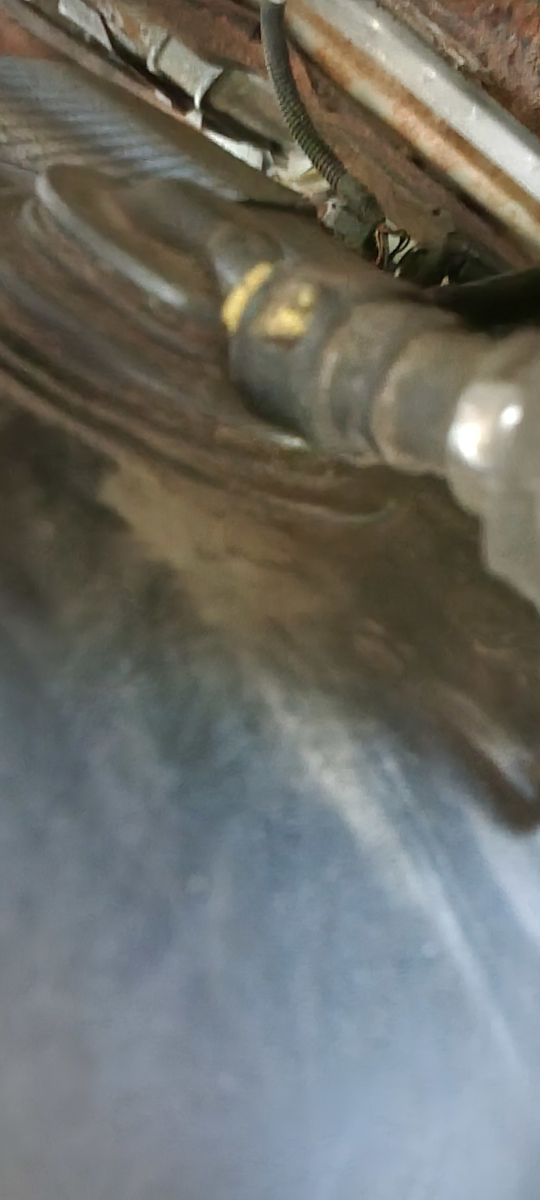
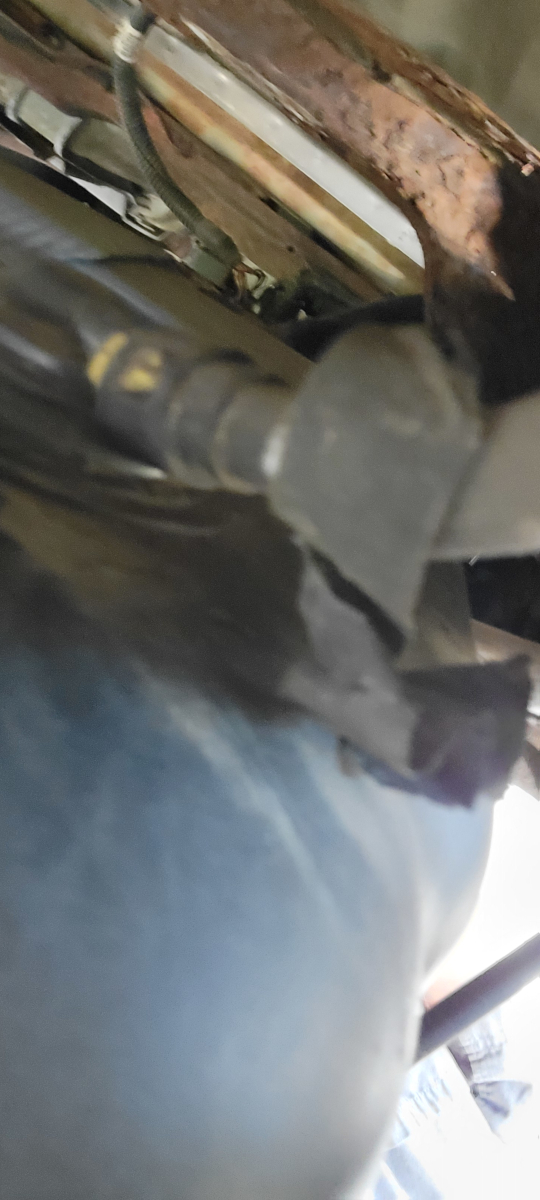
I was blindly snapping pictures with my phone and then trying to get the lay of the land.
Wow, it’s more rusty under here than I remember.
Anyway, I got it changed. I may have hurt my back, my neck, my shoulder, and scraped every knuckle, but now there are shiny new parts. I took it to the gas station and it still had a leak.
[sighs]
Significantly improved, but still a leak. Maybe 10% lost now if going full blast at the pump.
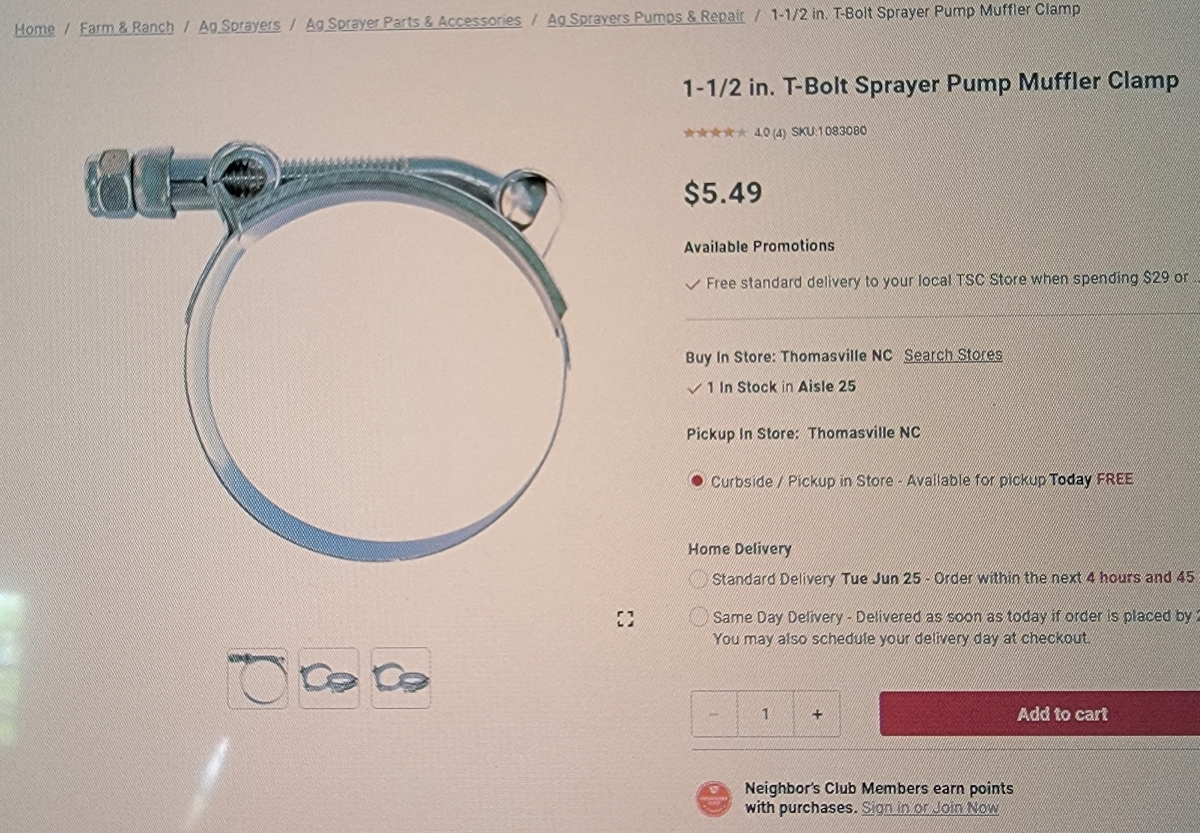
So, it must be the weak hose clamps or jubilee clips or whatever you want to call them. I started shopping around and found some serious hardware at Tractor Supply.
So, yeah. Time to install the new clips.
Thanks, hillside. Tell mom’s carport I miss it.
Heading back to the gas station, it still drips, but now a much more live-withable 1% loss at full blast. Nothing dripping if you back off the pressure a little.
I think it’s just going to need the tank dropped to be able to get anything better out of it.
As an Amazon Associate I earn from qualifying purchases. I also often provide links to products on other sites that do not provide affiliate income.