In the previous post, I got started trying to replace the running boards, with only moderate success. It was a complete failure at replacing the actual running board. But, I was able to get all of the broken body bolts drilled out, tapped, and replaced.
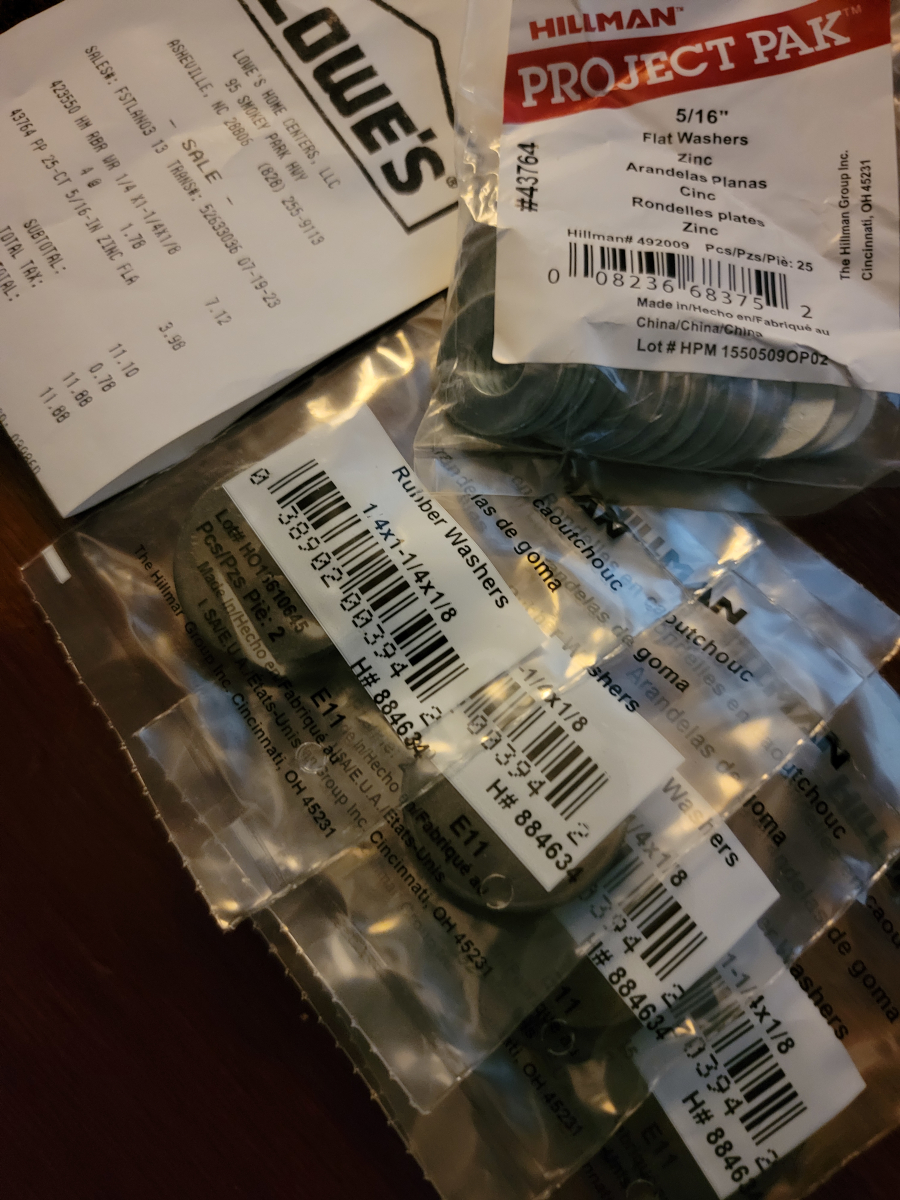
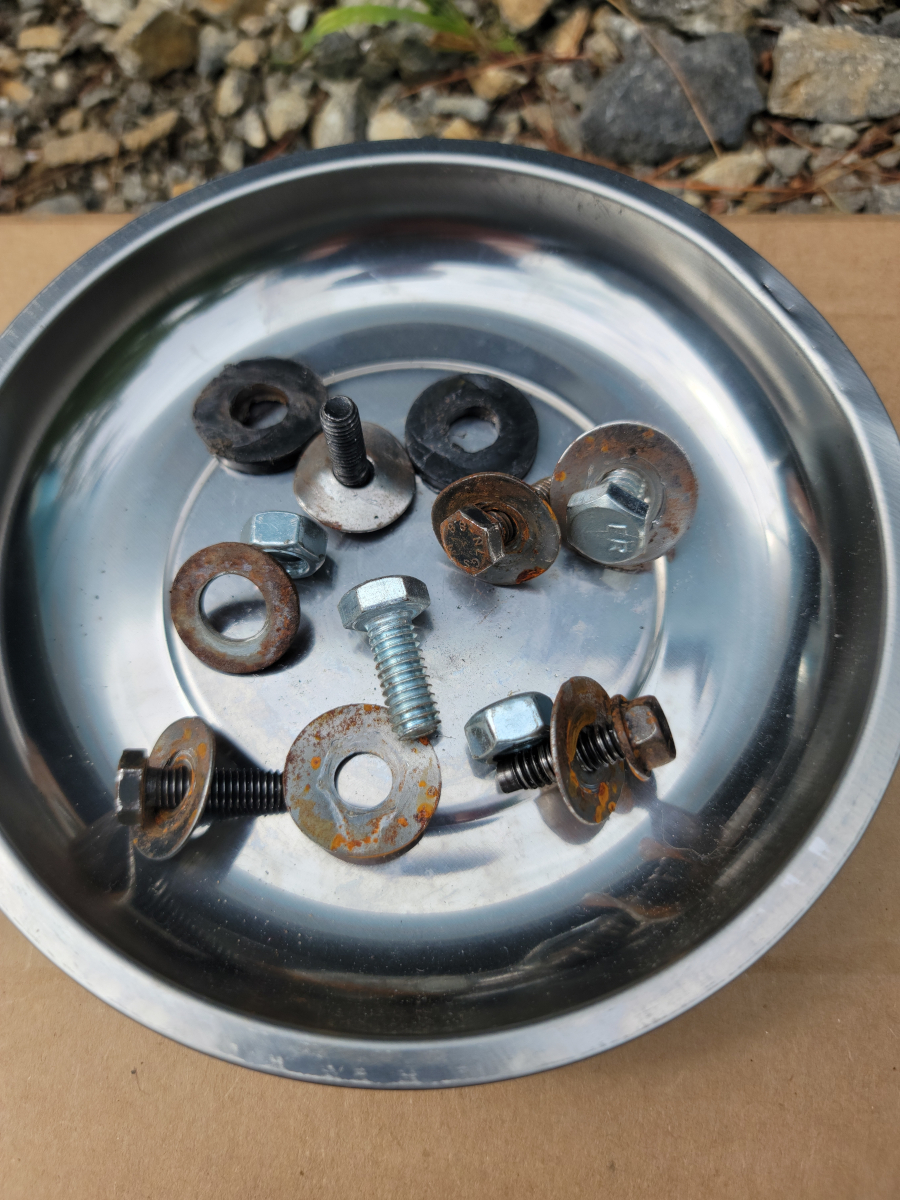
The hardware that came with the new running boards was really chintzy. I have come to expect that. So, I picked up some new hardware at Lowe’s a couple of days ago.
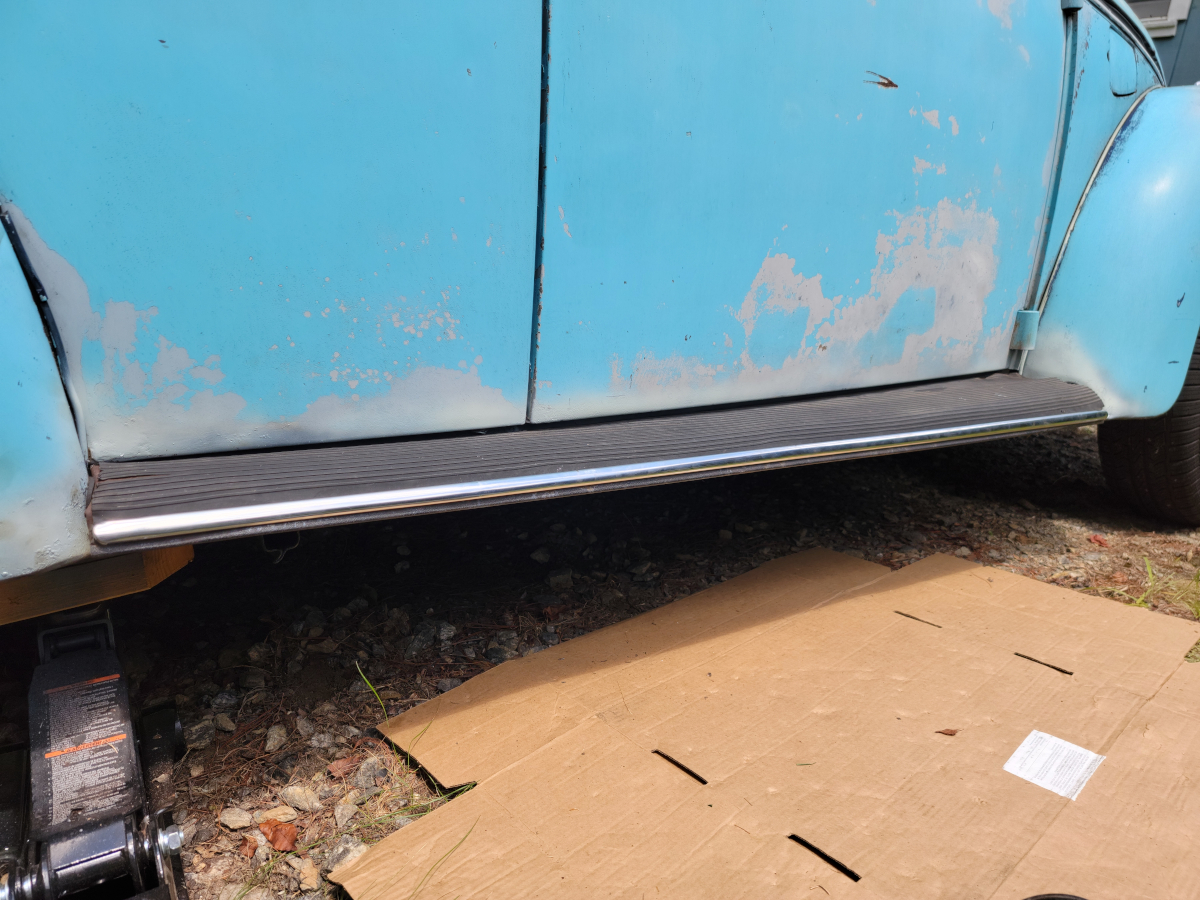
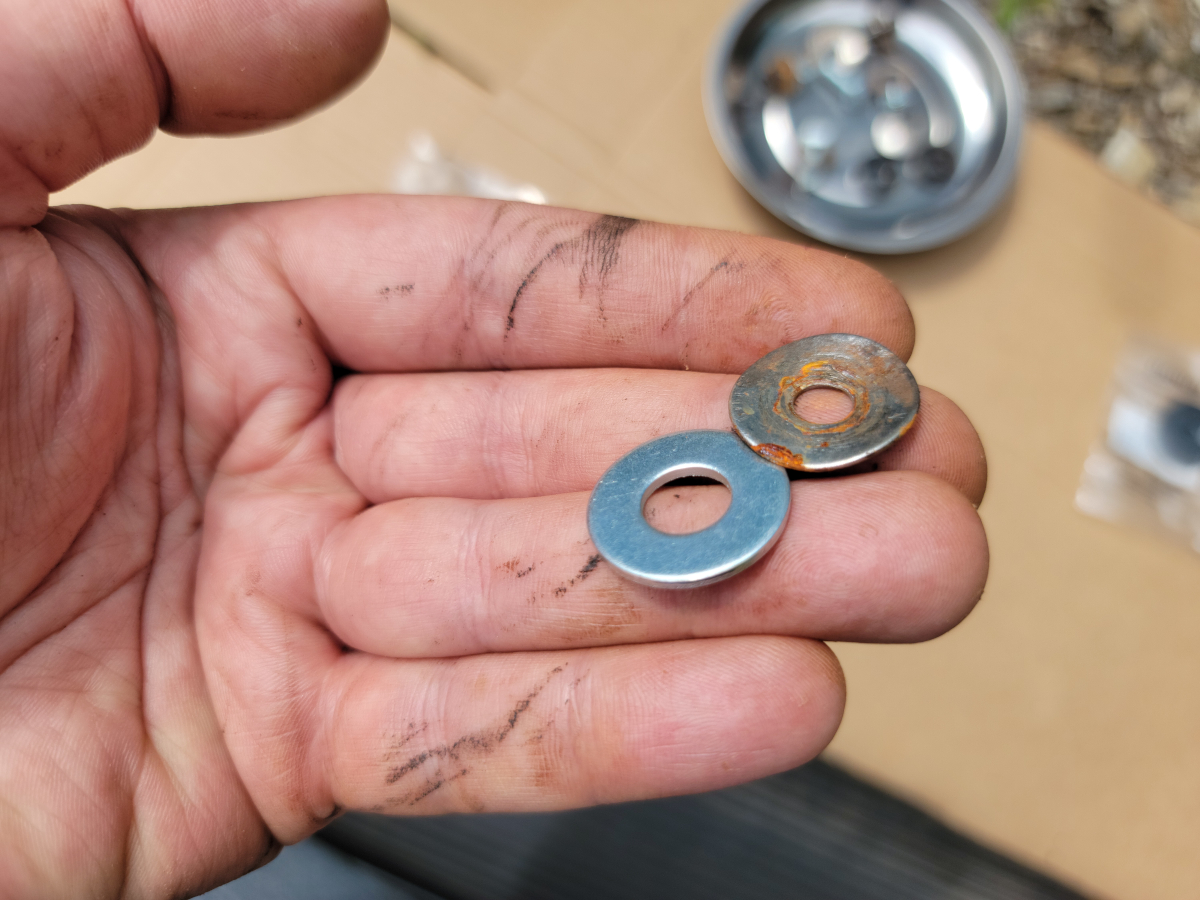
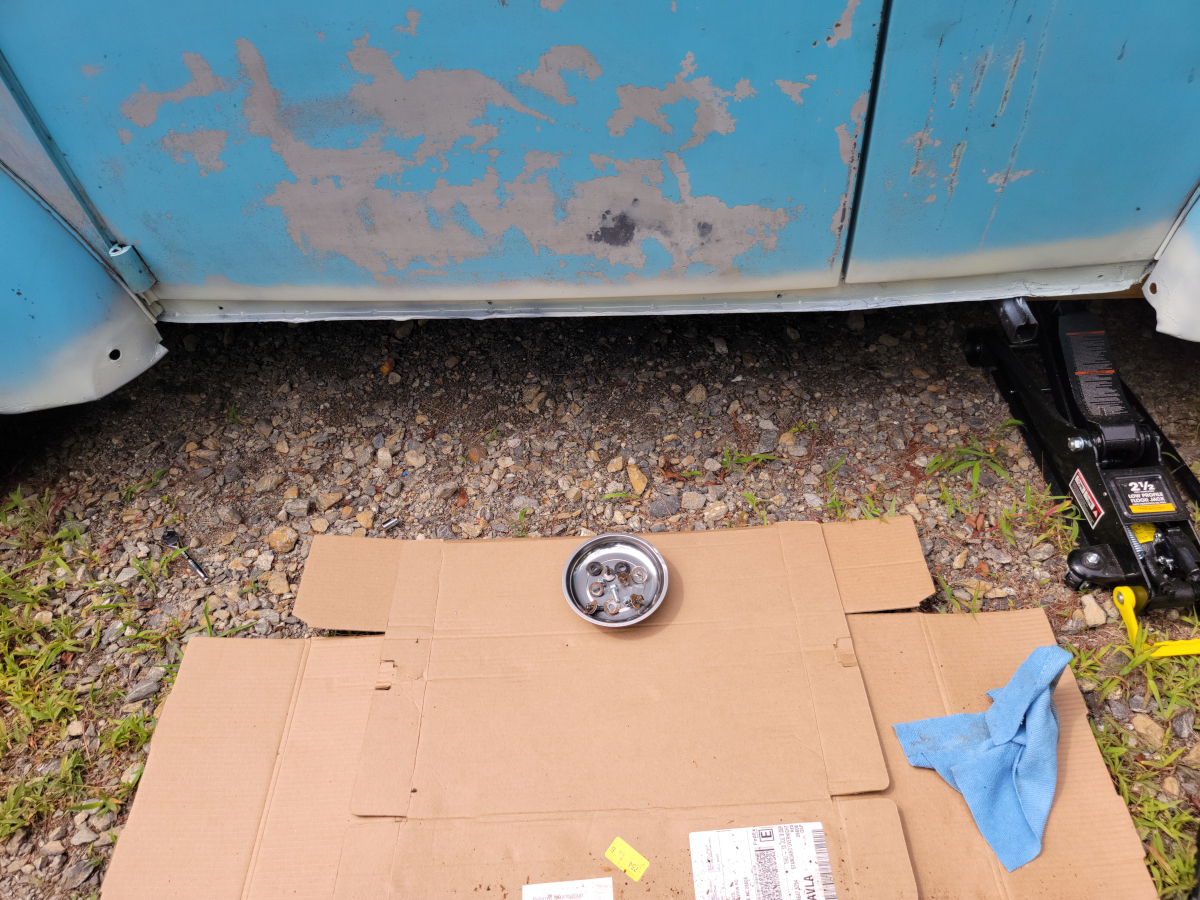
I removed the driver side running board again, to replace the washers. What I found was that after one week, the flimsy metal washers were already starting to rust.
You don’t always get what you pay for. Yeah, I may have mentioned that before.
I decided to spend some more time trying to straighten out the jack point and channel. Jamming the end of a breaker bar in there, it easily straightened back out.

Then I hammered on the end of a ratchet, because the right tool for the job, or whatever.
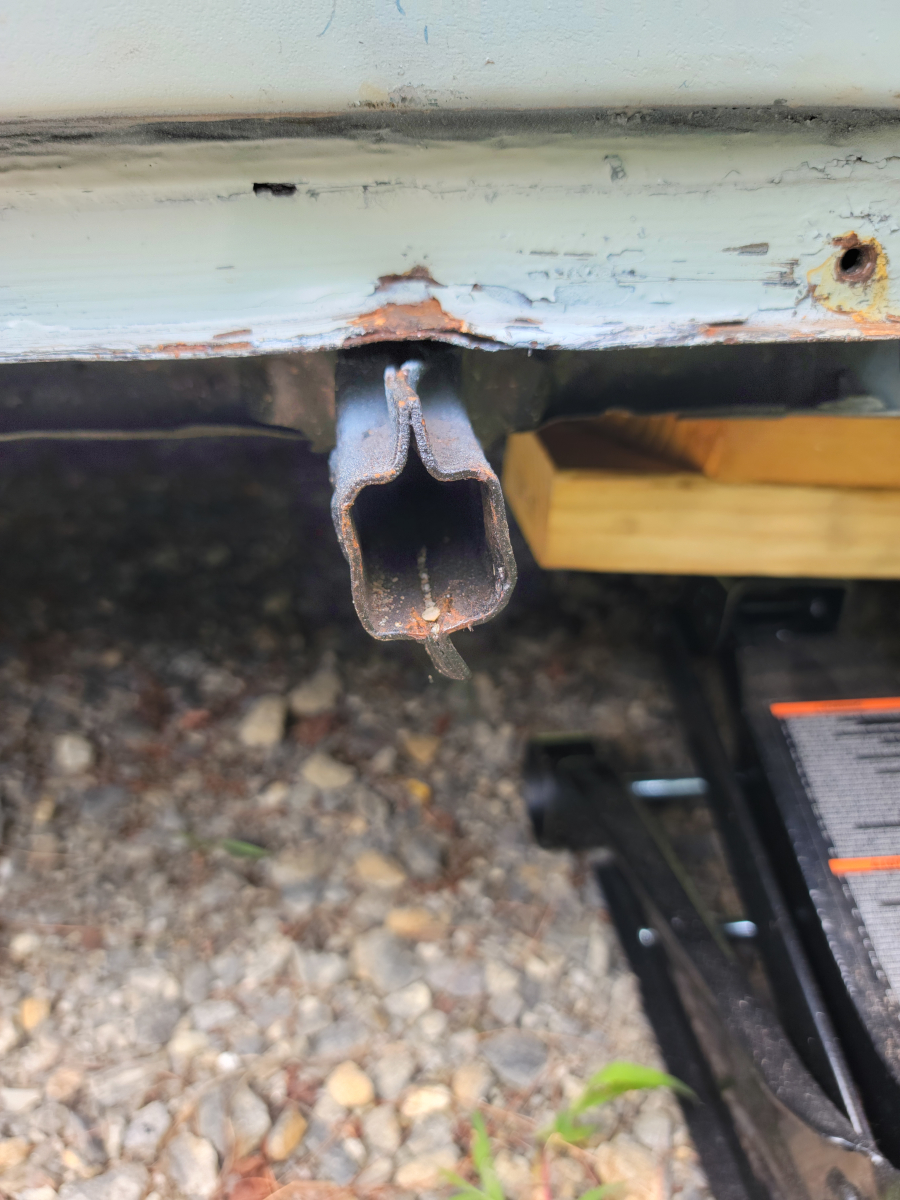
And then sprayed another obligatory coat of Rust Barrier and Matte Vintage Blue.
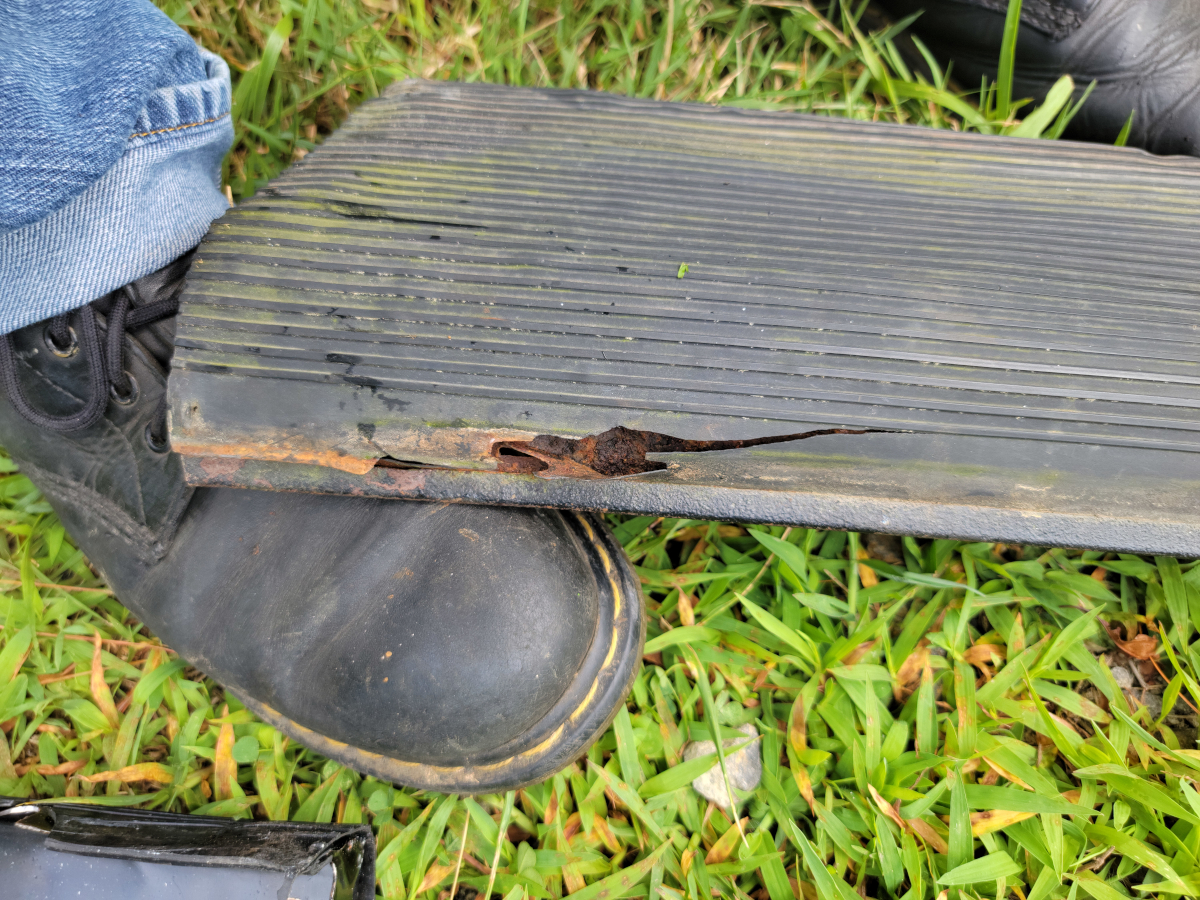
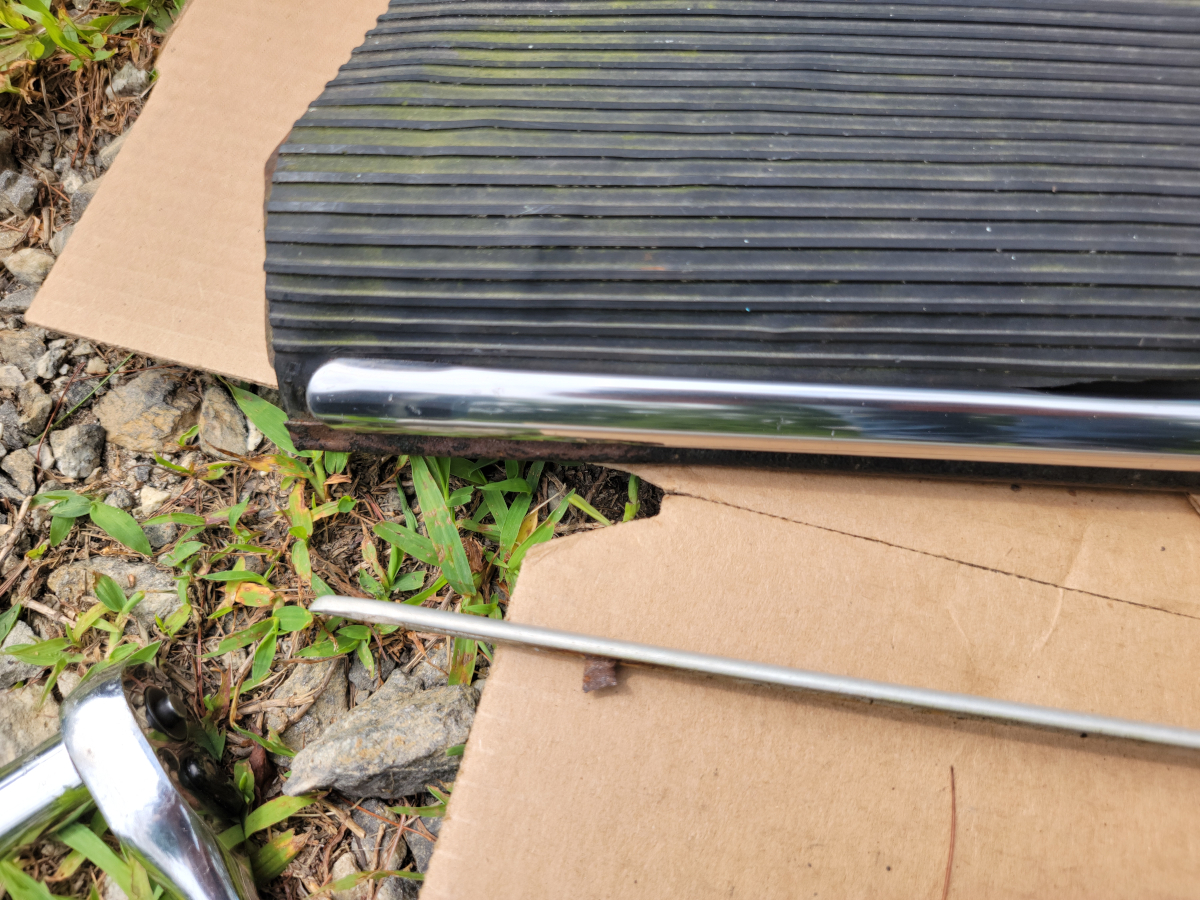
That channel is now perfectly restored and ready for the Concours d’Elegance. Next, I tried fitting the new running board again, but it’s still way too tall. My next brilliant idea was to swap the rubber cover over from the new one onto the old running board.
There is a groove across the back side that clips onto the edge of the sheet metal. That peeled back without issue. It’s a rusty mess under there.
On the front edge, the sheet metal is rolled and crimped over the rubber cover to hold it in place. I was able to get that pried open easily enough with a putty knife. However, the brittle, old rubber cover was just shredding.
I decided to just put it back together. I would have been out there all day trying to get all of the shrapnel picked out of the channel. At least I can swap the metal trim strip over from the new running board. The ones on the car were from newer 70s model Beetles with the narrow trim strip. The new ones are supposedly the right size.
Once mounted, I peeled back the blue plastic protective cover. I found the new trim was made of the same stuff as the washers that came in the hardware pack. Ridiculous.
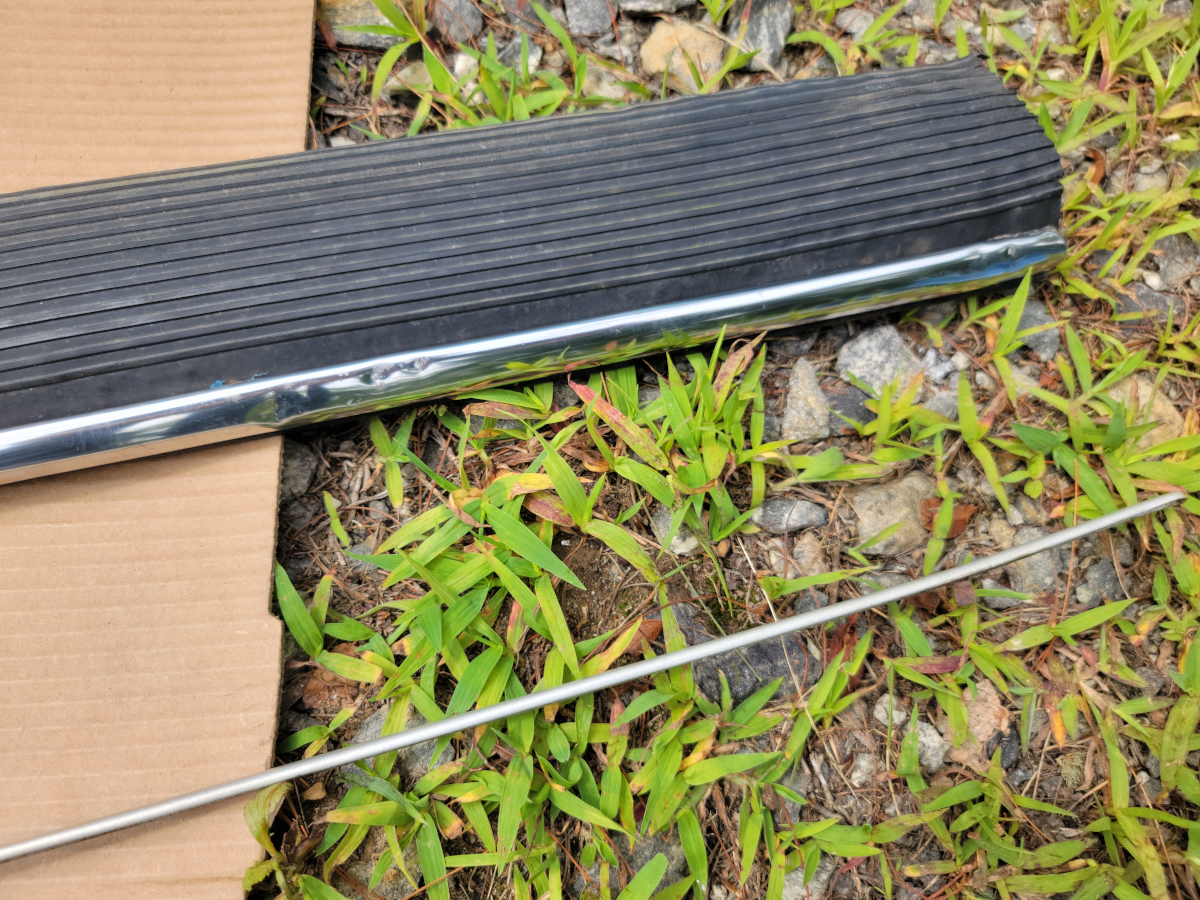
Old vs. new. I think the new trim pieces might be for the first generation. They are significantly larger than the one that was on there originally.
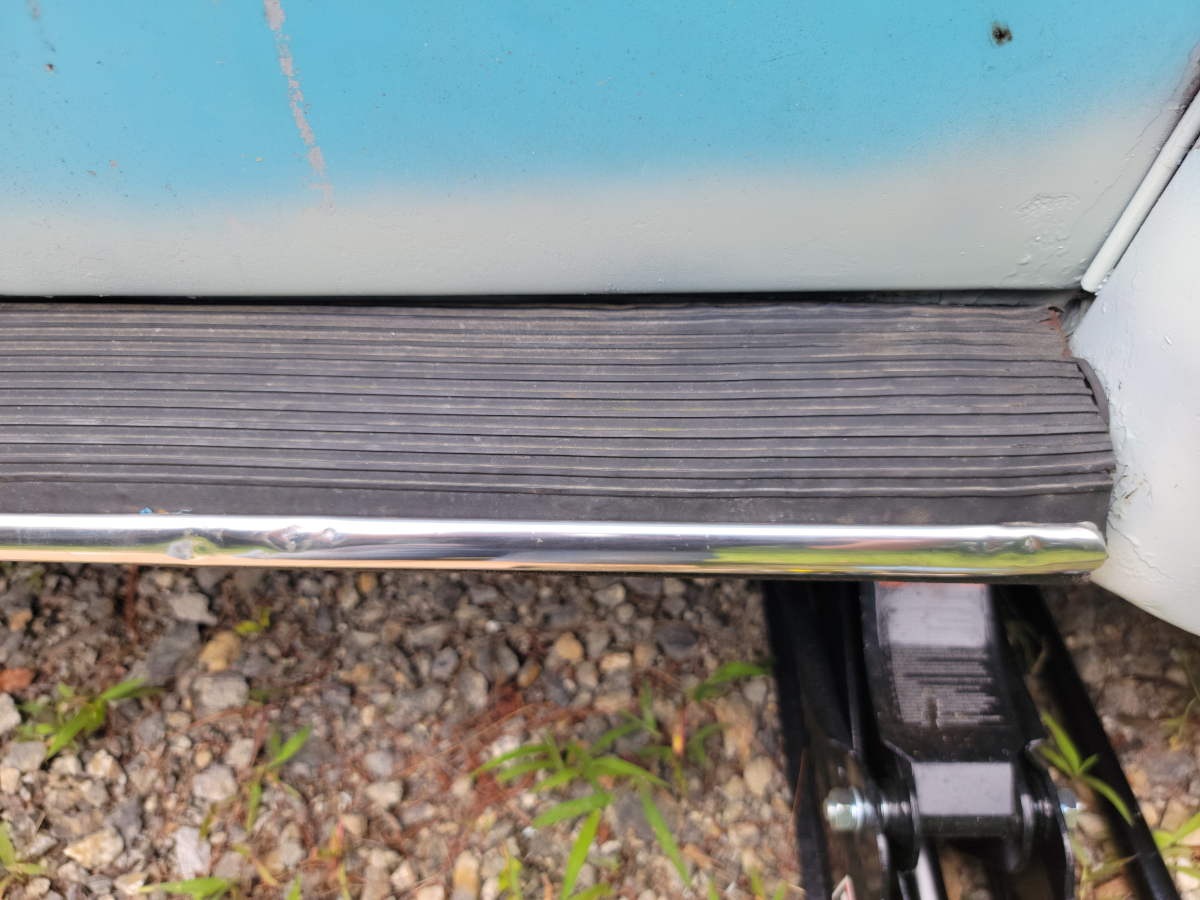
In any case, more brand new, shiny, dented, cheap crap mounted up!
The soft rubber fender washers did their job well.
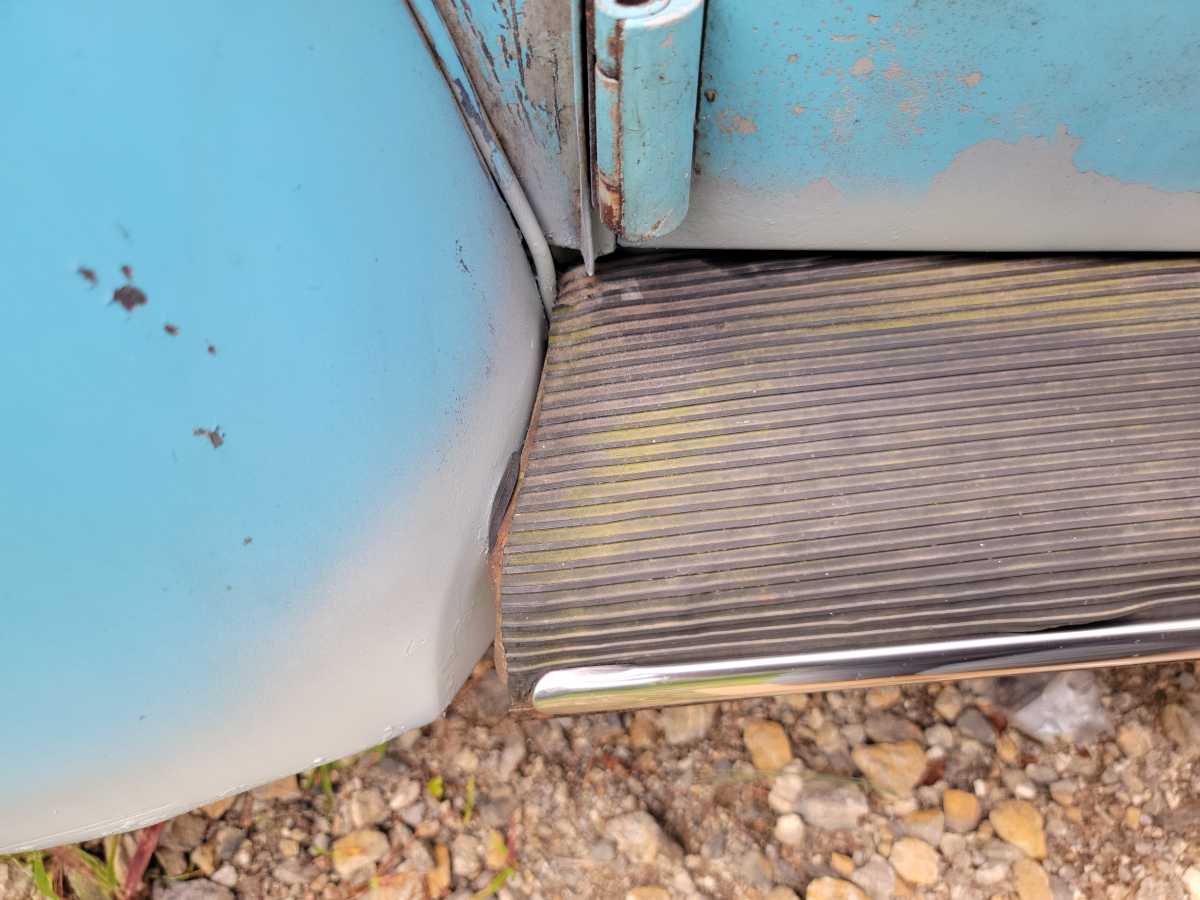
Moving on to the passenger side, I got the new trim piece moved over to the old running board. The pry bar was not involved in this, it just happened to be laying there from before.
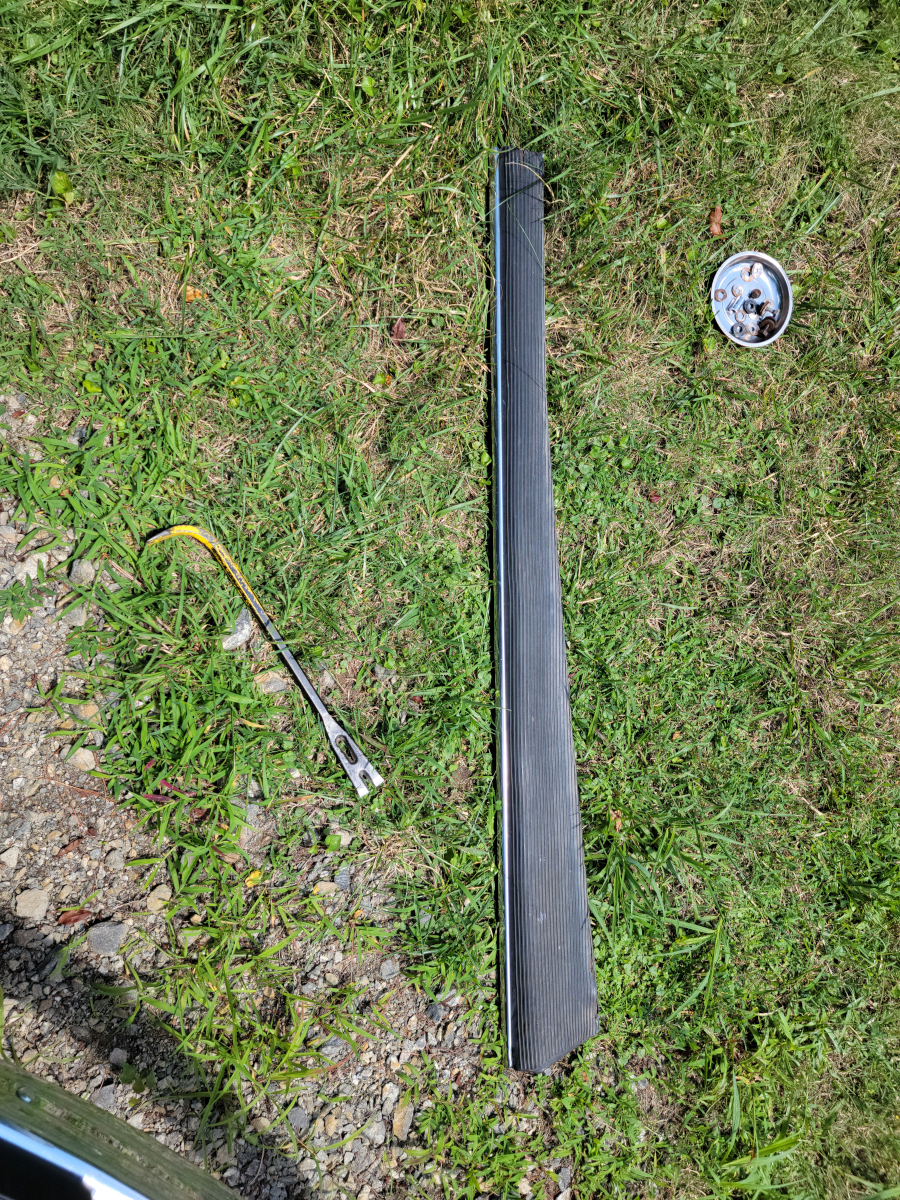
And I moved the old trim piece onto the new running board for safe keeping.

Oh hey, great news!
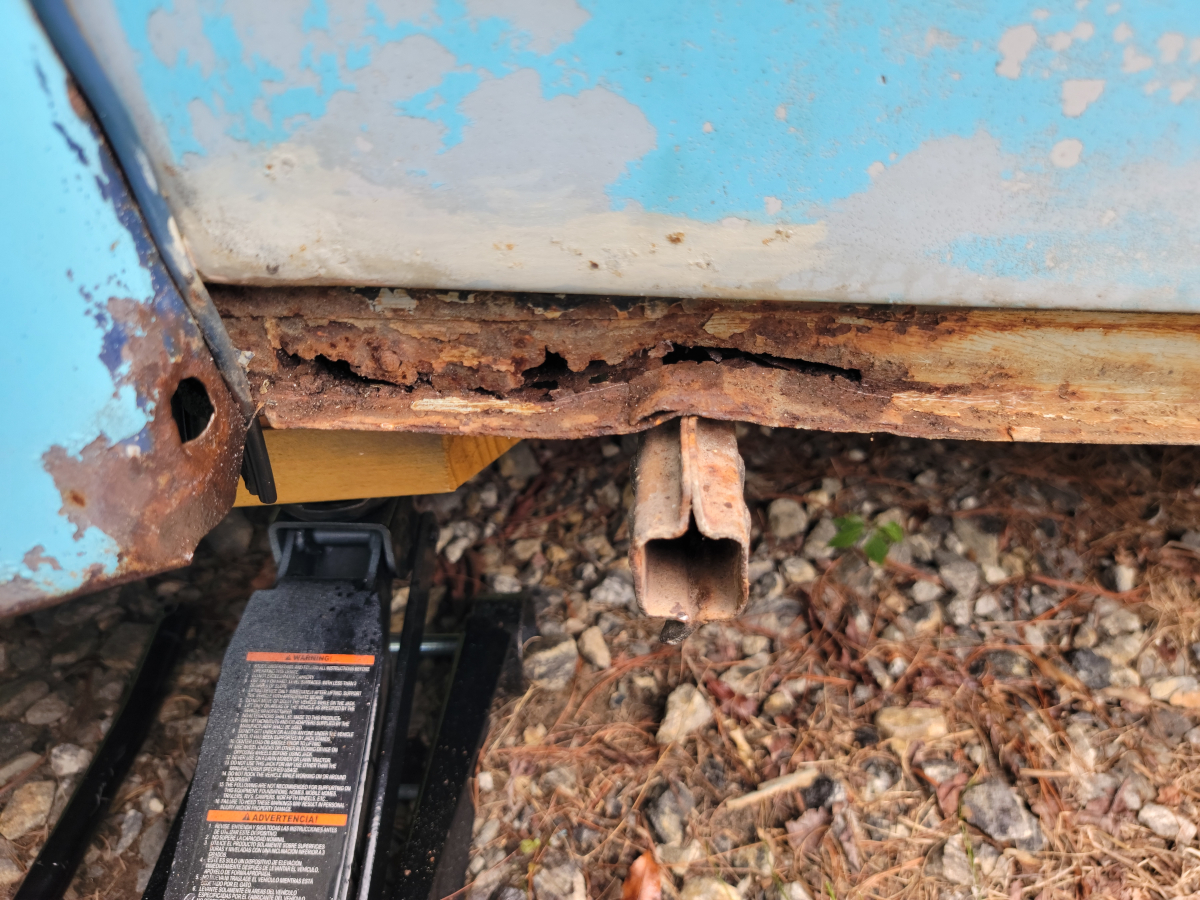
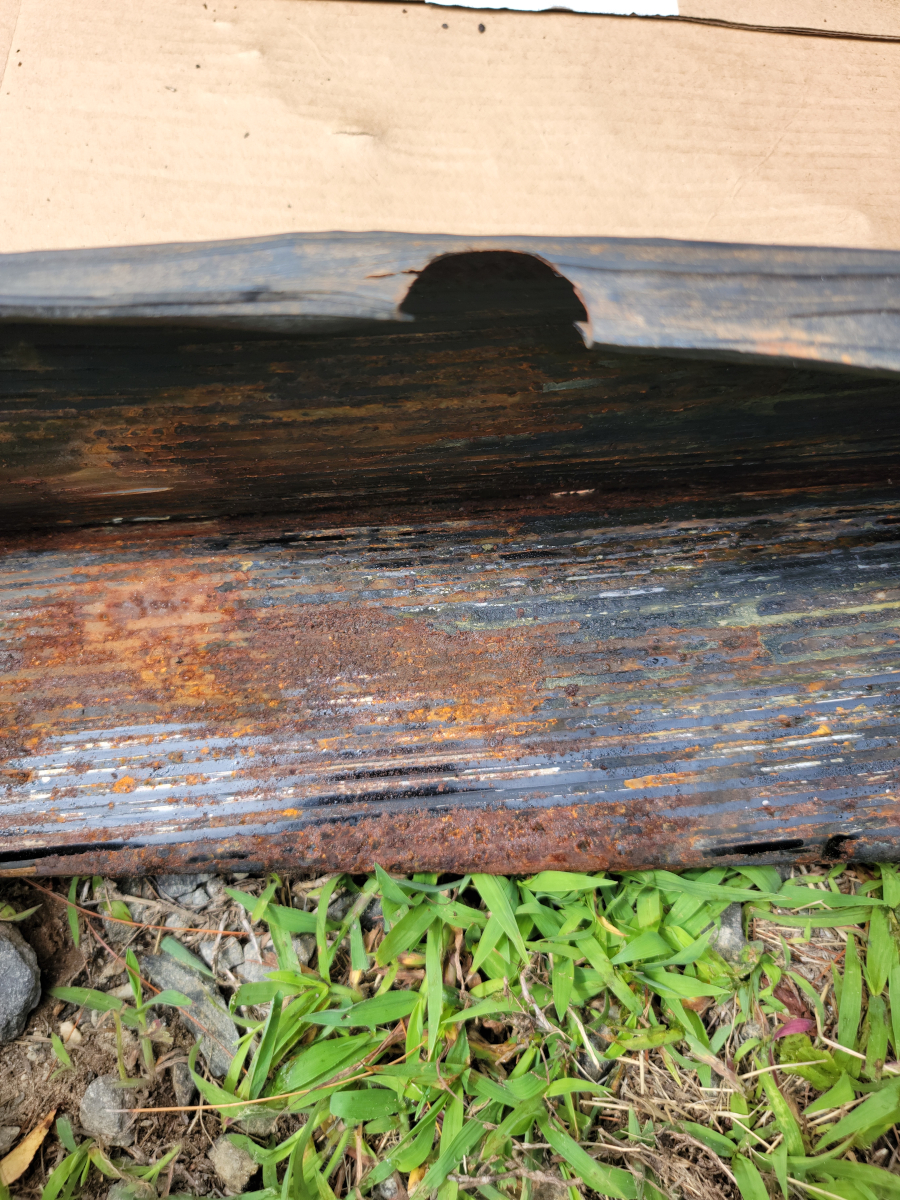
That’s going to take more than a Steel Stik to fix. I started to drill out one of the broken body bolts in that big rust hole. The whole thing started folding up under the pressure, so I left it alone.
So yeah, nothing to see here.
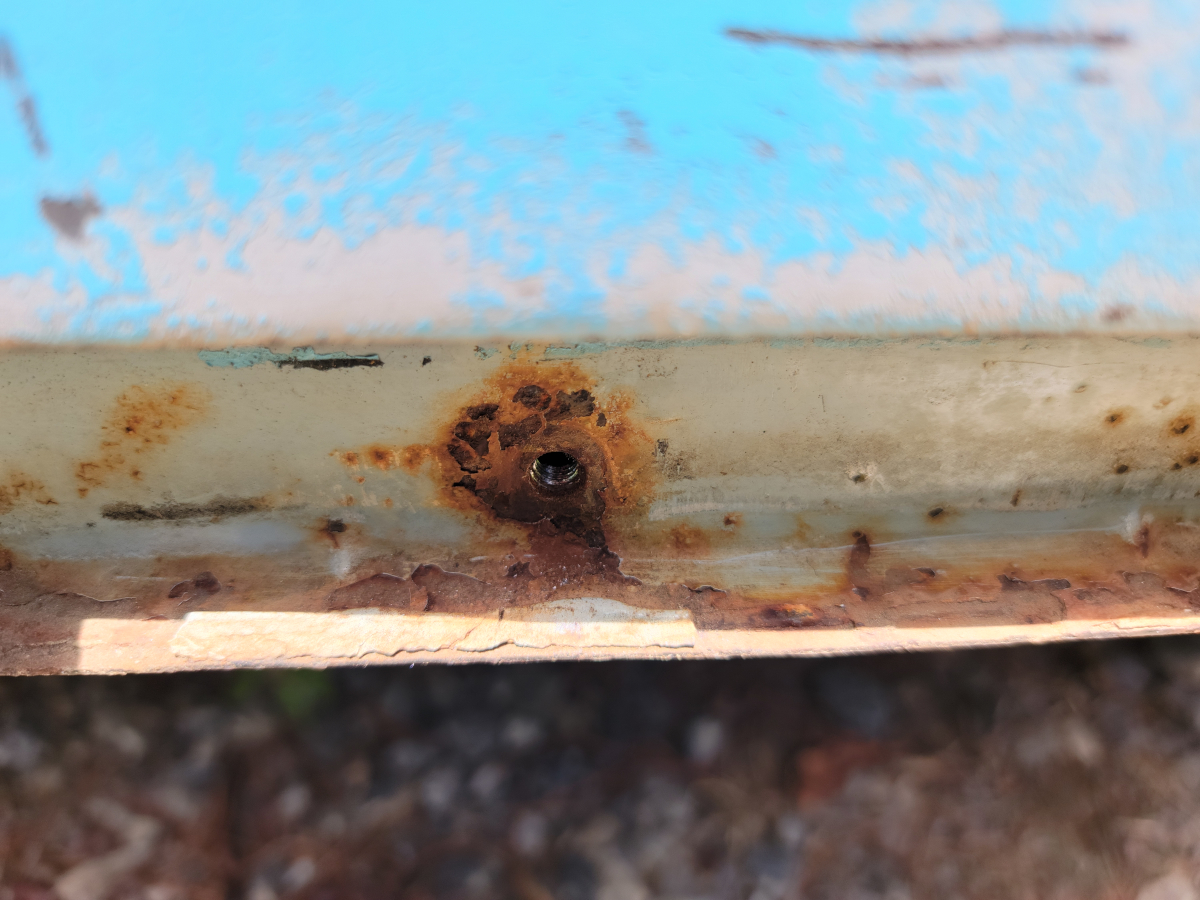
Moving on, I chased threads on the next rusty bolt hole, which had been missing a bolt.
The next one had a broken bolt, which I drilled and tapped. I clearly got off to a bad start at first… I did eventually get the hole drilled in the right place.
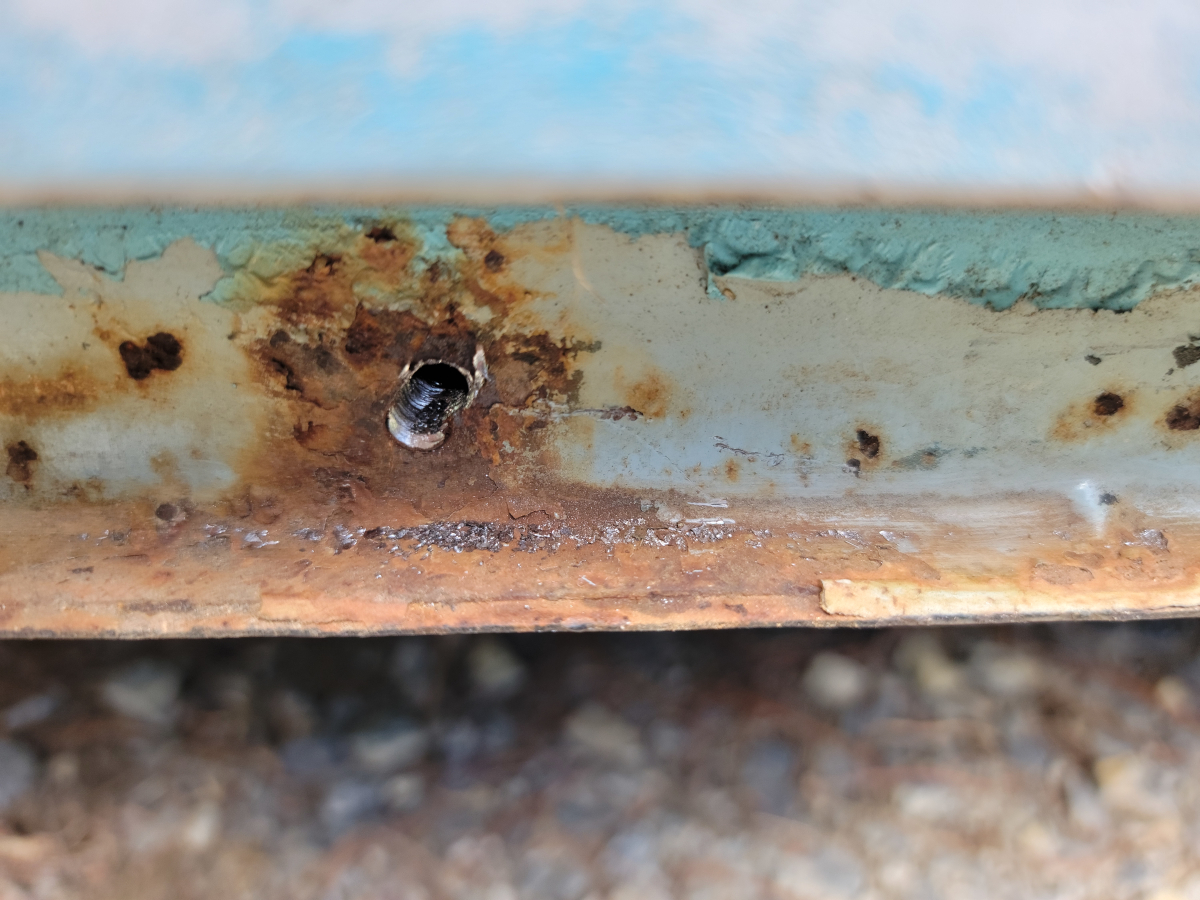
The last one had a bolt in it, but was still very crusty. I chased the threads on that one as well.
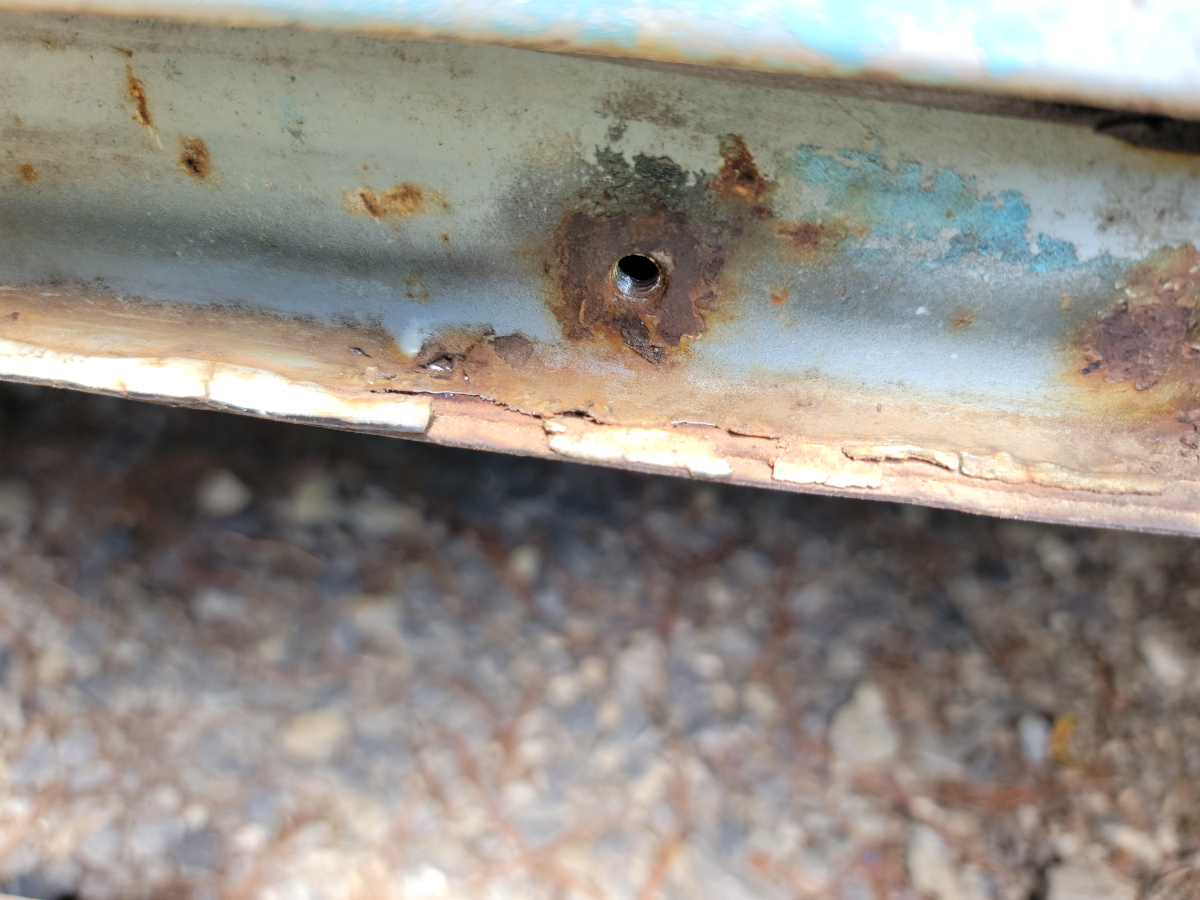
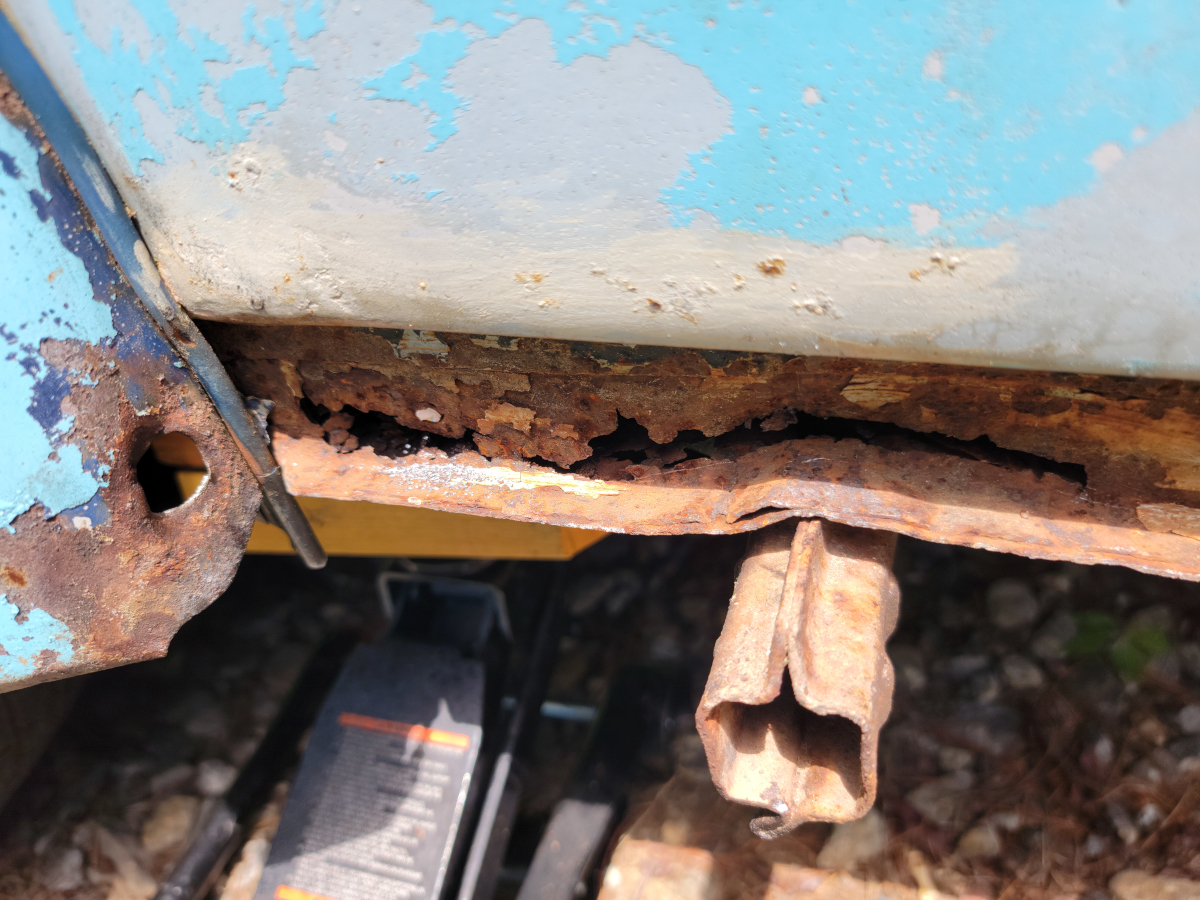
Rust Barrier engaged. I can rest easy now that the giant rust hole above the jack point is now fully reinforced!
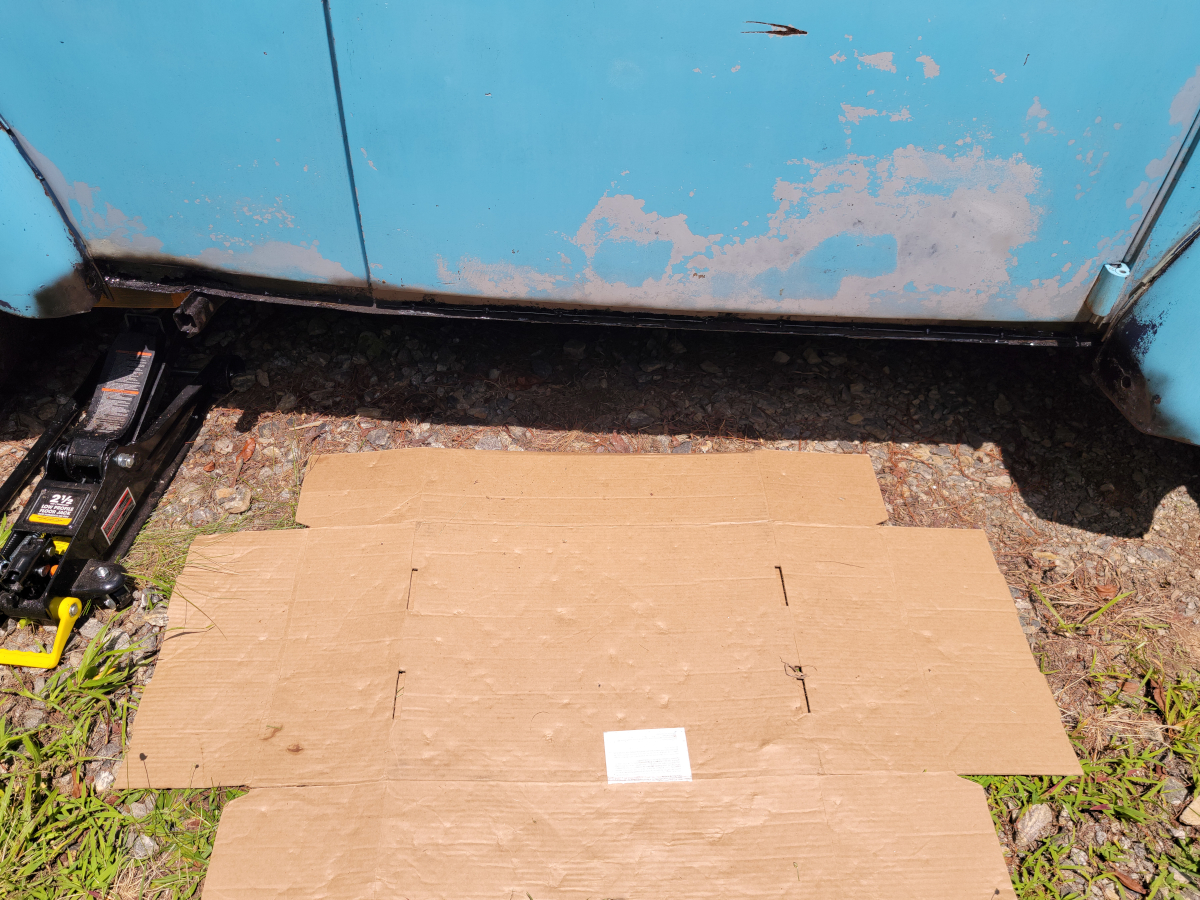
Buttoning this all up for now, but that is going to require some serious attention sooner rather than later.