
It’s Saturday morning. Too early and too cold to be outside working. Luckily, I brought lots of projects inside with me after tearing the dash panel and rear seat apart.
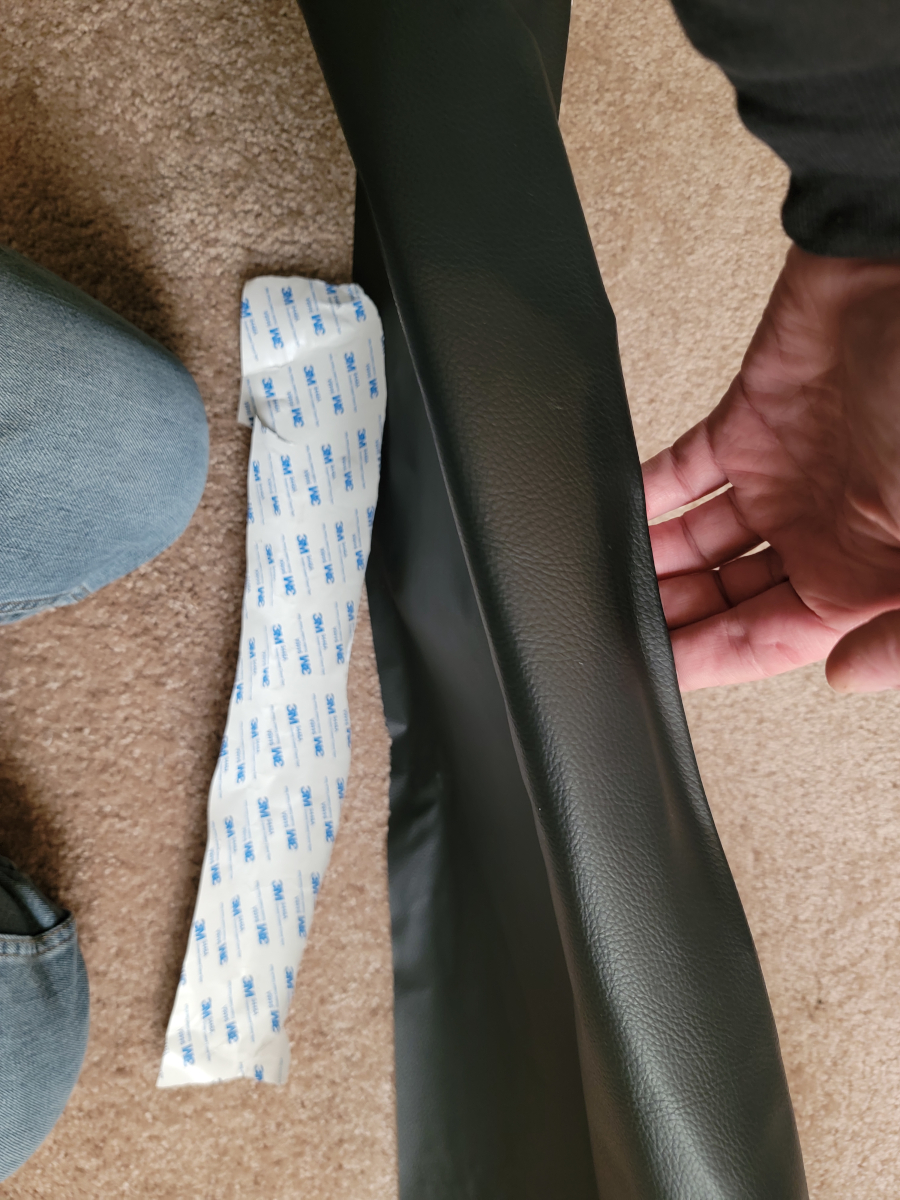
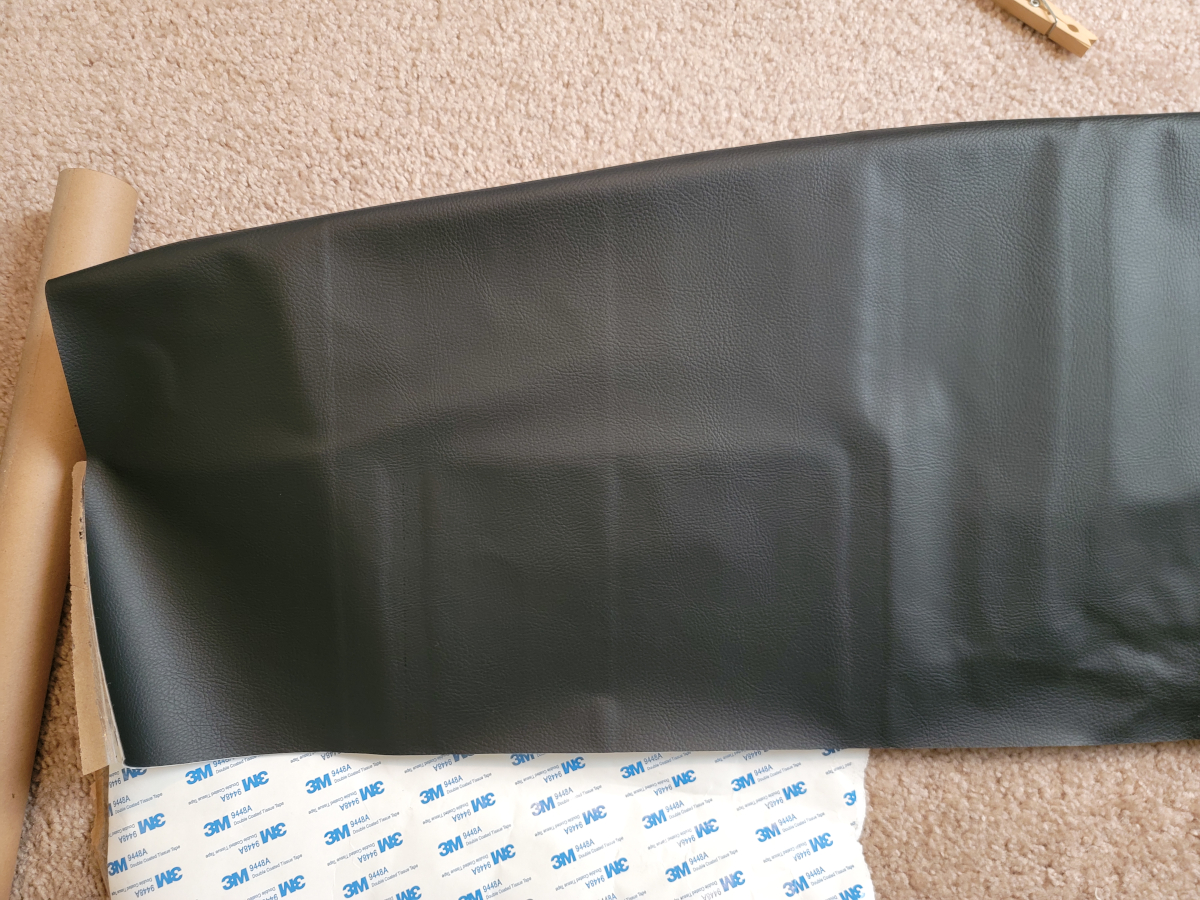
I have just enough of this roll of vinyl patch kit (Amazon link) left to recover this crumbling foam rubber dash pad. I wiped it down, to get some of the old, caked-on dust off, then laid it out on the remainder of the roll of vinyl.
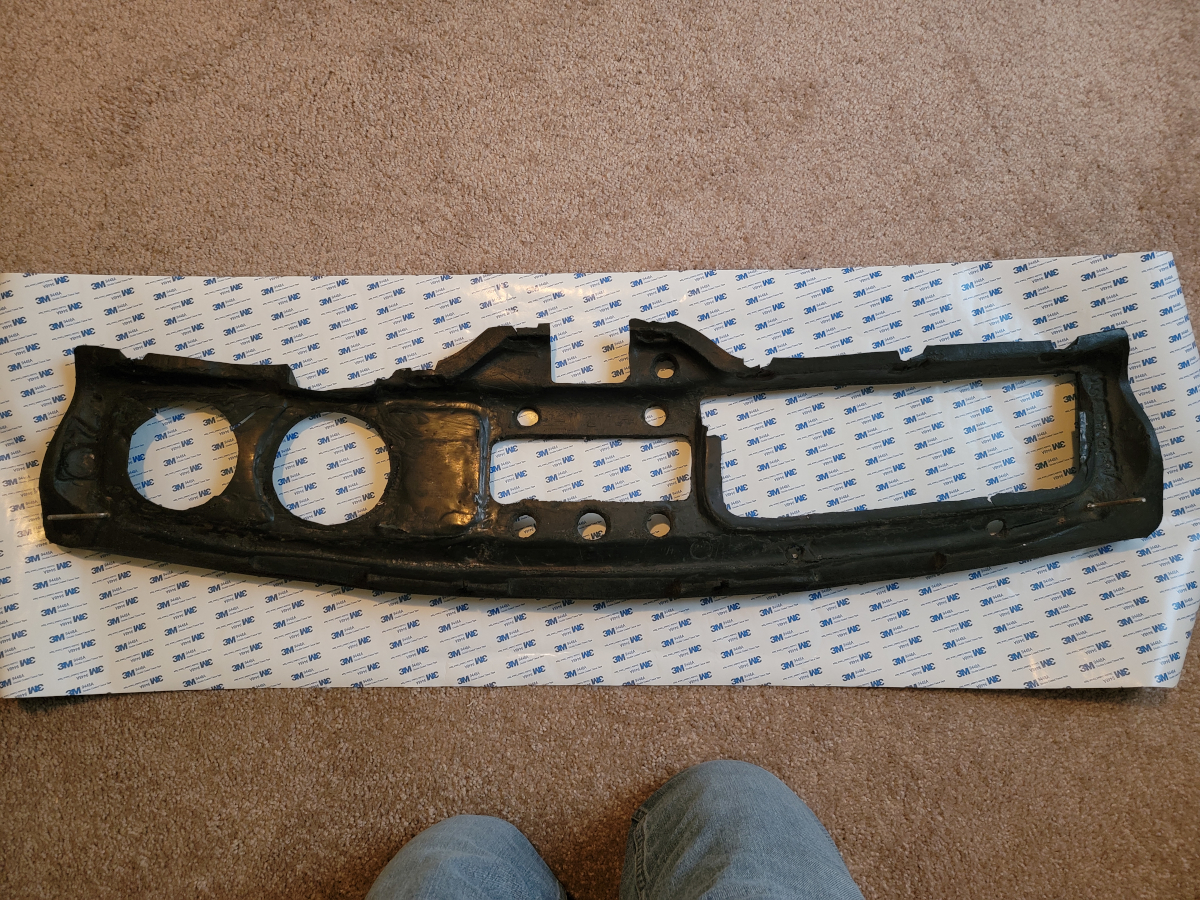
There are some tight bends around the edges of this dash pad and some complicated contours. The vinyl roll was thick enough that I expected to have to use a hair dryer or heat gun to get it shaped in properly. Surprisingly, it actually bends and curves nicely into place.
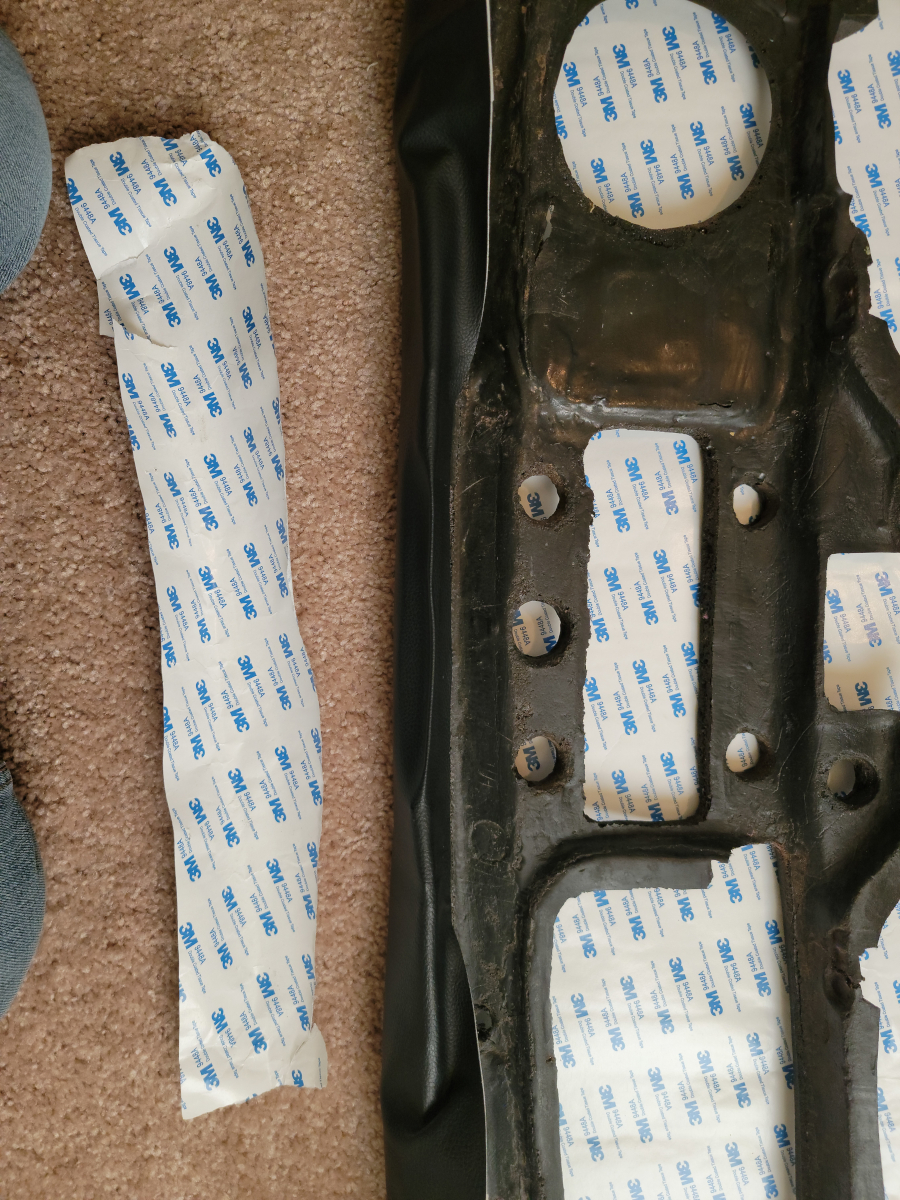
The self-adhesive 3M backing on the roll of vinyl is surprisingly strong, but I wouldn’t trust it long term in a closed up car in the sun, so I’m going to have to glue it somehow as well.
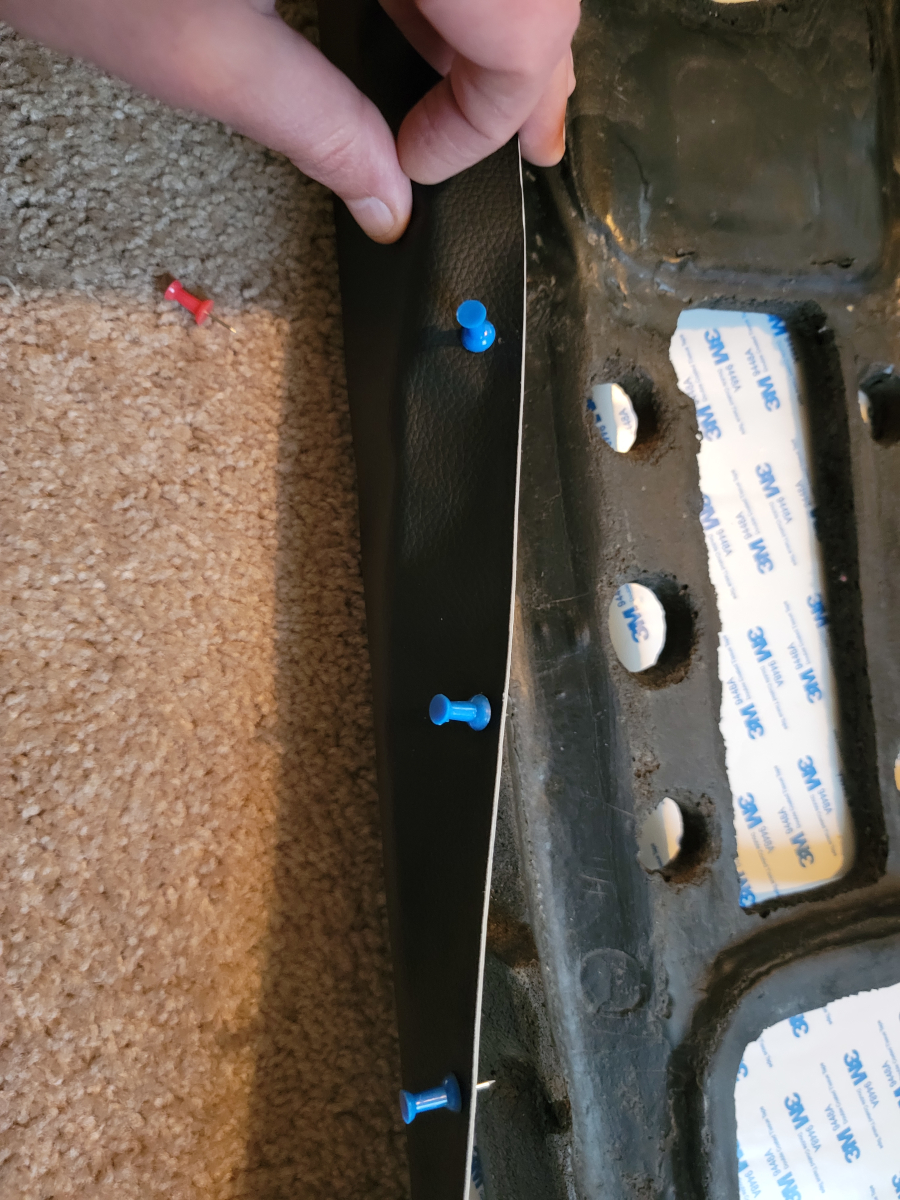
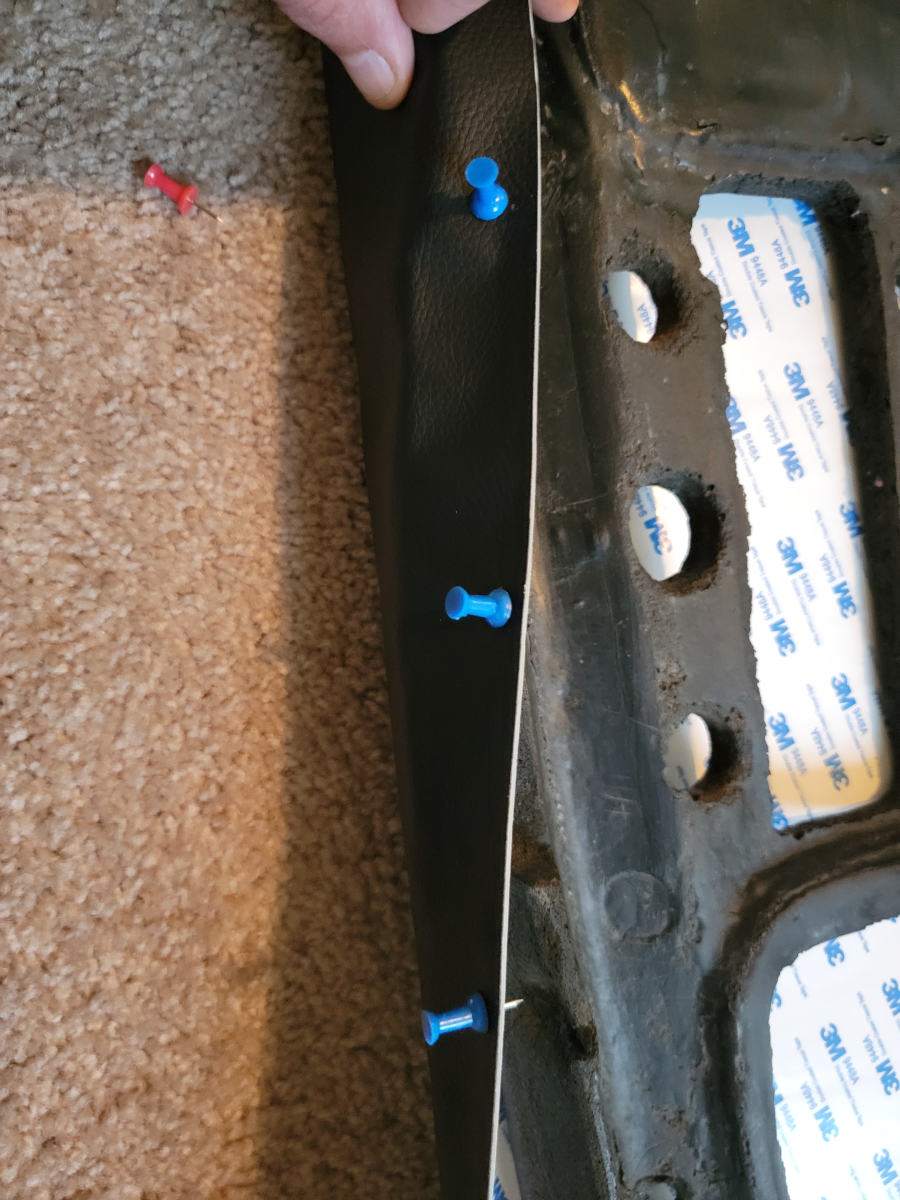
Approach 1. Push Pins
Last night, I picked up a pack of push pins in the office supplies isle at the grocery store. I was looking for thumb tacks, because they would have been flat enough to leave in place on the back side of the dash pad. These multi-colored plastic handled push pins was all they had at the grocery store.
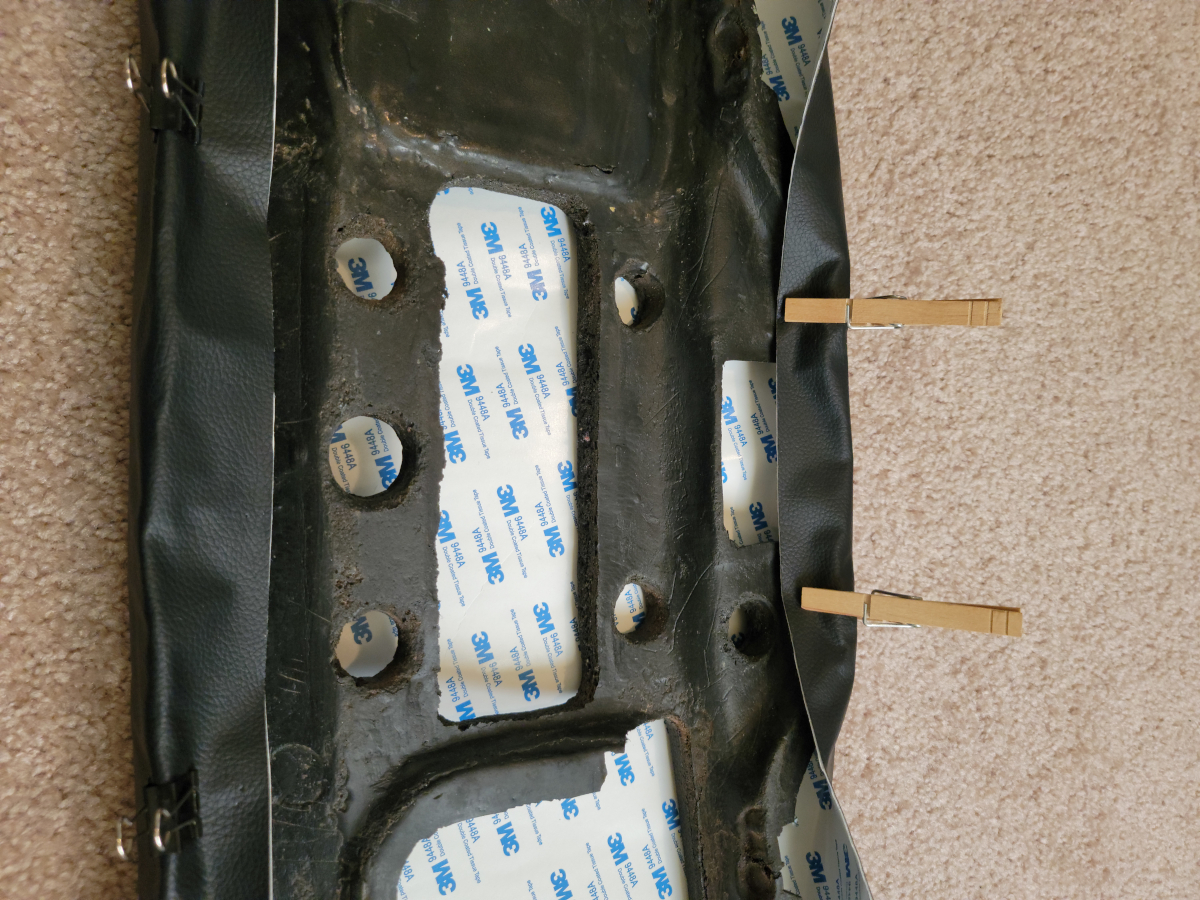
Approach 2A: Binder Clips
The push pins pulled right out. They wouldn’t hold up against any pressure at all. So, next, I grabbed the last few unused binder clips I had laying around. They worked better, if situated just right, in the right place.

Approach 2B: Clothes Pins
I also have quite a few clothes pins left over from hanging the moving blankets in the basement (to calm down the echos when recording drums).
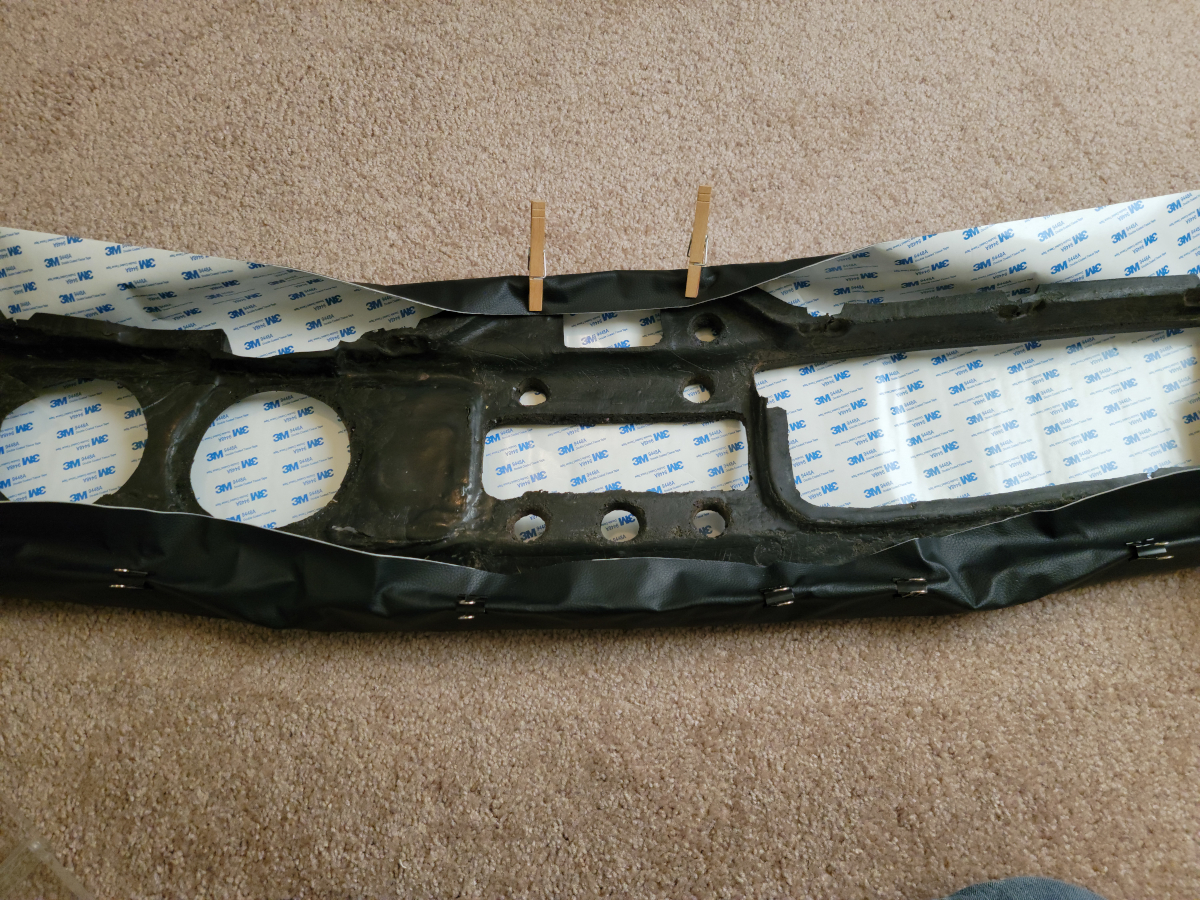
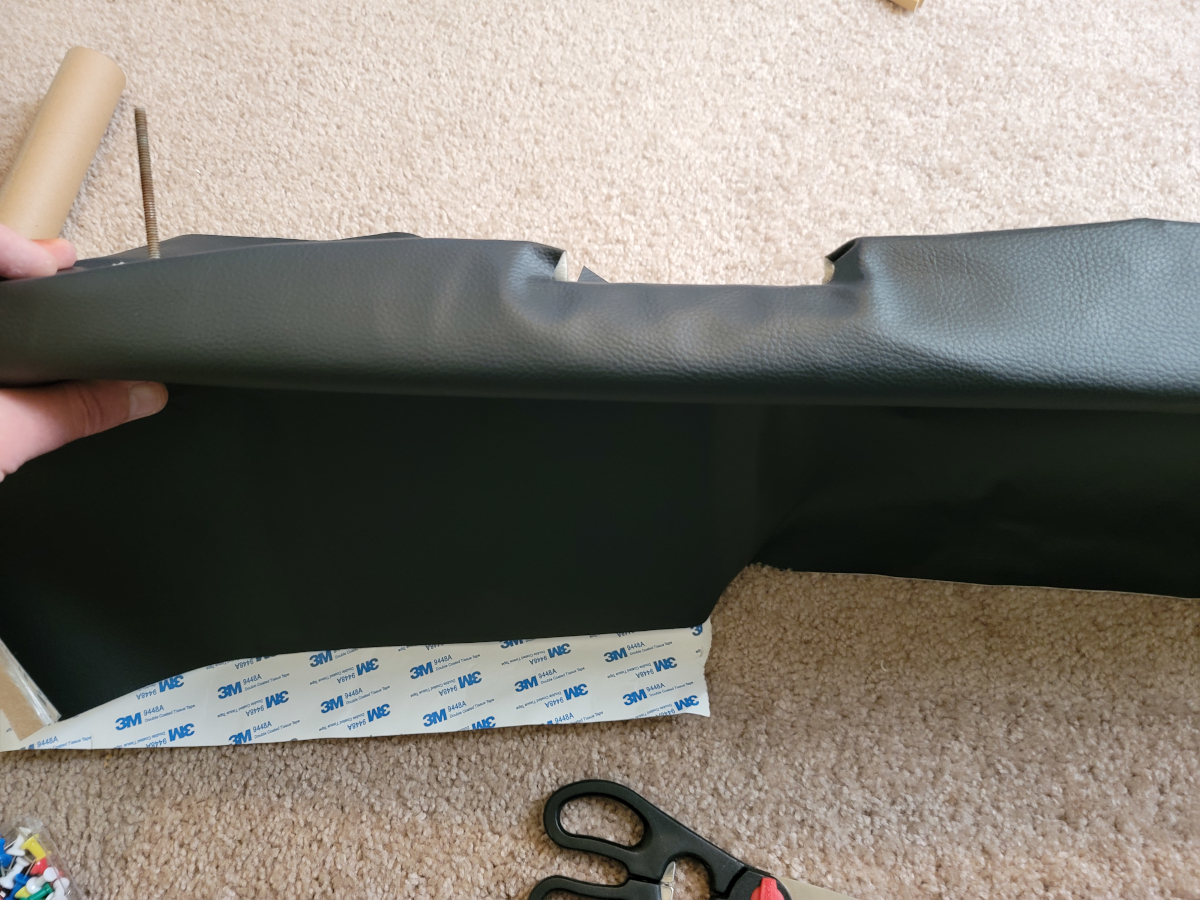
I started peeling off little bits of the wax paper covering the self-adhesive backing and started trying to snug the vinyl in from the top down.
There are two mile-long screws embedded in the top corners of the dash pad. I figured they would be good anchor points for the vinyl, but it stretched and tore instead.
Cutting in the vent holes
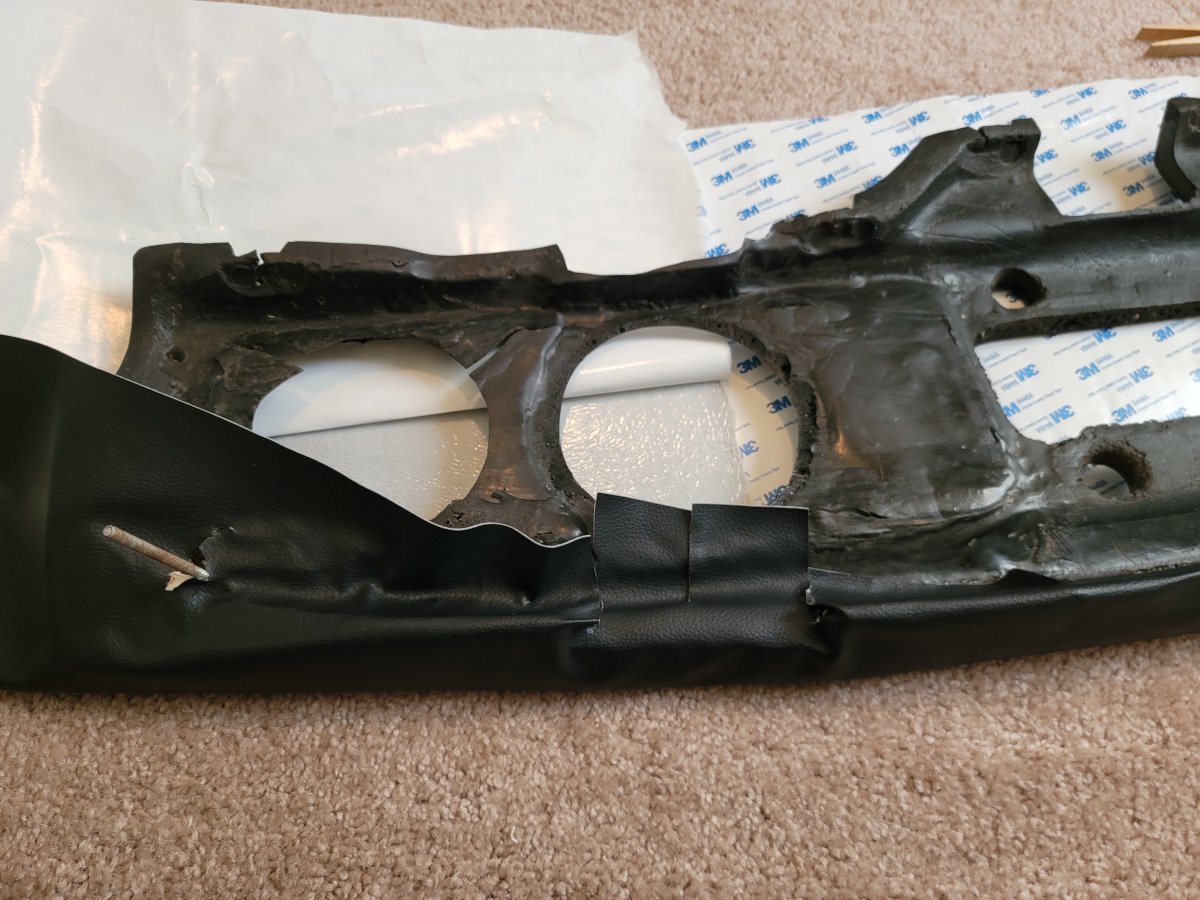
It doesn’t look bad from the front, at least around that top edge and slicing, folding, and fitting around the vent holes on the back edge.
I took that last picture about 30 minutes in. I wasn’t ready to make anything permanent yet. I’m not sure that this is the direction I want to go. Should it fail in a month or two once the summertime heat and humidity come, I don’t want something like Gorilla Glue or whatever smeared all over underneath the vinyl.
I have left it in this state, with most of the wax paper still on the self-adhesive backing. The center vent piece (jbugs.com link) hasn’t been shipped yet. I may end up searching for a different source for that part. It is still back-ordered and the rest of the items have already arrived.
Anyway, what I’m trying to say is I’ve got some time until I can actually reassemble the dash panel.
* Update 03/16/2023
As mentioned, I left it in that state, laying on the floor, half of the adhesive backing along the top edge removed and sure enough, it has pulled away from that grimy, crumbly foam rubber.
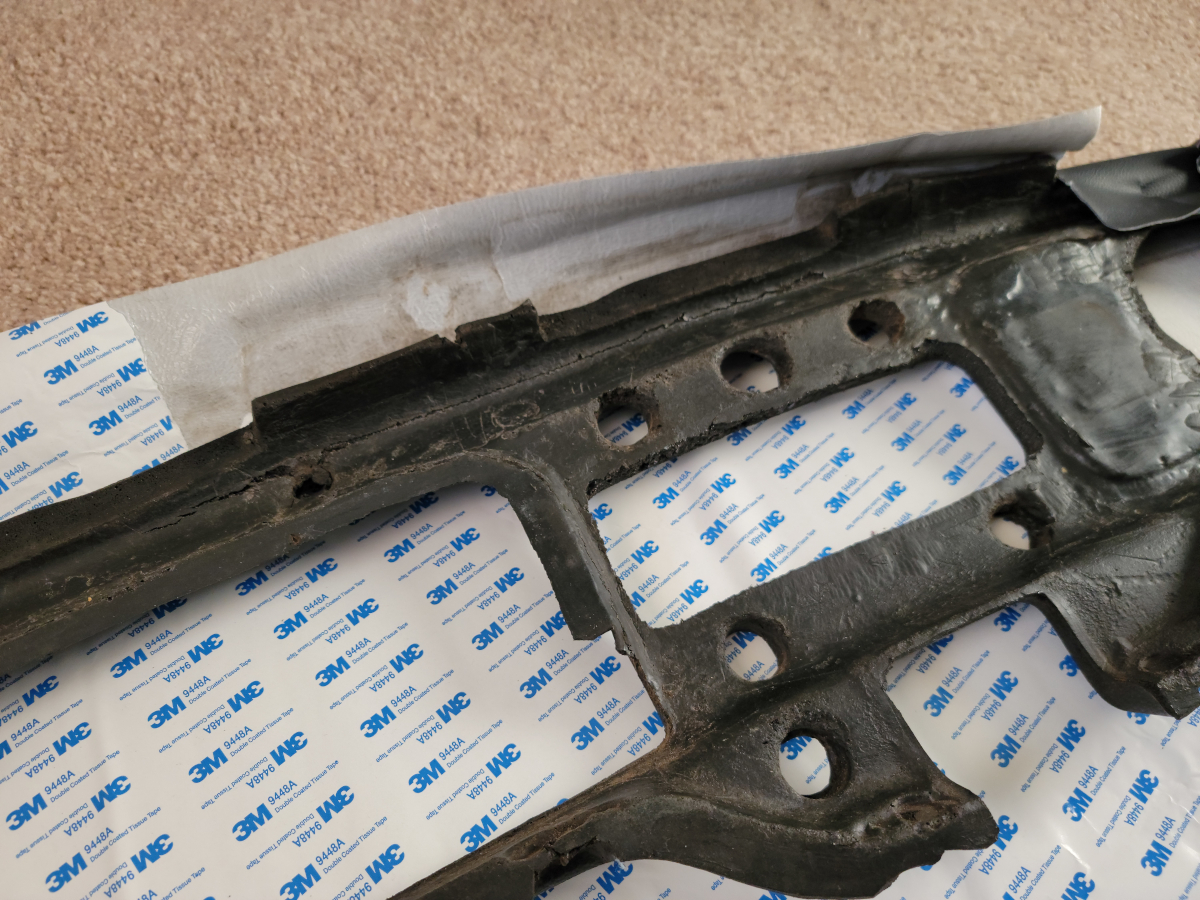
I think that some really strong, yet flexible, glue will be required. Either that, or abandon the idea and just put the ugly thing back in place as is. Again, there is no way I’m spending $300 for a new one.