
I’m still waiting for the roll of high density foam (Amazon link) to arrive for the back seats, but it’s a beautiful day, so I decided to get some prep work done.
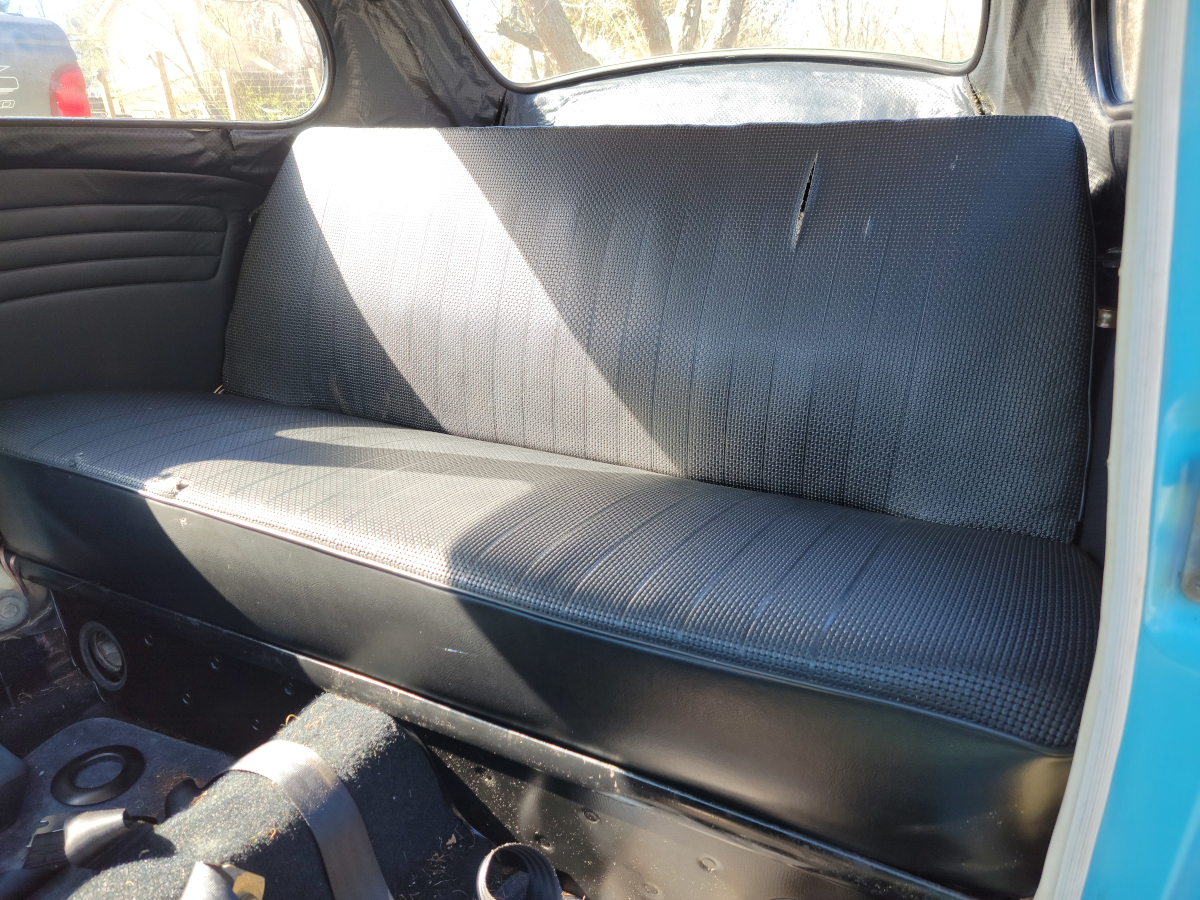
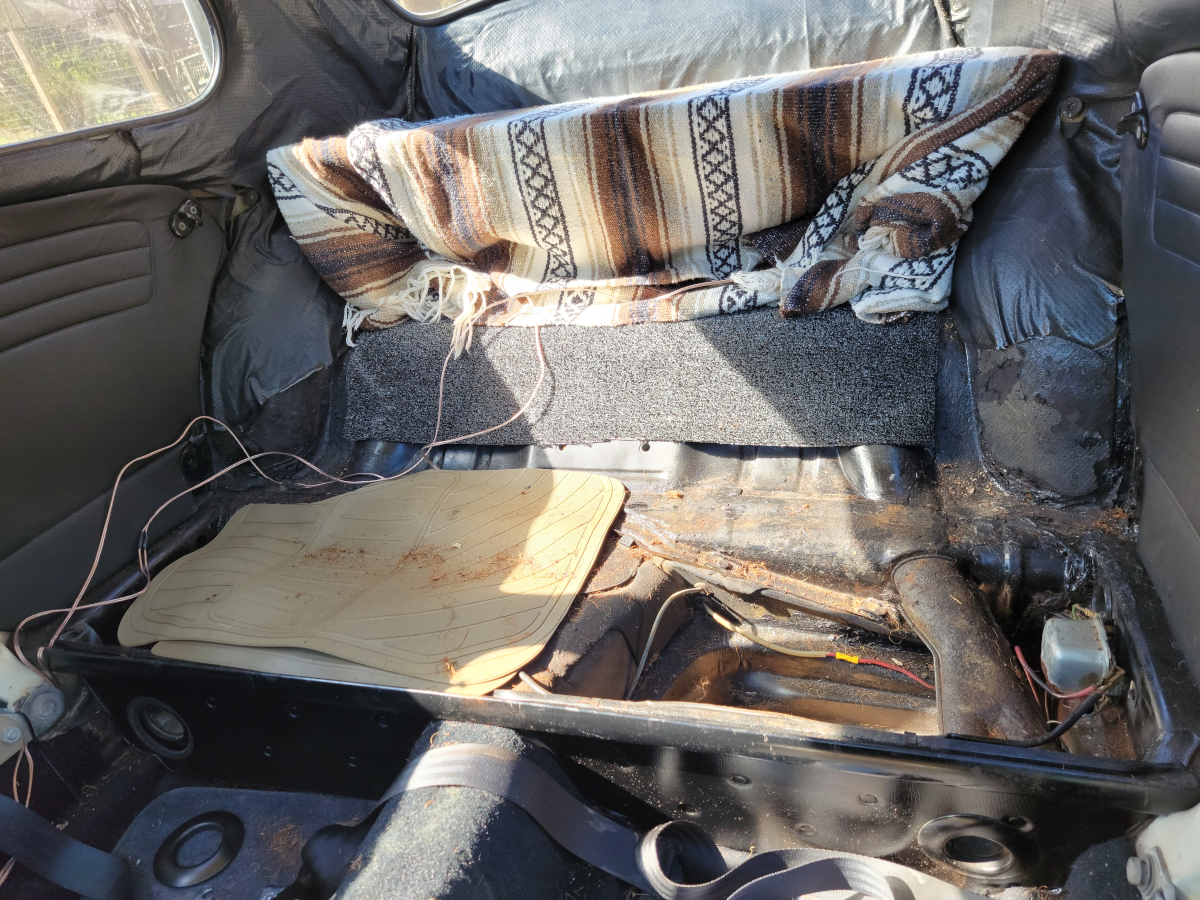
As you can see, the back seat covers have similar issues to the front. At one point in the past, I leaned in through the driver’s door and put my weight against the seat back. The seat cover ripped through, along one of the molded in, fake seams.
Disassembly
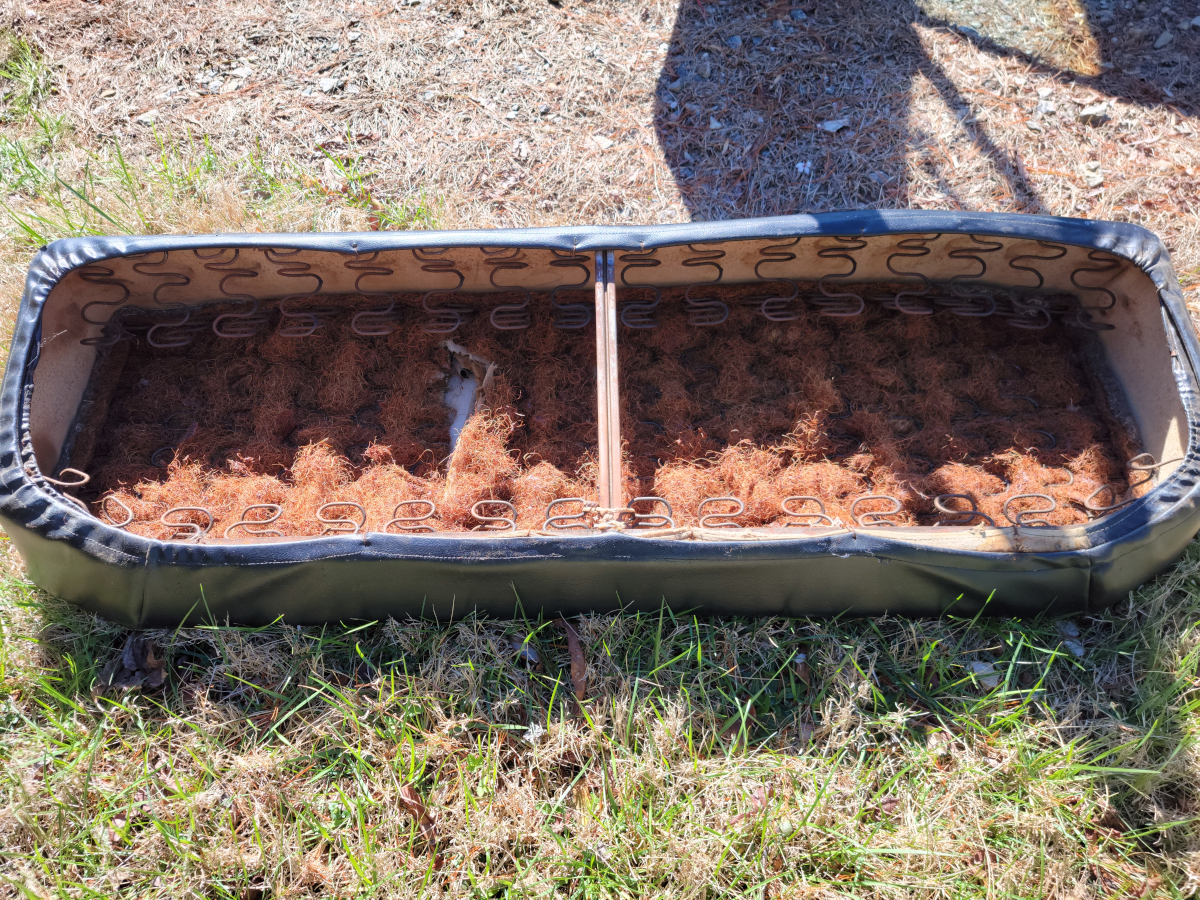
After removing the seat base, it’s easy to see from underneath that it appears to be in similar condition to the front seats.
Removing two bolts from the sides, the seat back was easily removed.
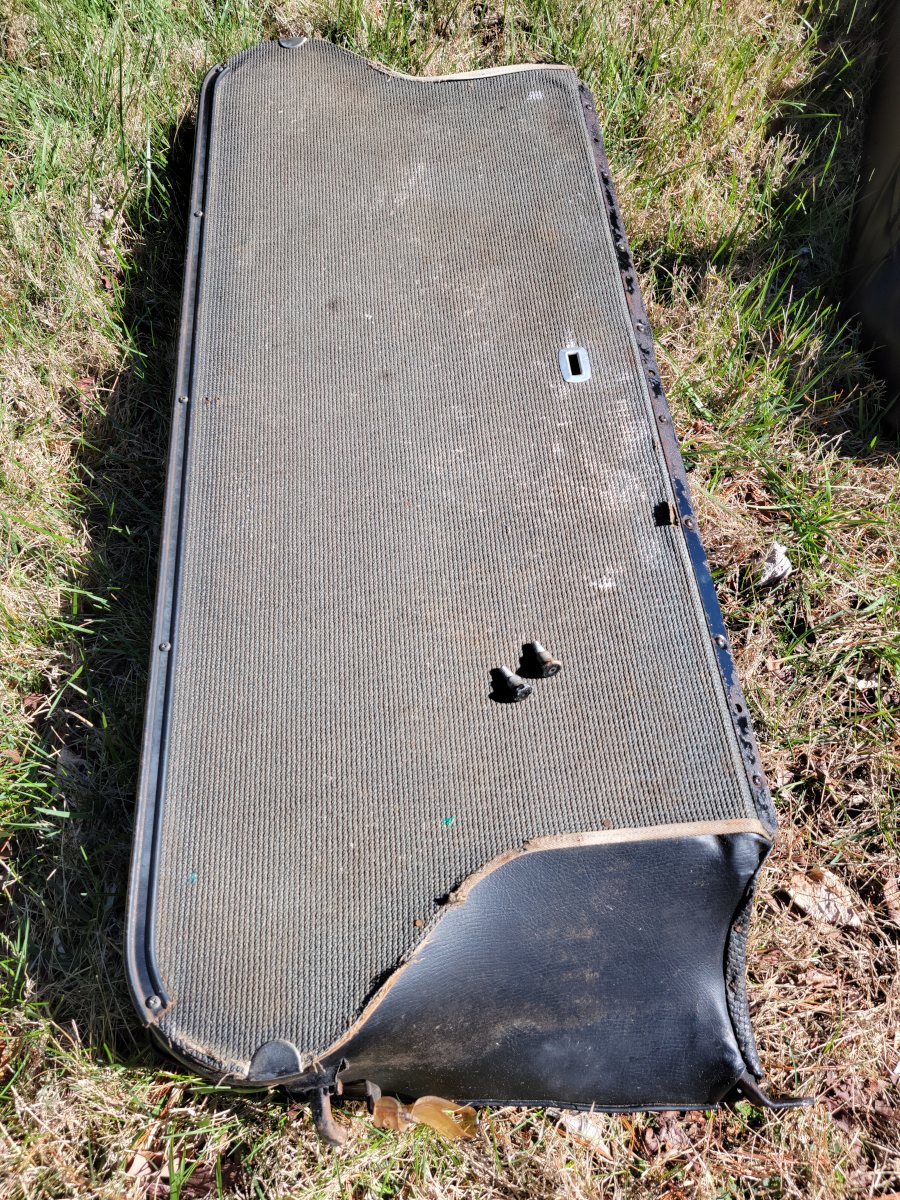
The seat back is closed in with a trim panel, so I won’t know the internal condition until I get that disassembled. I’m expecting more mouse house, based on what I saw in both front seats.
Cleaning up
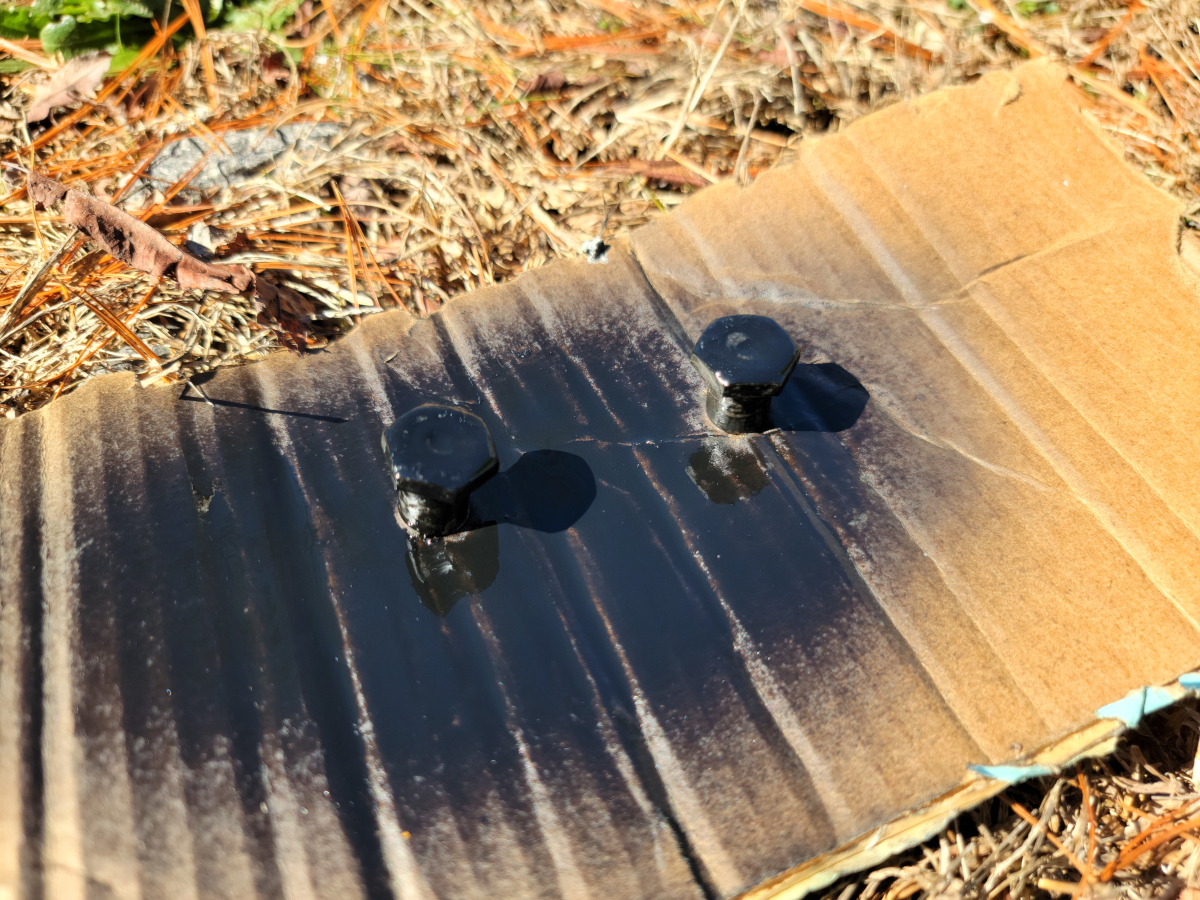
The black paint was mostly flaked off of the bolts, so I took care of that while they were out.
With the seats removed, there’s clearly a mess that needs attention.
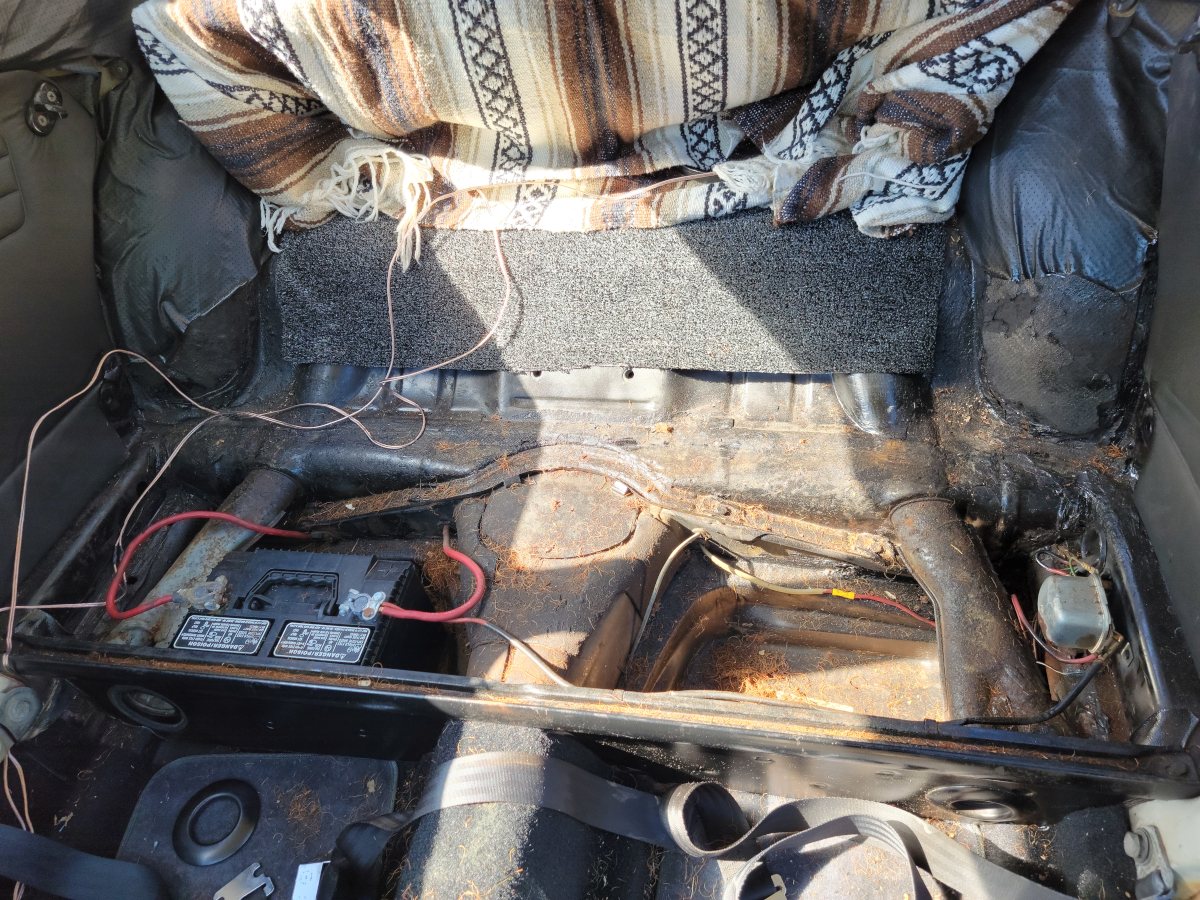
After removing the rear trim pieces in the foot well, I brought out the little shop vac and let it eat.
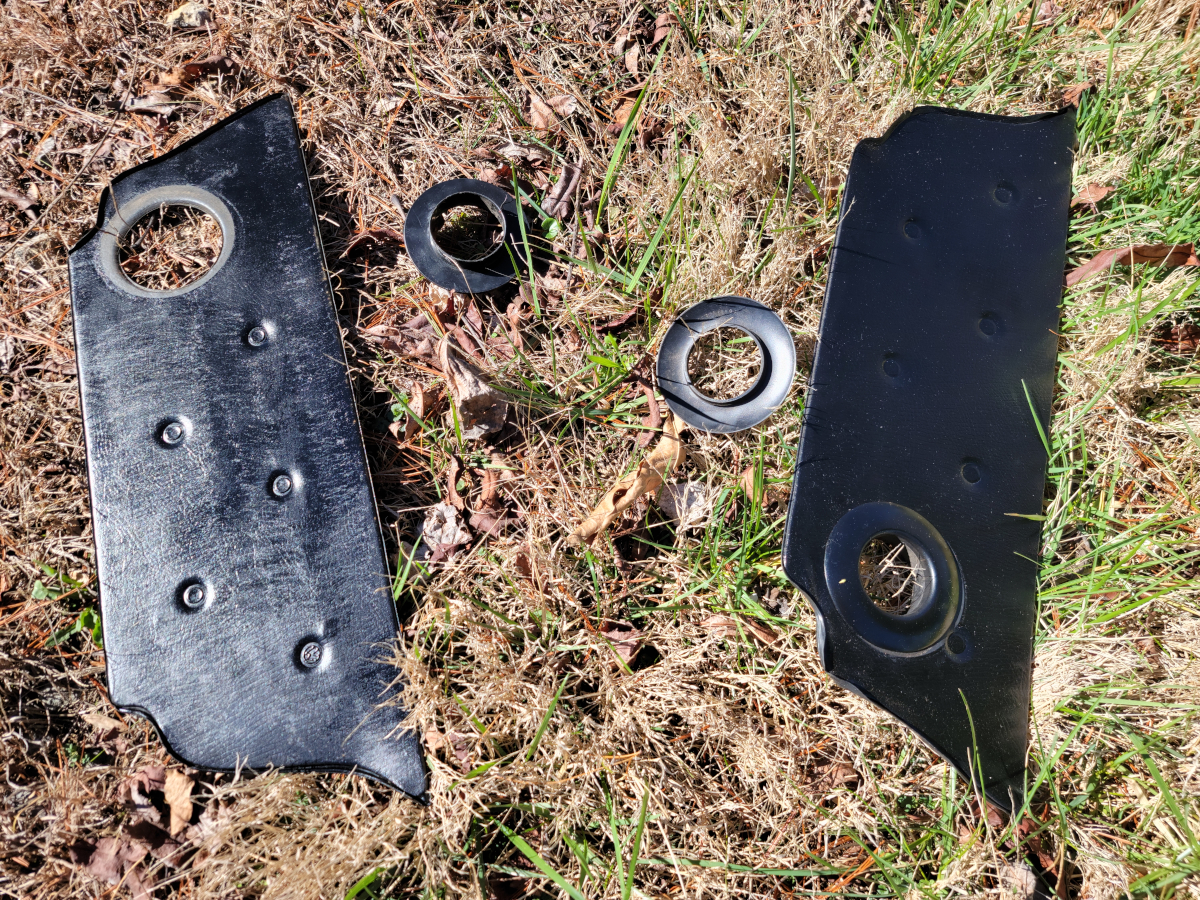
The plastic heater pipe grommet on the passenger’s side is always falling apart. I will need to take a look at that to see if the two halves need to be glued together or something. Otherwise, the panels are in good shape.
I noticed some surface rust on the “new” floor pan under the driver’s seat, which is concerning.
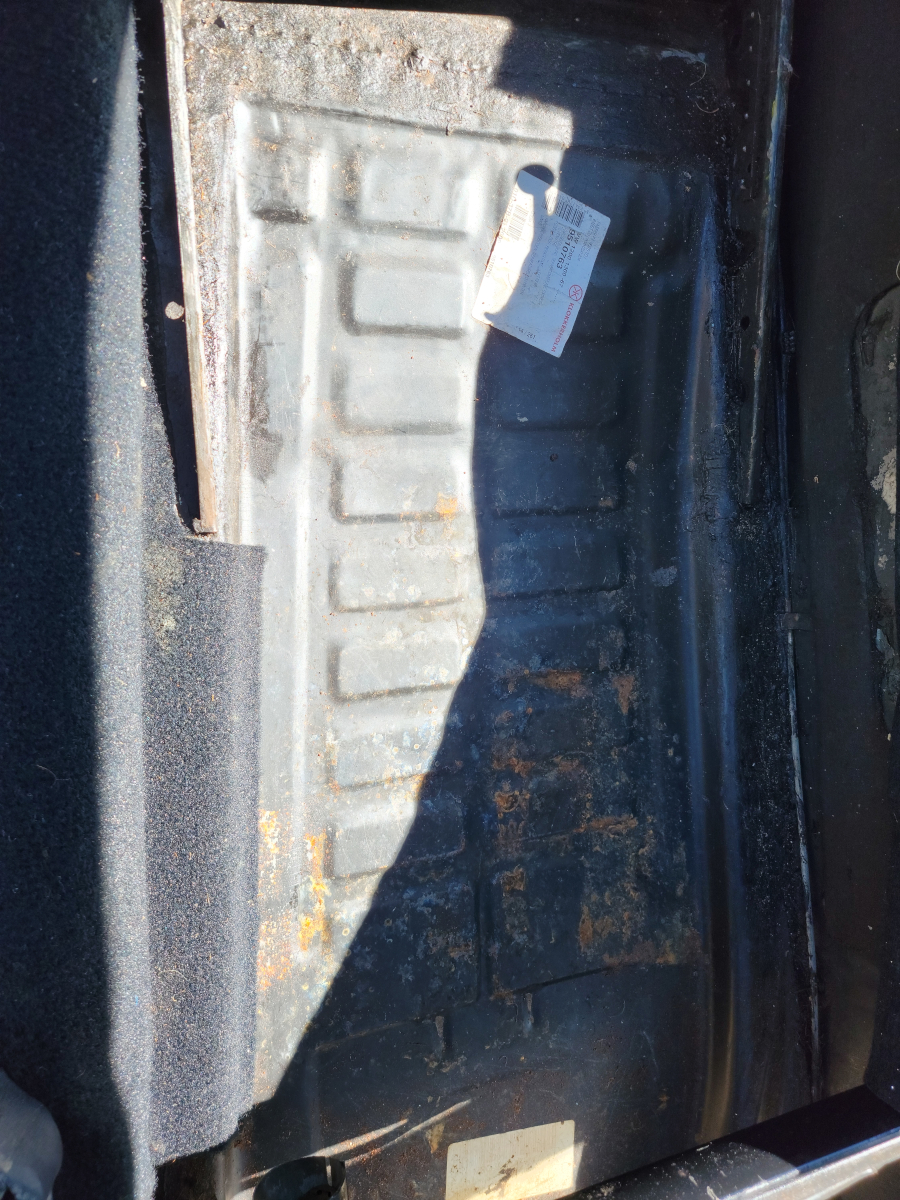
Also, in the driver’s side front foot well, there is a mat glued down, covering the floor board. Peeling back the corner of that, it’s clear why the rear half of the pans were replaced.
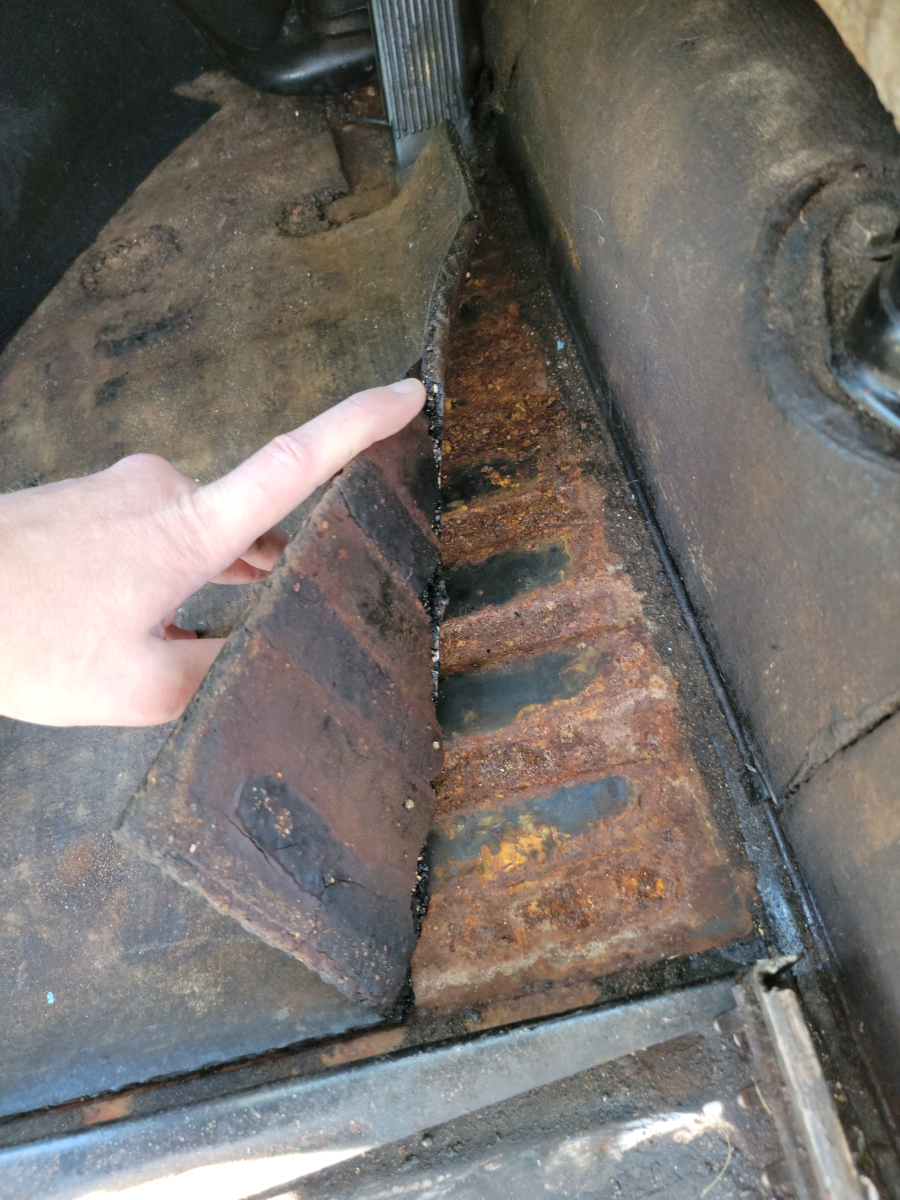
That mat felt to me like something that could be asbestos based and I wasn’t too keen on trying to get the rest of that peeled up, as crumbly as that first corner was. So that’s a job for another day.
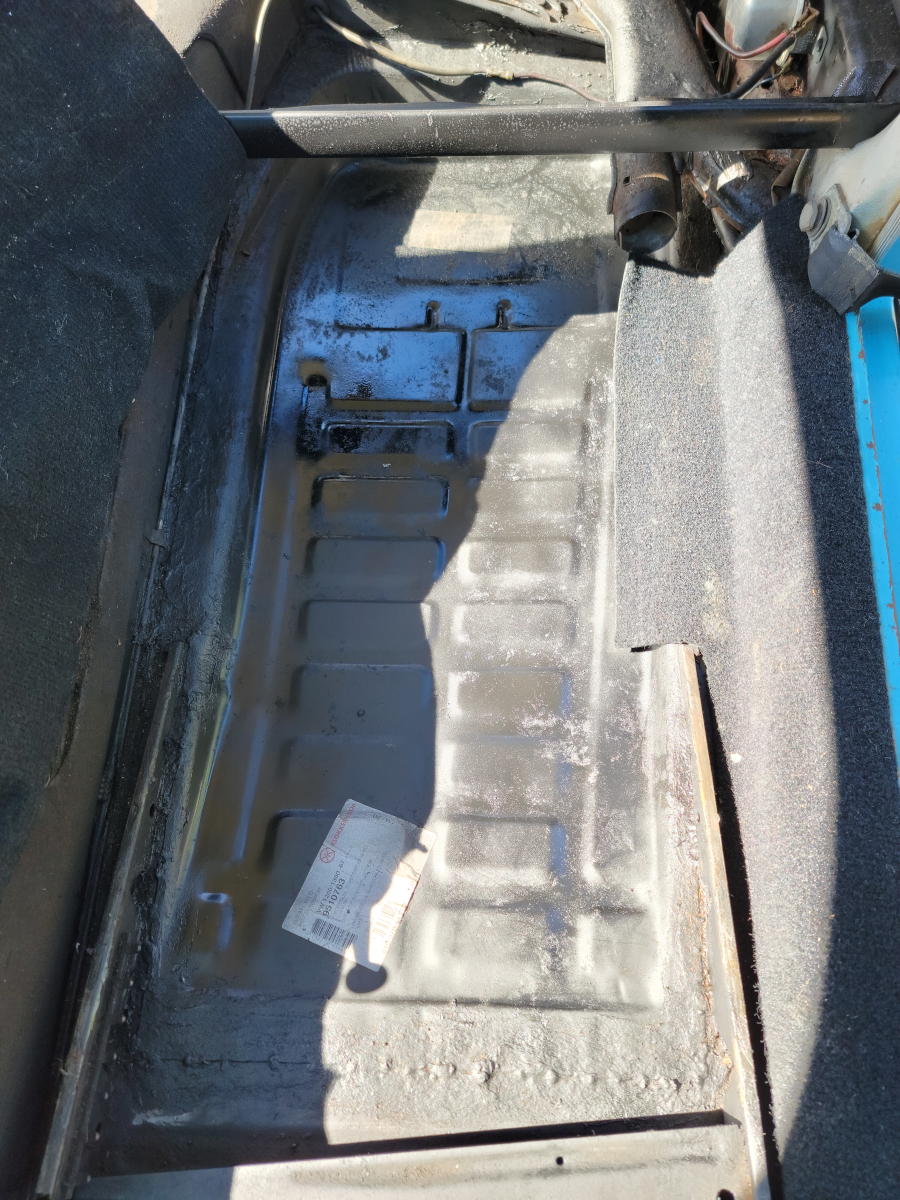
I vacuumed out the now empty interior and sprayed some rust inhibitor (Amazon link) and DE1634 (Amazon link) on the driver’s side floor board.
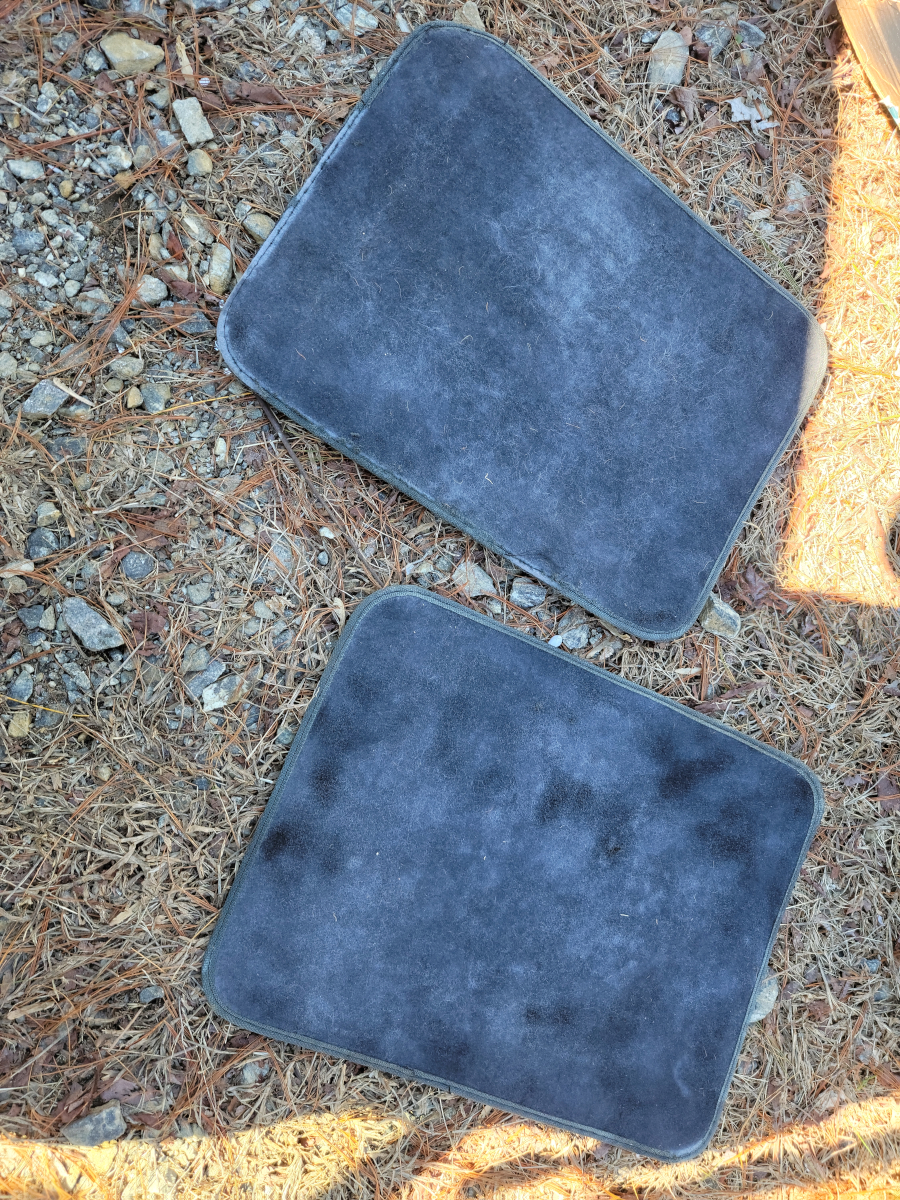
The rear floor mats are the only thing hiding the floor boards in the back. I’m surprised the carpet kit that was previously installed didn’t cover those areas. The floor mats are in OK condition, but were either not black to start with or are very sun faded.
The passenger side floor board didn’t have nearly as much surface rust as the driver’s side, but I went ahead and sprayed rust inhibitor and black paint on it as well.
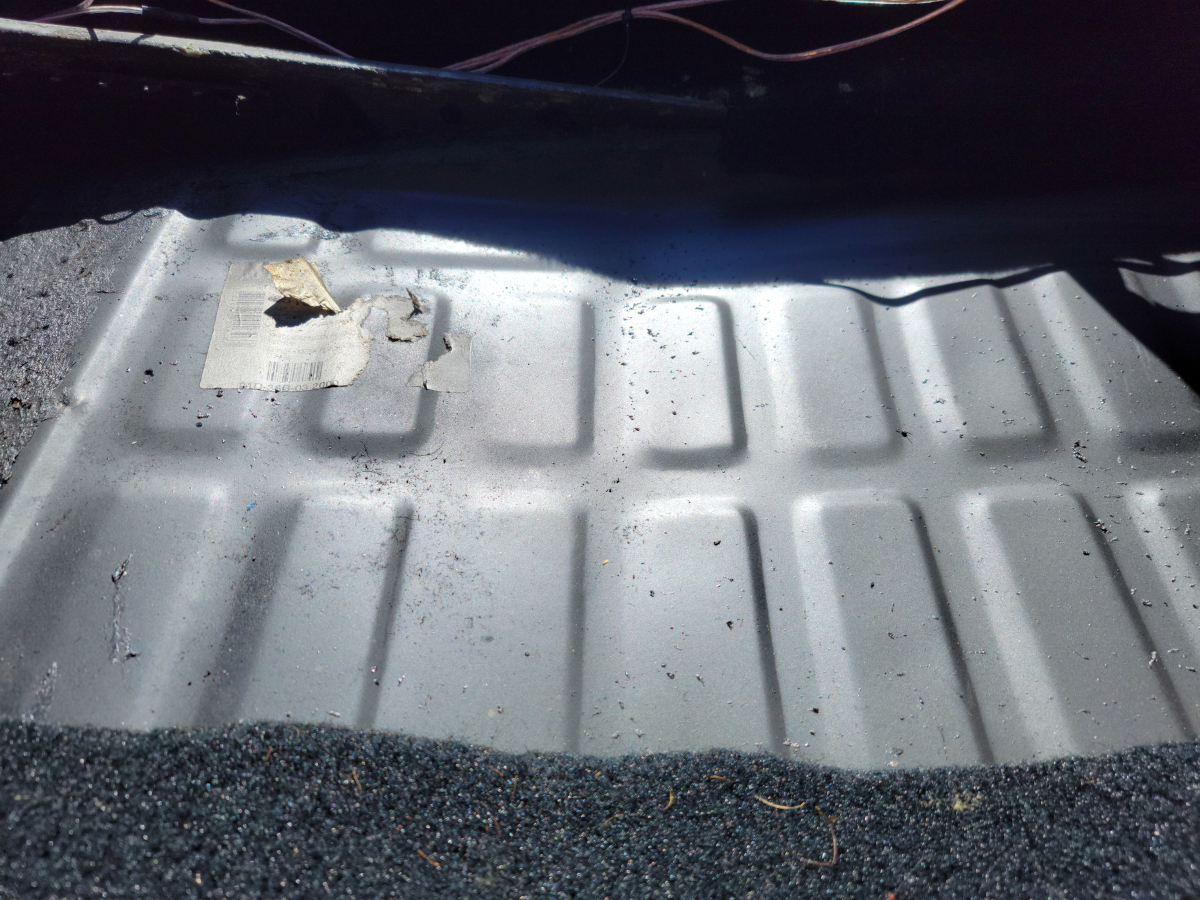
The nozzle of this new can of DE1634 started spitting out chunks, like silly string. You can see bits of it in the picture above. Thinking I must not have shaken the can well enough, which hasn’t ever been an issue with this paint in the past, I shook and shook and shook it some more.
I pulled the rear seat clips off of the pillars to paint them, as the black paint was very thin and chipping on them as well.
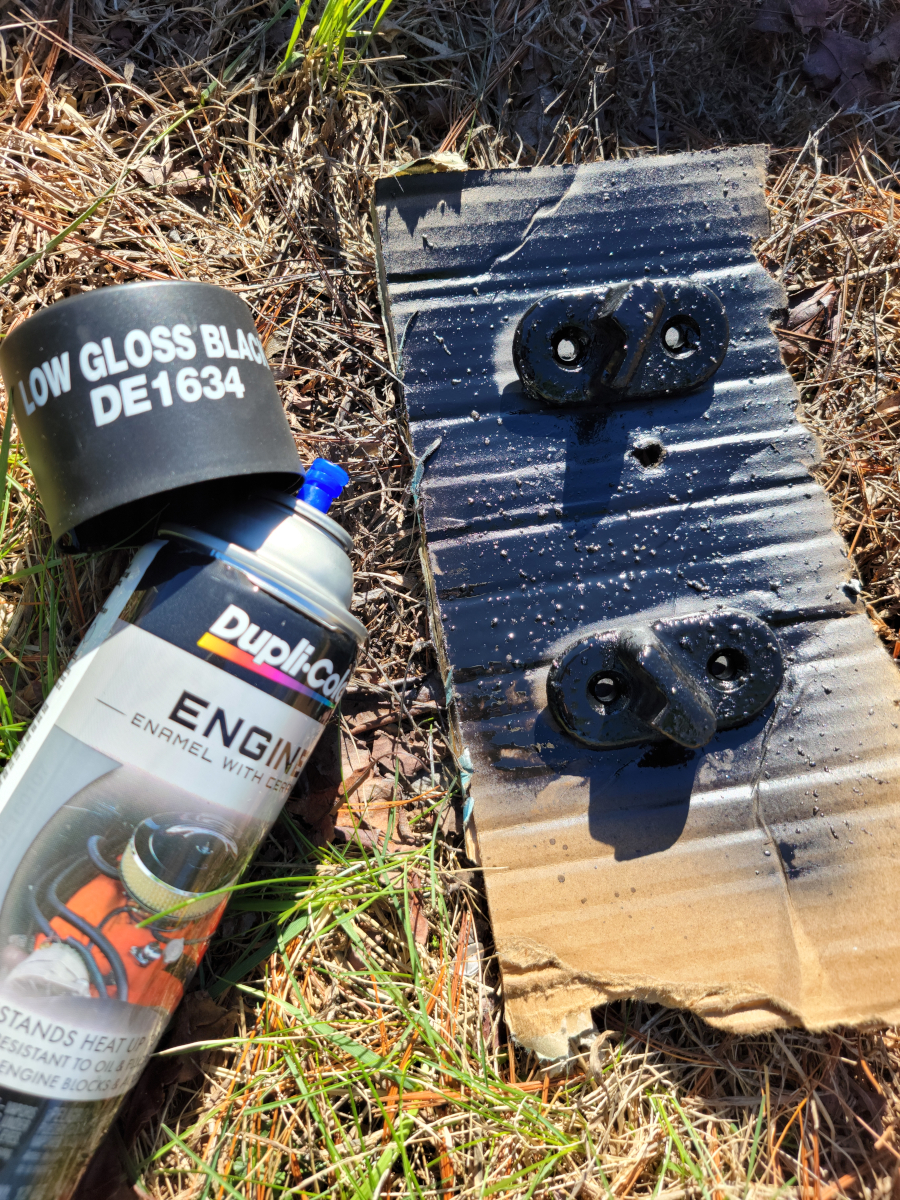
More cheese curds from the spray can. It’s actually getting worse over time. I flipped the can and cleared the nozzle multiple times, shook it some more, but it continued to make silly string.
Reassembly
I couldn’t find any real issue with that plastic heater pipe grommet on the passenger side foot well trim piece, so I snapped it back together and reinstalled them both.
I soldiered on, spraying more rust inhibitor and low gloss black cottage cheese around the exposed interior.
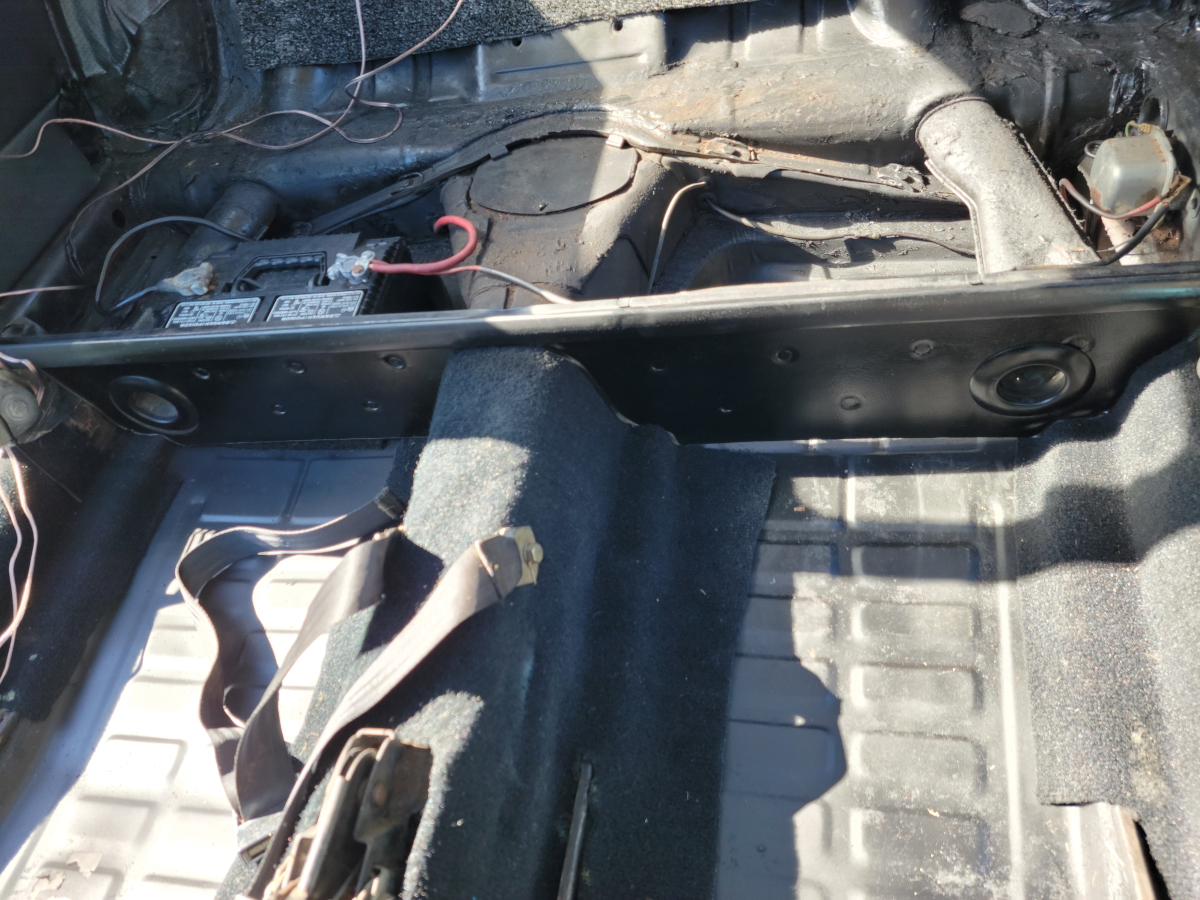
While I was at it, I sprayed the negative battery cable black, since they were both red before. It was always easy to tell which was which. The negative cable goes directly to a body ground and the positive cable has another red wire joined in at the connector.
After removing the rear seats, I needed to make some room for them in the house, while I wait for the upholstery foam to arrive. So I went ahead and reinstalled the front seats.
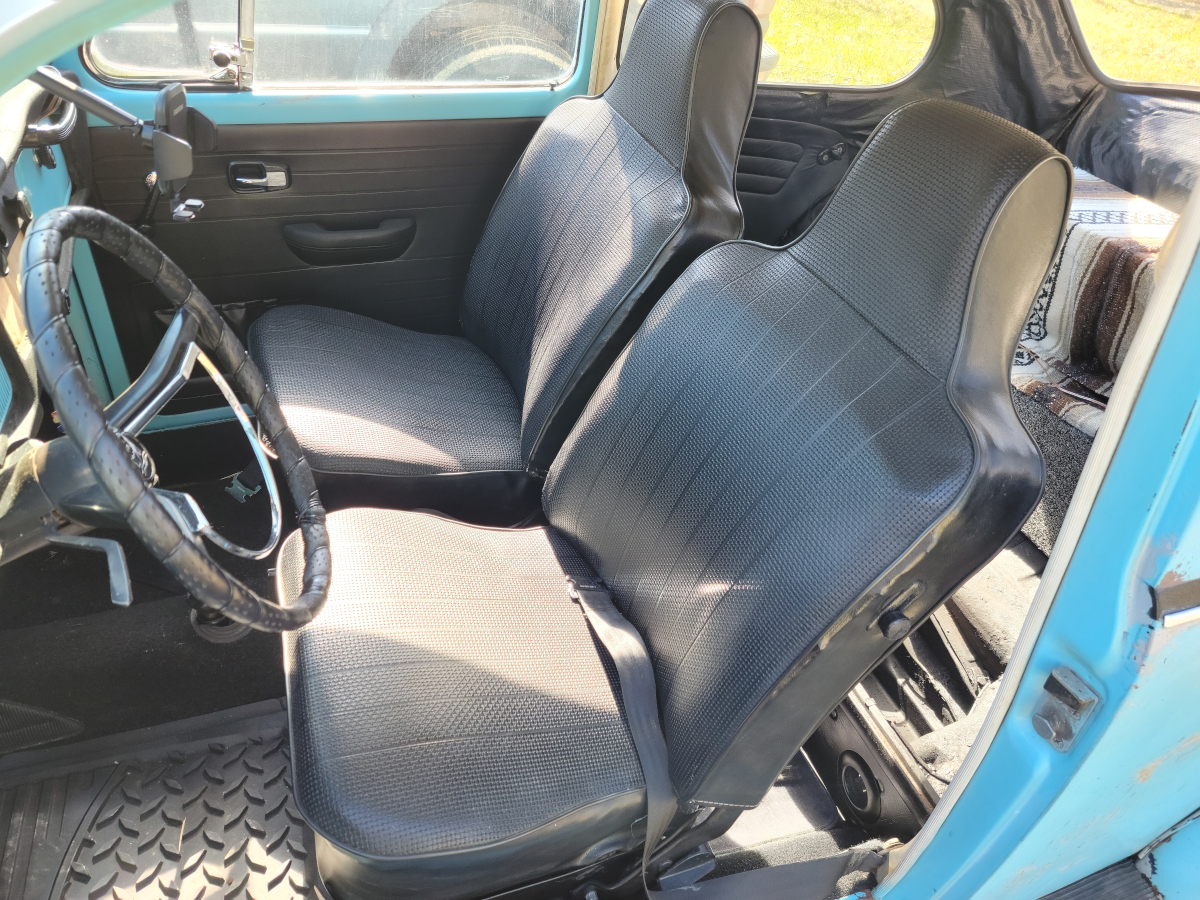
As expected, I’m now sitting a couple of inches higher, but still have plenty of head room. Also, in the driver’s seat, I’ve no longer got to fight an outside lean toward the window.
Mission Front Seats were a success!