
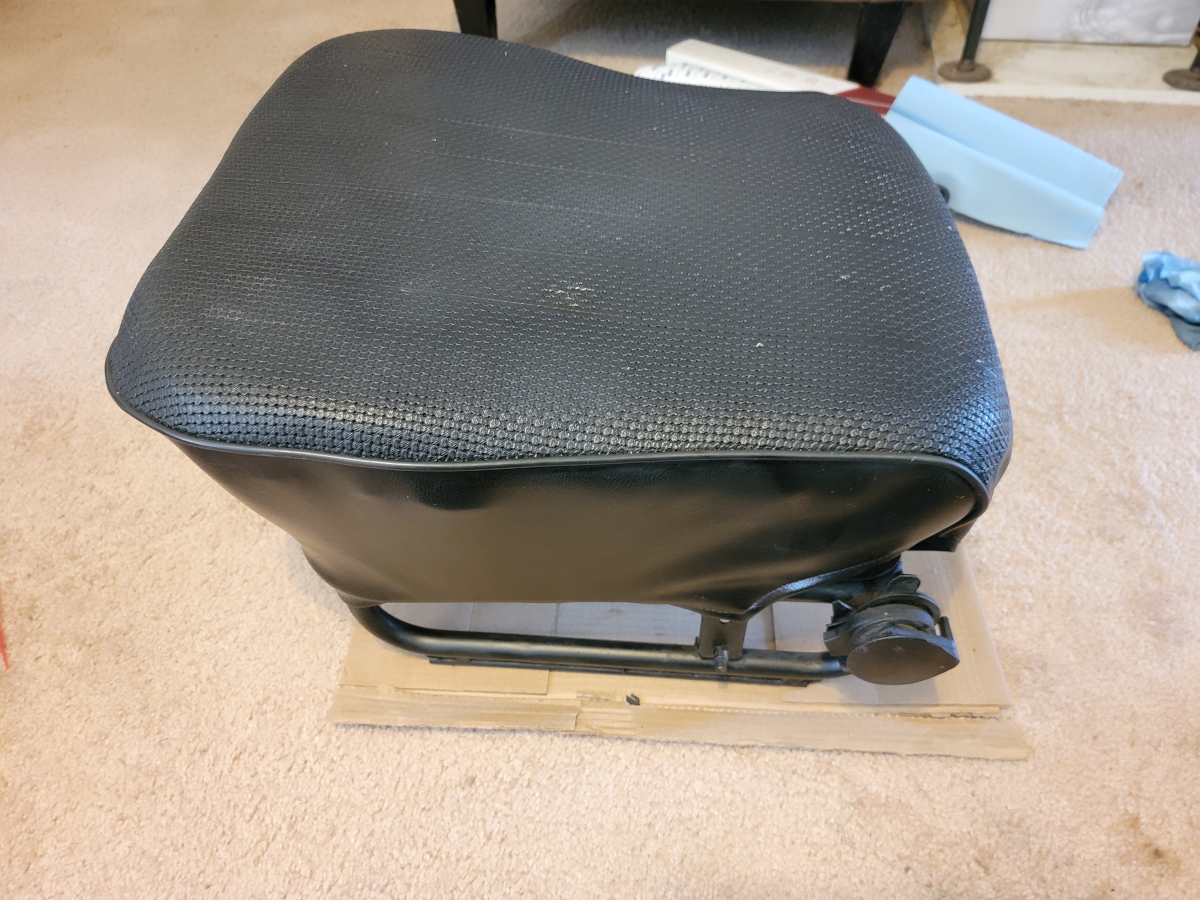
After last weekend’s front seat refinishing progress in Inside the Driver’s Seat and Driver’s Seat Part 2, I had been looking forward to the weekend, to be able to dig back in to refinishing the seats. Saturday was a rain out, but Sunday was a sunny treat. I pulled the front passenger seat out and started disassembling it on the front porch.
Deconstruction
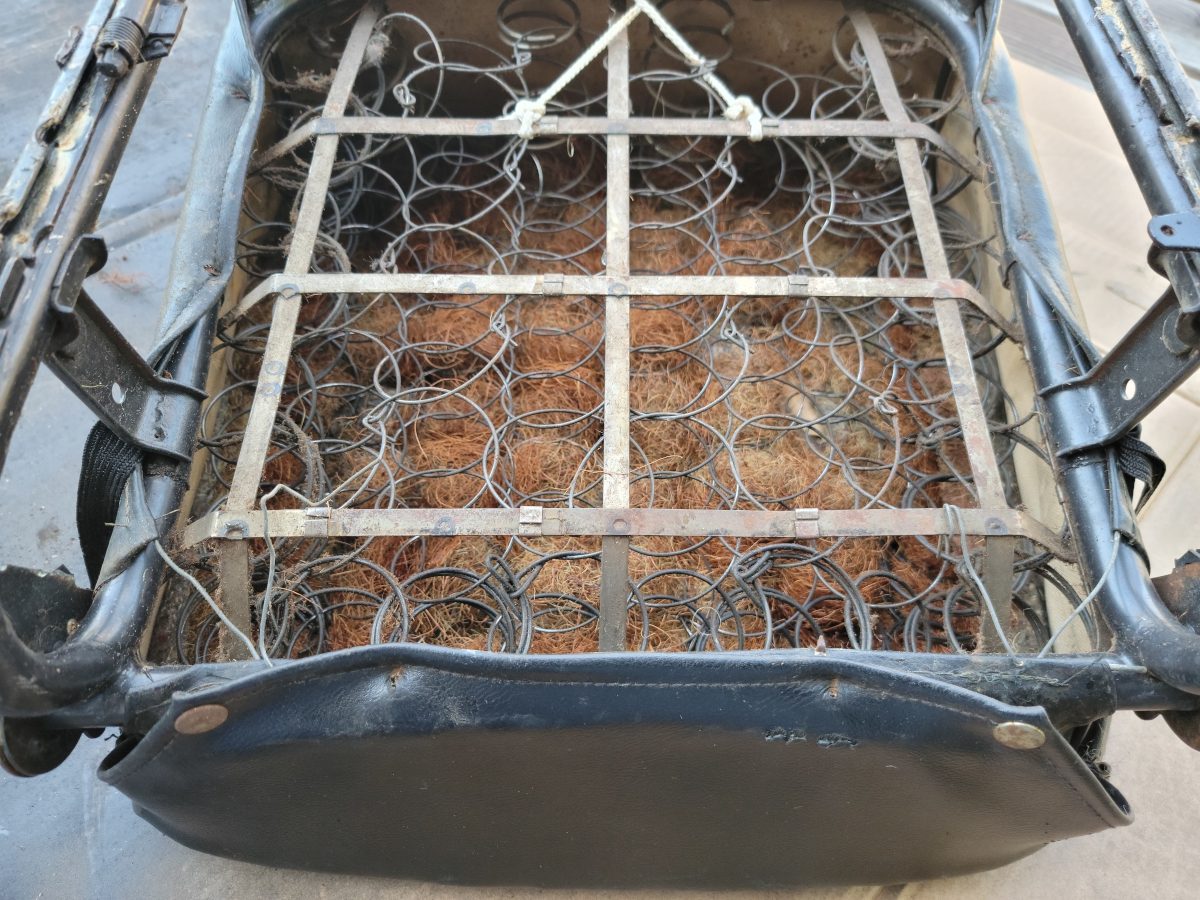
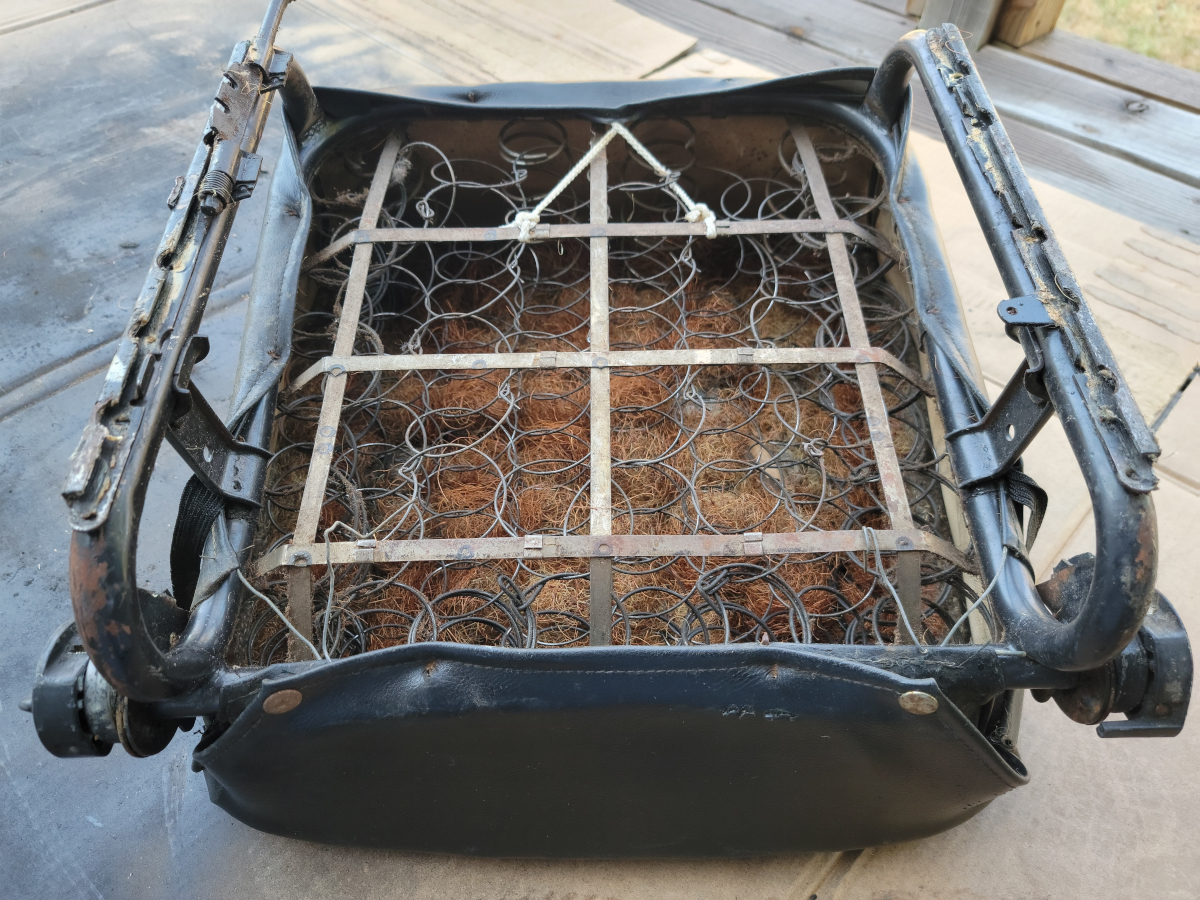
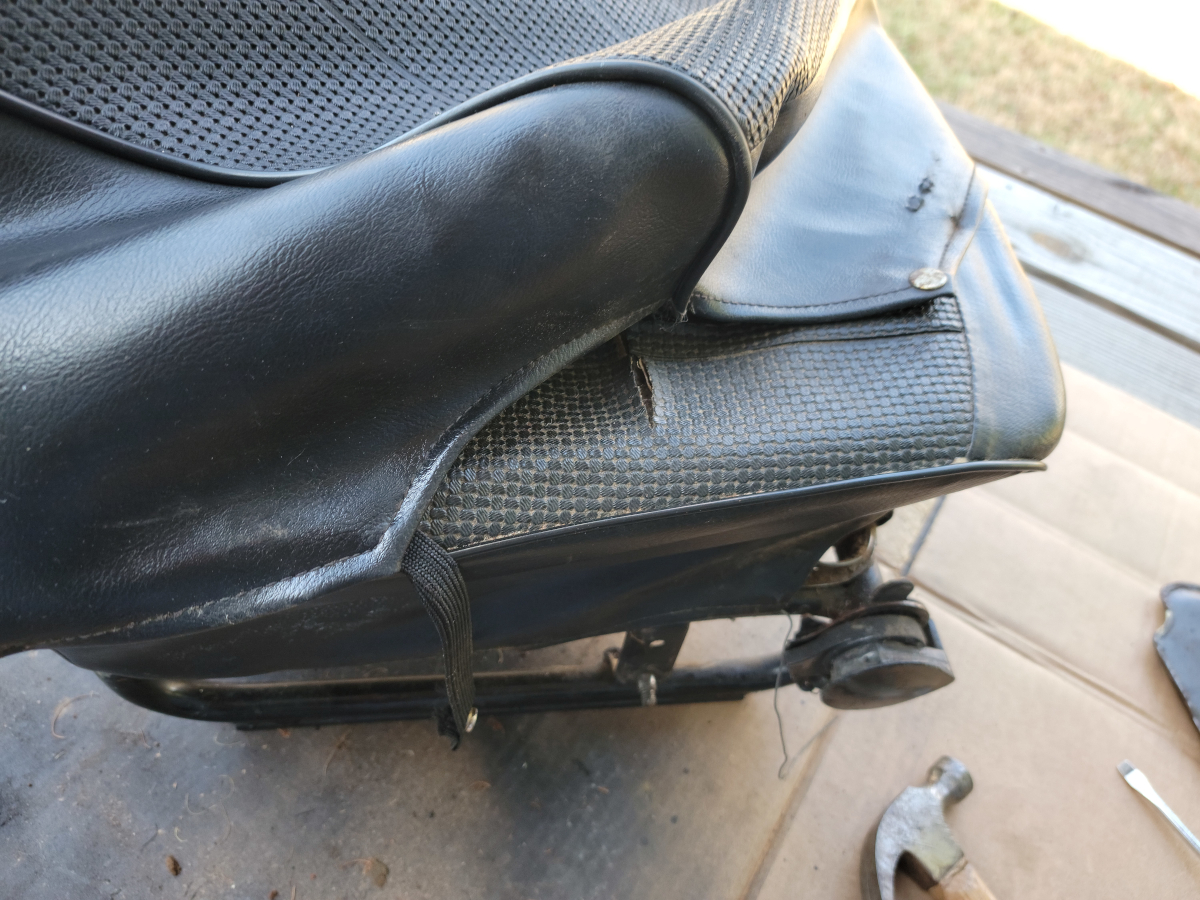
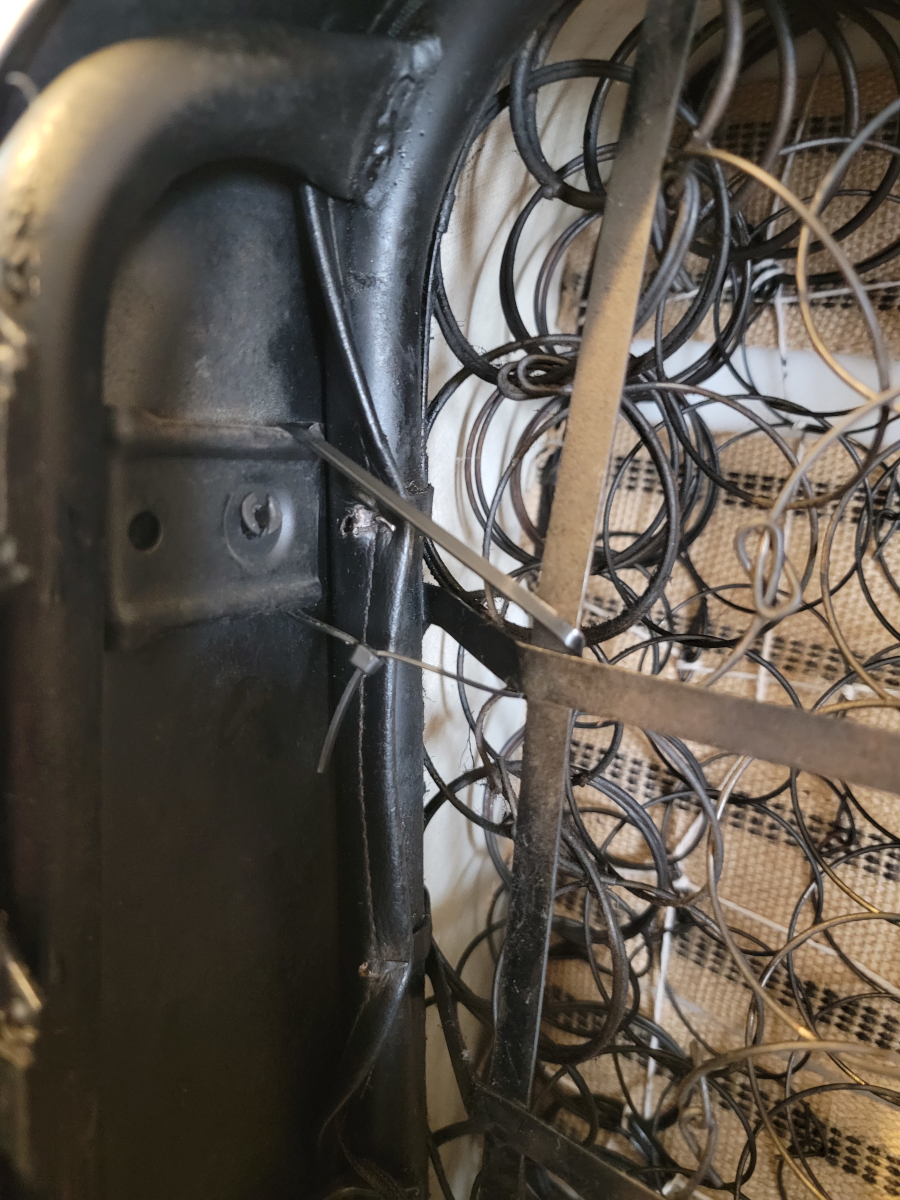
I saw some green bubble wrap showing through from the underside of the seat. There also appeared to be some mechanic’s wire of a decent thickness twisted up, tying the seat cover on. That would require some more investigation.
As I started unfolding the little prongs to release the seat cover, one on the back side of the seat base popped off.
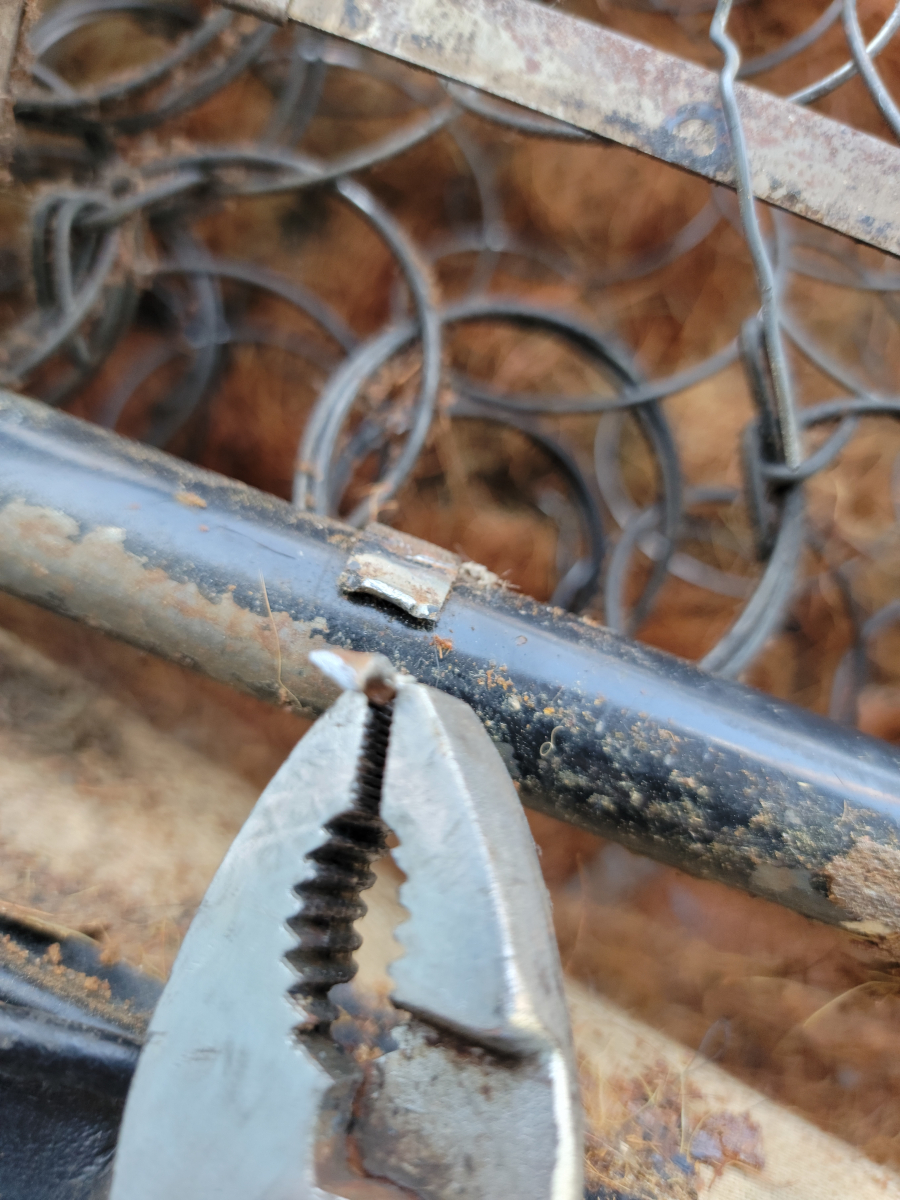
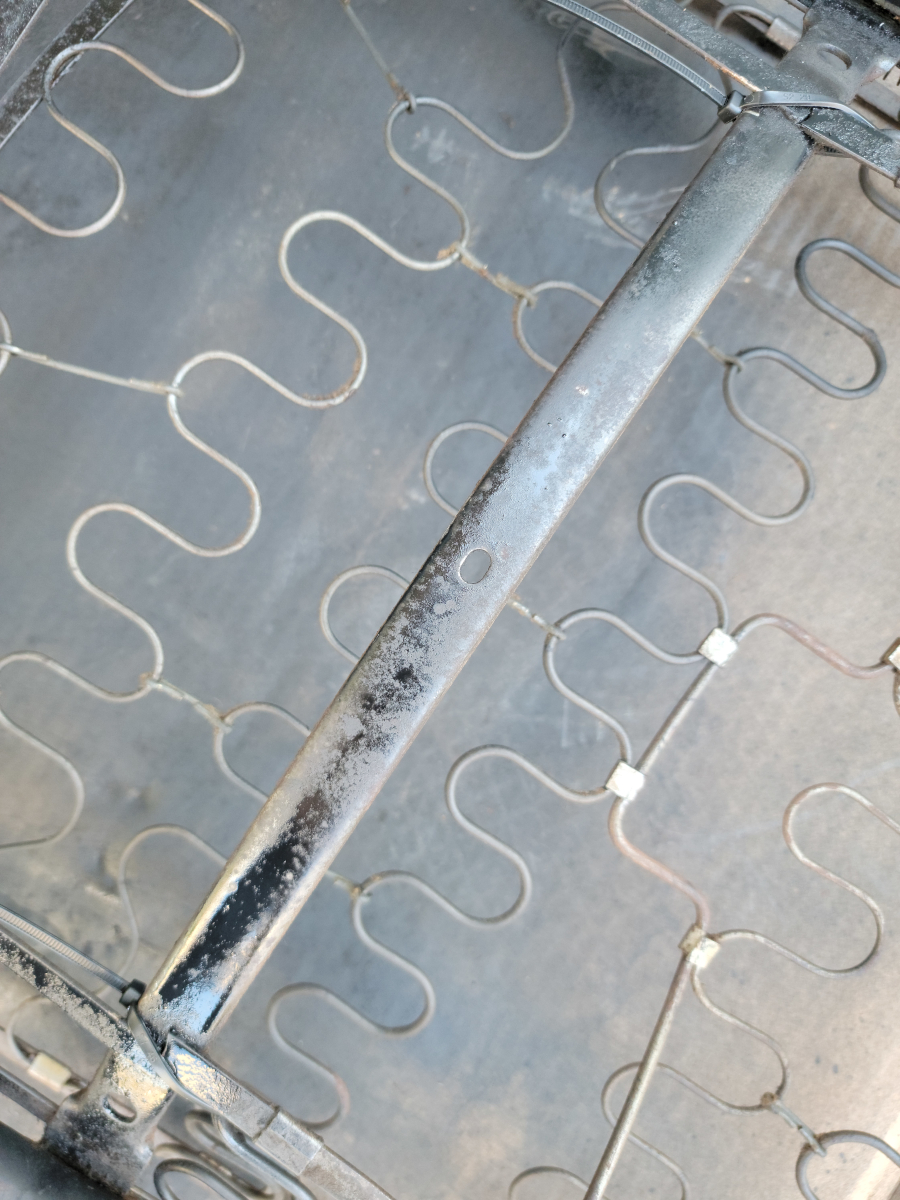
I pulled the metal trim piece off the side of the seat. It was missing the rotating metal bracket that holds the back half in place. It looks like someone had previously tried to put a plastic GM push button trim thing in there, but it was broken off.

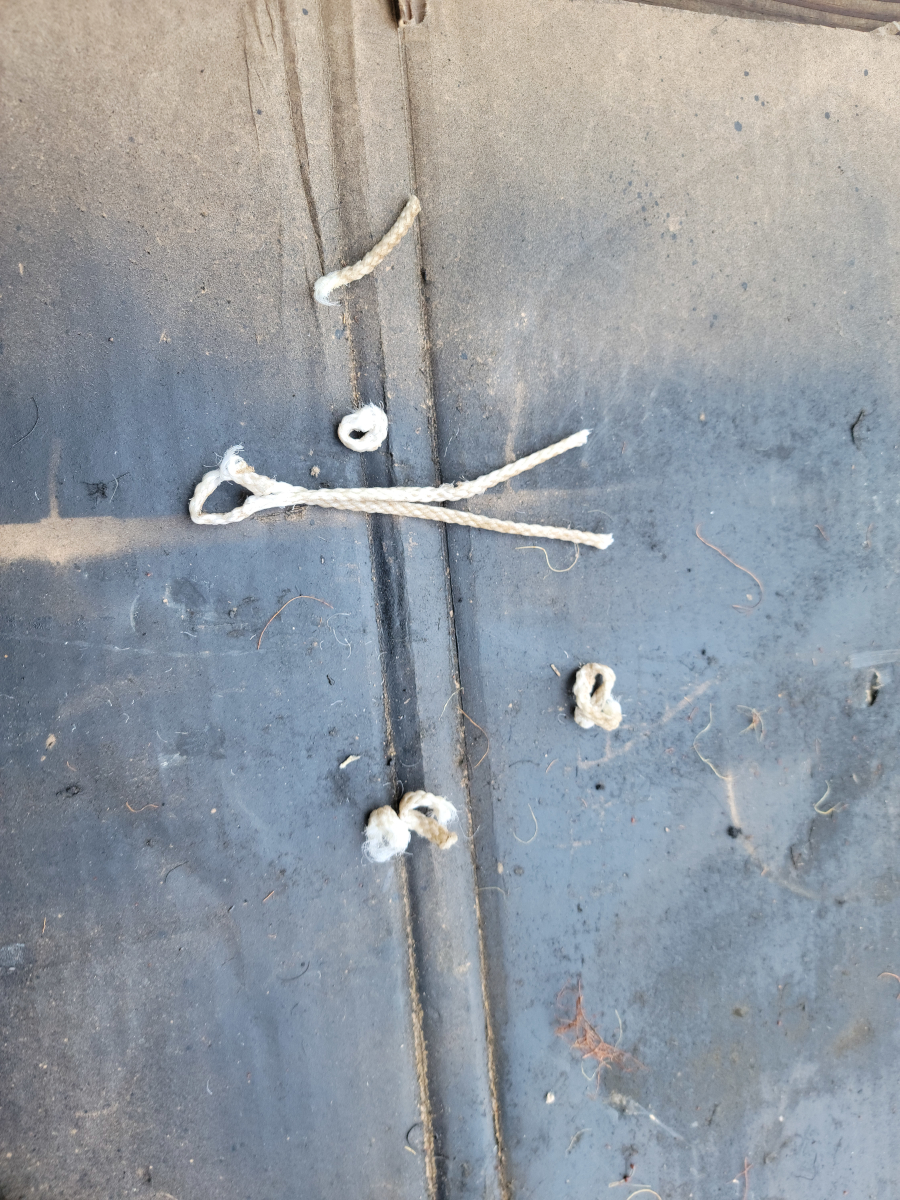
This passenger side seat cover also had the tie down strings in the front, though they were tied differently than those on the driver’s side. When I tried to untie the knots, they quickly fell to pieces, just like the ones on the driver’s seat.
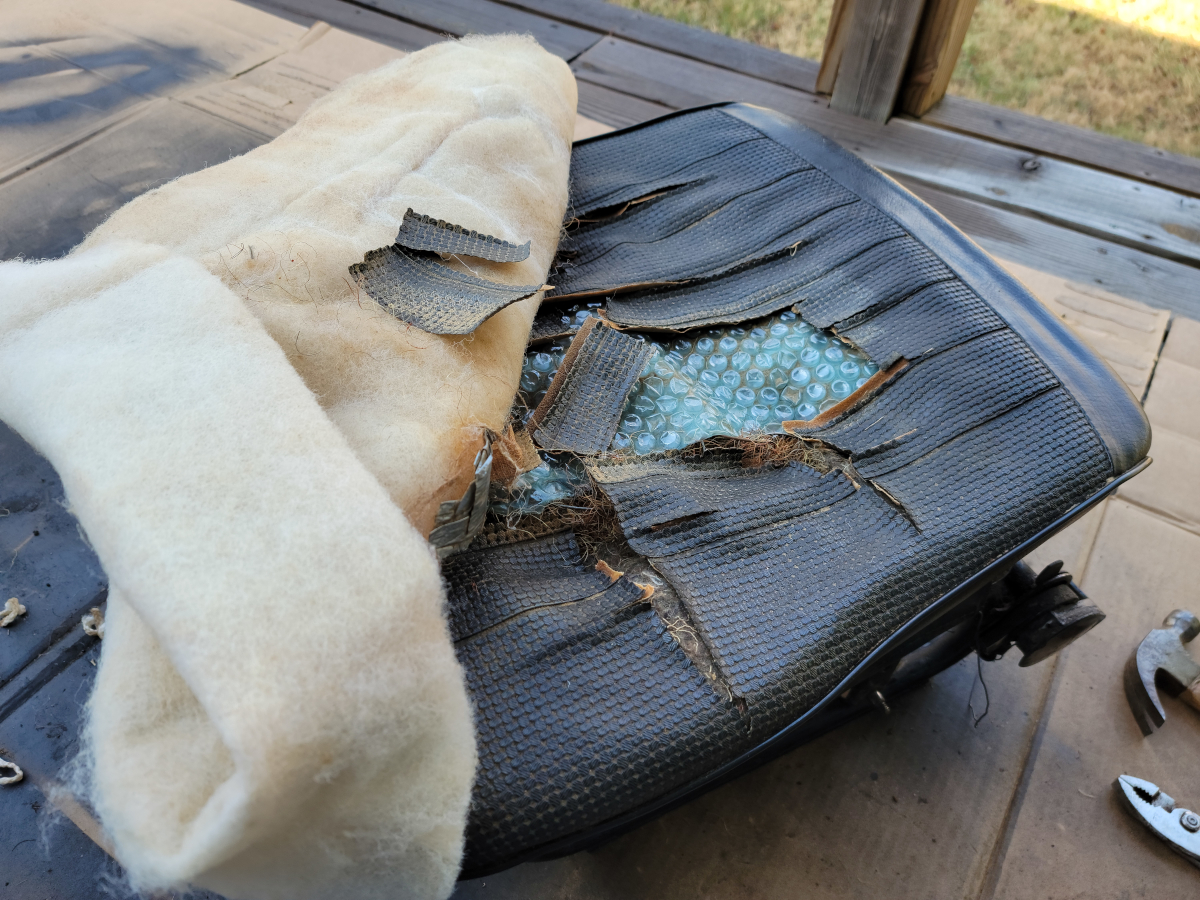
When I had everything disconnected and started peeling back the vinyl seat cover, I found another hat on a hat type situation.
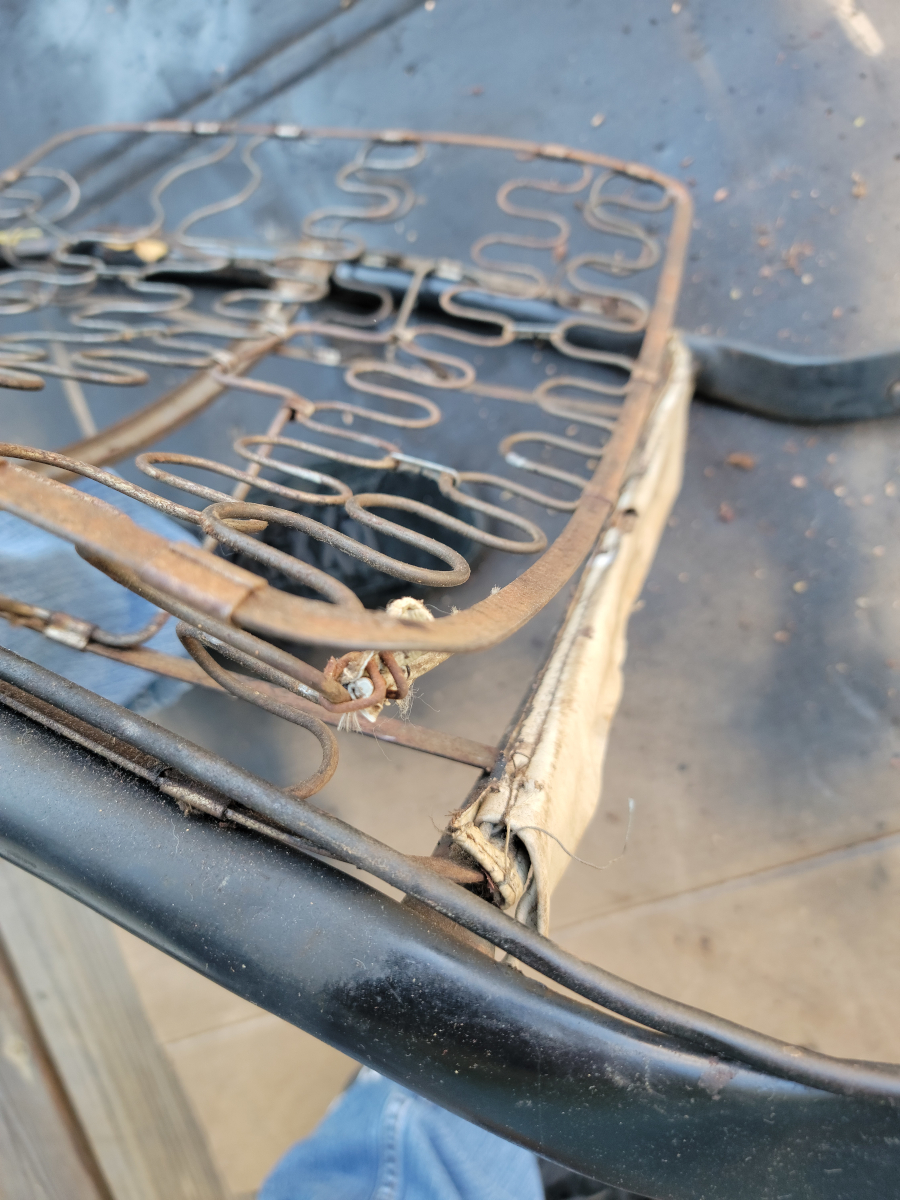
I got the seat base all stripped down and brushed it clean. I used all my brake parts cleaner spray last weekend and hadn’t been back to the parts store to pick up some more. I’m sure it will be fine.

Friends, let me just say that most of the DE1634 paint (Amazon link) I sprayed never actually set. My experience on the driver’s side was after emptying a can of brake parts cleaner into/onto the seat frame, the paint stuck like glue. Also, I have sprayed that engine enamel on the oily, dirty underside of the car many times with no issues.
Here on the passenger side, five hours after spraying the paint, it was still gelatinous and quickly became a mess I had to deal with.
Moving on to the seat back, I stripped it all down and there was only a trace of the two tone tan seat back cover like the driver’s side seat back had. It appears the prior seat back cover was just quickly cut off at some point.
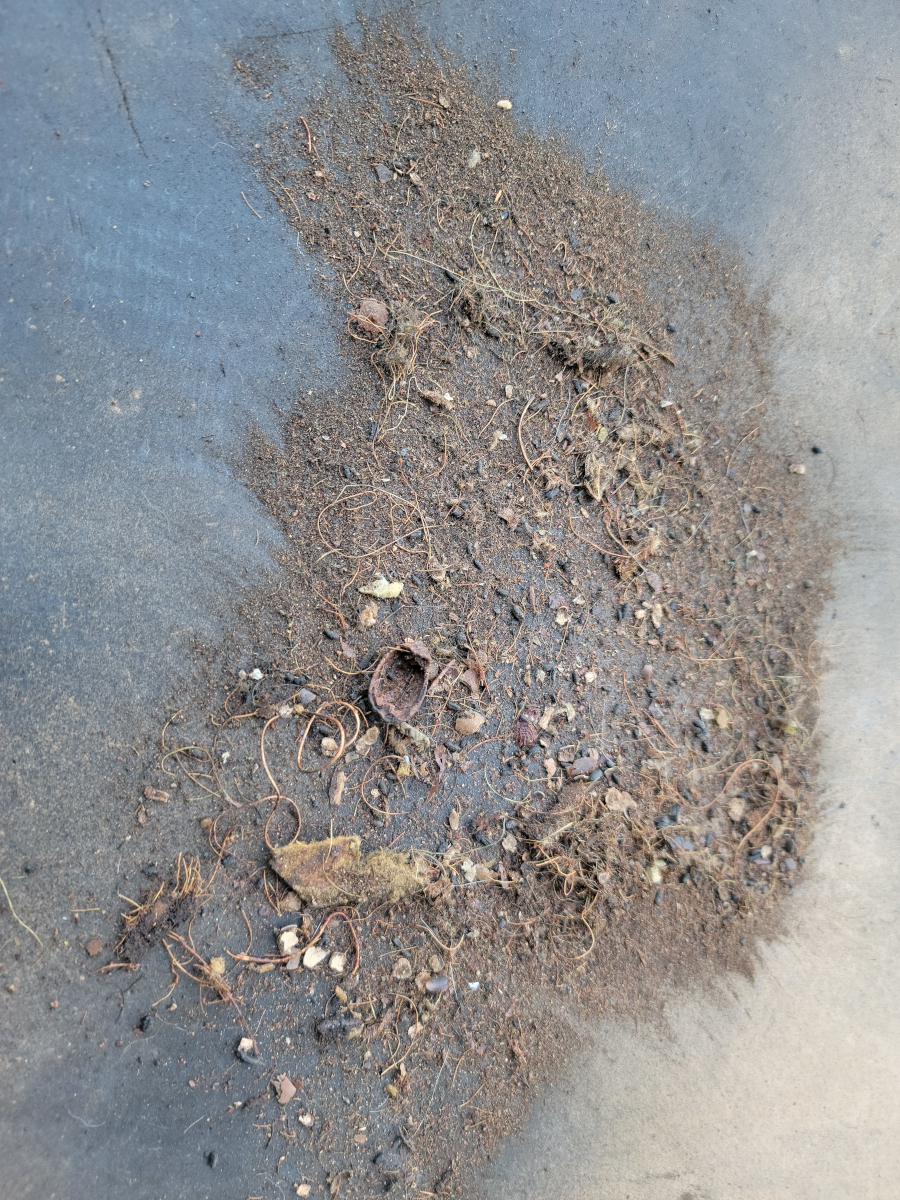
It did have the same traces of mouse house, with chewed up acorn shells or whatever, as the driver’s side, as seen here, after sweeping up.
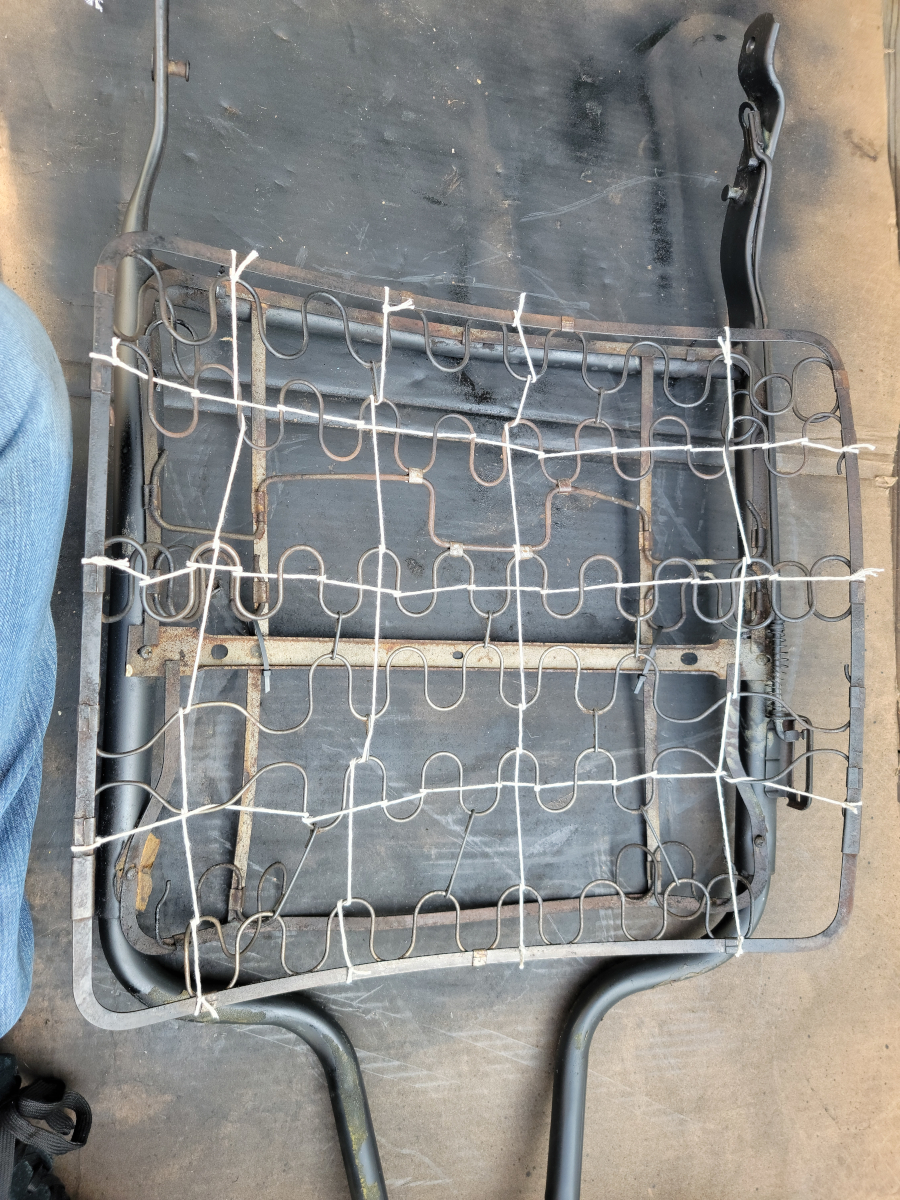
The seat back had the same broken braces as the driver’s side, though these didn’t have the additional broken welds. I zip-tied them together.
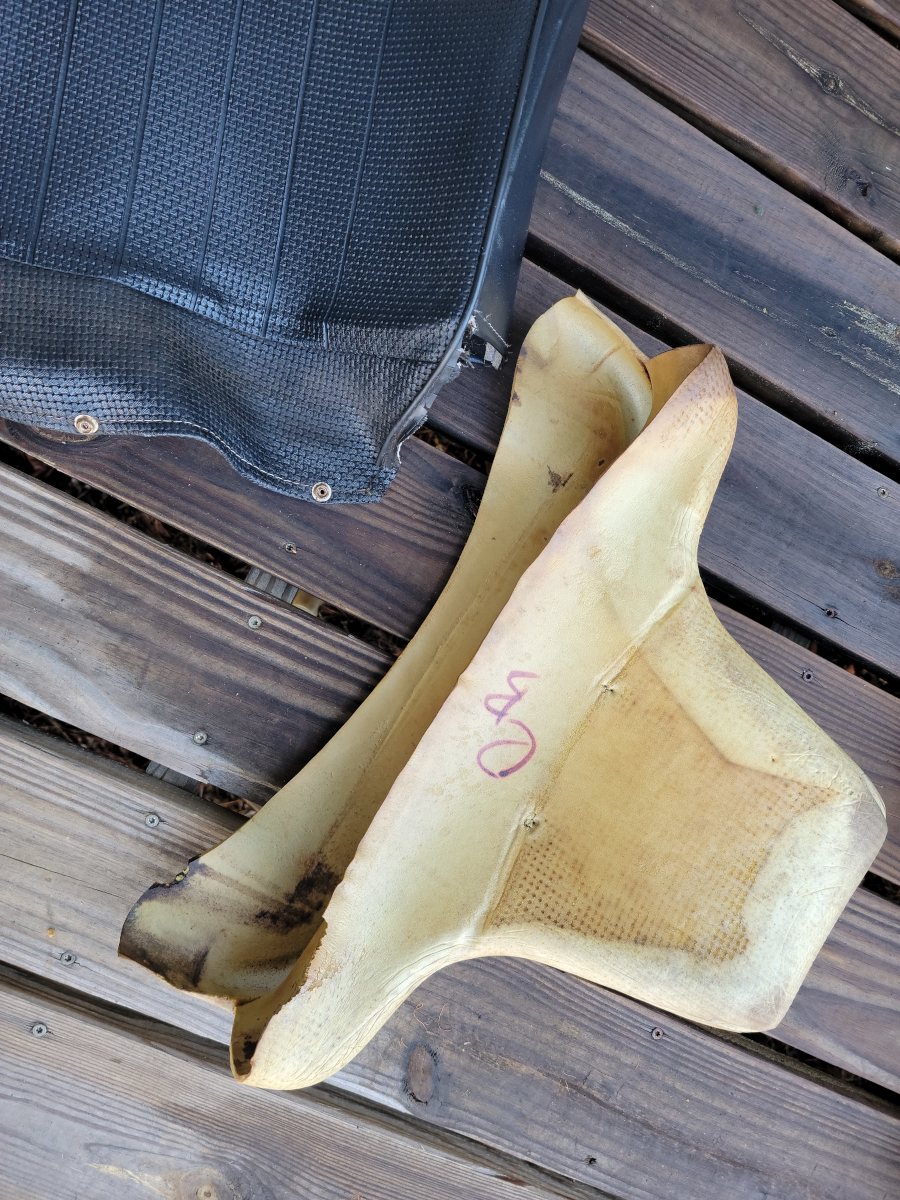
It also had the same surprisingly high quality foam headrest in surprisingly good condition that the driver’s side side had.
Rebuilding
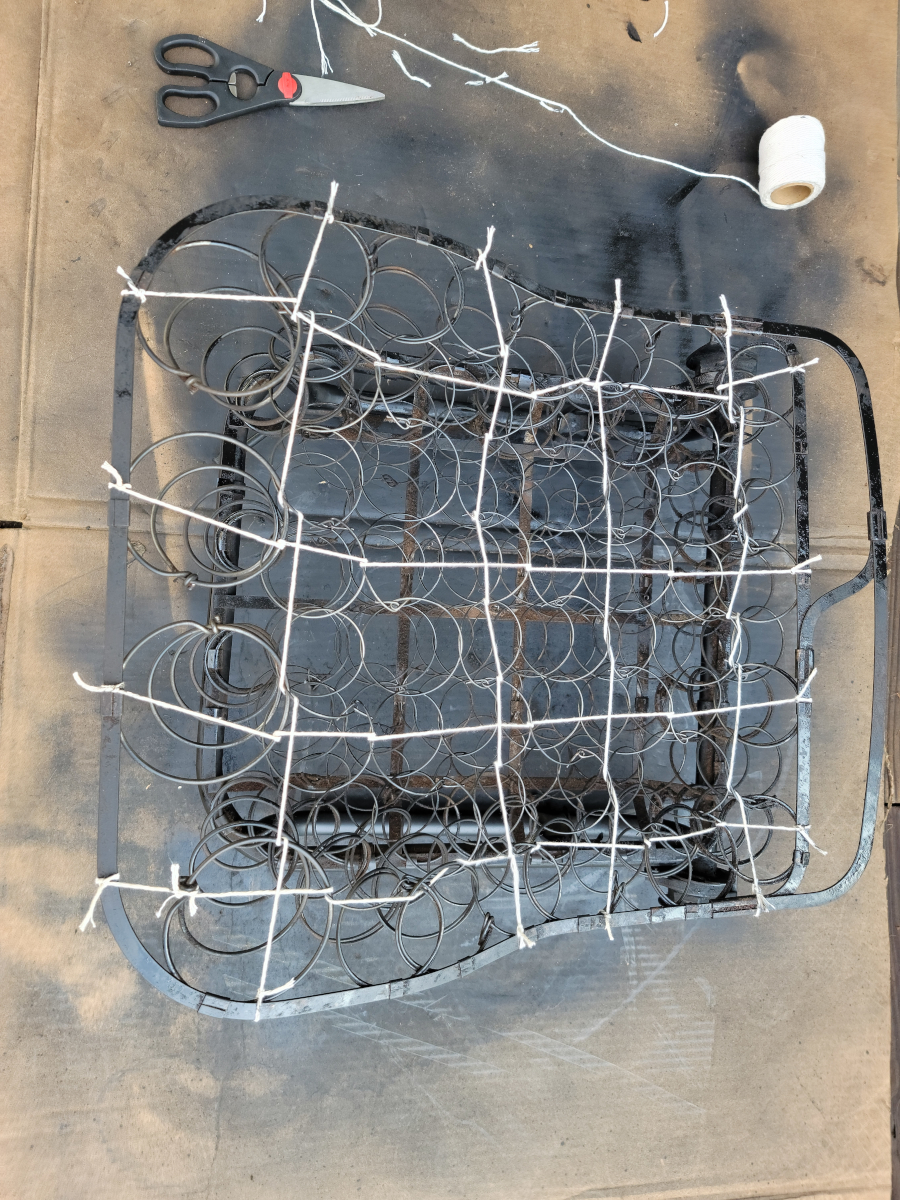
I performed the act of tying twine into a grid on both the seat base and back.
I then hog-ringed some jute webbing across the seat base and back, but apparently forgot to take a picture of the seat back. Still wet/forever wet paint is visible in this picture.

Next up, I cut another panel off of that dishwasher box to flatten the back of the seat and zip-tied it on.
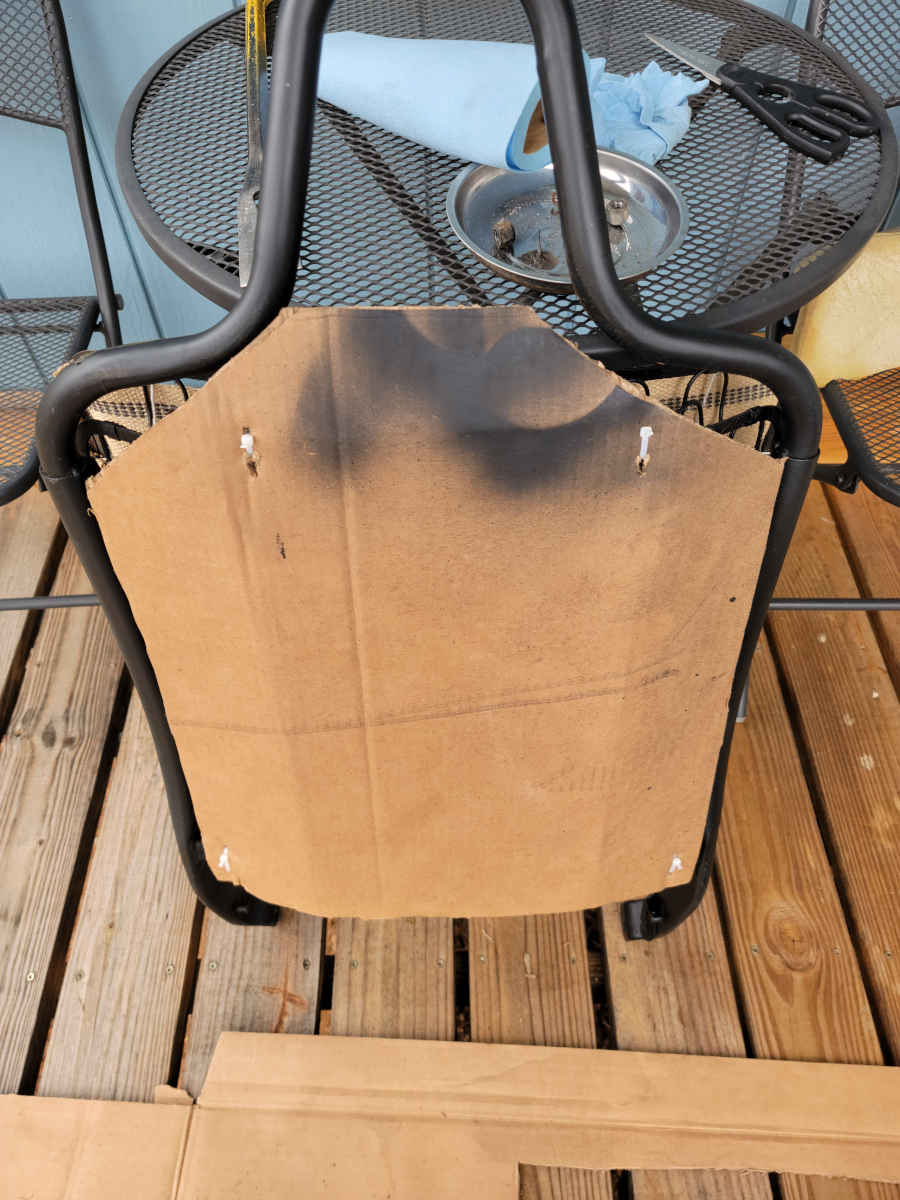
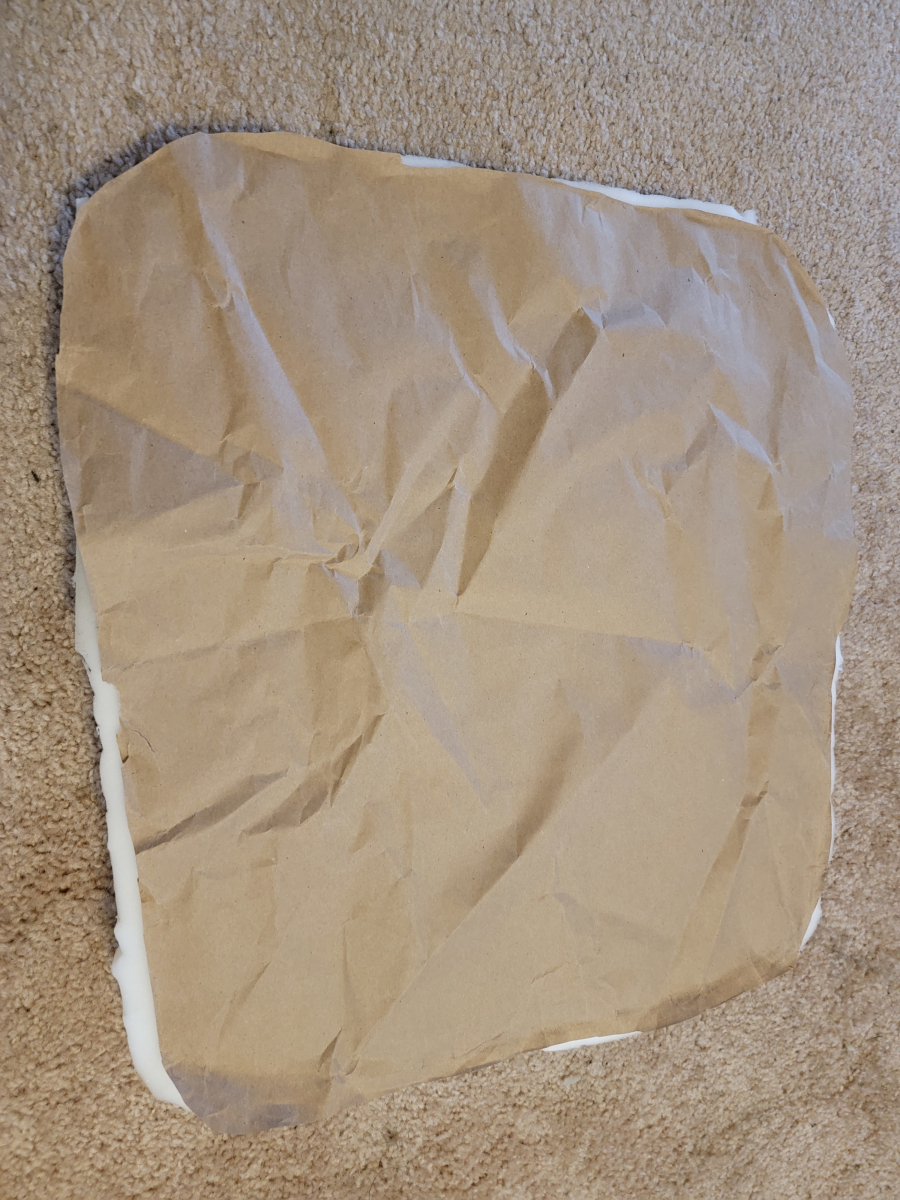
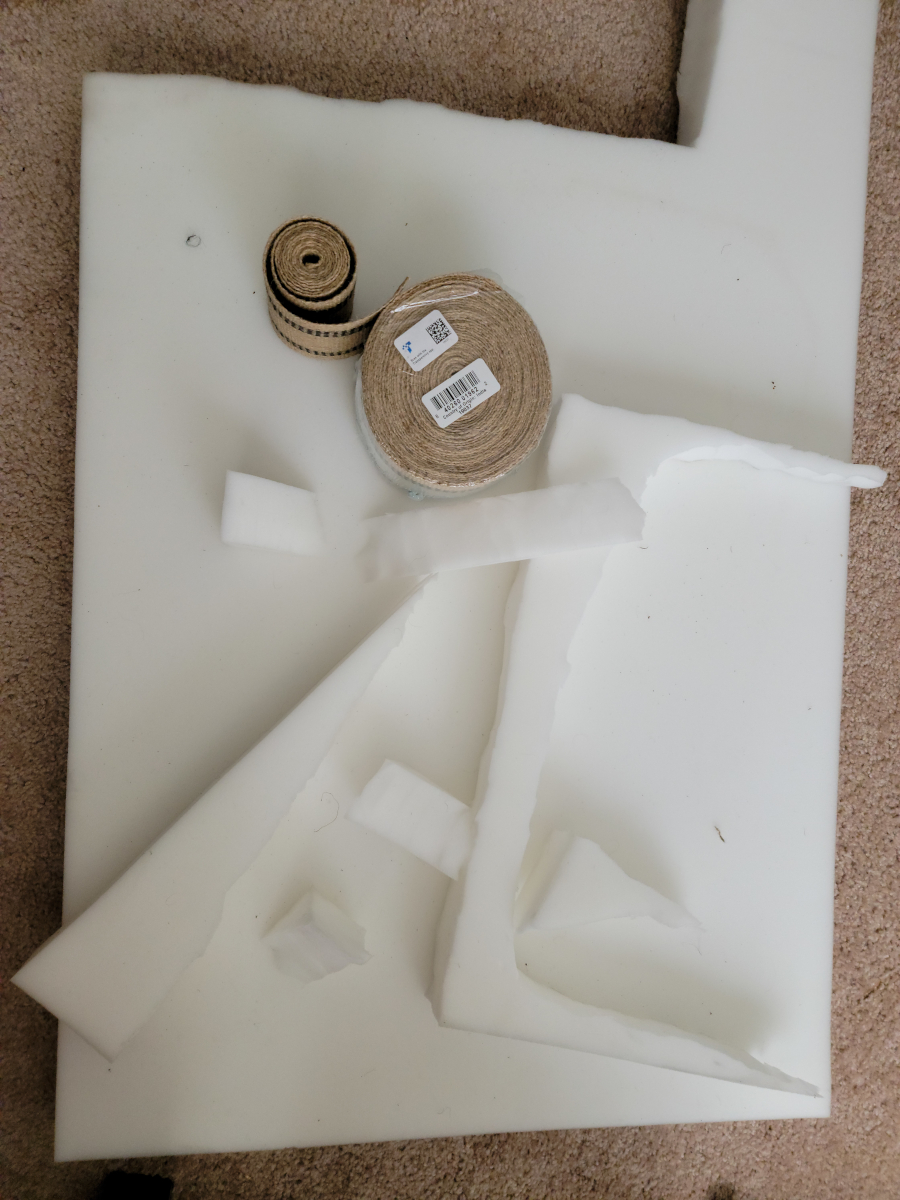
Last time, I had cut a piece of high density foam for the seat back, but decided to use some softer foam I had purchased a year ago for this purpose. I cut that seat back piece into a seat base shape using the craft paper pattern from the driver’s side.
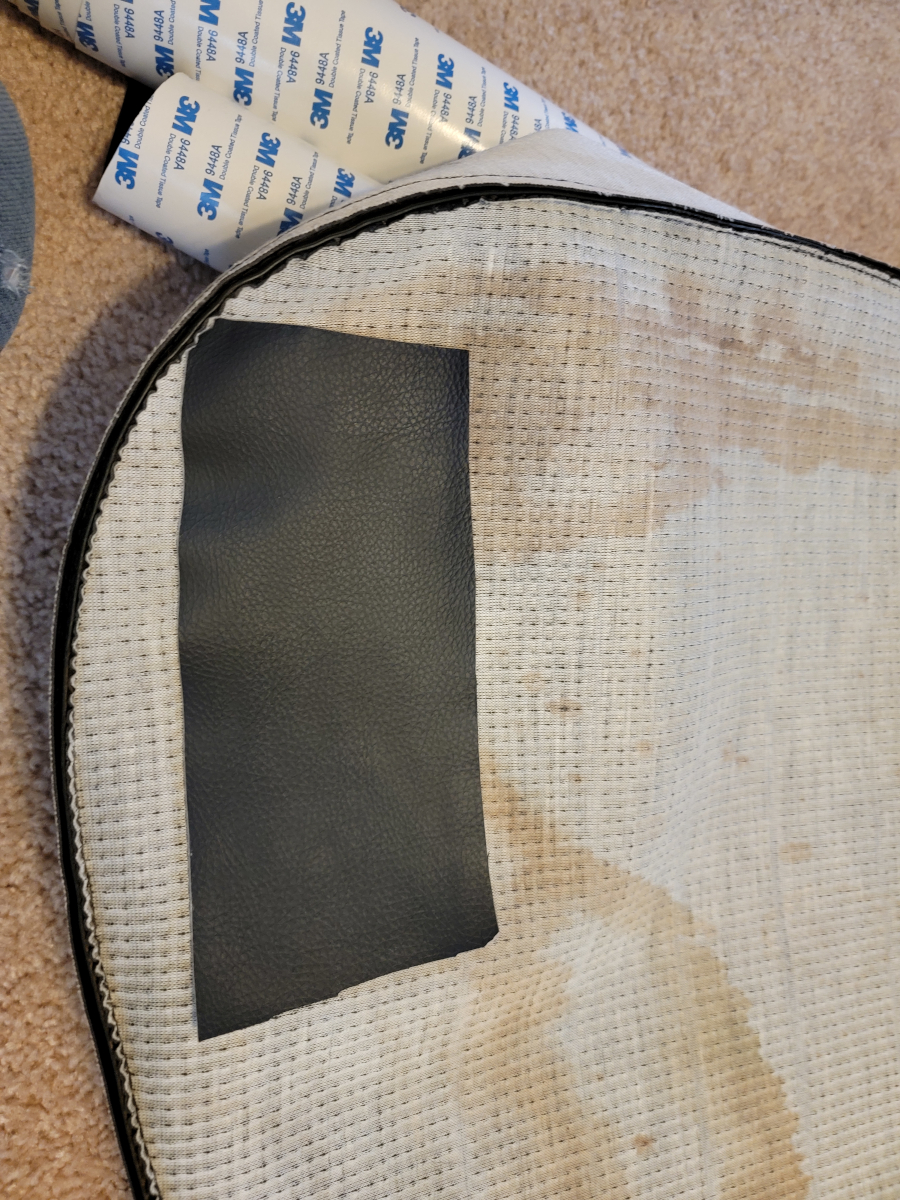
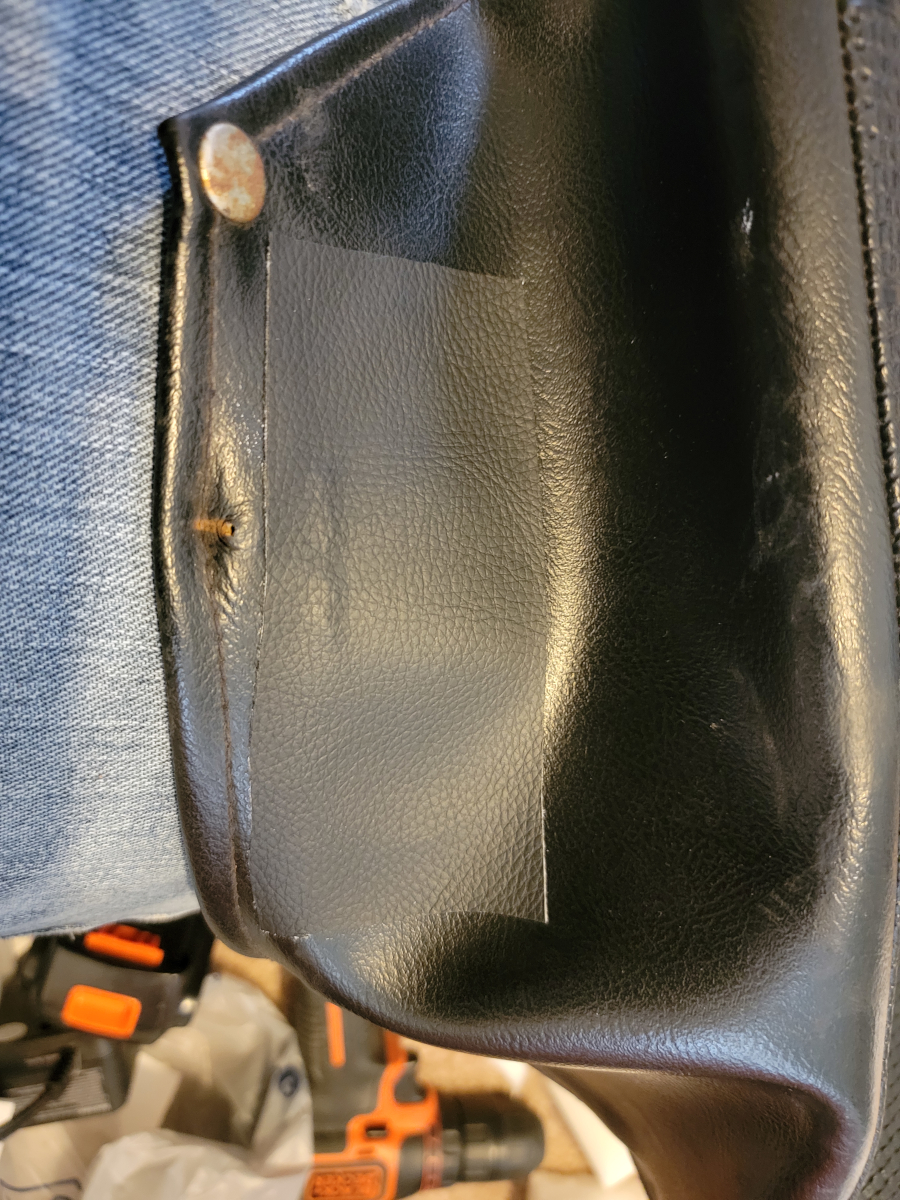
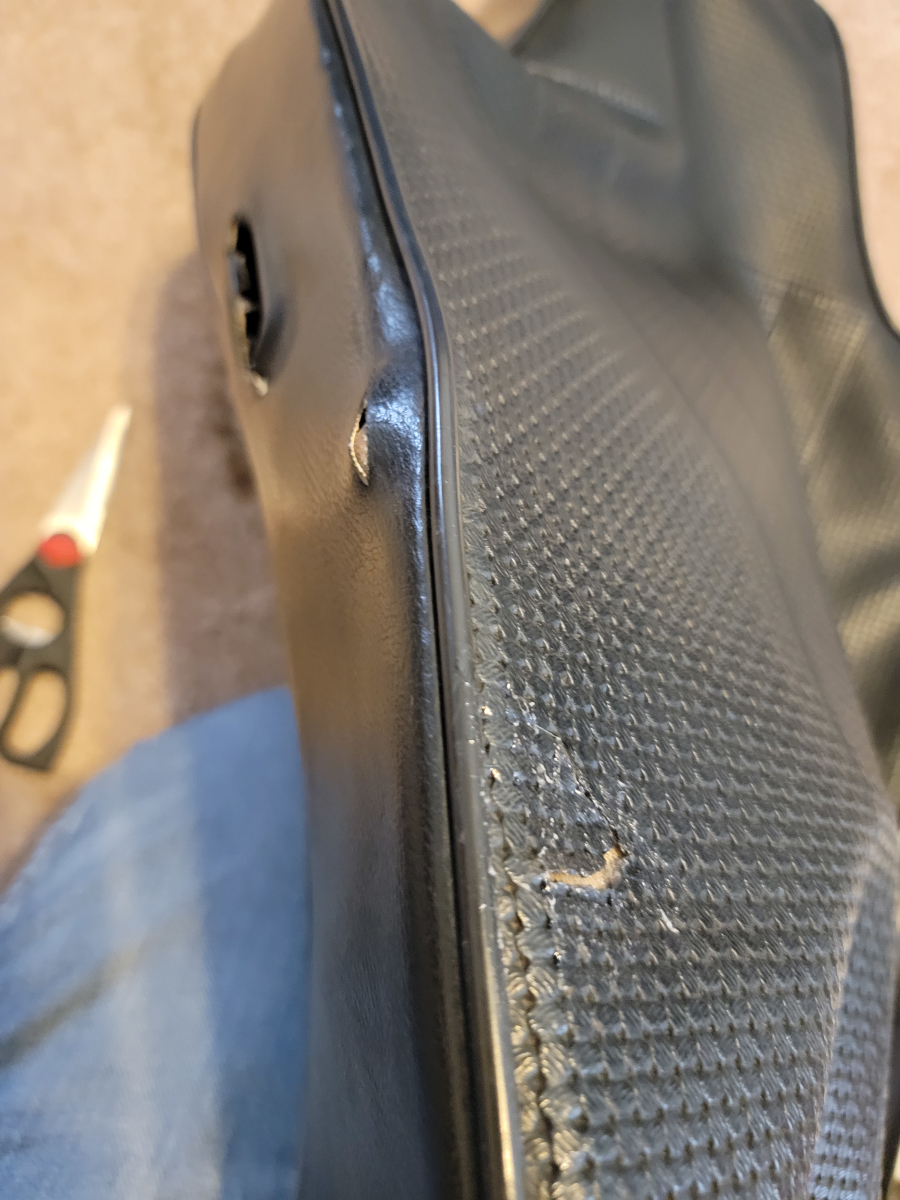
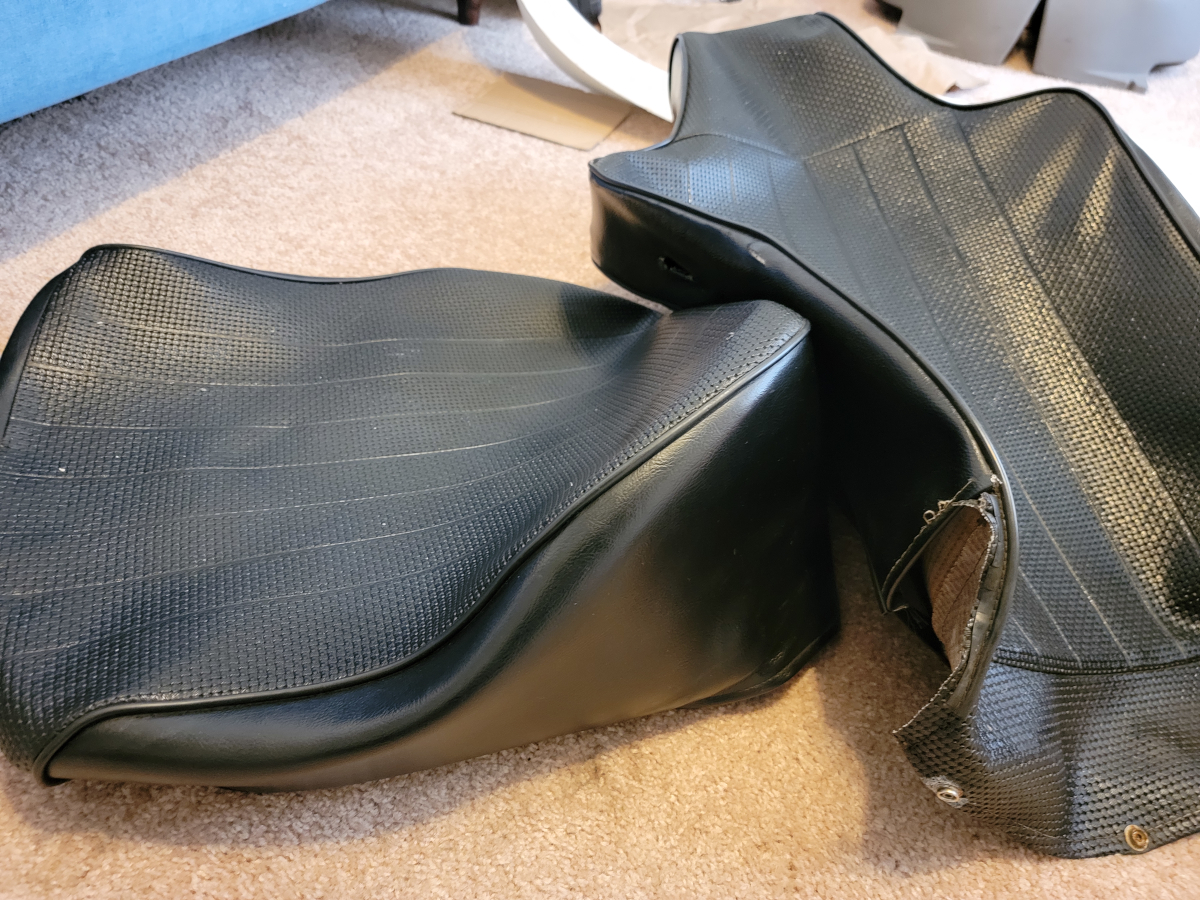
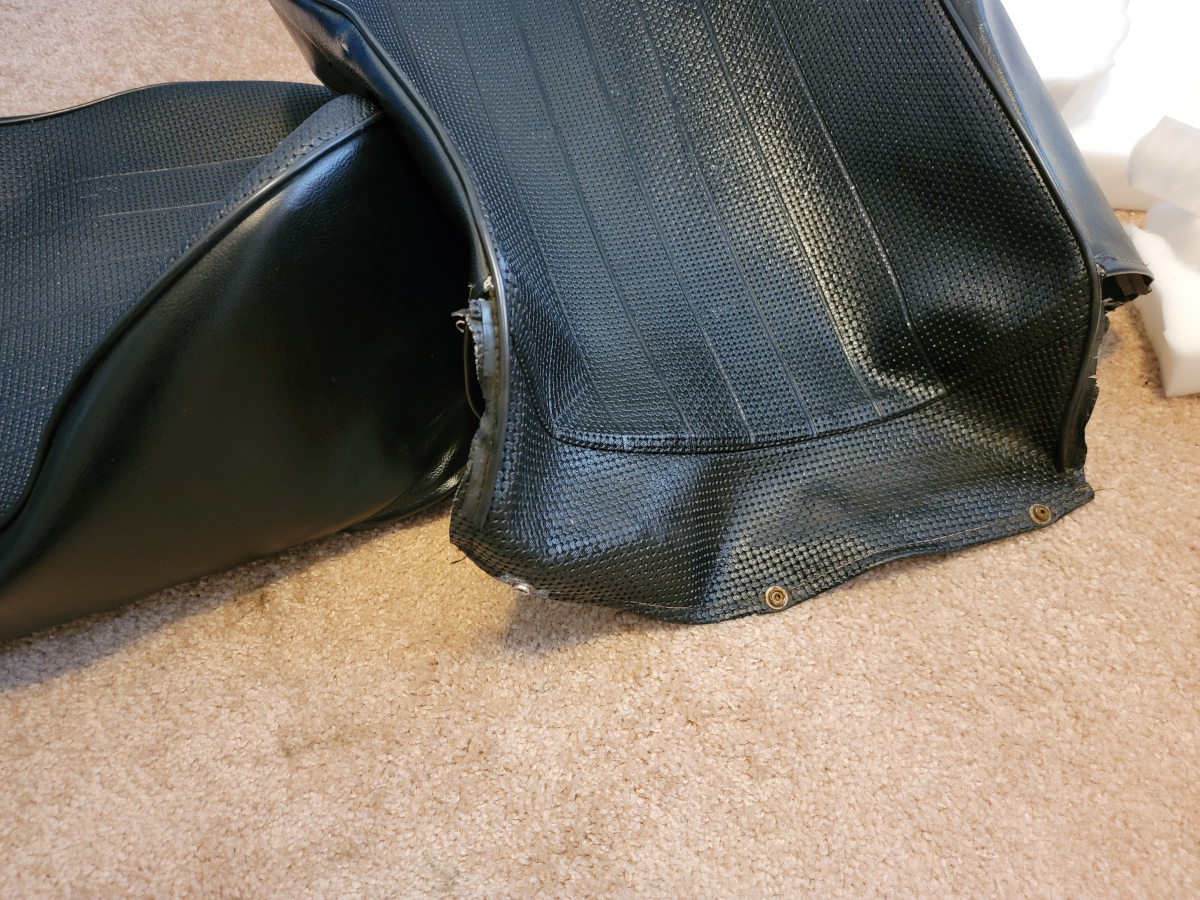
Now onto patching the vinyl seat covers. On the outside, the passenger side was in worse condition than the driver’s side, but from the inside, was not as worn. There was only light showing through in a couple of little places. Using a combination of the self adhesive vinyl patch (Amazon link) and Gorilla Clear Grip (Amazon link), I got them sealed up as best I could. I have been really impressed with that roll of vinyl patch! The texture is great and the adhesive back sticks well.
I wiped the seat covers down with Mothers VLR (Amazon link) spray – it Cleans, Conditions, & Protects!
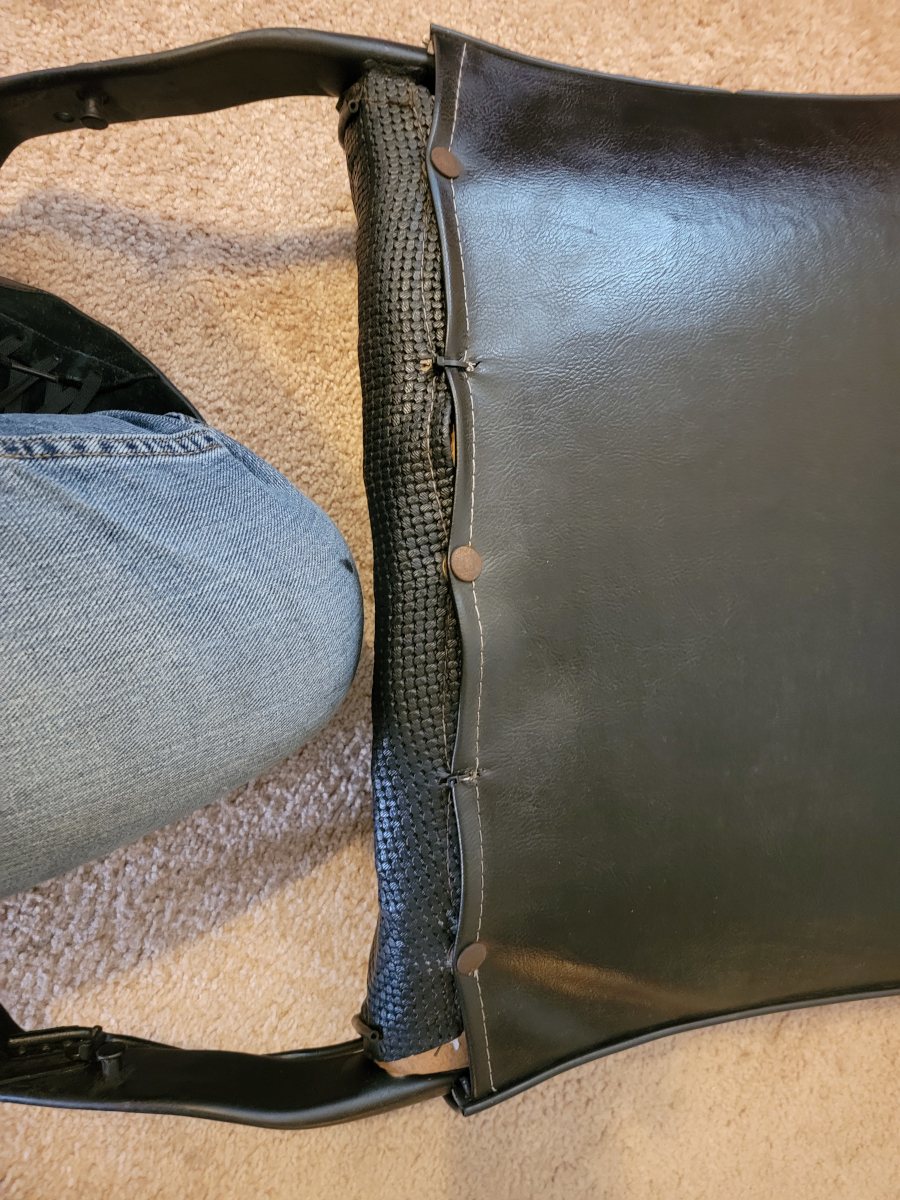
I got the seat back cover slipped on with relative ease. The passenger side was missing the plastic rail guards, which made it a much looser fit. All three snaps on the seat back cover were holding firm, but I went ahead and added a couple of zip-ties as well, just to be safe.
The cover on the seat base also went on without issue.
I mounted the metal trim piece on the side of the seat with another zip-tie.
I had just enough of everything to finish the passenger side seat. Another Amazon order was required to get enough jute webbing (Amazon link) and high density foam (Amazon link) to start on the back seat.
I’m again waiting for the upholstery foam to be delivered. That’s my only complaint with any of this lot is that the roll of seat foam isn’t sold by Amazon directly and takes a week or more to receive once the order has been processed, shipped, and delivered. Let’s just hope next weekend’s weather is cooperative. It tends to rain for a couple of months here once the weather starts to change into Spring.