
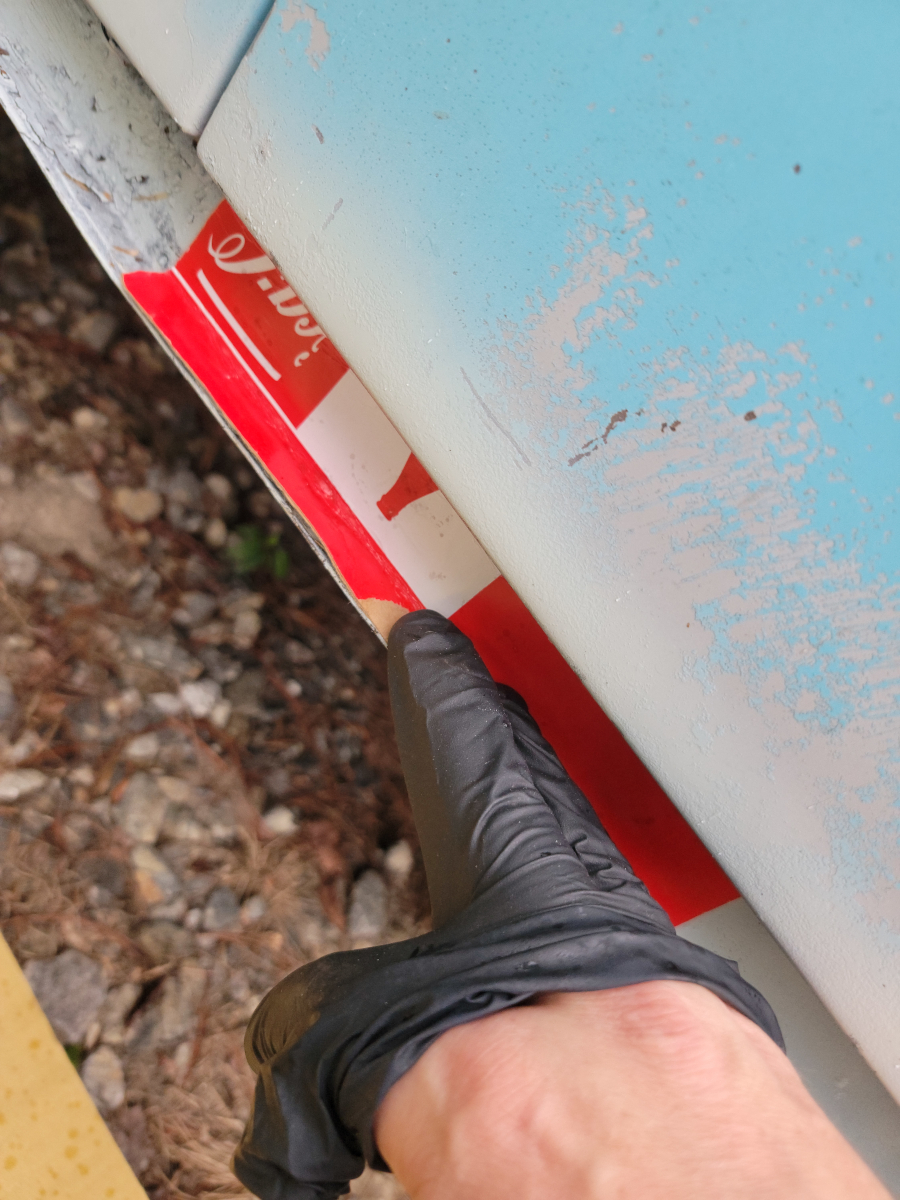
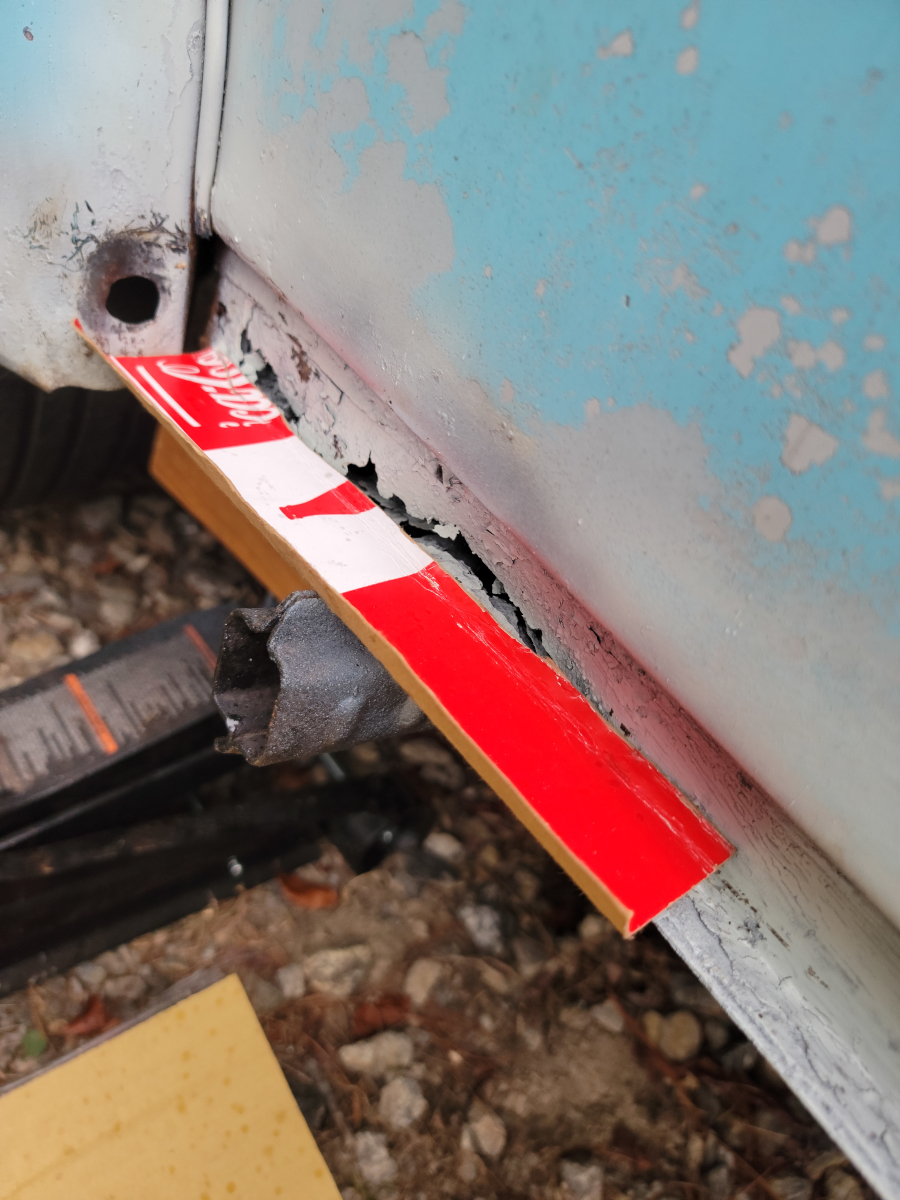
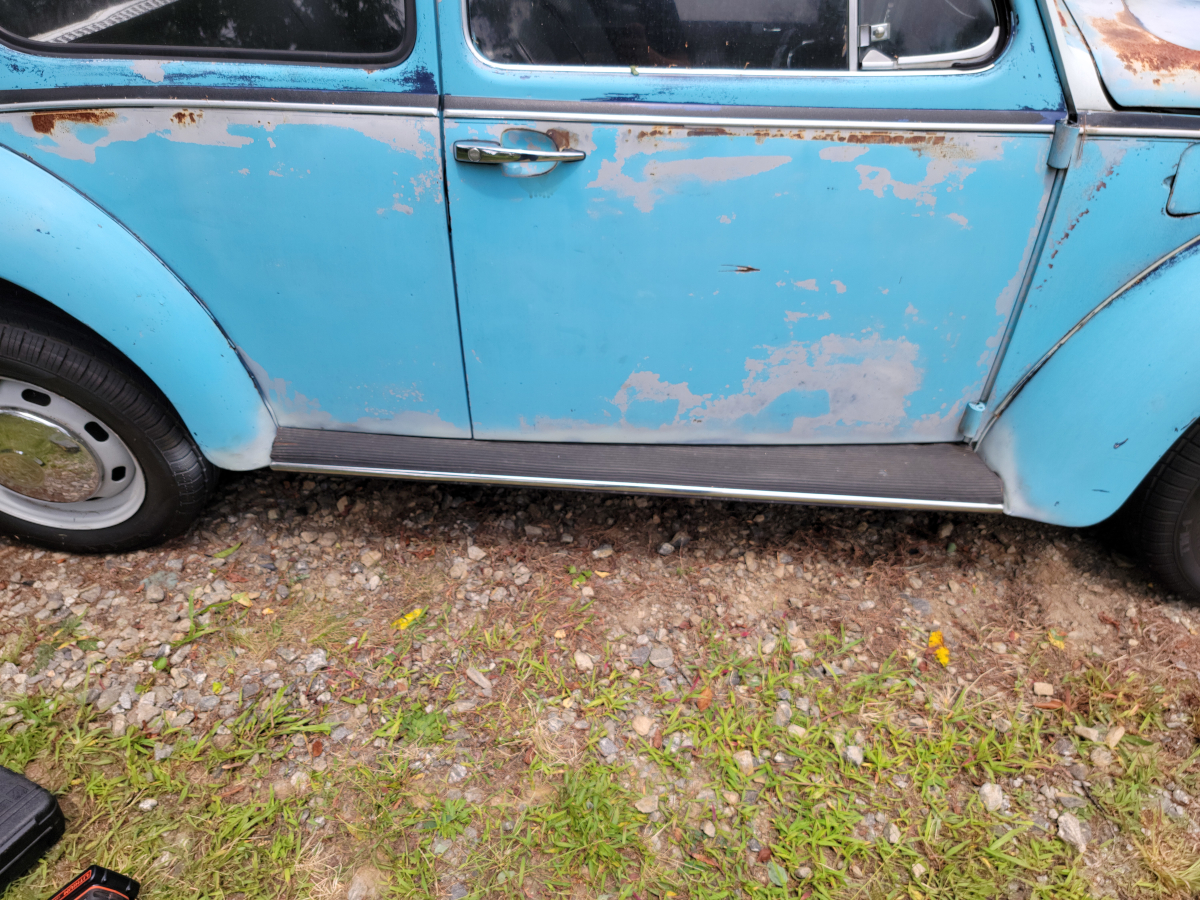
In the previous post, I found a nasty rust hole in the heater channel/frame in front of the rear fender on the passenger side. Through that hole in the side, I could also see the ground underneath, so there is more work to do under there. Today, I’m going to (not) repair the rust hole in the side.
I don’t have a welder and it will potentially be a couple of months before I can get access to one. I decided to take quick action and create plates to box in the affected area. Later, I will cut out the affected areas and properly weld the plates in.
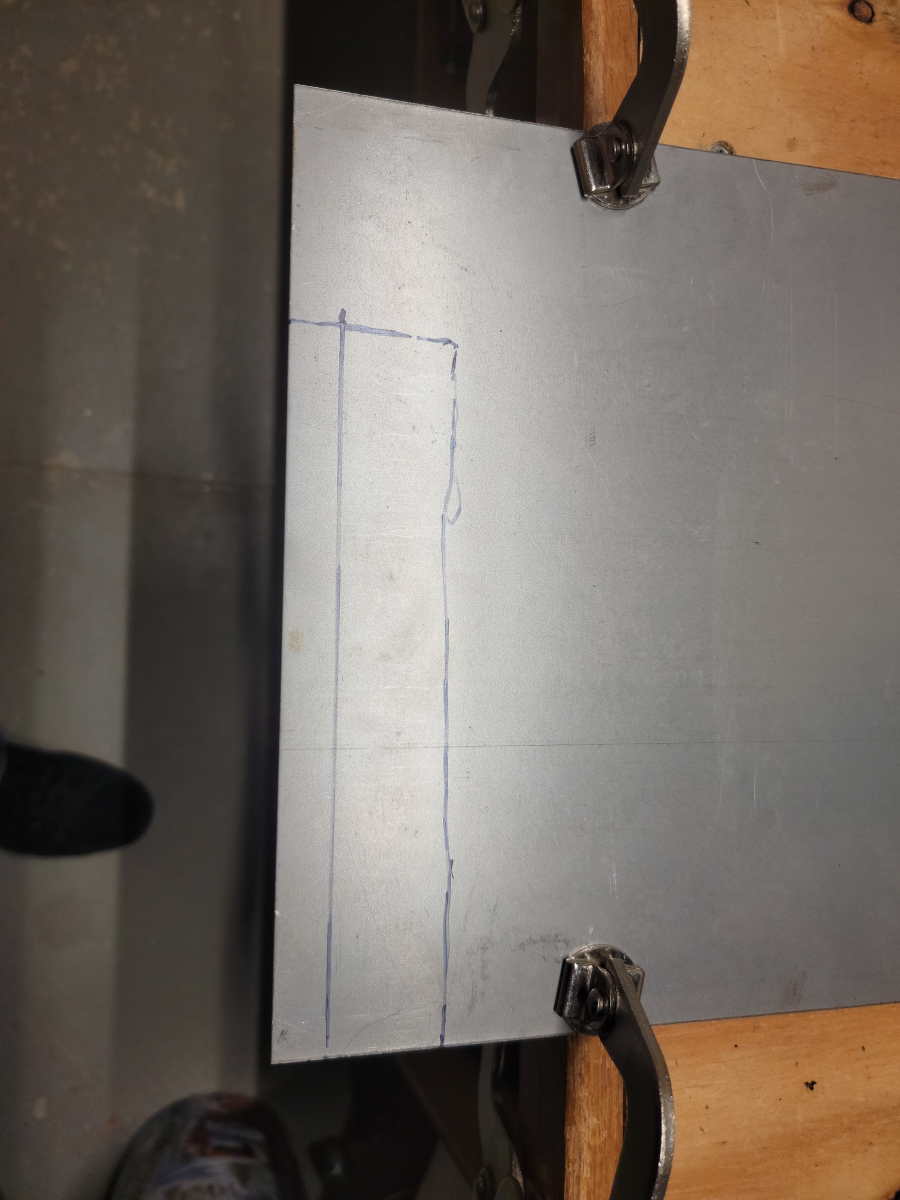
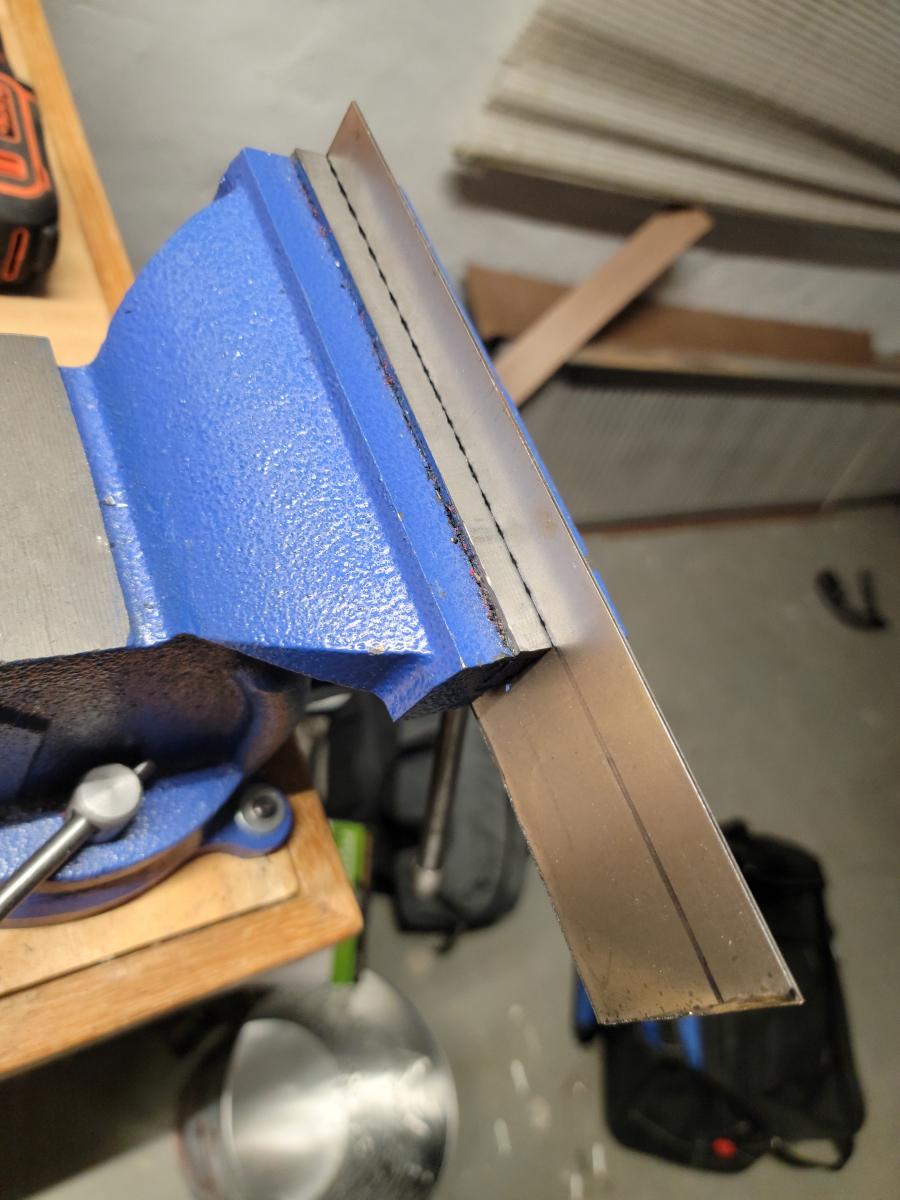
I started the process by cutting out a template for the C-channel. For simplicity, my plate will be an L. Since the size of the C-channel should be consistent, I made the template under the door, nearer to the front of the car. Back in the rusty area, the channel was bent out of shape (as per usual) from the factory jack point below.
The plate, once it’s in place, will strengthen and reinforce the area, but also will force the channel back into shape.
I had purchased a 12 inch by 12 inch panel of 16 gauge sheet steel at Home Depot (homedepot.com link). I will likely only have access to a stick welder and from what I’ve read online, 16 gauge is as thin as you would want to go to have a chance at getting a solid weld. That’s also the thickest that they had available in stores.

I traced the template out on the sheet steel with a marker.
And then applied my best death wheel artistry.
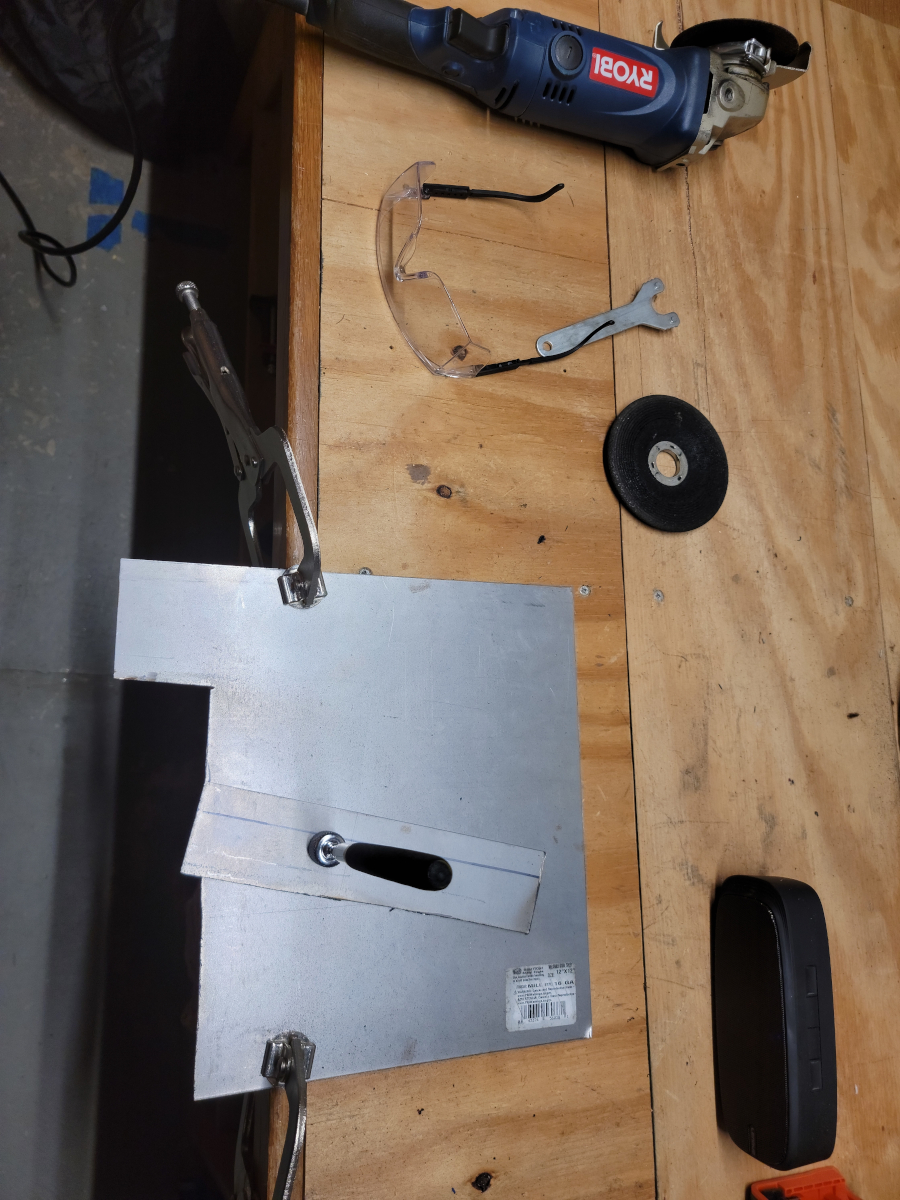
I then locked it in the bench vise…
…and applied some 4 pound mini sledge artistry. We don’t need no stinking sheet metal brake.
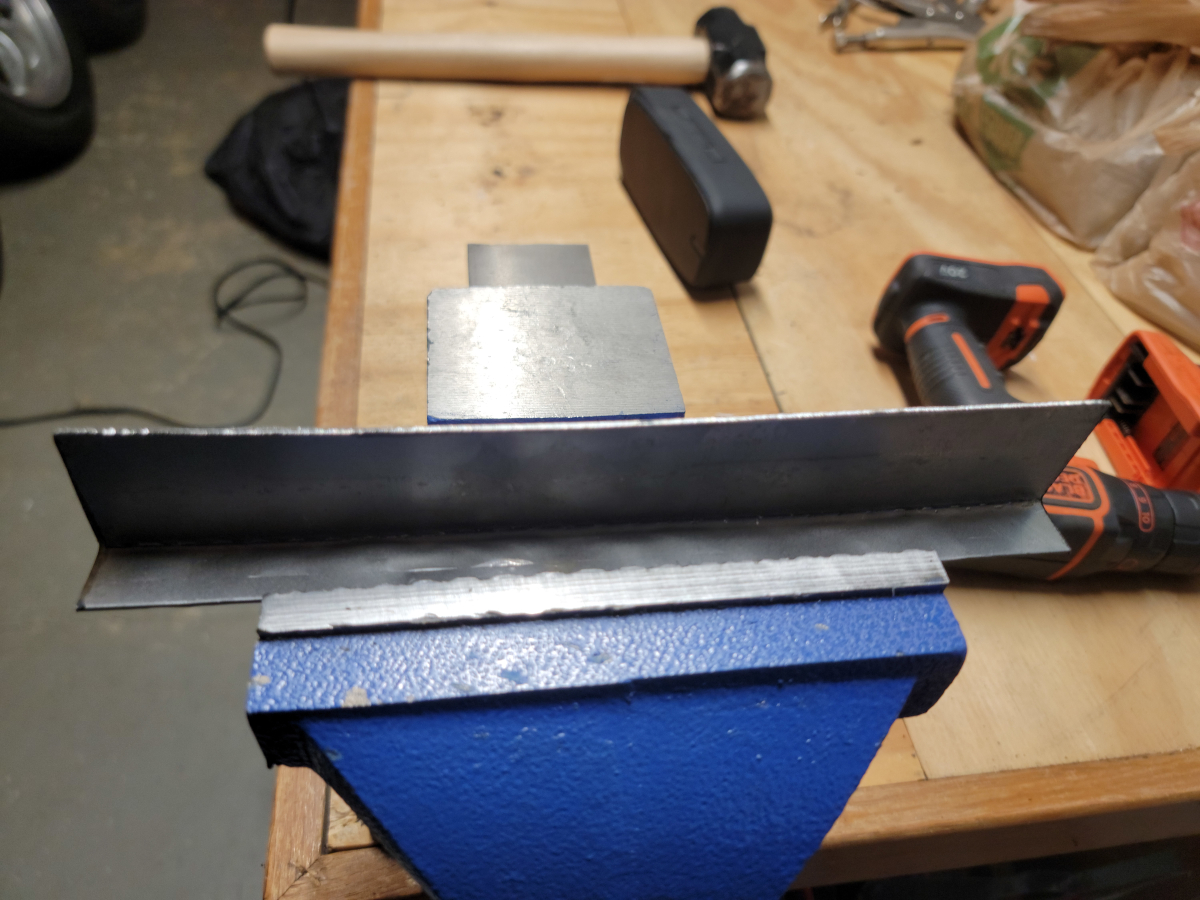
Actually, the whole piece bowed a bit from the force, so yeah, a sheet metal brake would have been great…
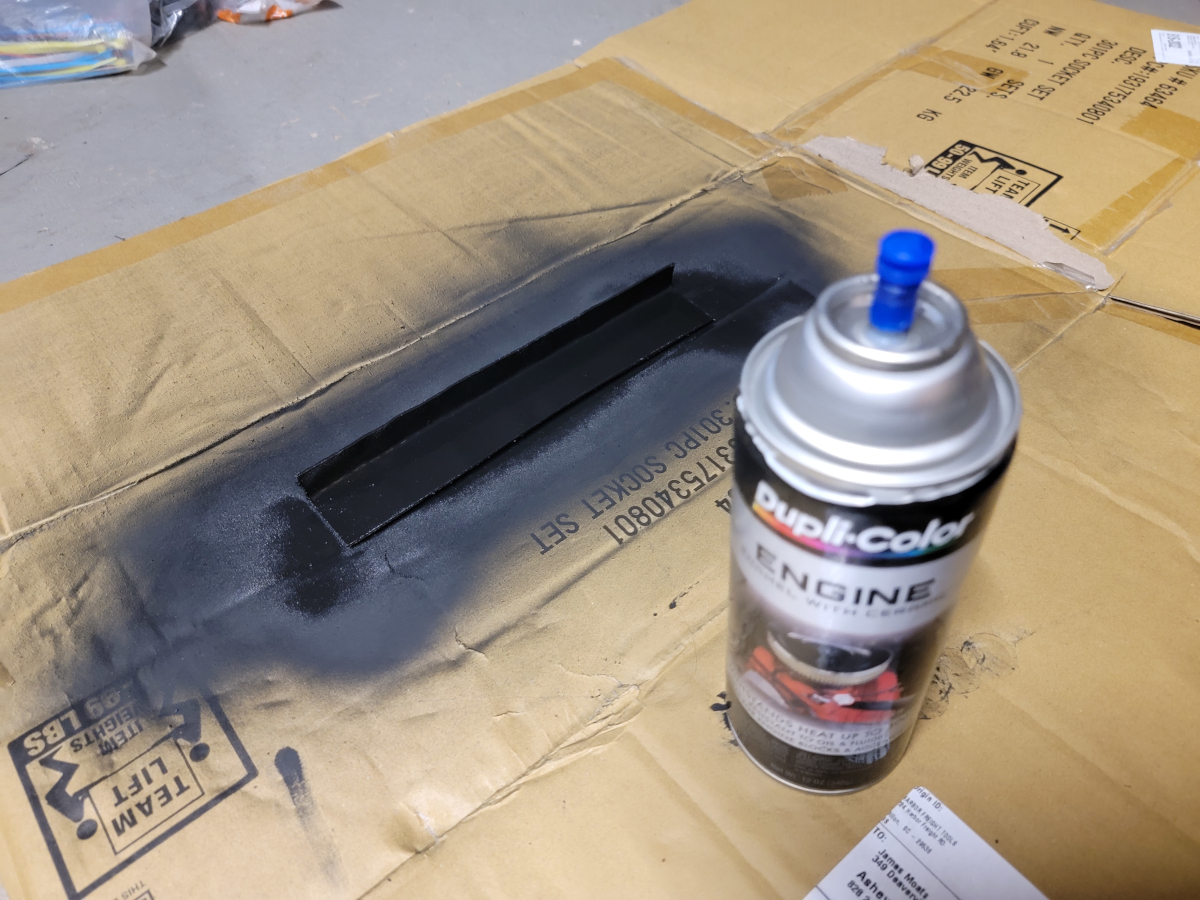
I washed and wiped the plate down with brake parts cleaner and then acetone, both of which nearly blackened the rag. Once it was dry, I sprayed it down with primer.
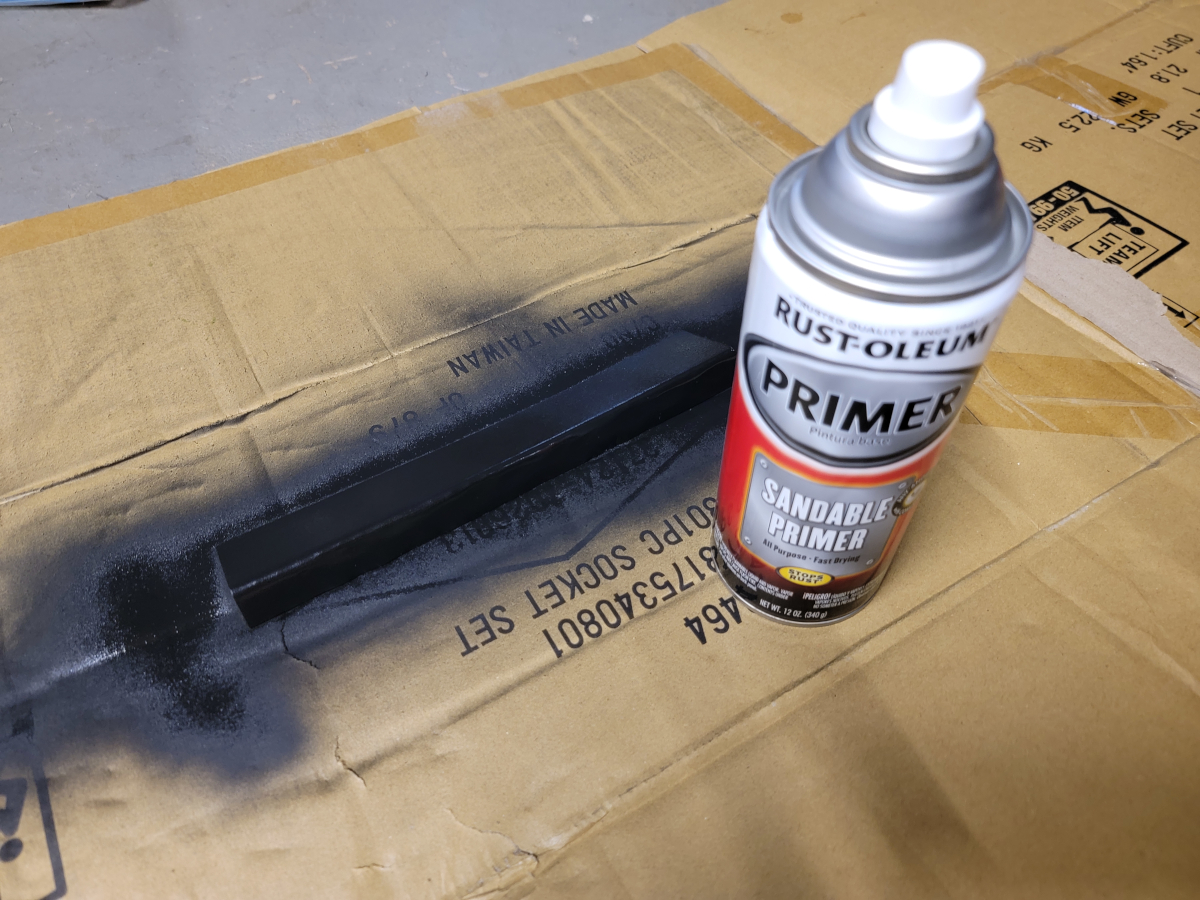
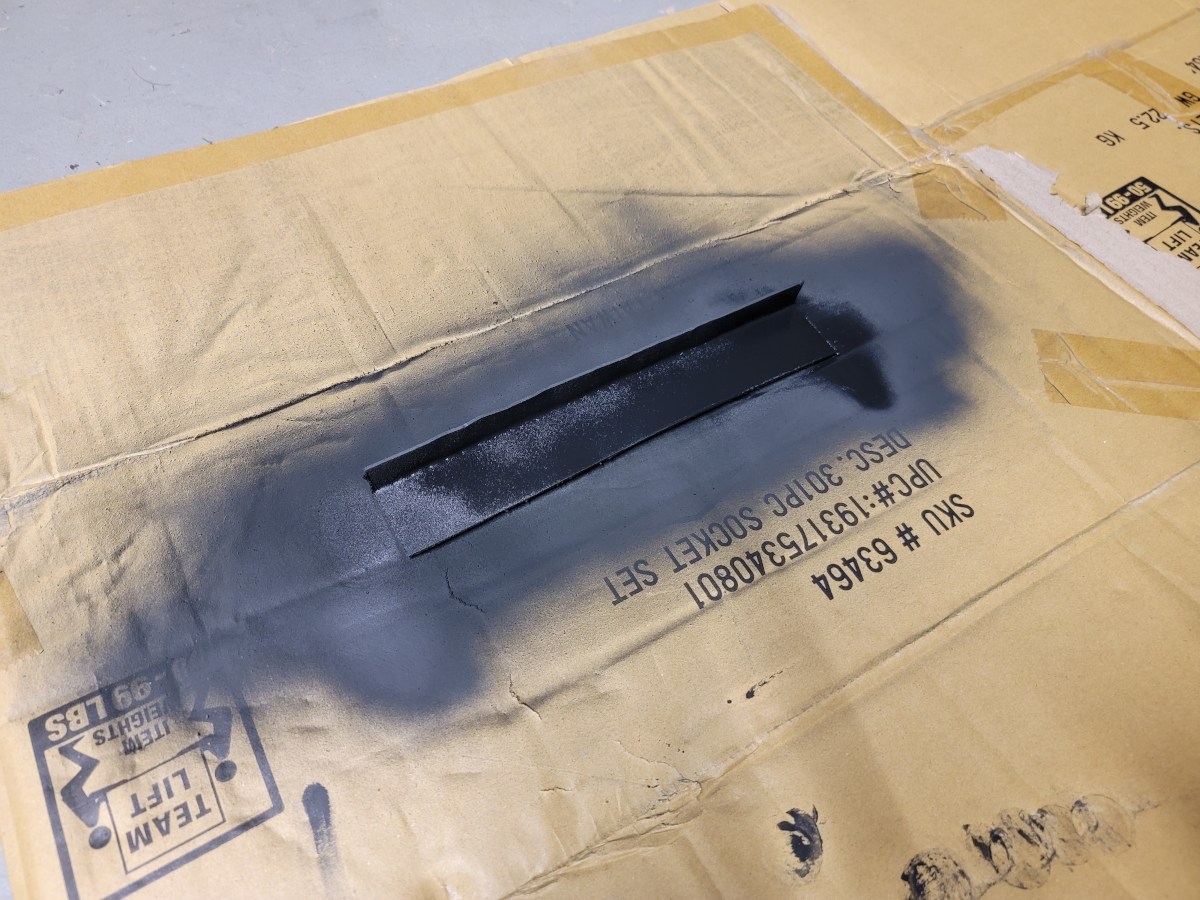
And then a layer of engine black. The can is still spitting little bits of ceramic (I assume). Luckily, it’s not the full silly string action that started happening in the Refinishing the Rear Seat post.
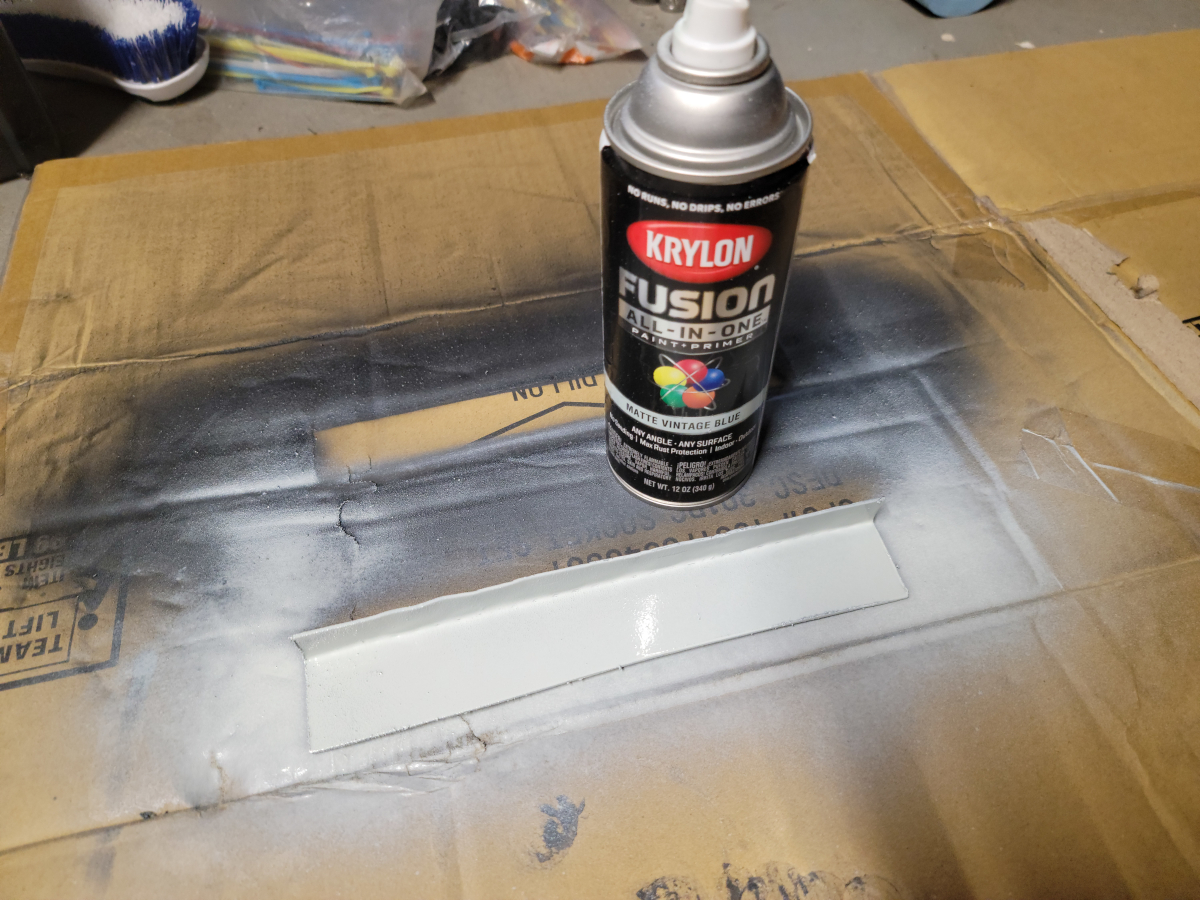
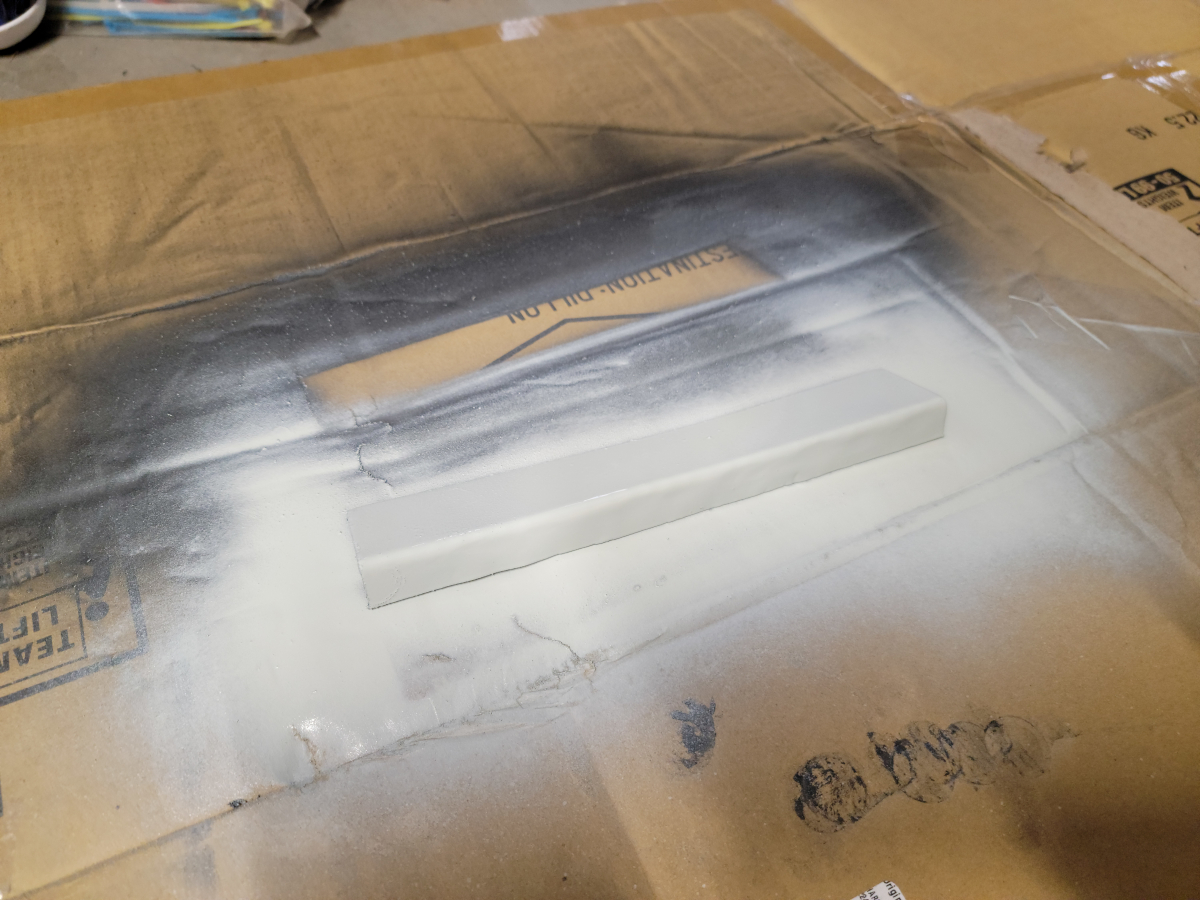
And then a couple of obligatory coats of Matte Vintage Blue.
A couple of hours later, I took the plate back outside and clamped it in place with a couple of vise grips. I had a little remnant of a roll of shelf lining stuff that I hoped would “cushion” the grip.

In the image above, it’s clear that I really wasn’t paying attention – or if I may be so bold as to say “being super lazy” – I didn’t cut the necessary notch to allow the plate to fit in behind the edge of the fender. That left a little bit of exposed rust and pushed the plate forward an inch or so. I will need to cut that notch out and align the plate properly before welding.
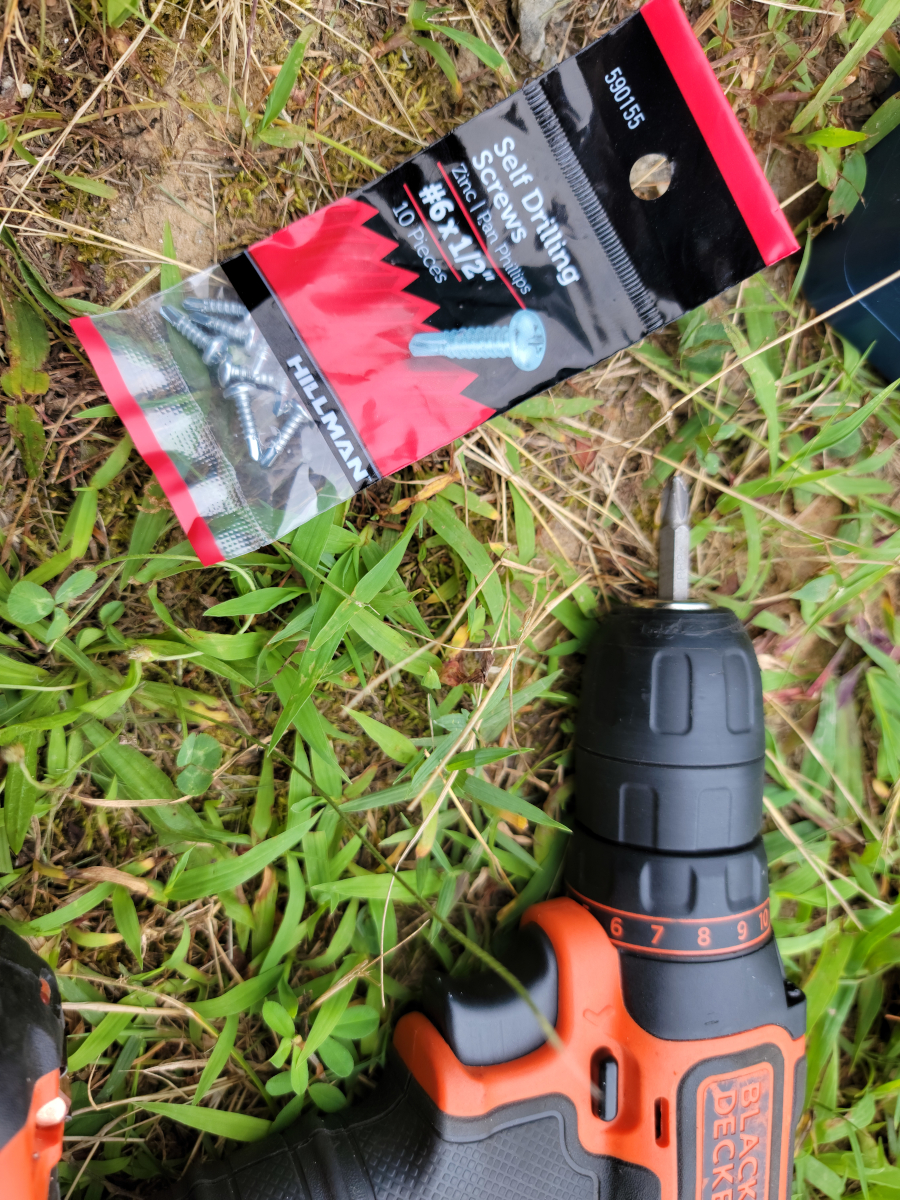
Along with the sheet steel, I picked up a couple of packs of the smallest self drilling screws they had at Walmart (walmart link).
Once the screws were in place and the vise grips removed, it was clear that my paint prep was subpar. I didn’t scuff up the surface like I knew I should have. All of those layers of paint and primer peeled right off, stuck to the shelf liner material.
Regardless, we’re square again.

I then added another quick coat of engine black to cover up the bare metal spots.
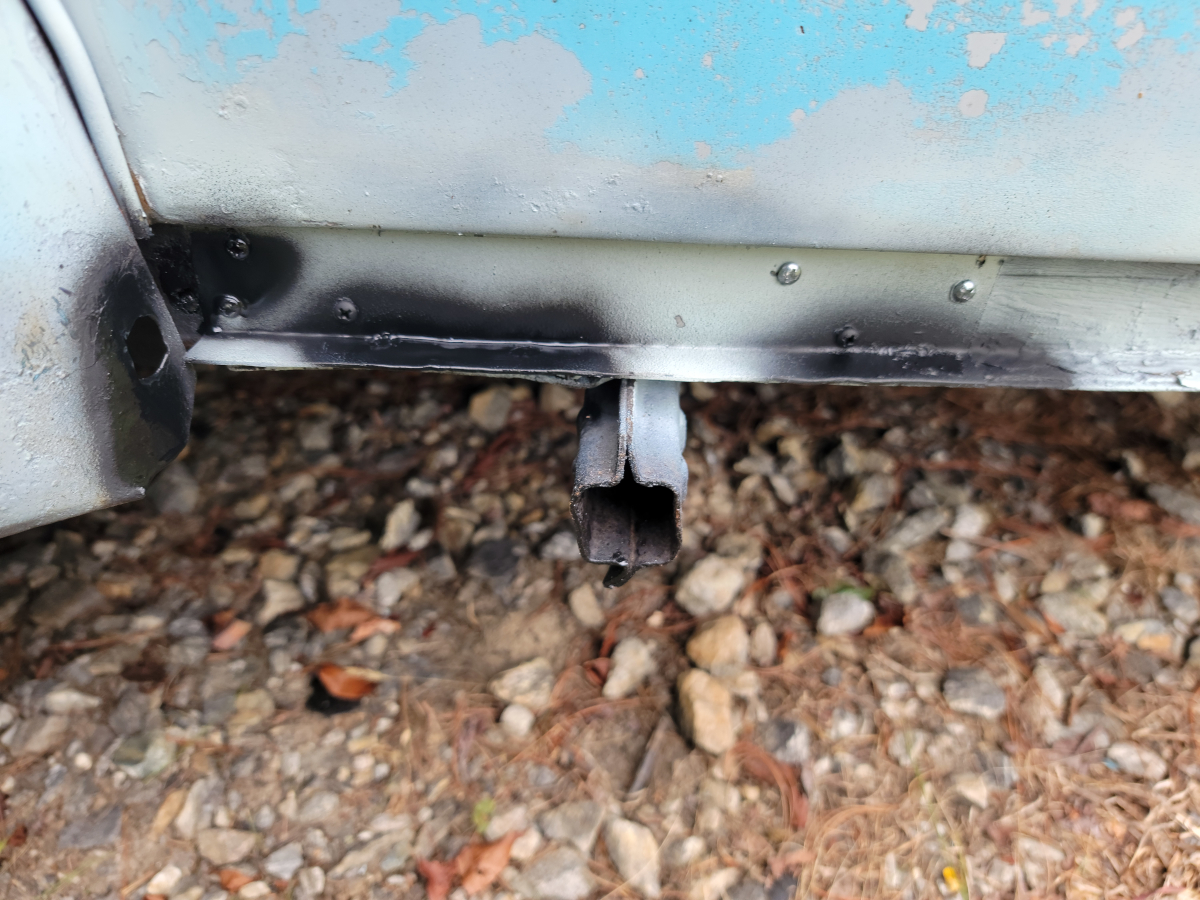
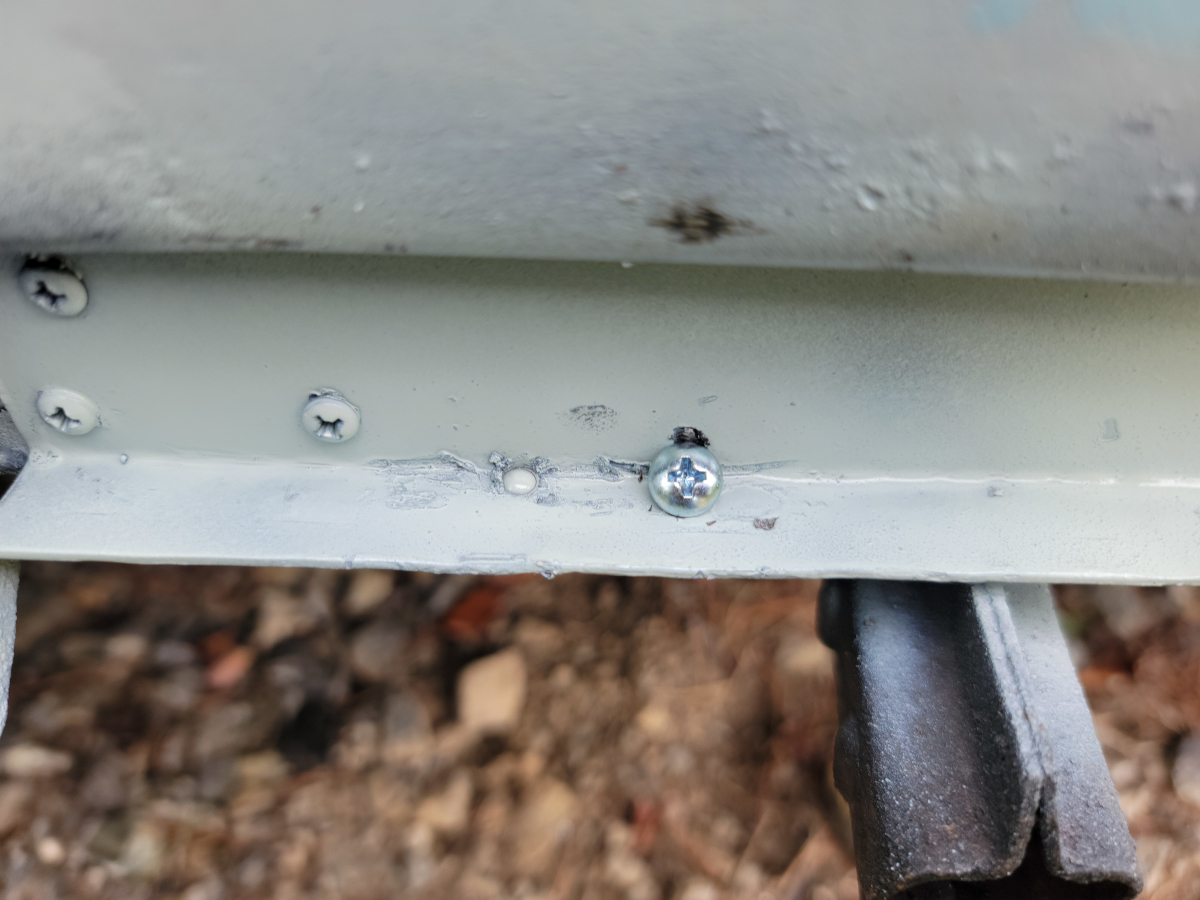
Next, I drilled a couple of holes through the bottom leg of the L and shot some rivets through. My chintzy hand riveter was barely up to the task and the largest rivets I have were barely long enough the reach through the layers of steel.
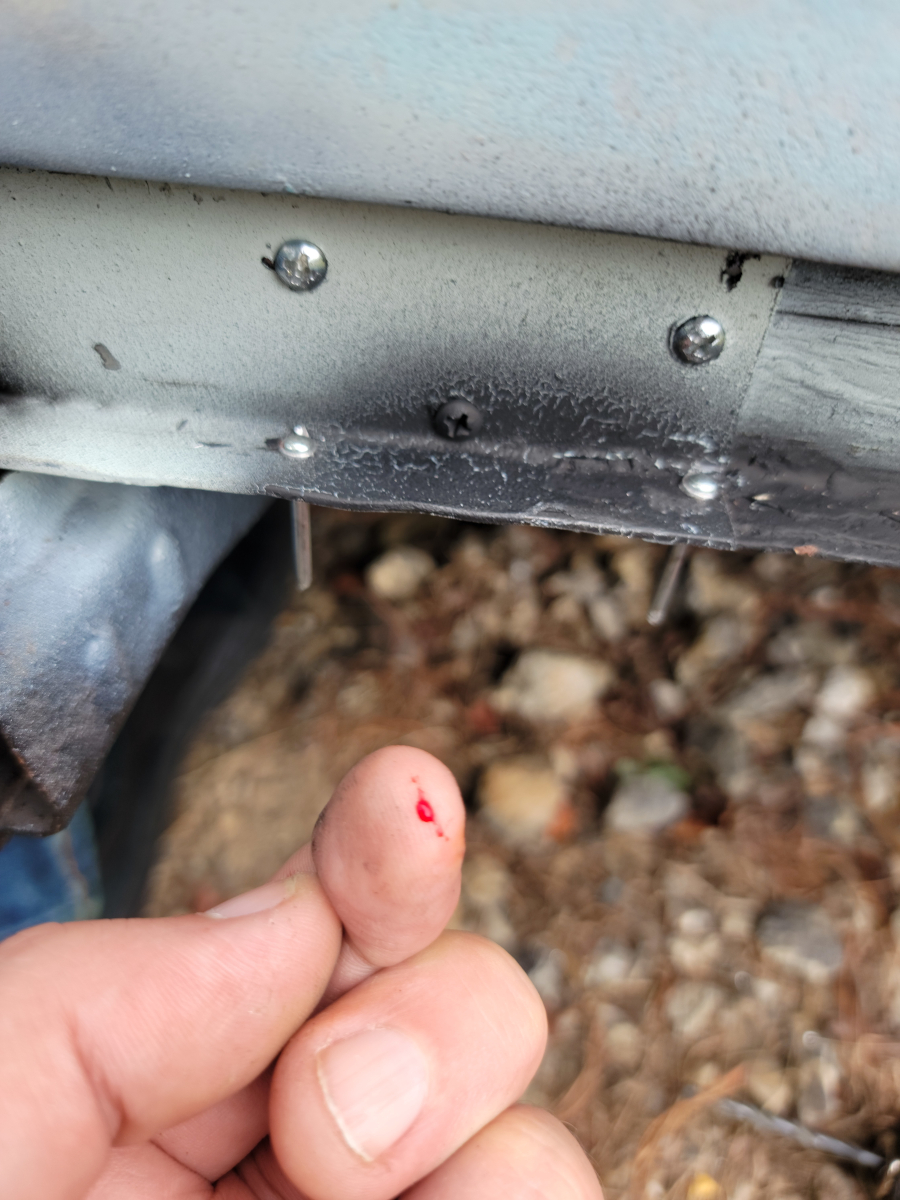
Of course there’s blood. And that’s a really inconvenient place for it. I didn’t feel when it happened. Instead, I just noticed that everything was getting smeared with blood.
Now, moving further back to drill holes for more rivets. Whoops. Too far in. The rivet isn’t long enough to go through at an angle, so that will need to be filled…
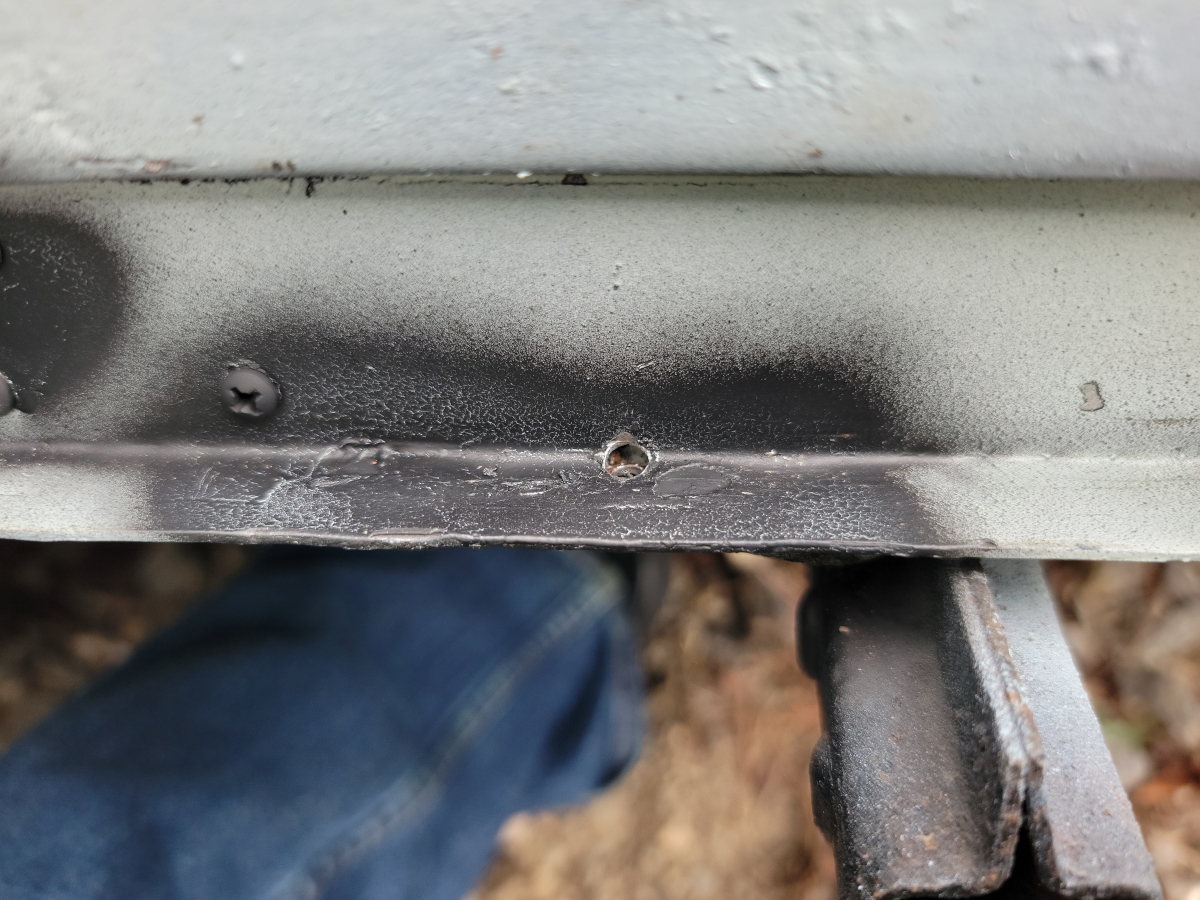
And whoops again! But at least there was enough room for a rivet this time.
Yeah, that’s proper fixed real good like.
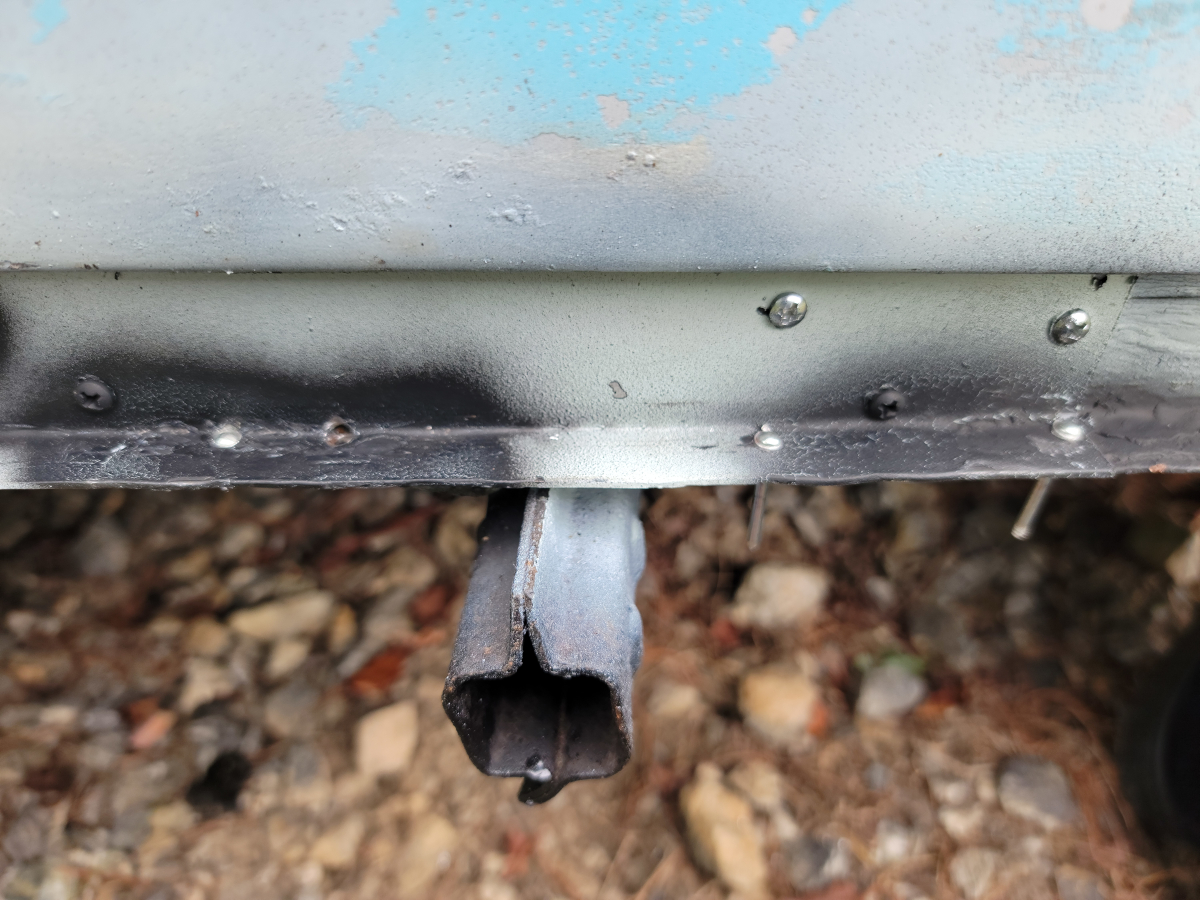
And boom, like it never happened…
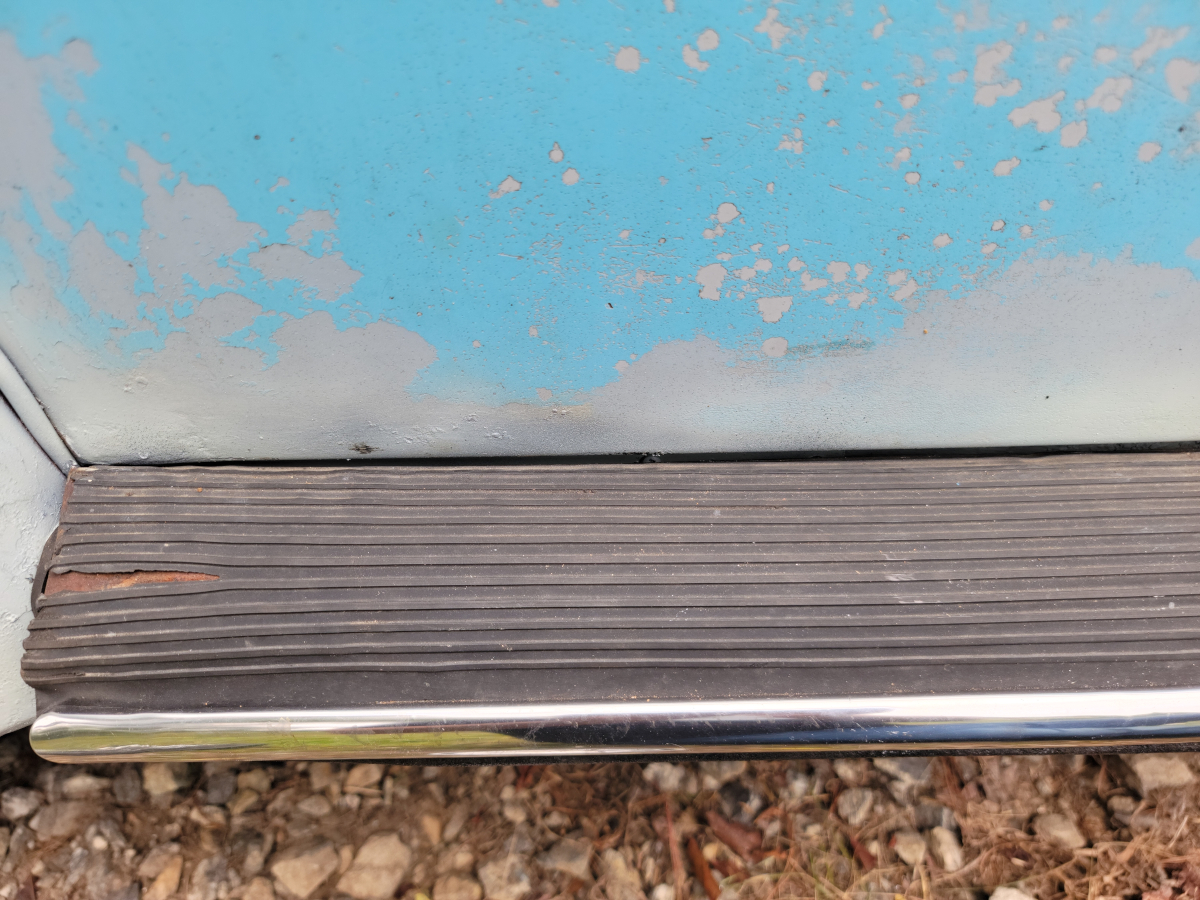
Nothing to see here.
Expert over-spray on the rear tire there. Good job, man. Real proud of ya.