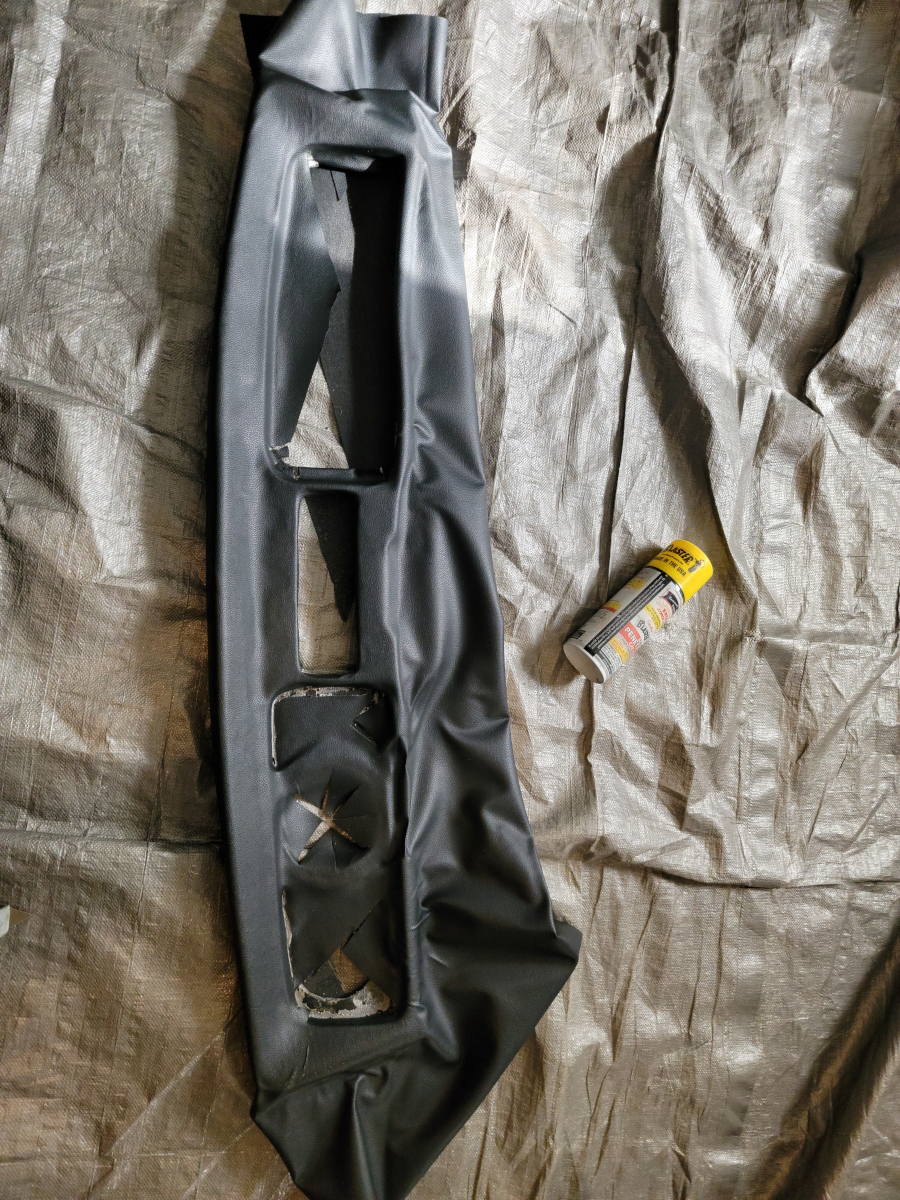
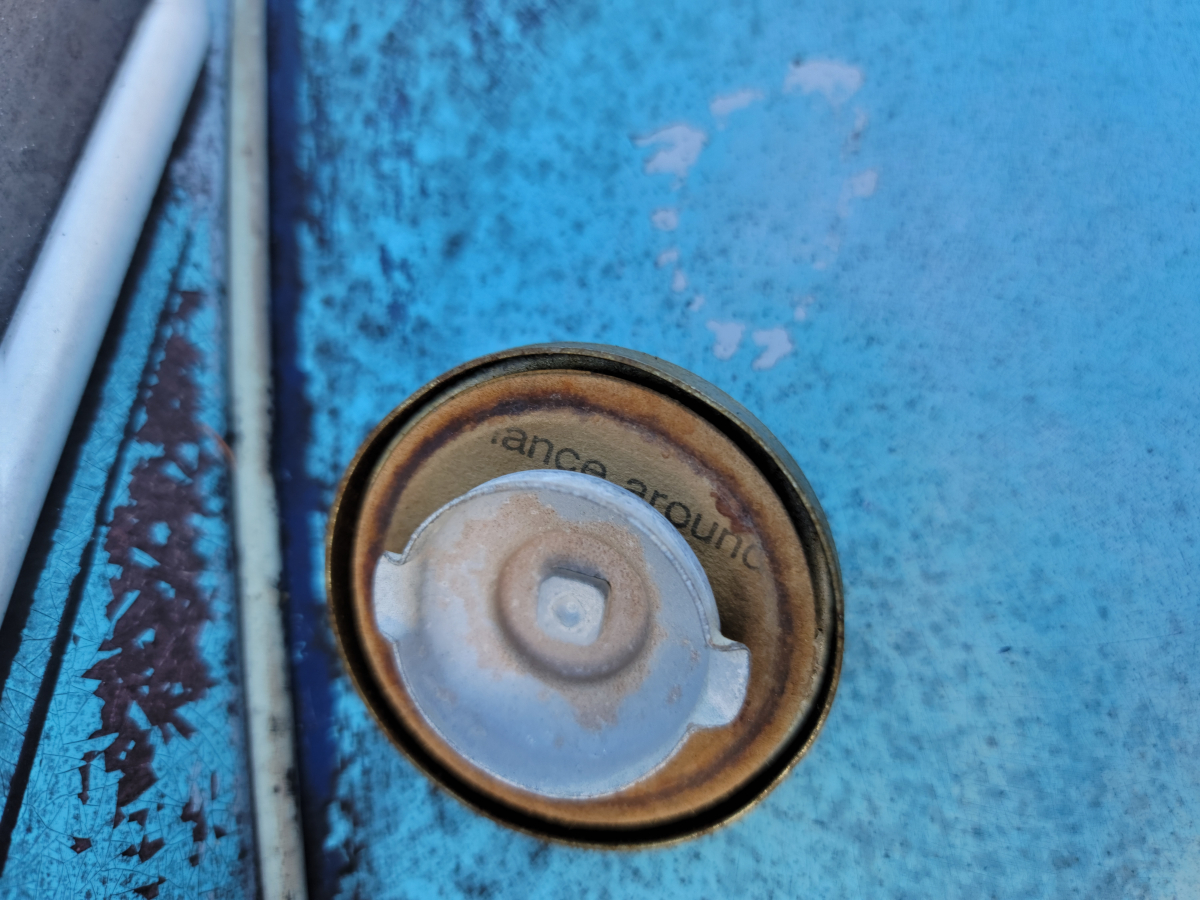
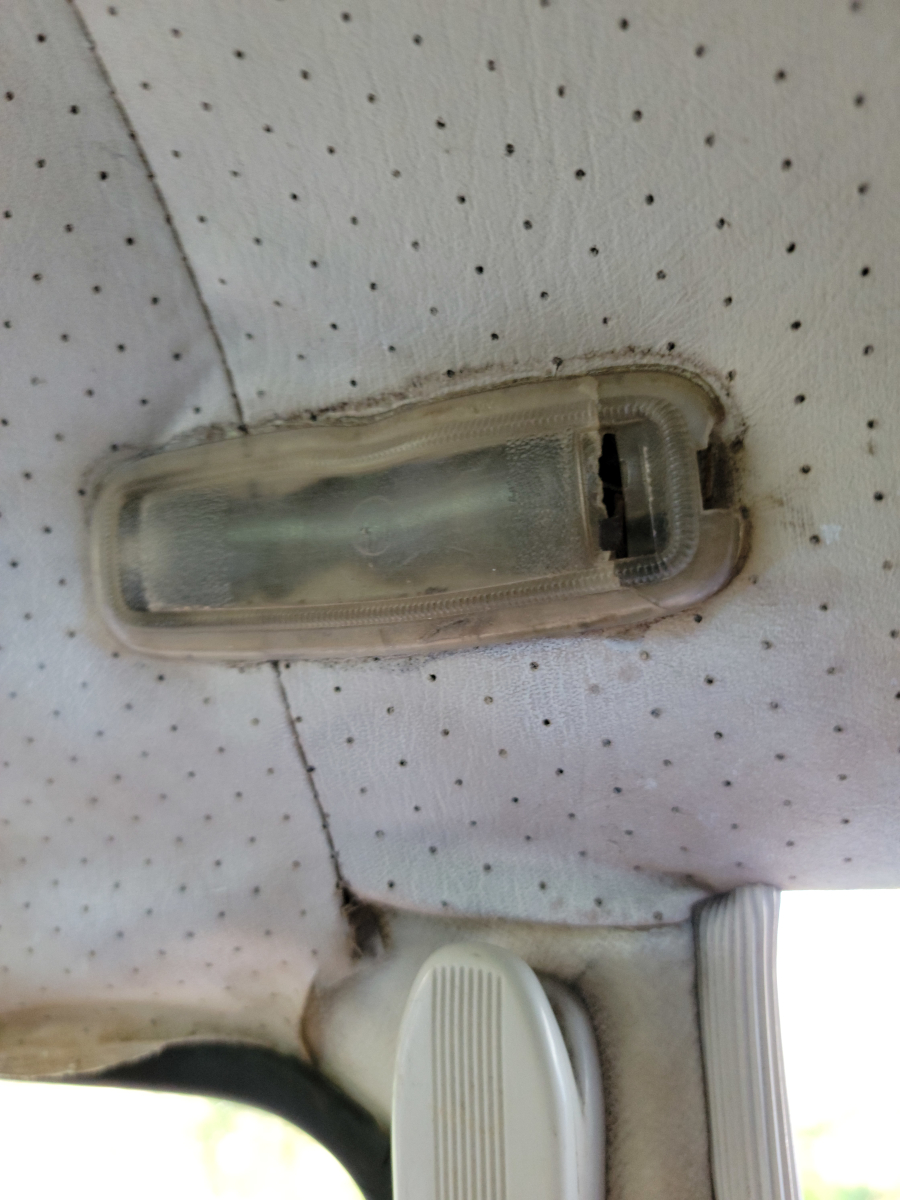
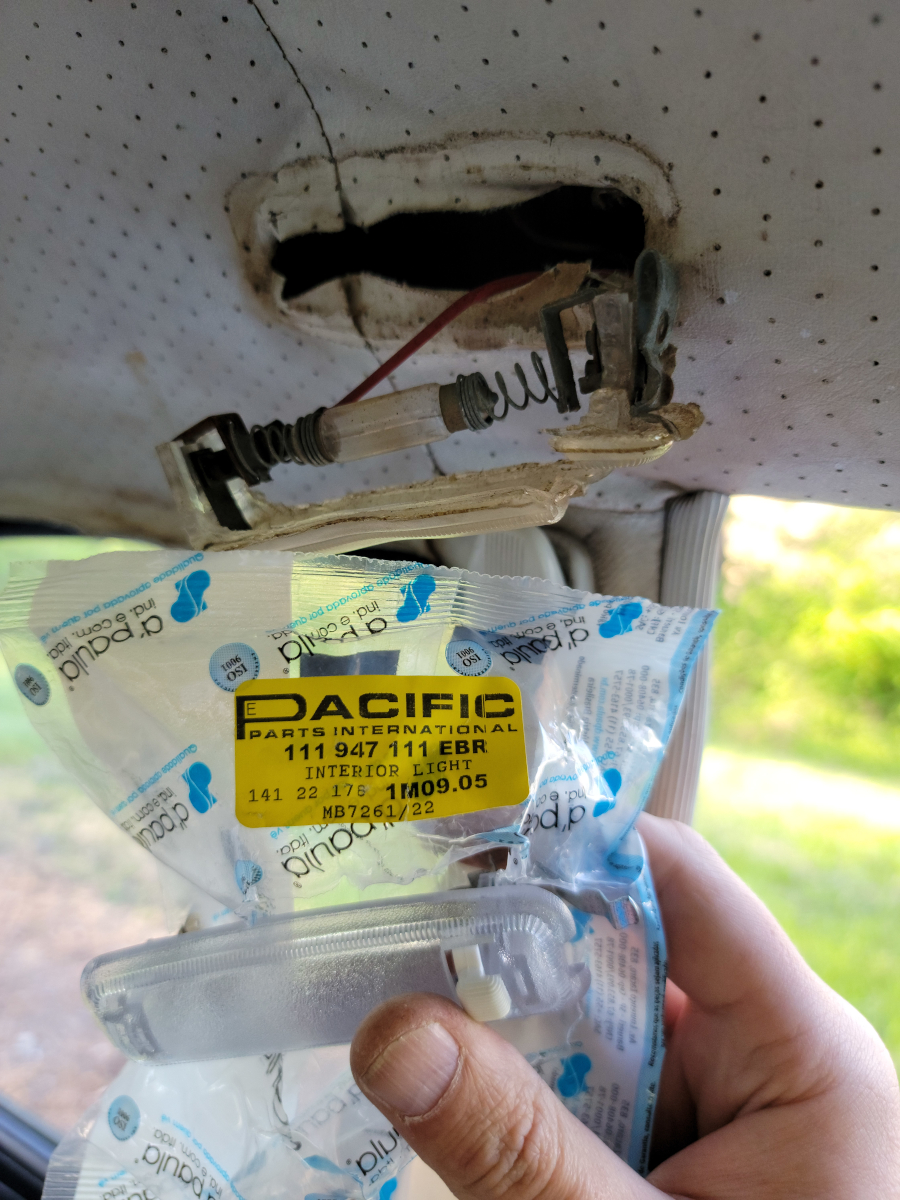
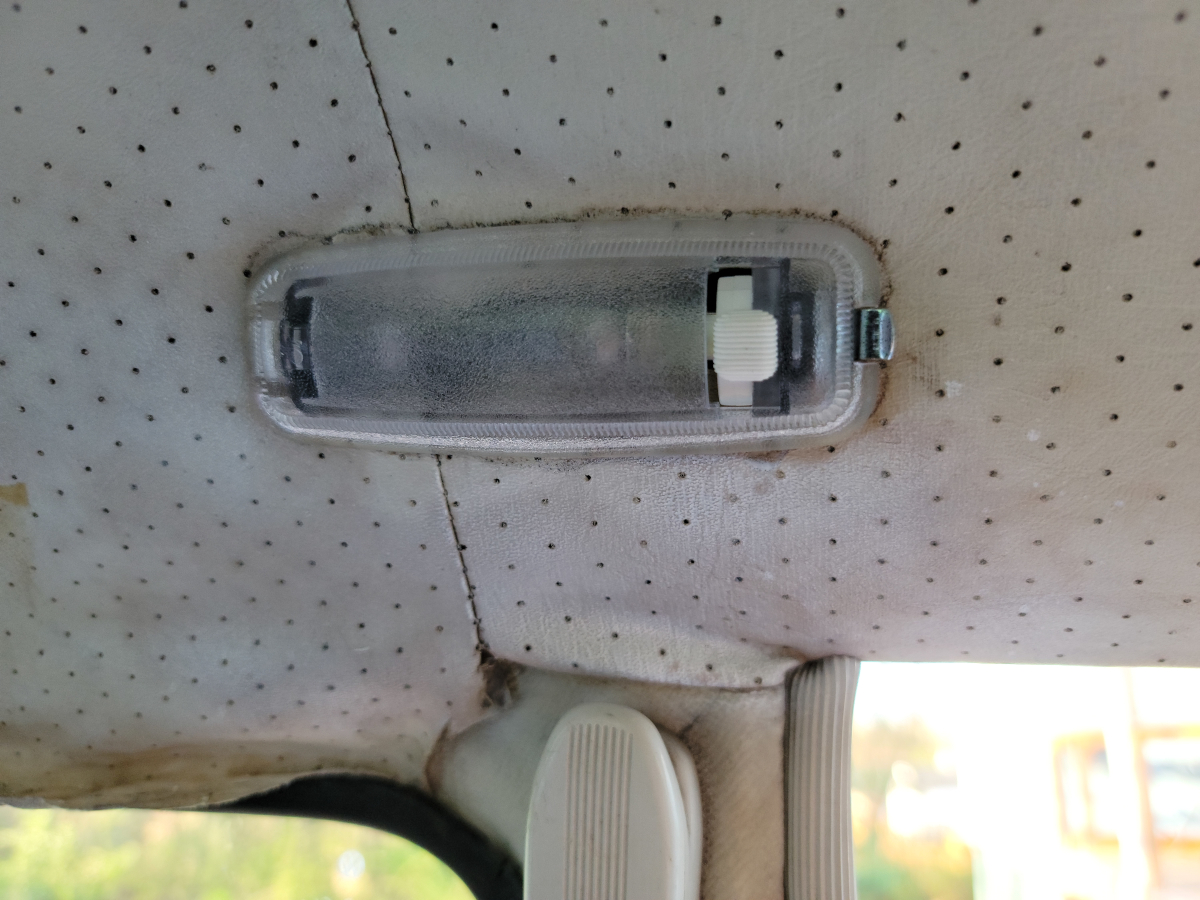
OK, we’re back at it.
I’ve got to tighten up some of these loose corners, making little cuts, gluing little bits, and holding them down.
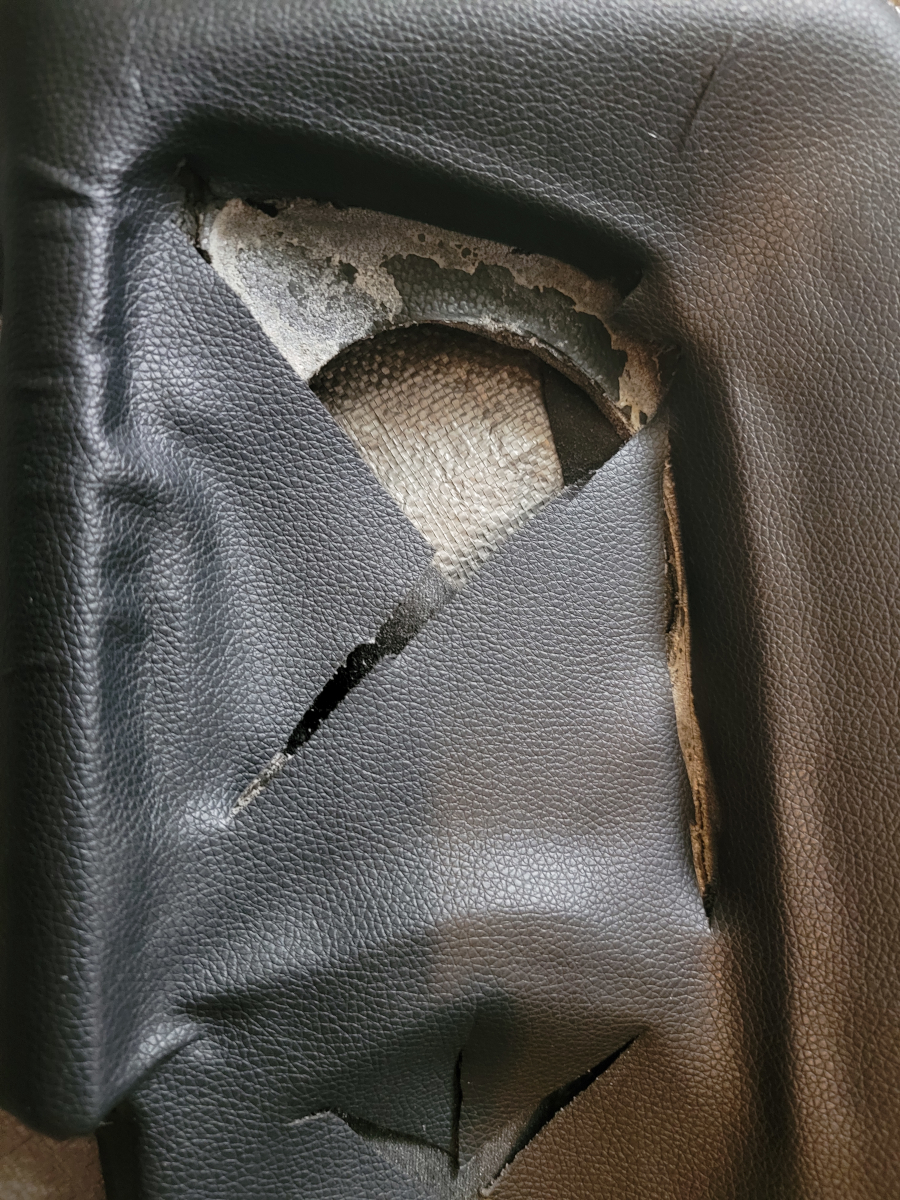
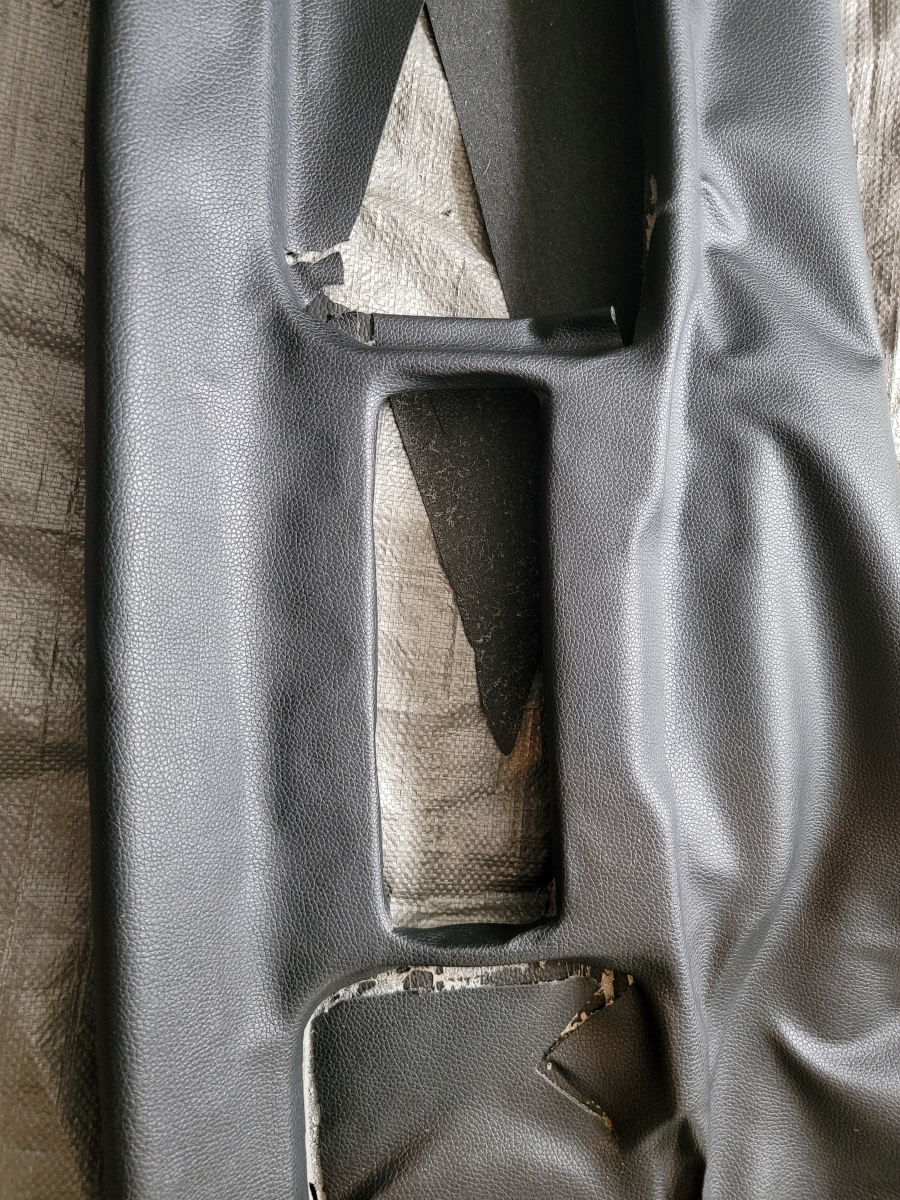
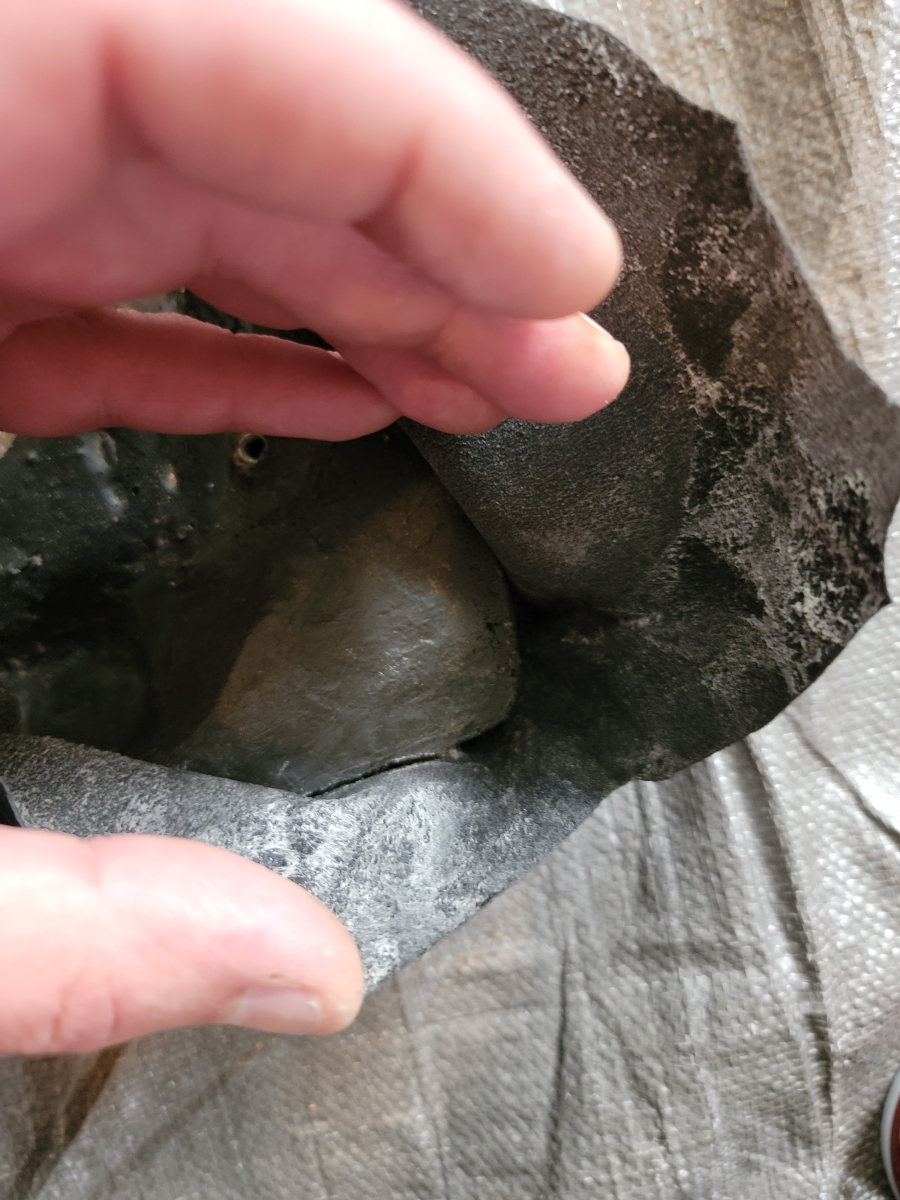
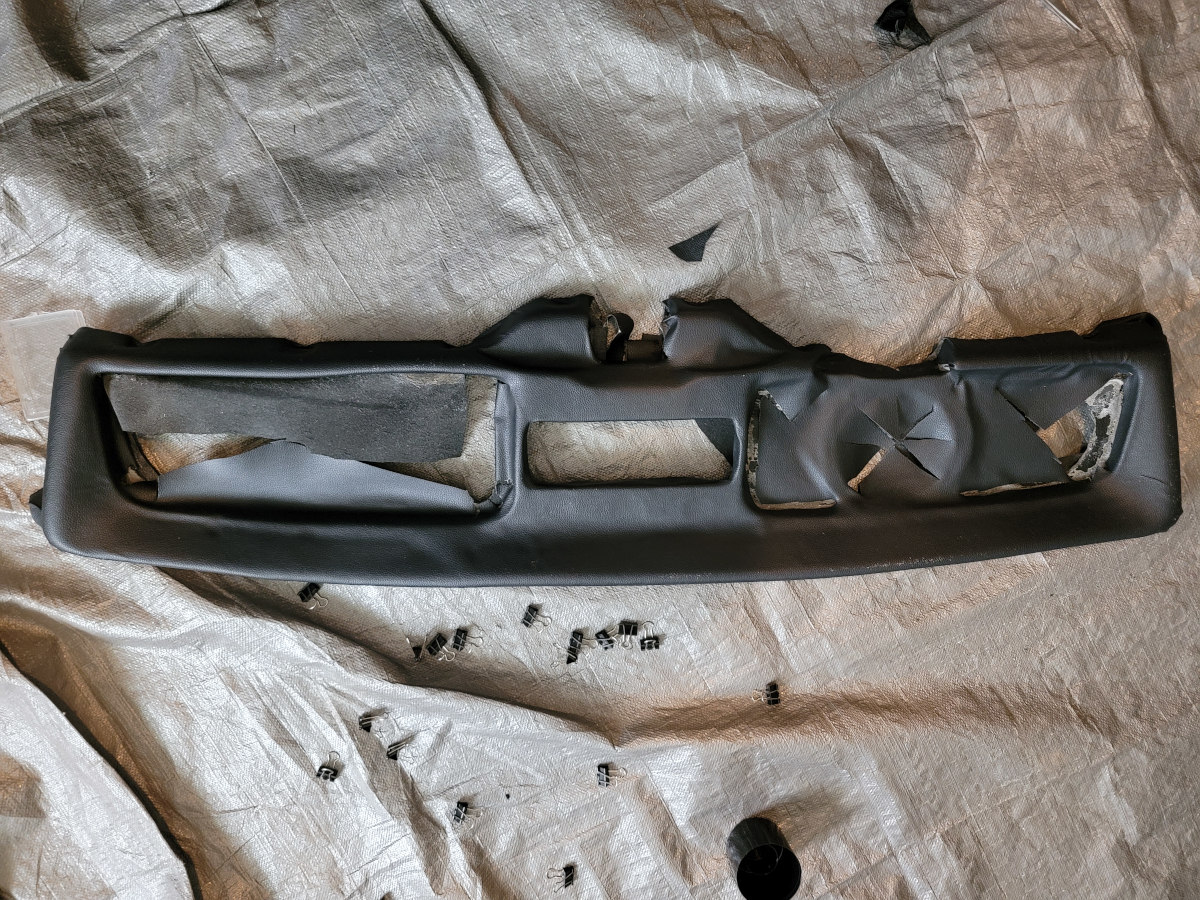
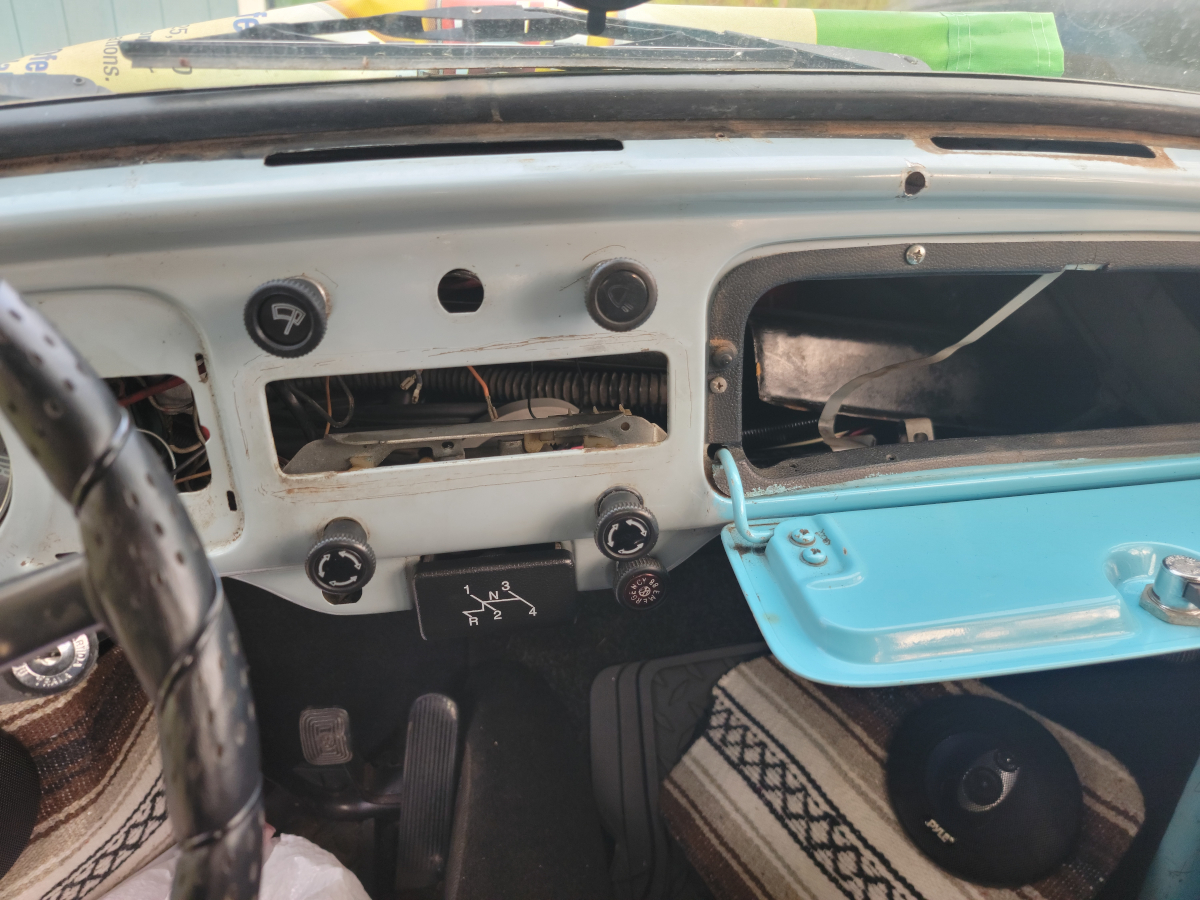
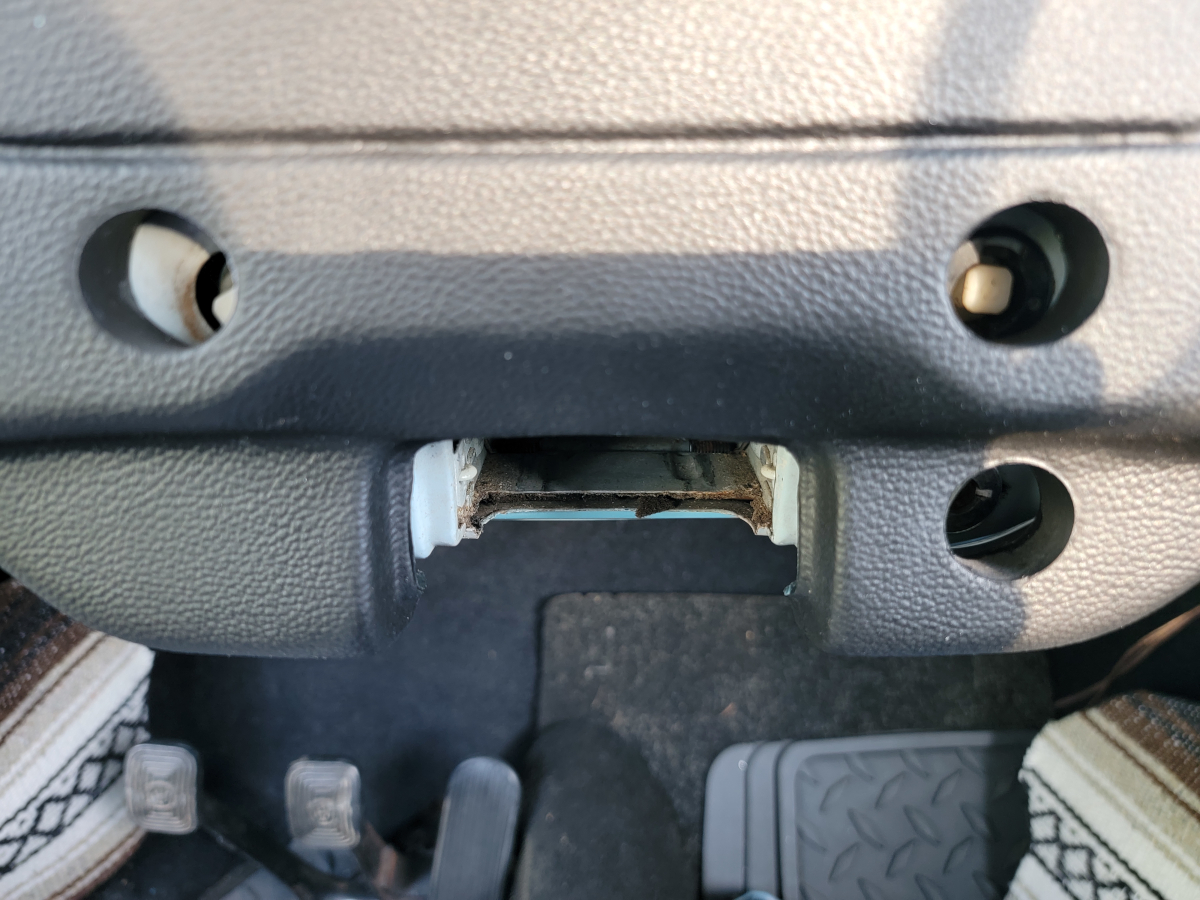
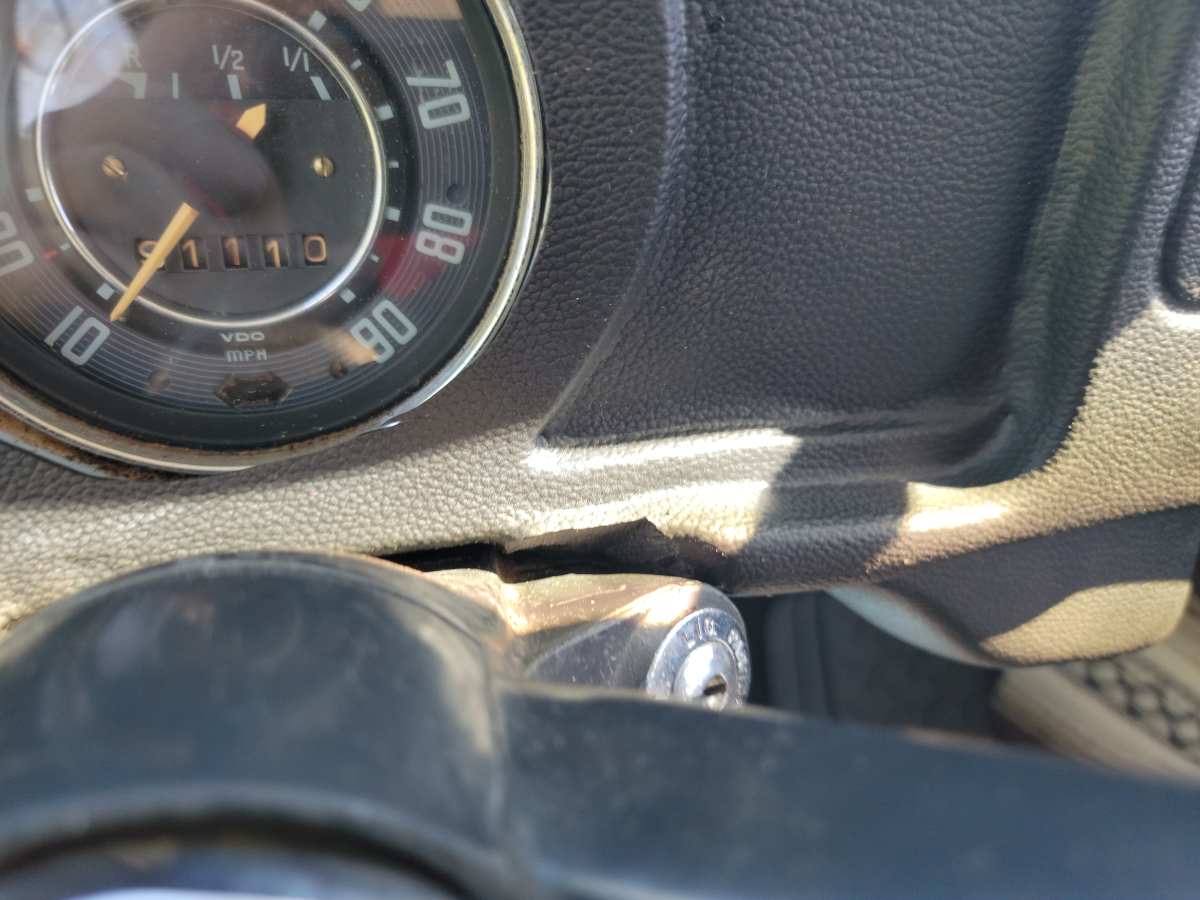
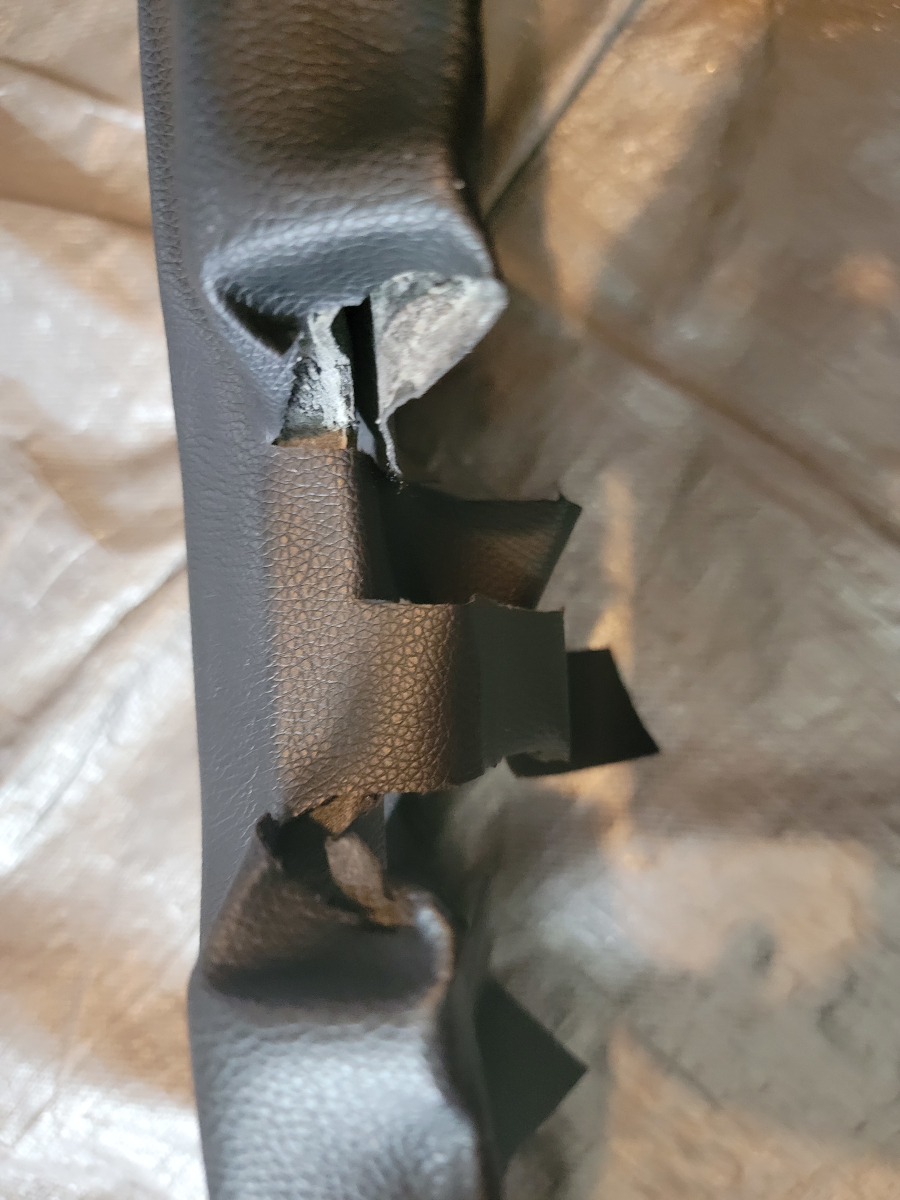
There’s a soft ridge around the hole for the speedometer that isn’t yet taking an acceptable shape.
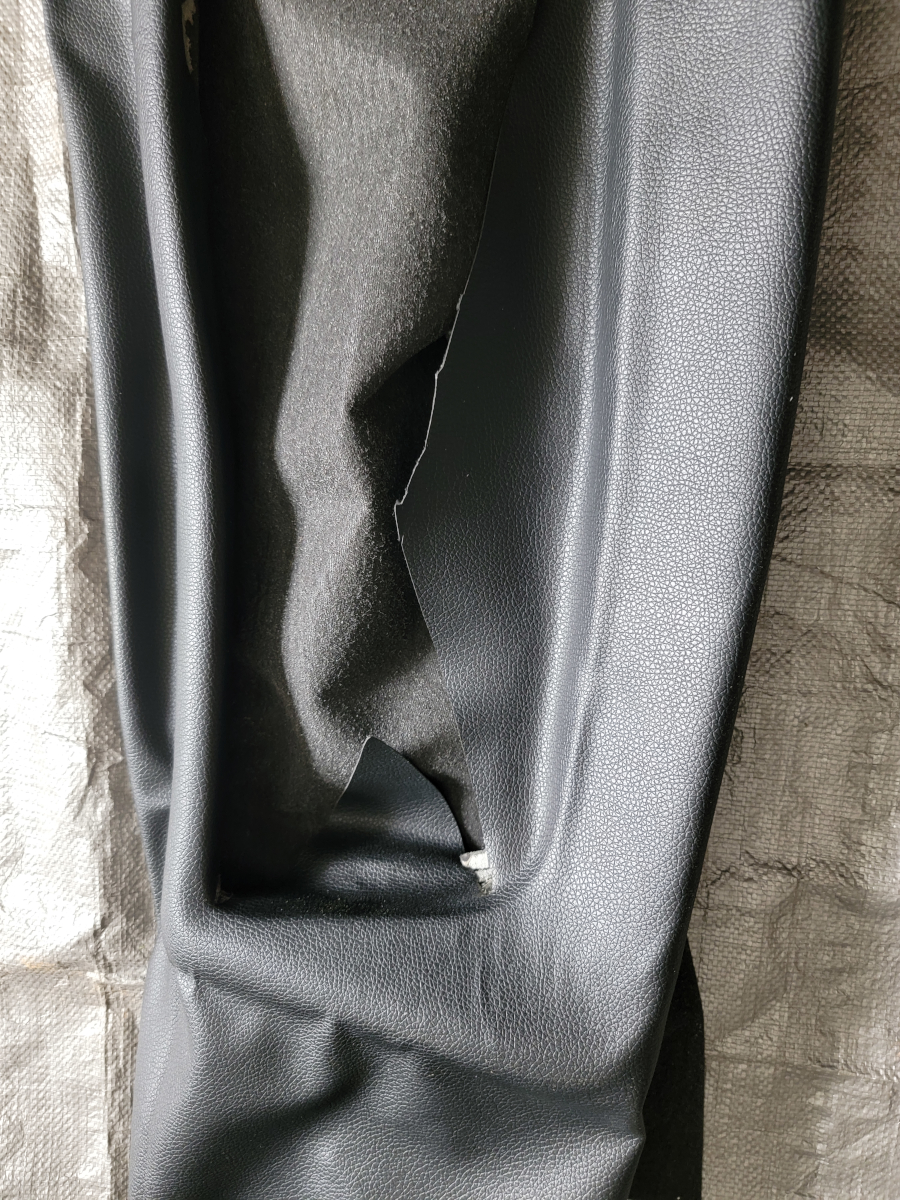
There were some more gaps over here that needed some more flaps and glue.
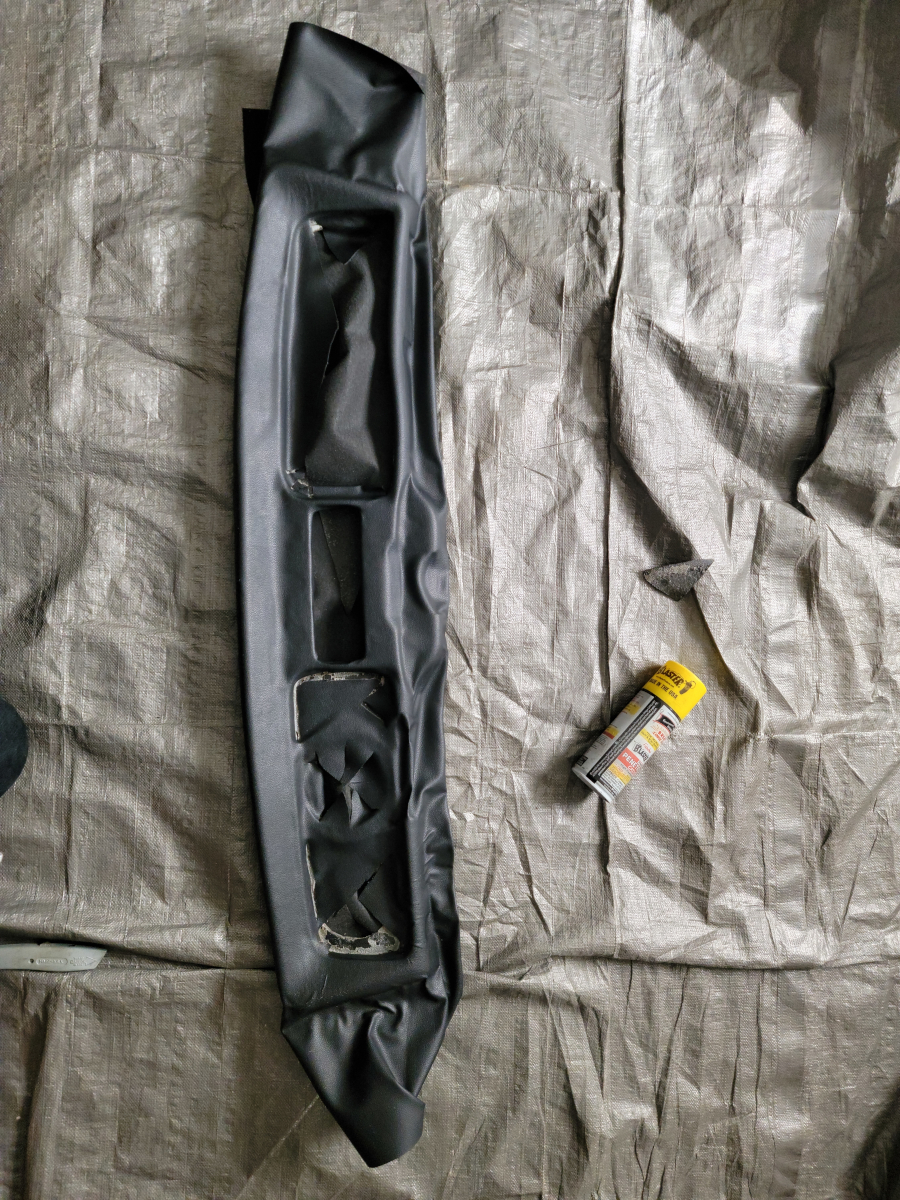
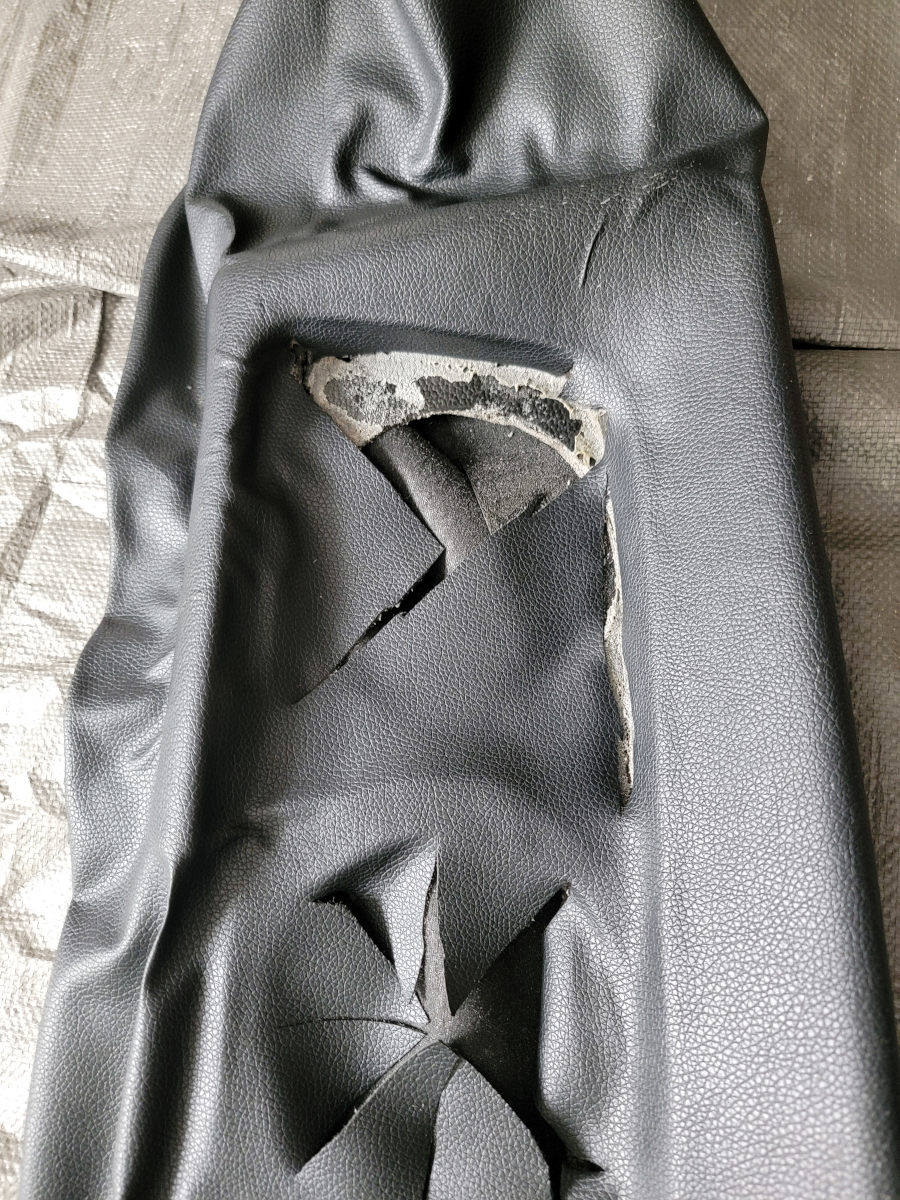
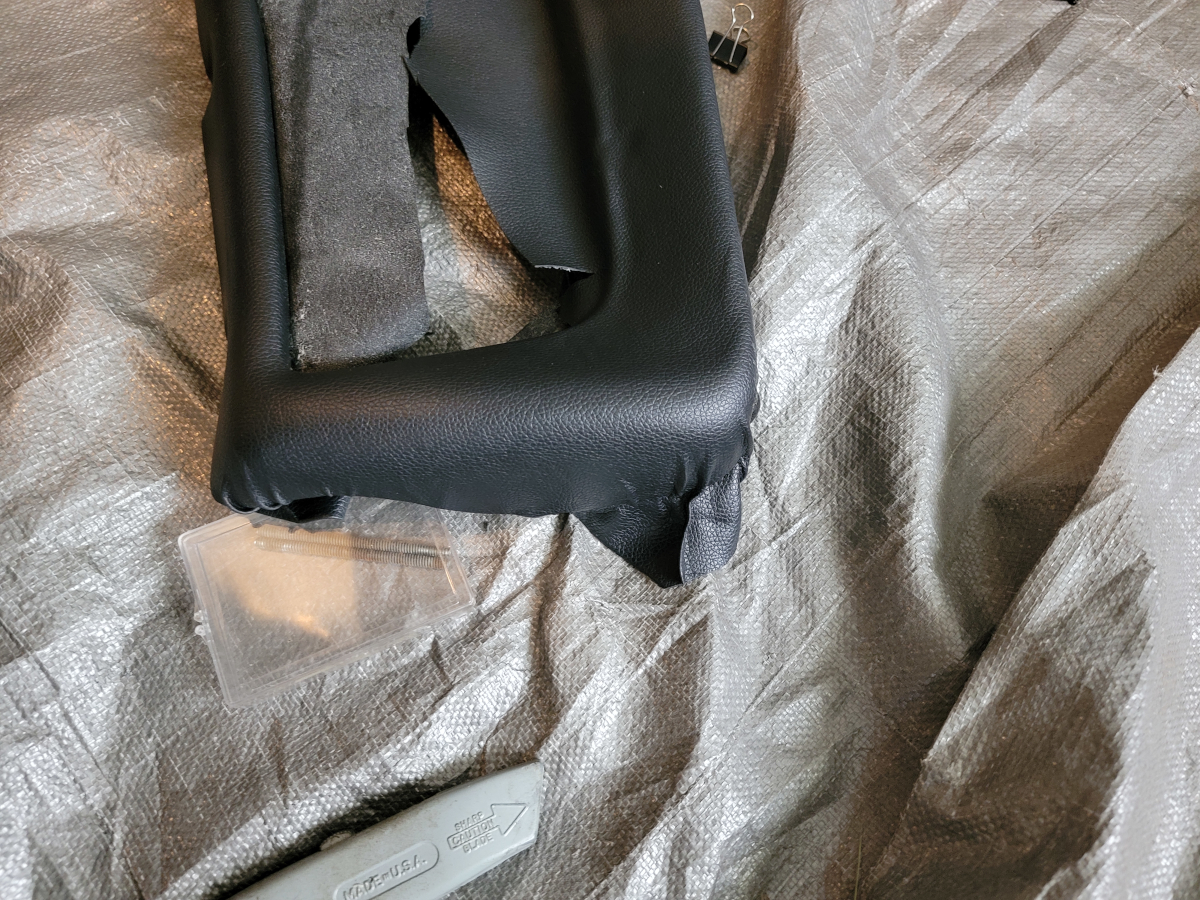
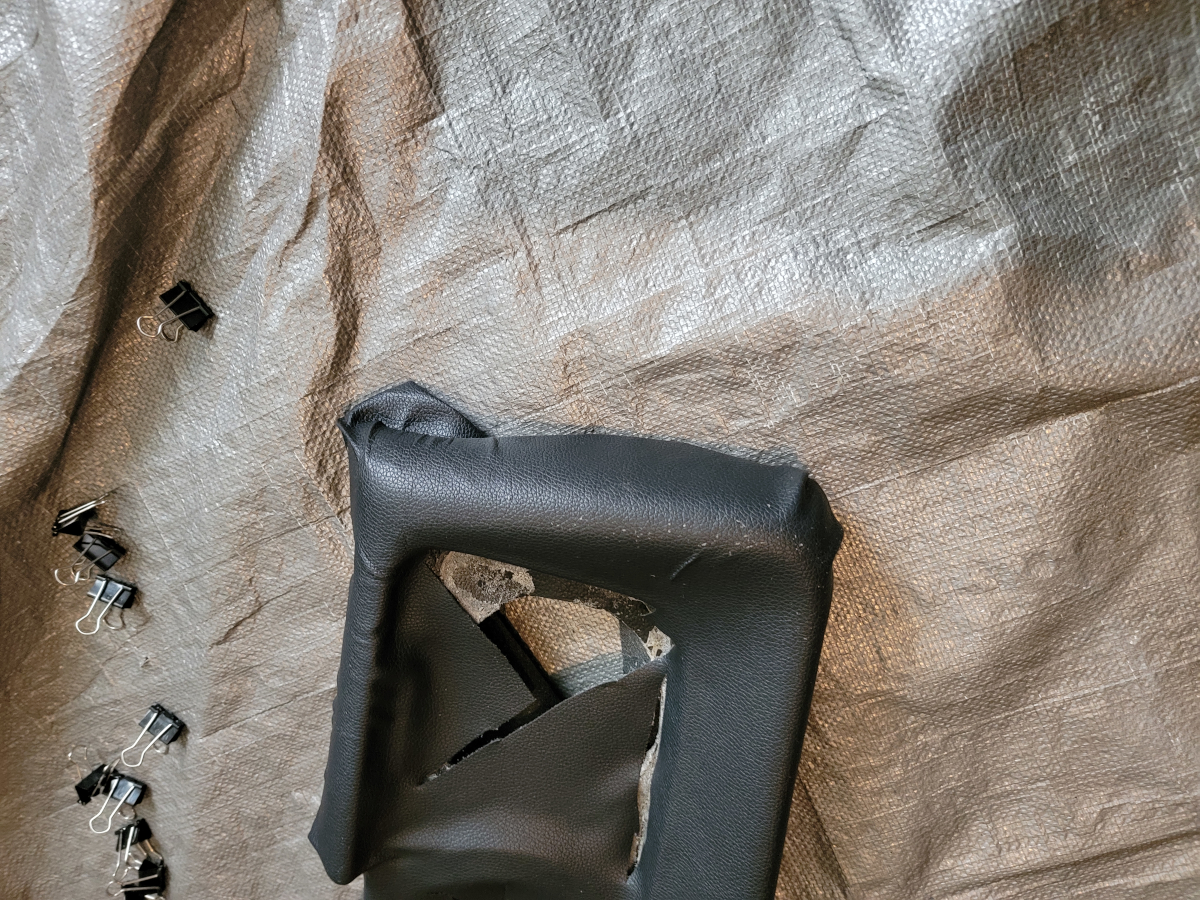
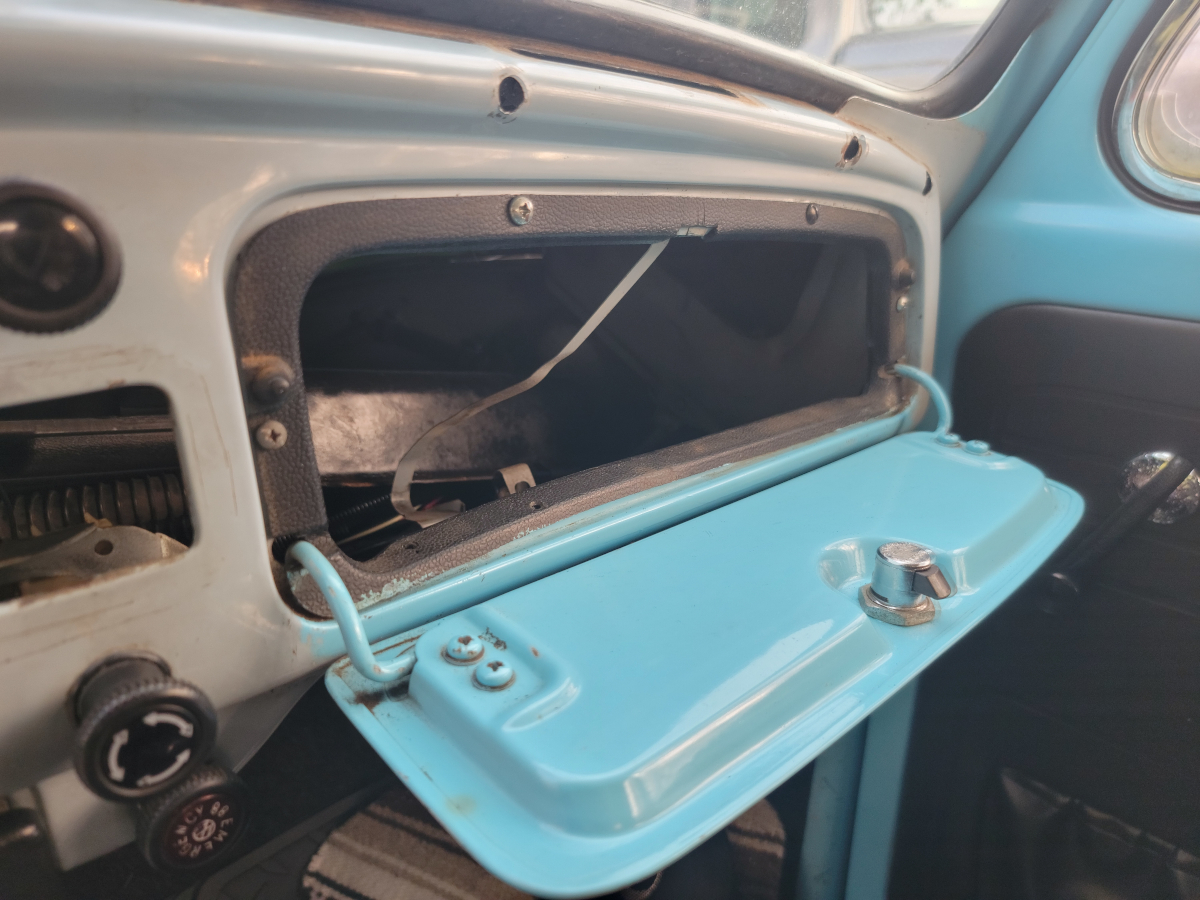
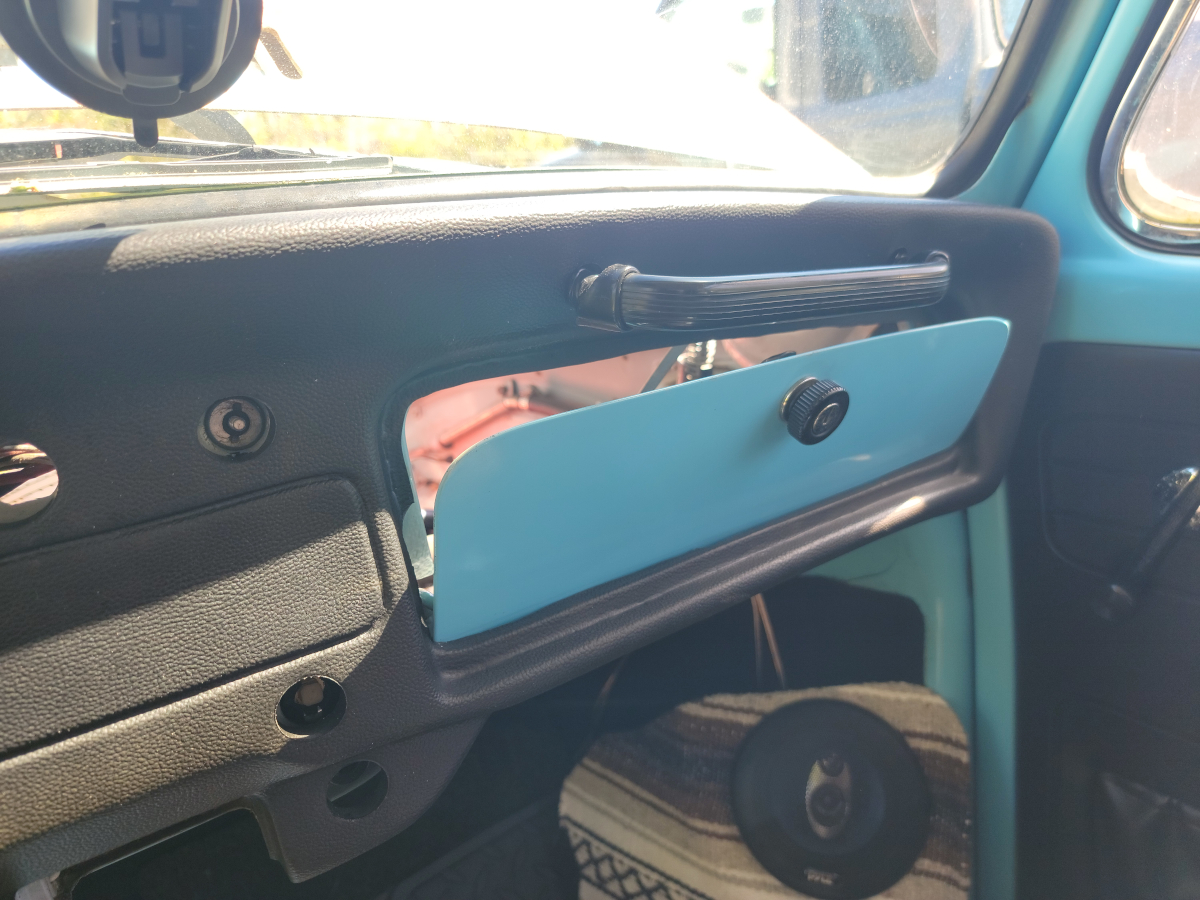
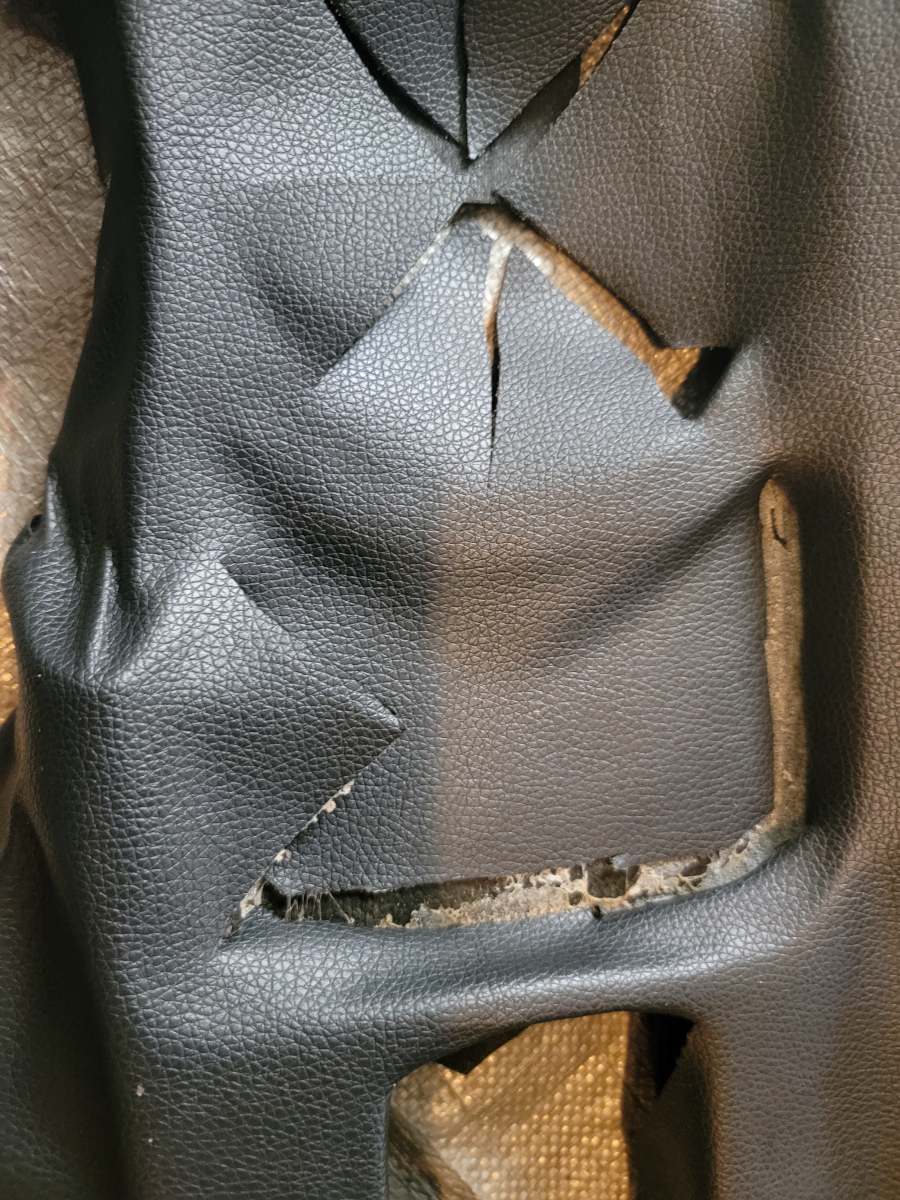
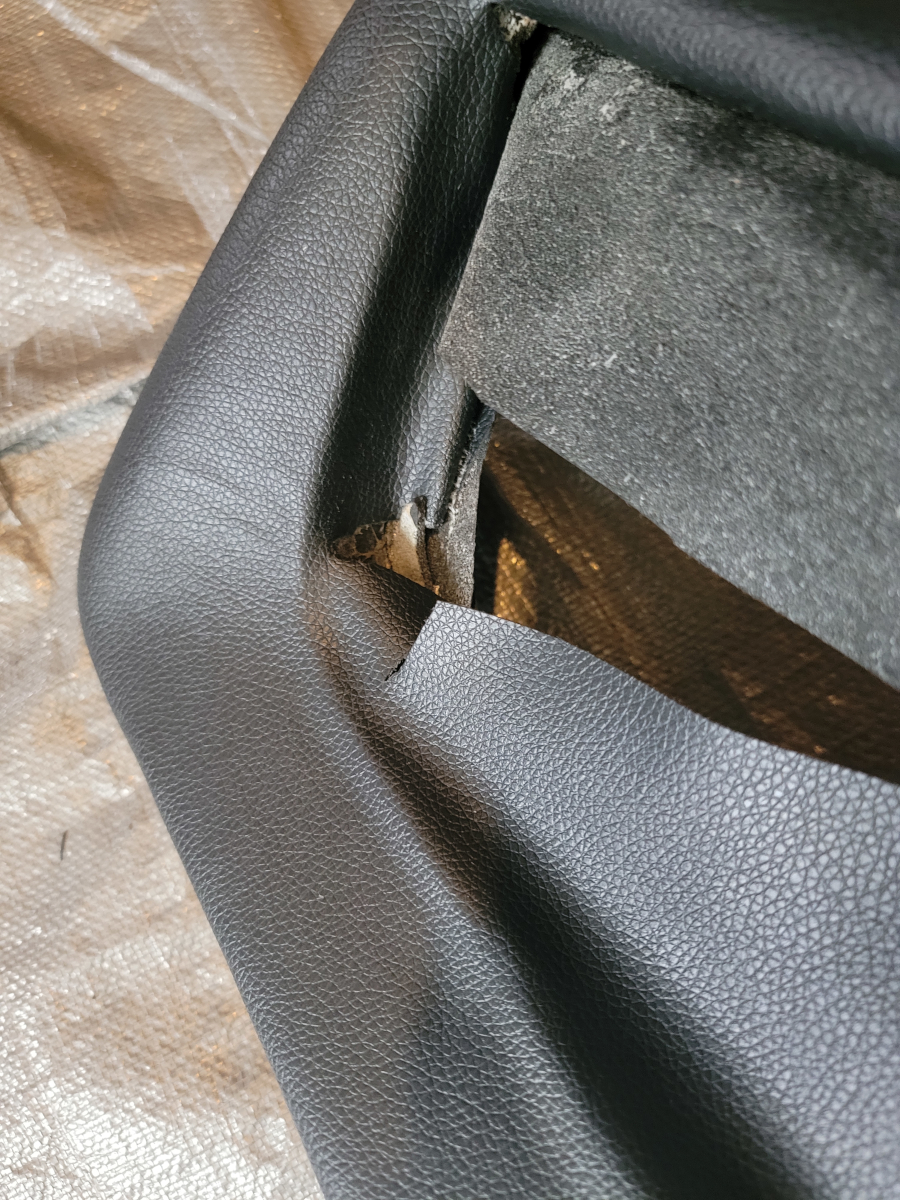
It’s starting to look pretty rough around the corners of the glove box. That needs some more cuts and glue.
We’re getting there, slowly, but surely.
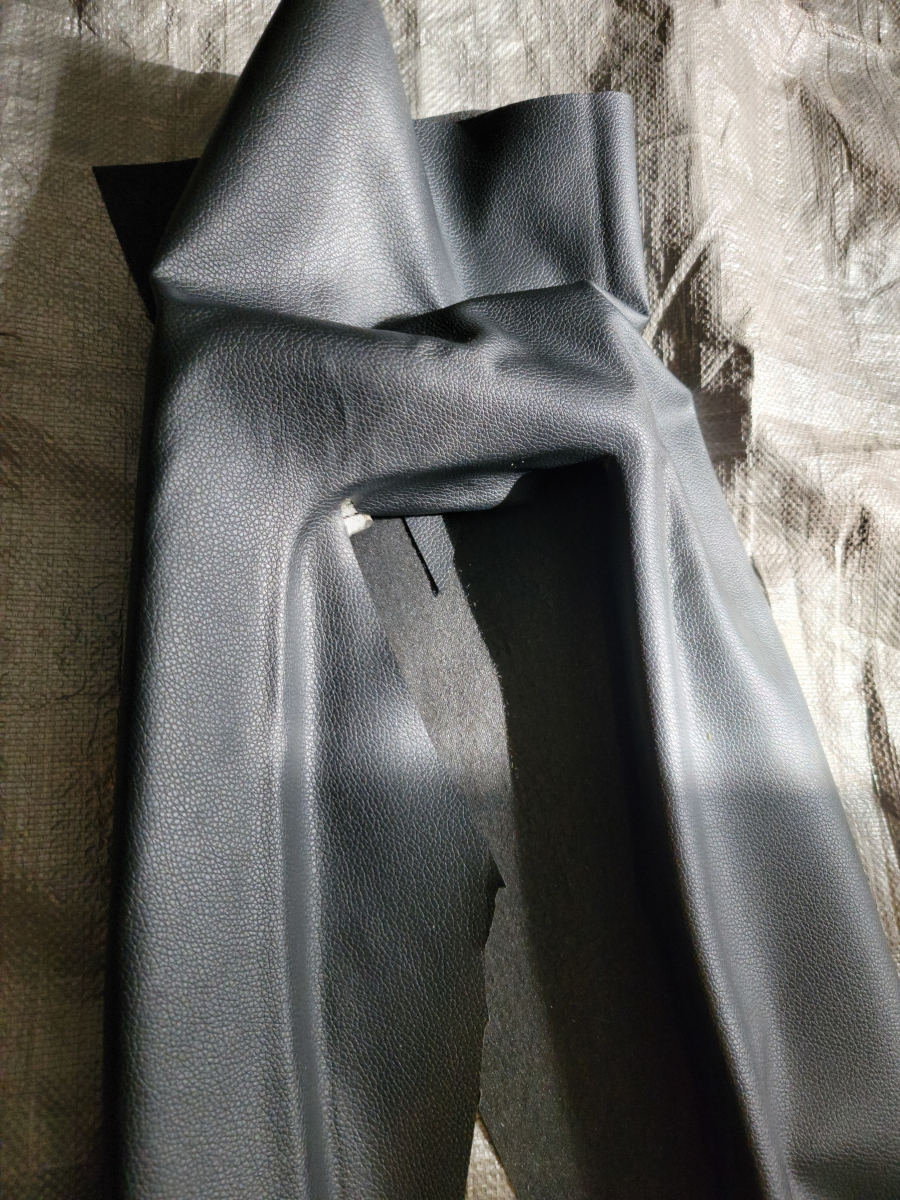
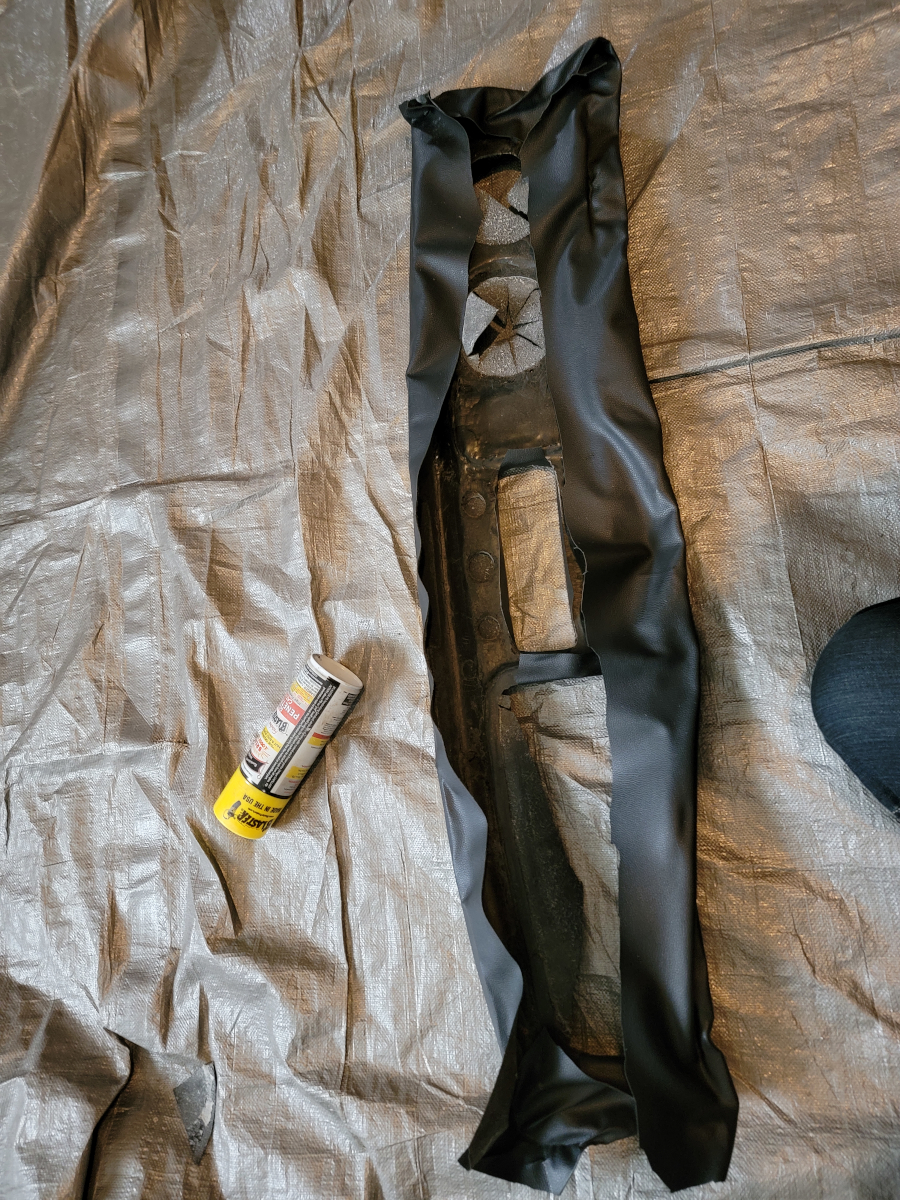
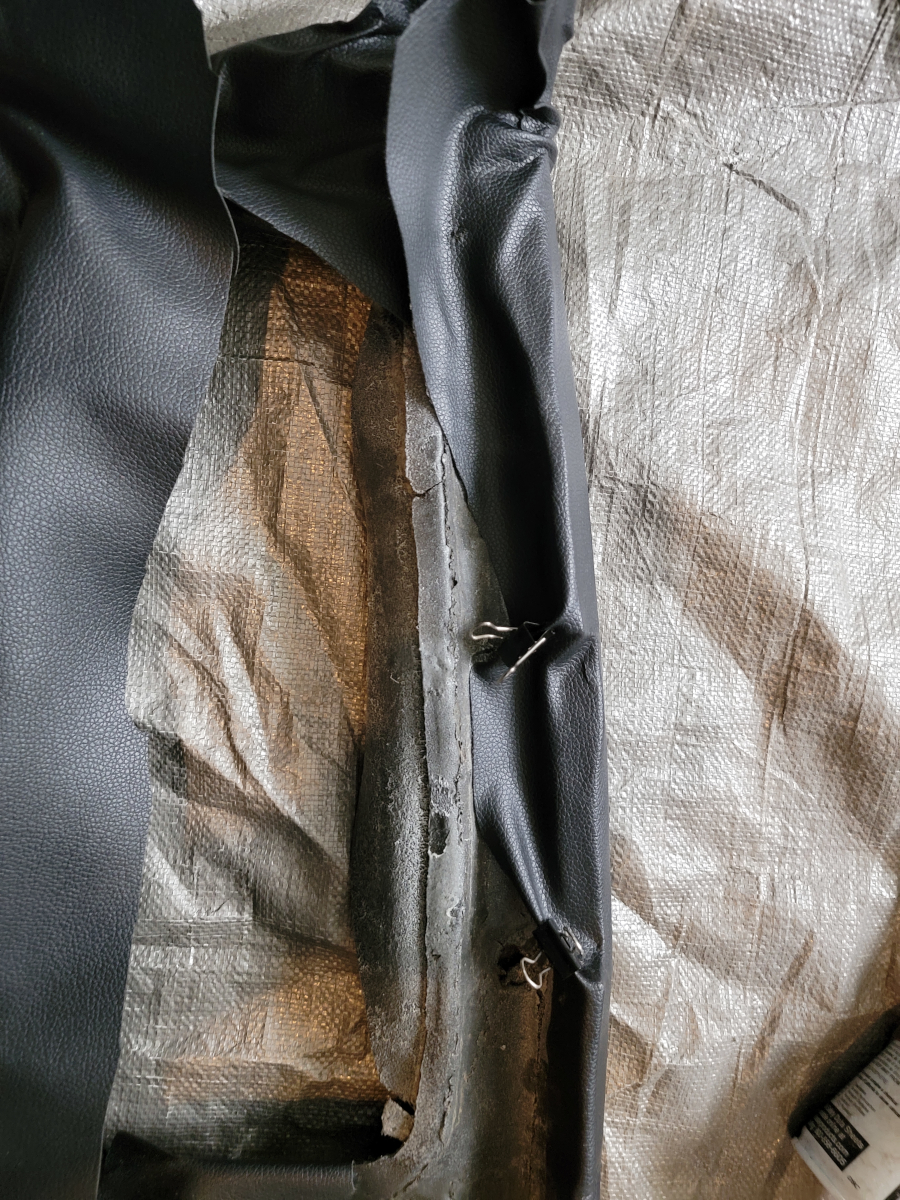
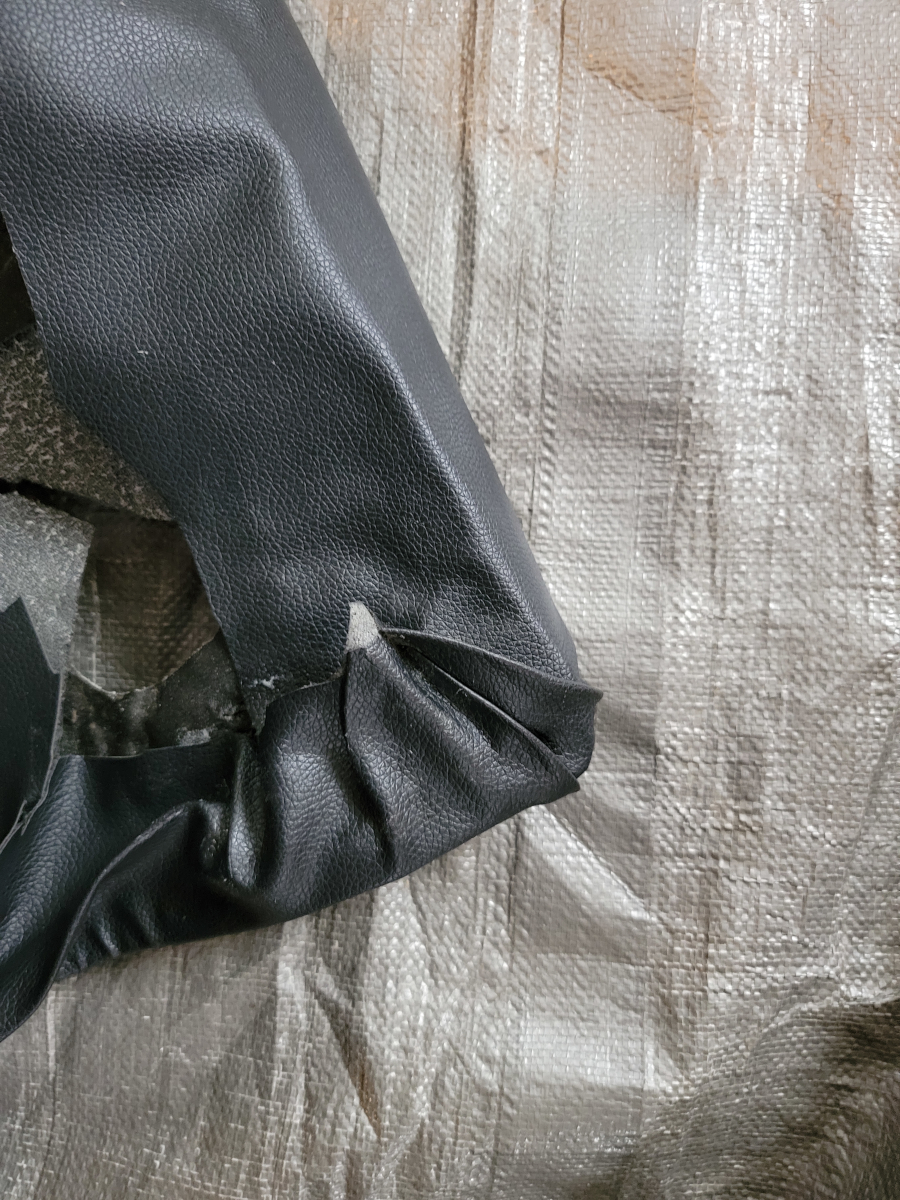
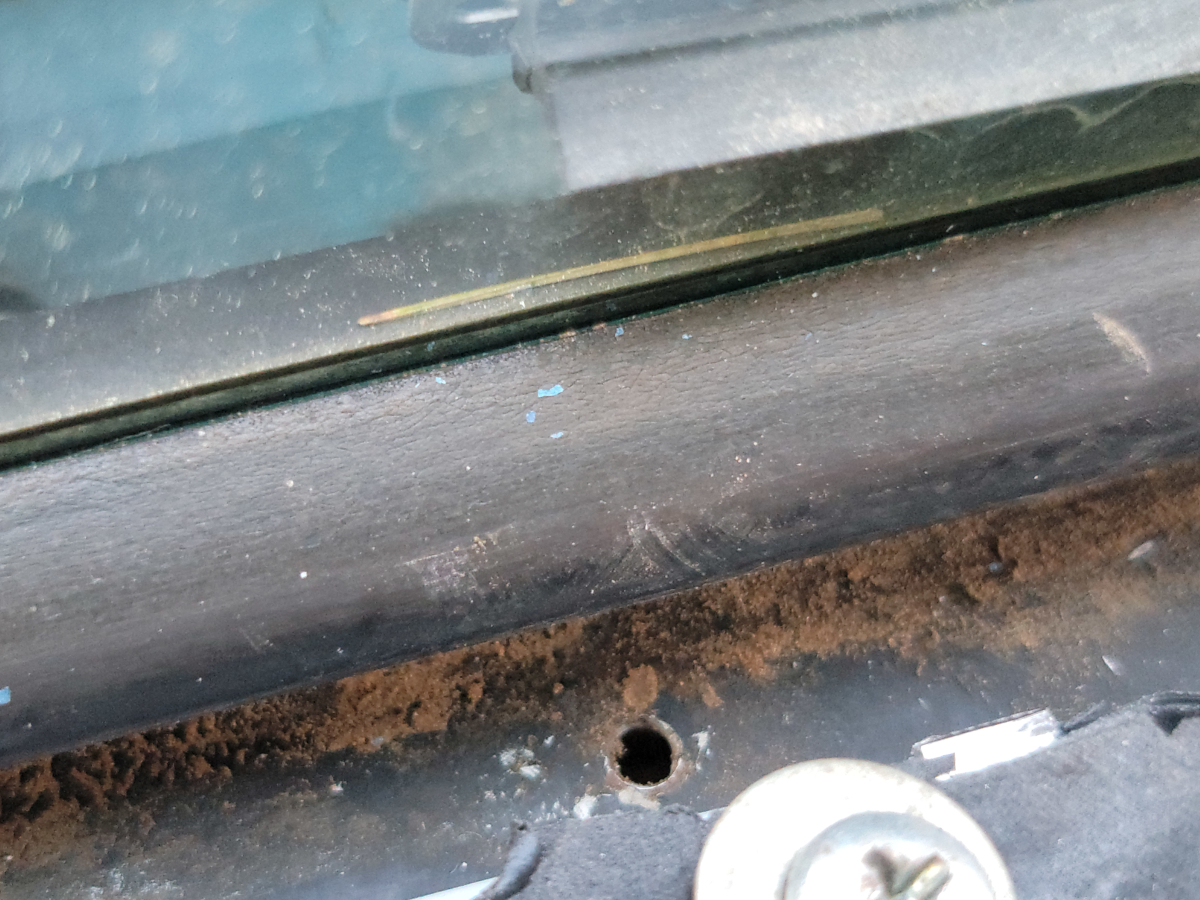
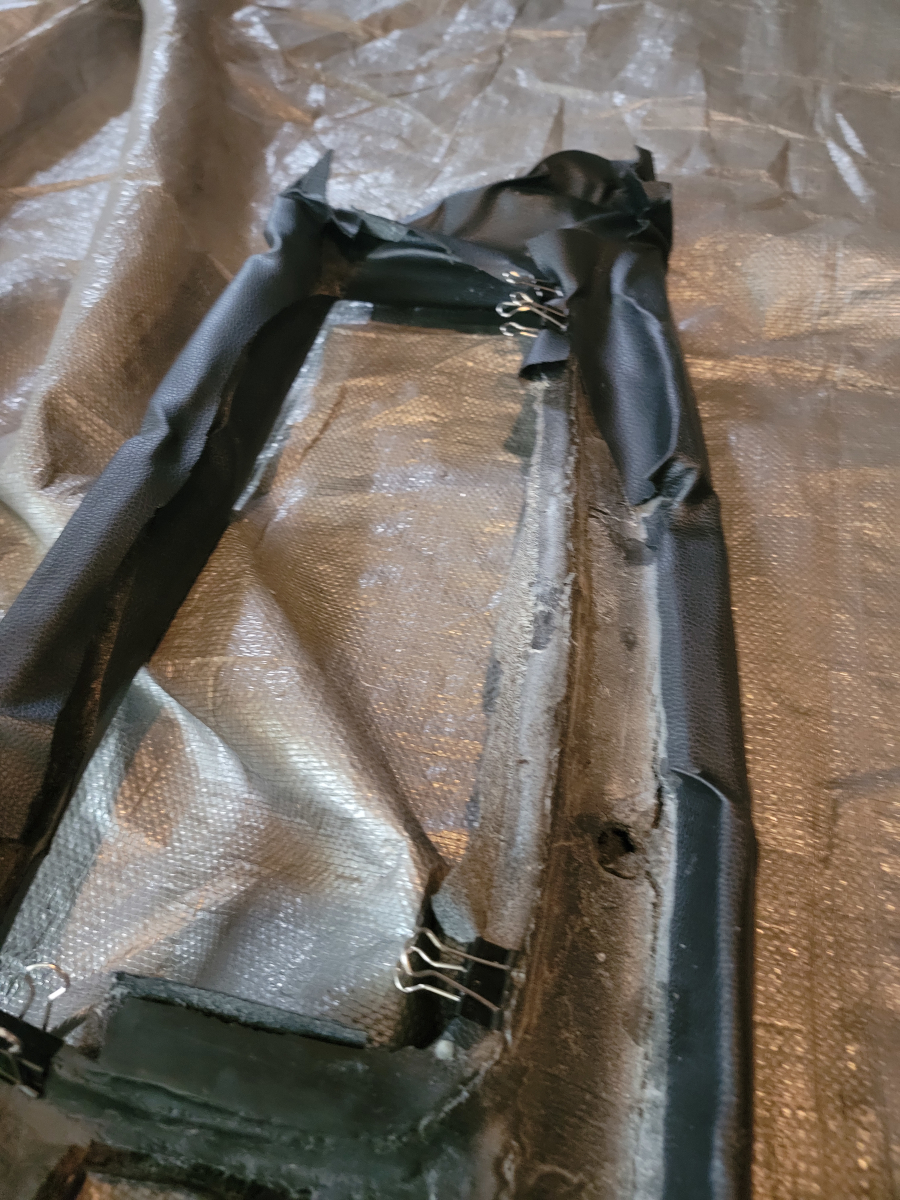
I peeled the loose edge of the vinyl back and glued up underneath the long, straight edge along the bottom of the driver side. CHOPSTICK ENGAGE!
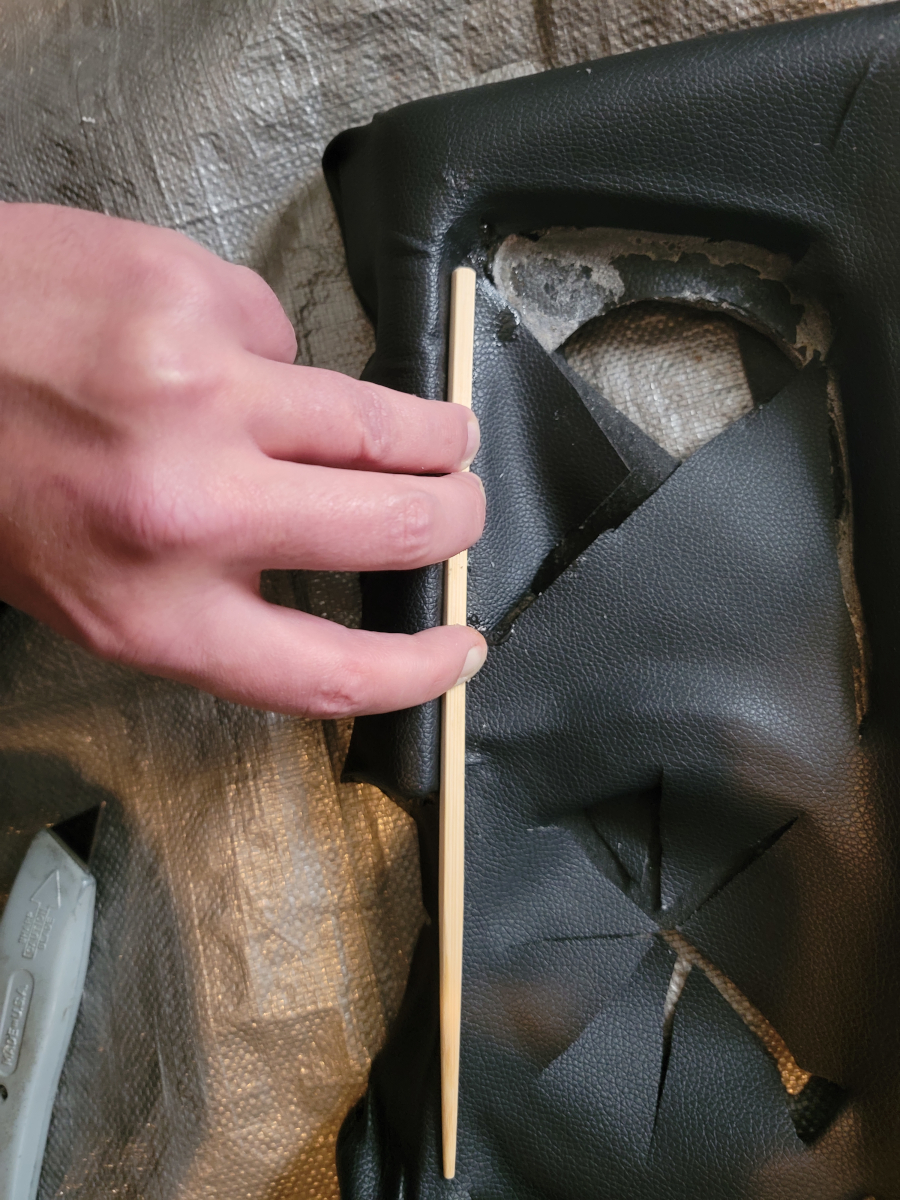
The edge was too thick there to clamp with binder clips or clothes pins. I just held it there for a couple of minutes.
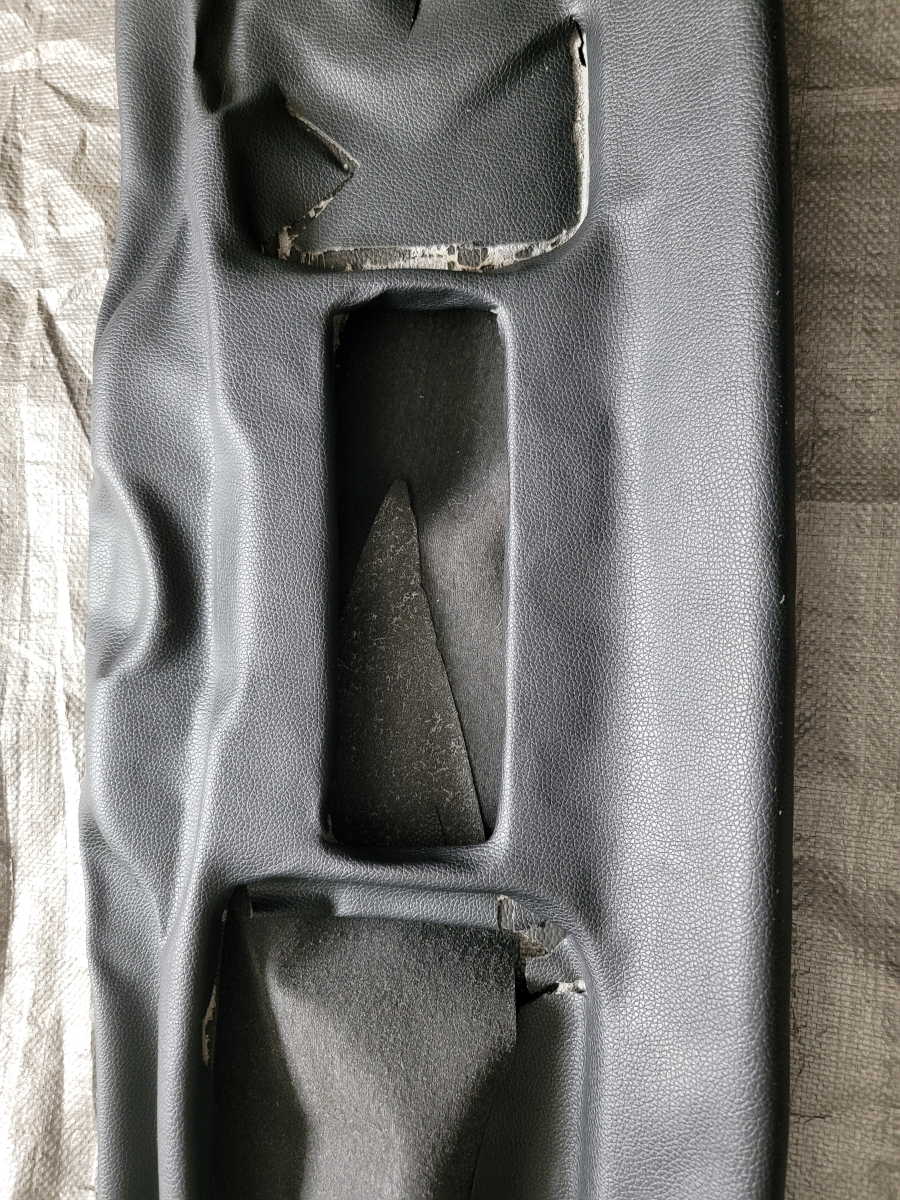
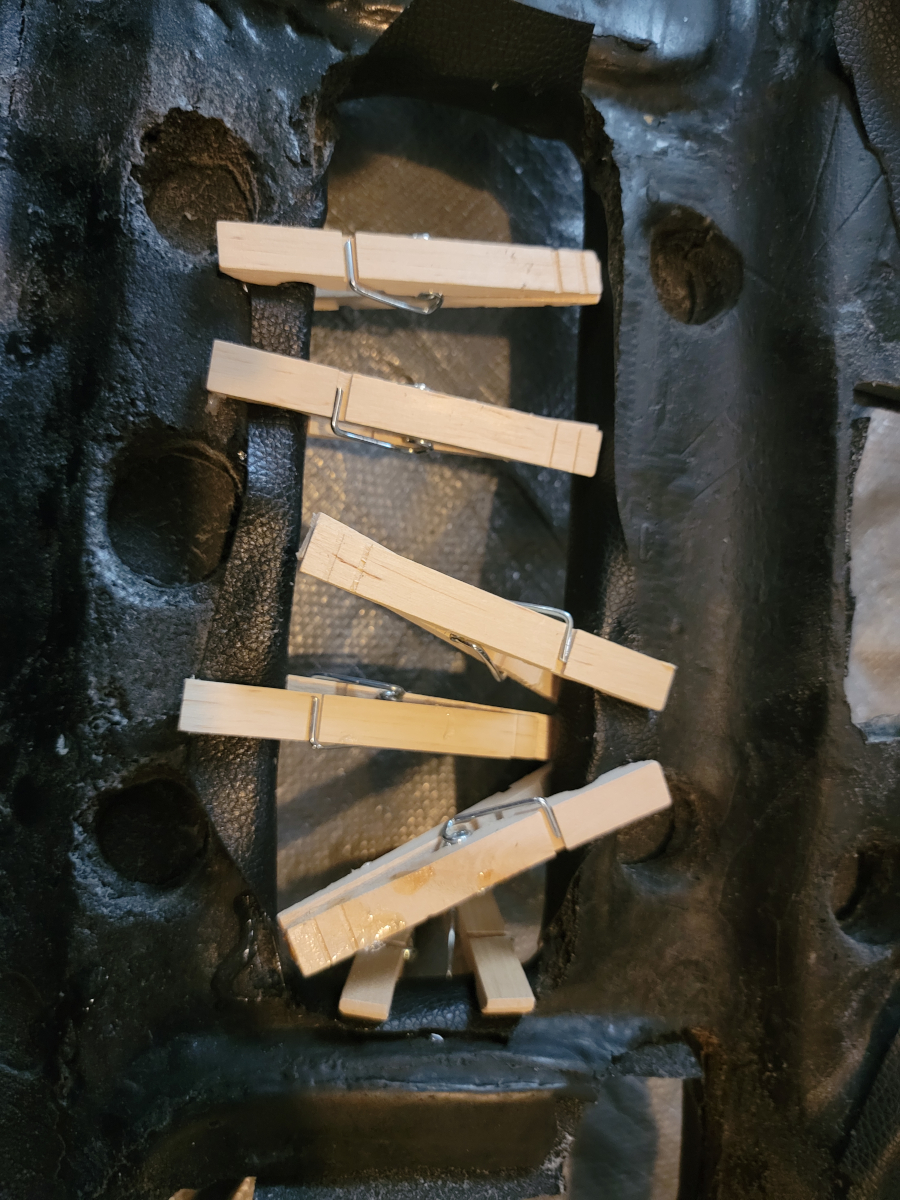
Once that set up, I moved on and started cutting, gluing, and clothes pinning some of the detail edges around the gauge cluster and stereo.
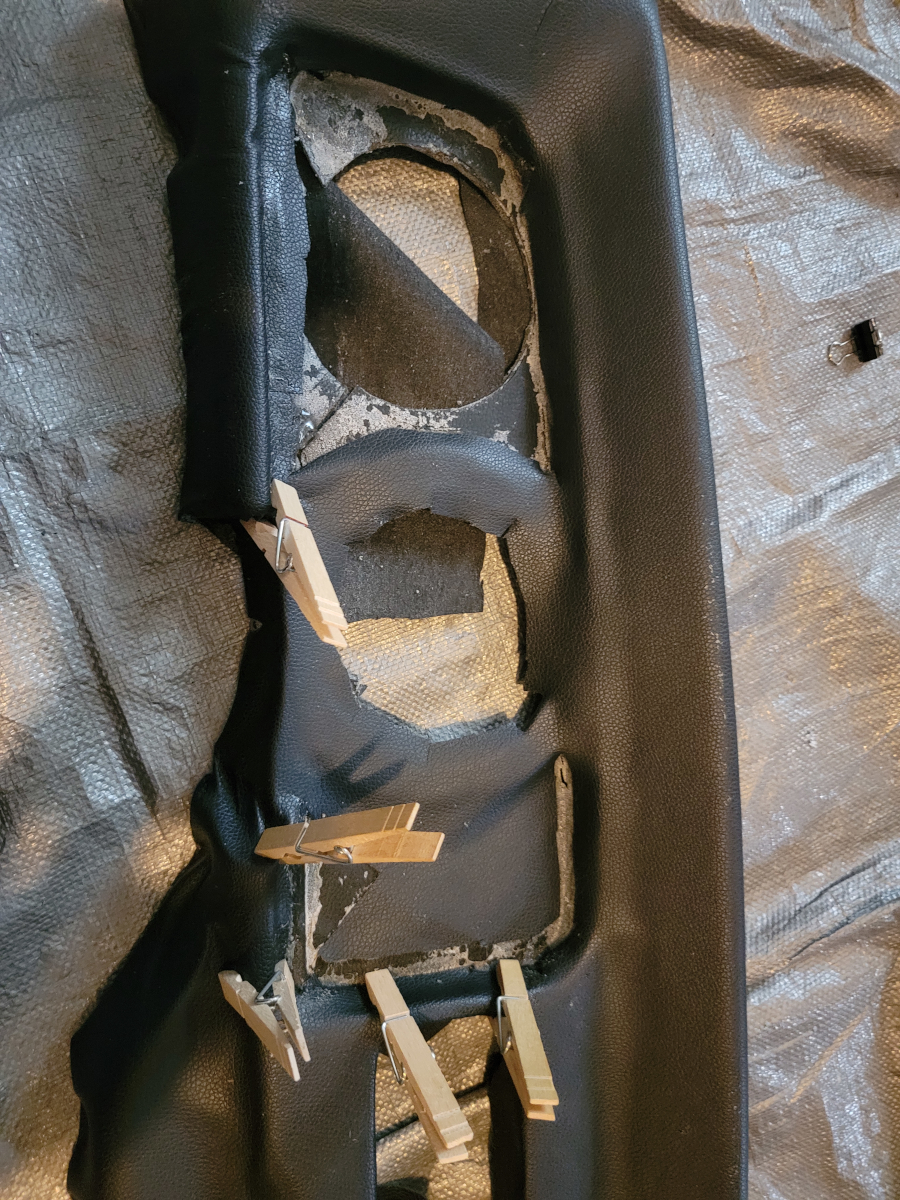
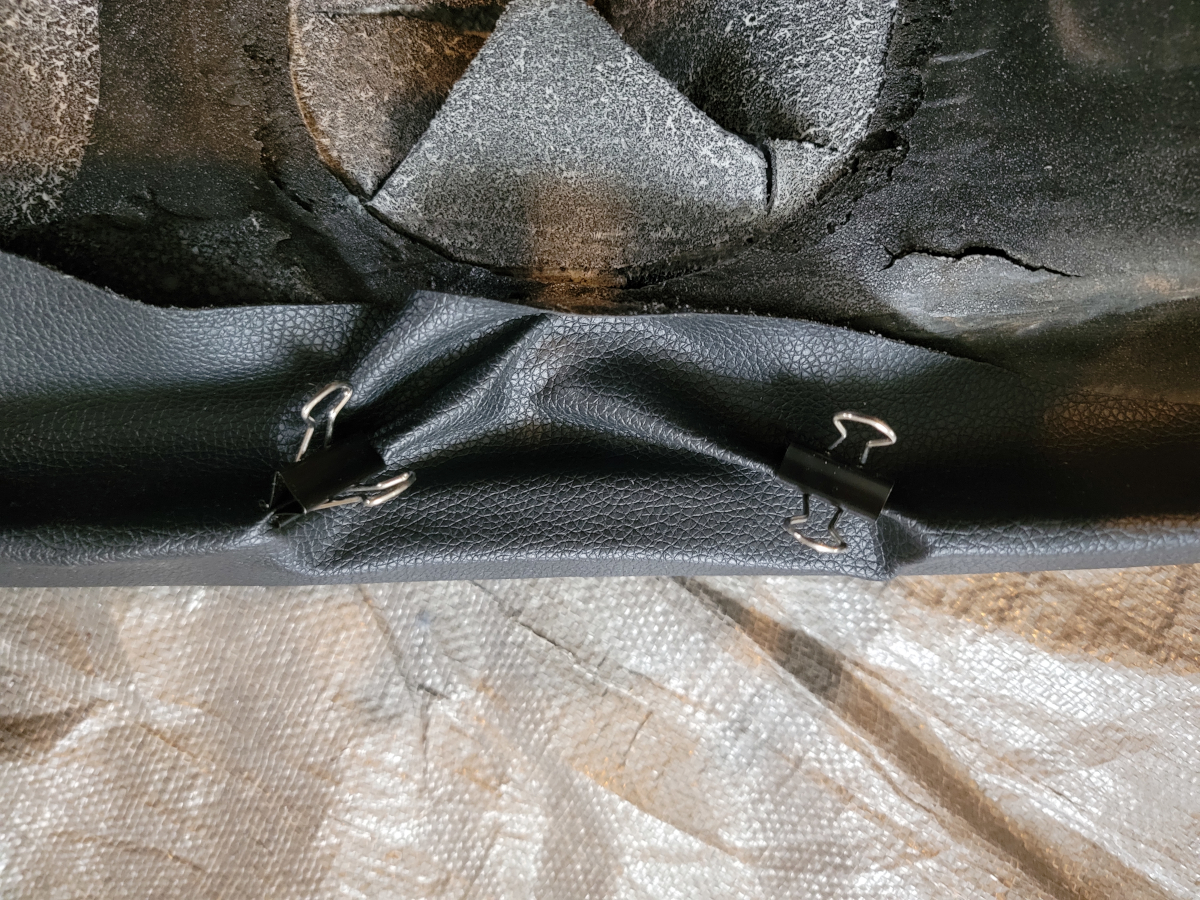
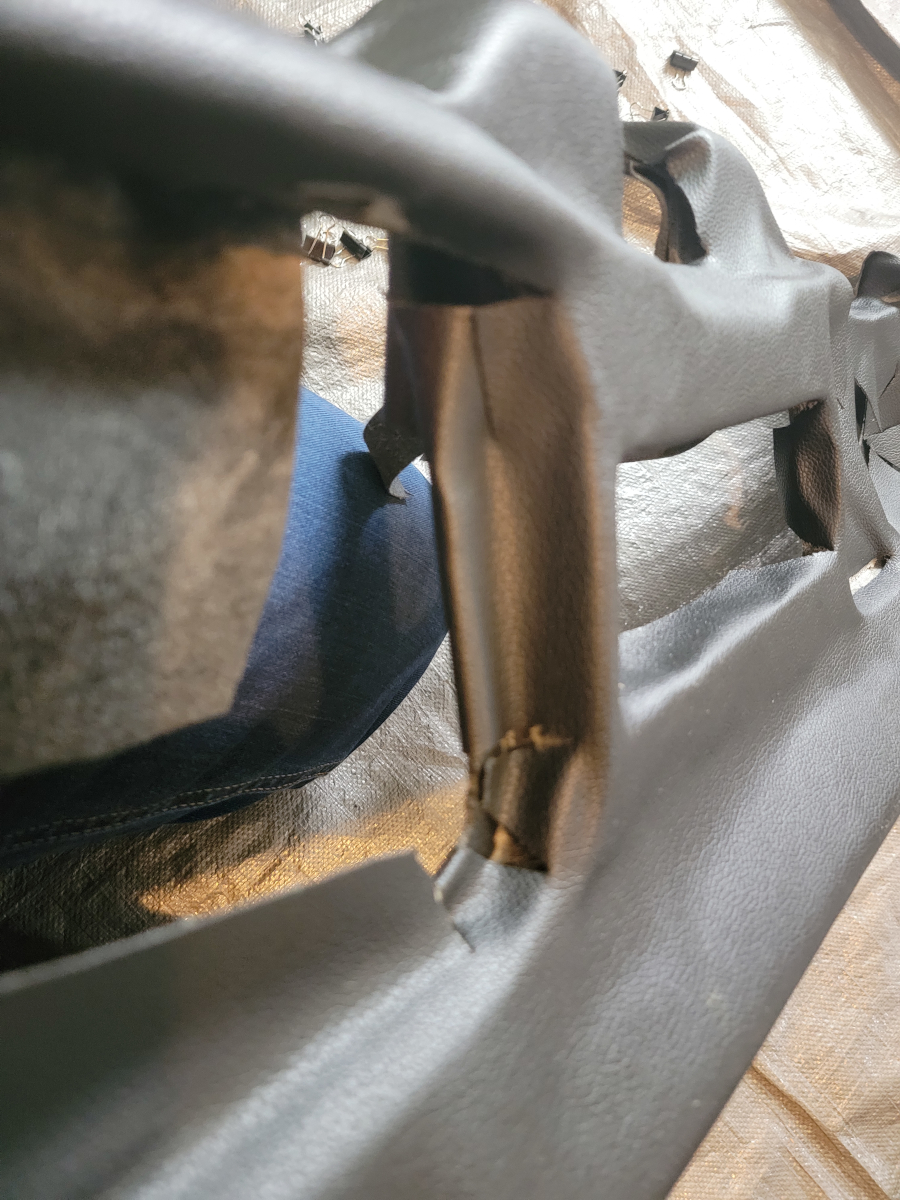
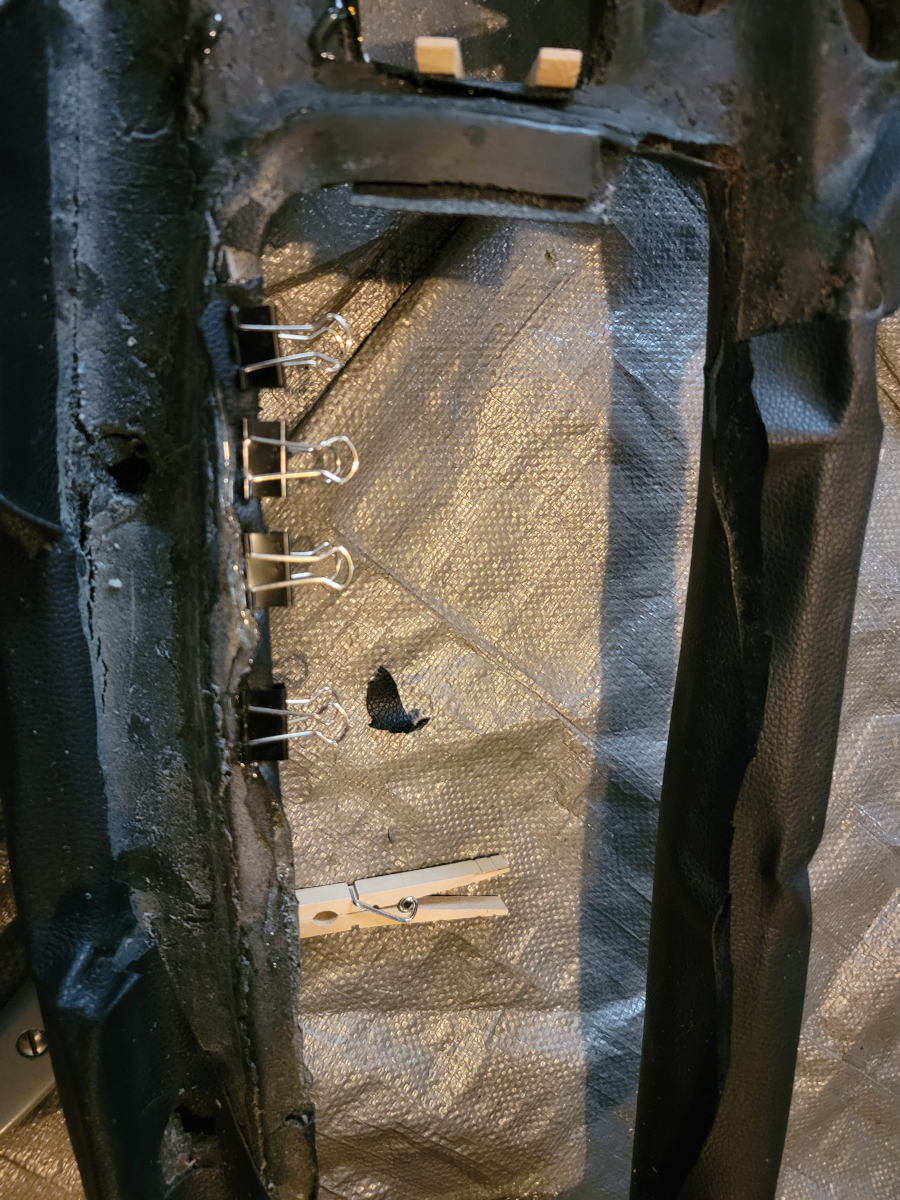
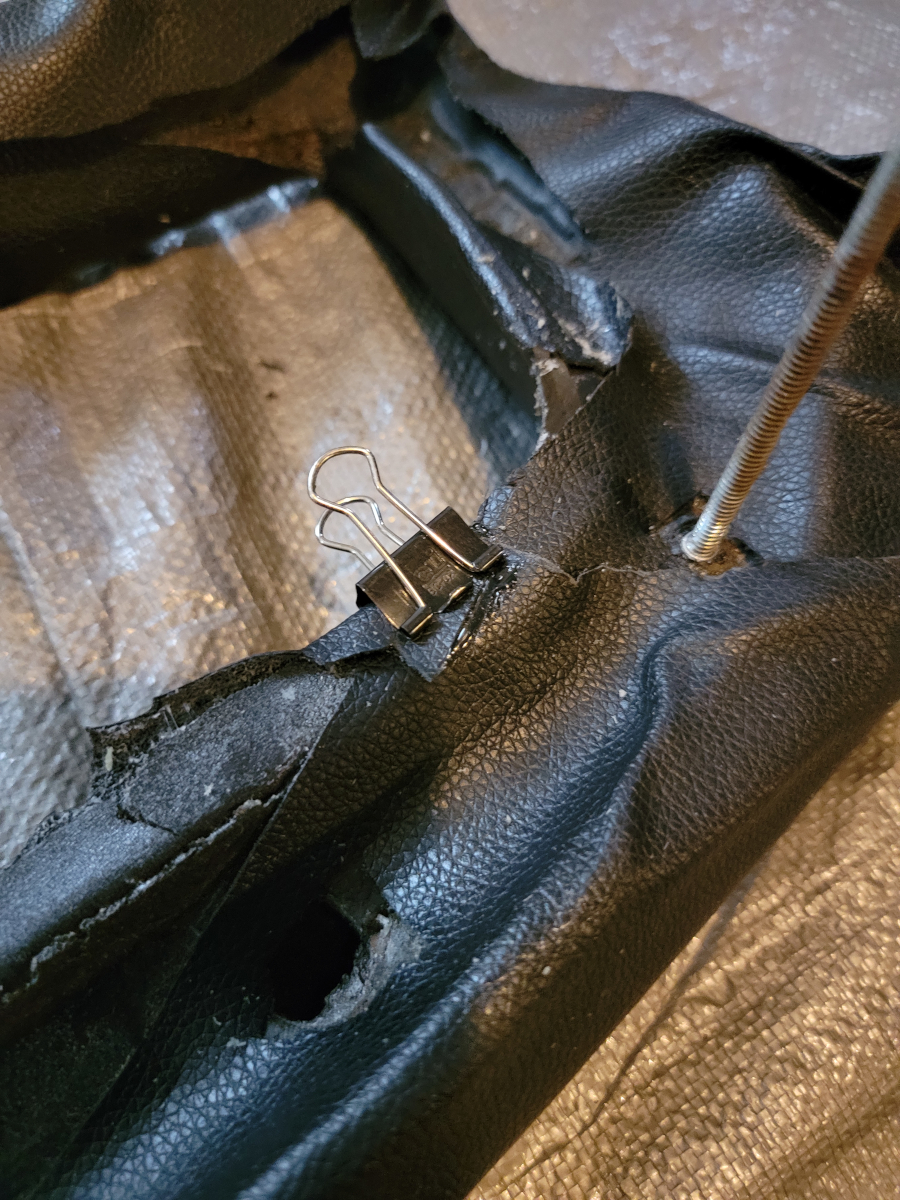
There are lots of loose little flaps around the glove box opening. More glue, more binder clips.
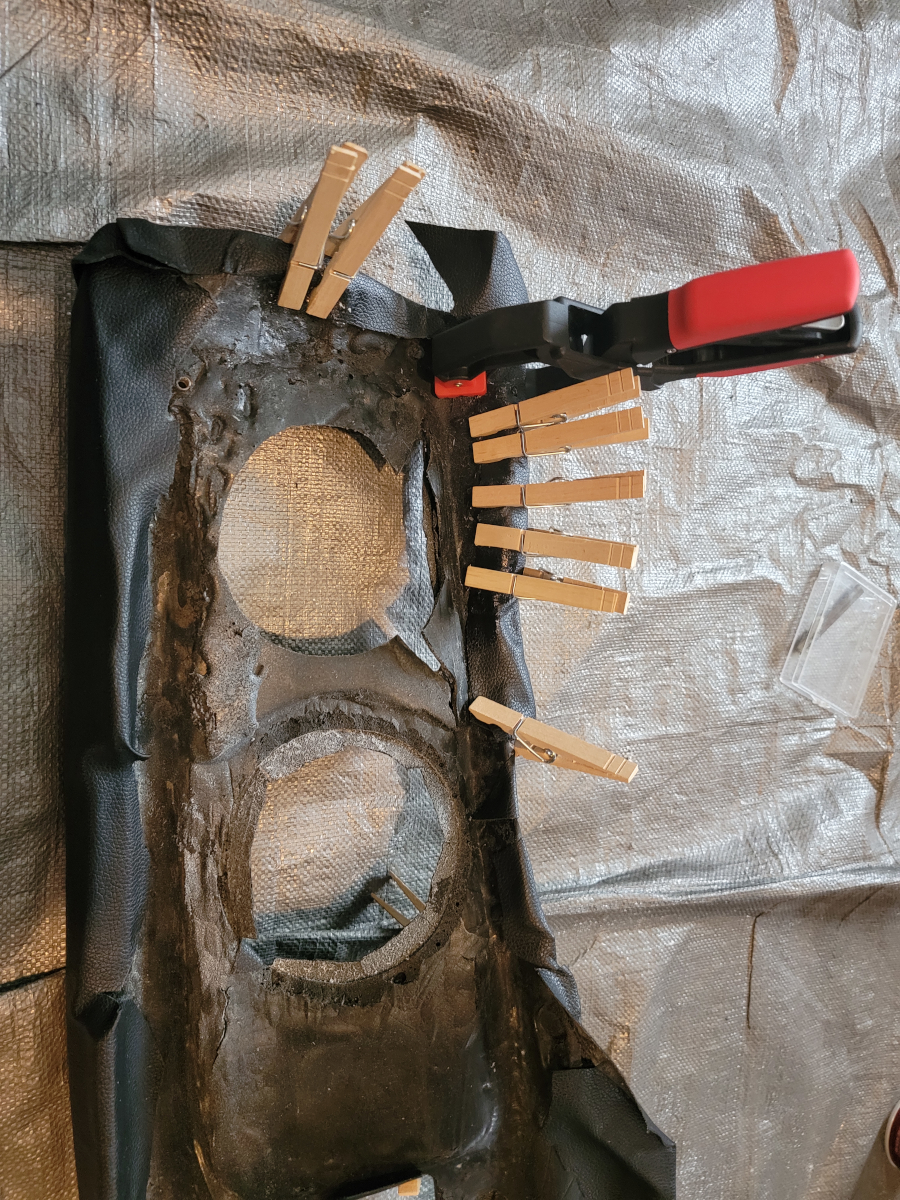
Moving on, there are some more loose edges around the driver side which were exposed after cutting off some more excess. Then I remembered I have this ratcheting clamp, which fit nicely on the large bottom corner. Clothes pins fit the rest of the smaller edges nicely.
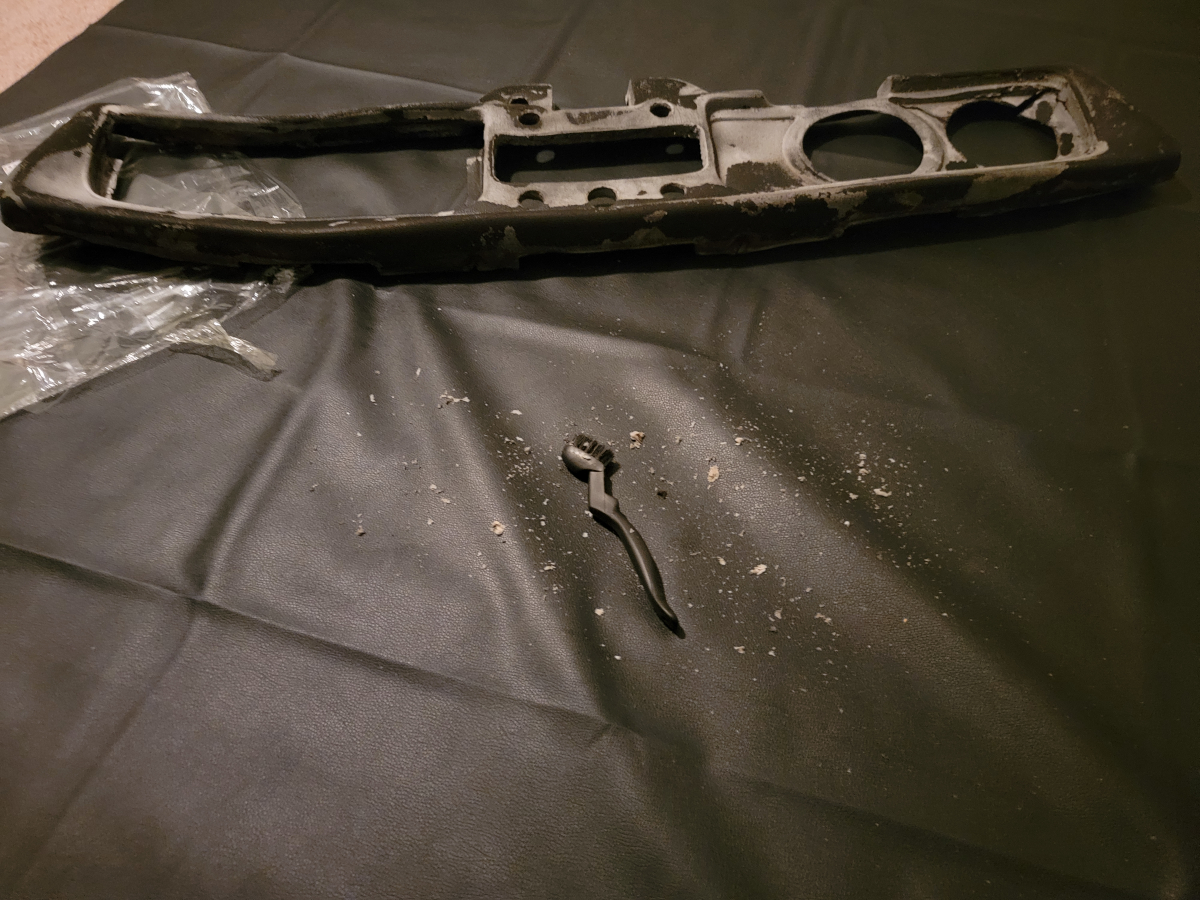
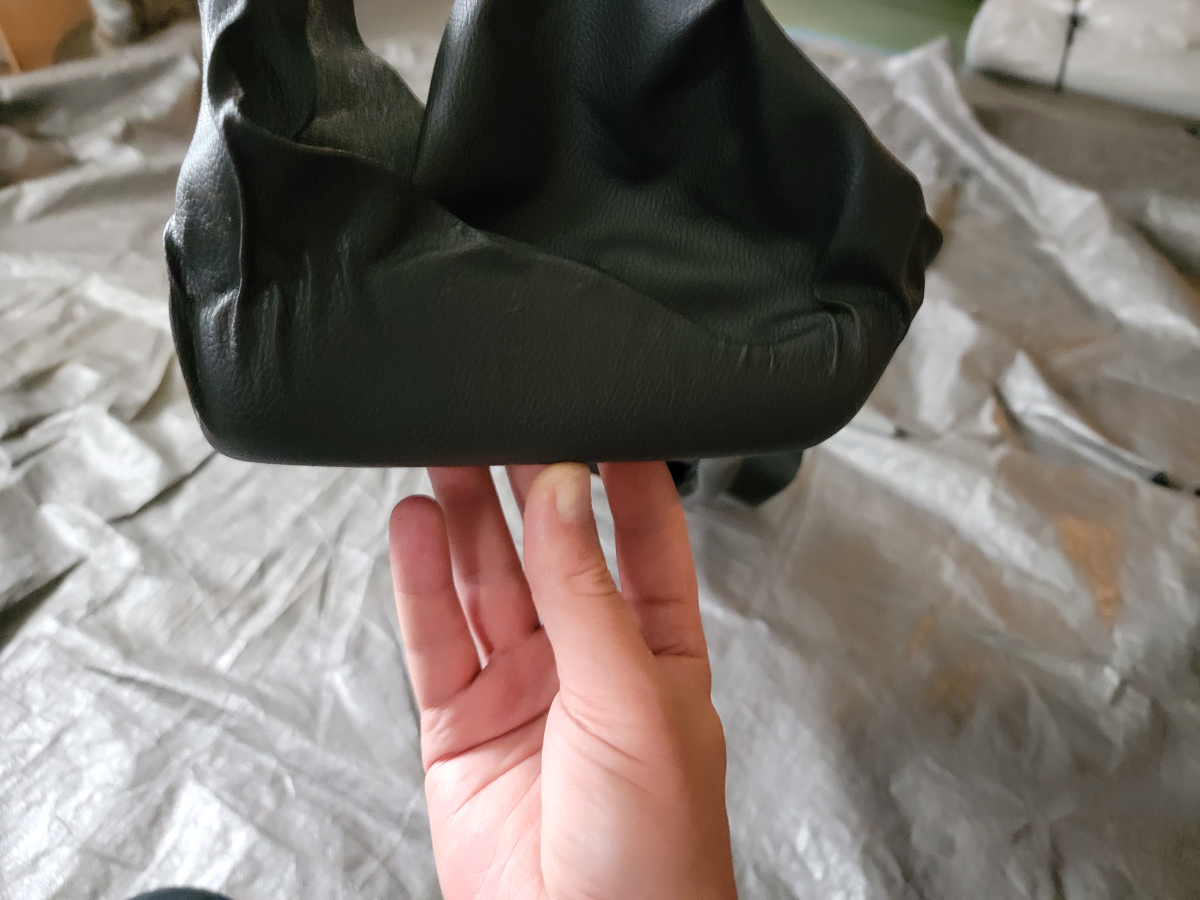
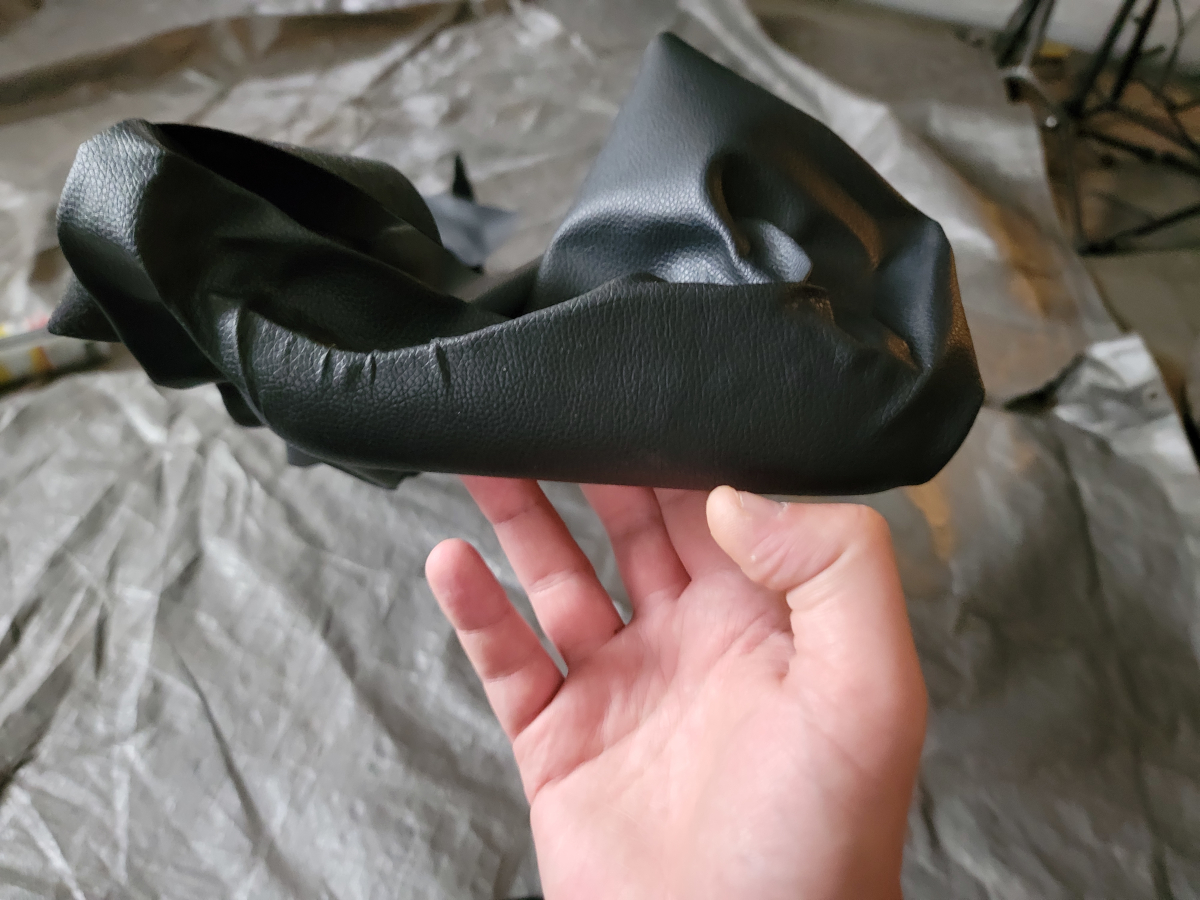
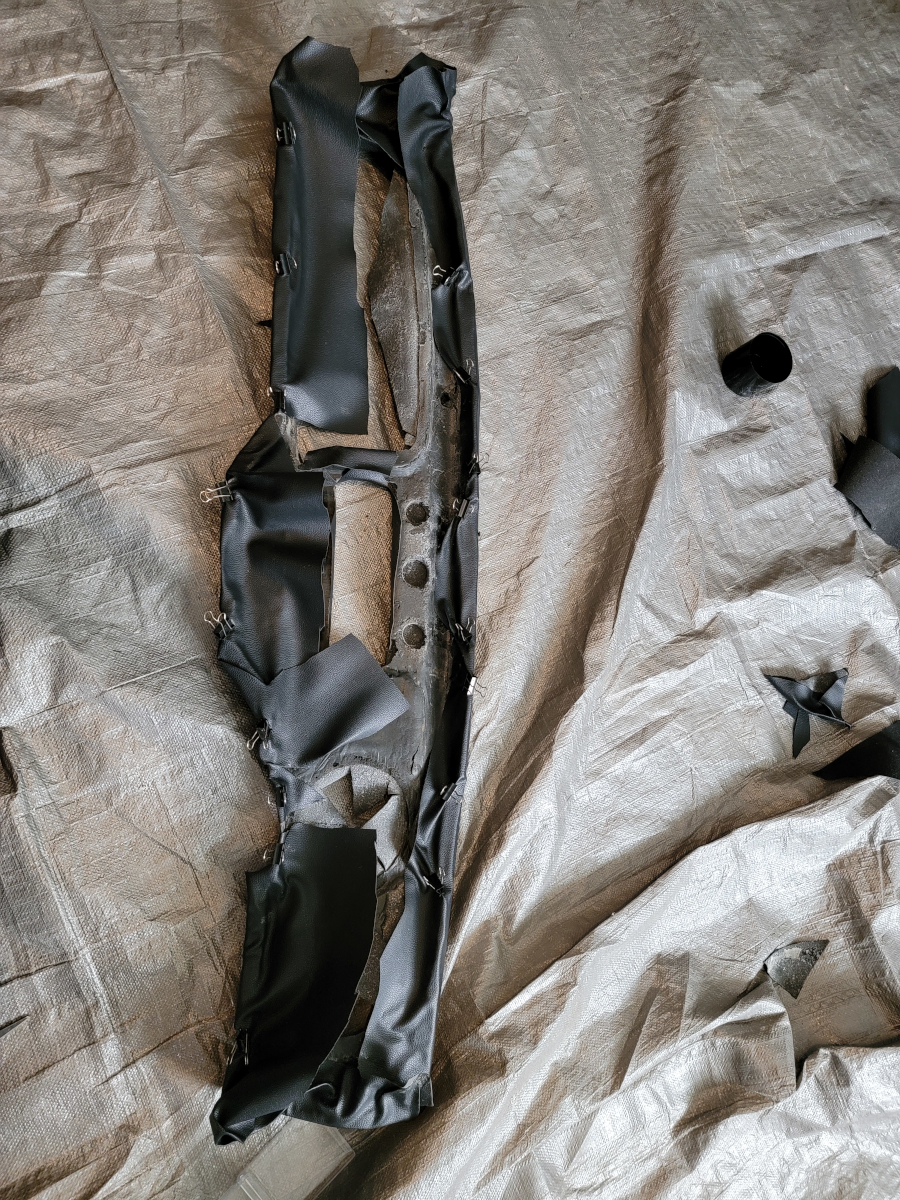
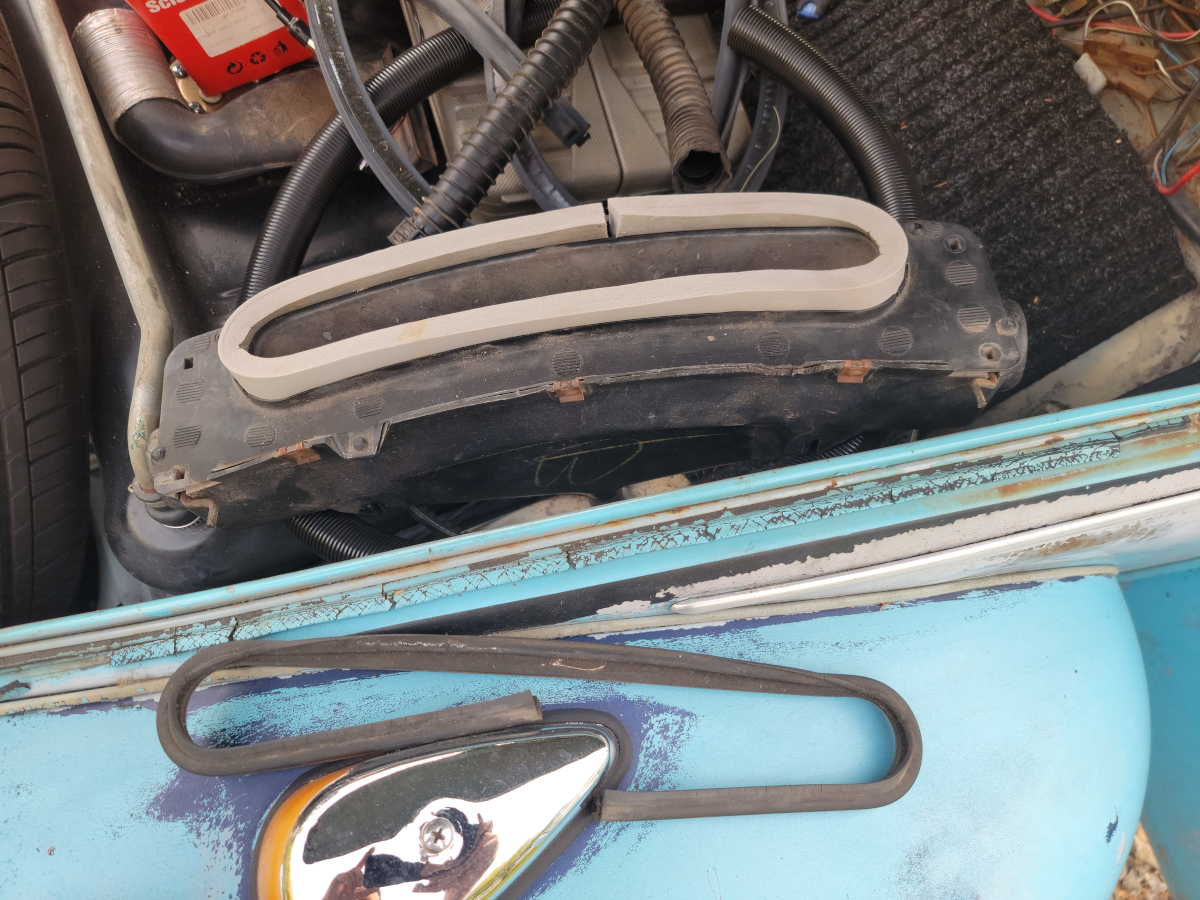
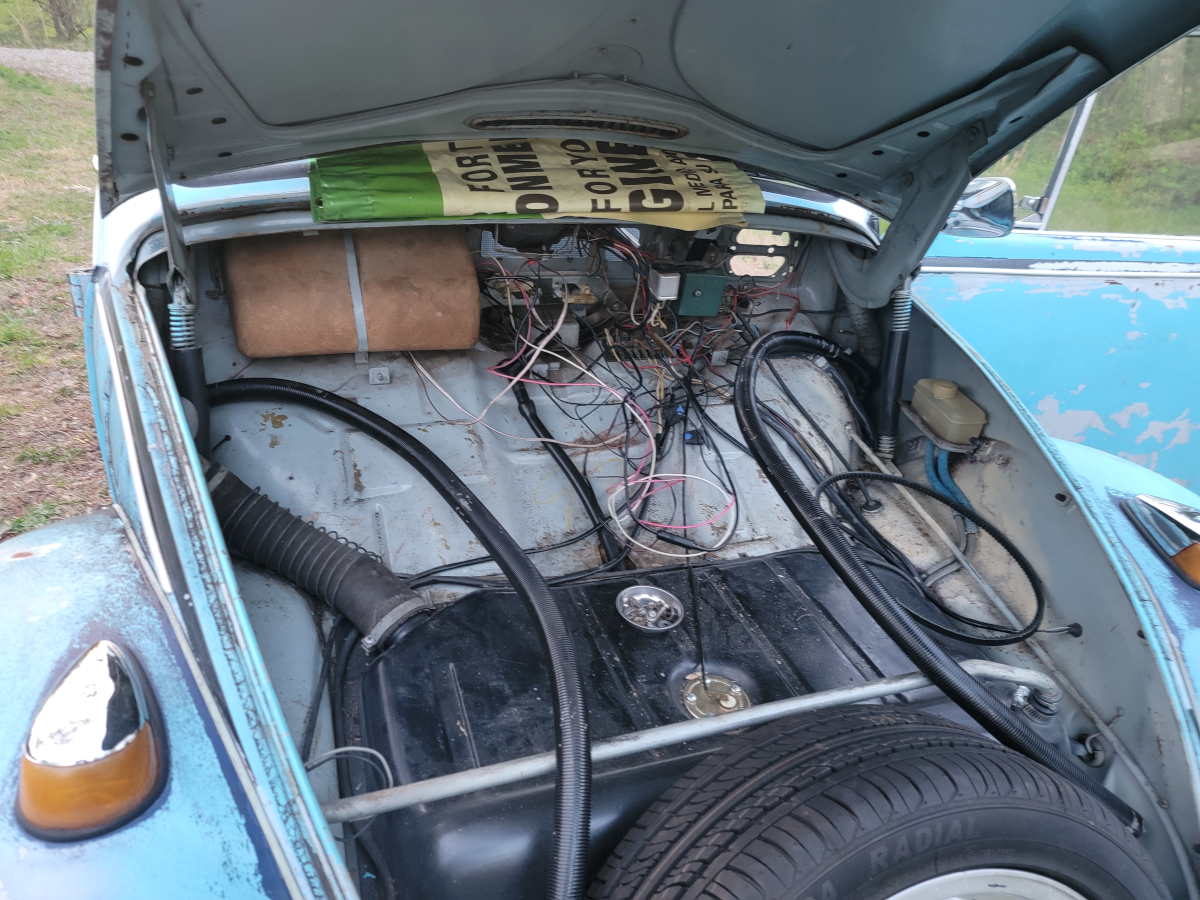
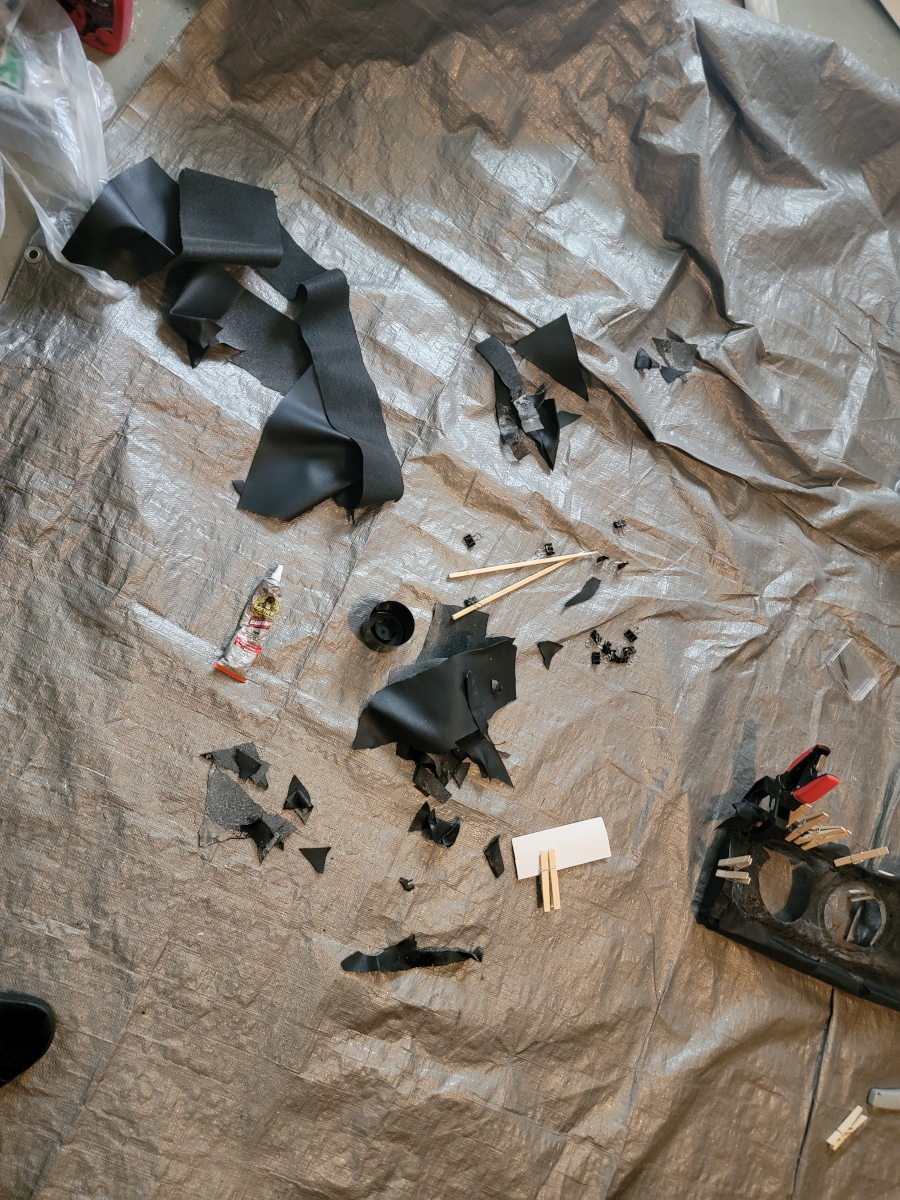
I have removed quite a bit of excess vinyl, which has just been piling up over here.
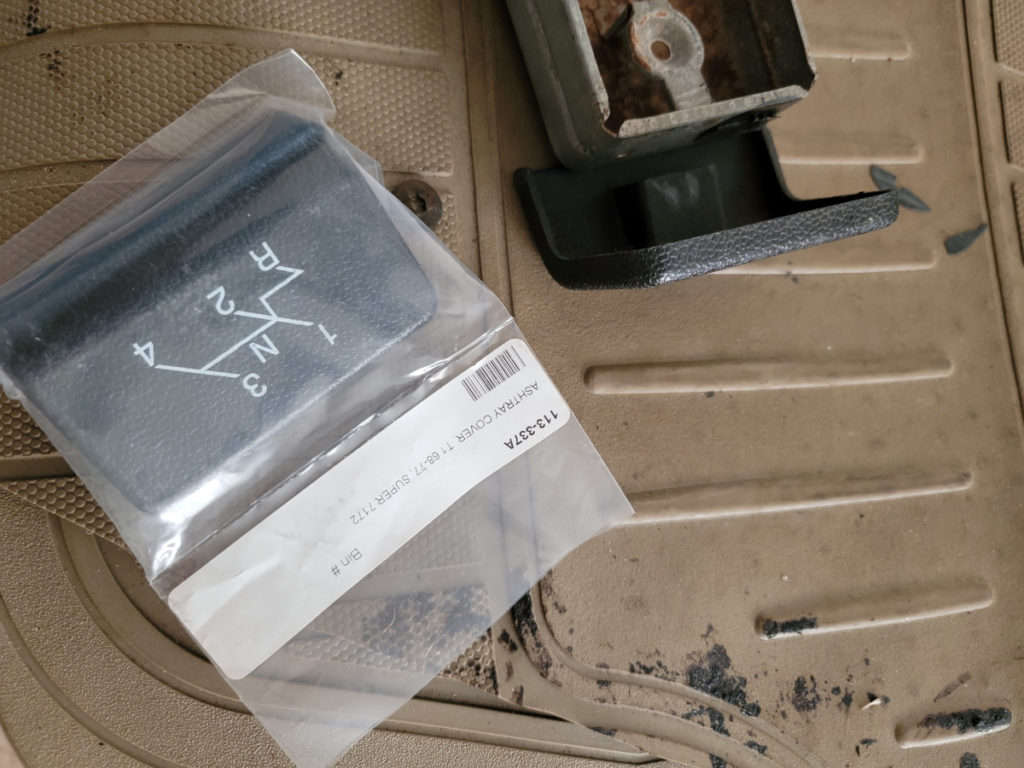
Enough of that for the moment, I decided to move back onto the ash tray, trying to find a suitable substitute for the missing spring clip washer thing that’s missing. I started twisting up little mechanics wire fittings, but nothing would grip it properly long term.
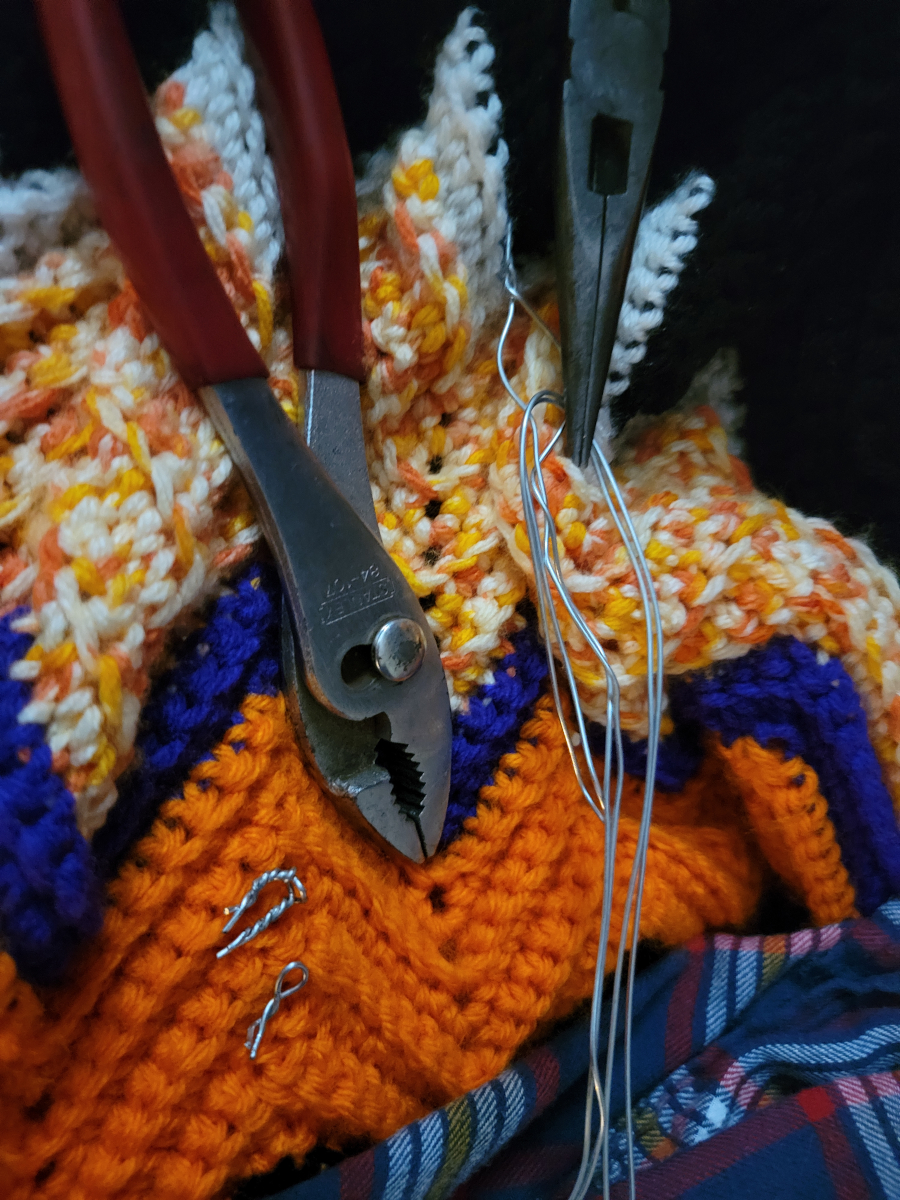
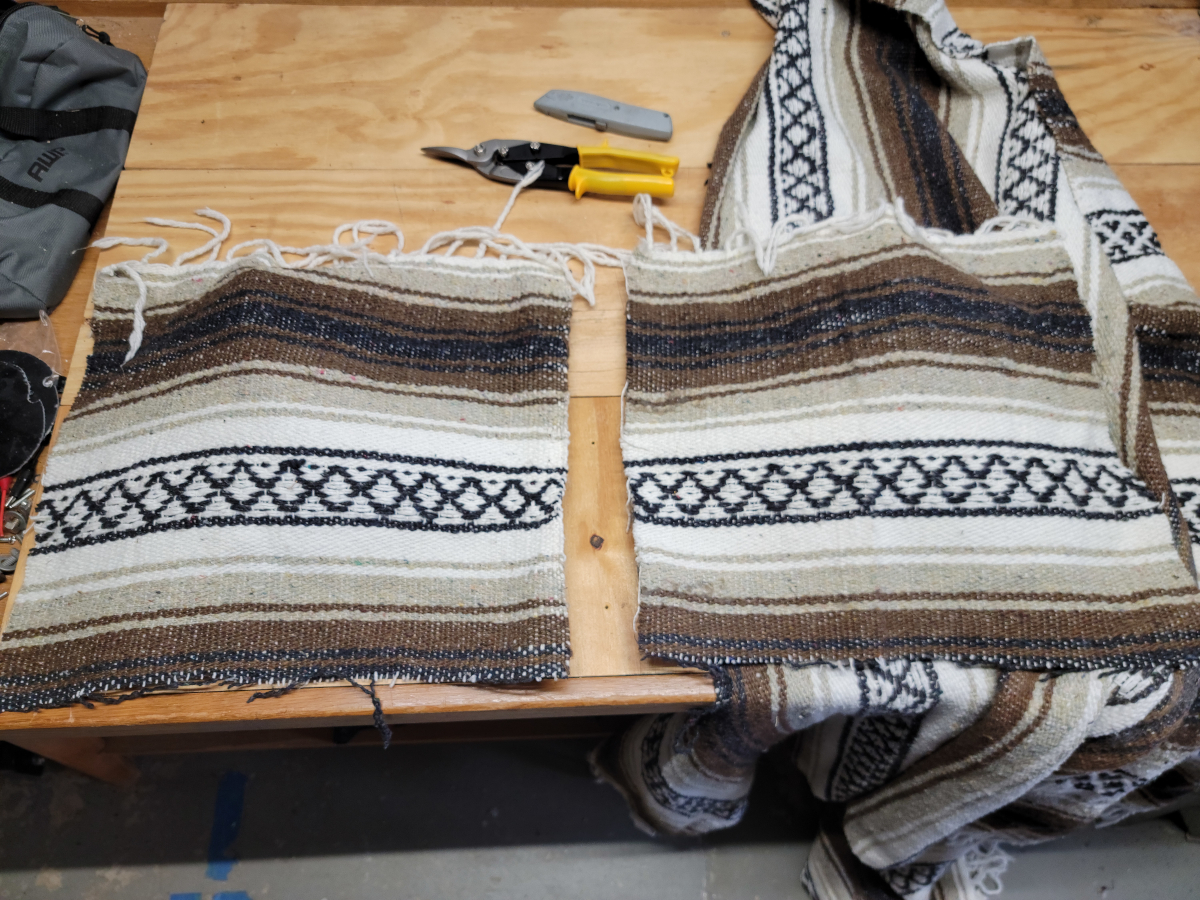
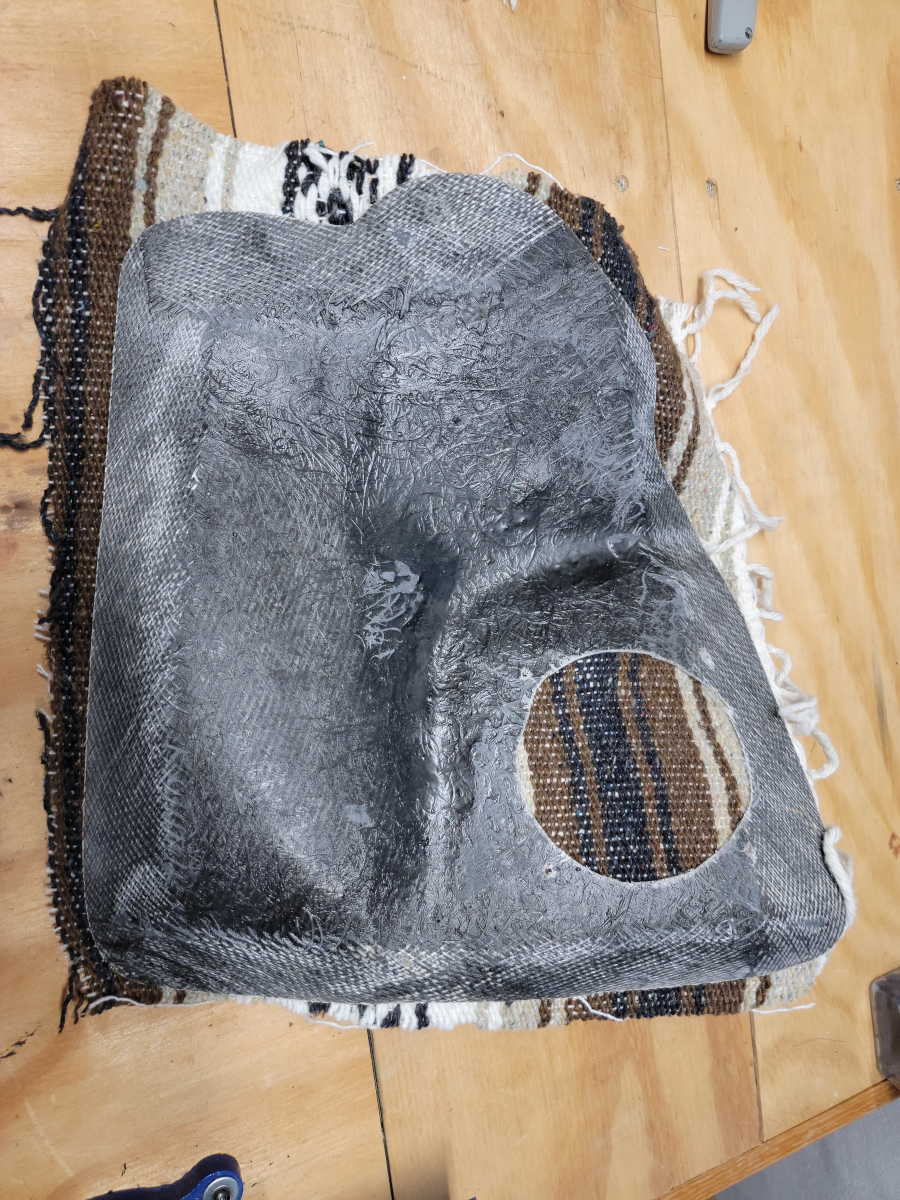
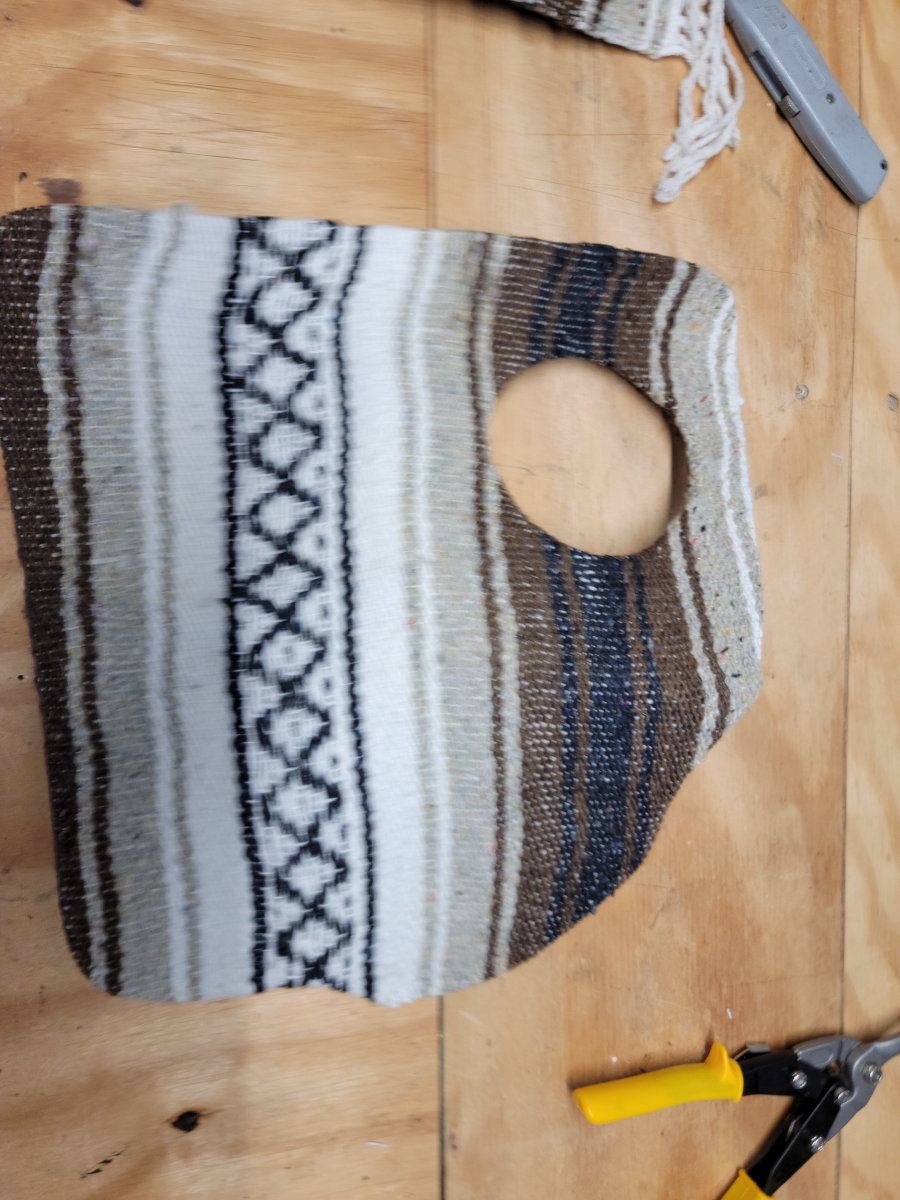
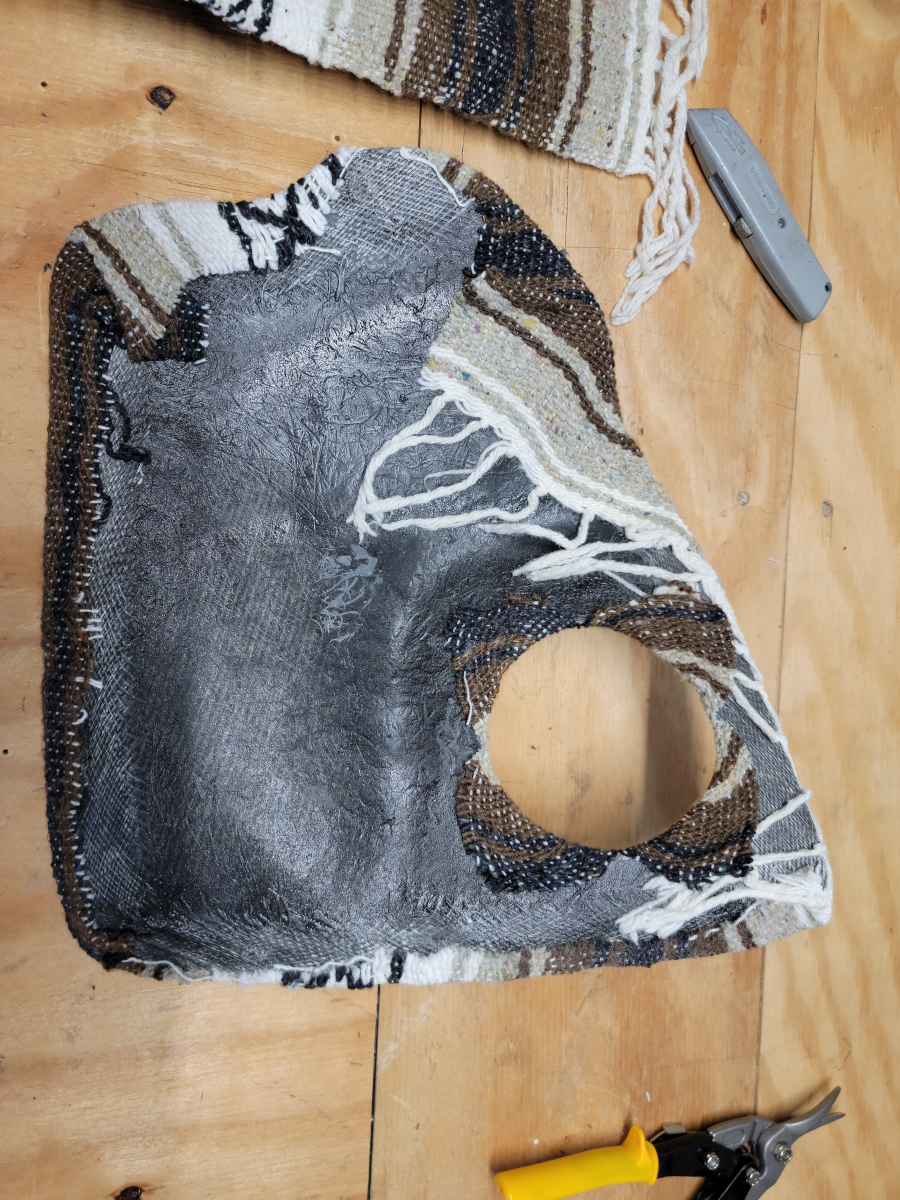
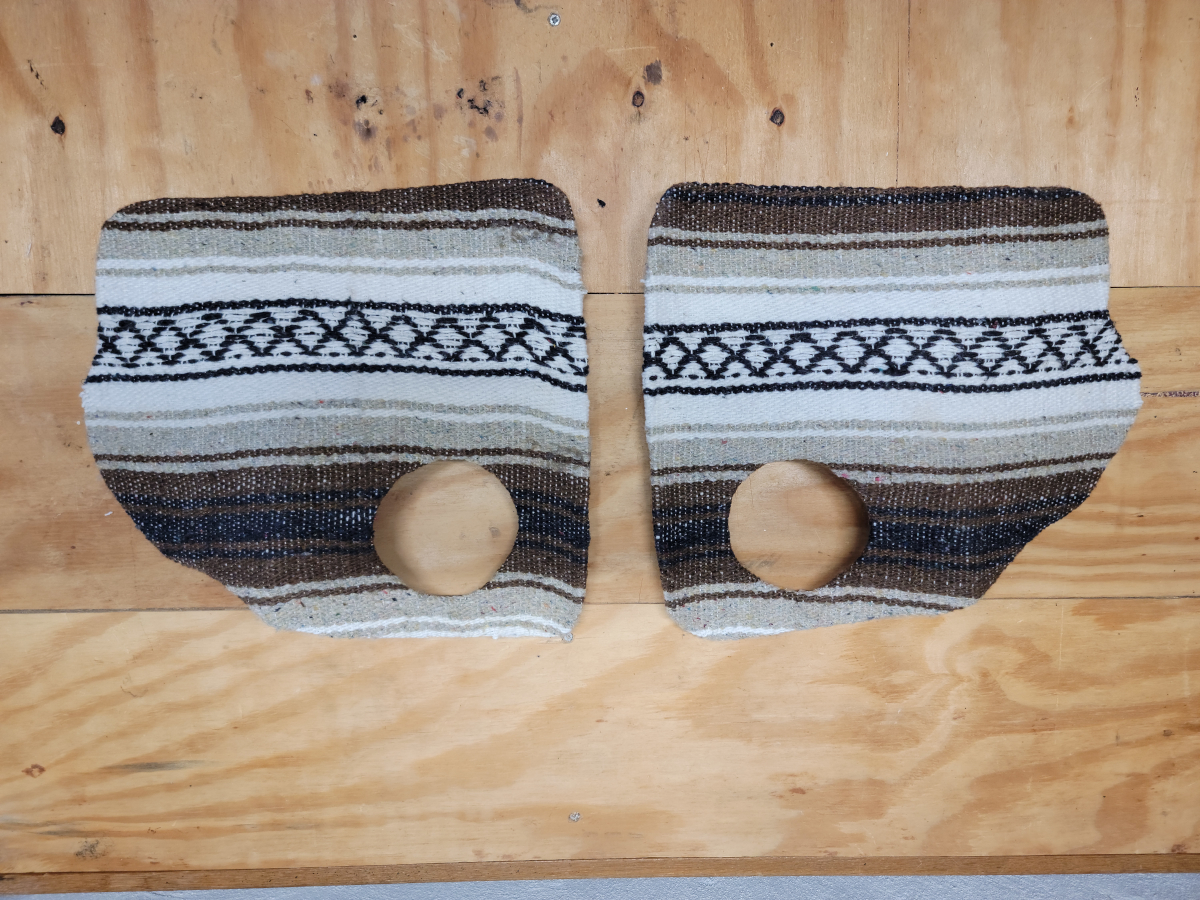
That’s the fancy new afghan my mom made for me. She would be so happy to see dirty tools laying on it.
So, then I gave up and glued the face onto the ash tray.
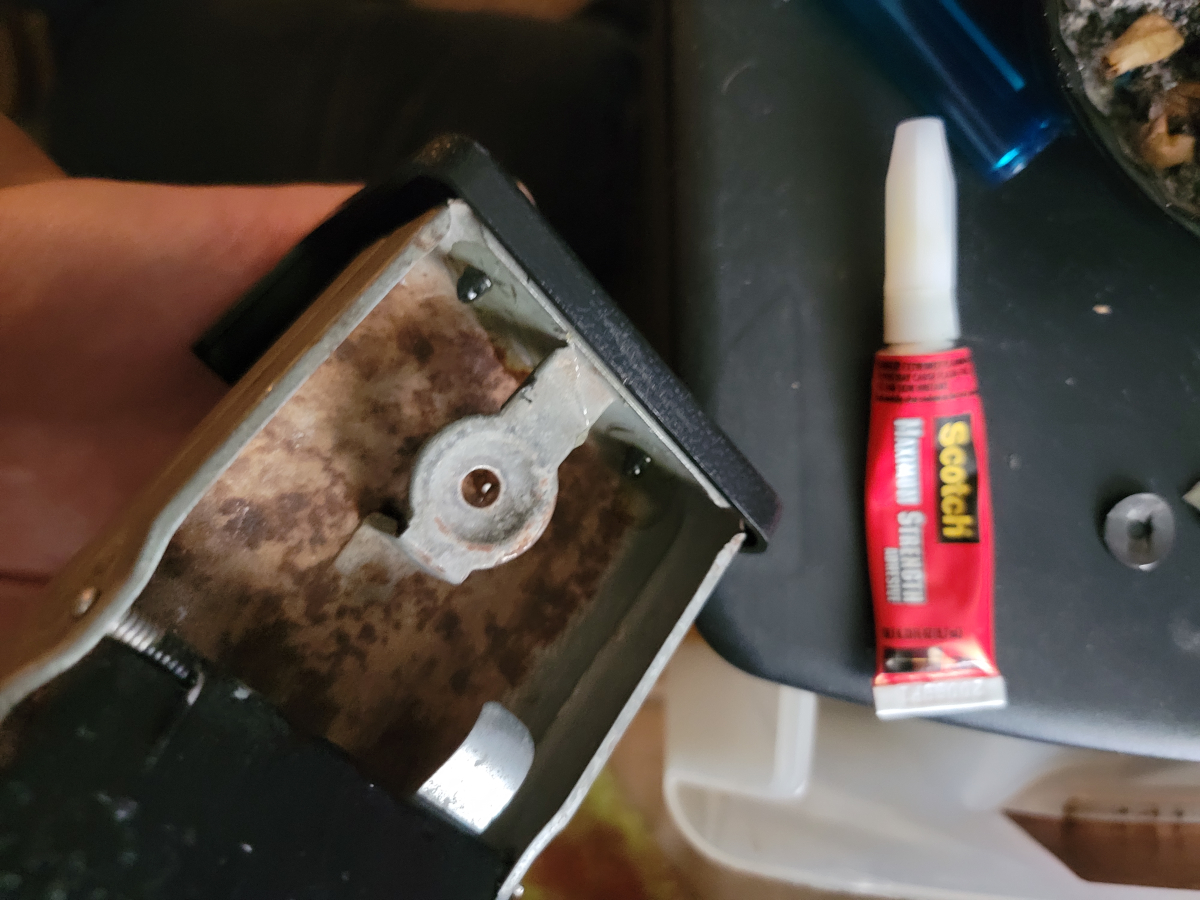
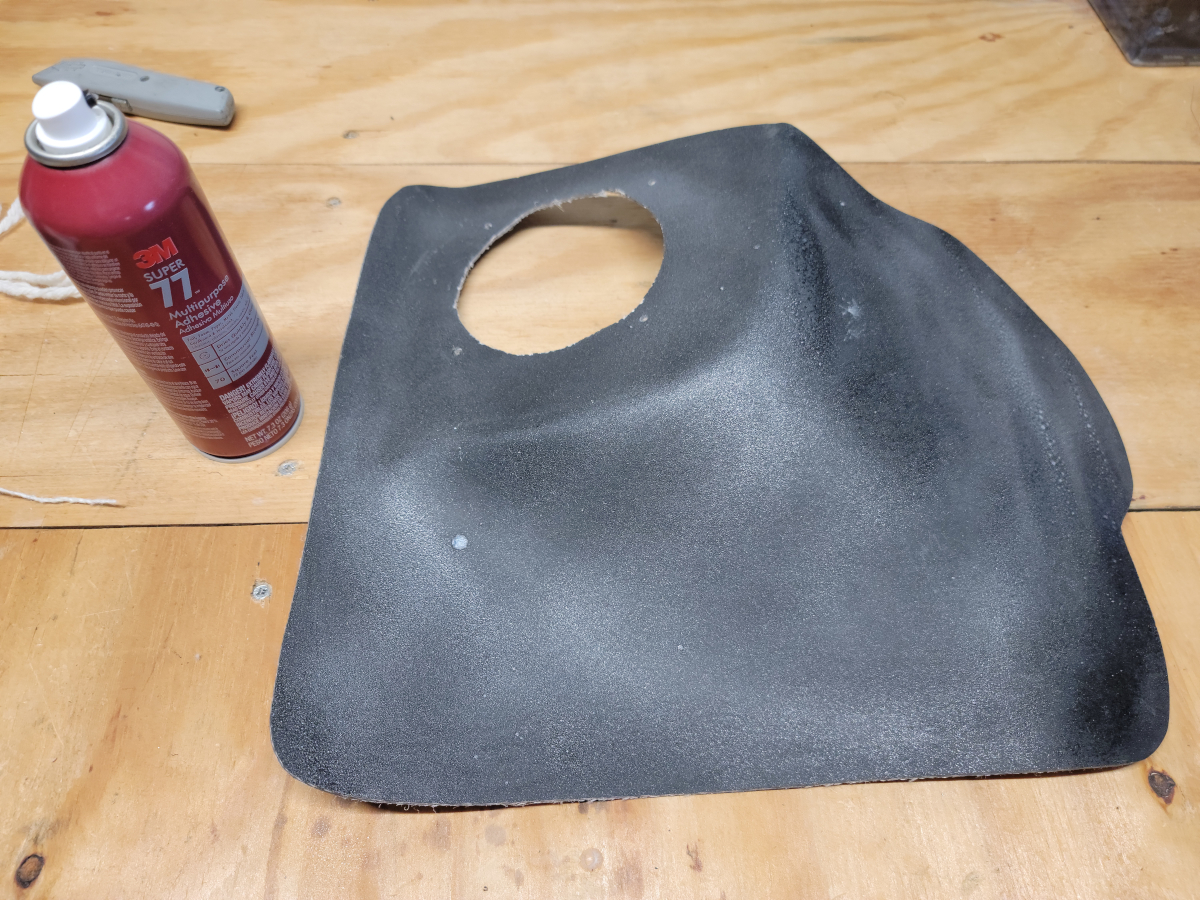
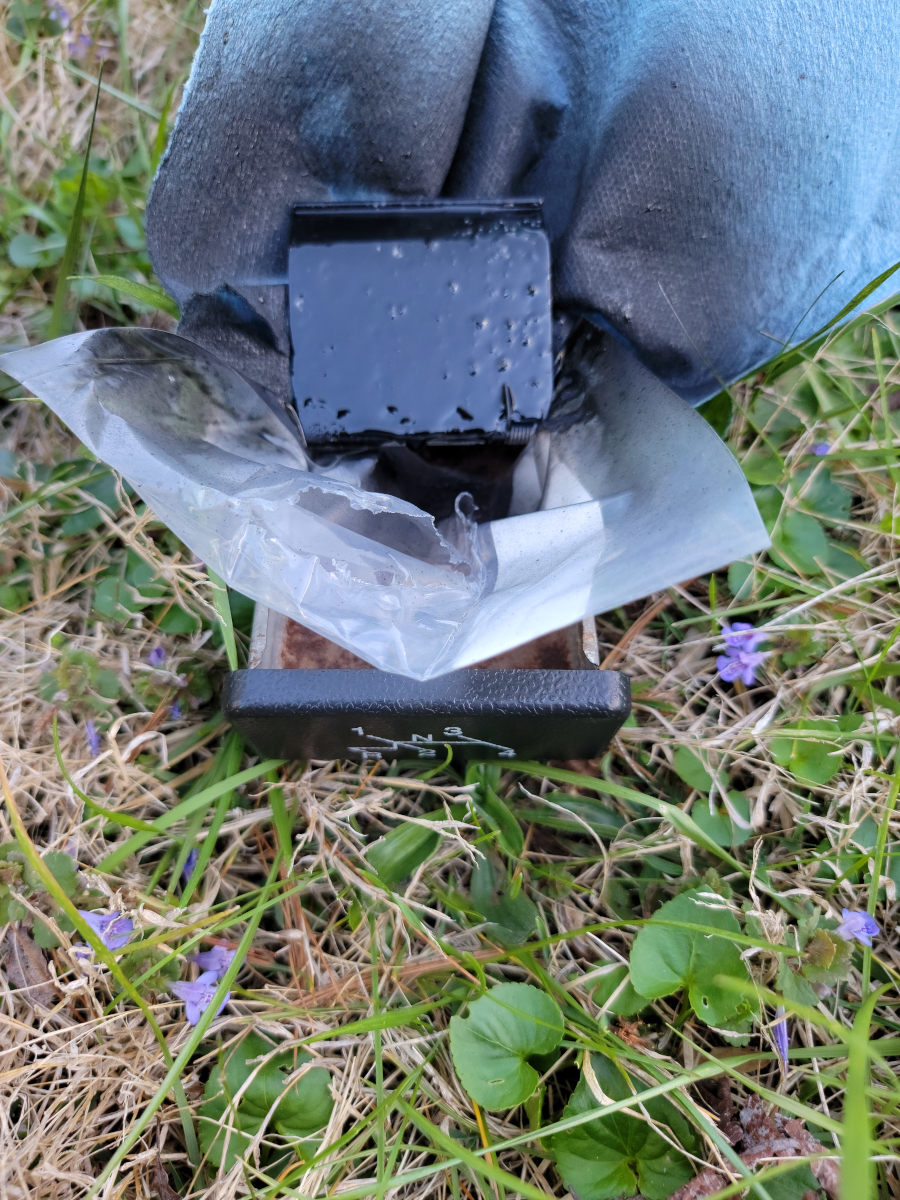
I picked up that little tube of Scotch Maximum Strength Adhesive (ScotchBrand.com link) to serve as a backup for the contact cement when trying to get the vinyl headliner glued back down. I used it liberally behind the face of the ash tray and also on the inside, to cover the pegs.
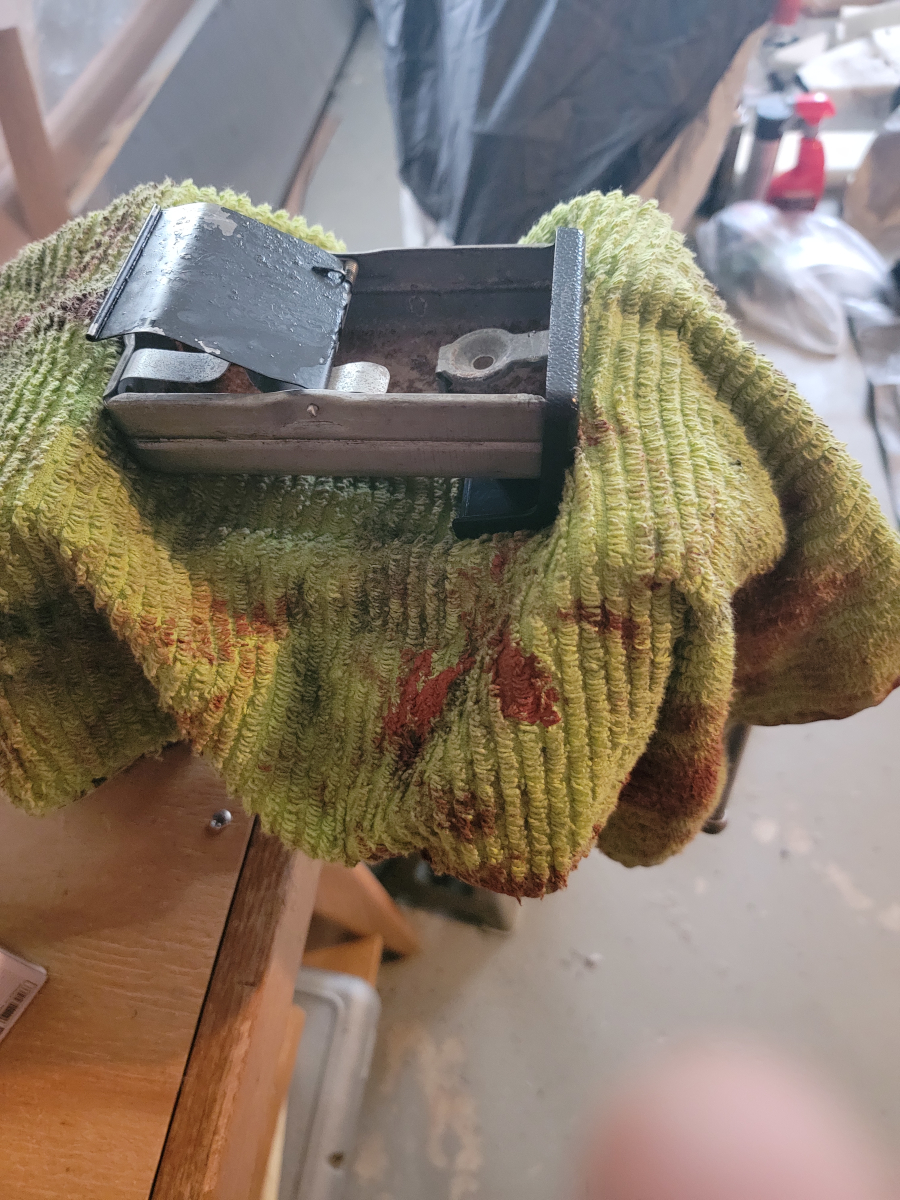
The face of the ash tray isn’t flat, it has a slight angle, so I couldn’t just clamp it down. I found just the right angle in the vice to put pressure on the contact surface to let that glue set.
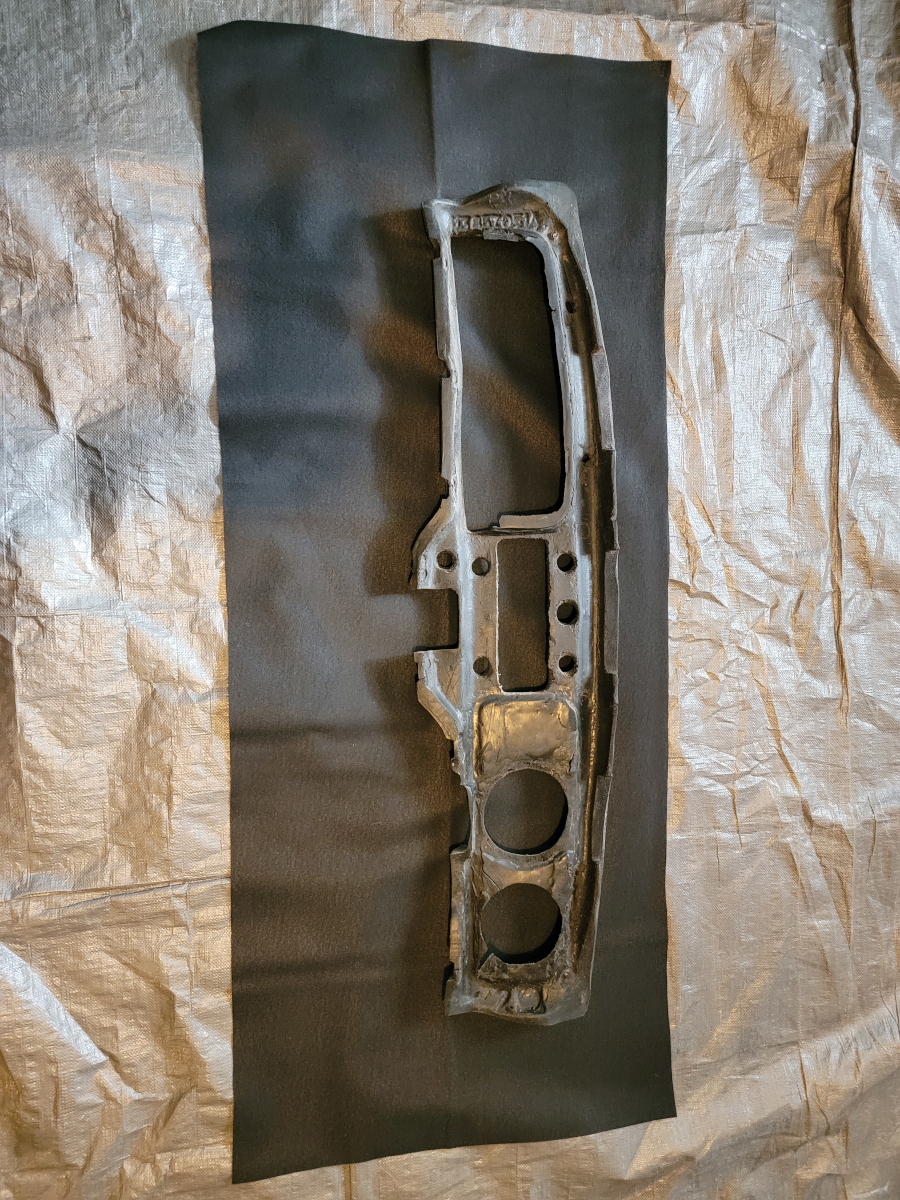
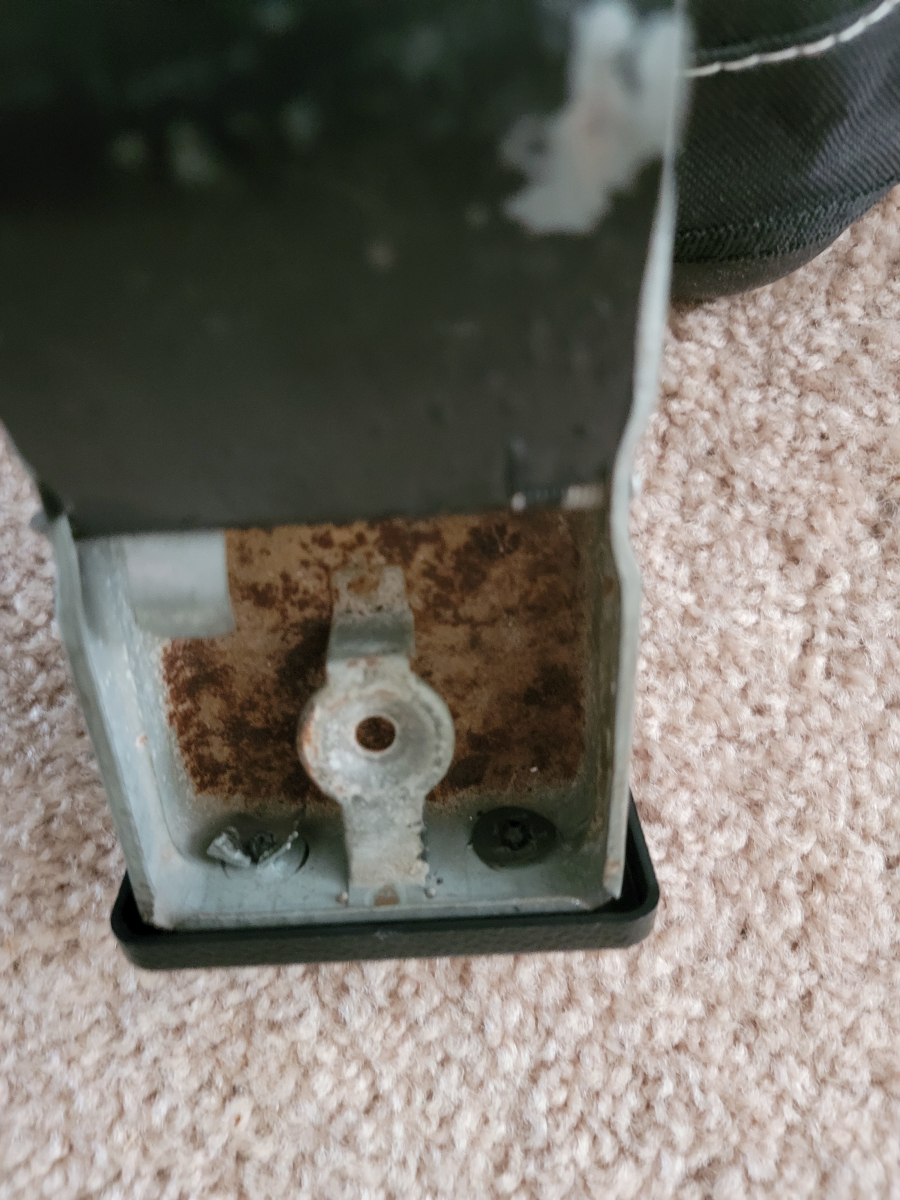
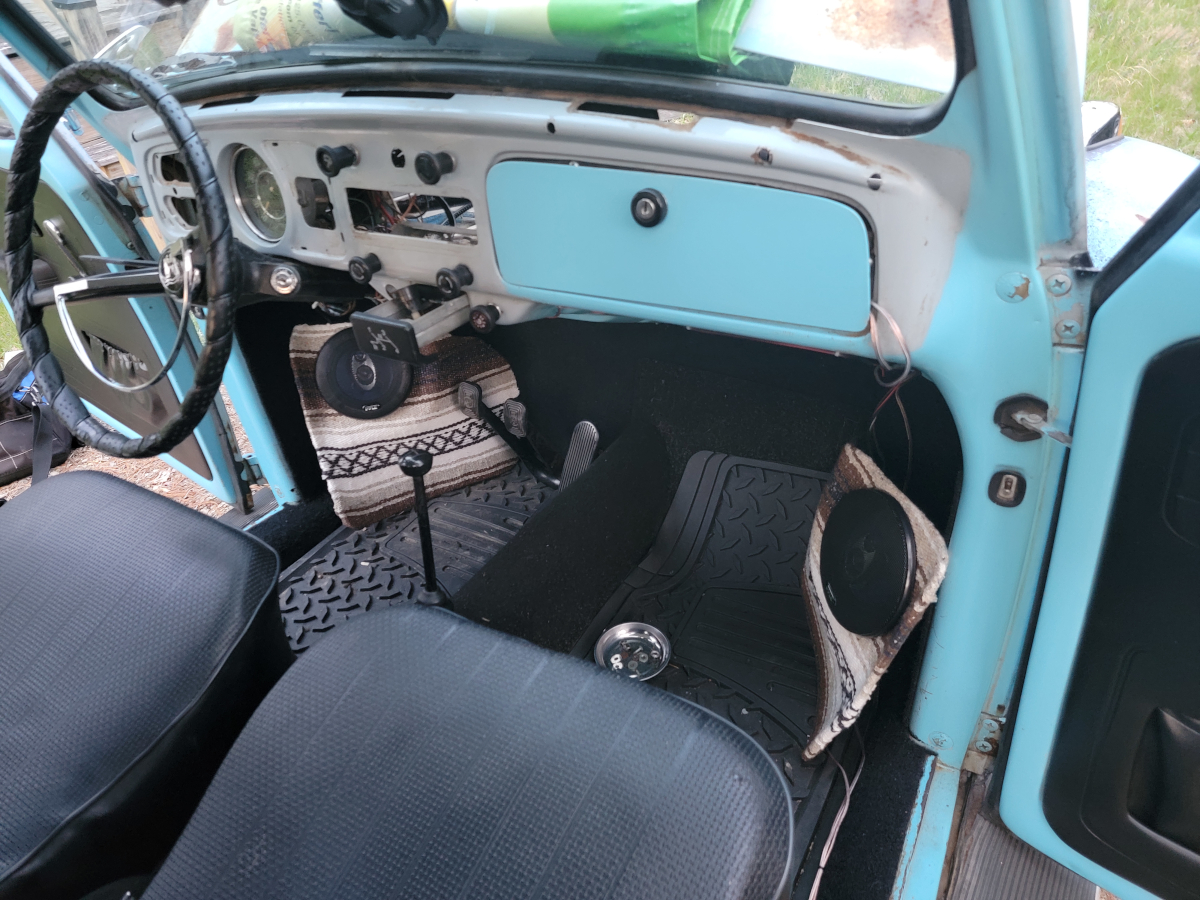
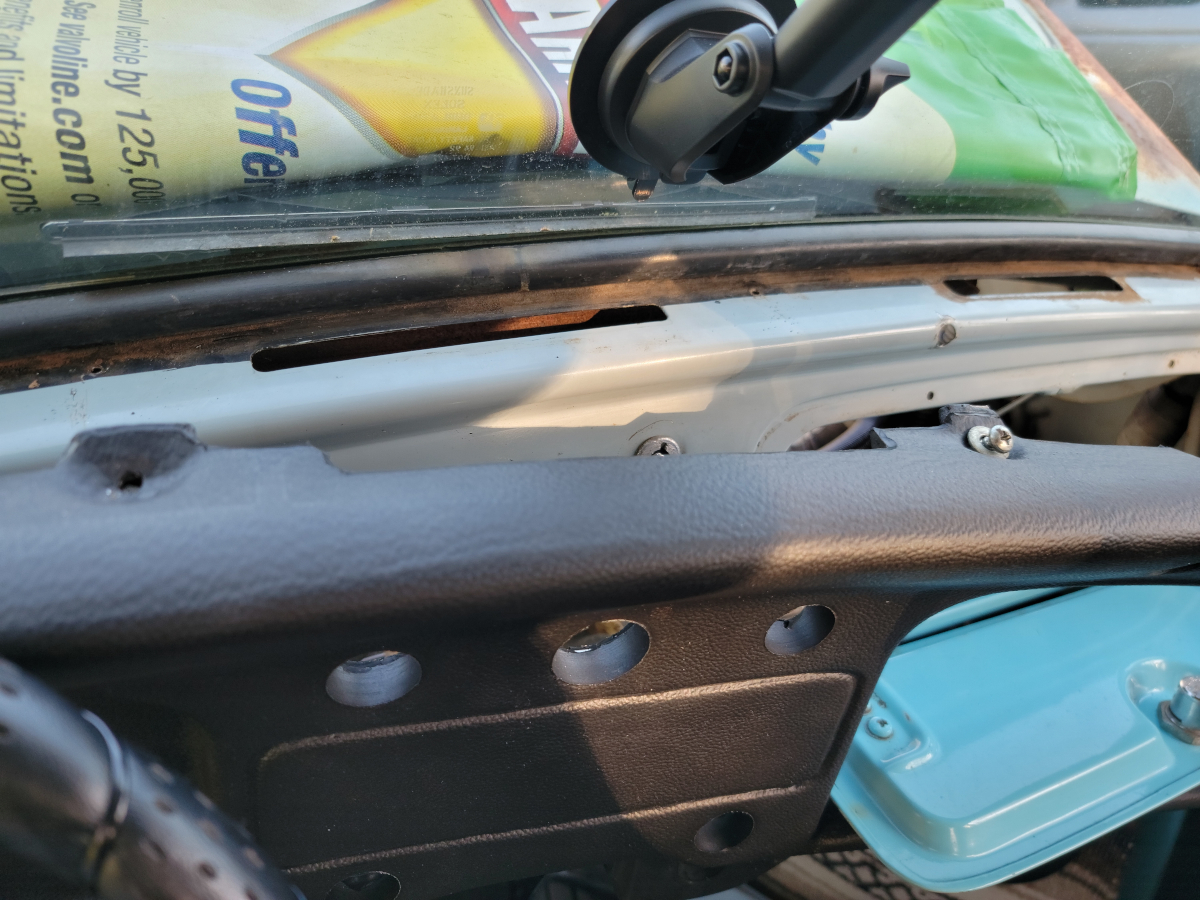
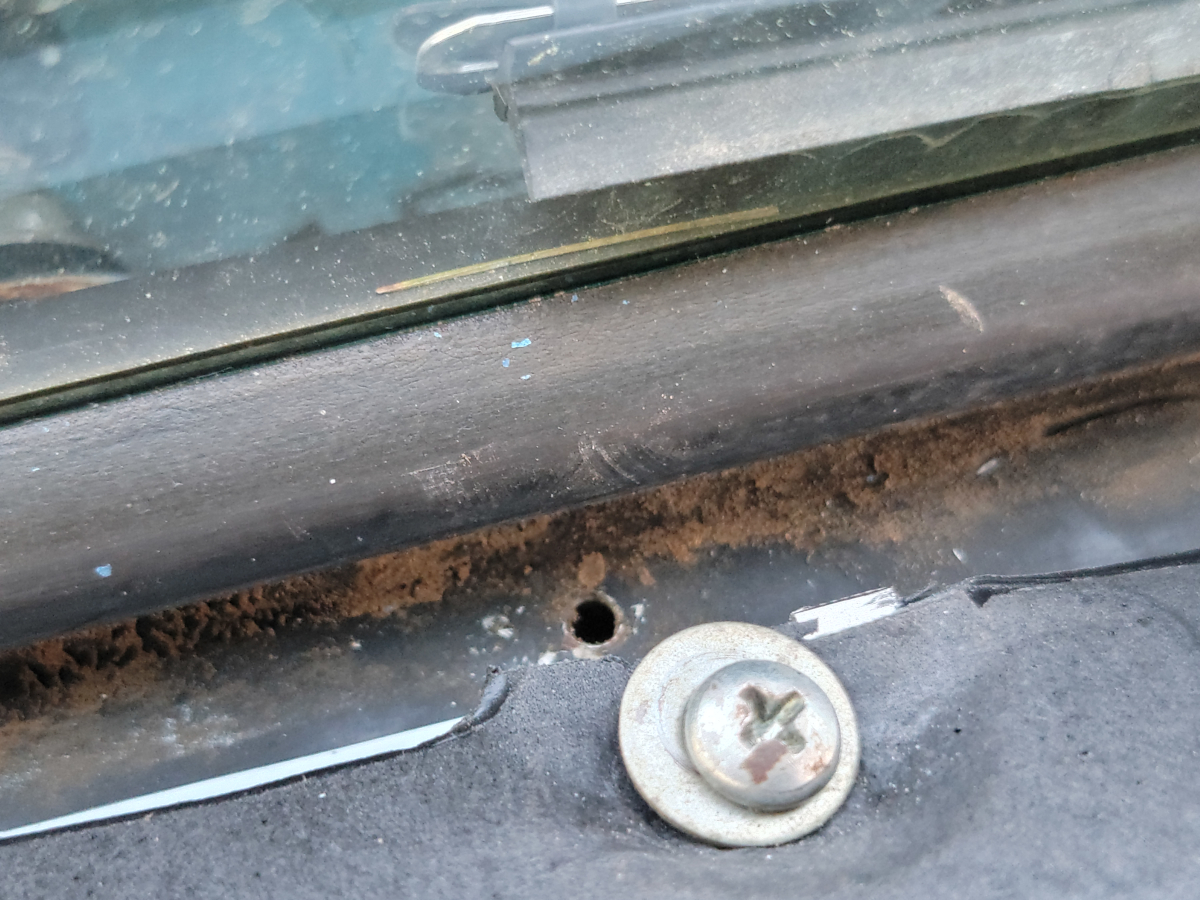
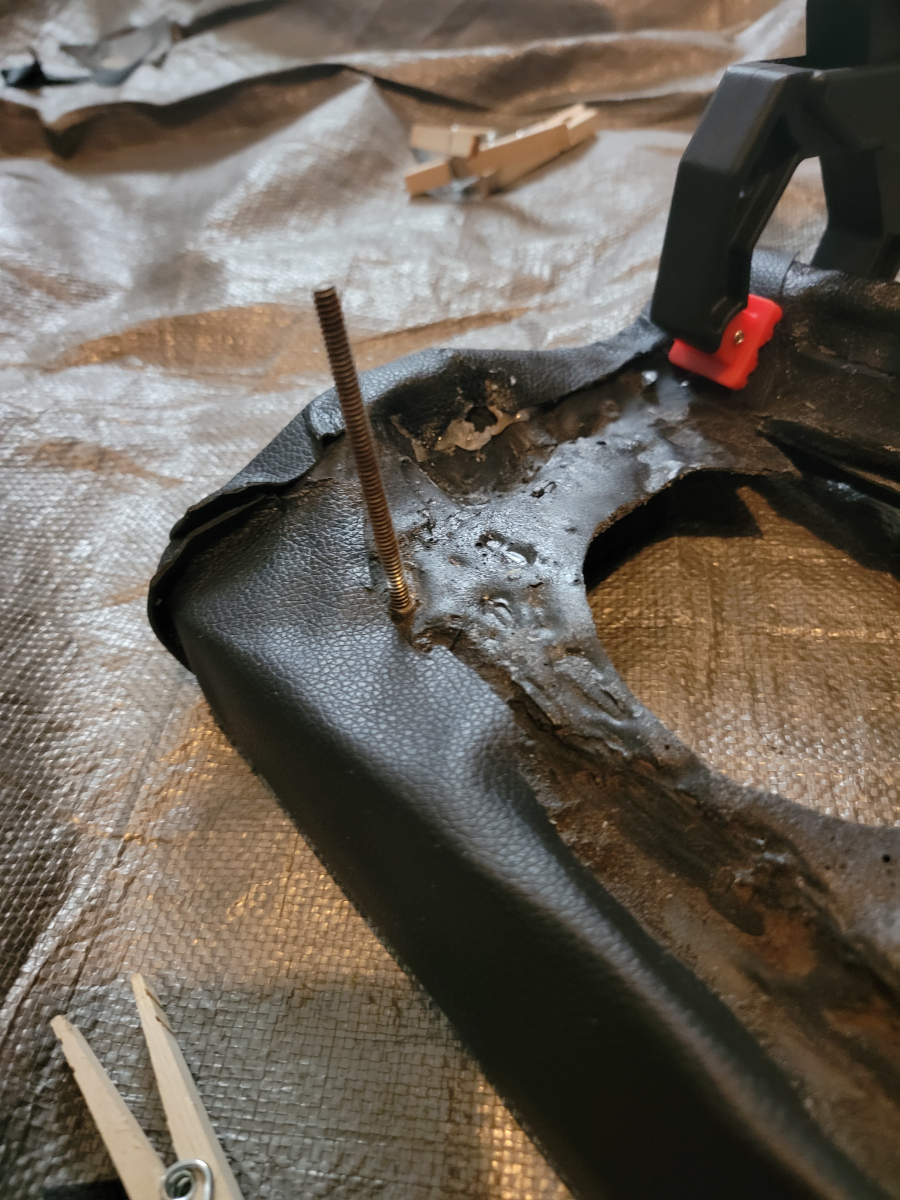
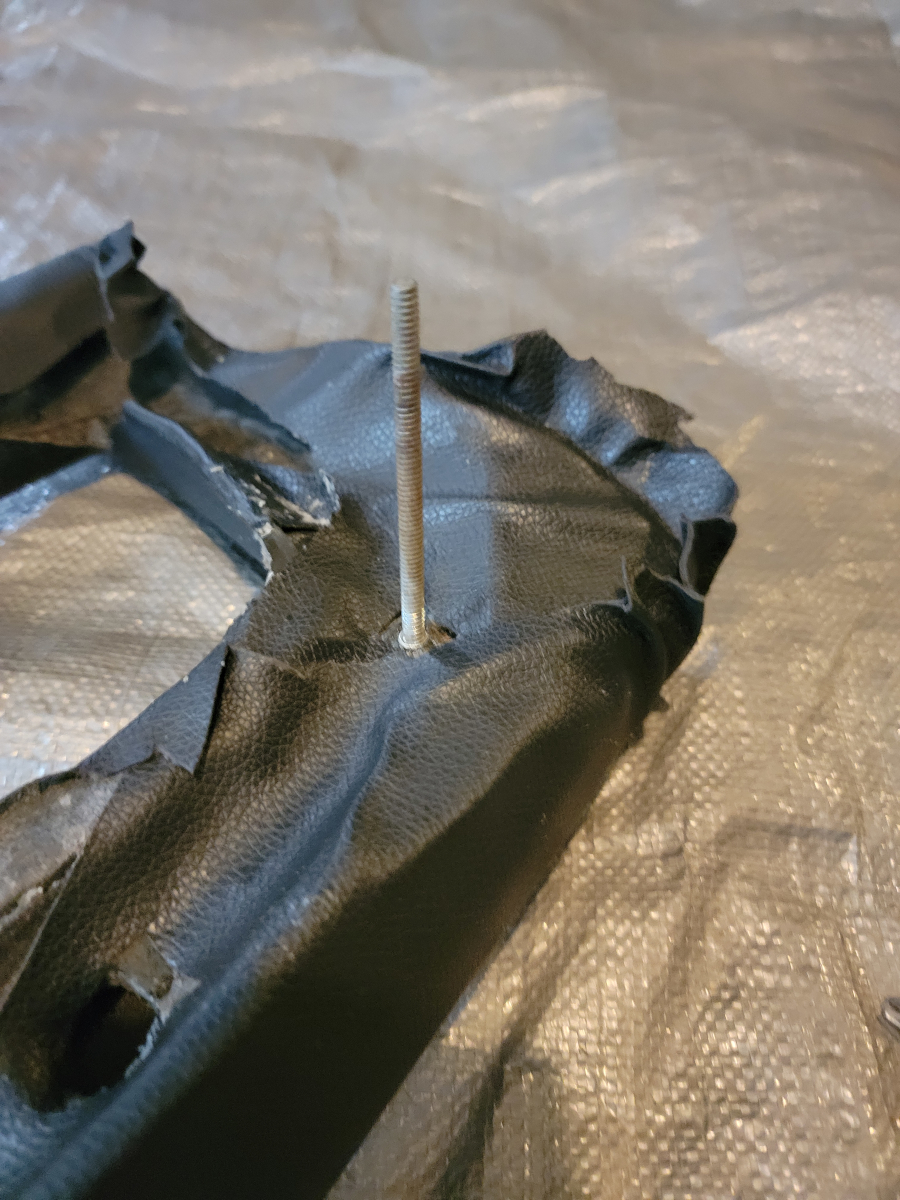
Now that the corners of the dash pad are starting to get cleaned up, I decided it would be a good time to re-mount the mounting bolts.
We’re still a little flappy around the stereo opening, so that’s the next place for cuts, glues, and clothes pins.
And then some more clips around loose edges in the glove box opening.
Another big corner, you say? Sounds like another job (the exact same job) for the ratcheting clamp.

Back to the ash tray, now quite a bit later, the glue has held well. Trying to pull the pieces apart, gingerly at first, then with increasing effort, there is a little creaking sound, but it doesn’t budge.
Good enough.
Back to the dash pad, I moved on to opening up the holes for the switches.
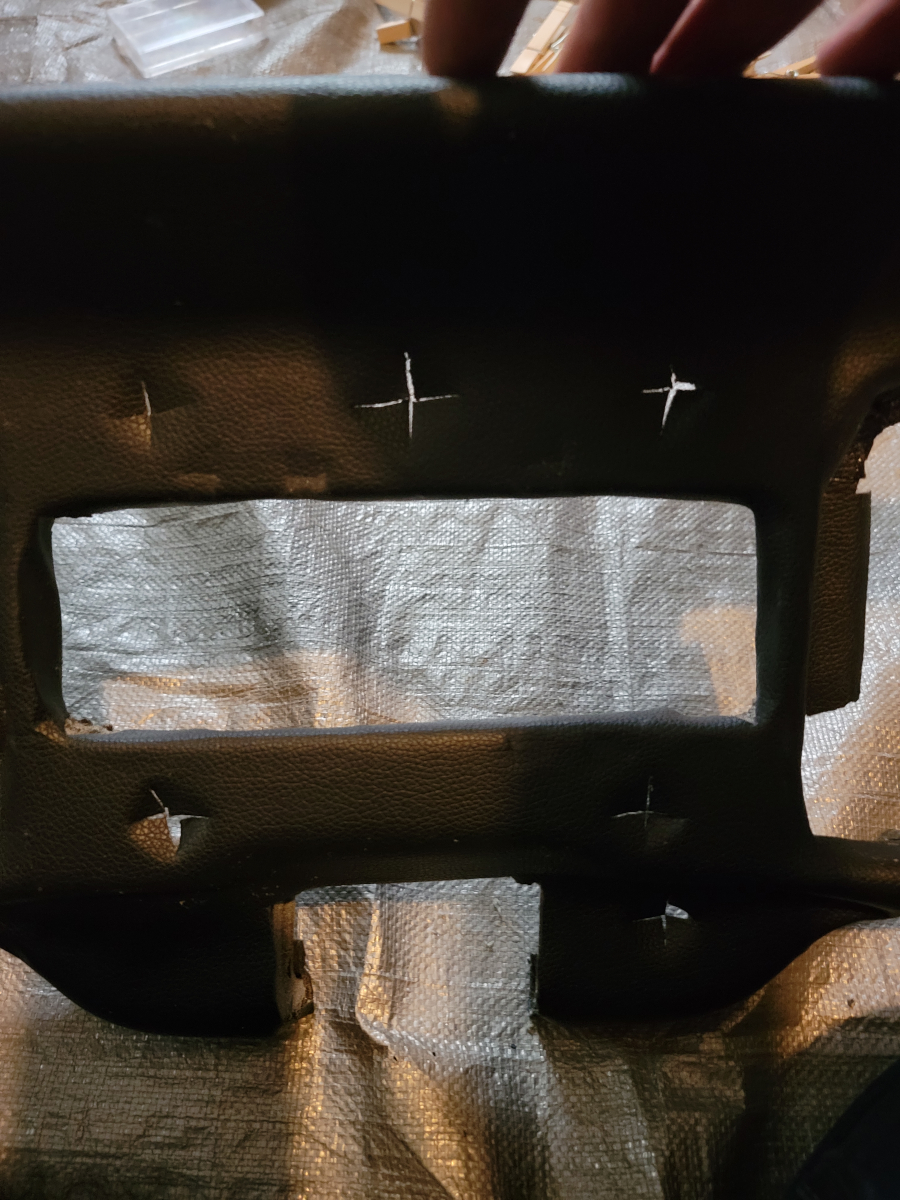
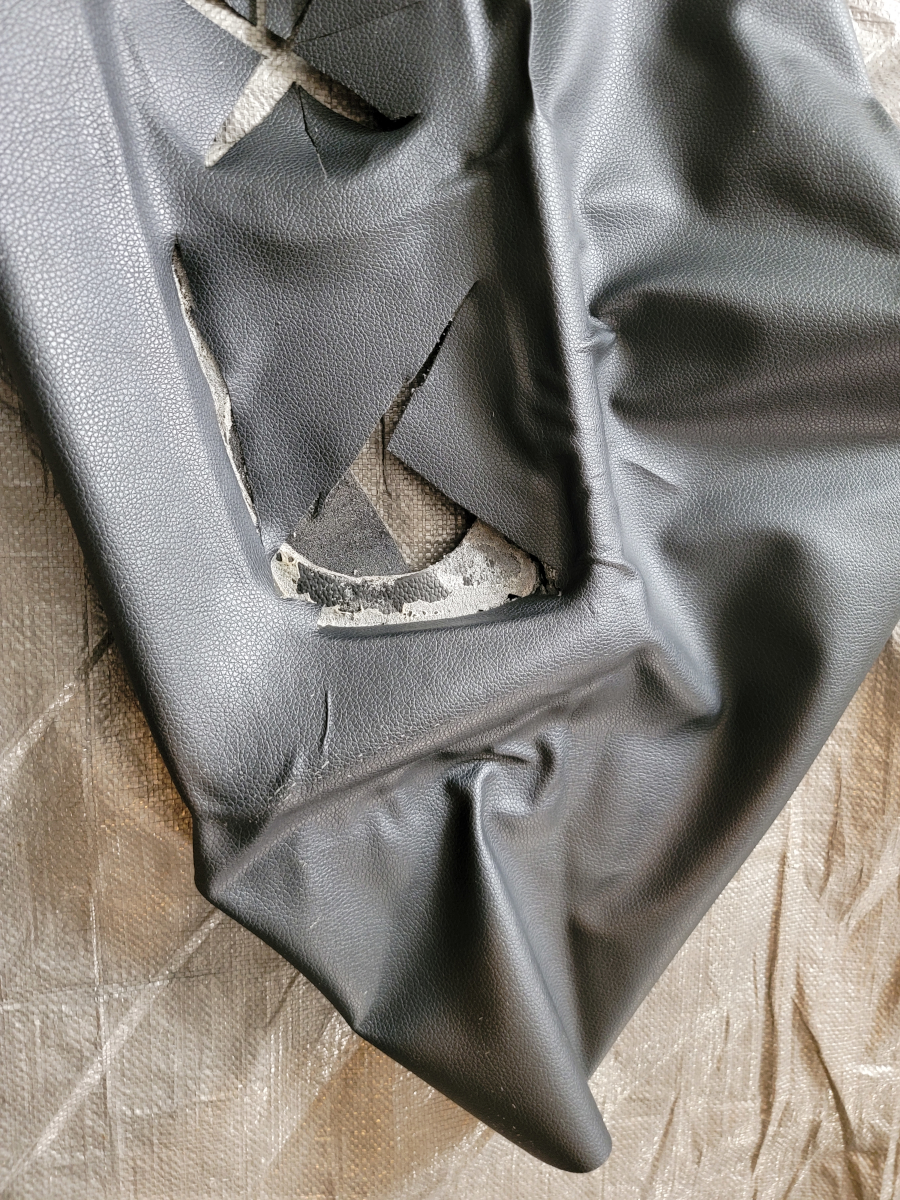
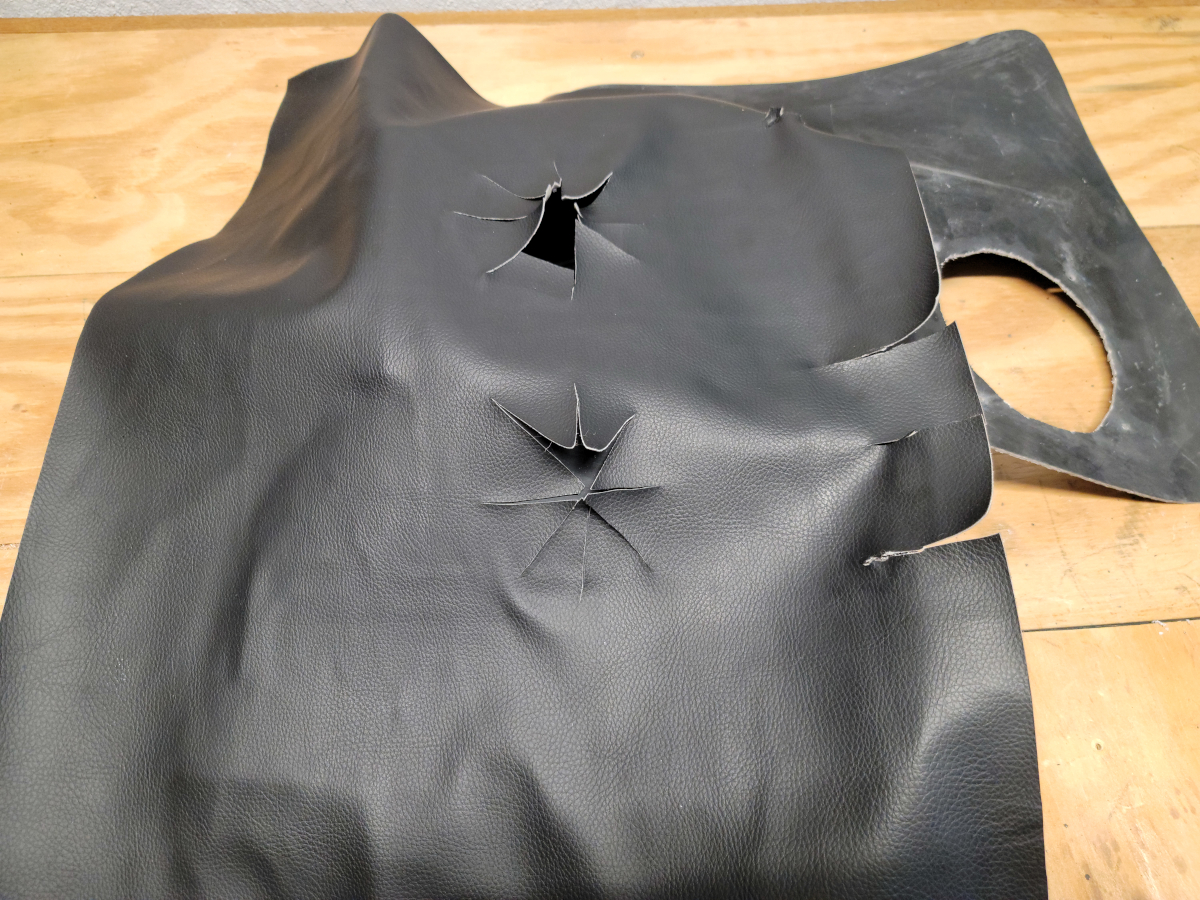
It’s kind of creepy looking. Like Blair Witch crosses.
I had been noticing little puddles of glue in places that I hadn’t intentionally put them and was just convinced I was being extra sloppy. Then I saw it…
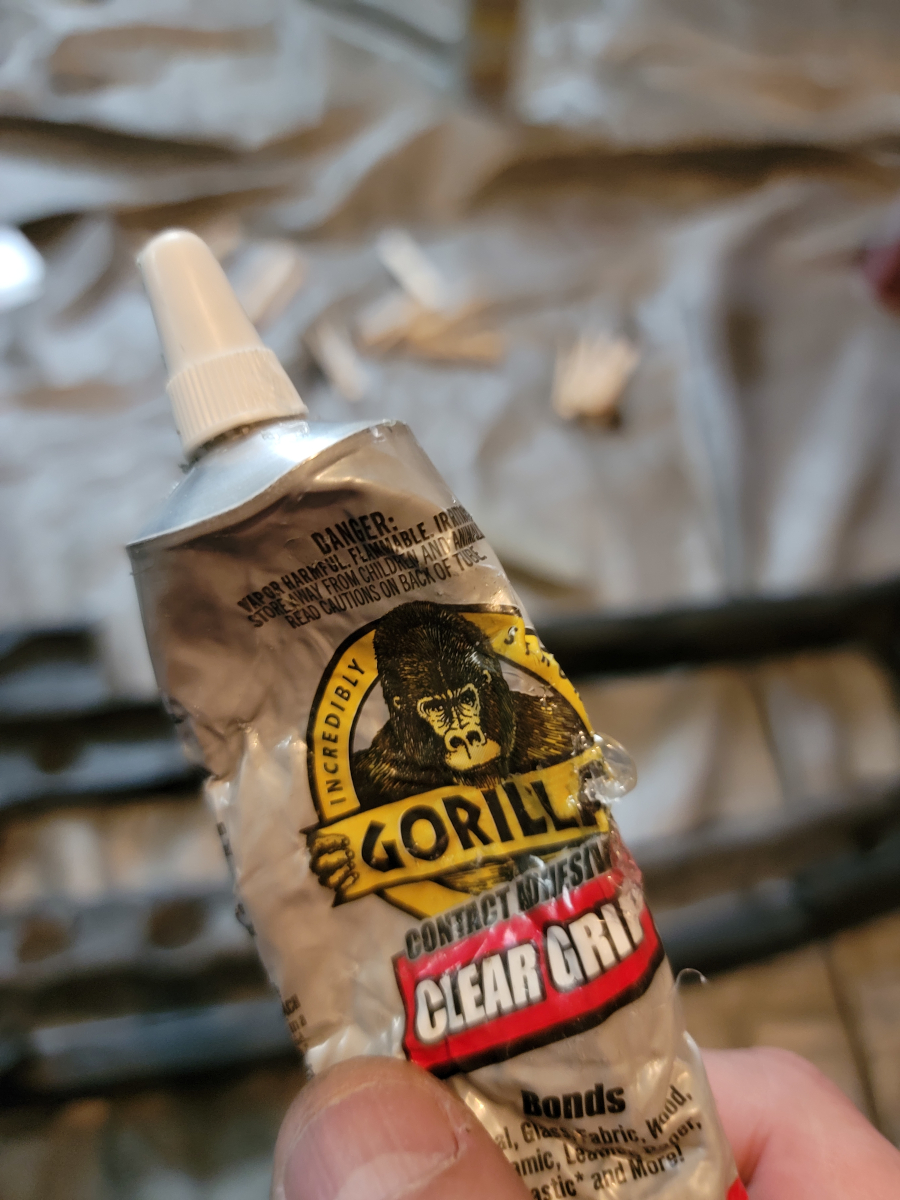
Death by a thousand little squeezes.
I found some more loose edges around the glove box opening. You can see how much extra glue I was using once I realized the tube was leaking. That’s not a great approach. More of this glue is not better.

Another edge on the glove box opening, just below the new opening for the grab handle.
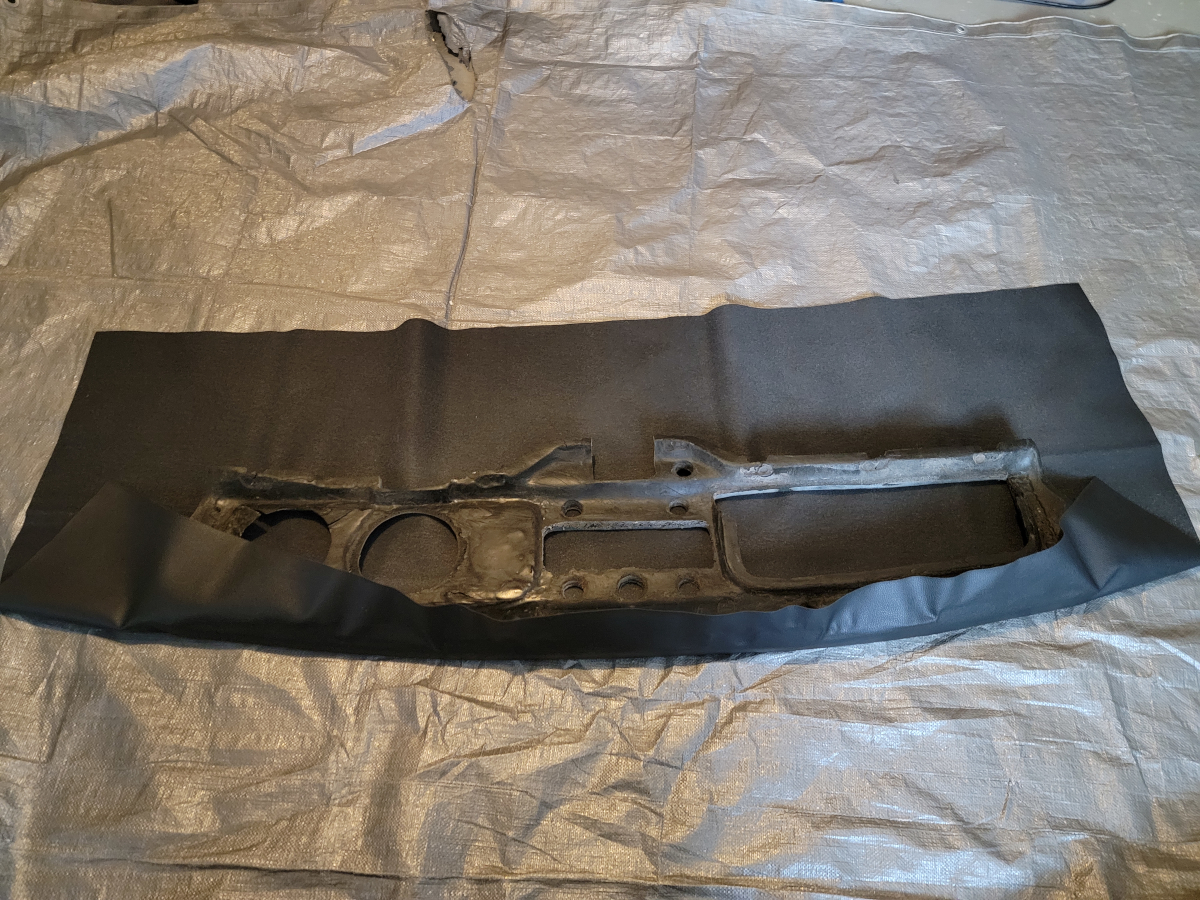
And now we’re here, kinda rough, but still kinda done, mostly because I’m kinda done with it.
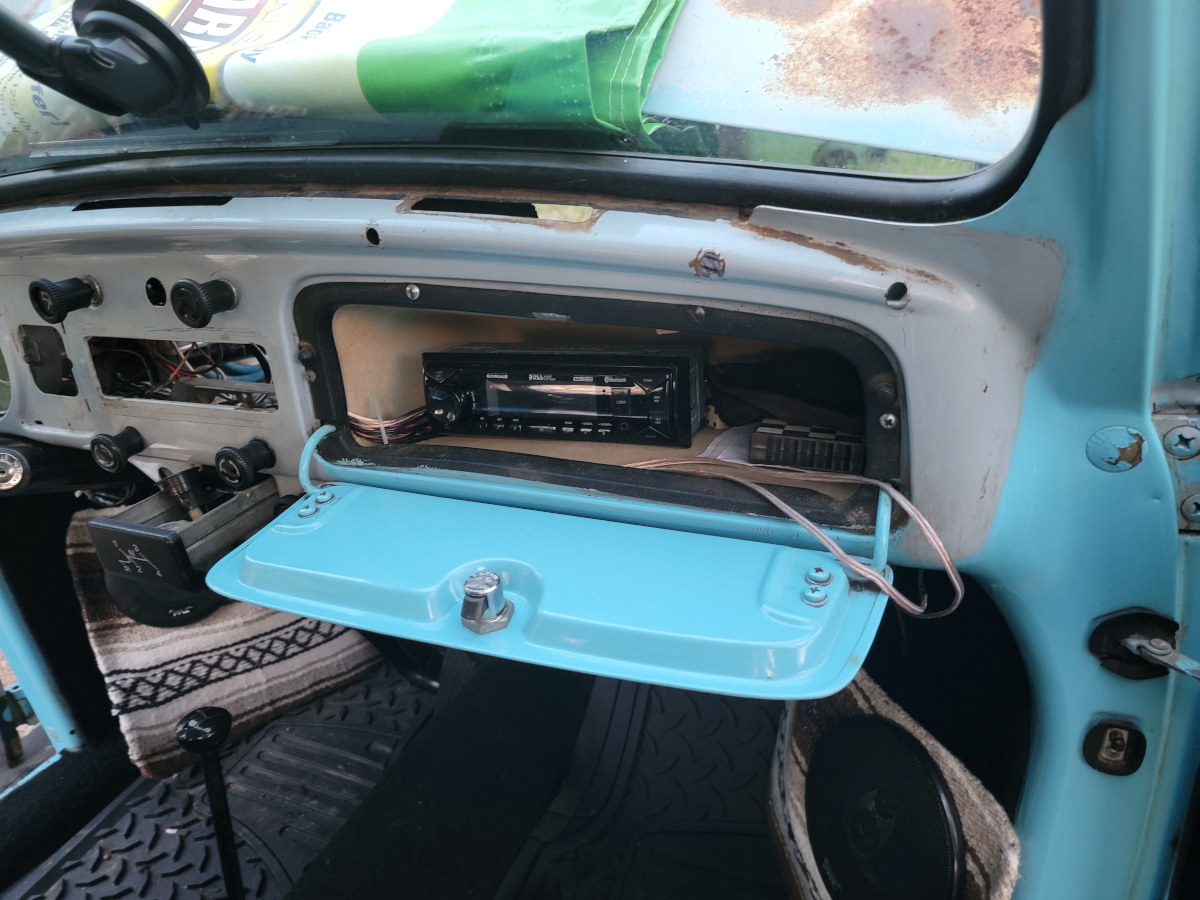
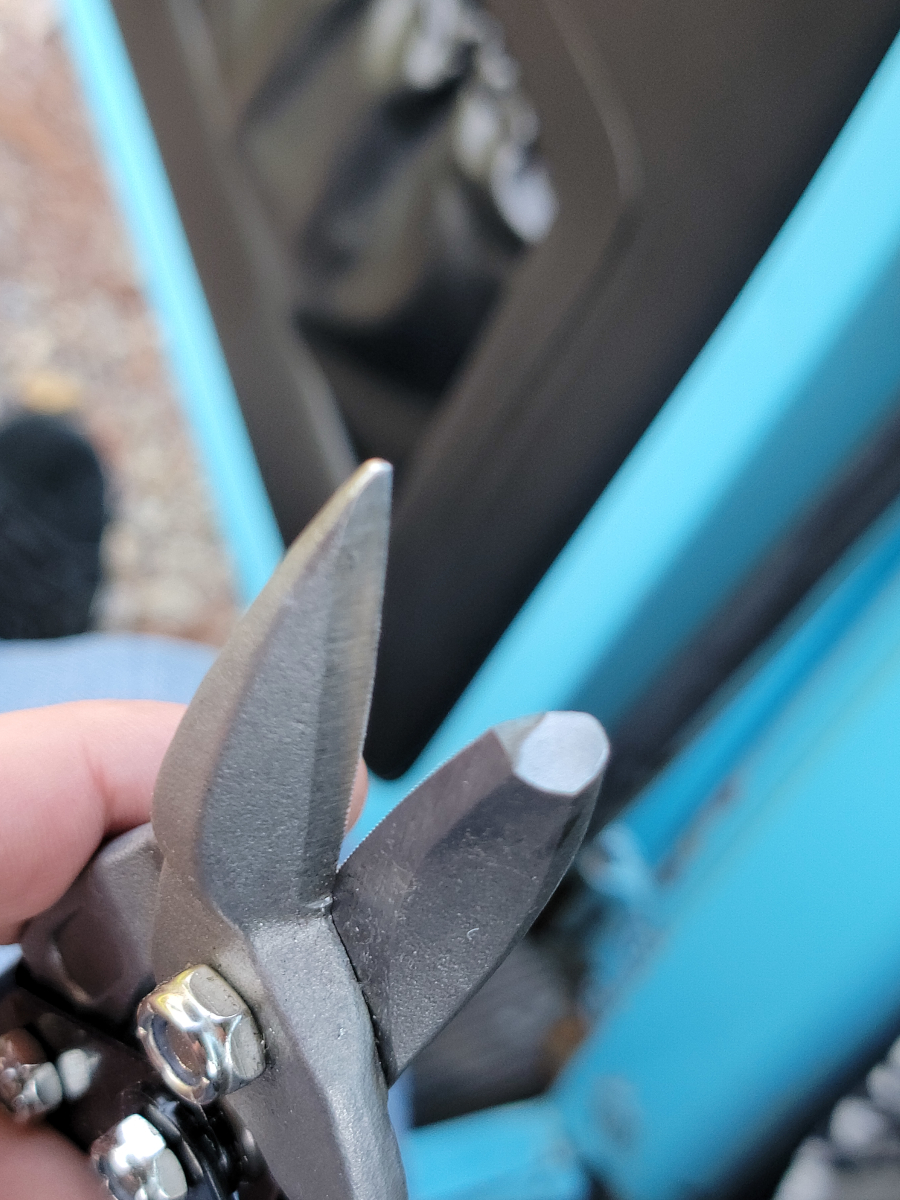
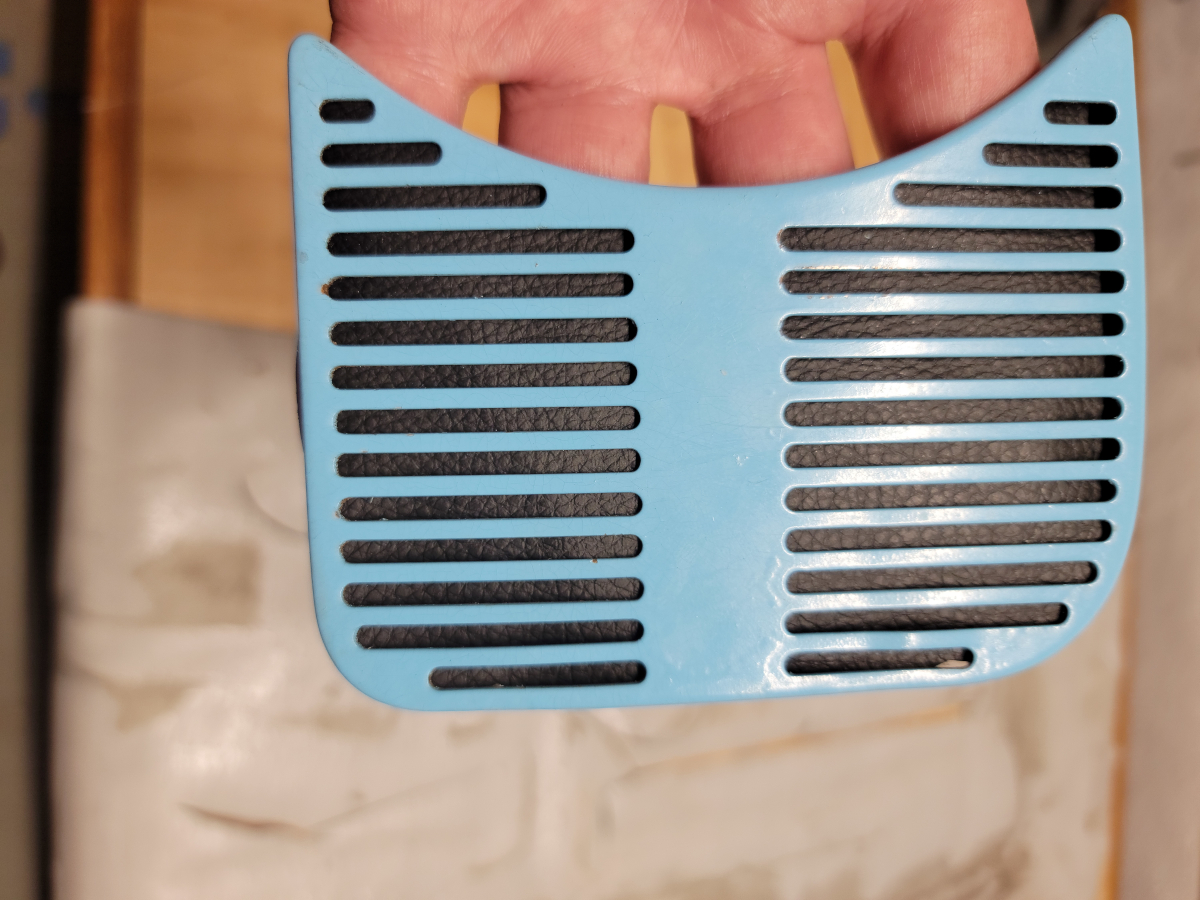
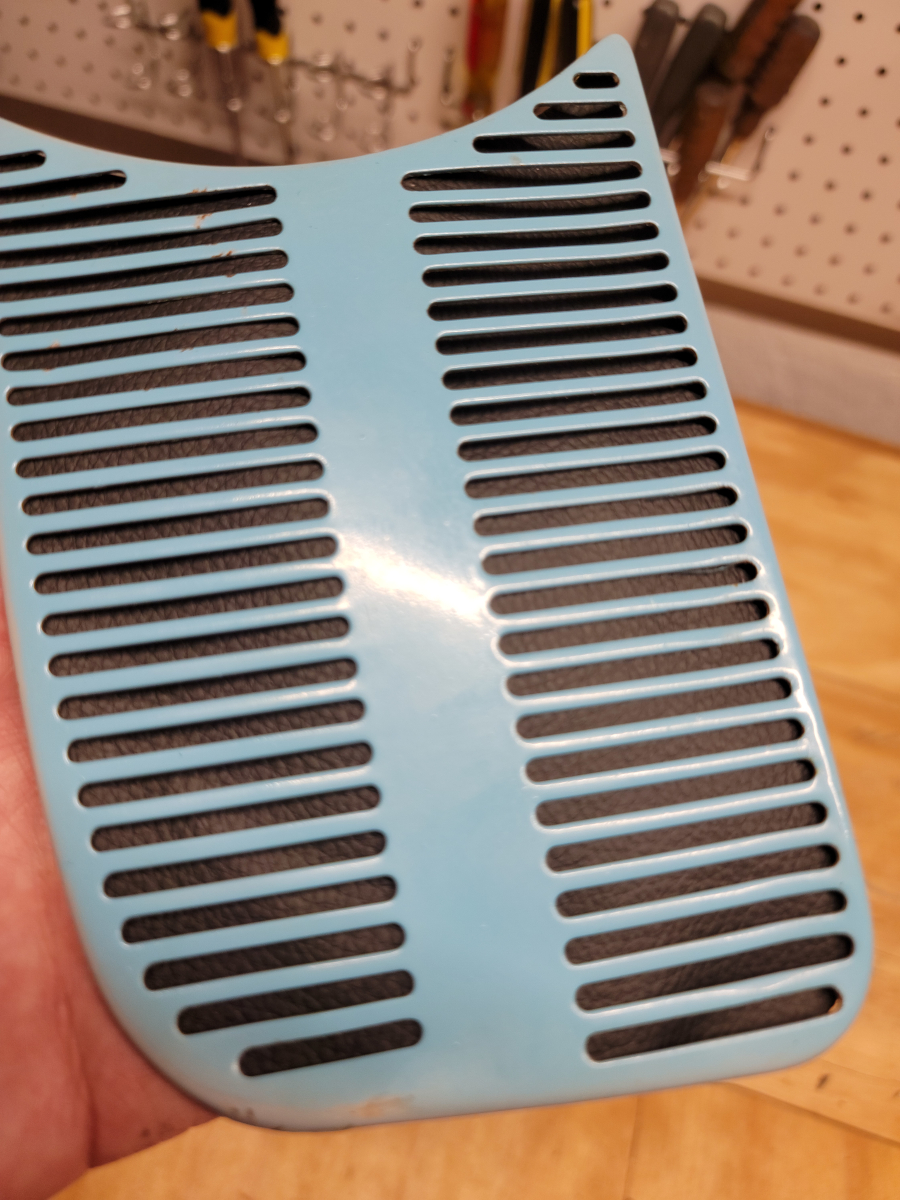
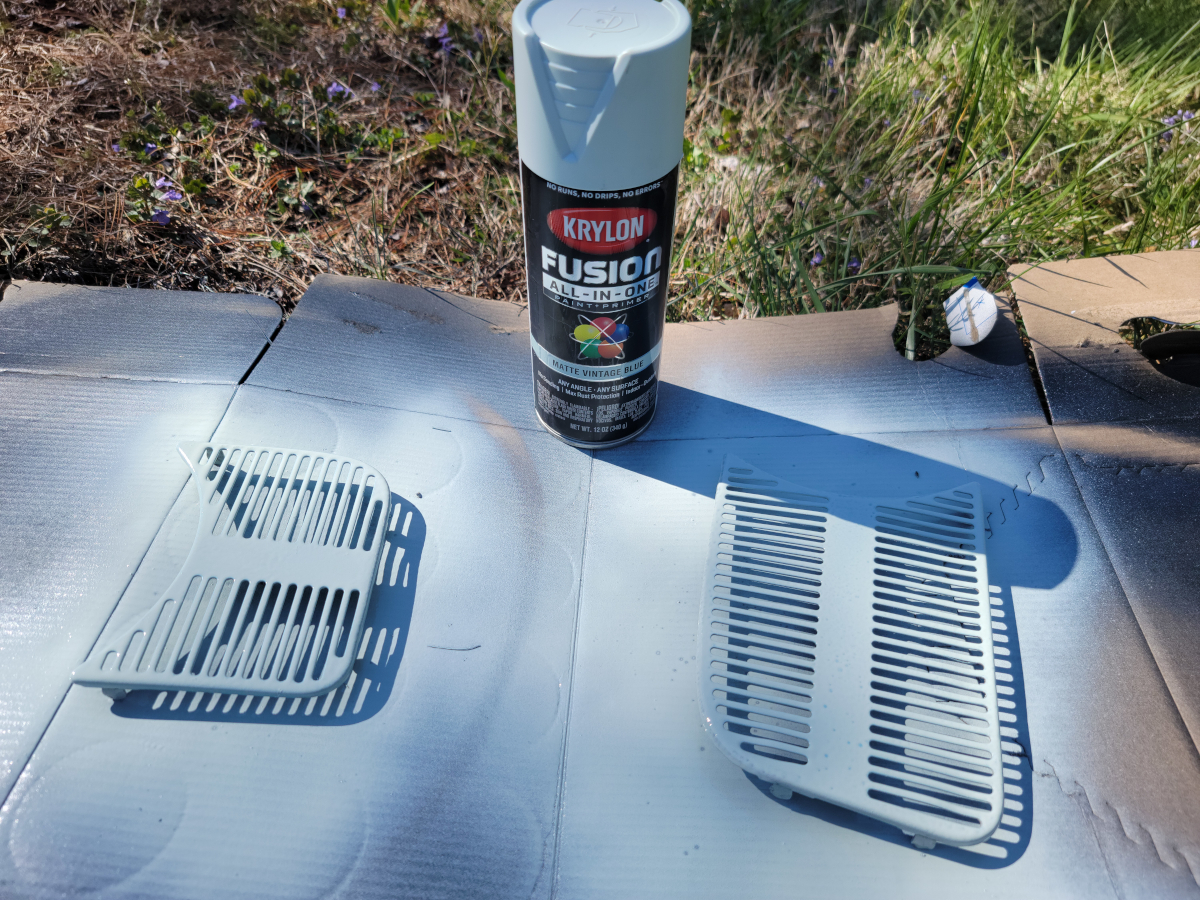
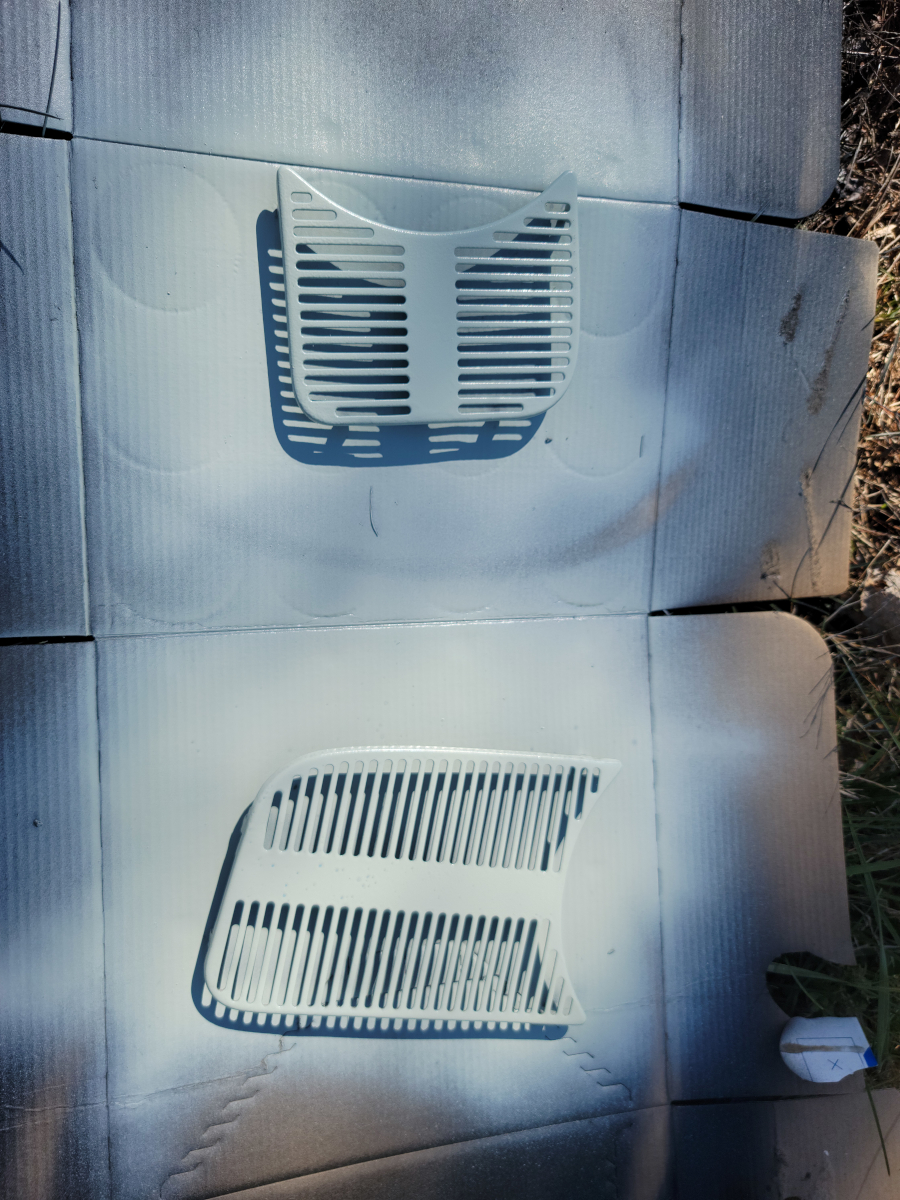
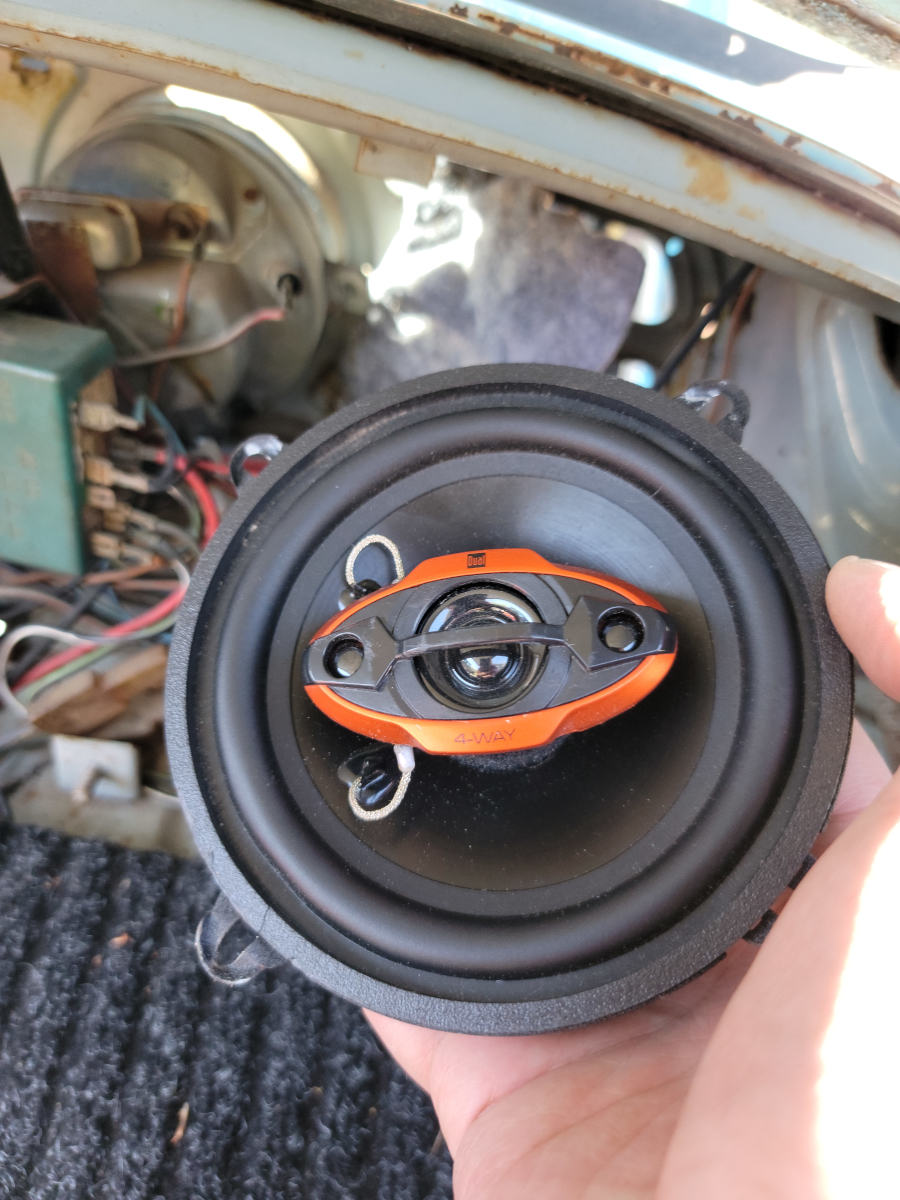
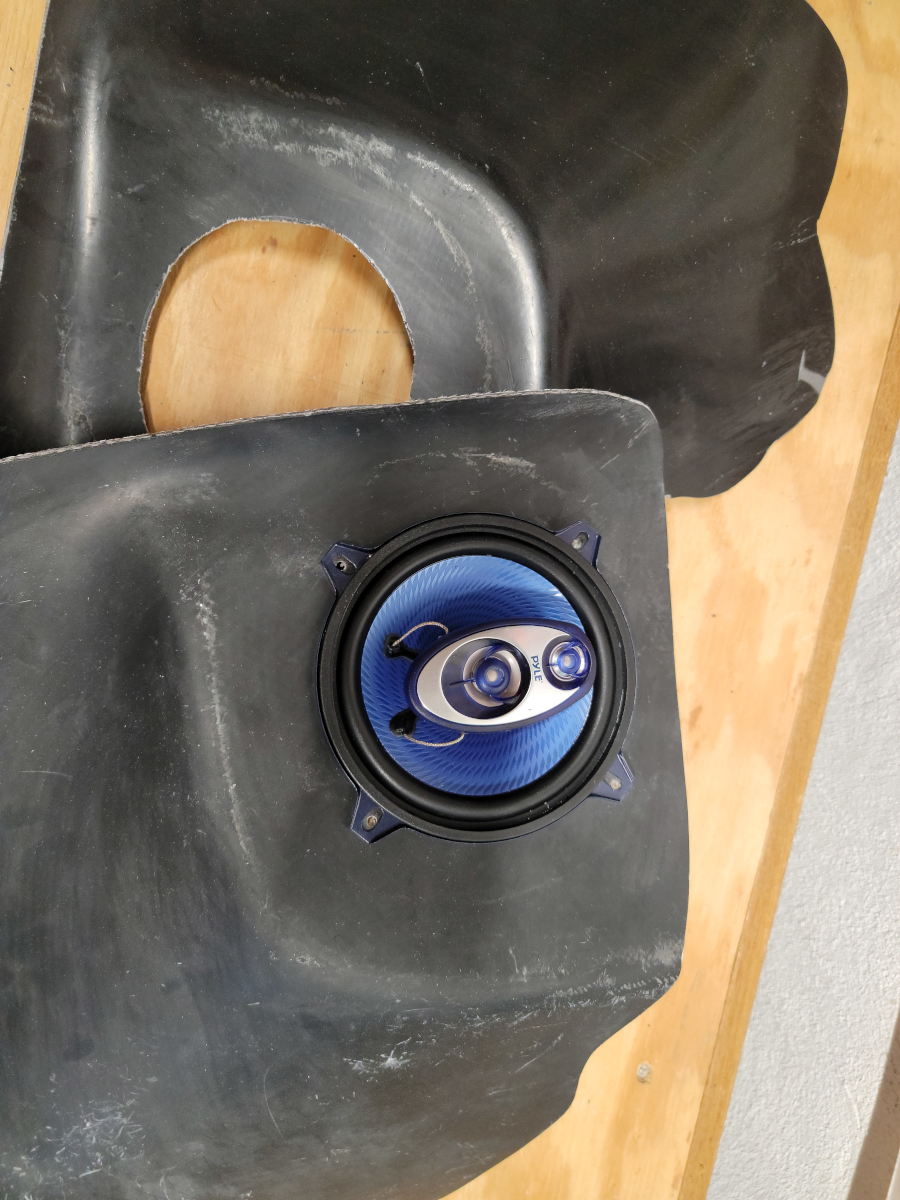
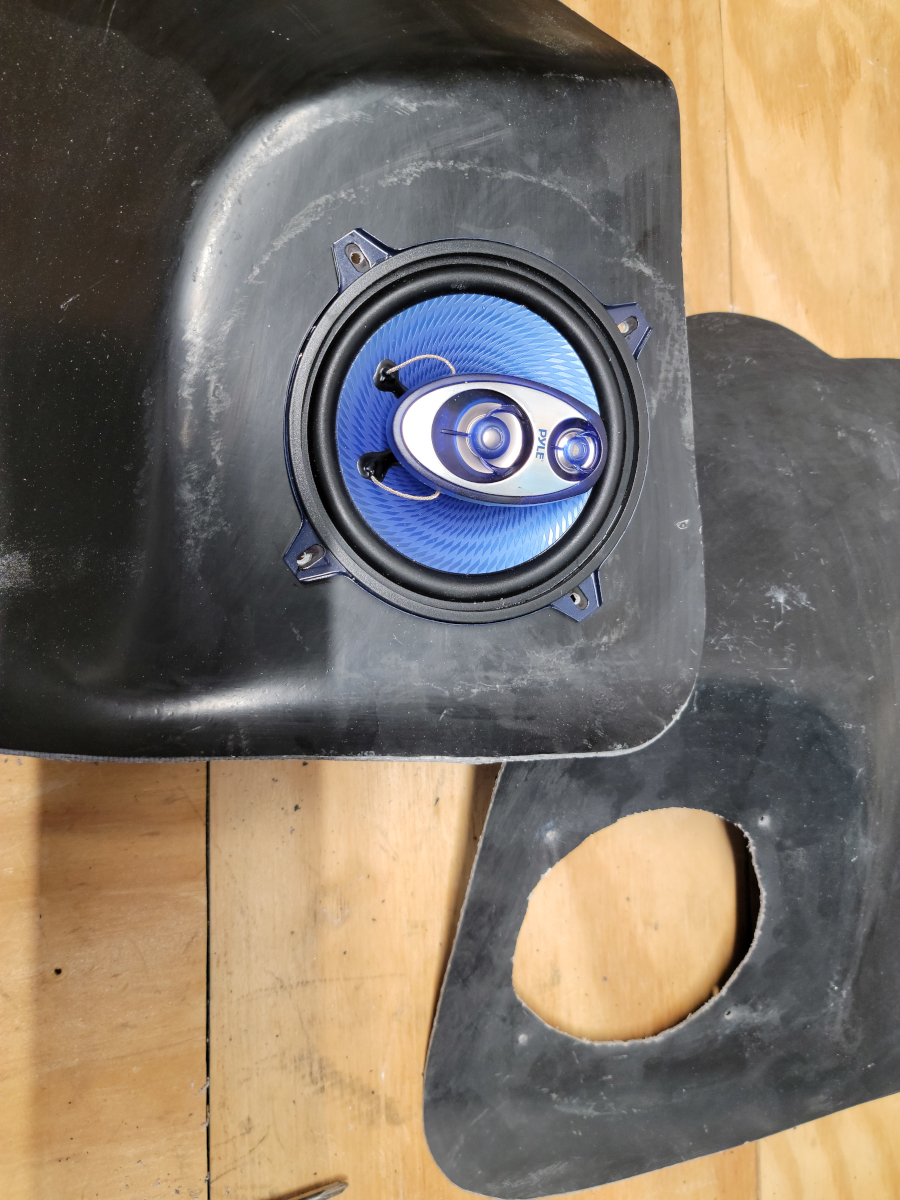
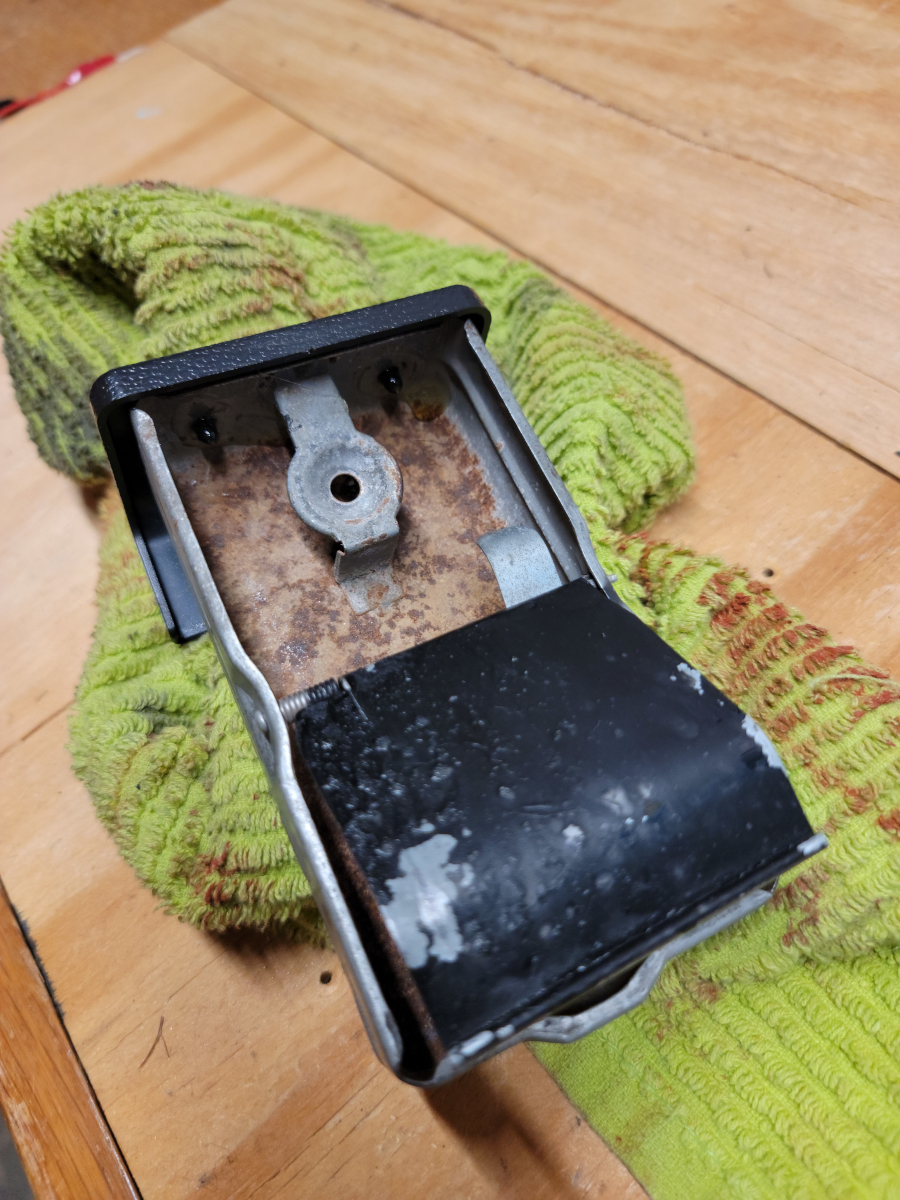
I mounted the matte vintage blue painted grills and speedometer bezel, bending the metal tabs around the back to hold them in place.
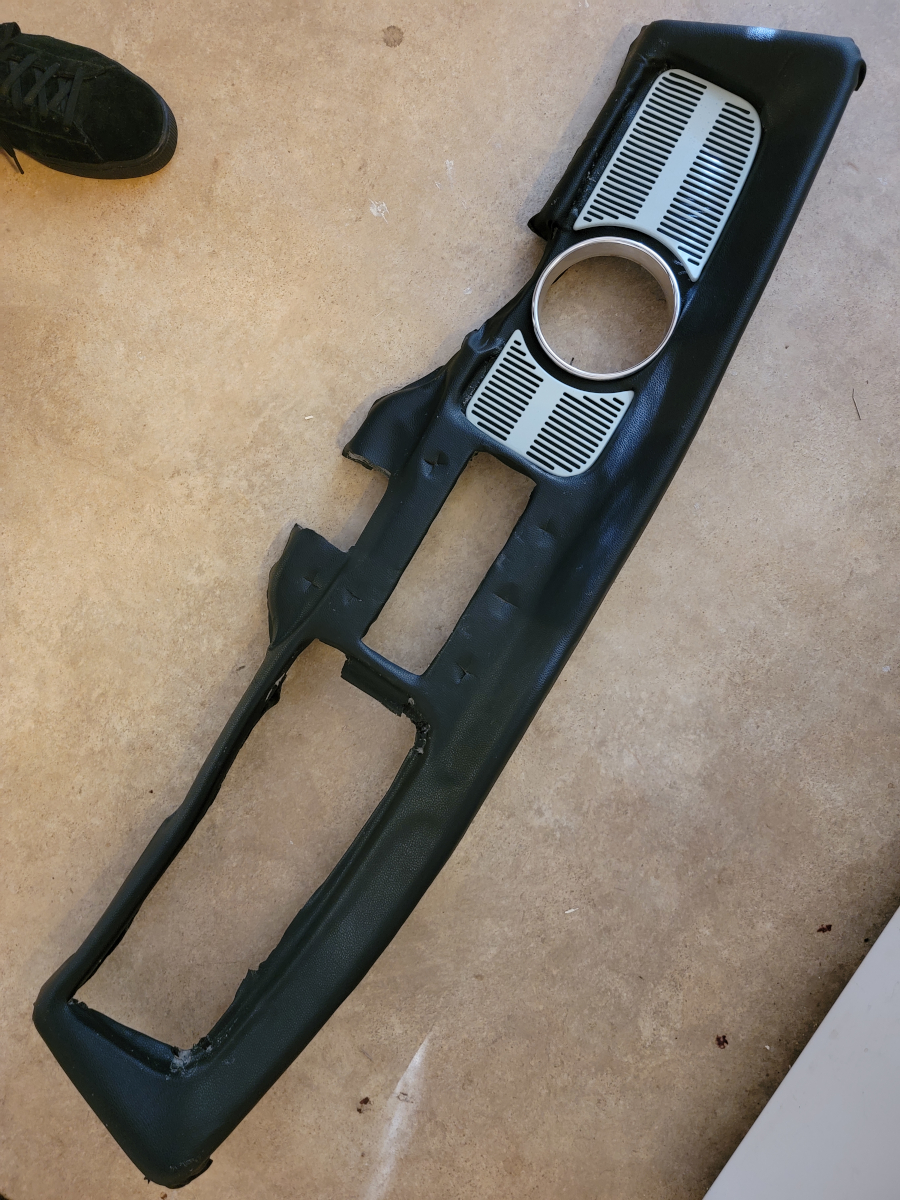
It doesn’t look great, but it looks better than it did. That has been an ongoing theme with this car.