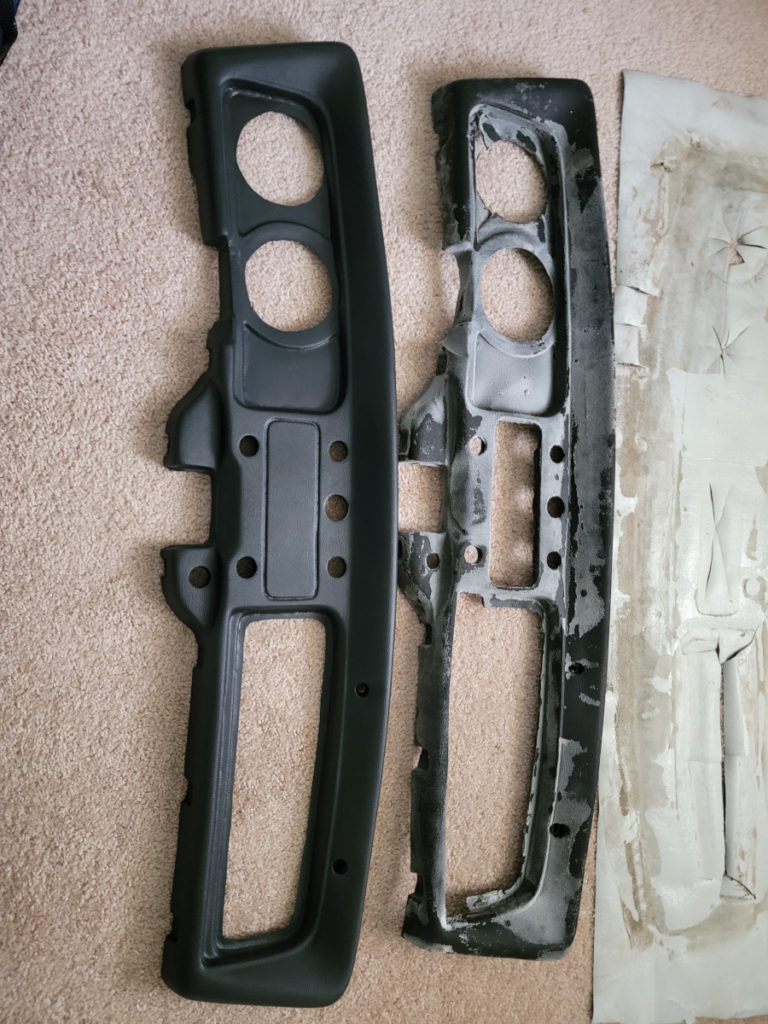
As I mentioned previously, the new dash pad appears to be very high quality, but at a glance, you can see it’s not an exact match to the old one.
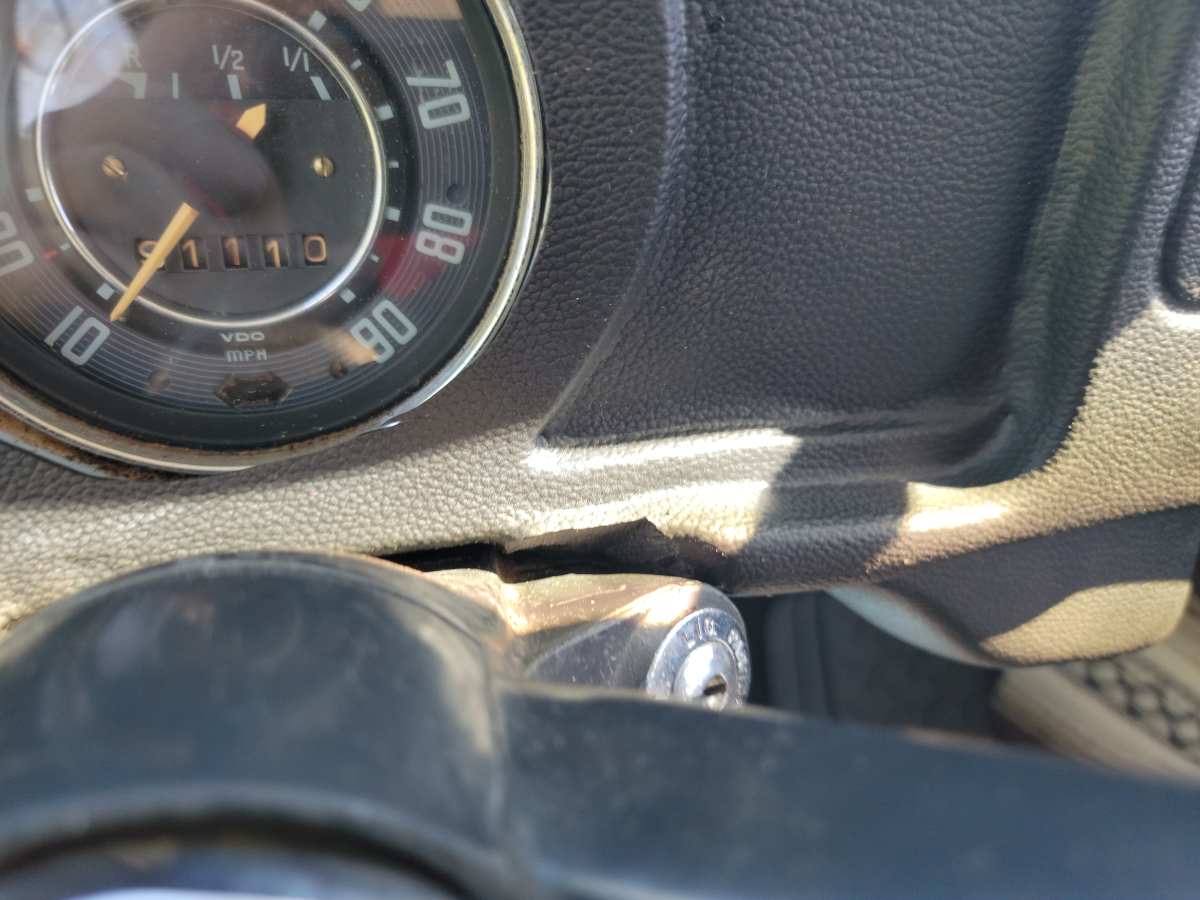
When I got started installing it today, it became very apparent this was not going to be plug and play. First, I had to cut off a big section to fit around the ignition switch in the steering column.
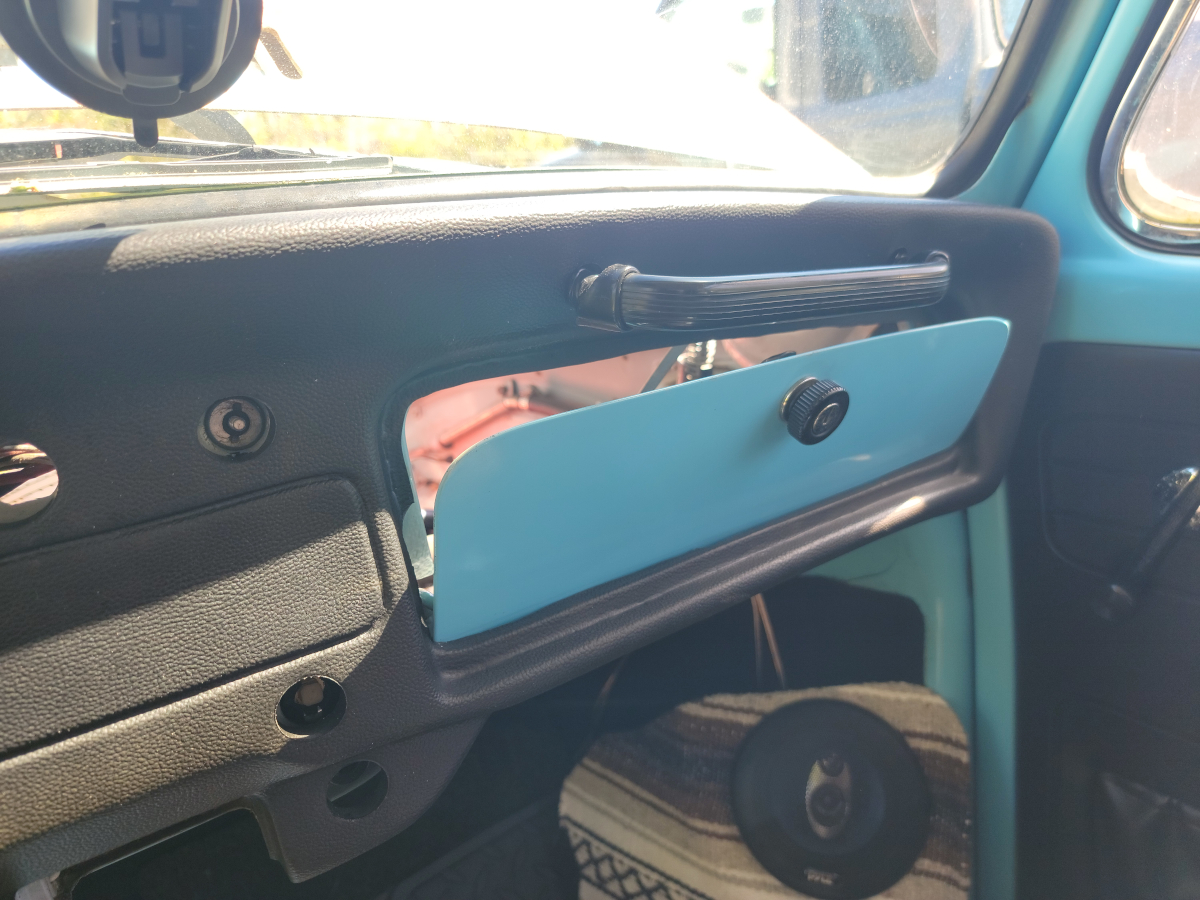
Next, the glove box door was bound up and would need a heavy trim.
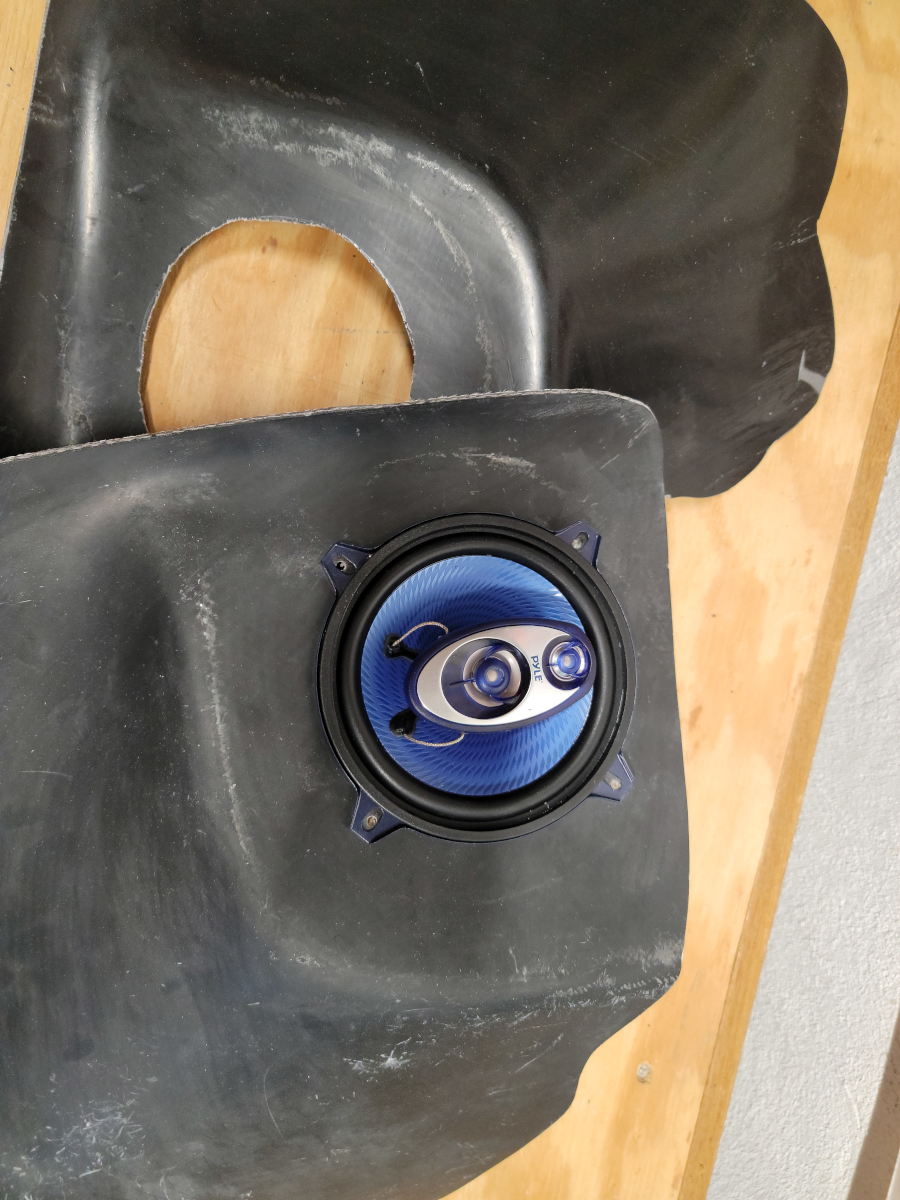
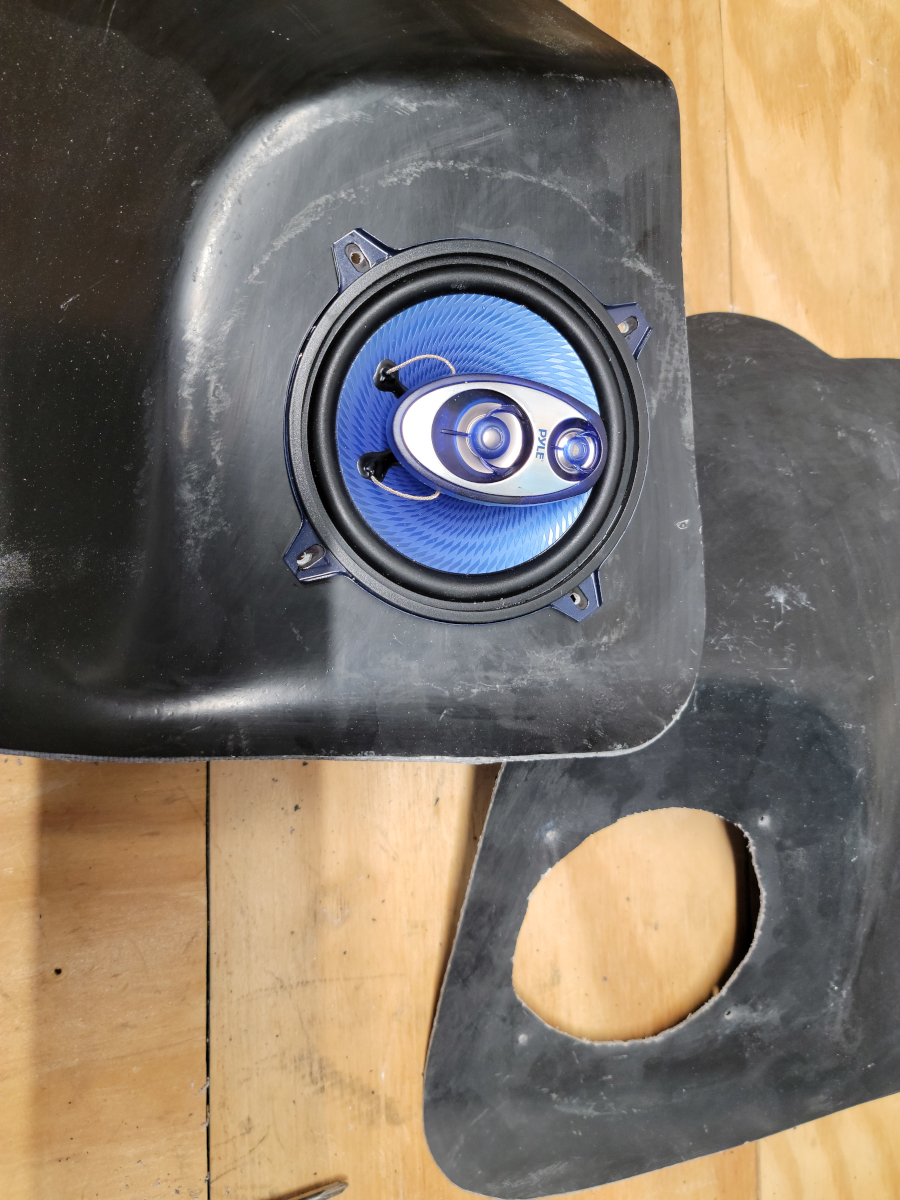
The kick panel speaker looks pretty good hanging out all casual over there.
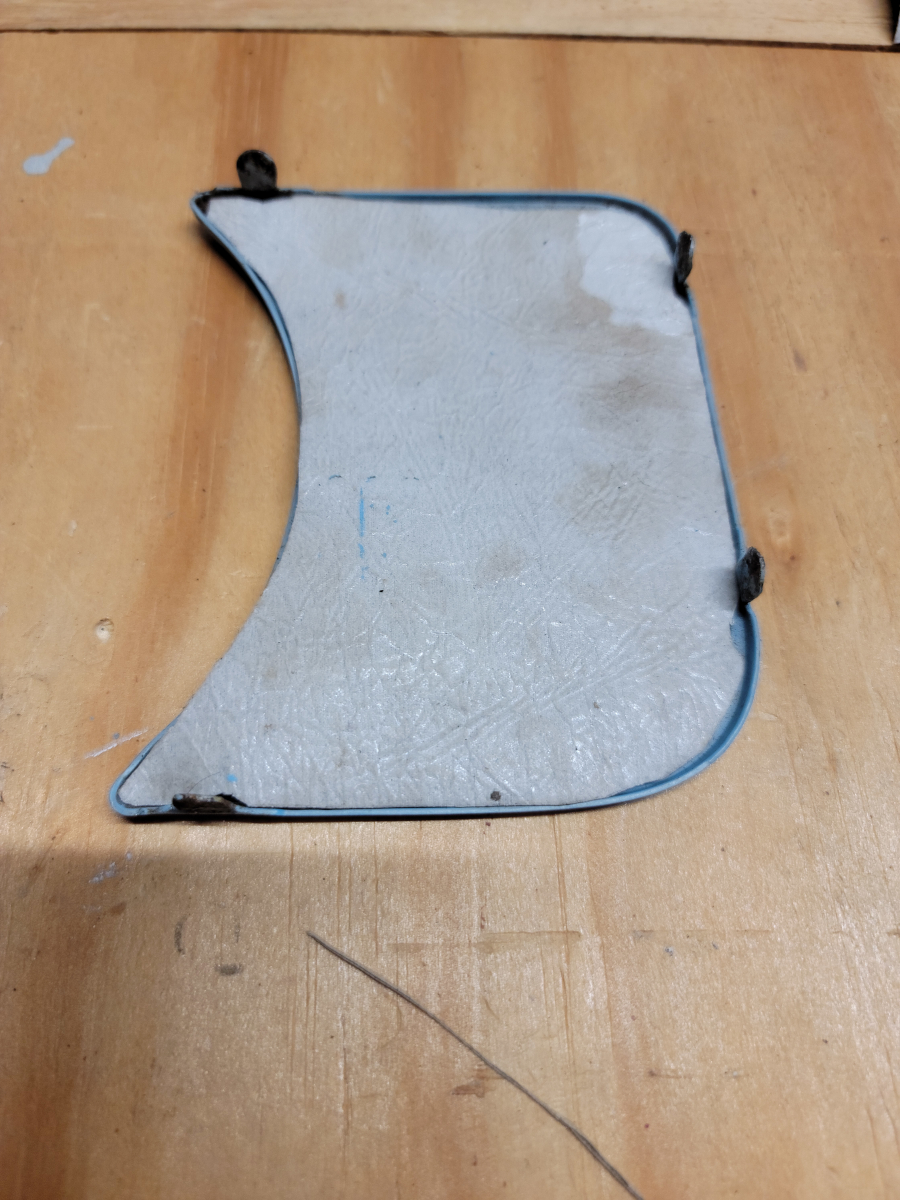
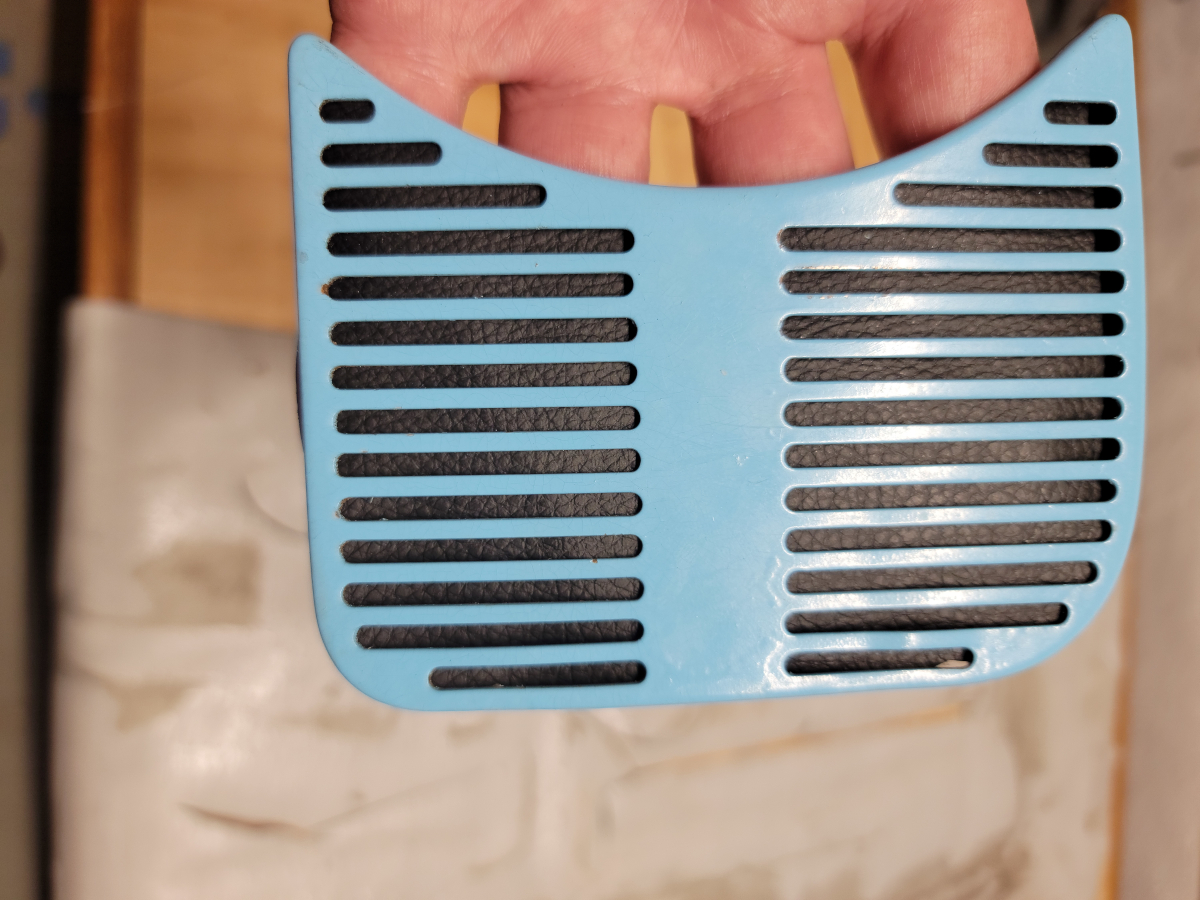
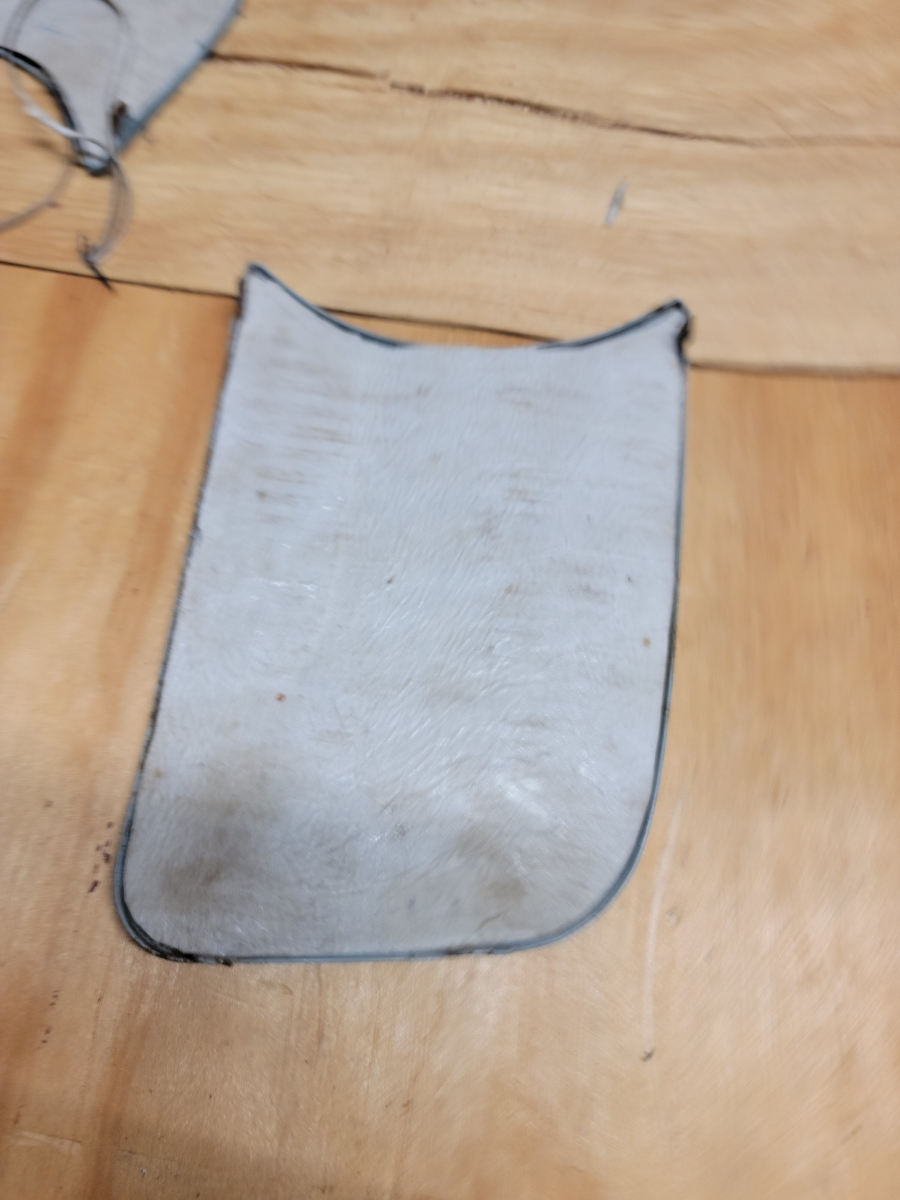
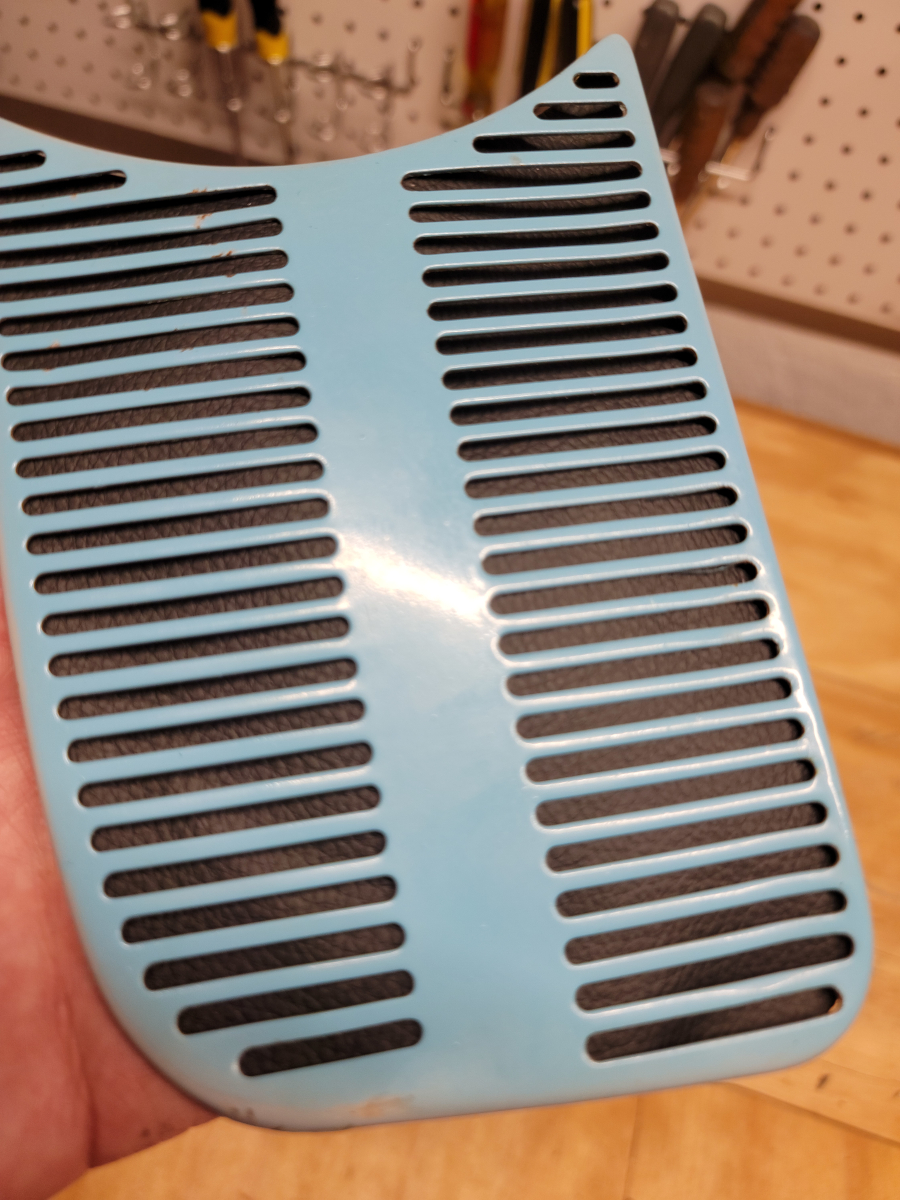
In preparing to re-mount the decorative grill plates around the speedometer, I decided to use some of that black vinyl as a backing. The benefit is two-fold. It looks pretty nice, but will also block some air coming in from the poorly sealed front end.
The new dash pad has a speaker hole cut in it and there won’t be a speaker in there anymore.
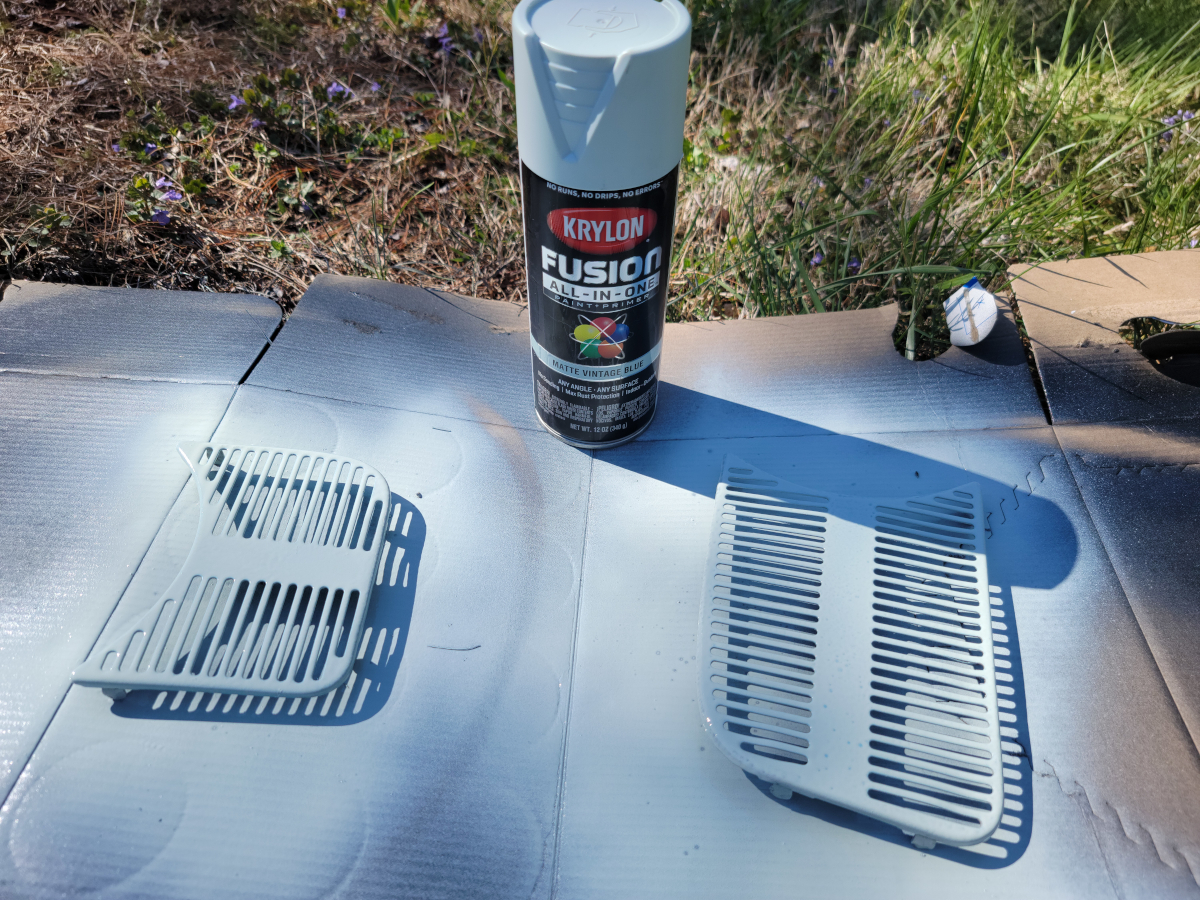
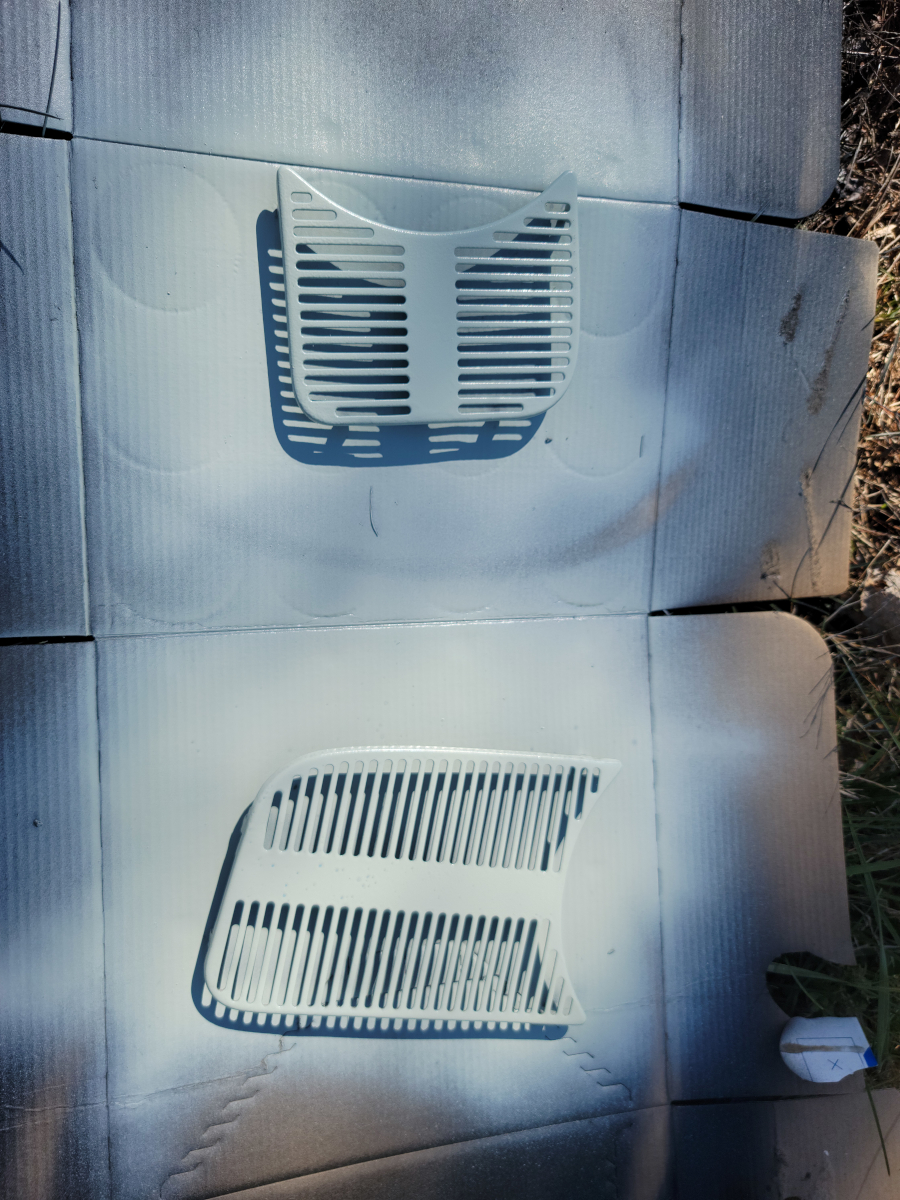
Time to bring the Matte Vintage Blue out of retirement!
Apparently, I didn’t get them clean enough before spraying the first coat. There are lots of bubbles.
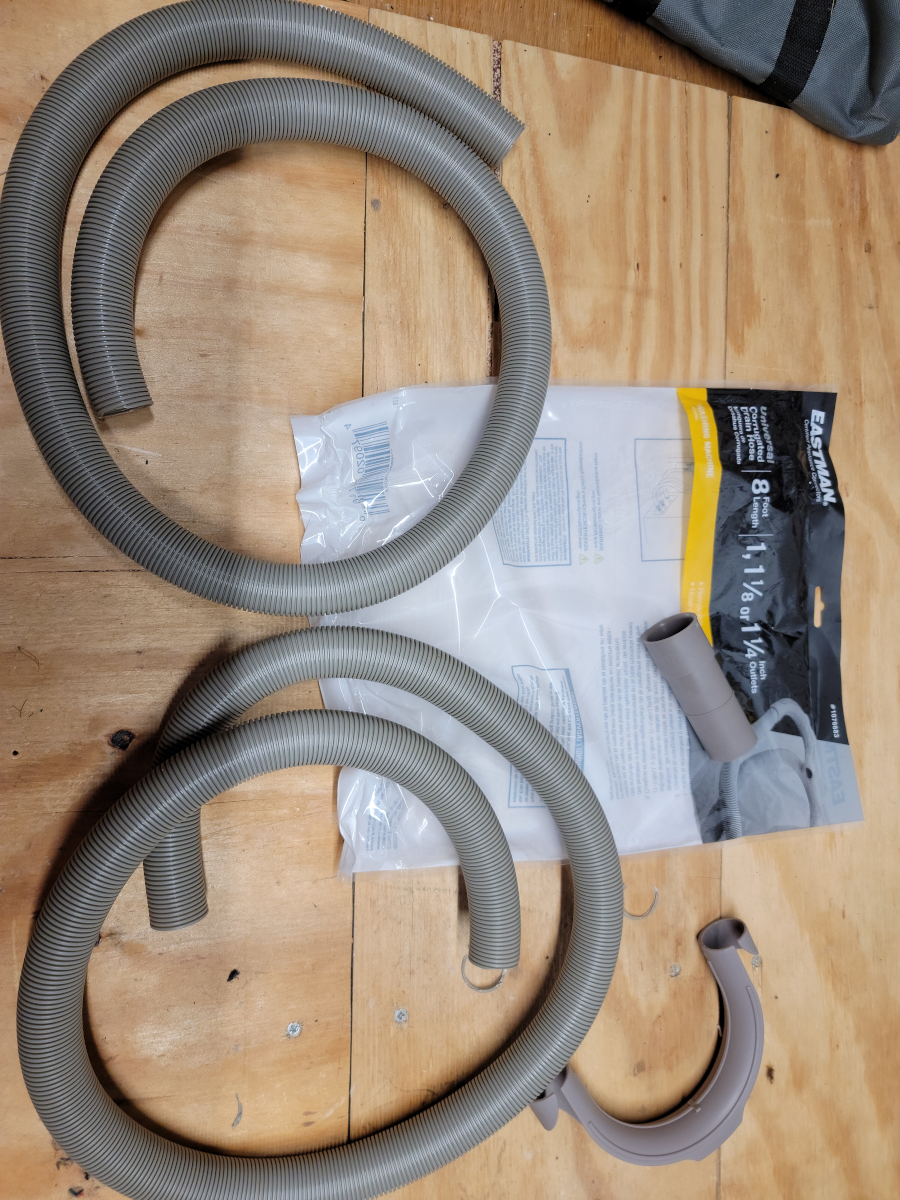
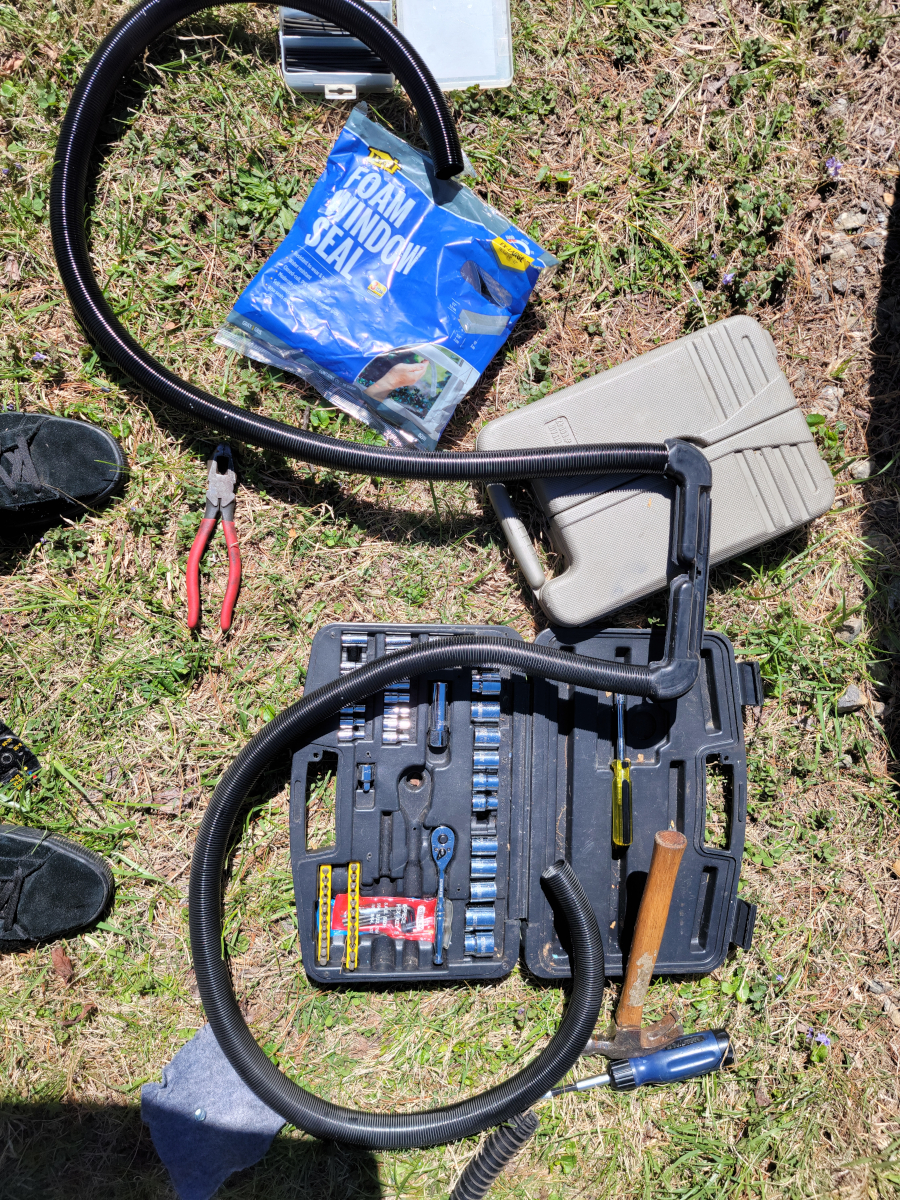
I picked up this washing machine drain hose at Lowes (Lowes link) and it fits perfectly without the need for clamps. I cut both ends off, then cut it in half. It’s an 8 foot hose, which is way more than I will need, so I can cut each side to fit.
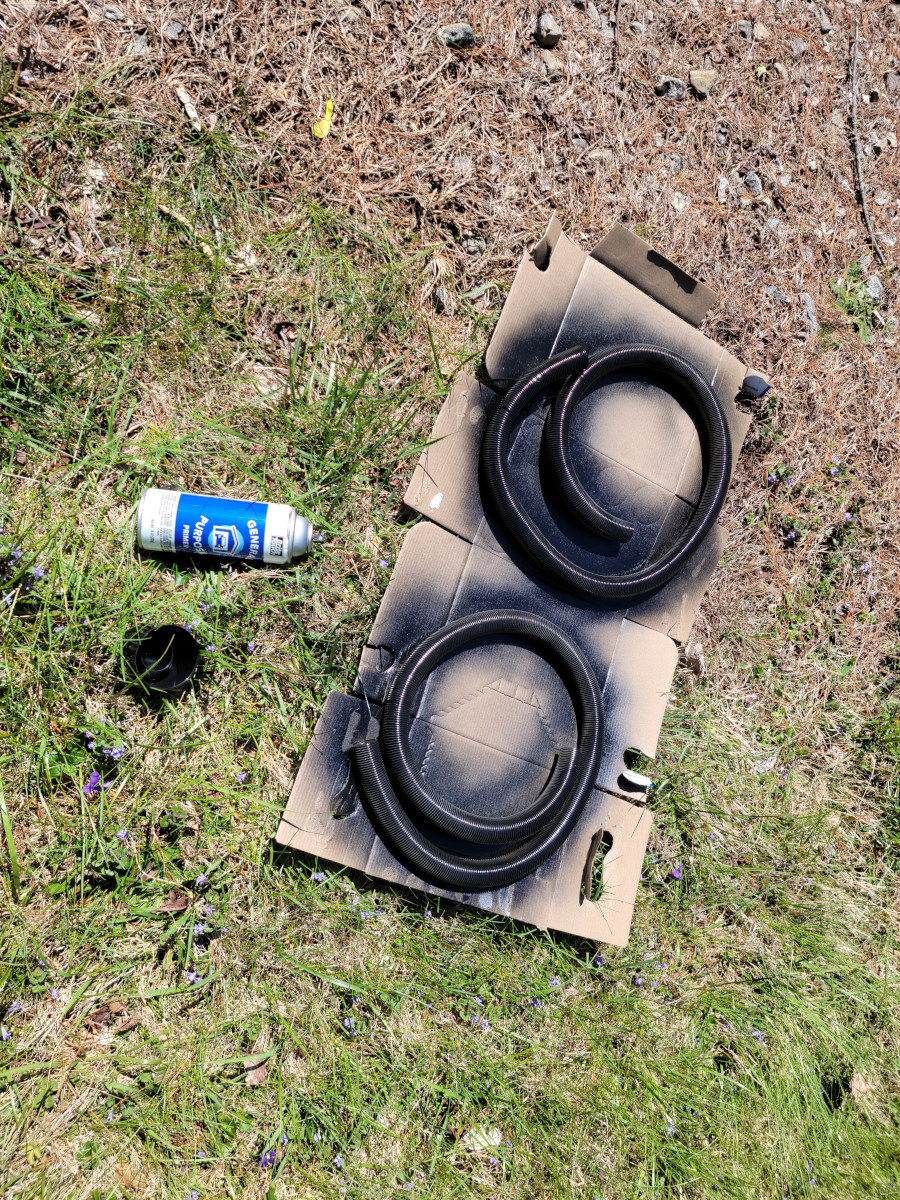
Since Dupli-Color engine enamel has been letting me down lately, I just grabbed this can of generic black primer and gave them a few coats.
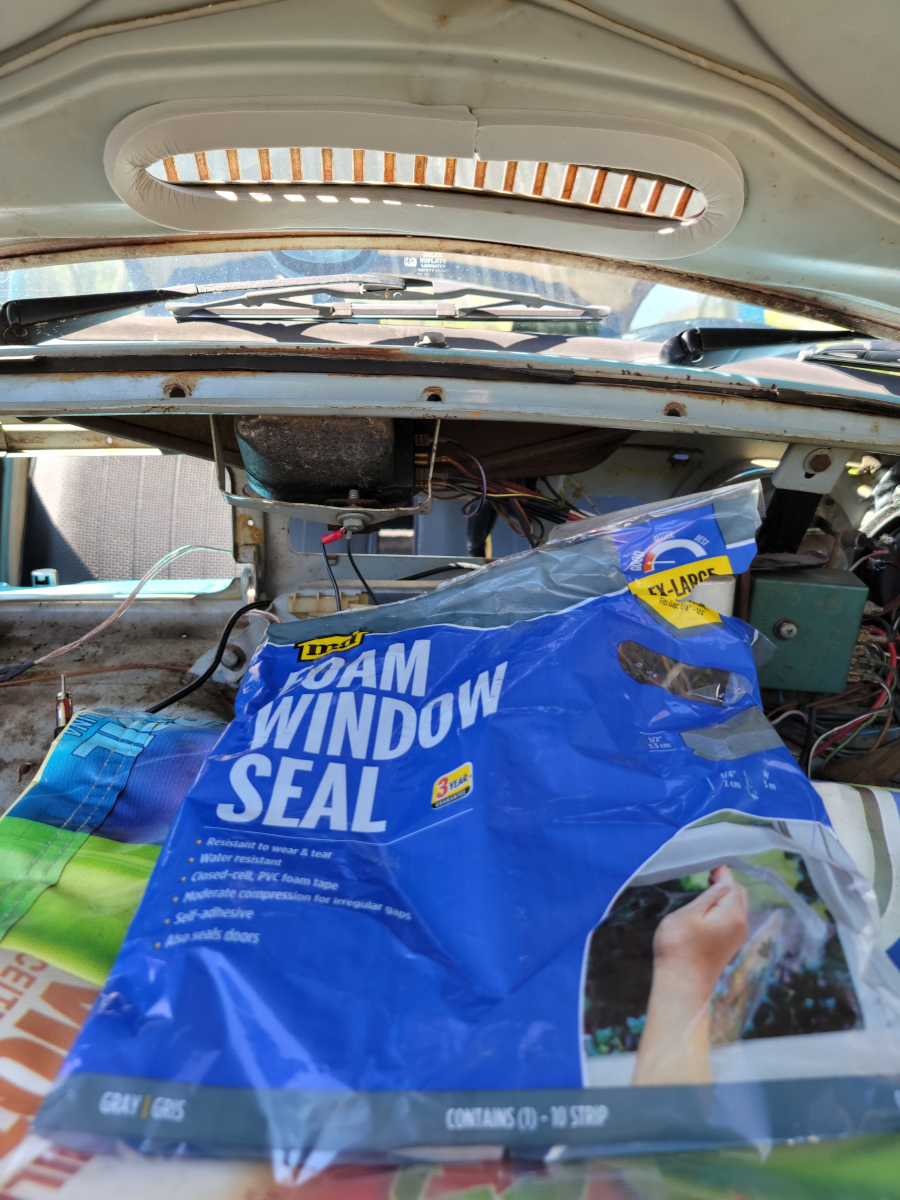
The rubber gasket around the fresh air intake box is really hard and crusty and it’s always kind of damp under the bonnet, so maybe this foam window seal will work to bridge the gap.
It’s a nice thought, but the adhesive always lets go immediately on those things, so I don’t have very high hopes.
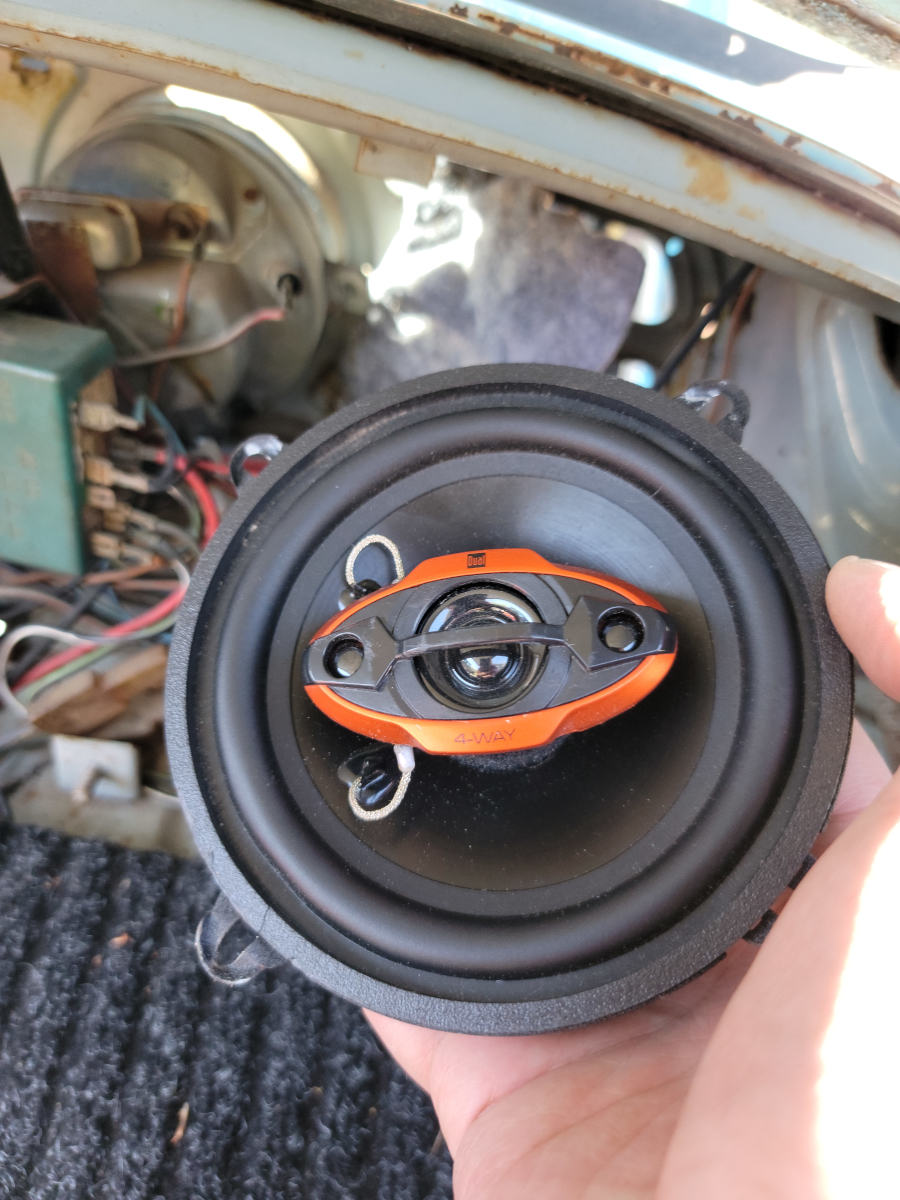
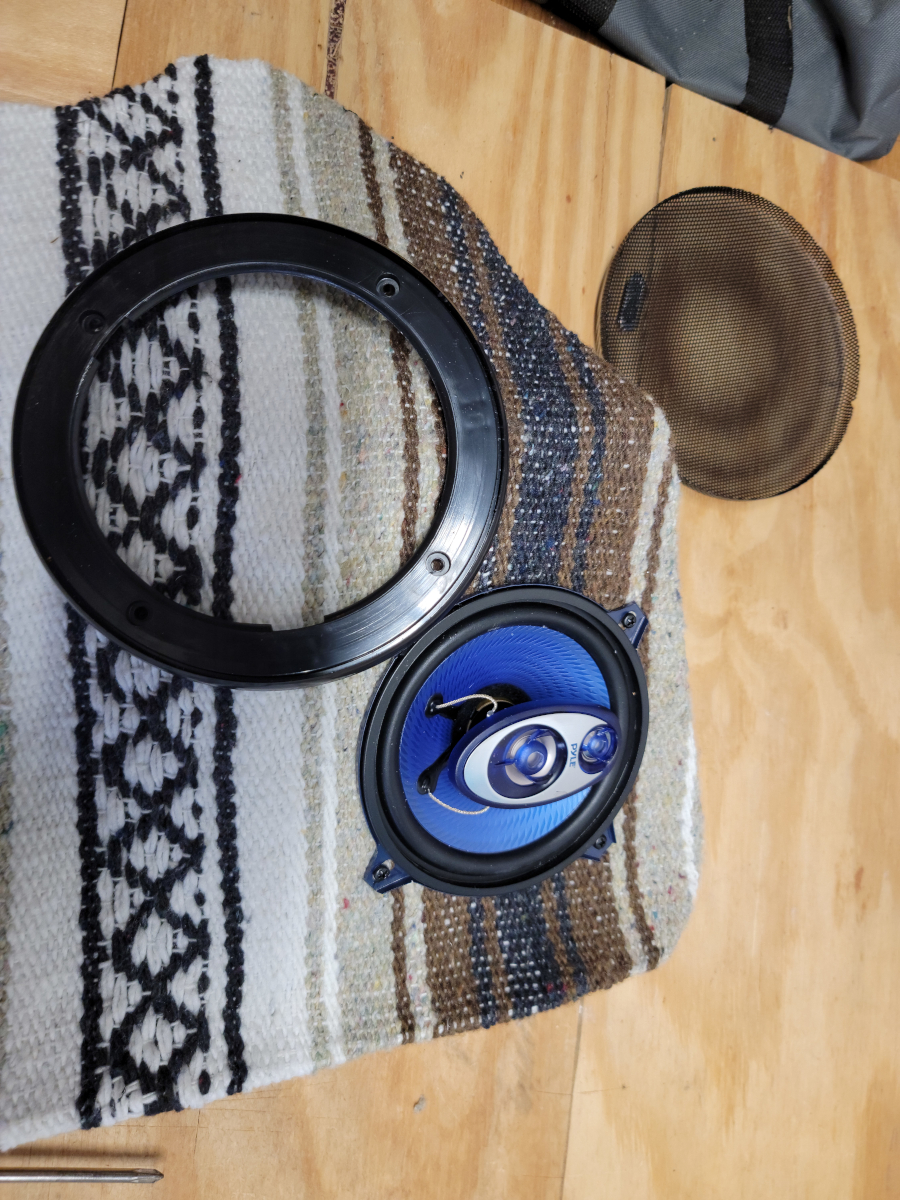
I pulled the speaker out of the dash. I was wrong before, it’s not a Kicker, it’s a Dual.
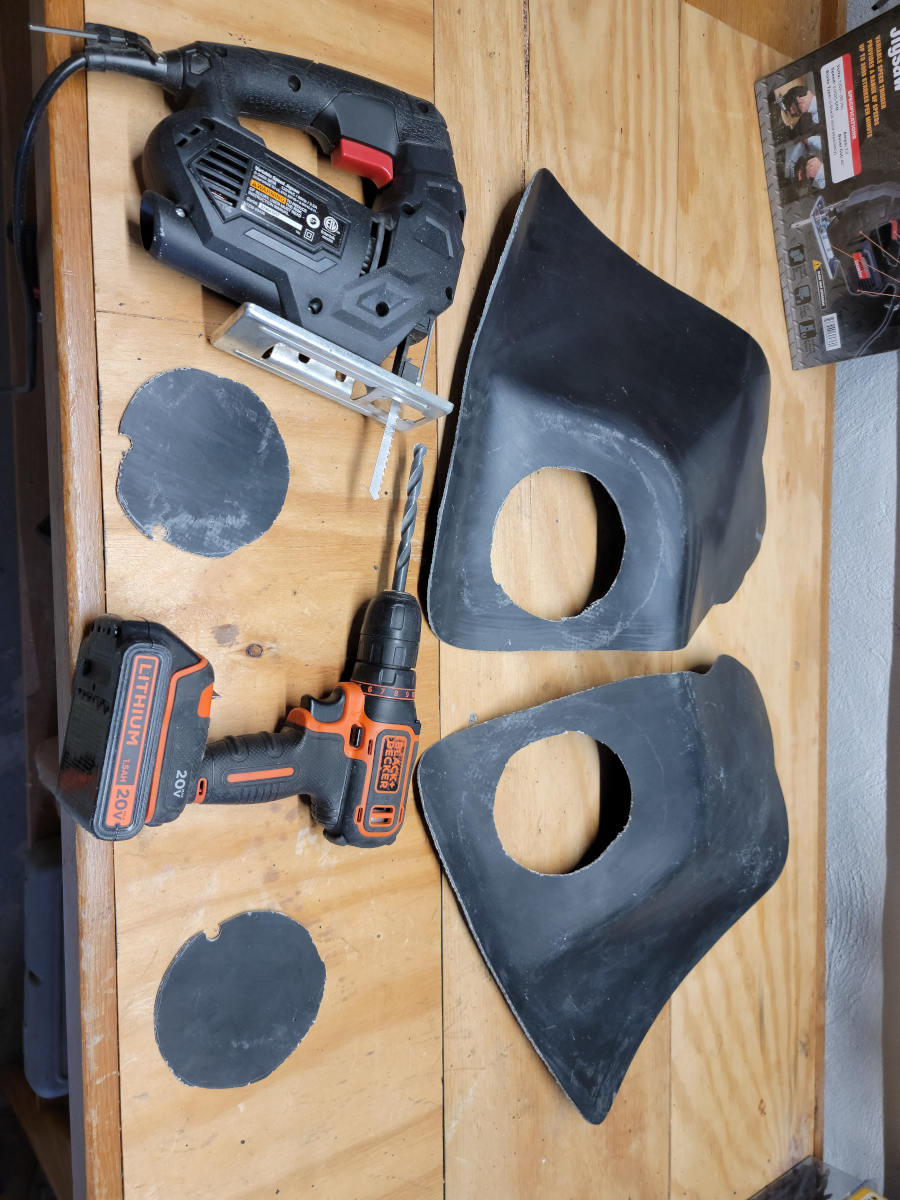
When I ordered the new vents for the dash install, I also added fiberglass kick panels to allow me to install front speakers. Because I have spent so much money already, I did the sensible thing and ordered Pyle speakers (Amazon link).
I have had nothing but good experiences with Pyle products in the past. They have always fallen into the “this thing has no business being this good” kind of category.
I previously had an 8 inch bass cannon (Amazon link), multiple sets of 5x7s (Amazon link), and my drum recording setup has four Shure 57 knock-offs (Amazon link) that were a fraction of the price. They have all been great!
I traced the openings using the paper template that came with the speakers. I drilled a hole just large enough for my jigsaw blade to fit through, then cut them out.
That is not the right blade, but it’s all I have. It needs to have much finer teeth.
Next, I put the speaker in place and drilled holes for the mounting screws.
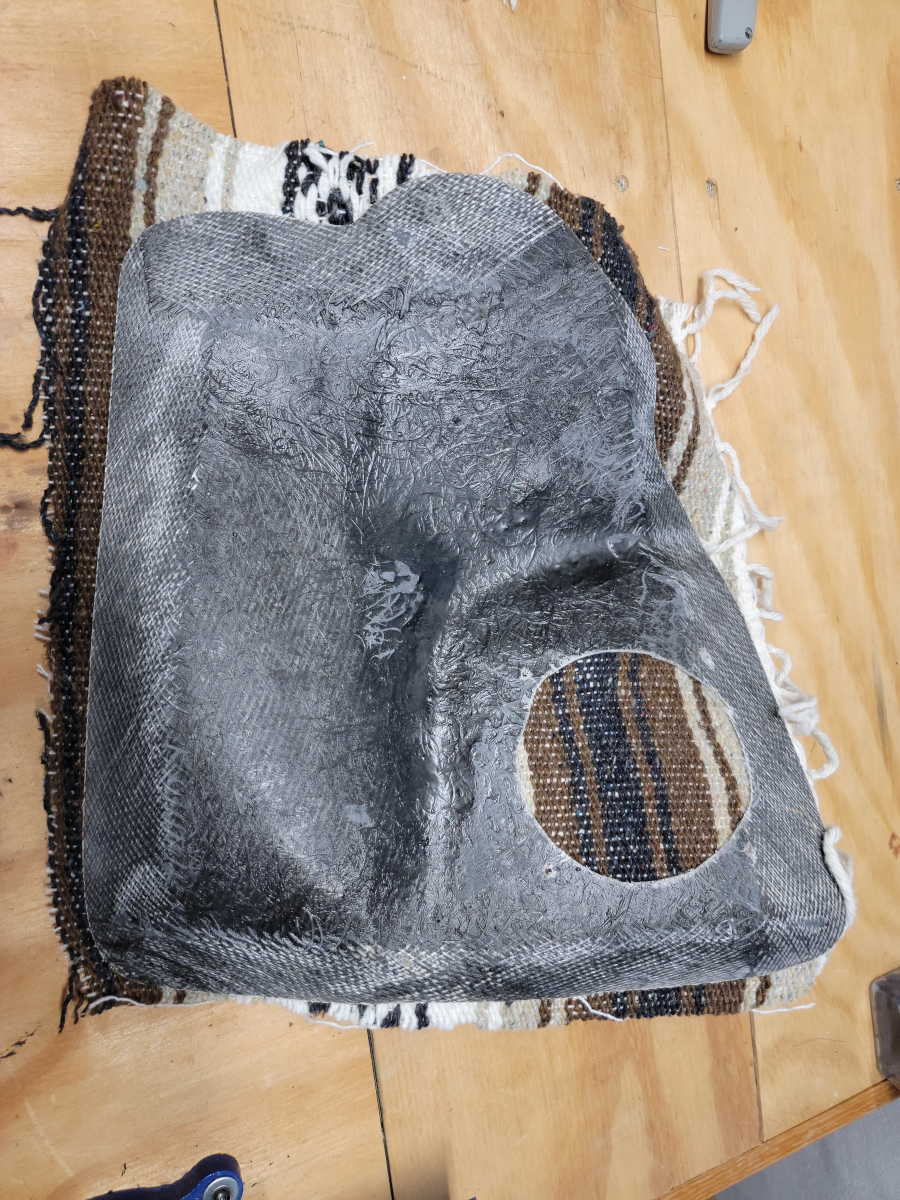
Obviously, I don’t want to leave this ugly, raw fiberglass panel in view, so I started looking around for something to cover them with. I can order carpet pieces if I need to, but like I said before, I have already spent a lot this year.
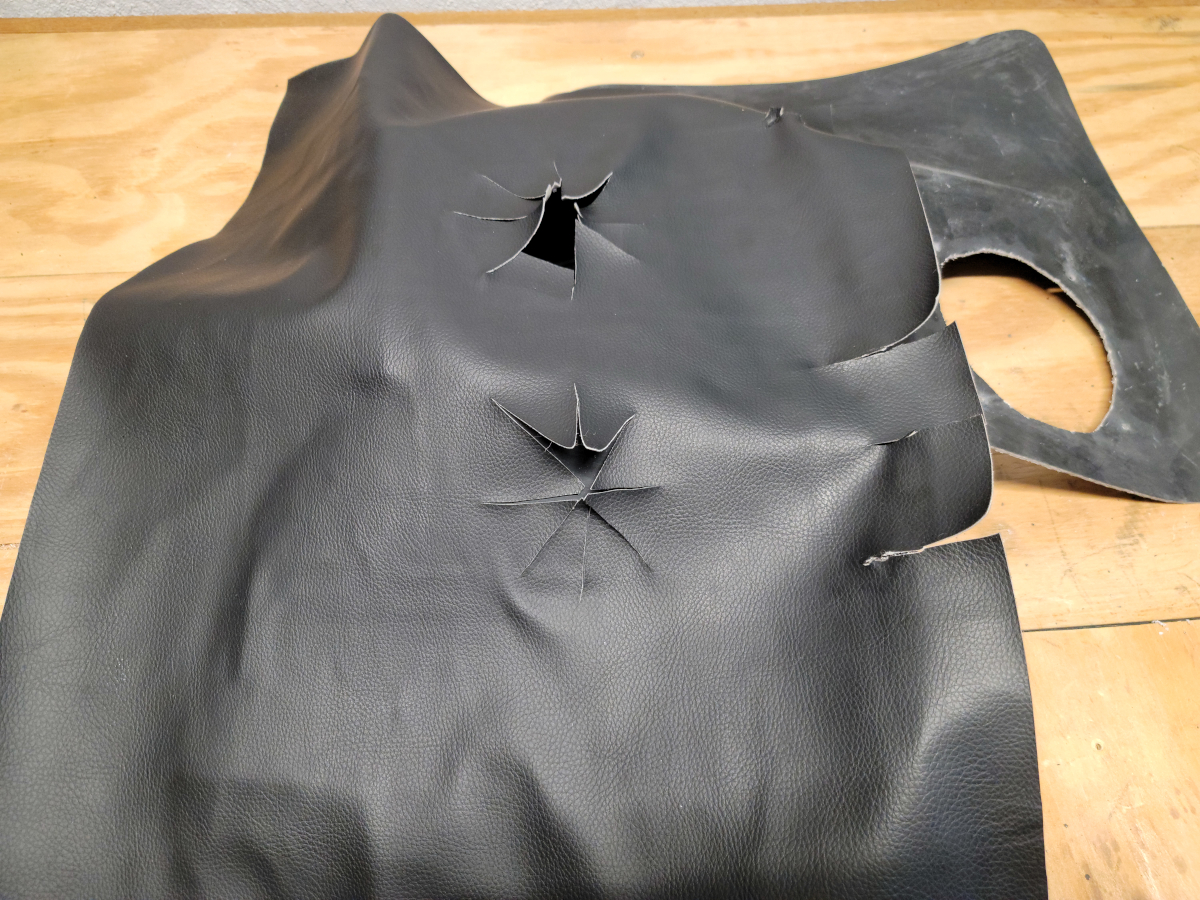
I grabbed the bit of vinyl I peeled off the dash pad (what a fiasco), but it had too many cuts in not the right places.
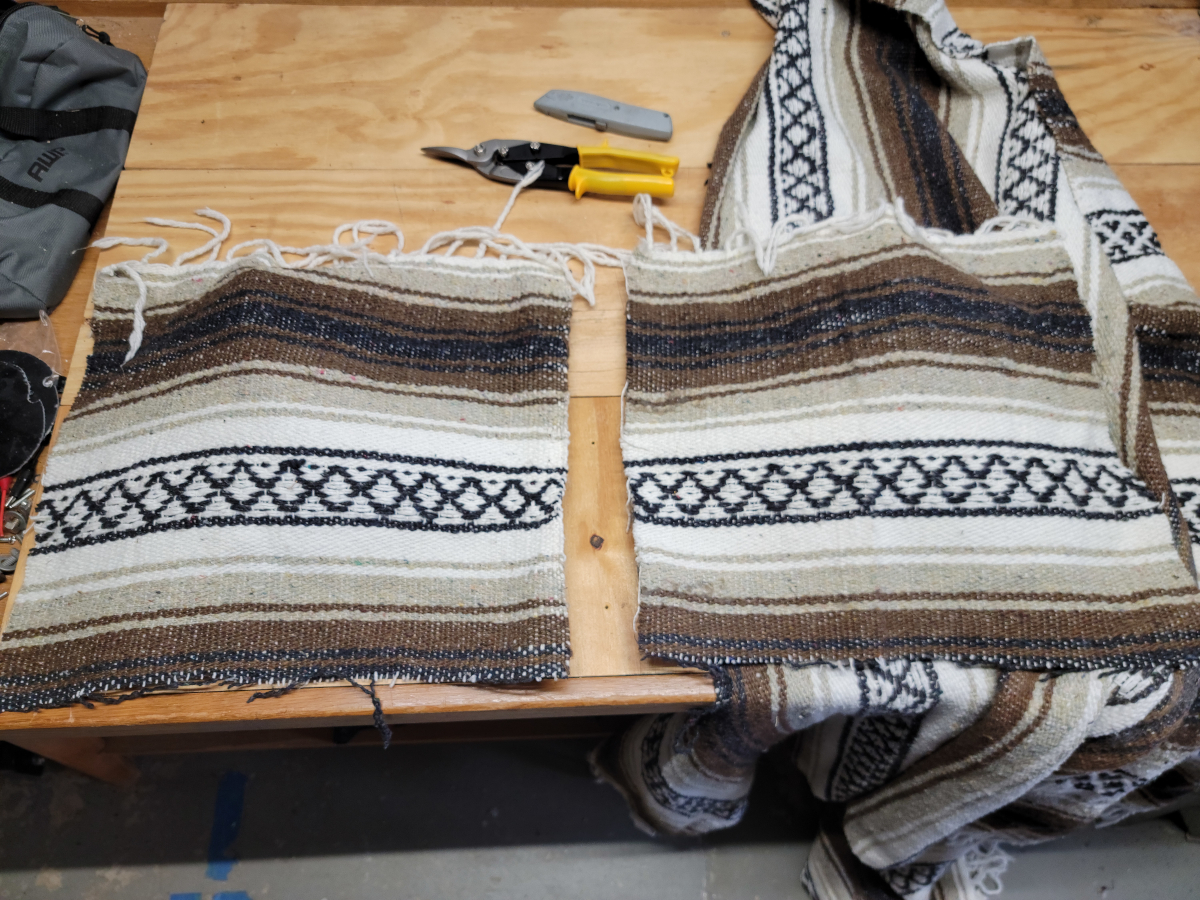
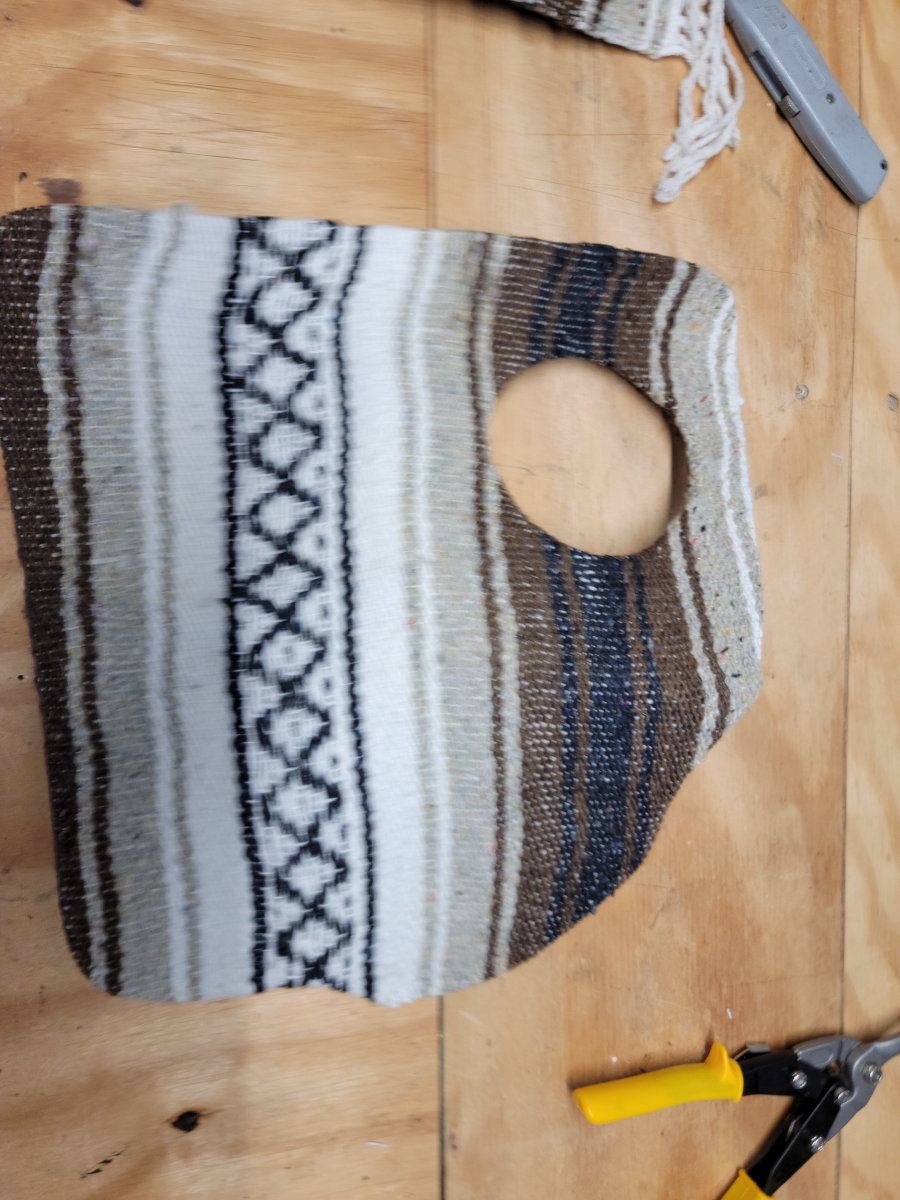
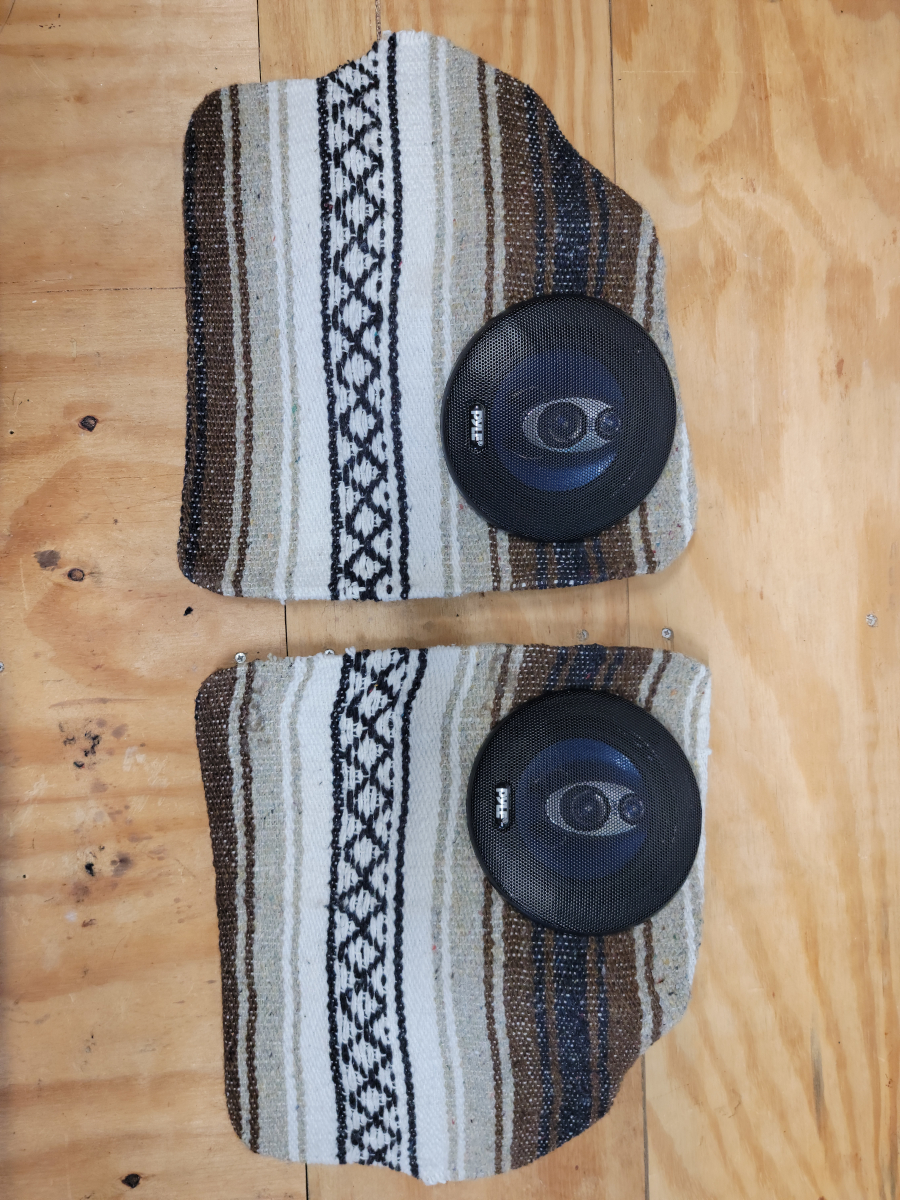
Then it came to me! I had previously made a speaker hutch for the luggage compartment and just had a saddle blanket draped across it. There’s plenty of extra material there, so I cut off what I needed.
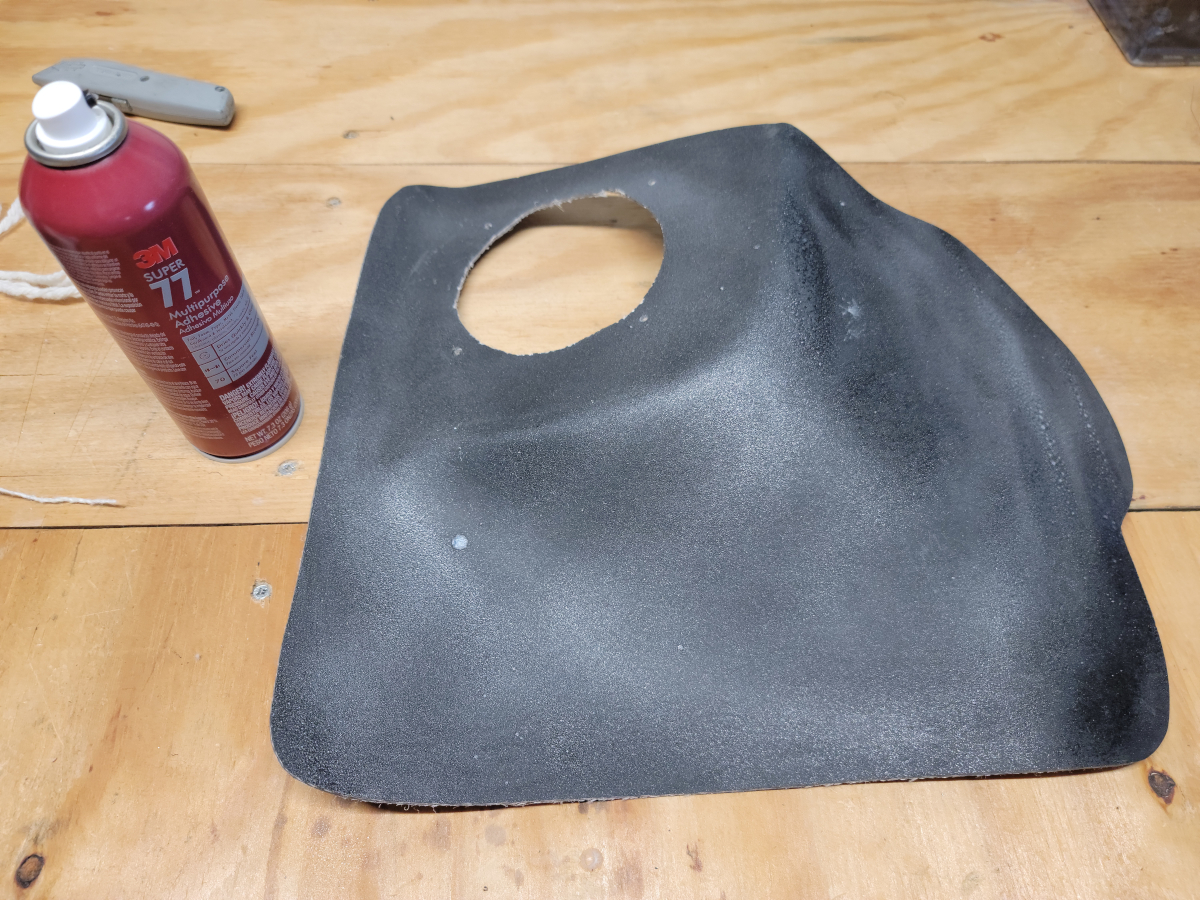
I’m confident in the strength of the 3m Super 77 (Amazon link) and have plenty left over, so I hosed the kick panel down and let the glue start to set up.
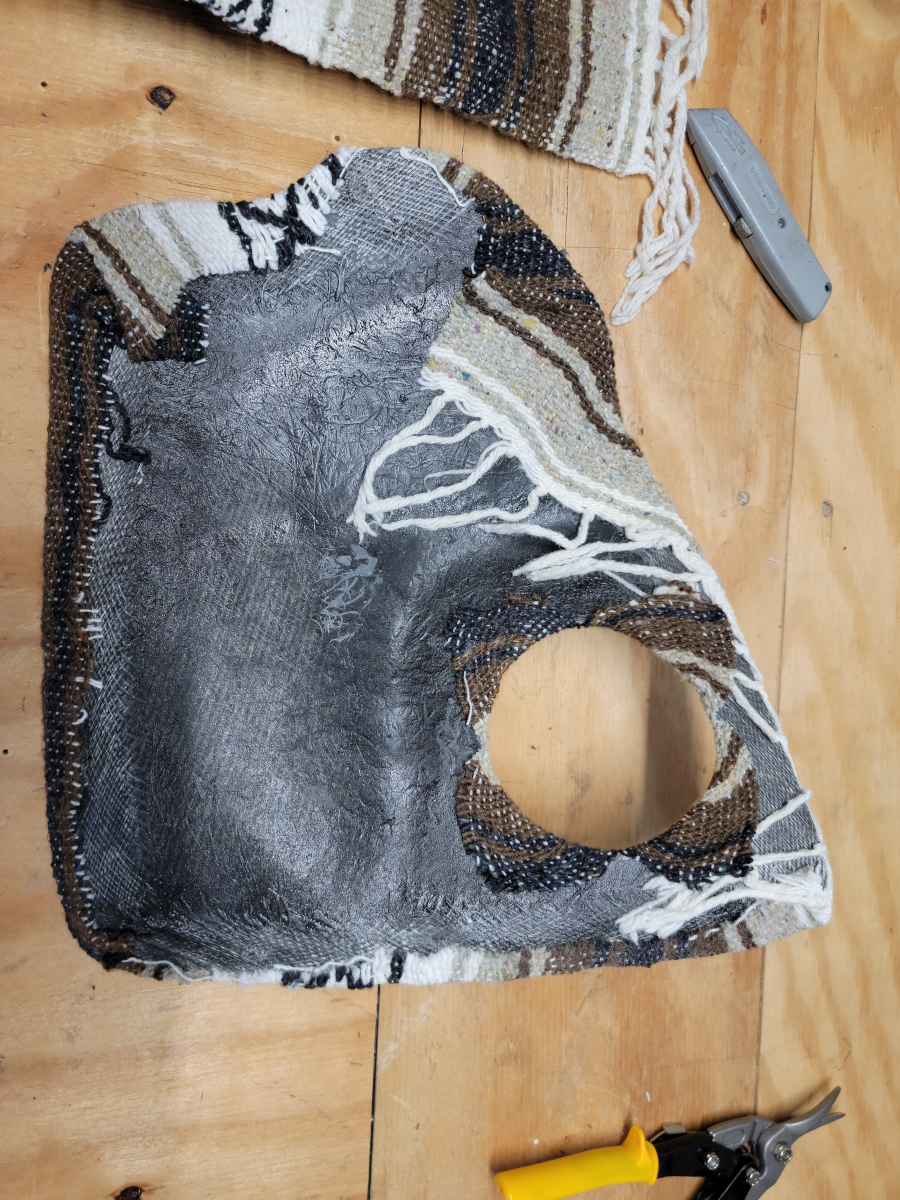
When I got the blanket fitted on the front, I flipped it over and sprayed some more glue around the edges on the back, to hold the blanket in place.
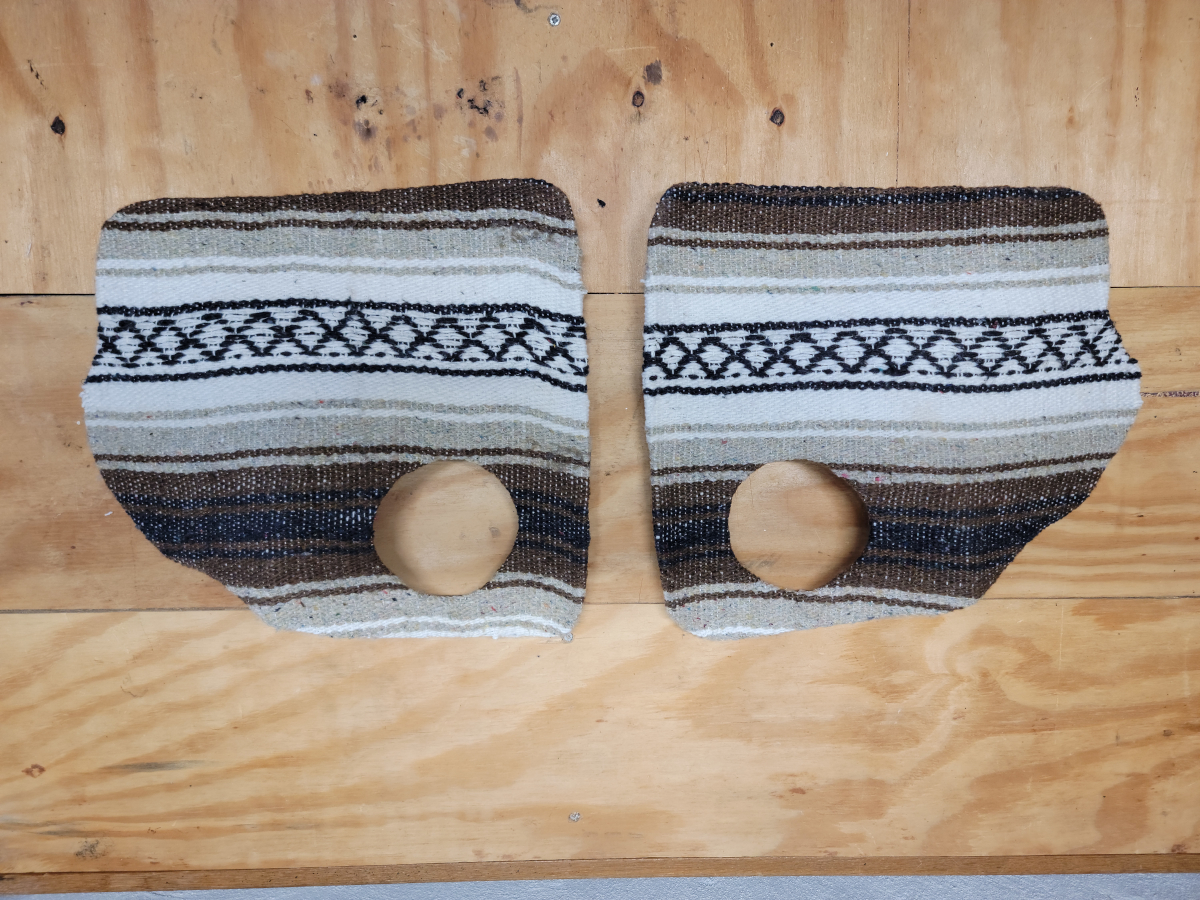
The pattern is a little crooked, but it was my first attempt. Now I know what to look out for next time.
I think they turned out great!
My original idea was to mount the speakers from the back and not use the speaker grills. The center bit of the speaker protrudes quite a ways and it wouldn’t have been flush with the face of the kick panel. OK, so I have to use the plastic trim piece and speaker grill.
I’m an idiot and got the first speaker mounted before realizing I needed the plastic trim piece under there to house the speaker grill.
When ordering the new padded dash, I added a few other parts as well.
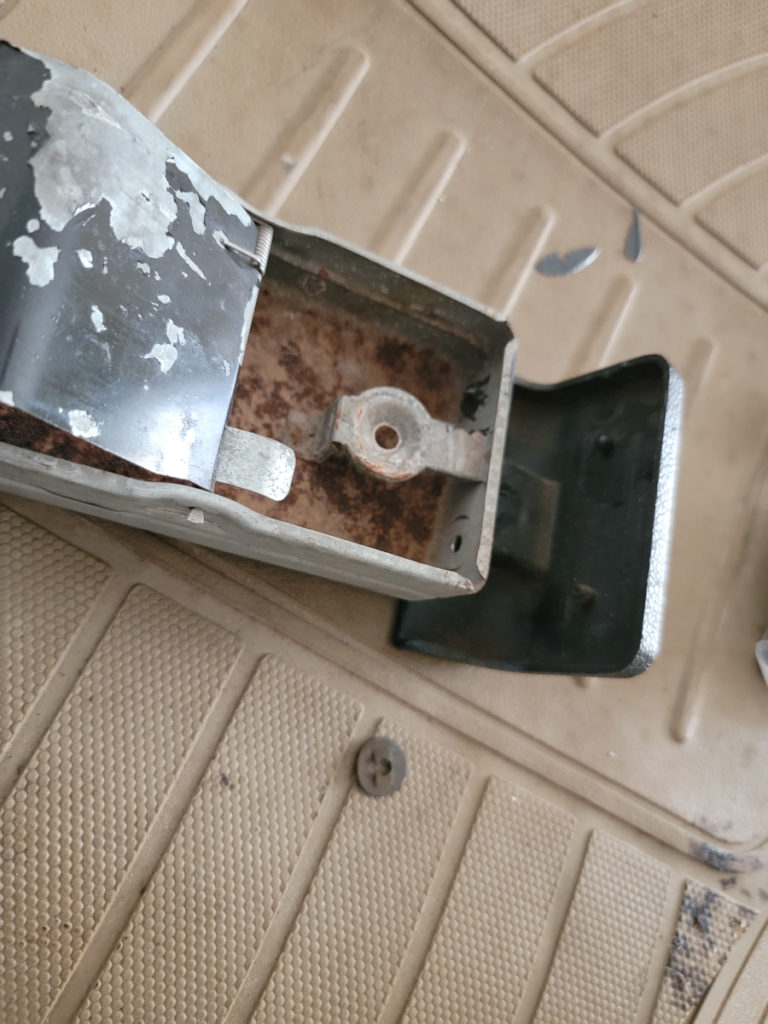
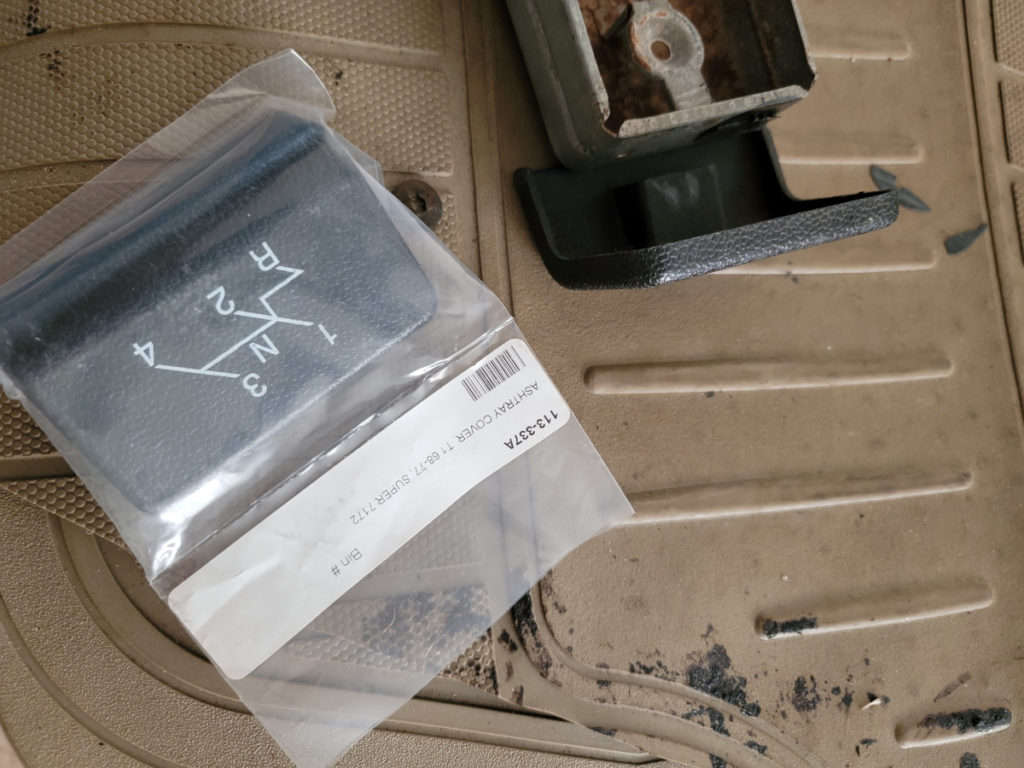
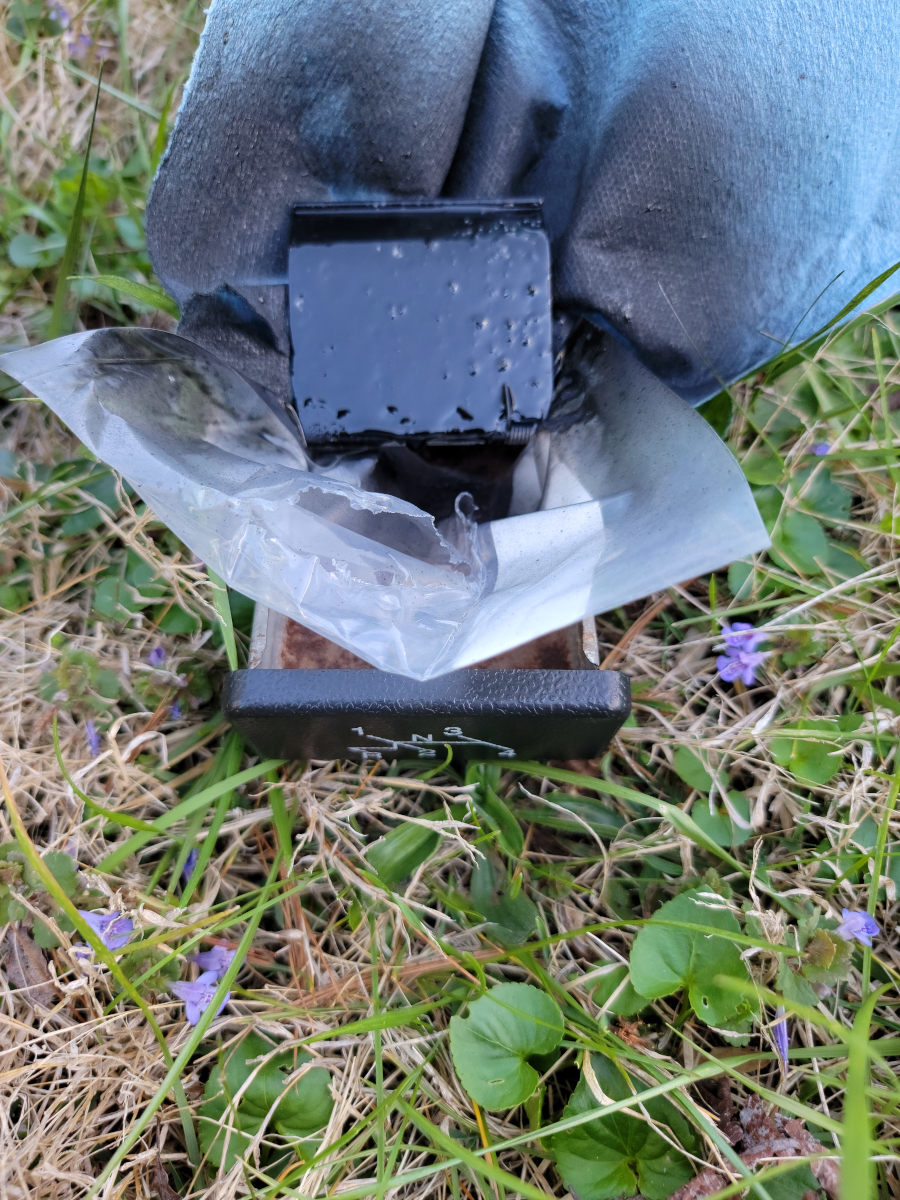
My ash tray face doesn’t have the shift pattern printed on it, as I have seen in lots of pictures online and in the original owner’s manual. It’s also missing one of the press nut/washers that holds the plastic face to the actual ash tray. Someone had smeared RTV or something in there to glue the old one on.
The black paint is all chipping away off the spring mechanism and that’s certainly something I can rectify.
Or at least I could if I wasn’t still making silly string from yet another can of Dupli-Color 1634 engine black…
OK, maybe not an actual win, but it will look better once mounted in the car with the ash tray closed.
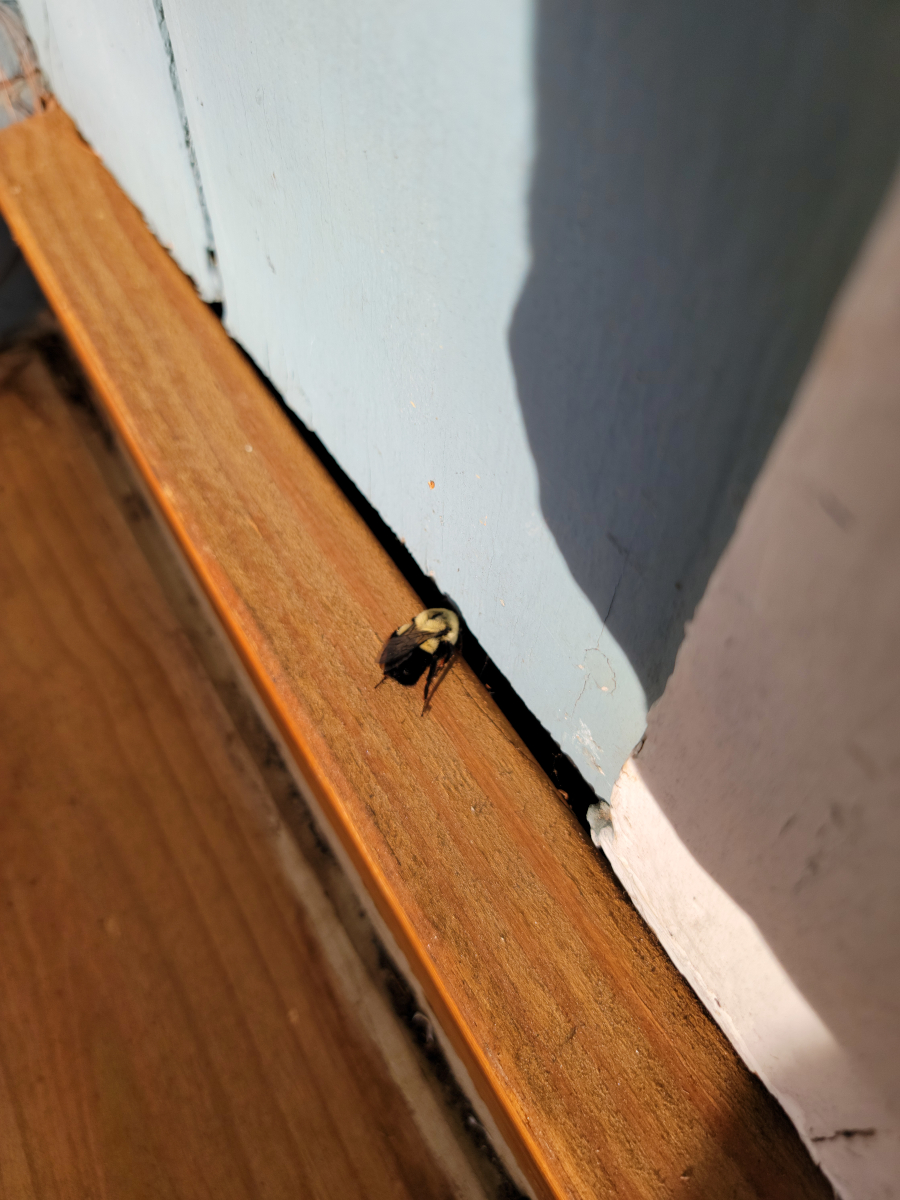
It’s not dead, just sleeping.
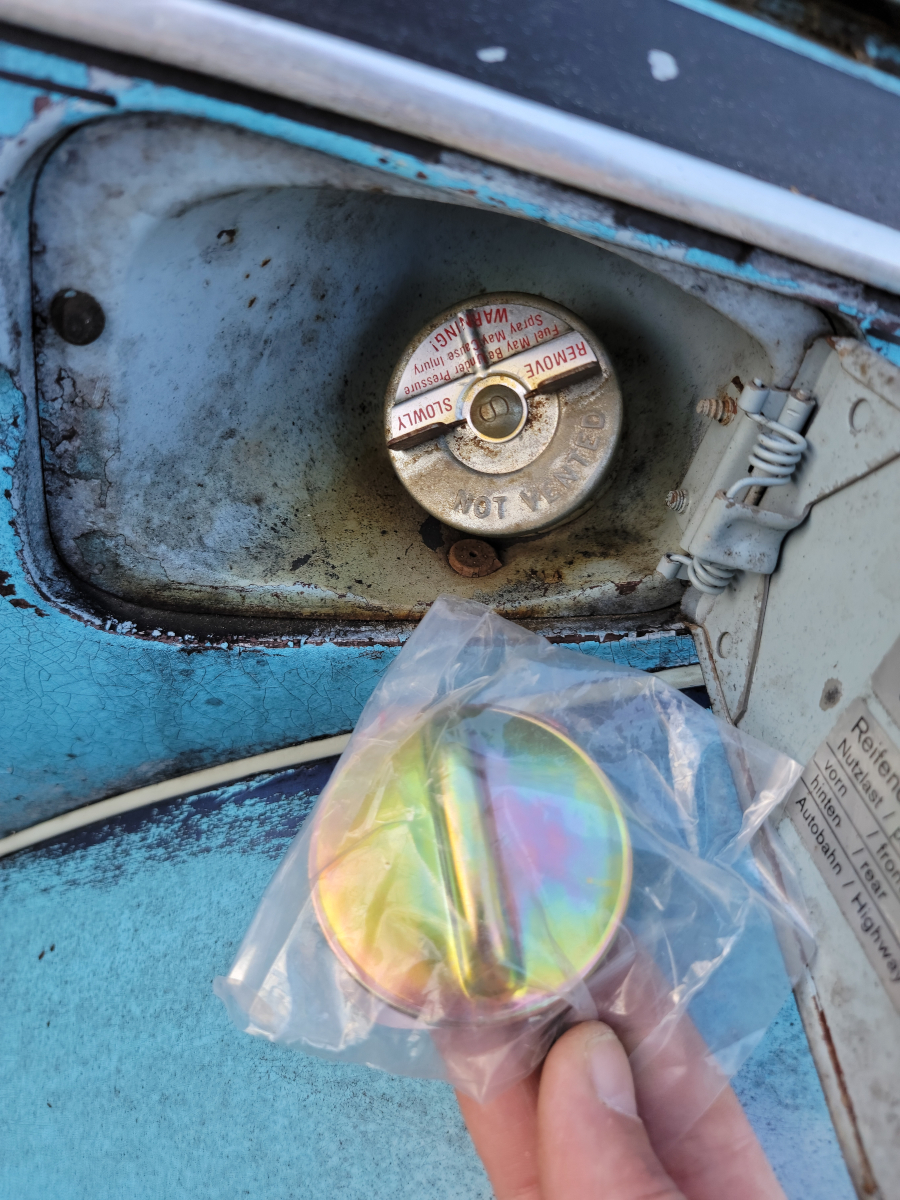
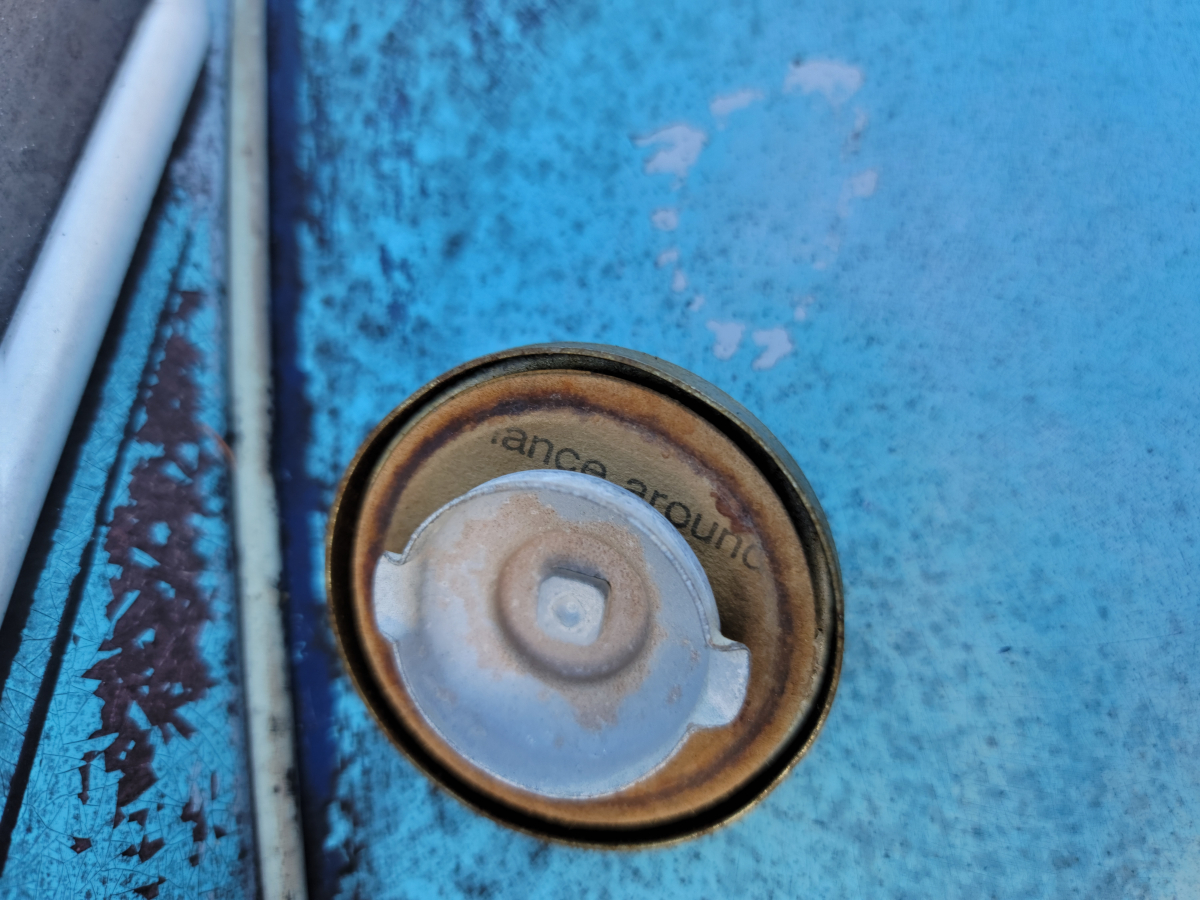
Anyway, next up we have a new, more Beetle-y looking gas cap.
This has a nice rubber gasket. The one that was in there originally had a paper gasket that looks like it has seen better days.
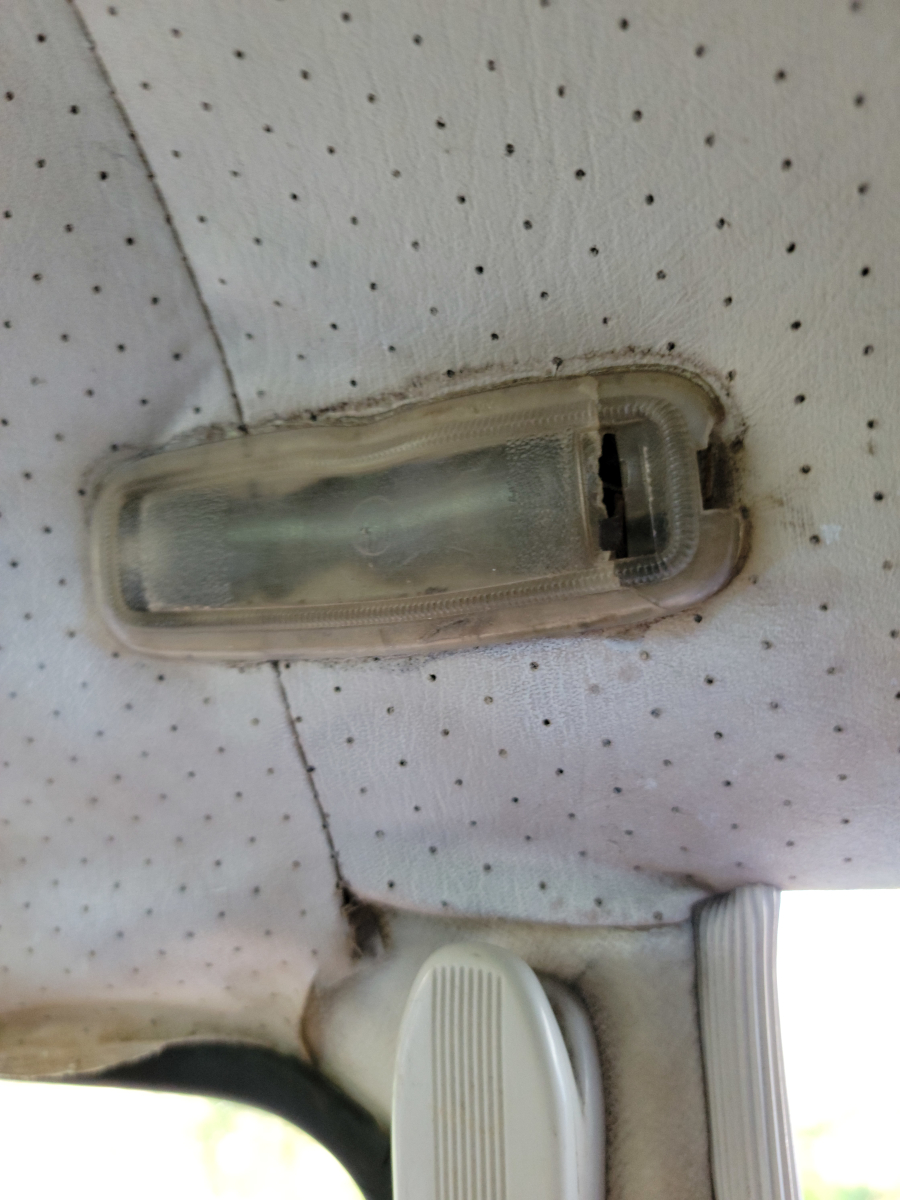
Last on the list for this wasted afternoon is the dome light.
The one that’s in there looks melted. Also, when trying to pull it out in the past to check the bulb and wiring, it felt like it was going to crumble into pieces in my hand, so I left it alone.
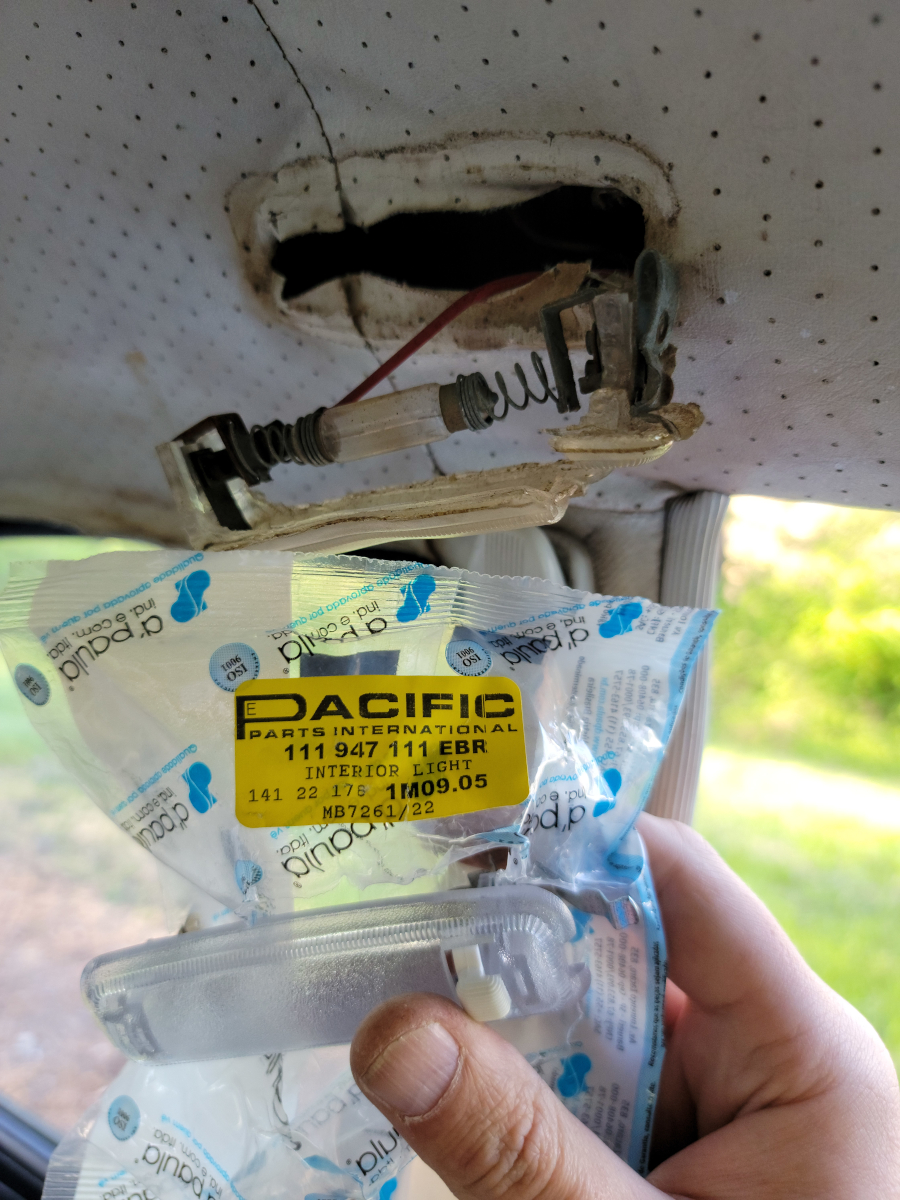
Now that I have the replacement part in hand, that is exactly what happened when I pulled the old one out.
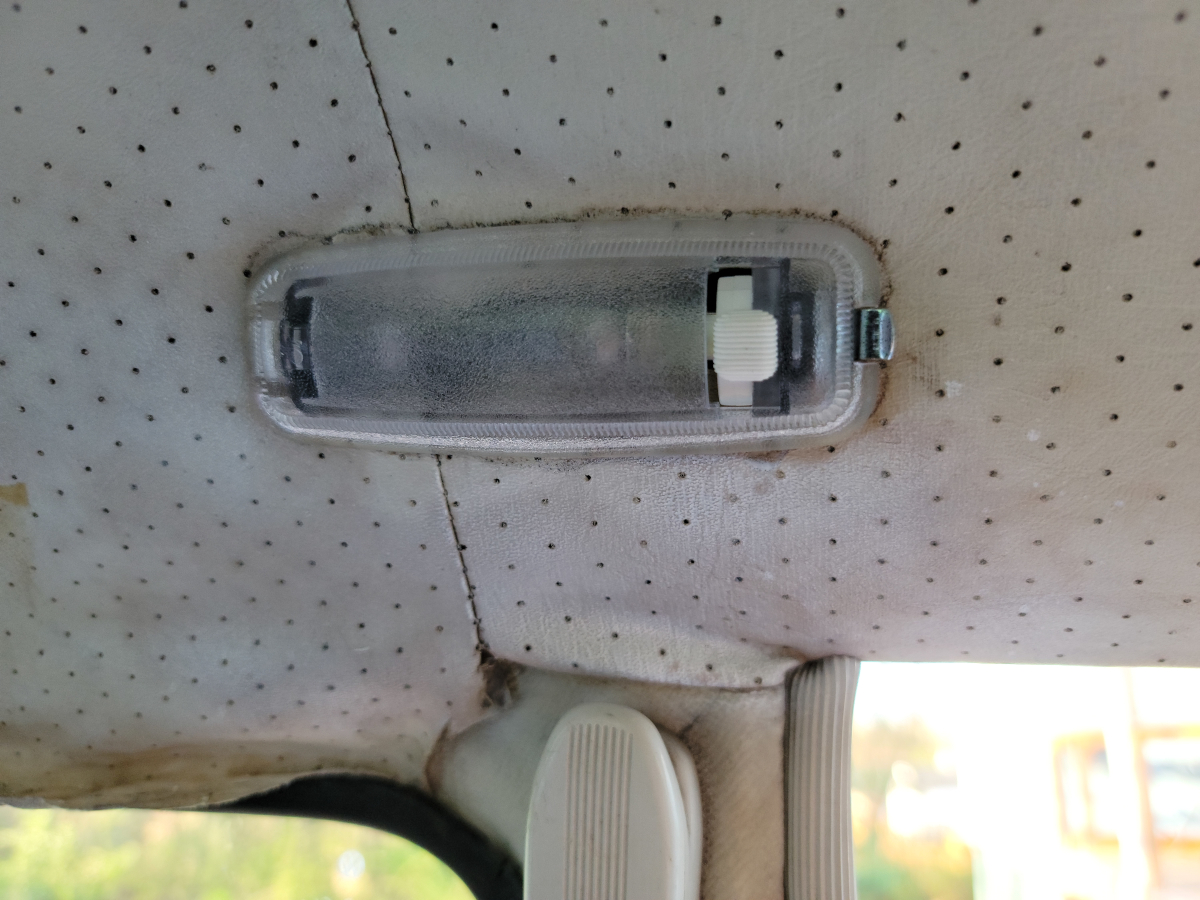
The bulb is burned out and will need to be replaced, but at least the new one fit without issue and looks nicer. Edit: I didn’t bother trying to turn it on at the time, since the glass in the bulb was blackened, but it actually does work. Not with the door switch, but it does turn on with the switch on the light itself.
The overnight rain that was supposed to finish up around 9AM lasted until noon.
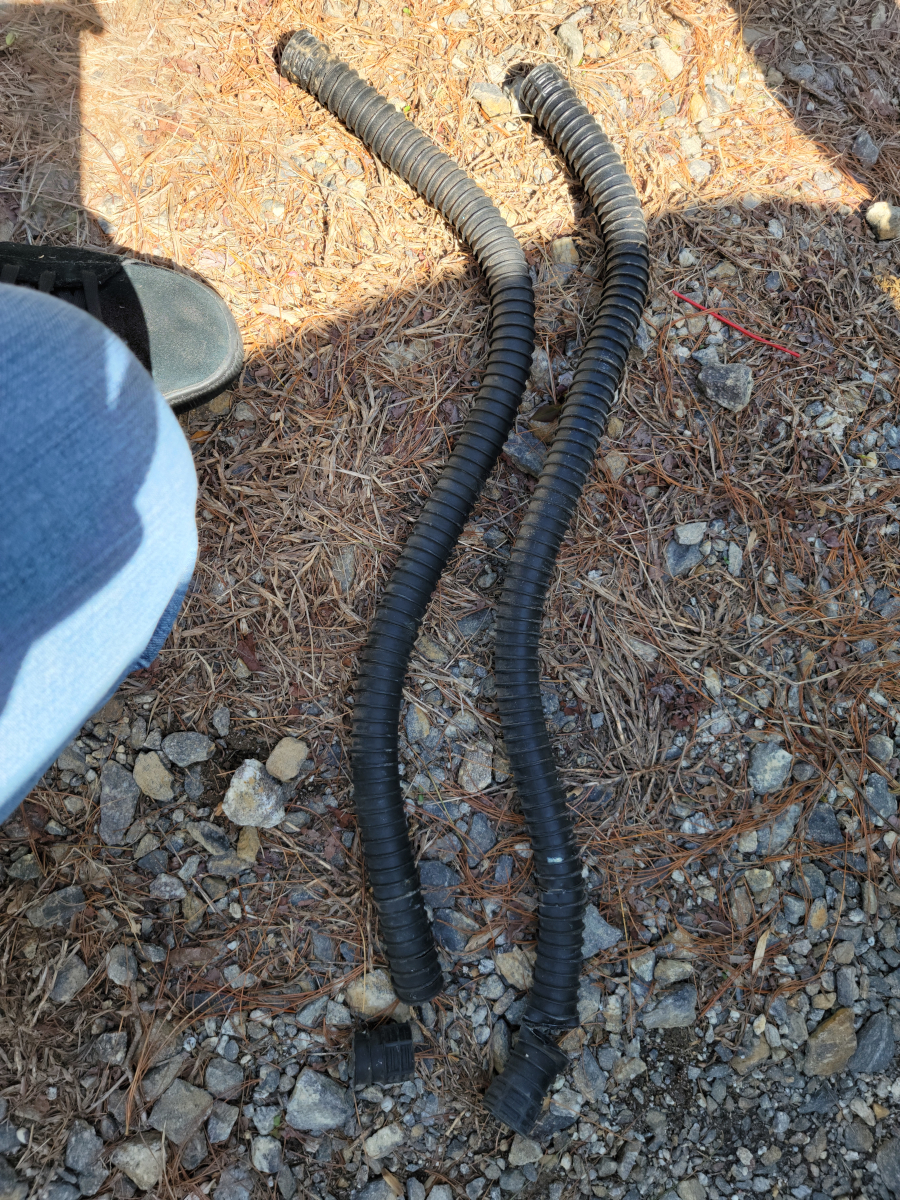
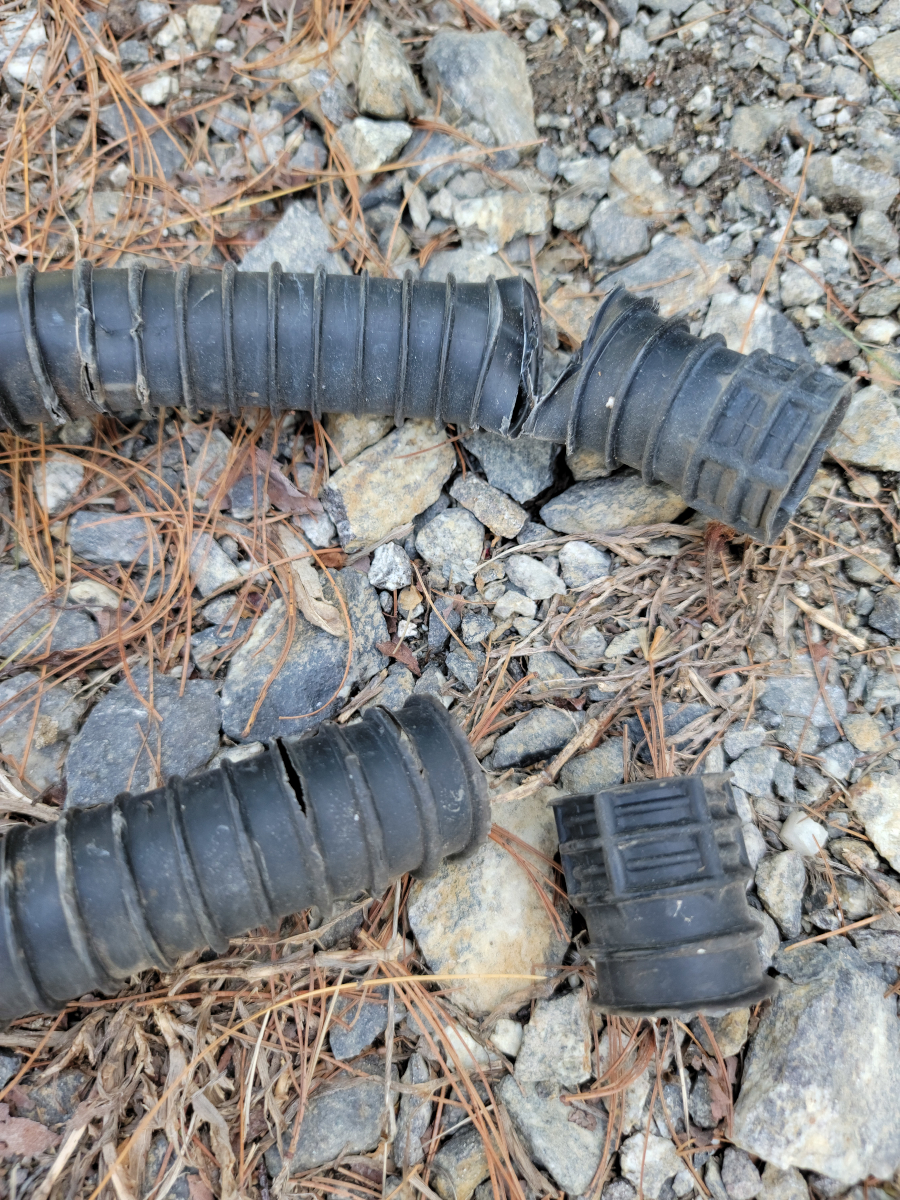
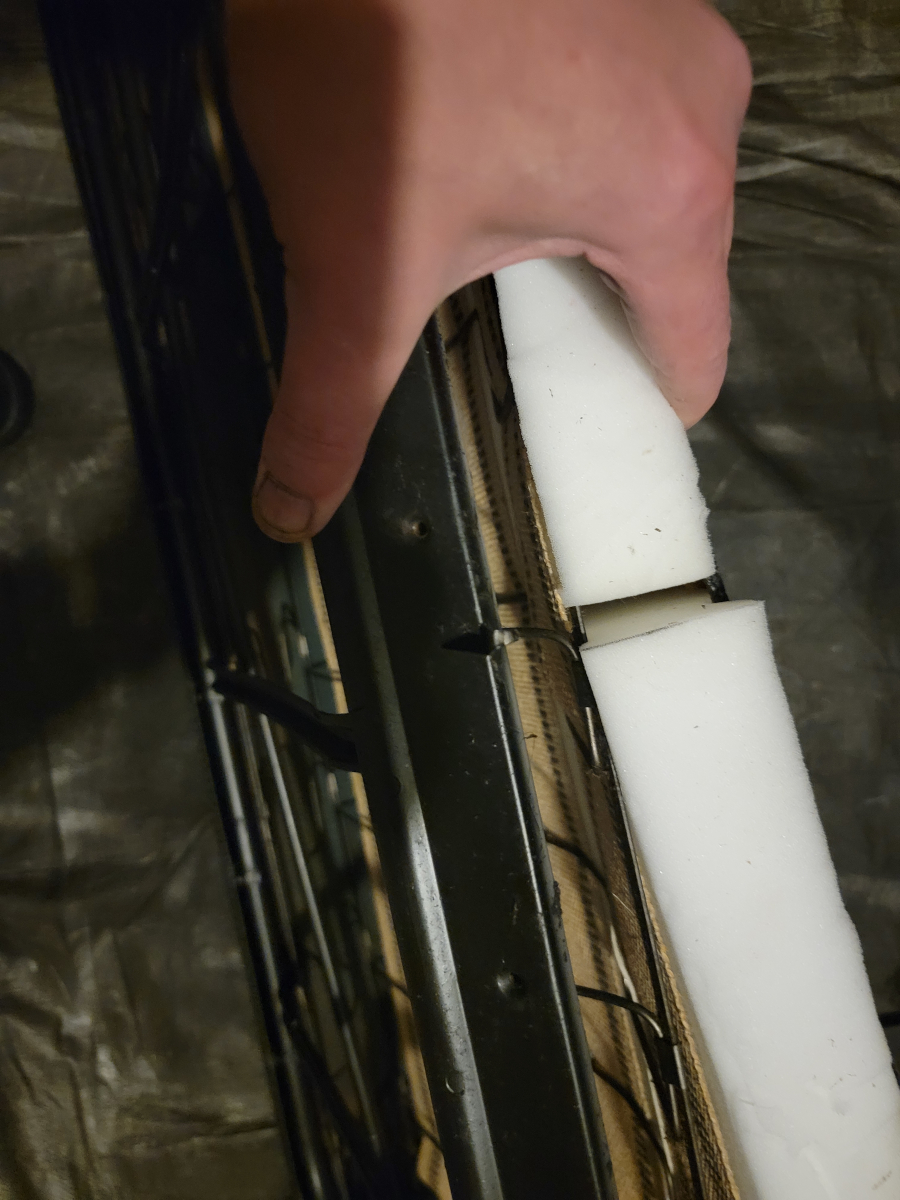
Once I was able to get back outside to start piecing together the guts behind the dash pad, the first thing I noticed were these two plastic hoses, all cracked and broken.
They run from the center of the air vent assembly under the bonnet down to a pipe on each side of the car. Being a man of action (seemingly only when that is not what is needed), I went straight to the parts store, hardware store, parts store, hardware store, and hardware store, looking for something suitable to replace them with.
If I knew then what I know now, this afternoon would have been a lot more productive. Once I was in the store and looking at the different varieties of hose by the foot, I was concerned that there may be heat coming in or out through these hoses and didn’t want to risk melting vinyl, or at least heating it up and smelling bad.
So, after a bunch of runaround, I came home empty handed and decided to start googling the part. It turns out, they are just water drain hoses and anything that would fit would work. I found a post on the samba saying that washing machine drain hose worked. Now I have a plan for tomorrow.
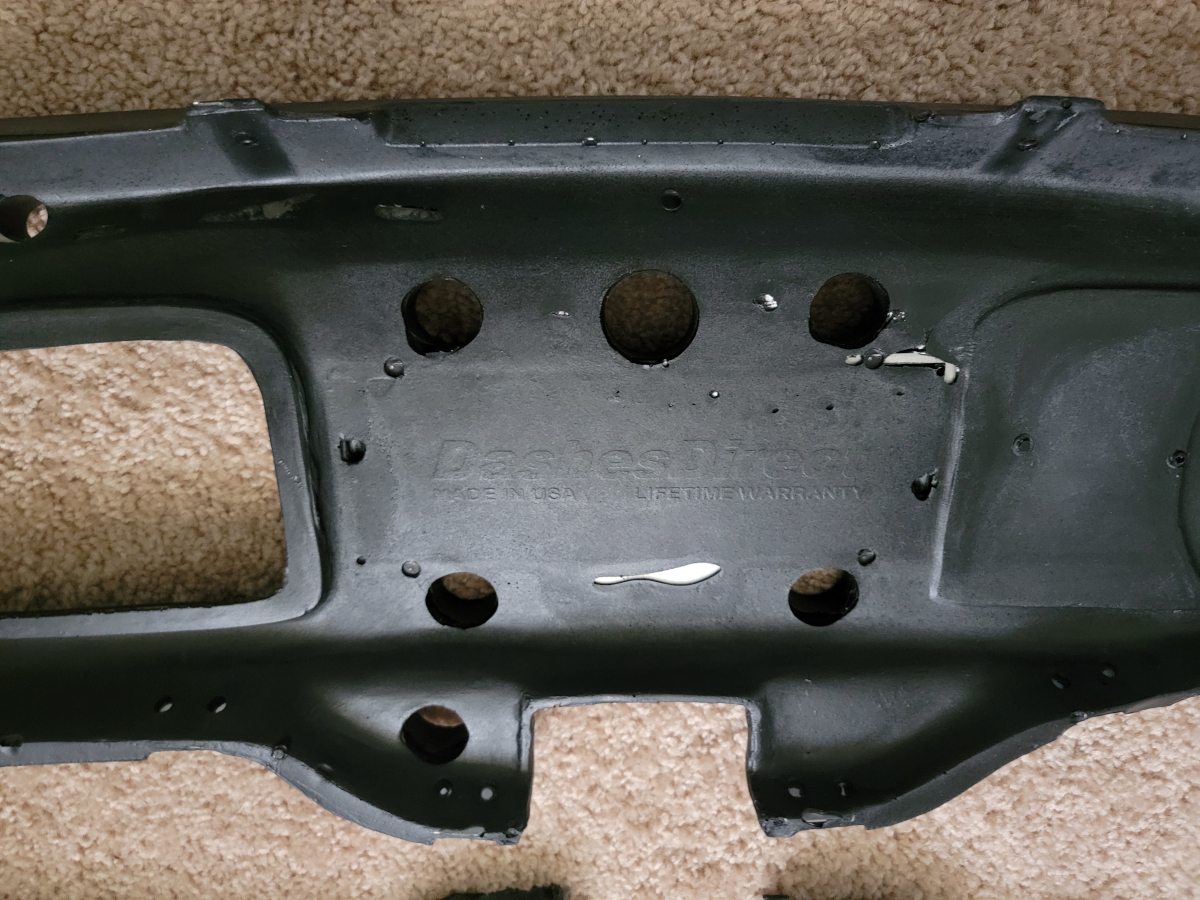
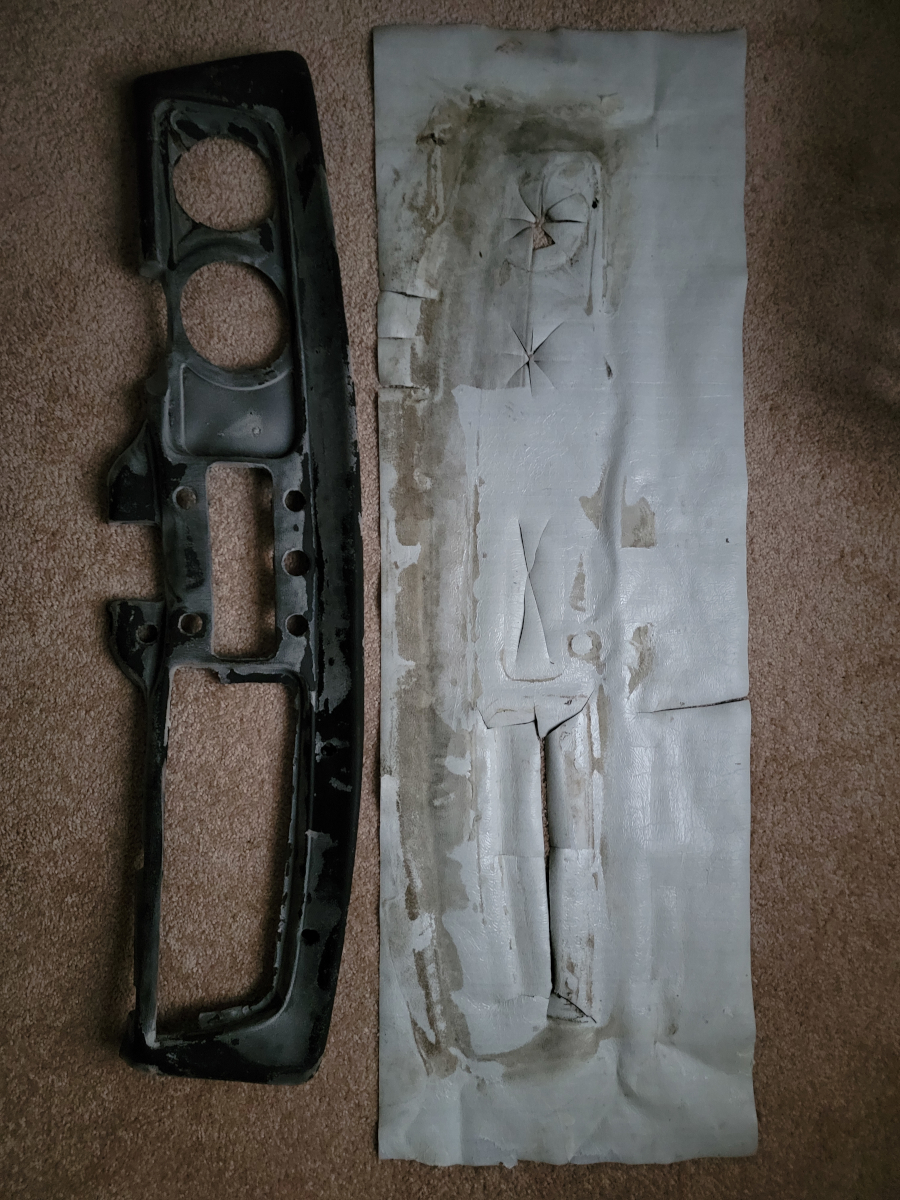
As we saw last time, I had to order a new padded dash and it has now arrived.
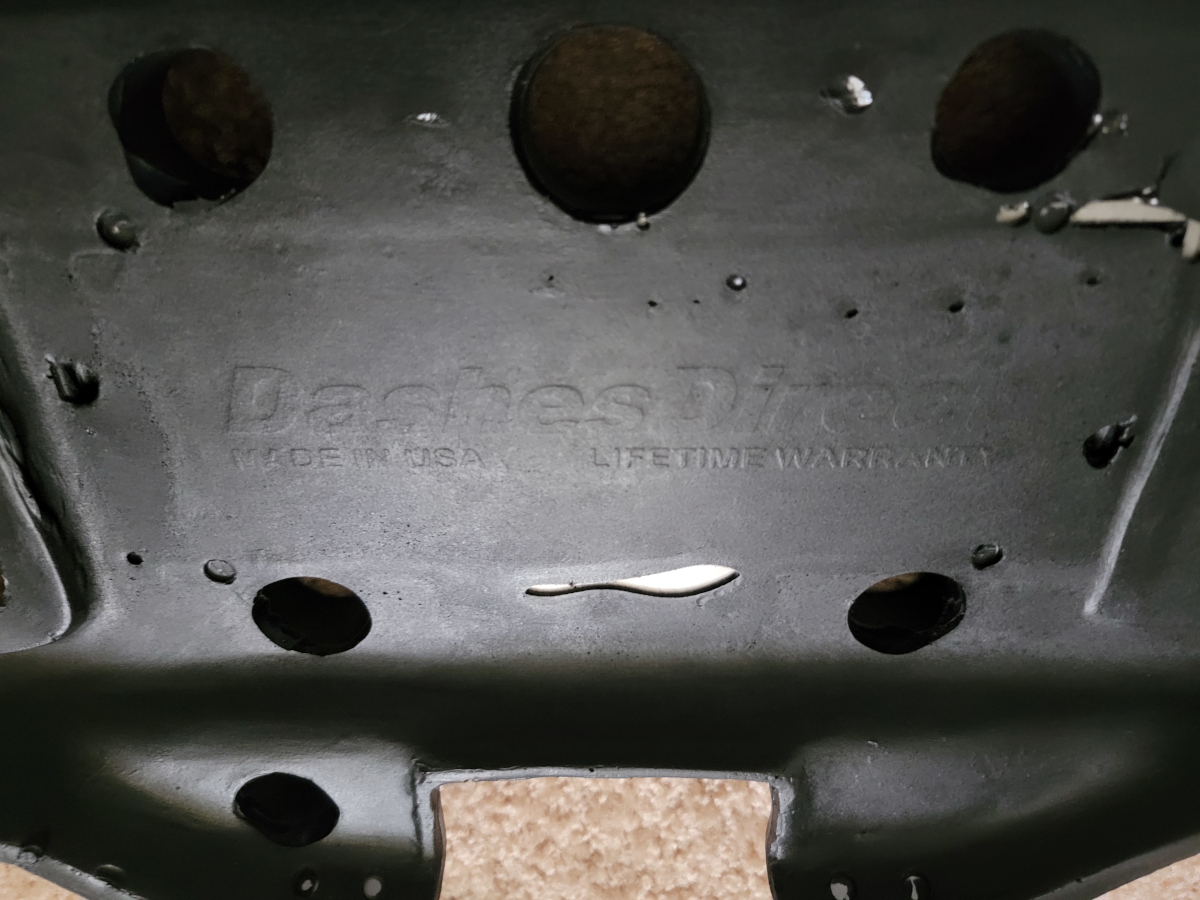
The new padded dash seems to be very high quality, metal reinforced, and made in USA, which means different things to different people (re: PT Cruiser).
It is not an exact match to the one that came out of the car, which is a little concerning.
It also doesn’t have all of the screw holes pre-drilled, but that shouldn’t be an issue. My plan is to tackle all of this tomorrow and try to get the car back together and on the road for the first time this year.
I have been putting off recovering this padded dash for a while.
Knowing that I tend to overthink things and that my man hands aren’t well suited for this type of project, I asked my sister to help. She is super crafty and much better at those types of things than I am.
I had a long weekend away visiting family. I brought the dash pad, remaining roll of vinyl, and a bag full of glue, clothes pins, binder clips, and chopsticks with me. The chopsticks were to help push the vinyl down into the tighter creases in the dash.
In doing some further research, we decided that 3m Super 77 spray adhesive (Amazon link) would be the best way to go for long term adhesion.
The plan
My original idea was to get the top edge of the dash pad covered and let that sit. Once the bond is strong enough, move down, from top to bottom, affixing a little bit at a time. That would leave all of the complicated bends and contours on the face of the dash to be tackled later on.
My sister’s idea was to start in the center of the dash face, where the most complicated parts are, and work our way out from there. That was, in theory, a much better way of doing it. Somewhere along the line, we also decided to just spray the whole thing down at once, rather than doing it a little bit at a time.
And we’re off!
The process went exactly as you would expect, a nearly immediate disaster.
For a start, we didn’t get the vinyl positioned properly, to line up with where I had already started cutting in the contours of the air vents in the top edge. We then had to start cutting around the openings, like the glove box, radio, and speedometer to be able to push the vinyl into place. So, with it starting in the wrong position and now being cut even more than it was before, we quickly gave up on it.
Now I have this:
The crumbly old rubber dash pad is also now covered in spray glue for life.
So, I immediately went on the hunt for a better price than the $300 at jbugs. I found a seller on eBay that I had ordered from once or twice before and a new padded dash was only $110.
I will update here once the new dash pad is delivered.
On a brighter note…
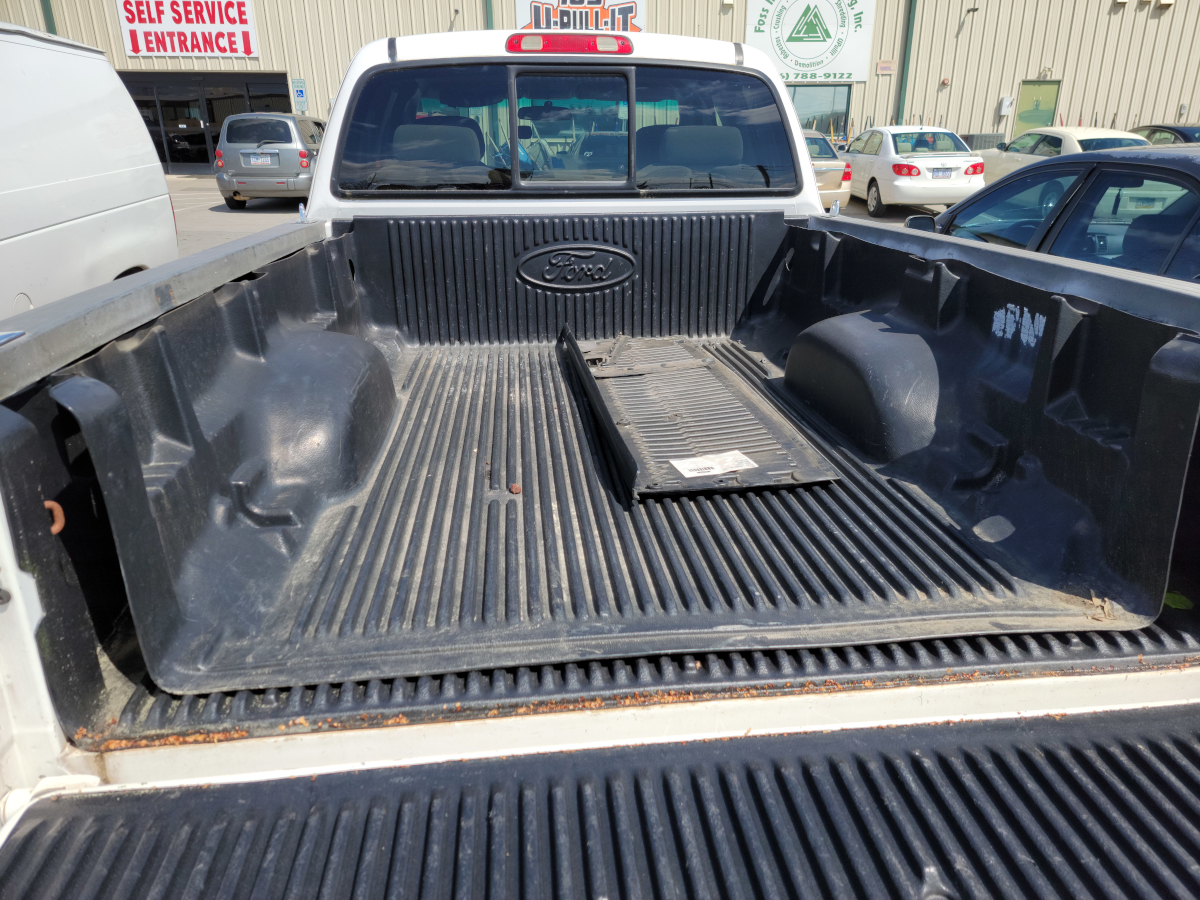
My dad and I went out to a local U Pull It junkyard to walk around and look at cars and see if there’s anything we need. Years ago, last time I had a Ranger, it had no bed liner. We picked one up at the junkyard for $30-40, which was a steal.
The Ranger I have now has a nice rubber mat in the bed, but again, no bed liner. Once again, we were able to find a really nice one from a comparable year and it was $43.
I had to laugh, seeing the Ford bed liner in the back of my dad’s old Tundra.
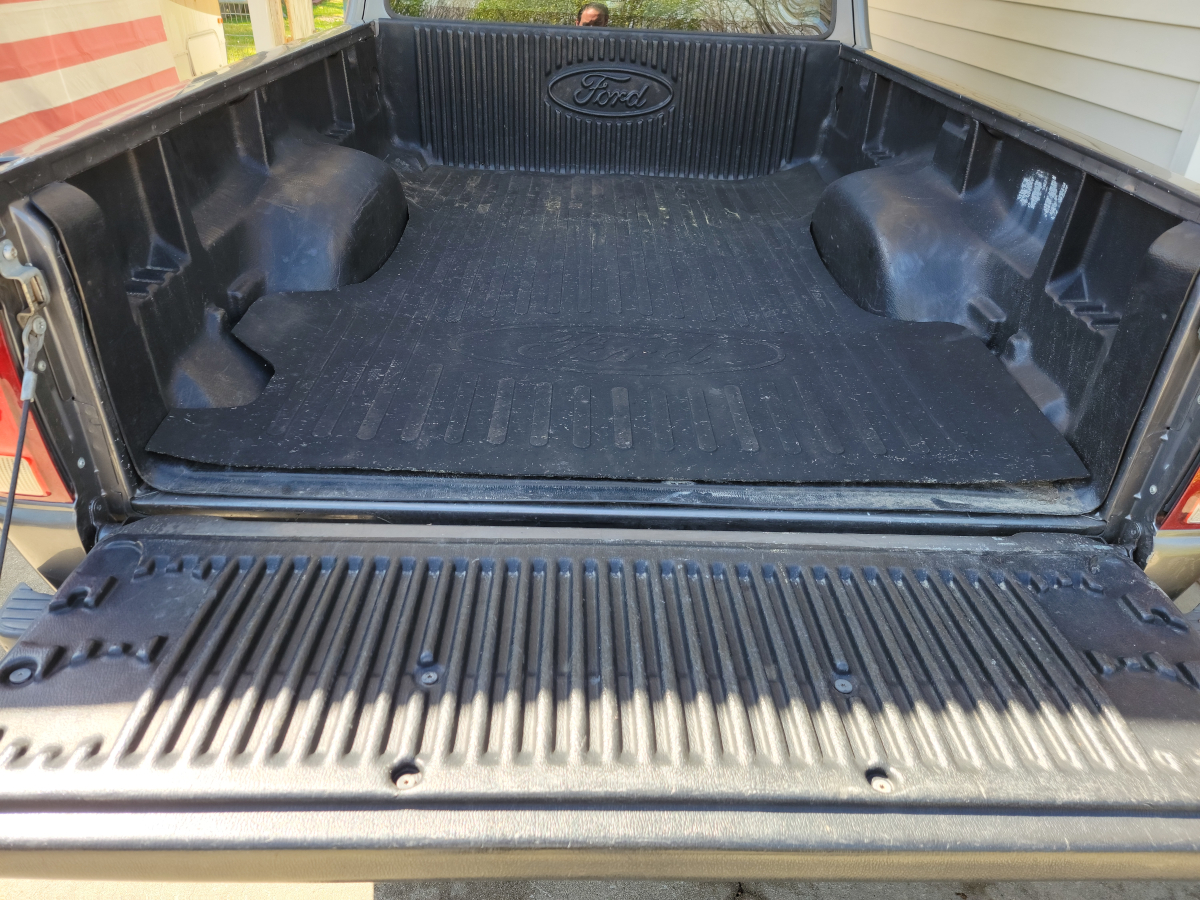
We got it mounted up in the Ranger with little drama.
The rubber mat will need to be cut around the edges for a better fit. It wasn’t designed to be used with a bed liner.
I like the idea of not having stuff slide around back there, especially bags of trash going to the dump.
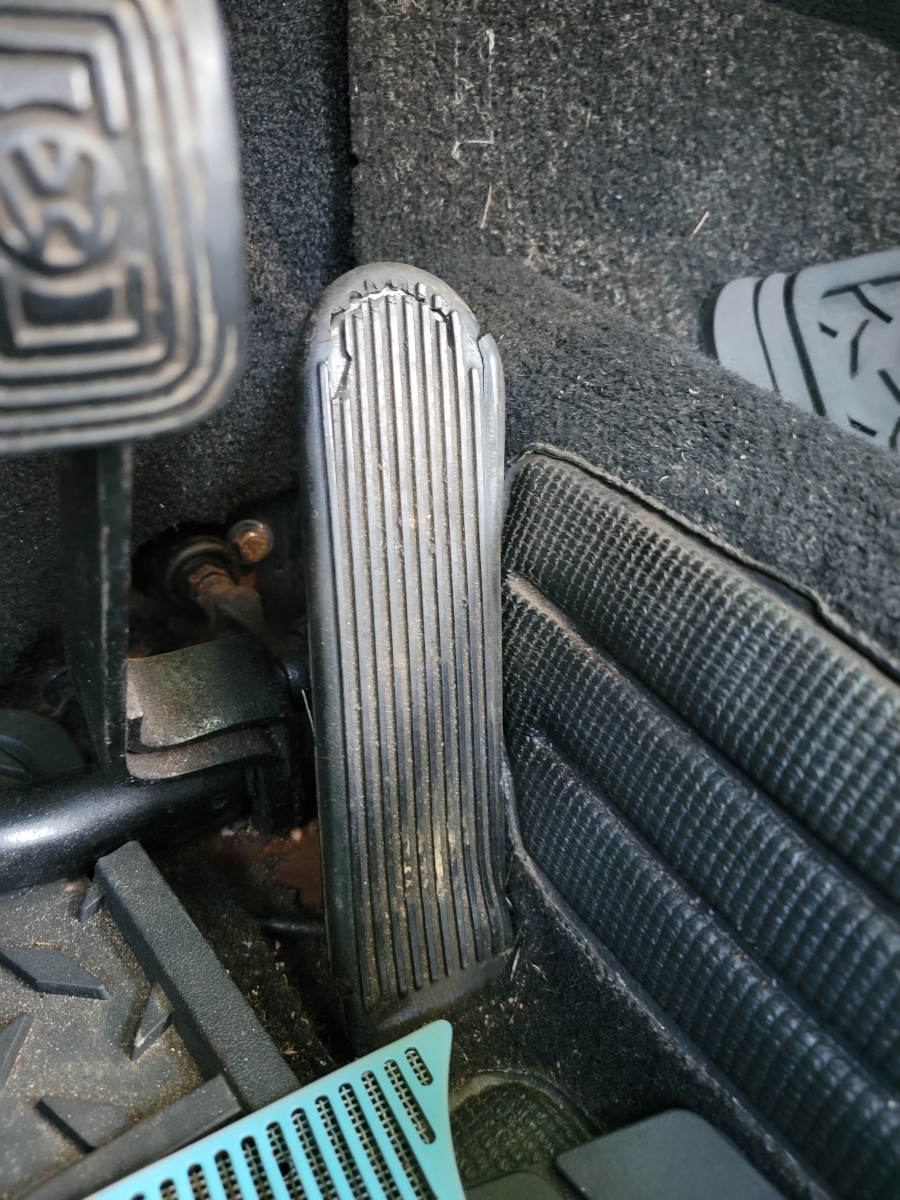
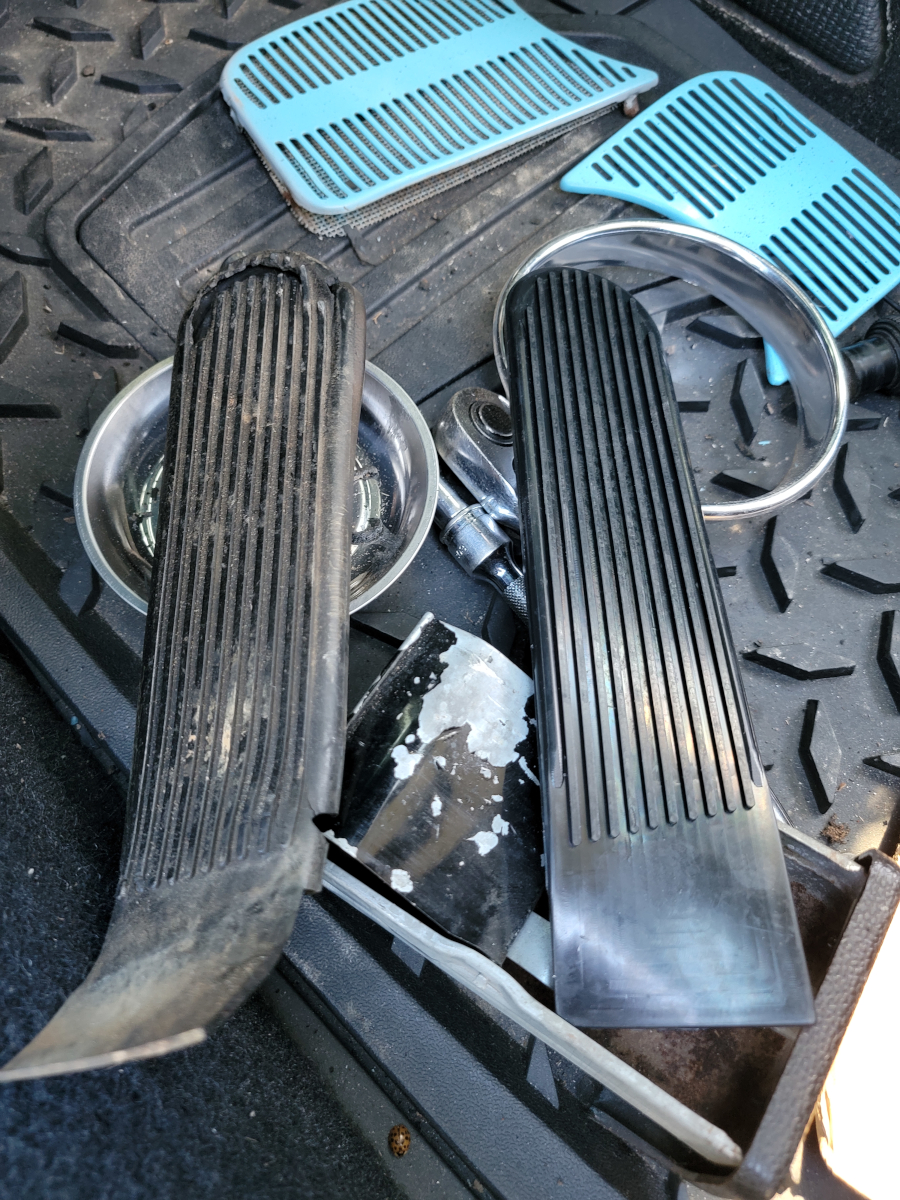
One of the pile of interior tidbits I ordered was a new gas pedal rubber (jbugs link). The old one was in pretty bad shape.
On my way out to the grocery store, I decided to pop in and replace that real quick-like.
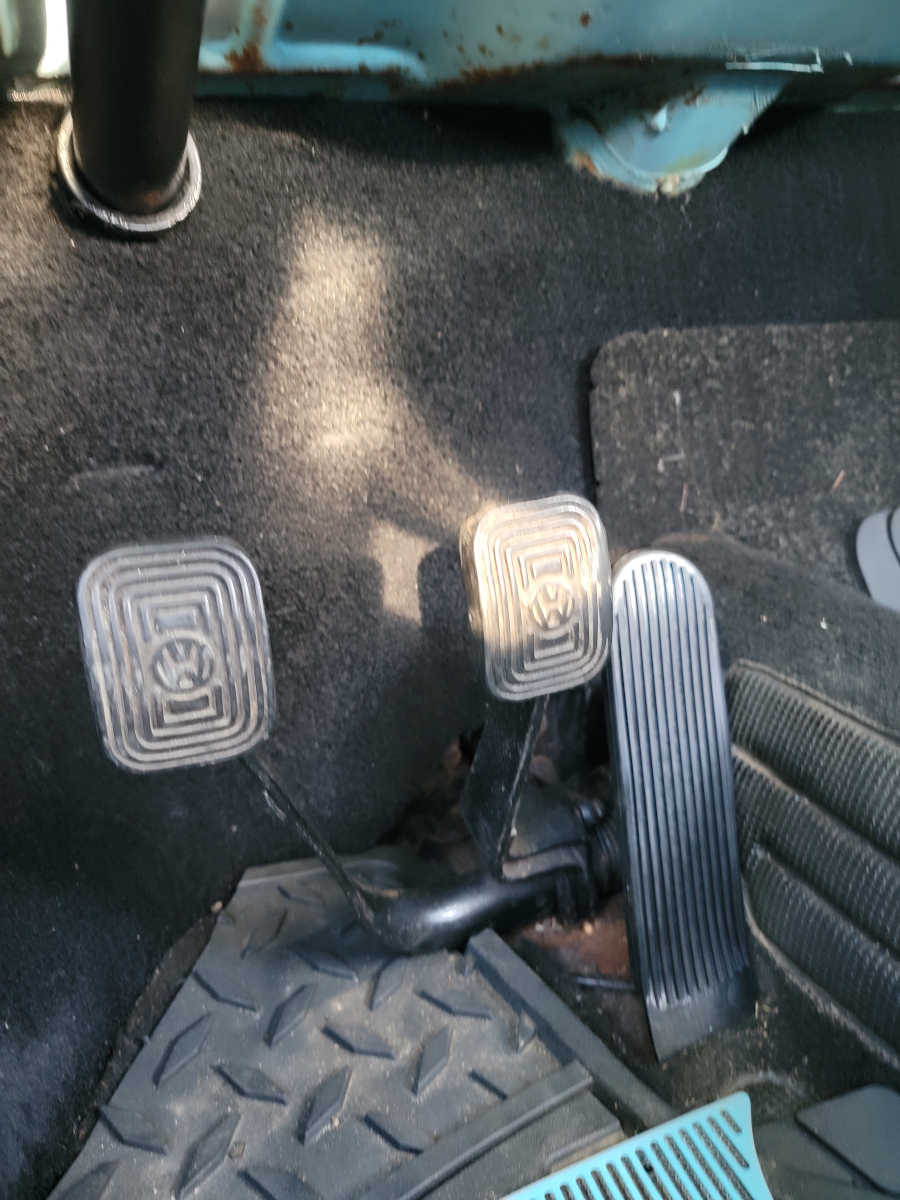
I struggled a bit at first, trying to figure out how the new pedal rubber was supposed to channel in, but it’s very soft, pliable rubber, and stretched around the edges for a perfect fit.
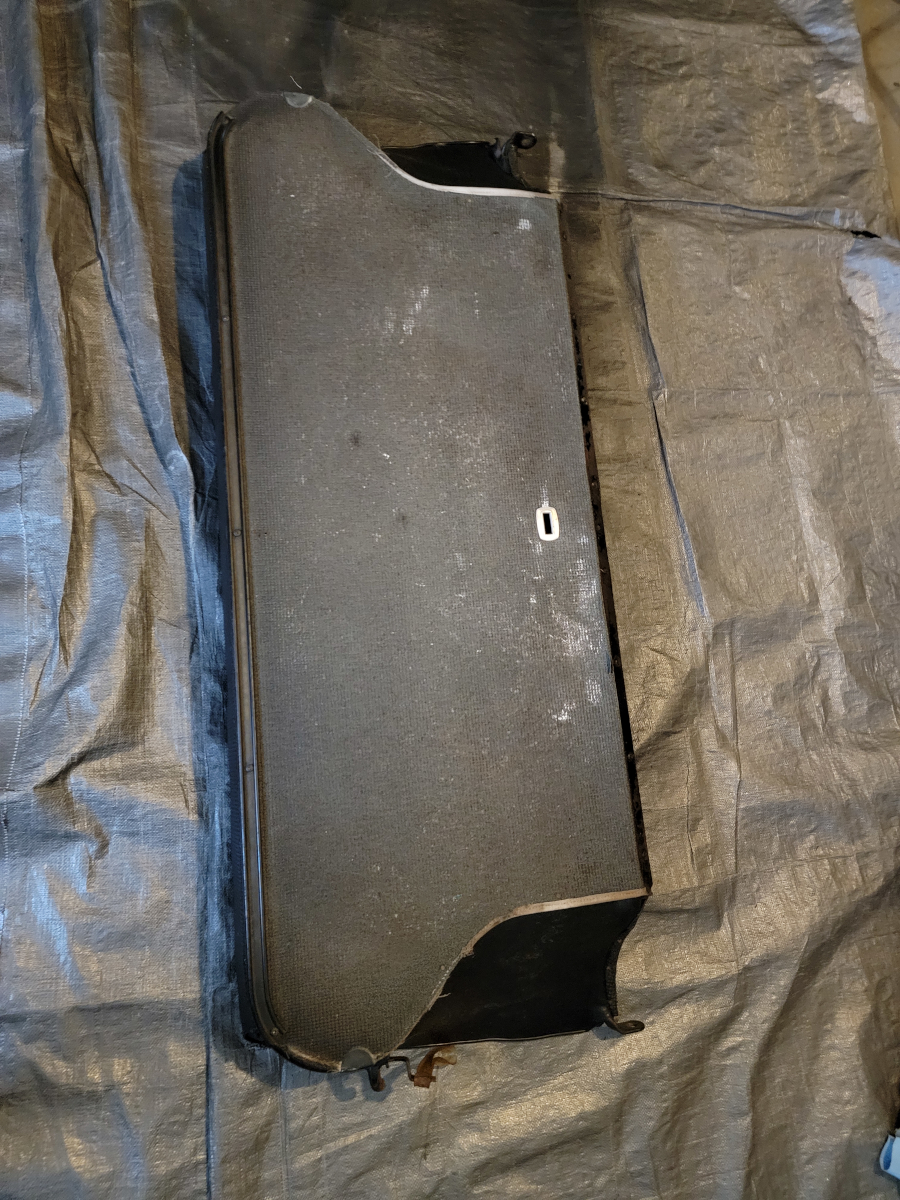
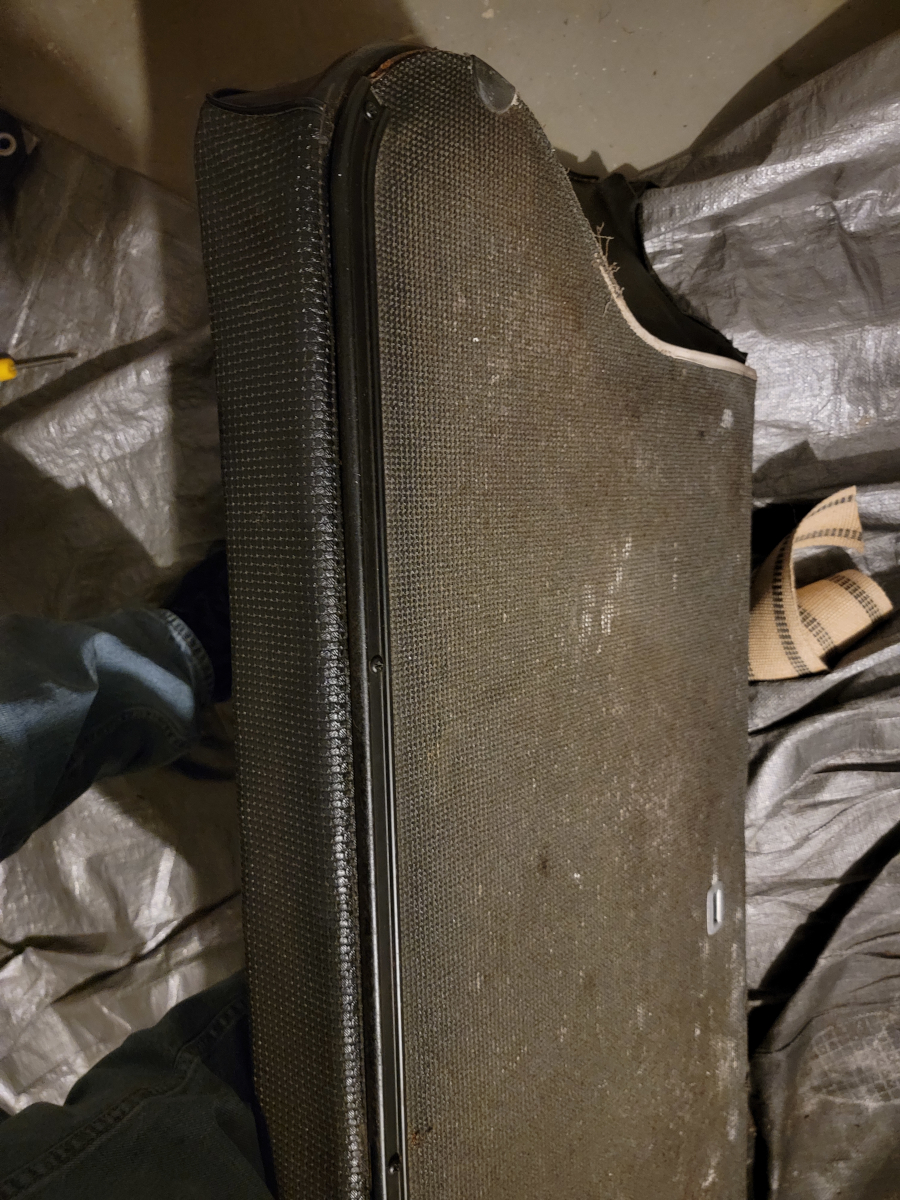
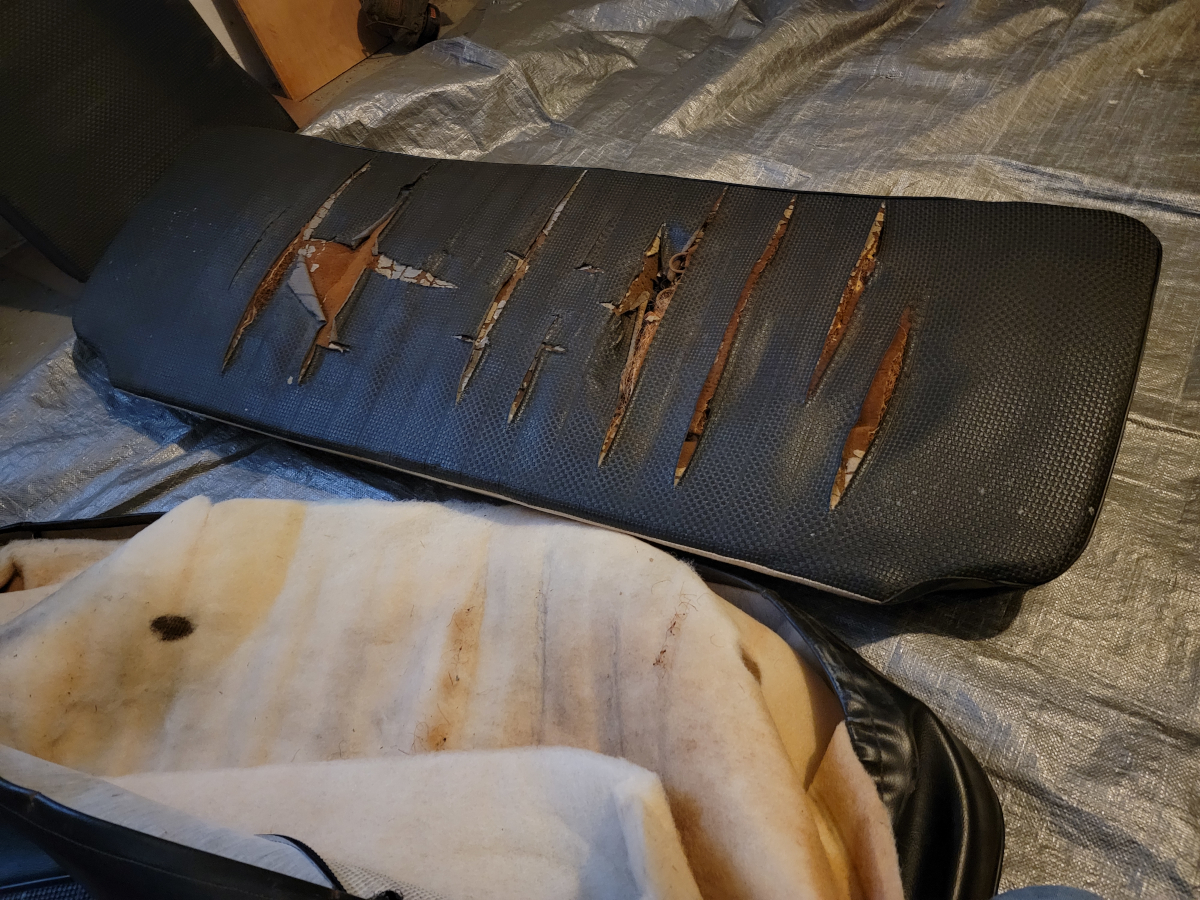
In what I promise is the last post about refinishing the seats, we move on to the rear seat back.
Disassembly
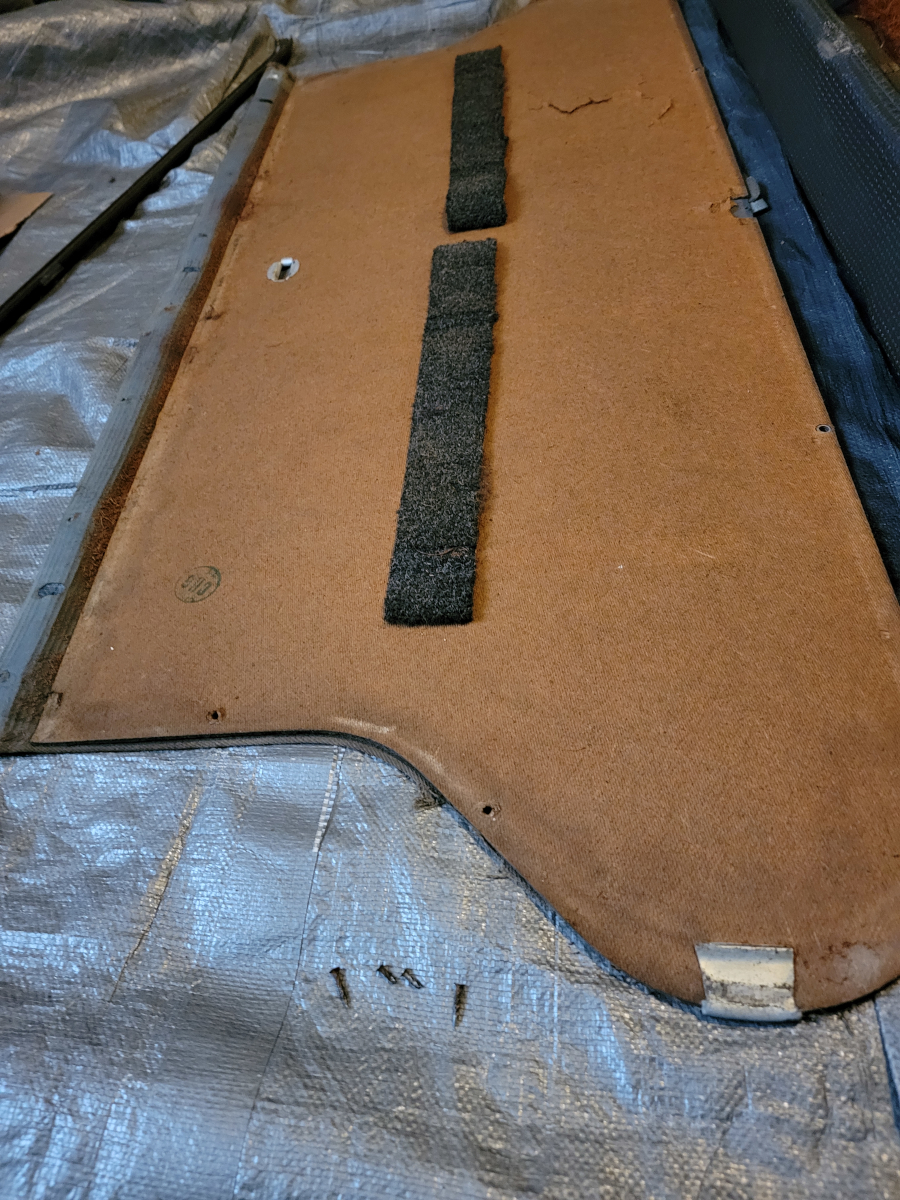
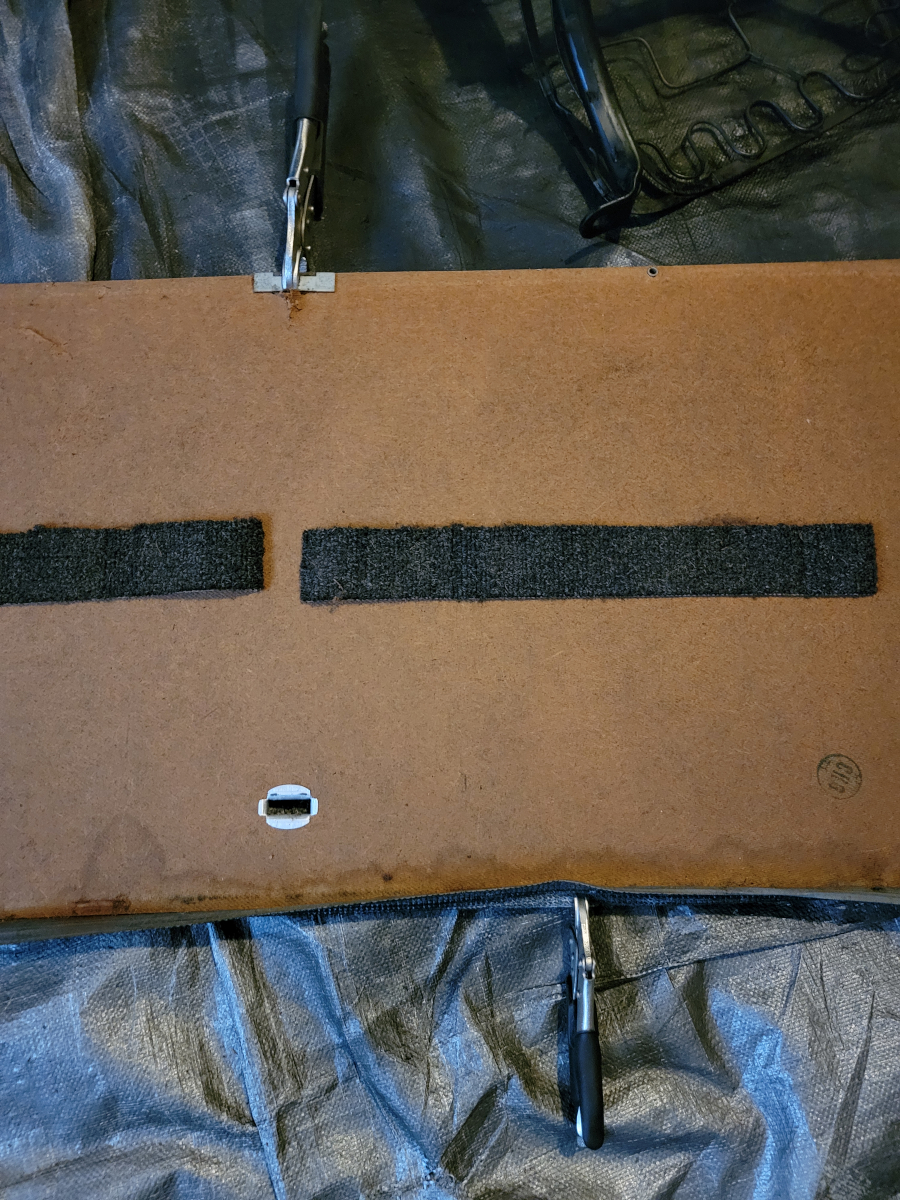
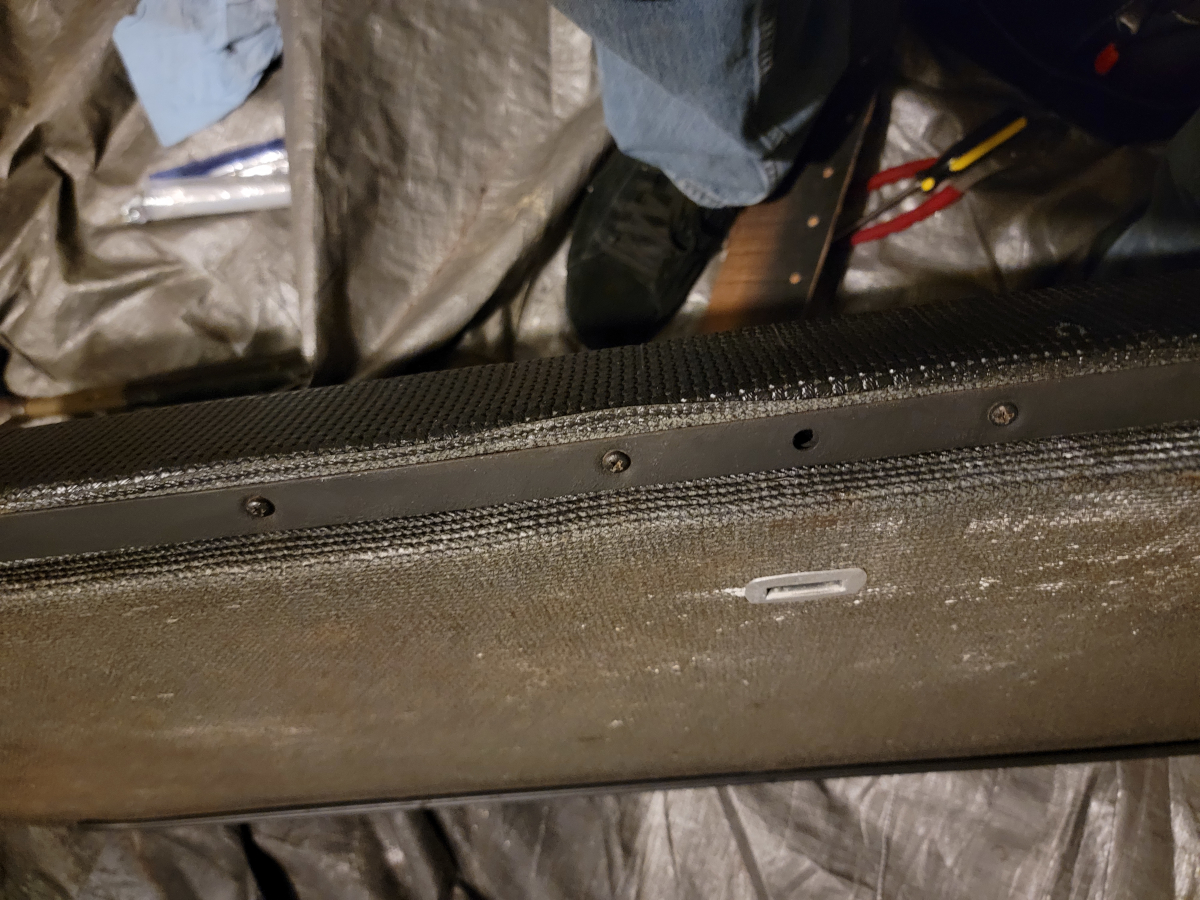
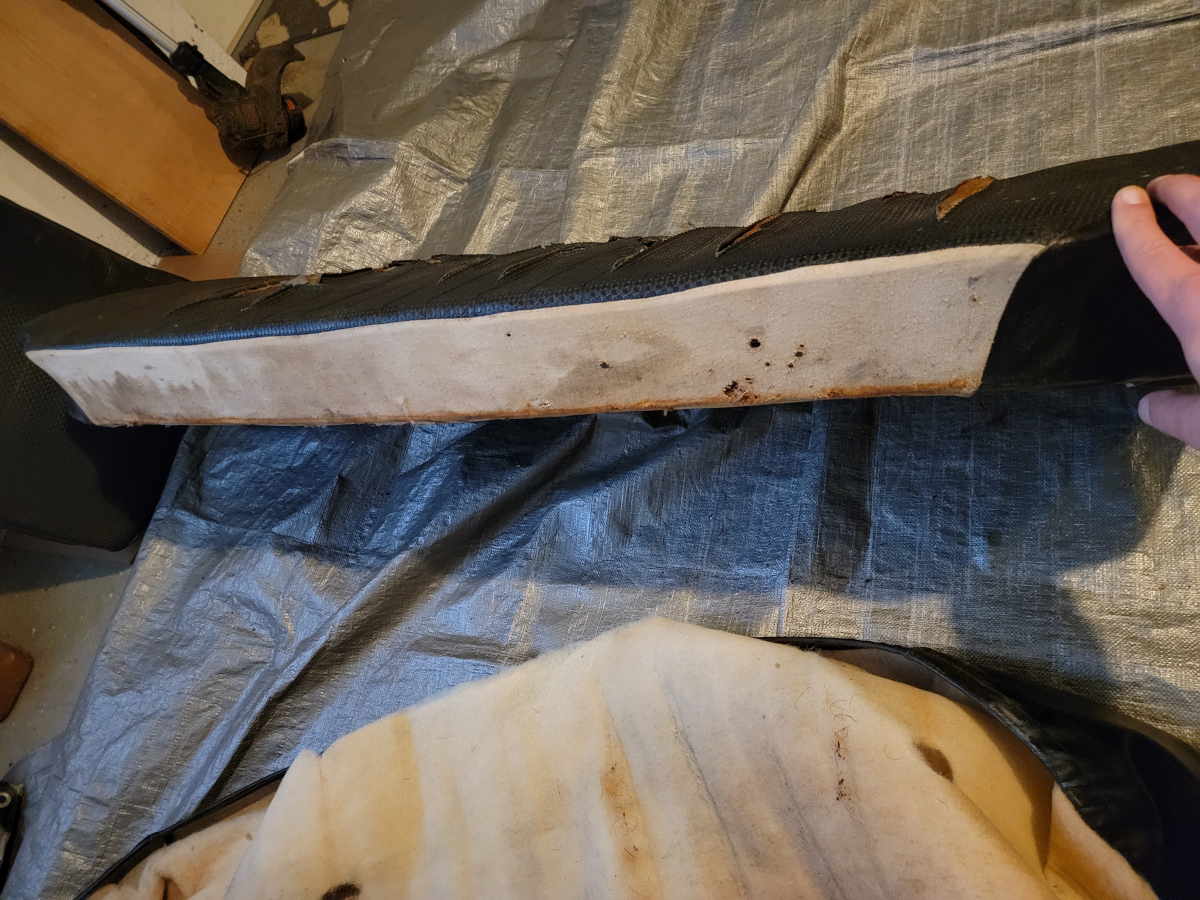
It is closed back, kind of a fiber board material with a vinyl coating on the outside. There are metal trim pieces screwed on to the top and bottom edges.
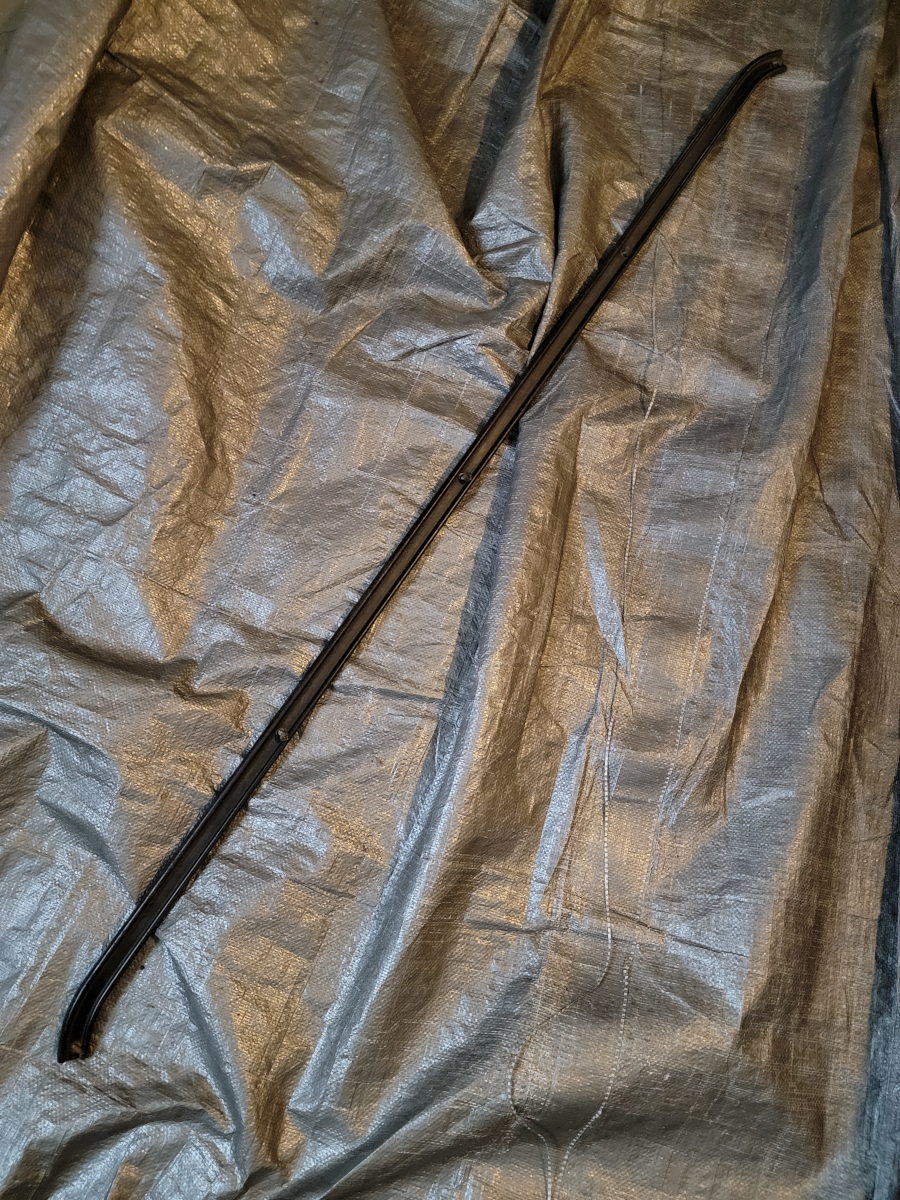
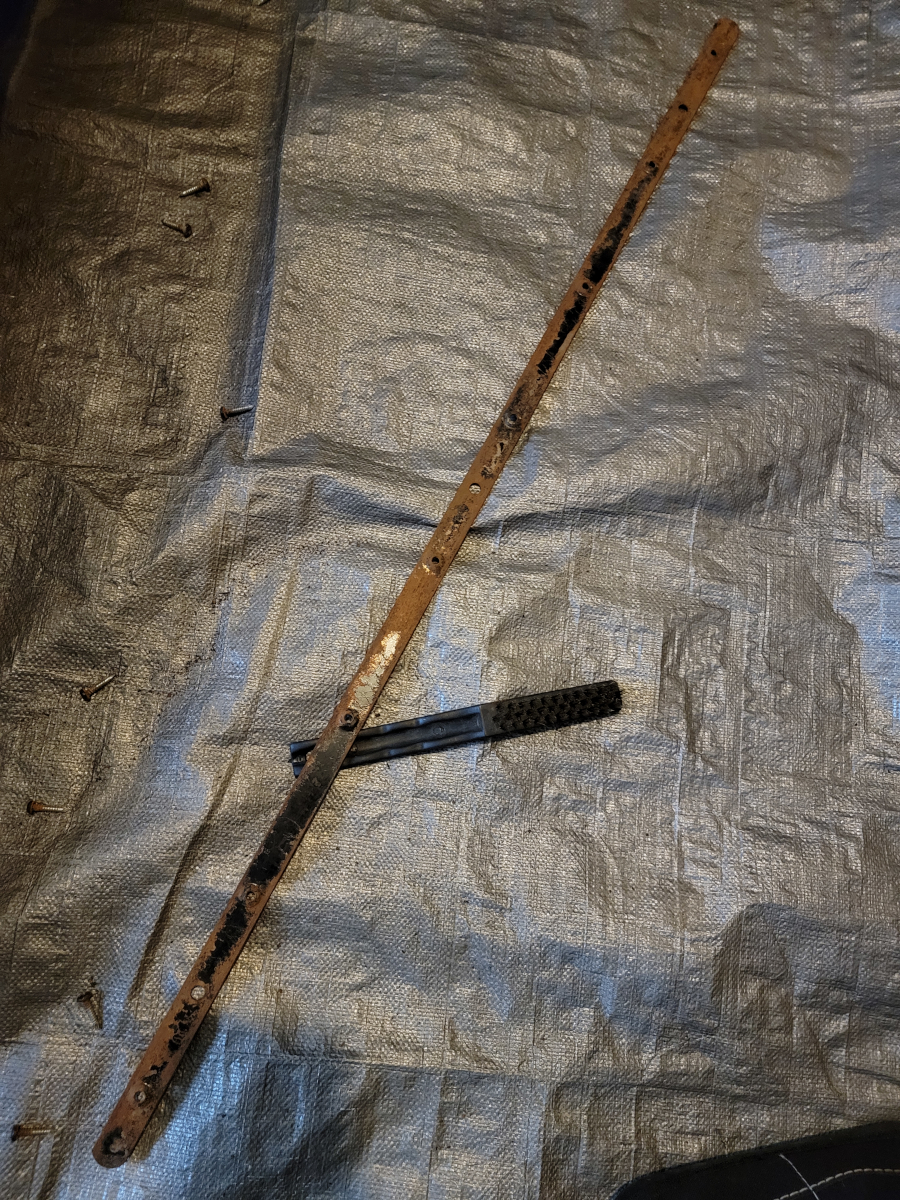
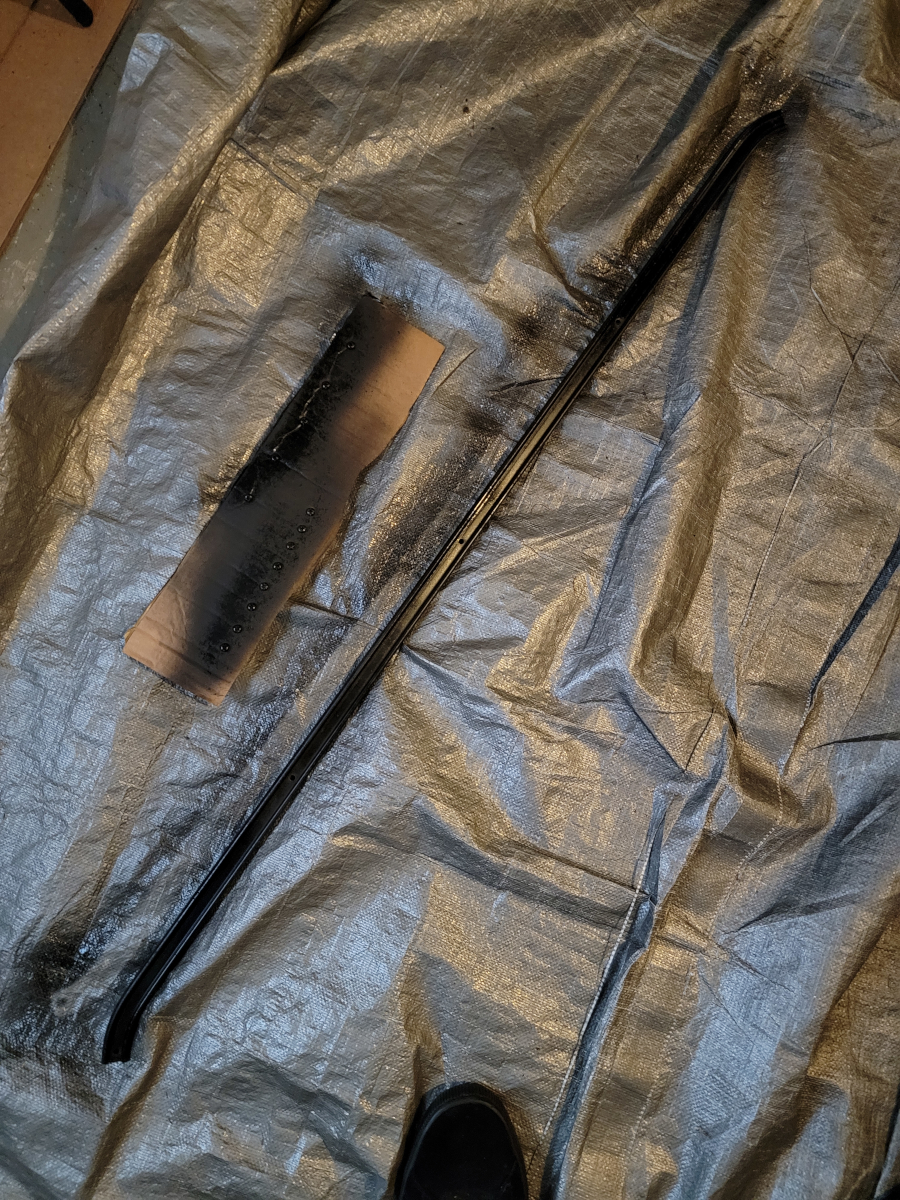
They unscrewed easily enough. The top one is clearly aluminum or some other non-rusting material…
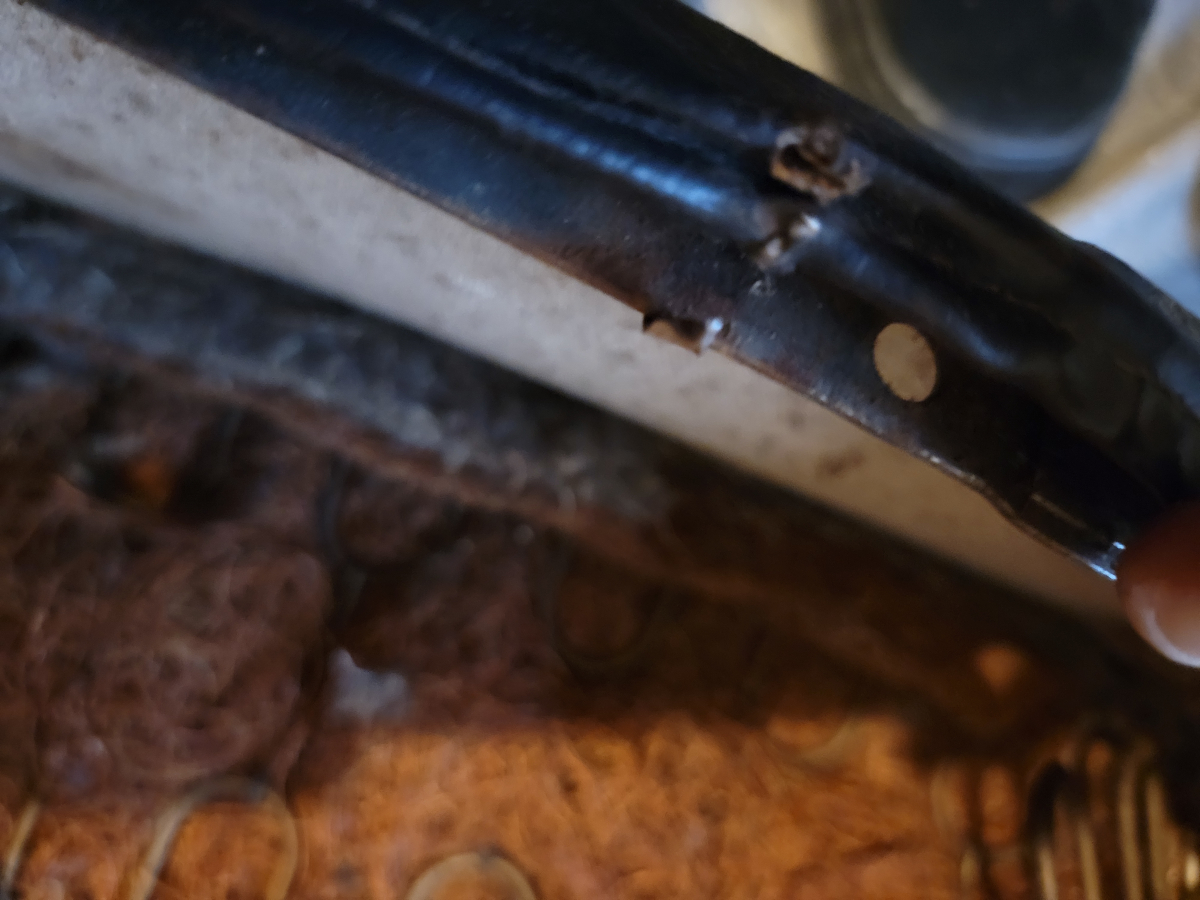
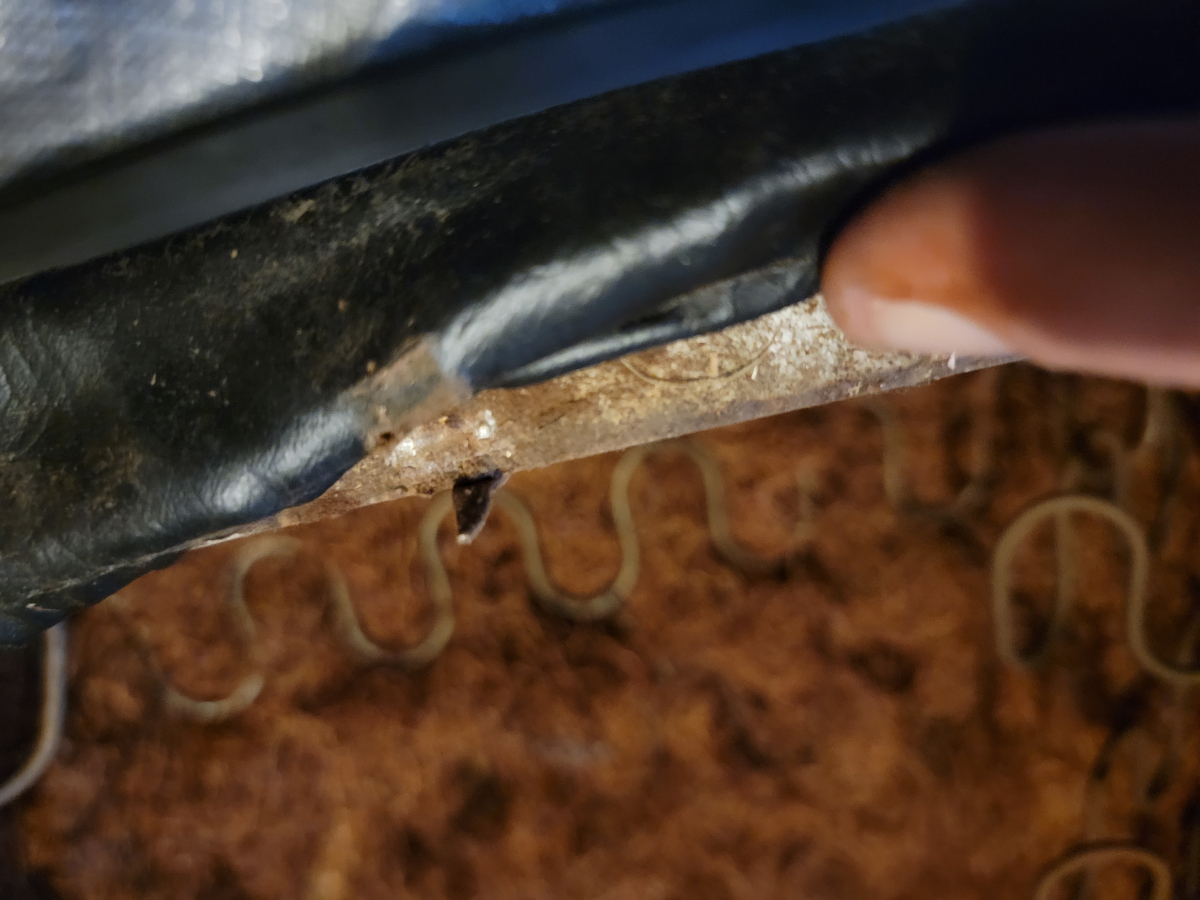
While the bottom one… Not so much.
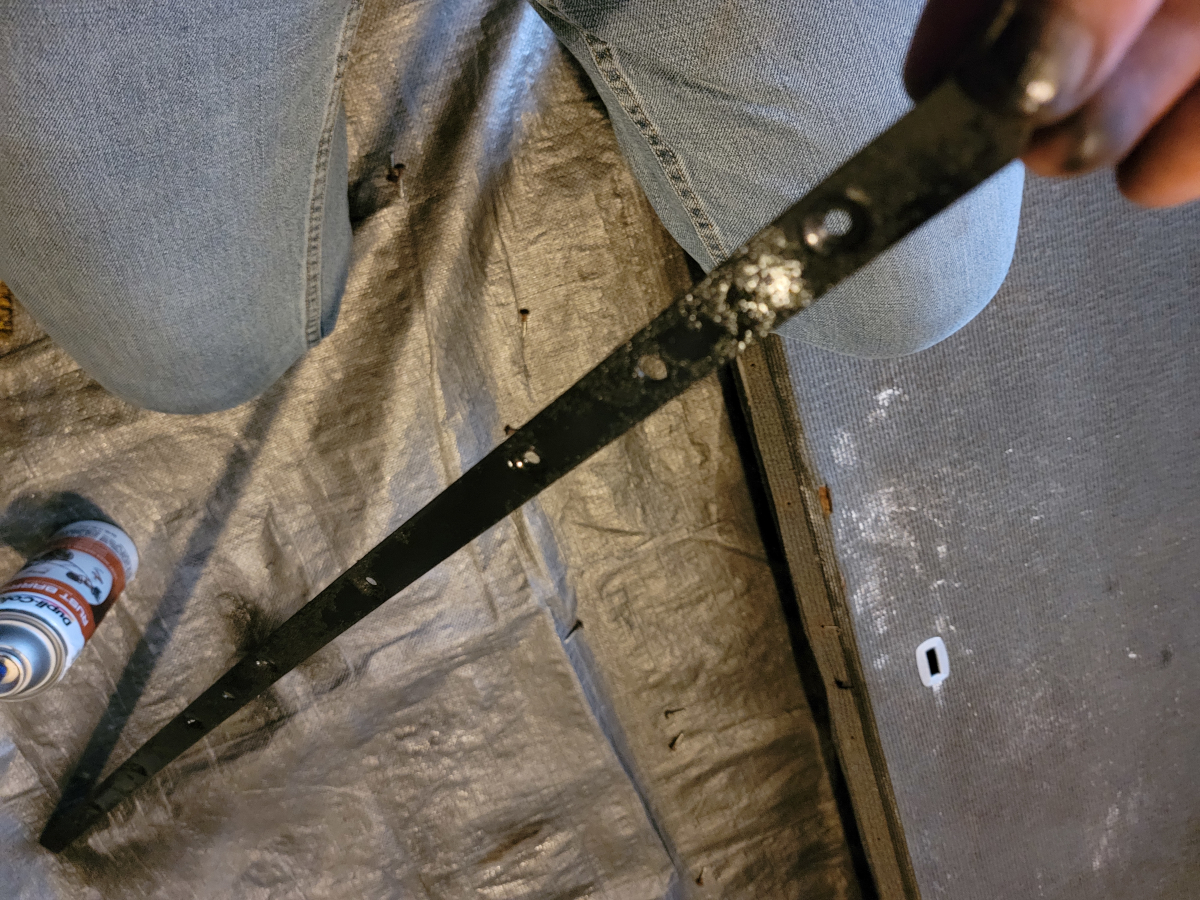
I scrubbed it with a wire brush, sprayed some brake parts cleaner, and wiped it down.
And sprayed it with some rust barrier, then engine enamel. The screws (and my thumbnail) were in really good shape, but could use a blackening.
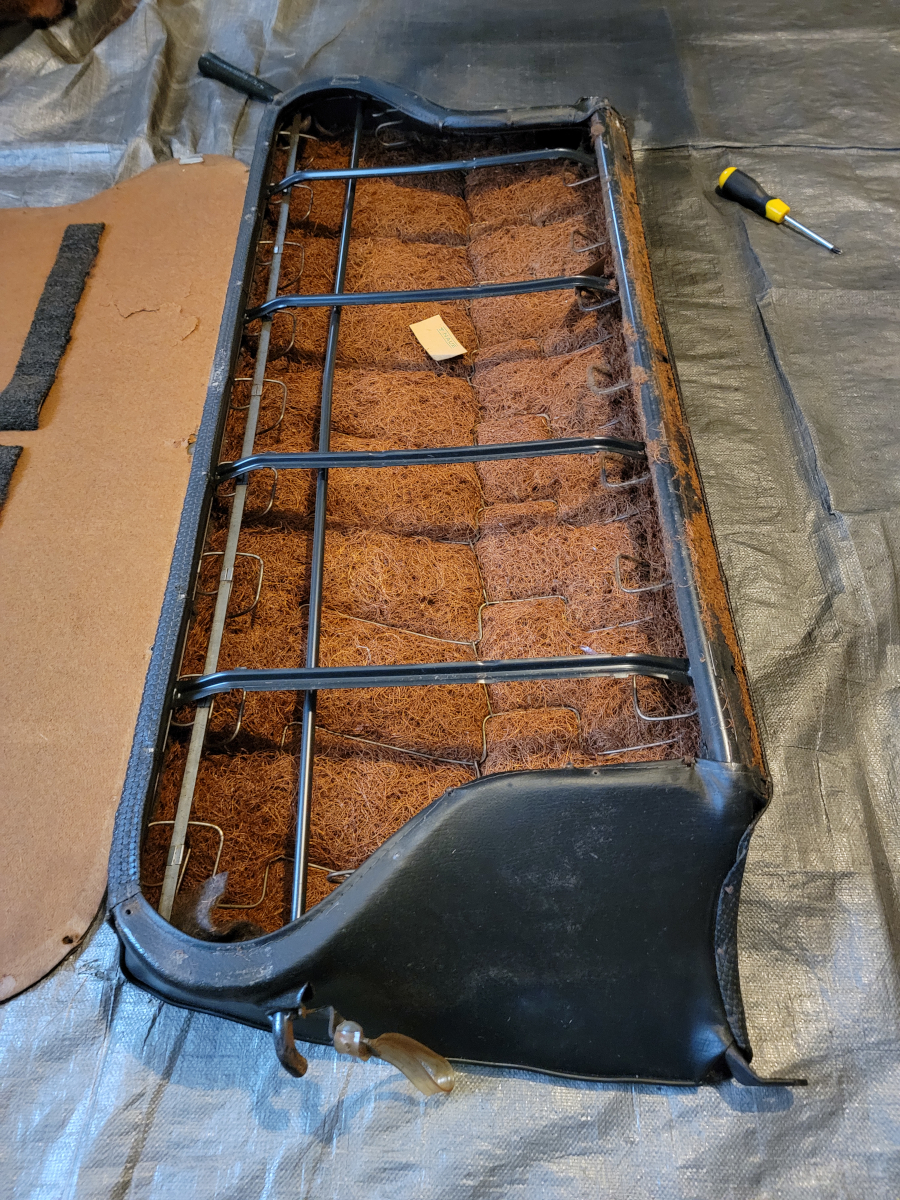
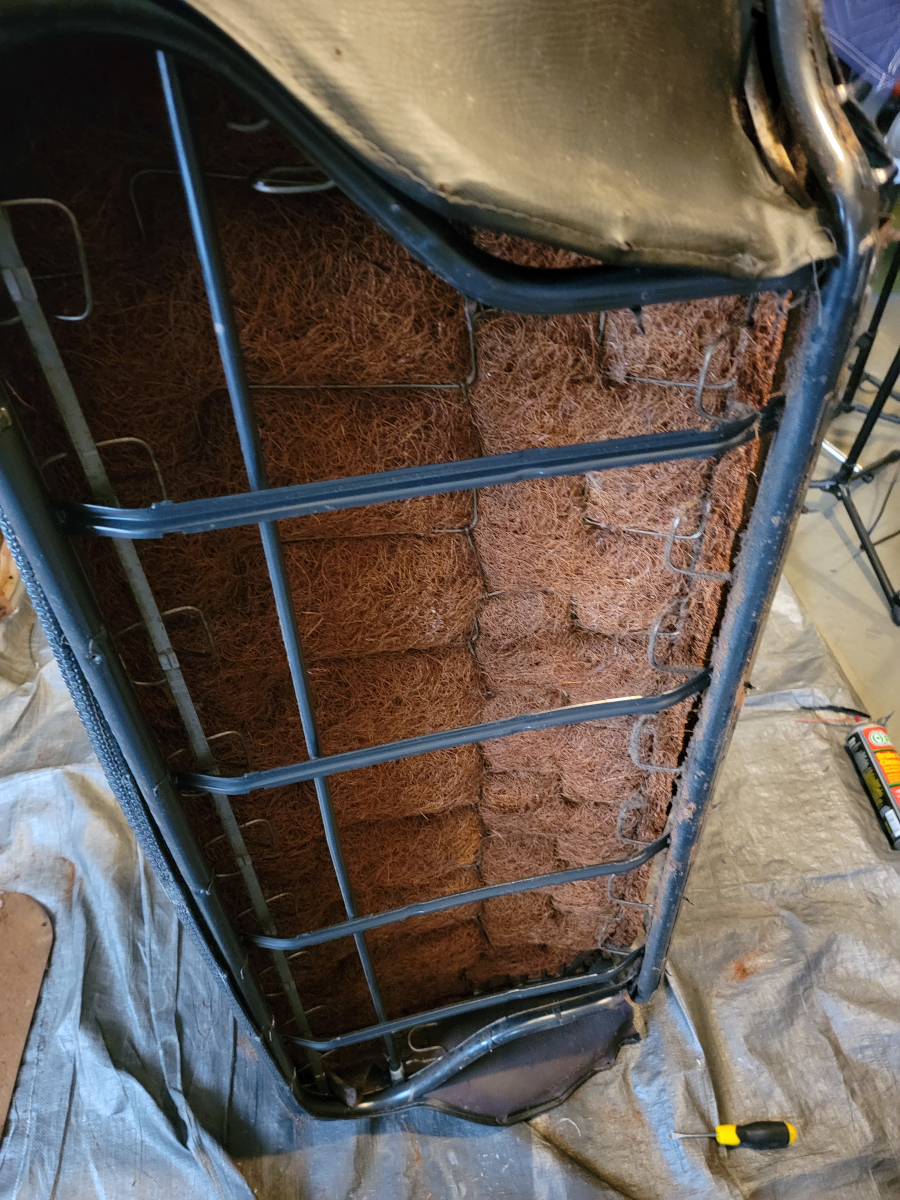
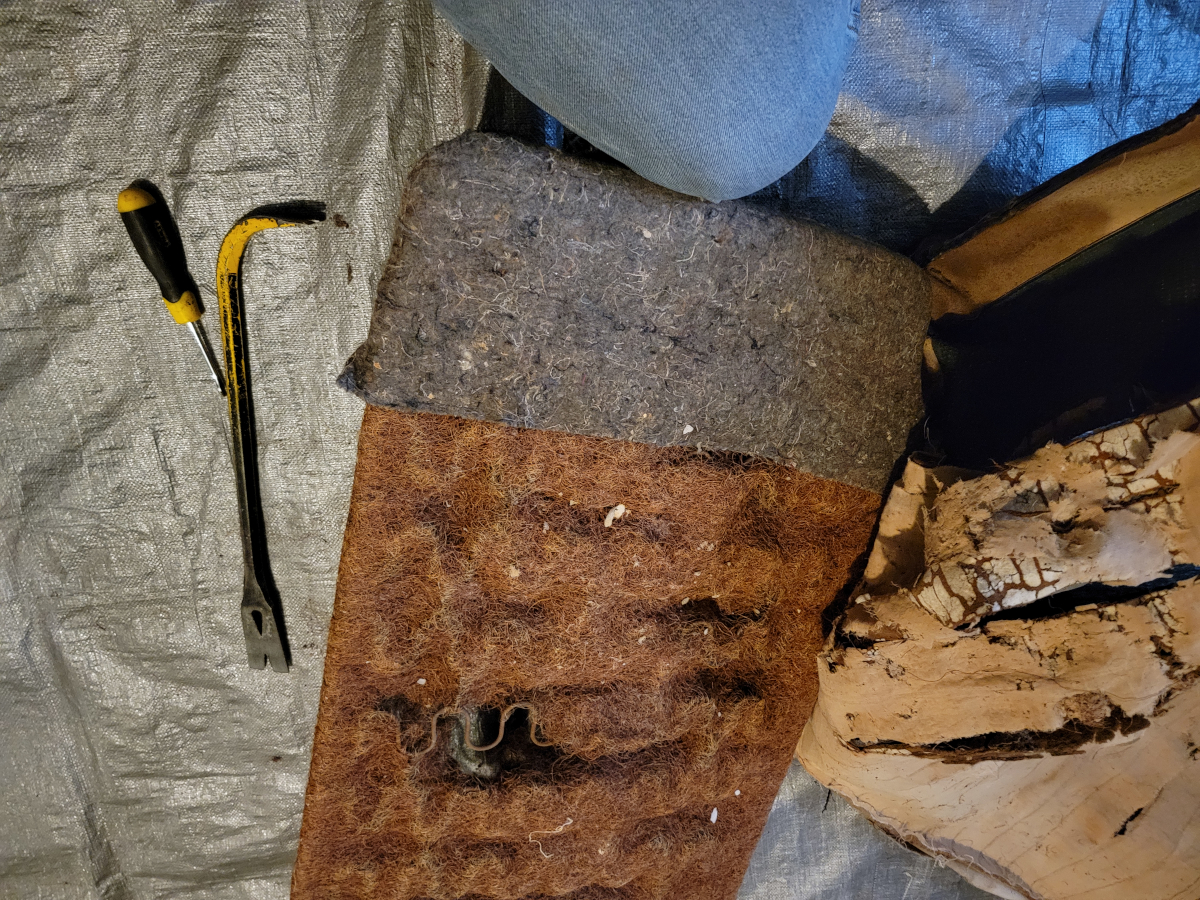
With the back of the seat back removed, we’re presented with a familiar site. More coconut hair.
The inside of the seat back shows it is in pretty rough shape, but not hopeless.
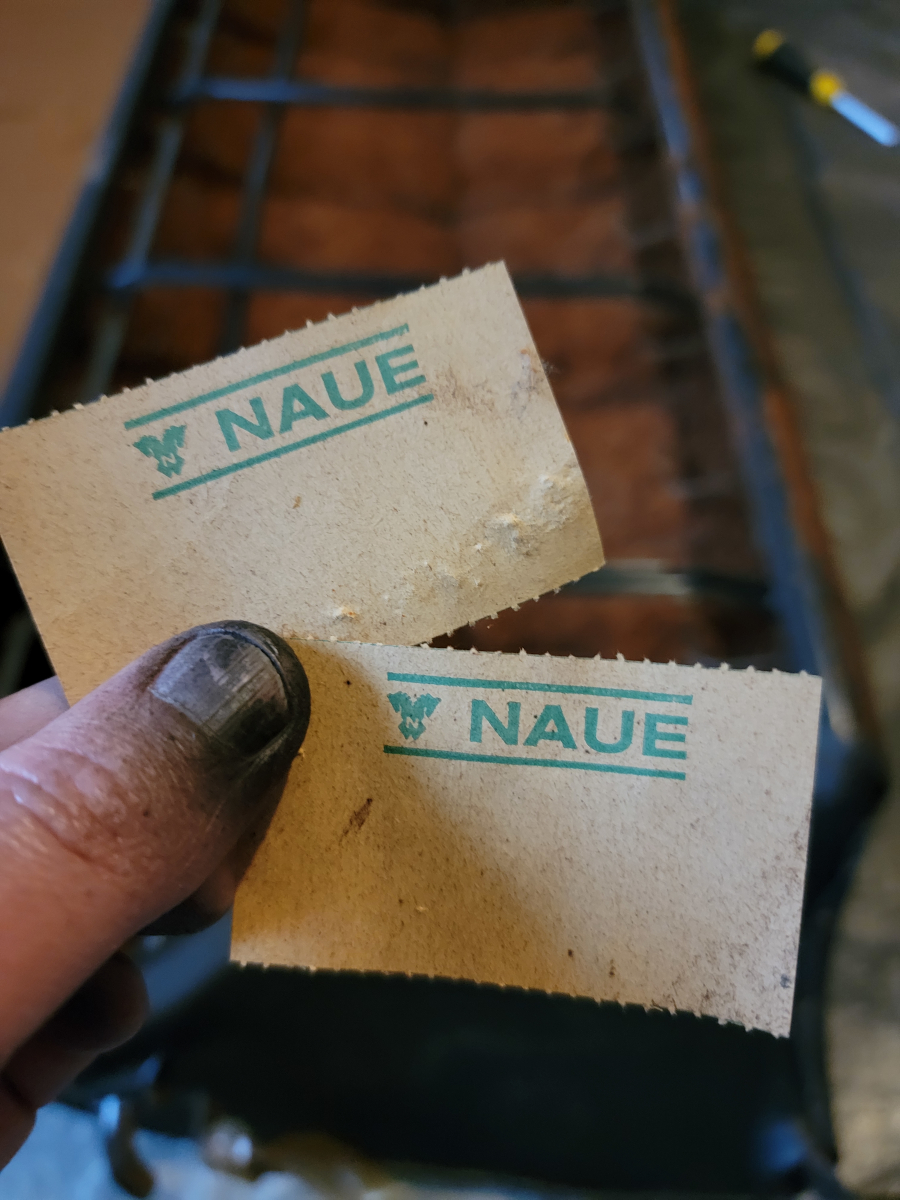
There were two perforated paper tickets I found inside the seat back. NAUE is German for NEW.
That seems like a redundant thing to put inside a seat as the car rolled off the factory floor, so I would imagine this has been replaced at some point? With a naue one, zu buten.
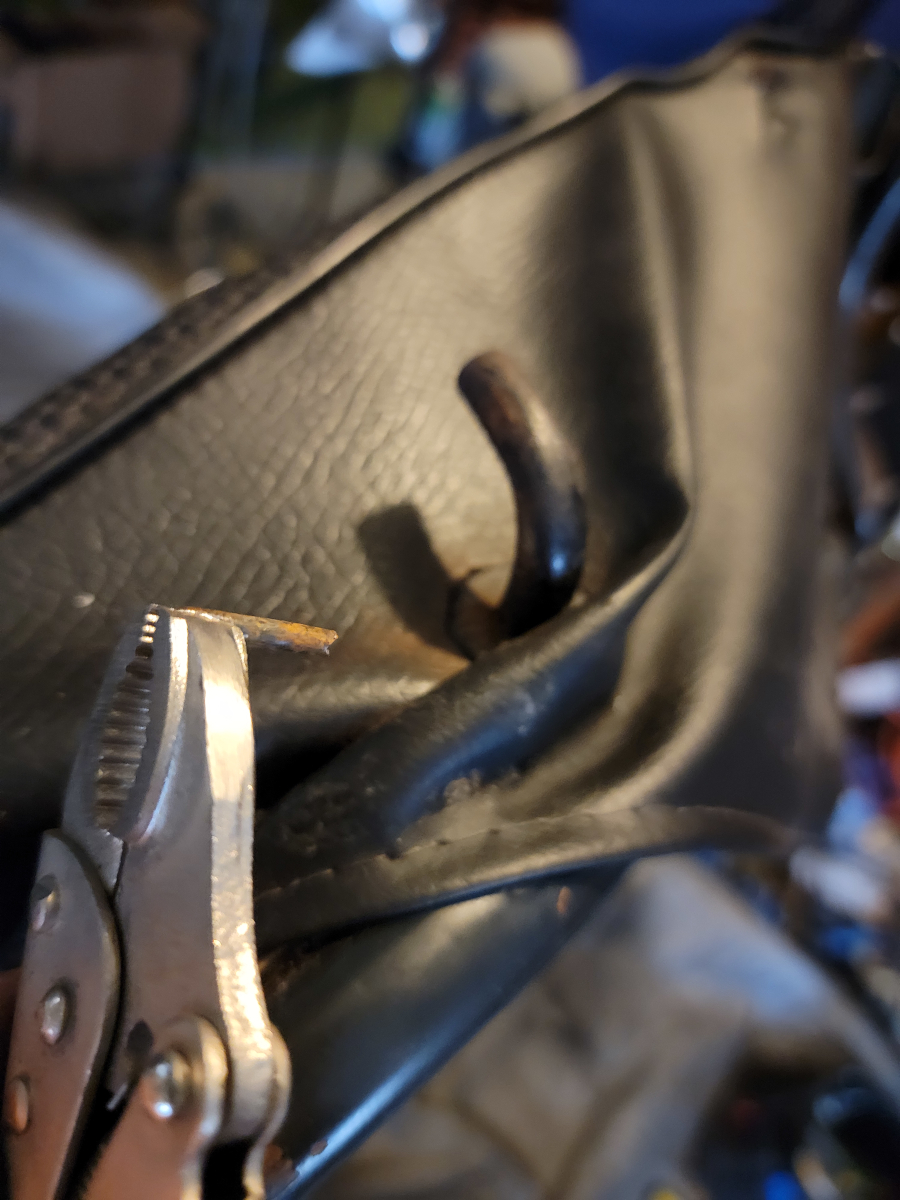
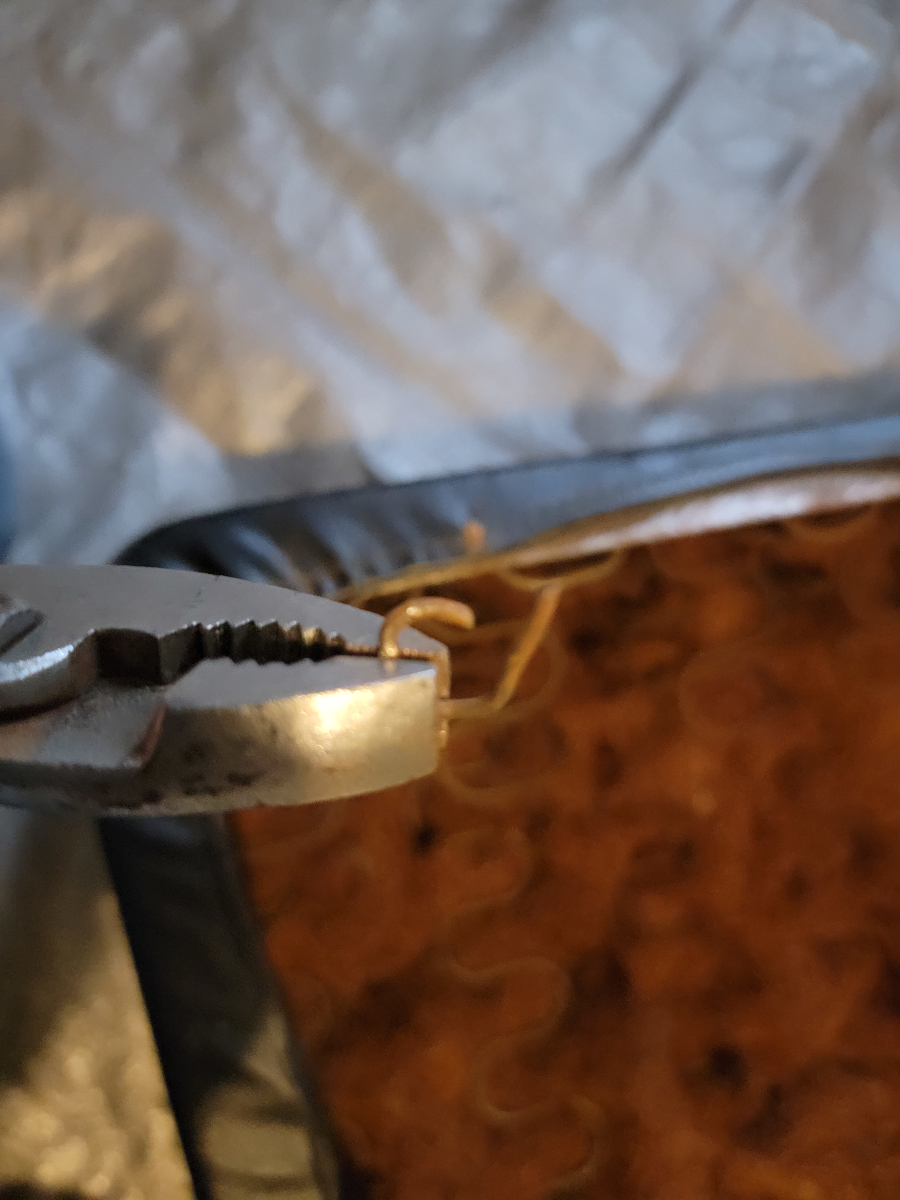
There were a lot of bendy prongs holding the seat cover on this time and there wasn’t evidence of the cover having ever been removed.
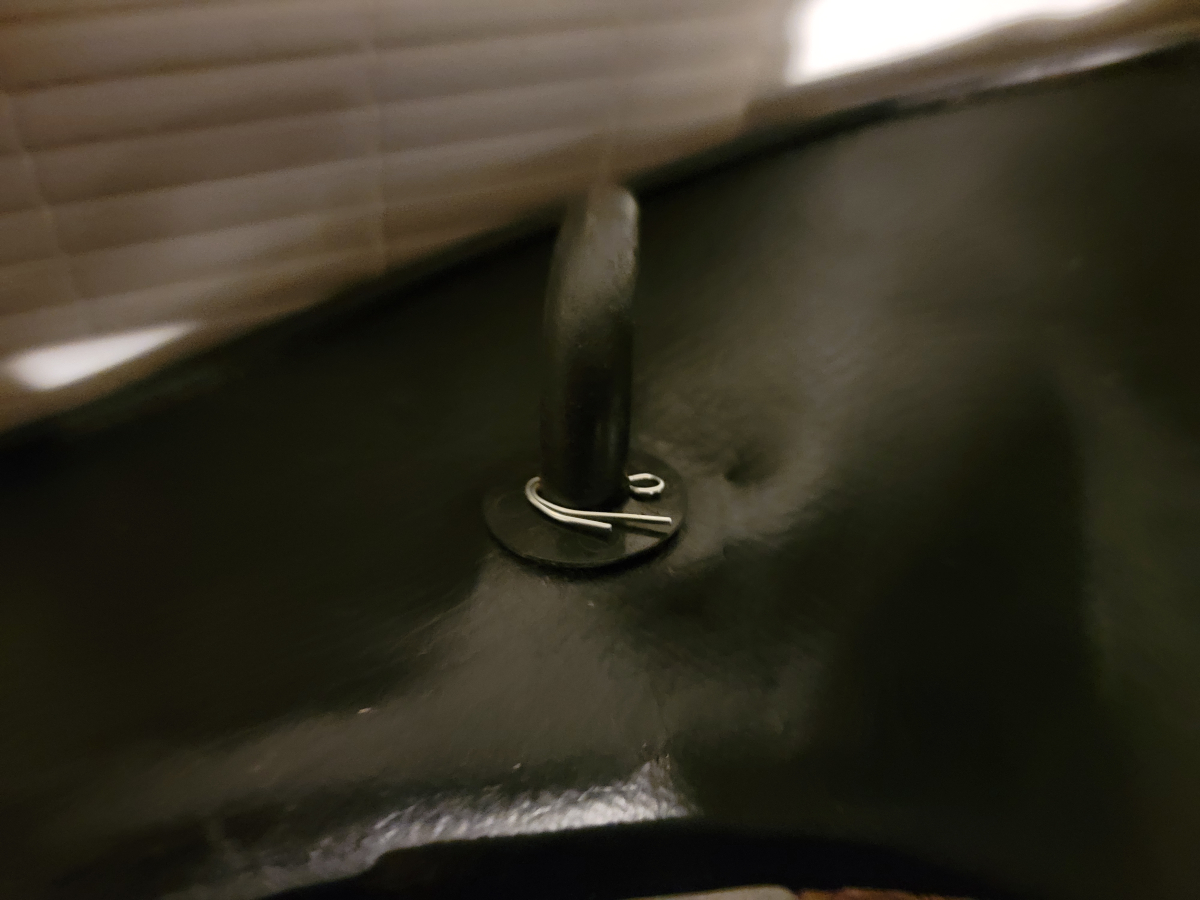
There is a small punch pin holding the plastic trim ring around the business end of the seat release lever. <foreshadowing>I definitely need to keep track of that part so as not to lose it!</foreshadowing>
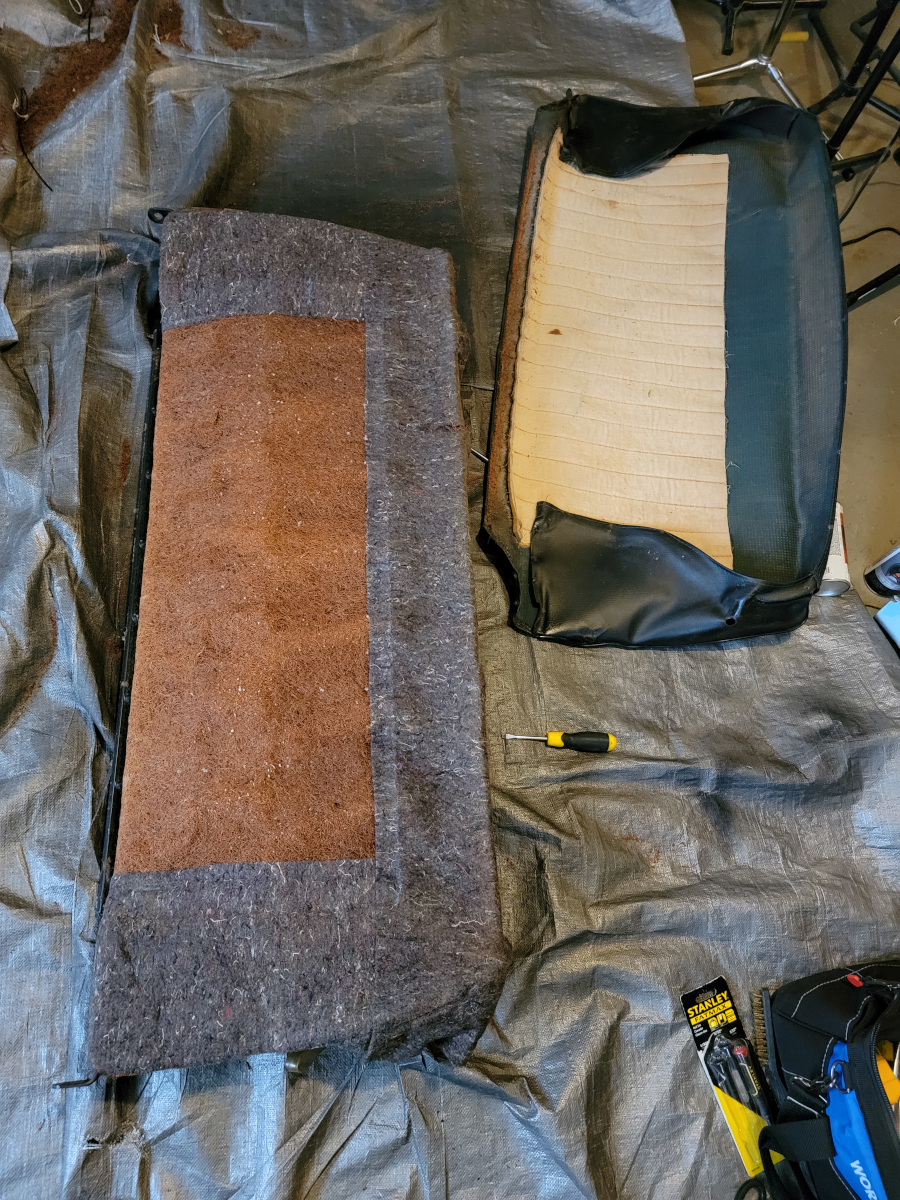
With the seat cover removed, I saw a familiar sight, the padding wrapped coconut hair cushion mat.
No extra layers of bubble wrap and random other packing materials, no second seat covers inside. This time it was a straightforward removal.
Cleanup
I hosed the frame down with brake parts cleaner, then wiped it dry. Then, of course, sprayed the rust barrier…
and engine enamel.
I resprayed that top aluminum (or whatever) trim piece as well, though it was in good shape already.
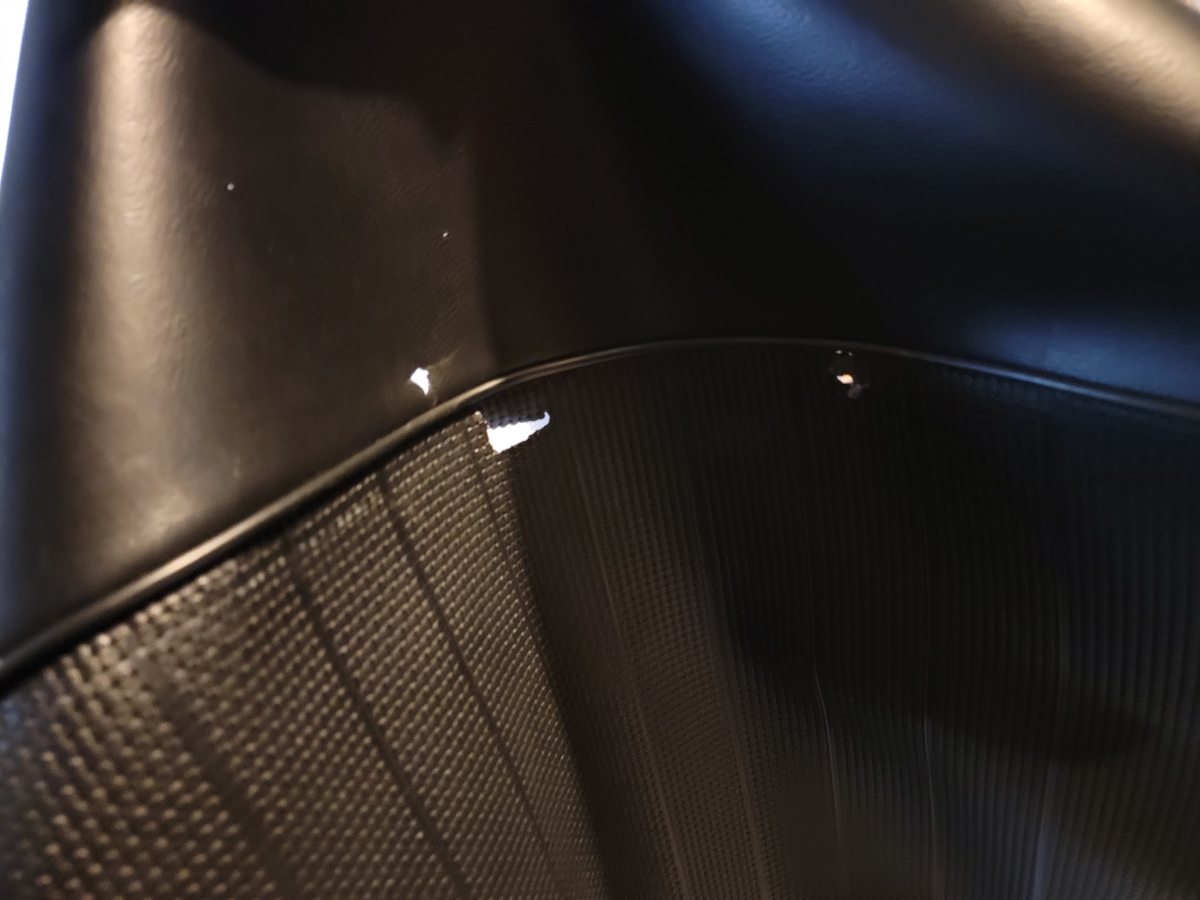
There was a chunk of fiber board that was broken and the vinyl backing was peeled up. I glued it up with Gorilla Clear Grip and clamped it in a vice grip to let it dry. The metal support plate on the opposite edge had also come loose. Glued and gripped.
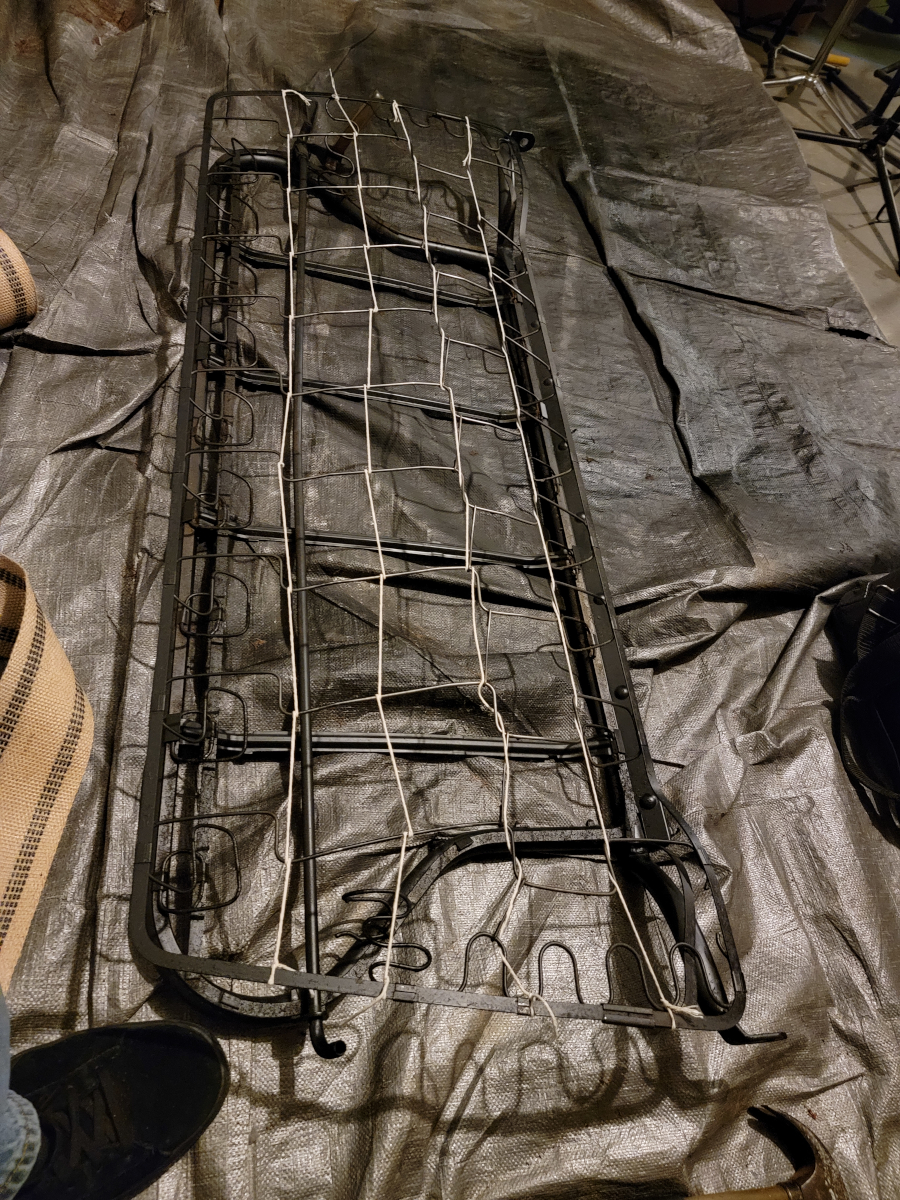
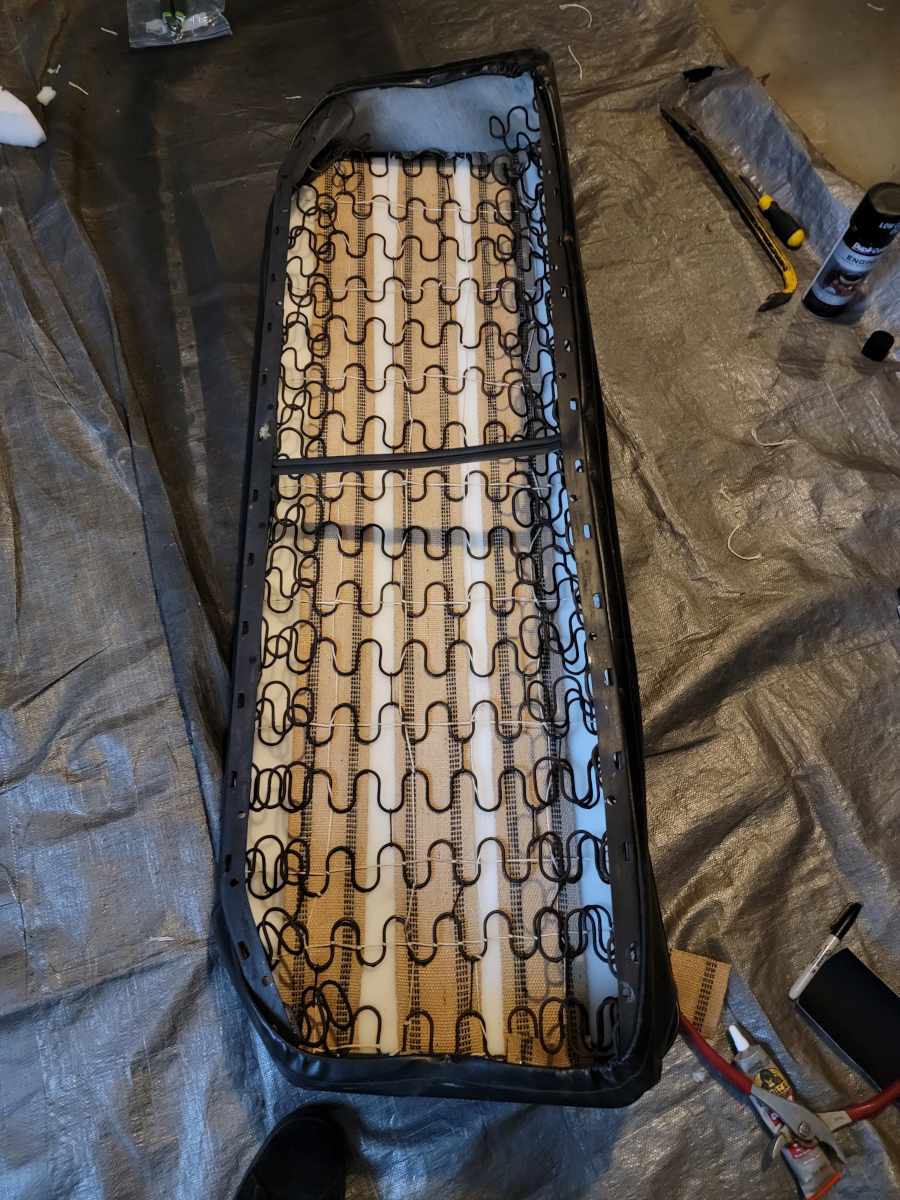
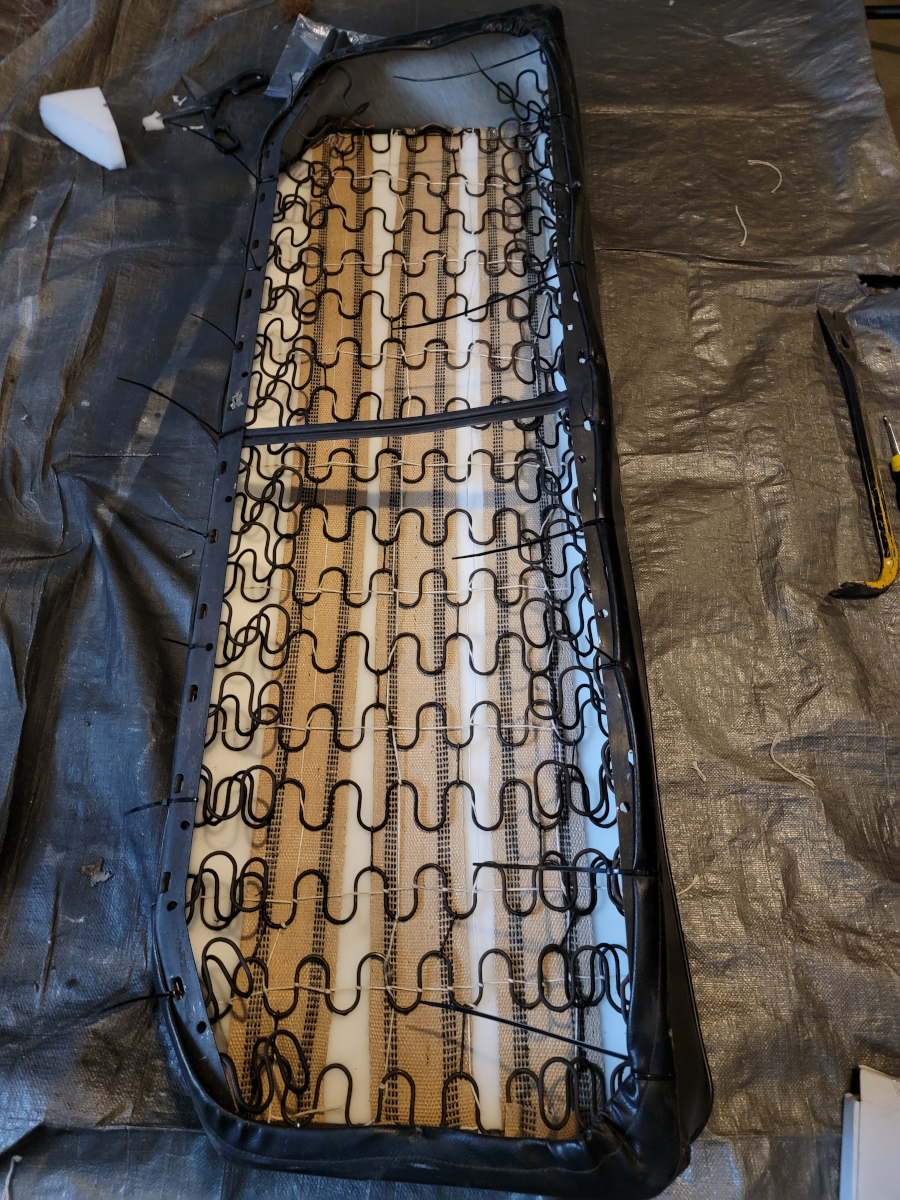
Rebuilding
And then it was time for the twine tied grid-work.
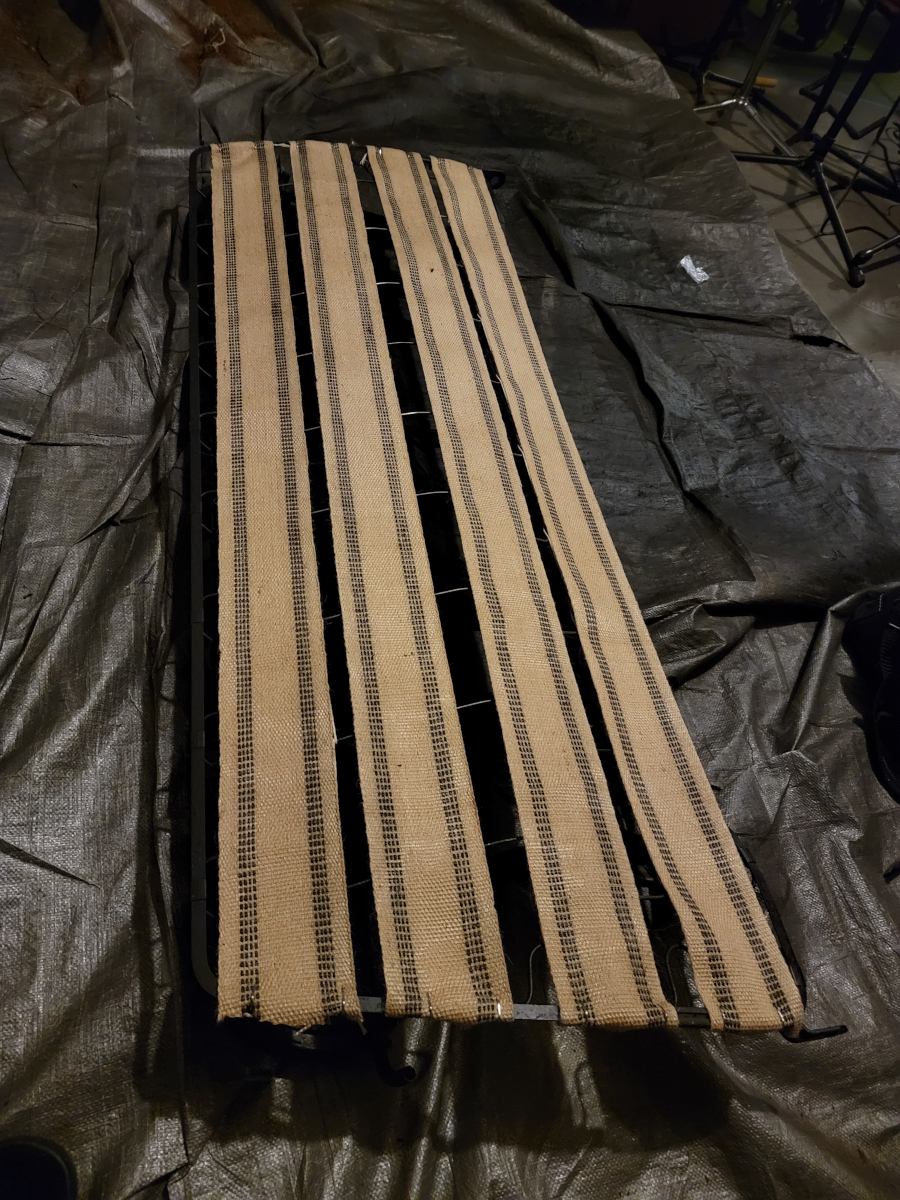
And then jute webbing.
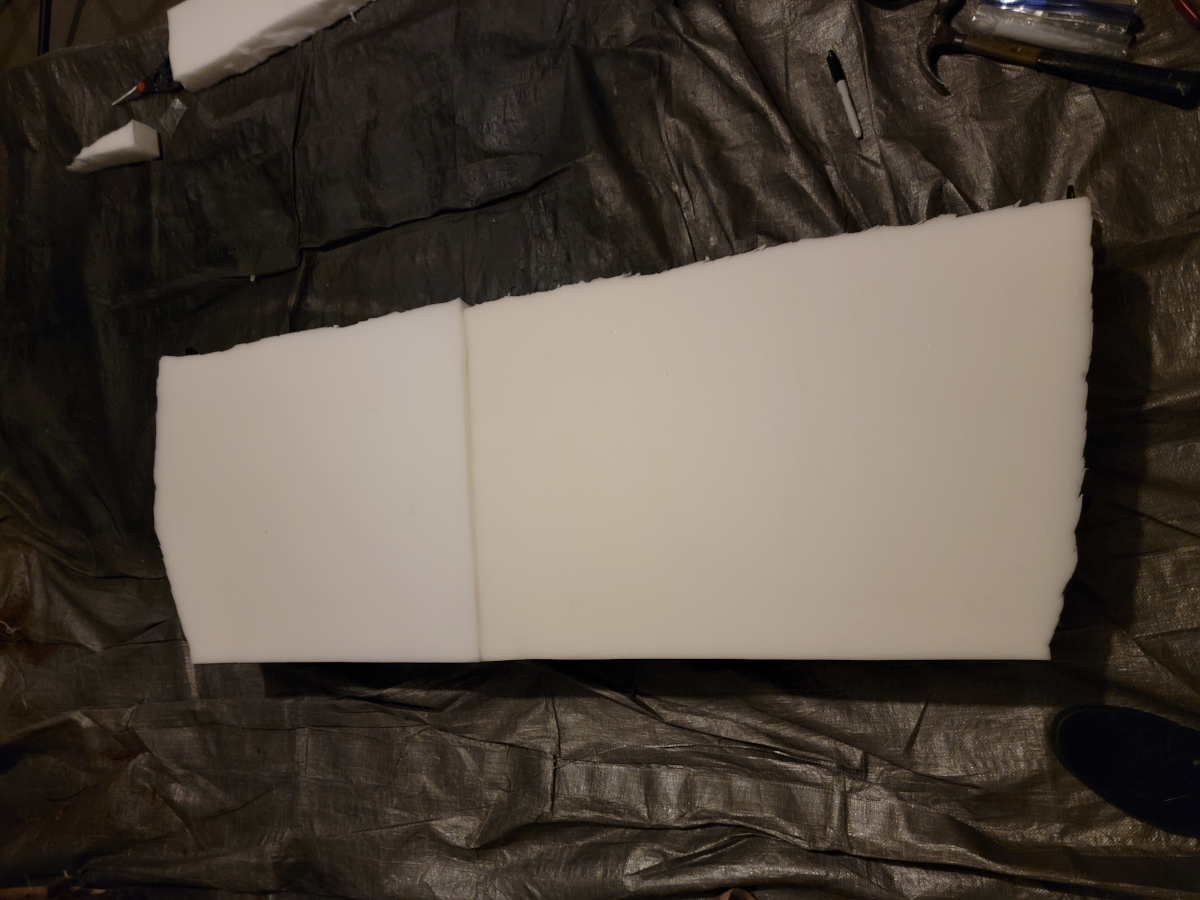
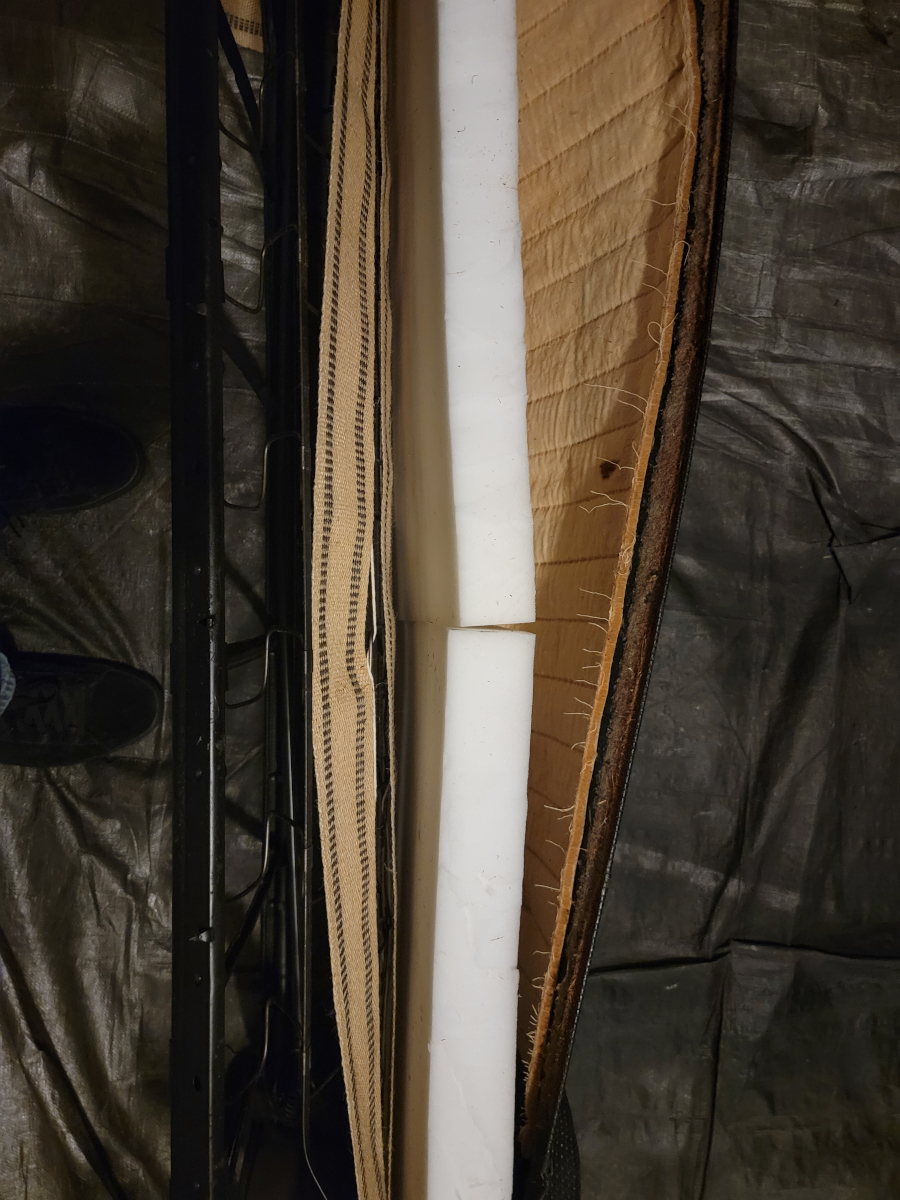
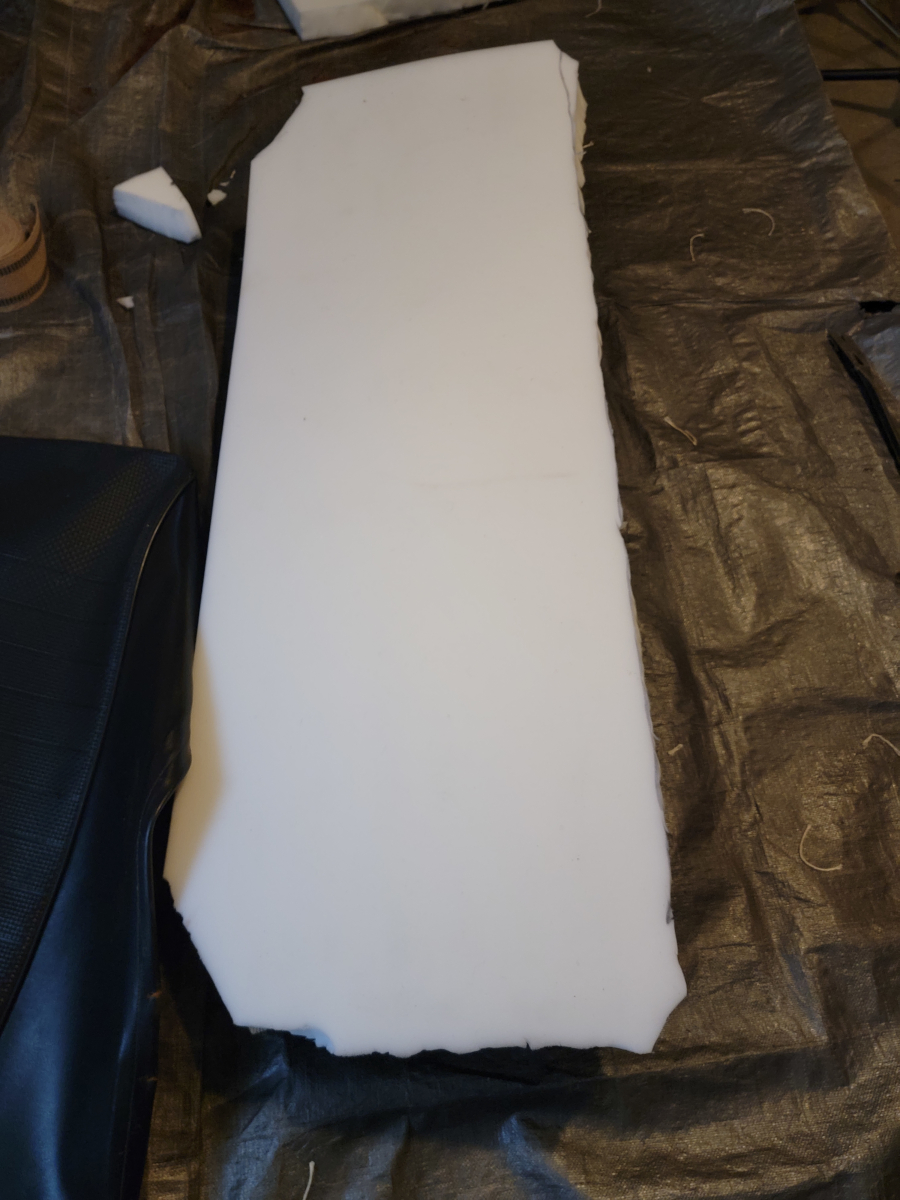
I had the two cut foam pieces from before and shaped them to fit the frame.
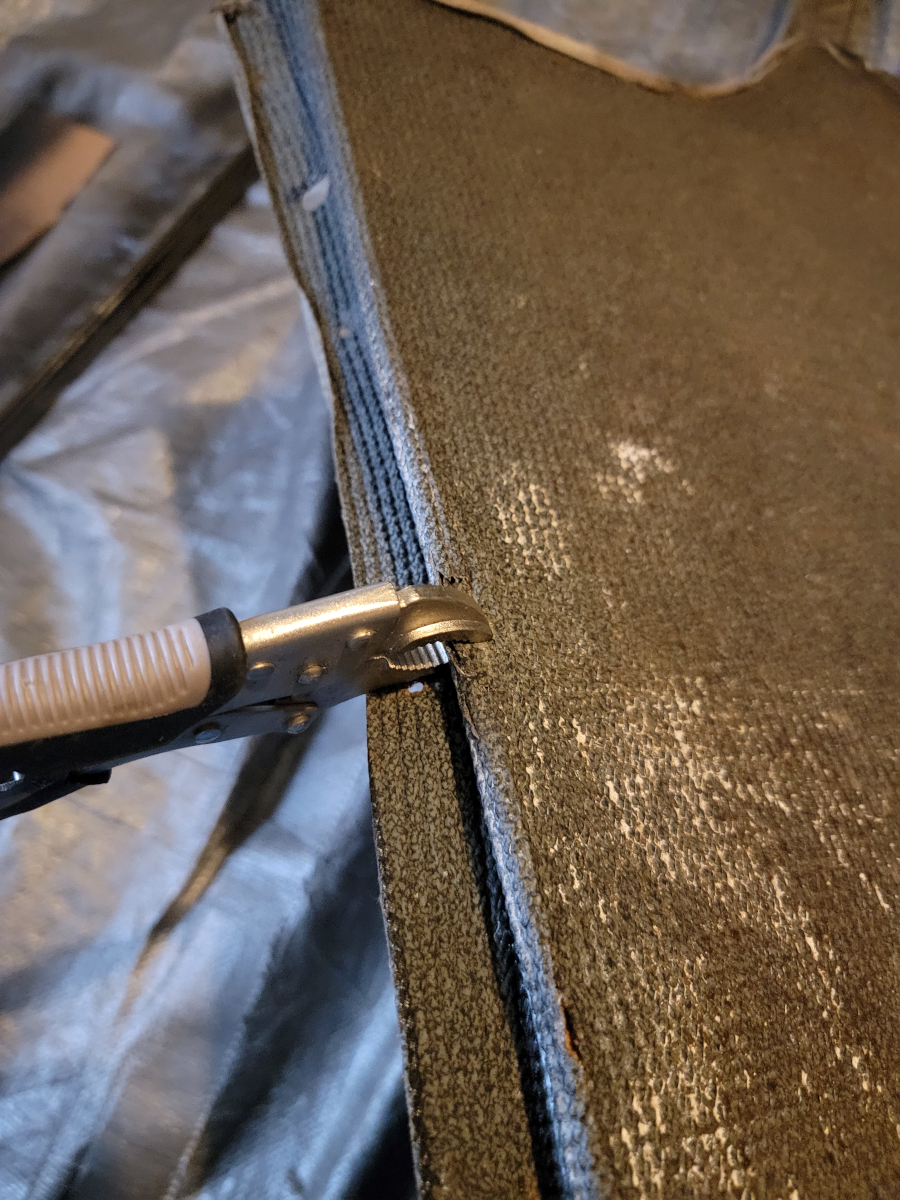
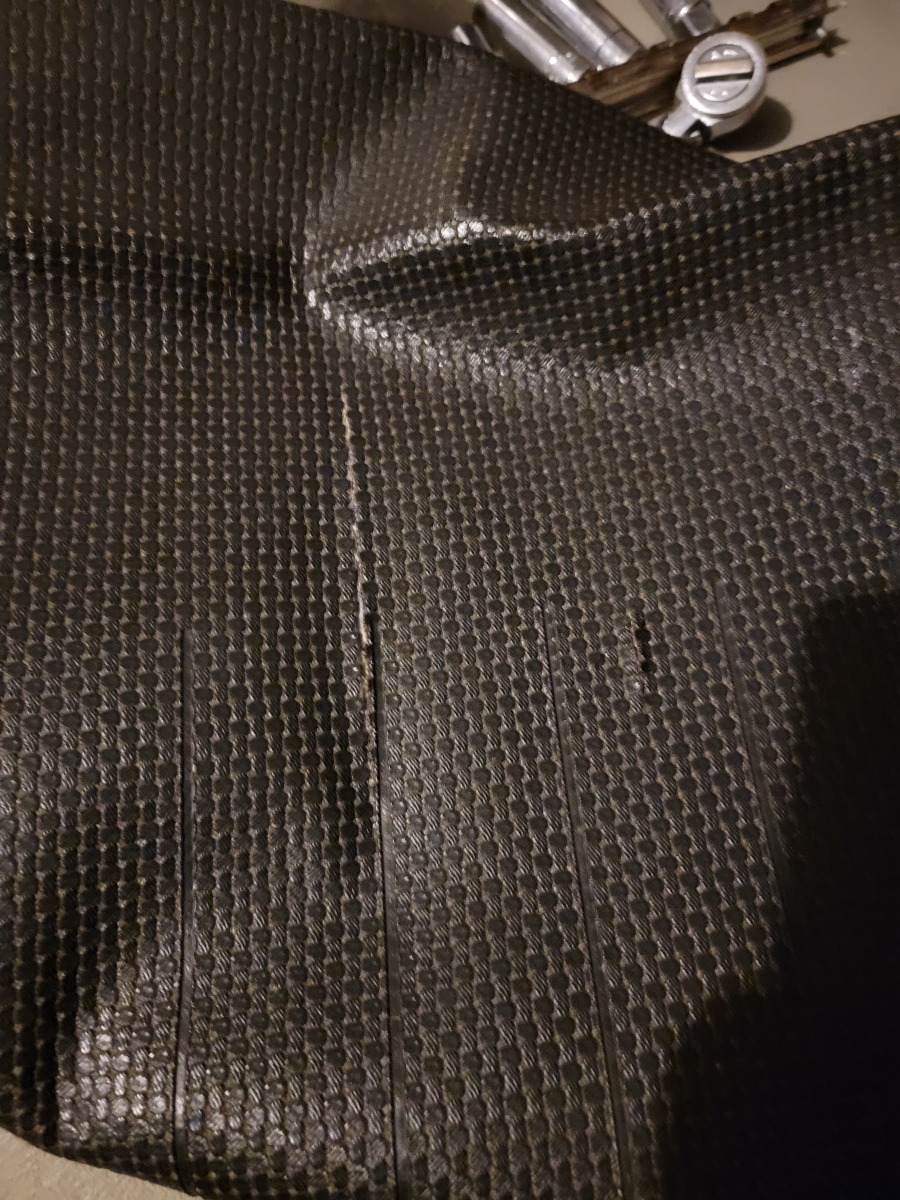
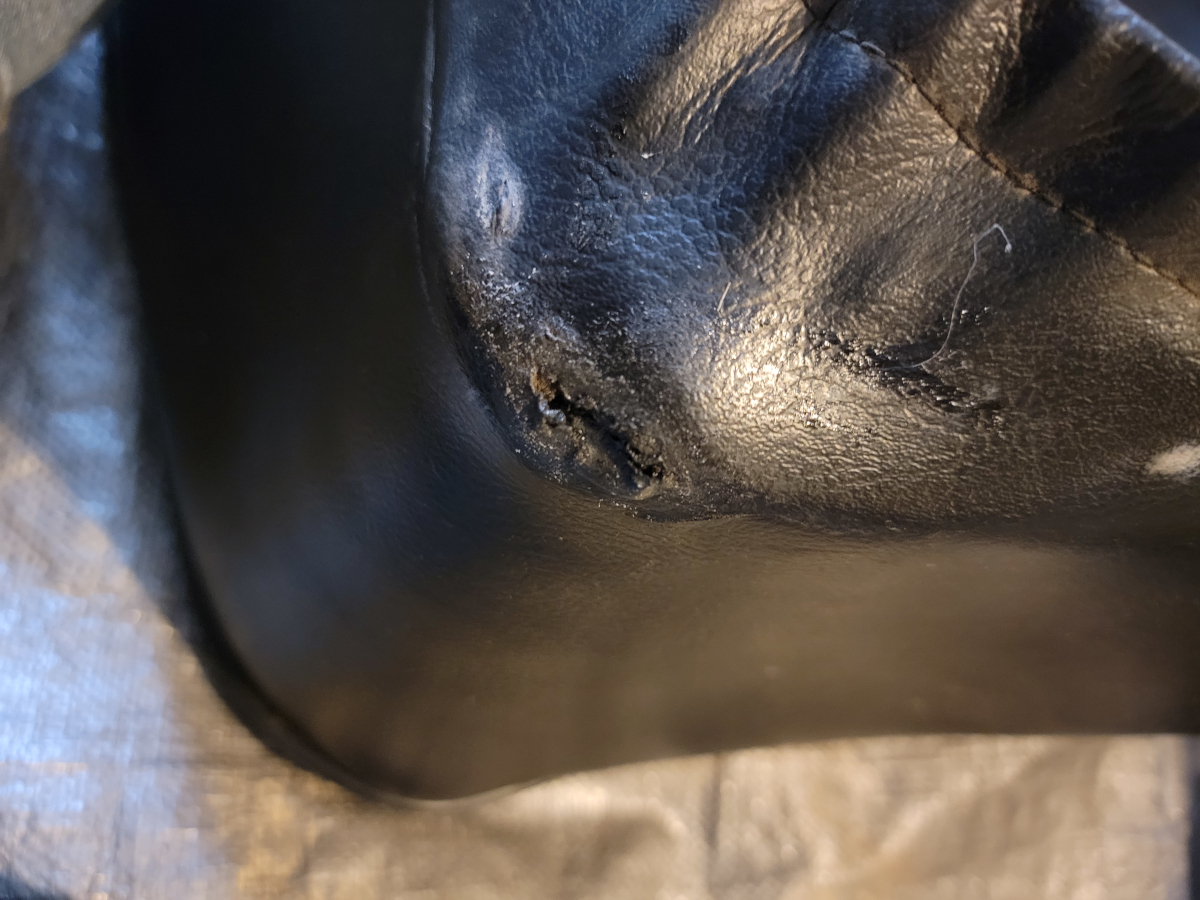
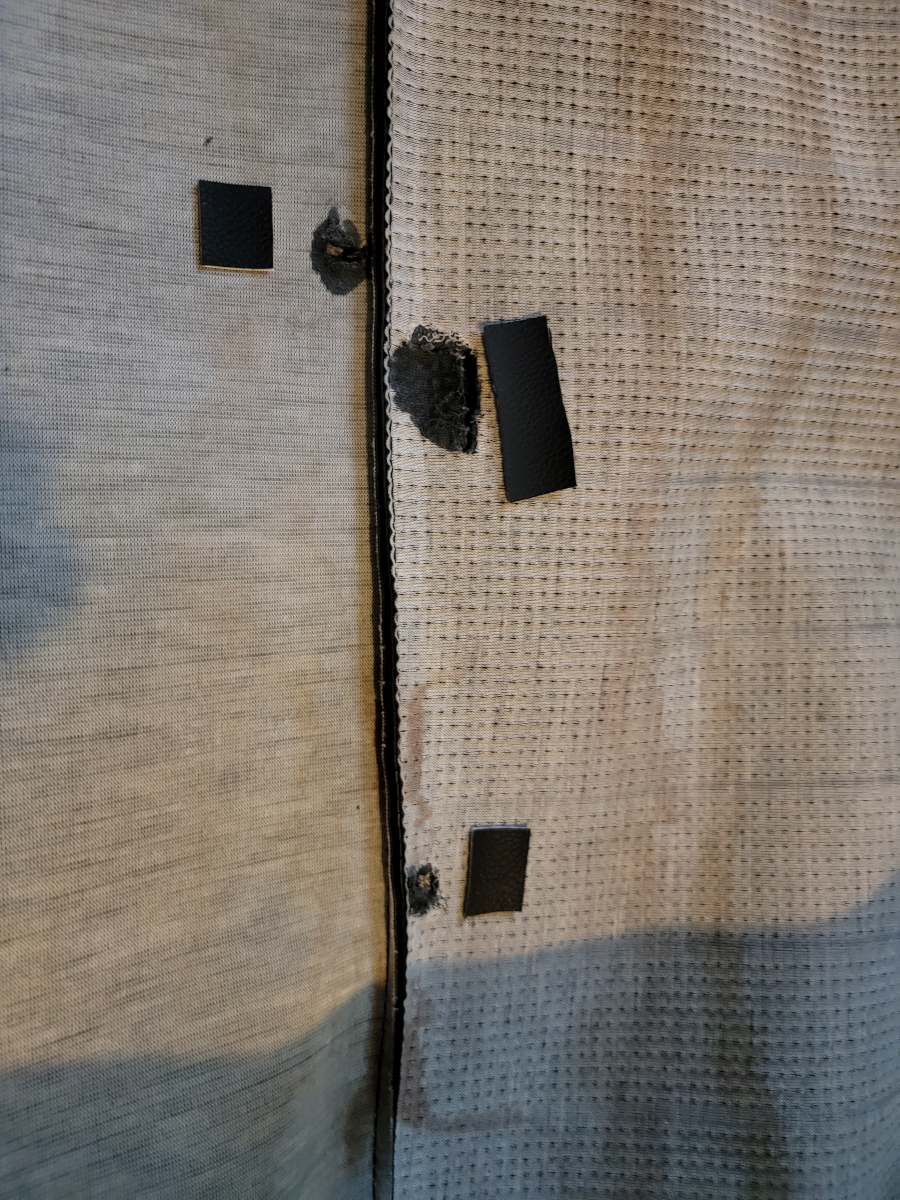
Now it’s time to try and do something about this dry, cracked vinyl. I leaned in once from the open driver’s door and my hand went right through the seat back cover.
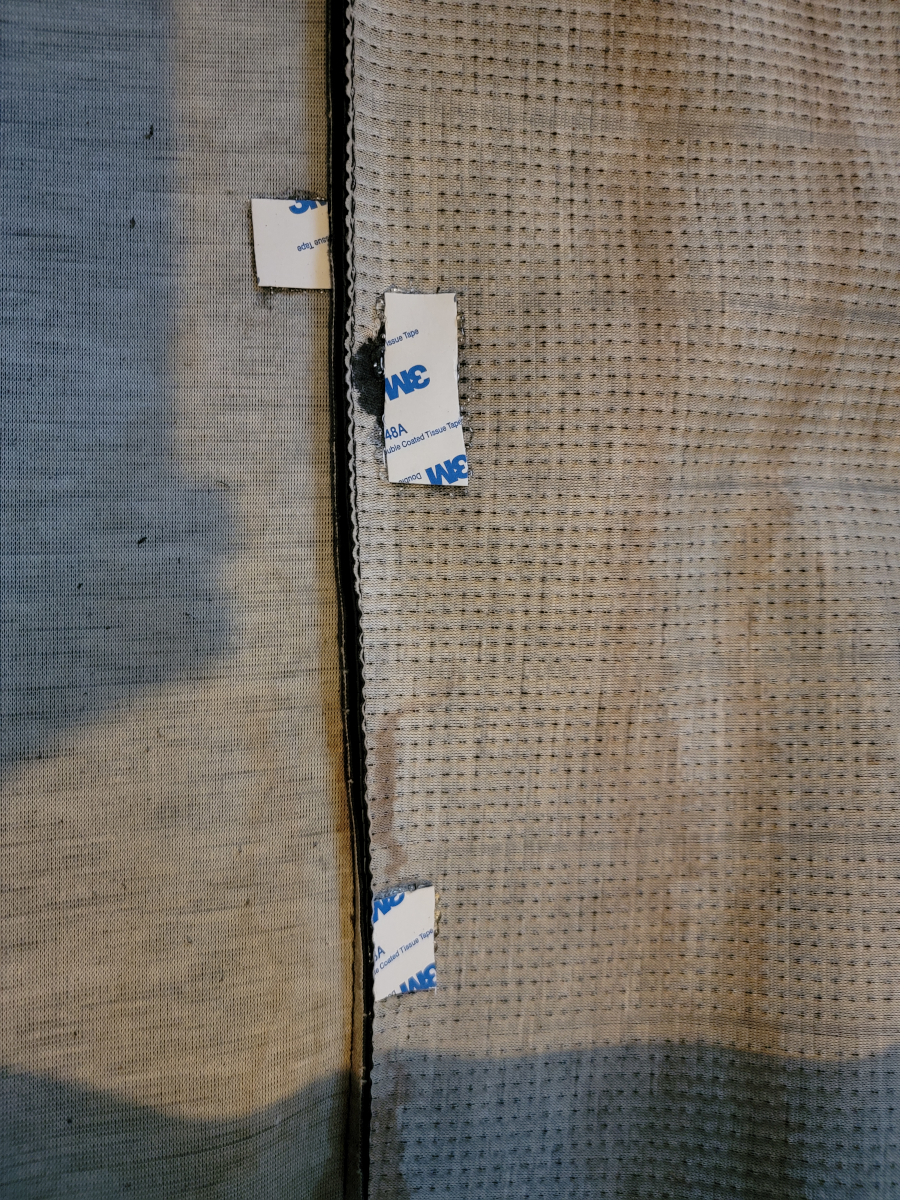
I took the last chunk of that self-adhesive vinyl repair roll and applied it across the whole area, hoping it would provide some kind of stability.
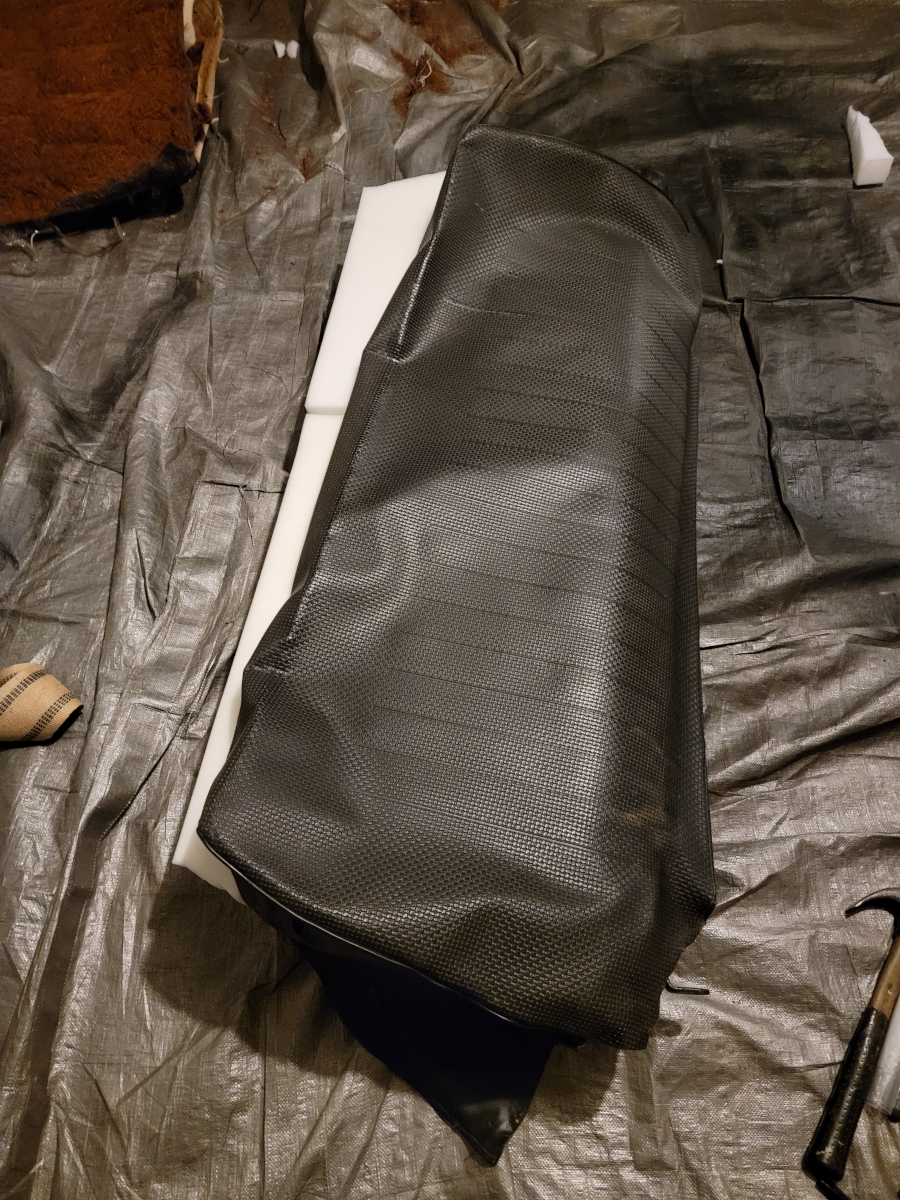
With the high density foam in place, it’s clear that this is going to be a tight fit.
And here we have the first prong bent in place, holding the seat cover on. The foam pad had to be removed. There was no chance it was ever going together. The rest of the seat covers fit nicely over the foam, but clearly, the seat back wasn’t used to that much volume underneath.
I worked my way around the first end of the seat, bending each prong over as I went.
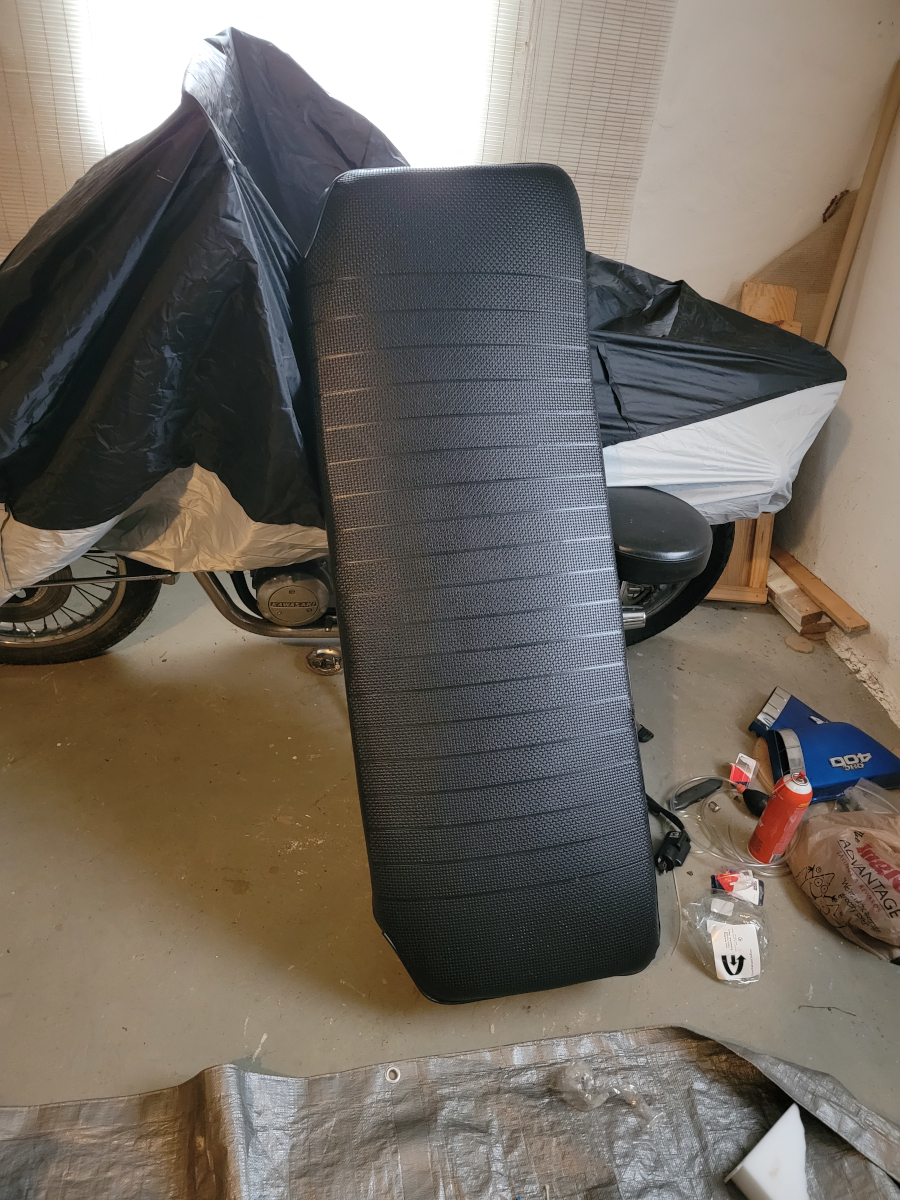
And now it’s time to put the fiber board cover back in place to close it all up.
The top trim piece screwed on without issue…
…then the bottom one did as well. All of the rust was on the inside, so it looks nice from here. And I totally forgot to put the NAUE tickets back inside. I kept them in a safe place, though.
But, I did lose that push pin and had to replace it with a cotter pin.
Bonus
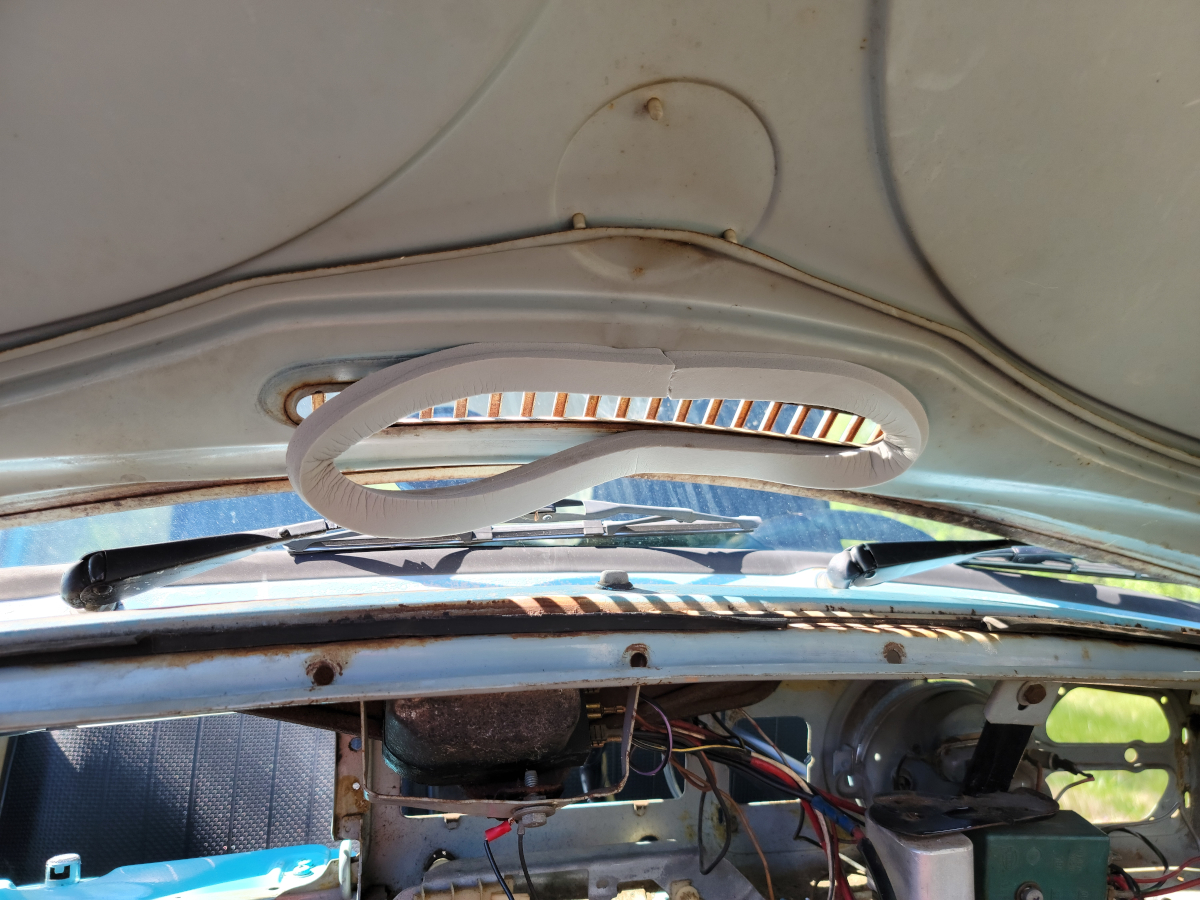
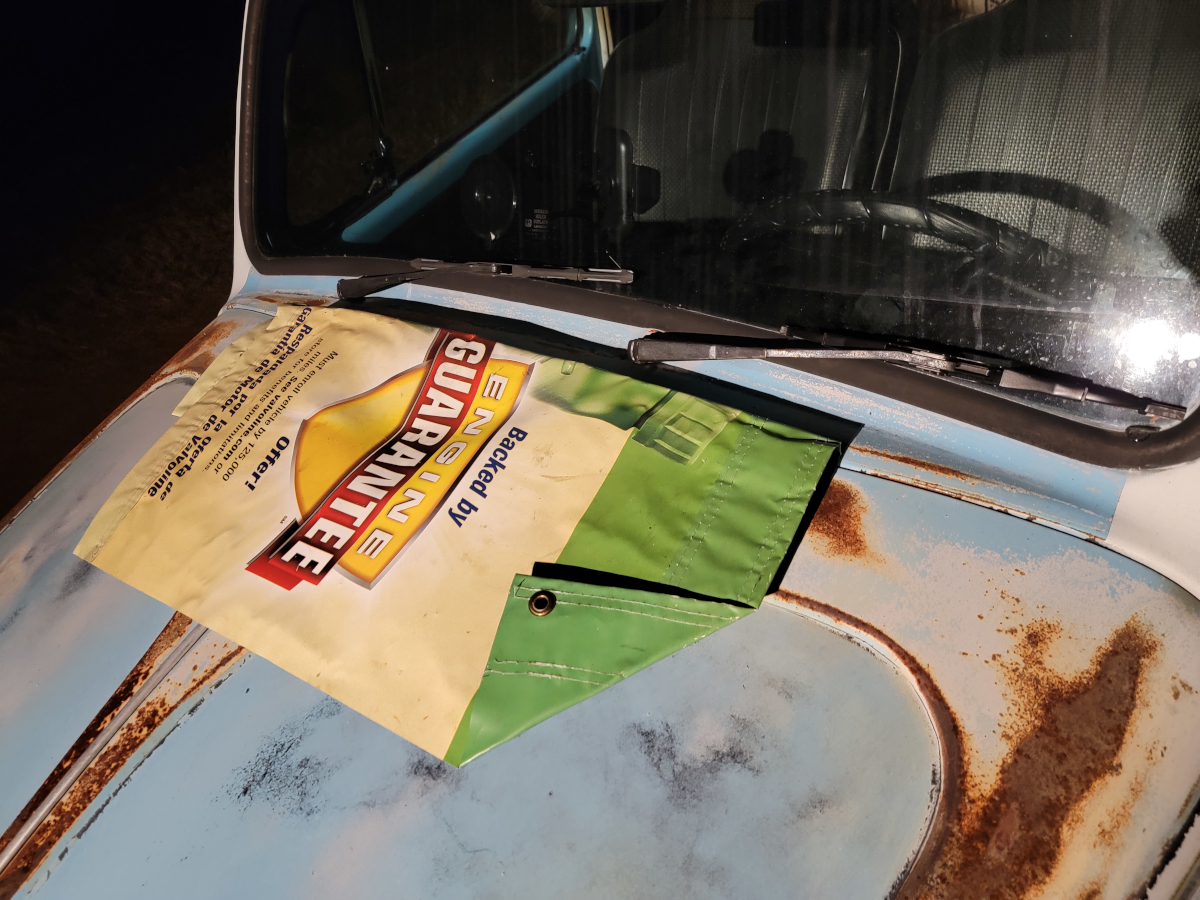
It had been raining for days and that night I just happened to remember that I had removed all the air vents and fresh air system under the bonnet, behind the dash. When I went out and checked on it, I could see straight down into my toolbox full of water. Luckily, it seems to have caught all the water that came in through the bonnet vents.
I grabbed the banner tarp my dad had given me for crawling around under the car. Folded it up and closed the bonnet lid over it. I’m still waiting for that backordered center vent to arrive and if I’m honest, I’m not looking forward to having to put all of that mess back together.
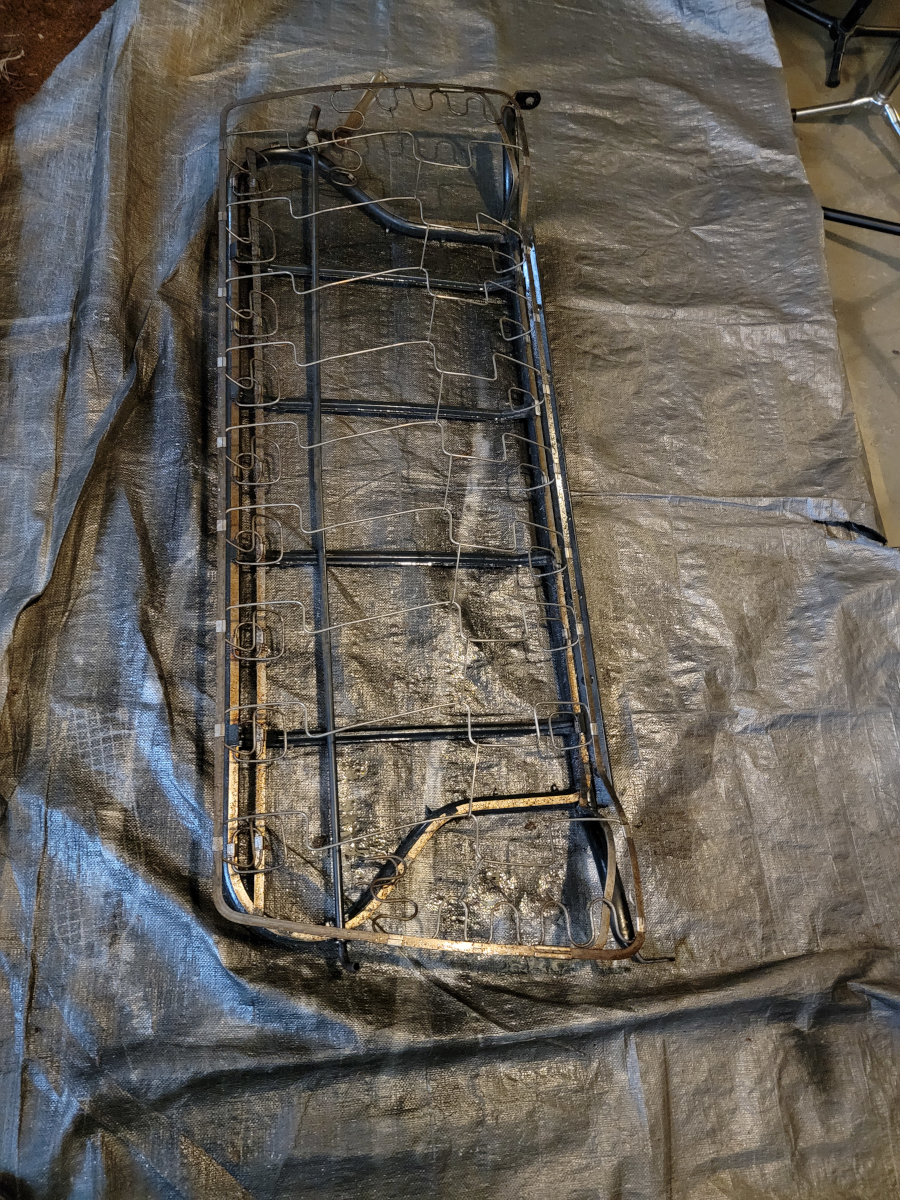
The Spring Tease has passed and we’re back into cold, wet weather, so I moved the seat refinishing operations from the front porch to the basement. I laid down a silver Harbor Freight tarp to catch some of the mess and over spray and began the process of refinishing the rear seat.
Disassembly
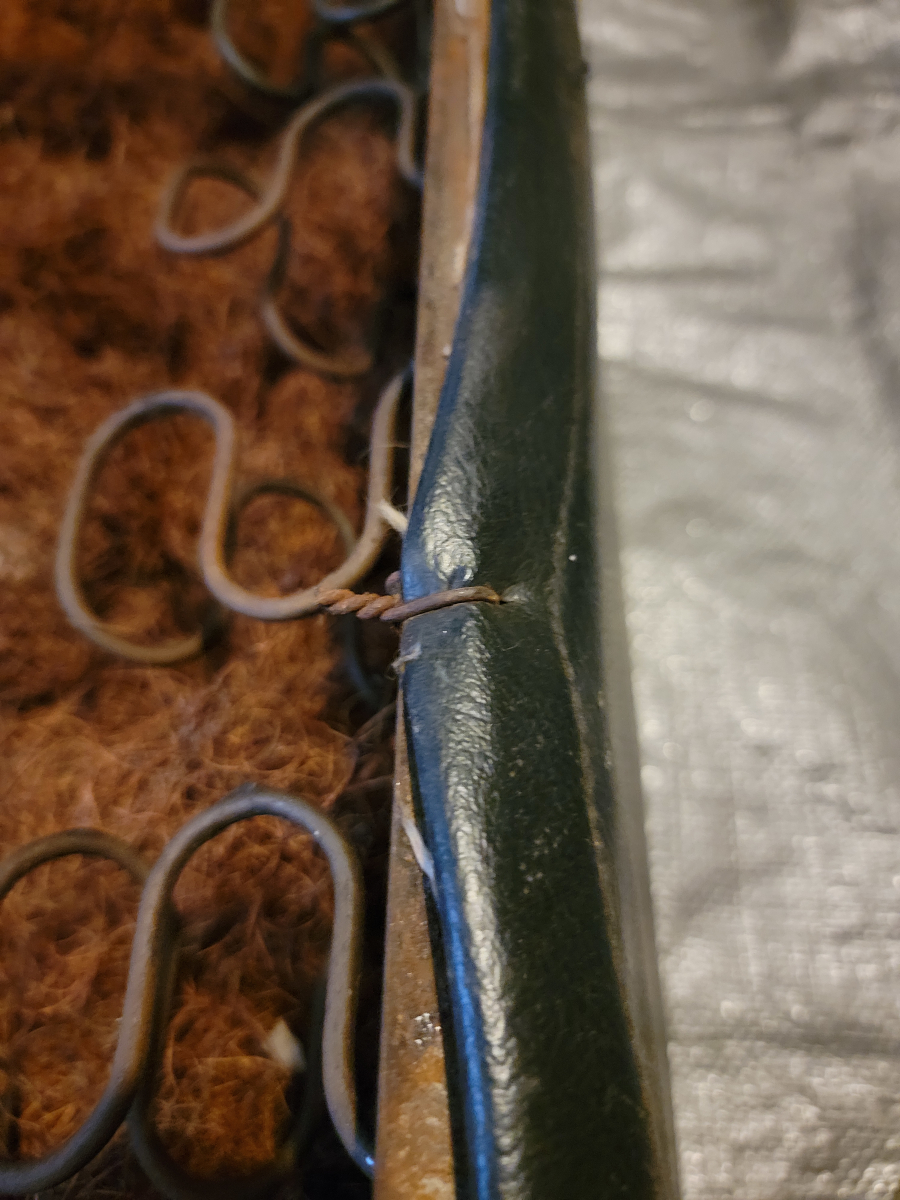
Instead of hog rings, this time, I found the seat cover held on with expertly twisted bits of mechanics wire. Lots of them.
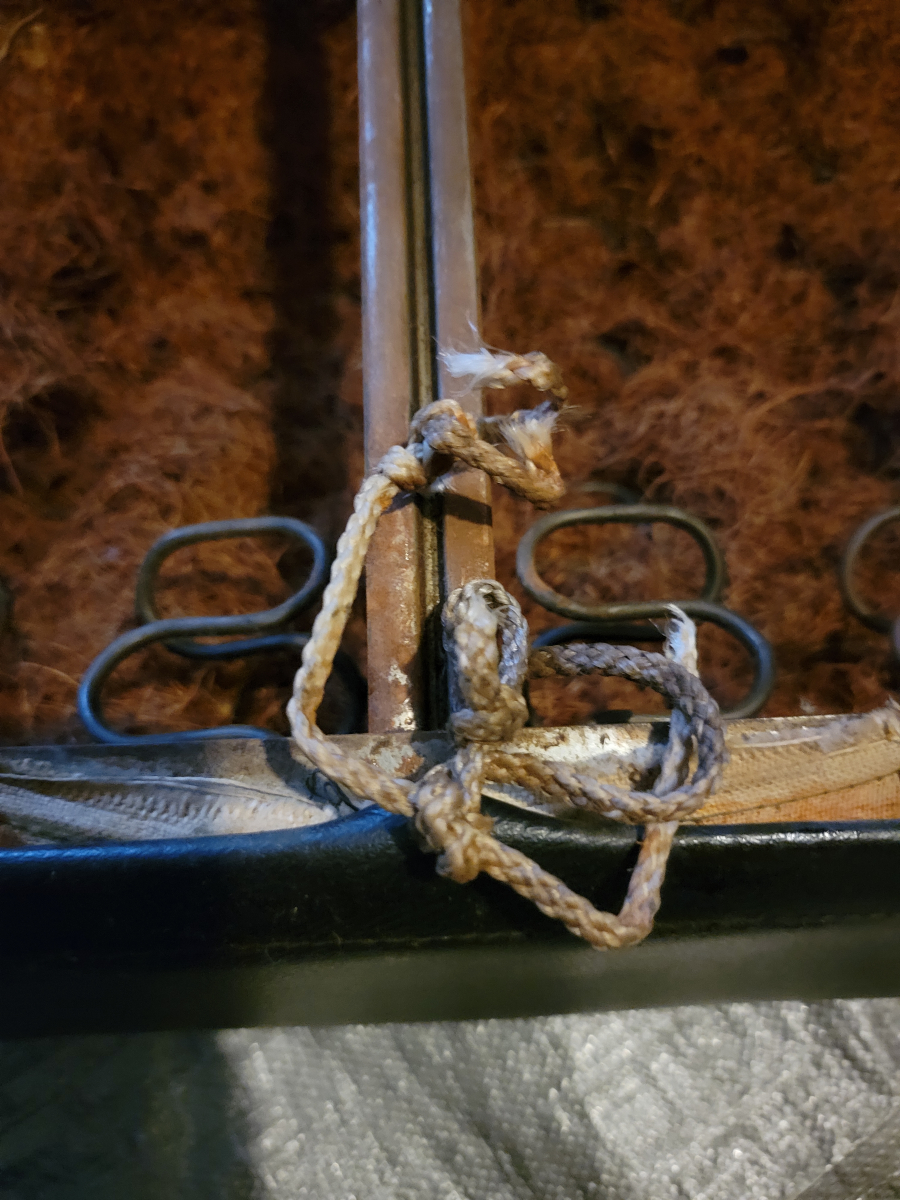
Here was another instance of that rotted rope, which pulled apart with ease. She’s nothing if not consistent.
What do we have here? Another hat on a hat!
This time, I believe the seat cover under the seat cover may have been the original. As you can see in the pic above, there are proper hog rings holding this one on.
A nice cushioned pad separated the two seat covers. It was thick and not too nasty. <foreshadowing>I need to remember to reuse that!</foreshadowing>
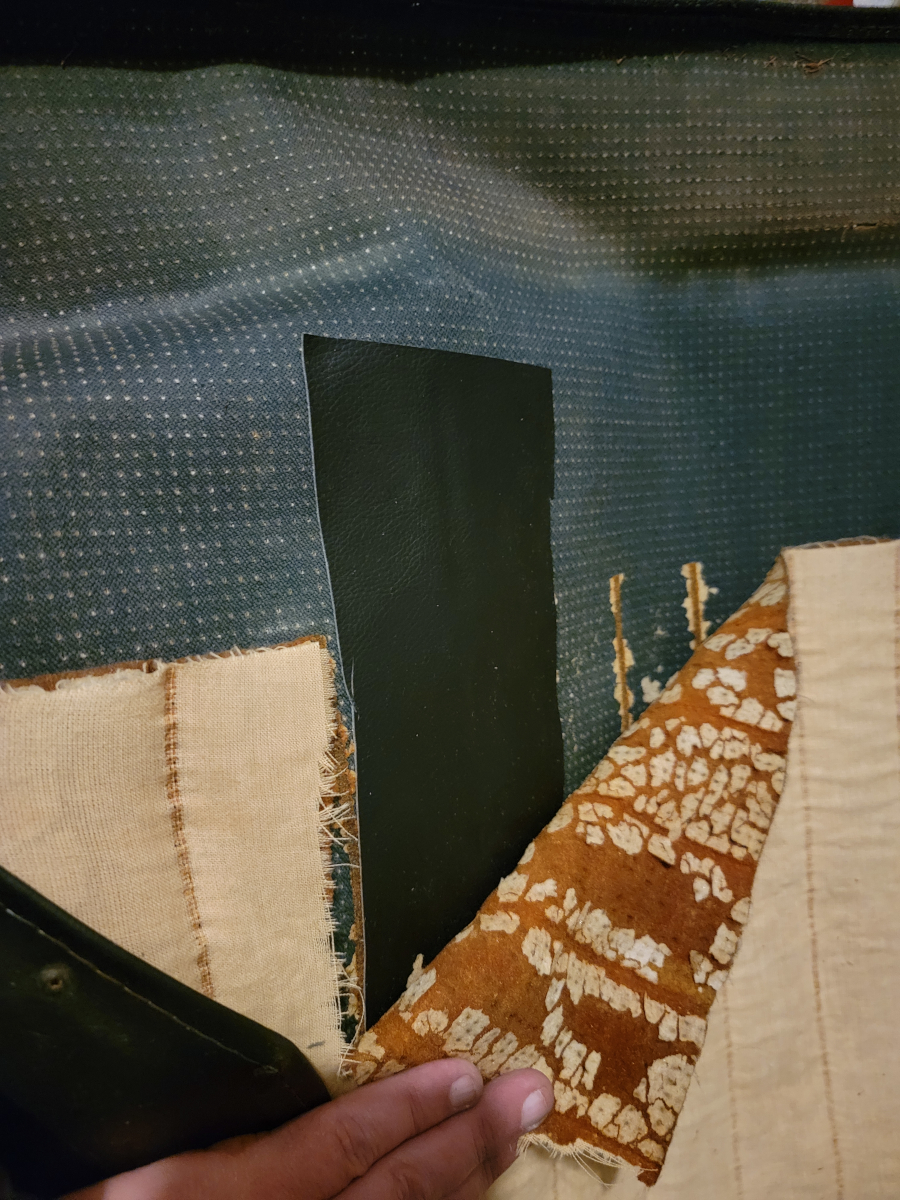
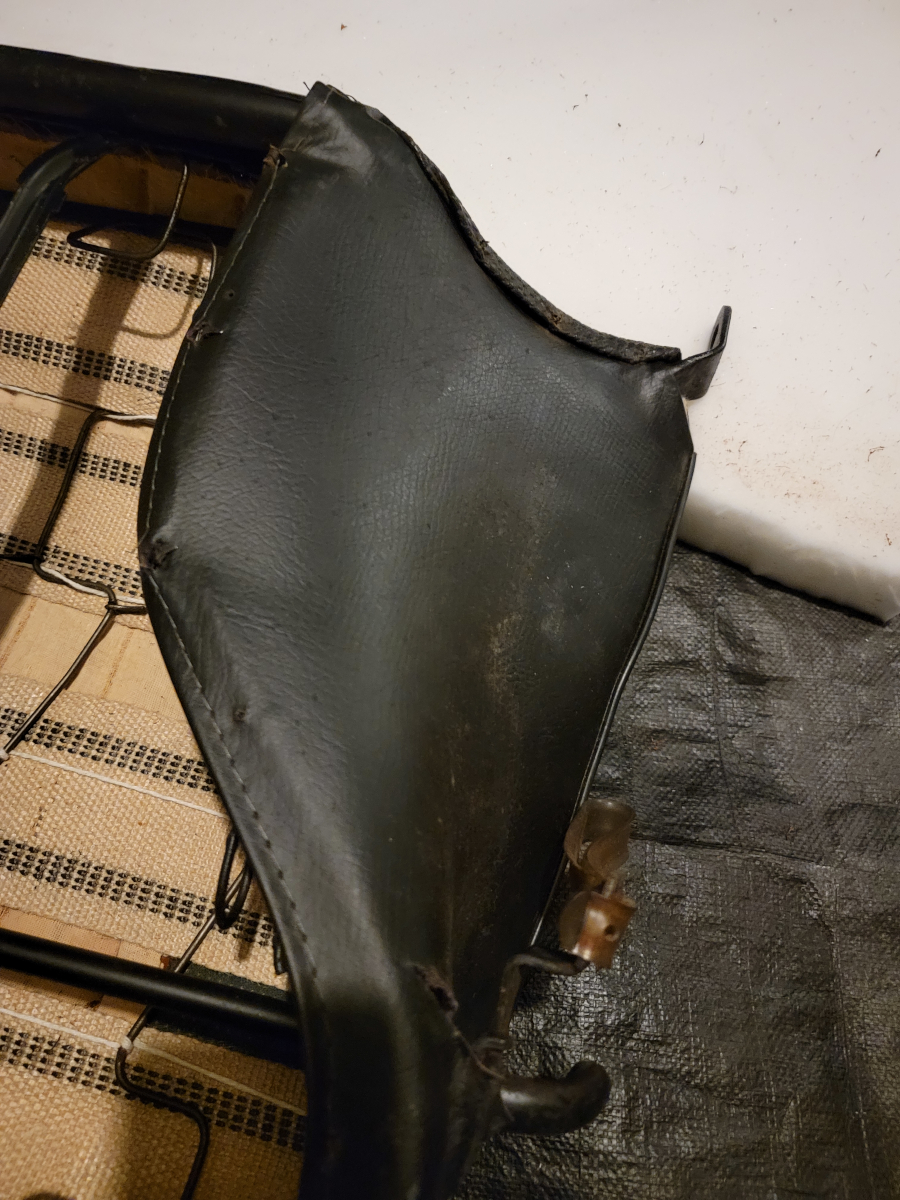
This seat cover had a white fabric back side edge. Almost linen-y feeling.
There are a couple of bad holes in the front edge of the outer seat base cover, which I plan to reuse.
Let the hog rings removal begin!
There are some more bendy spikes at each end of the seat base.
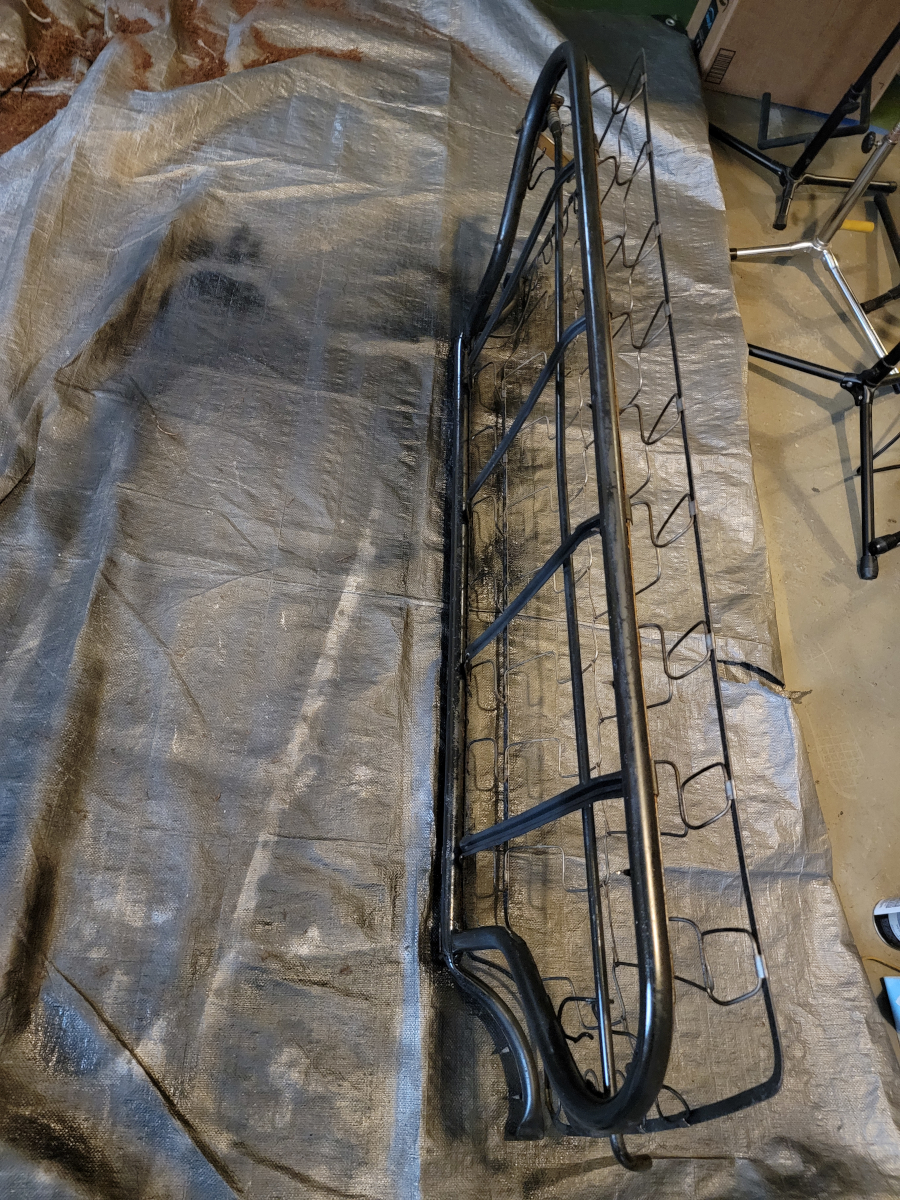
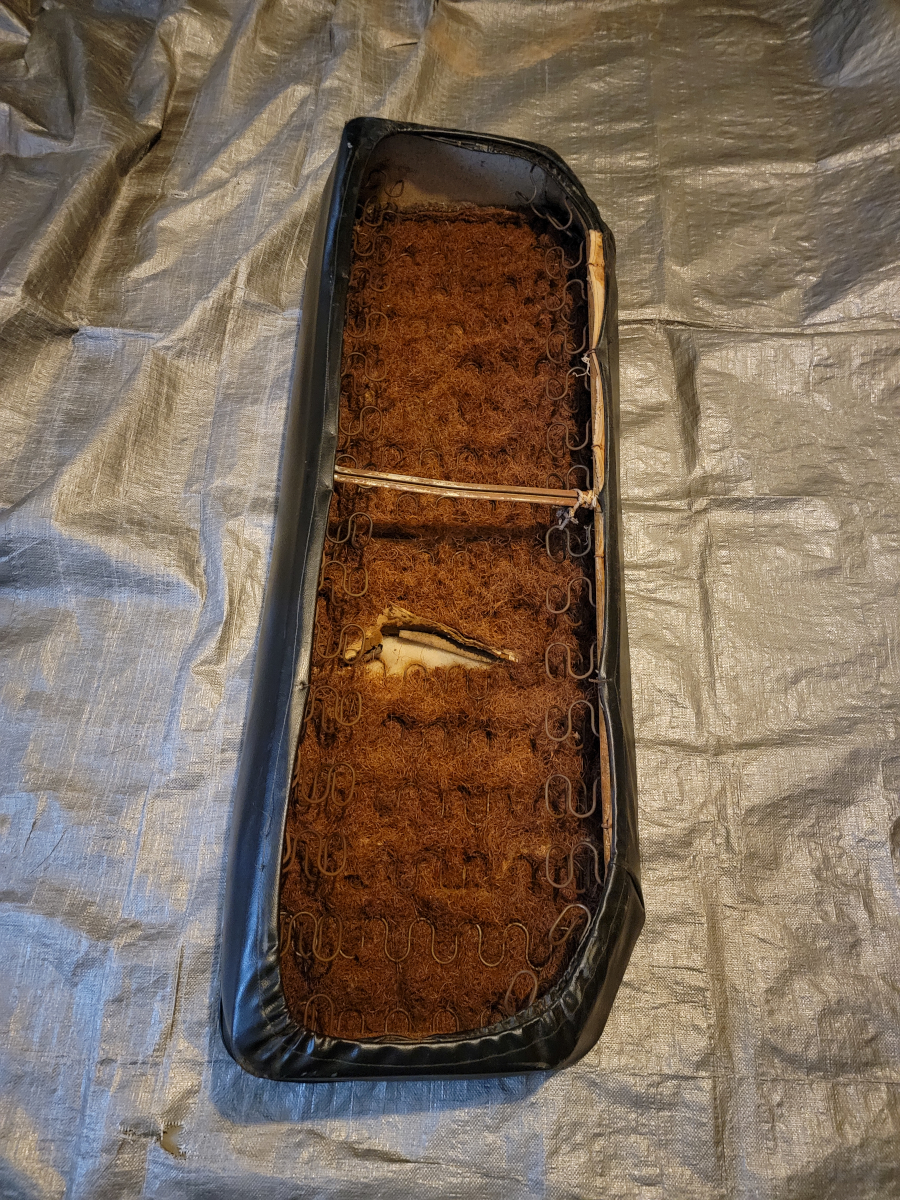
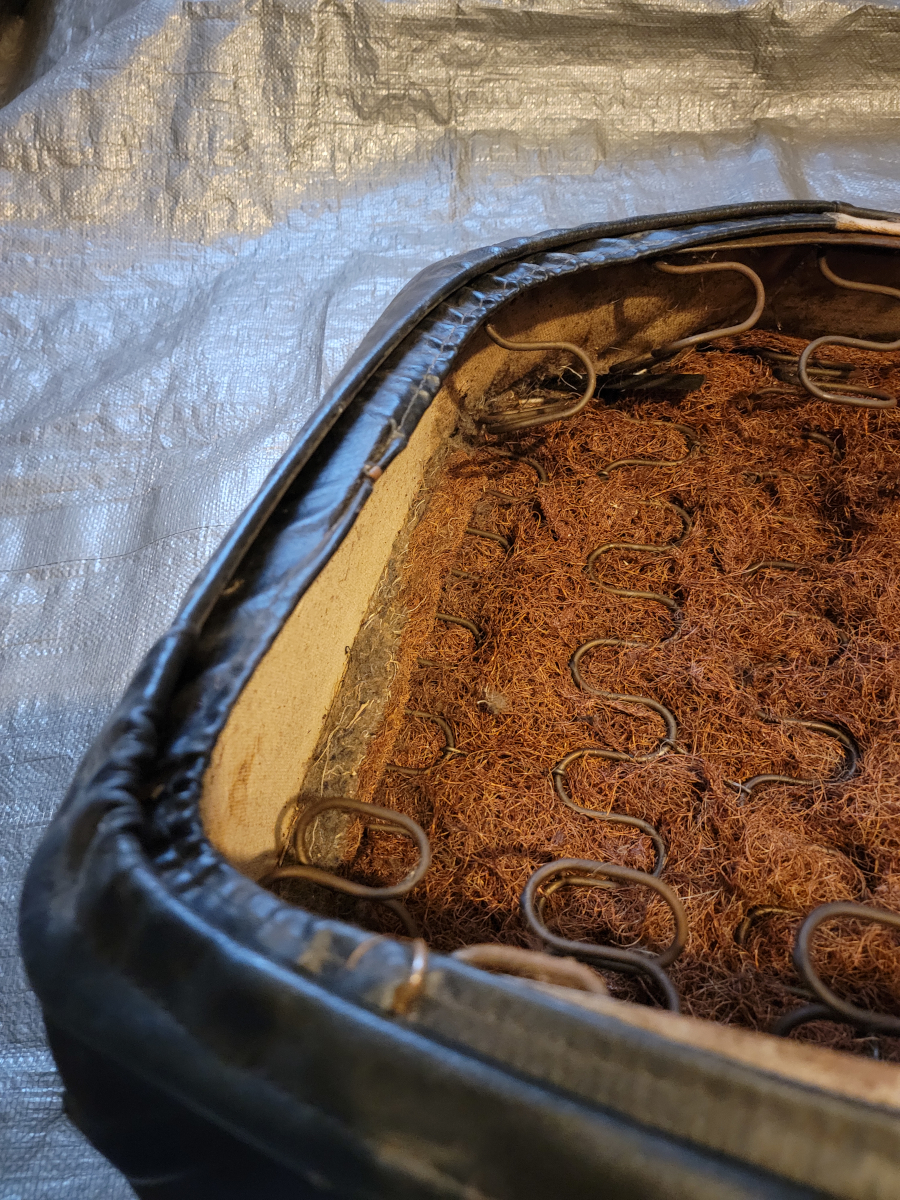
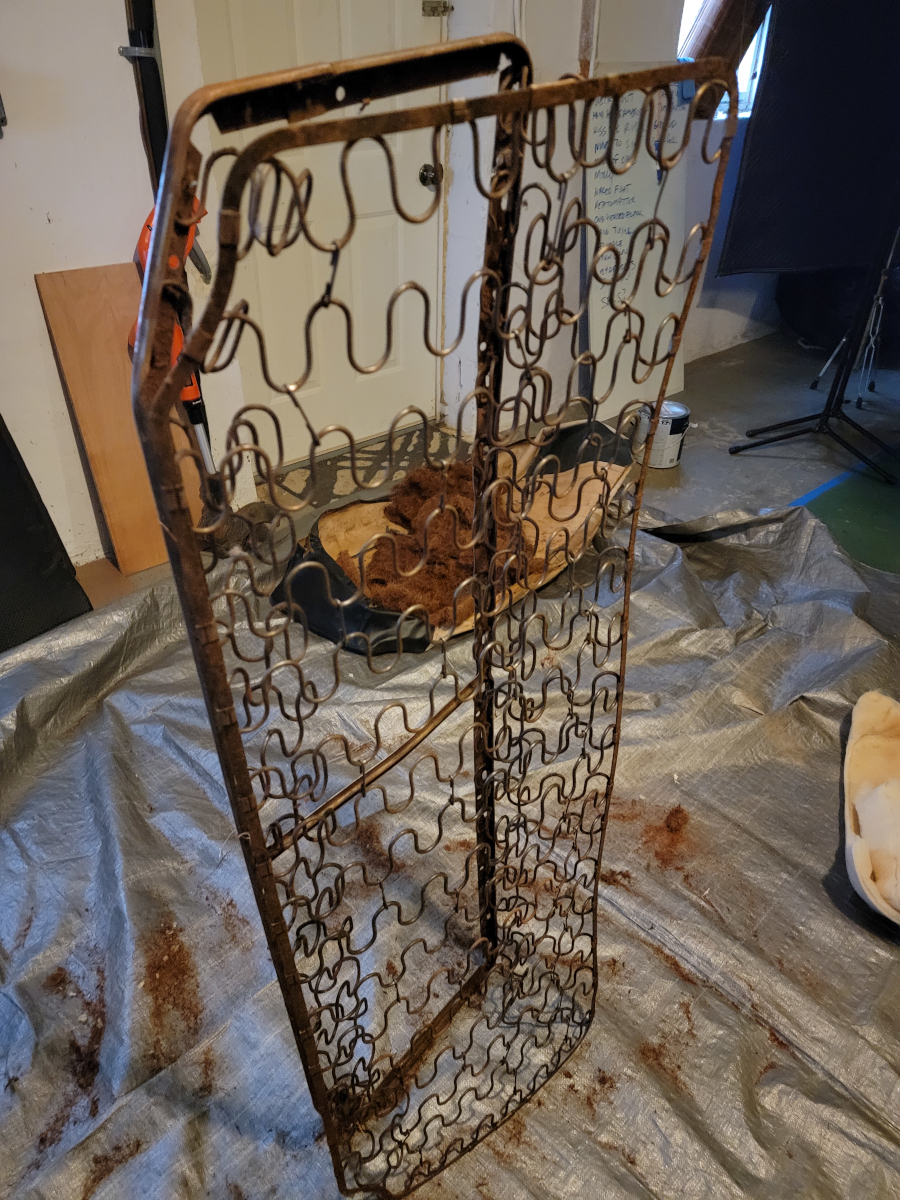
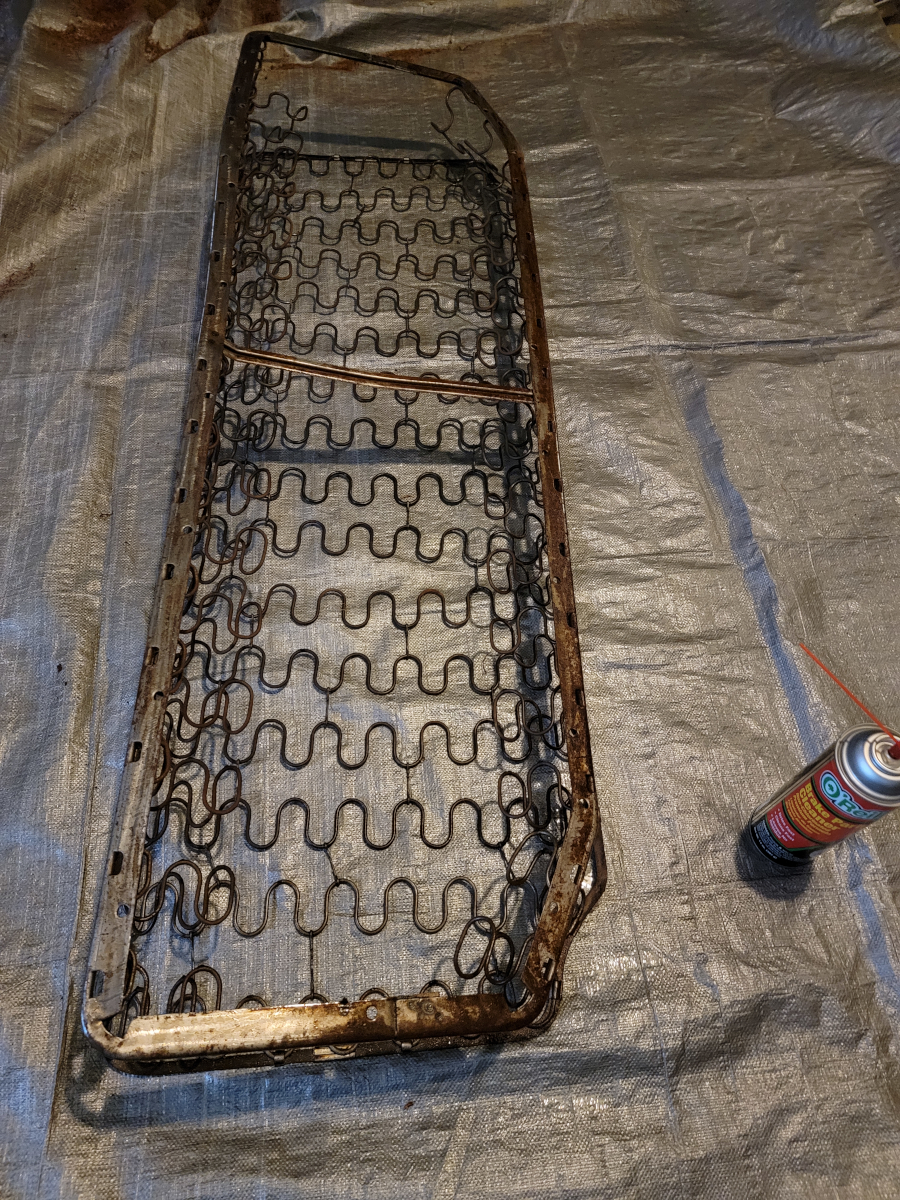
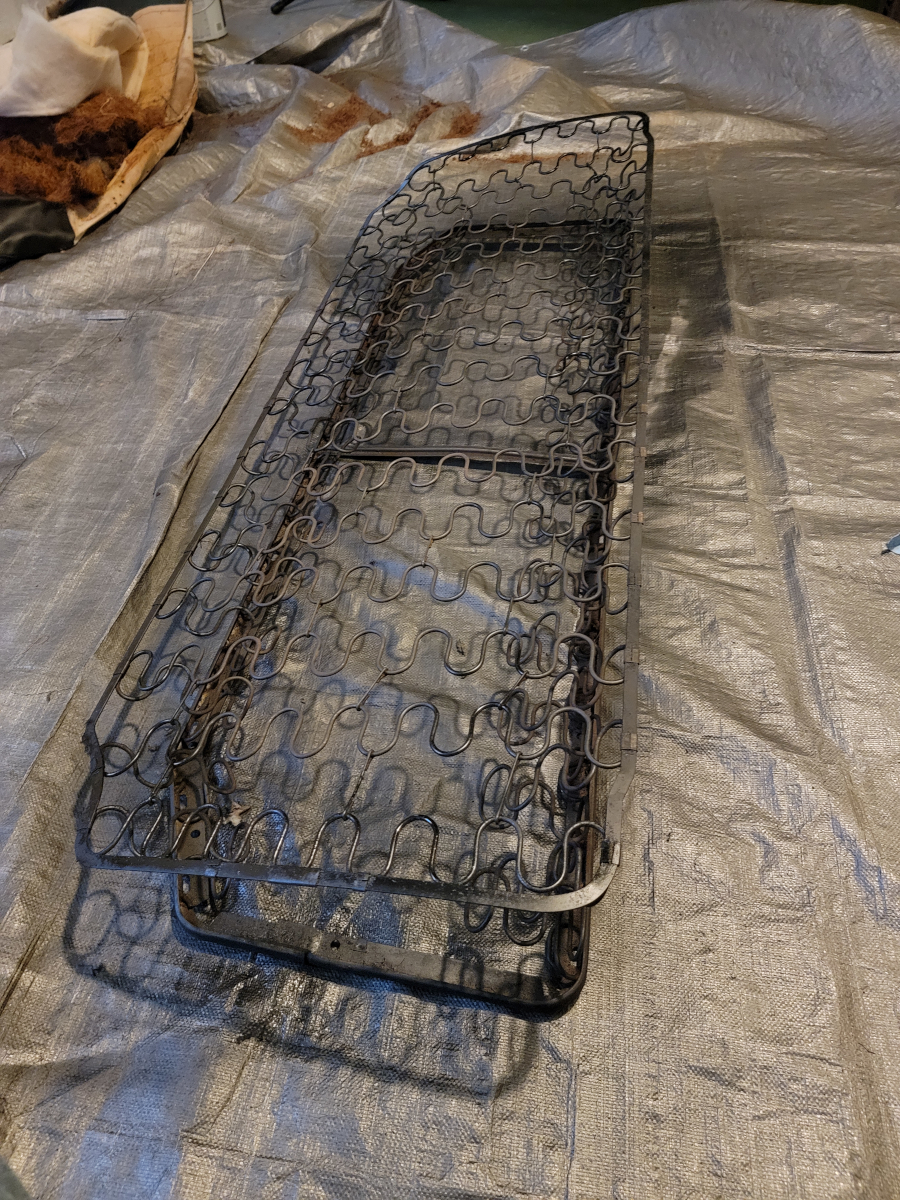
With the inner seat cover removed, it was clear to see the state of the coconut hair pad and exposed springs.
With everything removed, the seat base frame was in surprisingly good condition. A little dirty. A little surface rust. No problems.
Cleanup
Brake parts cleaner in an enclosed space is no joke. I opened the laundry room window to let in some fresh air for a couple of hours, but I could smell it throughout the house for a couple of days after.
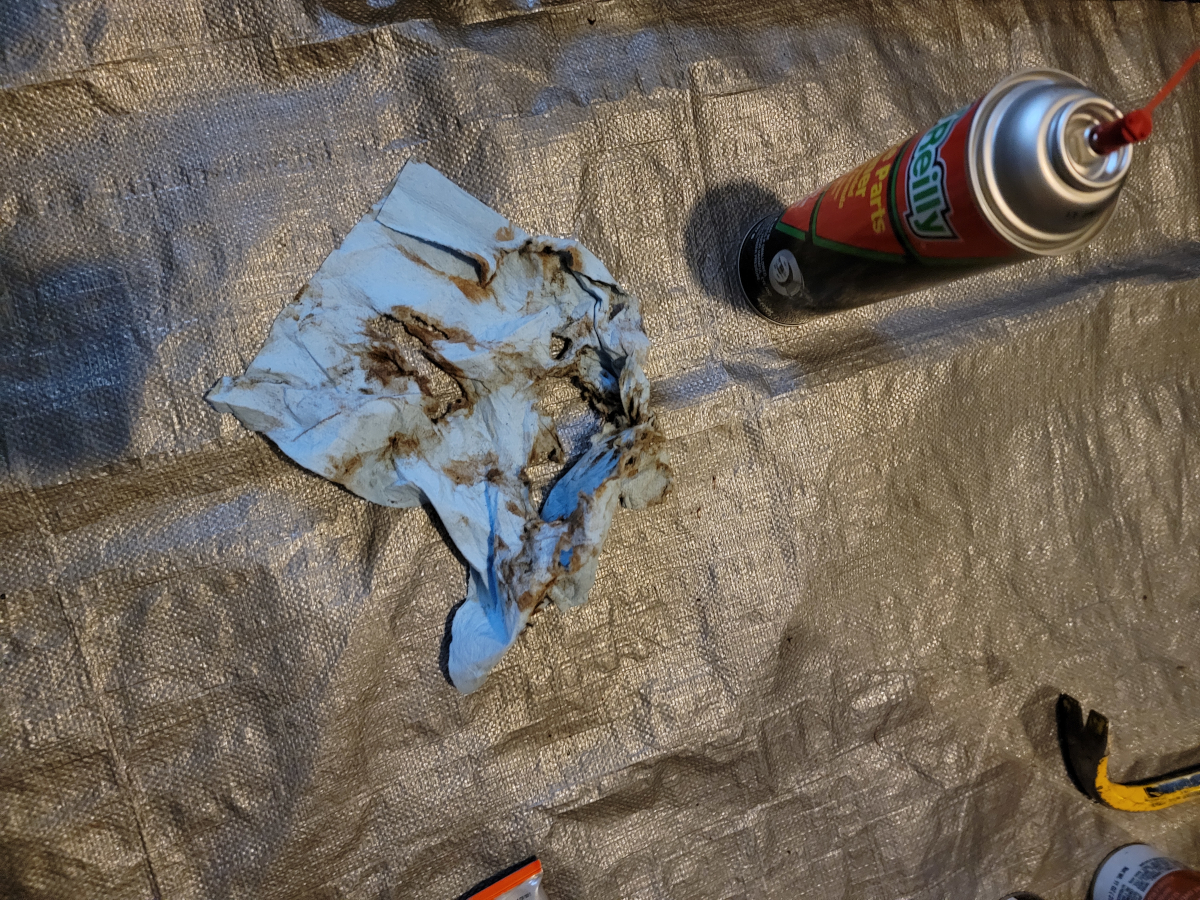
I wiped it all down with a blue shop towel, which didn’t do a whole lot, aside from shredding the paper towel.
Rebuilding
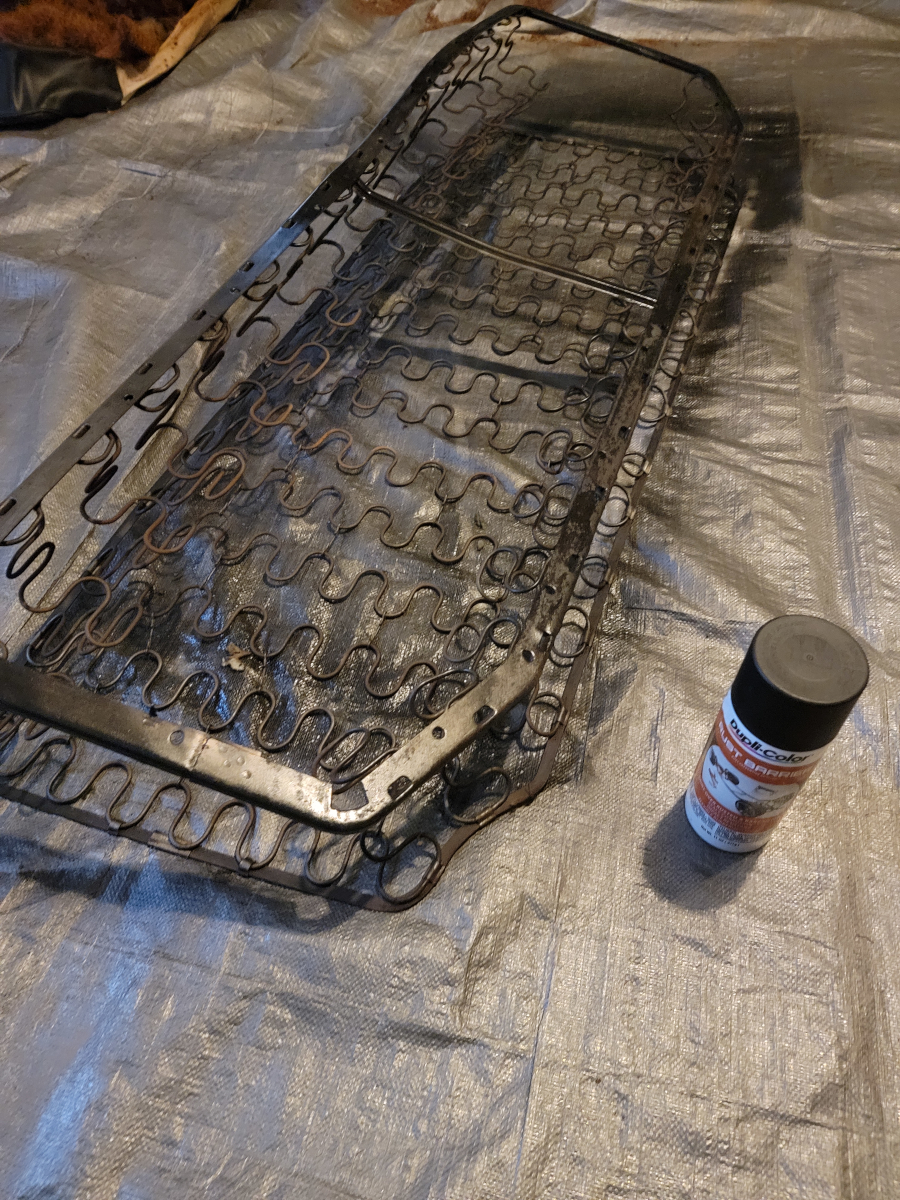
Once the brake parts cleaner dried up or evaporated or whatever, I put a quick coat of rust barrier spray down.
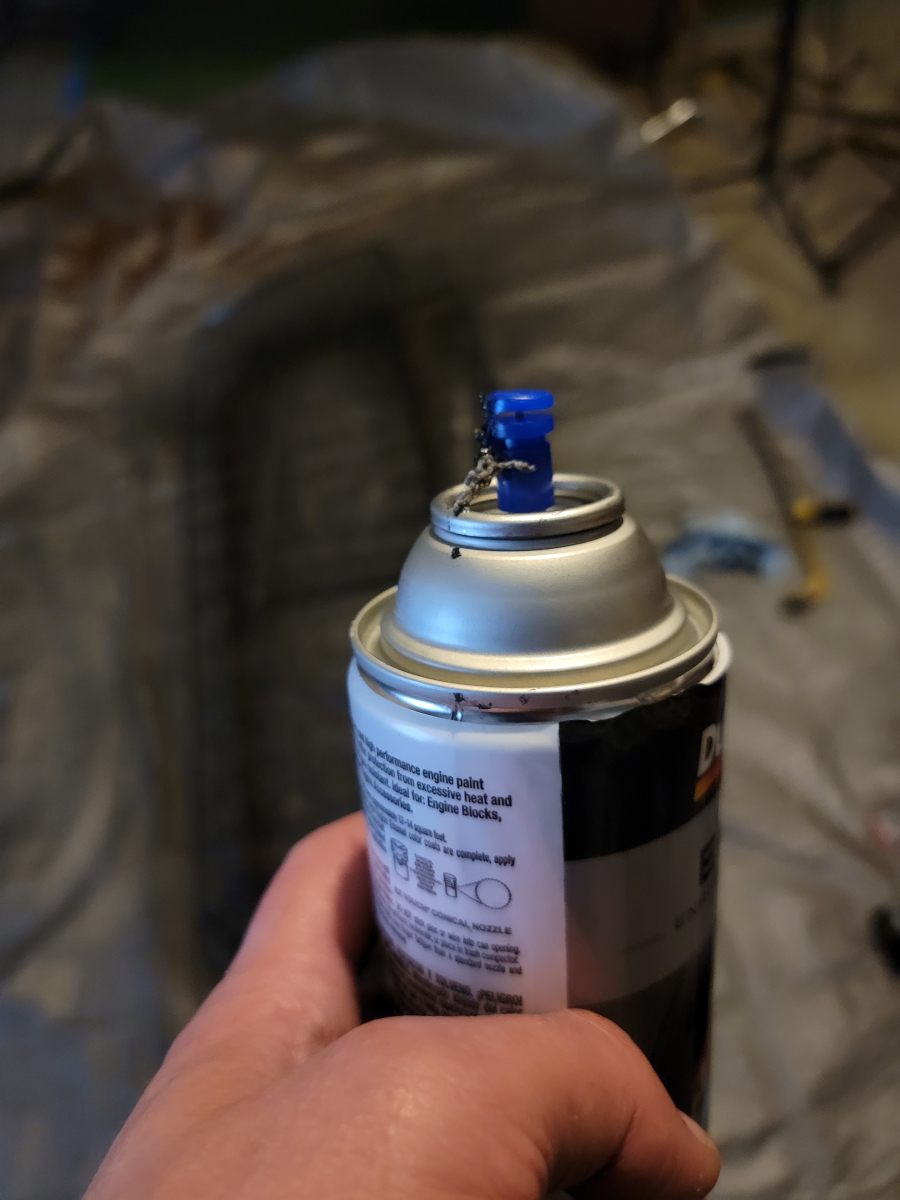
Once that had a chance to dry, I went back over it lightly with some engine enamel and was quickly reminded about the silly string situation.
But it covered pretty well regardless.
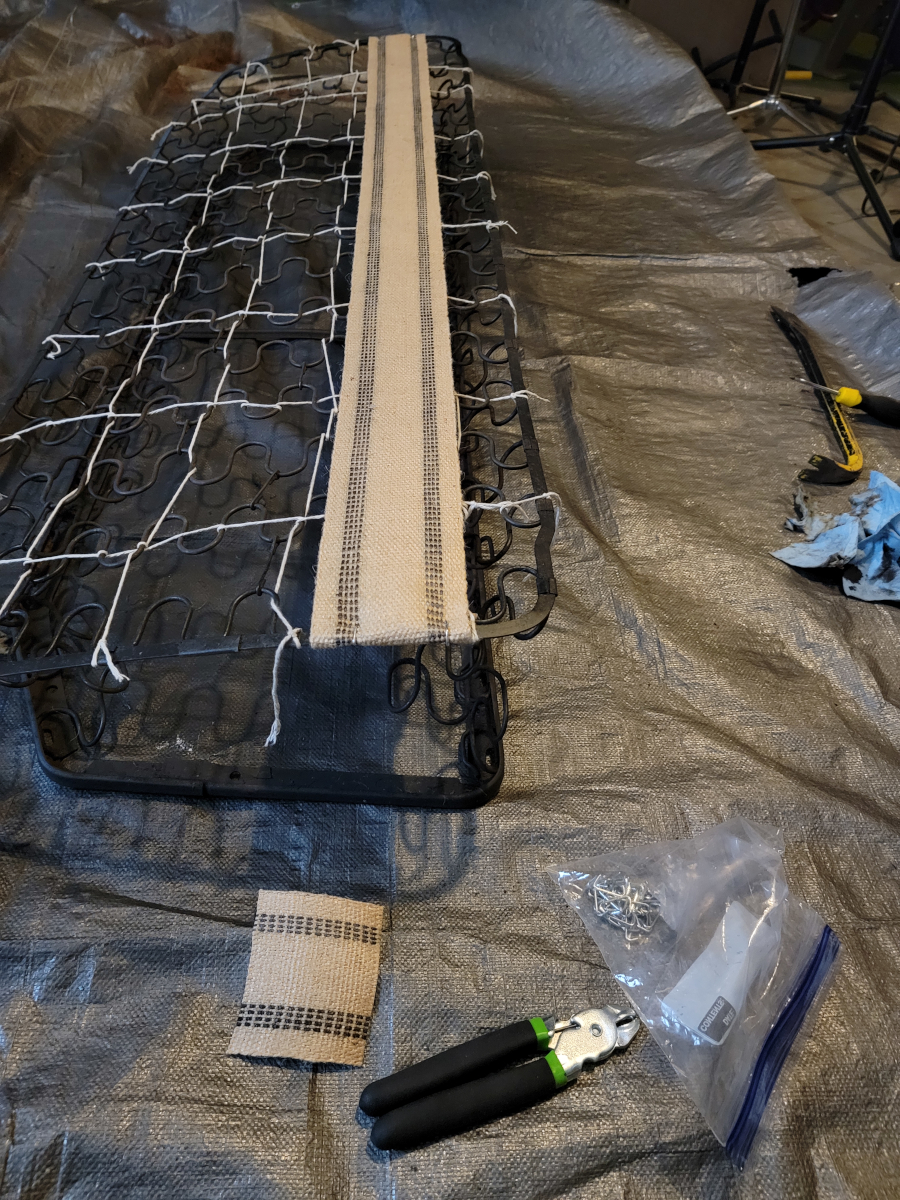
Now, it’s time to weave back through with the twine!
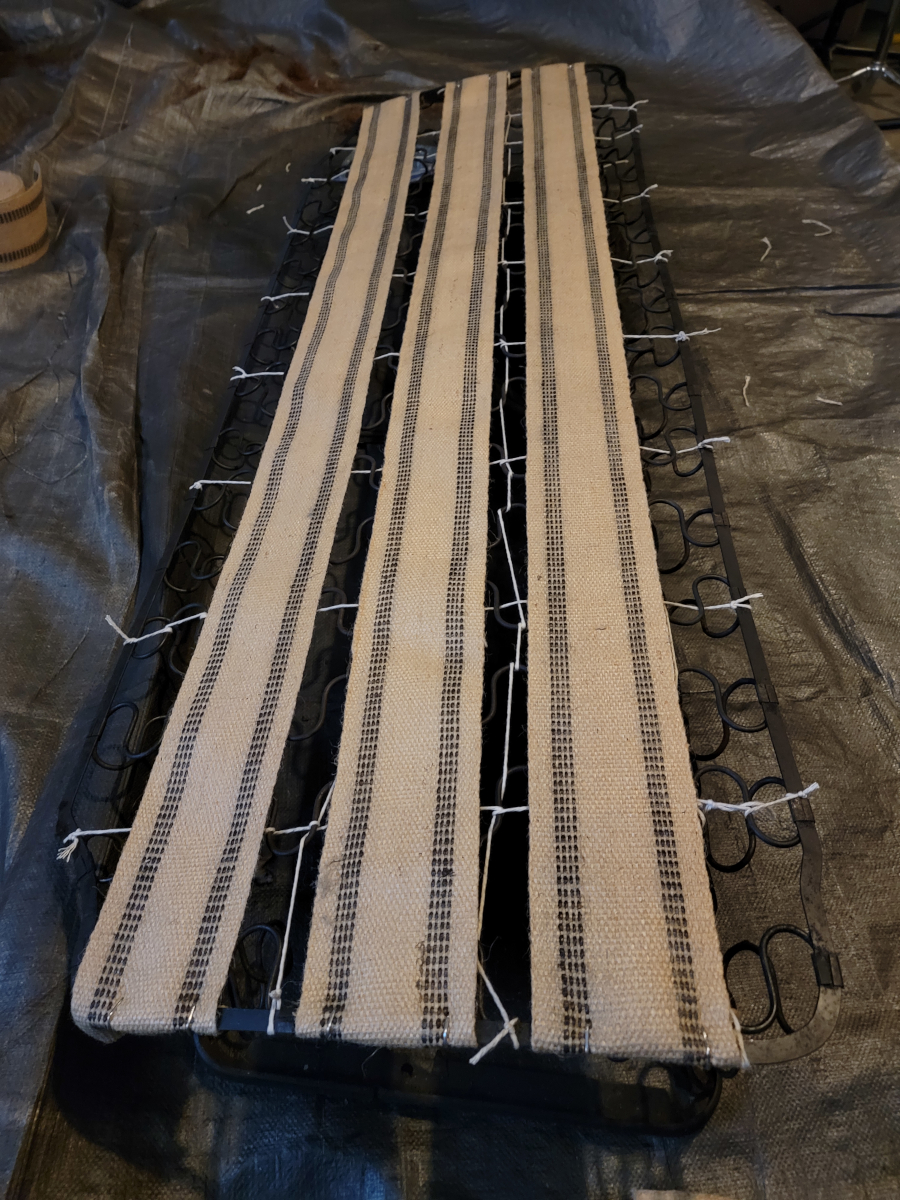
And then the jute webbing. The remainder of the first roll I bought was enough to cover the length once.
Second roll engaged!
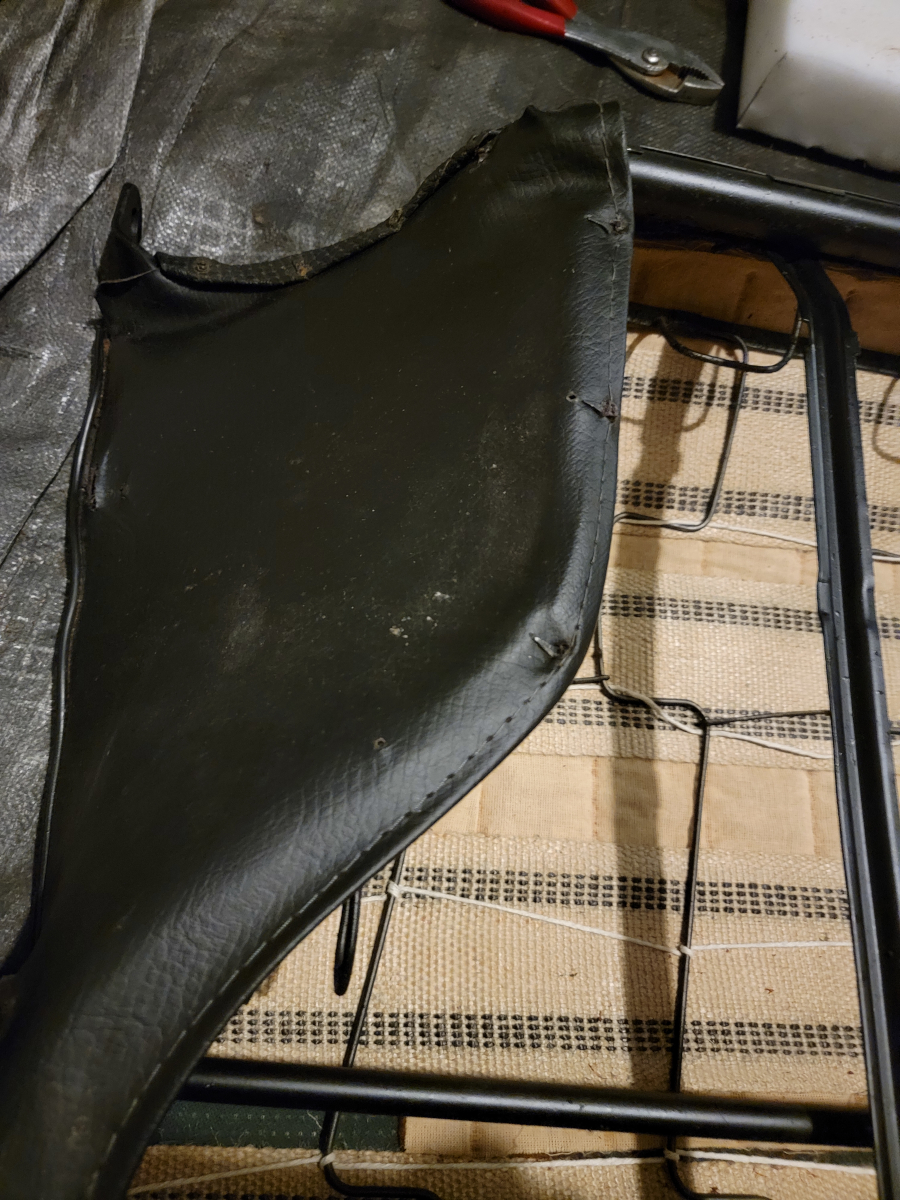
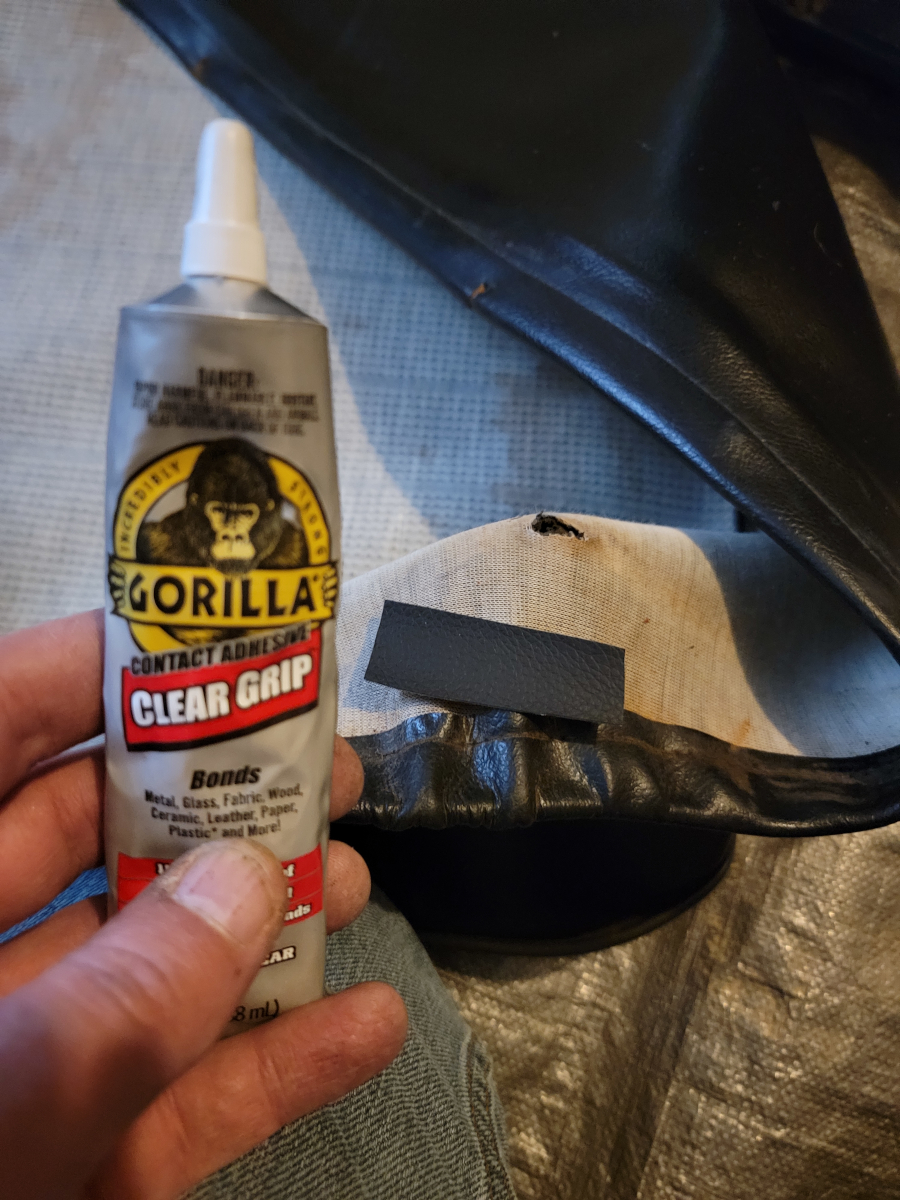
Seat cover patching
Now, it’s time to move on to patching that holy seat cover. The bulk of my remaining vinyl roll has been dedicated to recovering the dash pad, but I do have enough left over to patch these bits up.
These front corners take a lot of abuse, since the rear seat base is just a friction-fit in the frame.
I squirted some more glue in between the layers from the front and smooshed it around.
There was only enough of the high density foam roll left to cover about a third of the seat base. I took the rest out of the new roll and they married up fairly well.
Reassembly
It was a bit of a stretch to get the seat cover on over the new foam, but I got it there eventually and pinned the end spikes over.
I didn’t have enough hog rings left over to do the front and back edges up properly and that would have taken all day anyway, so the next best solution is always zip-ties.
I even managed to use all black ones. Barrett-Jackson, here I come.
I’ll just leave this over here until Actual Spring has sprung.
Also, I completely forgot about that nice cushion pad I mentioned earlier.
As an Amazon Associate I earn from qualifying purchases. I also often provide links to products on other sites that do not provide affiliate income.