
In what I promise is the last post about refinishing the seats, we move on to the rear seat back.
Disassembly
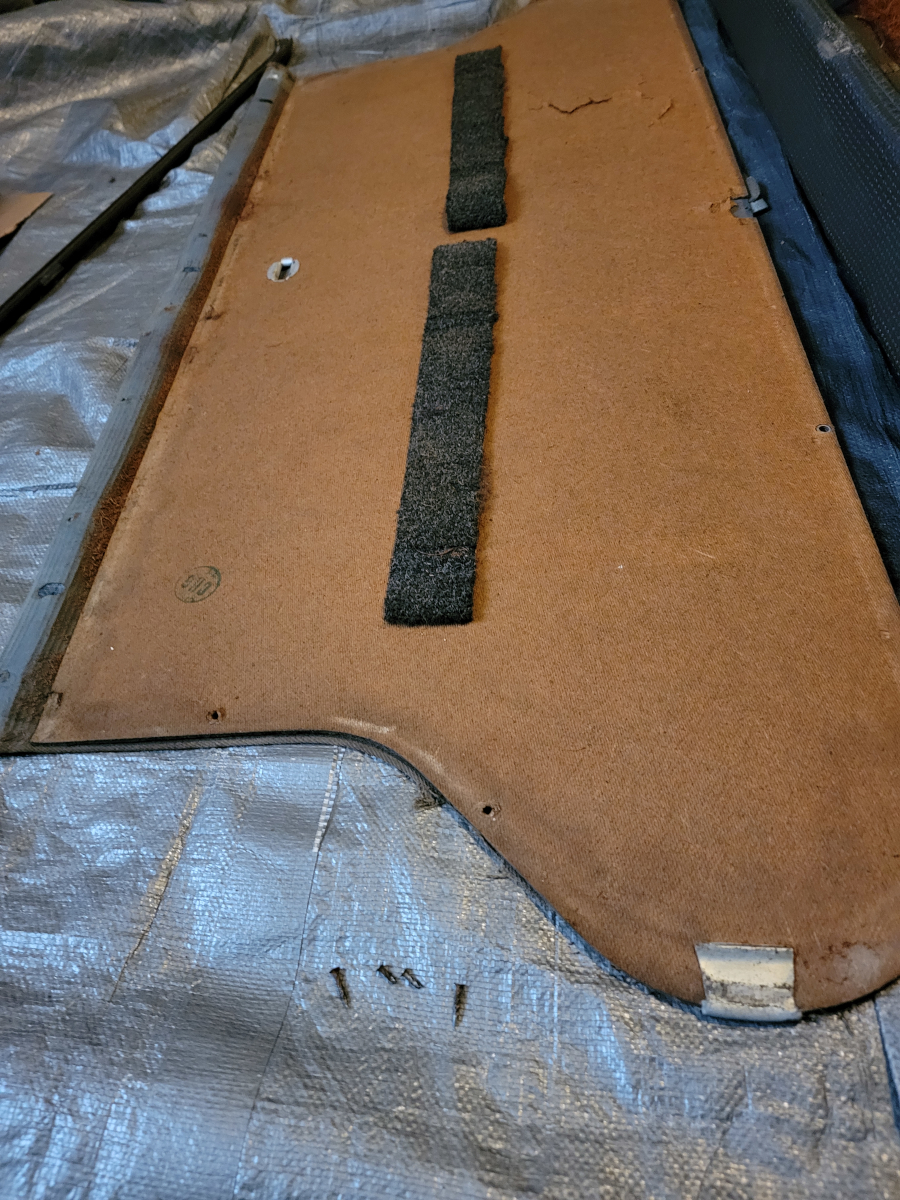
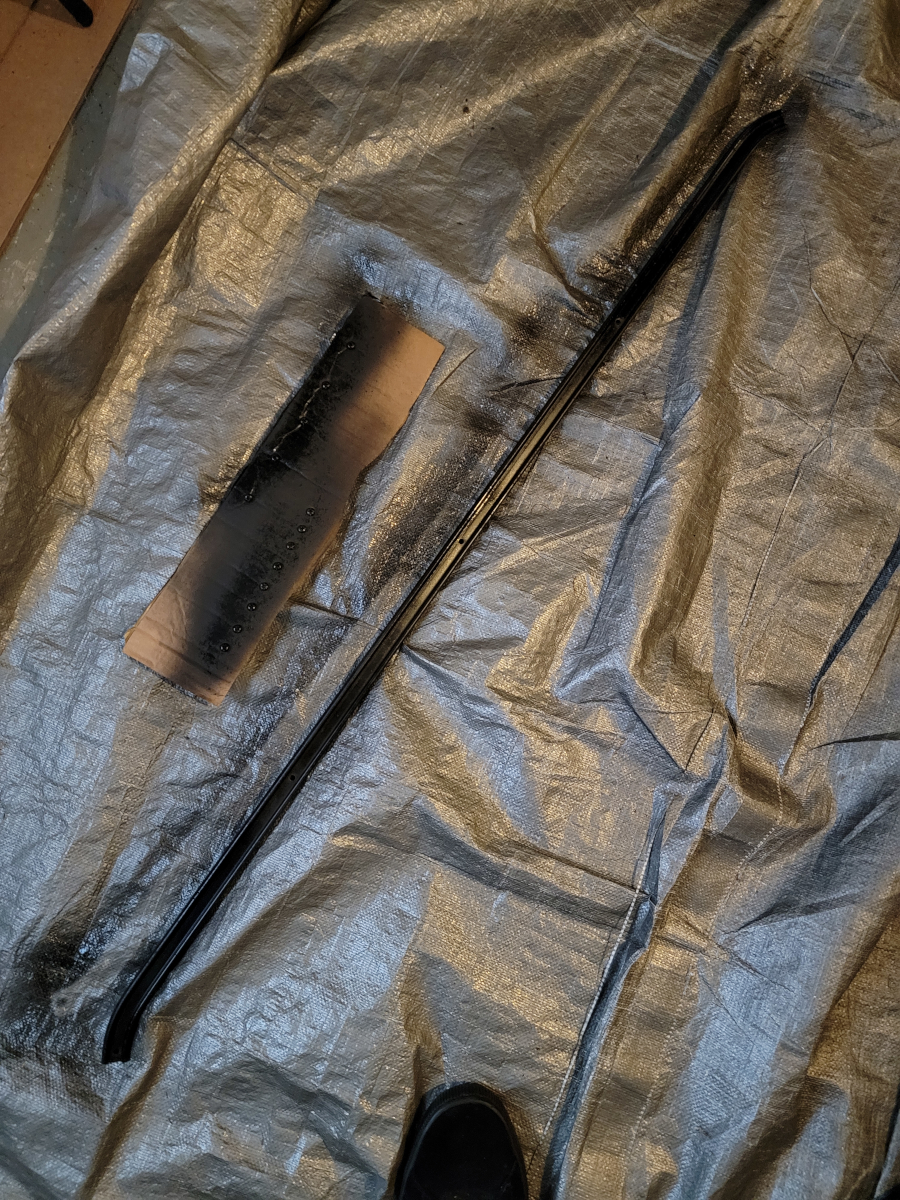
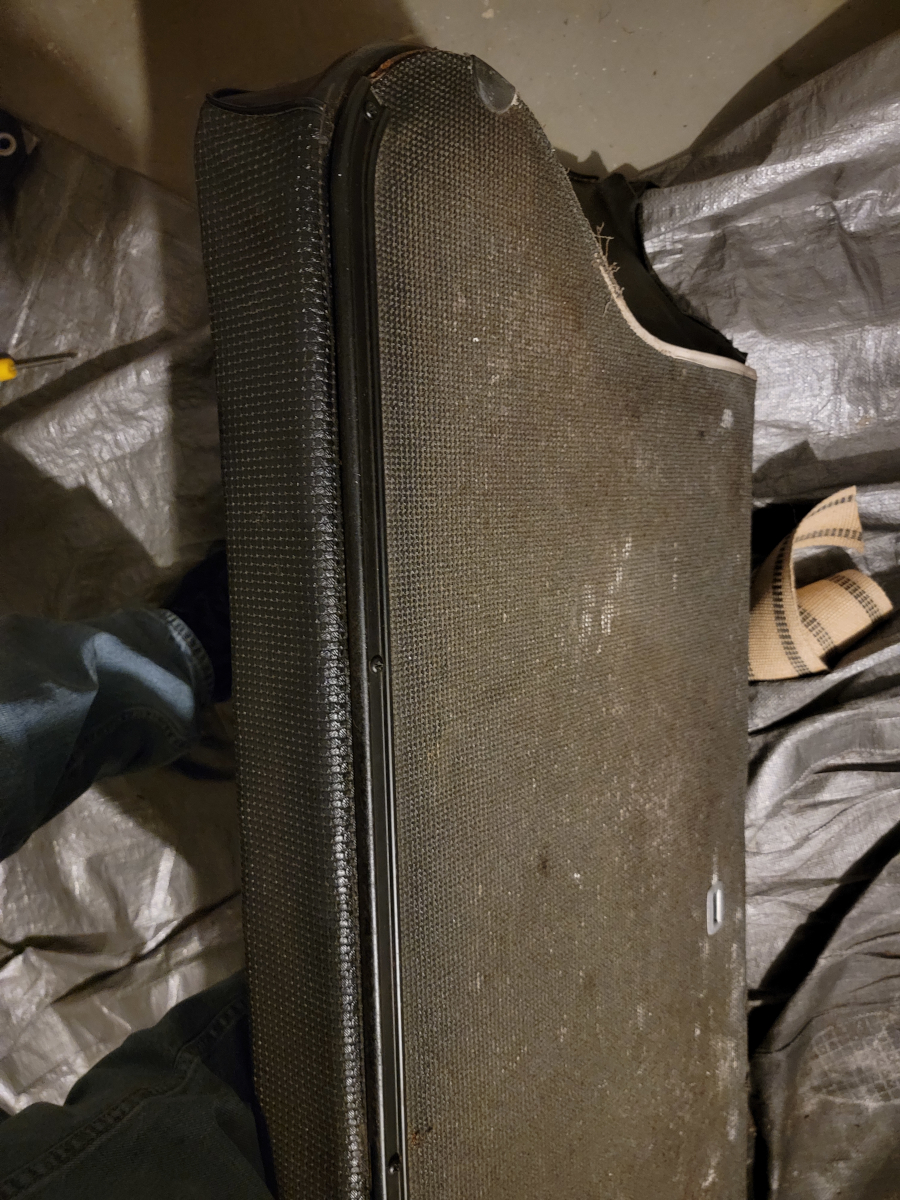
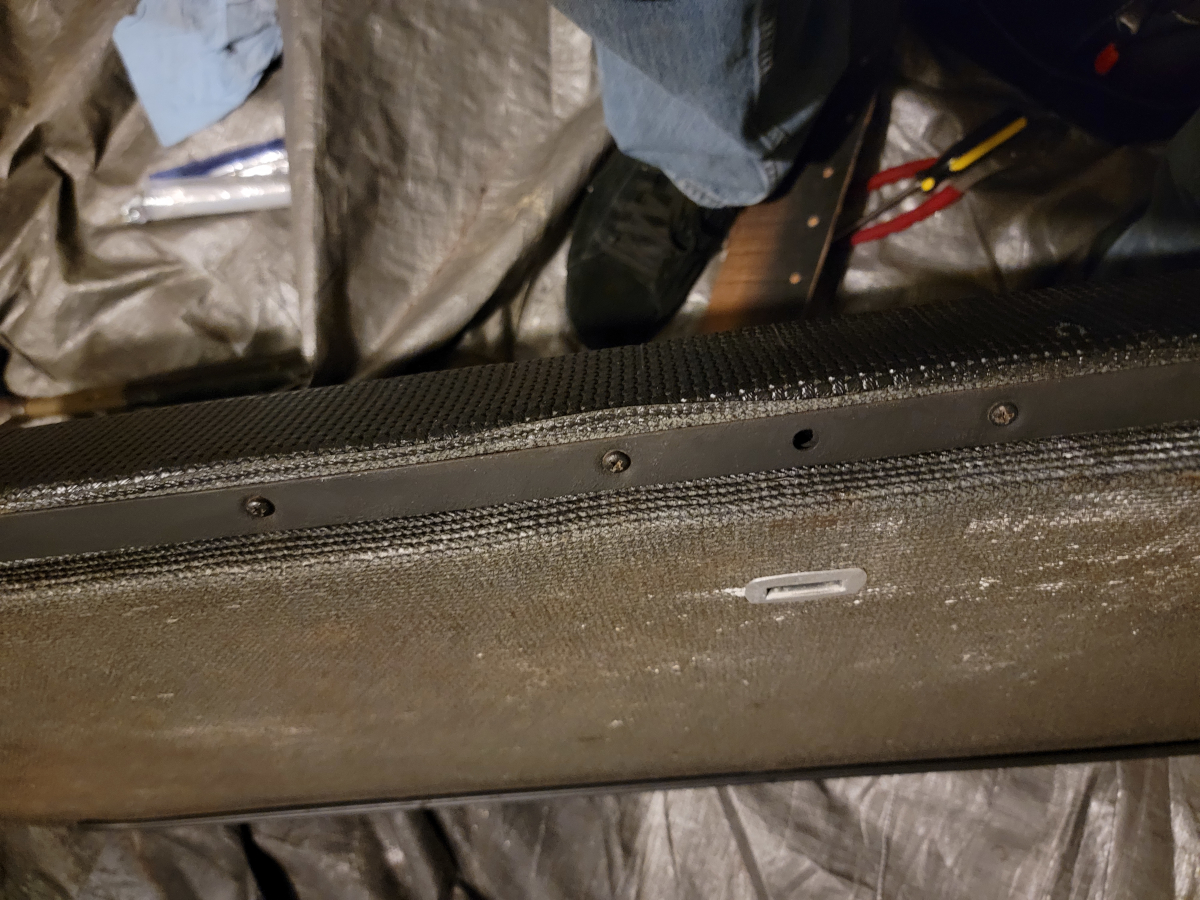
It is closed back, kind of a fiber board material with a vinyl coating on the outside. There are metal trim pieces screwed on to the top and bottom edges.
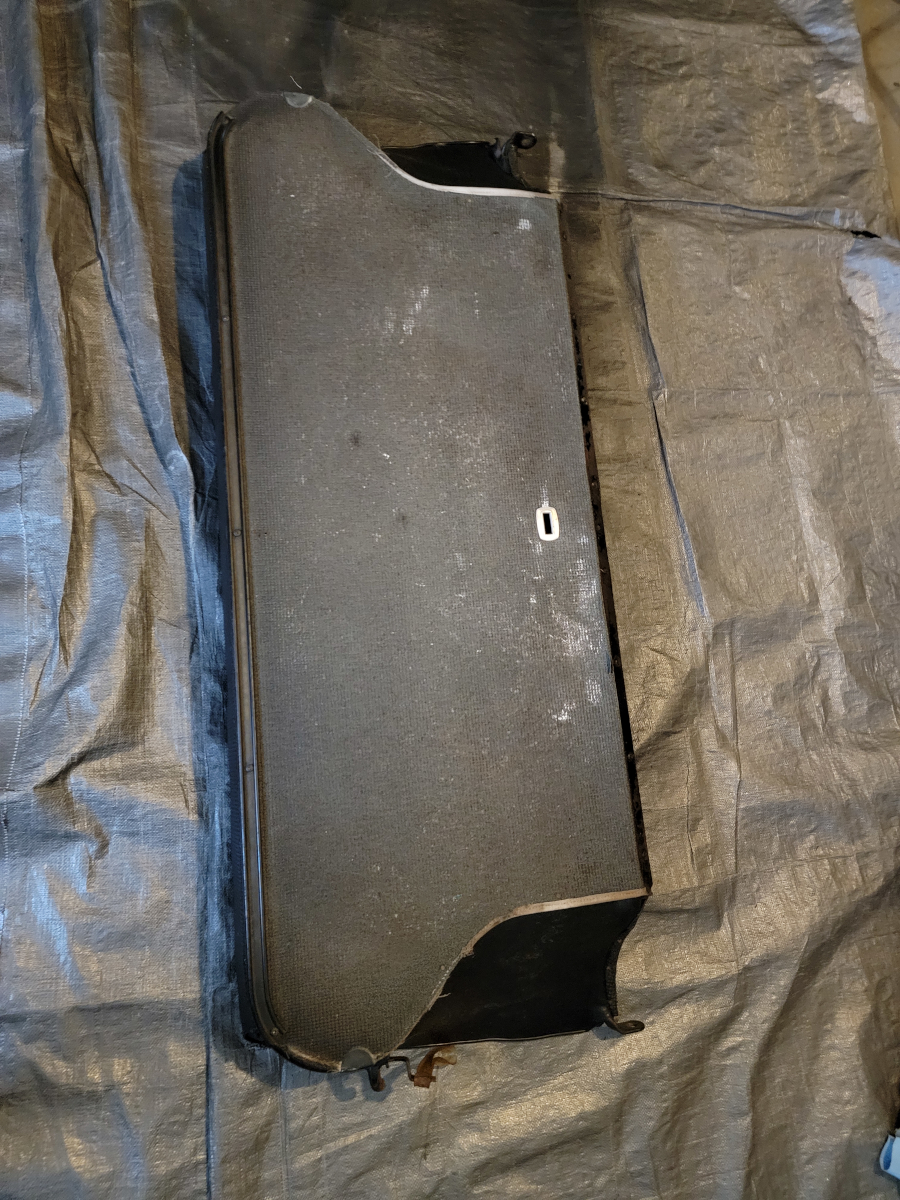
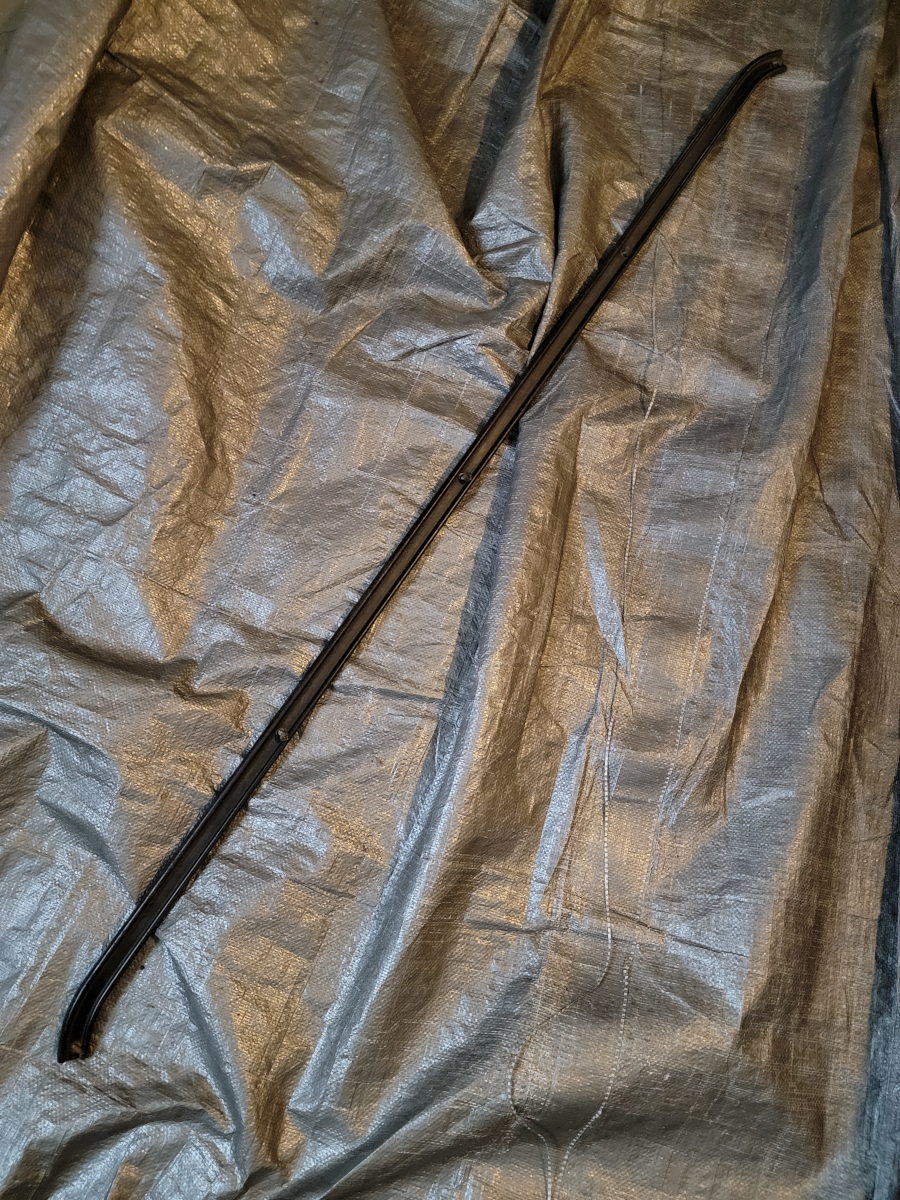
They unscrewed easily enough. The top one is clearly aluminum or some other non-rusting material…
While the bottom one… Not so much.
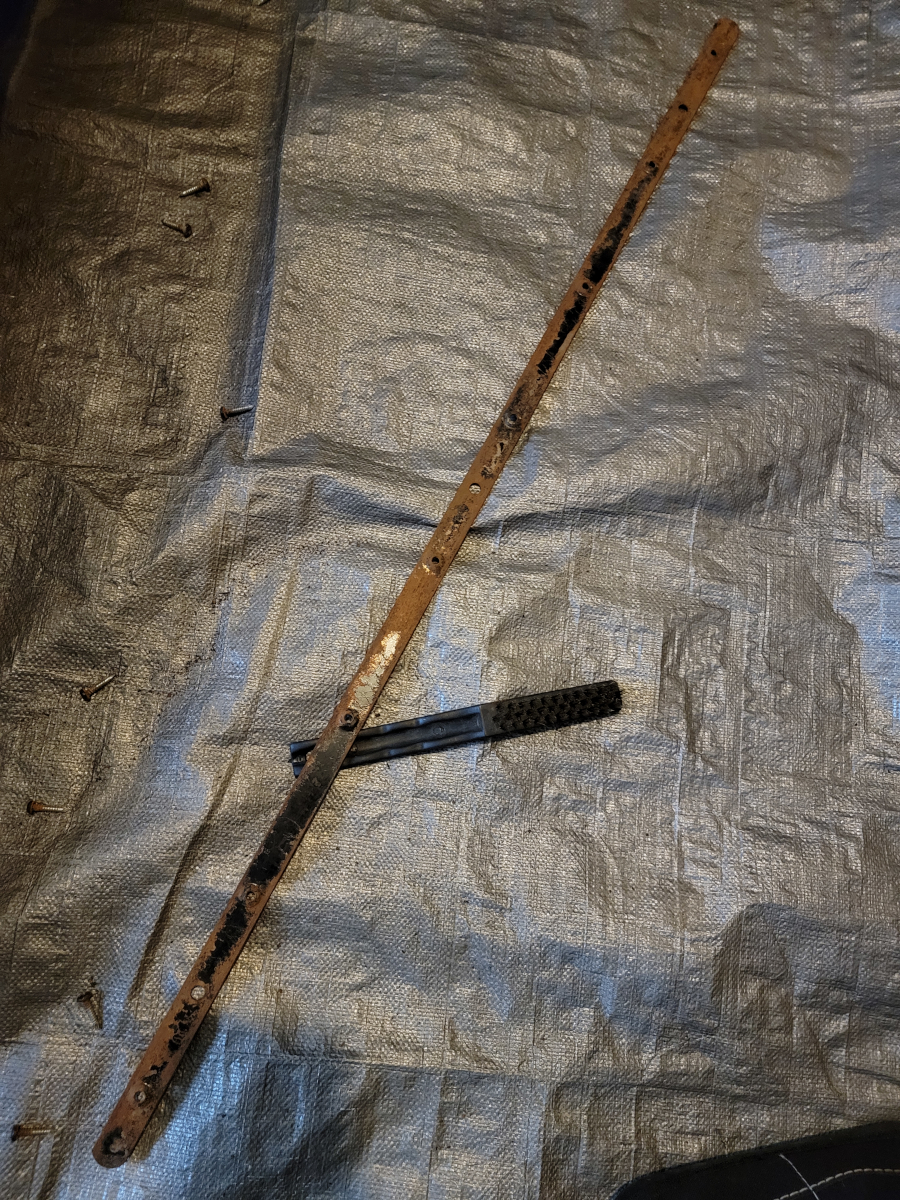
I scrubbed it with a wire brush, sprayed some brake parts cleaner, and wiped it down.
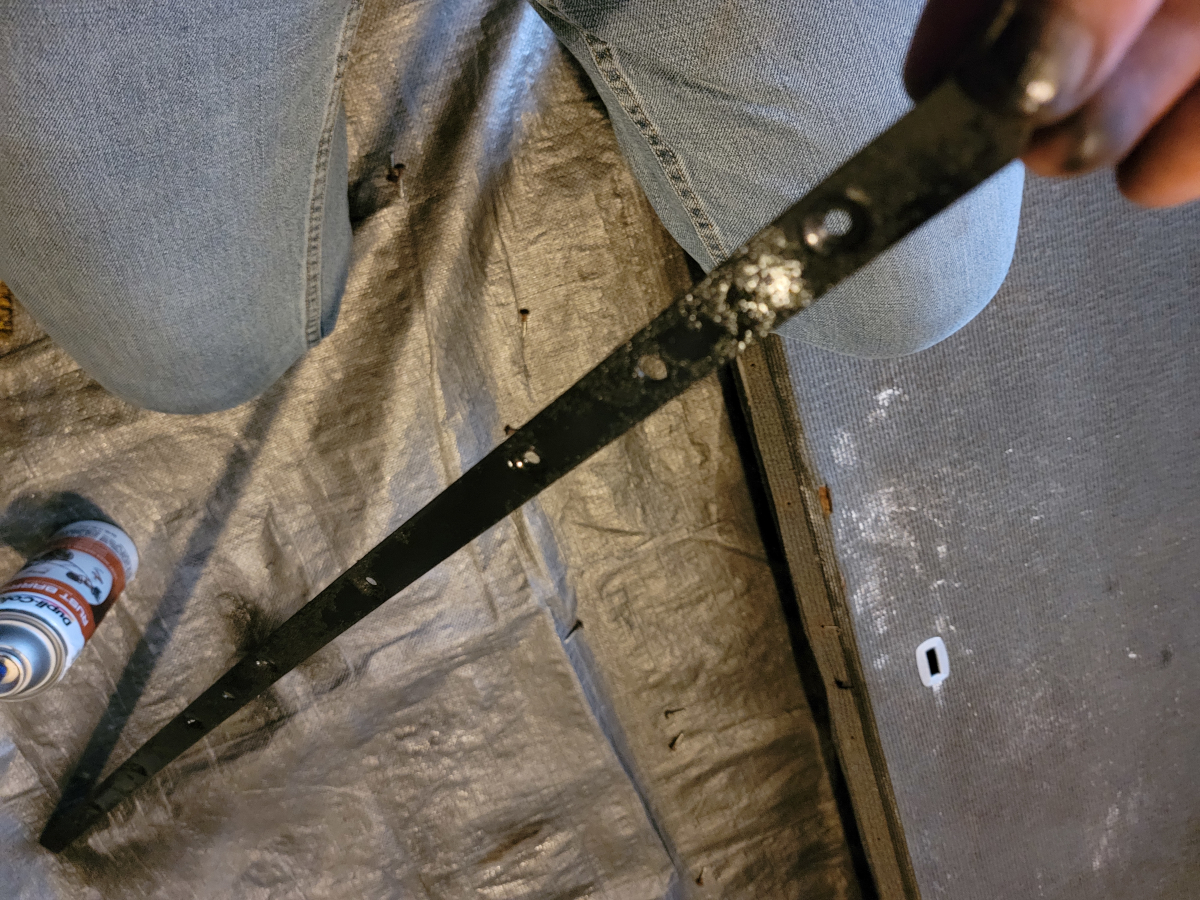
And sprayed it with some rust barrier, then engine enamel. The screws (and my thumbnail) were in really good shape, but could use a blackening.

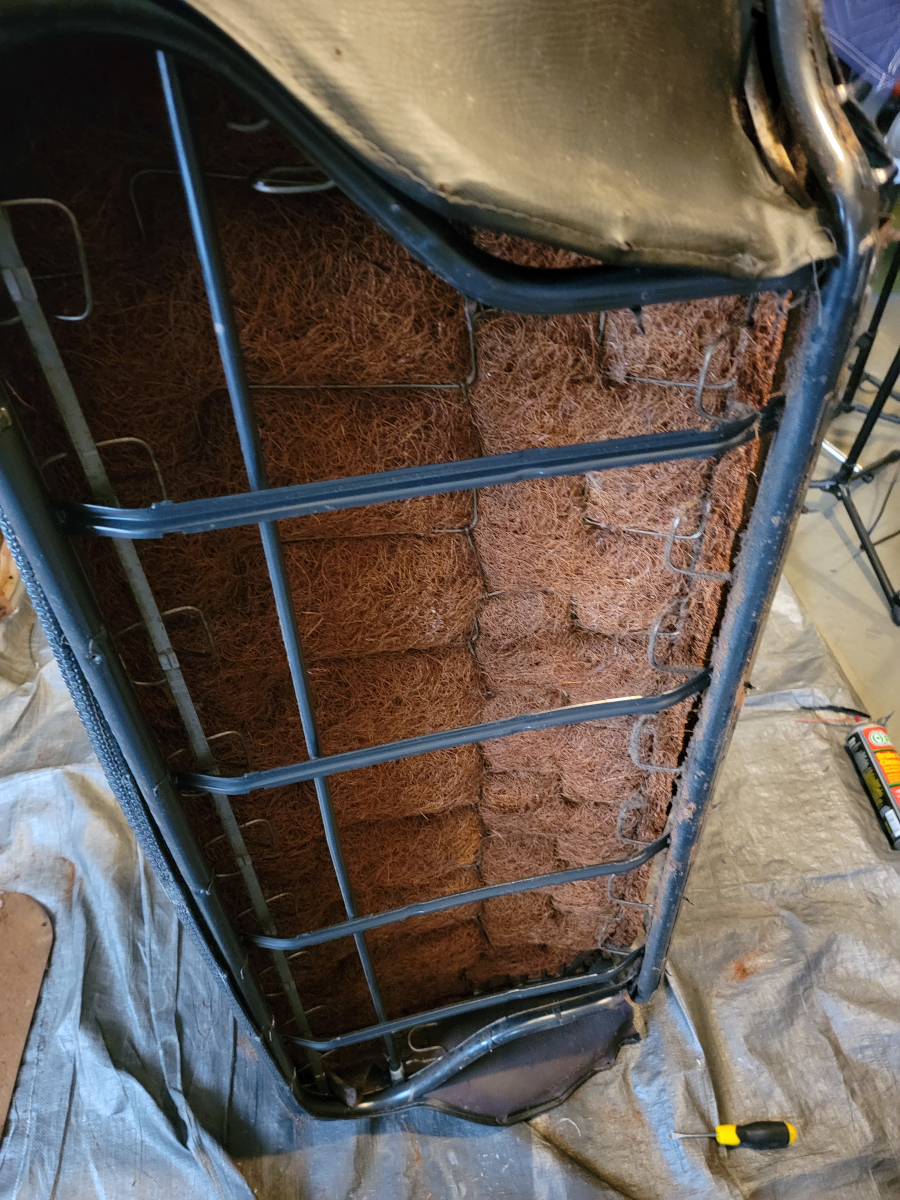
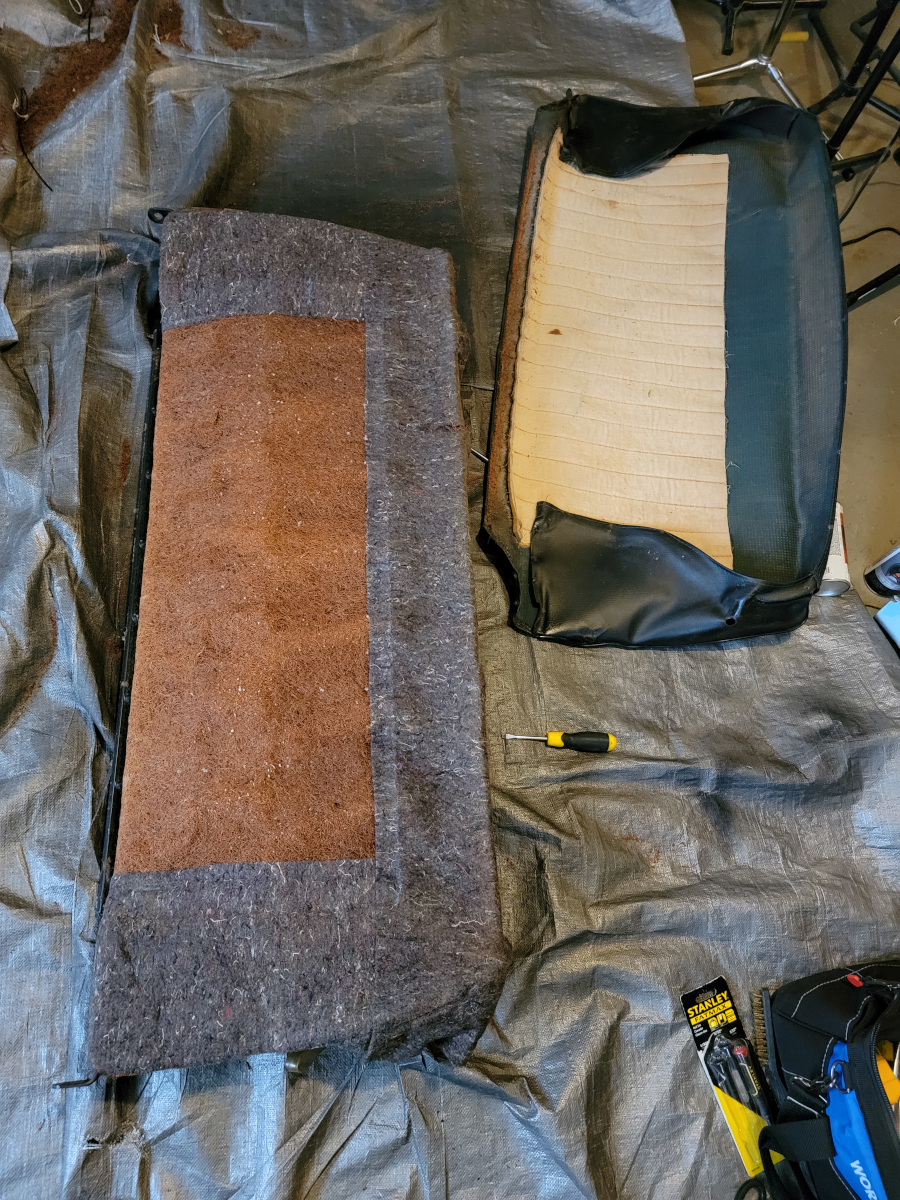
With the back of the seat back removed, we’re presented with a familiar site. More coconut hair.
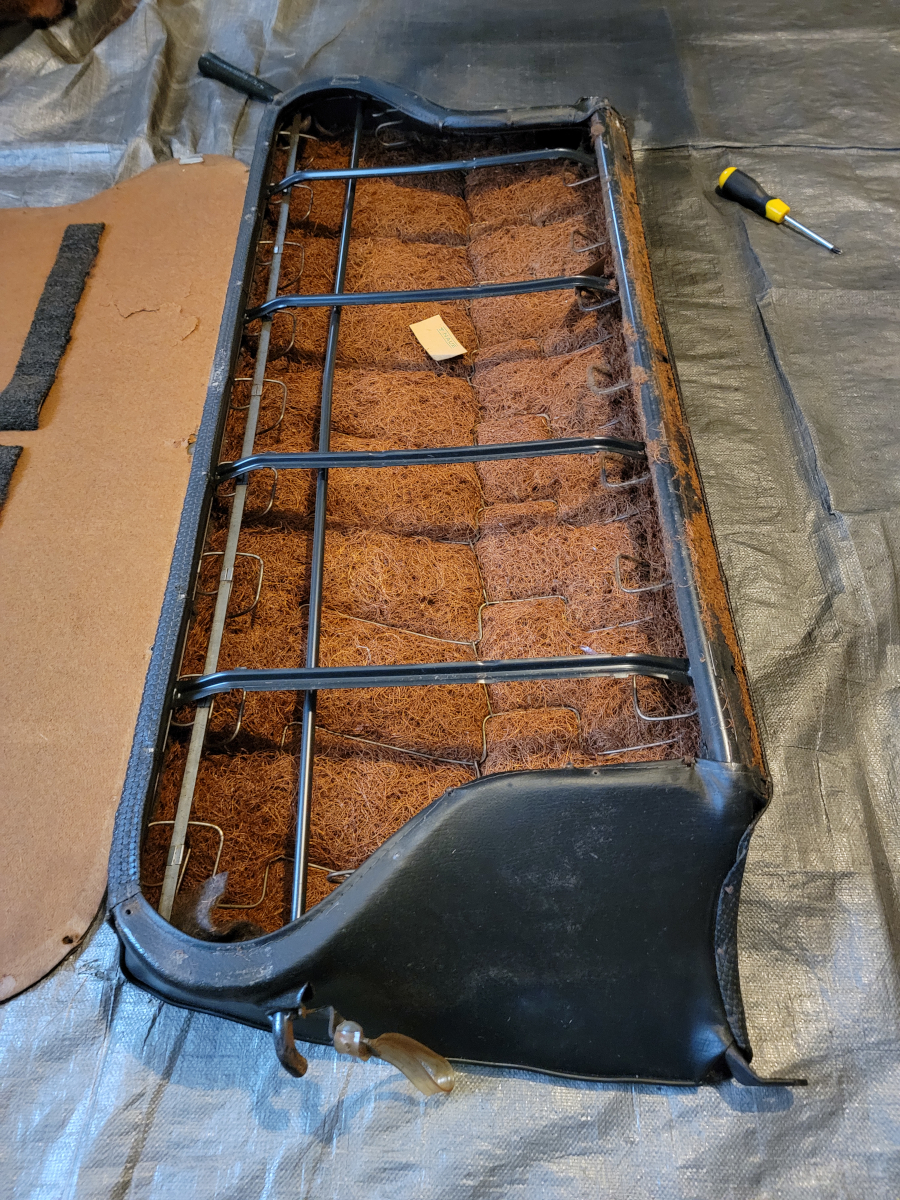
The inside of the seat back shows it is in pretty rough shape, but not hopeless.
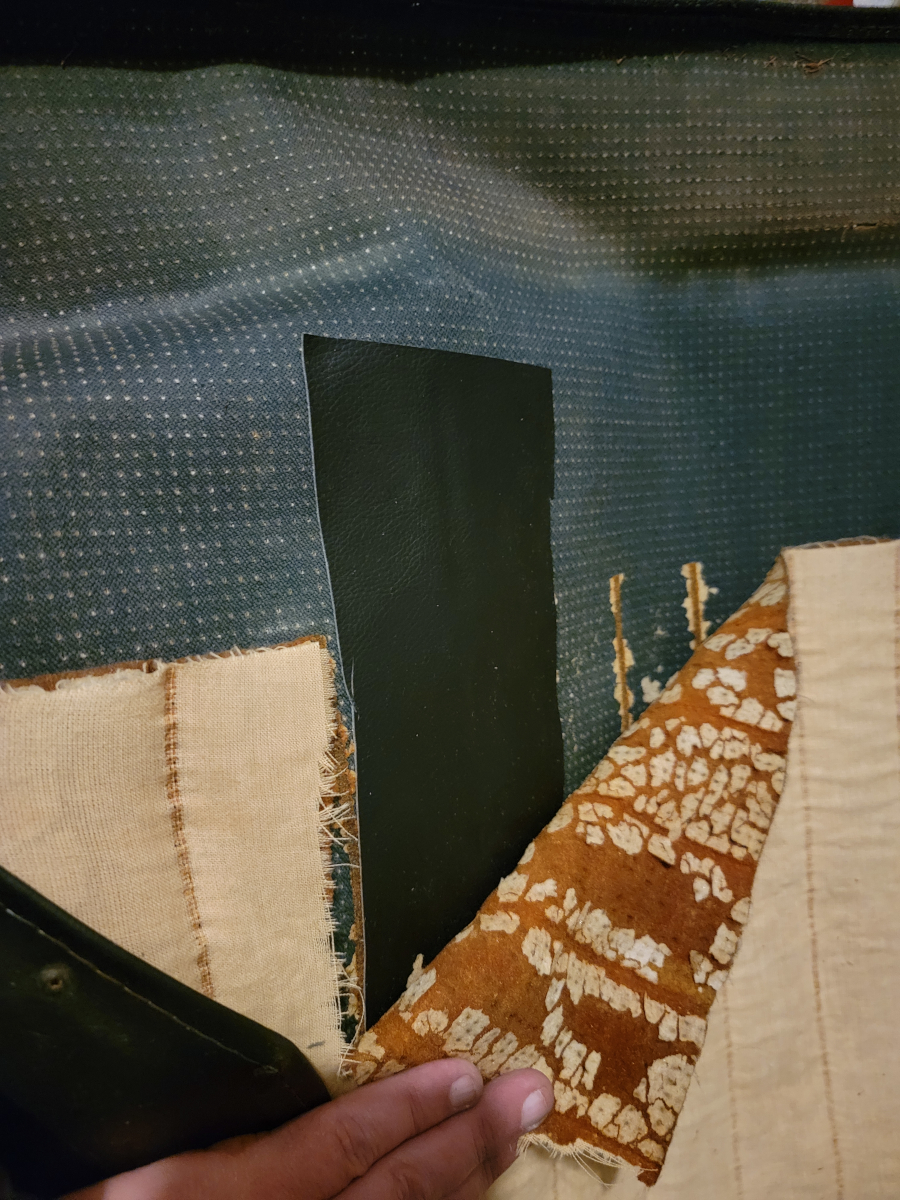
There were two perforated paper tickets I found inside the seat back. NAUE is German for NEW.
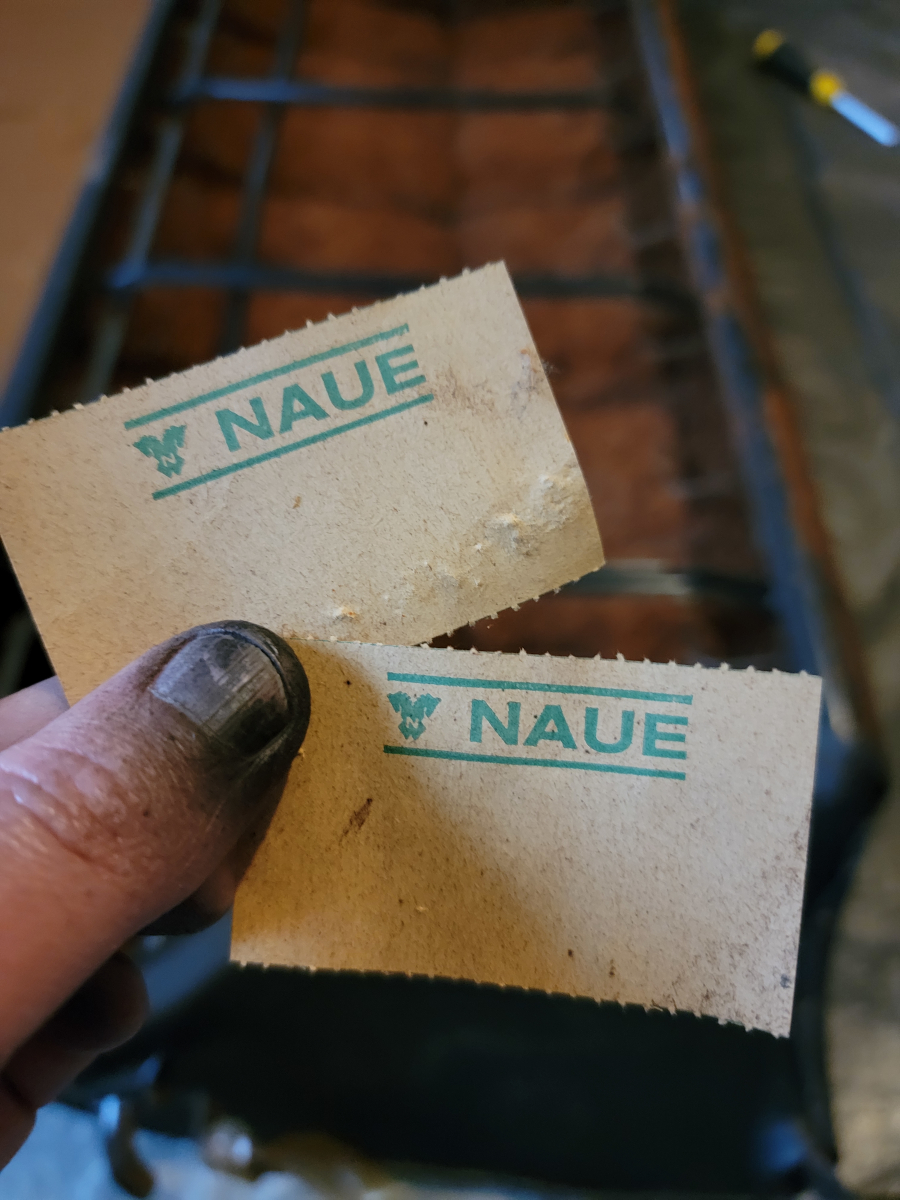
That seems like a redundant thing to put inside a seat as the car rolled off the factory floor, so I would imagine this has been replaced at some point? With a naue one, zu buten.
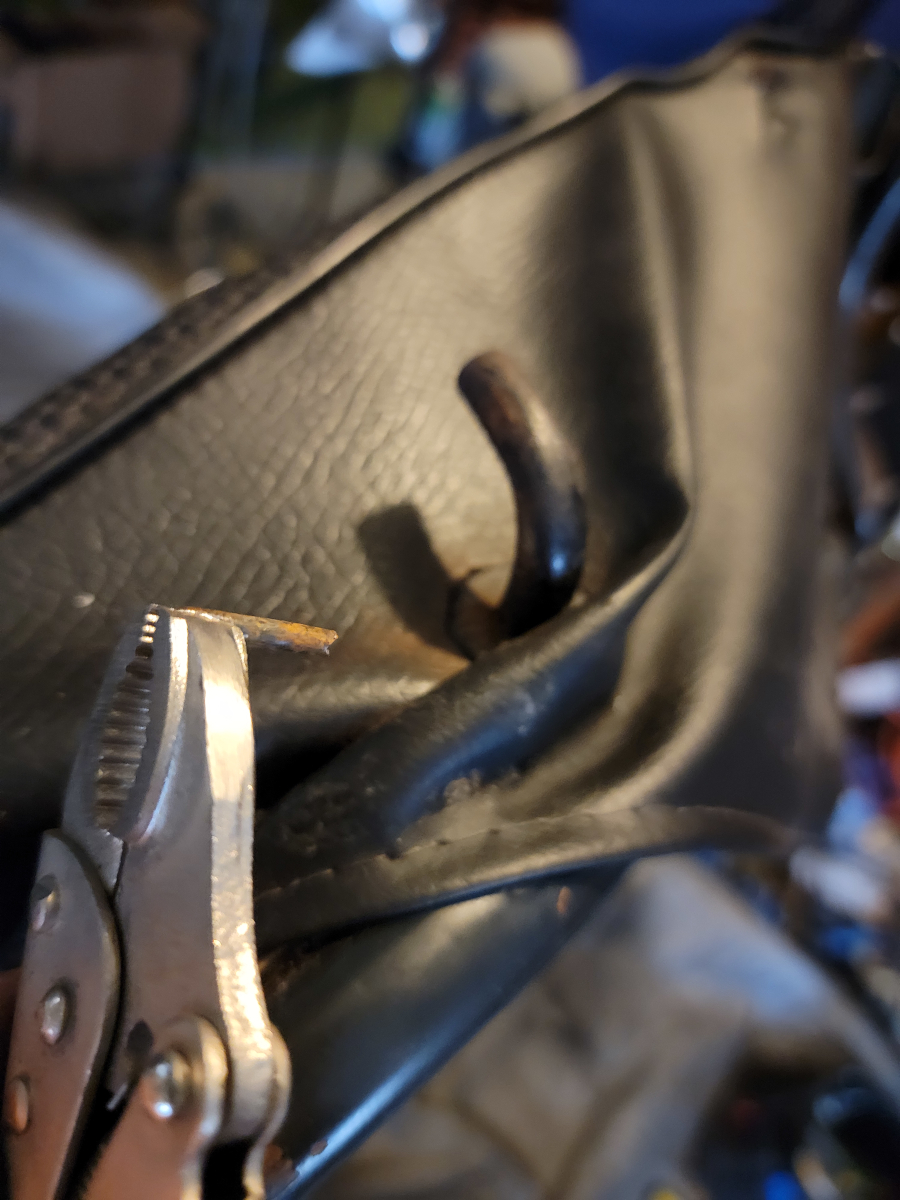
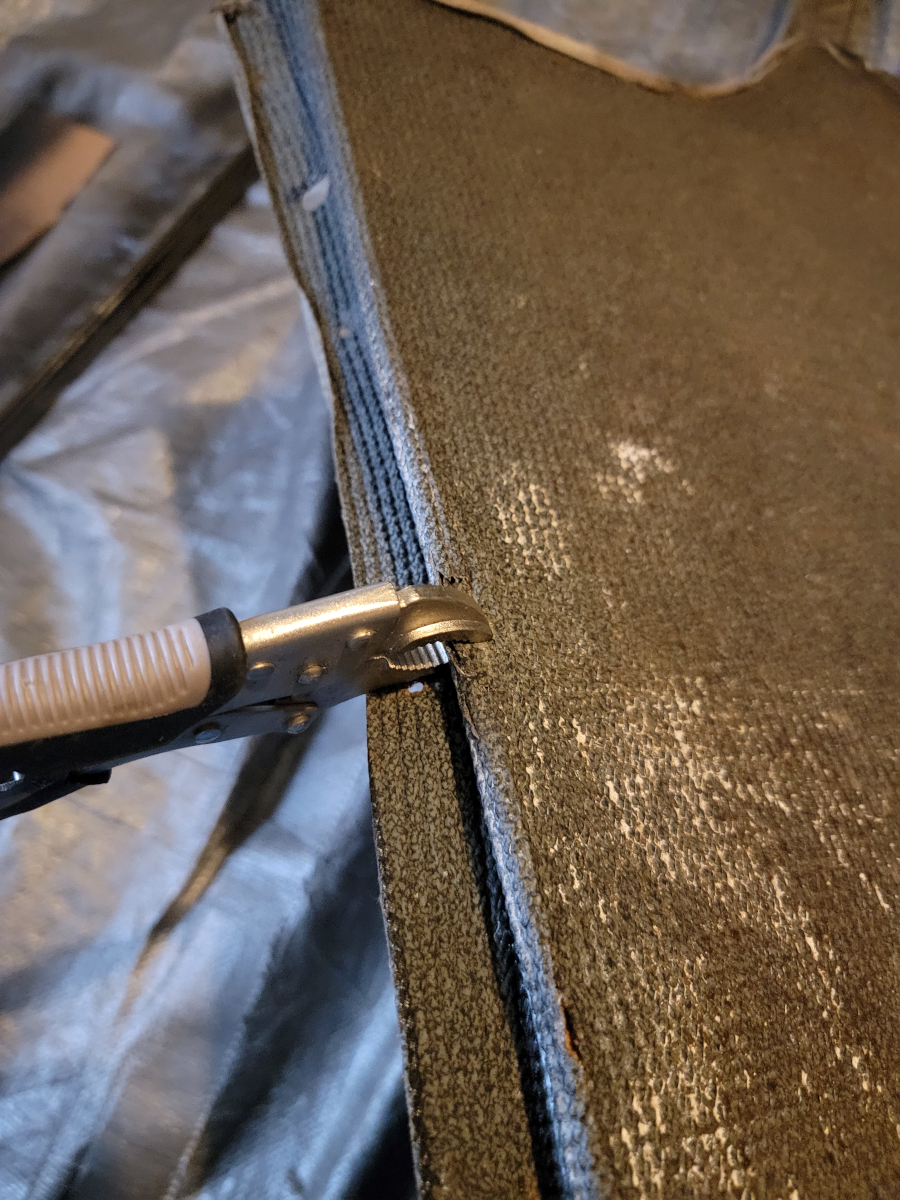
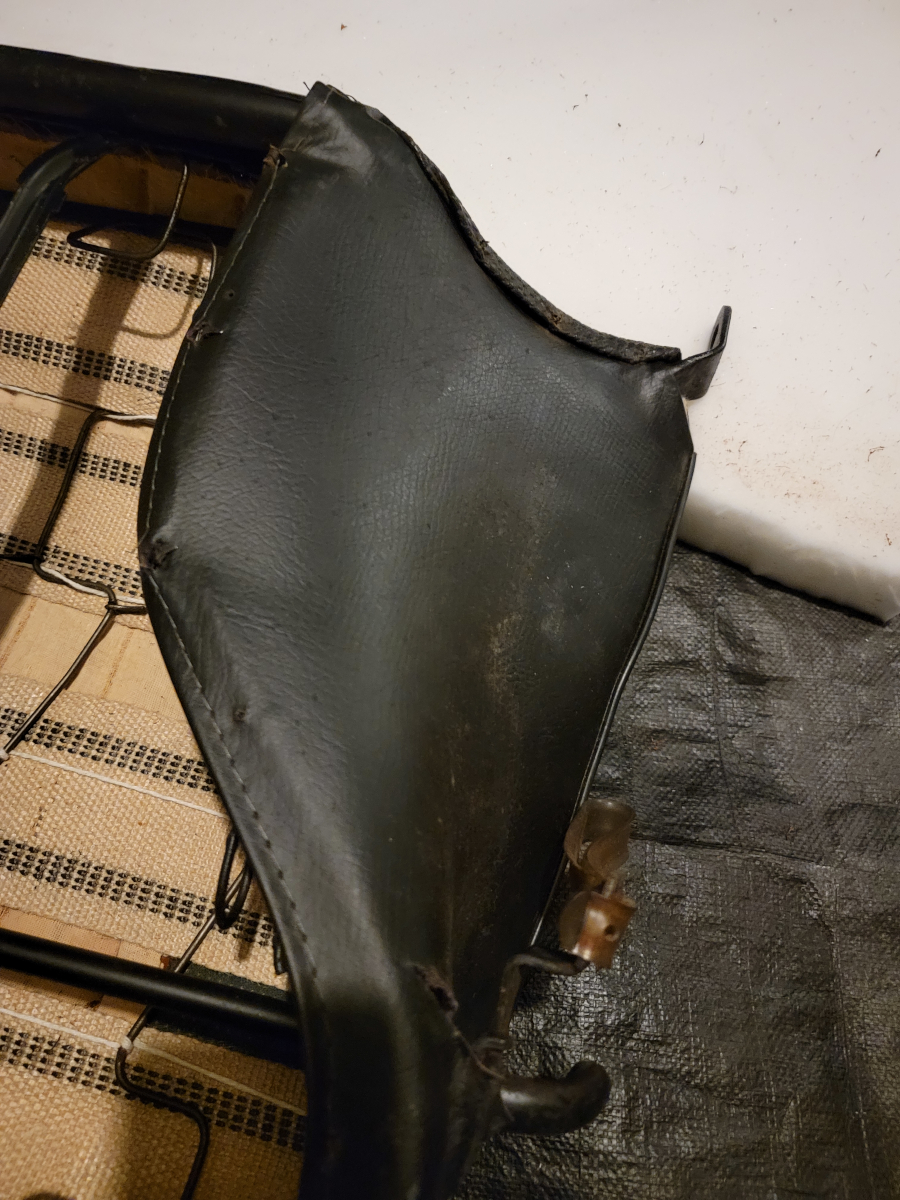
There were a lot of bendy prongs holding the seat cover on this time and there wasn’t evidence of the cover having ever been removed.
There is a small punch pin holding the plastic trim ring around the business end of the seat release lever. <foreshadowing>I definitely need to keep track of that part so as not to lose it!</foreshadowing>
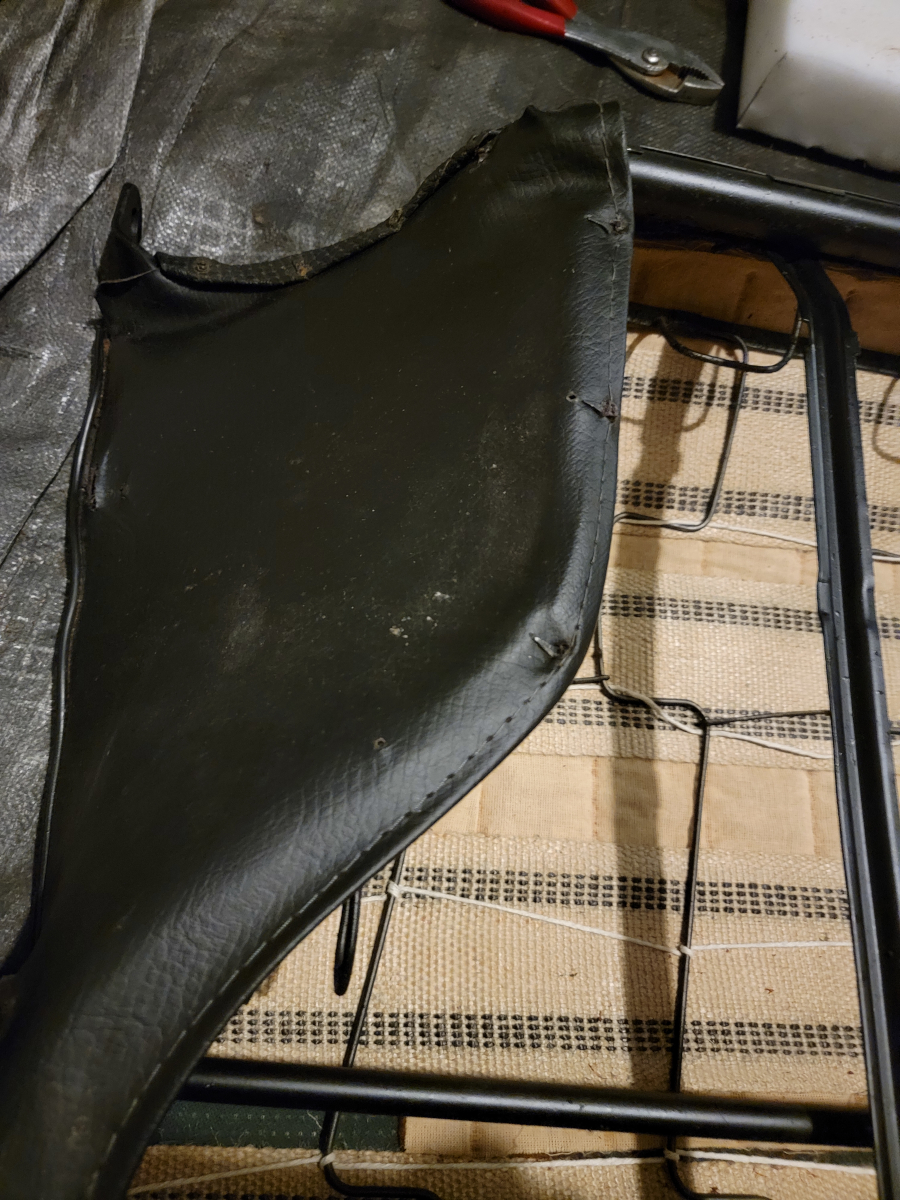
With the seat cover removed, I saw a familiar sight, the padding wrapped coconut hair cushion mat.
No extra layers of bubble wrap and random other packing materials, no second seat covers inside. This time it was a straightforward removal.
Cleanup
I hosed the frame down with brake parts cleaner, then wiped it dry. Then, of course, sprayed the rust barrier…
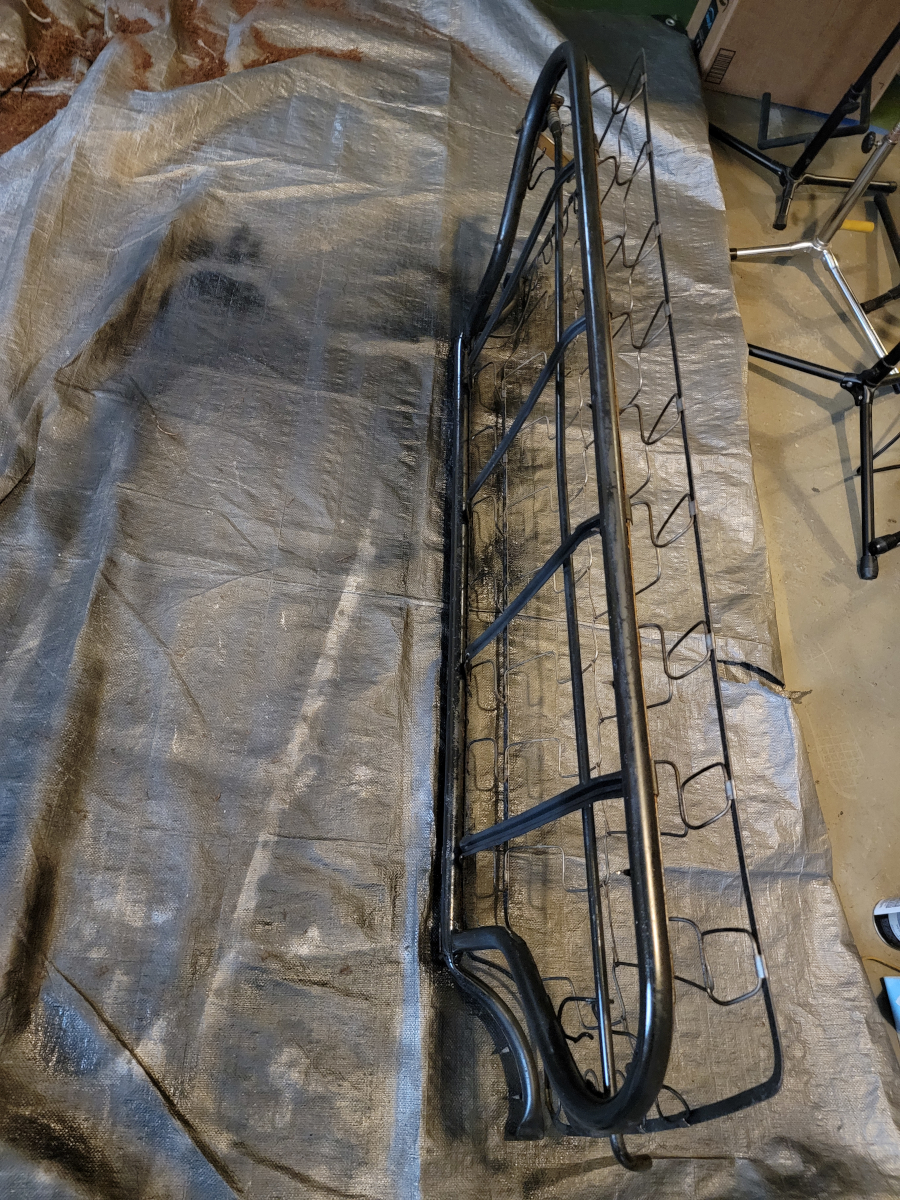
and engine enamel.

I resprayed that top aluminum (or whatever) trim piece as well, though it was in good shape already.
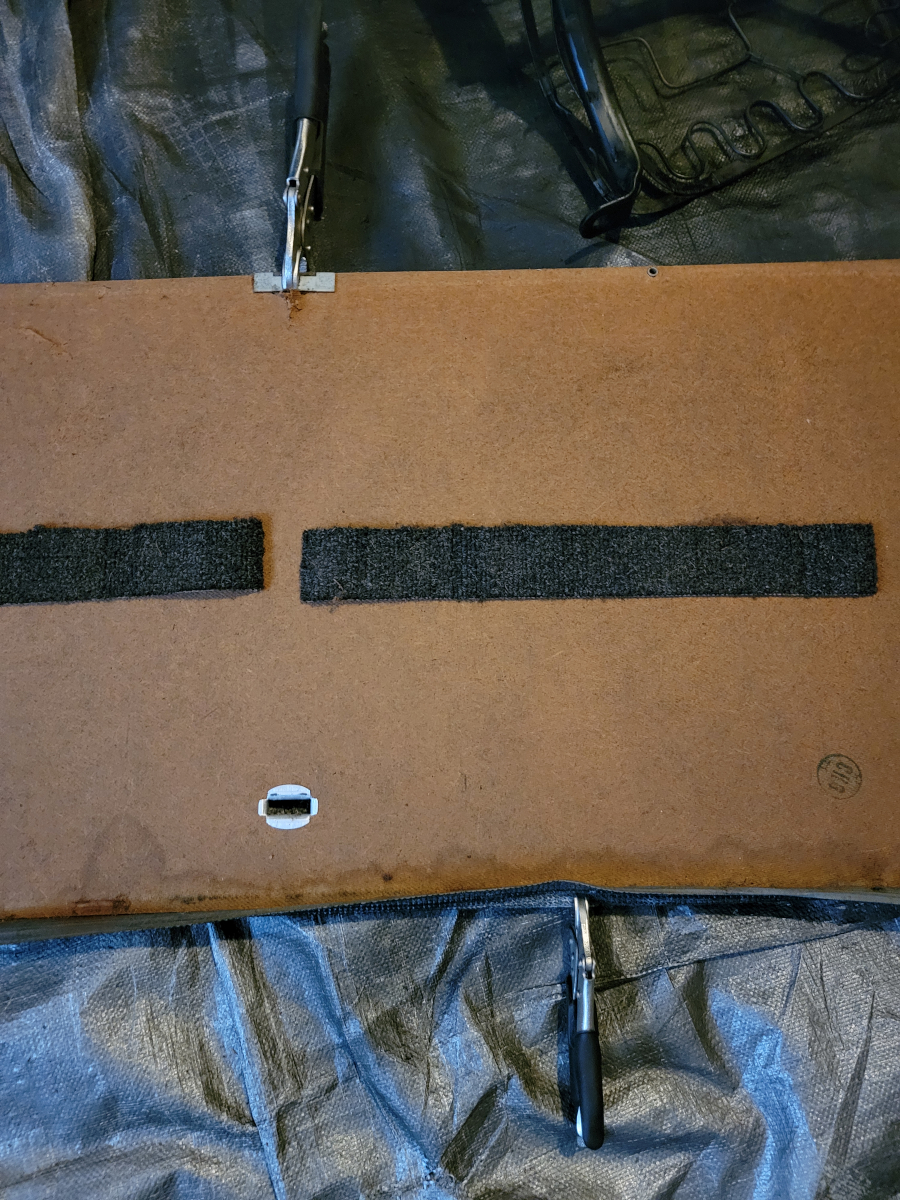
There was a chunk of fiber board that was broken and the vinyl backing was peeled up. I glued it up with Gorilla Clear Grip and clamped it in a vice grip to let it dry. The metal support plate on the opposite edge had also come loose. Glued and gripped.
Rebuilding
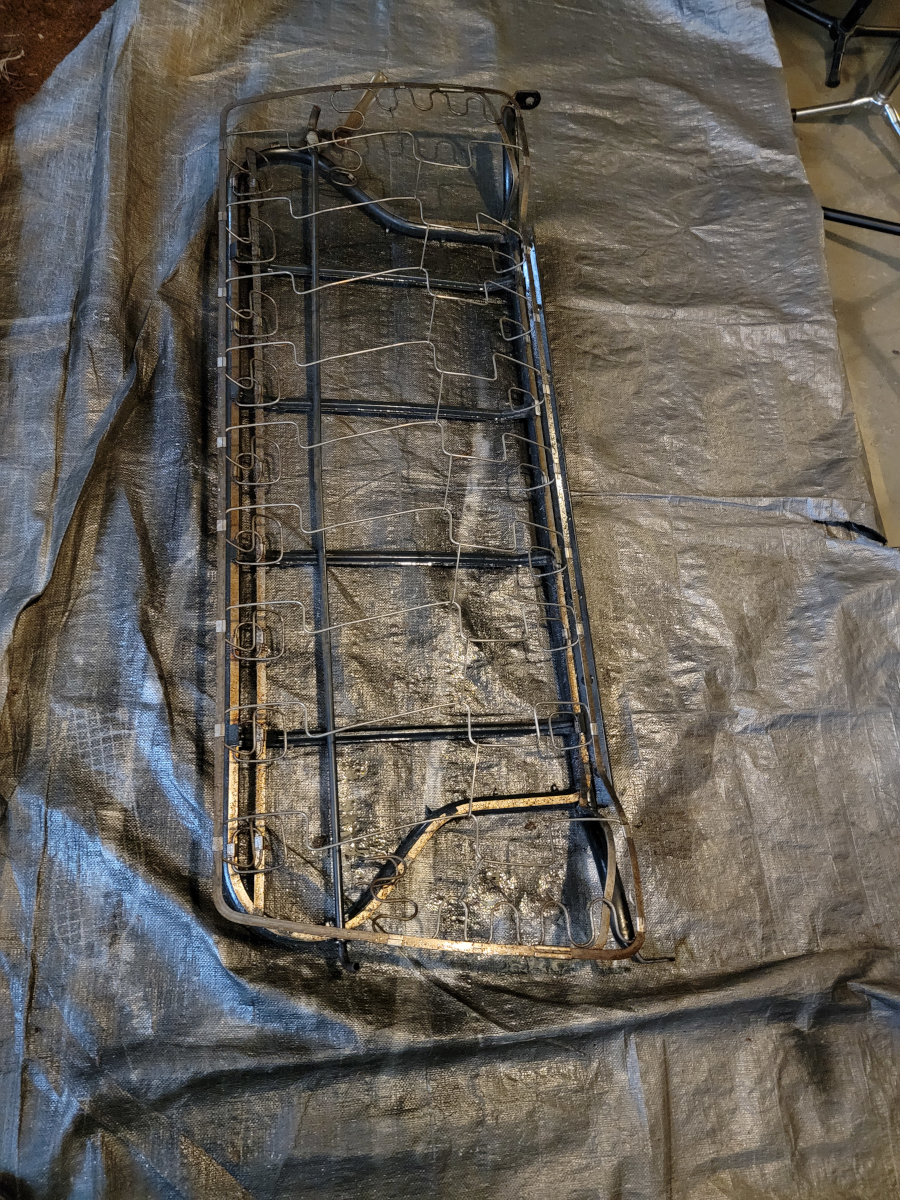
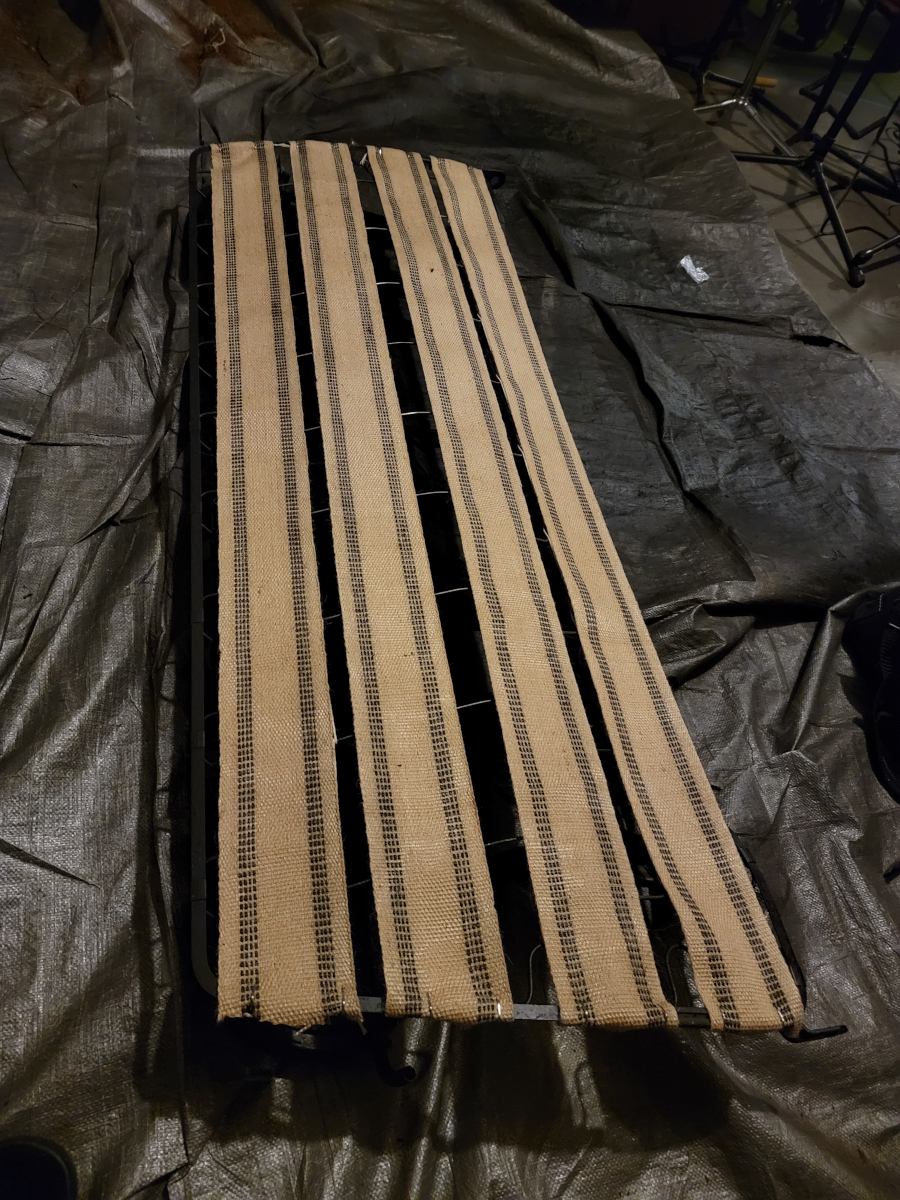
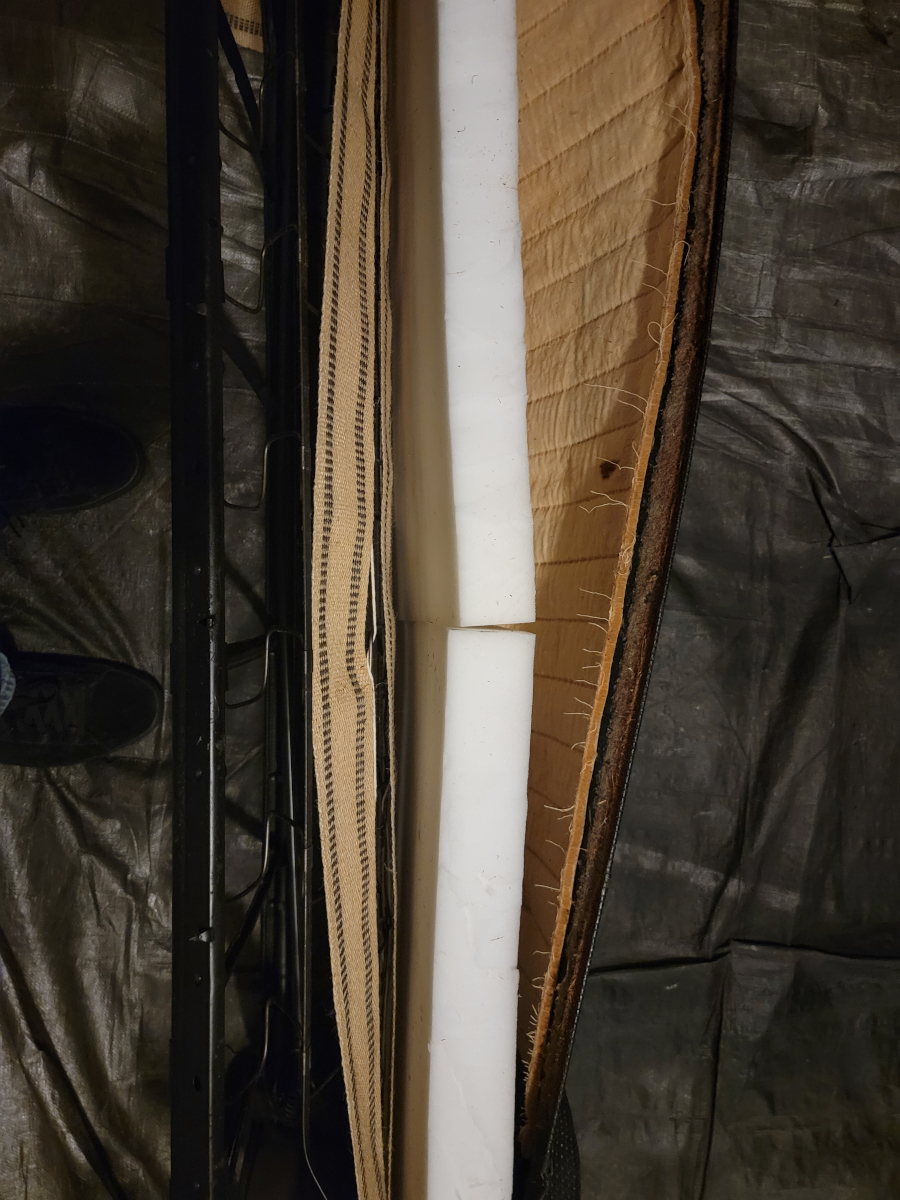
And then it was time for the twine tied grid-work.
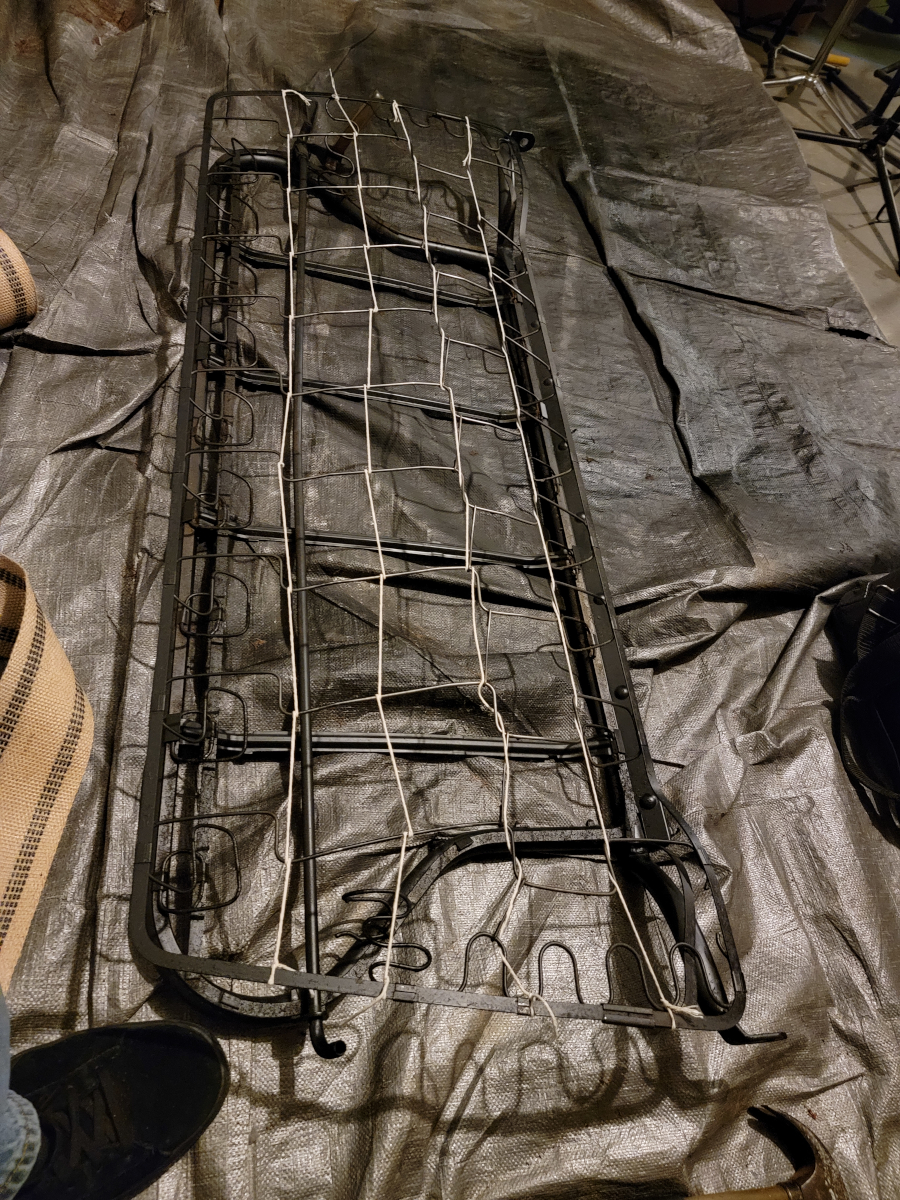
And then jute webbing.
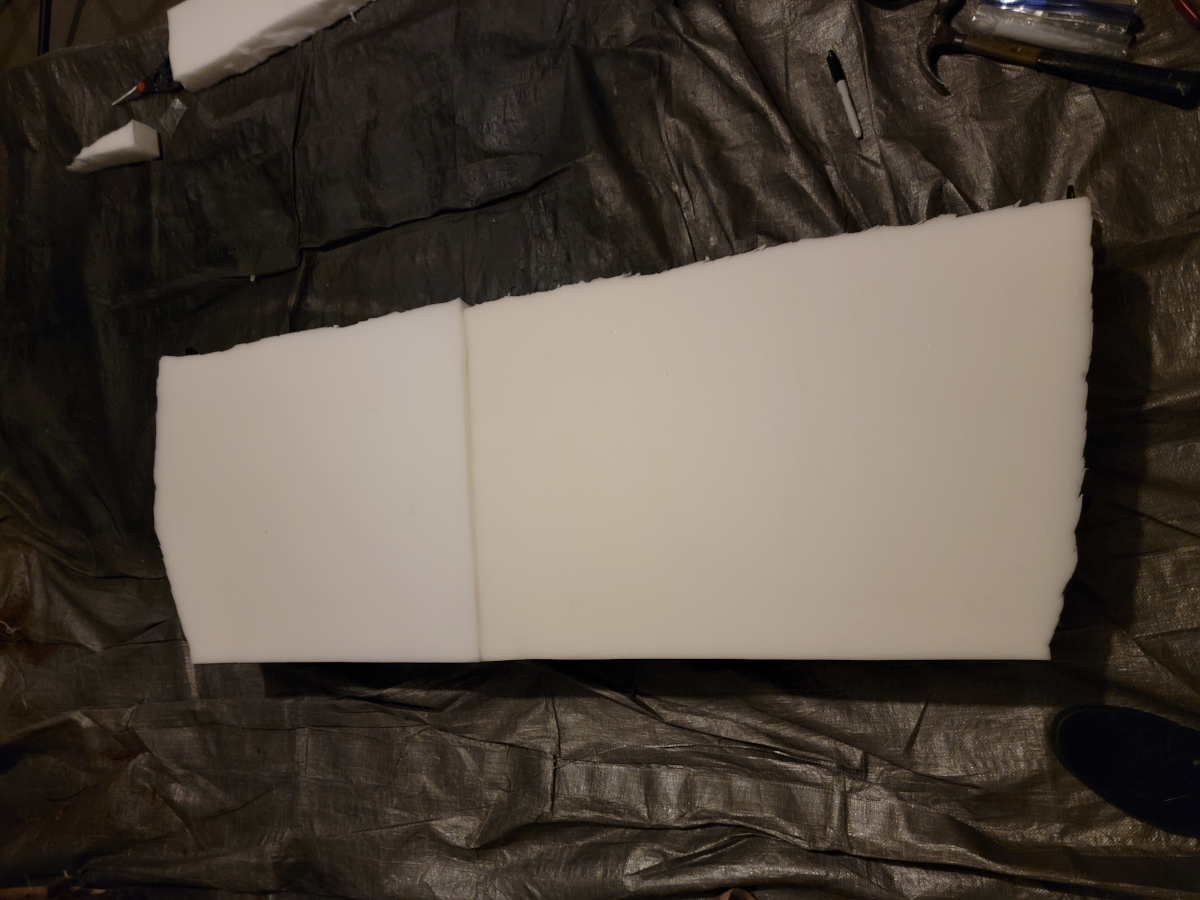
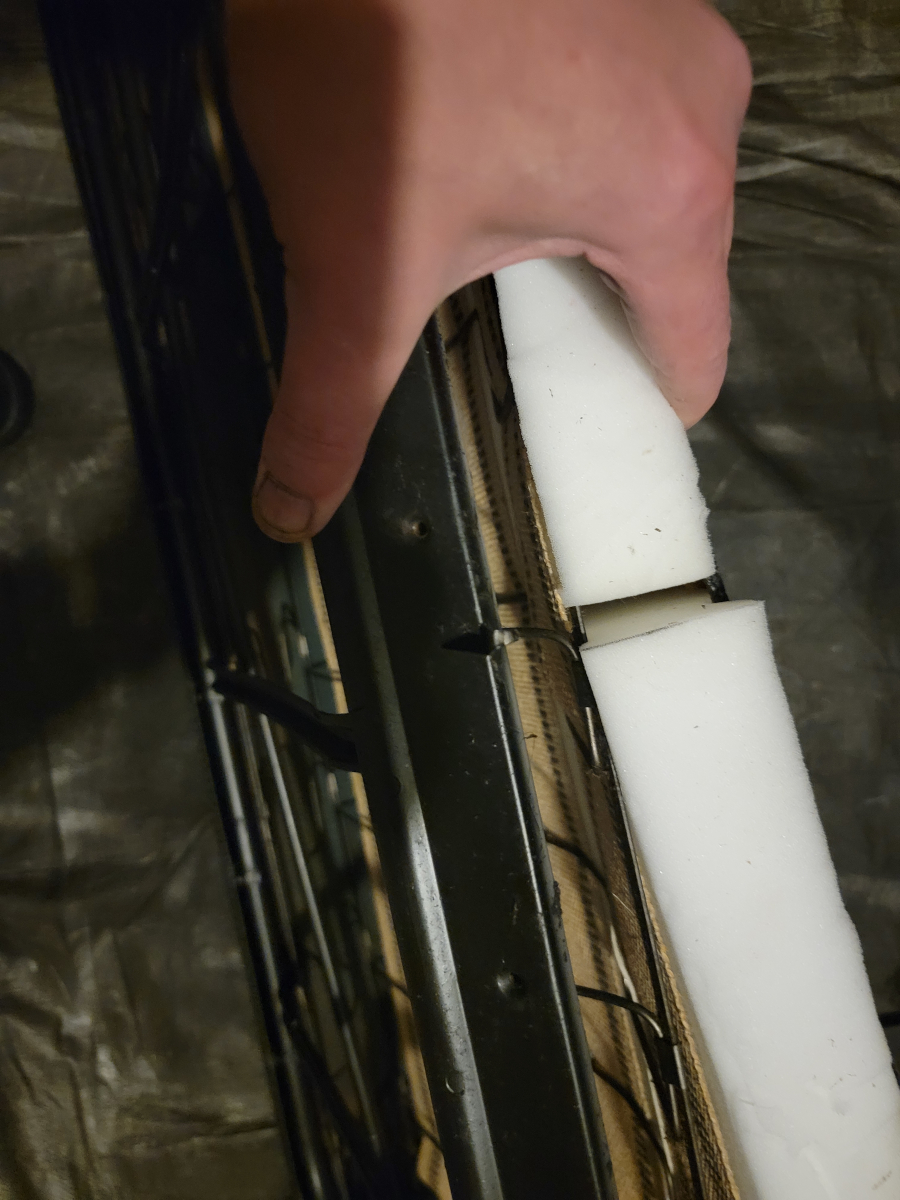
I had the two cut foam pieces from before and shaped them to fit the frame.
Now it’s time to try and do something about this dry, cracked vinyl. I leaned in once from the open driver’s door and my hand went right through the seat back cover.
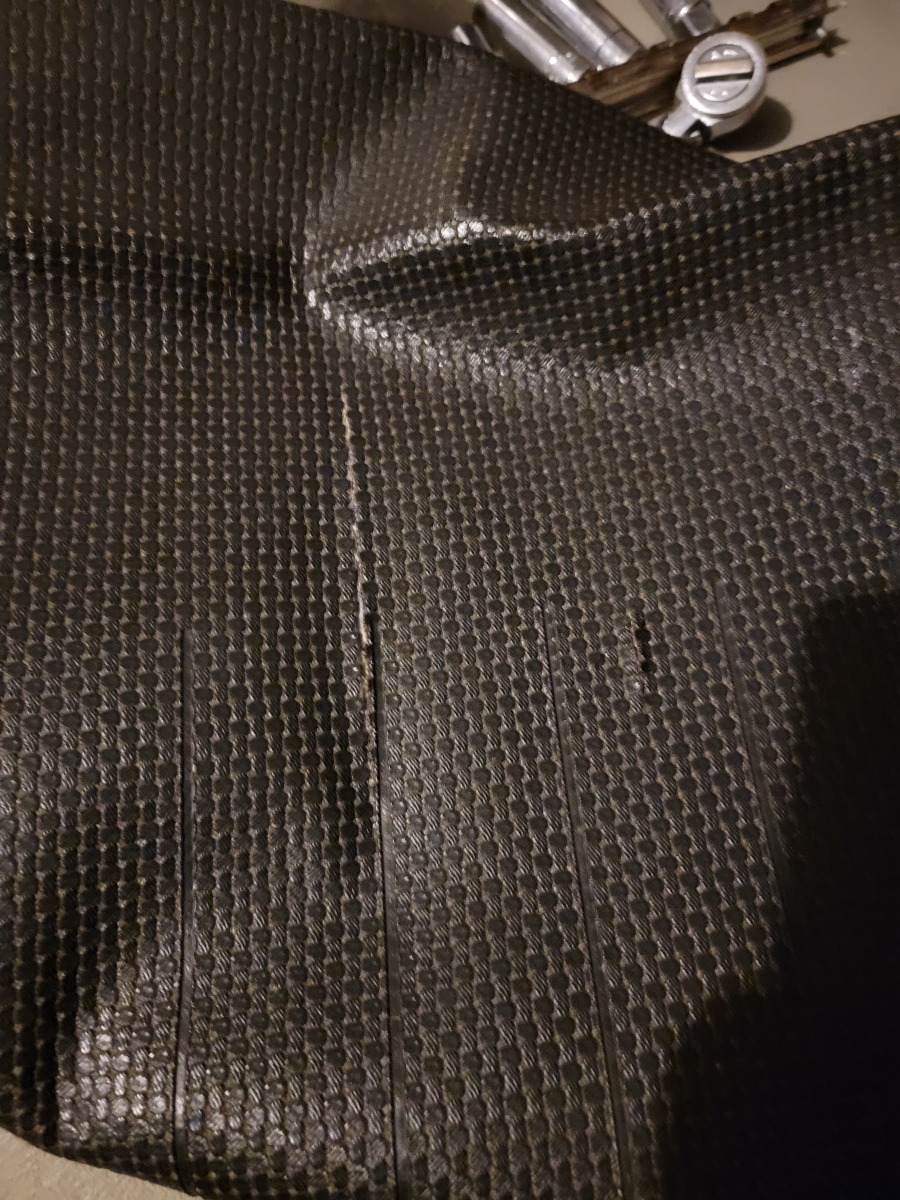
I took the last chunk of that self-adhesive vinyl repair roll and applied it across the whole area, hoping it would provide some kind of stability.
With the high density foam in place, it’s clear that this is going to be a tight fit.
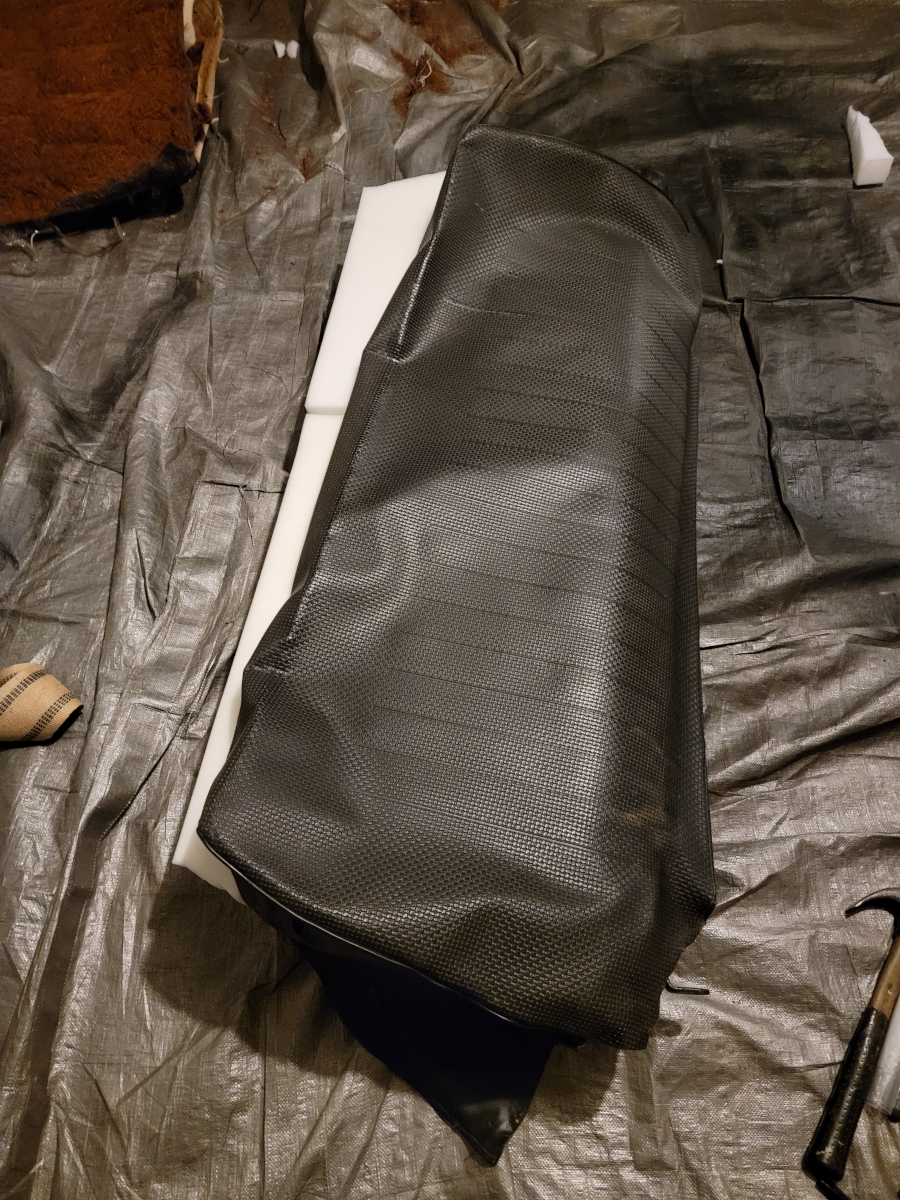
And here we have the first prong bent in place, holding the seat cover on. The foam pad had to be removed. There was no chance it was ever going together. The rest of the seat covers fit nicely over the foam, but clearly, the seat back wasn’t used to that much volume underneath.
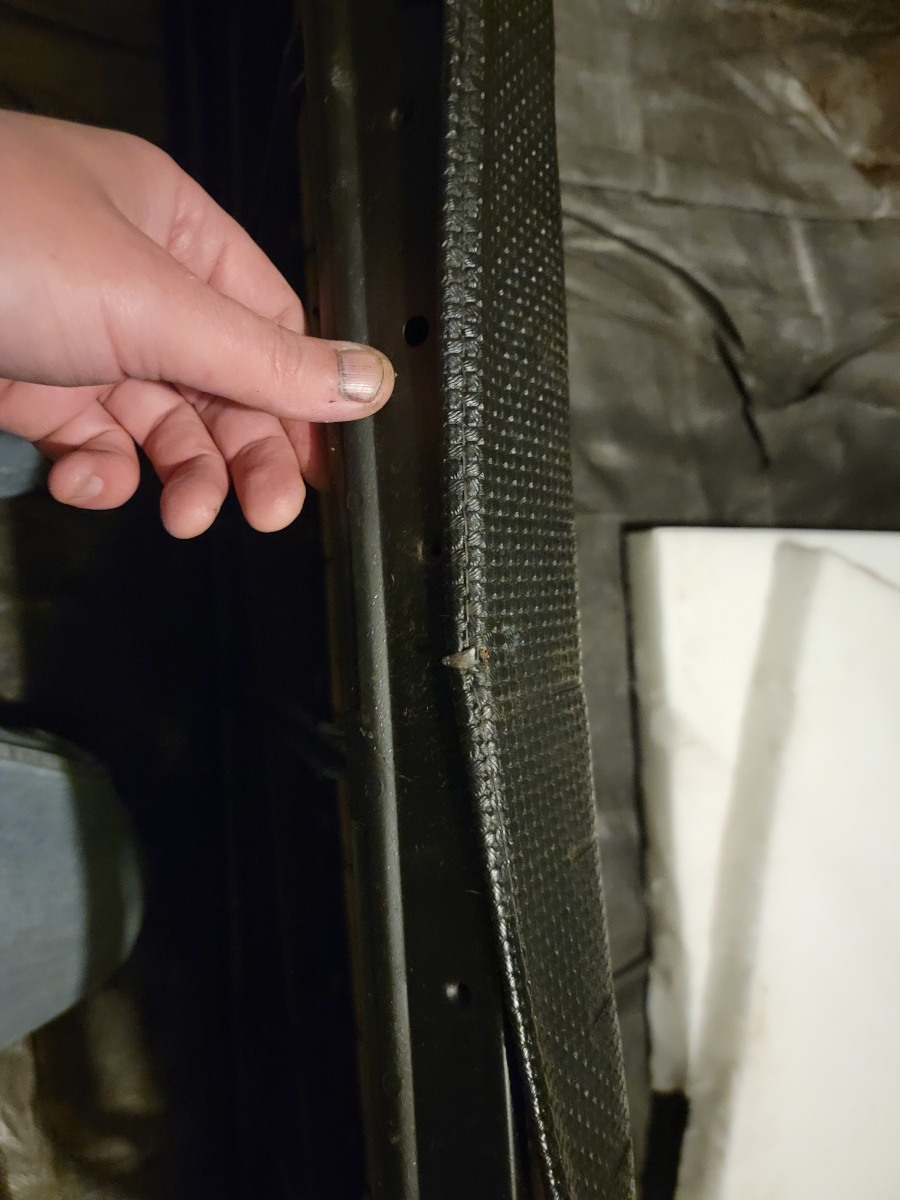
I worked my way around the first end of the seat, bending each prong over as I went.
And now it’s time to put the fiber board cover back in place to close it all up.
The top trim piece screwed on without issue…
…then the bottom one did as well. All of the rust was on the inside, so it looks nice from here. And I totally forgot to put the NAUE tickets back inside. I kept them in a safe place, though.
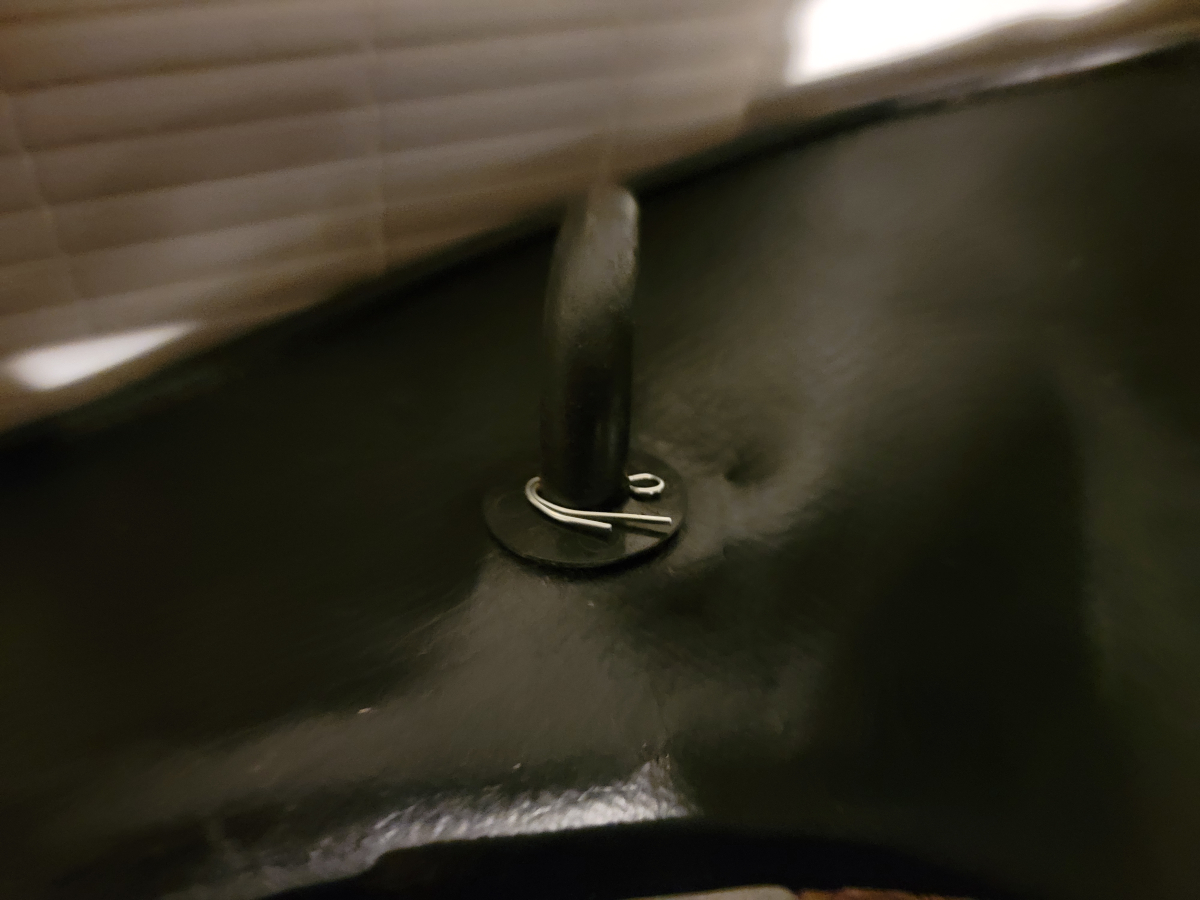
But, I did lose that push pin and had to replace it with a cotter pin.
Bonus
It had been raining for days and that night I just happened to remember that I had removed all the air vents and fresh air system under the bonnet, behind the dash. When I went out and checked on it, I could see straight down into my toolbox full of water. Luckily, it seems to have caught all the water that came in through the bonnet vents.
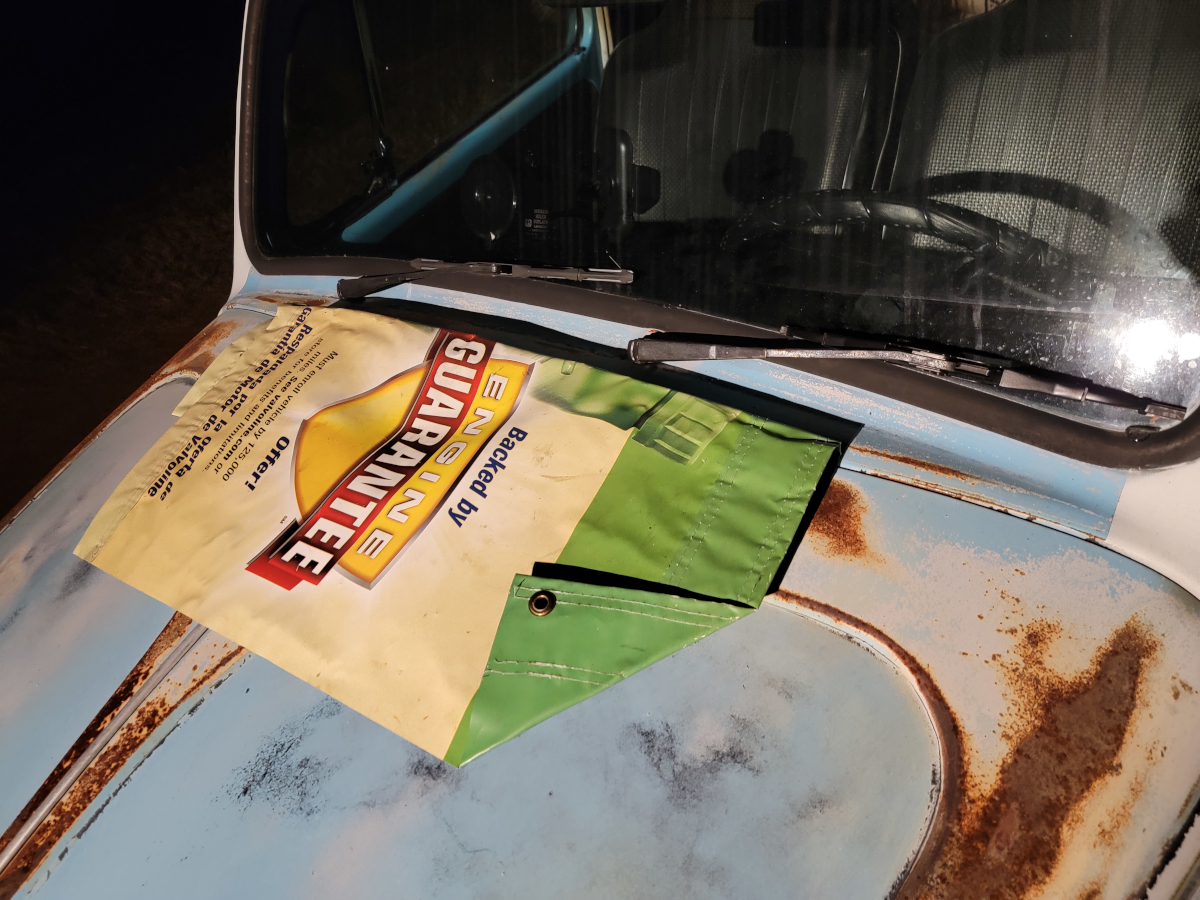
I grabbed the banner tarp my dad had given me for crawling around under the car. Folded it up and closed the bonnet lid over it. I’m still waiting for that backordered center vent to arrive and if I’m honest, I’m not looking forward to having to put all of that mess back together.