Panel Beater

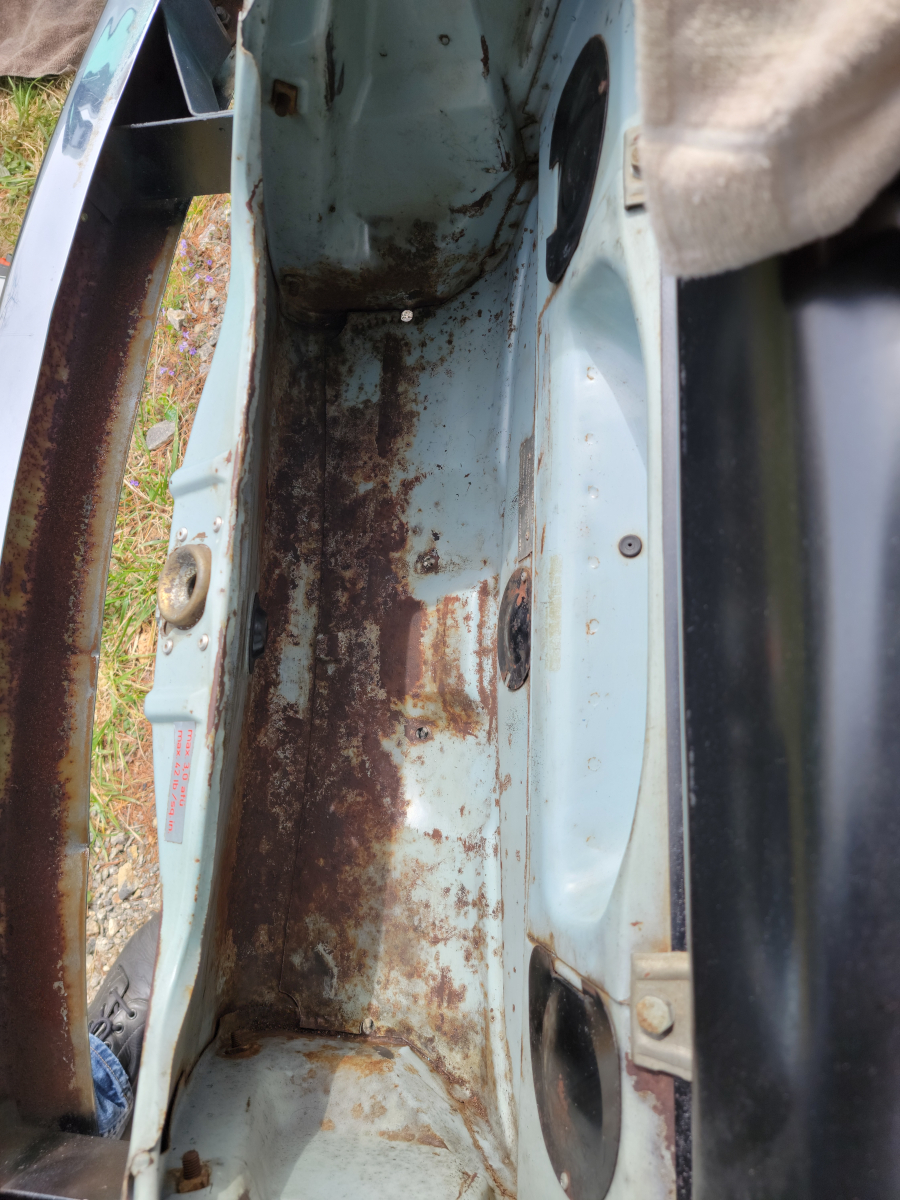
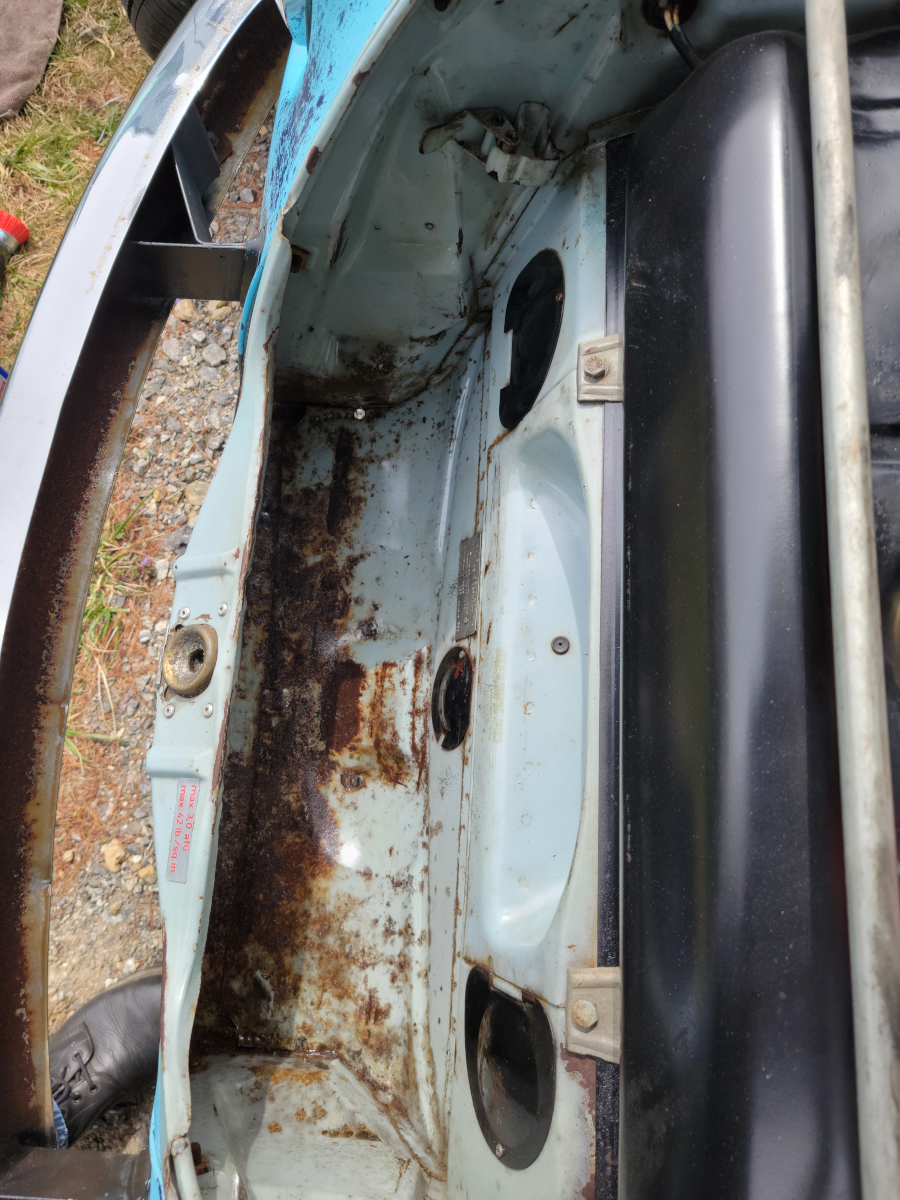
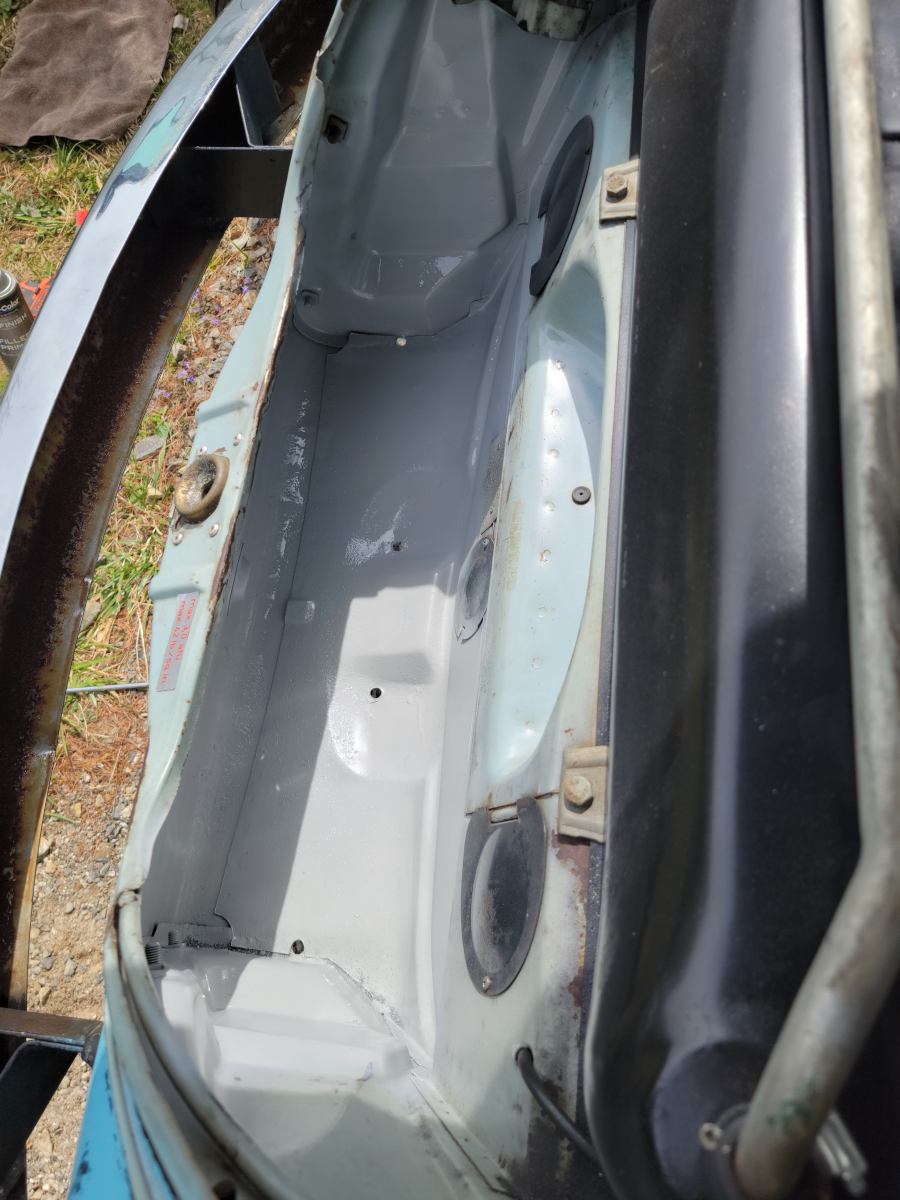
Note: I apologize in advance for the pictures in this post. I didn’t have a whole lot of day light left when I started this process and couldn’t get very good before and after pictures. Decided to go ahead and post this up anyway for posterity.

So, there are lots of whiskey dents and dimples in various areas of the car, but overall, she’s sound. That old steel is thick enough, I felt pretty good about my chances of being able to massage them back out.

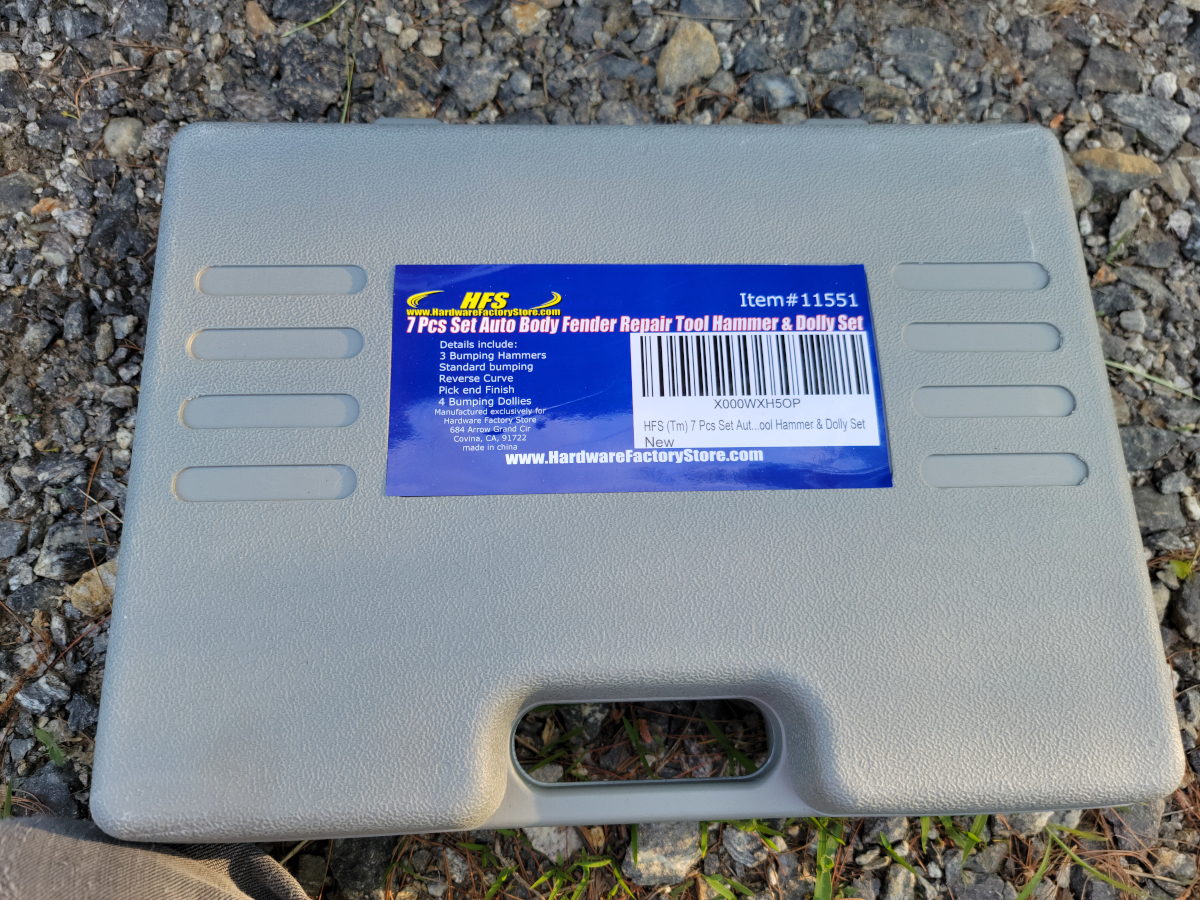
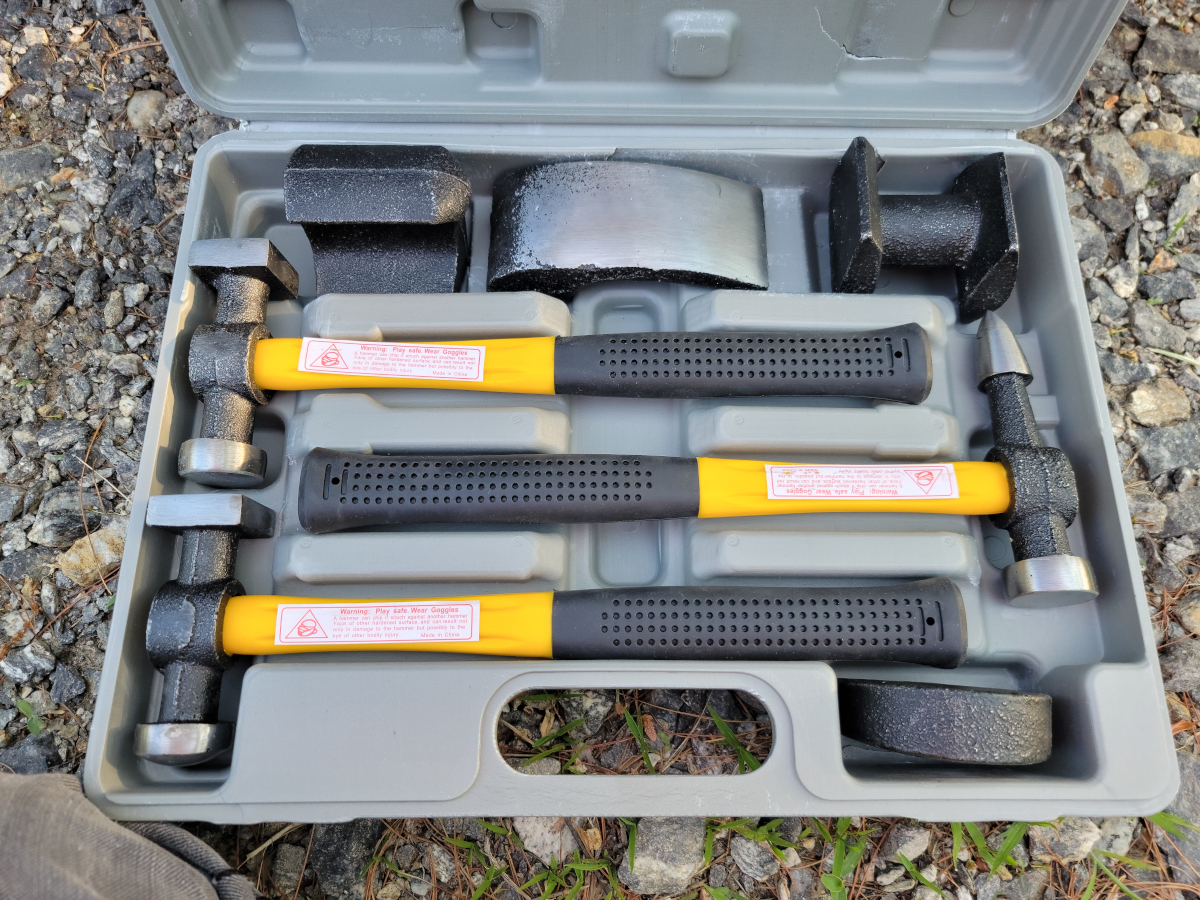
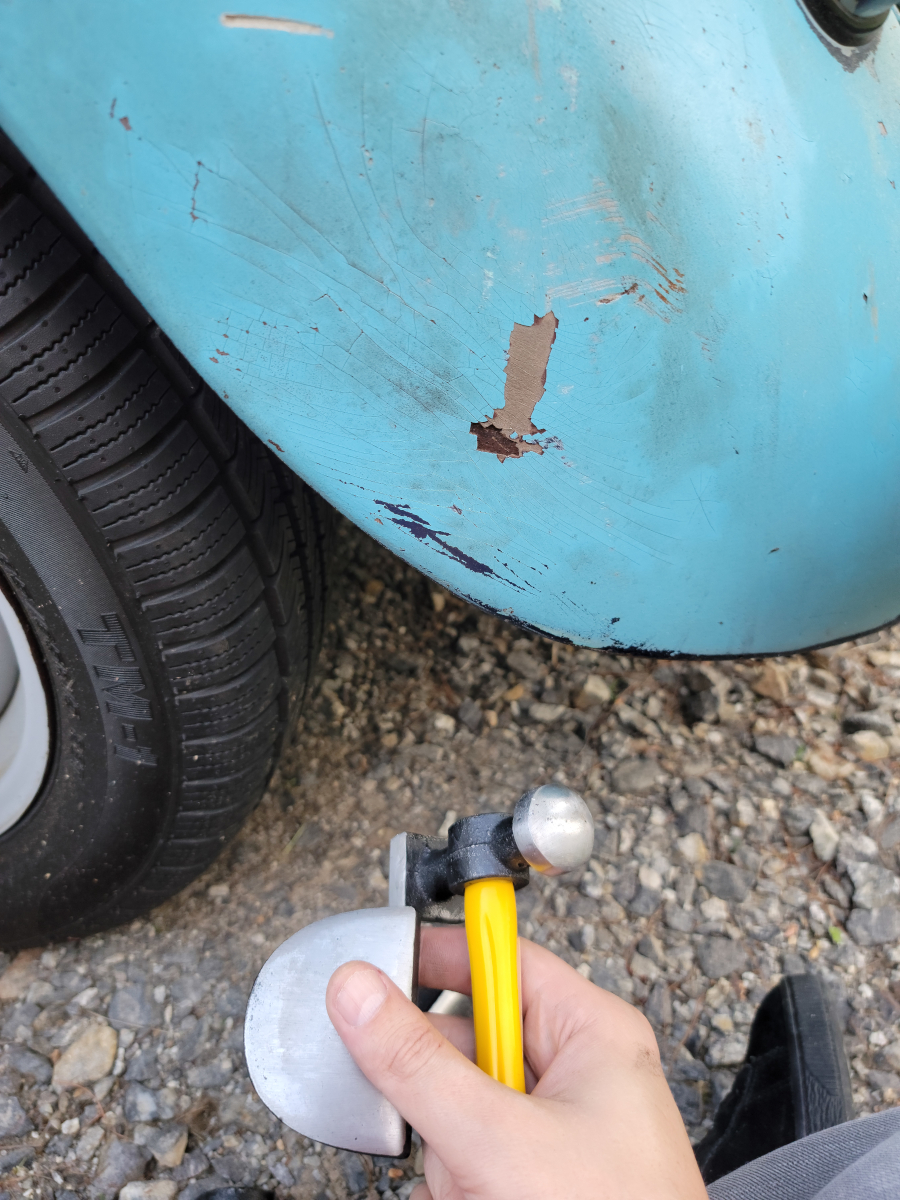
My toolbox for this session was this hammer and dolly set (Amazon link).

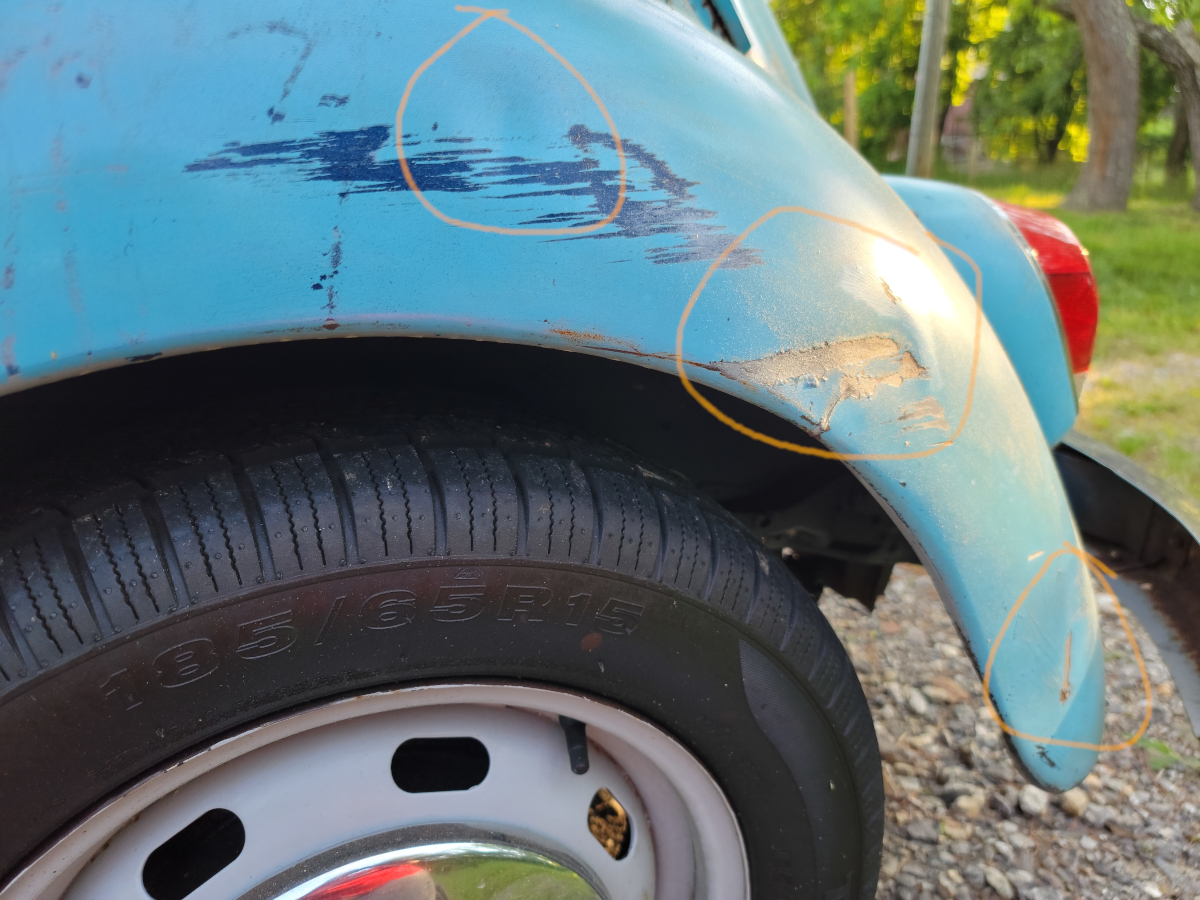
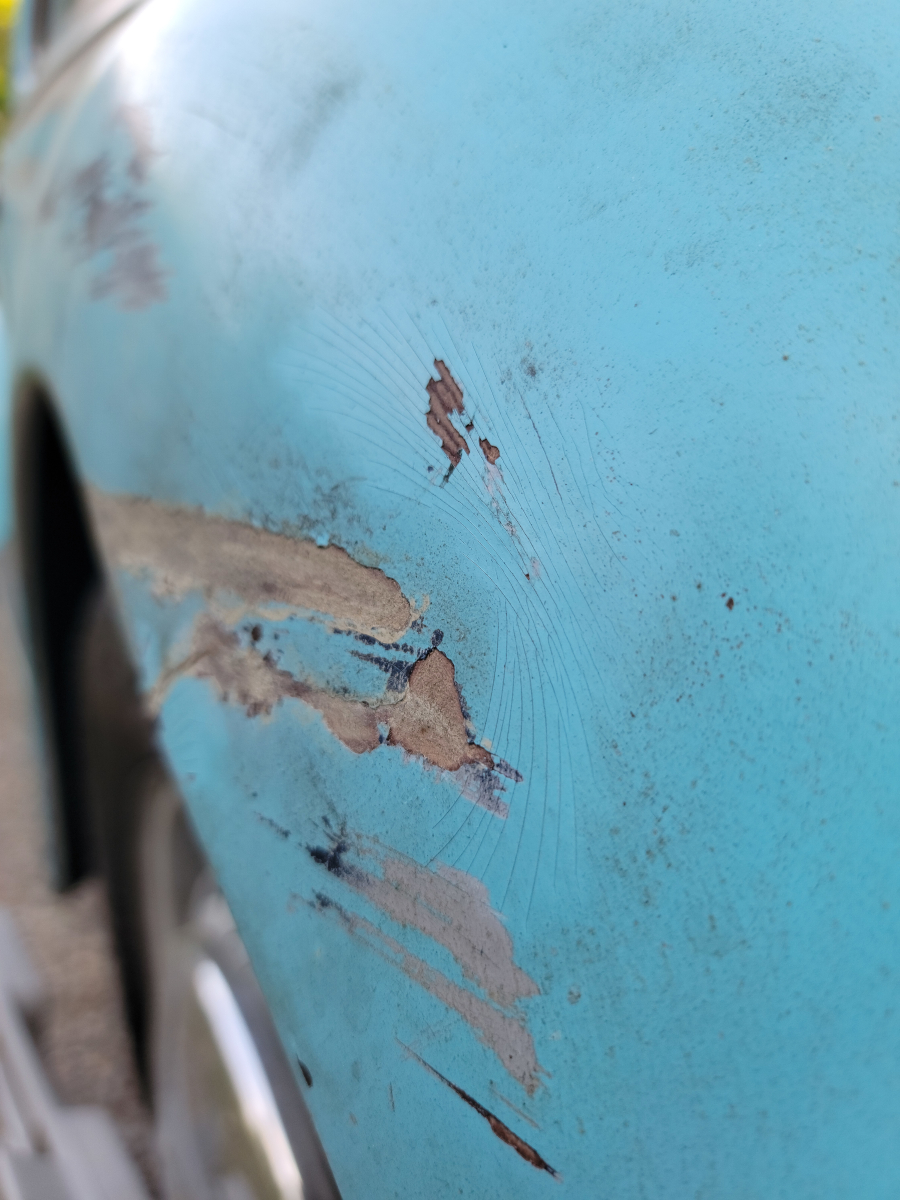
Starting with the left rear fender:

The last time I washed the car and slathered on the mix of boiled linseed oil, mineral spirits, and WD-40 was a few weeks ago now. It’s spring time and the pollen has been thick. The worst thing about that oil finish is it’s forever tacky and rain doesn’t help to wash the gunk off. Instead, it just sets it in like concrete once it dries.

The progress pics below show what dirty hand prints and hammer/dolly mess looks like in that sticky old oil…

Moving from front to back in the picture above:

Minor dent to a minor ripple. Not too bad.

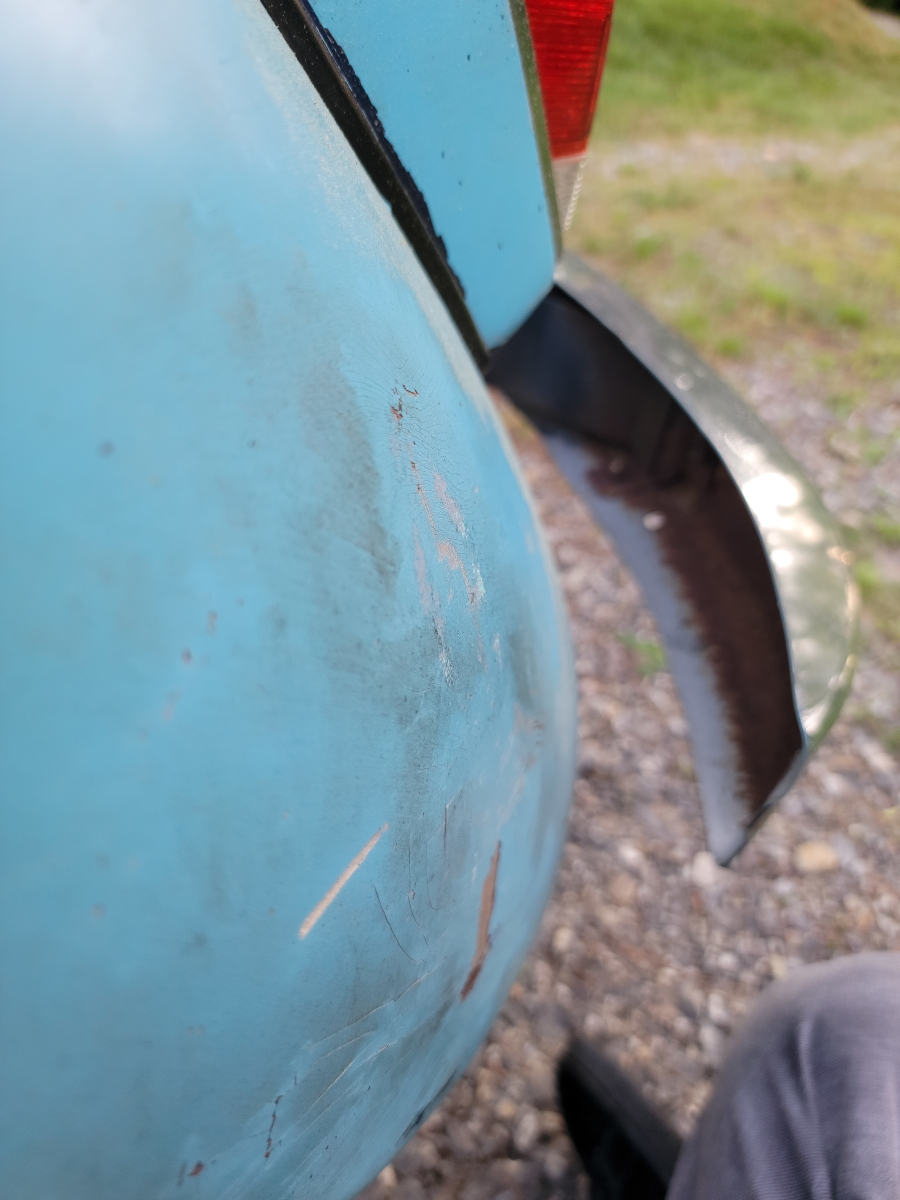
I worked on this one the longest. I was able to get the crease at the top-right smoothed out and the lowest spot is now about half as deep as when I started. Definitely not a win, but we’ll call this one a draw.

Also, fun fact, this fender has a surprisingly thick layer of body filler over the whole thing. Hammering away from on top and below, this stuff didn’t crack or fall off at all. The paint was crazed to begin with. I have never seen body filler this resilient. I don’t know what this stuff is, but it’s quality!

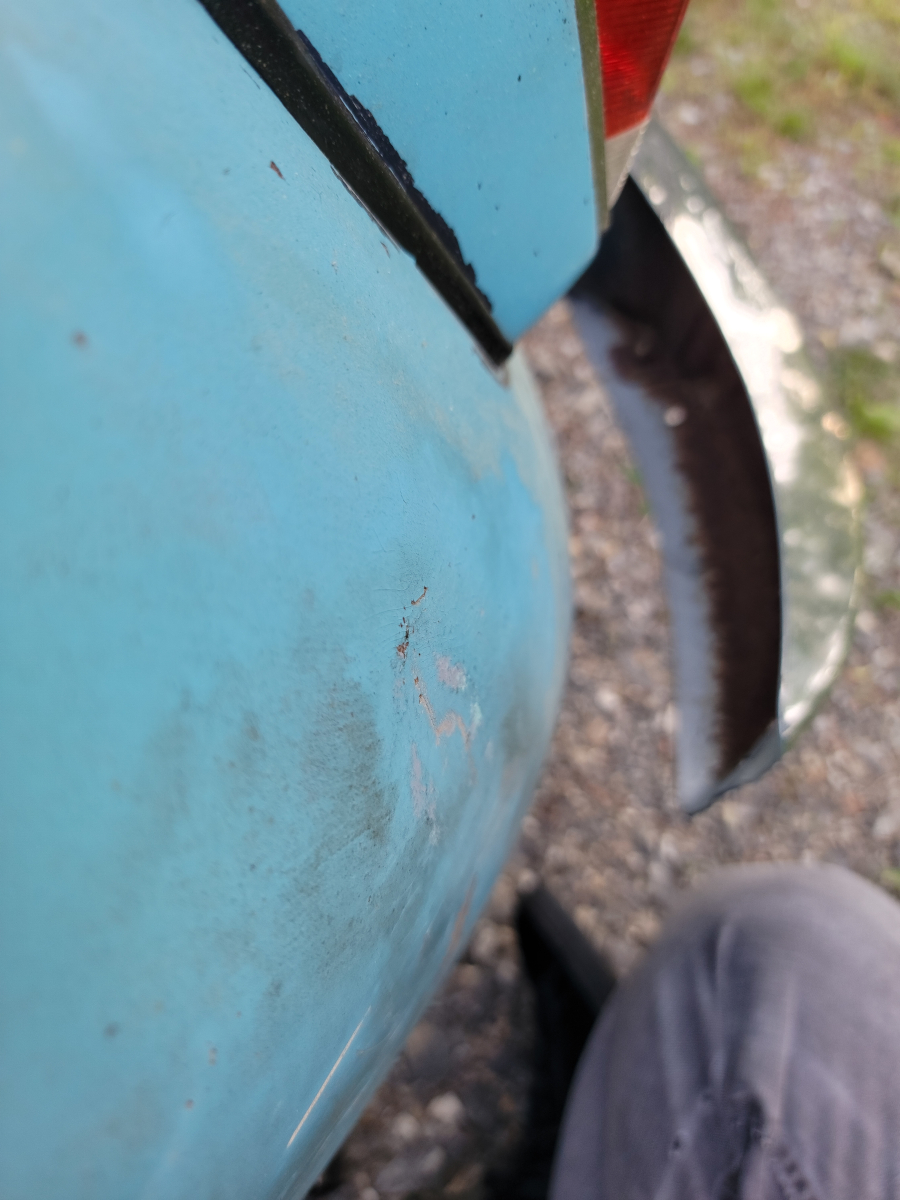
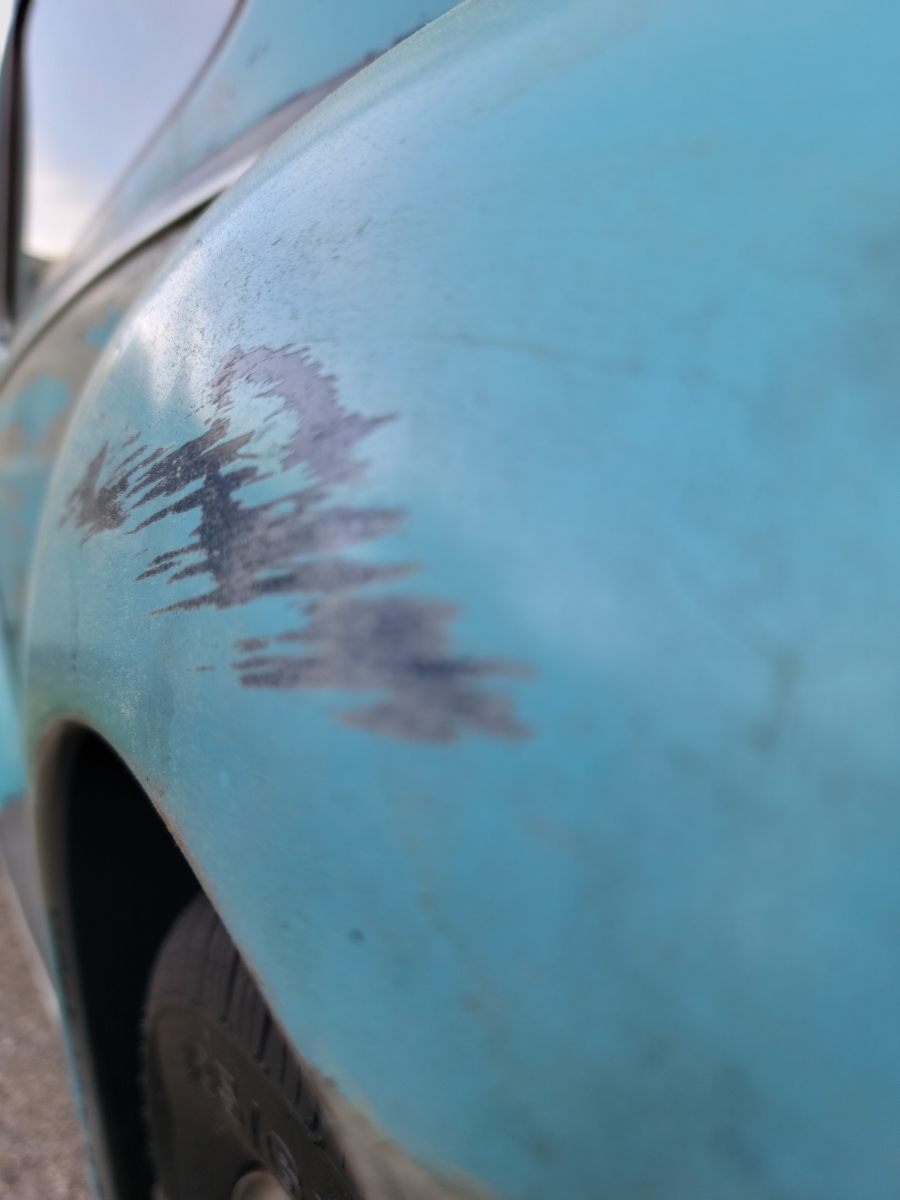
I am considering this one a win. It is completely smoothed out, save for the smallest low-spot crevice. It is creased pretty hard down in there and I came at it from every angle, trying out several different combinations of hammers and dollies from above and below. I think the body filler was fighting me once it got down to such a fine crease.

There is still a lot of work to do on this fender alone, not to mention the rest of the car, but I’m pretty happy with my first attempt at metal massagery and what I was able to accomplish in only 40 minutes.

Stop calling them Saturday Updates

Back onto the headlight bezel thing for a minute.

The new outer bulb brackets are the same size as the old brackets, so that’s not the problem. It looks like the bulbs are just sitting off center in the bucket. Kicking that can on down the road for another day.

There is this thing that also needs attention.

Which looked like this after a little while

and is now torn down even further… No spark. New points, condenser, coil, and a fresh fuse.

Anyway, back to the other lady.

I replaced the heat exchanger hoses (which were held on with black household caulk) and the air intake hose (Amazon link). All shiny, but man that original cardboard covered hose is so much sturdier. I will likely end up having to put that back on unless I can find one that isn’t made of aluminum foil.

More of that purplish paint back here.

Every couple of days, when I lift up the trunk lid, the gas tank has overflowed here around the fuel sending unit. “New gas tank” he said. Sometimes it’s a little puddle and sometimes it has flowed all down the sides and into the spare tire well.

I tried to measure the resistance of the fuel sending unit with a multimeter, to figure out why the gas gauge stopped working, but either I wasn’t doing it right, or it’s dead. But either way, new gasket and mounting screws with little nylon washer things to snug down in the mounting holes better (Amazon link).

Seeing as how the spare tire well is always wet with water (and hopefully no longer with gas) it’s pretty rusty down in there. I thought that would be a good, out of sight, place to do some painting.

I got some nylon cup brushes (Amazon link) and went after it in the wrong order (the softest one didn’t remove much, so I stepped up and removed a little more, then stepped up to the stiffest one and removed a little more).

Wiped it all down with acetone and started spraying. First with rust converter, then primer.

You can see that the factory Zenith Blue paint is actually blue, when you put a gray primer up against it.

There are some weird angles in there and I had a couple of runs. I’m a well-qualified rattle can spray painter, but this Krylon Fusion 2 in 1 really runs wayyy too easily.

I pulled the inspection panel covers off and gave them the business as well.

And then a couple of quick coats of Matte Vintage Blue paint, Krylon Fusion. Oh, and I did wipe off that body tag and the gas tank with acetone after each coat to get rid of the over-spray.

Note: This color is apparently no longer available from Krylon. That happens SO OFTEN – I find something I like and it immediately is removed from the marketplace. I only bought one can and am now hitting every Ace Hardware in town trying to buy up all remaining stock. They are completely gone from Lowes…

Why are there flies all over my truck?

Anyway, with it all back together, it looks pretty sharp. The color match isn’t too bad for some random rattle can from Lowes.

I don’t think I would paint the outside of the car with it, but if I’m doing body work and removing rust, it would definitely be a better alternative to leaving it in primer for who knows how long.

Seriously, there are flies all over…