The weather app said it was 54 degrees today and the sun was blazing. Beautiful!
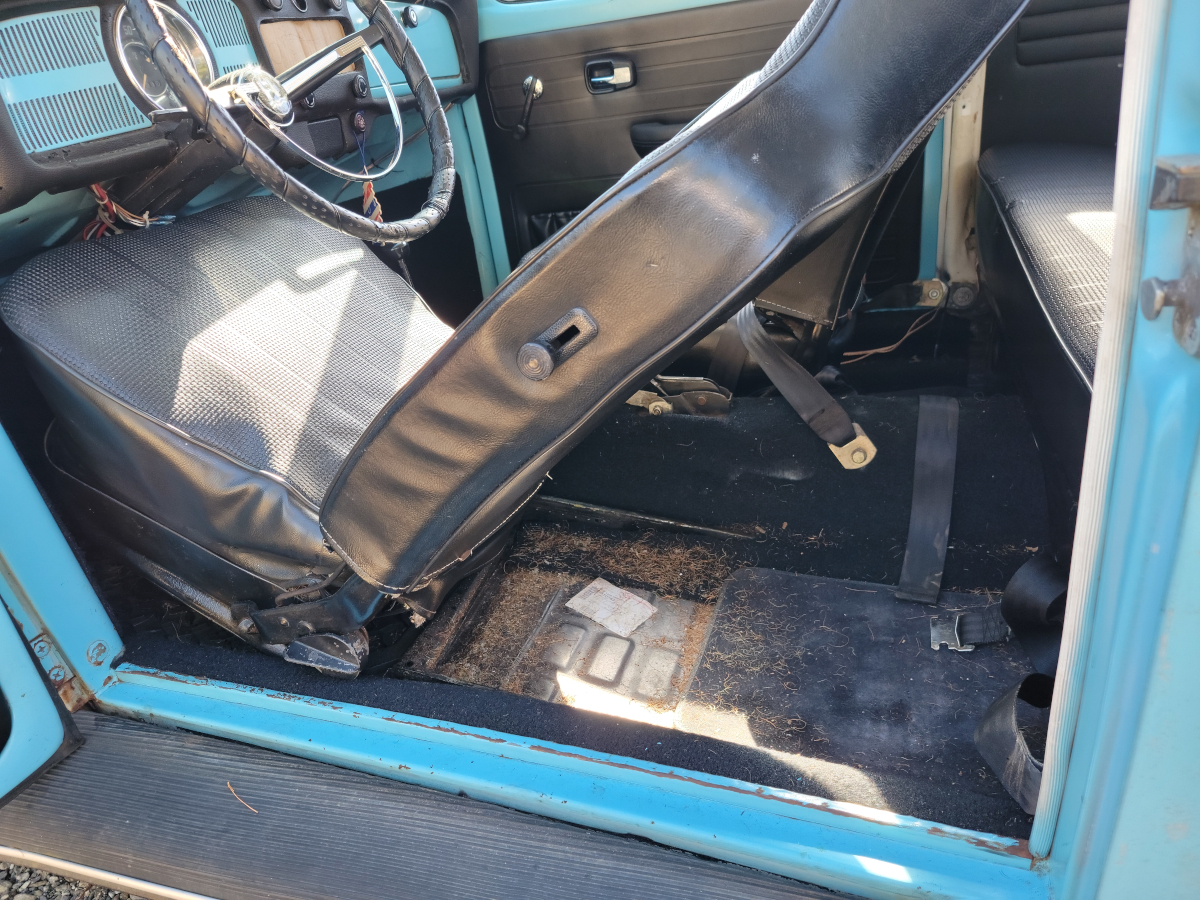
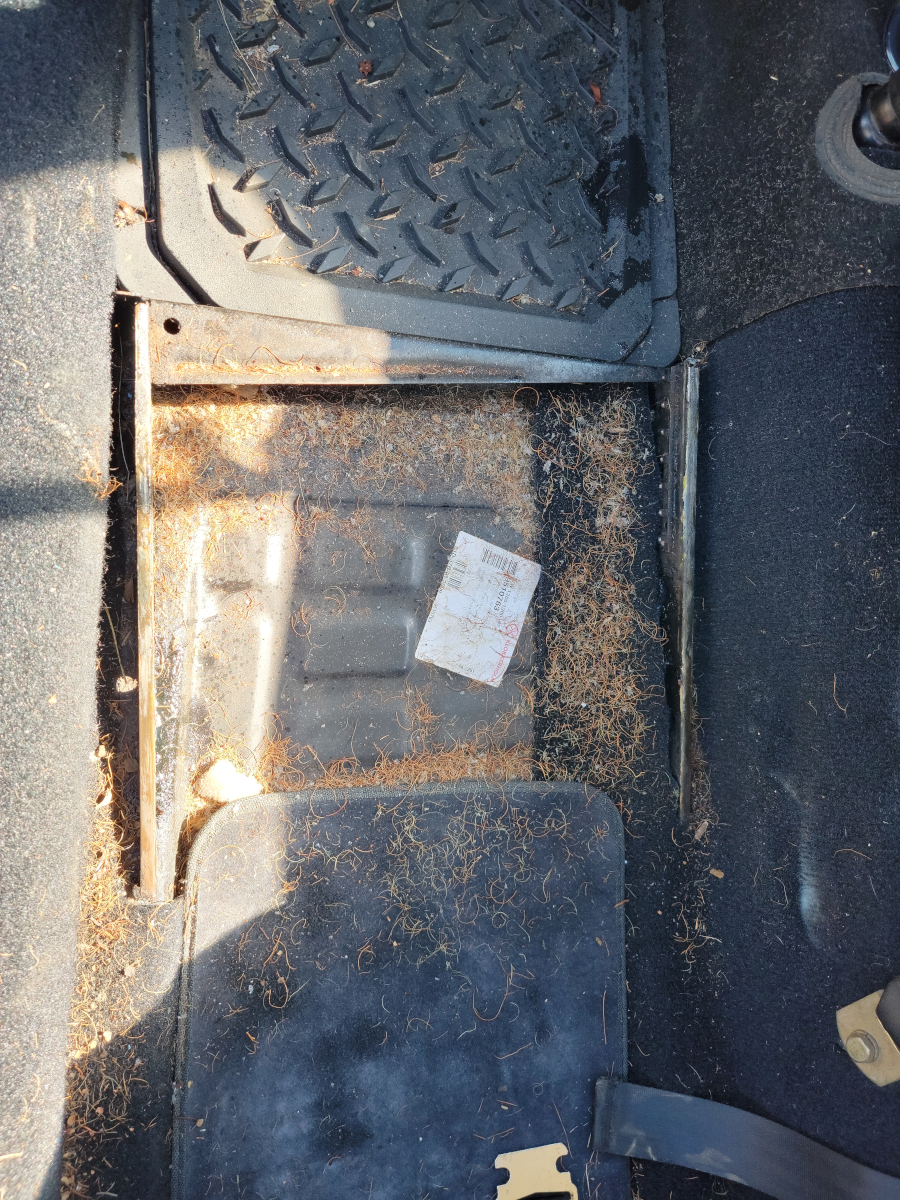
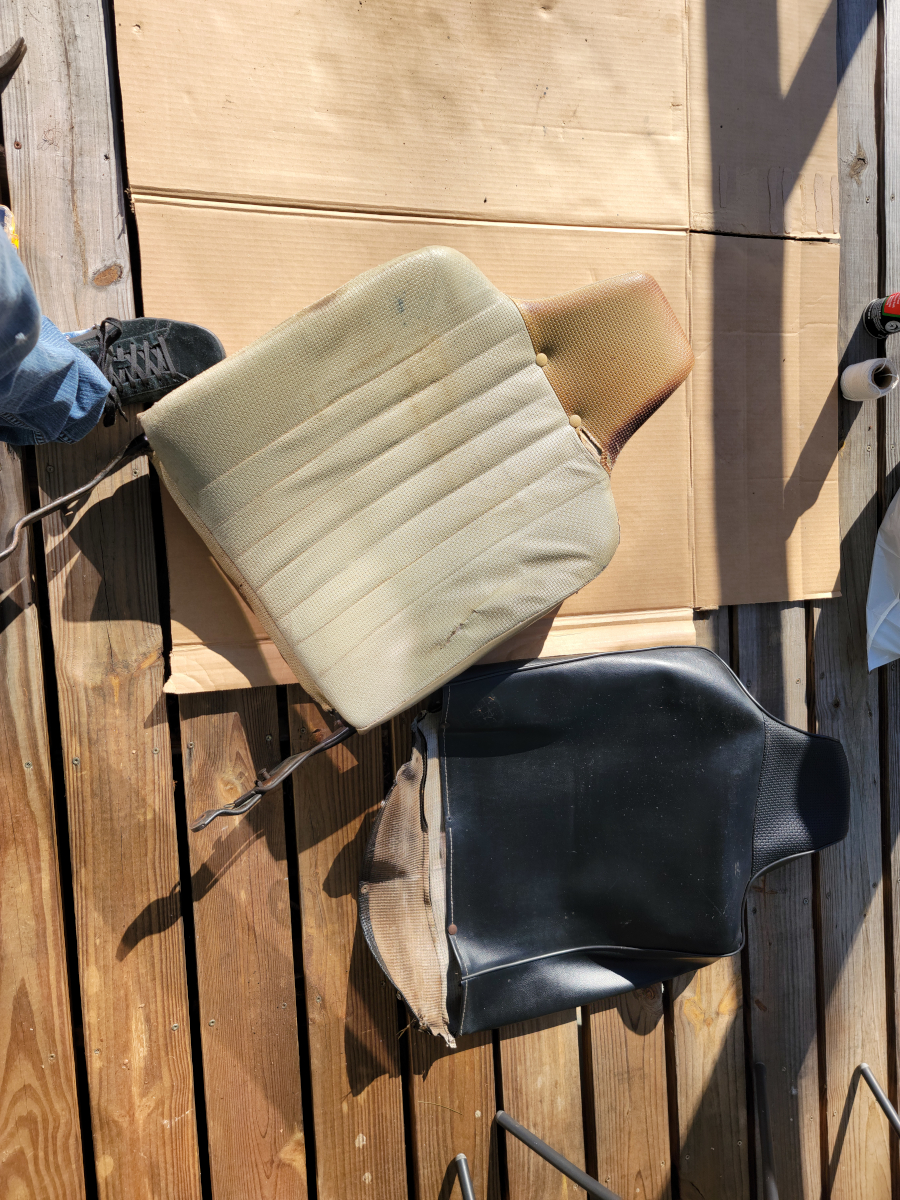
I watched a couple of videos about how to remove the front seats and it’s really quite easy. Simply lift the lever and slide it all the way forward. There are many references I found to a locking tab on the side of the rail that needed to be depressed (I think I’ve got enough of that already, thanks), but it slid all the way out with no bother.
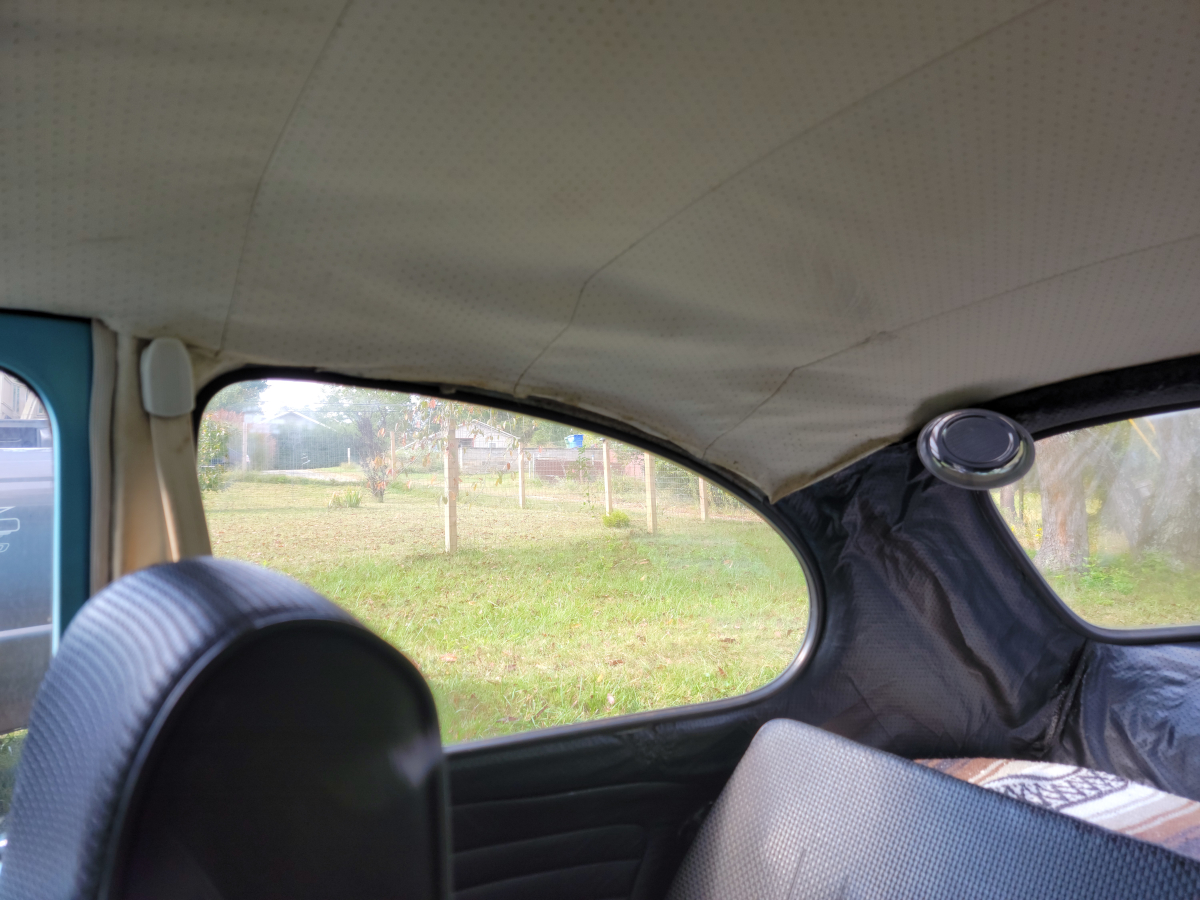
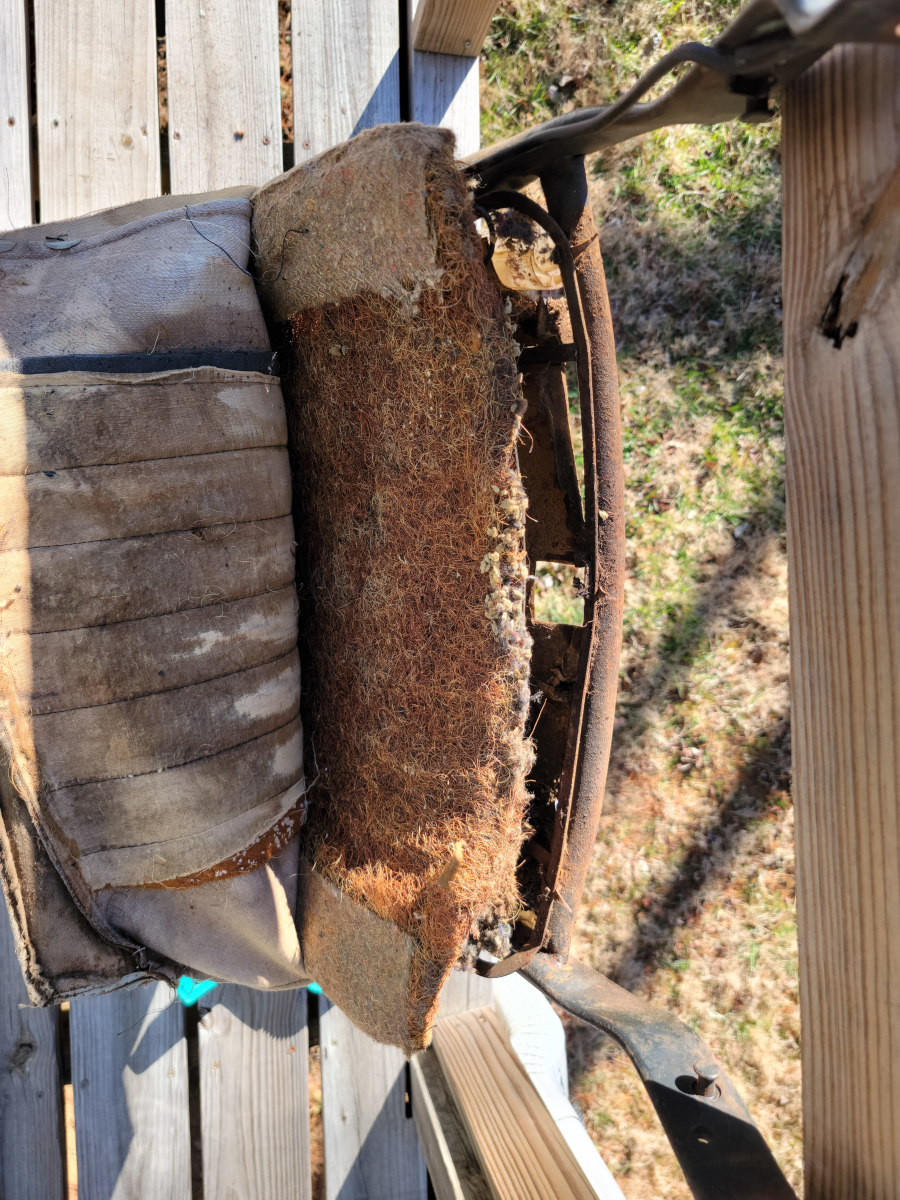
The floorboards have been full of coconut hair since I bought it, as I’m sure I’ve mentioned previously.
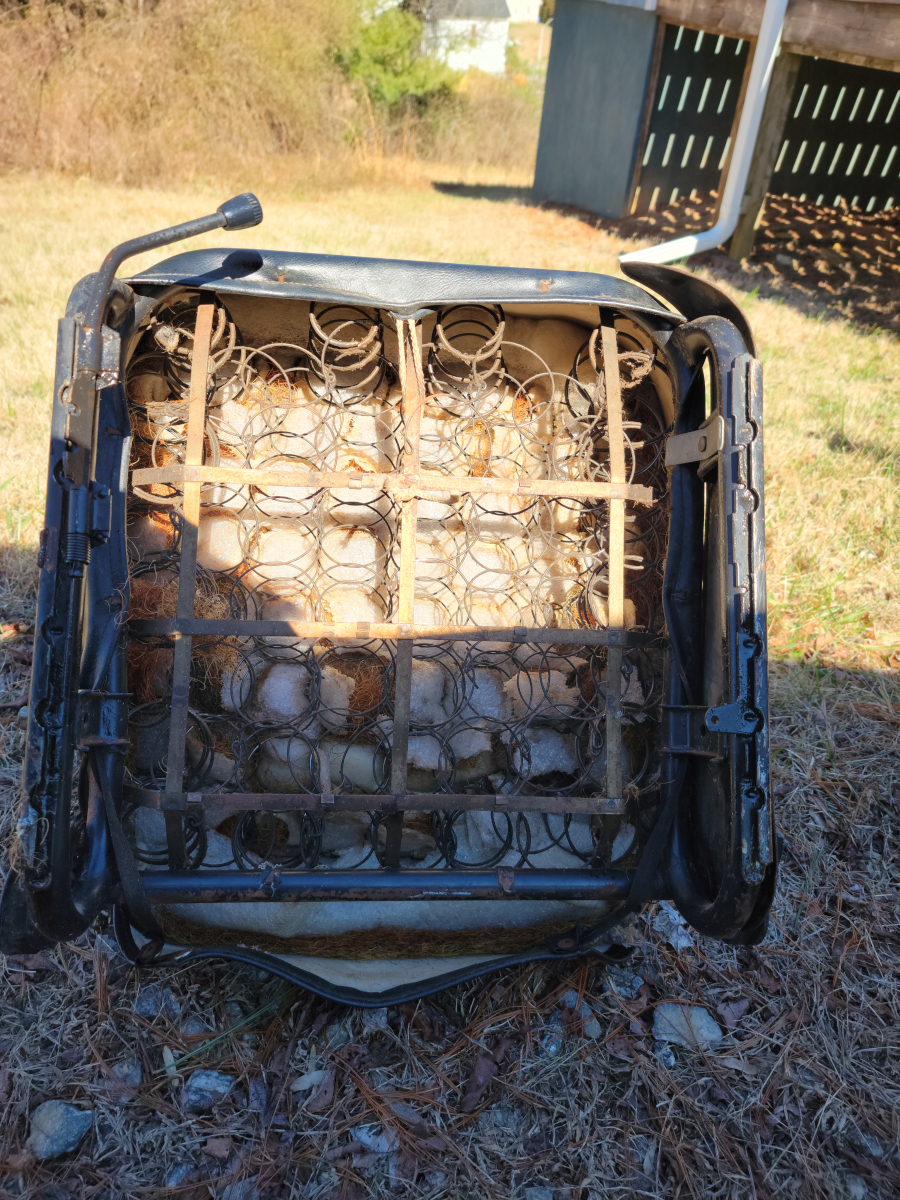
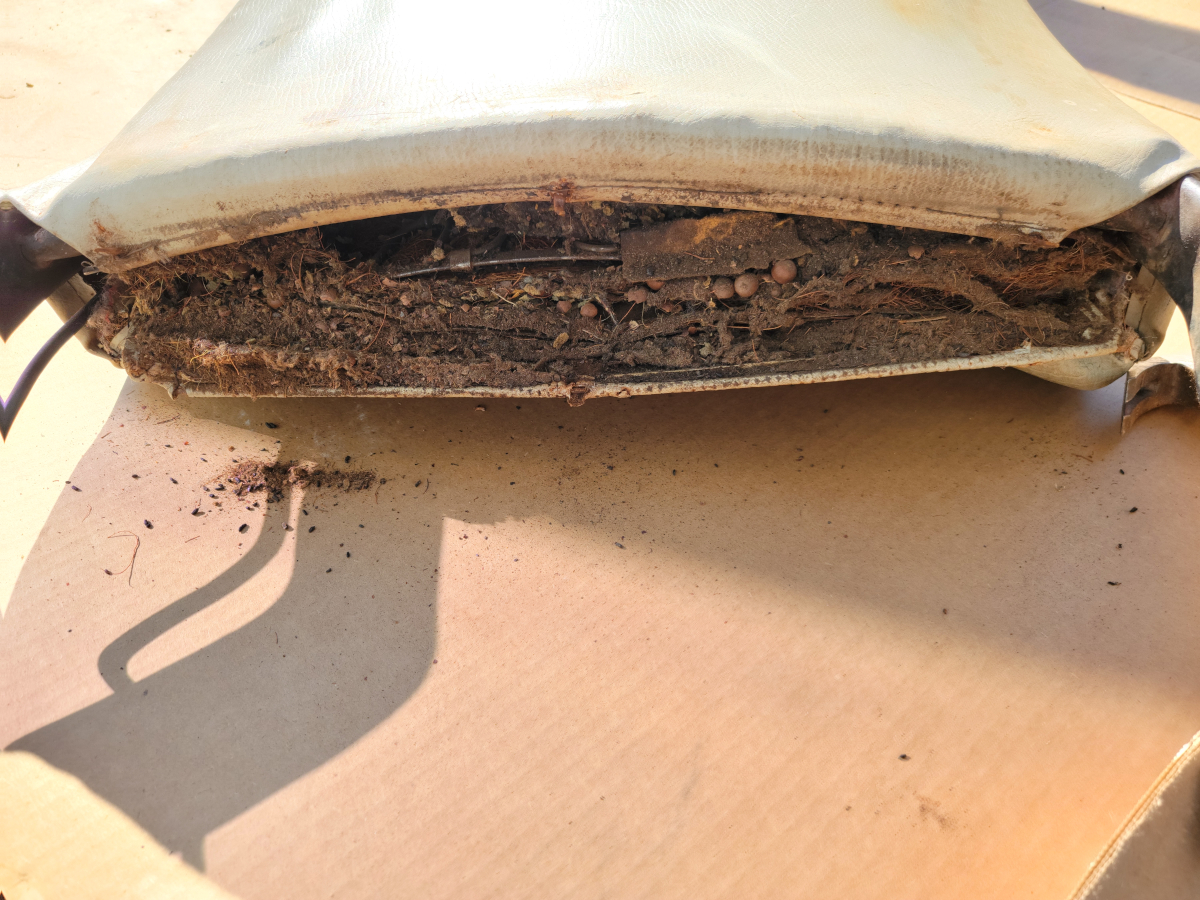
Underneath, it was clear that there were multiple layers of old “fixes” in place.
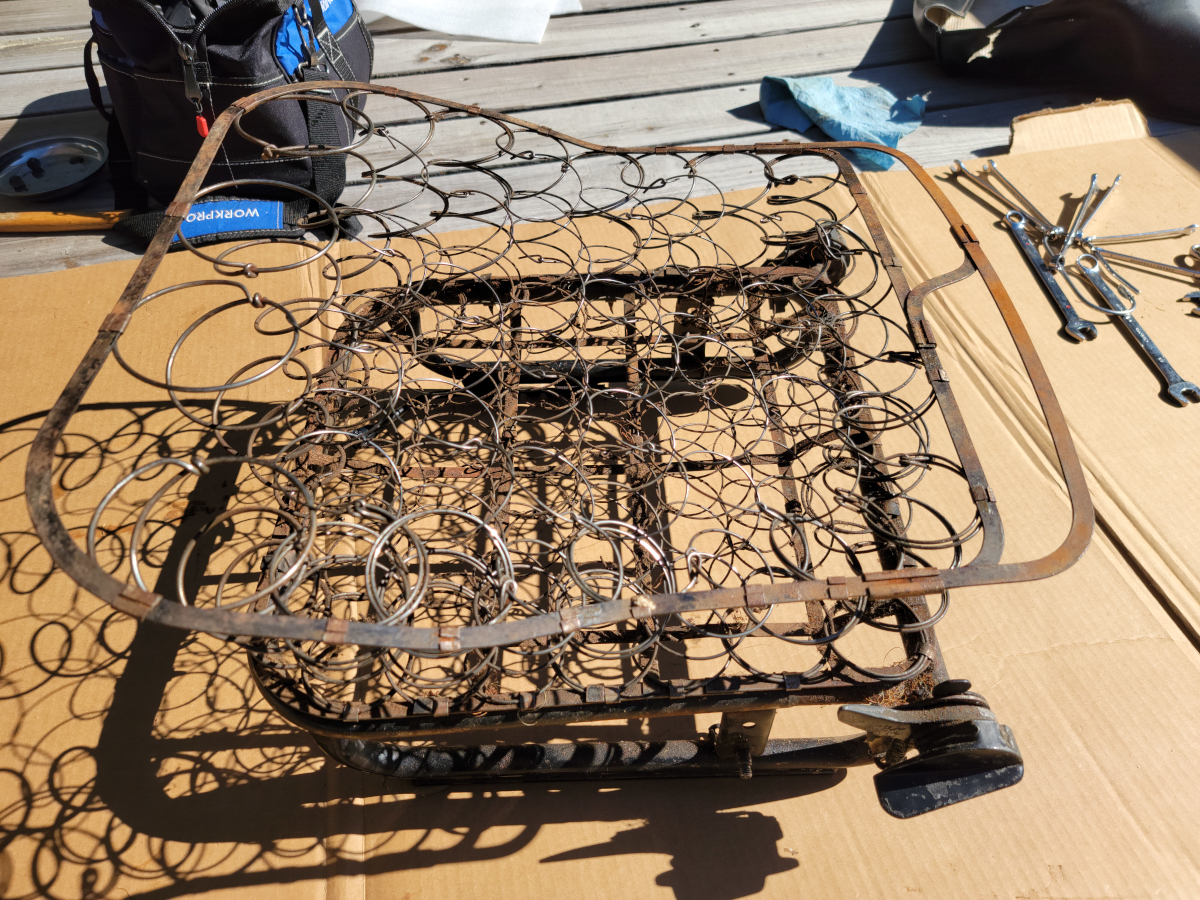
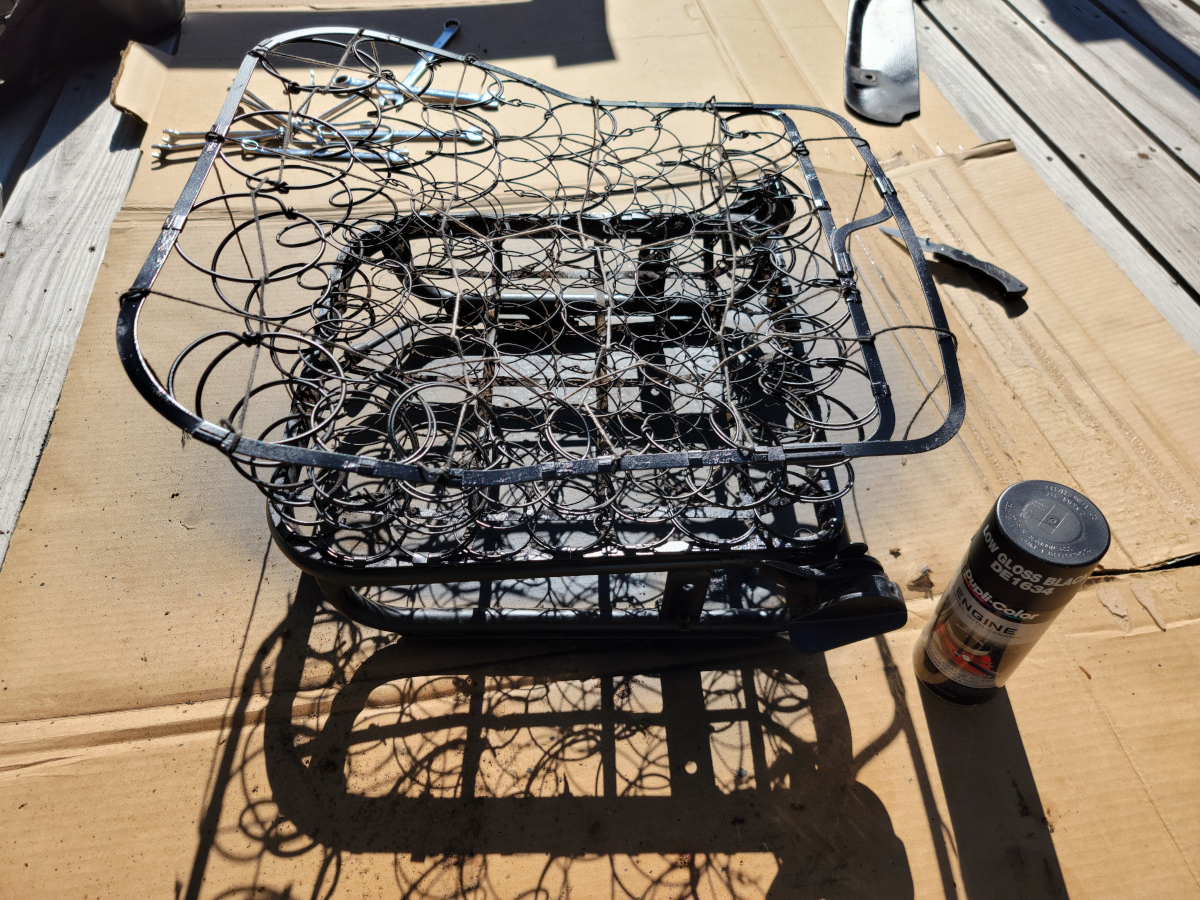
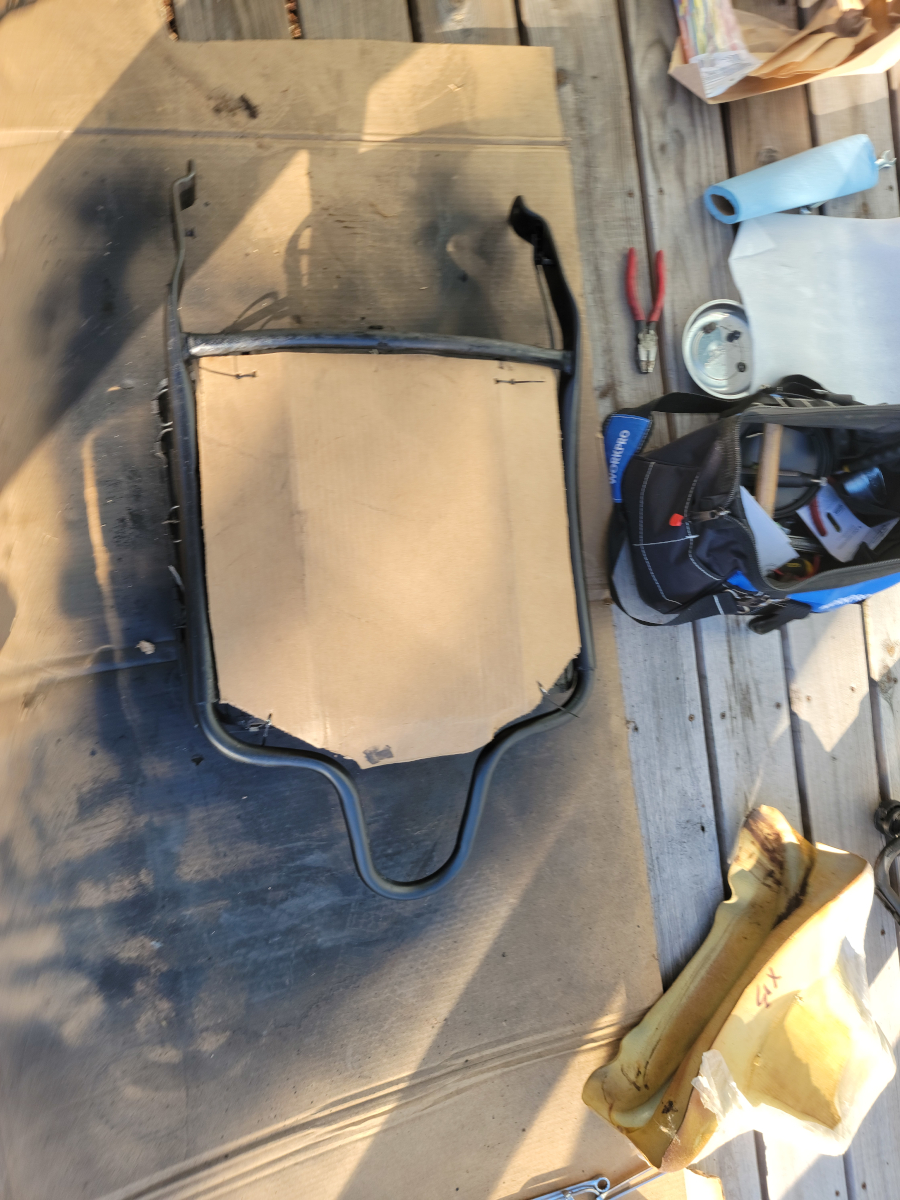
Deconstructing the seat base
I flatted the box my dishwasher came in and set up shop on the front porch. A couple of acorn nuts and washers to remove and then the seat back and base were separated.
It looks like there is a broken lever or catch on the inside seat back hinge. Missing springs as well.
After bending back the little prongs/spikes that hold the seat cover on and removing the seat cover, it was time to start peeling back the layers.
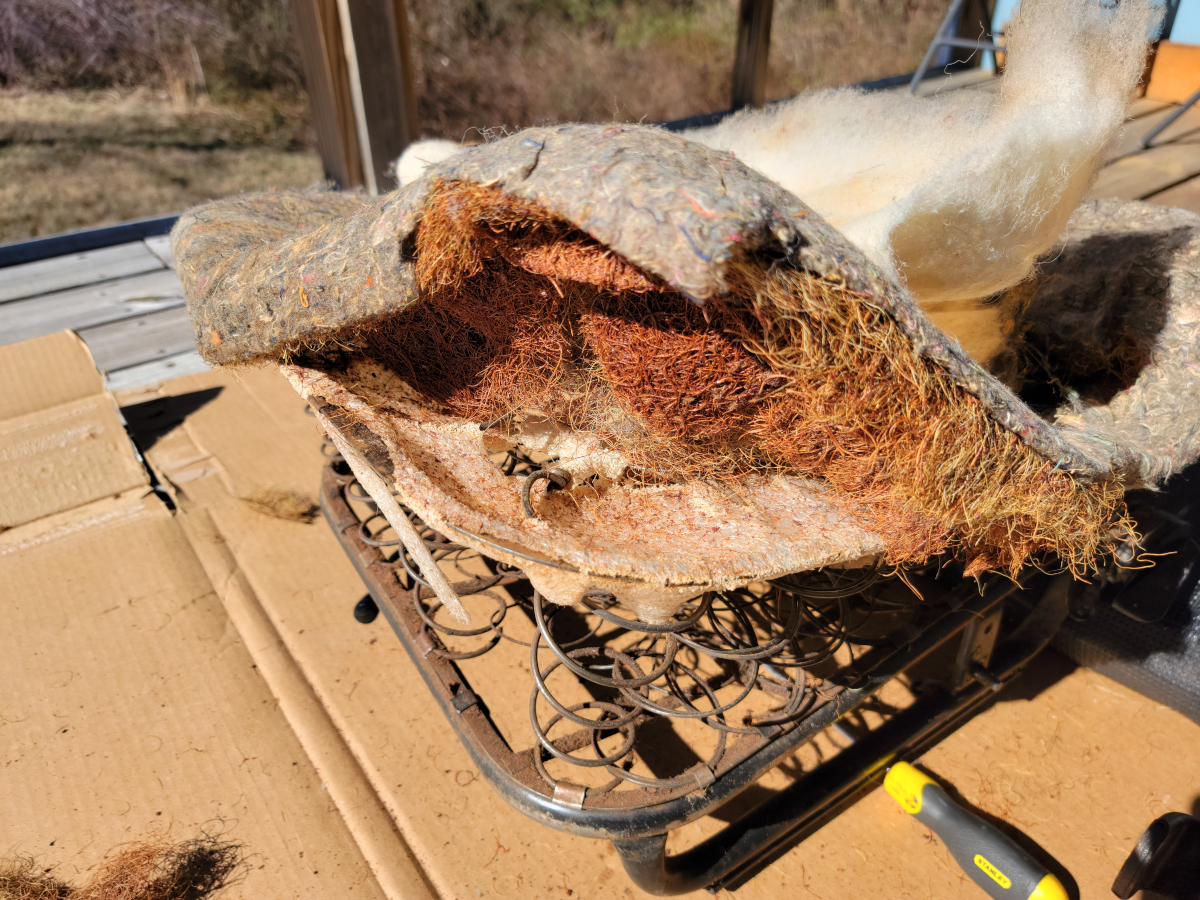
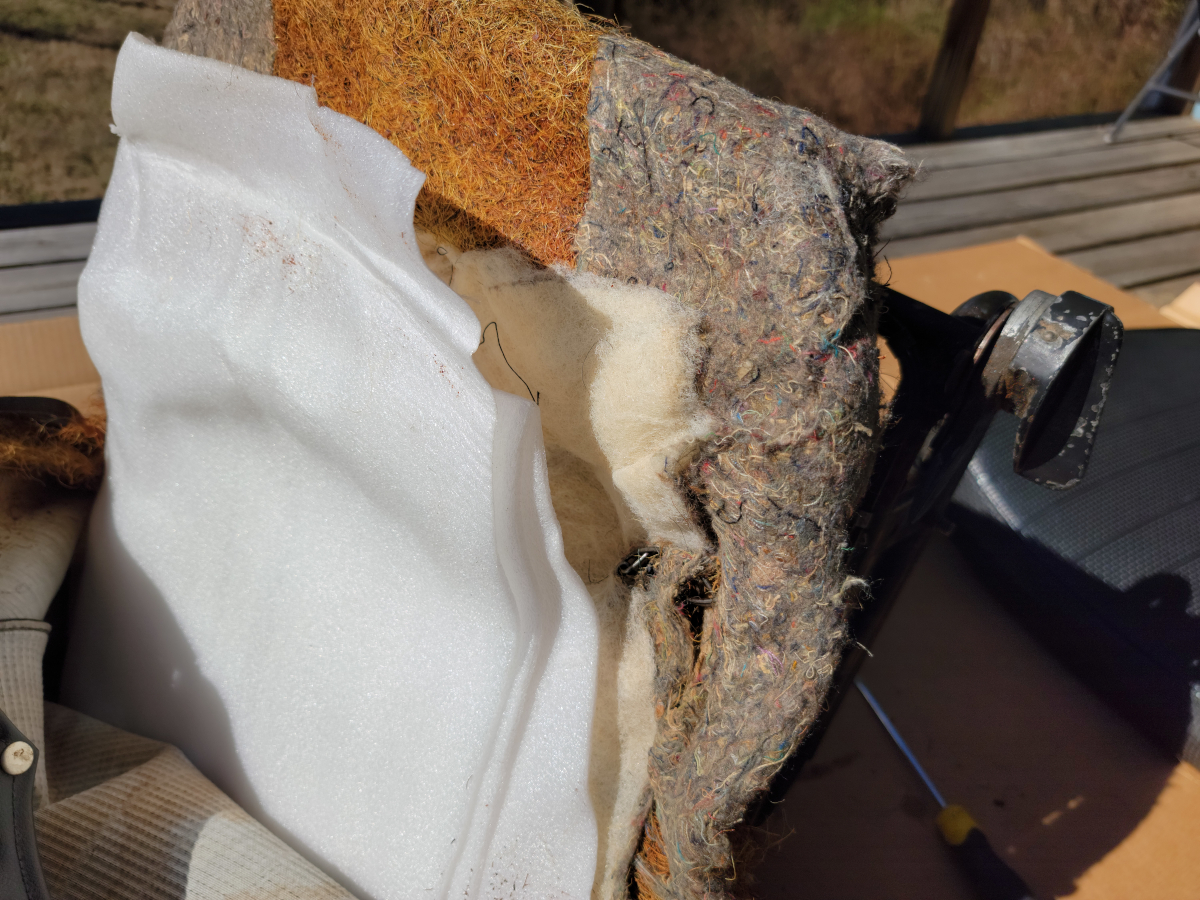
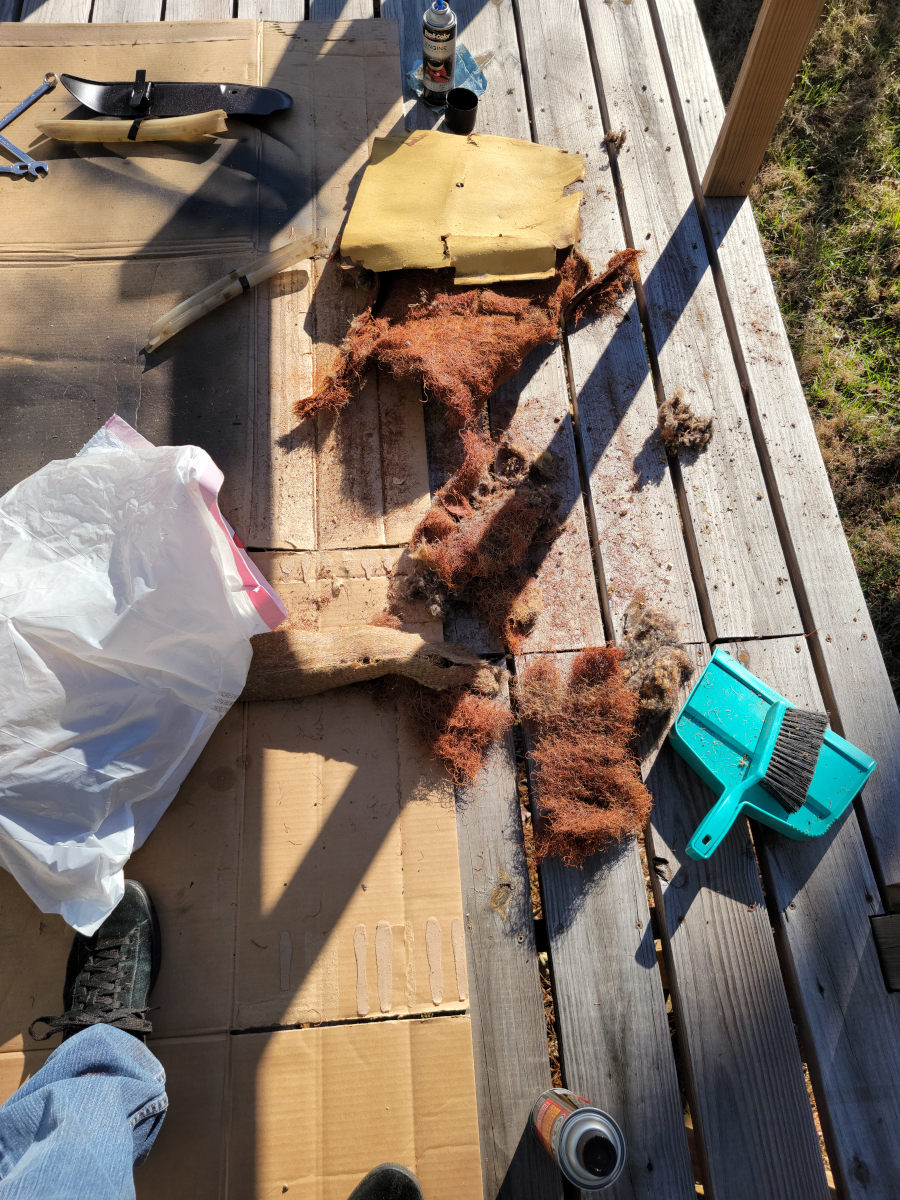
There was a very chintzy packing foam, almost like bubble wrap on the bottom, then there was the factory coconut hair pad with furniture padding edges. Above that, I think to try and soften the edges of the springs that had sprung up through the now nonexistent coconut pad, there was some white fluffy batting, like upholstery lining, and finally a couple of layers of much more modern packing foam. All of that, aside from that last layer of packing foam, went straight into a trash bag.
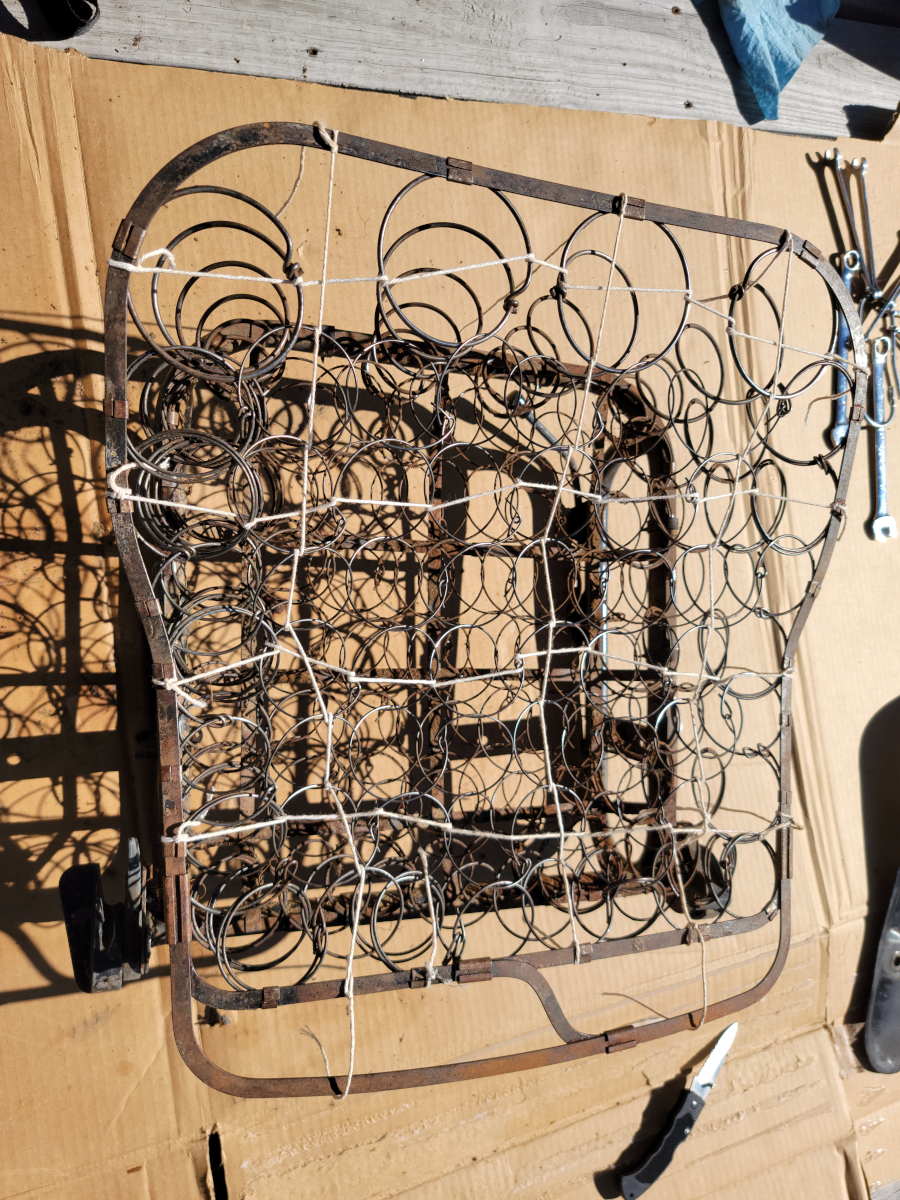
Rebuilding the seat base
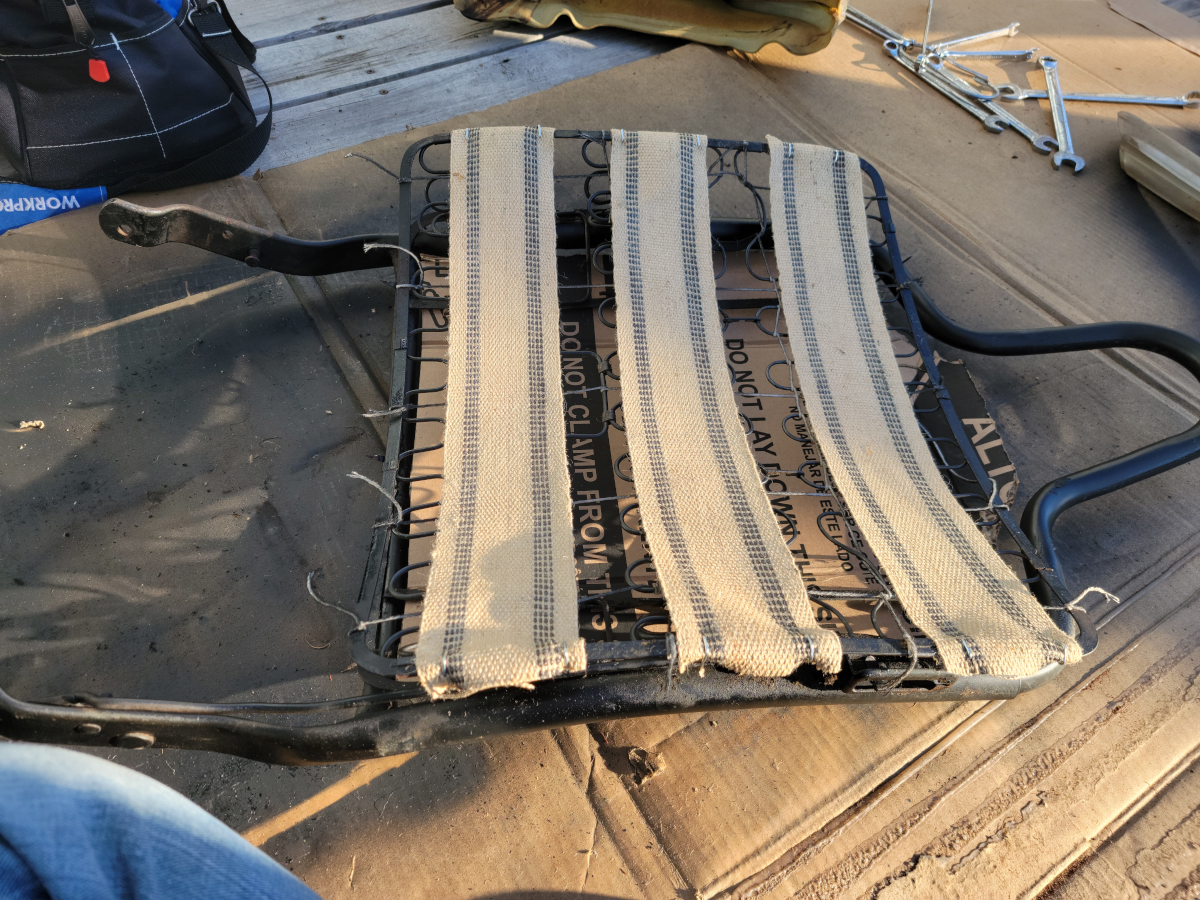
The rebuilding process can now begin. I started with a ball of twine, wrapping and looping a grid across the top of each row and column of springs.
Then I hosed the whole thing down with a couple of layers of Dupli-Color Low Gloss Black black engine enamel DE1634 (Amazon link).
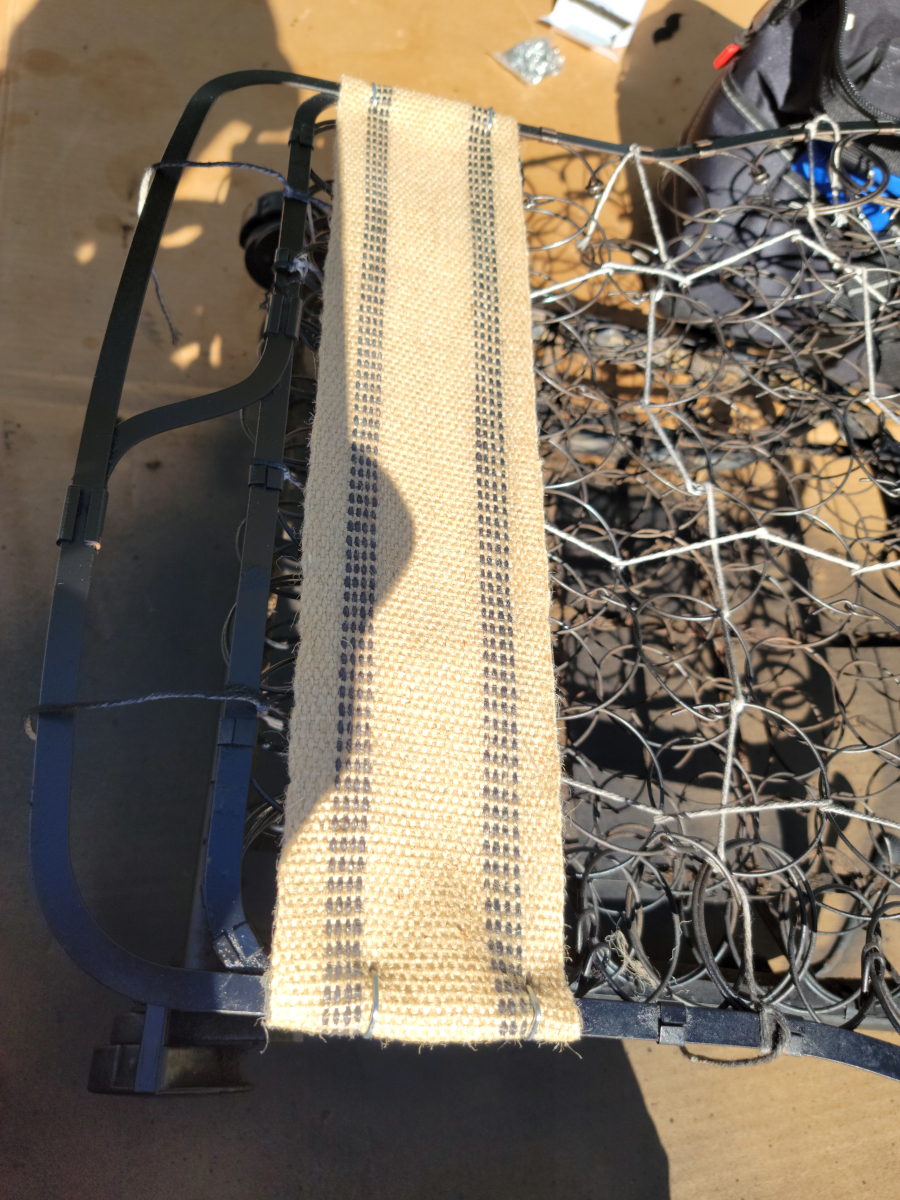
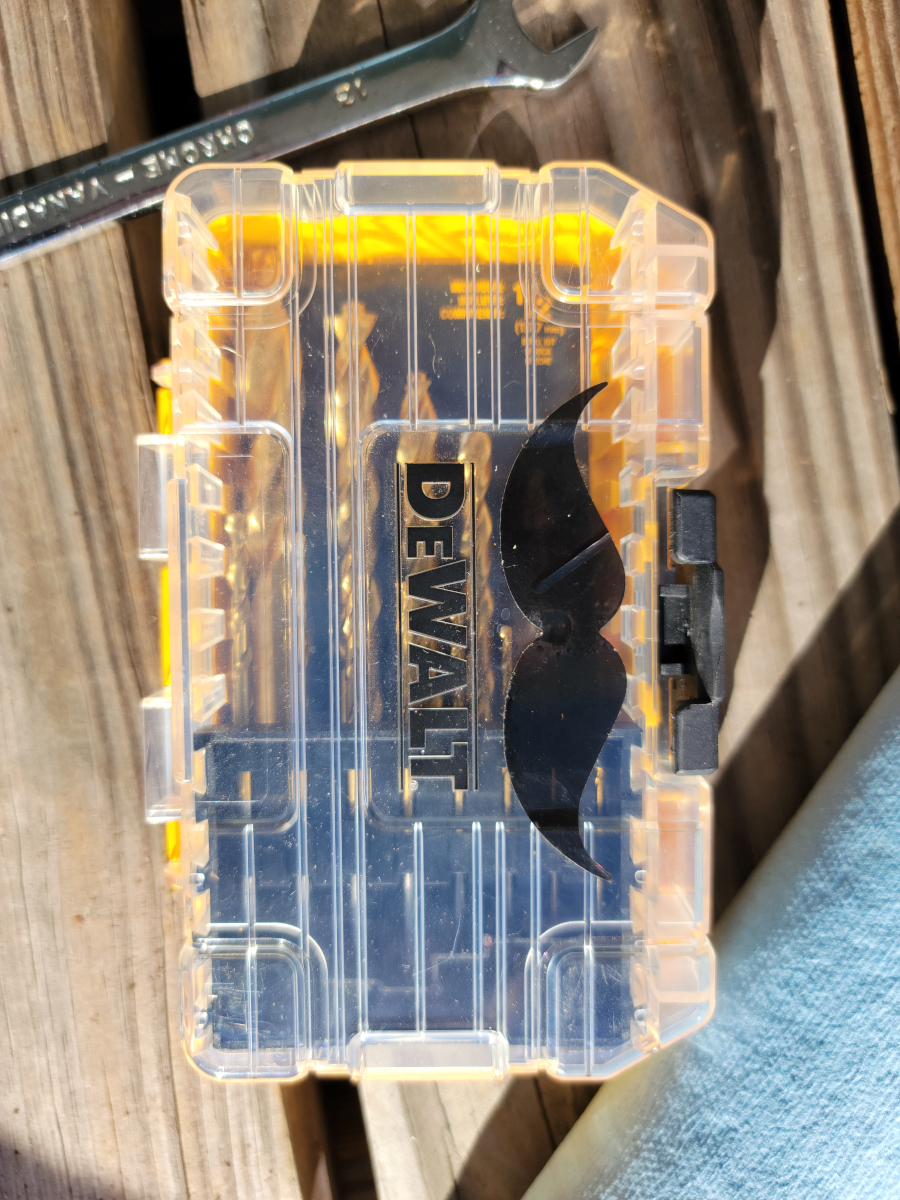
I bought a roll of jute upholstery webbing (Amazon link) and a set of hog ring pliers (Amazon link) for this project.
The hog ring pliers kit randomly came with a mustache sticker in the box, which was quickly applied to the nearest flat surface.
I attached a few rows of jute webbing across the seat base and decided to reuse some of that packing foam.
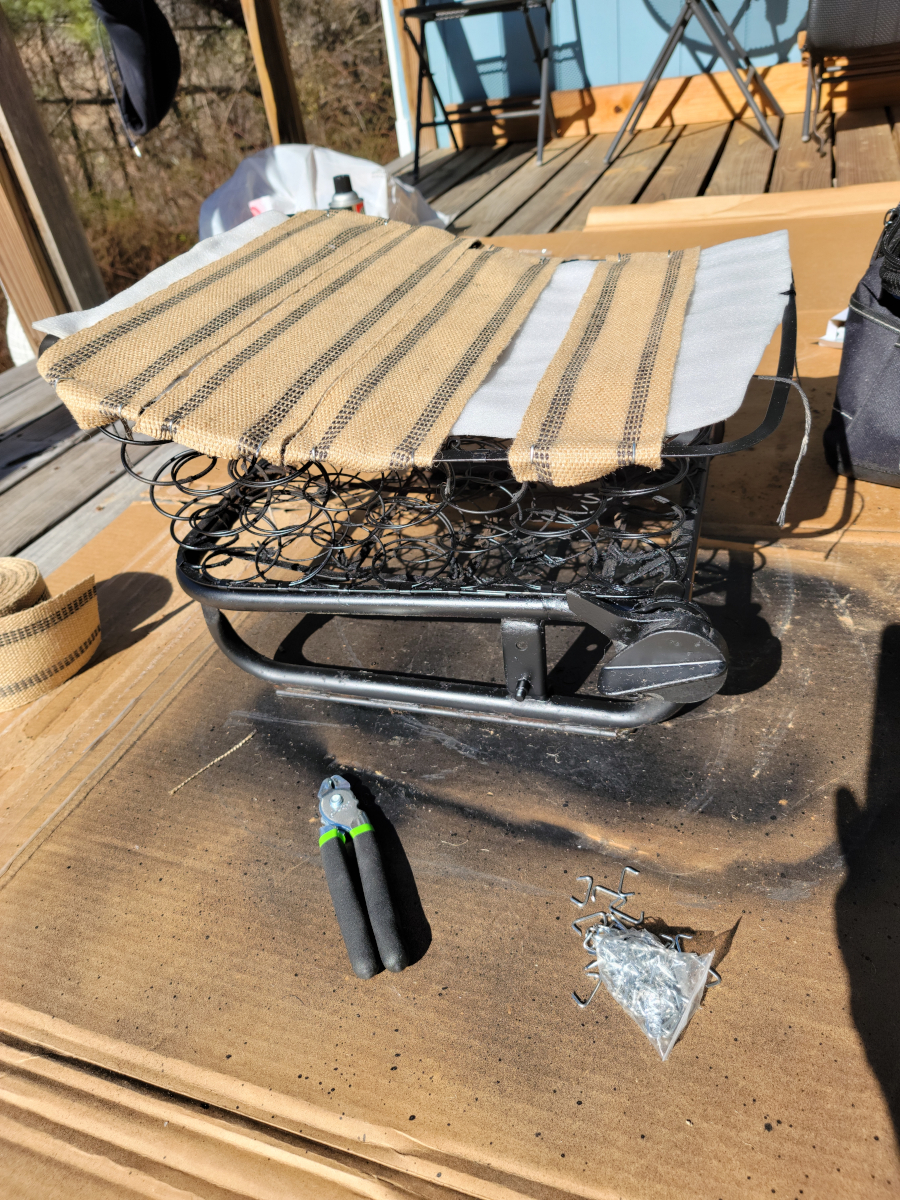
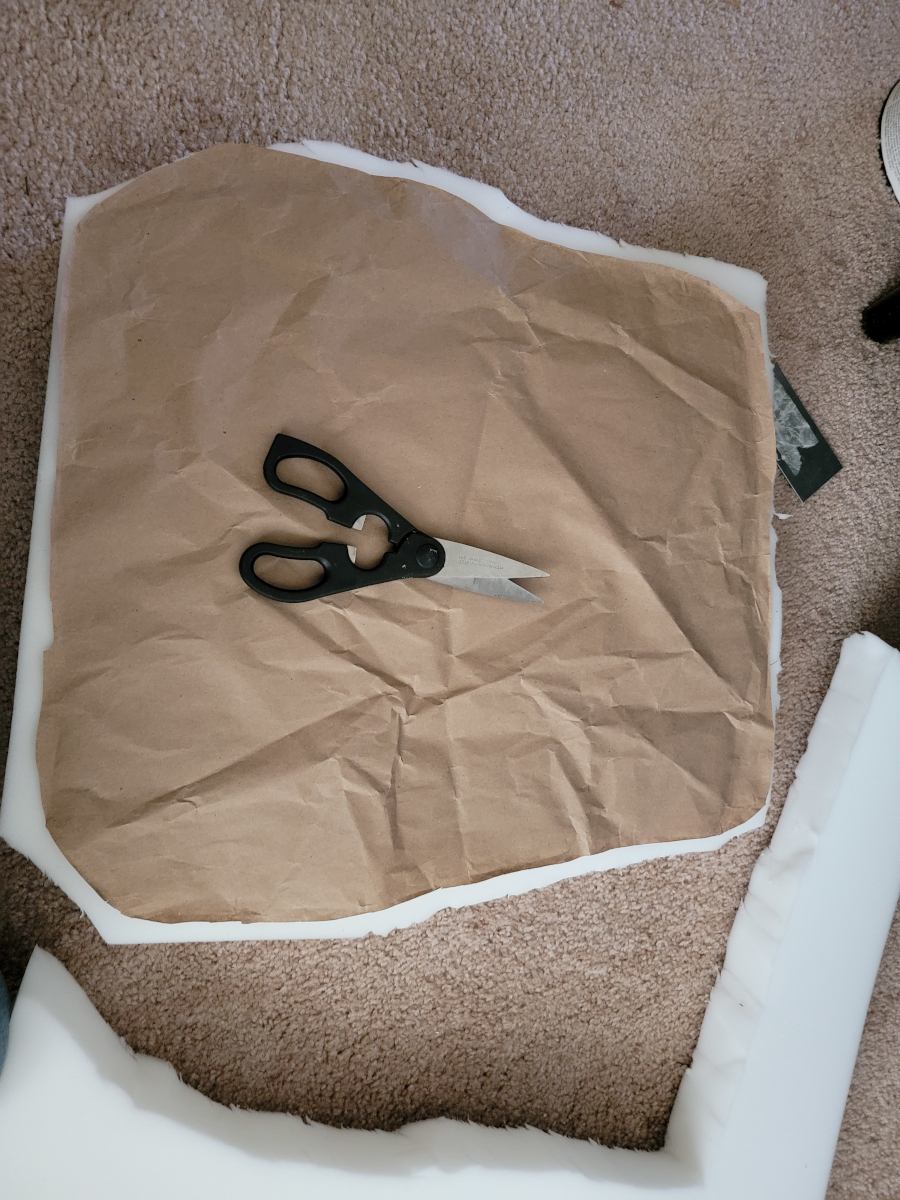
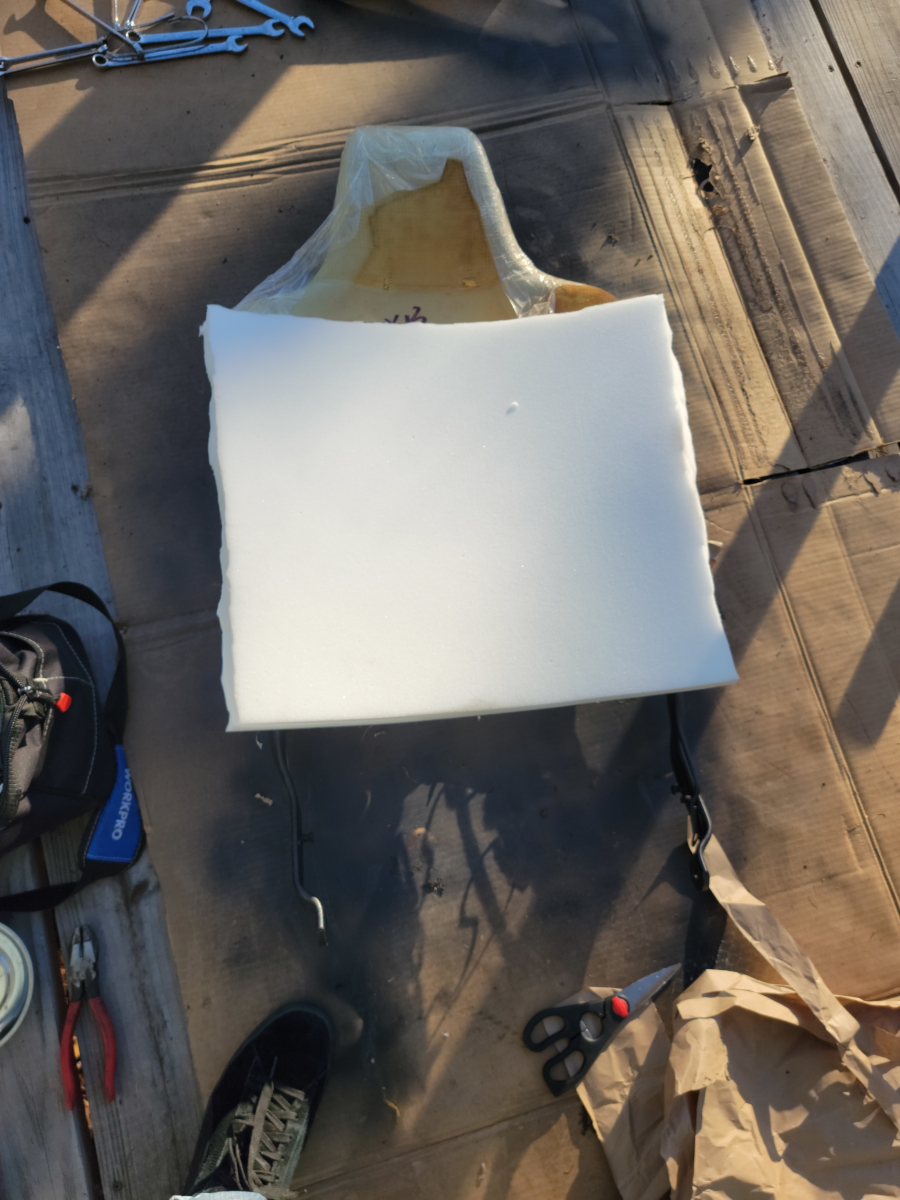
I used some craft paper to make a seat base template, then laid it out on a roll of two inch high density upholstery foam (Amazon link).

I have tried various methods of cutting upholstery foam in the past and have always made a mess of it. This time, I had some old kitchen scissors in my tool bag and decided to give those a try. Other than my lack of scissor skills, it was really easy and came out great.
It’s a tight fit and I’ll likely have to trim some around the edges.
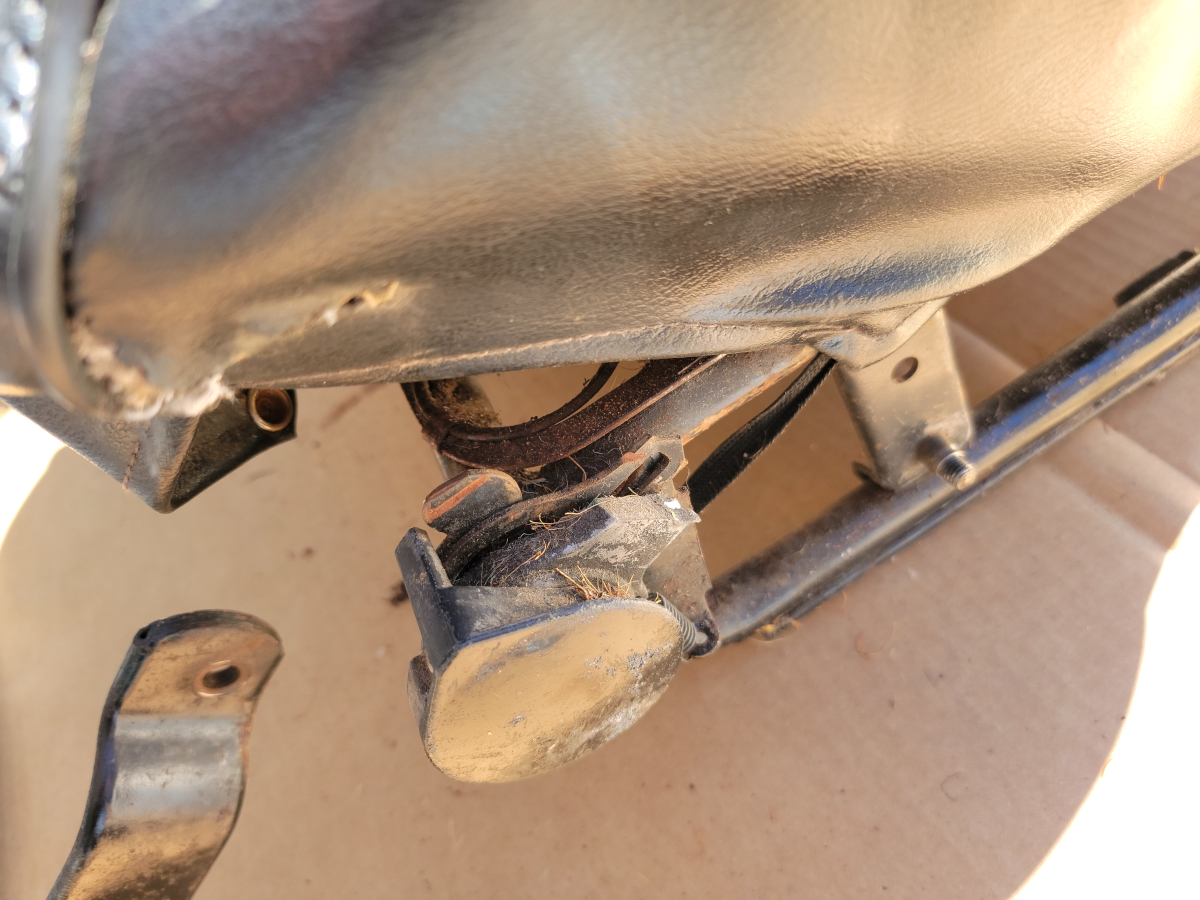
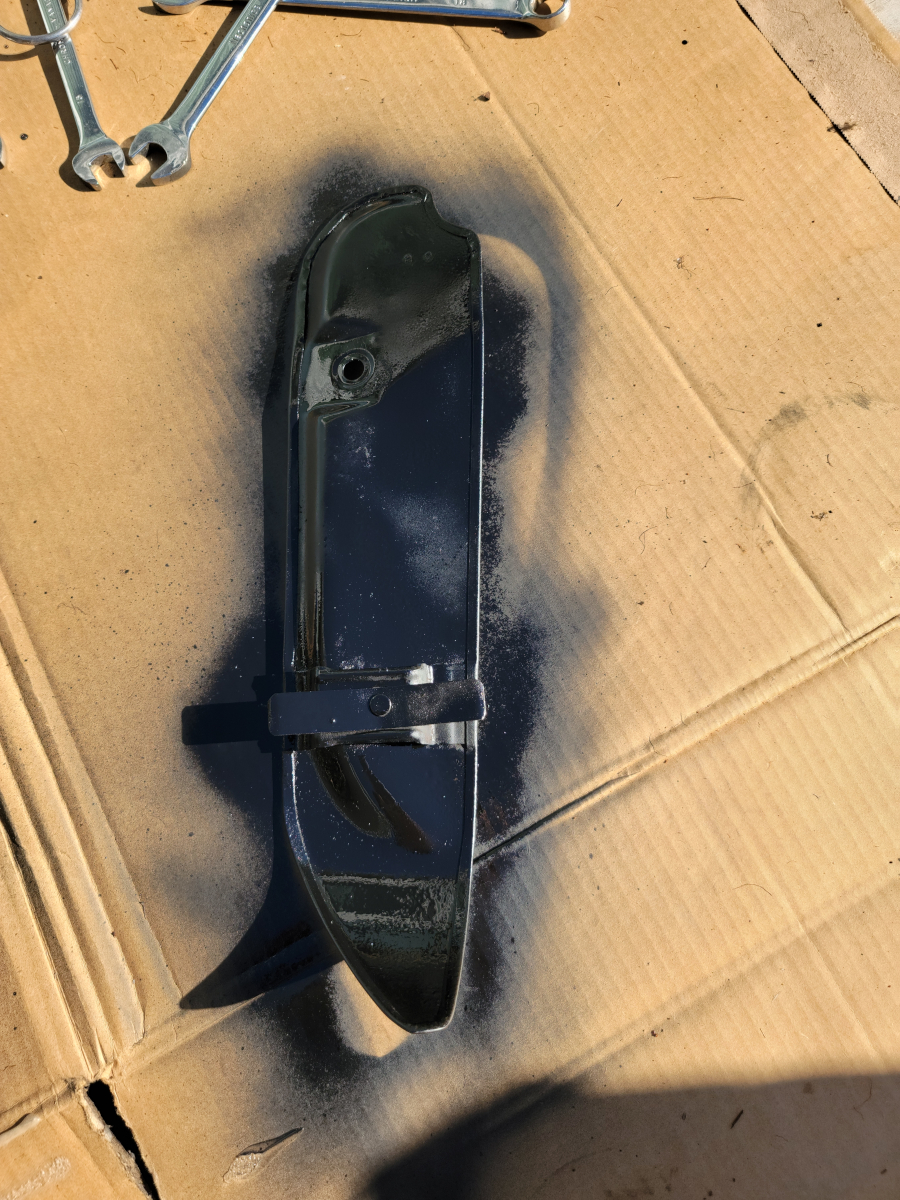
There was a metal trim piece along the outside edge of the seat base, which had previously been repainted and was tired looking. I hosed it down with brake parts cleaner, wiped it down, and made it look a little blacker. It needed to be cleaned a little deeper, apparently, as it went very heavily orange peeled immediately.

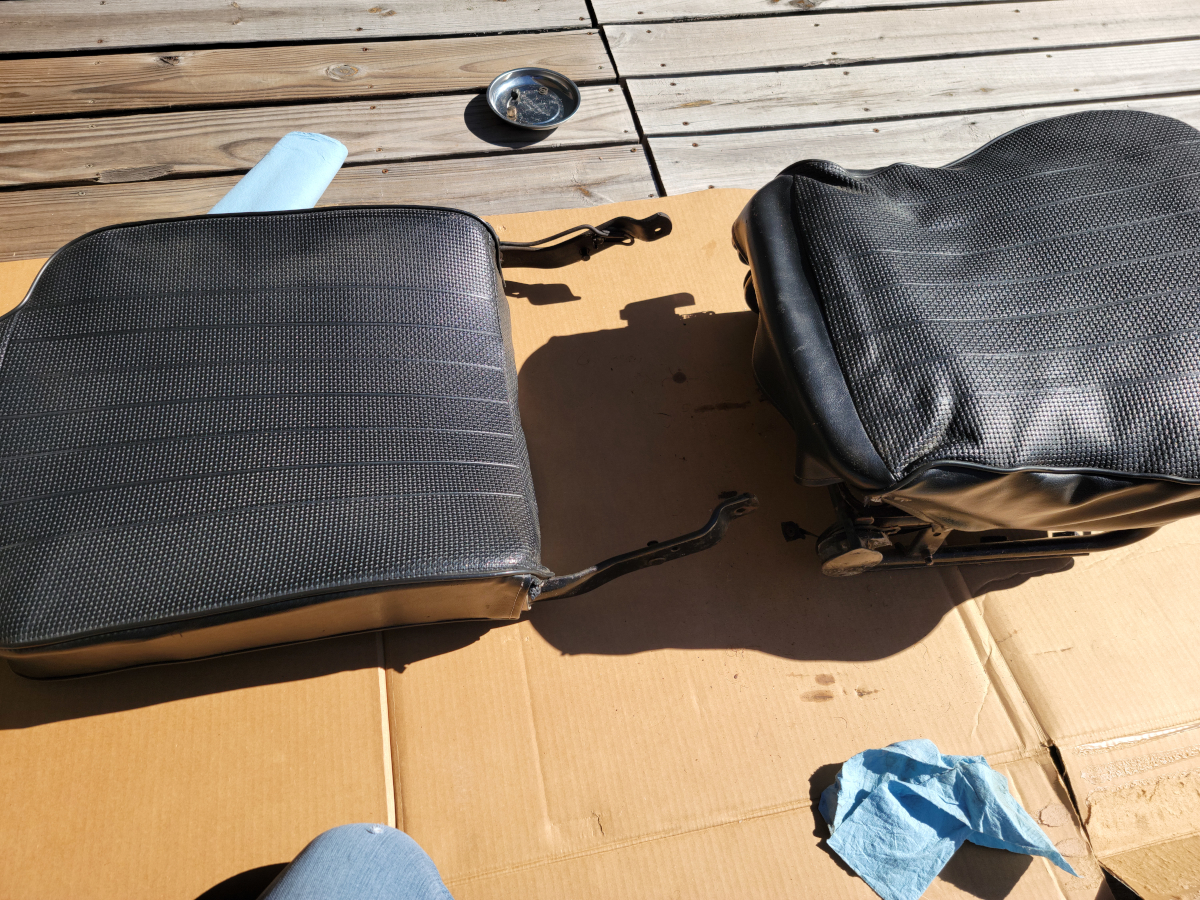
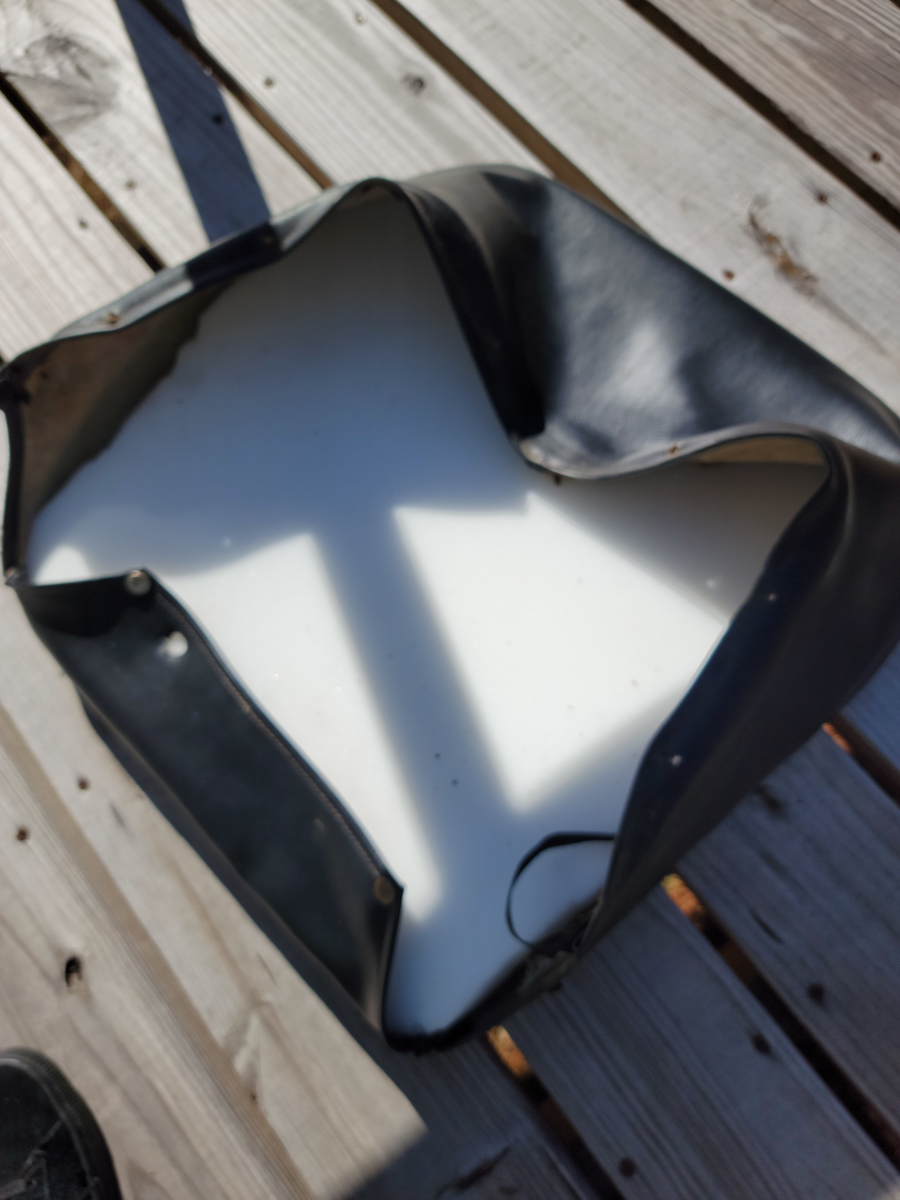
The vinyl seat covers looked like brand new in the pictures when I bought the car, but there are cracks and breaks all through them. I wiped them down with some Mothers VLR (Amazon link) vinyl cleaner and conditioner.
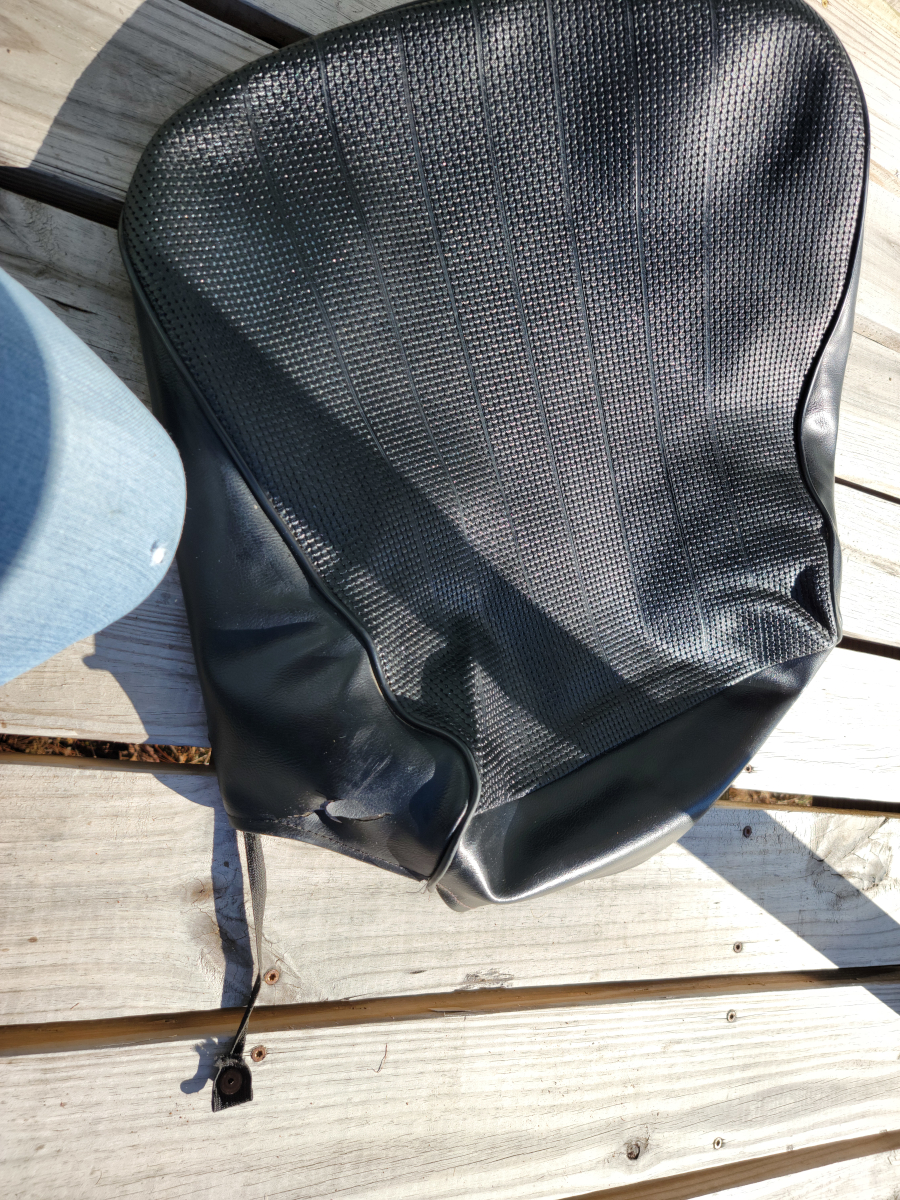
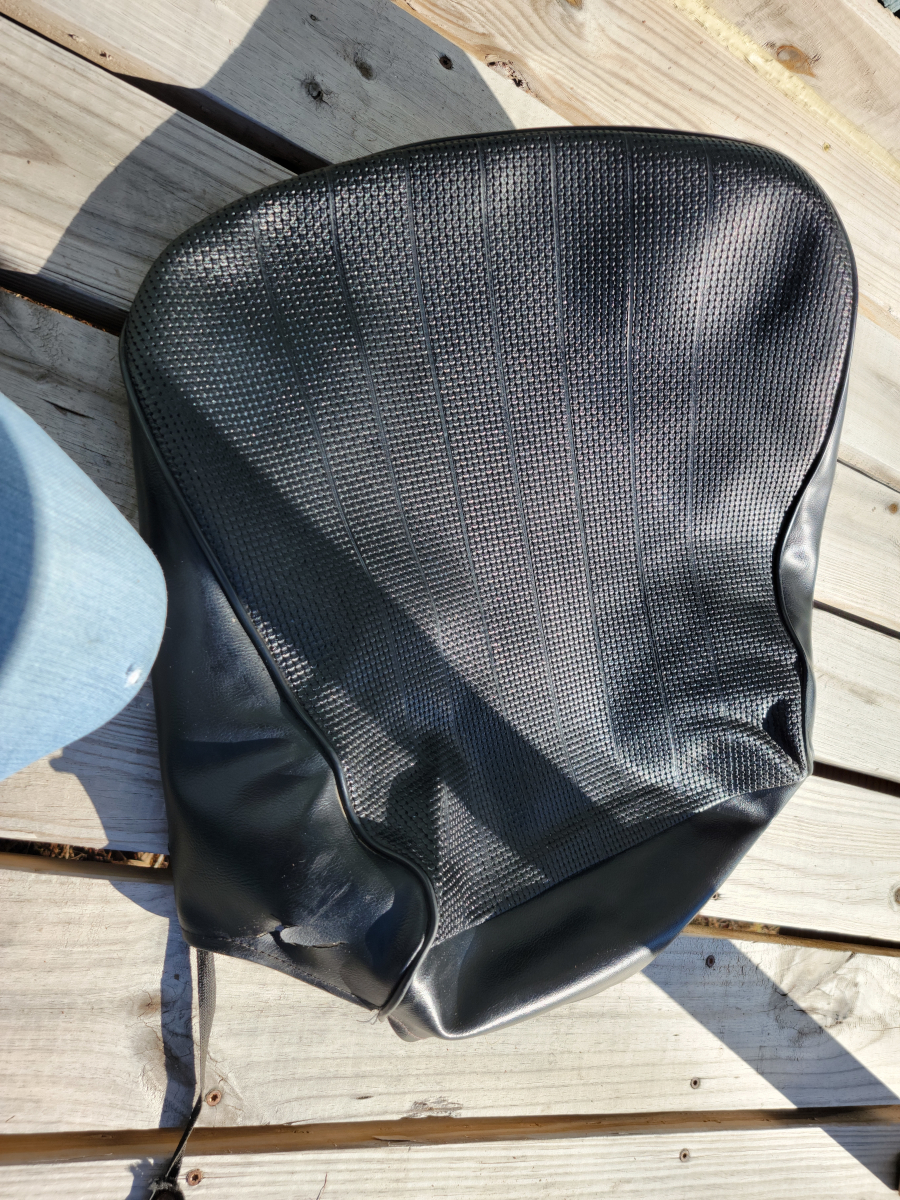
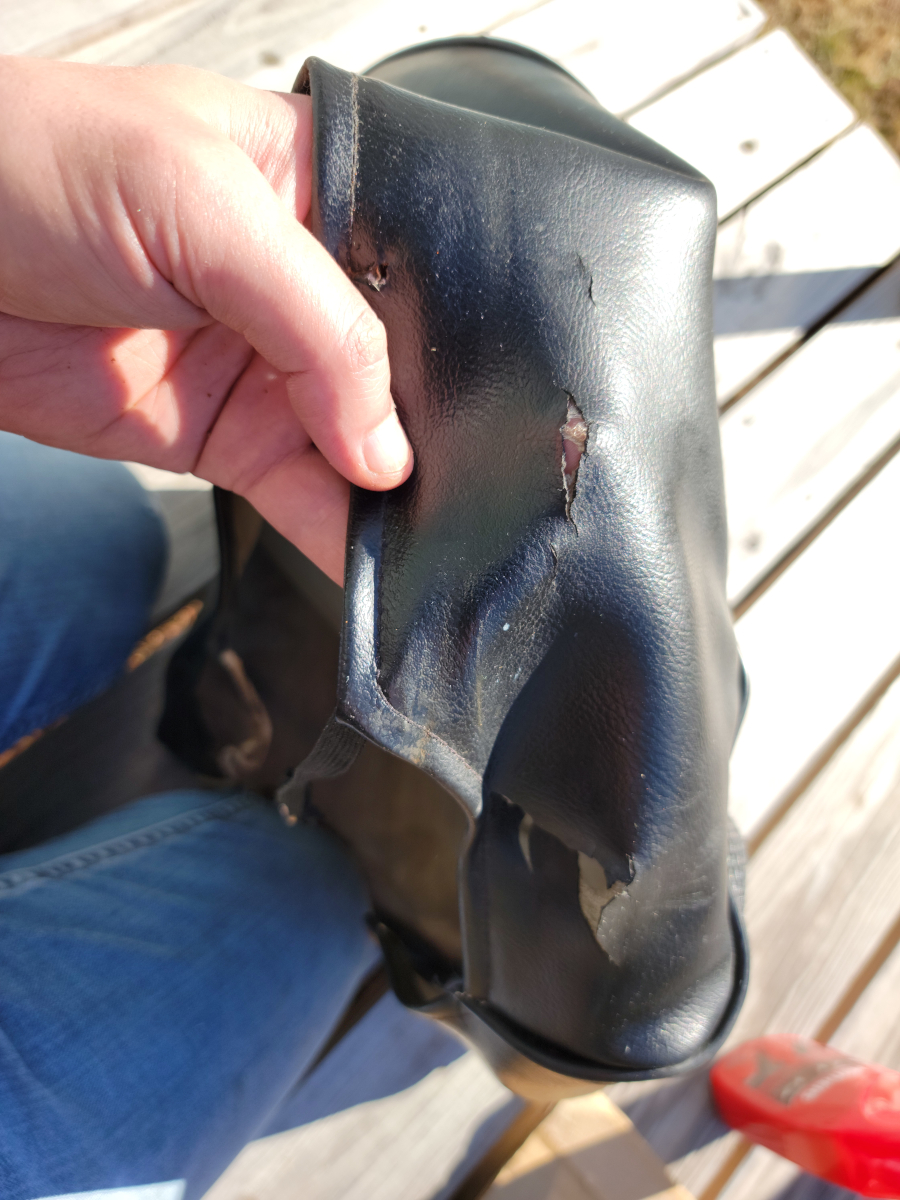
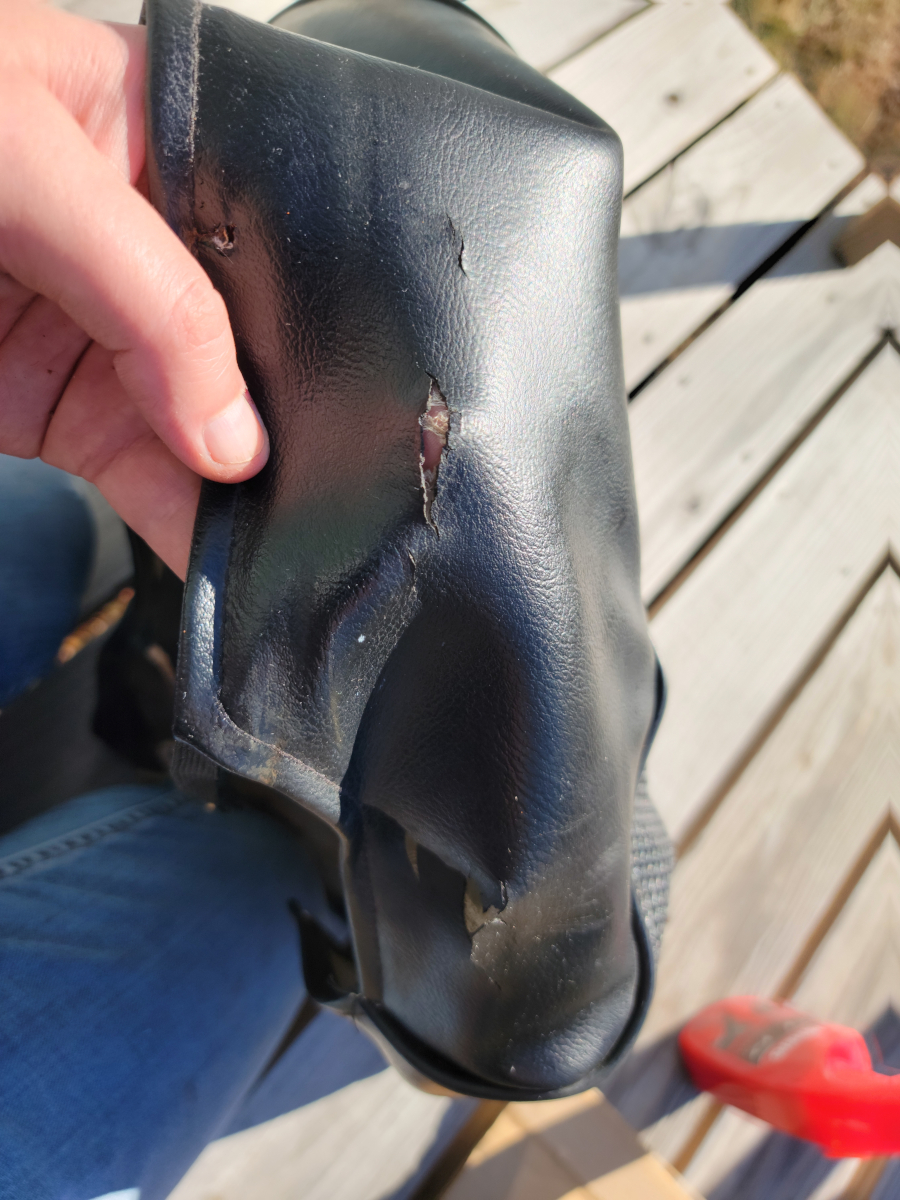
I am waiting for a delivery of a roll of self adhesive black upholstery patch material (Amazon link). I’m going to try using that as a reinforcement behind the cracked and broken areas.
Deconstructing the seat back
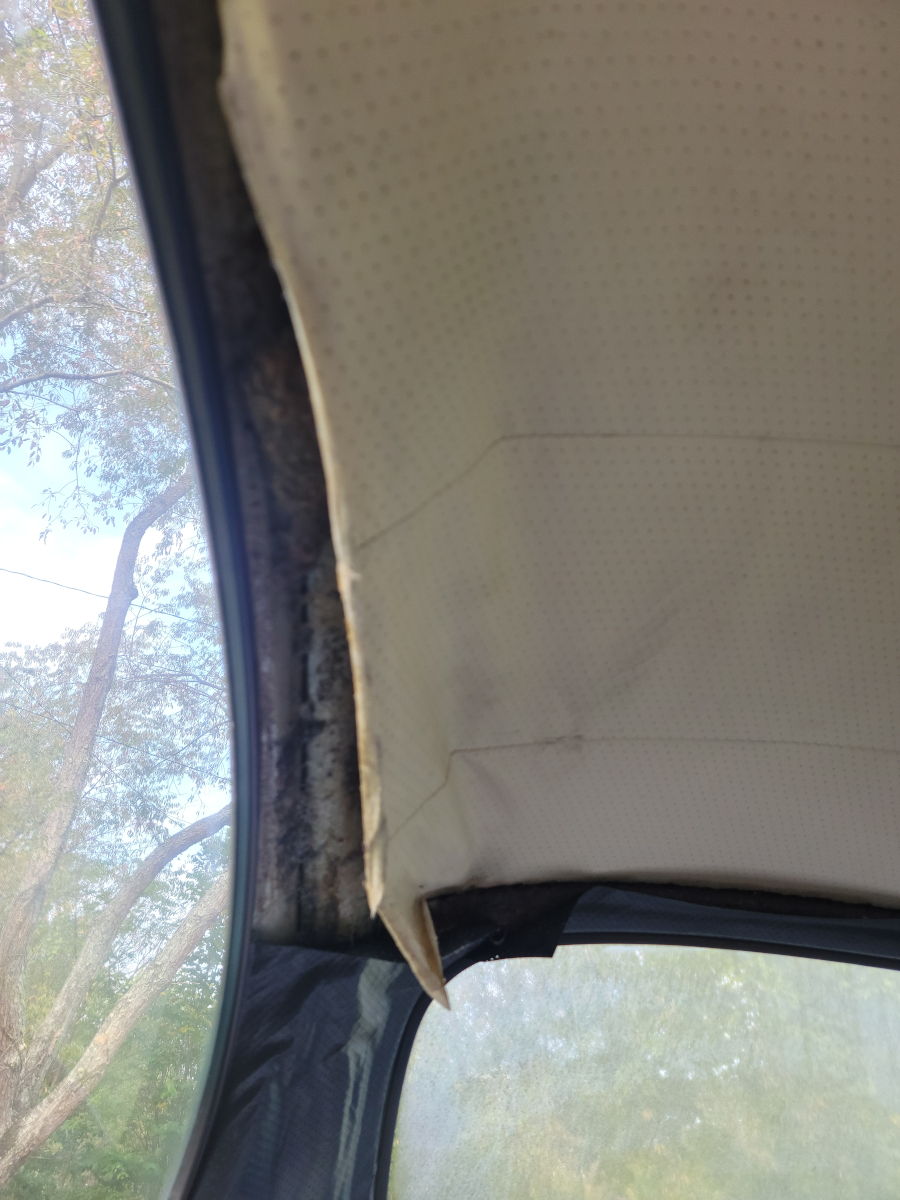
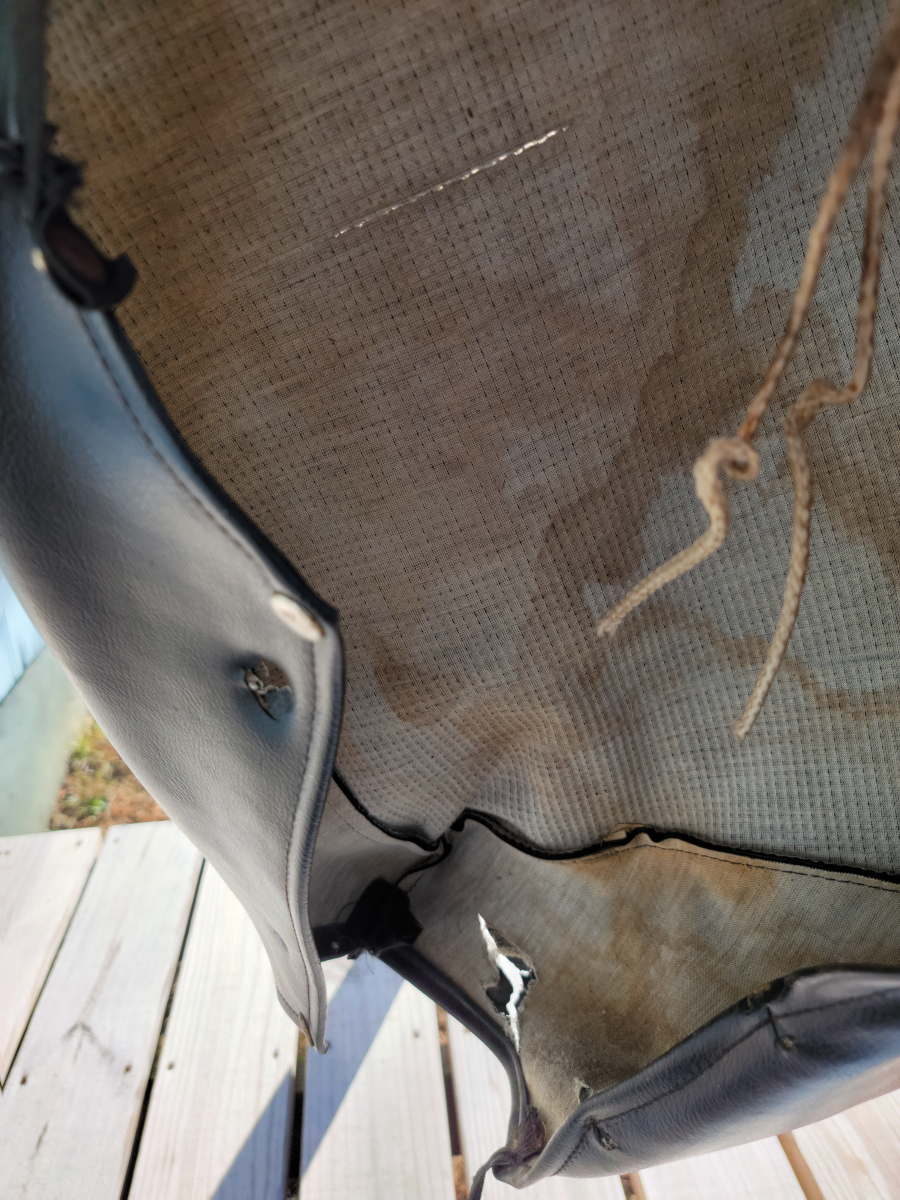
Moving onto the seat back, as I had previously mentioned in The Next Saturday Updates, I found a nice surprise inside. This was a much higher quality seat cover, being two tone vinyl with buttons connecting the front and back side of the headrest. It appears to be a factory model, though I wouldn’t expect it to have originally come from this car.
When I started digging into the second seat cover, I found the first signs of mouse house. There wasn’t any smell to it, just some little acorns or whatever.
This seat cover arrangement didn’t have as many layers as the base.
I got it all stripped clean and sprayed it down with some brake parts cleaner.

Rebuilding the seat back
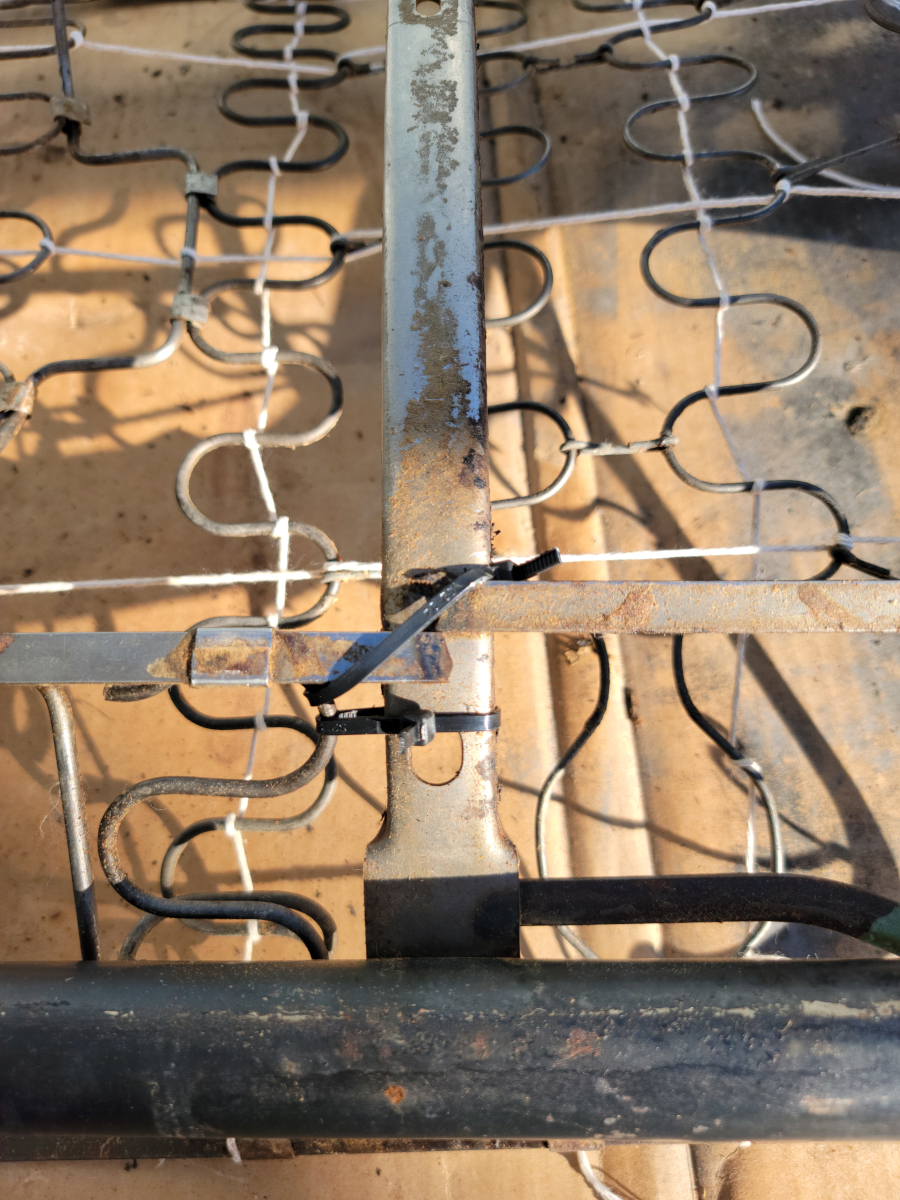
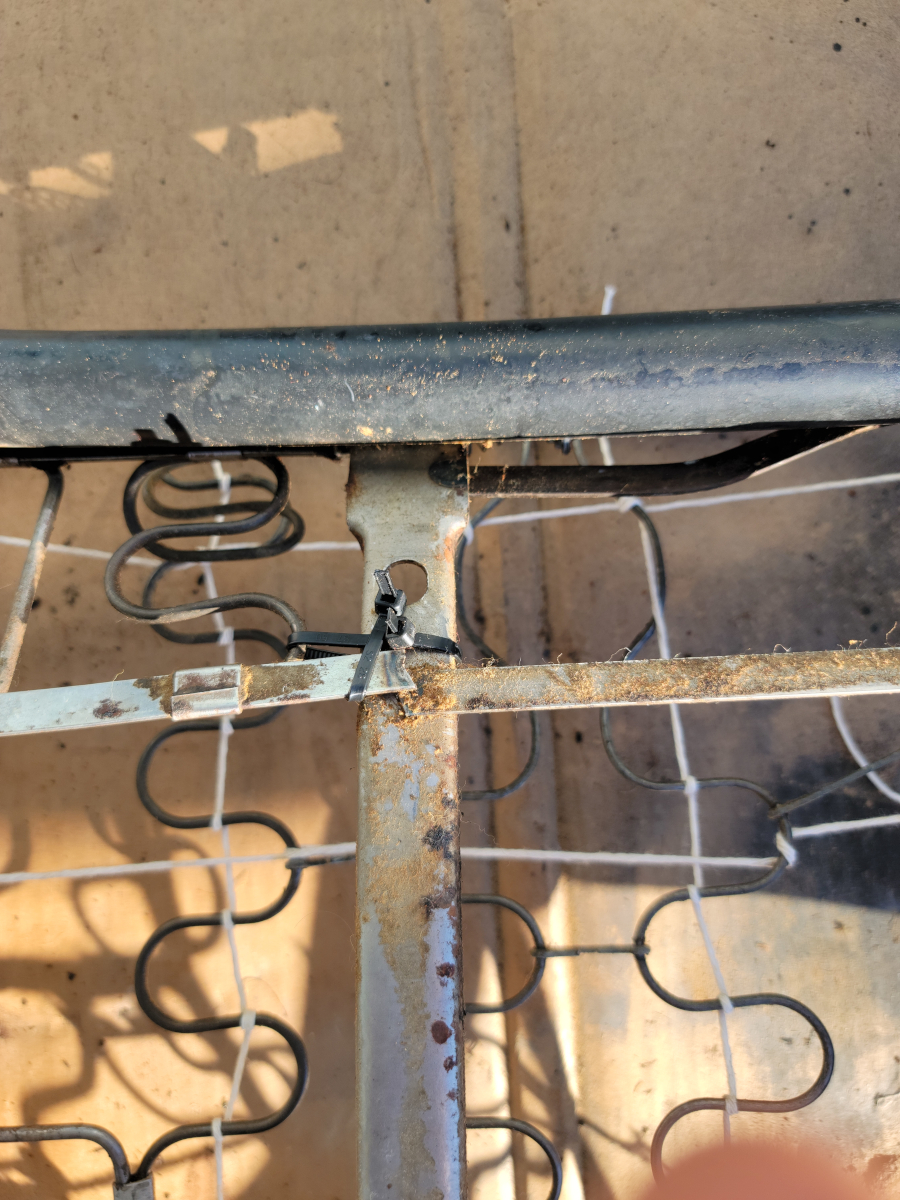
I tied the spring tops together in a grid, as I did with the seat base. I also found a couple of broken supports on the back side that were previously welded and re-broken. I zip-tied them back together. If that lasts as long as the broken welds, I will be happy. If not, it’s fine.
I sprayed the whole thing down with a couple of coats of DE1634.
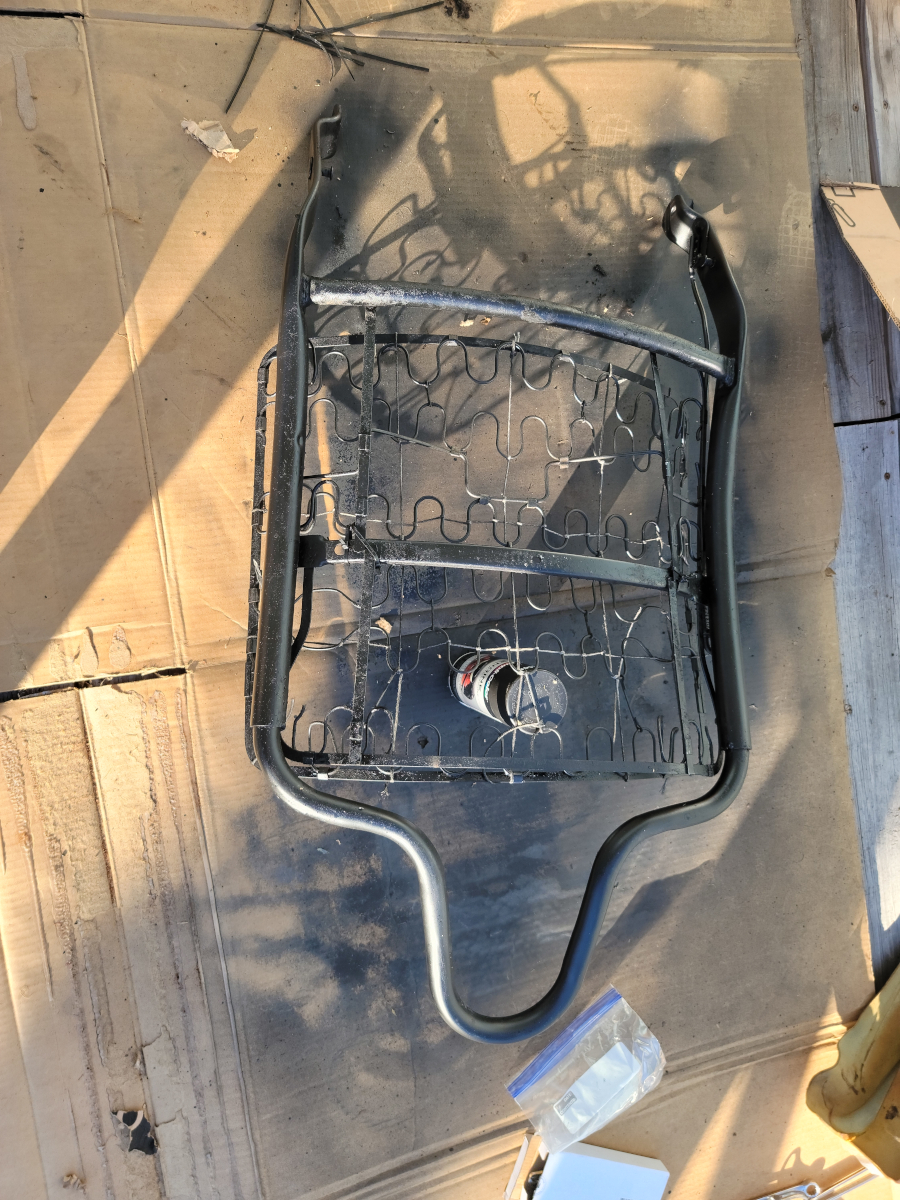
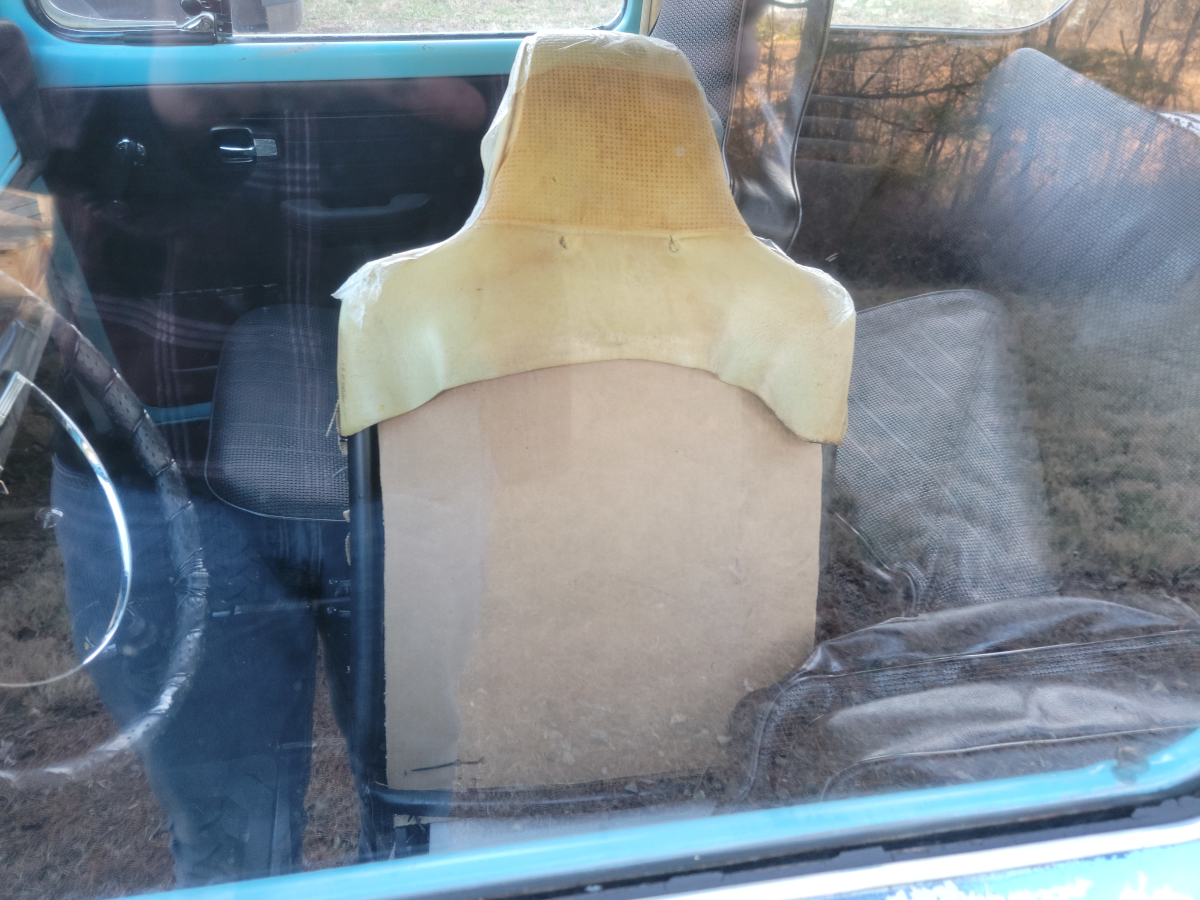
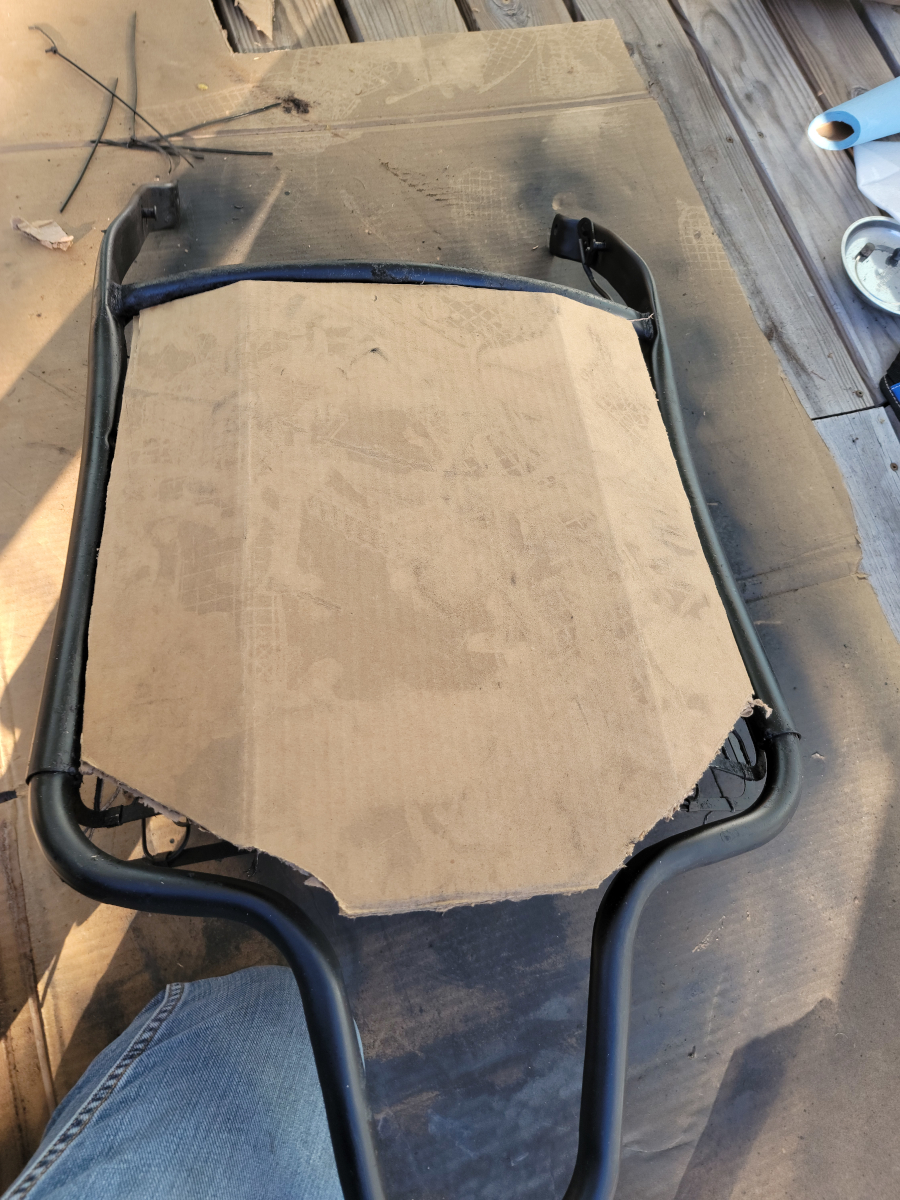
There was a cardboard back, to separate the springs from the seat cover, but it crumbled away when trying to pull the seat cover off. I cut a panel out of the dishwasher box and bent it to fit. Initially, I tried to attach it with hog rings, but that tore through the cardboard, so back to the zip-ties.
Then I added some jut webbing on the front side.
And did the same process of tracing out the seat back shape on some craft paper and cut it out of the upholstery foam.
The shadows were getting long and as mentioned previously, I’m still waiting on the vinyl patch material, so I packed it all back in the car, anxiously awaiting the next sunny day to dig back in.