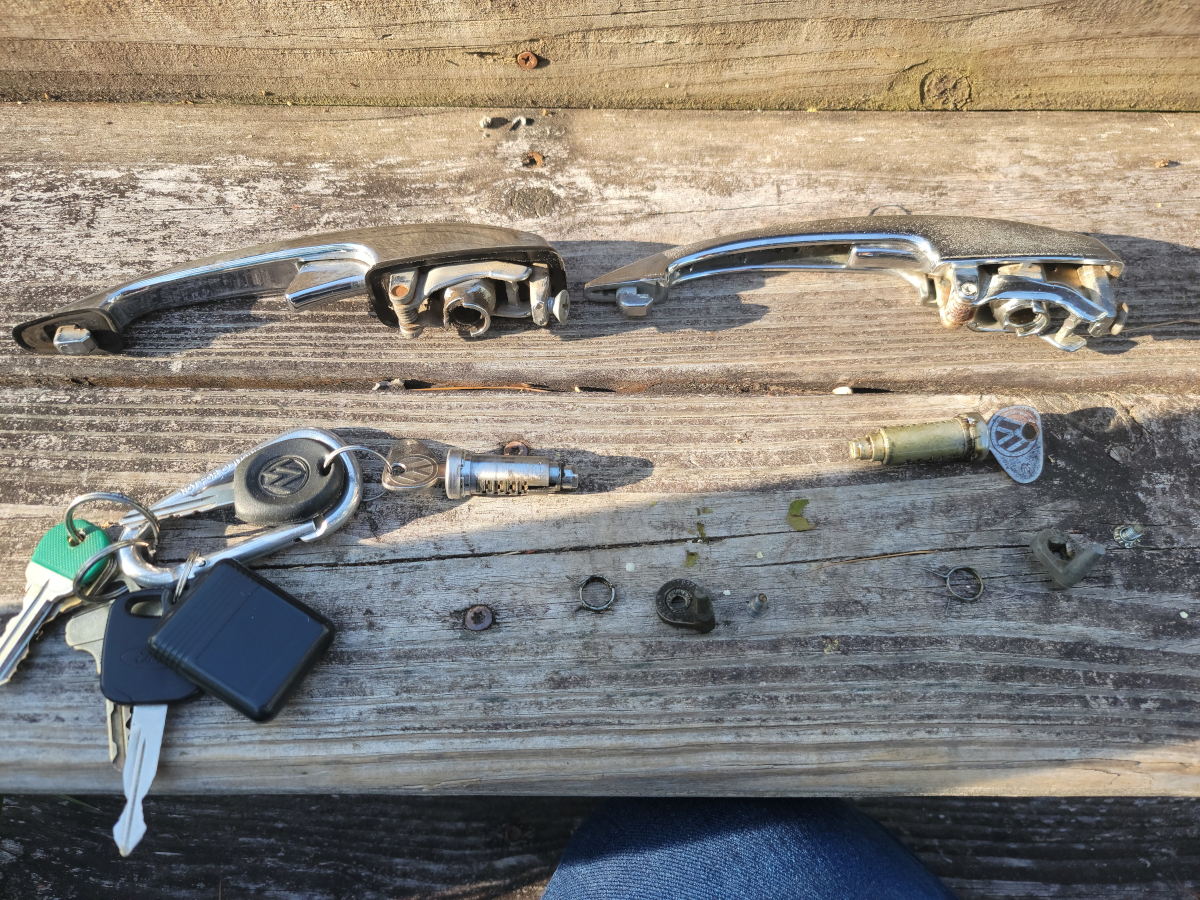
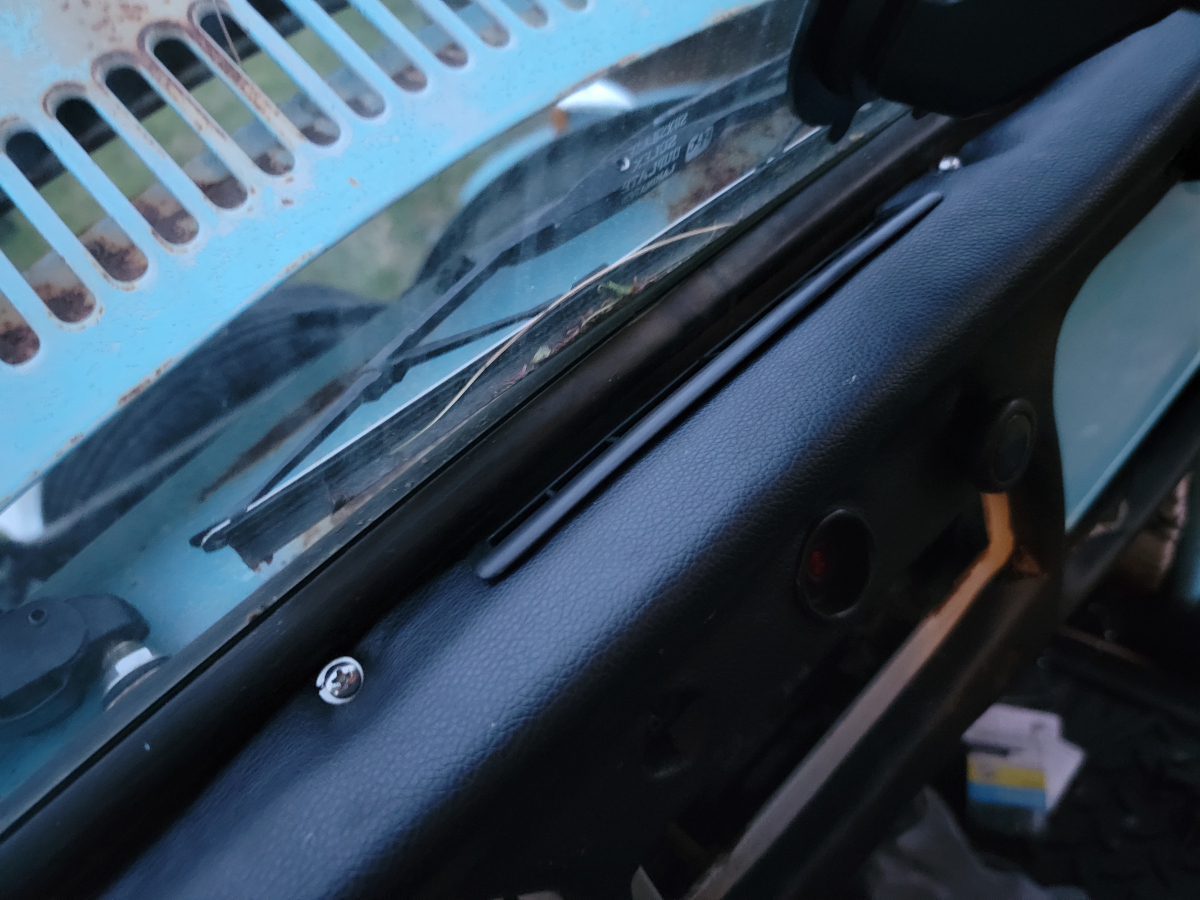
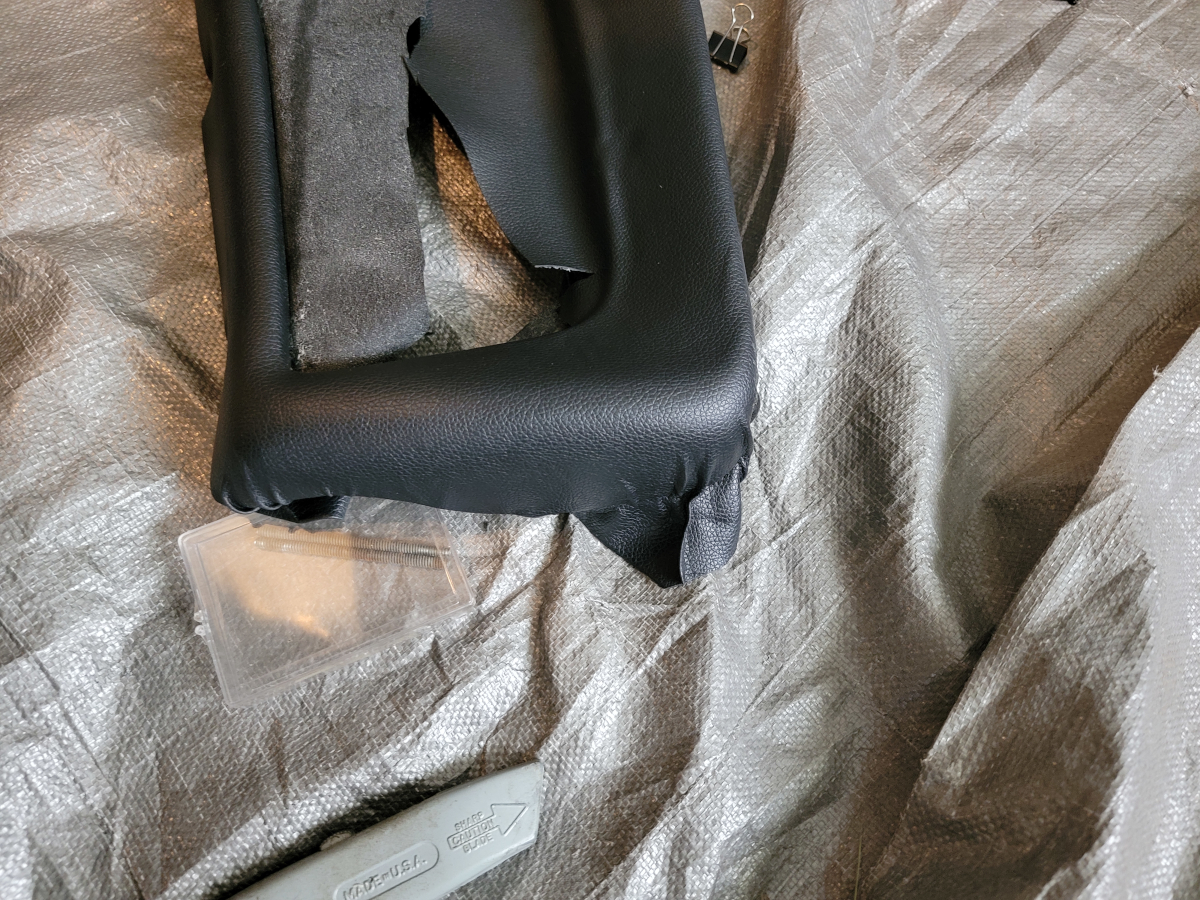
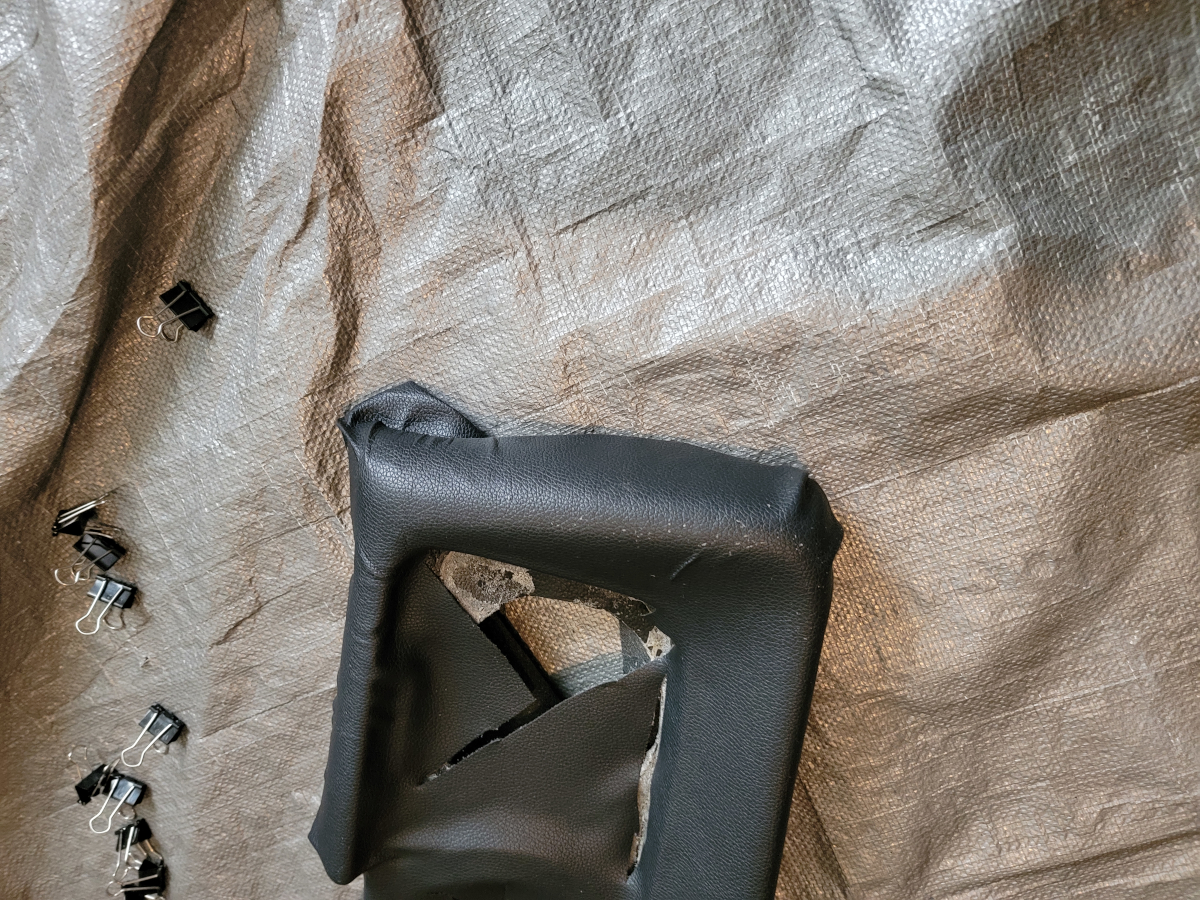
I had previously (twice) ordered new windshield wiper/washer knobs and buttons. I need a new knob because the old one tends to spin on the threads when I try to turn the wipers off. I wanted a new button just for vanity reasons, the print has mostly worn off.
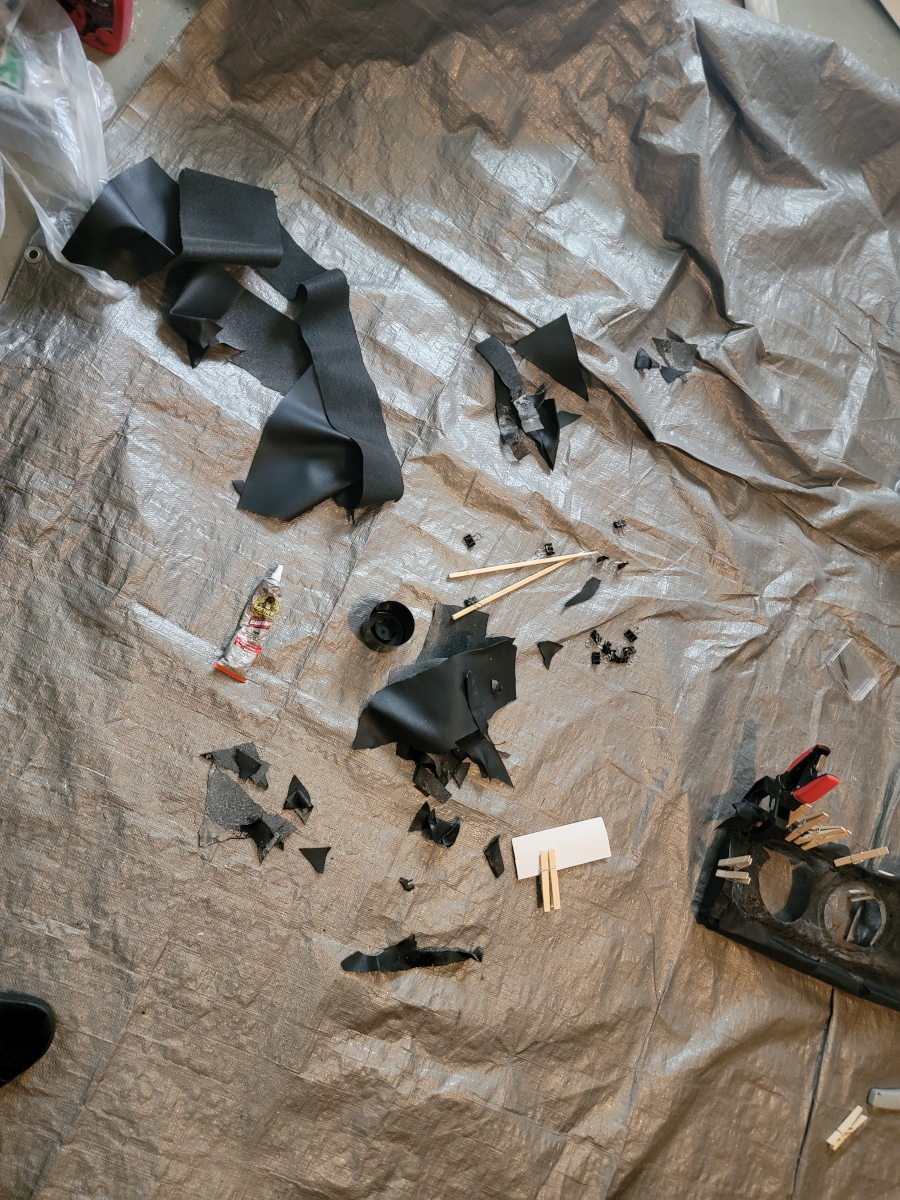
The new knobs had differing belly depths, neither of which would work. The new buttons also both had differing pin lengths, neither of which would work with either the new or old knobs. More junk.
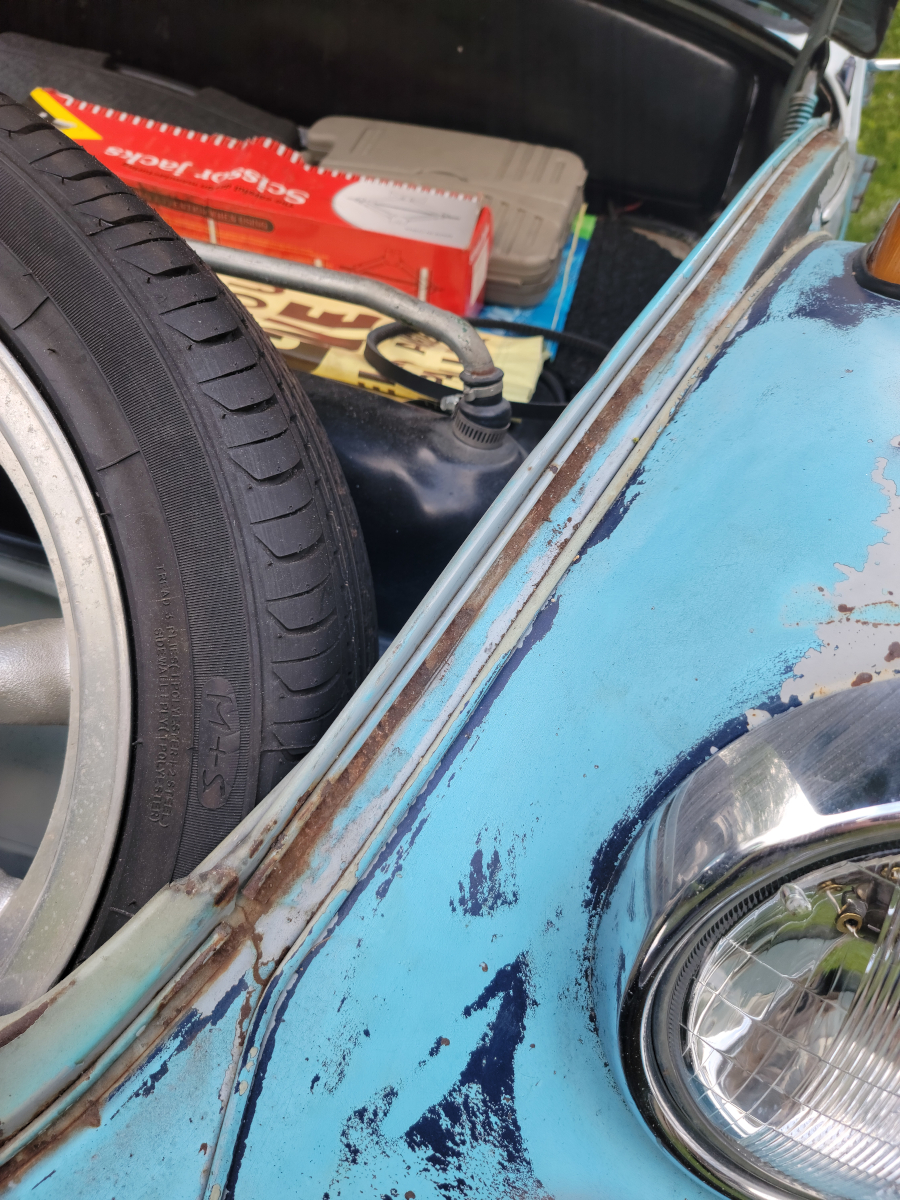
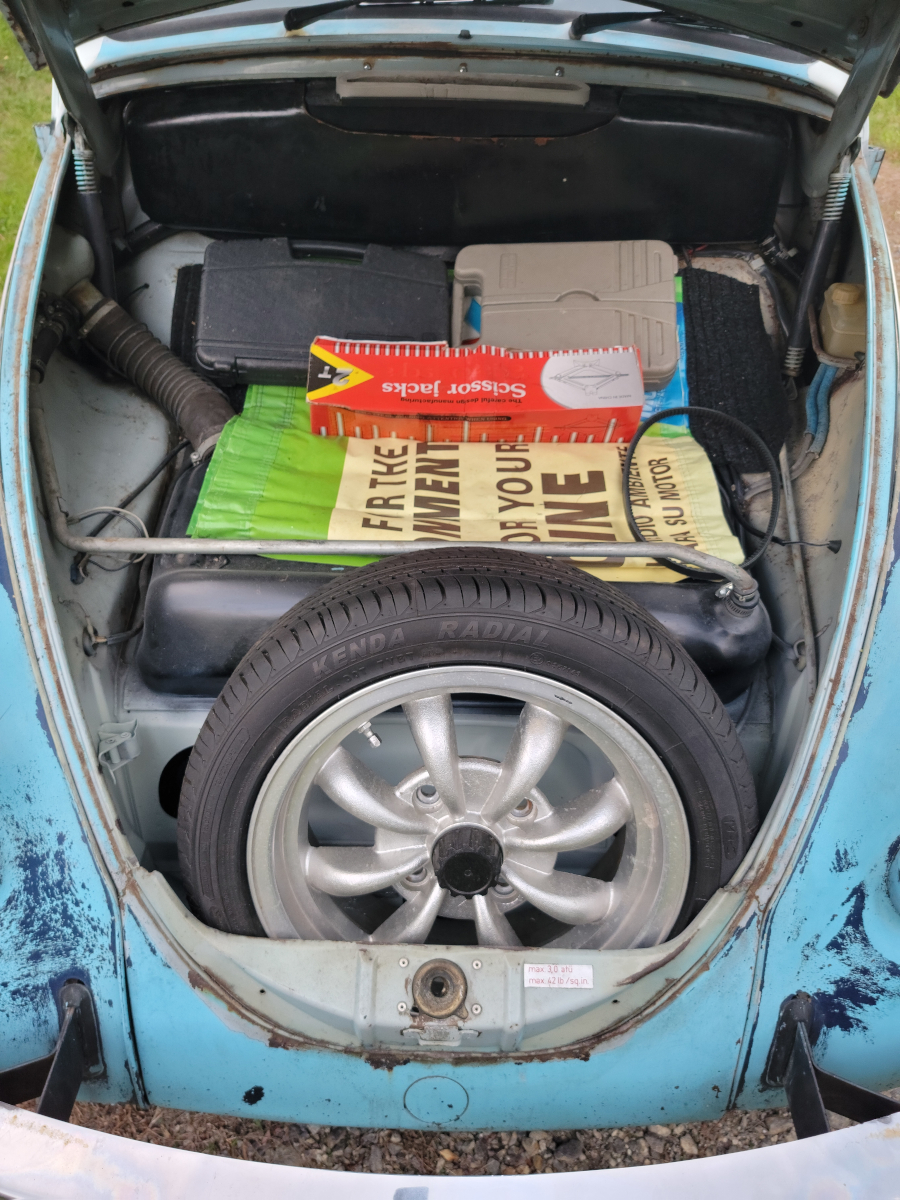
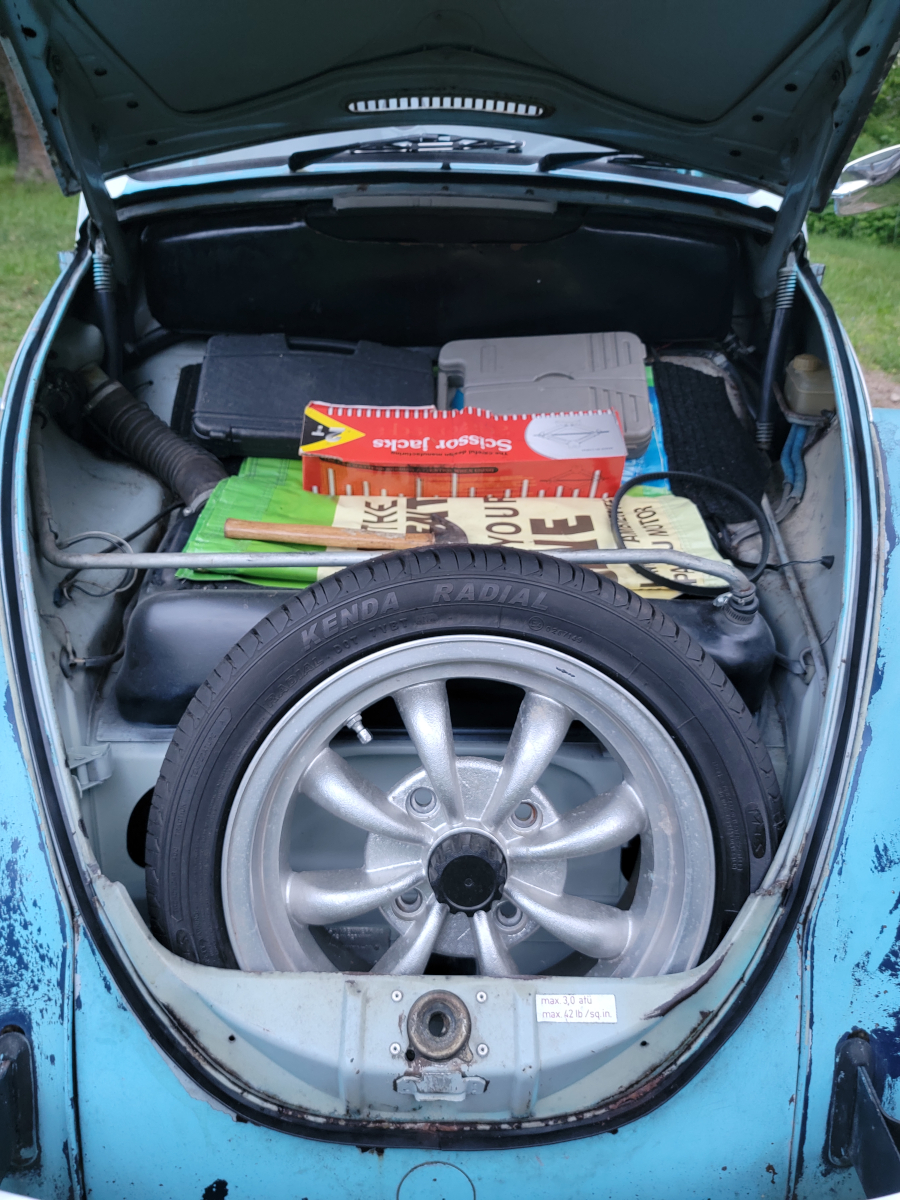
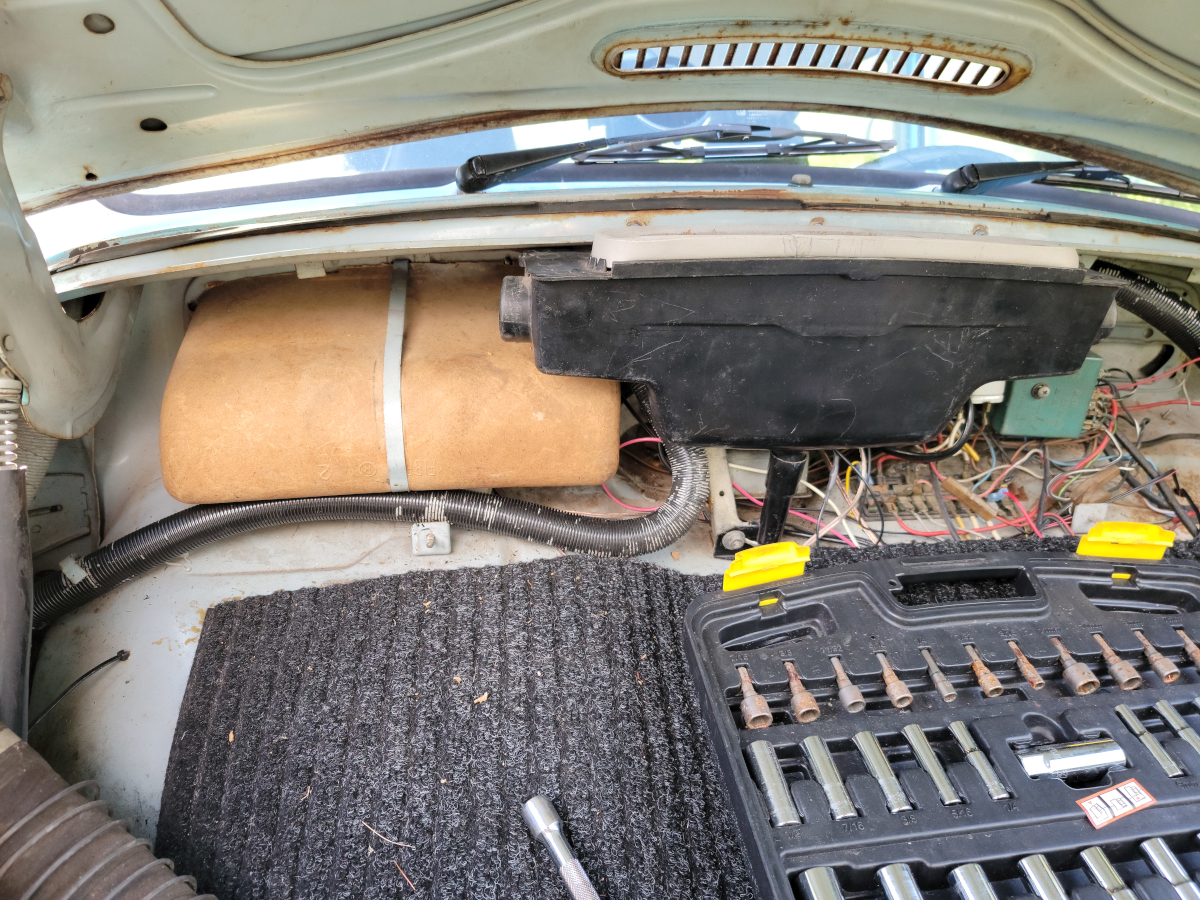
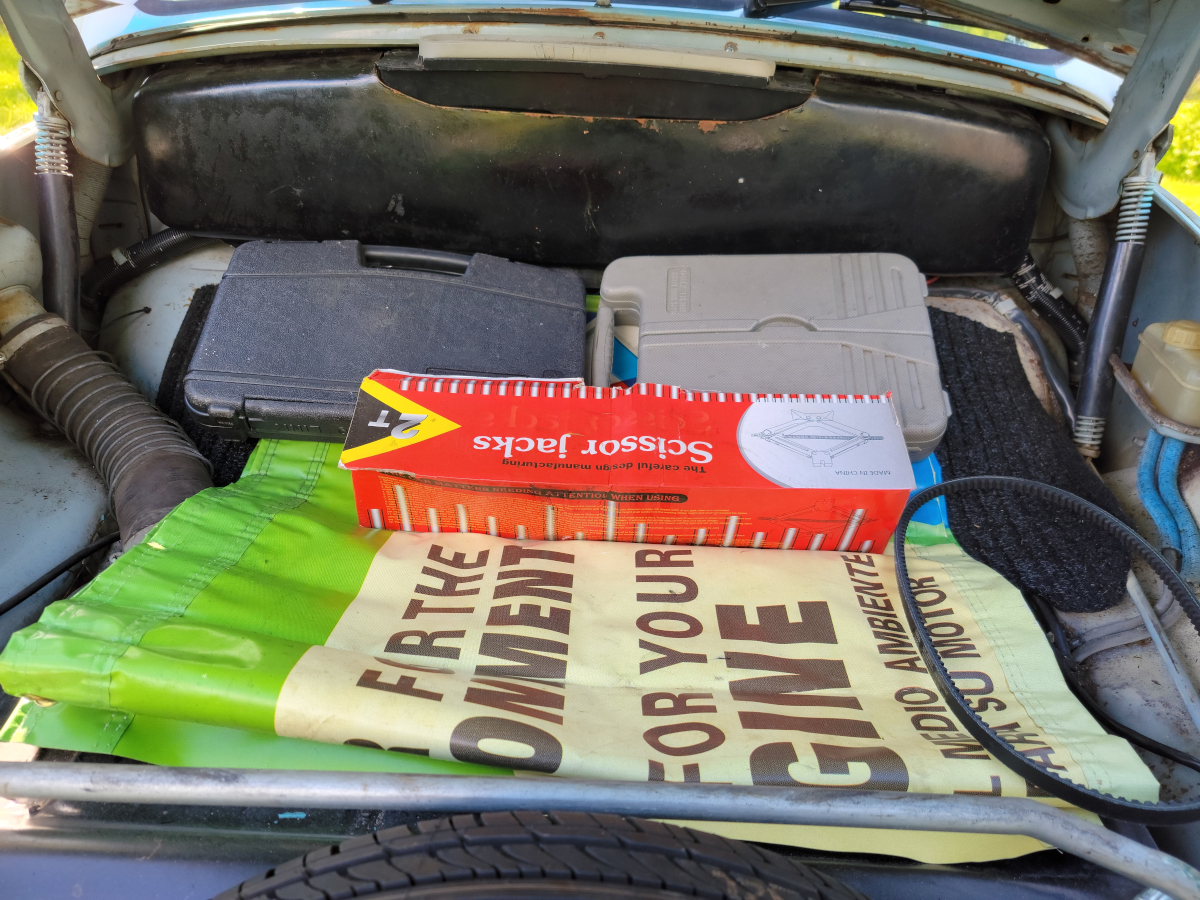
The original plan was to keep the existing switch and find an original washer tank and hook it all back up to the spare tire to get it all functional. It’s such a charming and weird setup.
As I was googling around looking for alternatives, Amazon pops up with this item (Amazon link) from Peterbilt models 378/379/387/220.
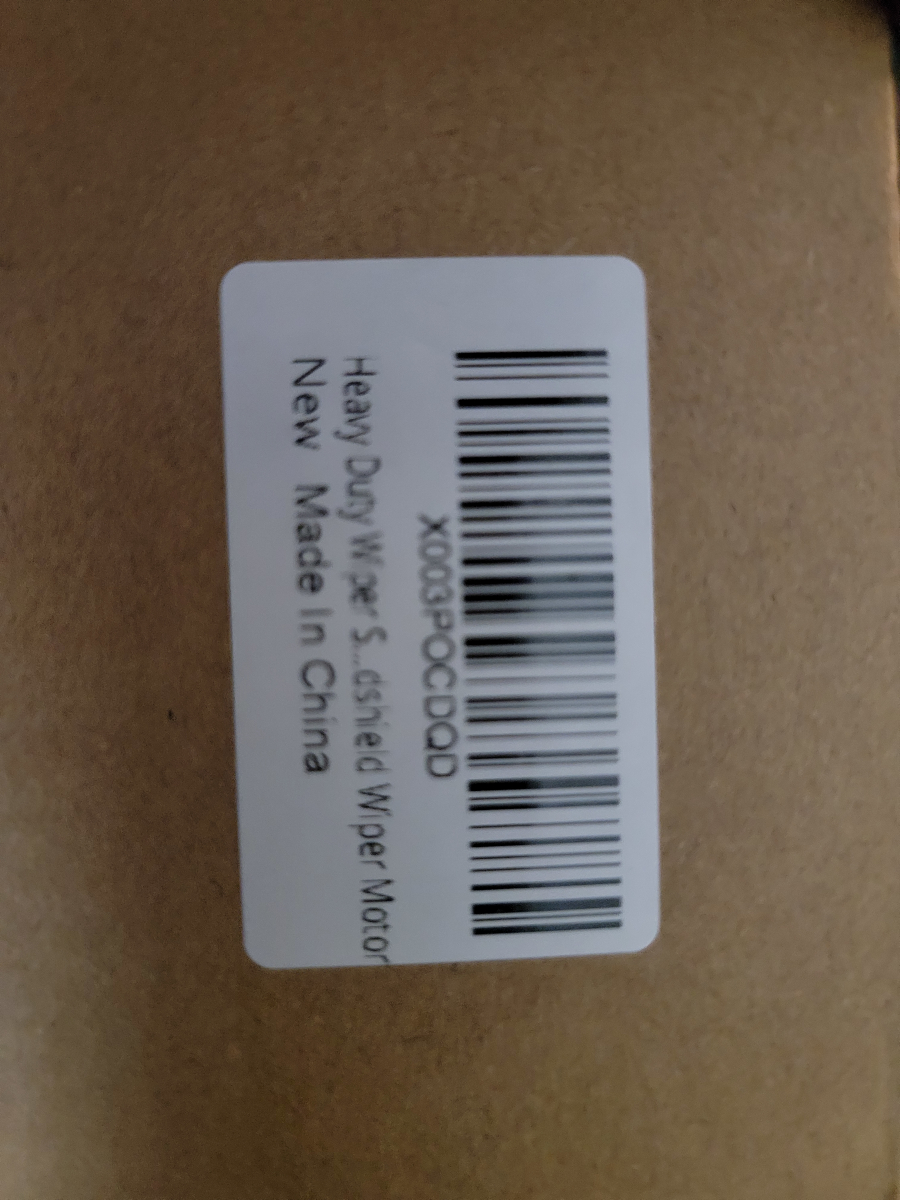
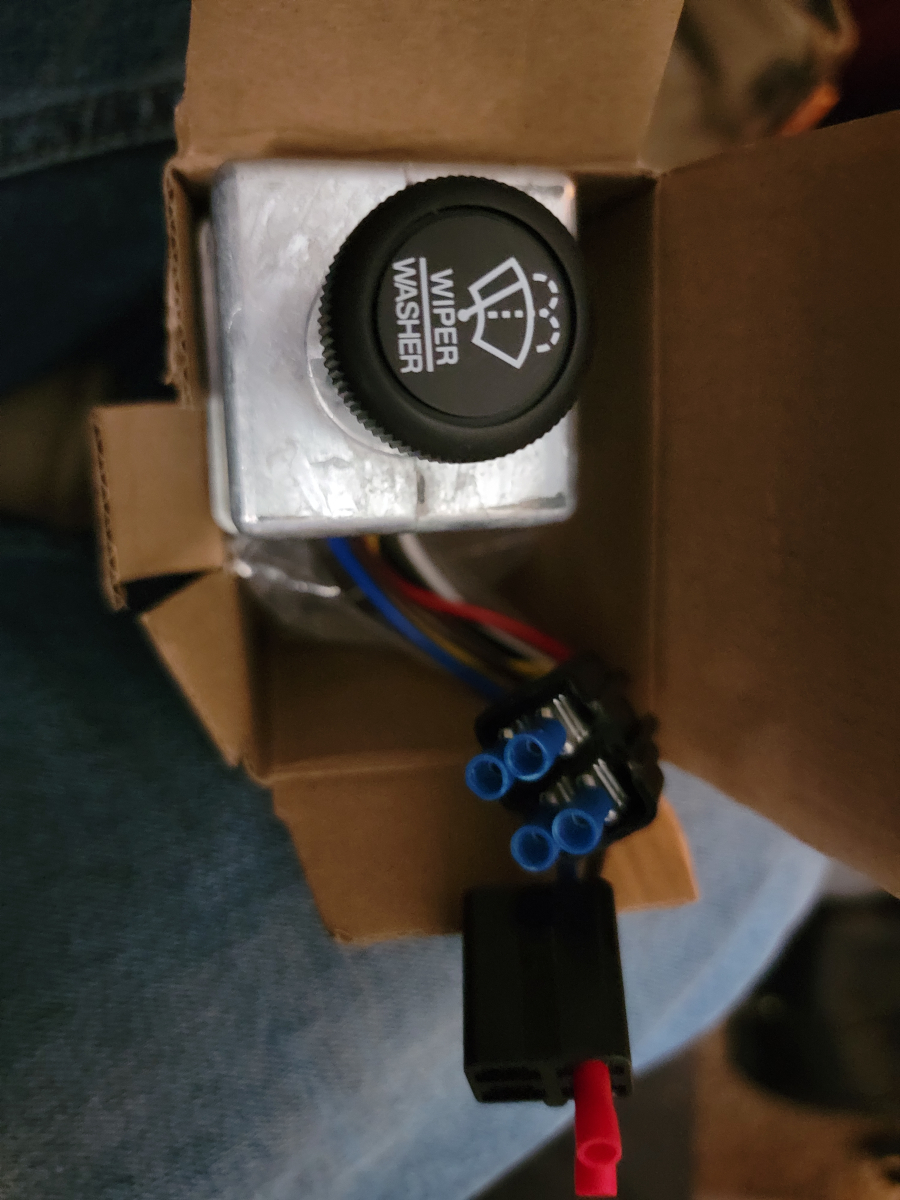
I did some further reading and it had the right number of wires (6) and right number of speeds (2), so I decided to give it a try. With all the aftermarket parts failures I’ve had in the last year, I guess that’s where I’m at. Peterbilt? Sure.
There’s just as much of a chance it will work as something that is listed specifically for my model and year of Beetle.
I also ordered an add-on washer fluid tank and pump (Amazon link). We’ll get to that later.
First, I need to figure out the wiring for the switch and see if it’s going to work. I found a bunch of info on the samba, with various wiring diagrams.


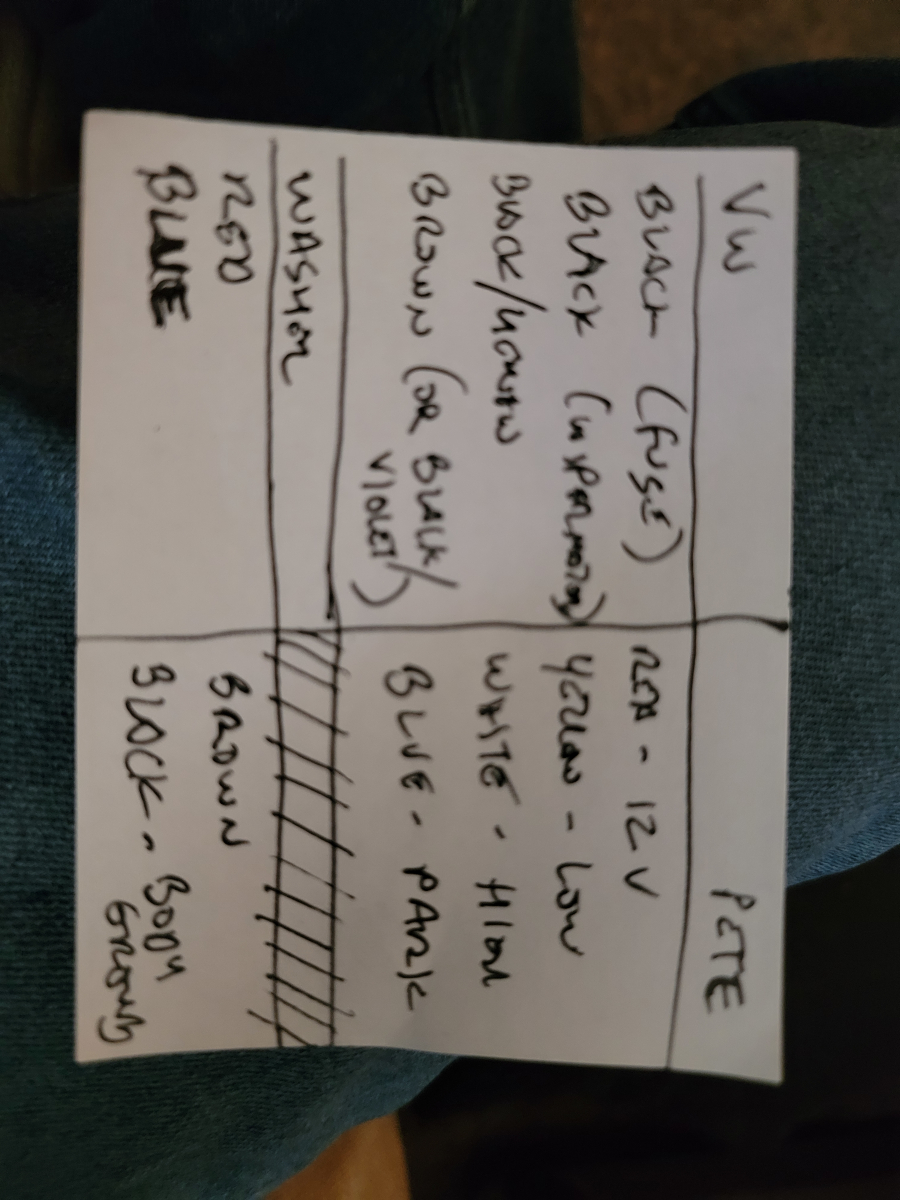
I clearly don’t understand how to read wiring diagrams, because the notes below are what I wrote down on my cheat sheet before heading outside. The Pete switch came with connector pinouts with wire colors.
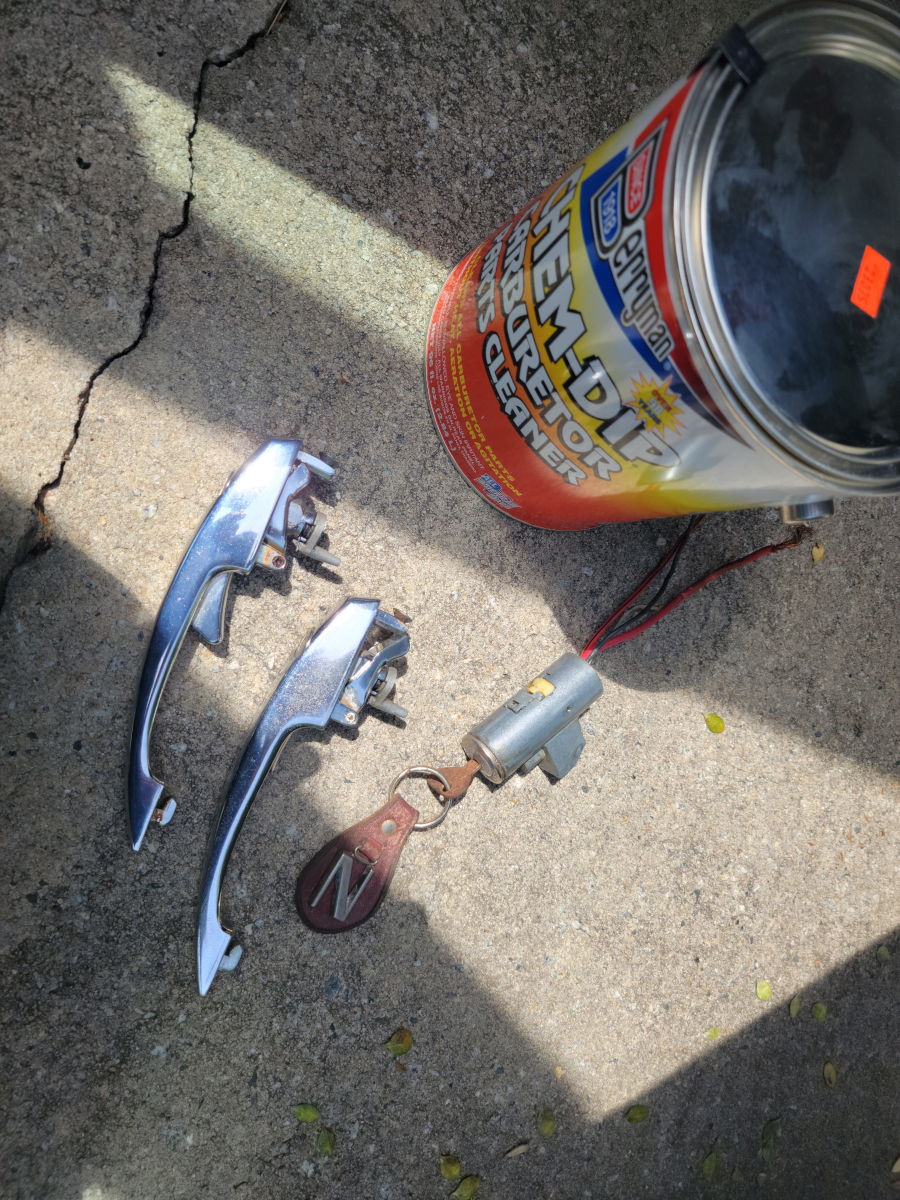
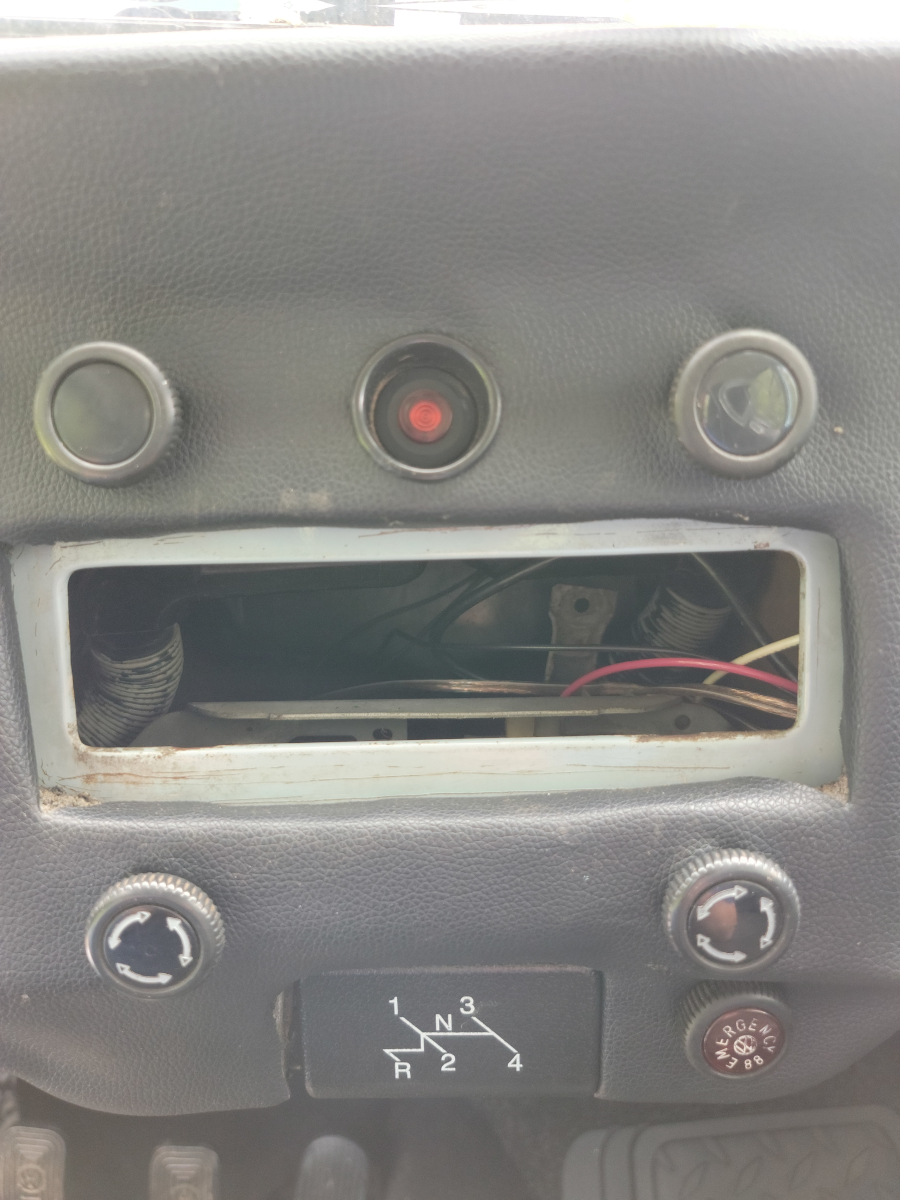
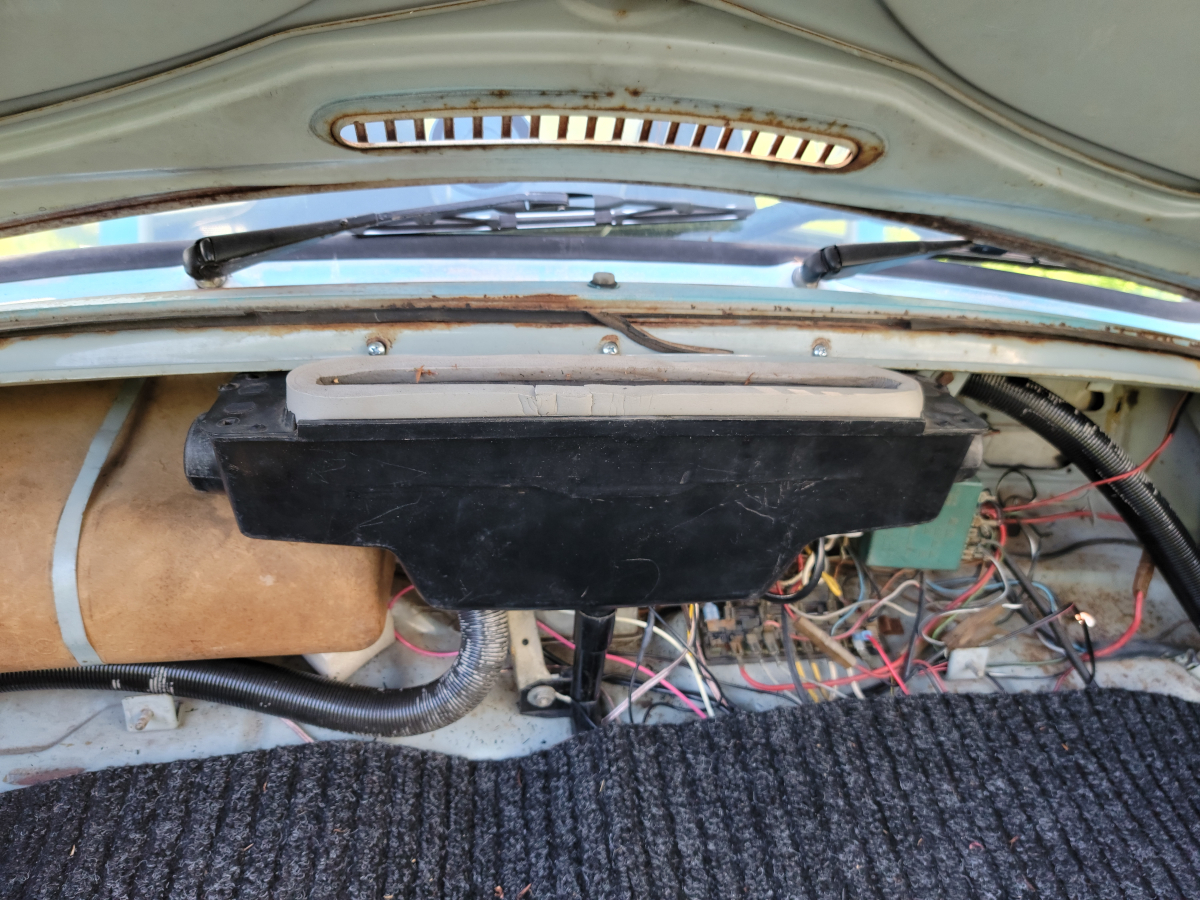
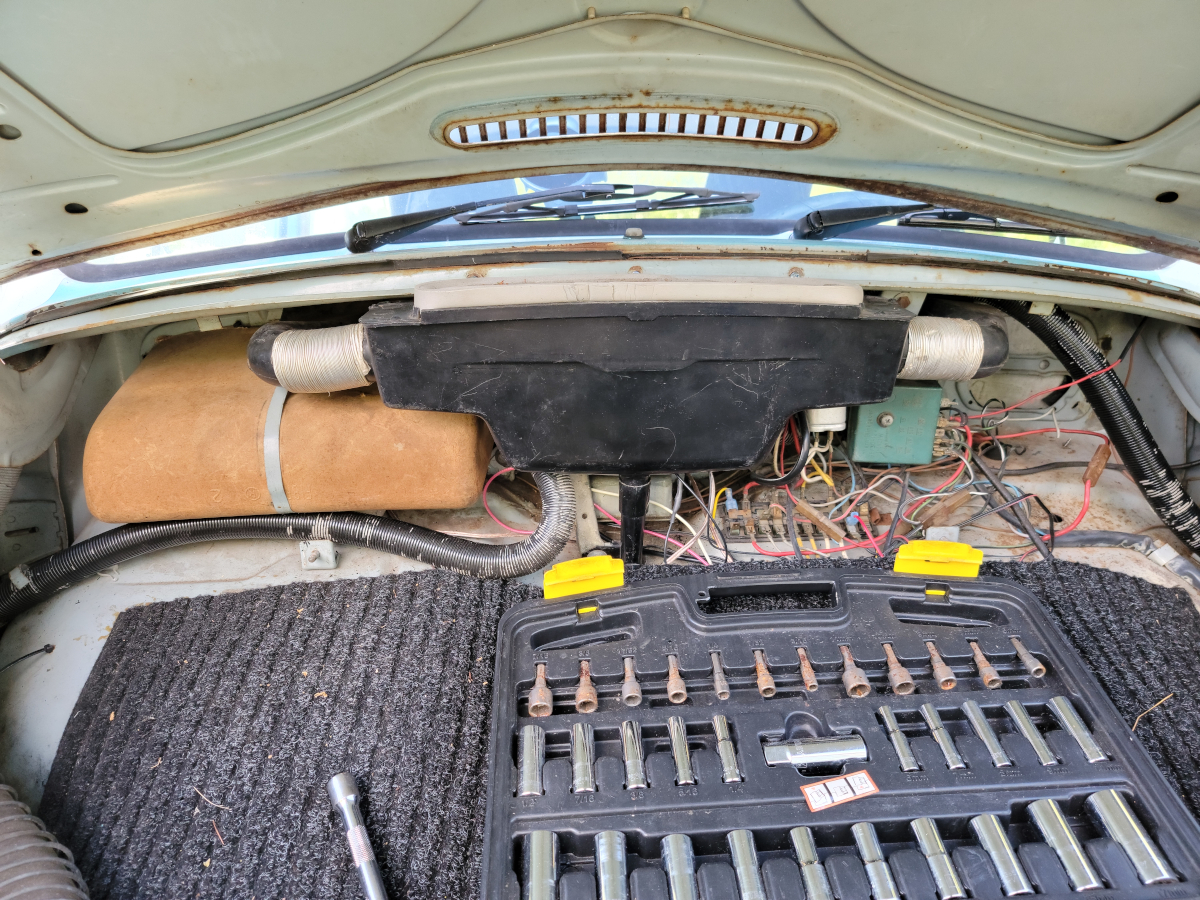
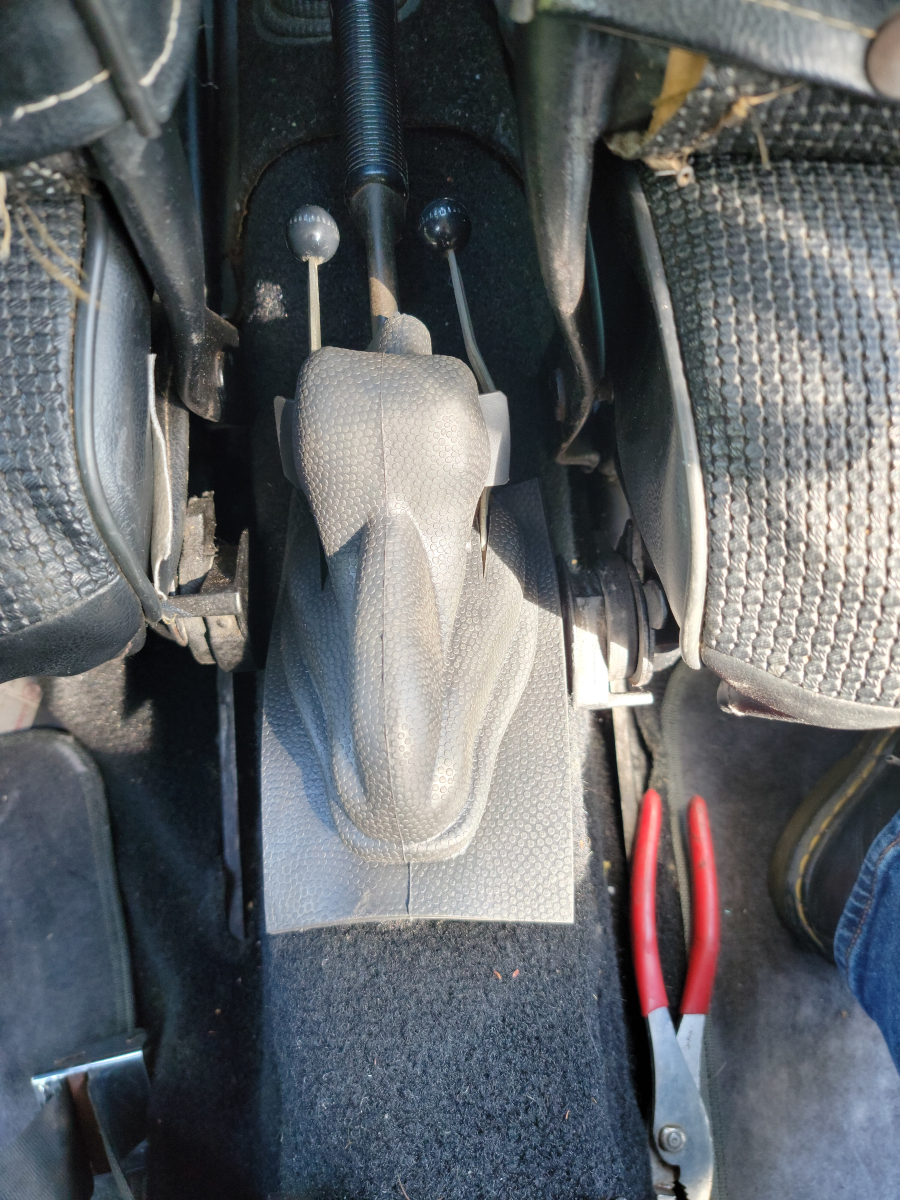
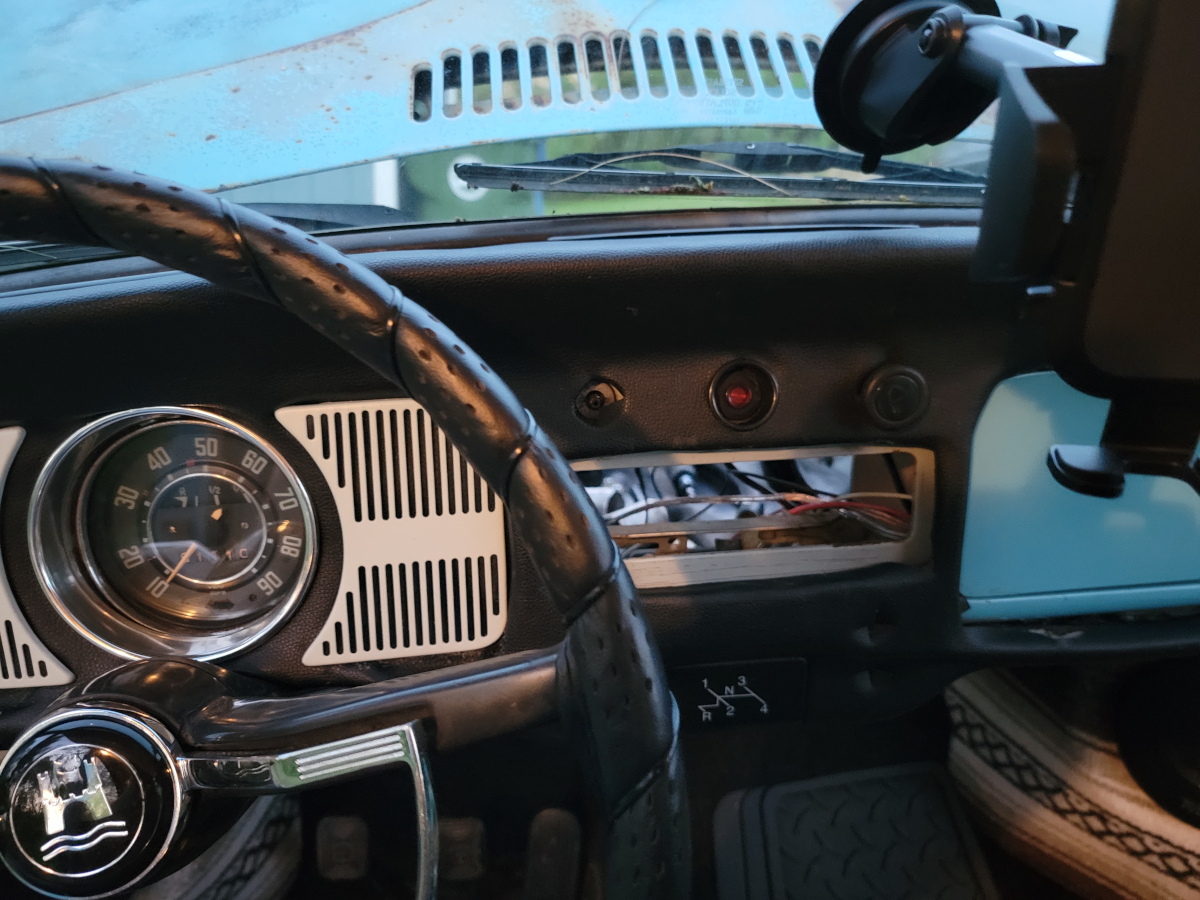
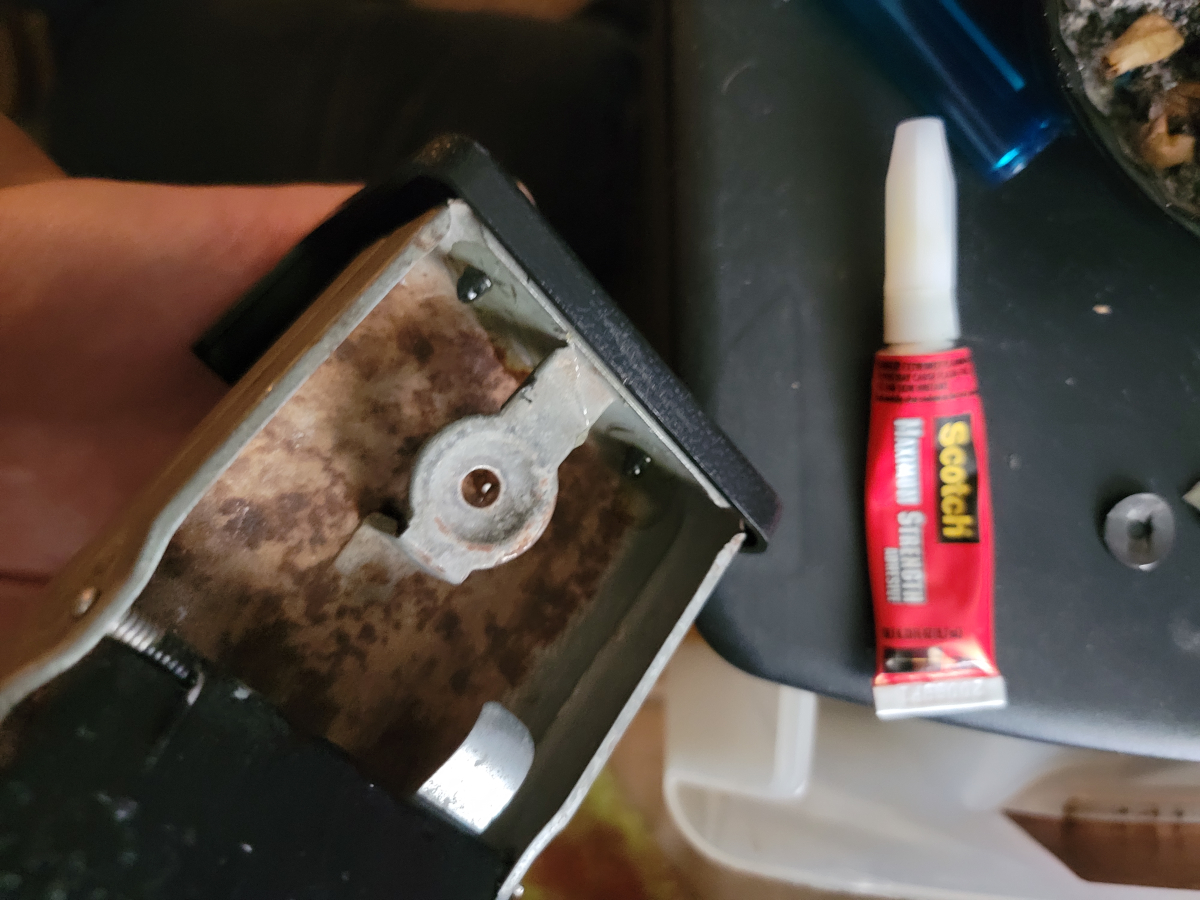
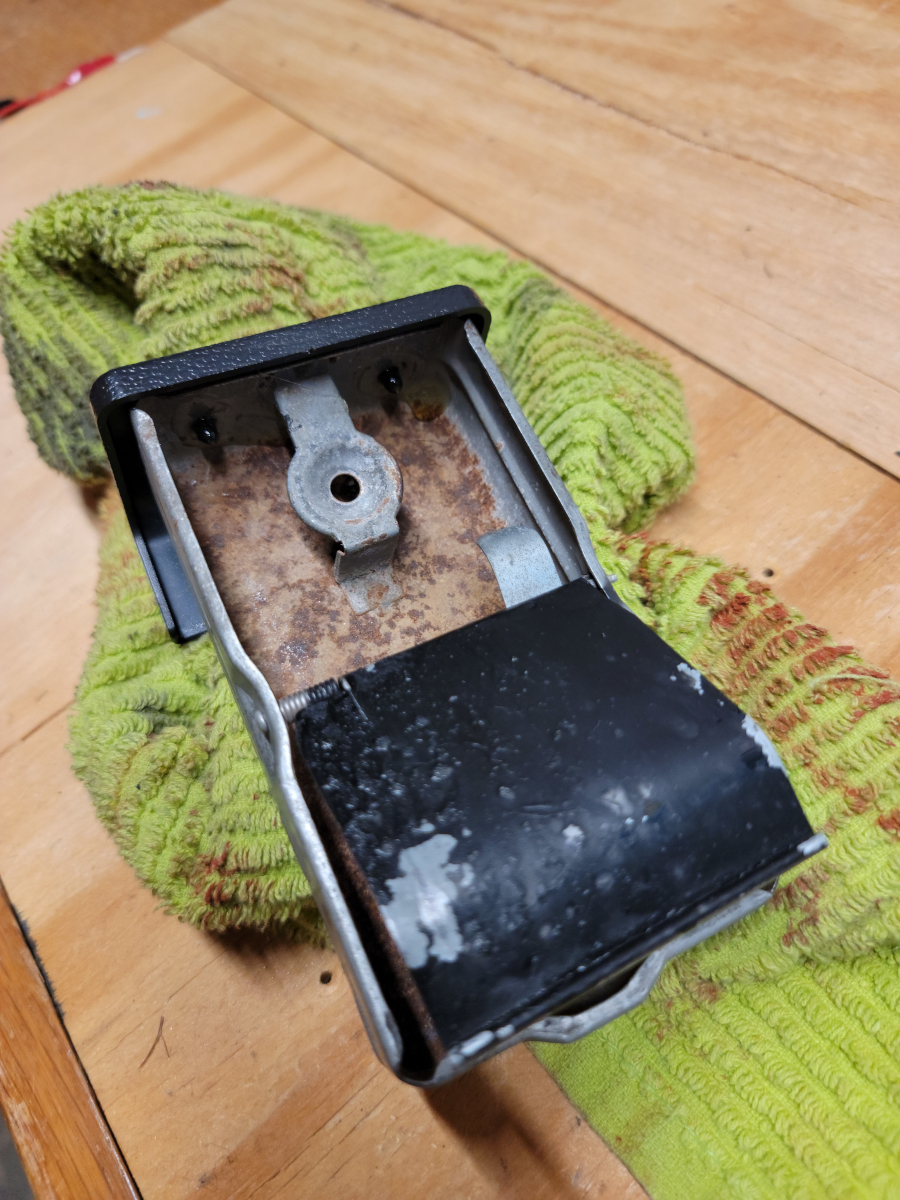
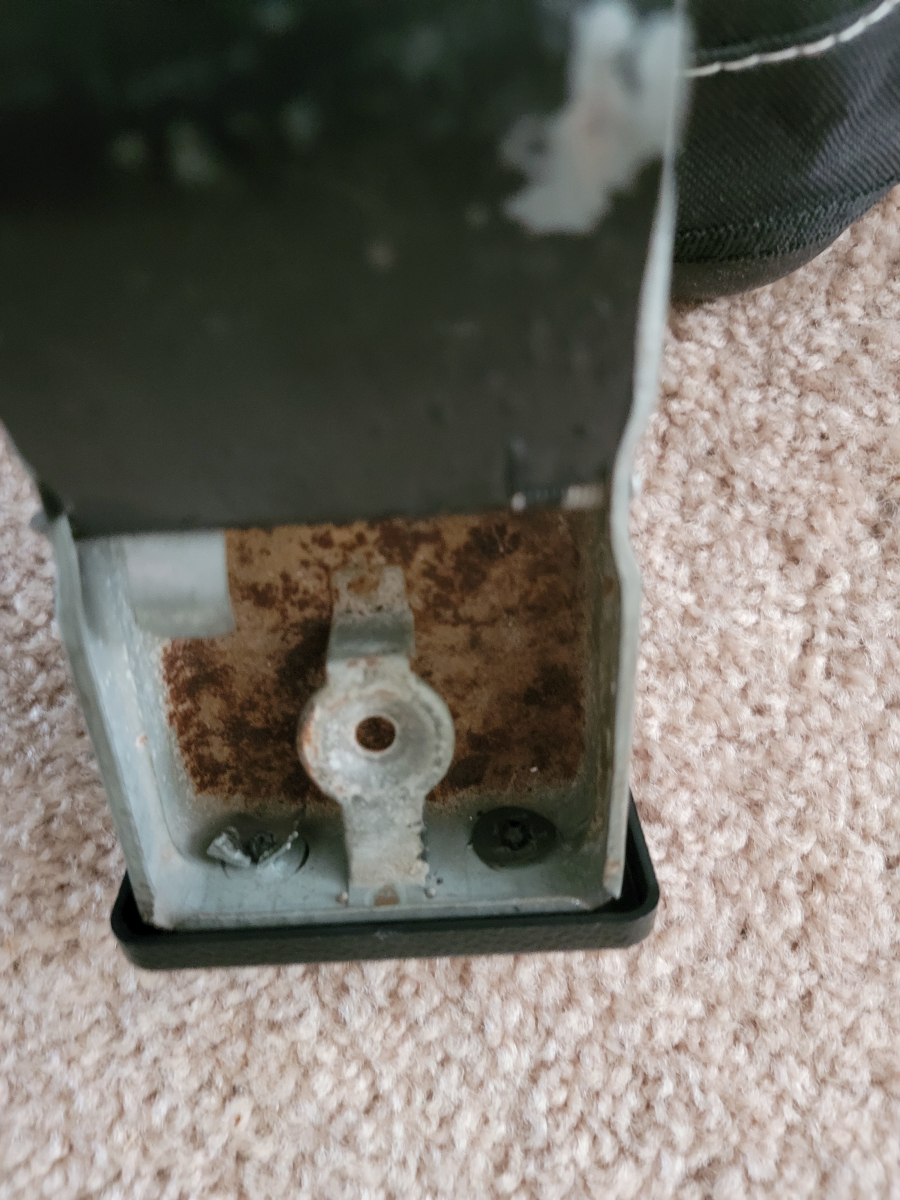
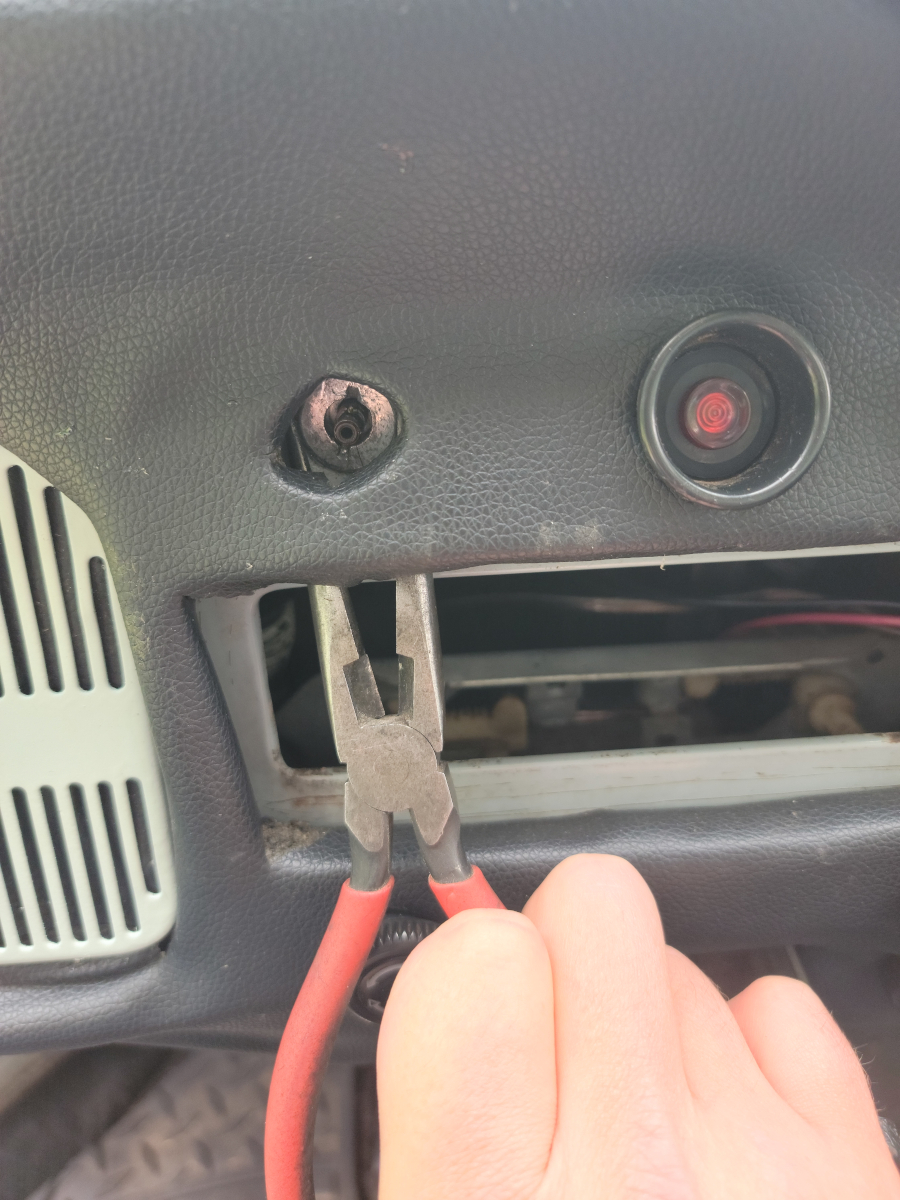
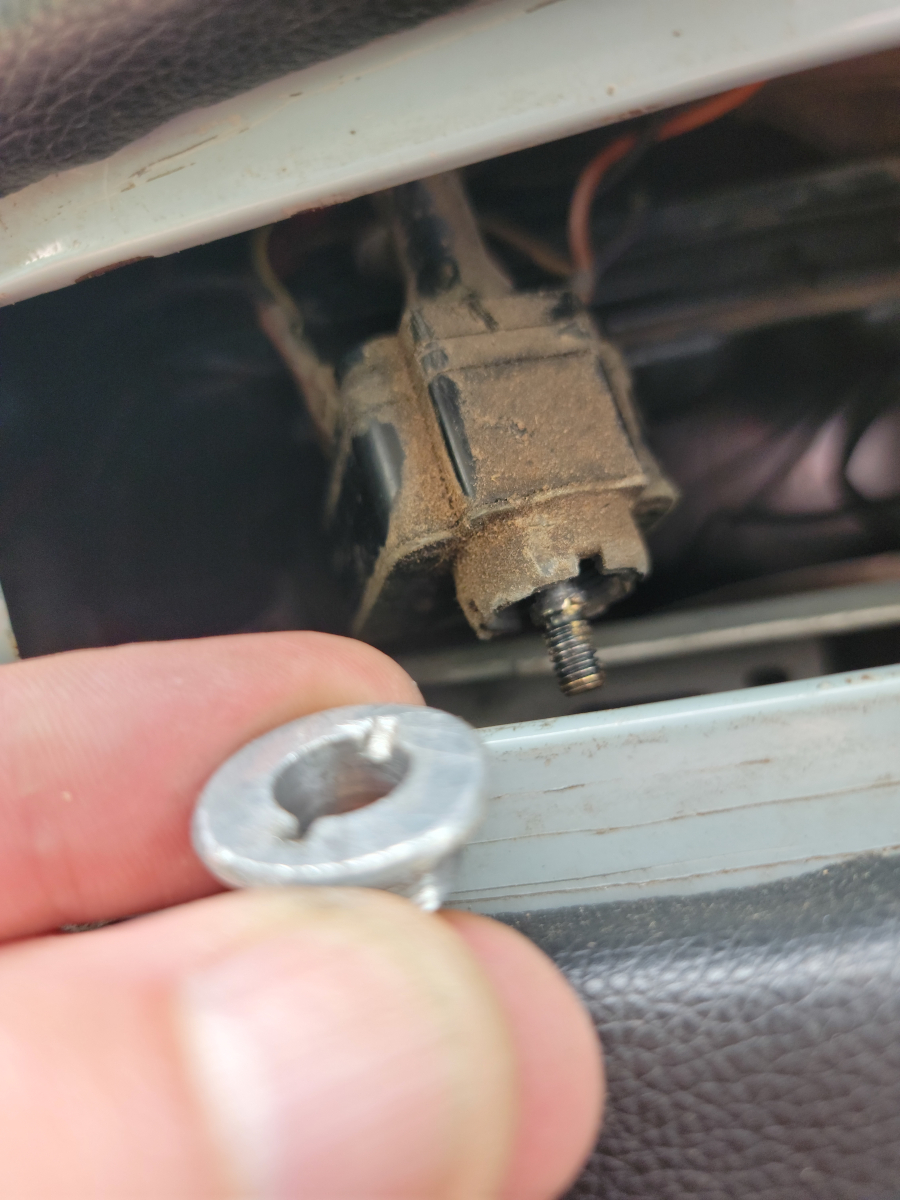
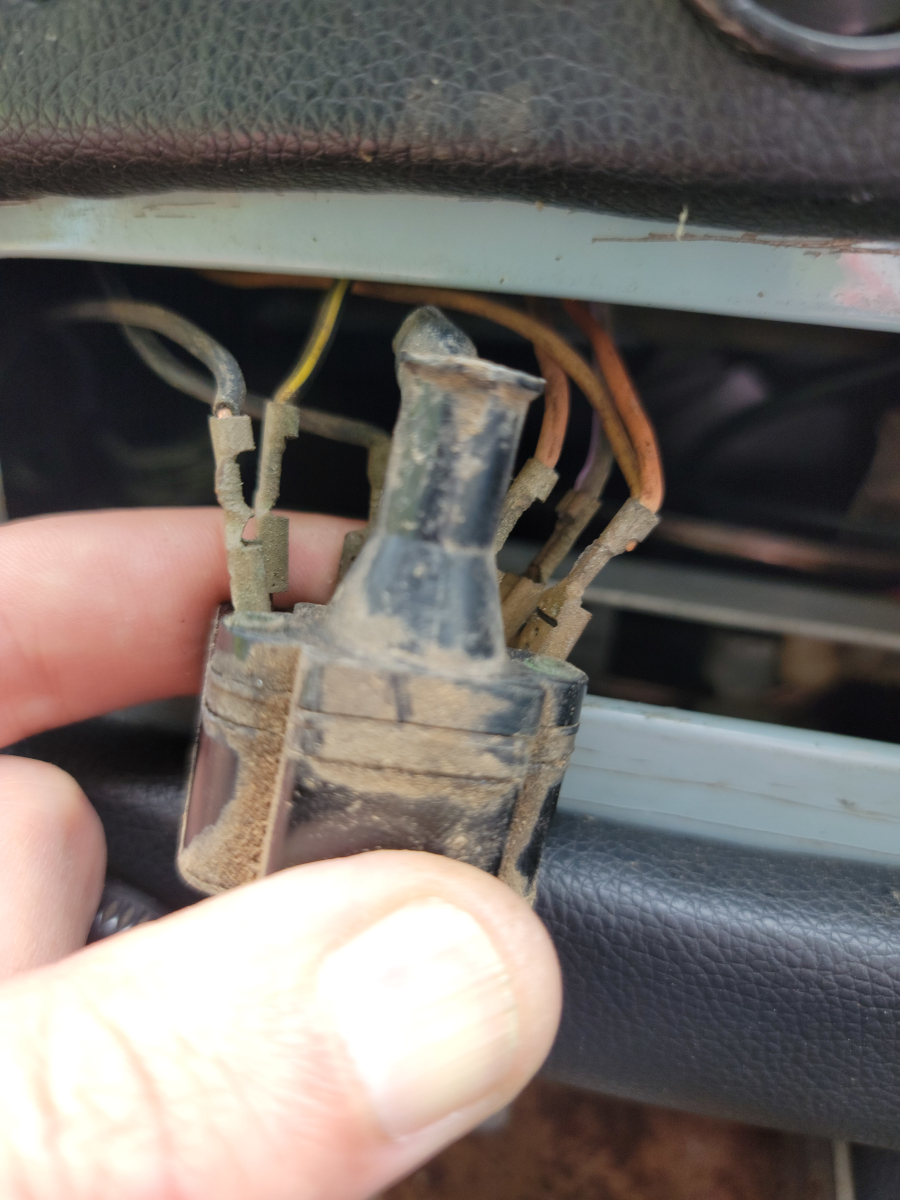
Step one in the car was to get the old switch out. This is all much easier (though still not easy) with the radio opening in the dash still empty.
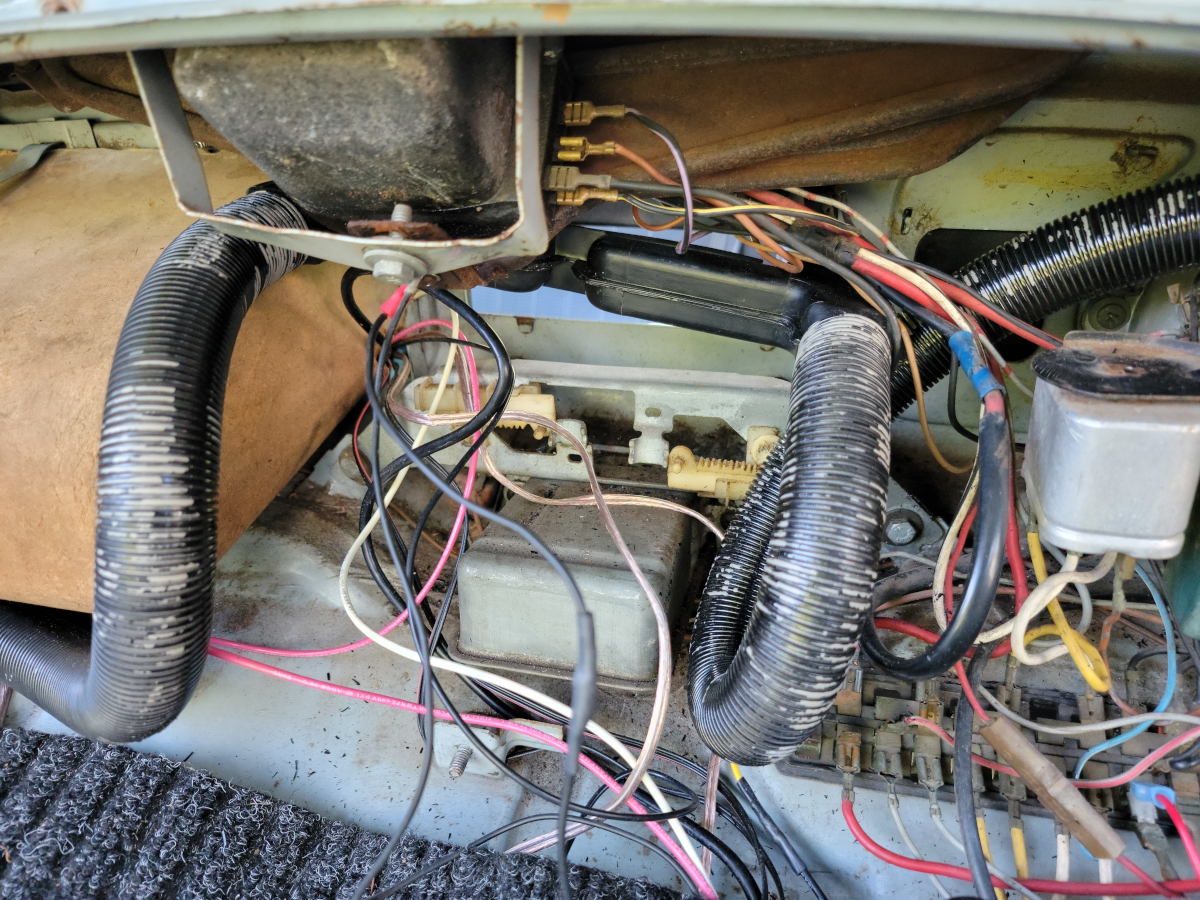
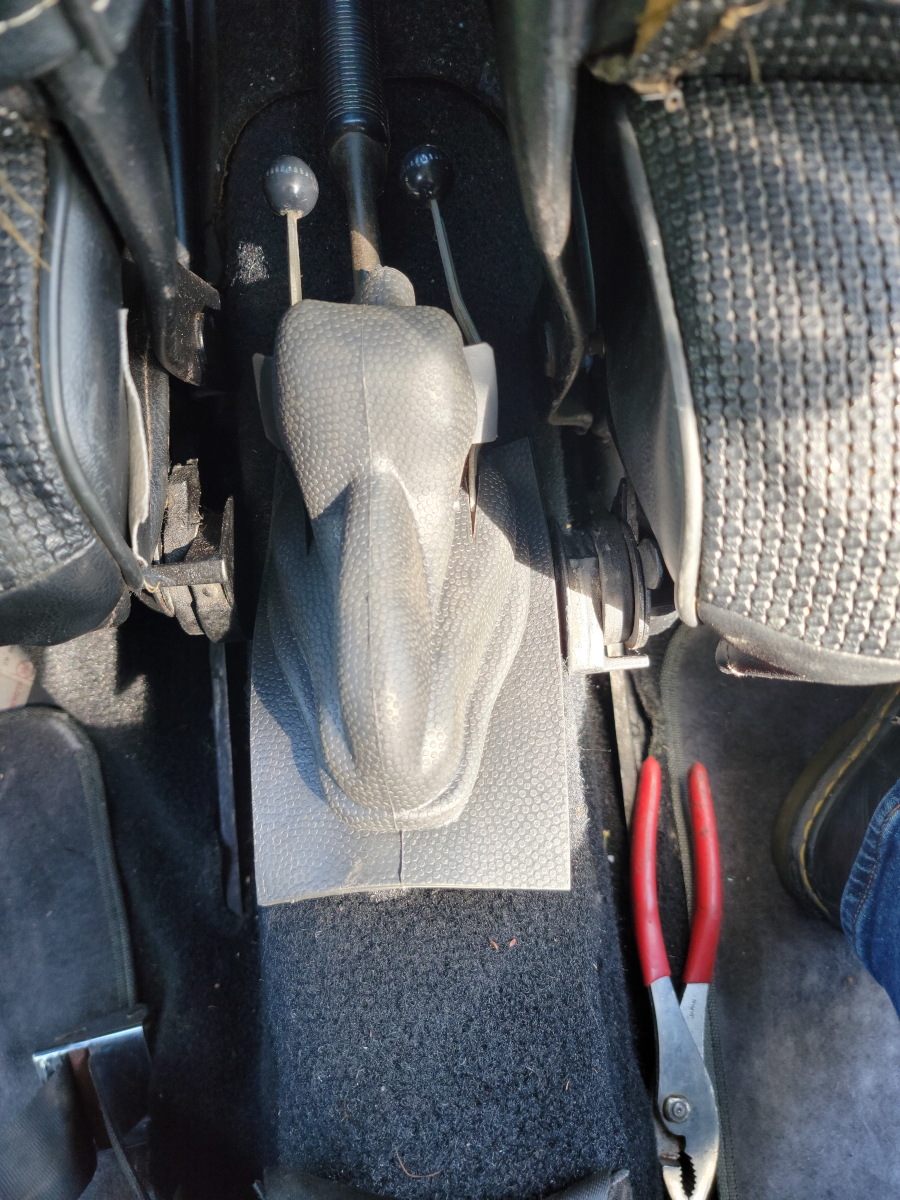
When I pulled the switch out, there were extra wires that weren’t on the diagrams or my notes.
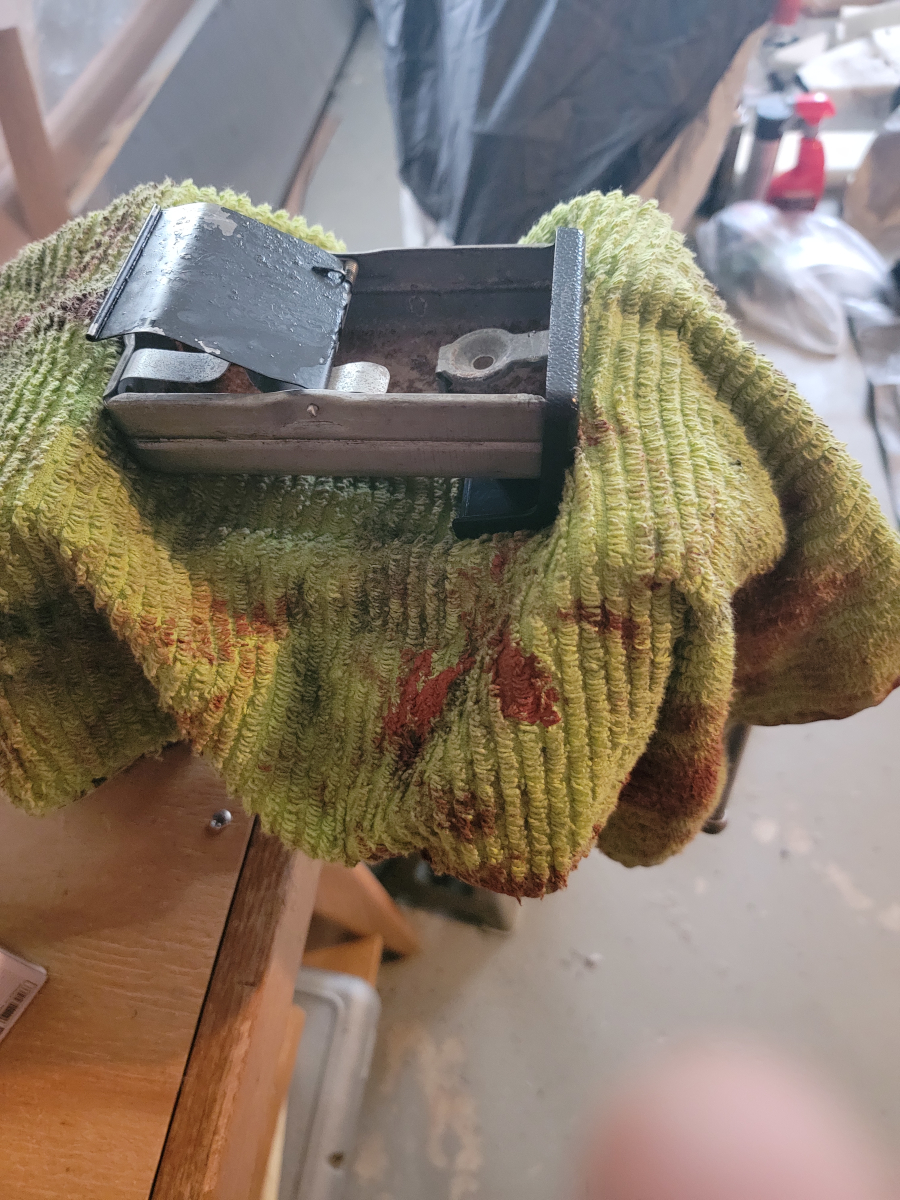
So, I got out my test light and mapped each connector.
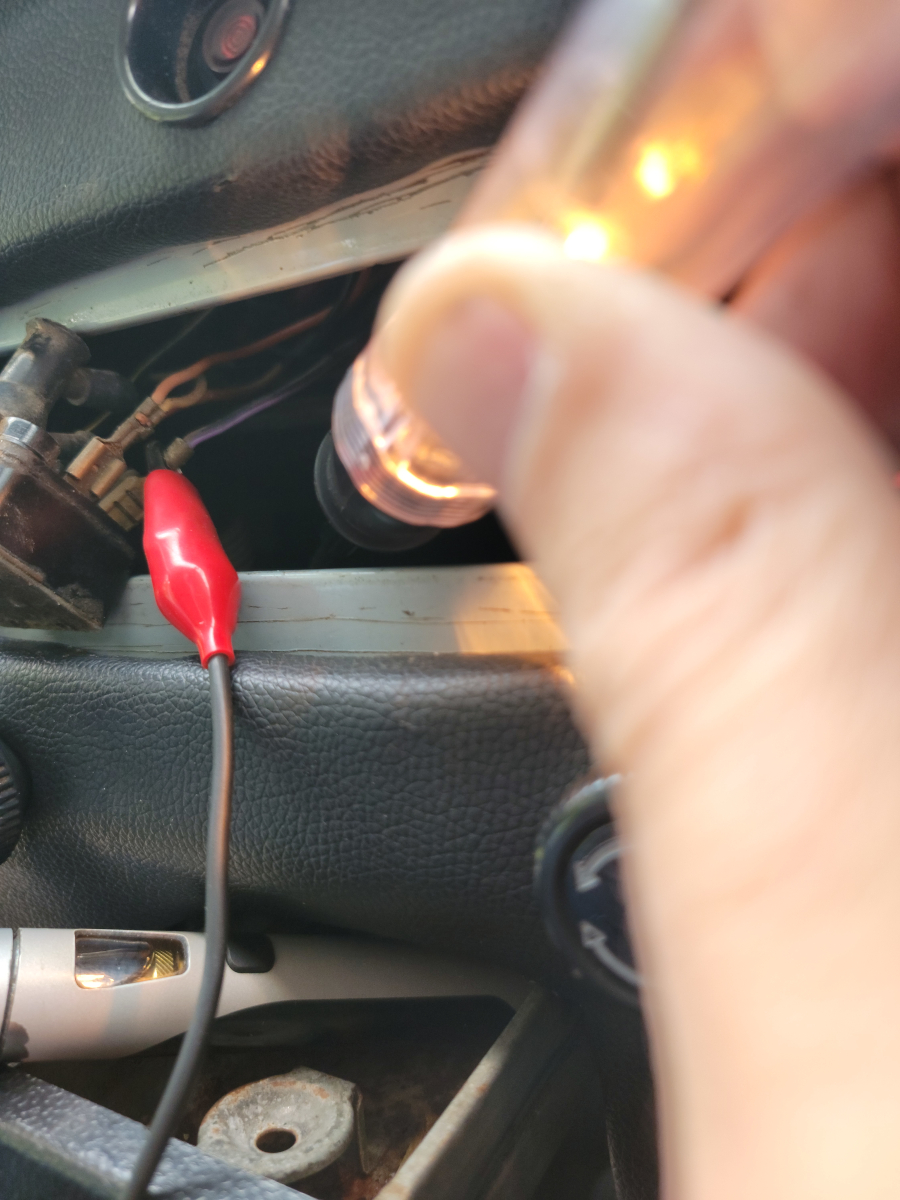
Vape in the ashtray is a nice touch.
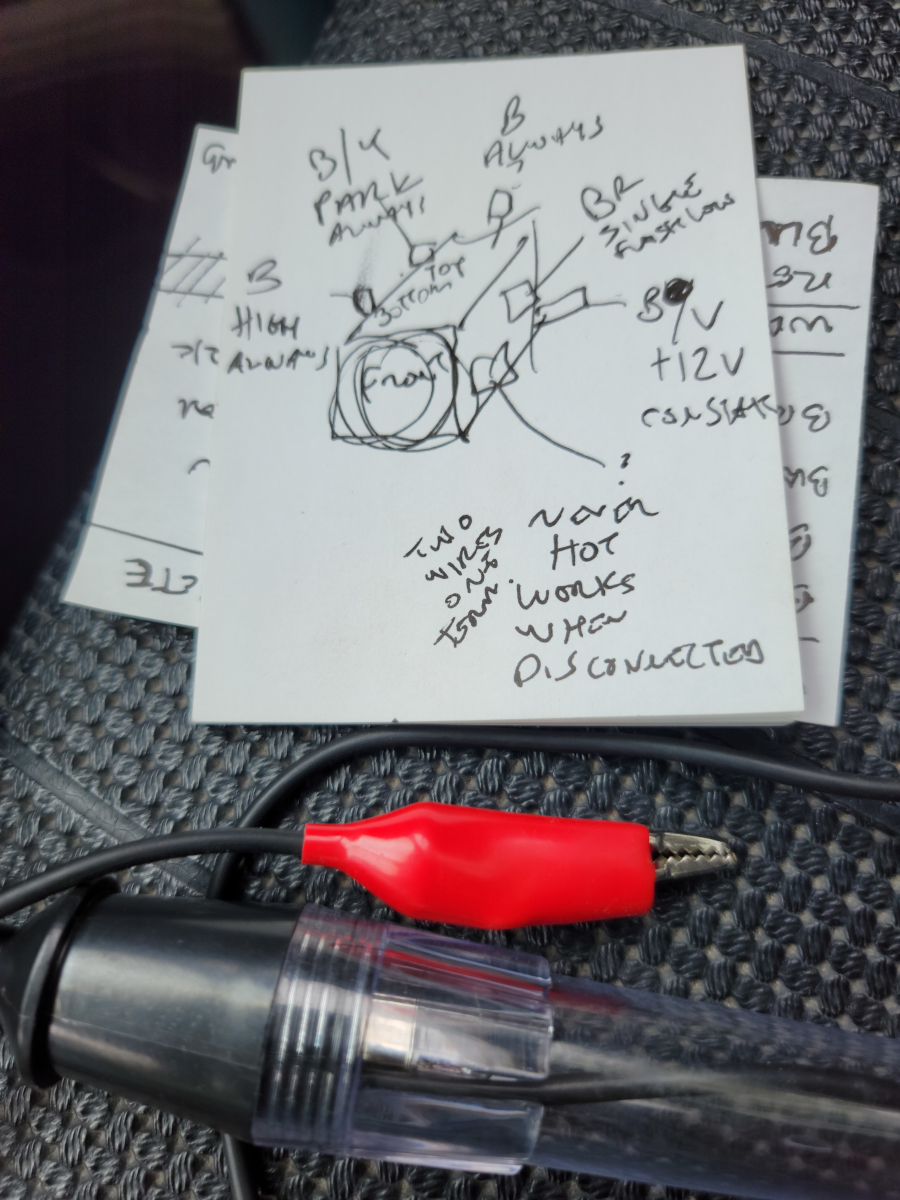
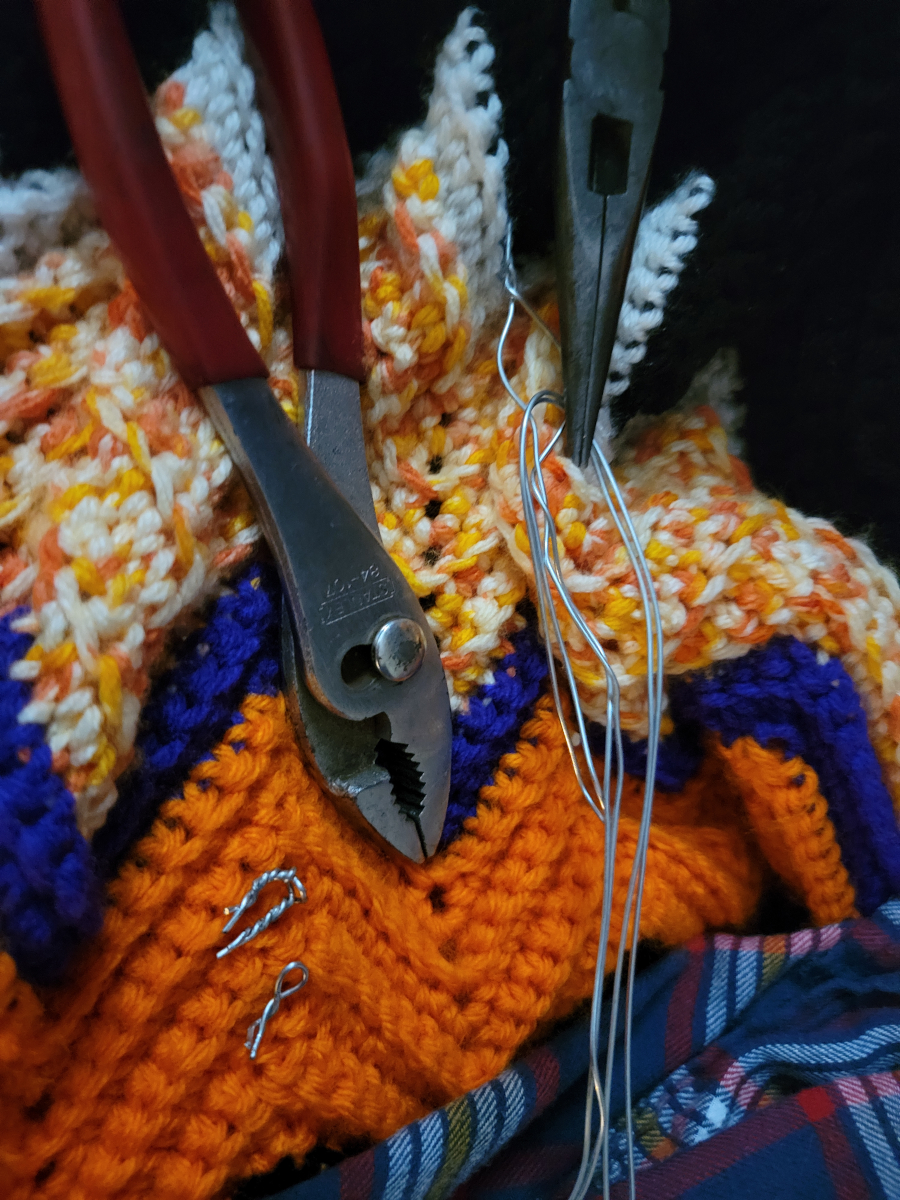
When I went back through and started connecting wires to the new switch, clearly my notes above had a couple of problems. Eventually, I found a magical combination:
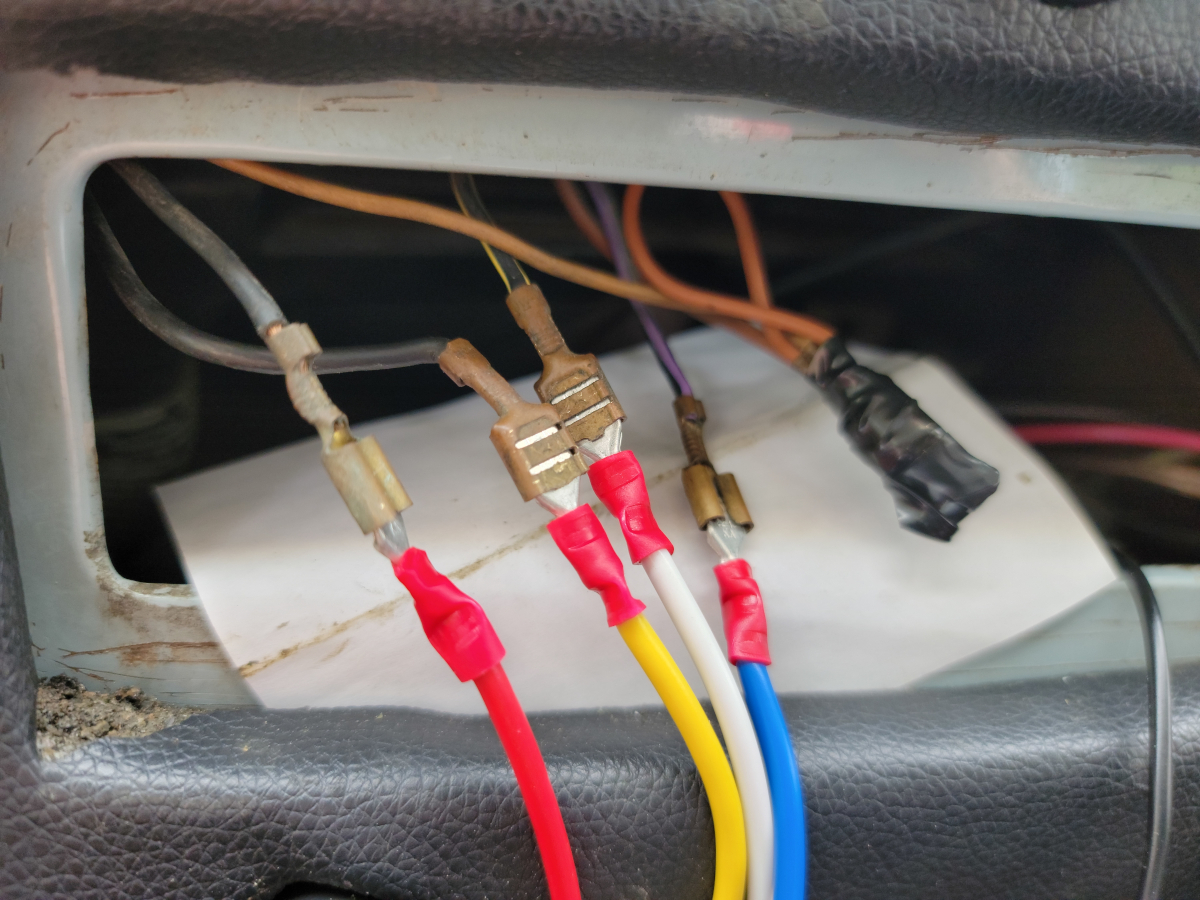
With these four pairs of wires connected, I have what appears to be a huge variety of intermittent wiper speeds (on the slow end, like 30 seconds, and up to like one second), then a click for low speed and a second click for high speed. Of course, it’s an old Beetle, so high speed would be overwhelmed by a light shower, but anyway…
WOW. Another win!
Ironically, it’s about to start raining, so I’ll pick this up tomorrow and finish the job.