The Spring Tease has passed and we’re back into cold, wet weather, so I moved the seat refinishing operations from the front porch to the basement. I laid down a silver Harbor Freight tarp to catch some of the mess and over spray and began the process of refinishing the rear seat.
Disassembly
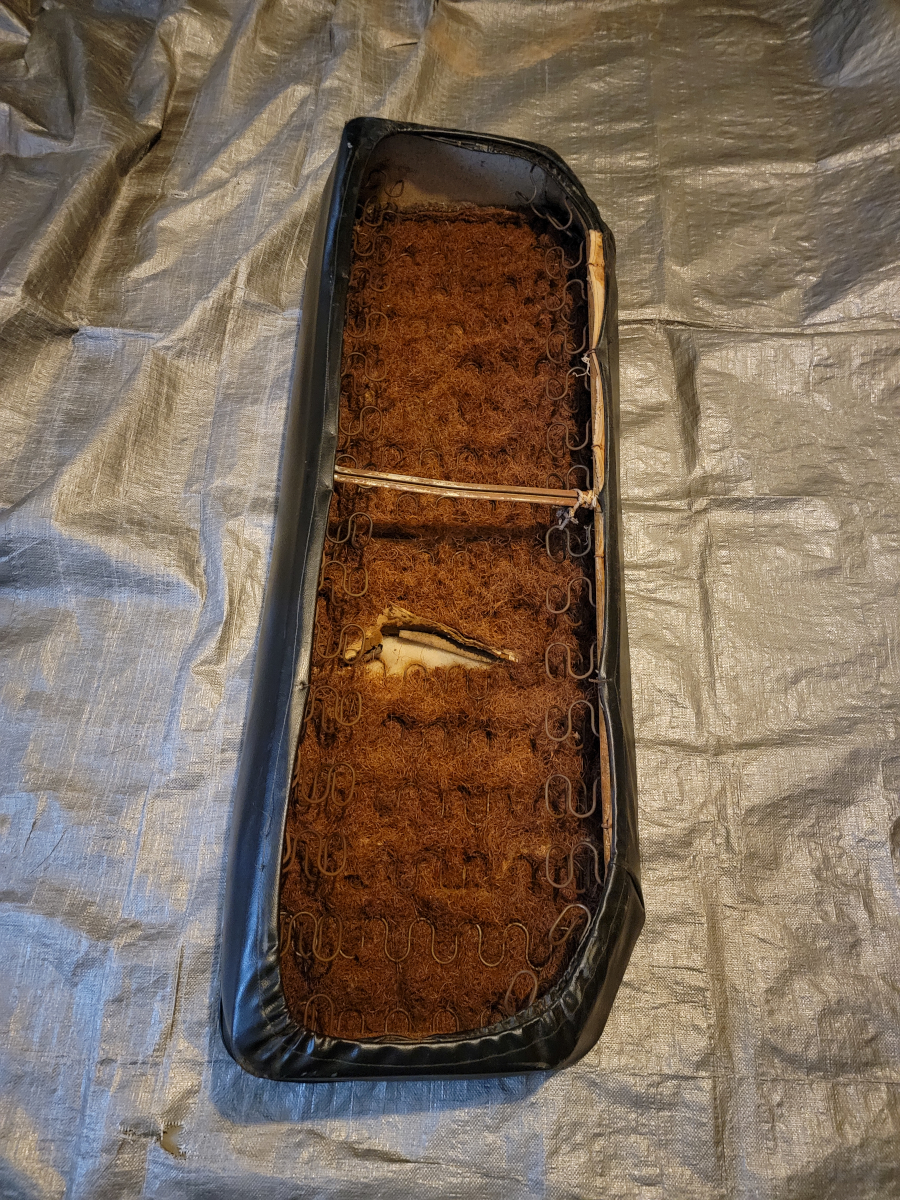
Instead of hog rings, this time, I found the seat cover held on with expertly twisted bits of mechanics wire. Lots of them.
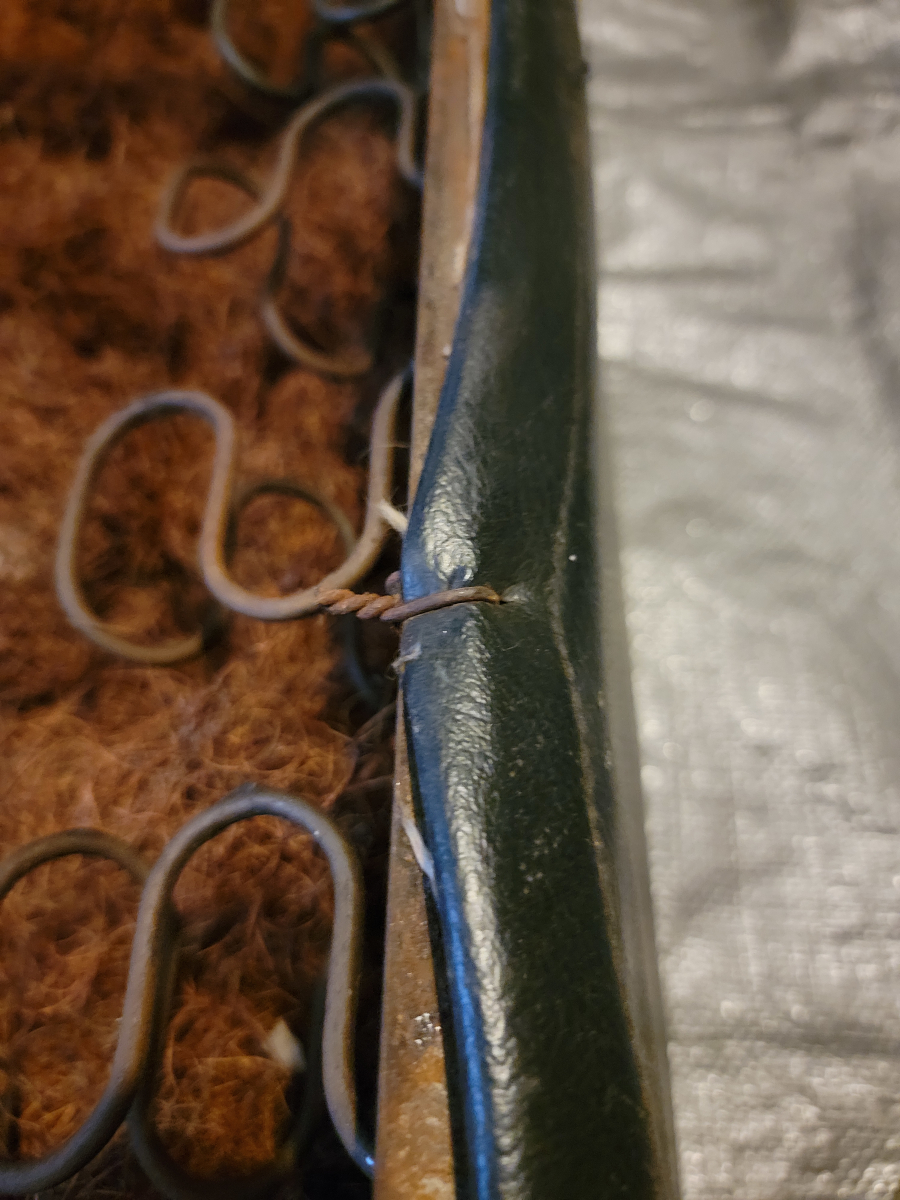
Here was another instance of that rotted rope, which pulled apart with ease. She’s nothing if not consistent.
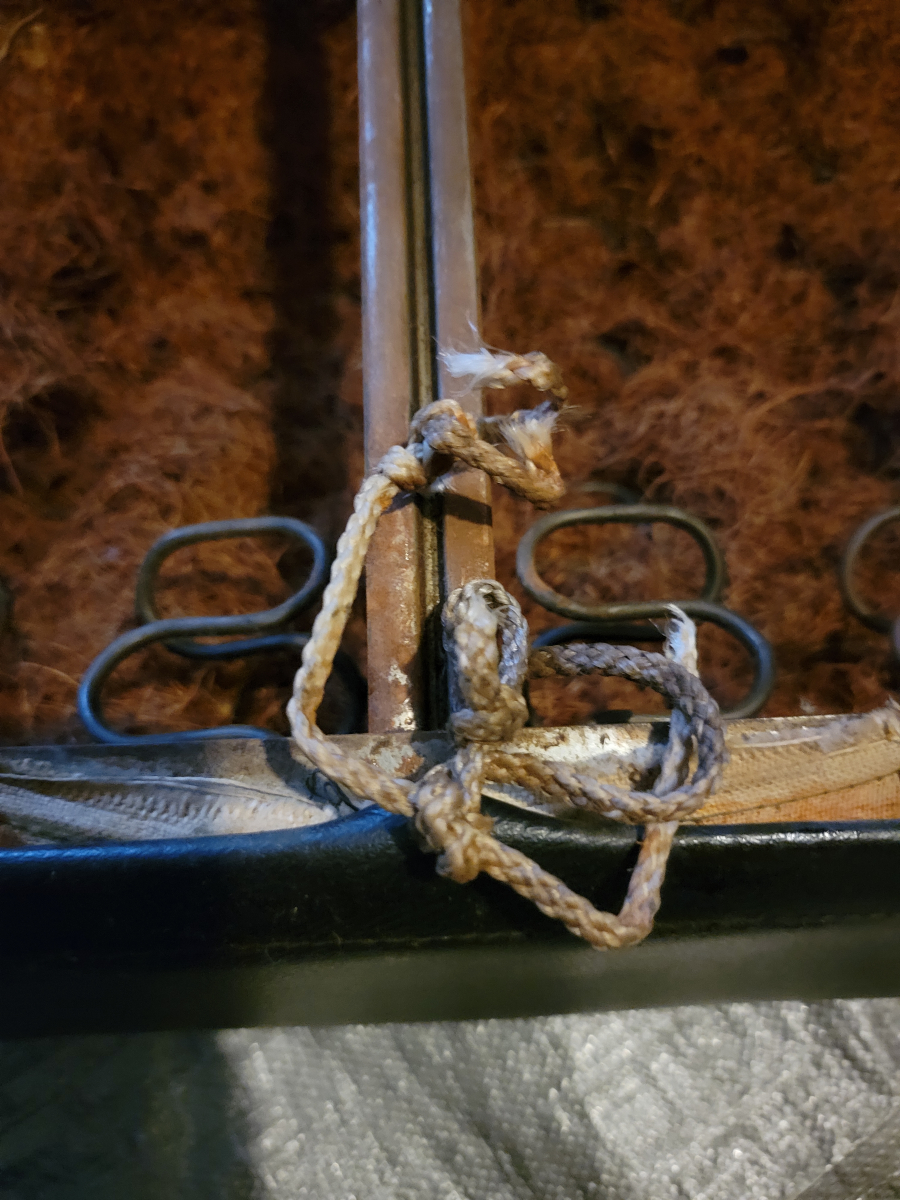
What do we have here? Another hat on a hat!
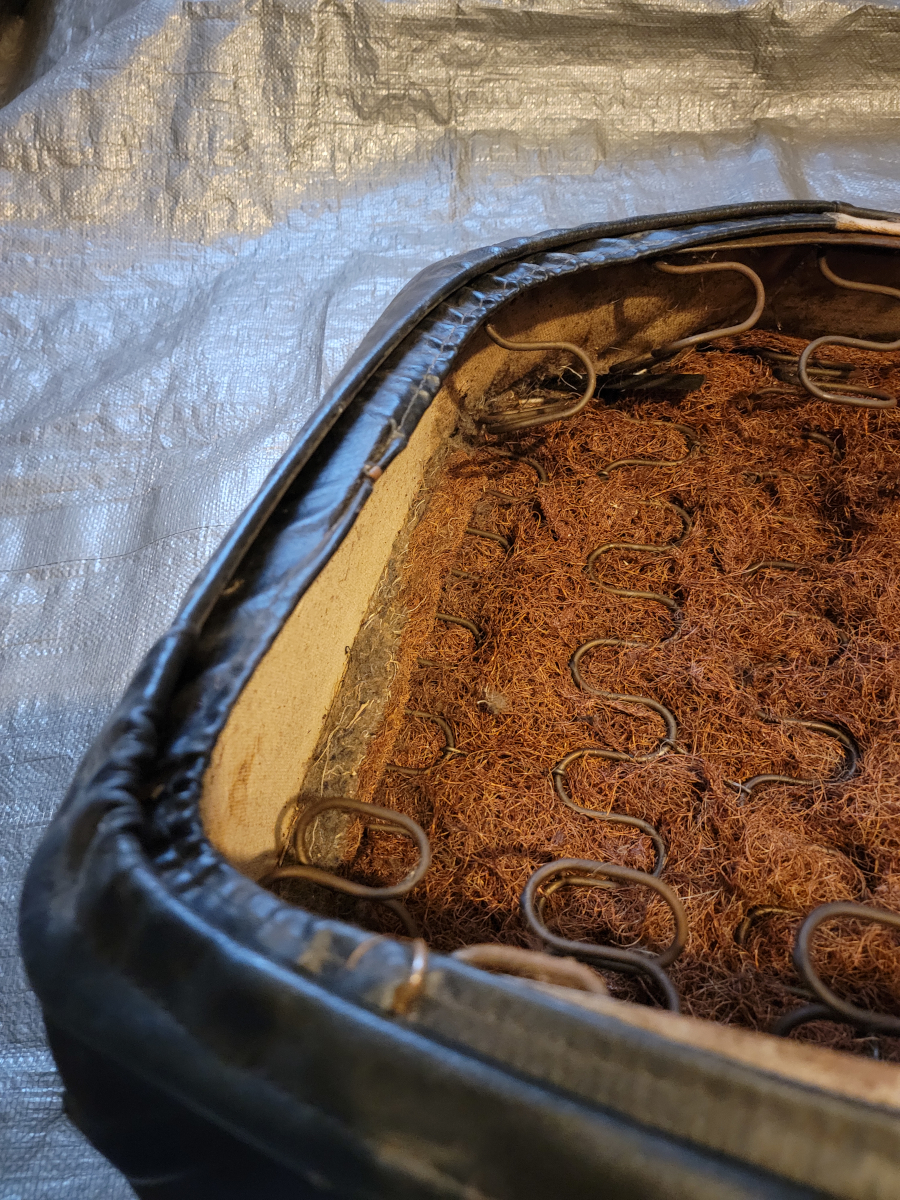
This time, I believe the seat cover under the seat cover may have been the original. As you can see in the pic above, there are proper hog rings holding this one on.
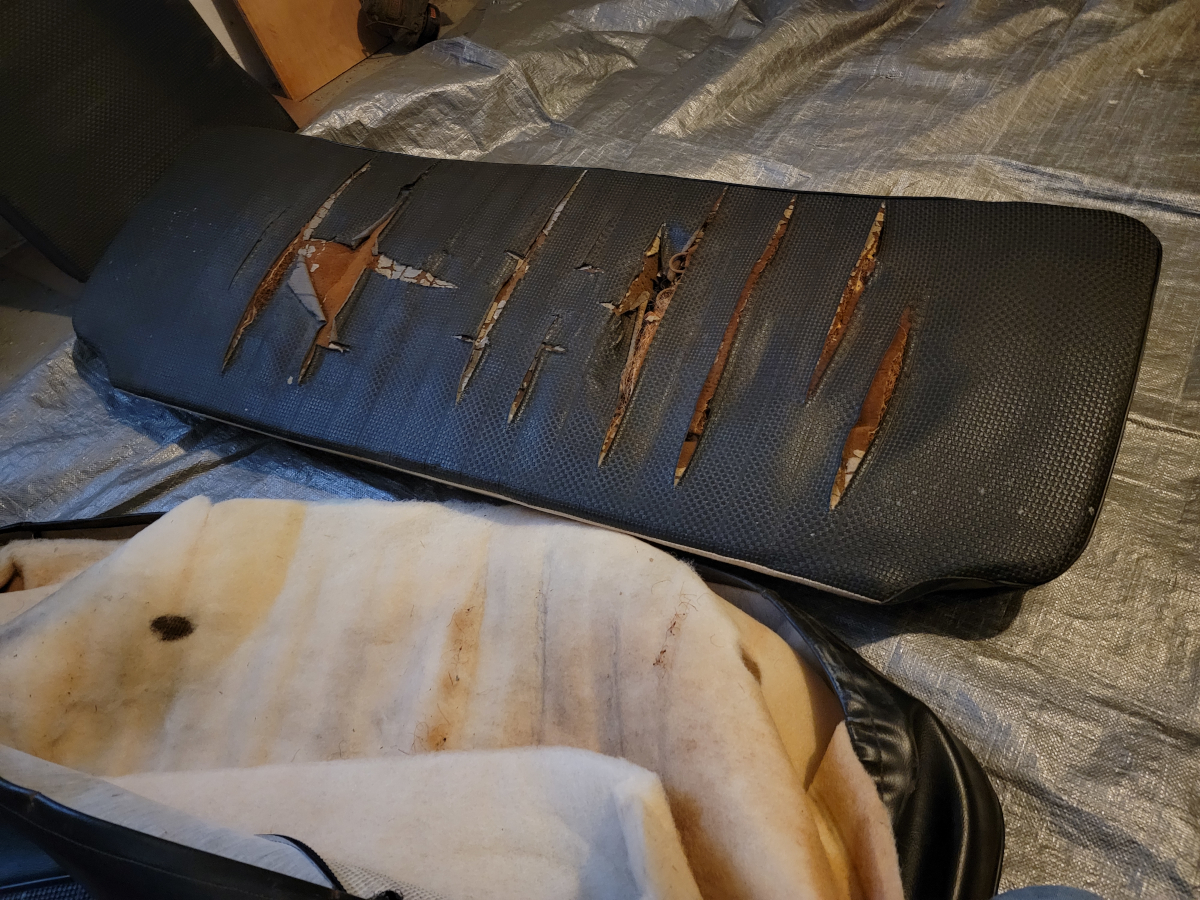
A nice cushioned pad separated the two seat covers. It was thick and not too nasty. <foreshadowing>I need to remember to reuse that!</foreshadowing>
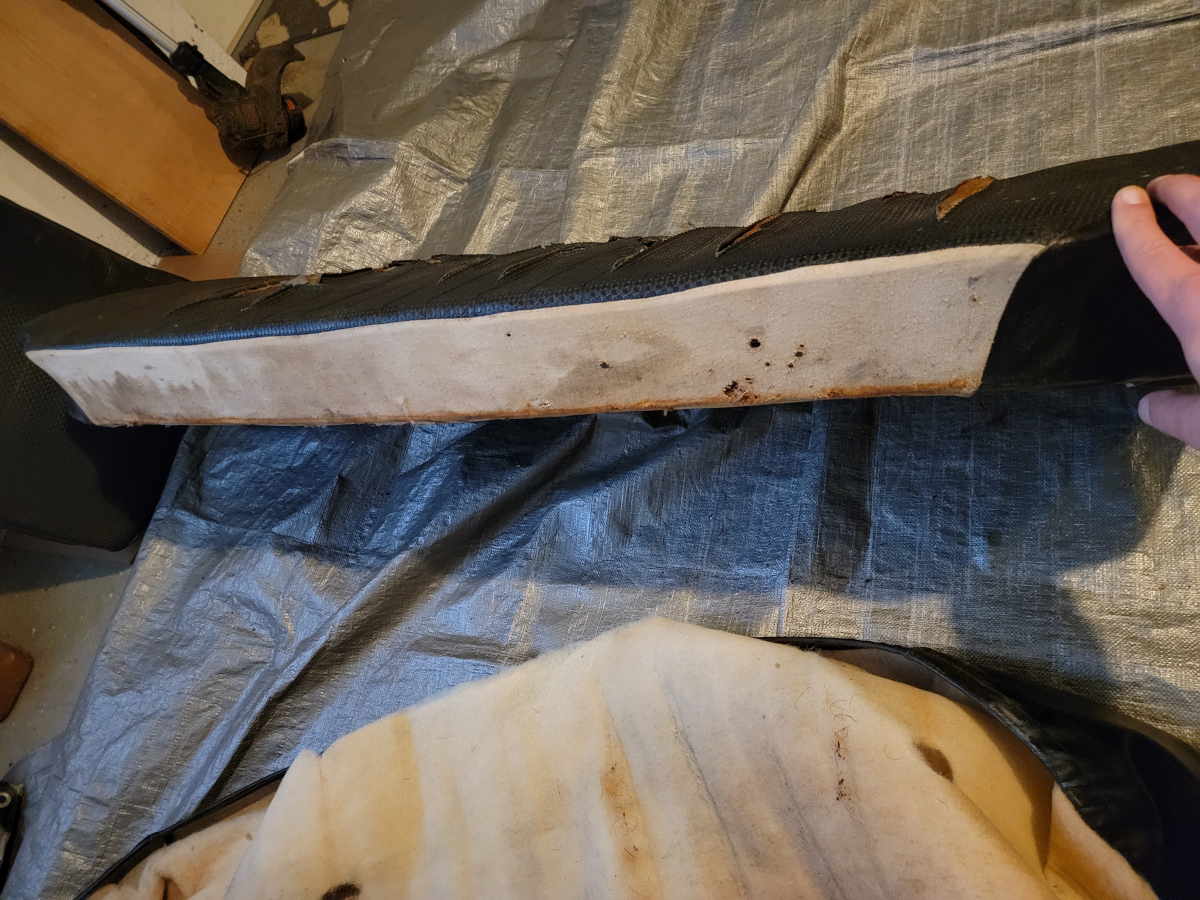
This seat cover had a white fabric back side edge. Almost linen-y feeling.
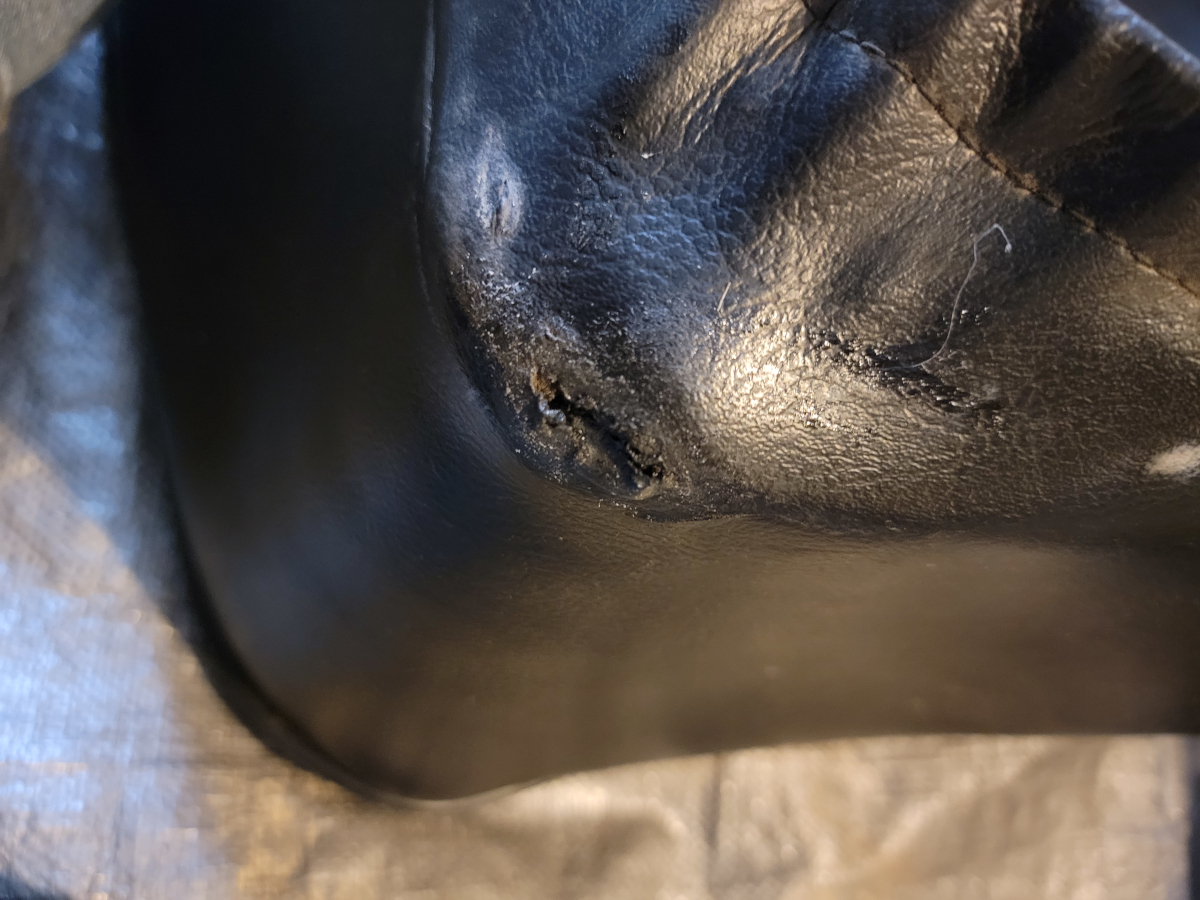
There are a couple of bad holes in the front edge of the outer seat base cover, which I plan to reuse.
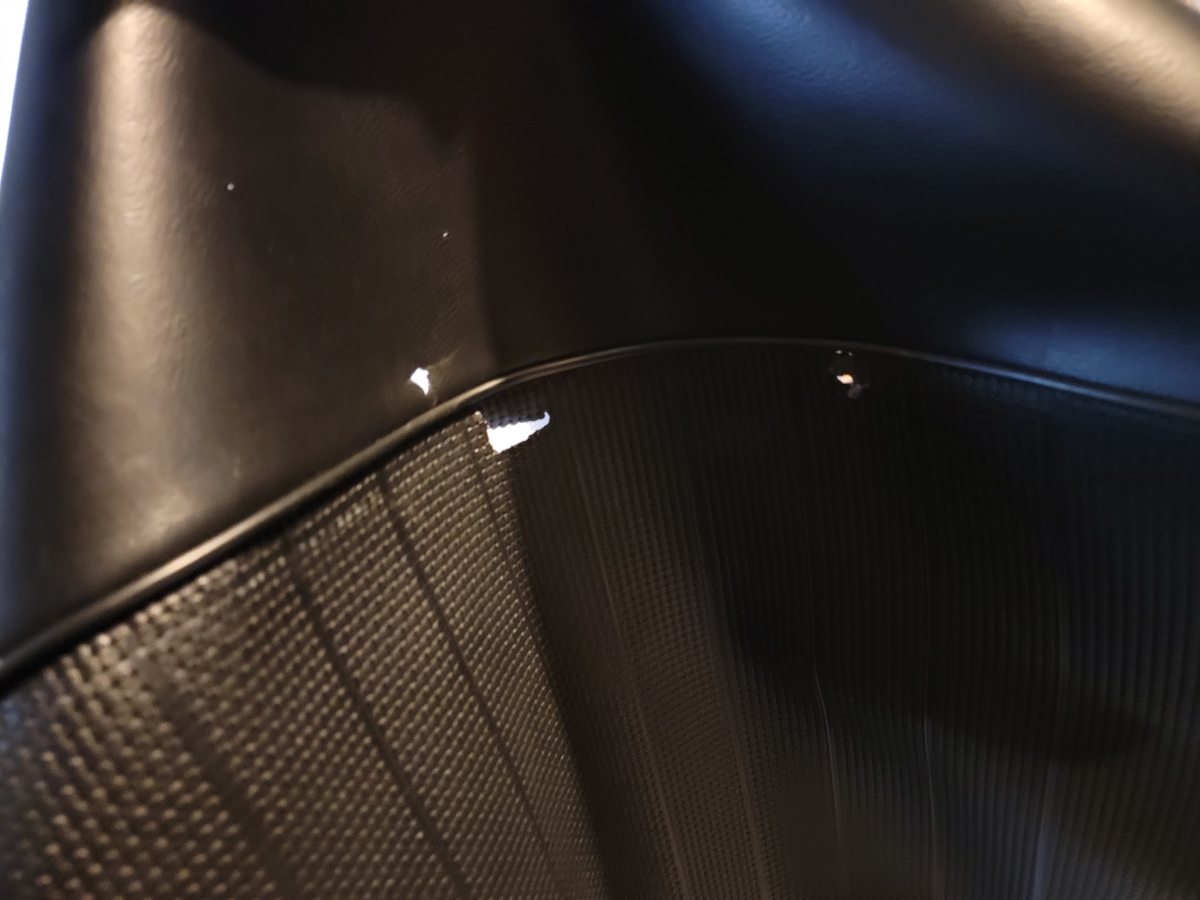
Let the hog rings removal begin!
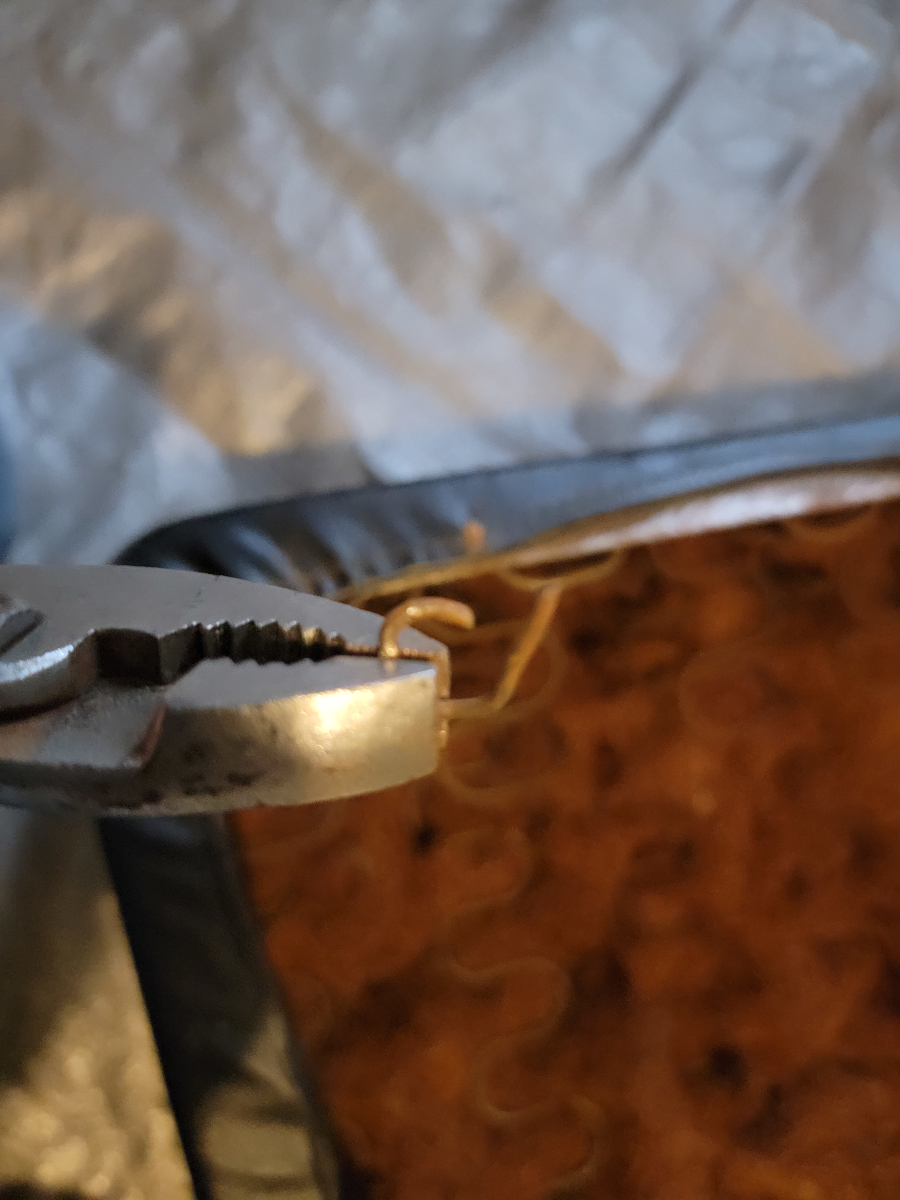
There are some more bendy spikes at each end of the seat base.
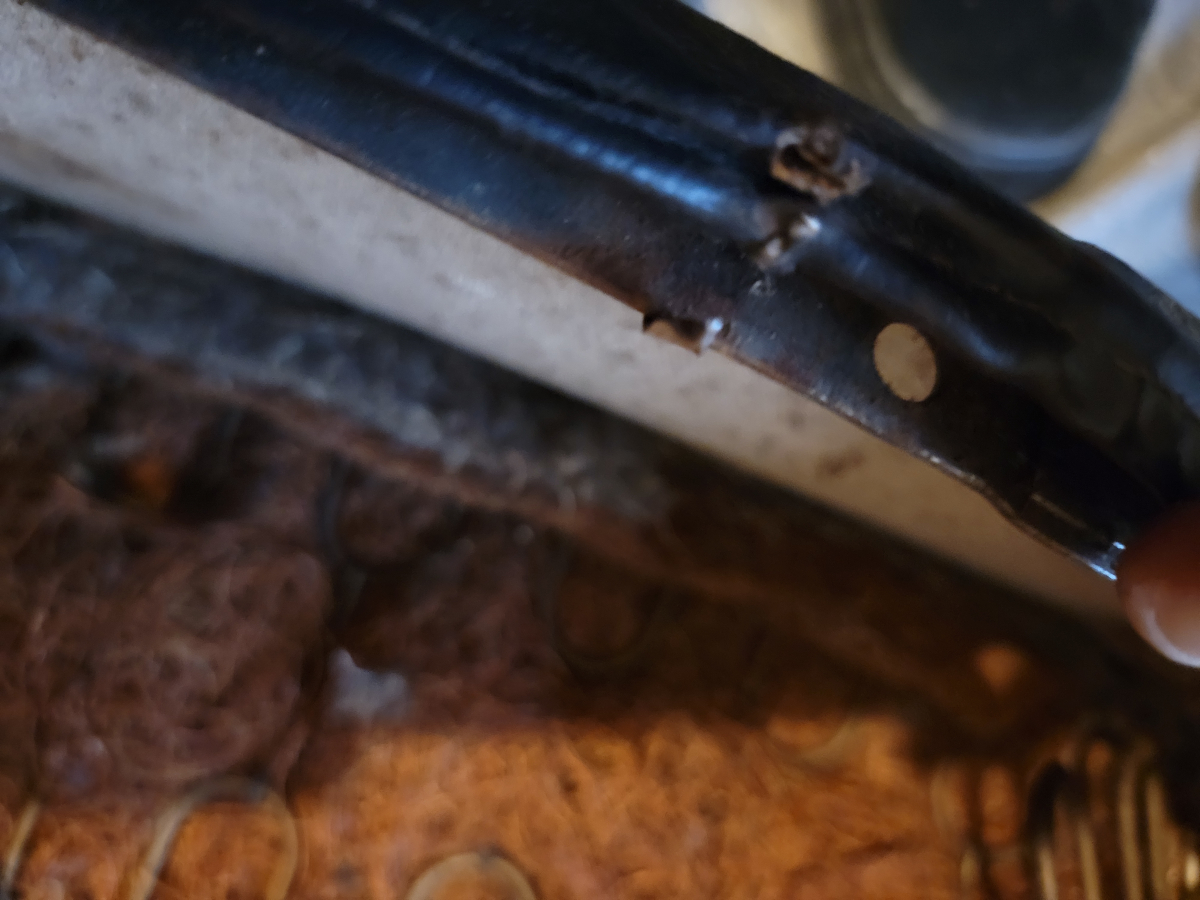
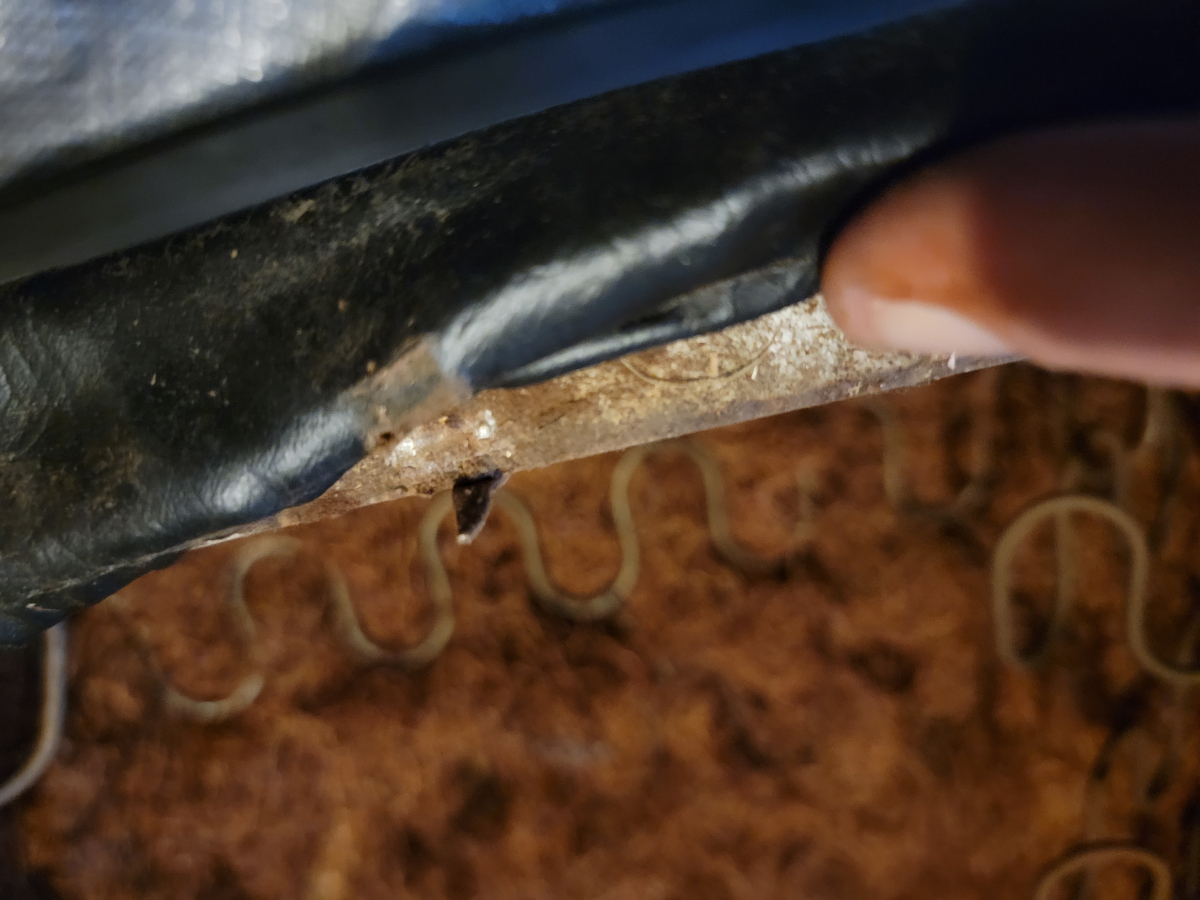
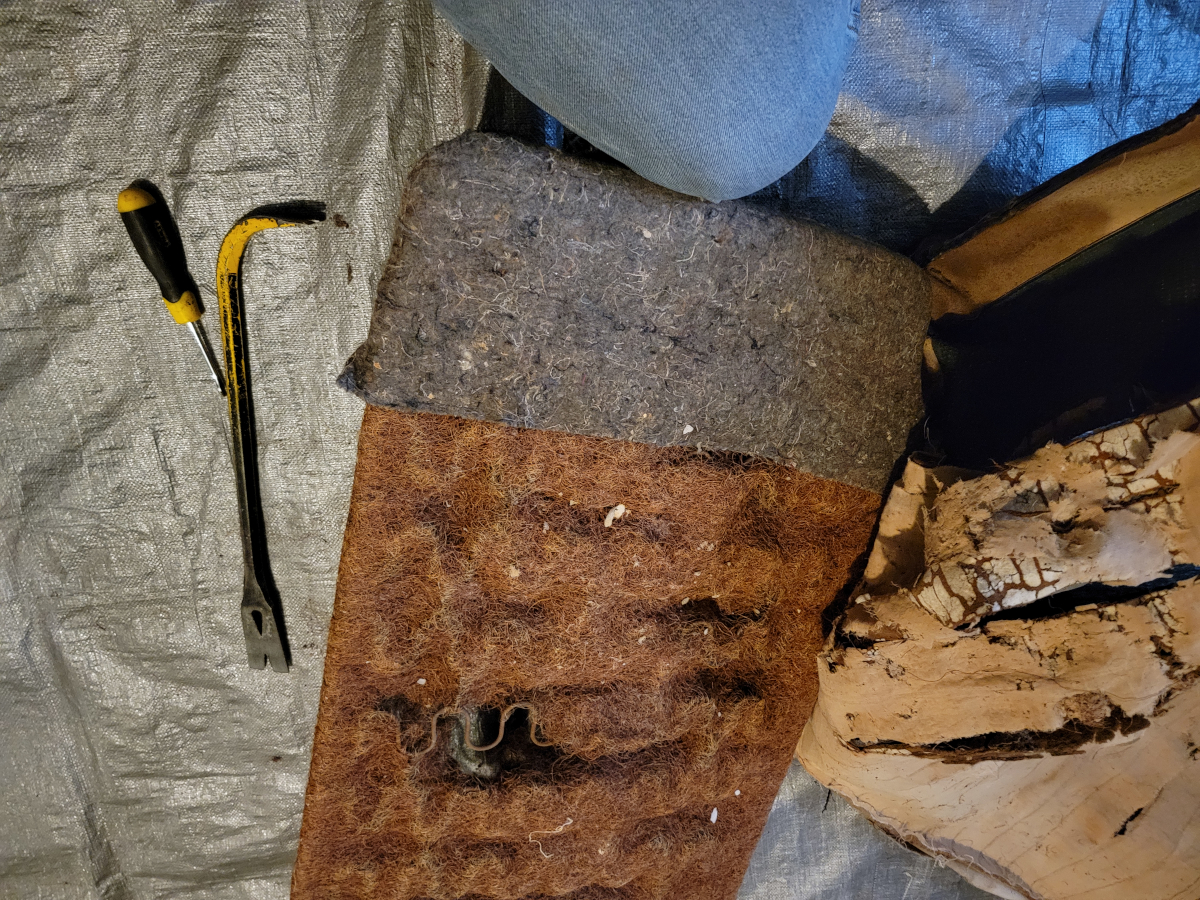
With the inner seat cover removed, it was clear to see the state of the coconut hair pad and exposed springs.
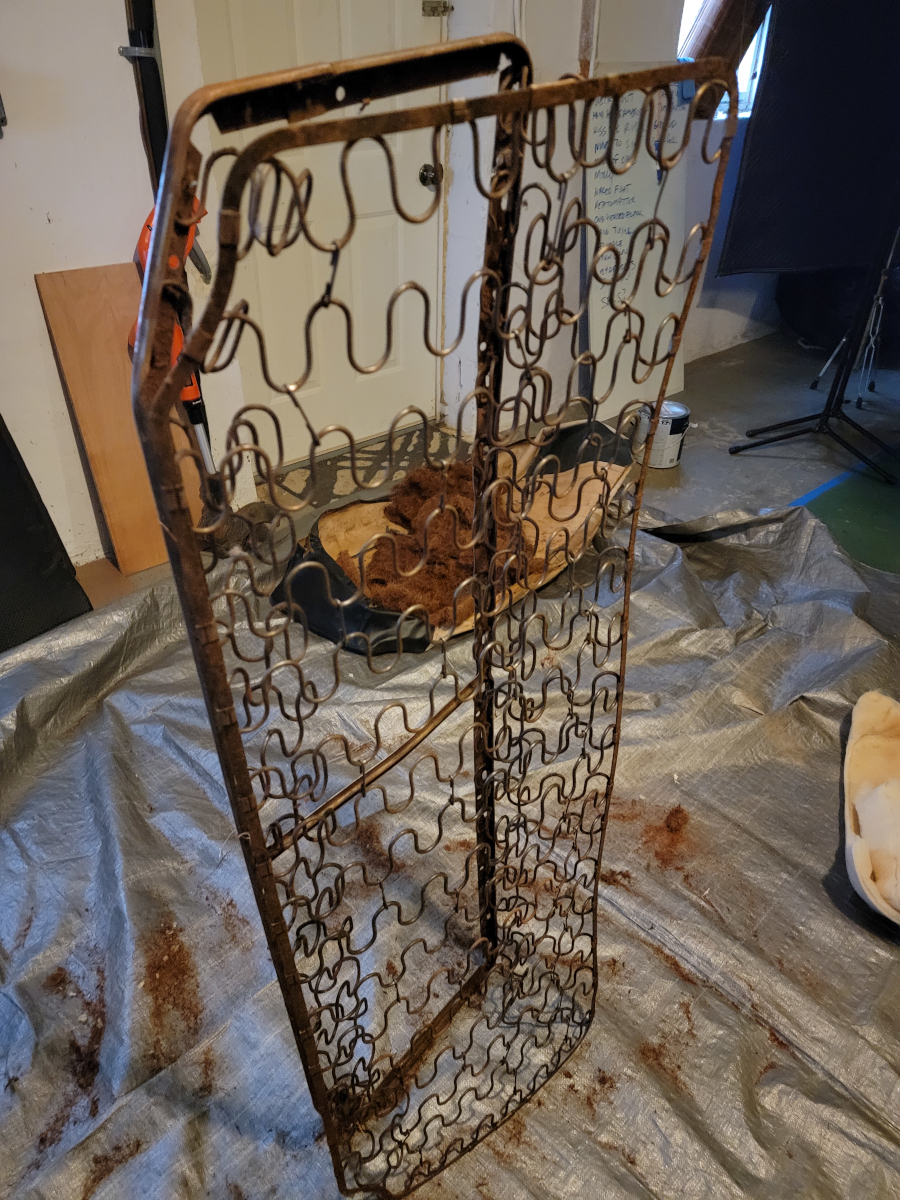
With everything removed, the seat base frame was in surprisingly good condition. A little dirty. A little surface rust. No problems.
Cleanup
Brake parts cleaner in an enclosed space is no joke. I opened the laundry room window to let in some fresh air for a couple of hours, but I could smell it throughout the house for a couple of days after.
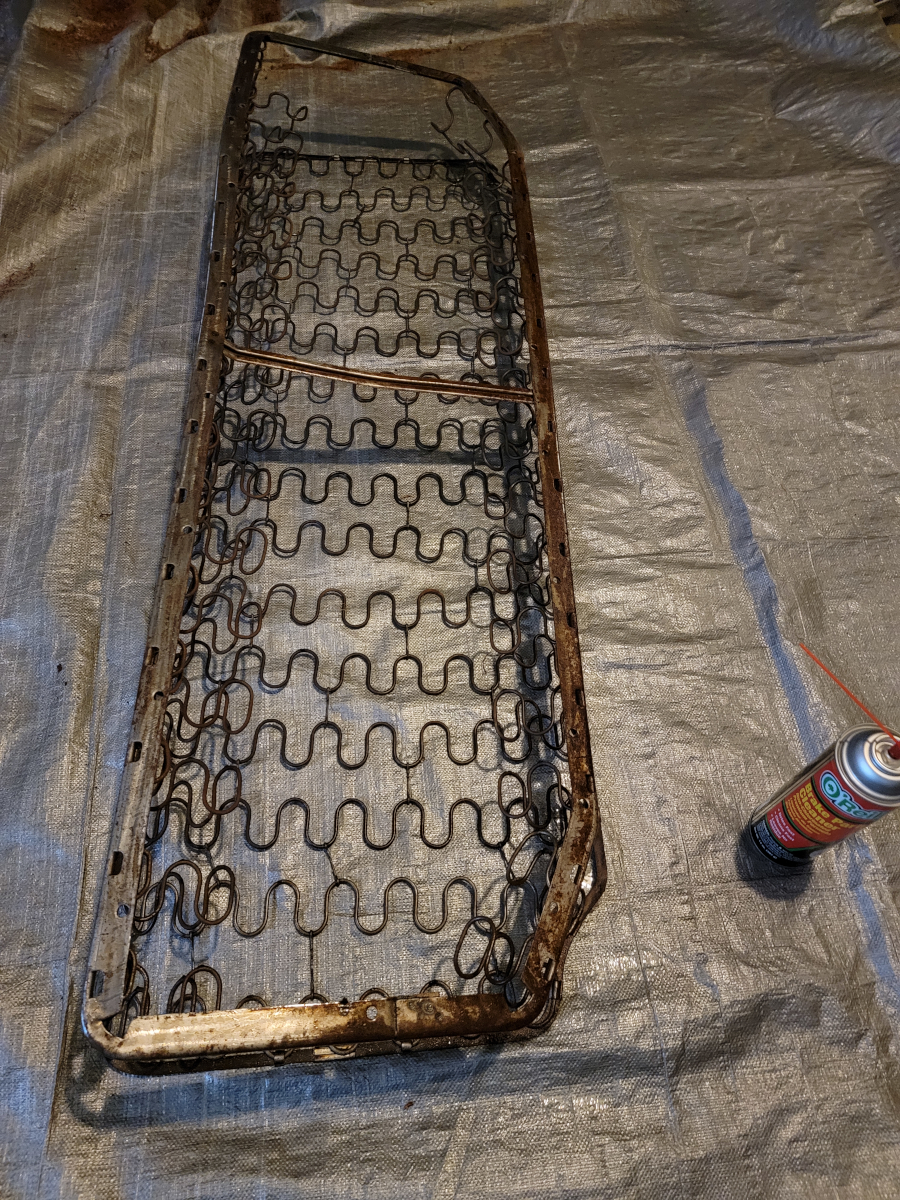
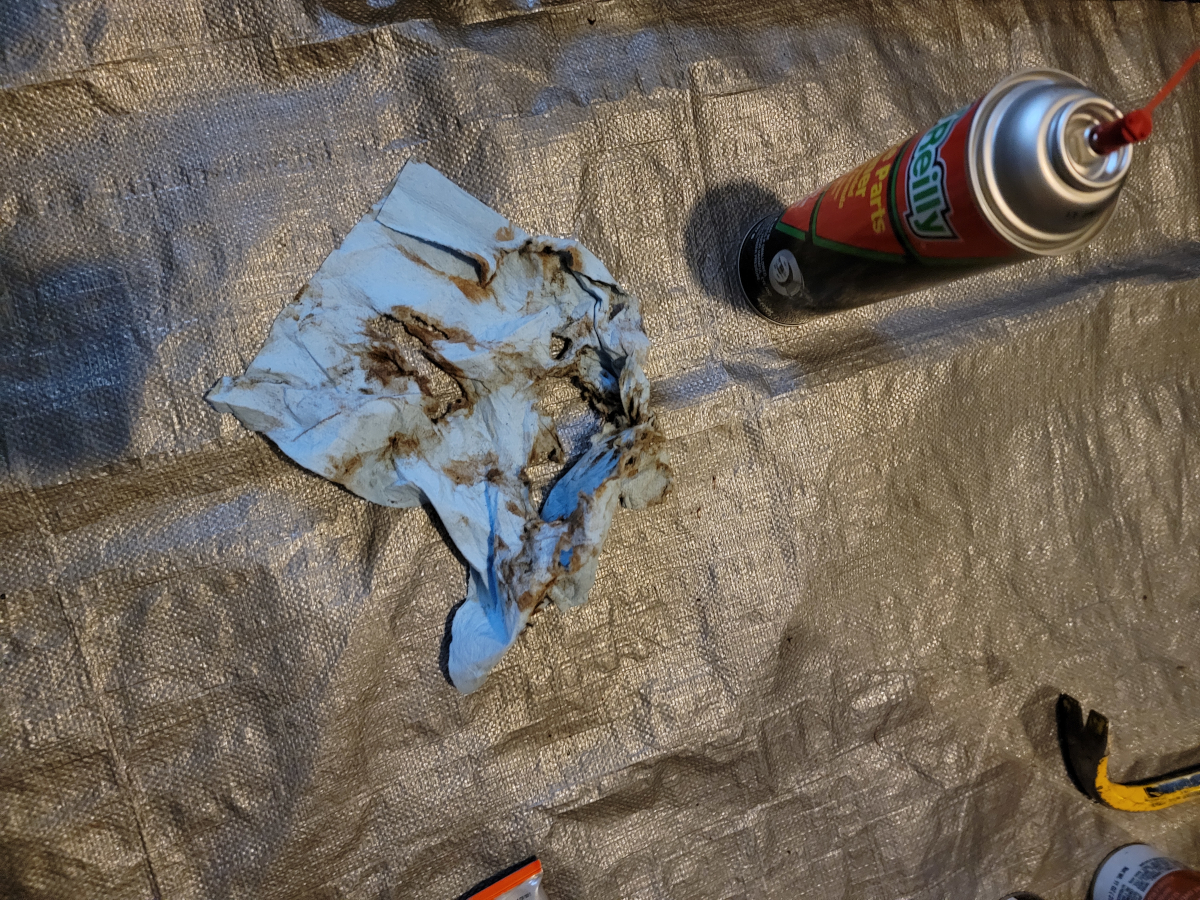
I wiped it all down with a blue shop towel, which didn’t do a whole lot, aside from shredding the paper towel.
Rebuilding
Once the brake parts cleaner dried up or evaporated or whatever, I put a quick coat of rust barrier spray down.
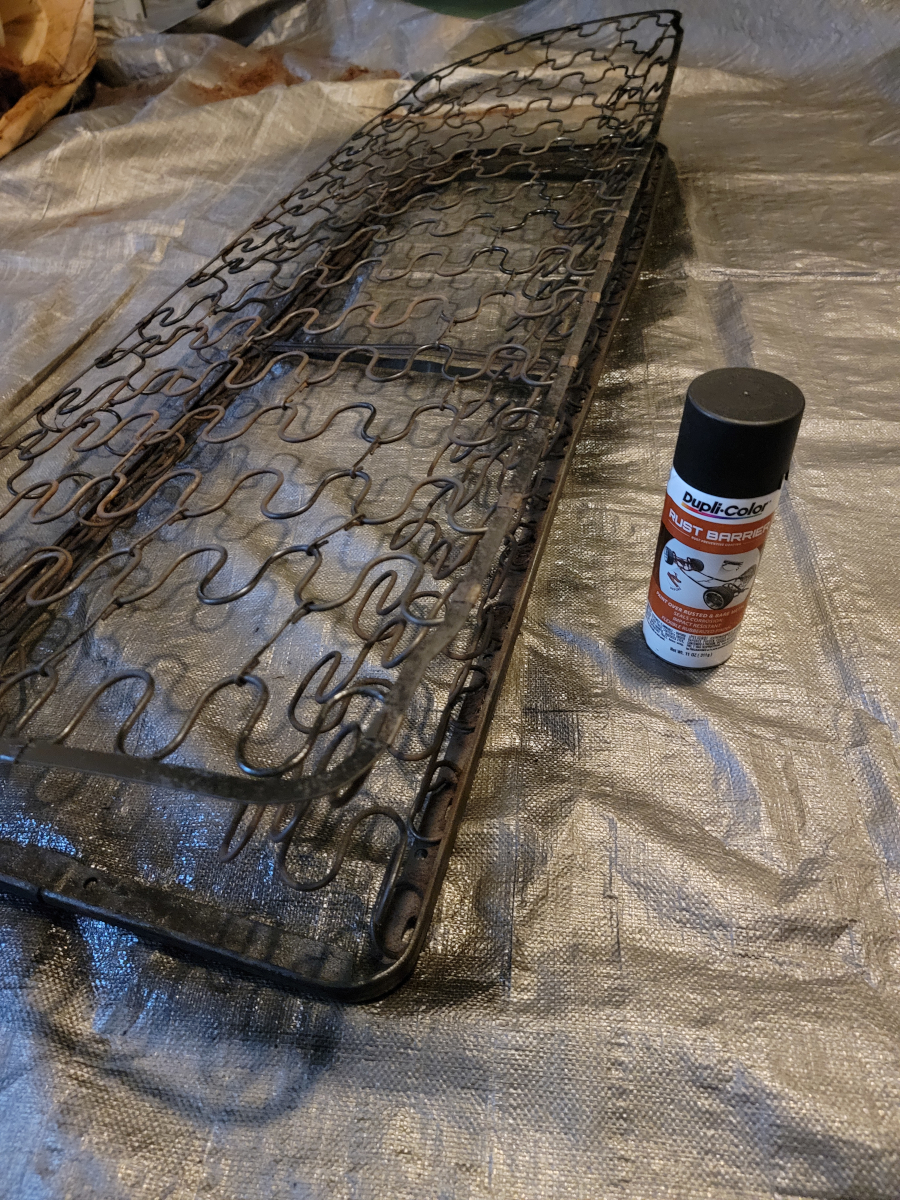
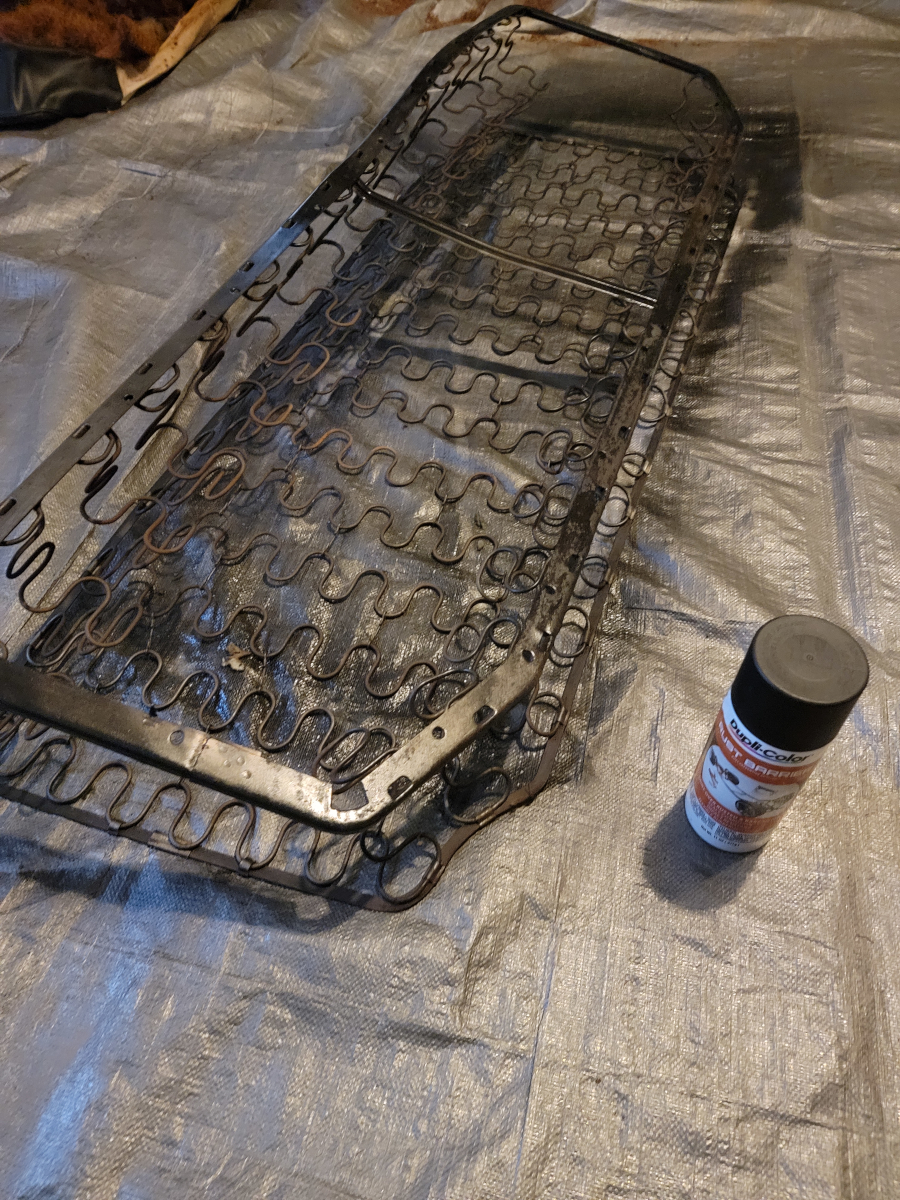
Once that had a chance to dry, I went back over it lightly with some engine enamel and was quickly reminded about the silly string situation.
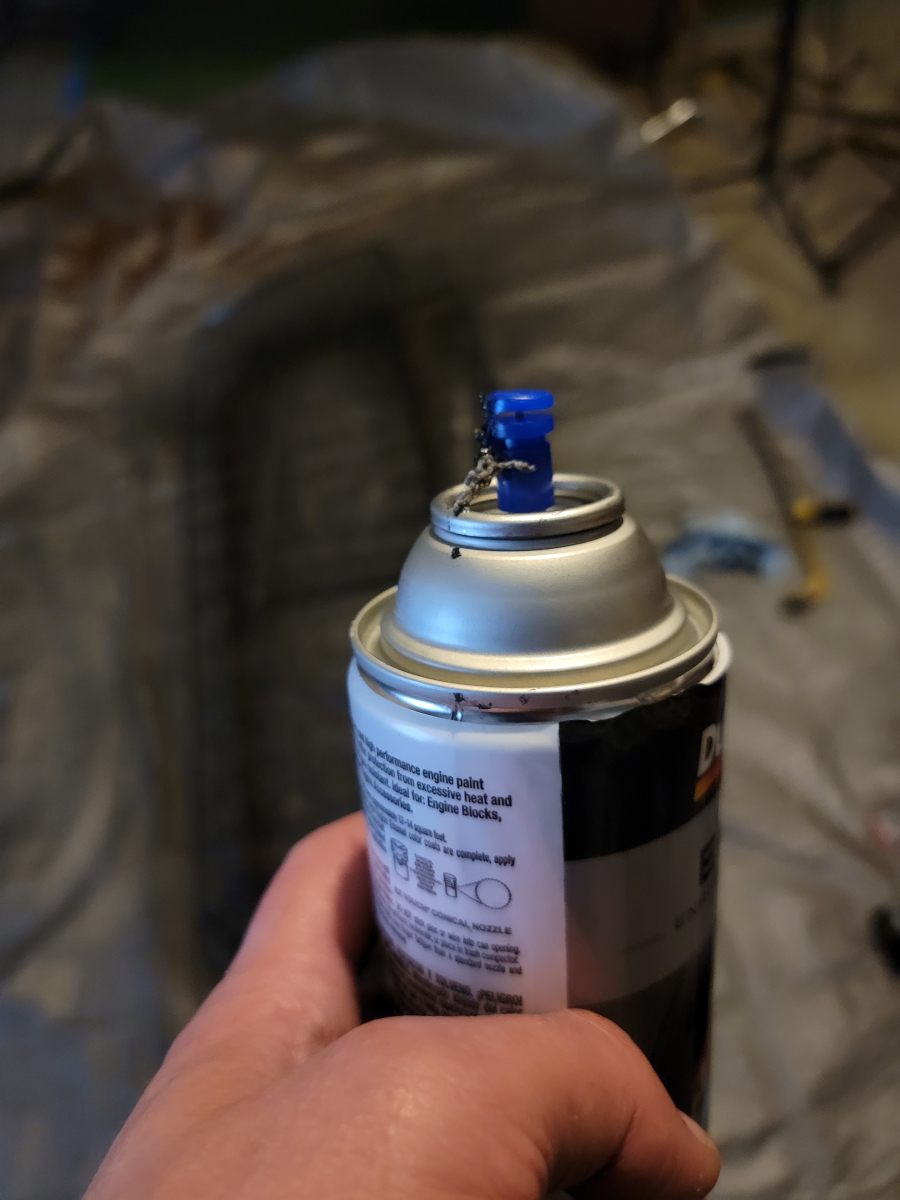
But it covered pretty well regardless.
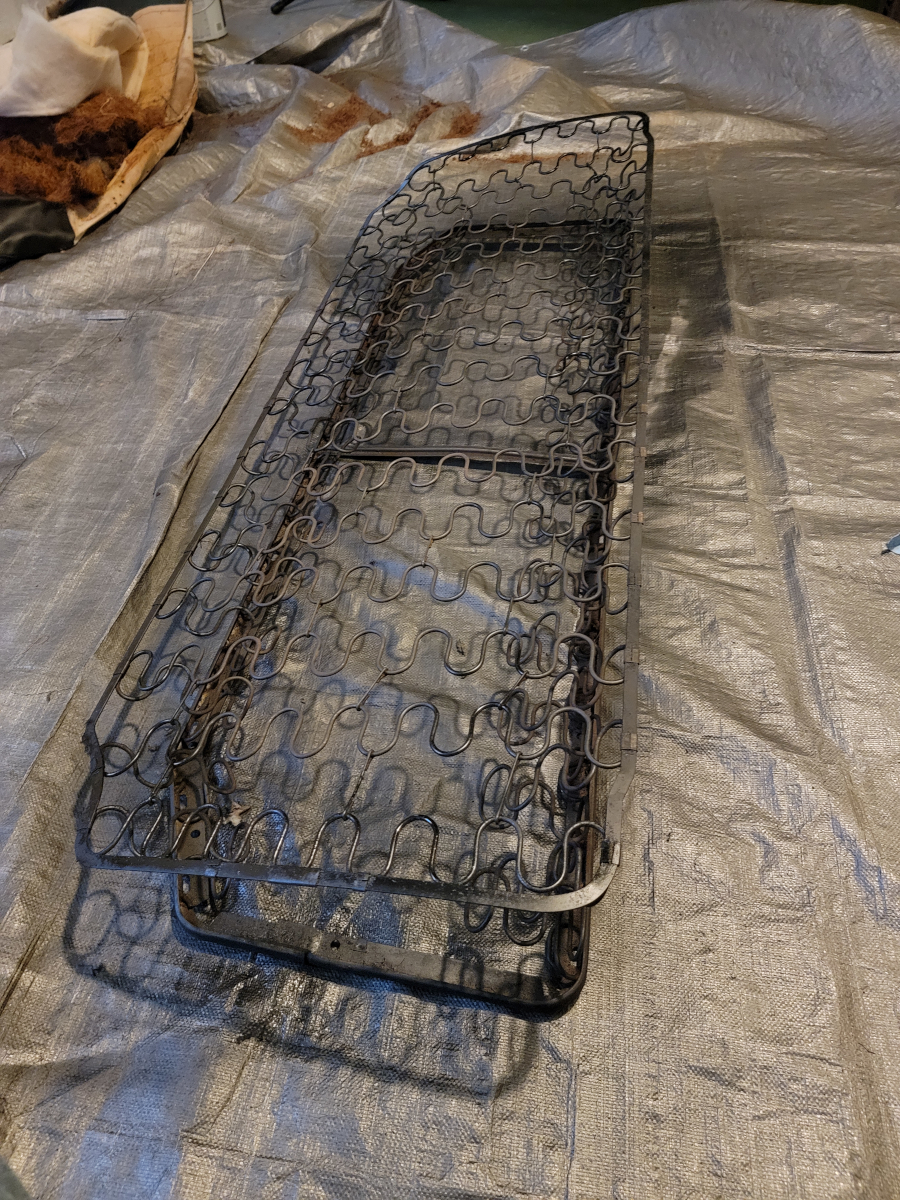
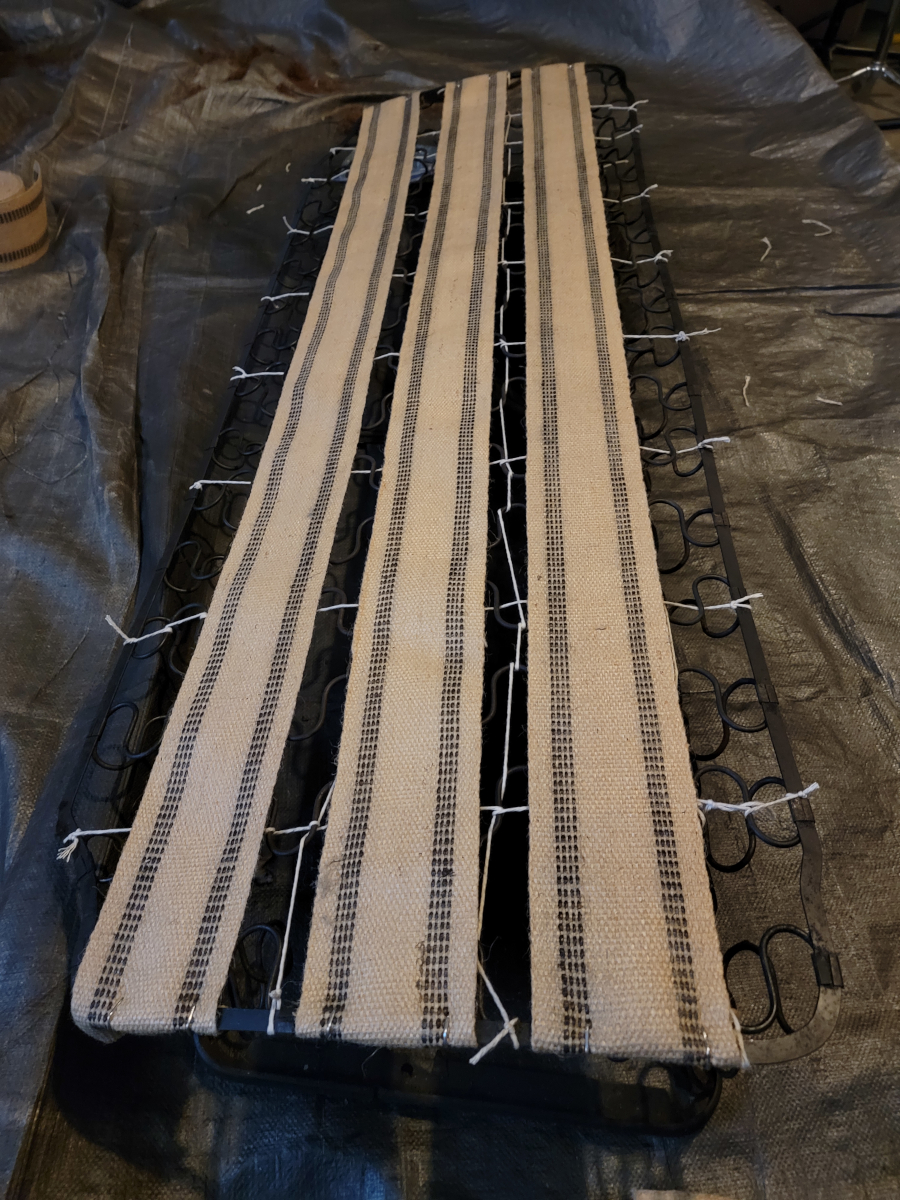
Now, it’s time to weave back through with the twine!
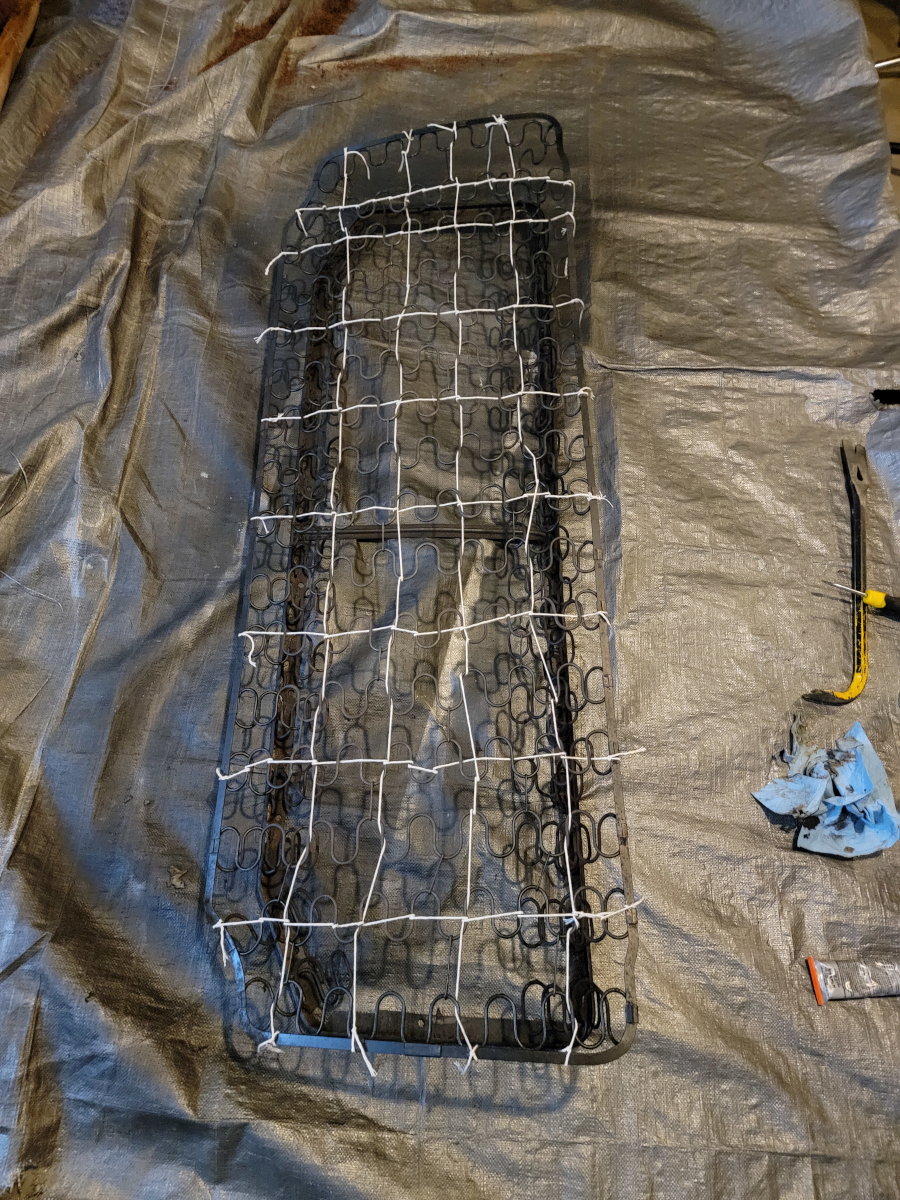
And then the jute webbing. The remainder of the first roll I bought was enough to cover the length once.
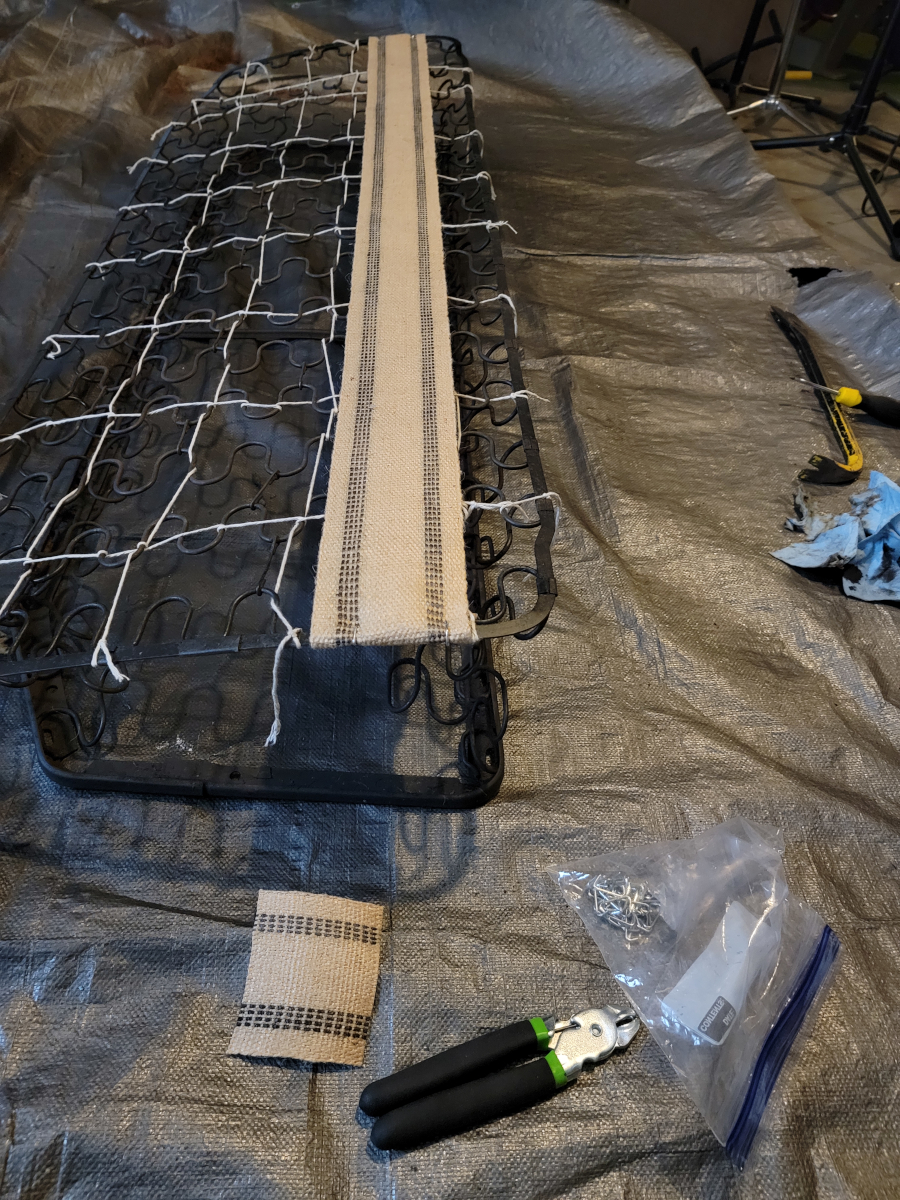
Second roll engaged!
Seat cover patching
Now, it’s time to move on to patching that holy seat cover. The bulk of my remaining vinyl roll has been dedicated to recovering the dash pad, but I do have enough left over to patch these bits up.
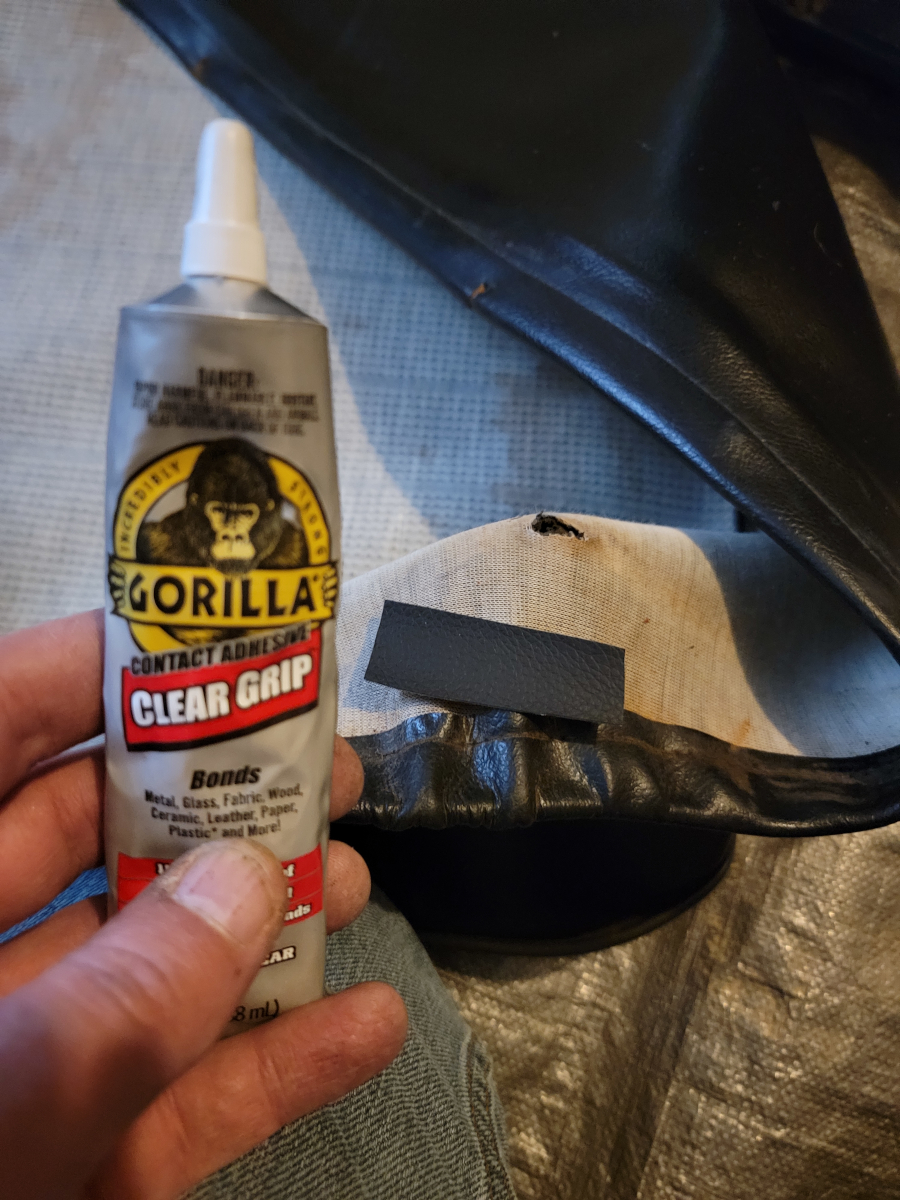
These front corners take a lot of abuse, since the rear seat base is just a friction-fit in the frame.
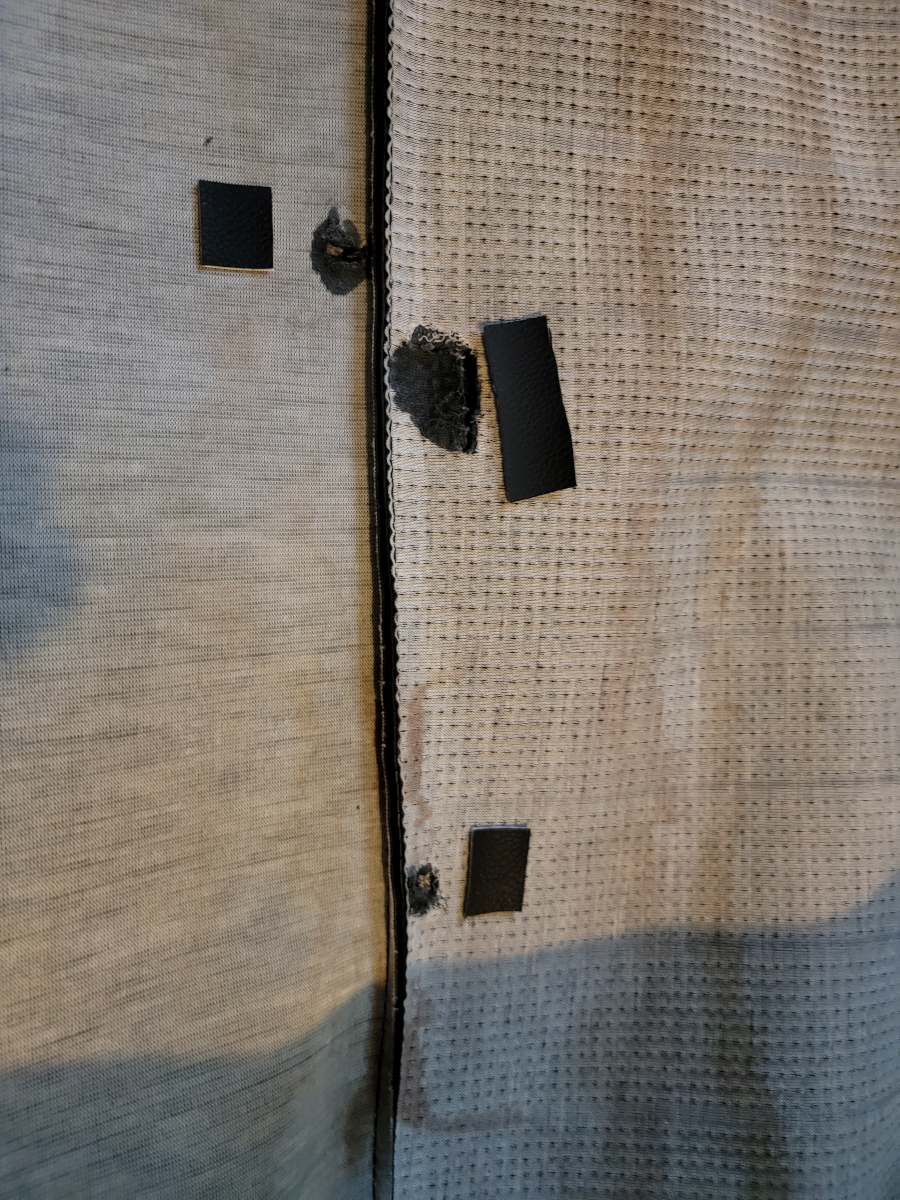
I squirted some more glue in between the layers from the front and smooshed it around.
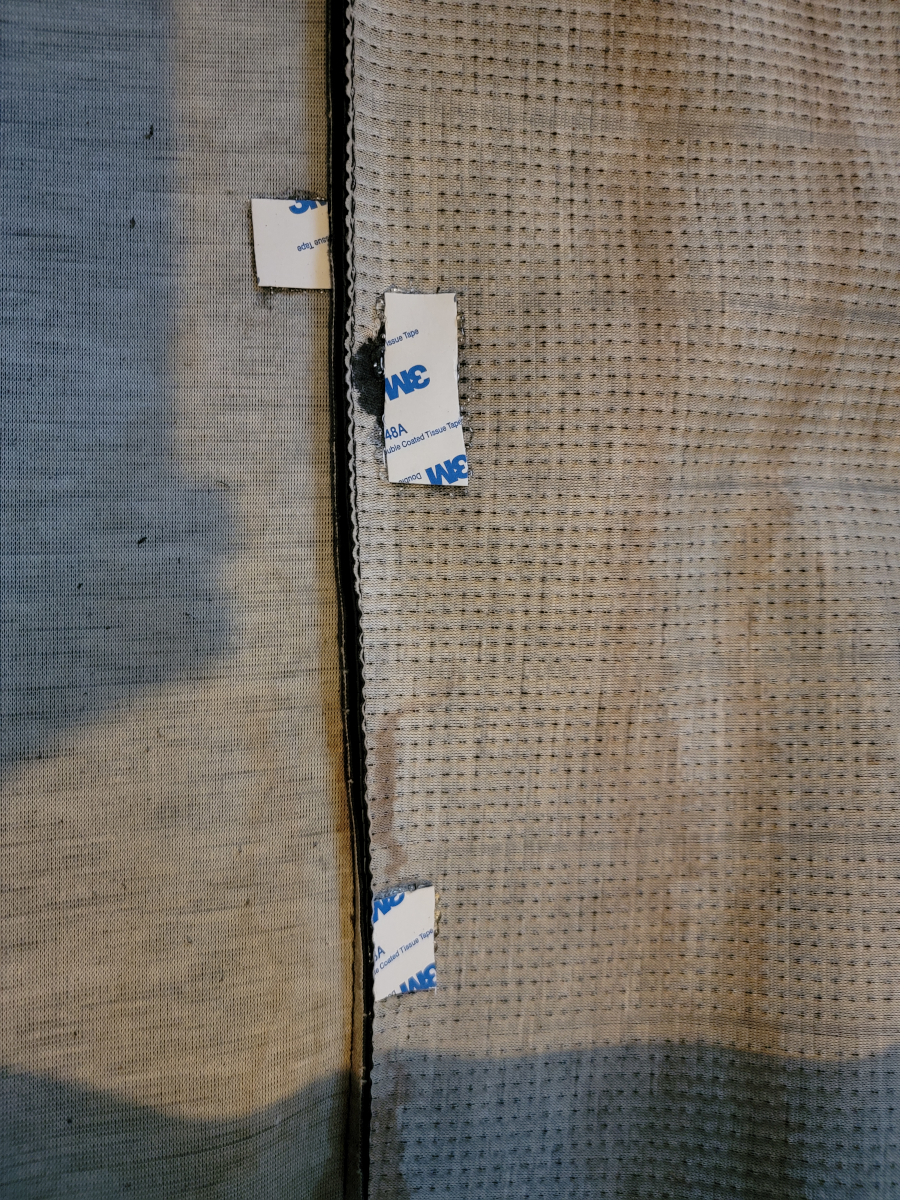
There was only enough of the high density foam roll left to cover about a third of the seat base. I took the rest out of the new roll and they married up fairly well.
Reassembly
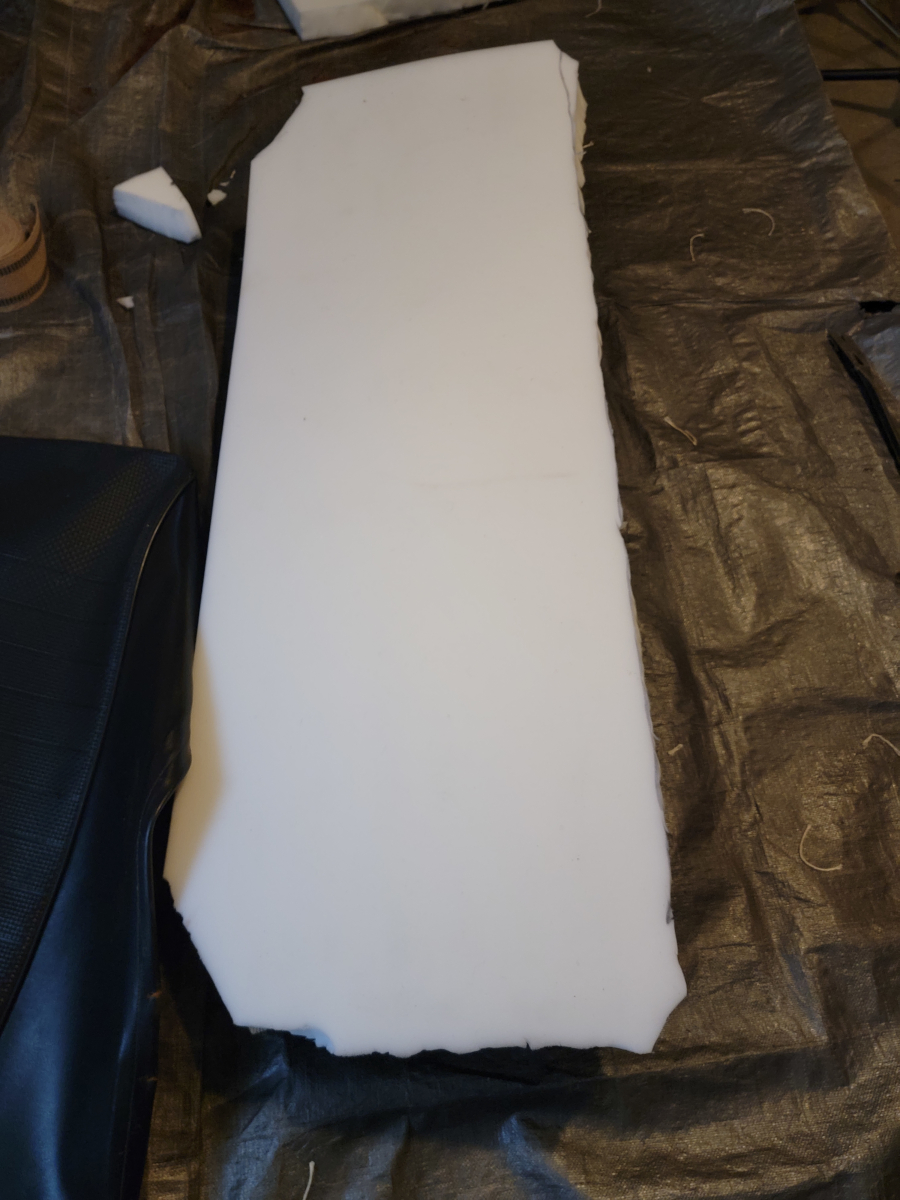
It was a bit of a stretch to get the seat cover on over the new foam, but I got it there eventually and pinned the end spikes over.
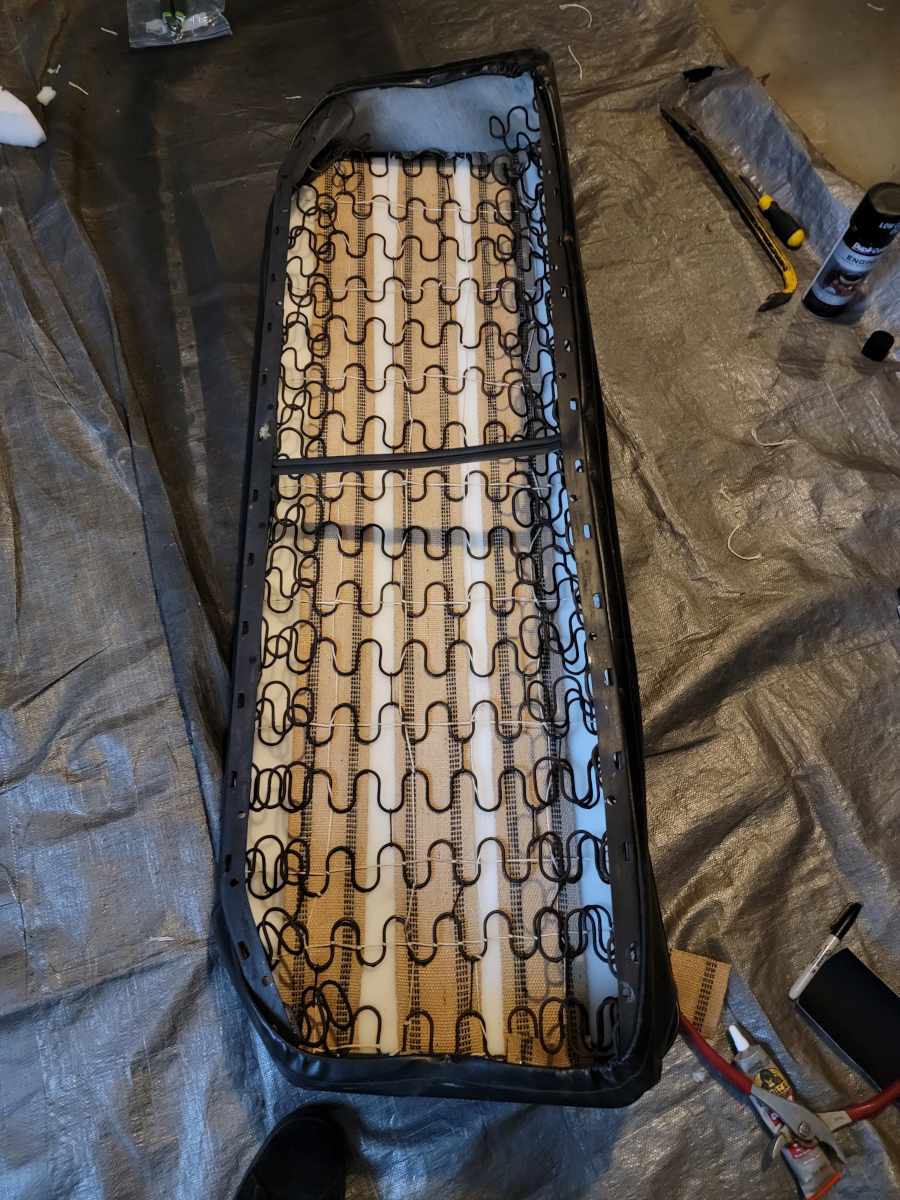
I didn’t have enough hog rings left over to do the front and back edges up properly and that would have taken all day anyway, so the next best solution is always zip-ties.
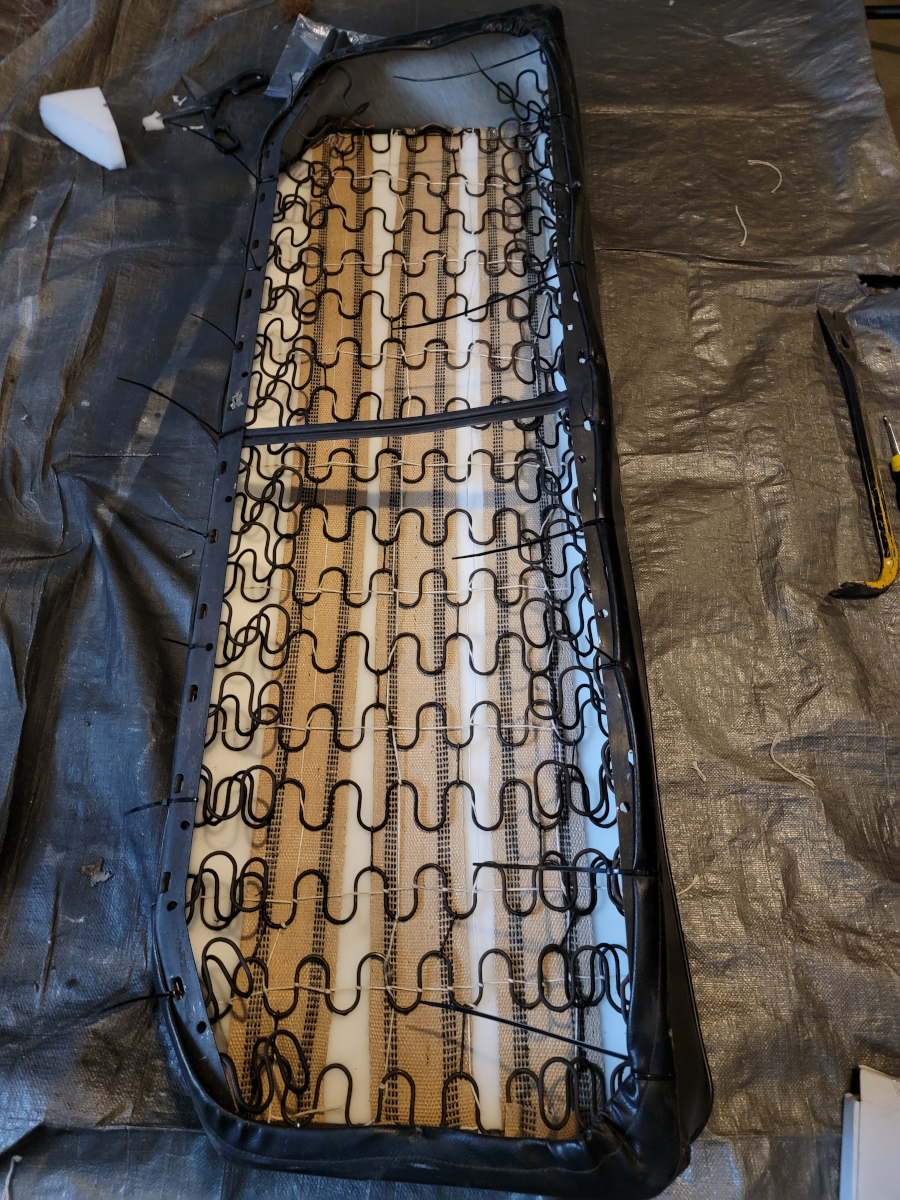
I even managed to use all black ones. Barrett-Jackson, here I come.
I’ll just leave this over here until Actual Spring has sprung.
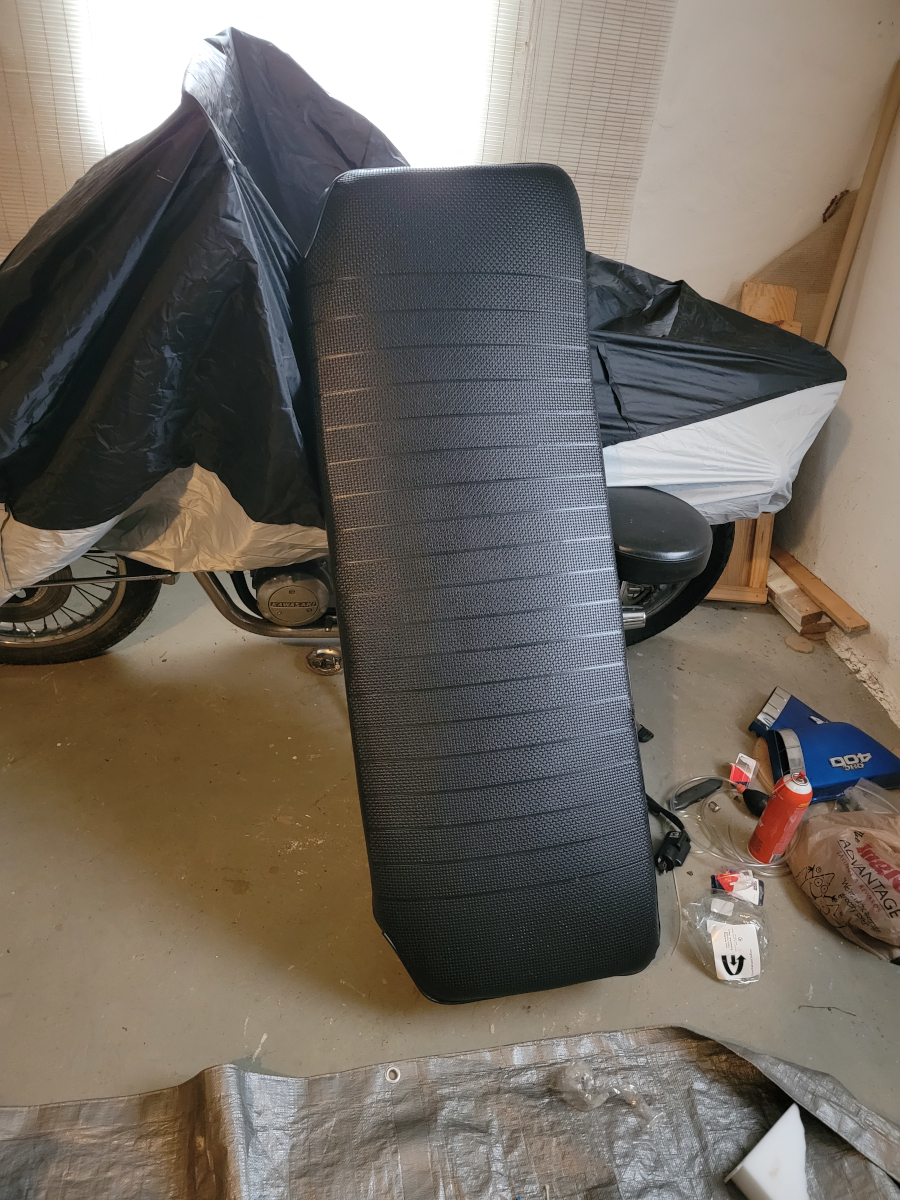
Also, I completely forgot about that nice cushion pad I mentioned earlier.