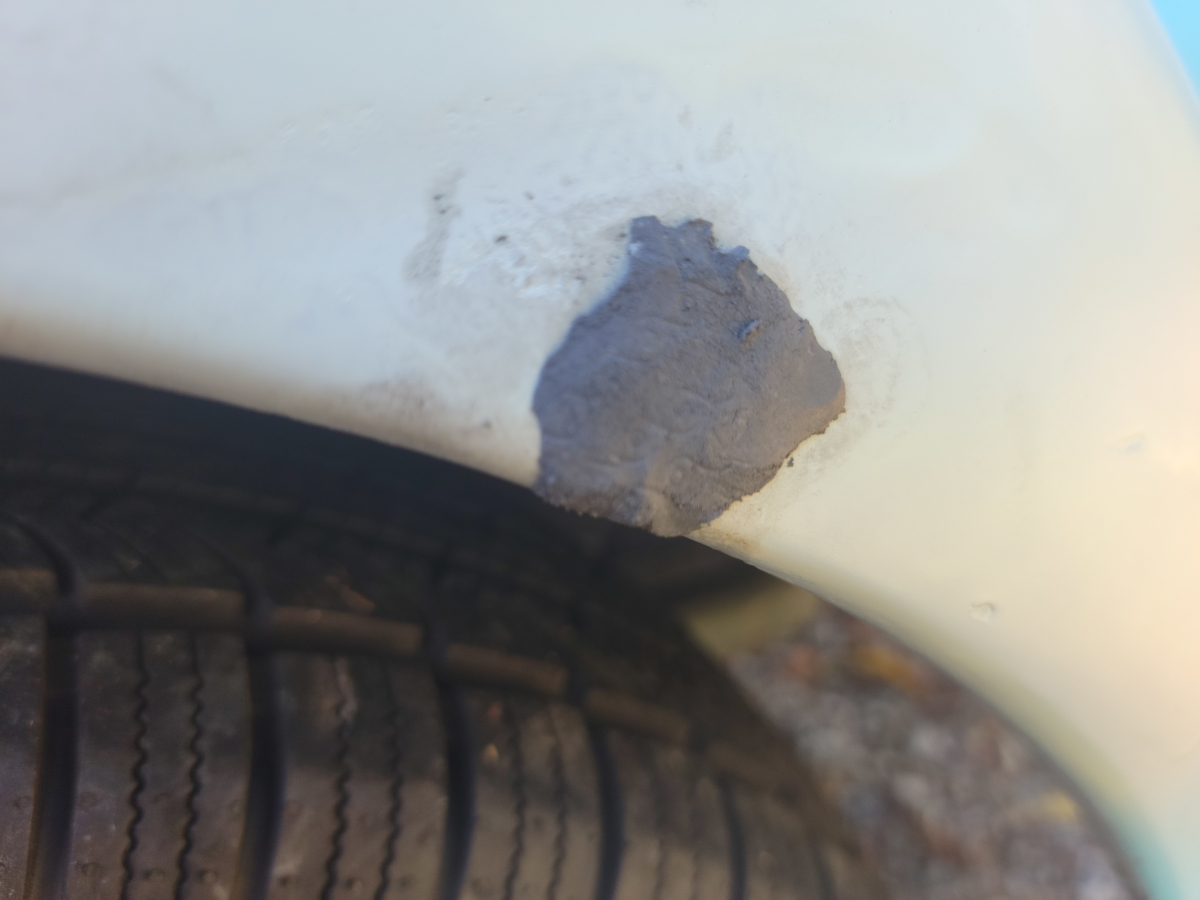
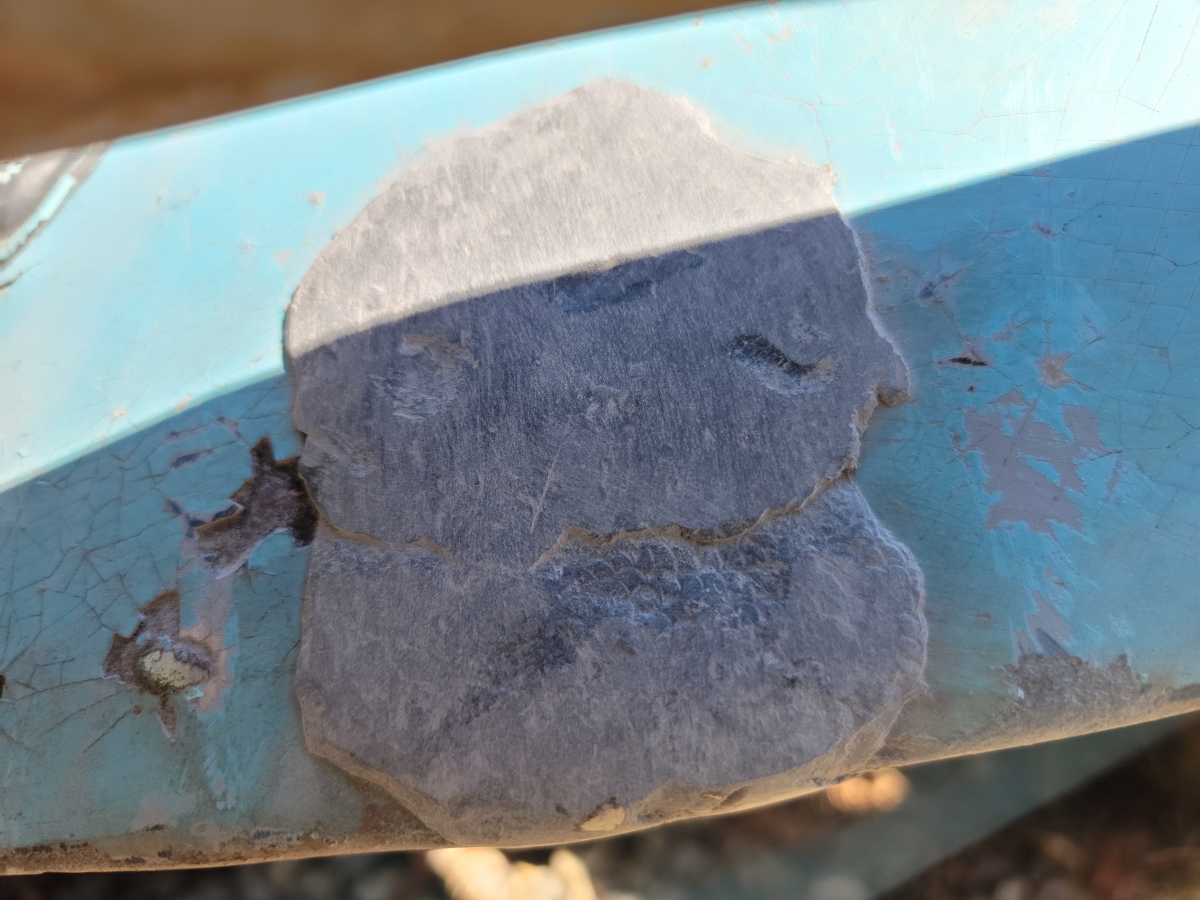
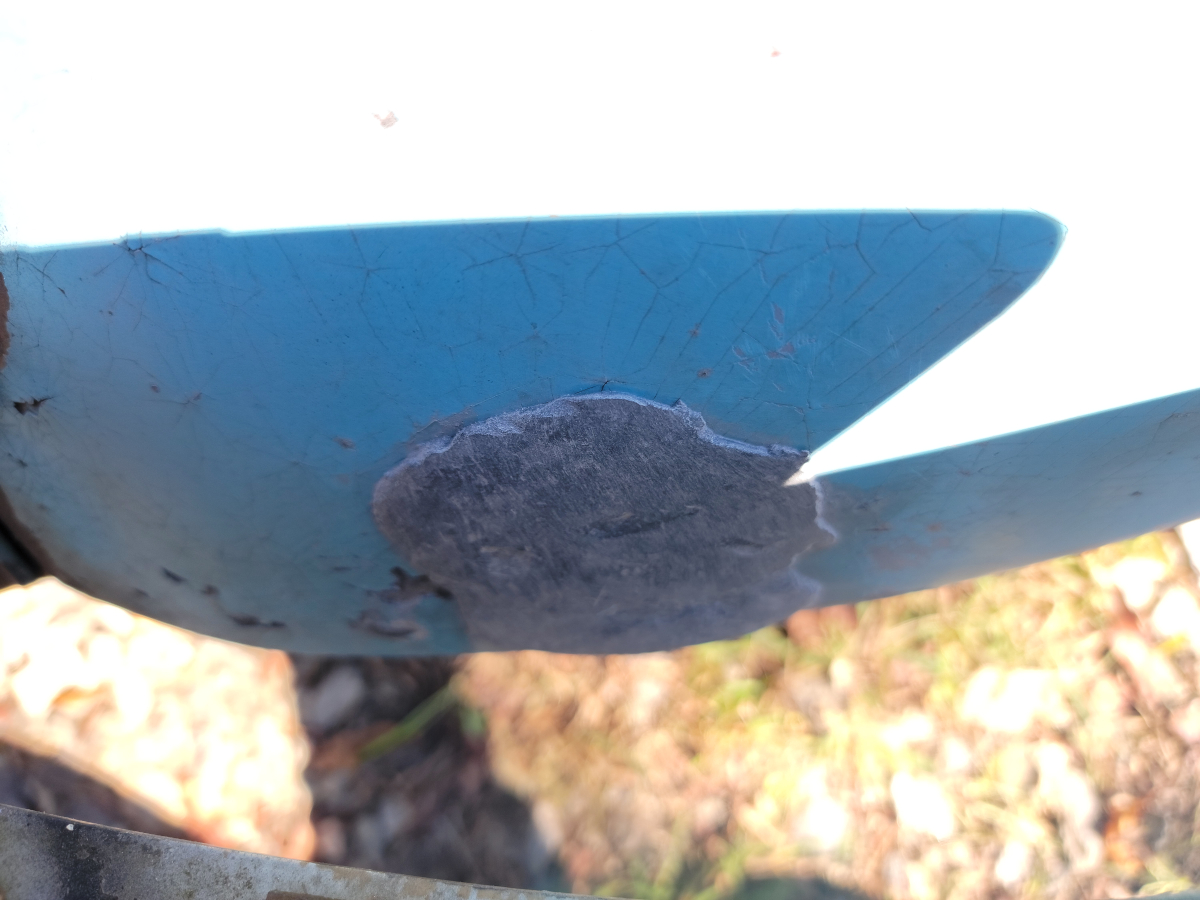
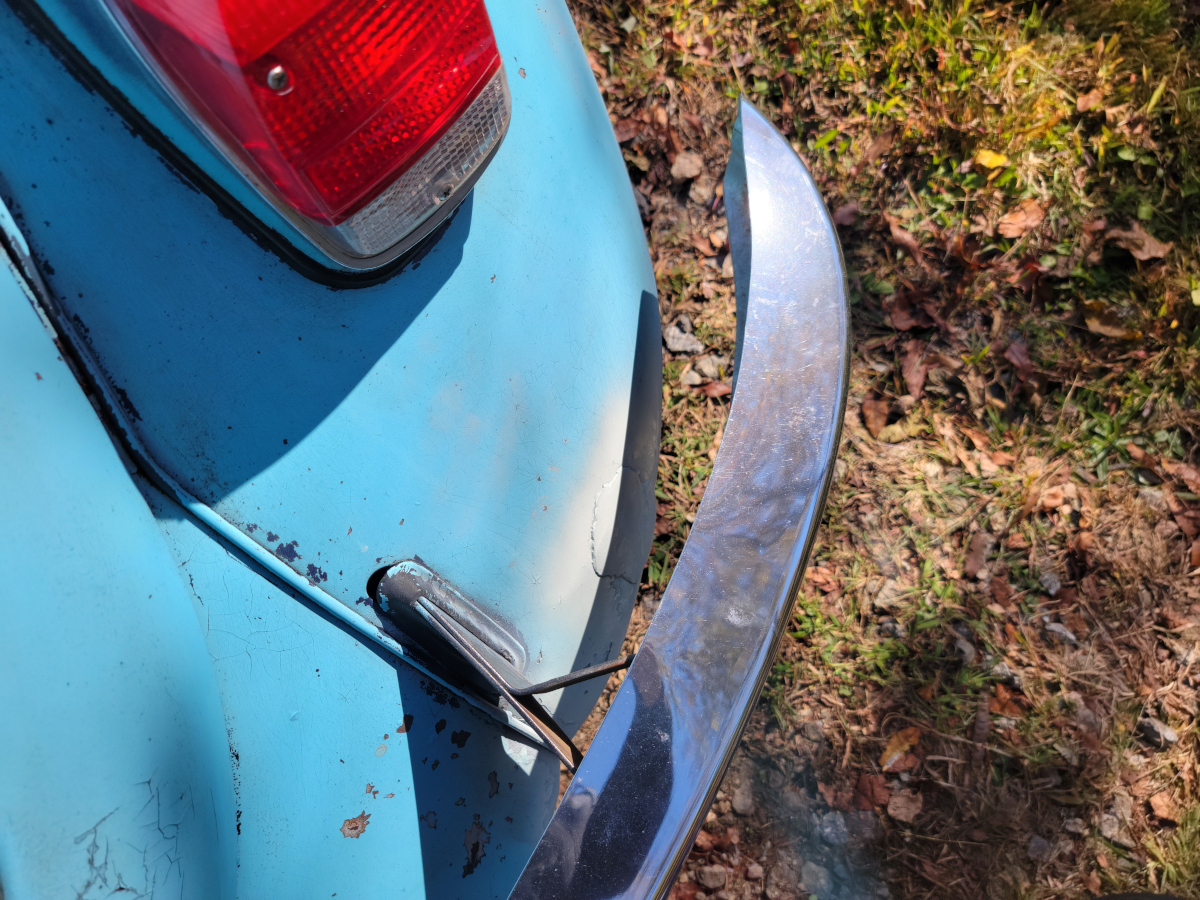
I had such good luck with the patches in the fenders last time, I decided to see how it would work on the outside. I couldn’t get it as thin as I would have liked, but I knew I would be filing and sanding it down anyway.
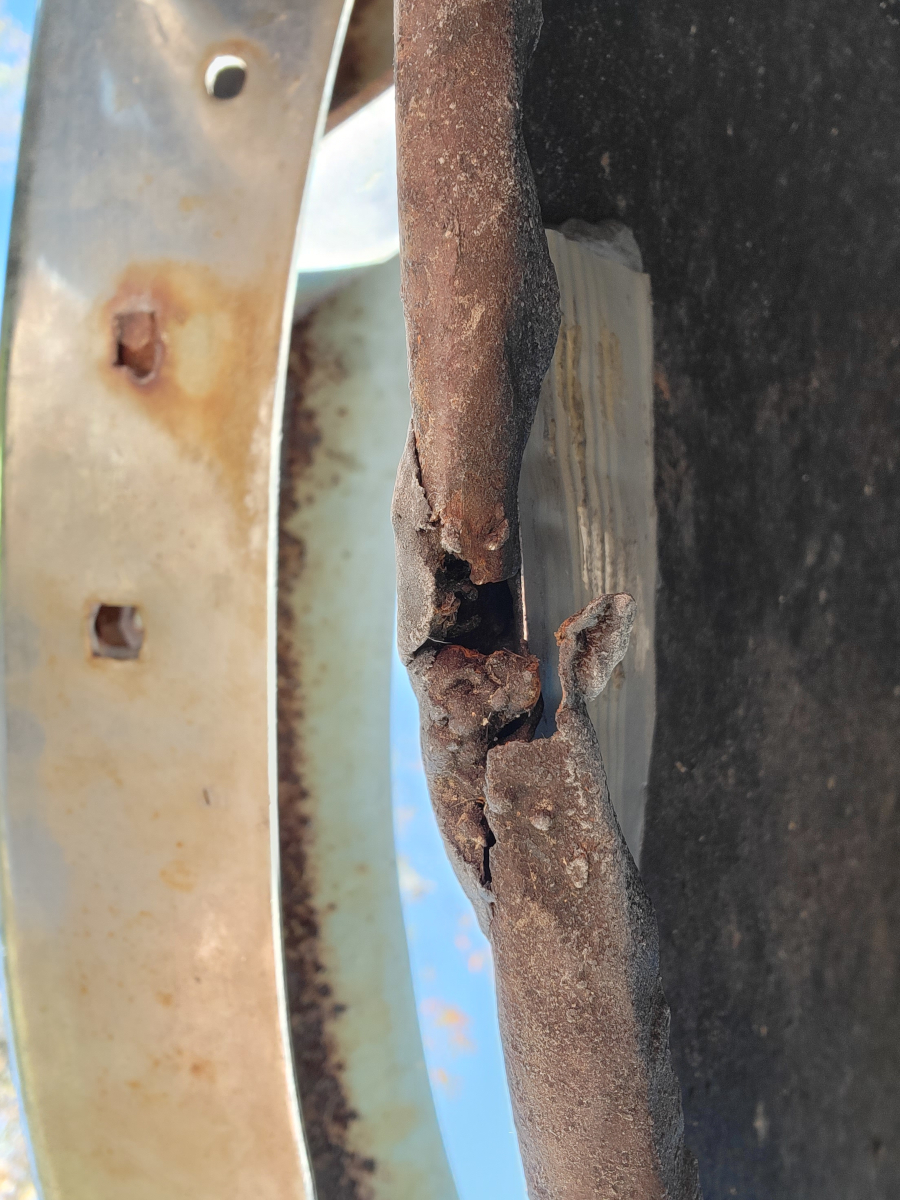
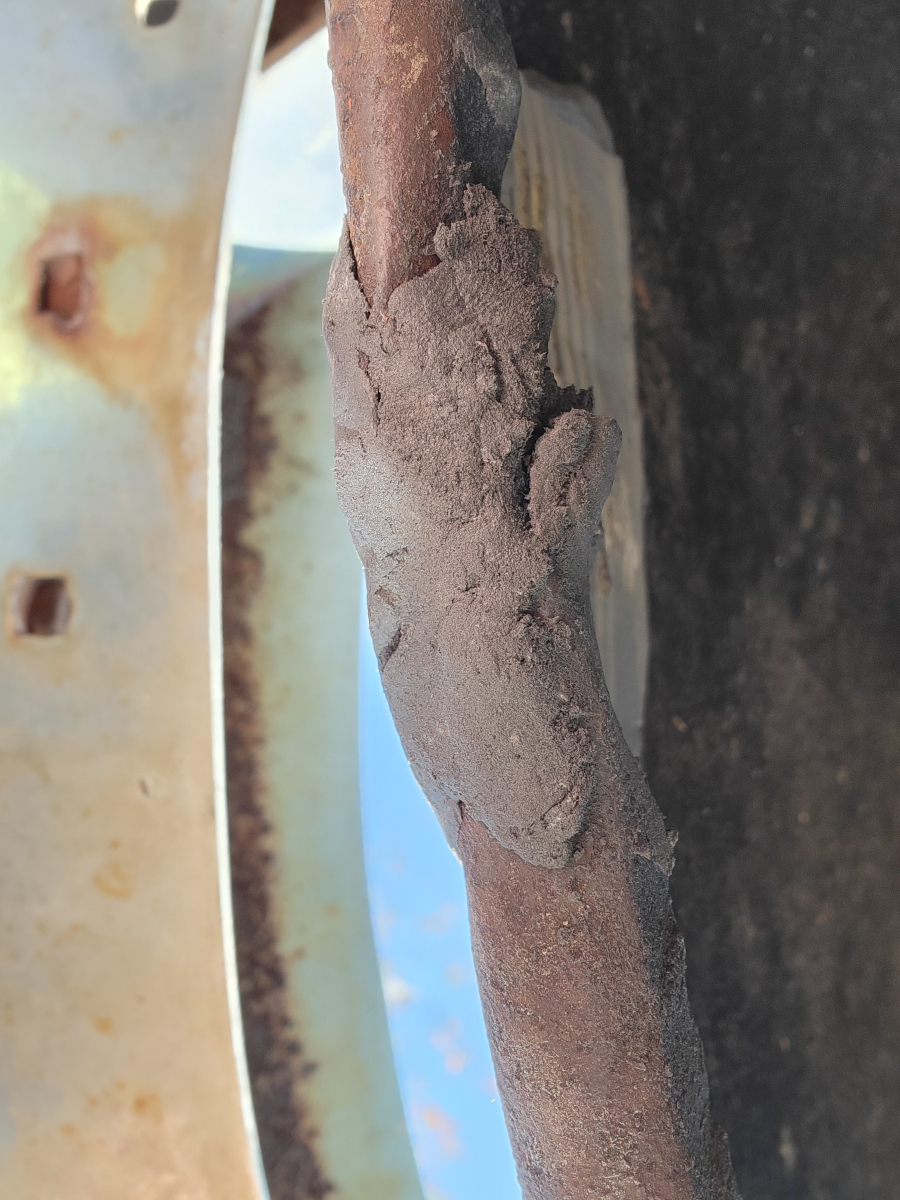
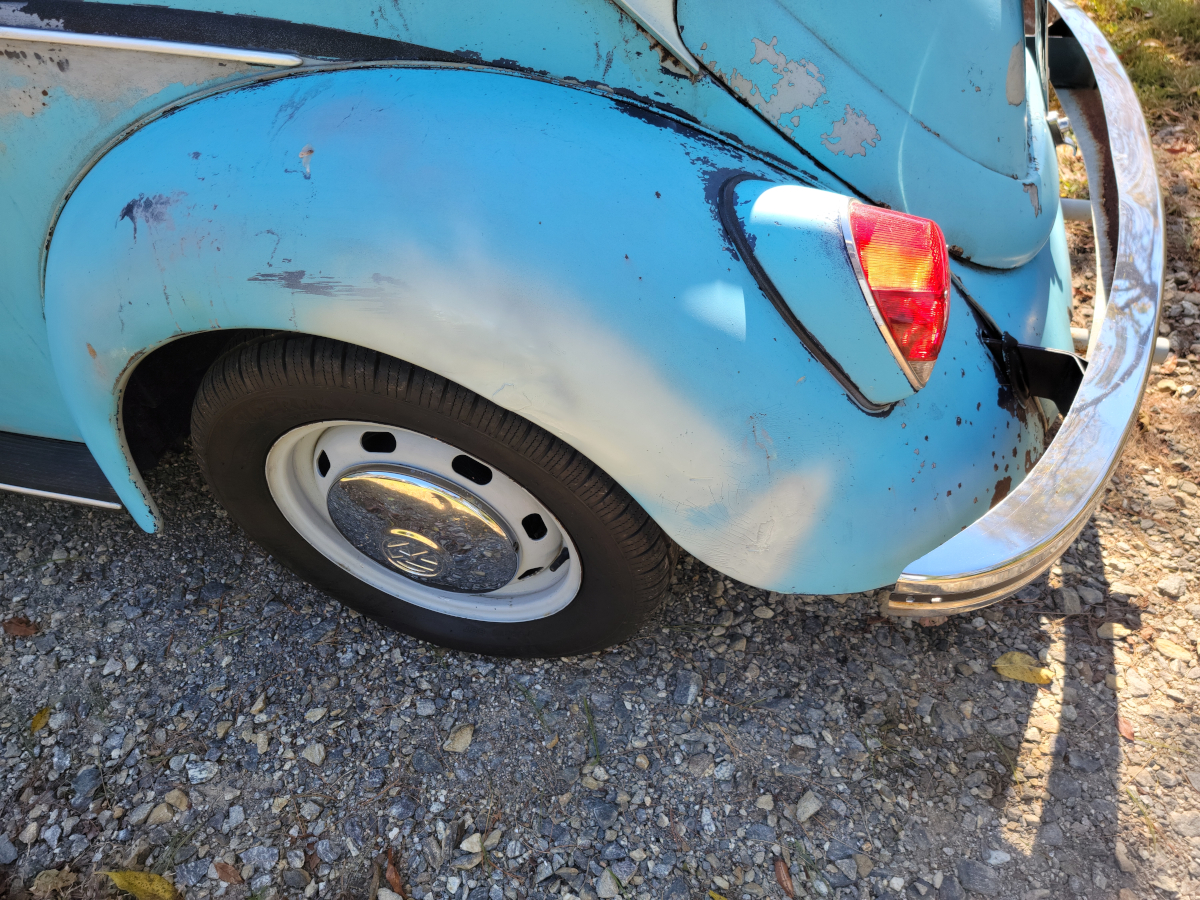
Since a little goes a long way with this stuff, I rolled some up and reinforced inside the rolled lip of both fenders behind the cracks. I also filled the underside of that smoosh on the rear to try and reshape the bottom edge of the lip.
Letting those sit overnight, I went back with the highest grit sandpaper I had and it barely left a mark on that epoxy putty. It really is hard stuff once it has set. So, I after them with a coarse metal file.
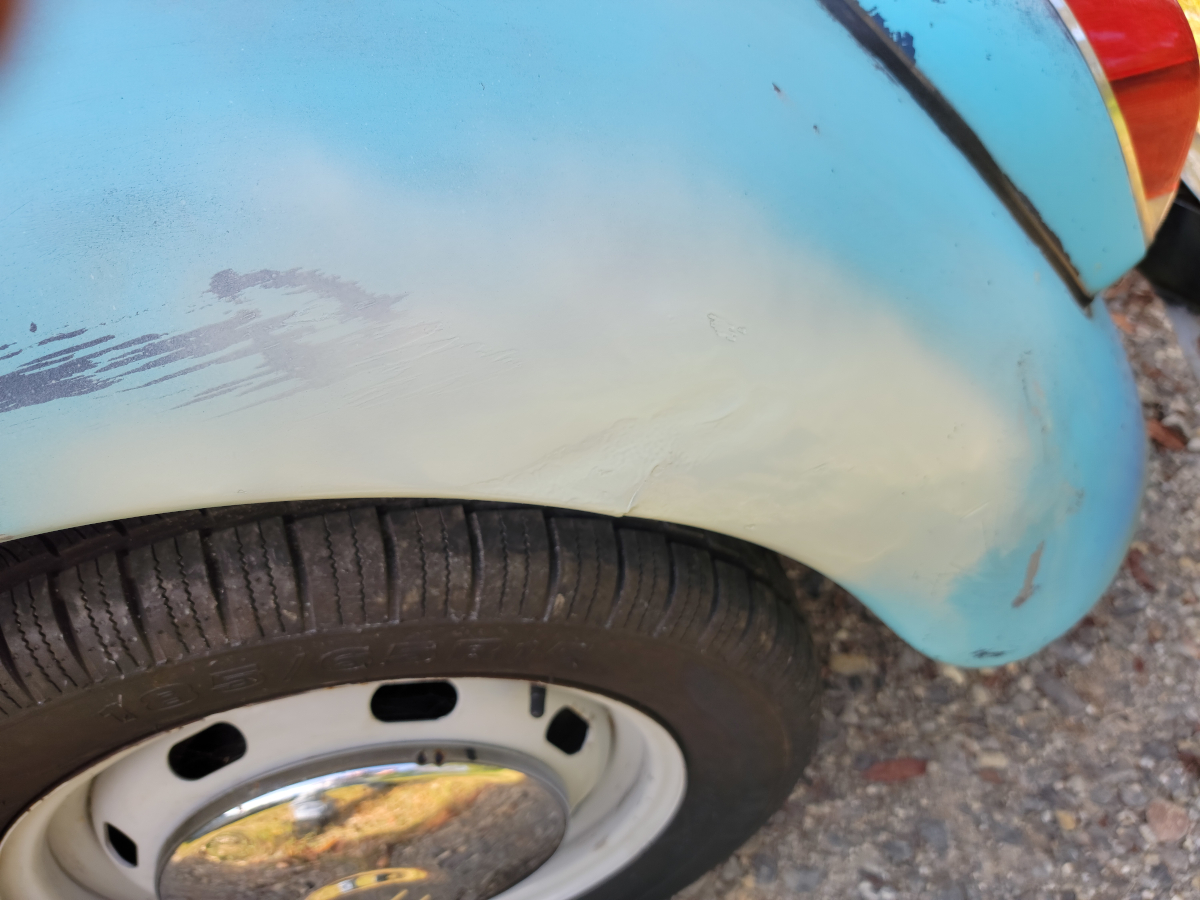
They are still wayyyy too thick, especially on the passenger’s side rear. I will have to eventually go back with an electric sander to get that the rest of the way down. For the time being, it’s better than it was, being untreated rusty metal exposed.
Shot a quick coat of matte vintage blue and called it a day.
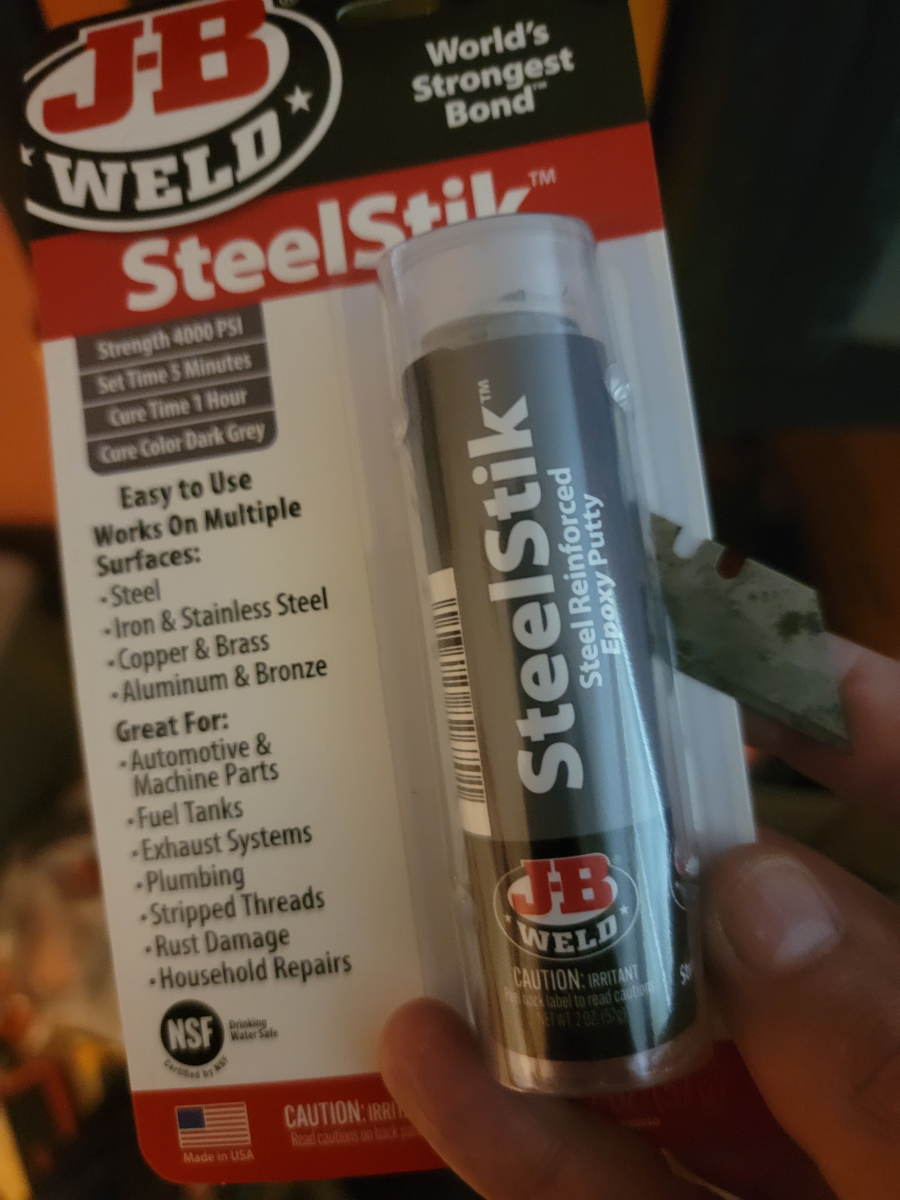
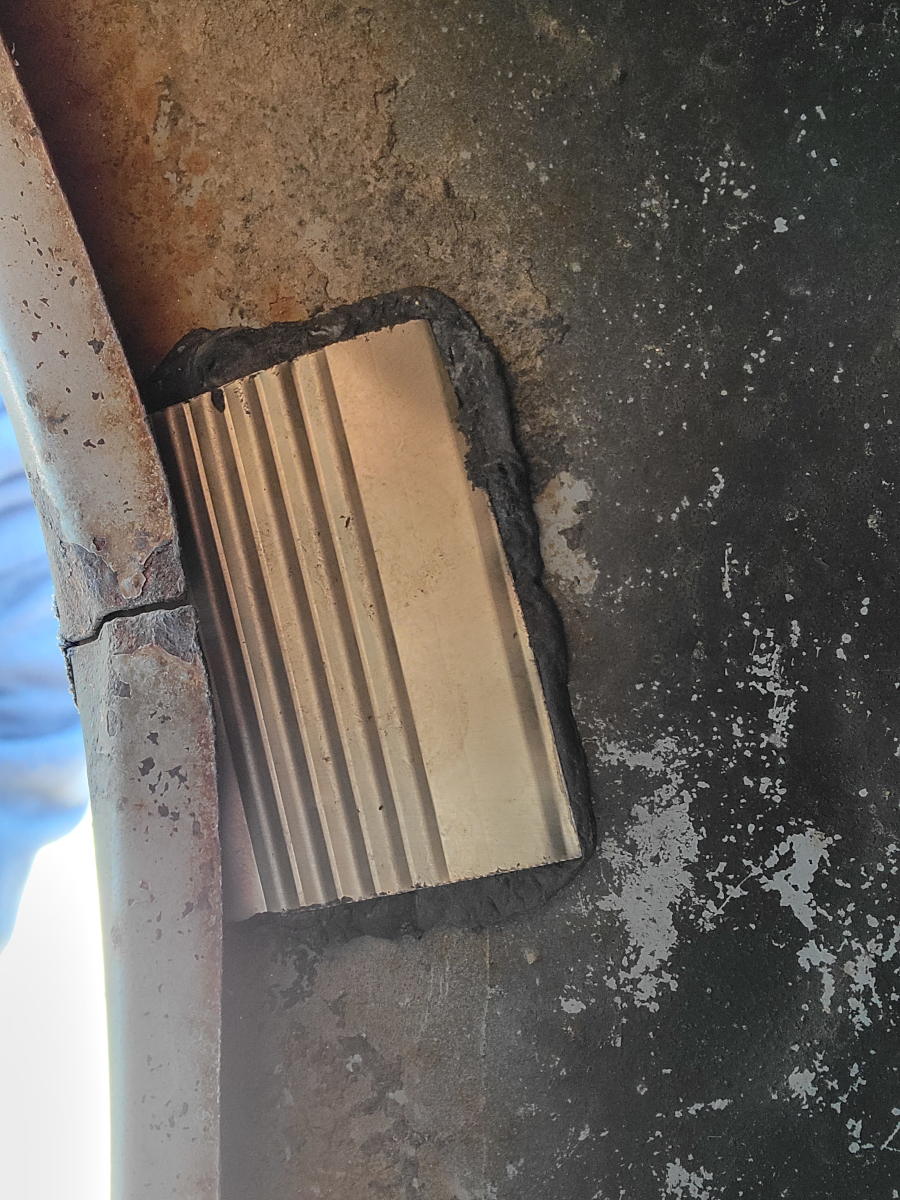
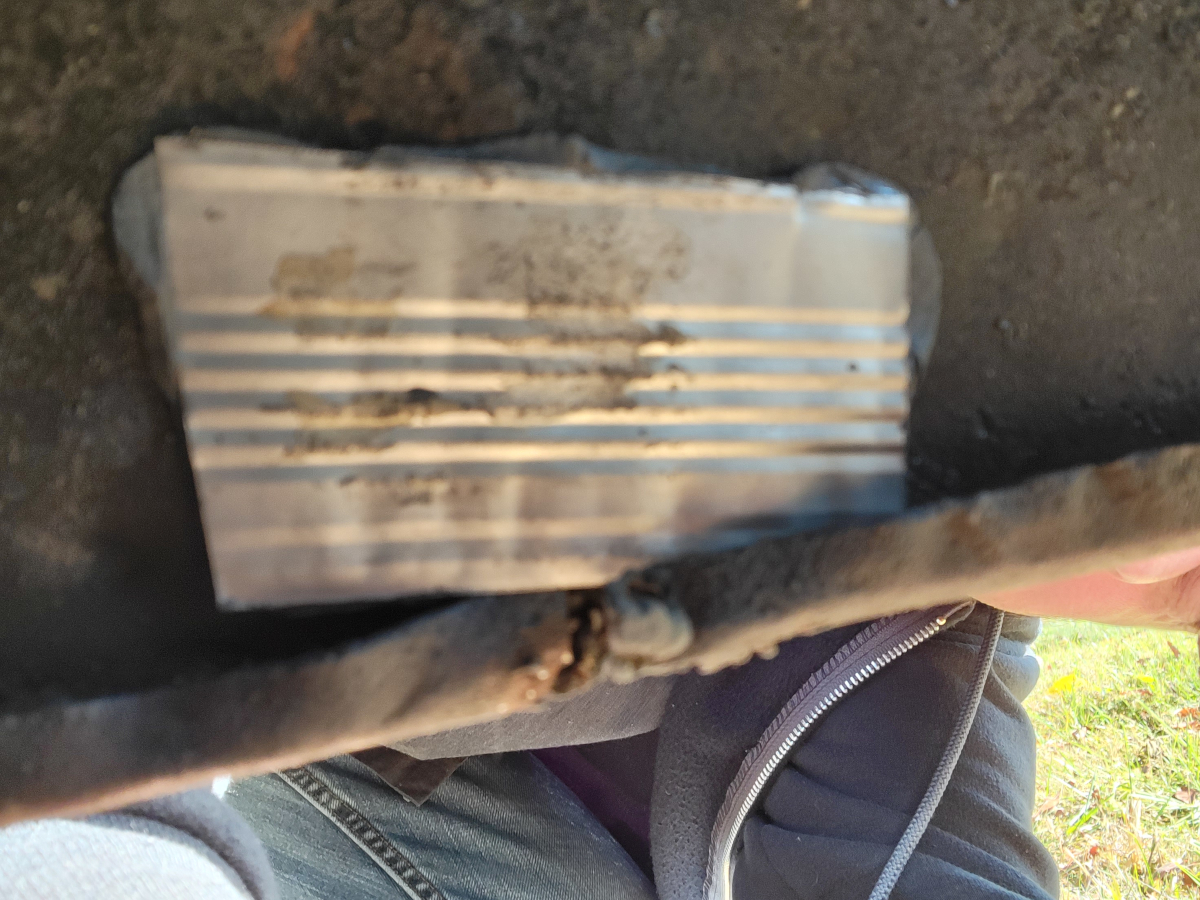
I bought a tube of JB Weld SteelStik (Amazon link), which is steel reinforced epoxy putty. When dried, it is hard enough to drill and tap, so I figured it would work well to reinforce the back side of the fenders, behind the cracks.
I had a can of bean dip from the previous Sunday’s football watching festivities. I cut patches out of the ribbed aluminum can with tin snips, covered them with epoxy putty, and sandwiched them on the back side of the fenders.
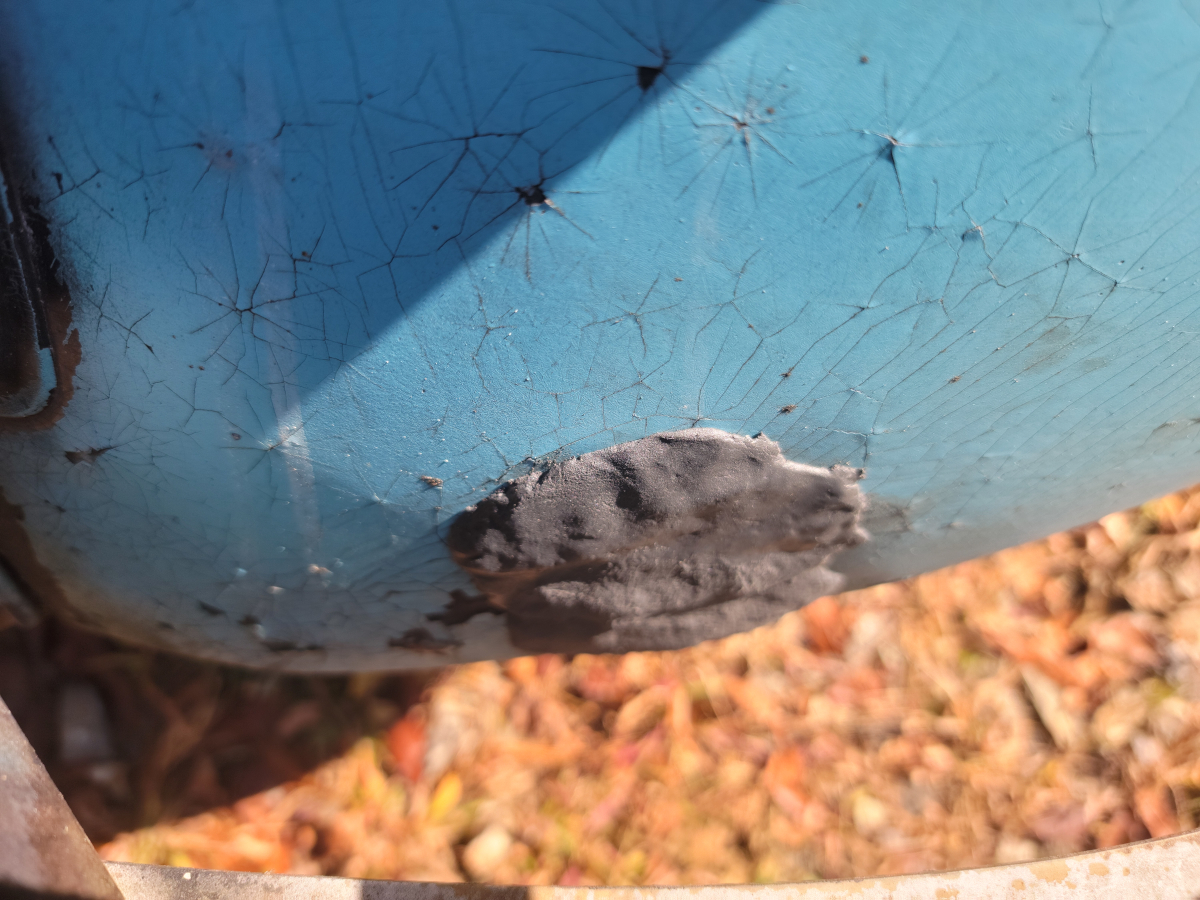
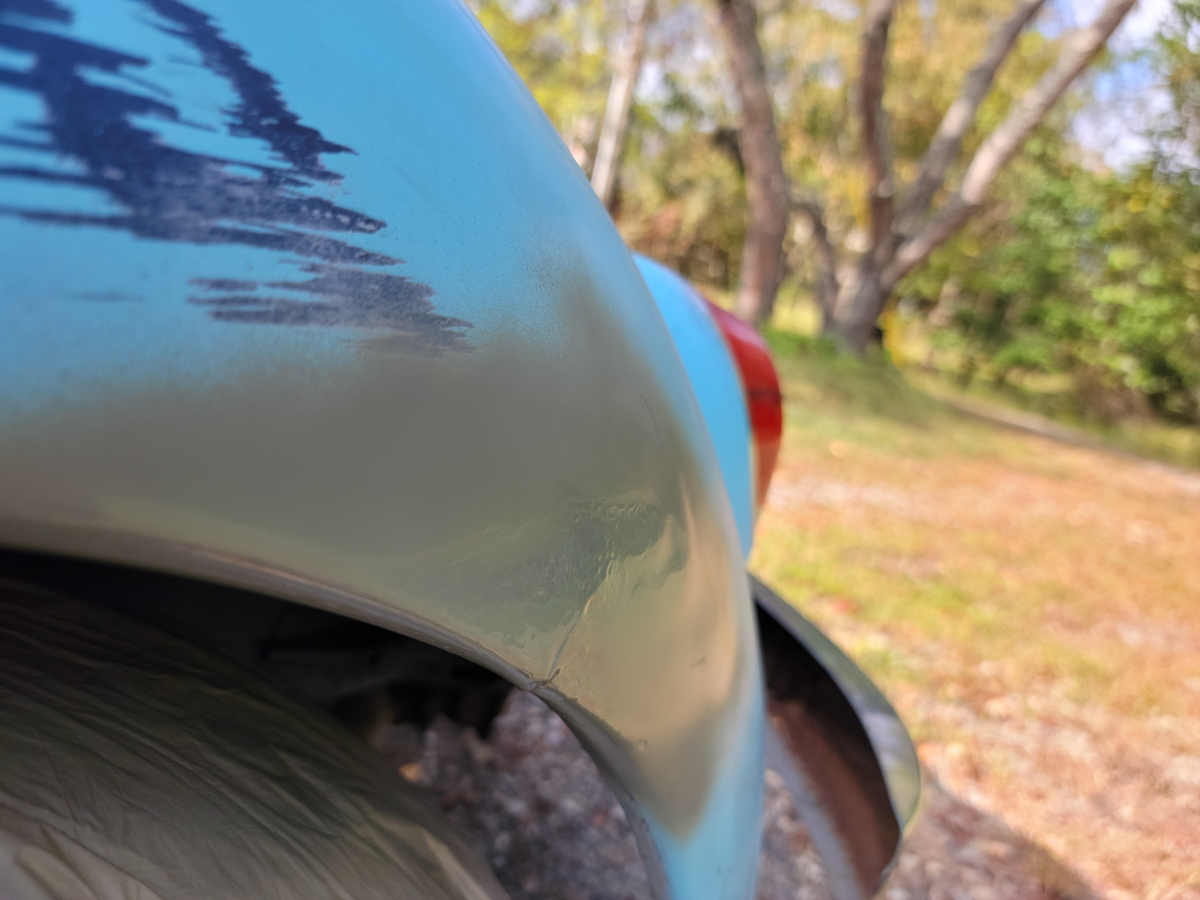
The picture on the left is the driver’s side fender. The crack there is very thin, a clean break, but wraps all the way around the lip. The one on the right is the passenger’s side. The crack there is much worse – not even really a crack. It’s very old damage, below the bumper, with flaps of deeply rusted metal. I bent everything back in shape as well as I could, to get a flat surface for the patch.
After the epoxy set up, the fenders are now solid and the cracks don’t flex. So, that was a success. At least in the short term. We’ll see after some weather cycles if that epoxy holds up.
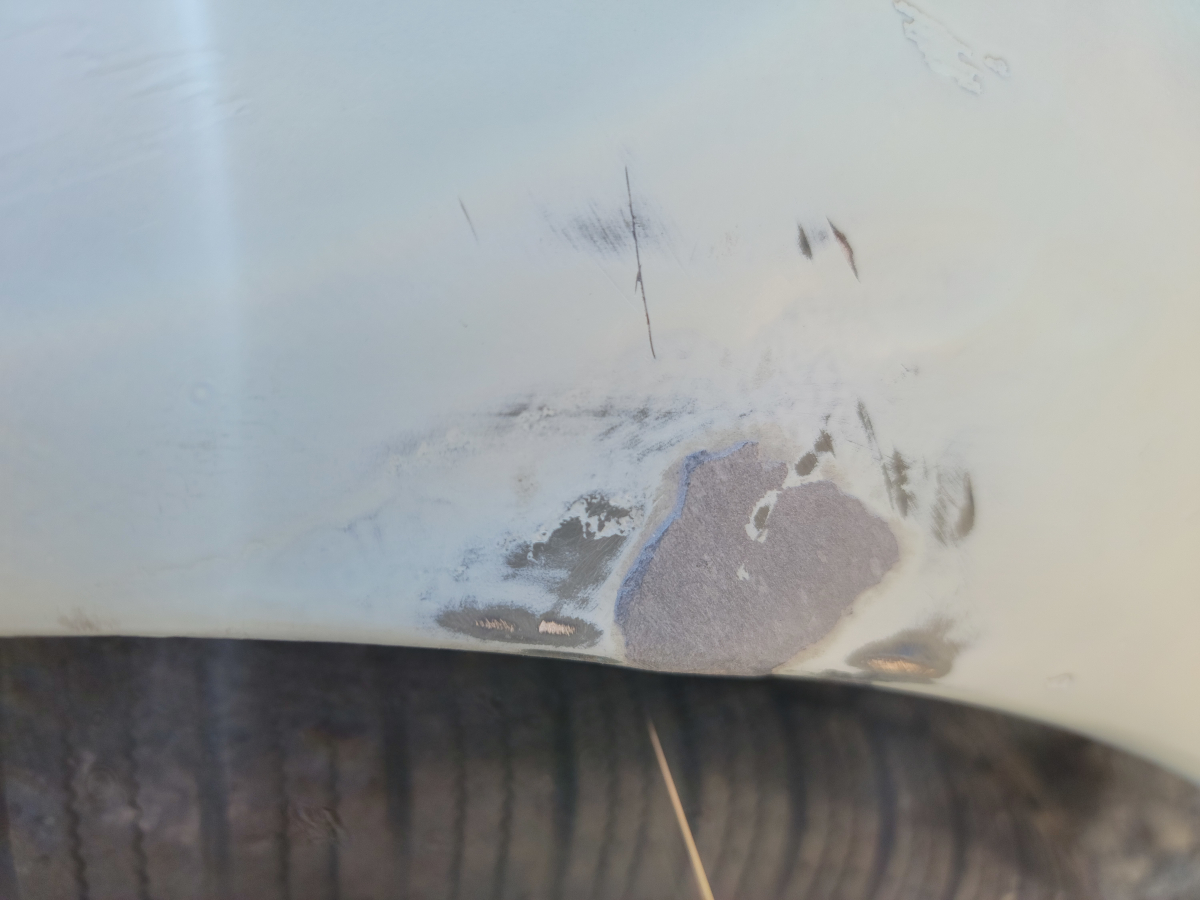
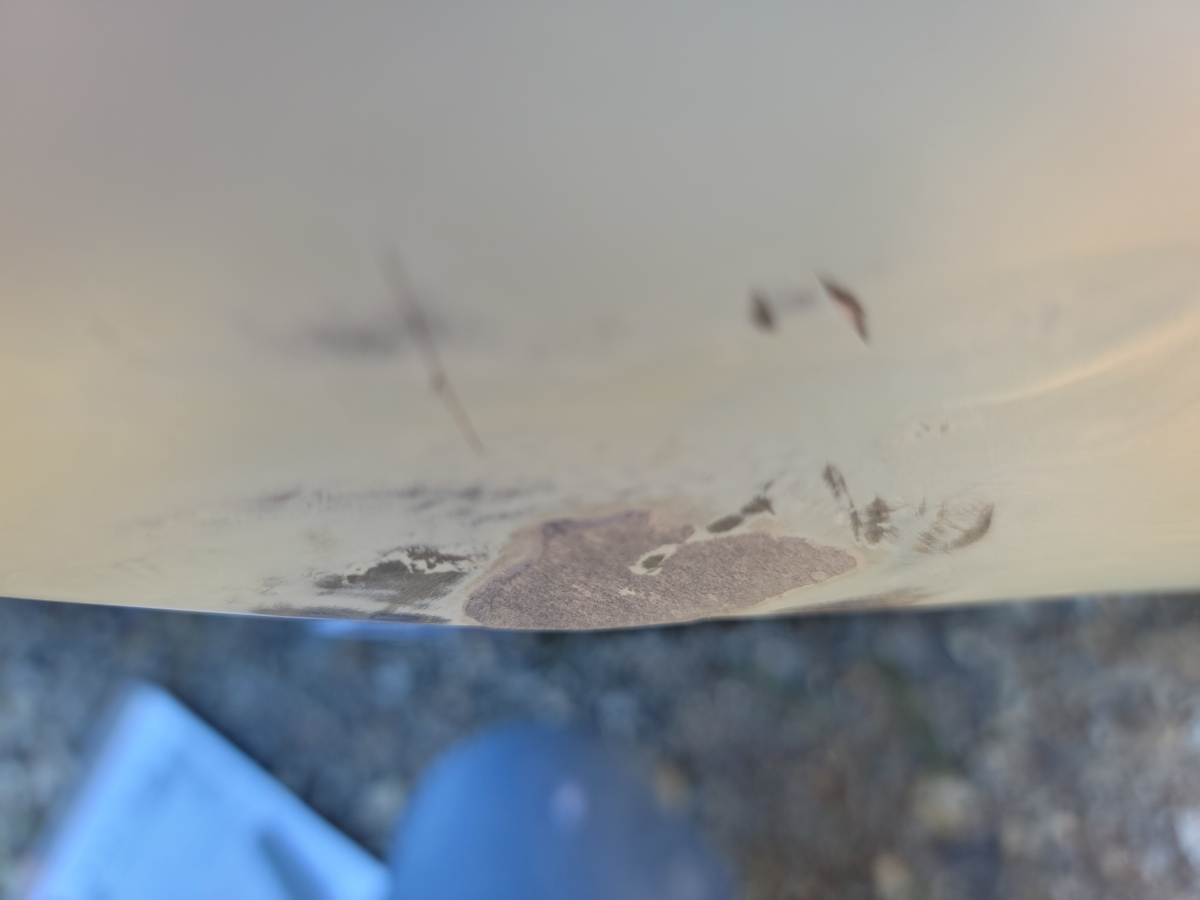
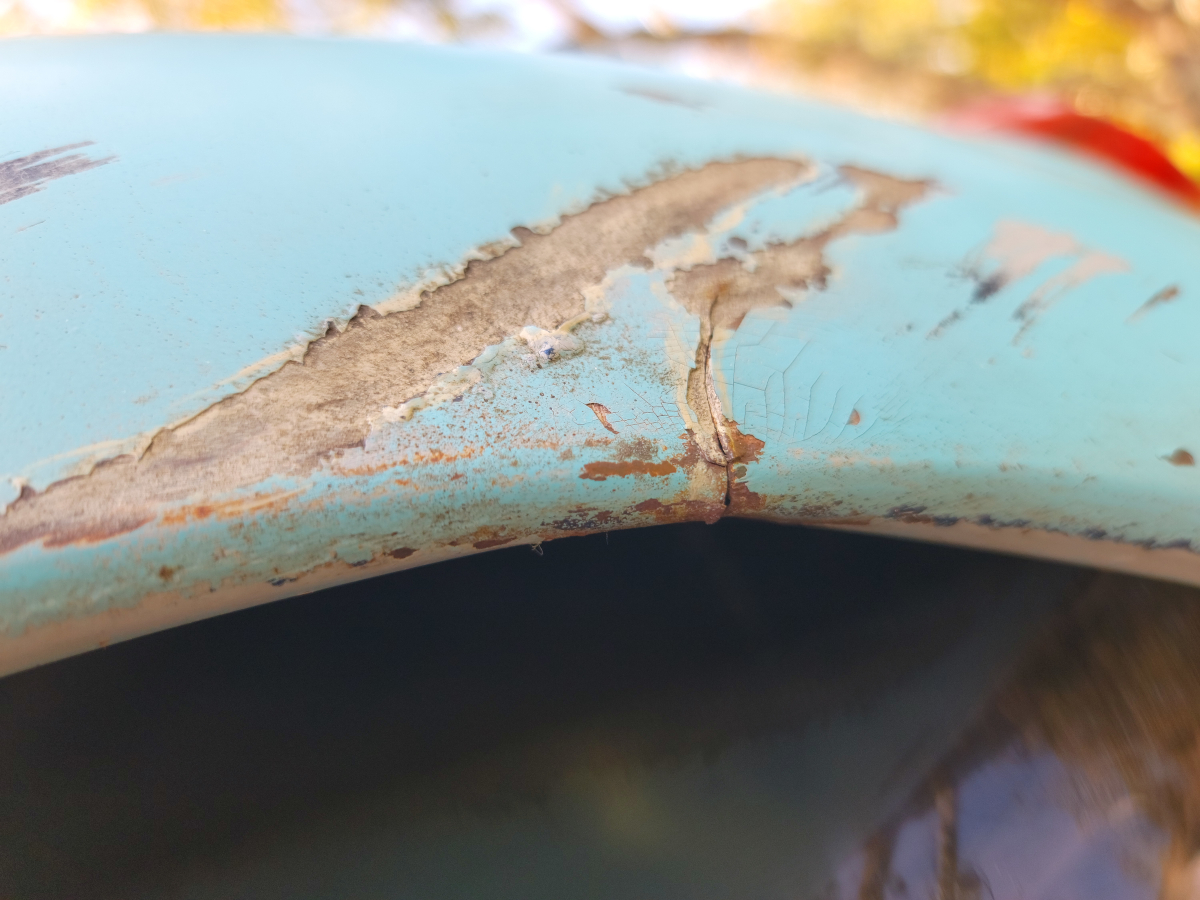
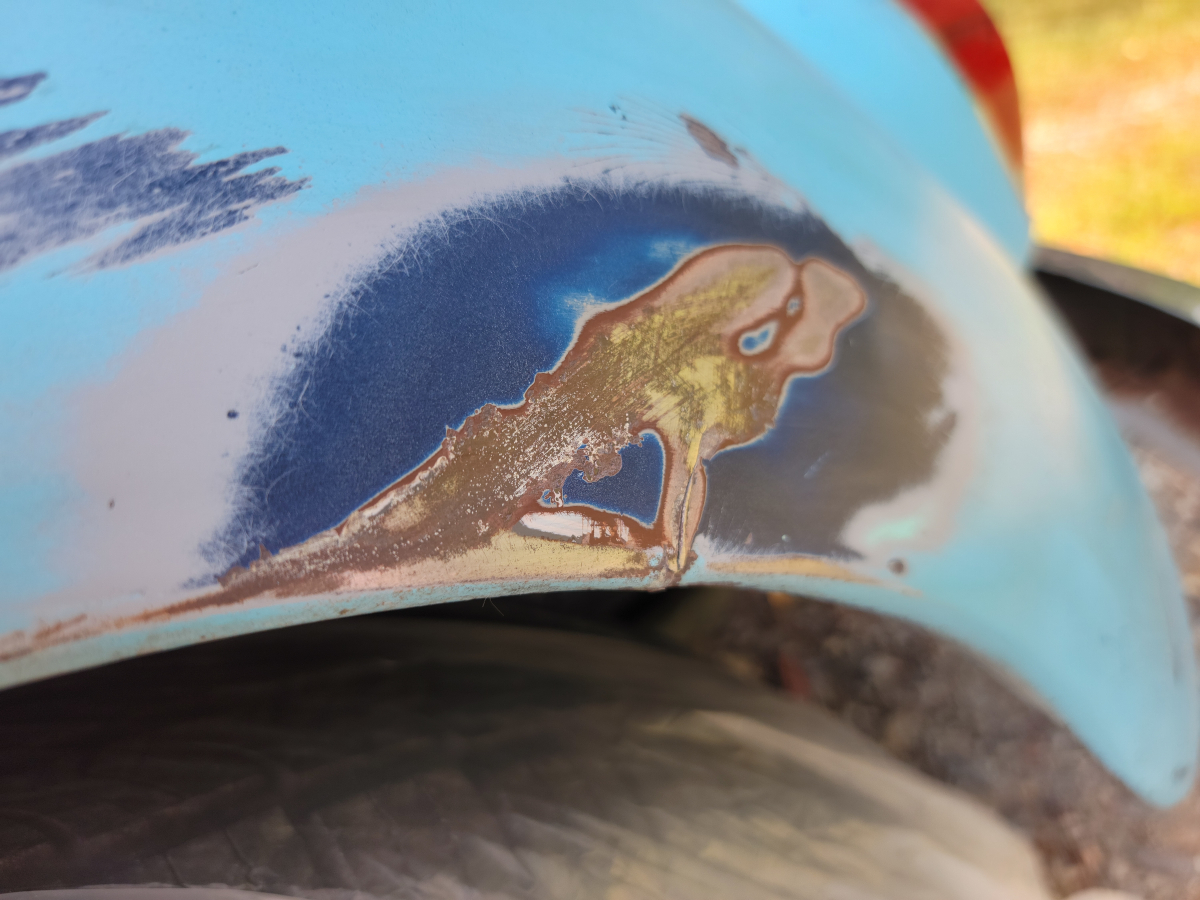
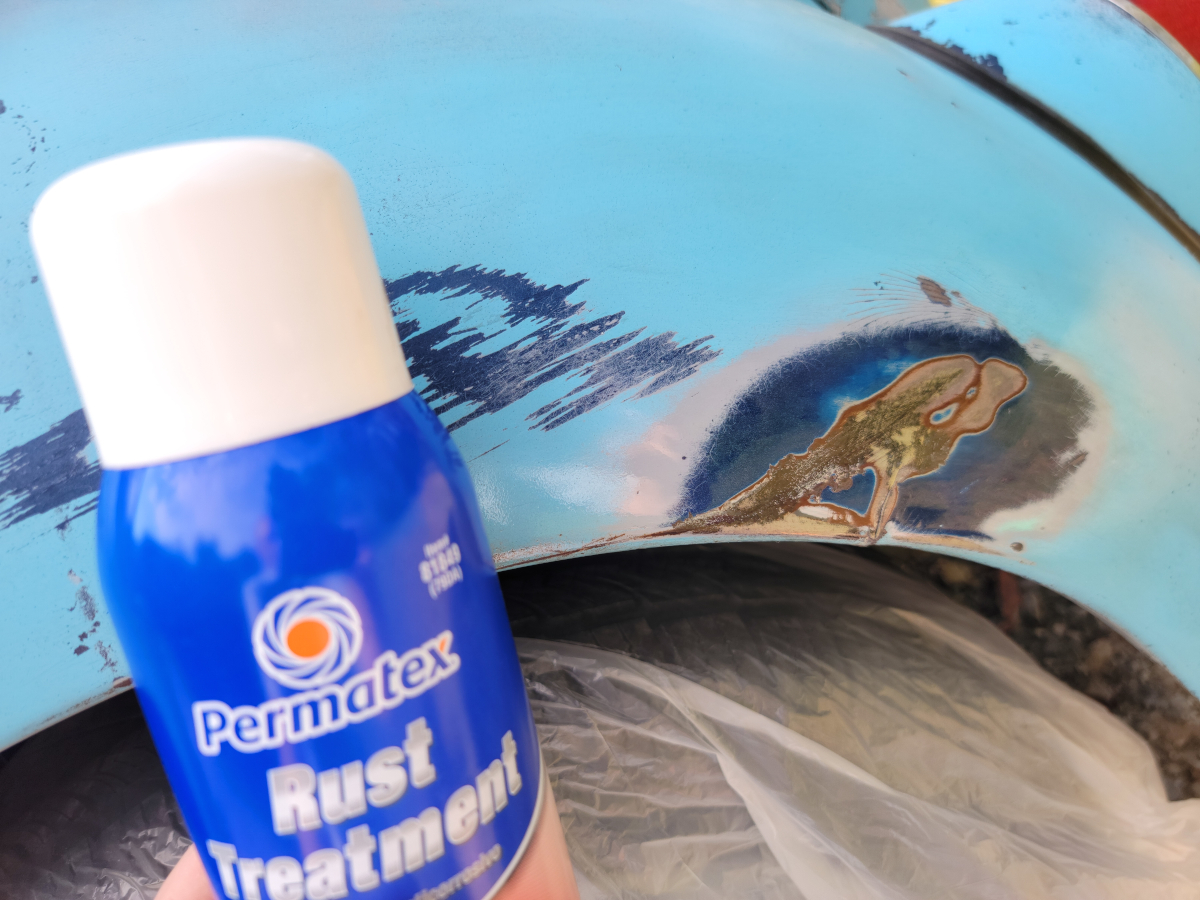
On that driver’s side fender there were old, bad repairs and it looked nasty. I sanded around the area, then rust treated, primed, and painted.
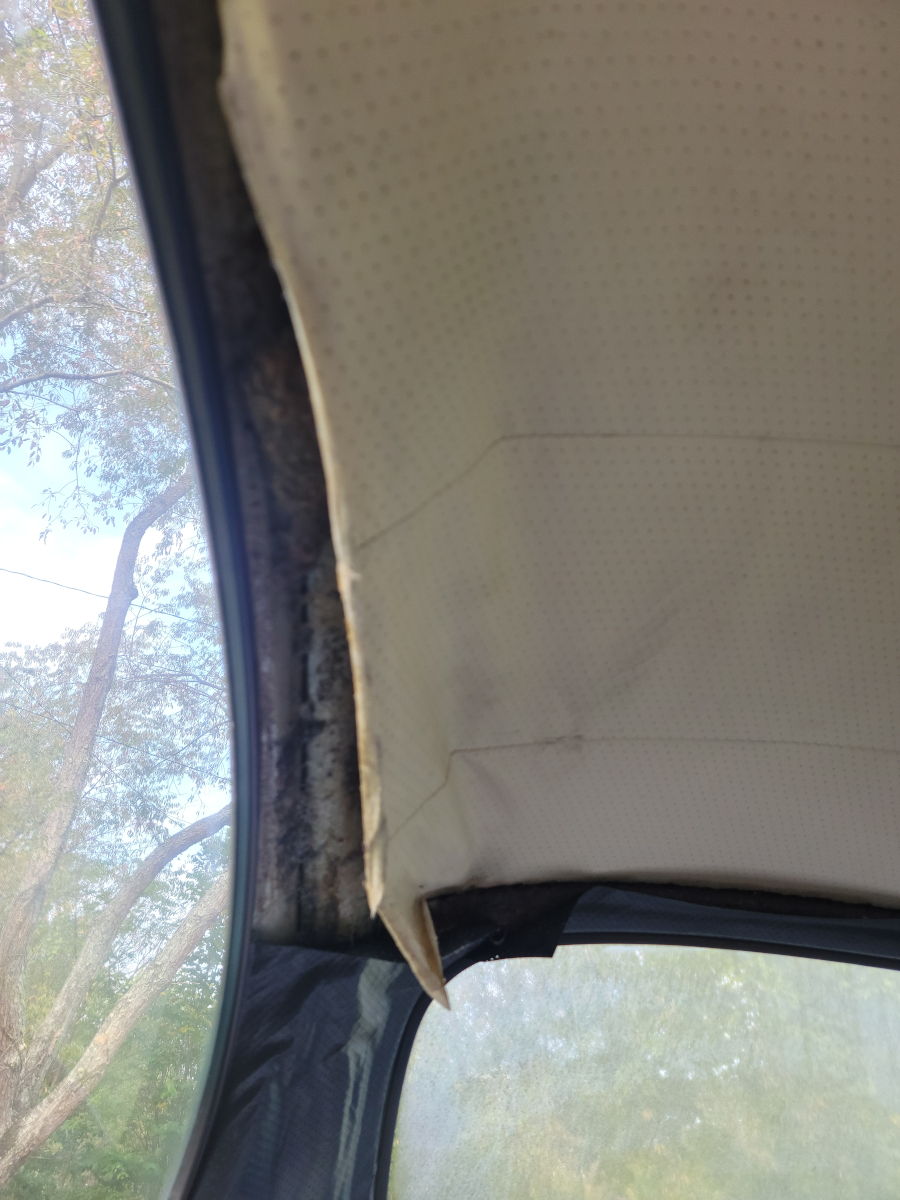
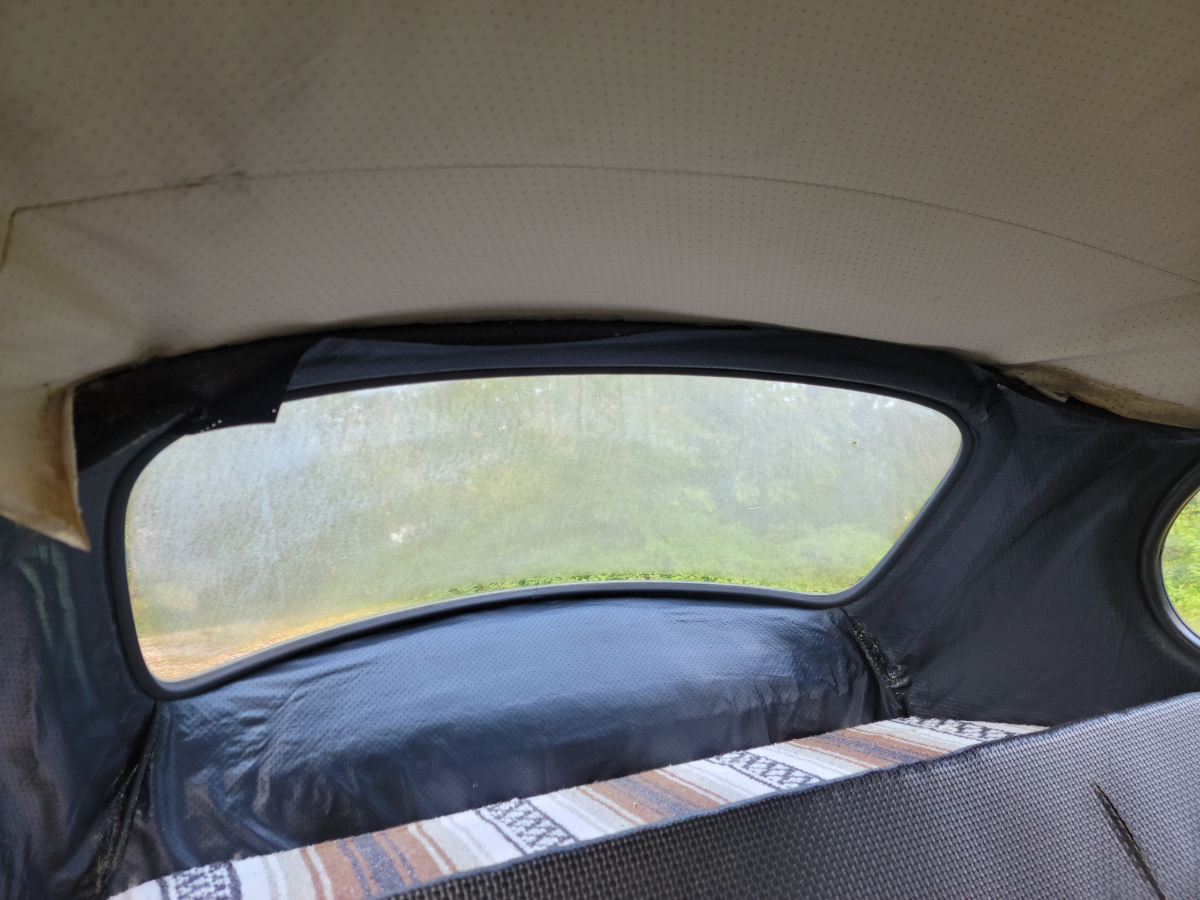
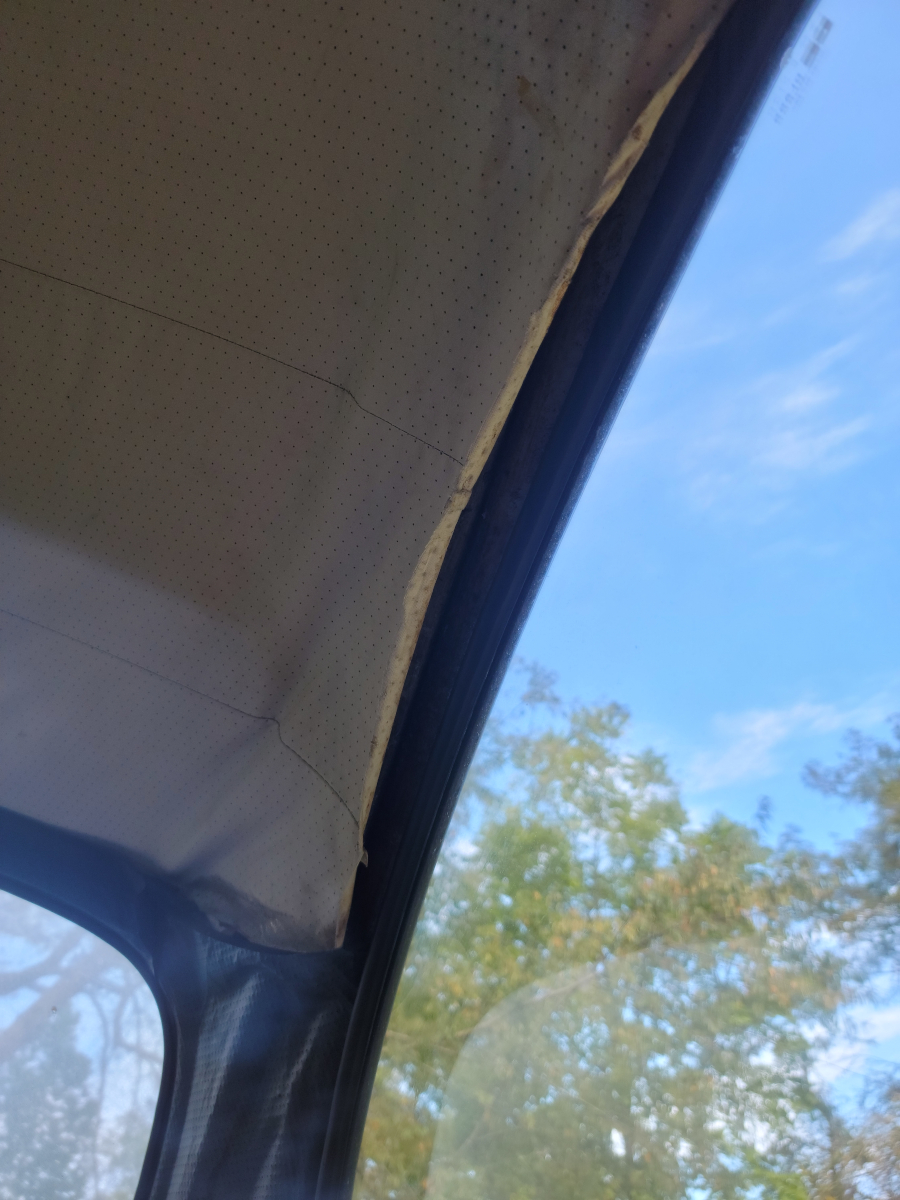
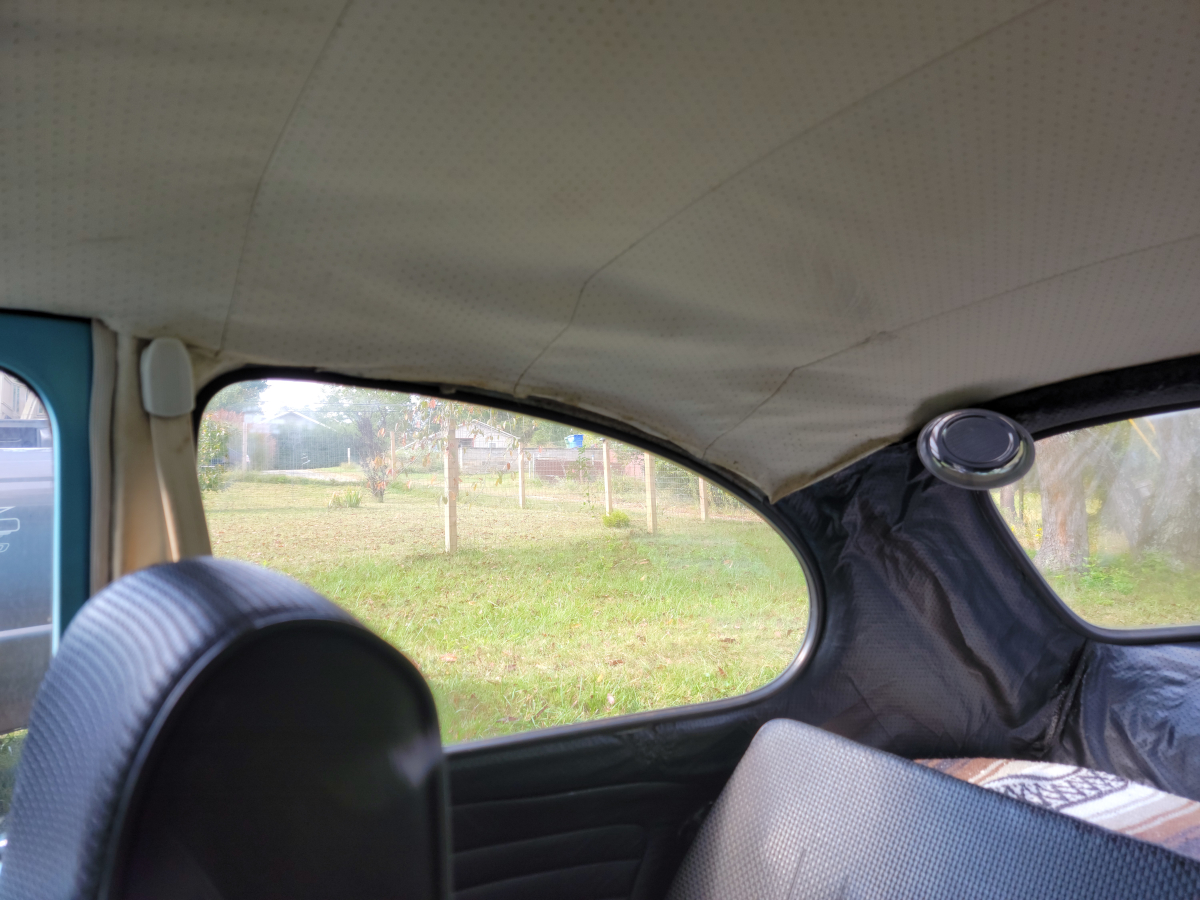
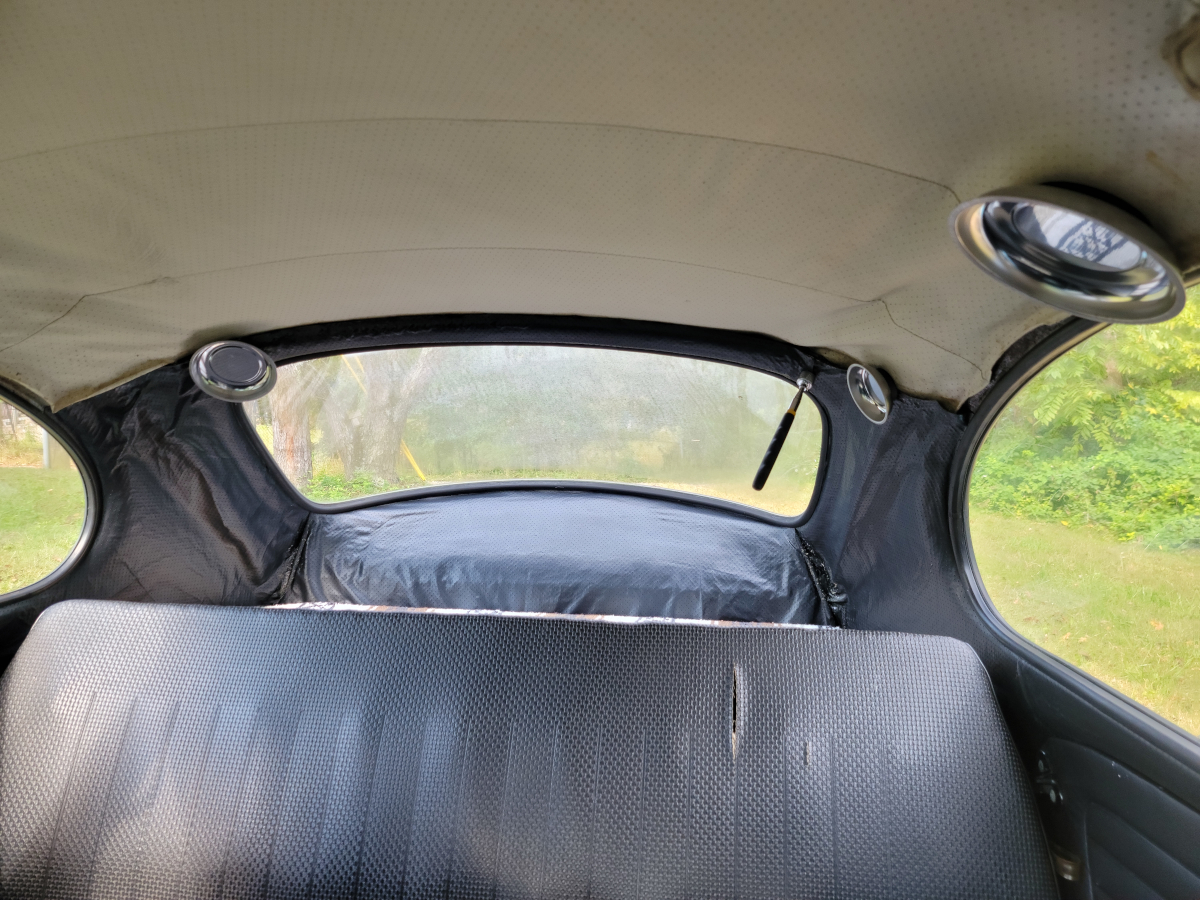
The vinyl headliner and trim sheets are curled around the edges and peeled back. When left alone for a couple of months, it hangs down a few inches below the edges of the rear side windows and looks really nasty from the outside.
I bought some rubber cement a few months back and went around the perimeter, following the directions on the can. The end result didn’t look great, but the headliner was at least back in place with only the crispy, curly edges hanging down. As per usual, the “fix” lasted a month or two and was back to hanging around.
Using the same contact cement as before, I slathered both surfaces and waited for it to start to set up. I had also picked up some industrial strength adhesive in a little tube, like a super glue tube, but not. I dabbed some of that on the crispiest, curliest edges as well.
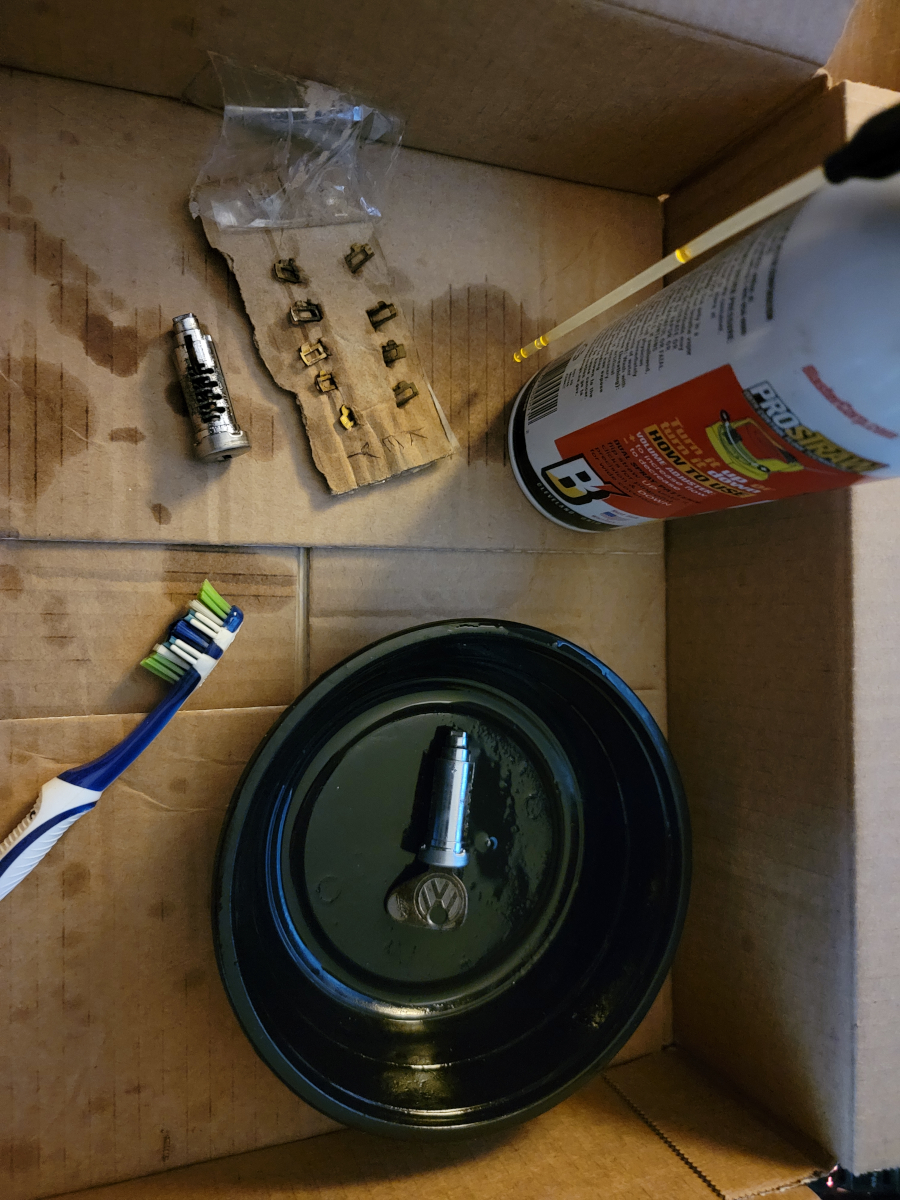
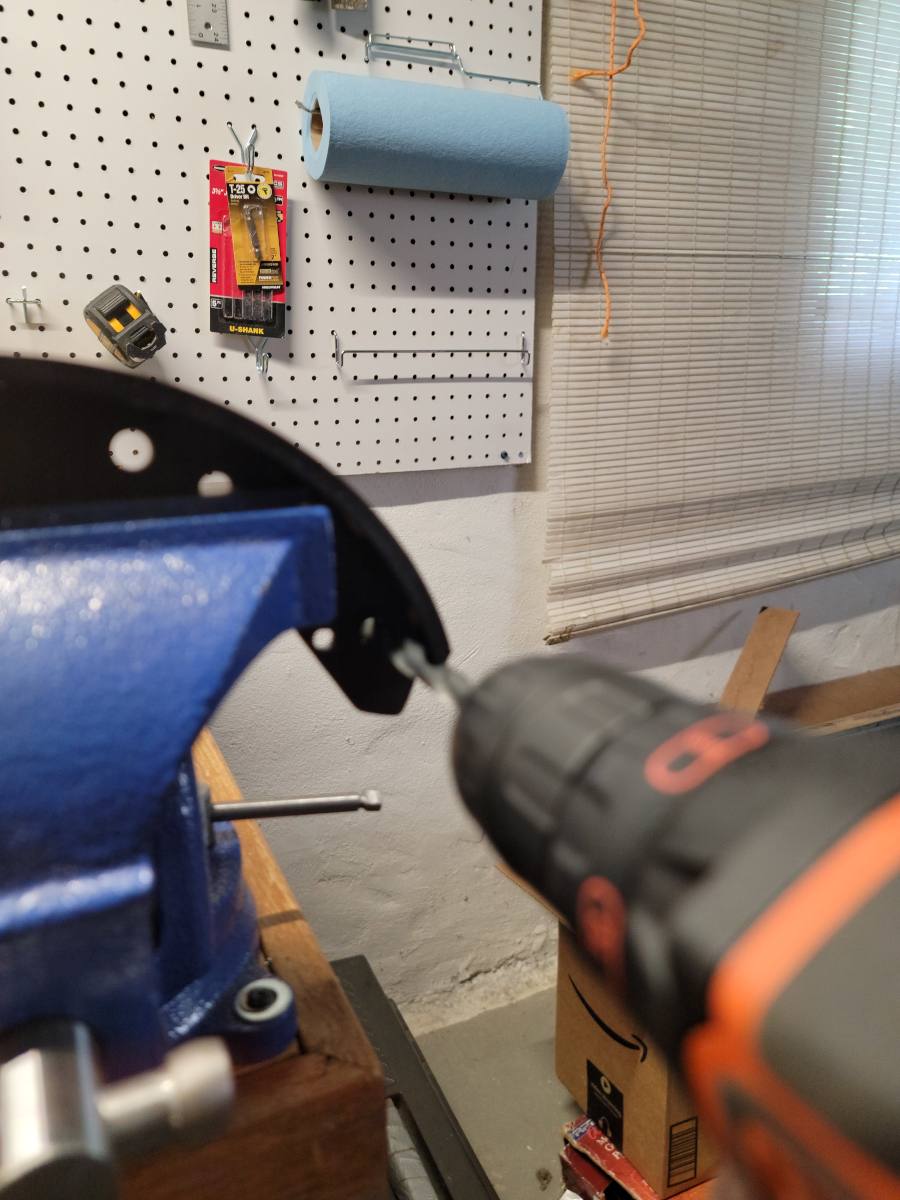
Unrelated, I finally bought one of those magnetized parts bowls that I had been eyeballing for years at Harbor Freight. While working on the brakes, I felt how strong the magnet was and went sopping for a set of various sized ones on Amazon (Amazon link). They worked really well to hold the edges in place as the contact cement dried.
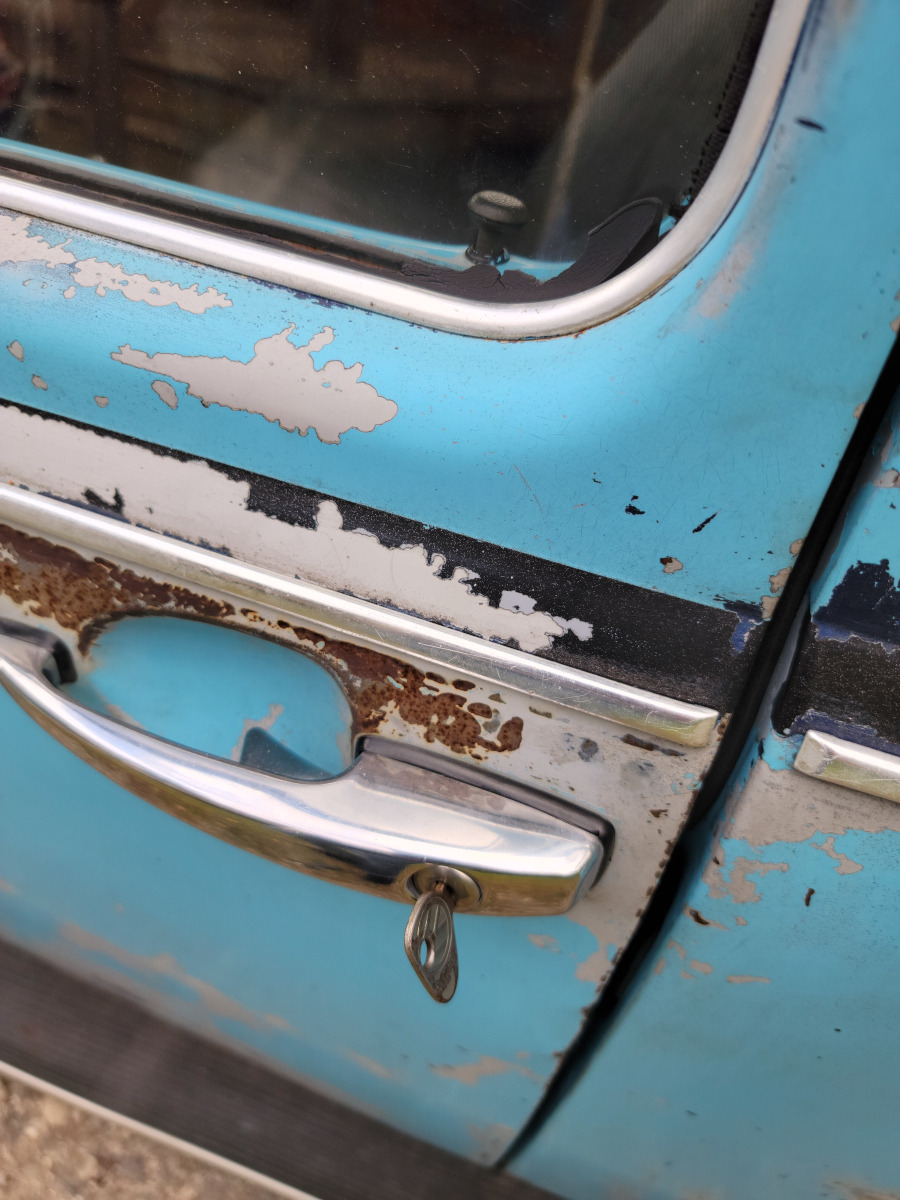
One of the first projects I took on was to buy new door handles (Amazon link). Neither door lock worked when I got the car. The key would fit in the driver’s door, but wasn’t keyed the same. The passenger side was frozen solid and wouldn’t even allow the key to be inserted.
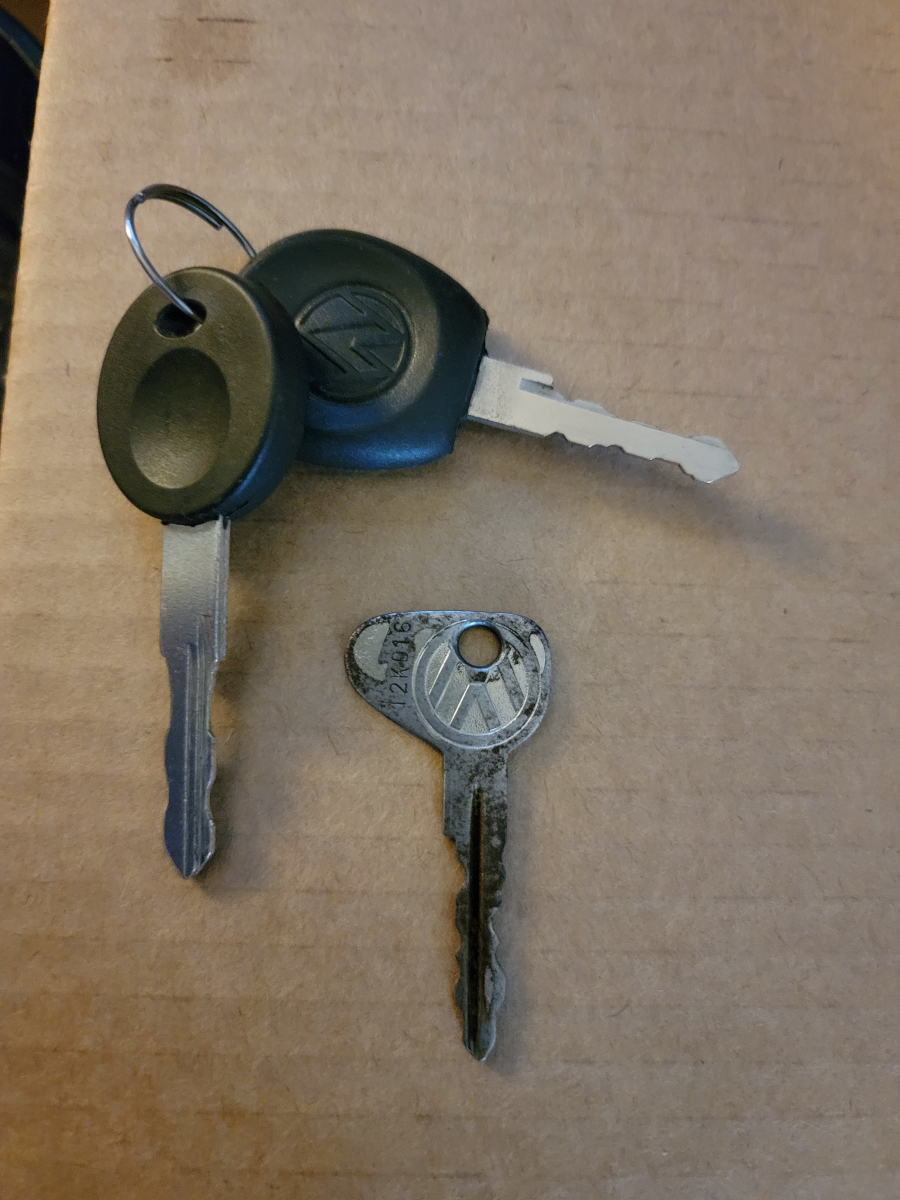
When I tried to mount the new handles, they were shaped a little different than the originals – more square edges – and just not as comfortable in hand. So, I swapped the new lock cylinders into the old handles. I didn’t realize at the time, the new keys don’t match the old keys. They are a standard double sided key, likely the same kind that you get with universal ignition switches at the parts store.
A few months ago, I sat down with the old cylinders and disassembled them, soaking them down in PB Blaster. I had read online that it is really easy to re-key them. There are nine tumblers and springs in each cylinder. Four on the front and five on the back.
I re-keyed them, arranging the tumblers to fit the old school VW door key that came with the car. Two tumblers in each cylinder were too long and were easily ground down to work.
Finally, today, I got back to it and swapped the re-keyed cylinder back into the driver’s door.
It’s a little notchy, but it works!
I wasn’t able to replace the one on the passenger side. I forgot that there weren’t any springs in the original cylinder on that side. Just the tumblers. Taking apart one of the cylinders from Amazon, it was a similar design, but the springs were twice as long and wouldn’t work. Another thing to add to the list.
At least I was able to delete another black plastic key head from my key chain. It’s nice having two VW keys. I would like to have them all keyed the same, but the ignition key is a different cut, obviously having been replaced at some point. The car has a locking glove box and none of the above keys will even fit into it.
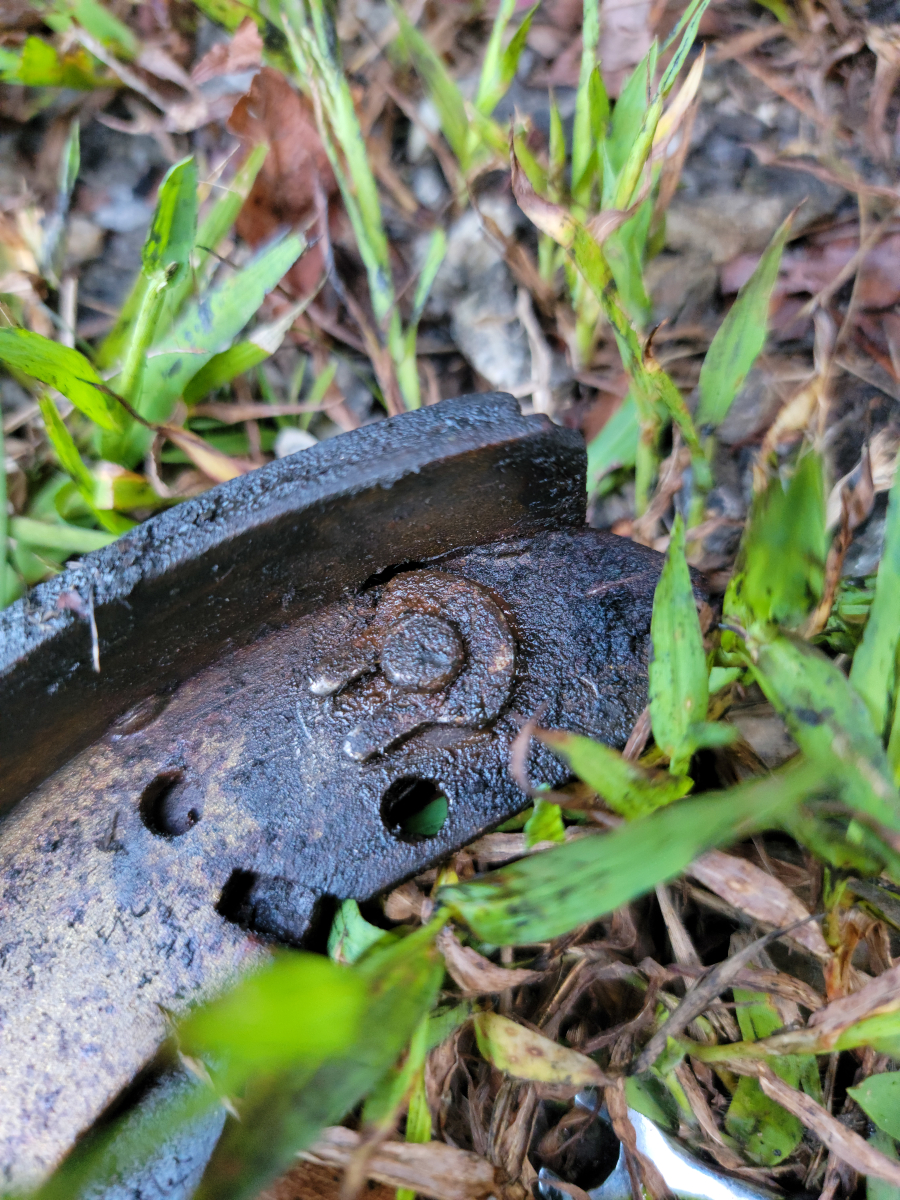
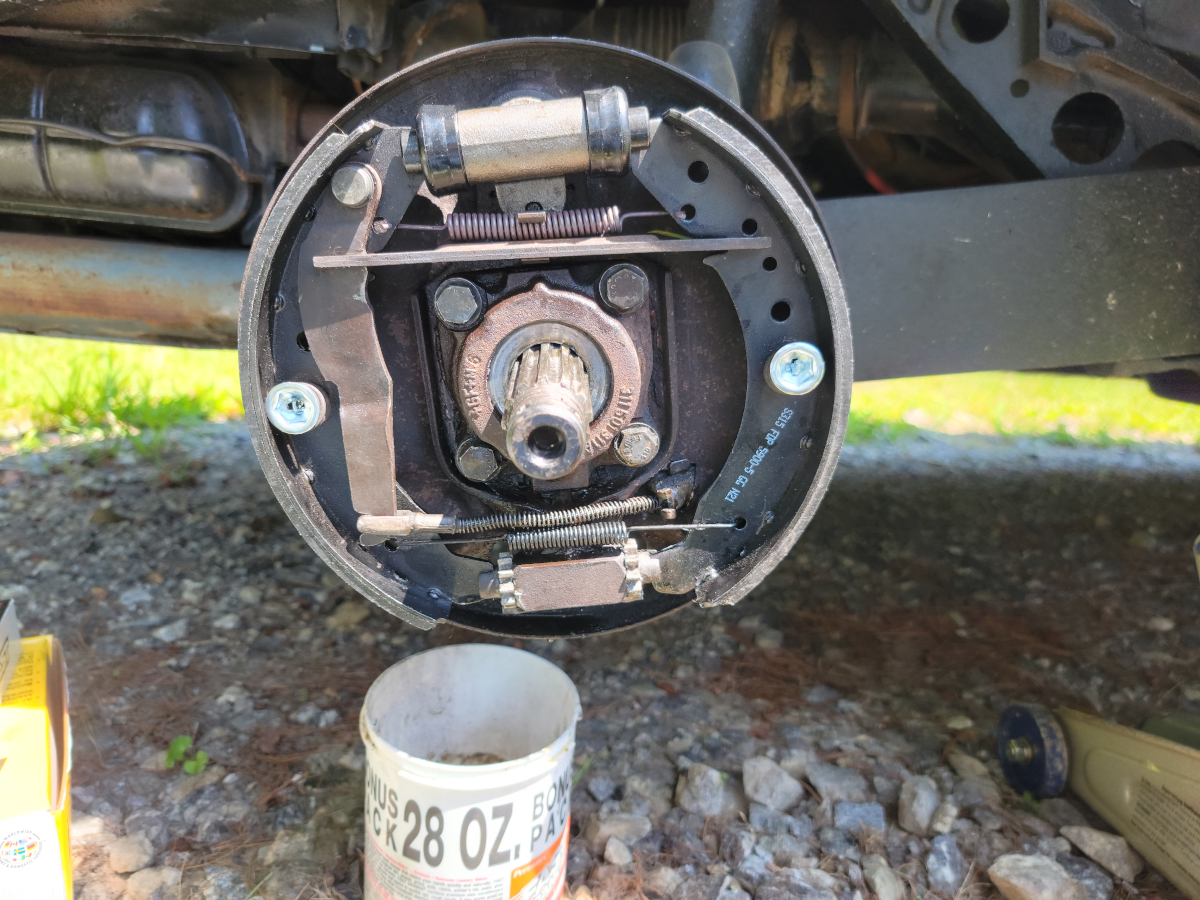
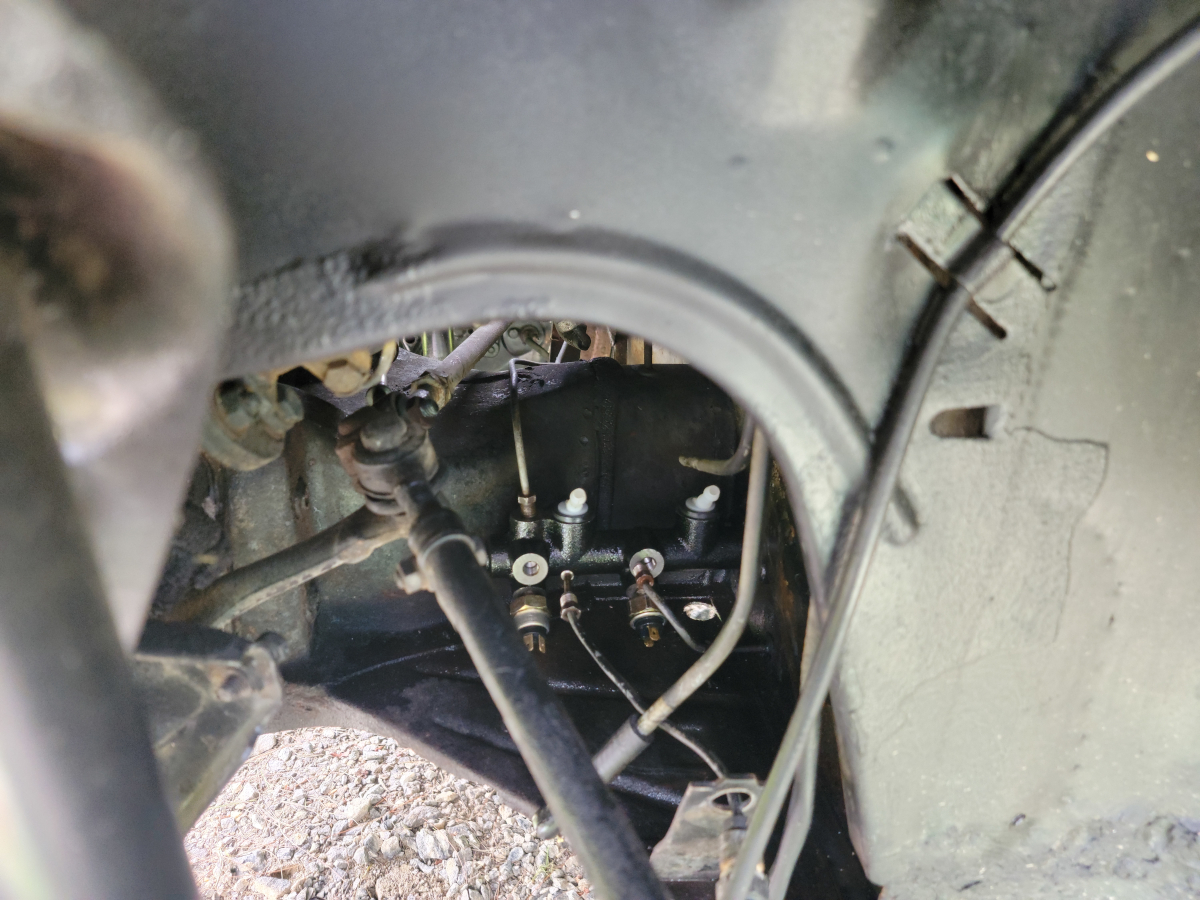
I was able to get the brake torn back apart and replaced the wheel cylinder again.
That’s the remnants of the bleeder screw in the bottom.
I bled the brakes all around and then adjusted them. It now has a great pedal, about 2/3 of a pedal, which is as good as it has ever been. It still doesn’t actually stop very well, but there is enough pedal to stand on if need be. It used to just clack against the floor board.
After adjusting the shoes at each wheel, I decided to check on the parking brake situation. Obviously, it wasn’t working too well. The wheel was turning when I was torquing on that rear axle nut with the parking brake on (and car in gear and wheel chocked).
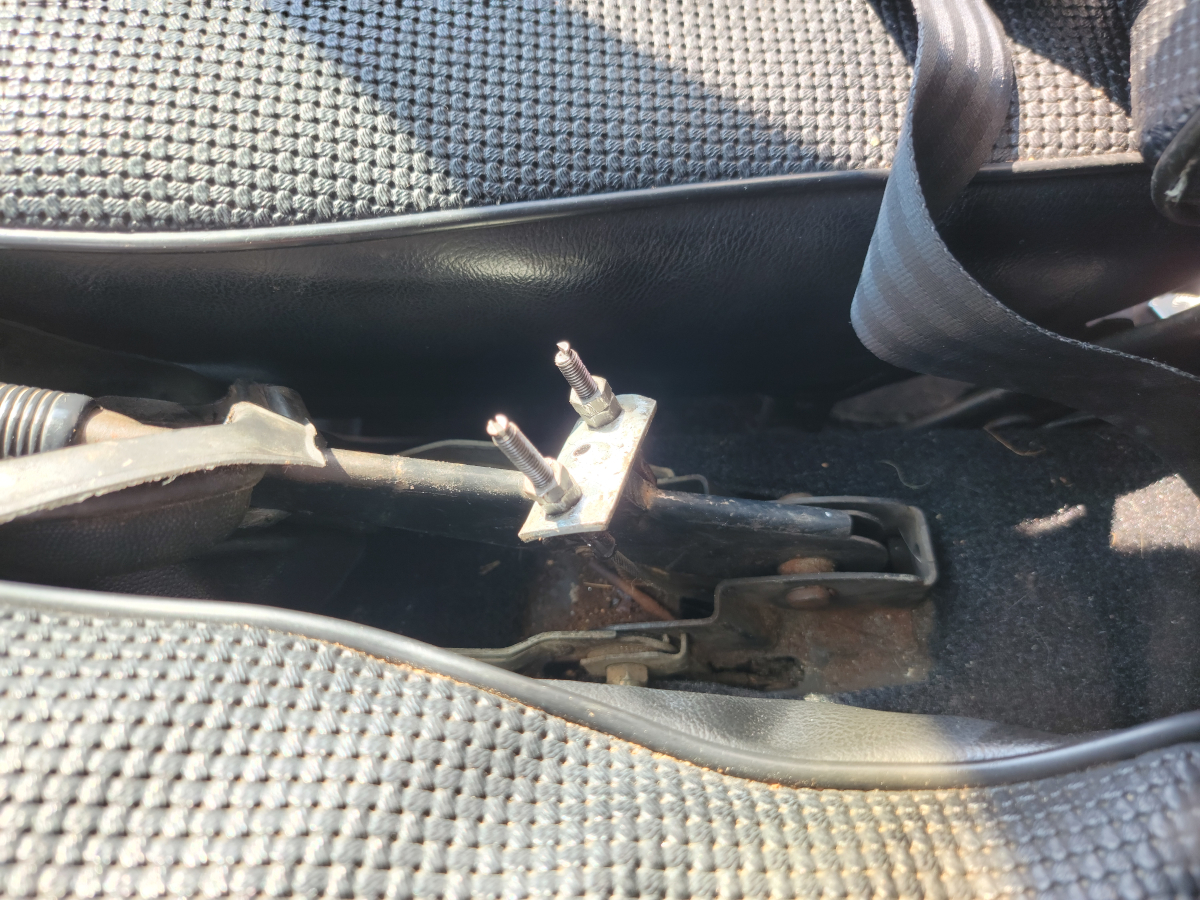
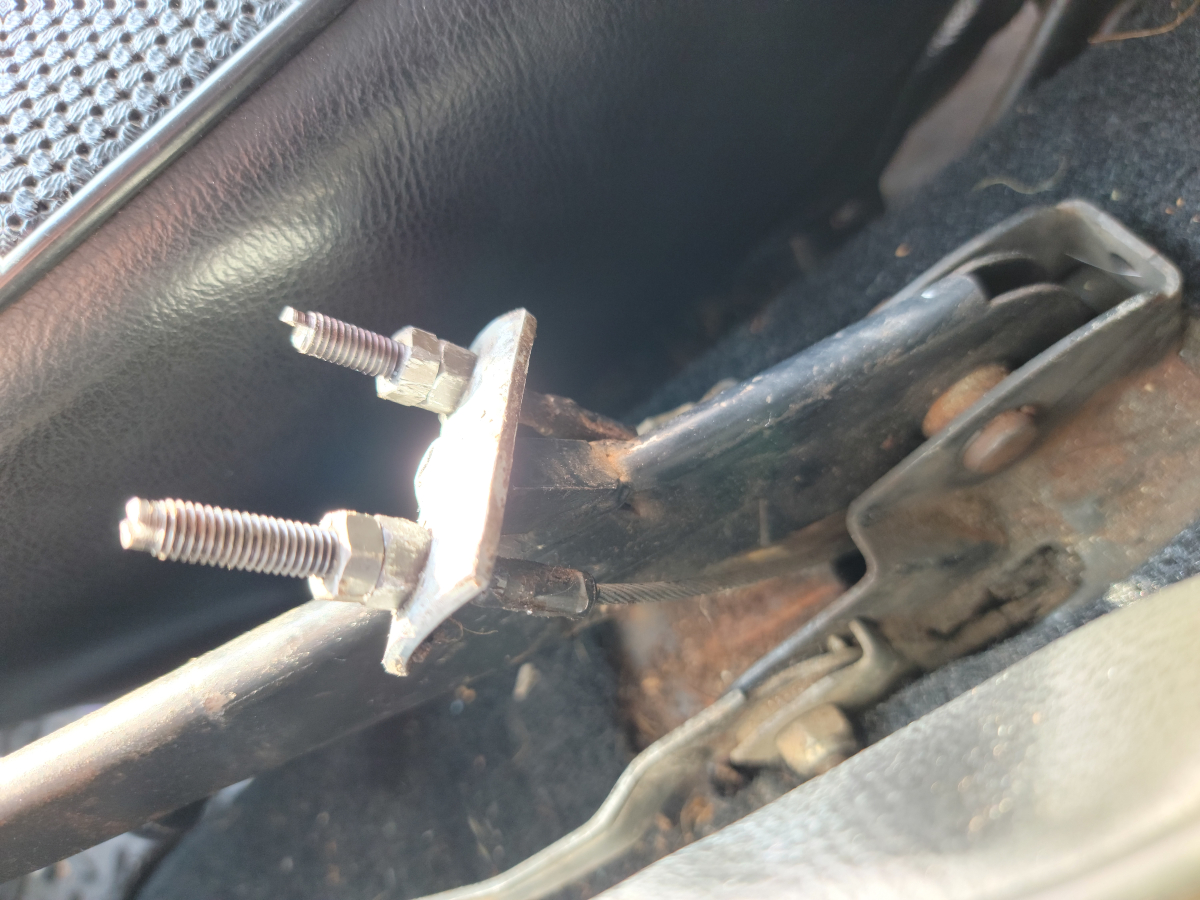
I peeled back the tatty dust cover on the e-brake handle to get to the cable adjusters.
The one on the right was tightened down about half way, but with a broken screw head. The one on the left was tightened all the way down and the cable was slack.
So apparently, the parking brake hasn’t been applying on the driver’s side. That mystery is solved. And another TO DO item added to the list.
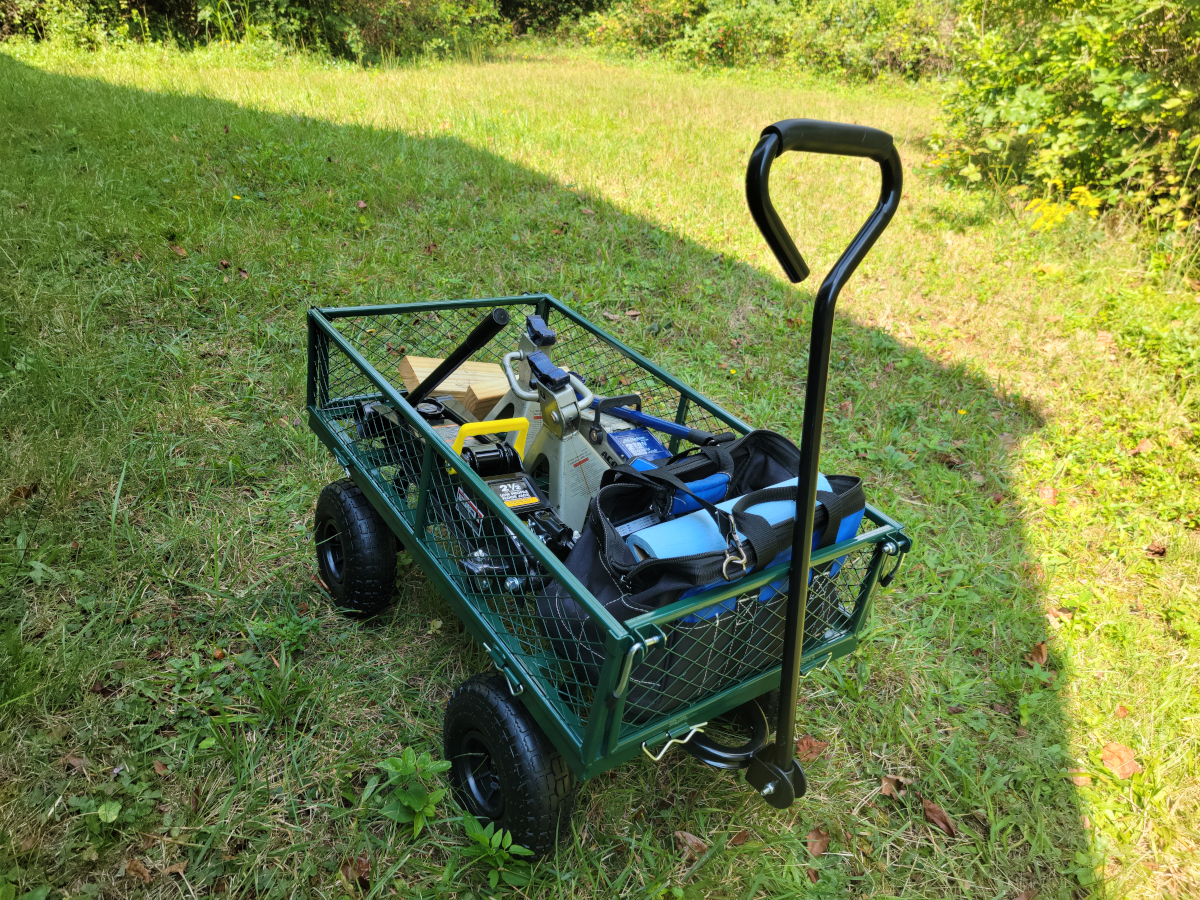
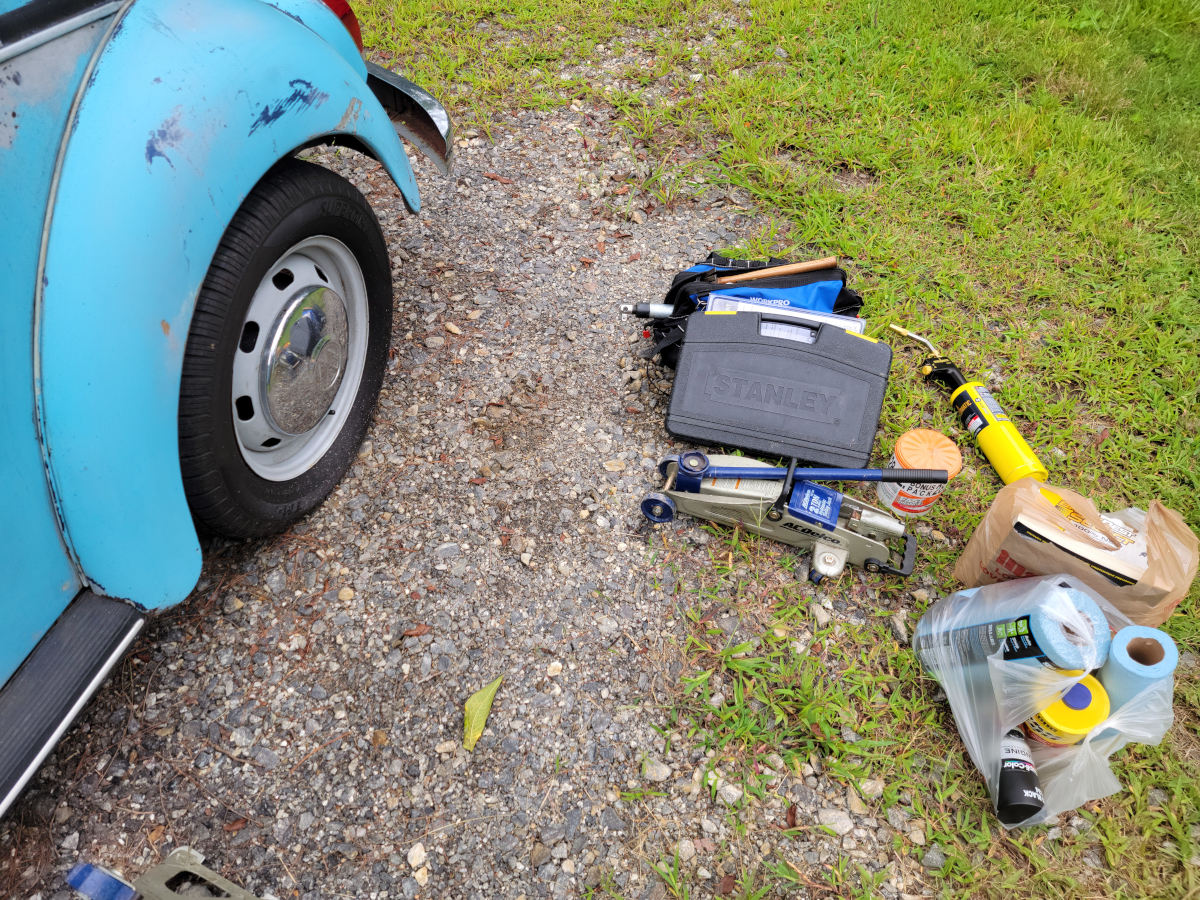
In an attempt to clean out my kitchen, which has turned into a tool shed and car parts storage, I bought a garden cart (Amazon link) to help shuttle my gear up and around from the basement.
That load would have normally taken five trips carrying everything by hand.
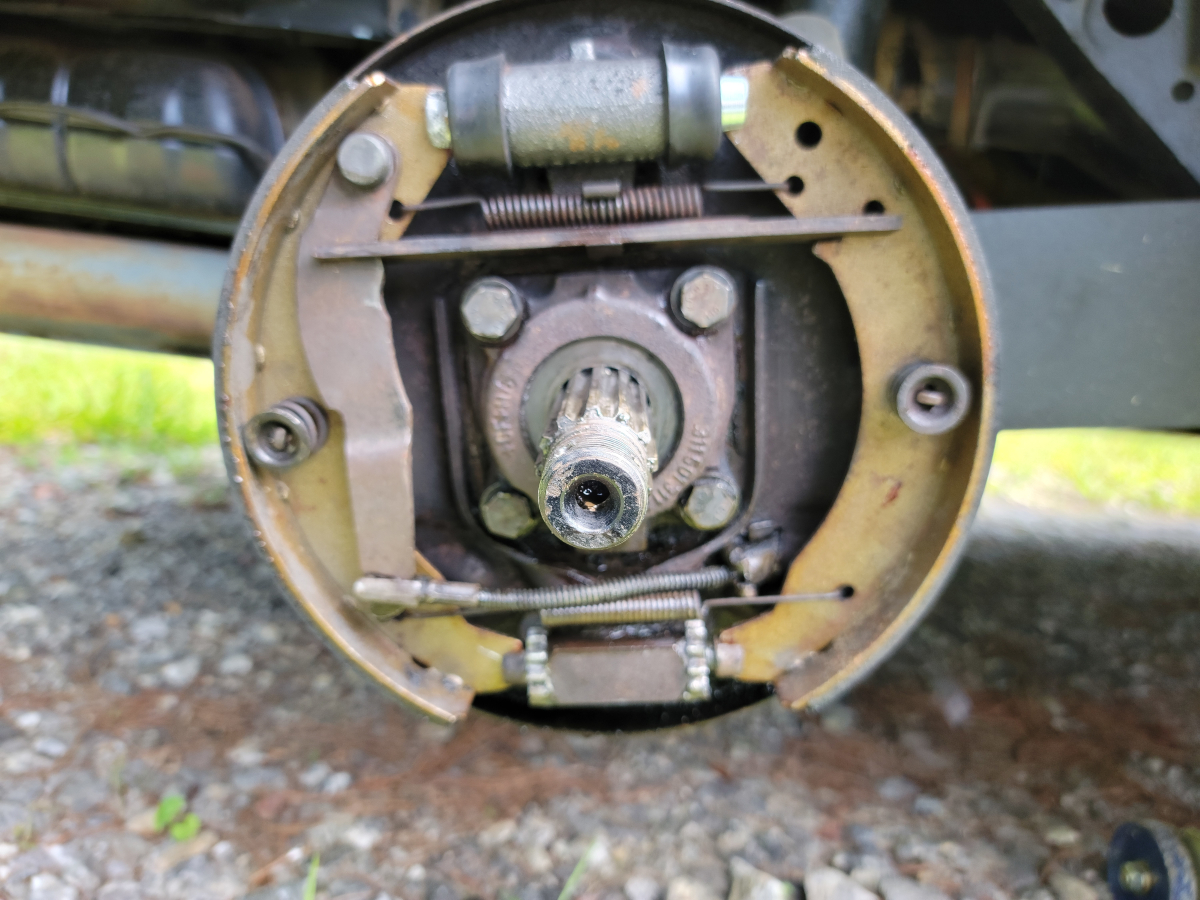
Now that the rear brake had been gushing fluid for nearly a month, inside of that brake drum was a mess. I didn’t snap a picture before hosing it down with brake cleaner. It was awful in there. A thick black, sludgy, fuzzy (?) mess. This pic is after a can of brake clean.
That’s a little more apparent on the back of this brake shoe.
I fought with that spring clip for a long time, which is probably why I took a picture of it. Take a break from swearing at it. Eventually, I got it off.
Everything went back together with the new hardware without any further issues. This was after work one evening and I only had an hour or so of daylight left to work with.
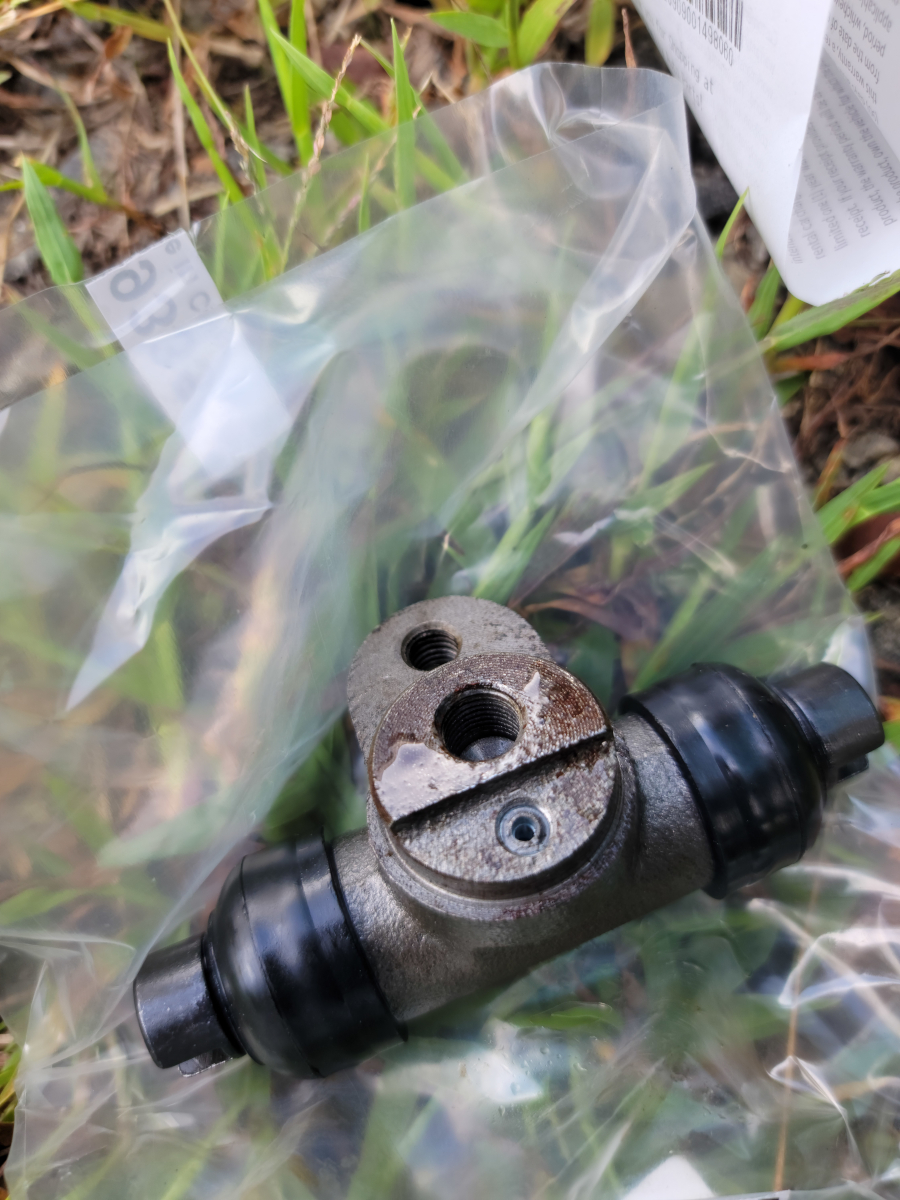
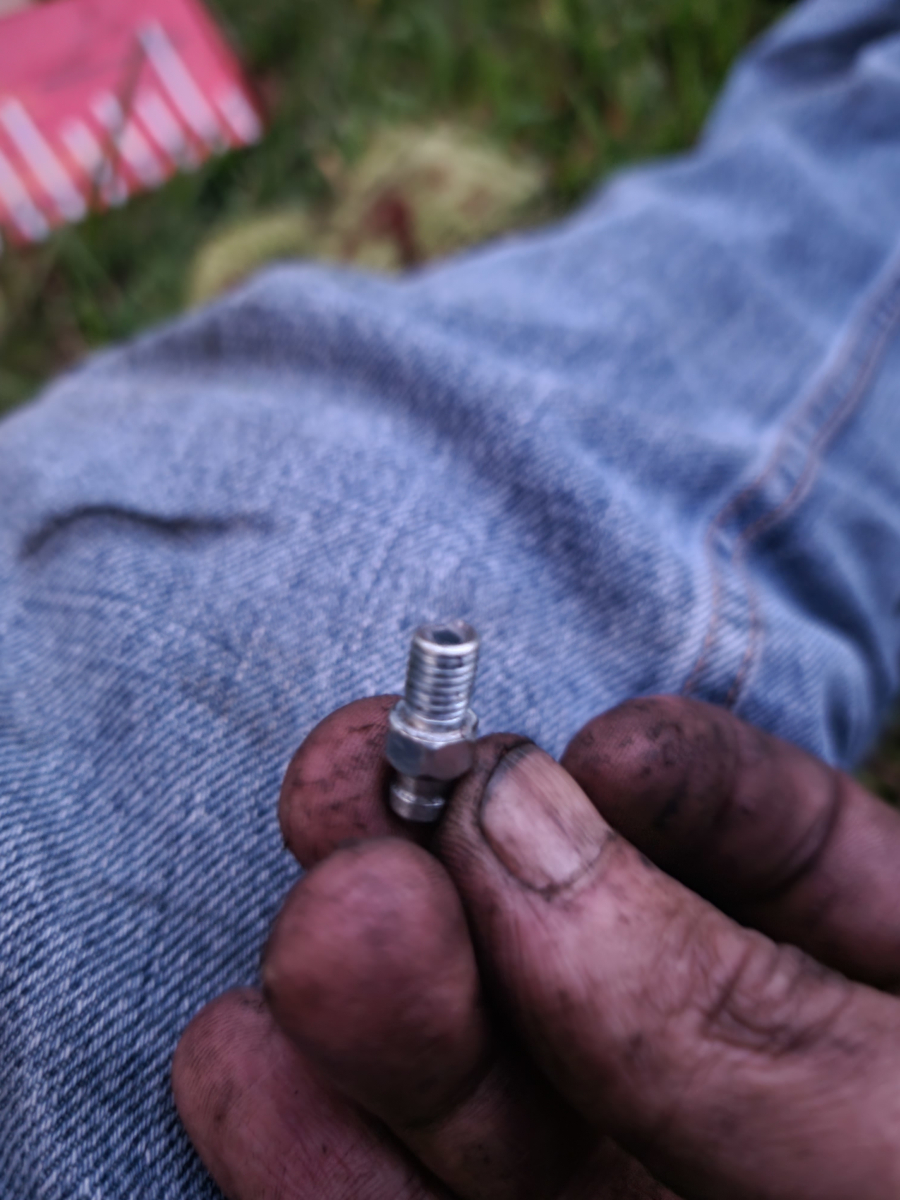
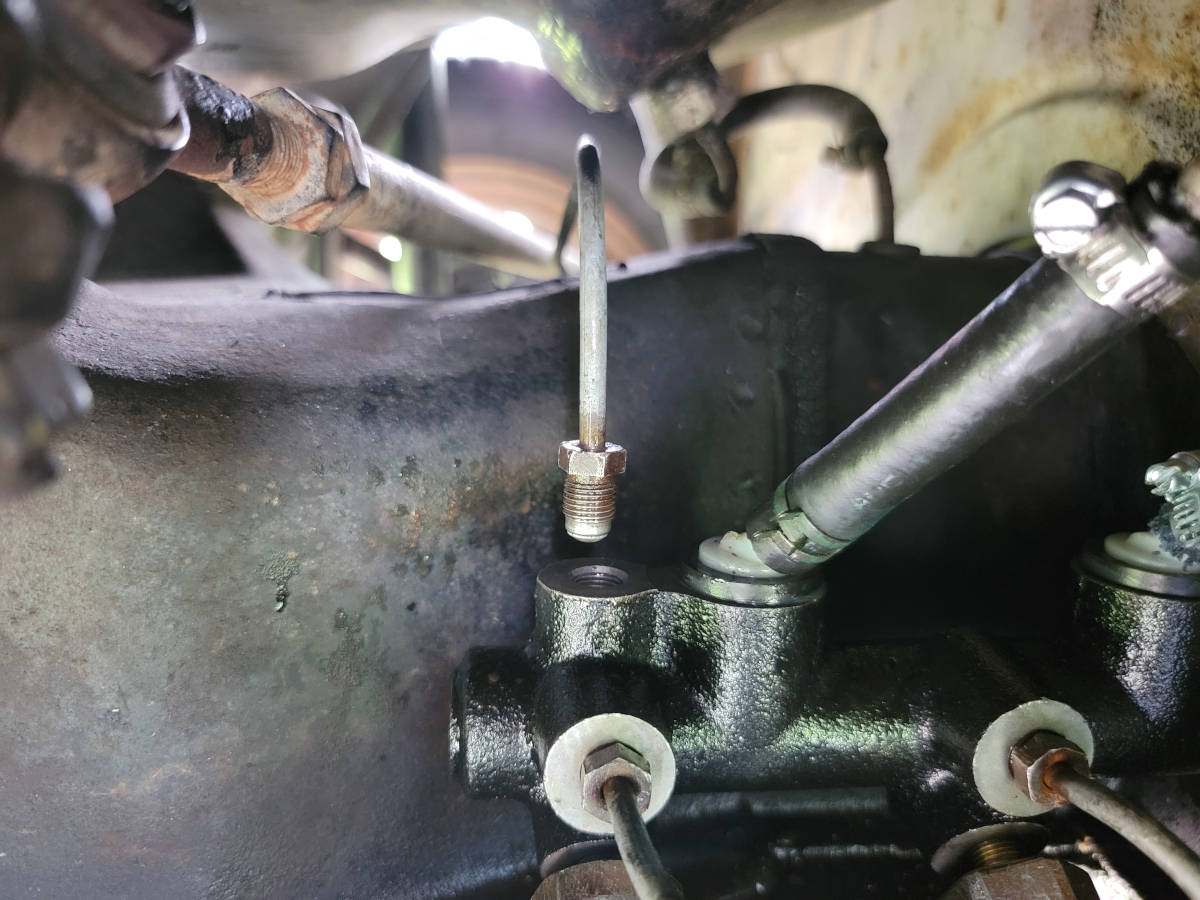
As I was buttoning everything up, checking that everything on the new wheel cylinder was tight…
The bleeder screw broke off in the cylinder. It probably cracked when tightening it, but it actually fell off while I was tightening the hard line below it. I whacked it with the wrench a couple of times and it fell apart.
I considered trying to use an easy out bolt extractor, but it would be $15 to buy one of those to try or $20 to replace the wheel cylinder (again).
So, off to O’Reilly I went. Luckily (and surprisingly) it’s a part they keep in stock (O’Reilly link).
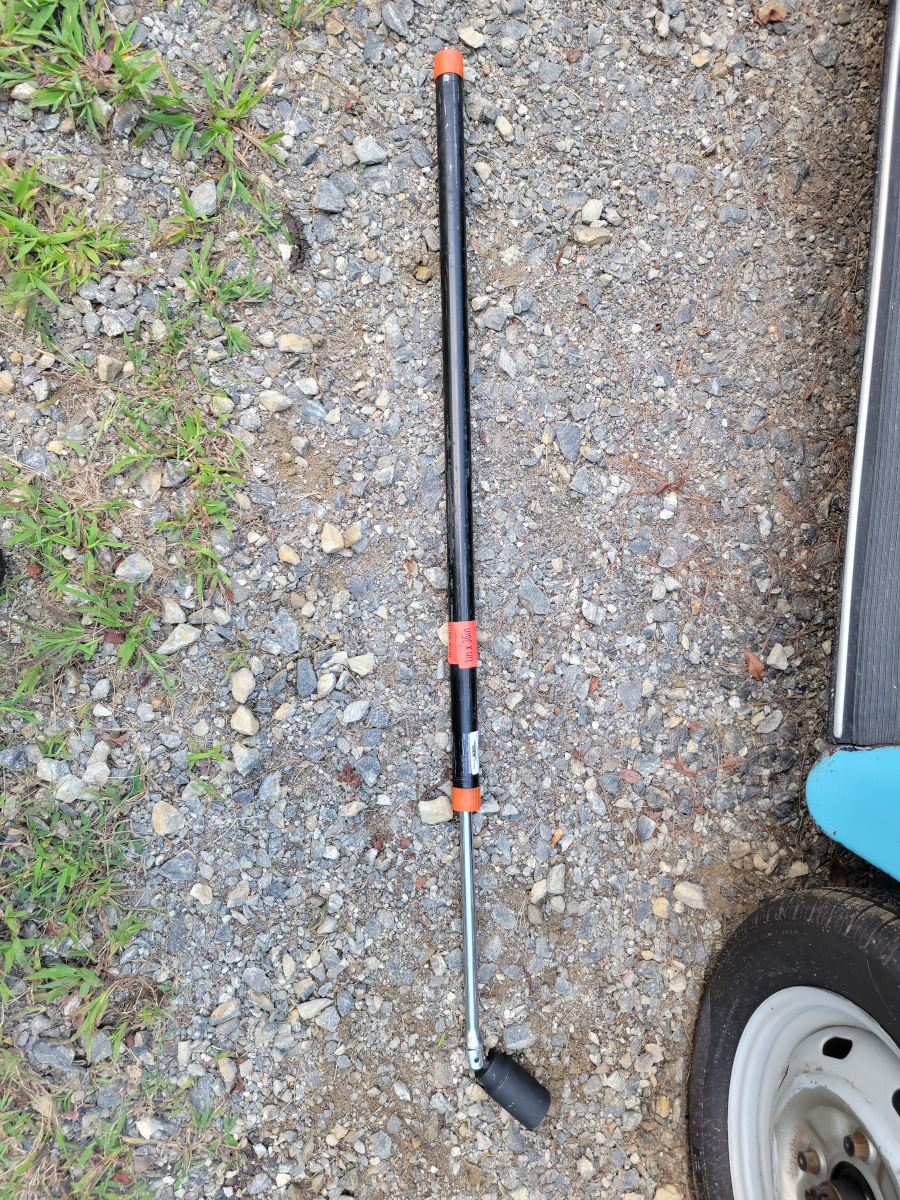
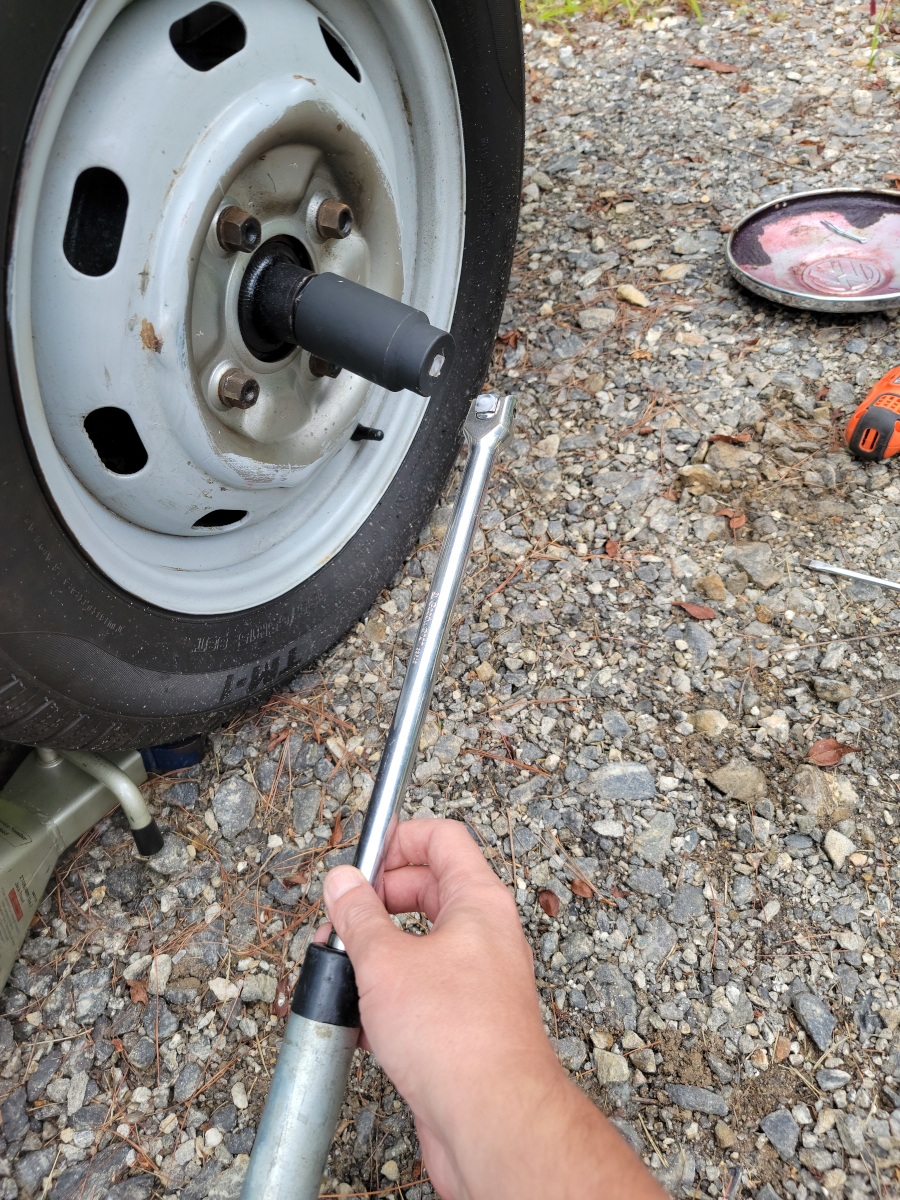
Back at it again! This time, with a 36″ cheater pipe.
Also, I anchored the car a little better to keep it from roll starting on me.
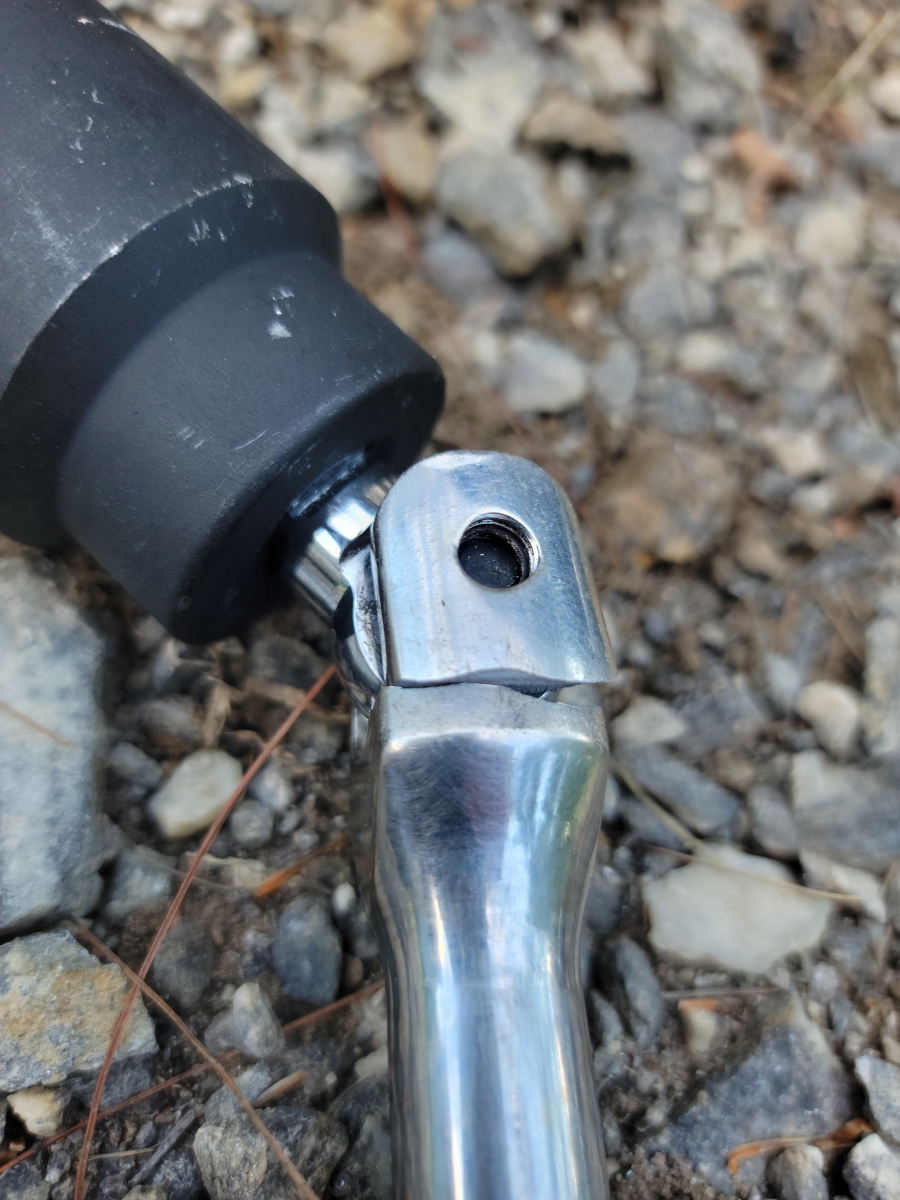
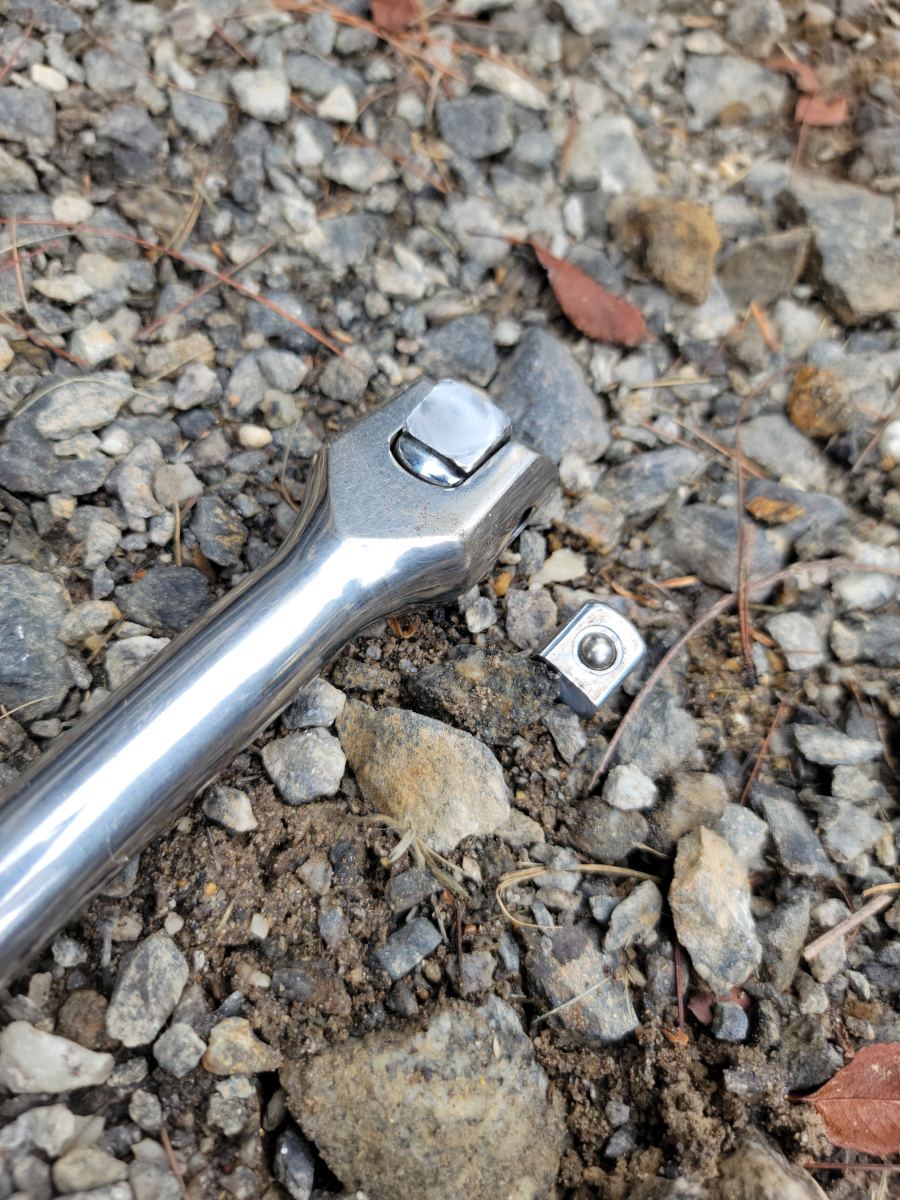
A few more rounds of heating and torquing, then the inevitable happened.
It was apparently too much to ask of Mr. Goodwrench. R.I.P.
I never did get that axle nut off, but luckily a friend was able to. With a proper garage full of proper tools and being a proper man, Dave was able to torch it up to red hot, then torque it back and forth with his 1000 ft lb air impact. We tried it with the impact before the torch and it wouldn’t budge in either direction.
FINALLY, I will be able to get that brake rebuilt.
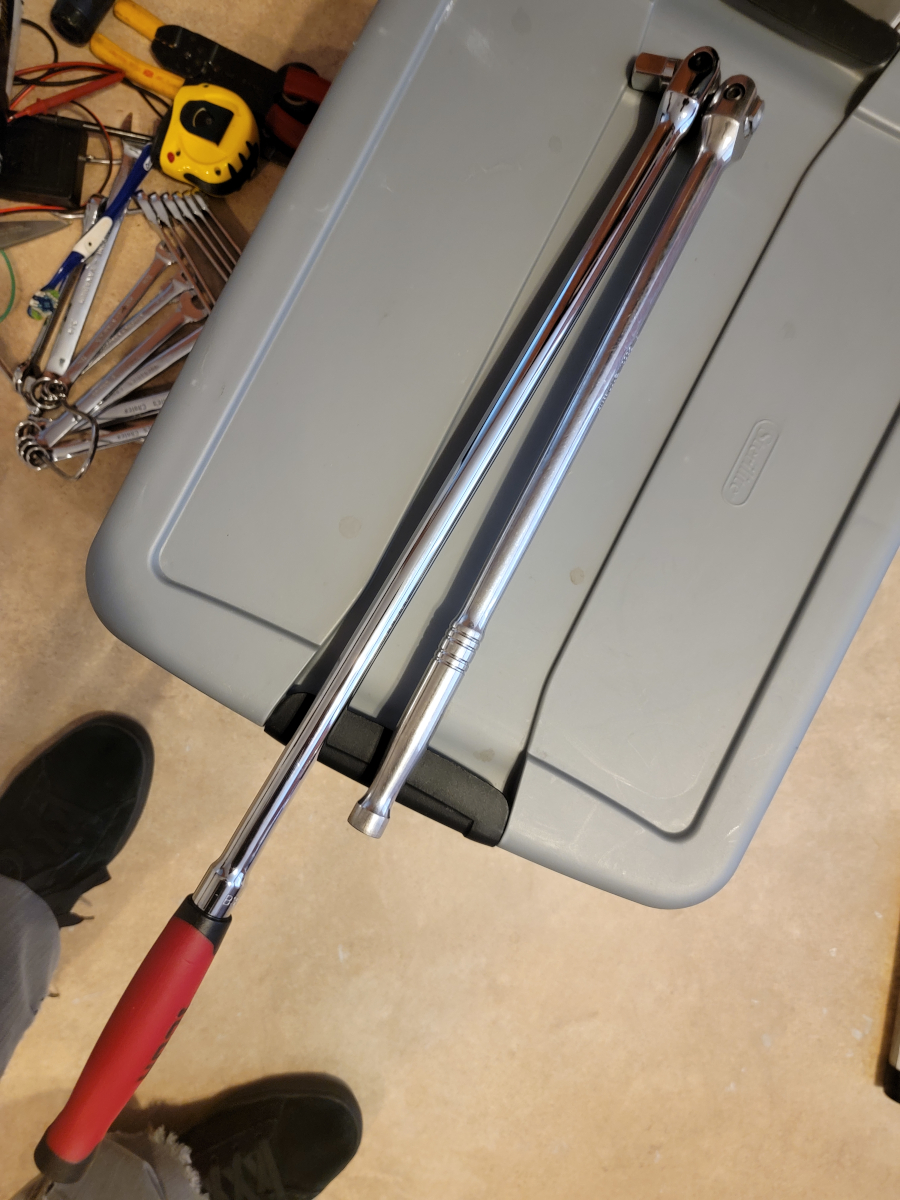
Back to that driver’s side rear wheel, I made a couple more attempts at getting the axle nut loose. For a start, I bought a Bernzomatic MAP gas hand torch kit (Amazon link)…
I heated the axle nut until it was smoking, then jumped up and down on it with my old faithful 17″ long Goodwrench 1/2″ drive breaker bar with an 18″ cheater pipe.
Broken breaker bar… OK, fine. I went to Harbor Freight and bought the biggest 1/2″ drive breaker bar they had, a 25″ Icon brand (Harbor Freight link).
That comfort grip TPR handle wasn’t very comfortable. Also, it was too large to fit inside the cheater pipe. That would have left me at 25″ instead of the 35″ I had with the cheater pipe.
So, looking at the business end of each breaker bar, they both had a similar allen key bolt holding the drive in. Swapped those out and was back in business with my old Goodwrench breaker bar and cheater pipe.
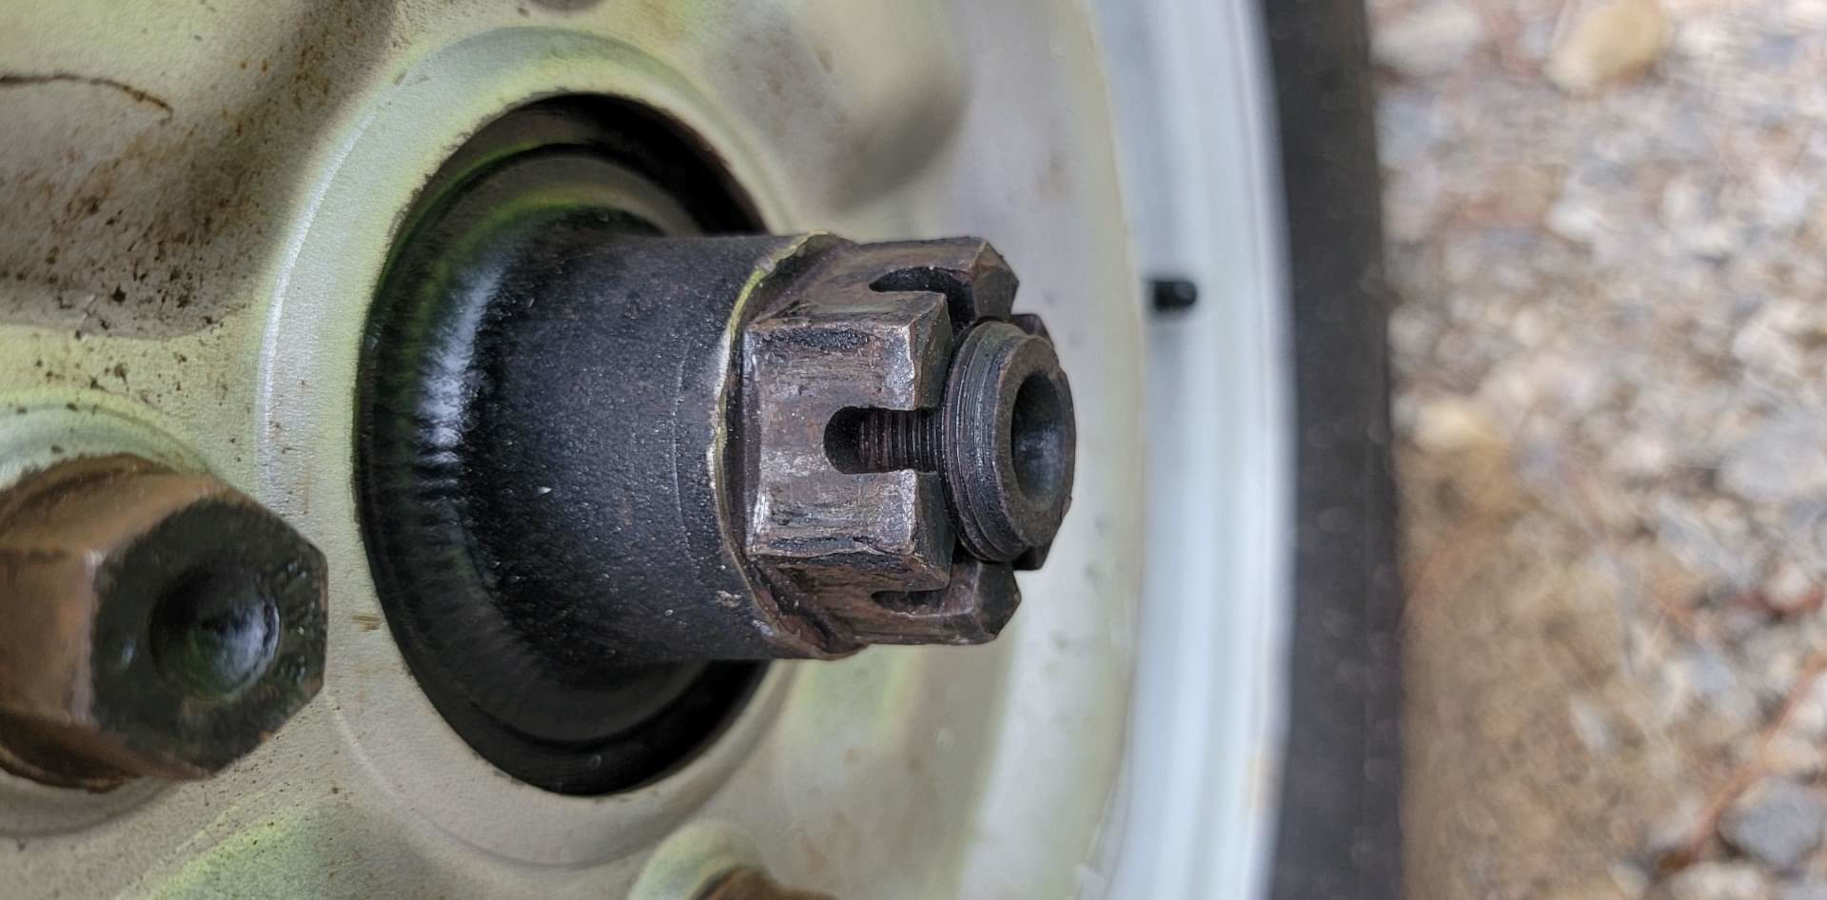
But, still no luck. Several cycles of heating and torquing later, the axle nut was still frozen solid.
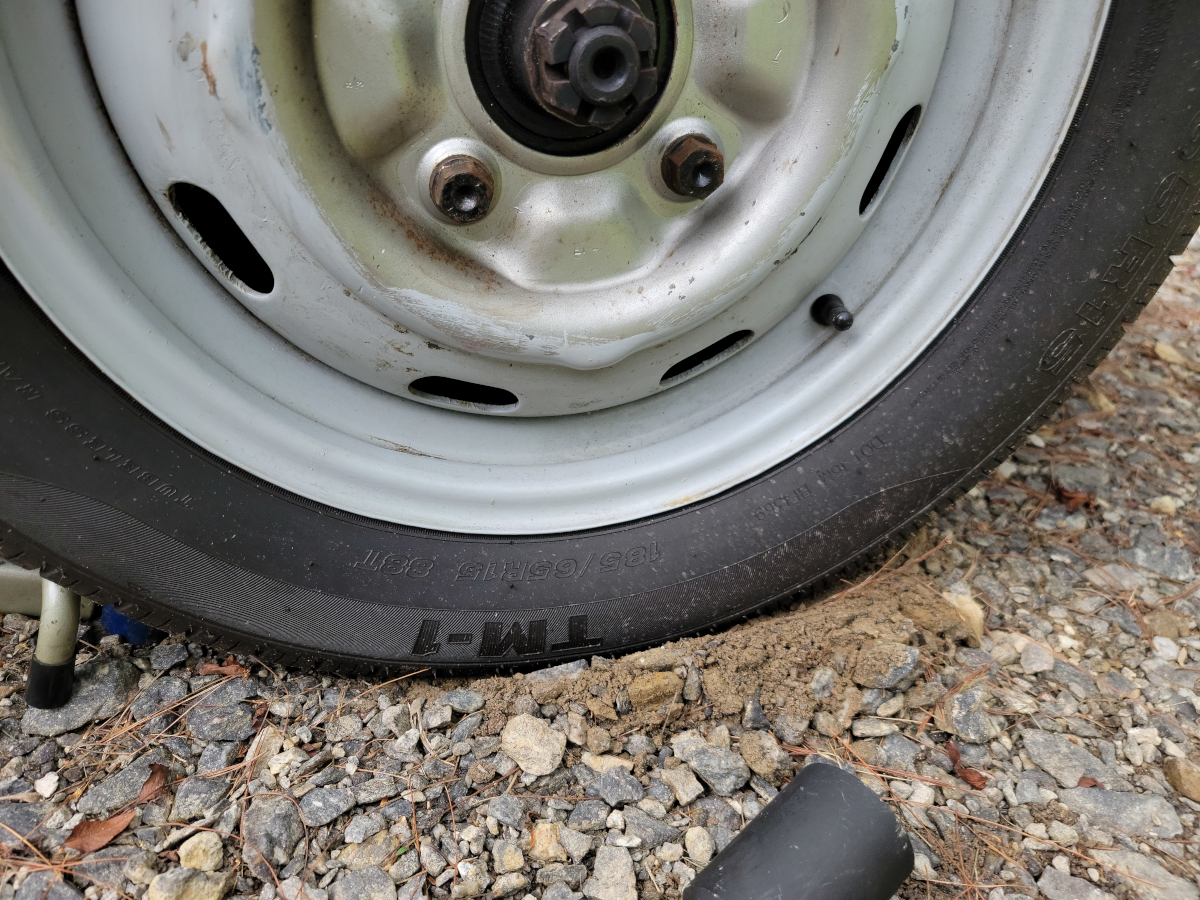
With the car in gear, the parking brake on, and a jack stand jammed up under the front of the wheel, I still managed to dig a rut by spinning the wheel…
It was also now sitting on top of that jack stand wheel chock, so I had to put it in neutral, release the parking brake, and push the car back a few inches to be able to get the jack stand out.
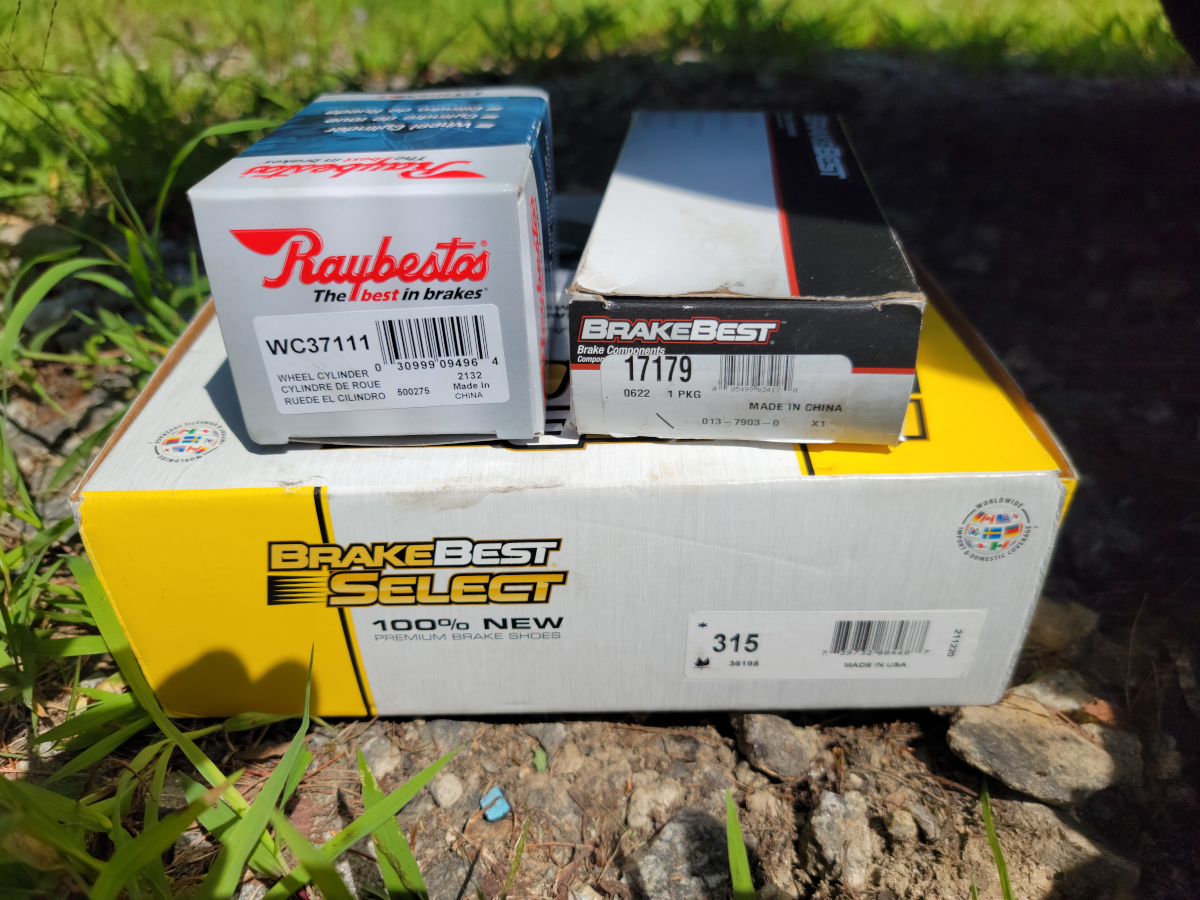
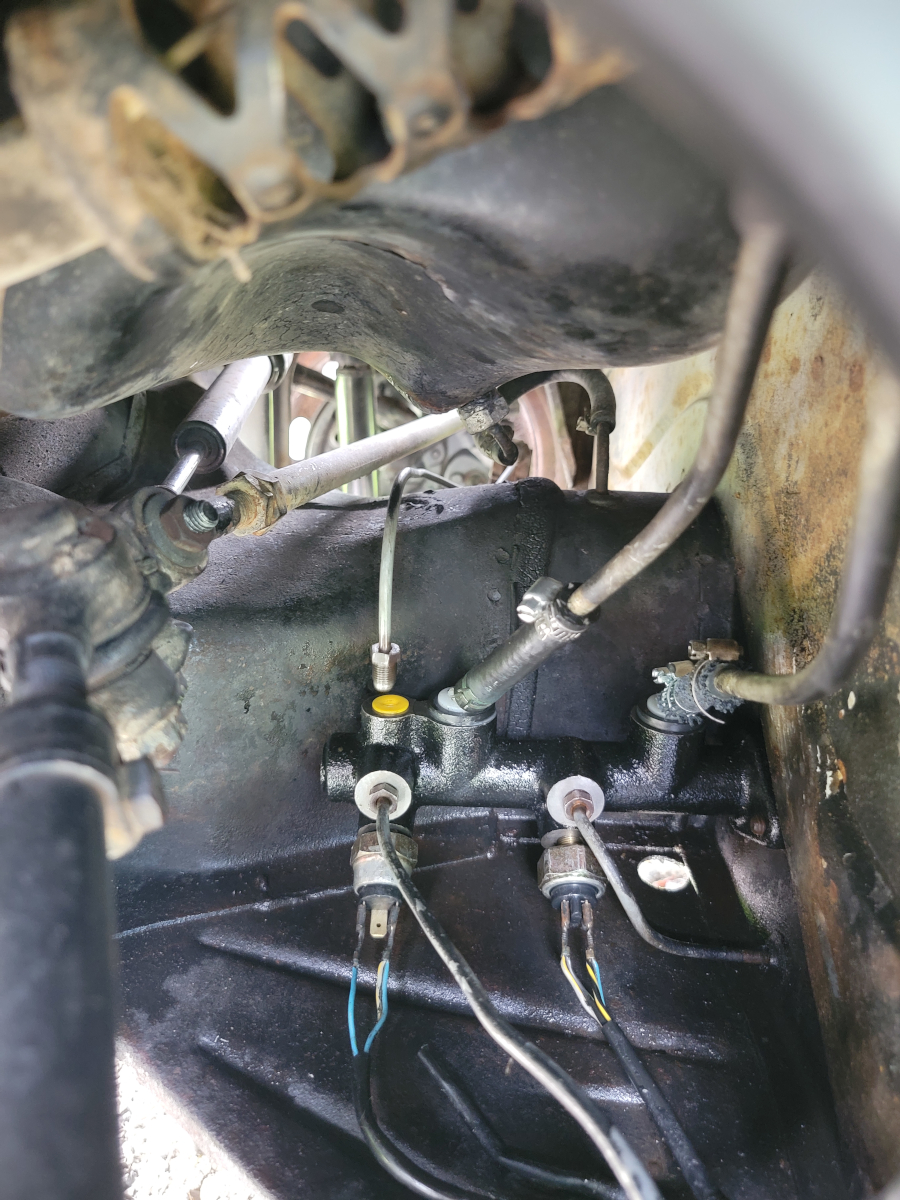
After a successful second master cylinder replacement, I went back out a couple of weeks later to adjust the brake shoes and found that both rear wheel cylinders were blown. Brake fluid all over the place in the rear. I ordered new wheel cylinders for the front (Amazon link) and rear (Amazon link), figuring the fronts would blow after replacing the rears – pressure finding the next weakest point in the pipeline.
Once I had the parts in hand, while having my morning coffee at the start of installation day, I figured I may as well replace the shoes and hardware while I was in there. Shopping around online, I found that O’Reilly had the parts in stock. Went and picked everything up and was ready to go.
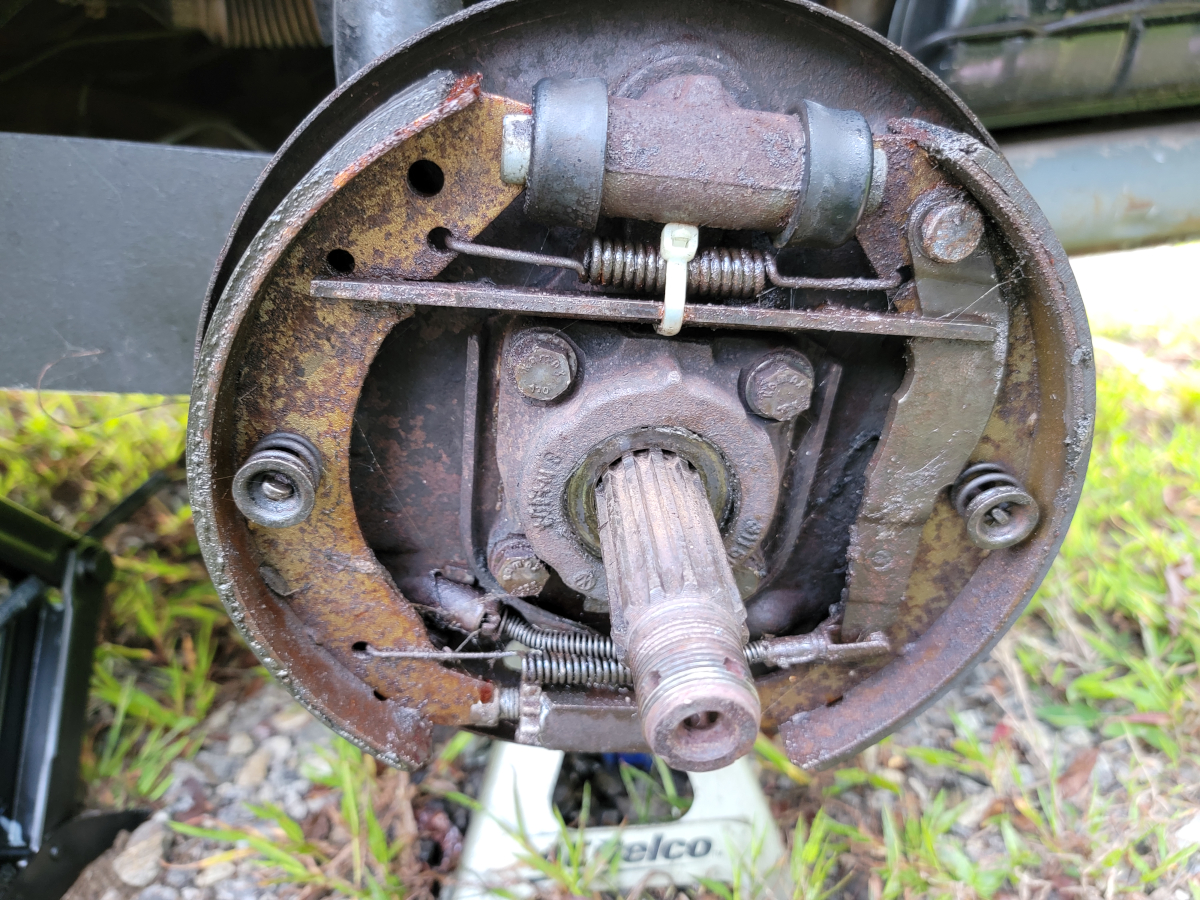
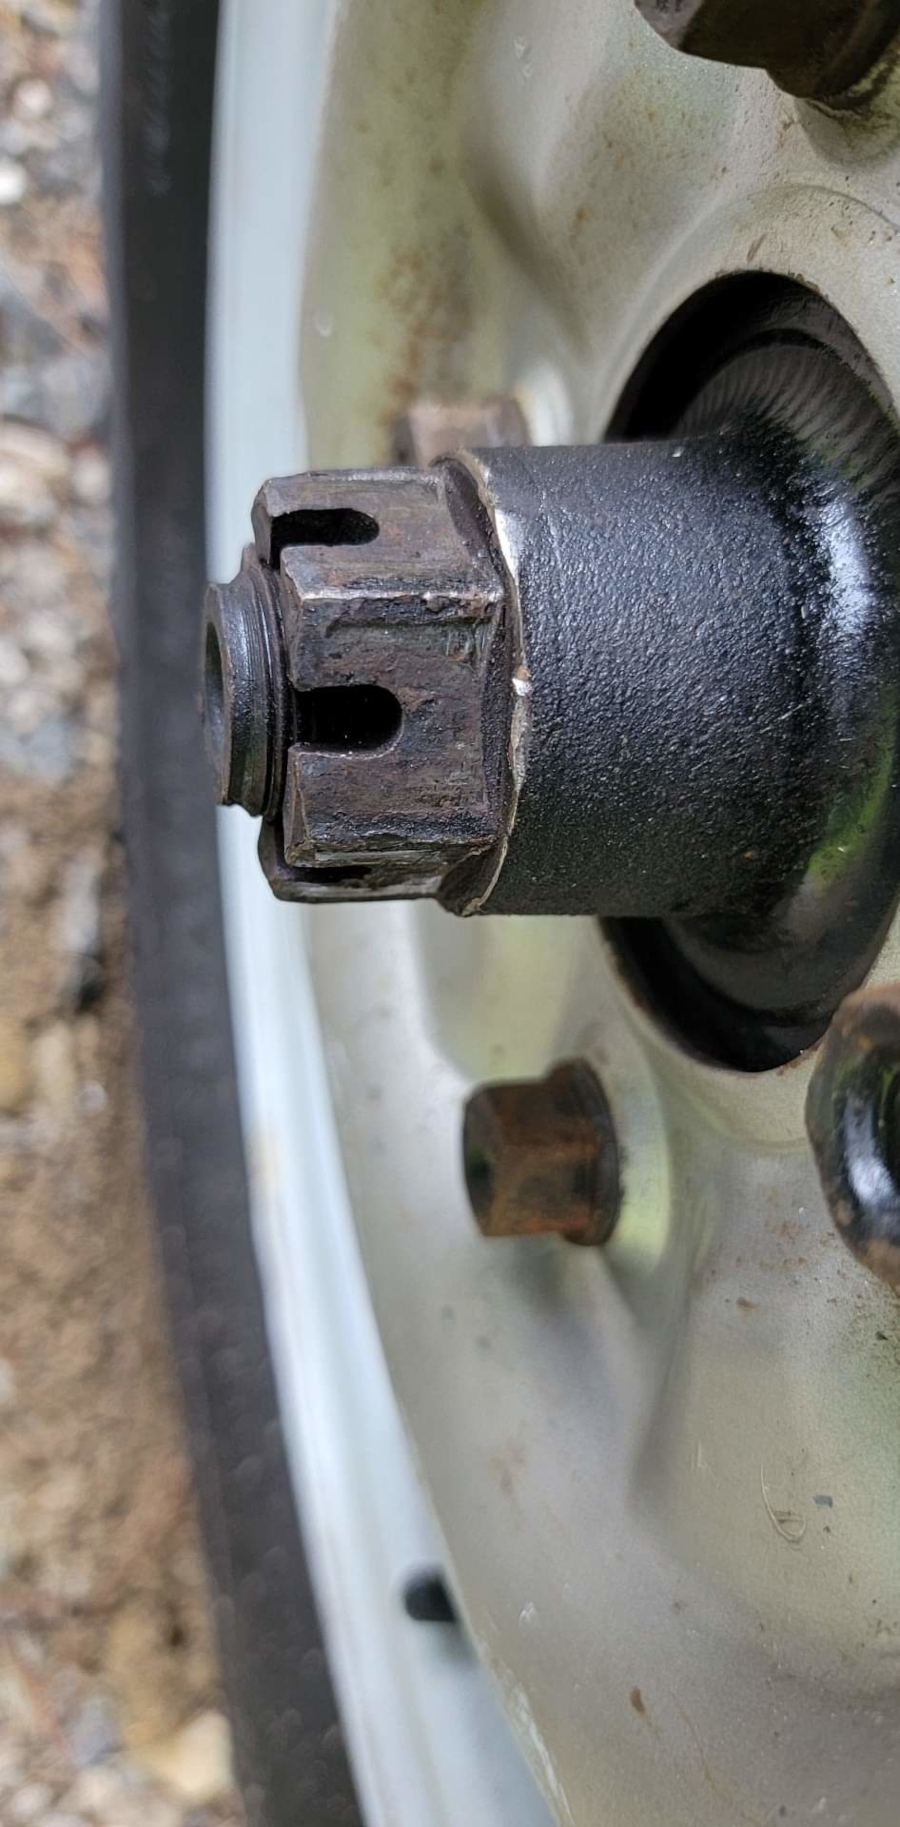
I started at the passenger rear, just like when bleeding the brakes. I was worried about the axle nut, a 32mm castle nut. I didn’t have that big of a socket, so I picked on of those up as well.
Everything came apart without issue and was surprisingly easy. I was expecting a more complicated setup, but not so much.
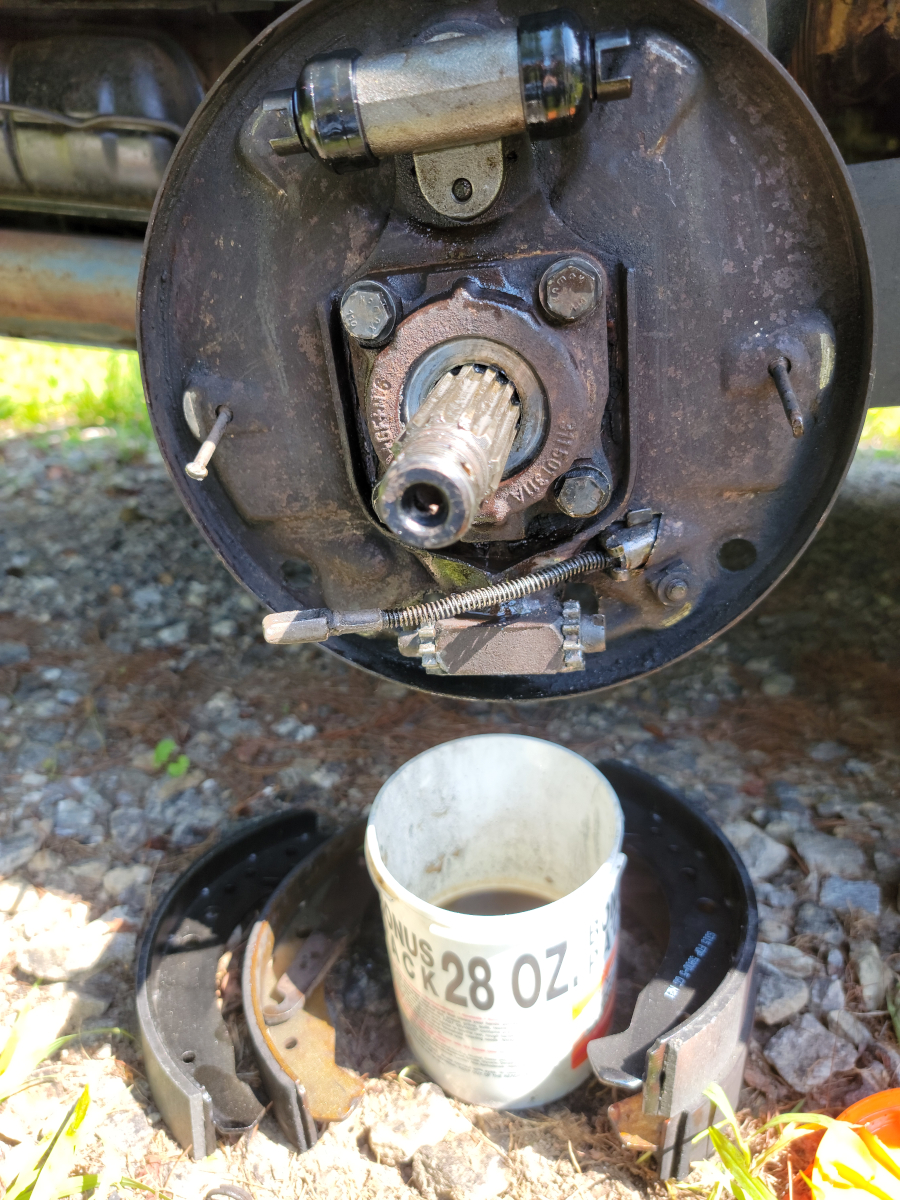
That picture was taken after blowing half a can of Brake Kleen and wiping everything down. The shoes were about half-life.
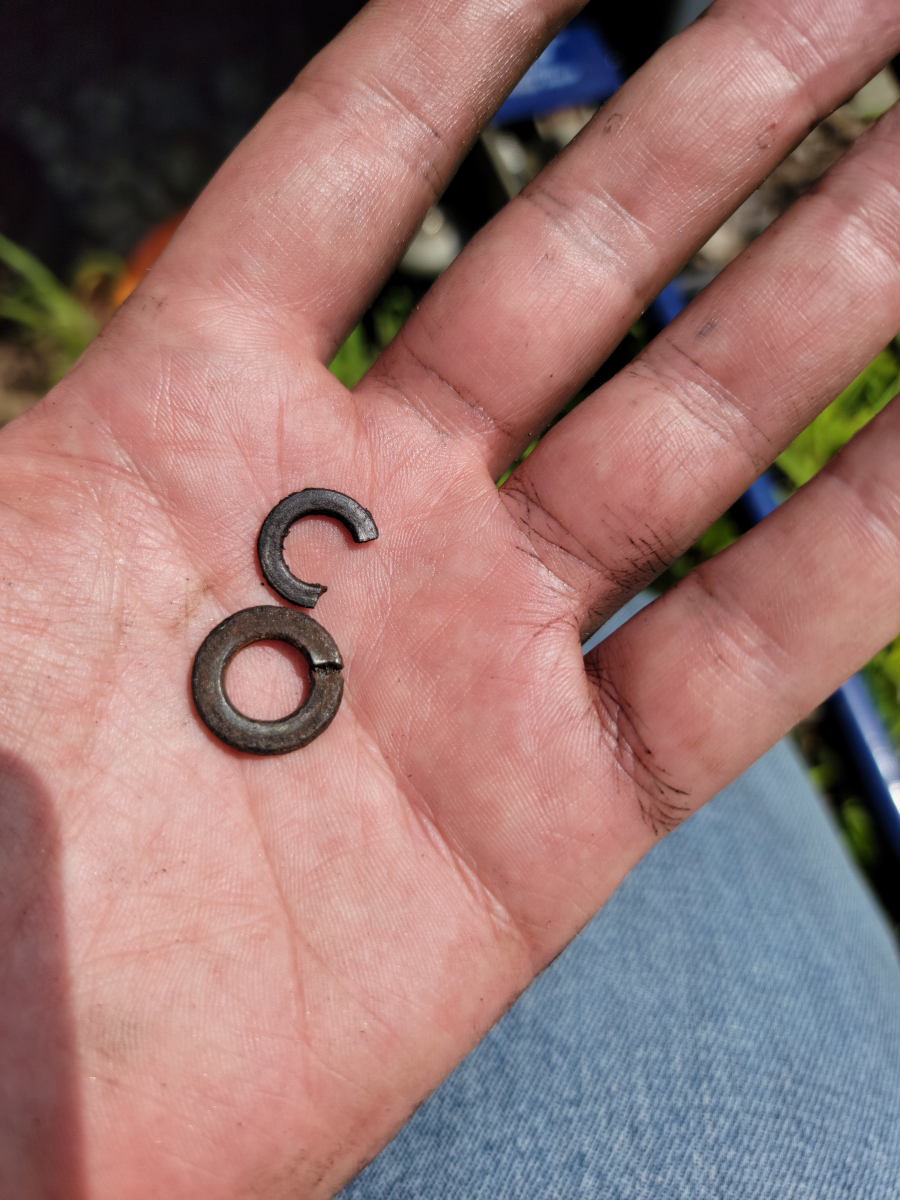
One of the washers on the back side crumbled. Replaced it with the closest I could find laying around in my somewhat organized hardware pile.
New shoes and old shoes side by side. The old hand cleaner can is a good brake fluid catcher. It’s also a good oil pan for changing the lawn mower oil.
New parts waiting to go.
As I was reassembling, there were some snags, like one of the pre-drilled holes in the shoe not being big enough for the pin.
I also had to mix and match some of the old and new parts. The new springs were significantly taller than the old springs. I couldn’t get them compressed far enough, so reused the old springs. It was still a very tight fit.
I put the drum back on, took it off, adjusted the shoes, repeated that process ten times or so, getting a nice, snug fit.
Got that wheel back together, but when I went around to do the passenger side rear wheel, the axle nut was not budging. I decided to go ahead and bleed that rear passenger side, but my manual brake bleeder vacuum gun promptly blew out and started squirting brake fluid in my face.
I was able to finish bleeding it with minimal brake fluid ingested.
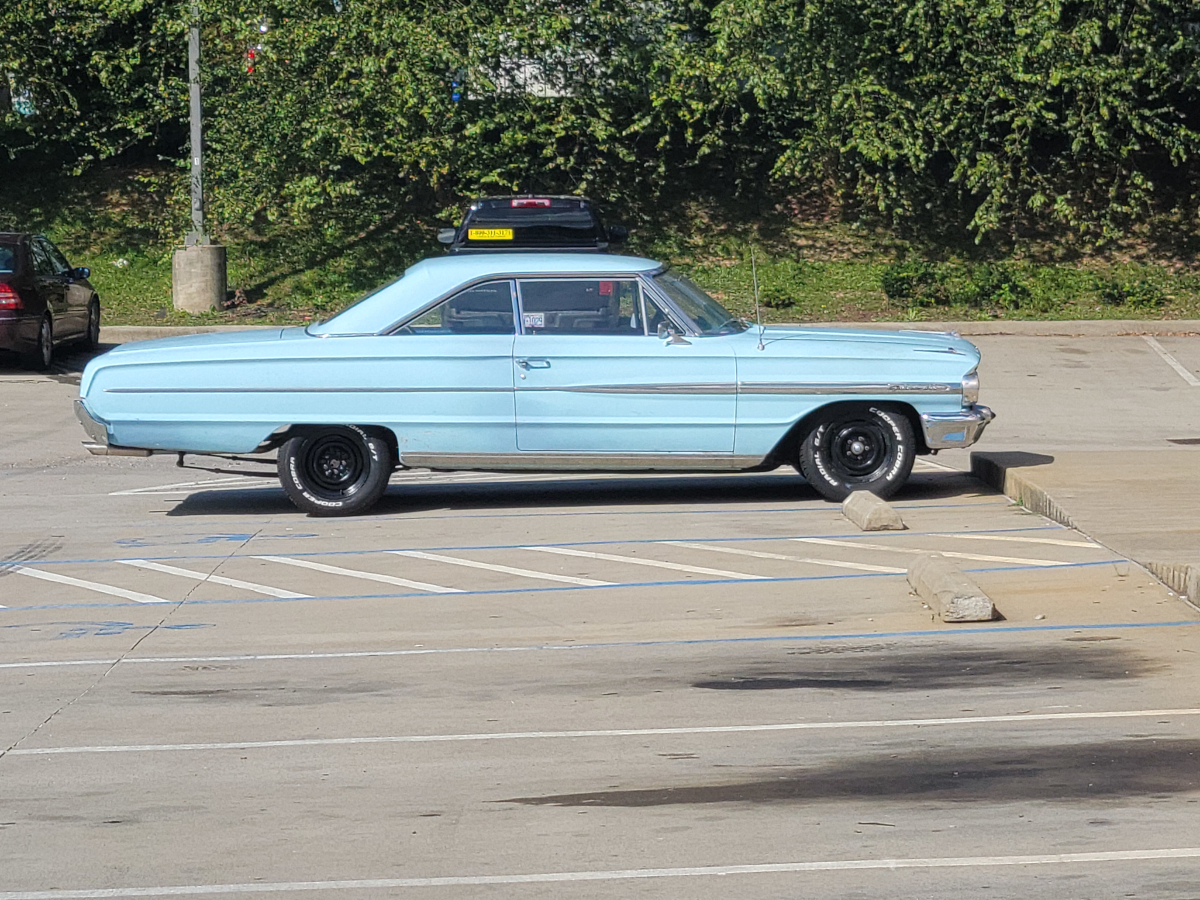
AutoZone was the only place in town that had one of those manual brake bleeder vacuum guns in stock, so I headed over there. Saw this sweet 1964 Galaxie 500 in the parking lot.
After replacing the brake master cylinder with a Dorman model, I noticed the brakes were already fading by the end of the 150 mile trip home. I started the trip with a full, hard brake pedal. By the time I got home, there was barely any braking down to the last inch of pedal throw. The last couple of times I have driven the car, the brake pedal was clacking against the floorboard. I have always kept an eye on the back side of the wheels, looking for leaking wheel cylinders, and up to this point, they were always dry.
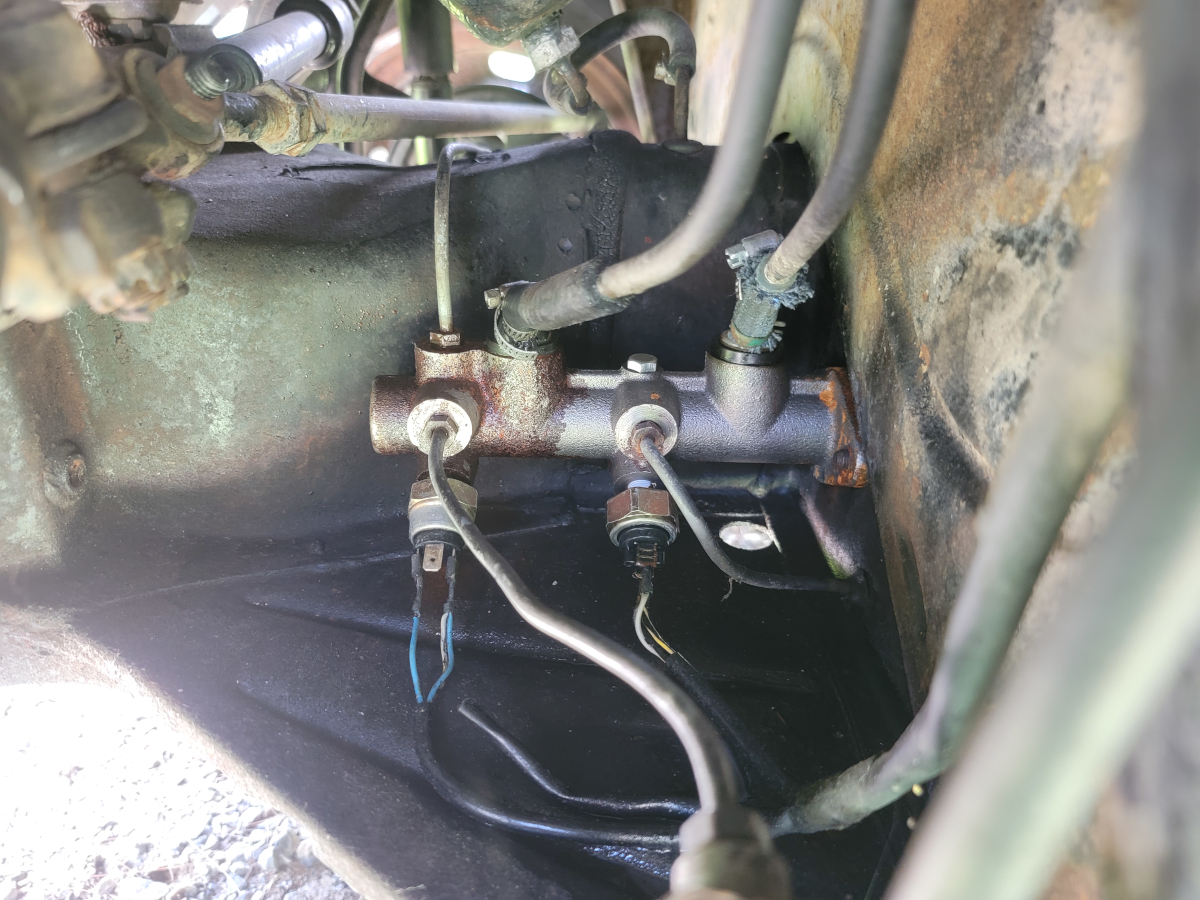
So, I ordered a new master cylinder, this time a NAMCCO model (Amazon link). When installation day came, I jacked up the front of the car, removed the drivers side front wheel and there it was, rusty new master cylinder. Brake fluid was leaking from the hard line at the front and the rubber inlet.
When I got everything disconnected, I found the top hose that we recycled should probably not have been.
It wasn’t losing much (if any) brake fluid, but I think the pressure was escaping without creating puddles. I cut that nasty end off and recycled that hose again. Lesson definitely not learned.
I got the new master cylinder mounted to the firewall, to keep it from flopping around while trying to connect those hard lines and the inlet hoses.
I got everything reconnected except the very last hard line. I was maybe 45 minutes into the process at this point, then spent the next hour or more trying to get it started.
With my fingertips raw and fully defeated, I packed it up for the day.
Convinced that I couldn’t have been doing anything wrong, I decided the master cylinder must be drilled or threaded wrong. I got the old master cylinder out and the hard line screwed right in without issue.
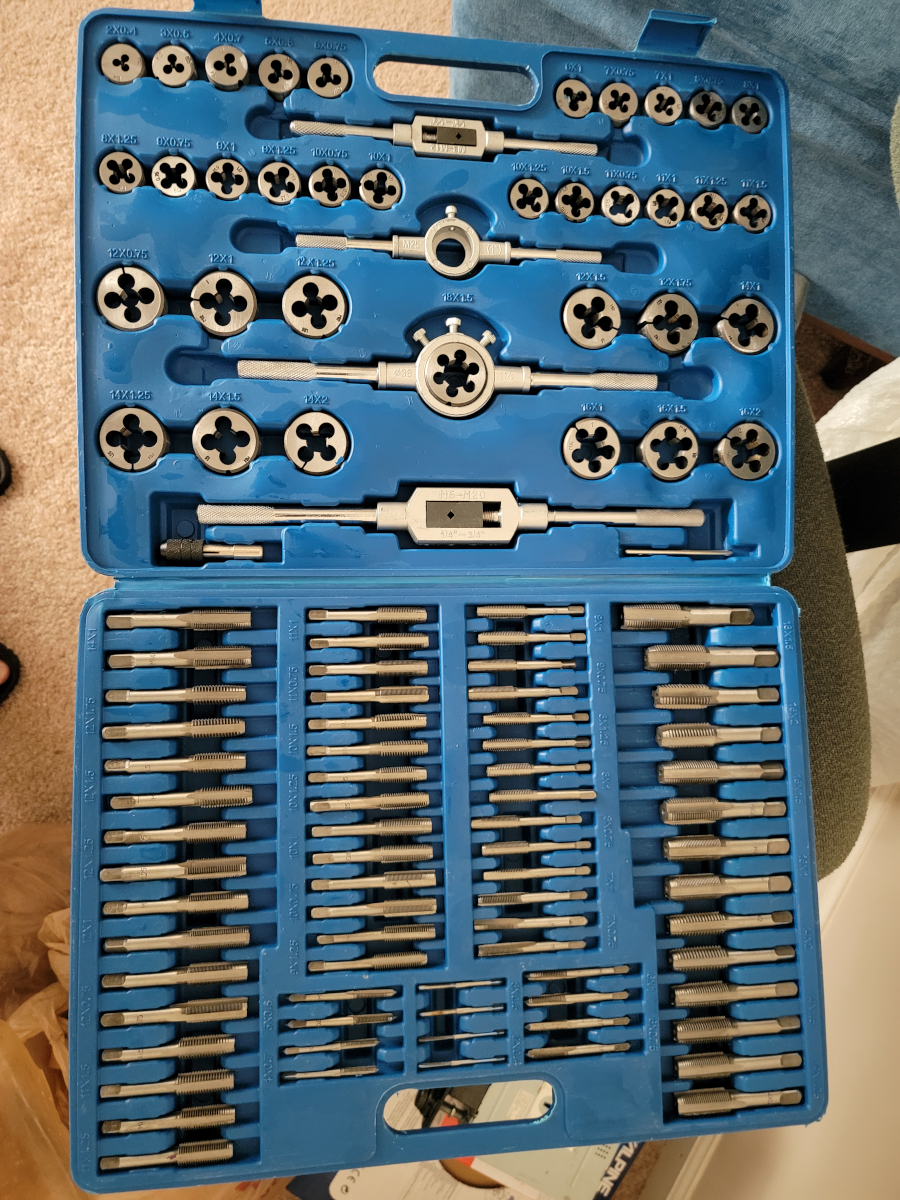
I have been looking for a reason to buy a tap and die set for a long time.
With this being a strange size and thread pitch, I had to get a complete set (Amazon link), or pay nearly half as much for just that one size.
Anyway, in talking to my dad about it, he said “If you unbolt the master cylinder from the firewall, I’m certain it will thread right in.” He was right. Mostly. It was still tough to get it going, but after a tough half a turn, it broke through and threaded the rest of the way in, instead of popping out like it was before.
OK, so, that worked great. I took my manual brake bleeder vacuum gun around, bled each wheel, and had a good, solid pedal. Maybe not as much as last time we changed it, but good, safe transportation.
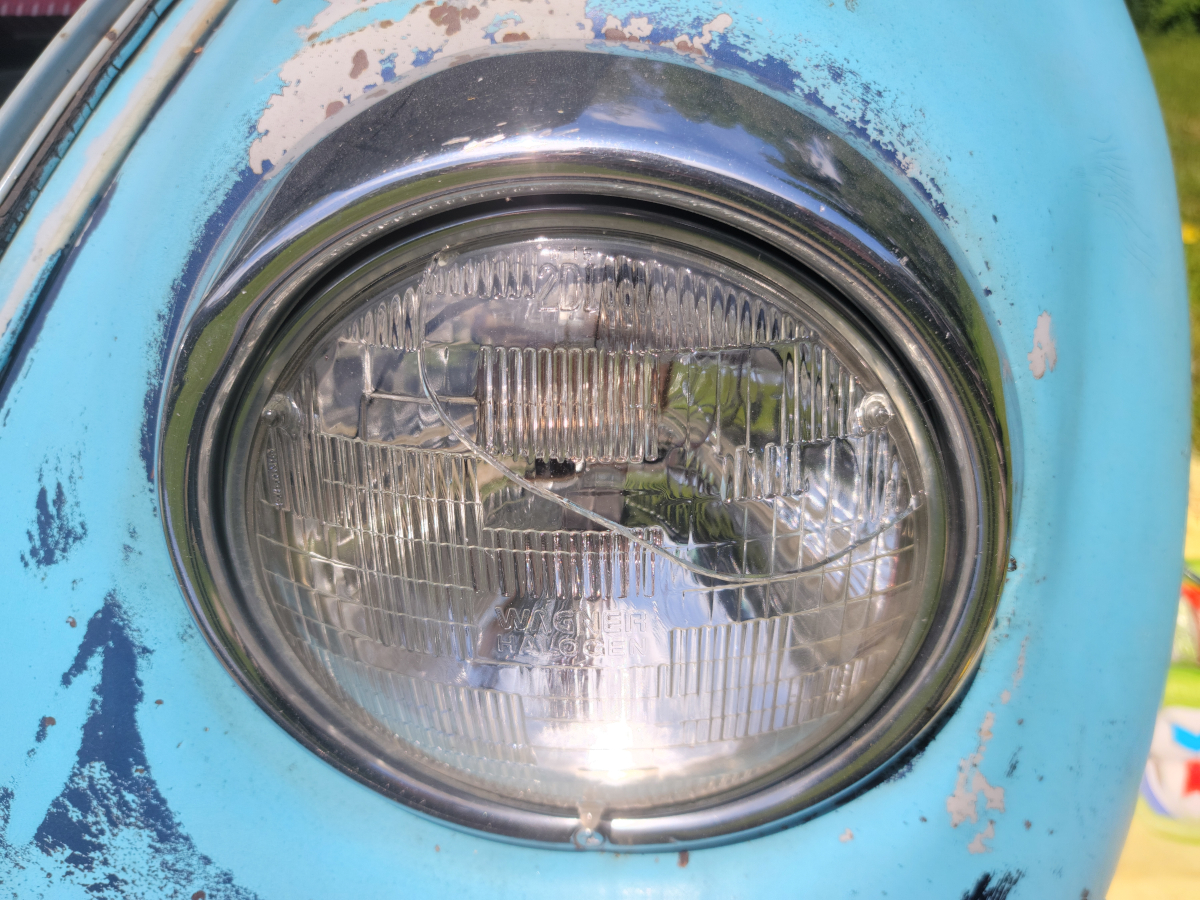
One win and one loss. Randomly, the drivers side headlight was cracked. I’m sure that is a result of the previous struggles I had with even getting the trim rings to mount at all.
As an Amazon Associate I earn from qualifying purchases. I also often provide links to products on other sites that do not provide affiliate income.