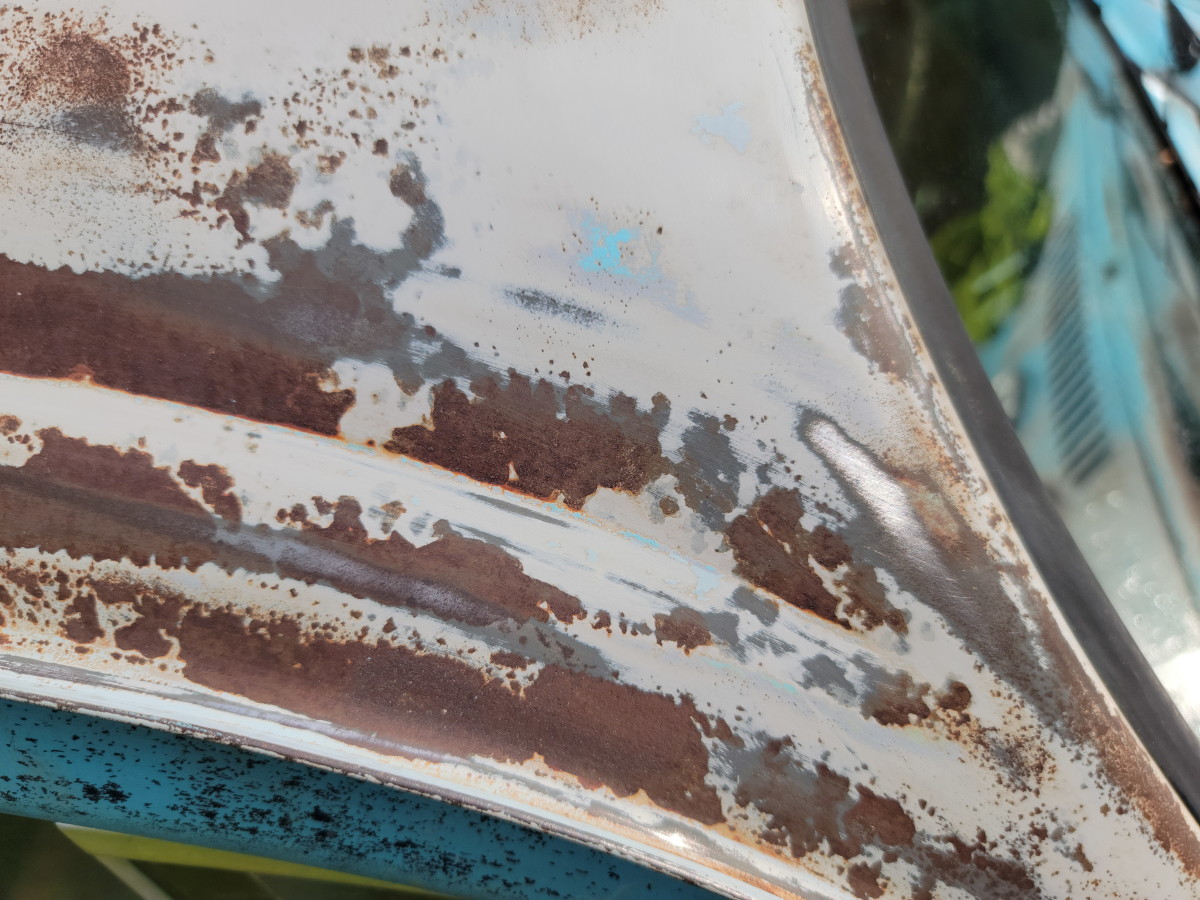
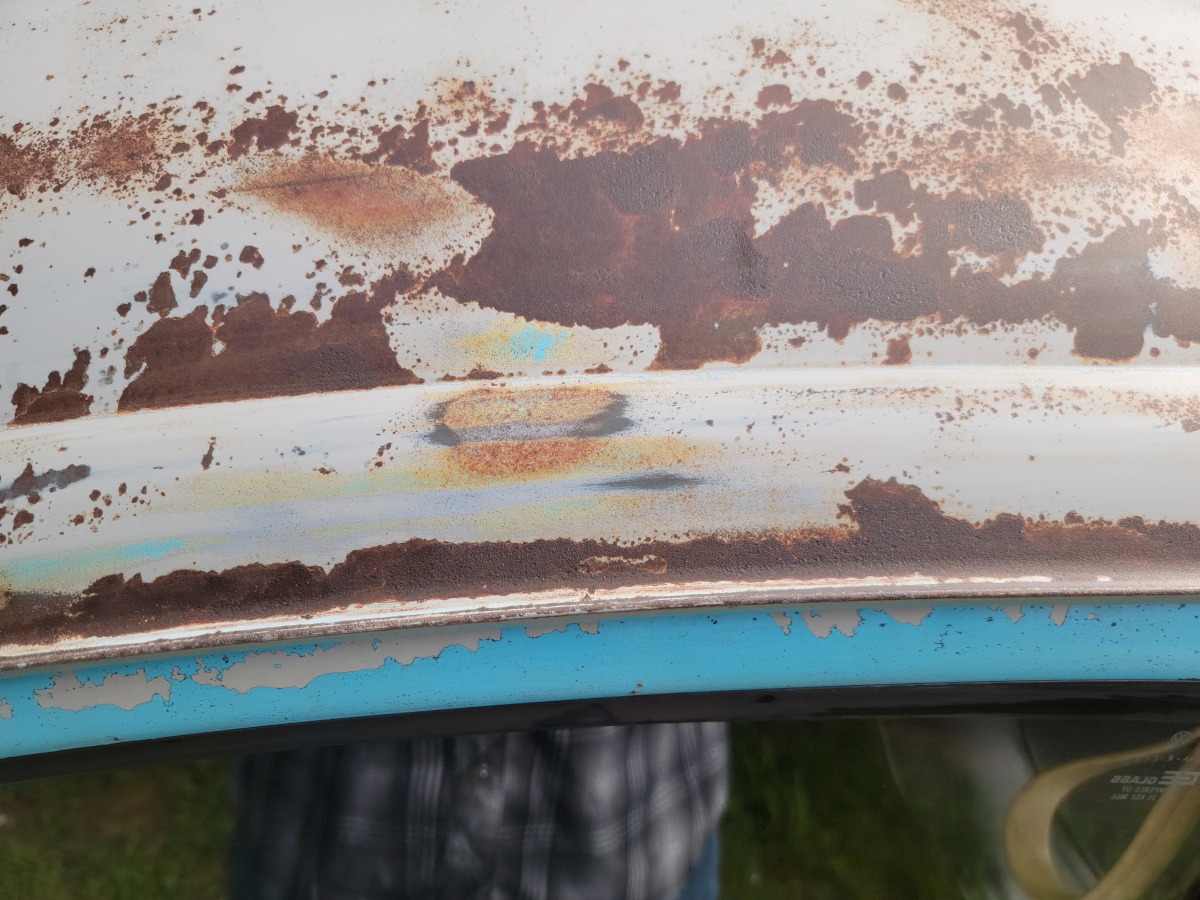
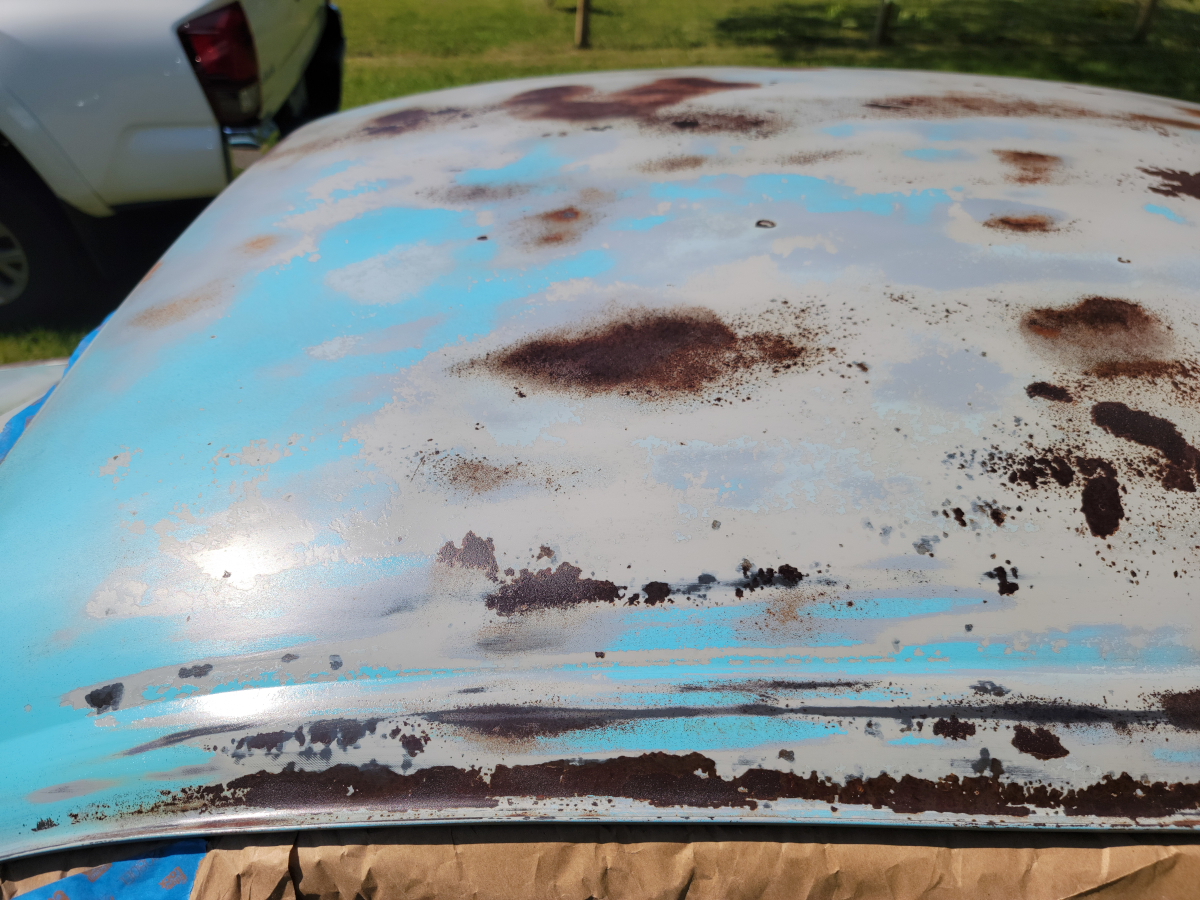
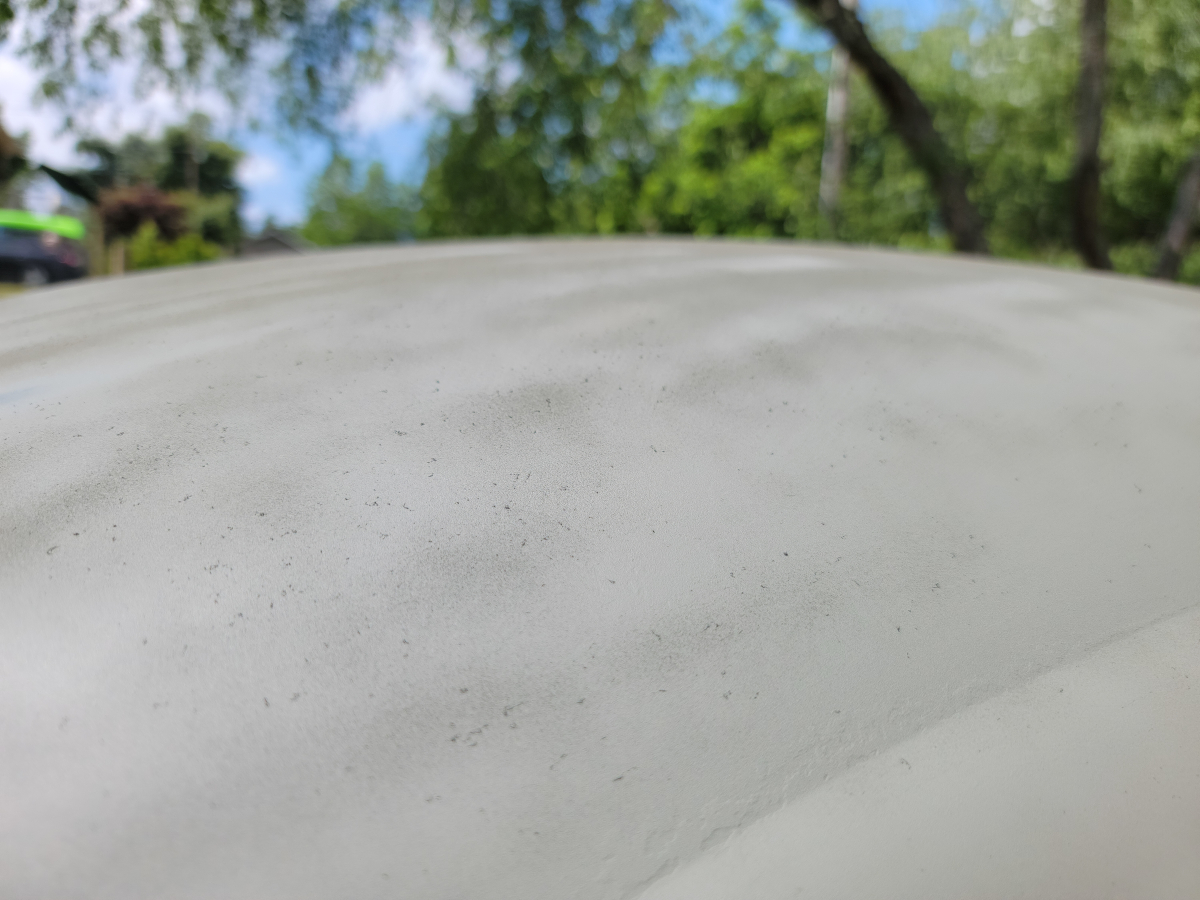
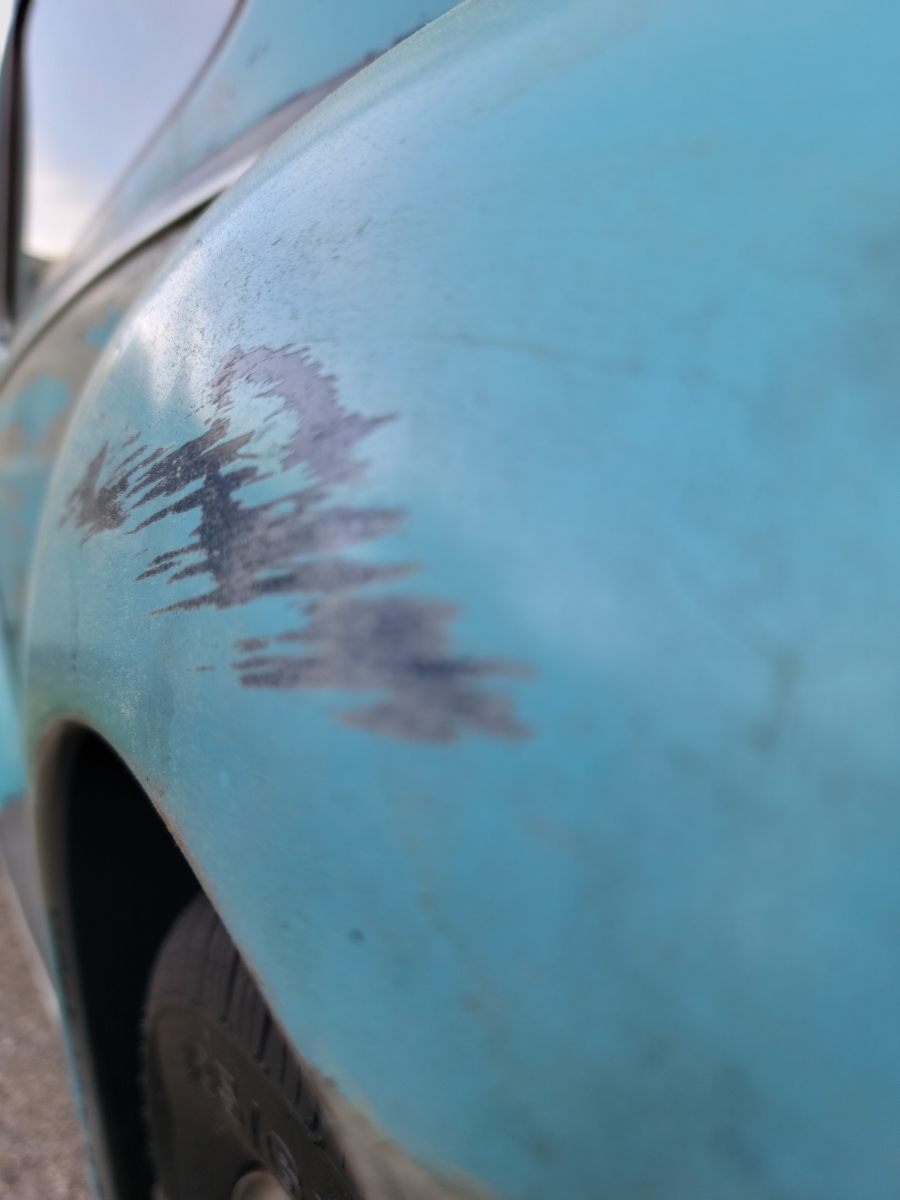
After the first couple of coats of primer and paint went down, there was a lot of texture to the paint. Mainly over-spray dust. I tried going over it first with the blue Scotch-Brite pad, which is the one safe for non-stick pans. That took some dust off, but not the texture.
I then stepped it up to the regular old green Scotch-Brite pad, which also removed some more dust, but not the texture. I found 3M makes a prep pad specifically for in-between coats. I bought a pack of those and tried them out, but same deal – removed some dust, but not the texture. And honestly, those pads seemed to be somewhere in between the blue and green Scotch-Brite pads, so I didn’t put much faith in them working.
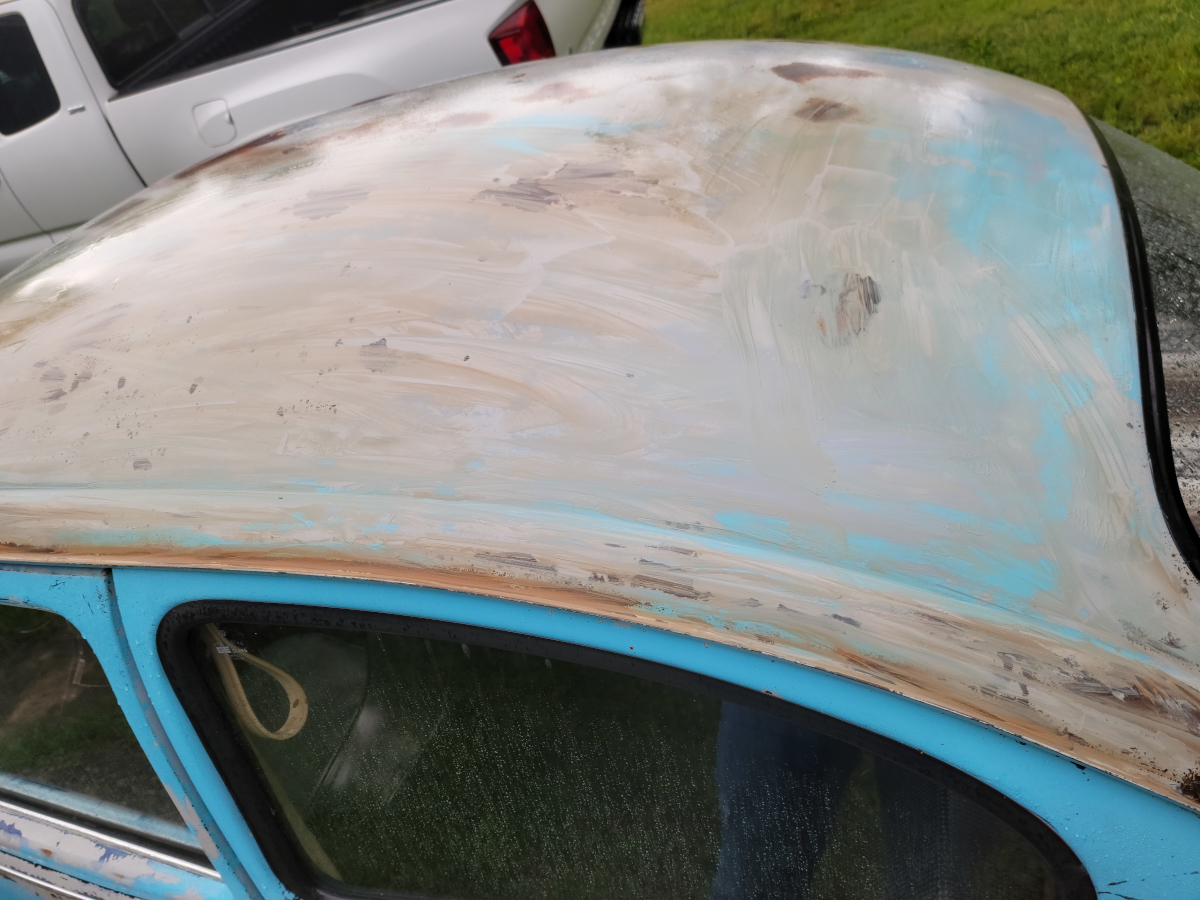
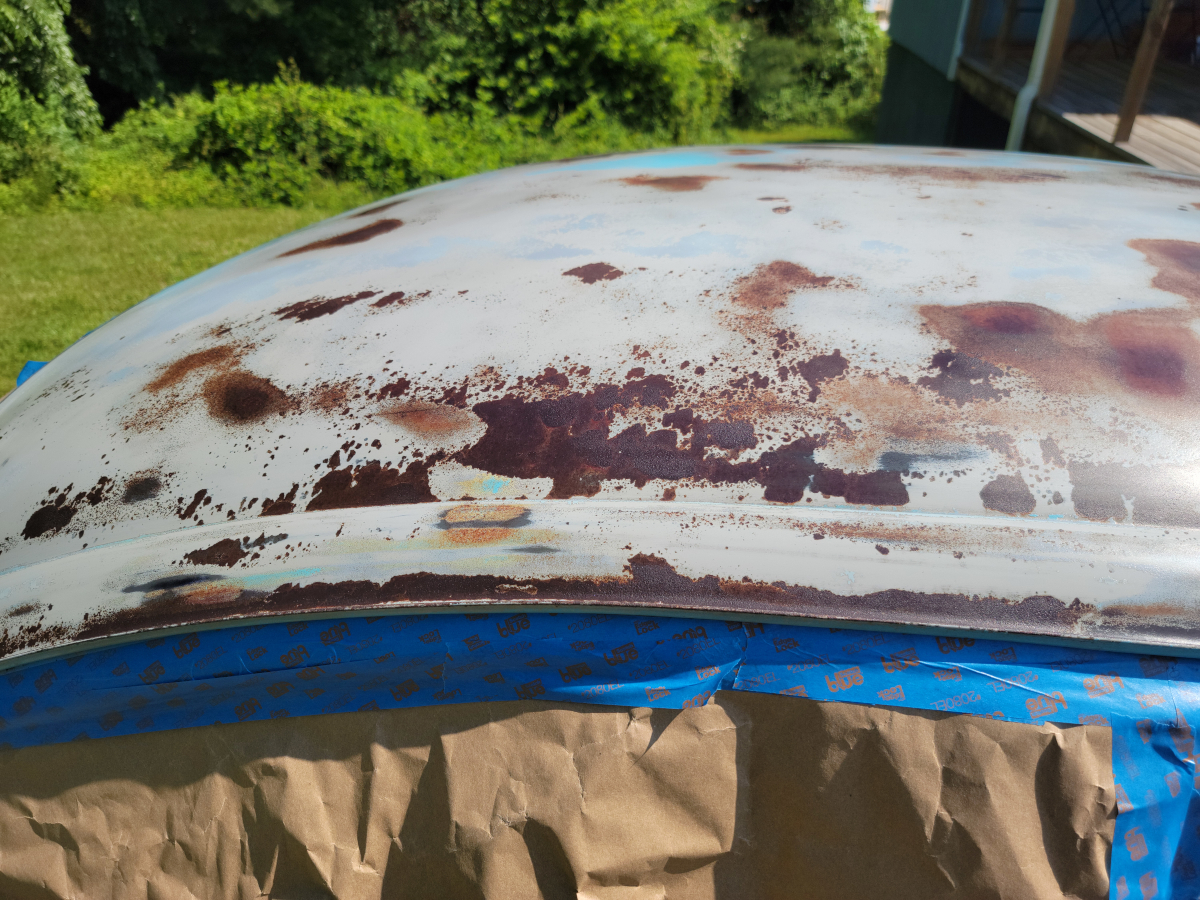
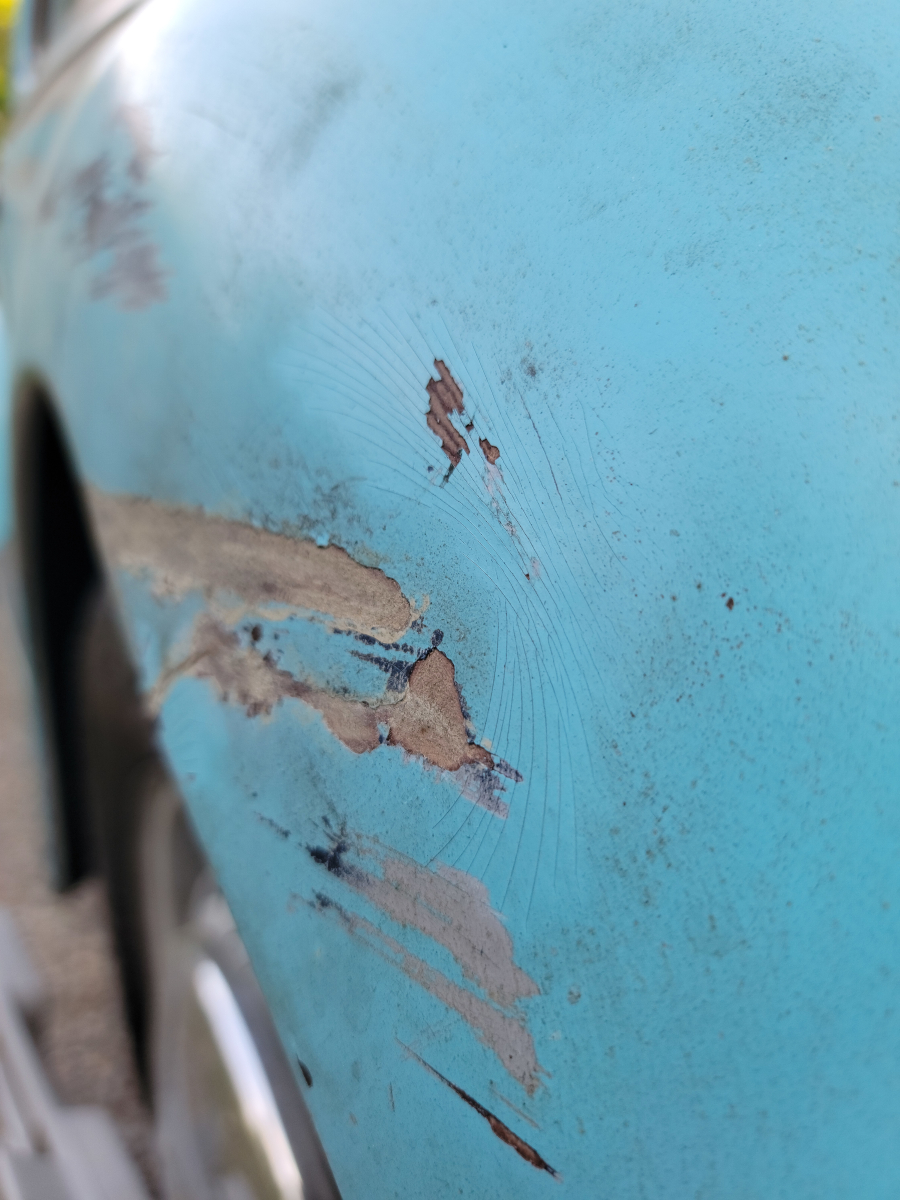
So, I had to wet sand again. This time, I had some leftover 1500 grit sheets from a variety pack I bought at Harbor Freight a while back. The sheets are really thin and wear through immediately. They also smear black across whatever you’re sanding, so I was concerned about that.
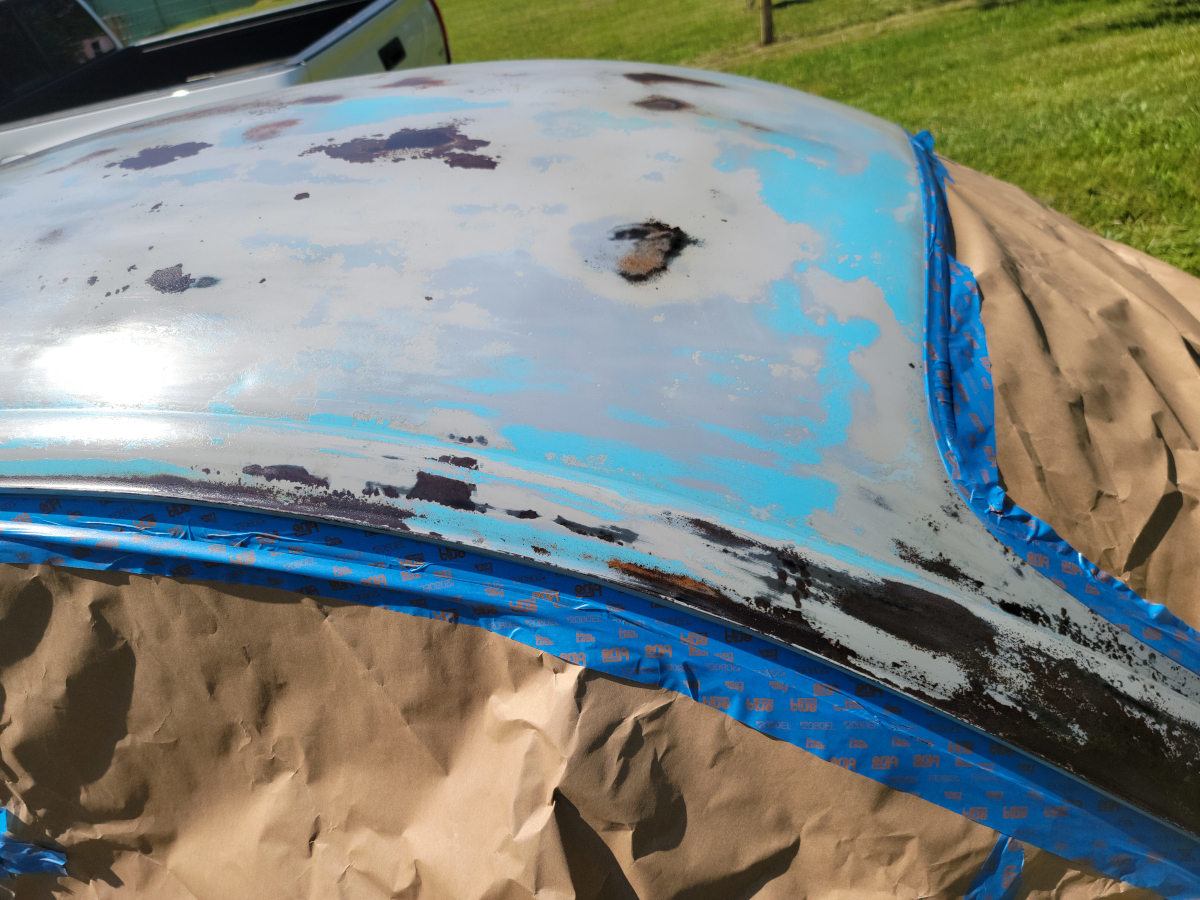
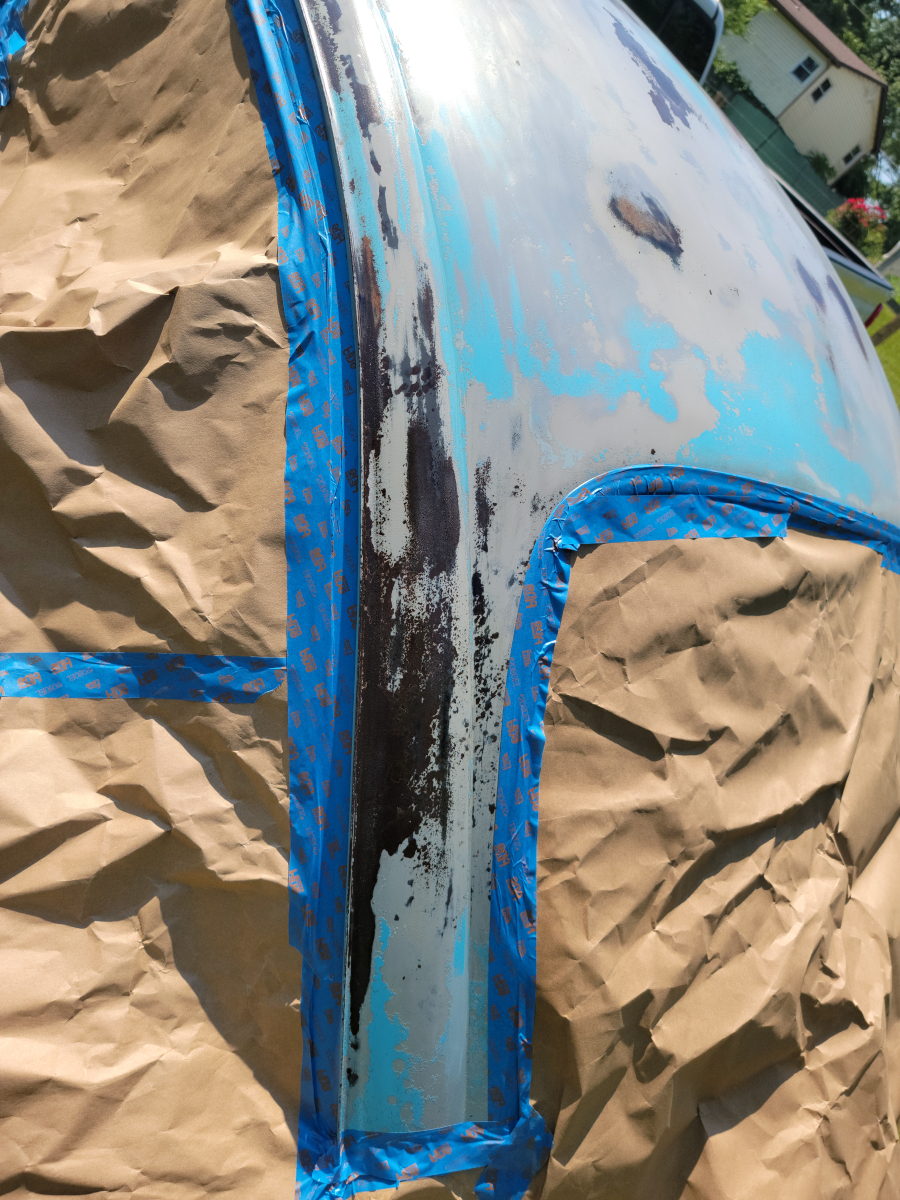
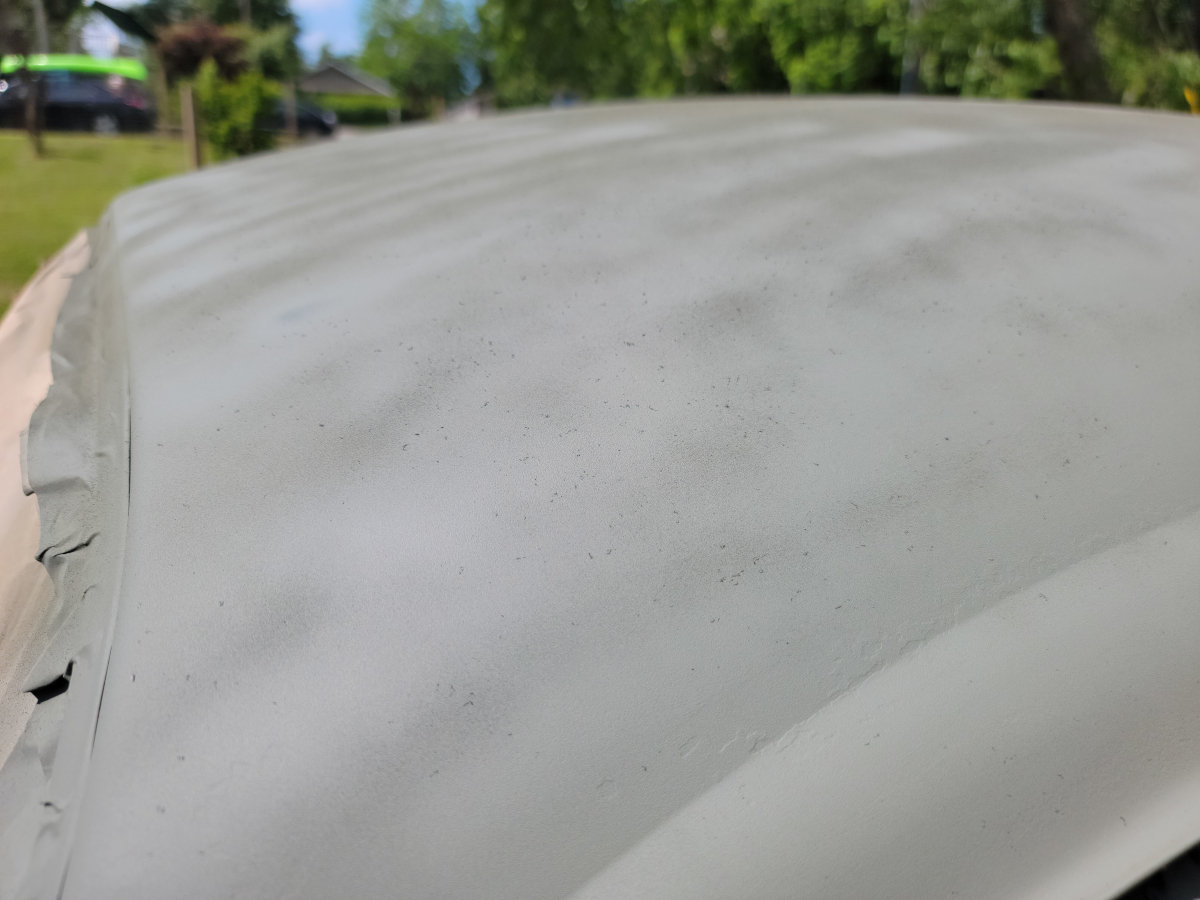
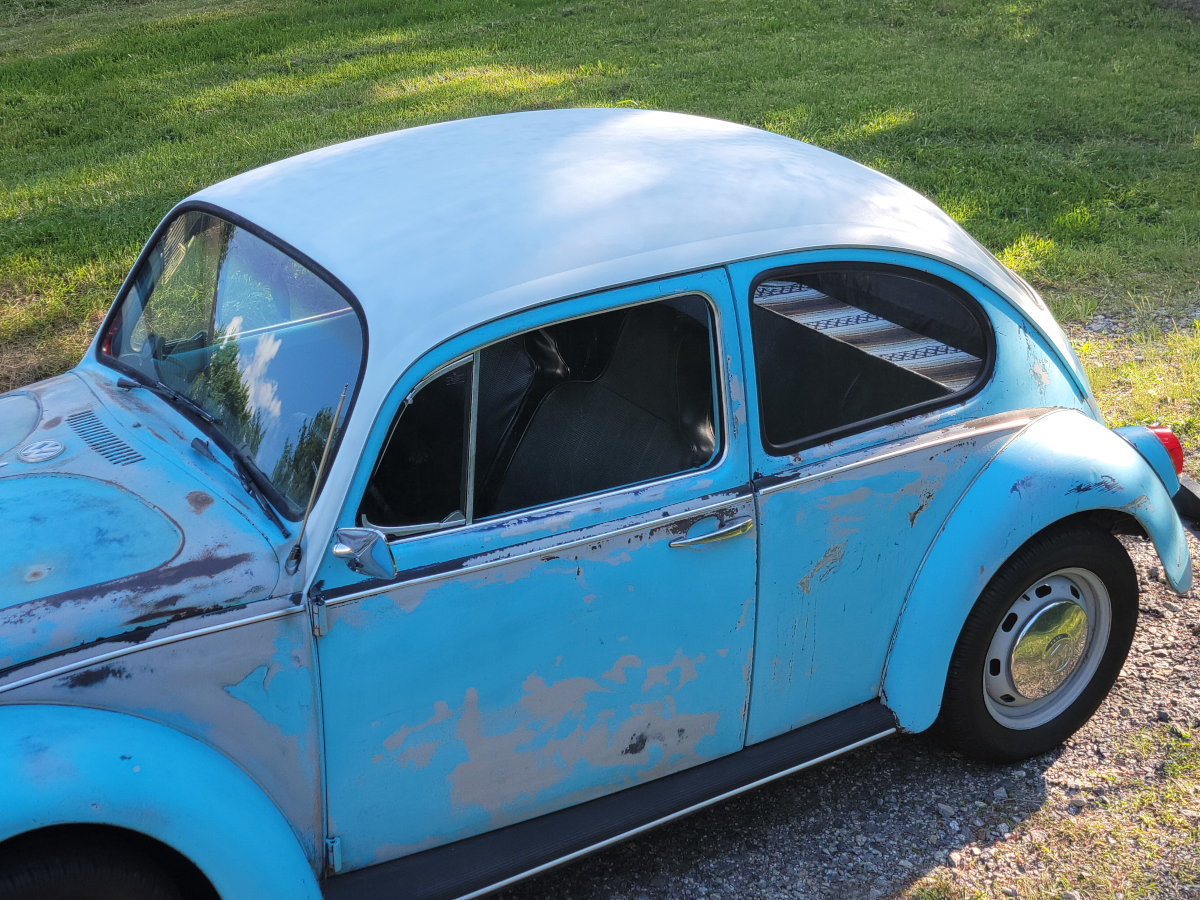
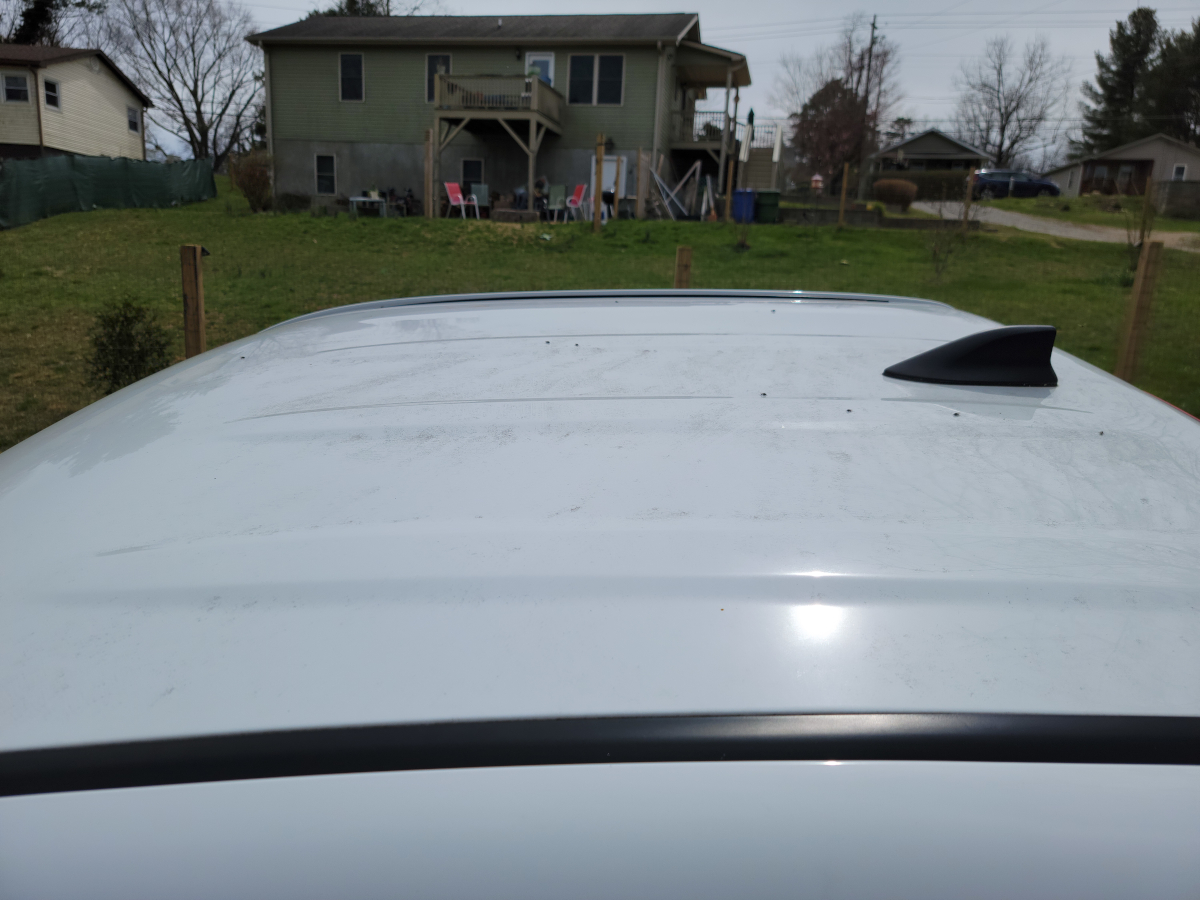
I did a little area with the 1500 grit and as per usual, the sheet immediately blew out and made a mess, so I went and bought some 3M 1000 grit sheets. This did a nice job and was proper quality sandpaper. I went over the whole roof and pillars with a roughly 2 1/2″ x 5″ sanding block.
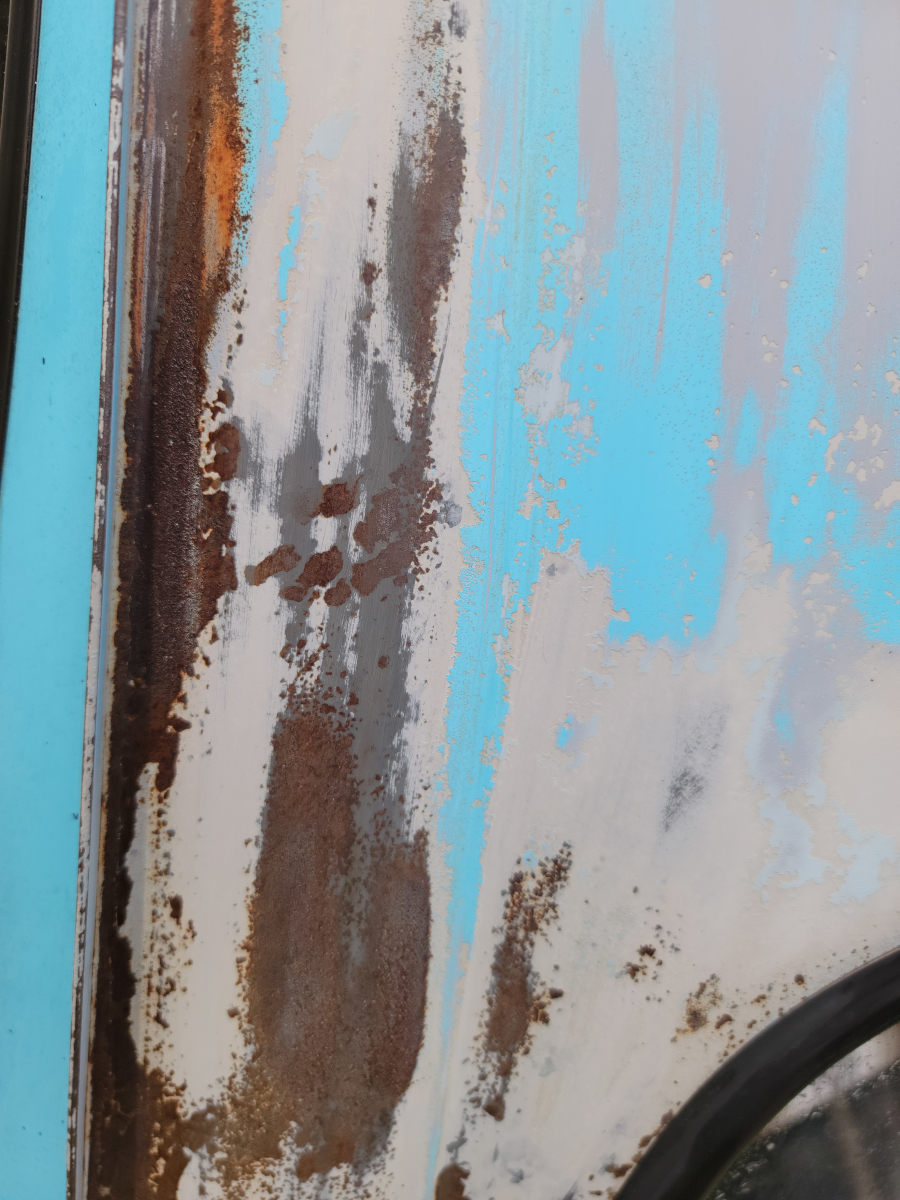
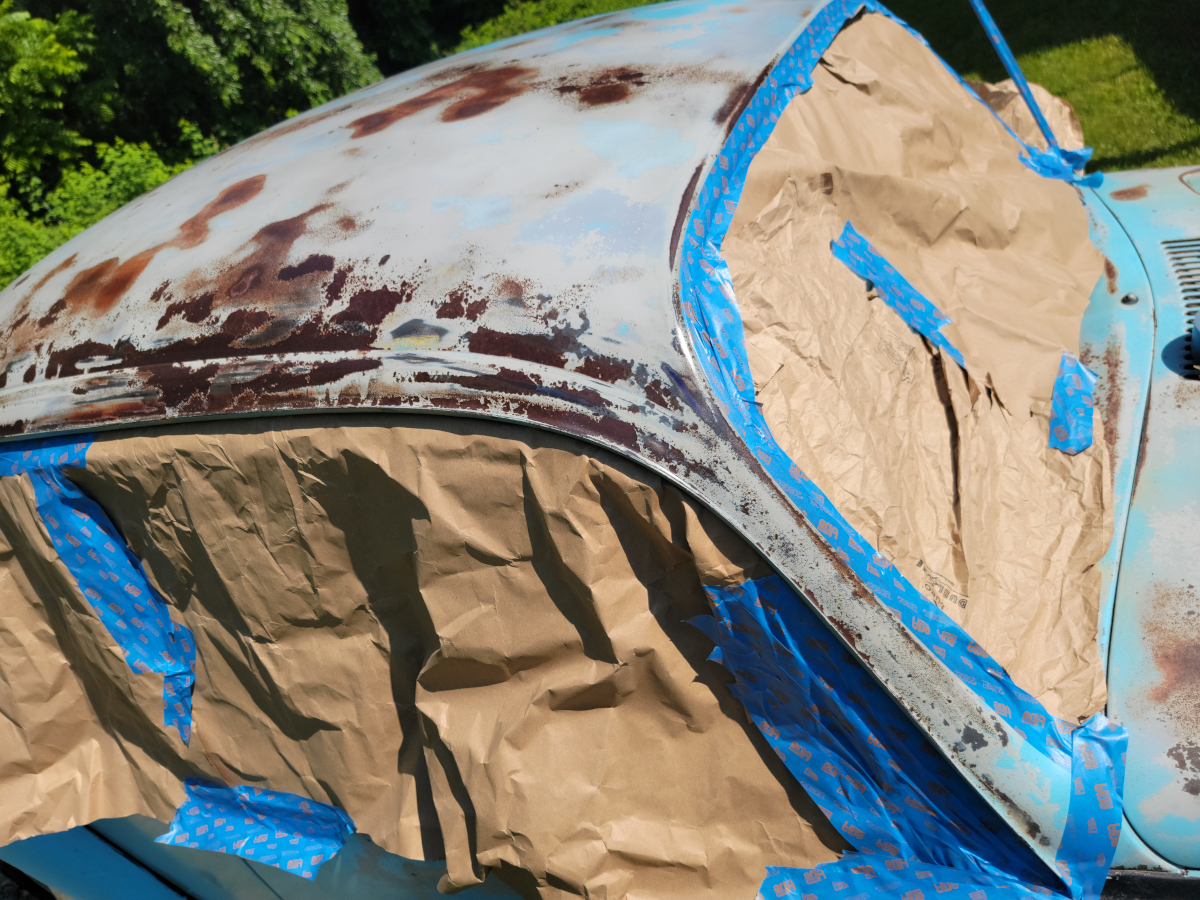
There were still some low spots, where the roof is pretty dented up, so I cut a dish sponge in half, making a more flexible, roughly 2 1/2″ by 2 1/2″ block to wrap the sandpaper around. With that, I went over the low spots and for the most part got them smoothed out.
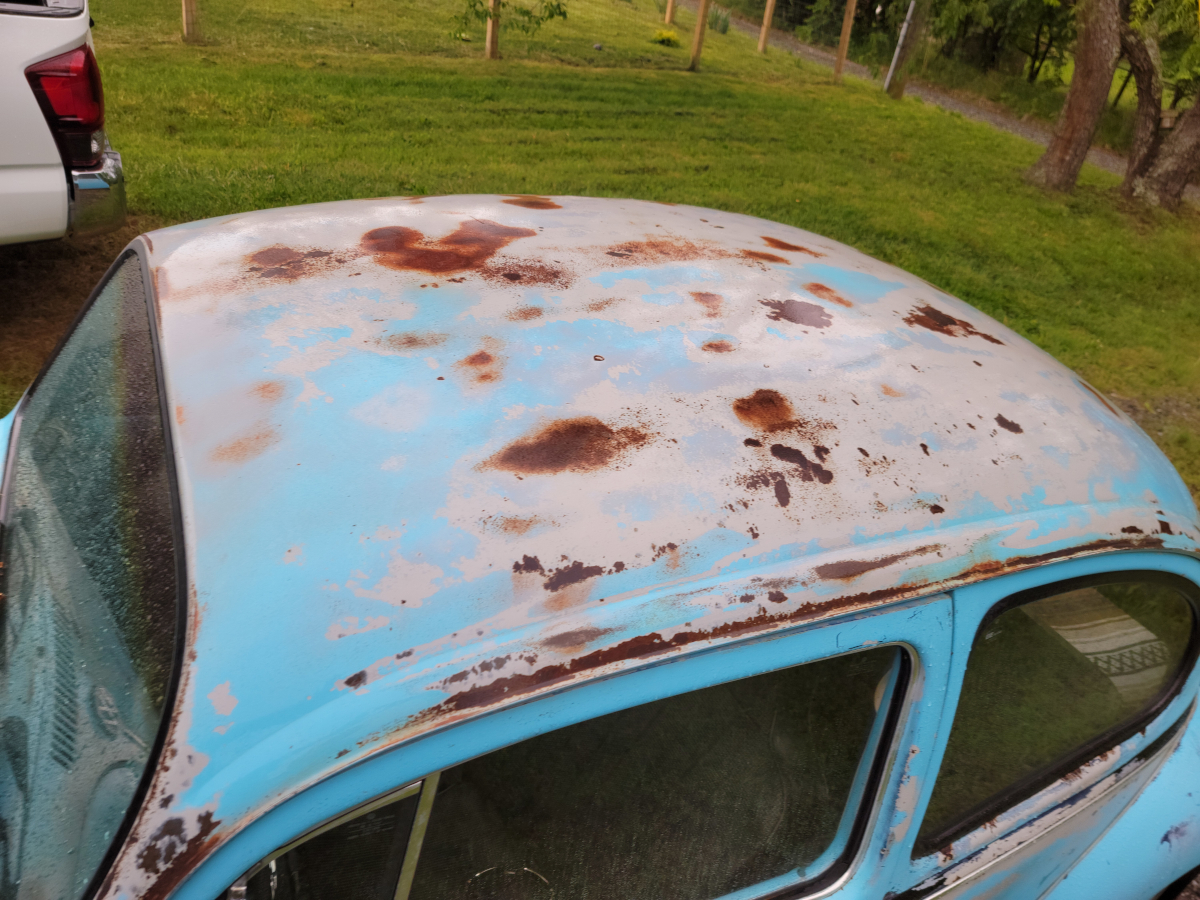
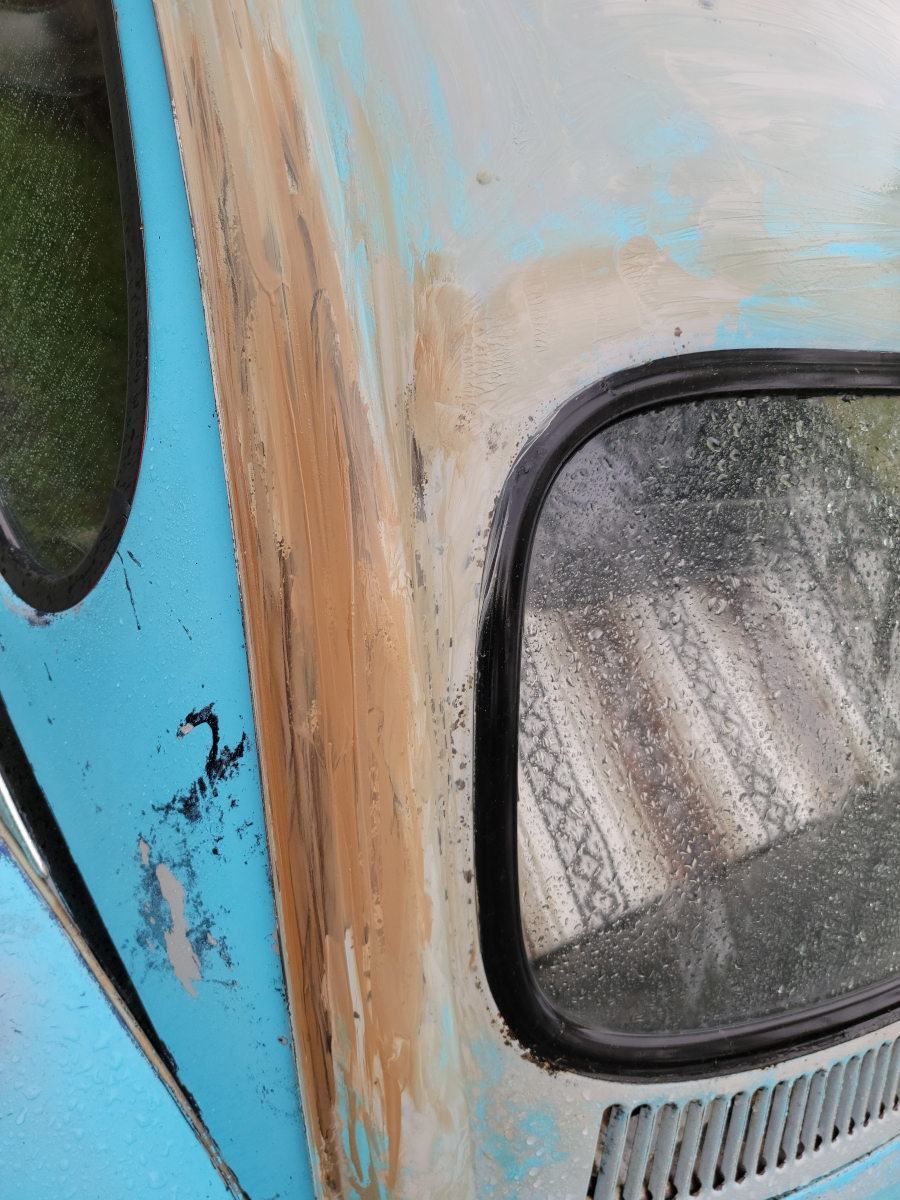
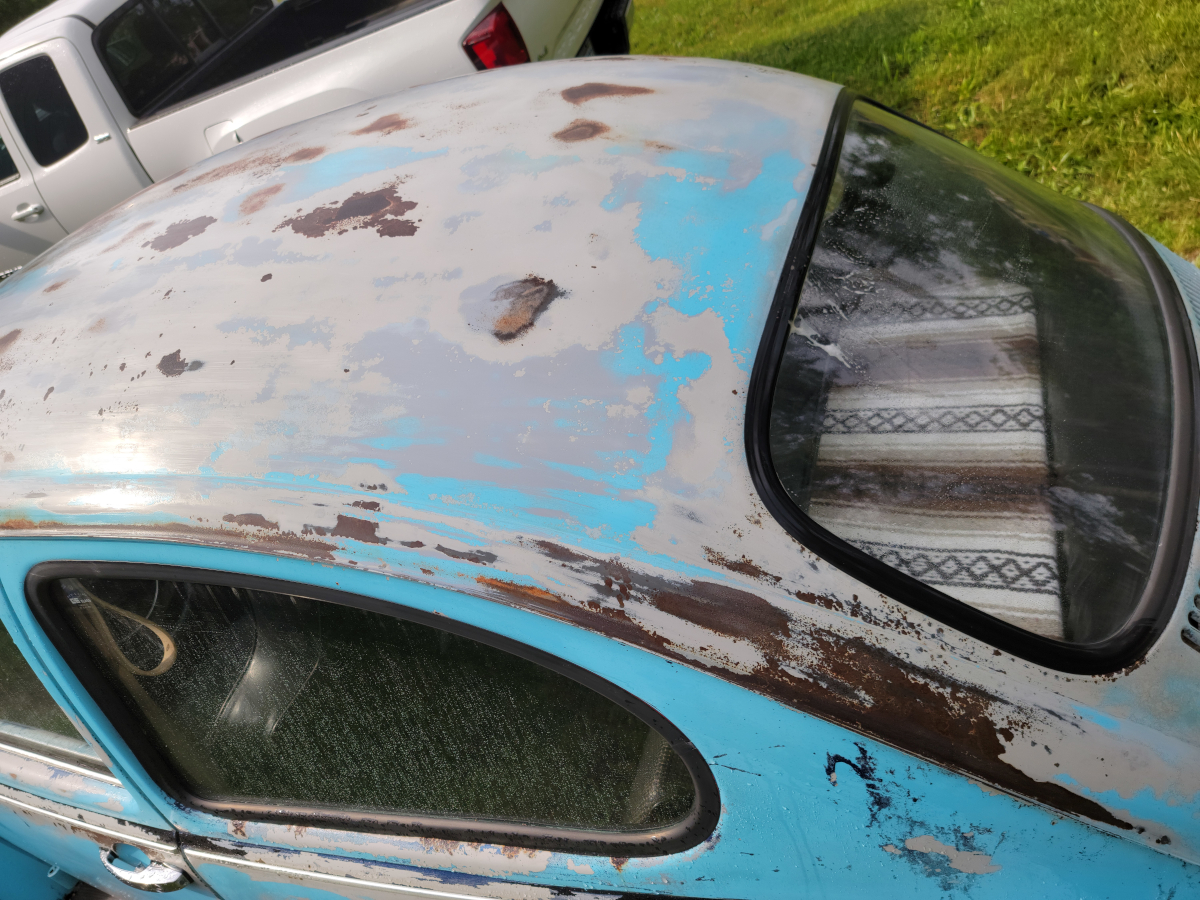
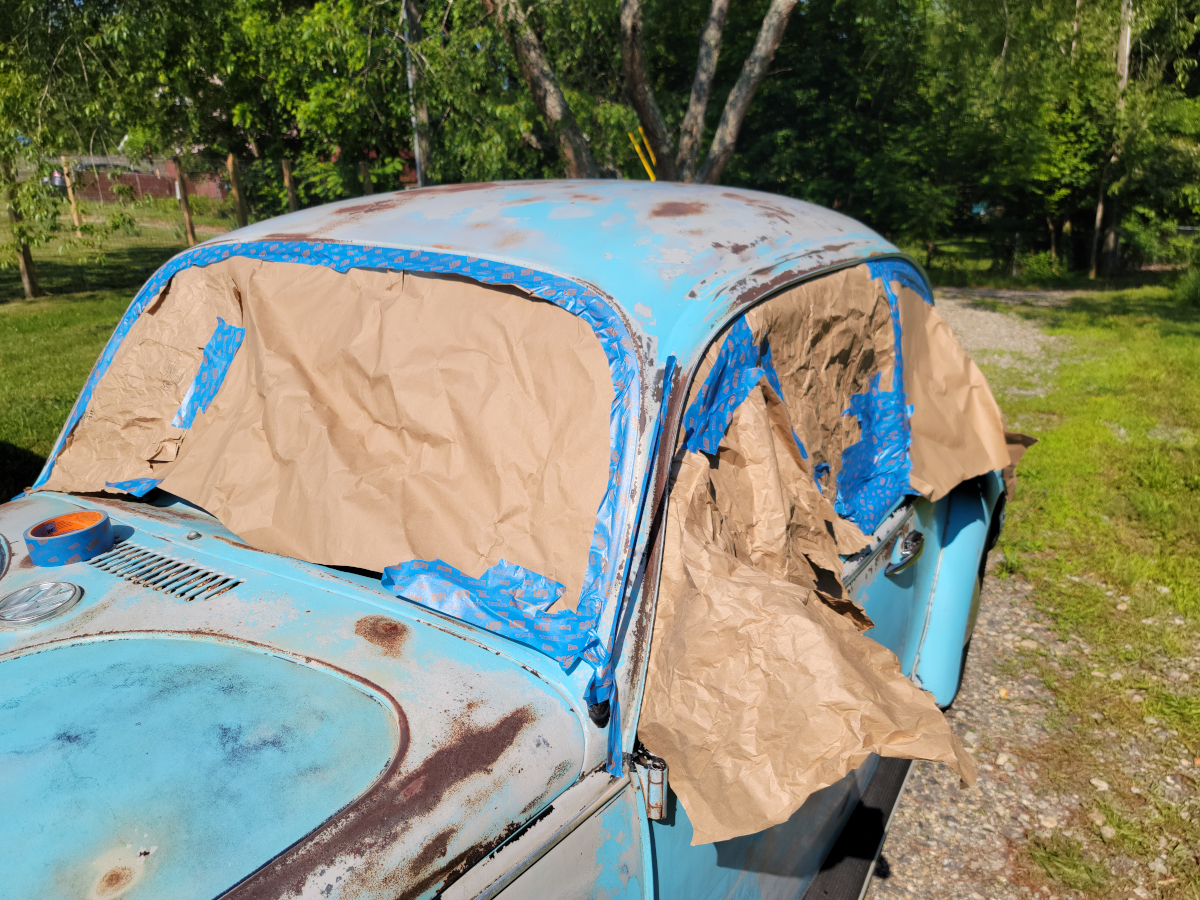
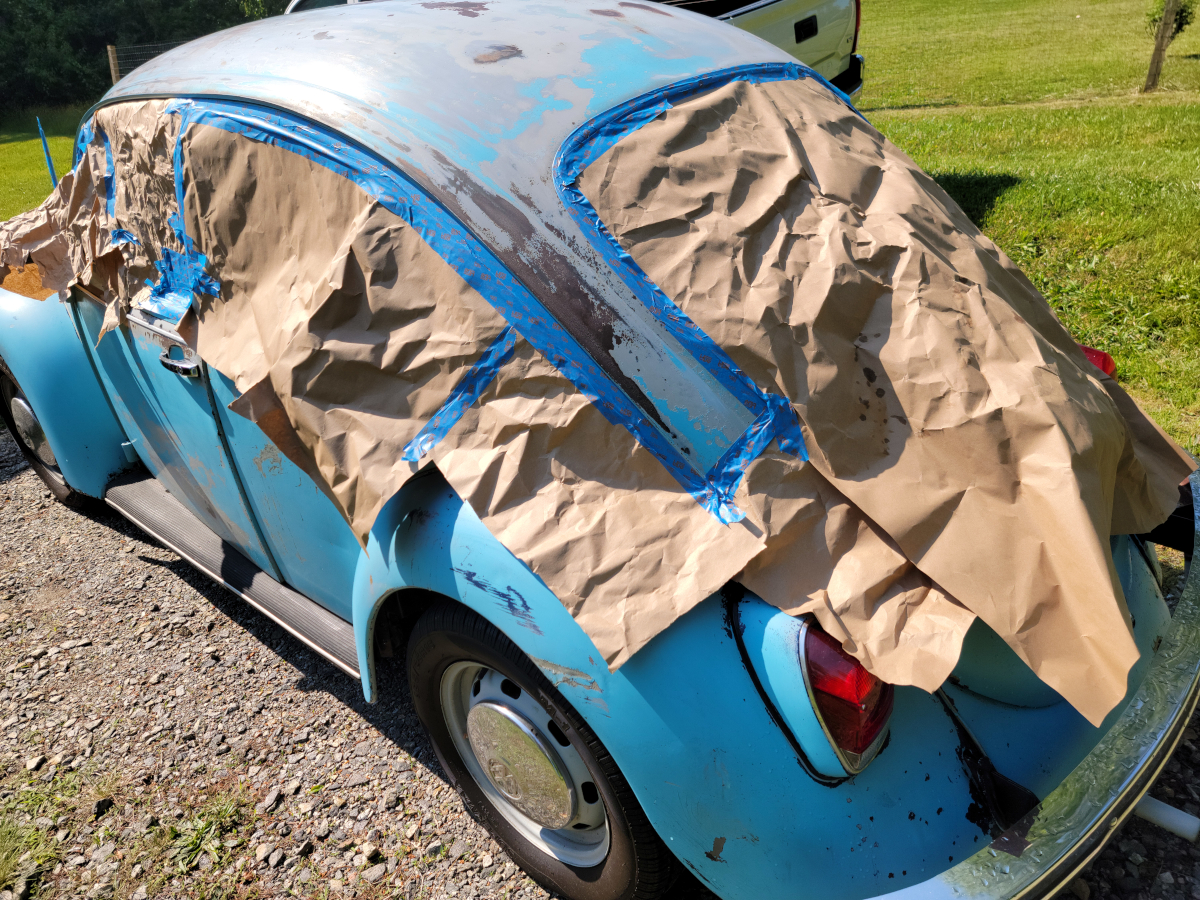
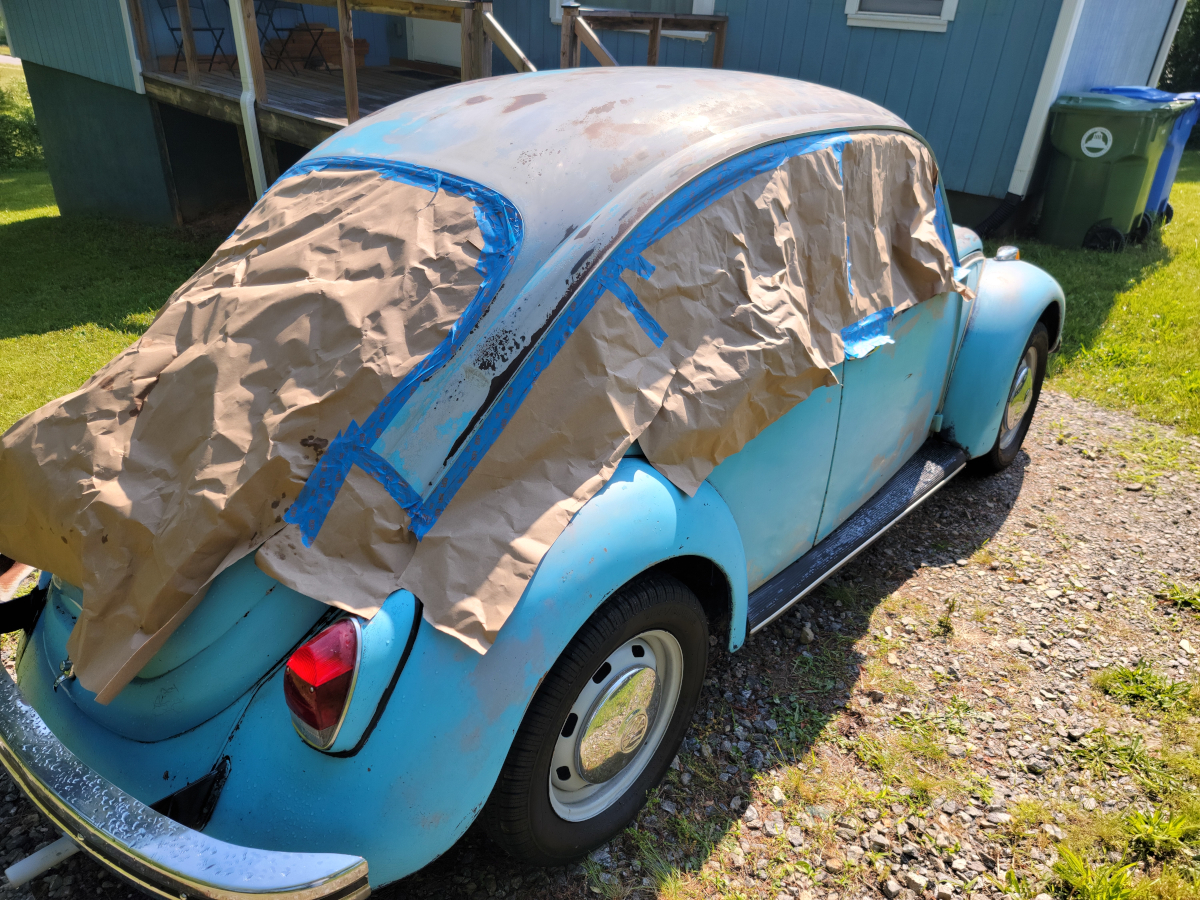
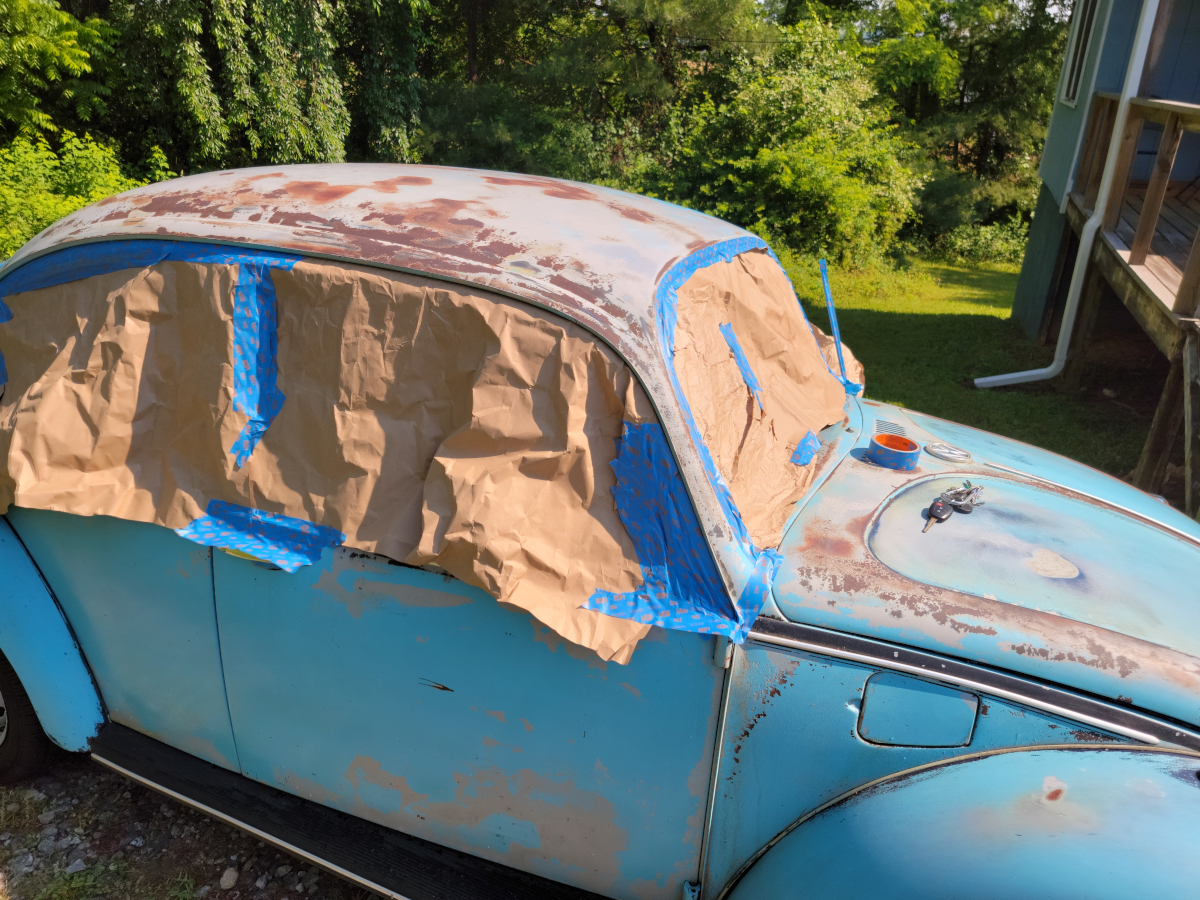
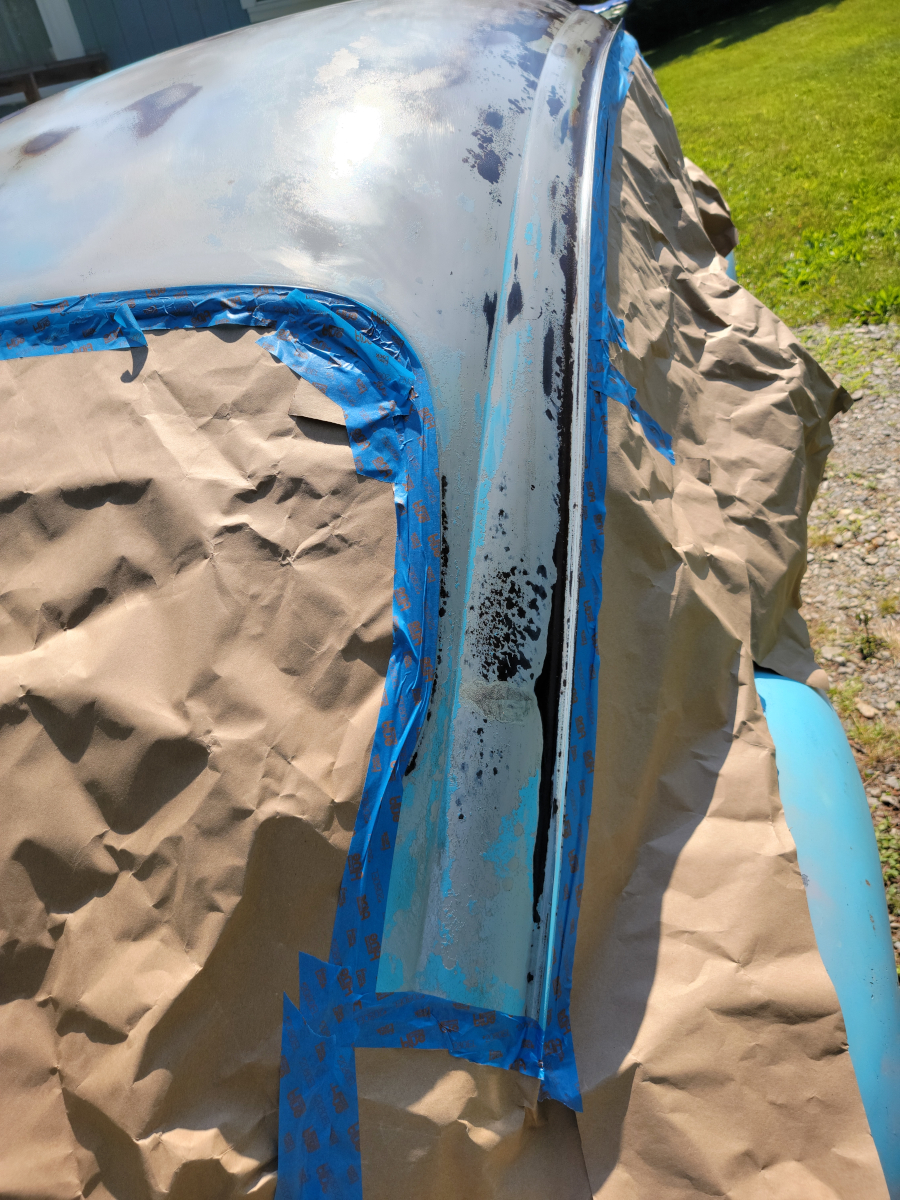
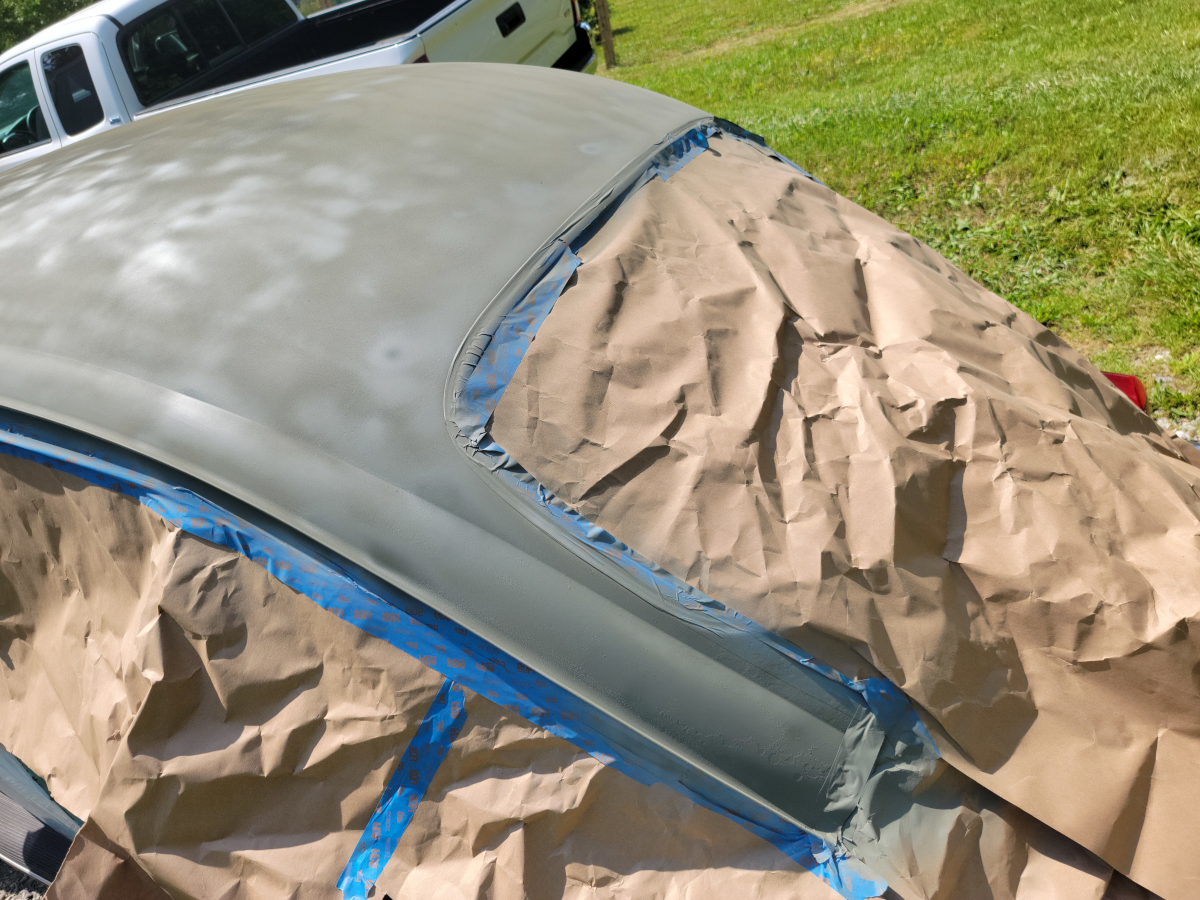
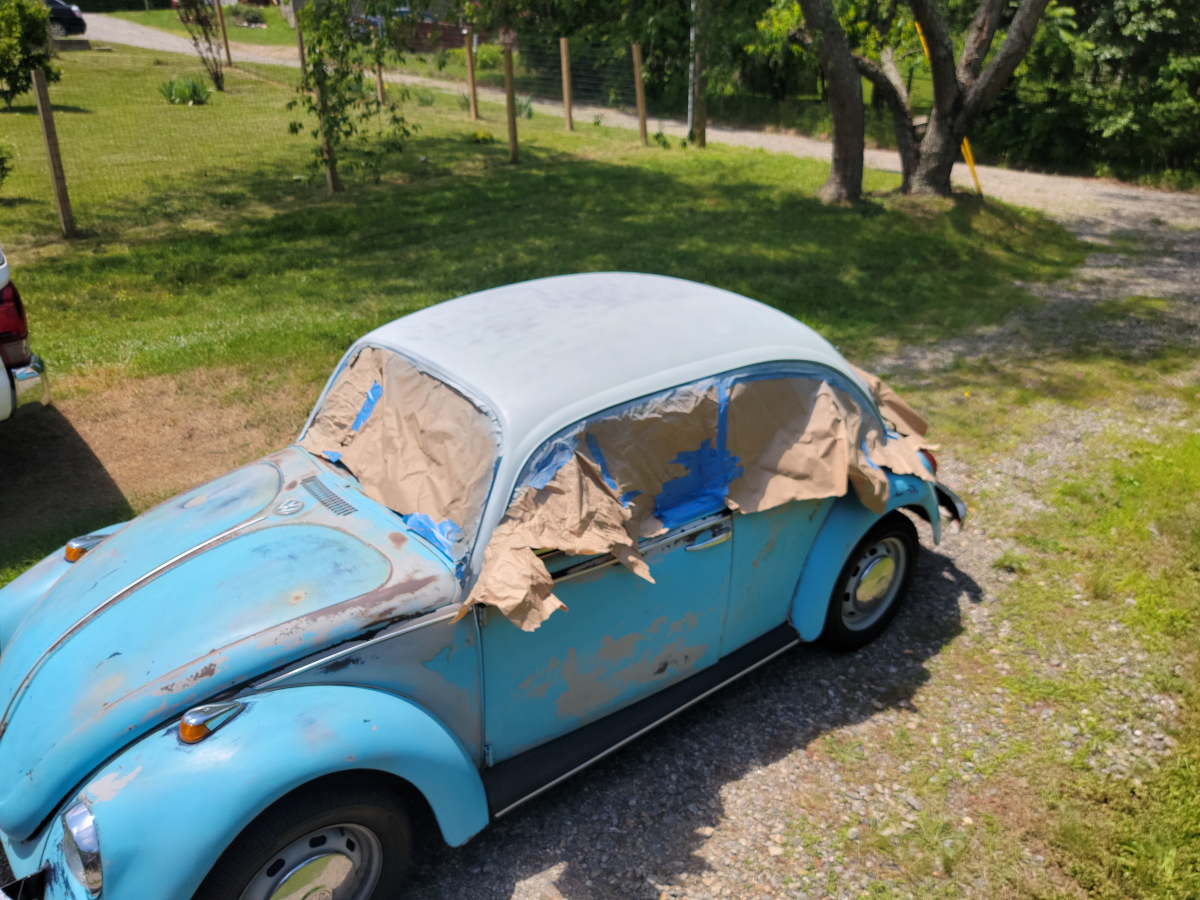
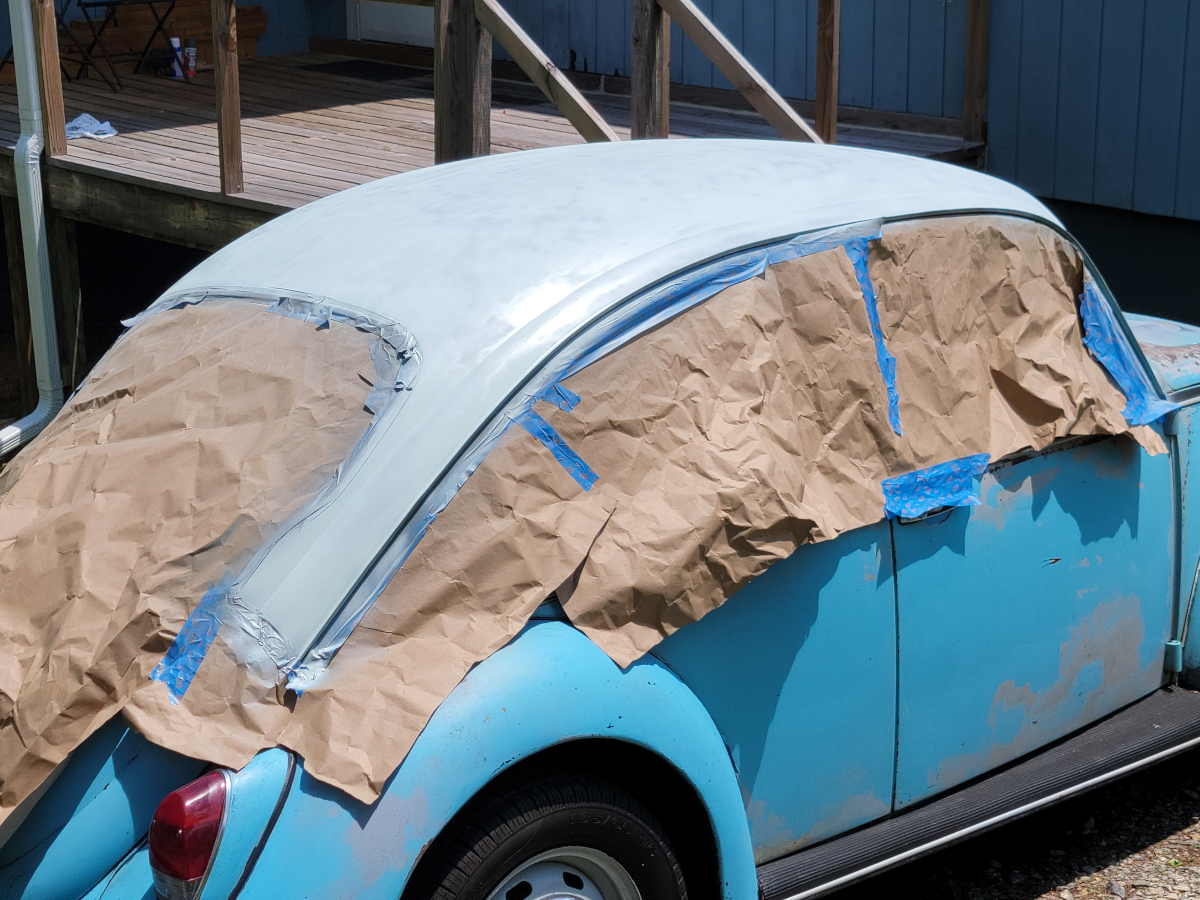
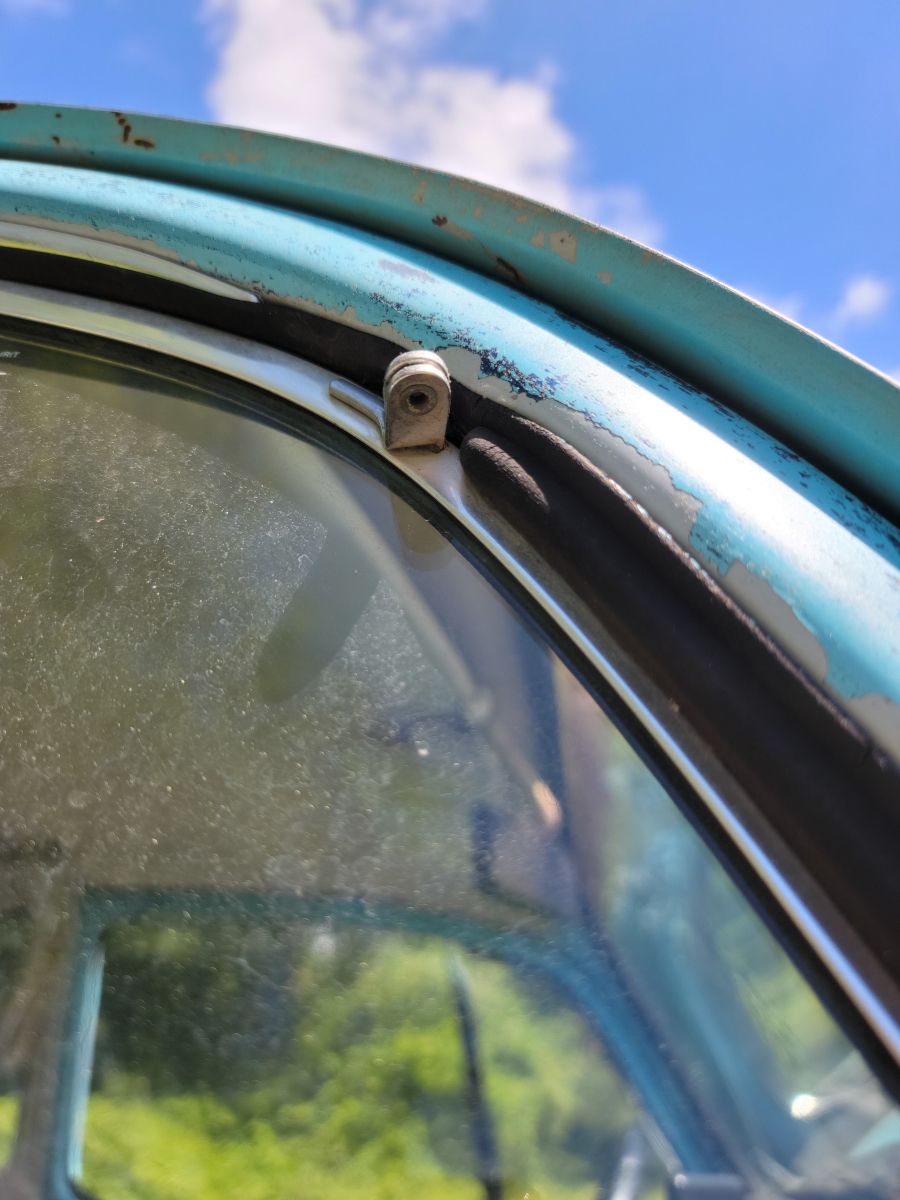
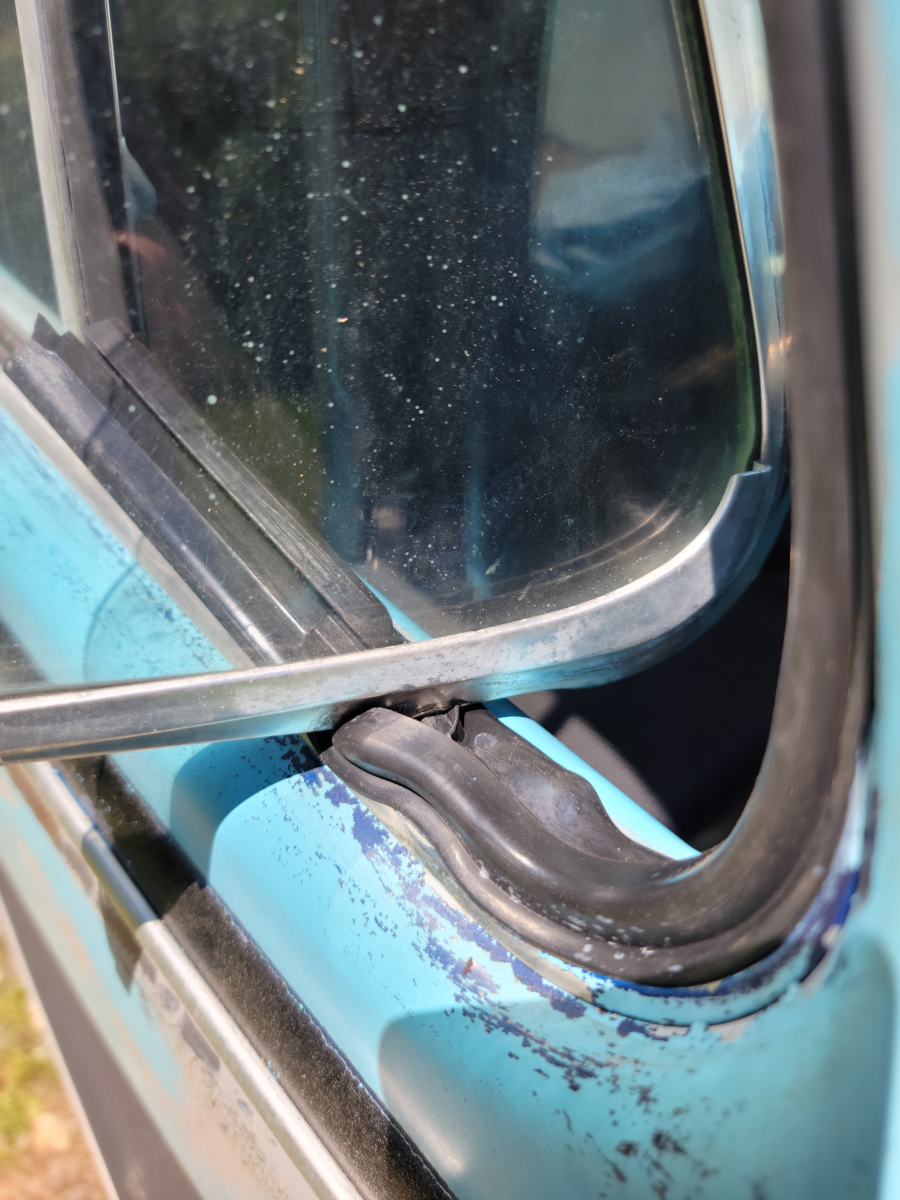
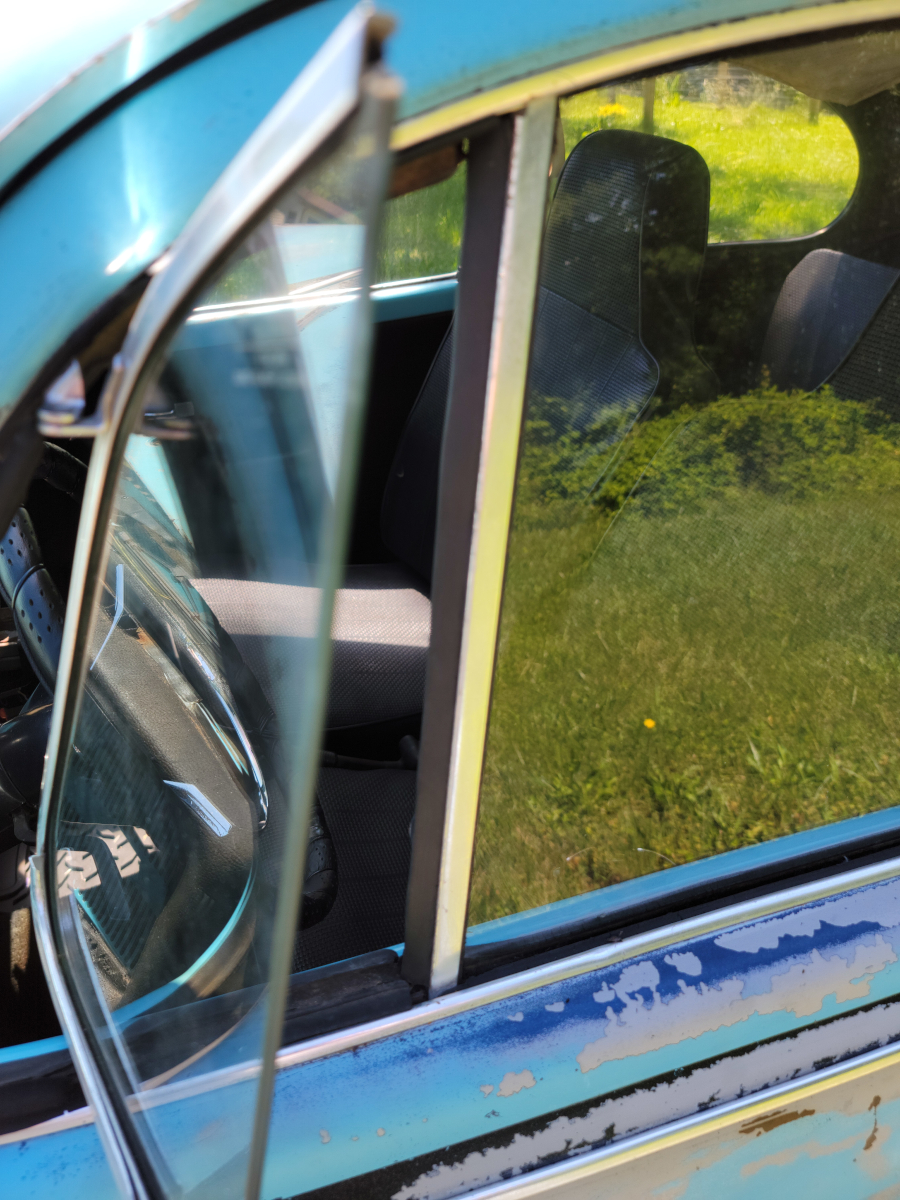
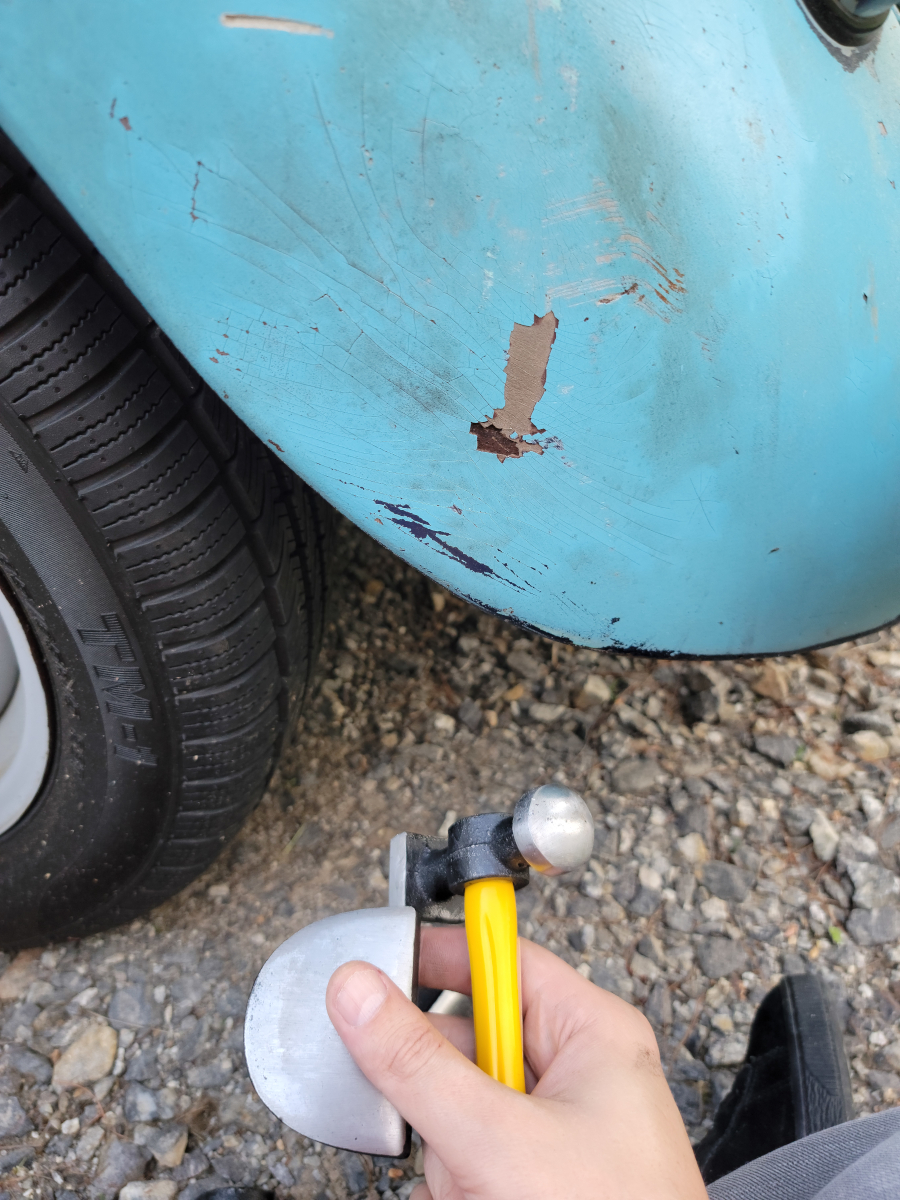
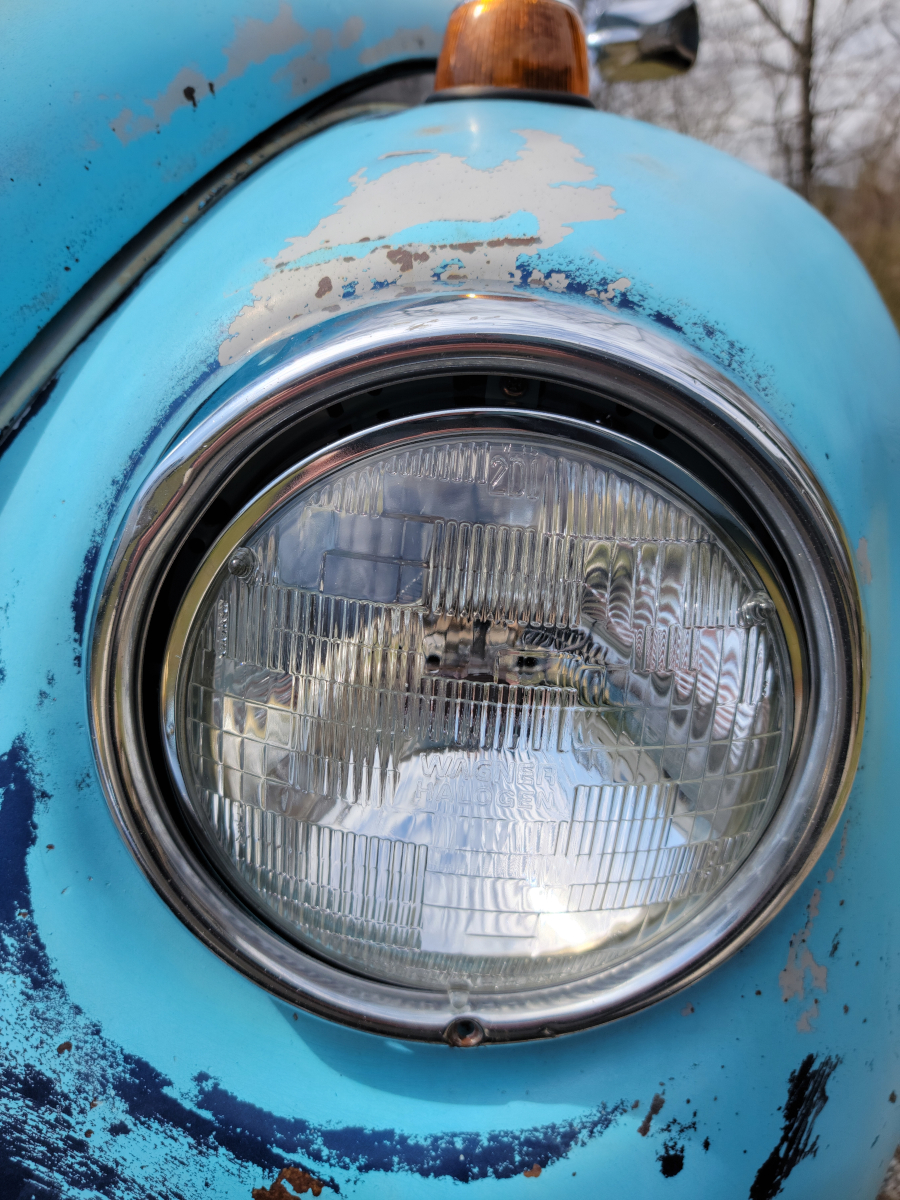
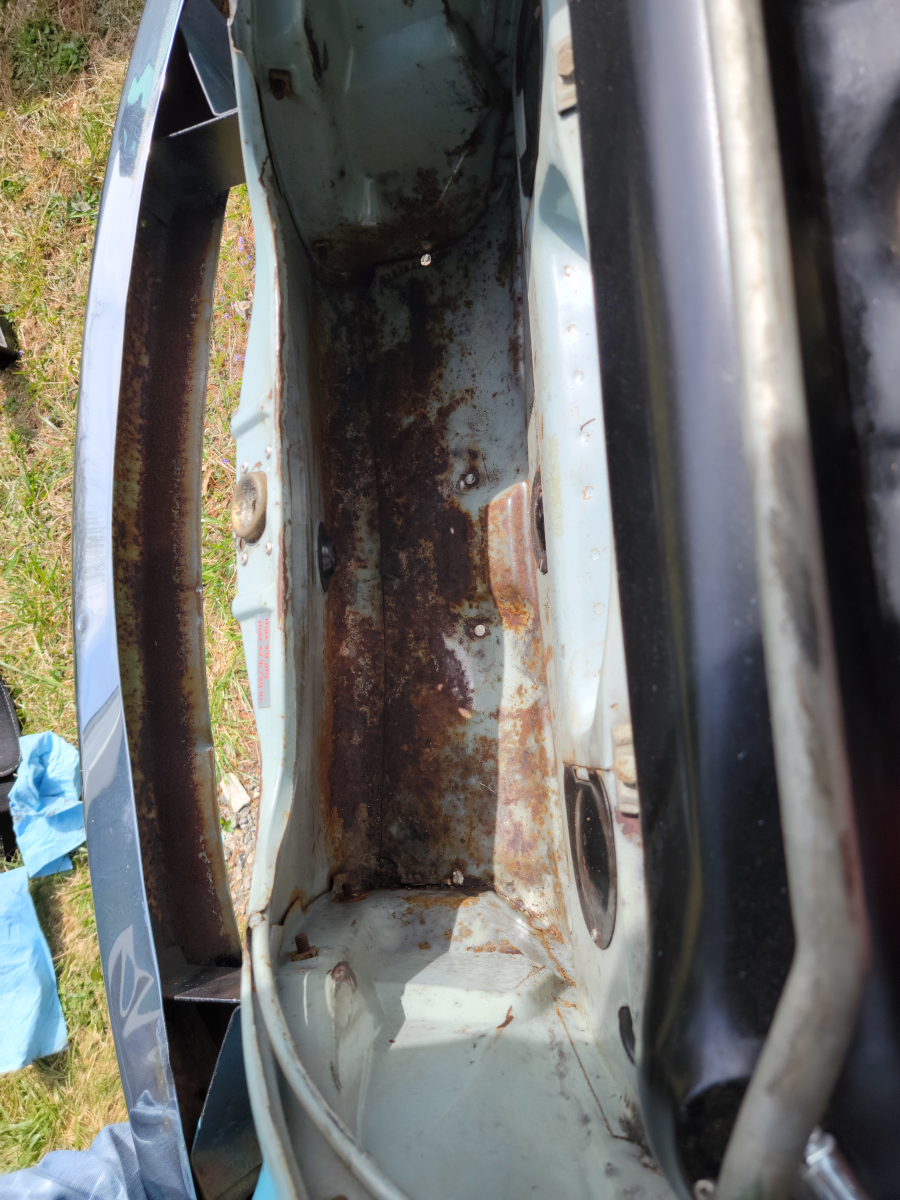
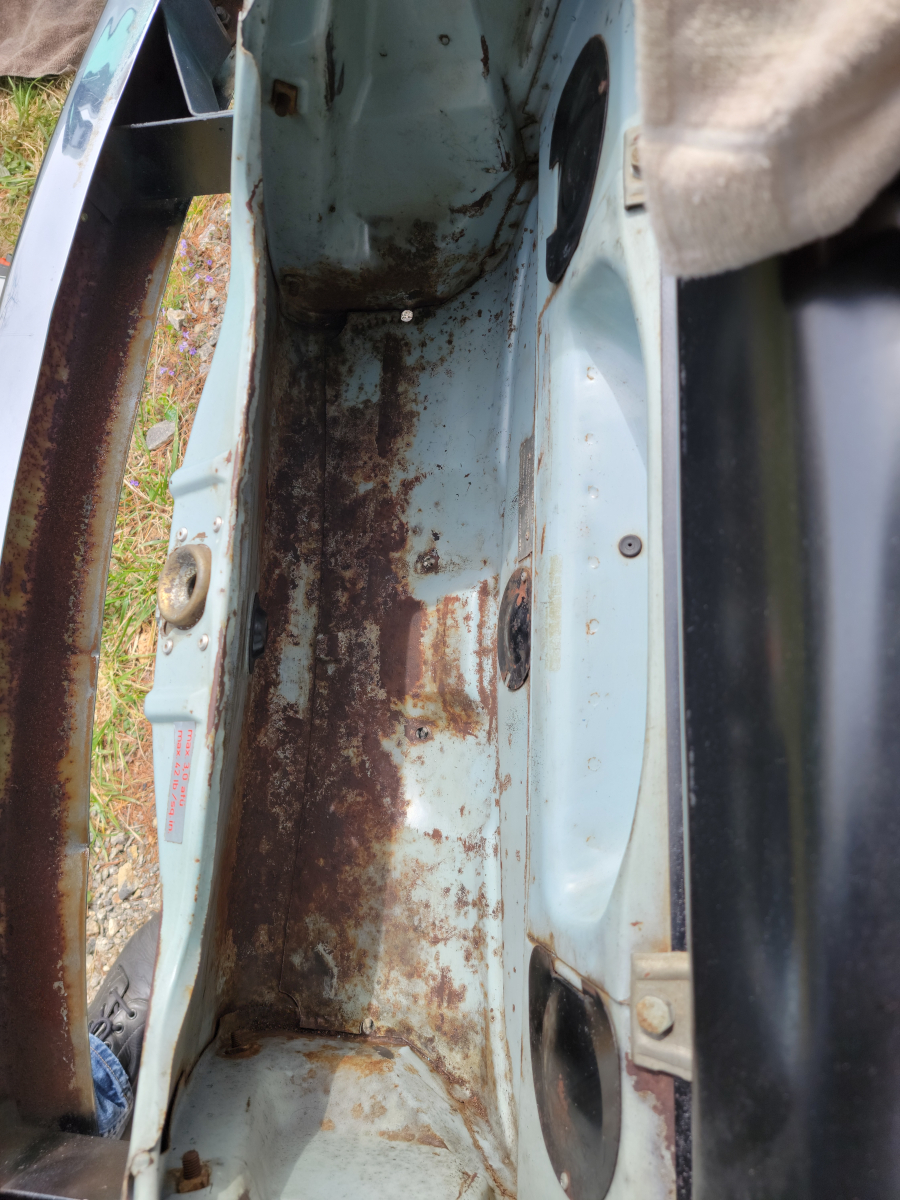
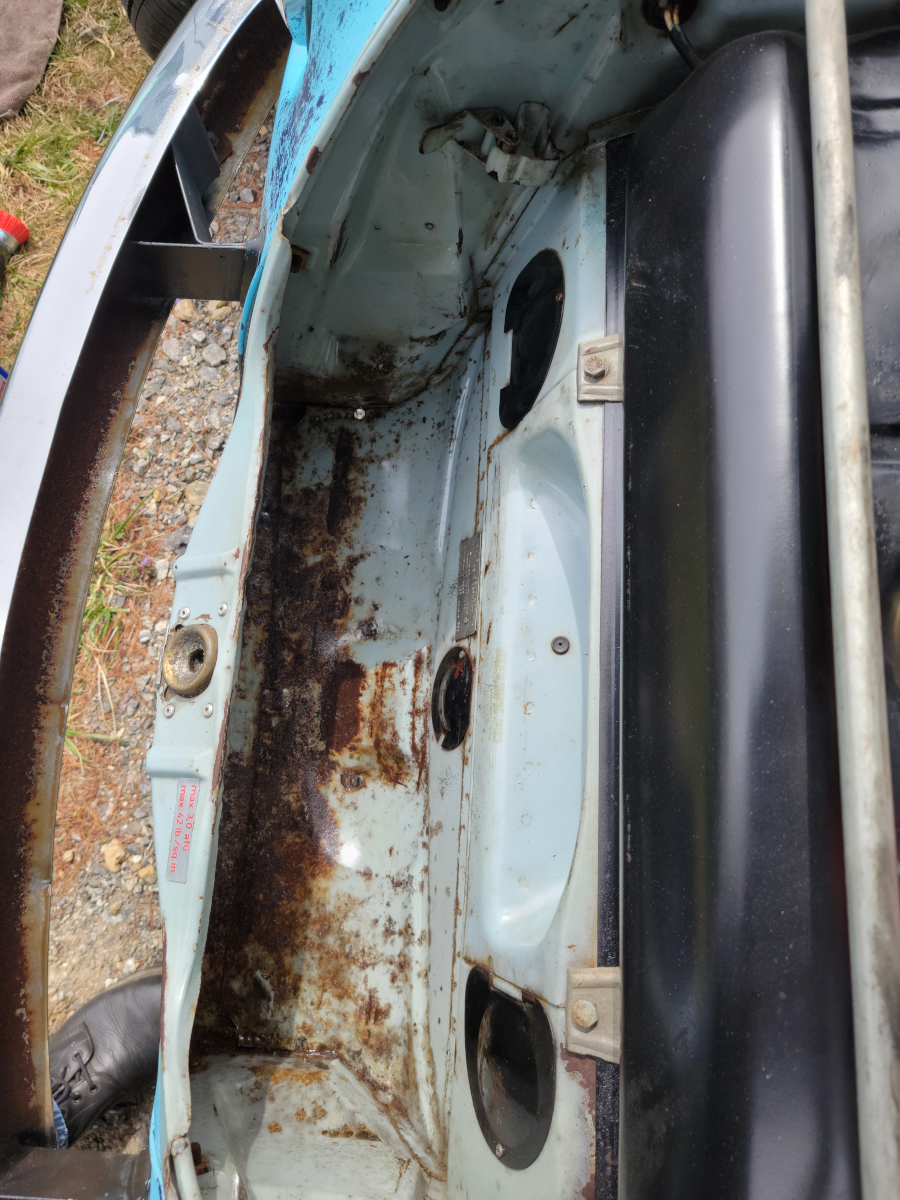
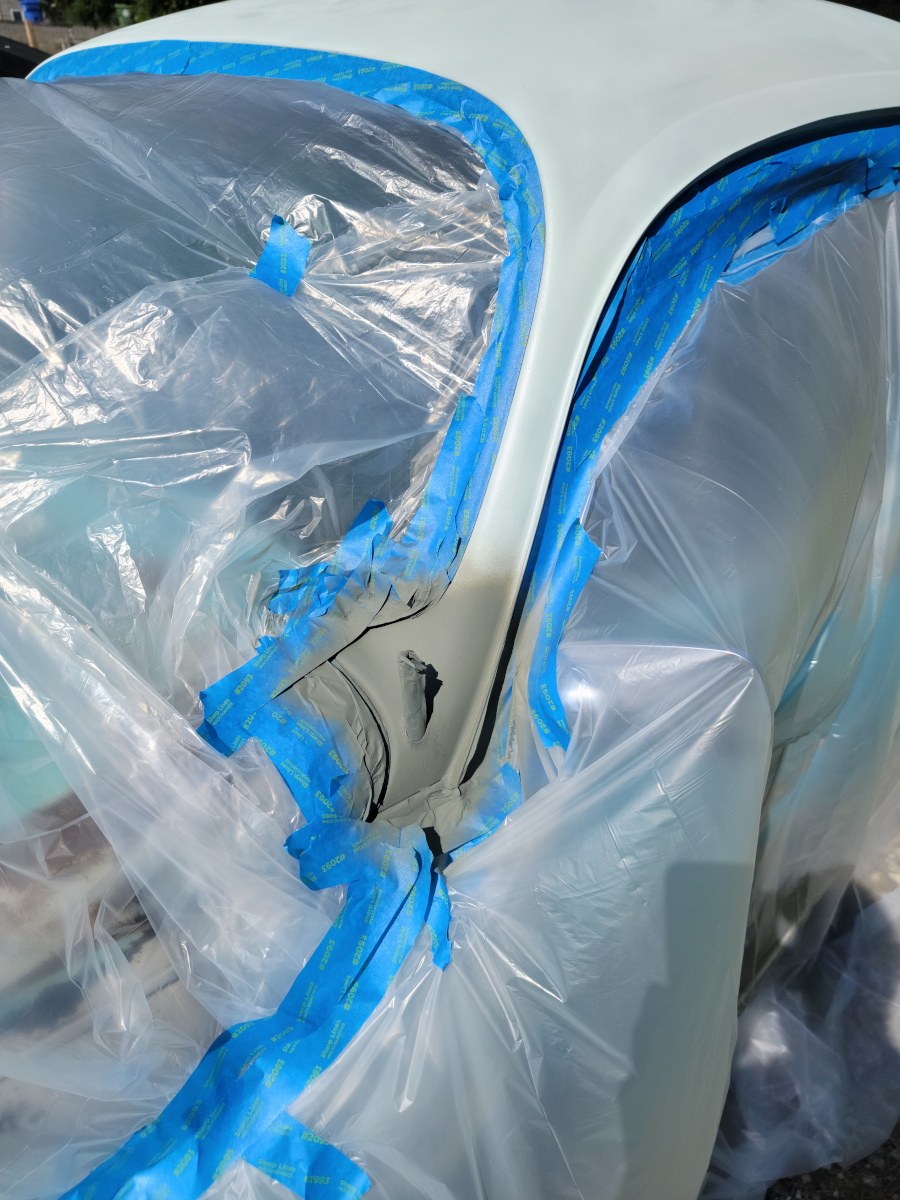
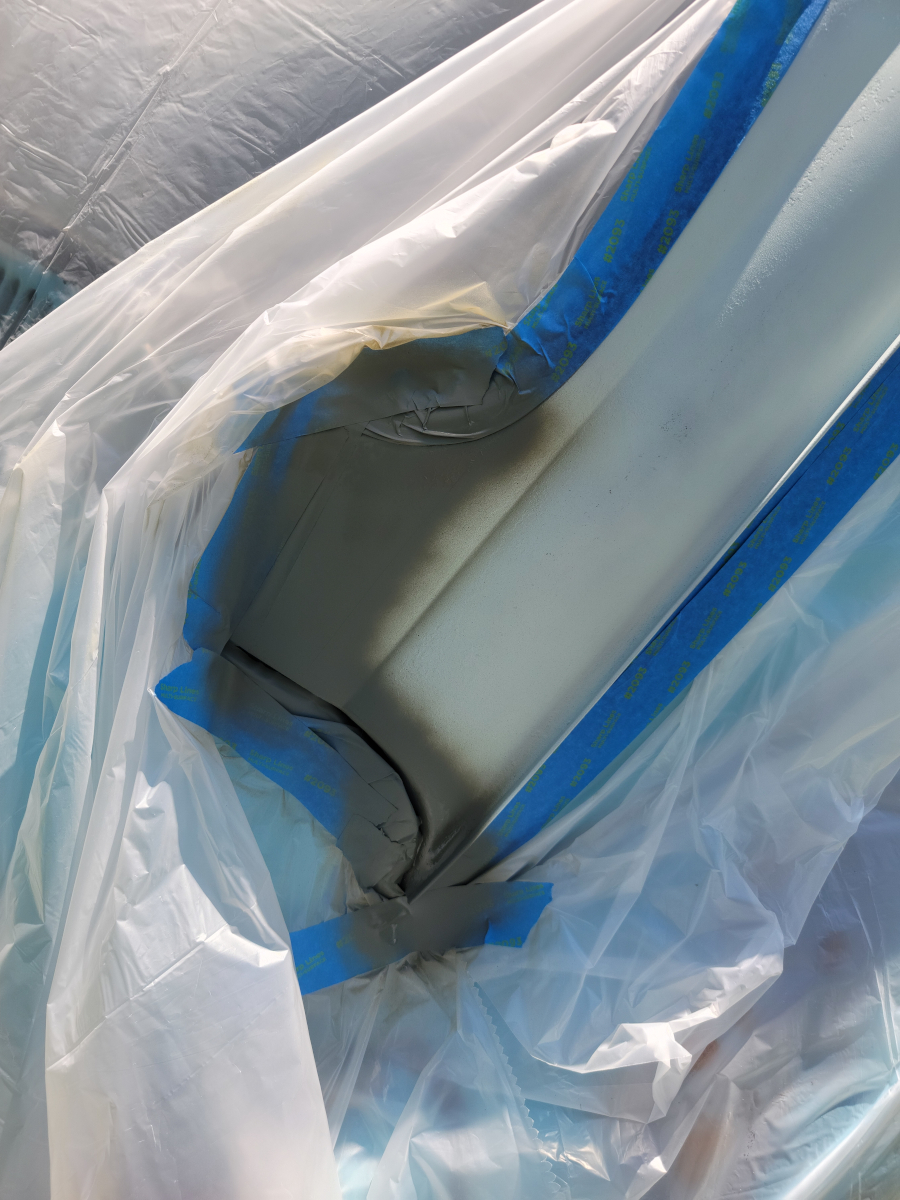
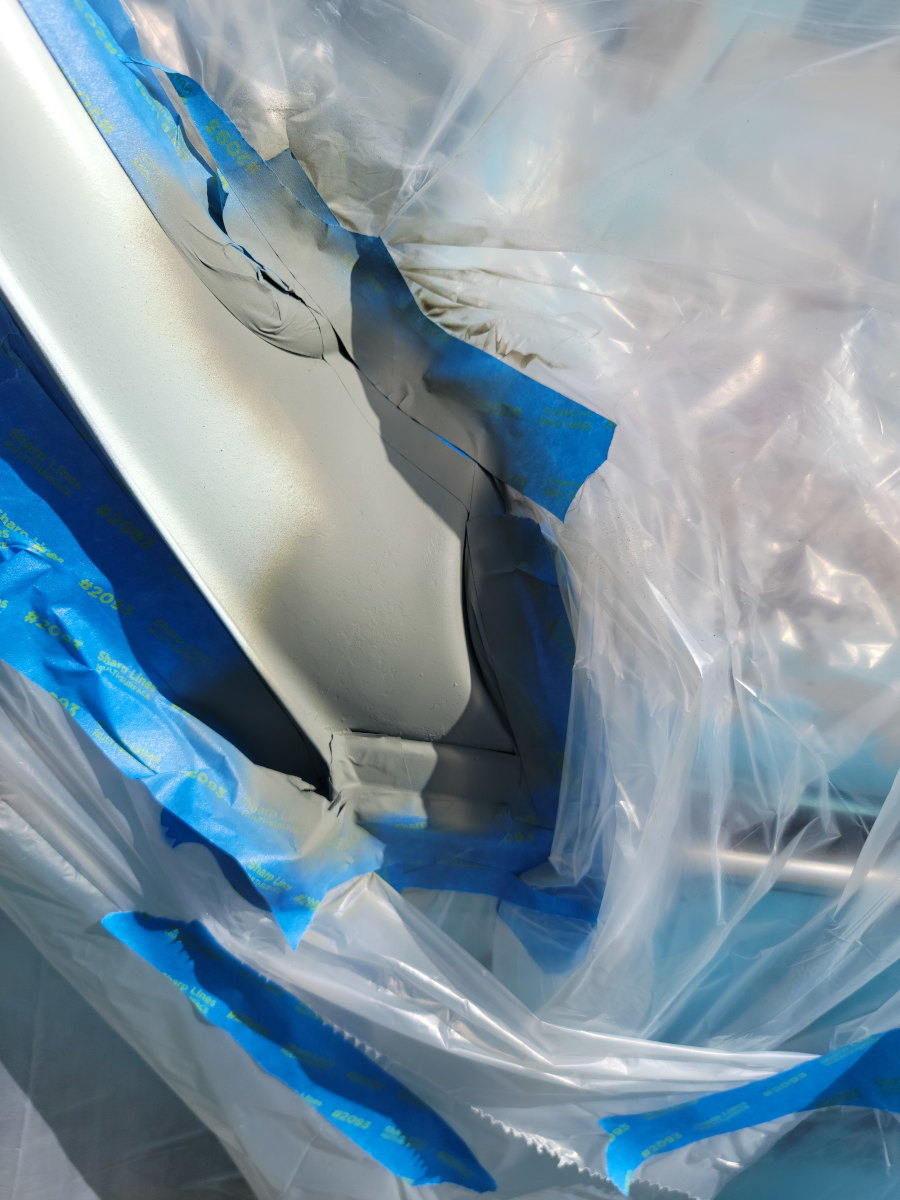
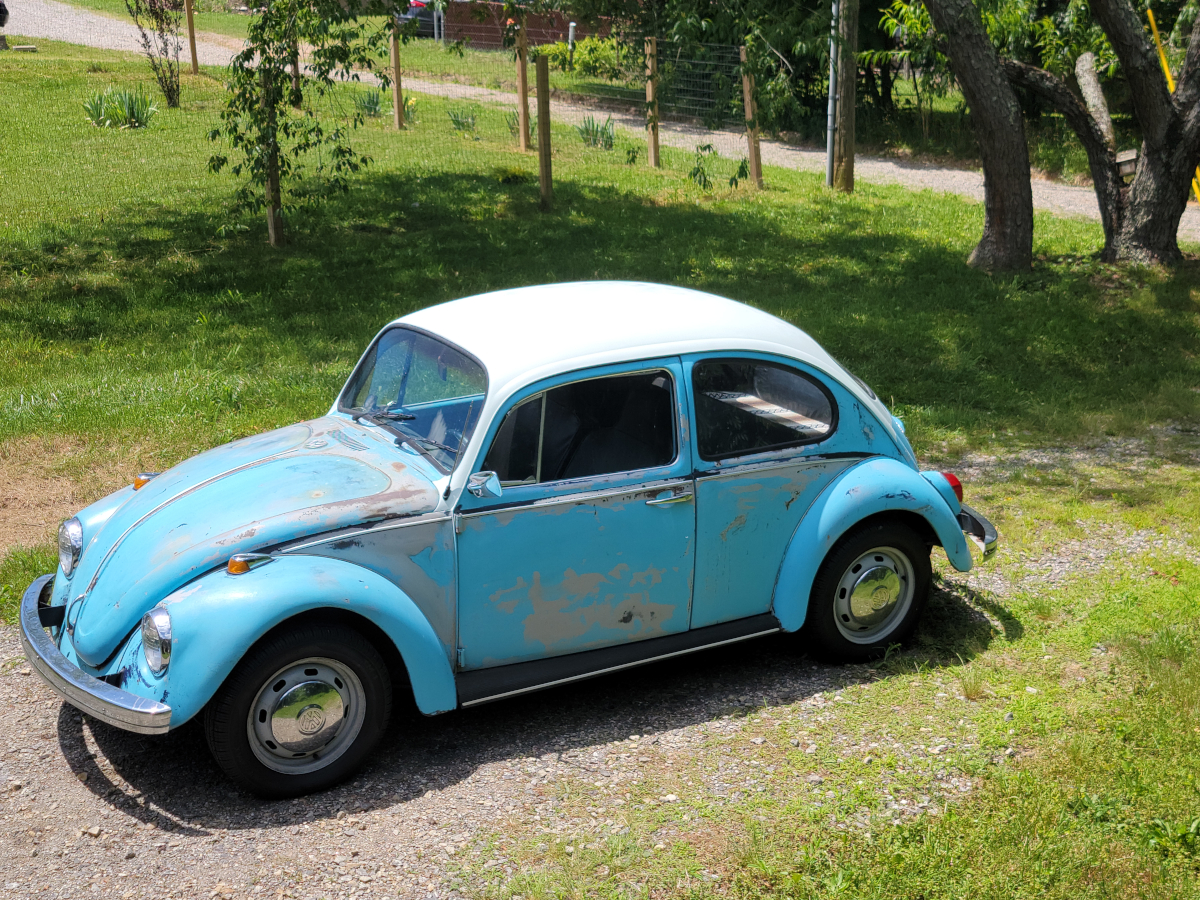
My masking job the first time around was pretty questionable. I had some over-spray on window rubbers here and there and for whatever reason (likely because I’m an idiot) at the bottom of the pillars, I didn’t follow any sort of body lines. Instead, I just squared off the bottom of each pillar, not realizing how ridiculous that was going to look once the masking was peeled off.
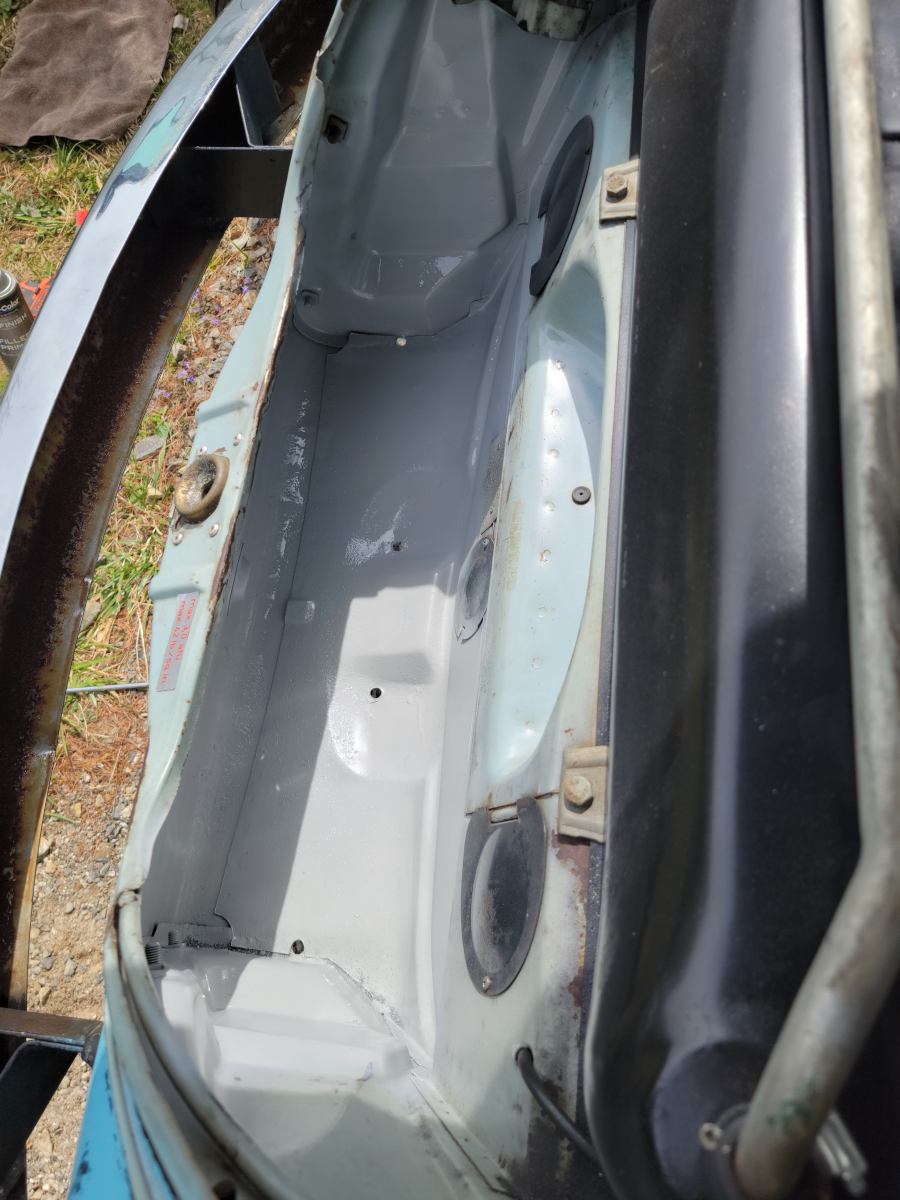
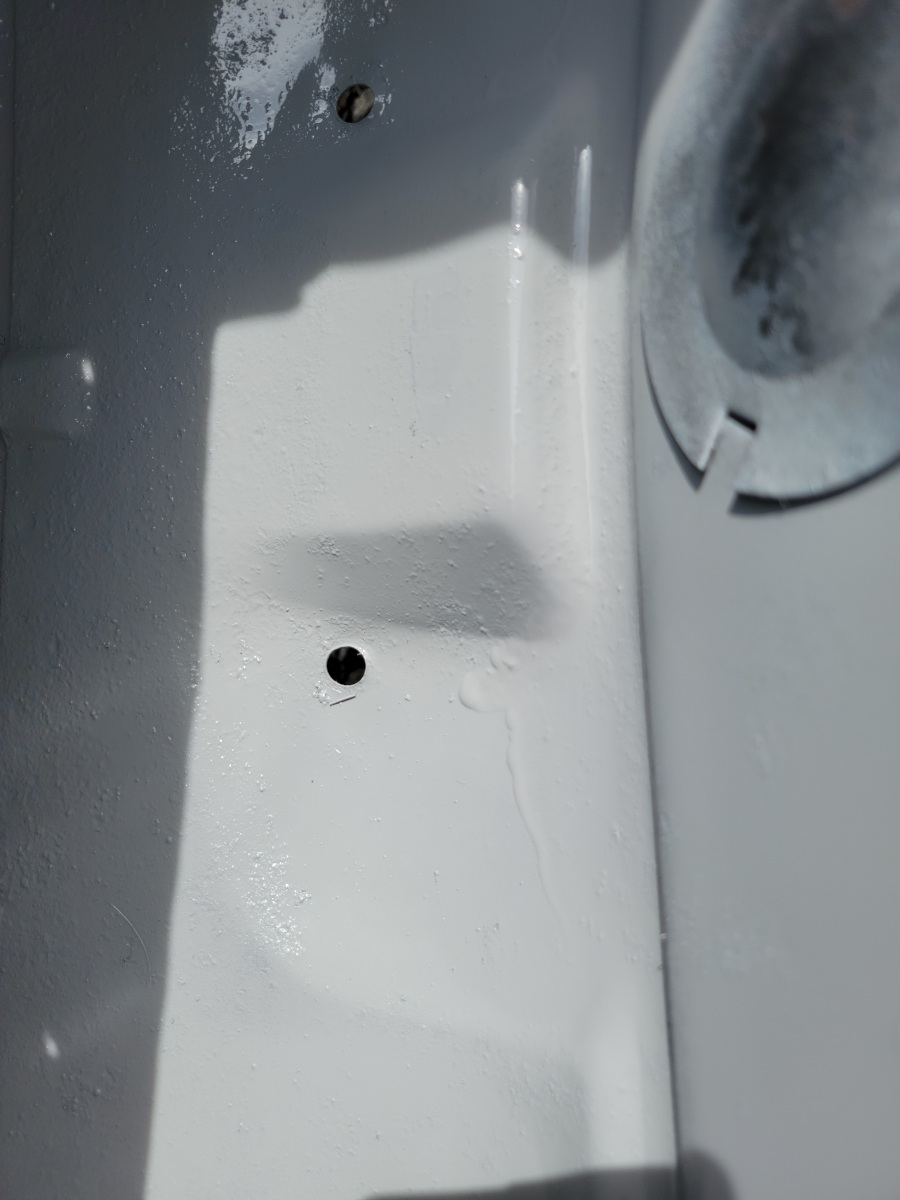
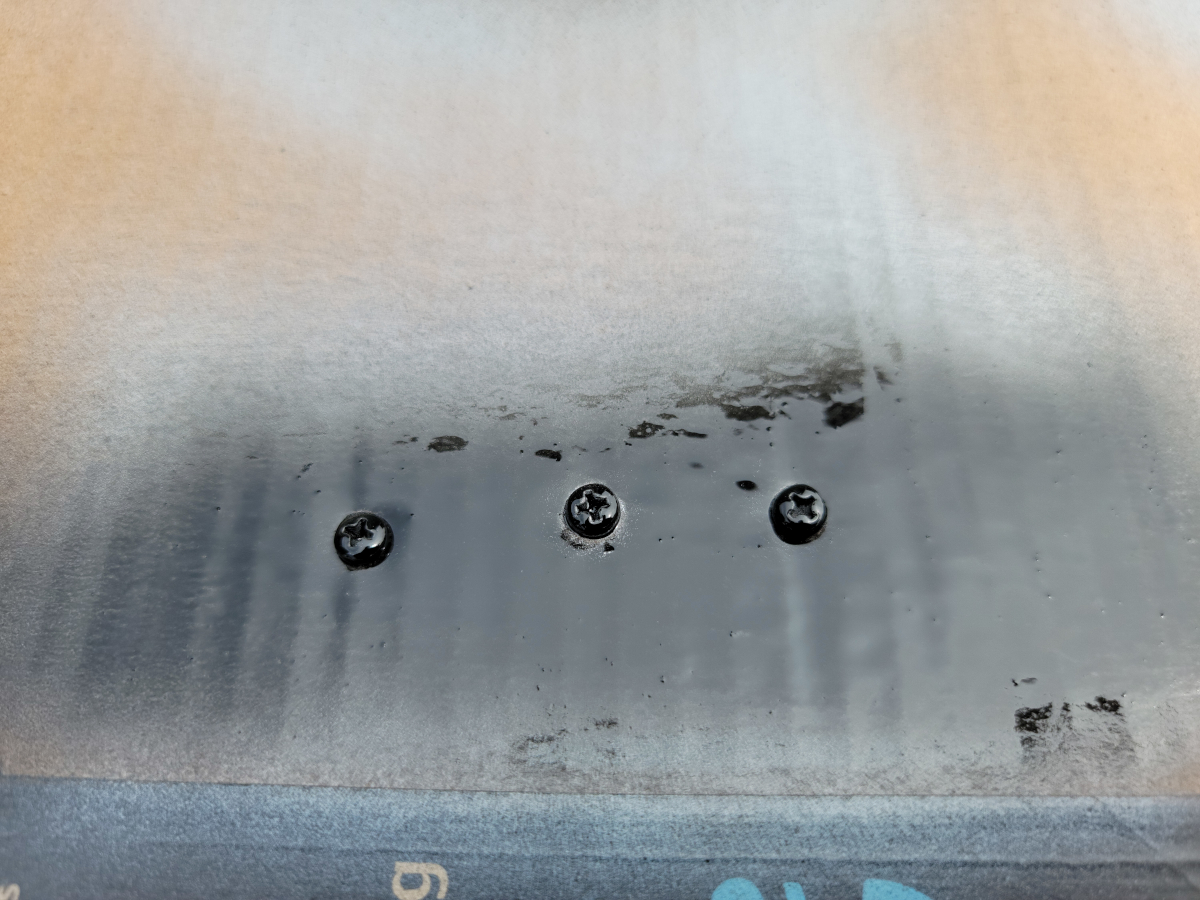
So, first step was properly masking around the bottom of the pillars and getting the rust converter and primer down.
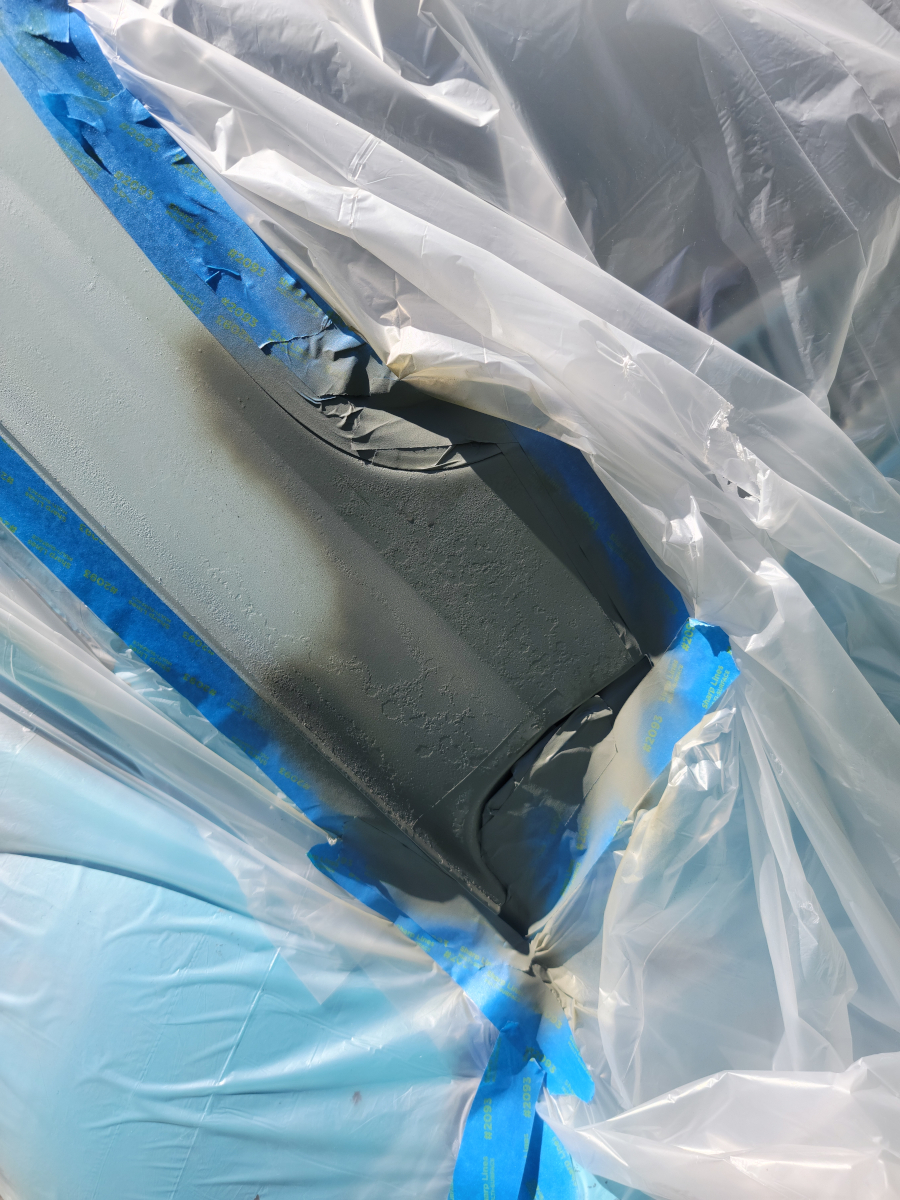
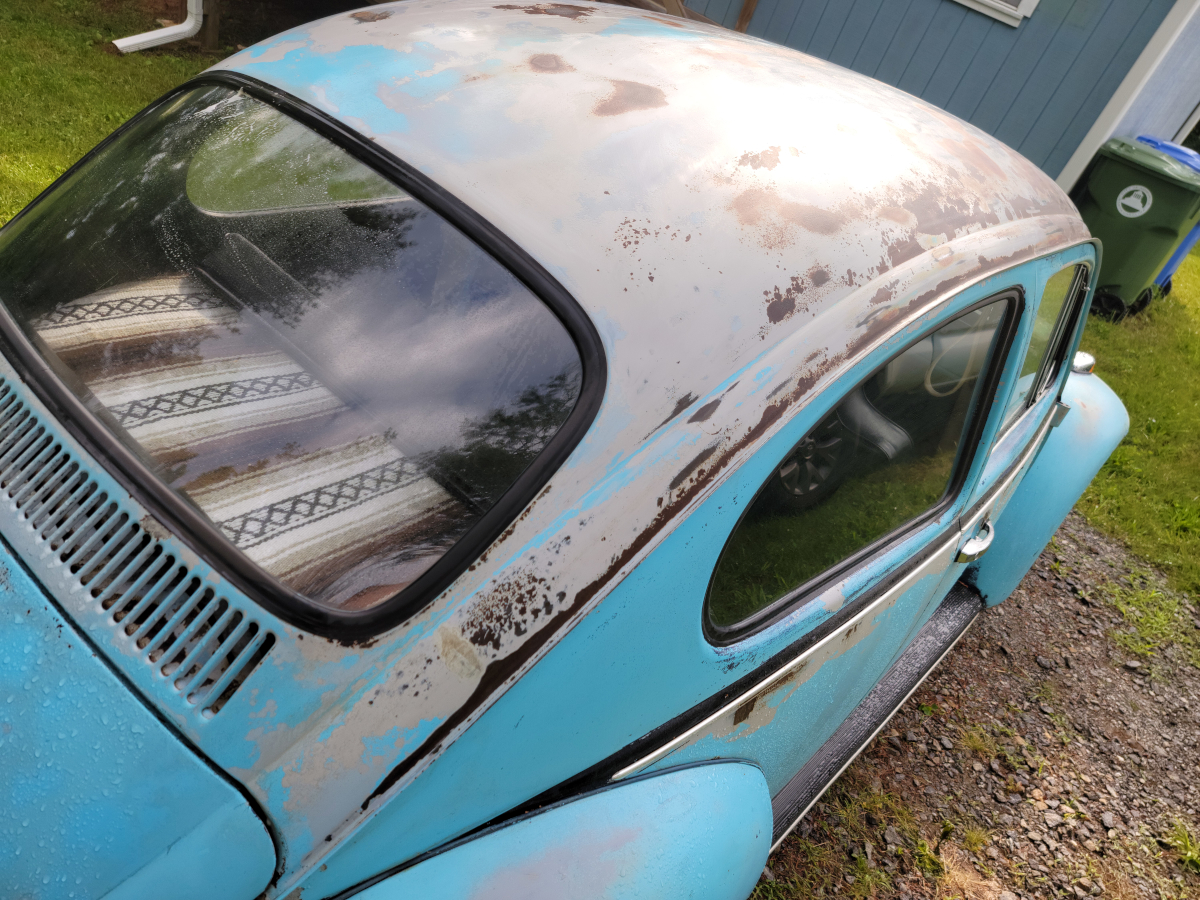
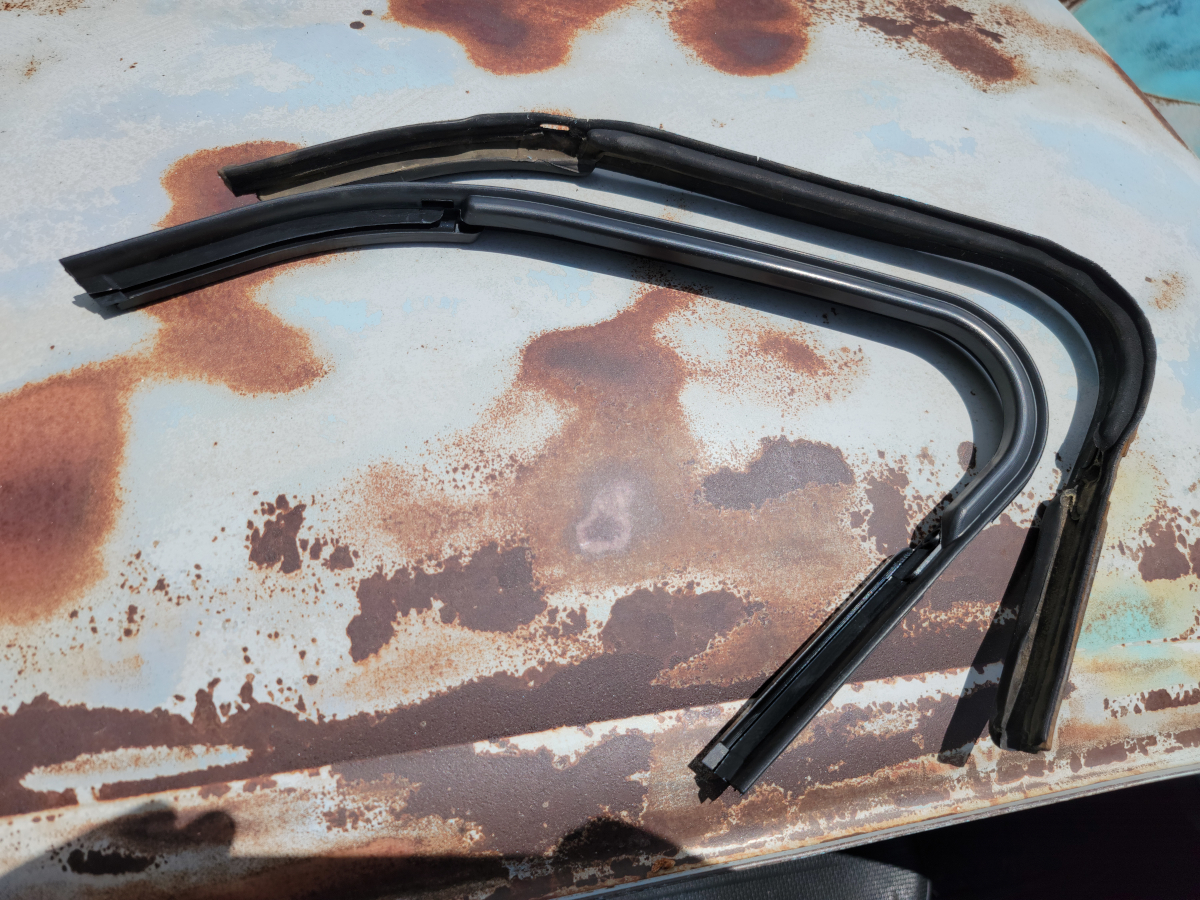
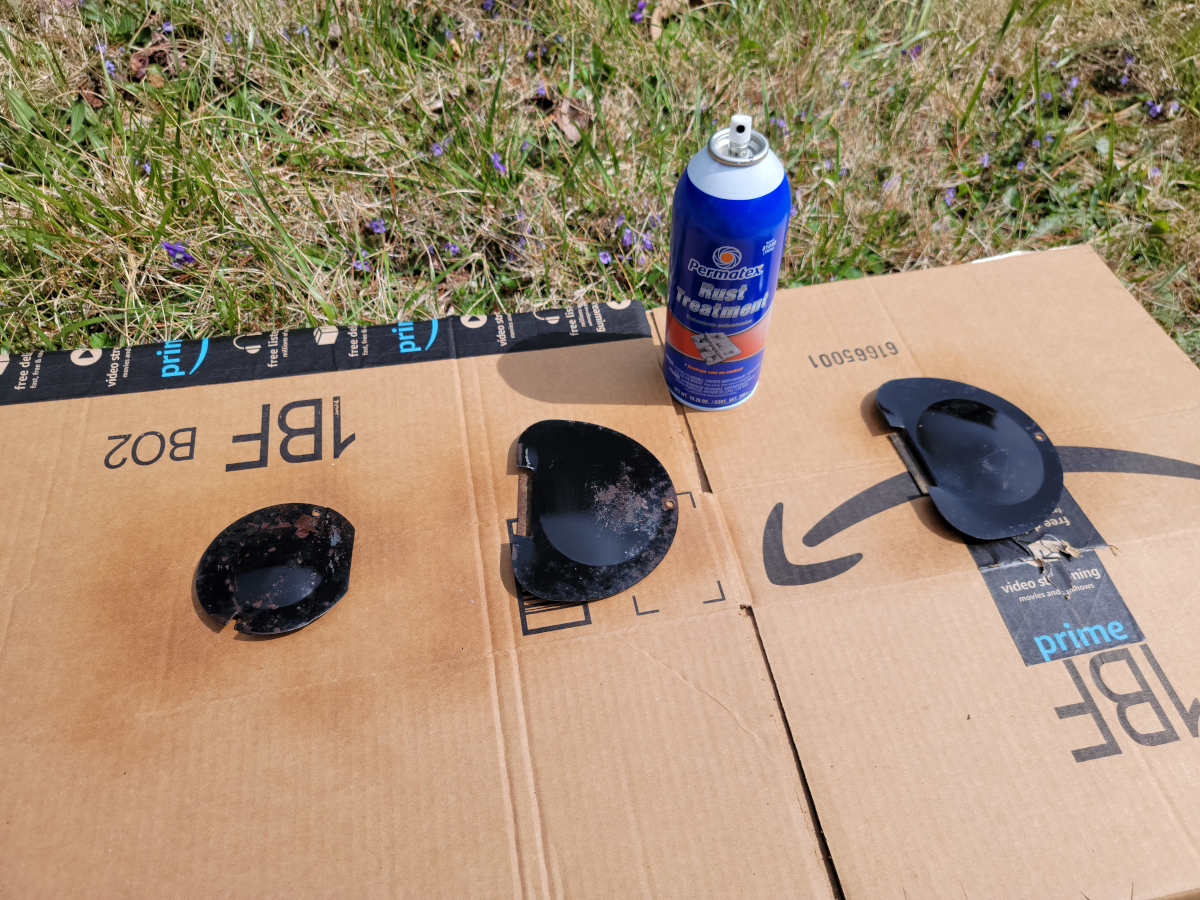
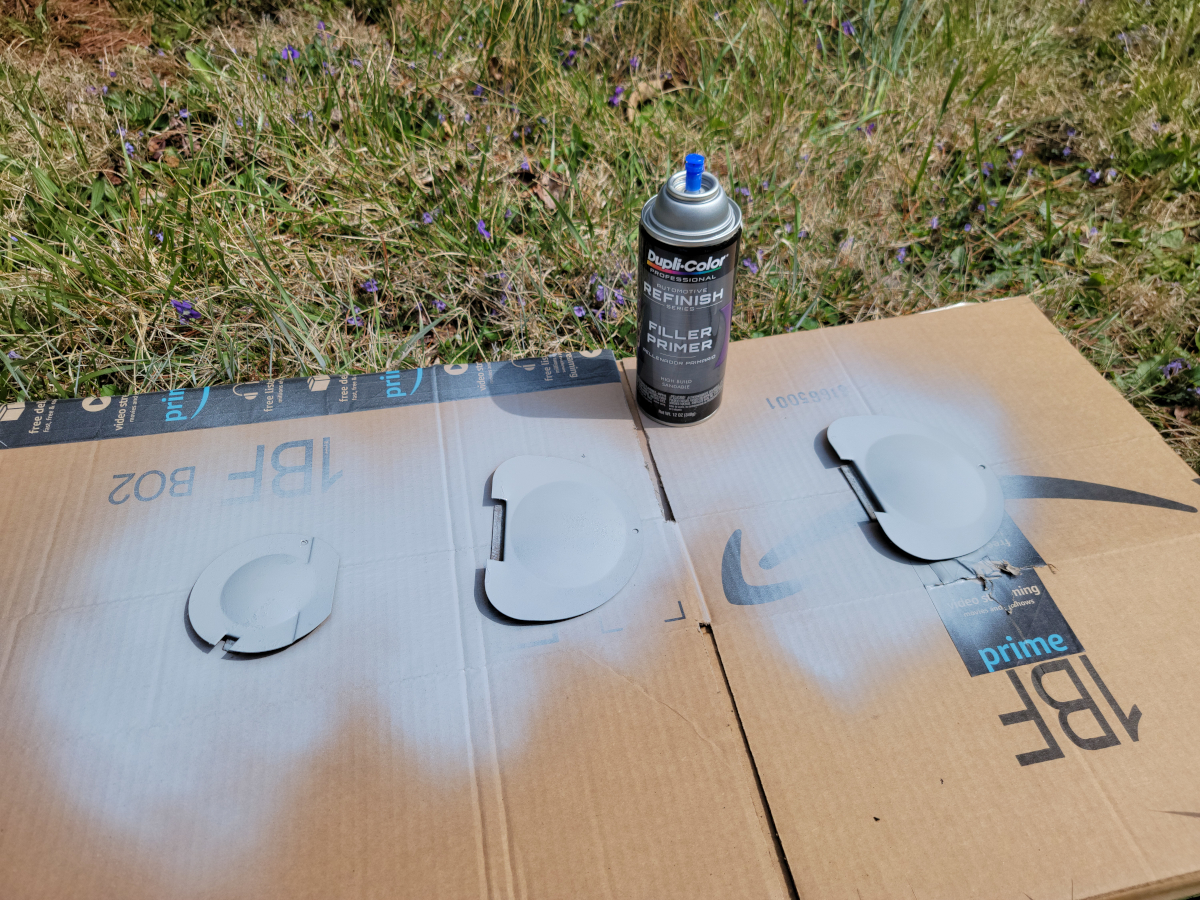
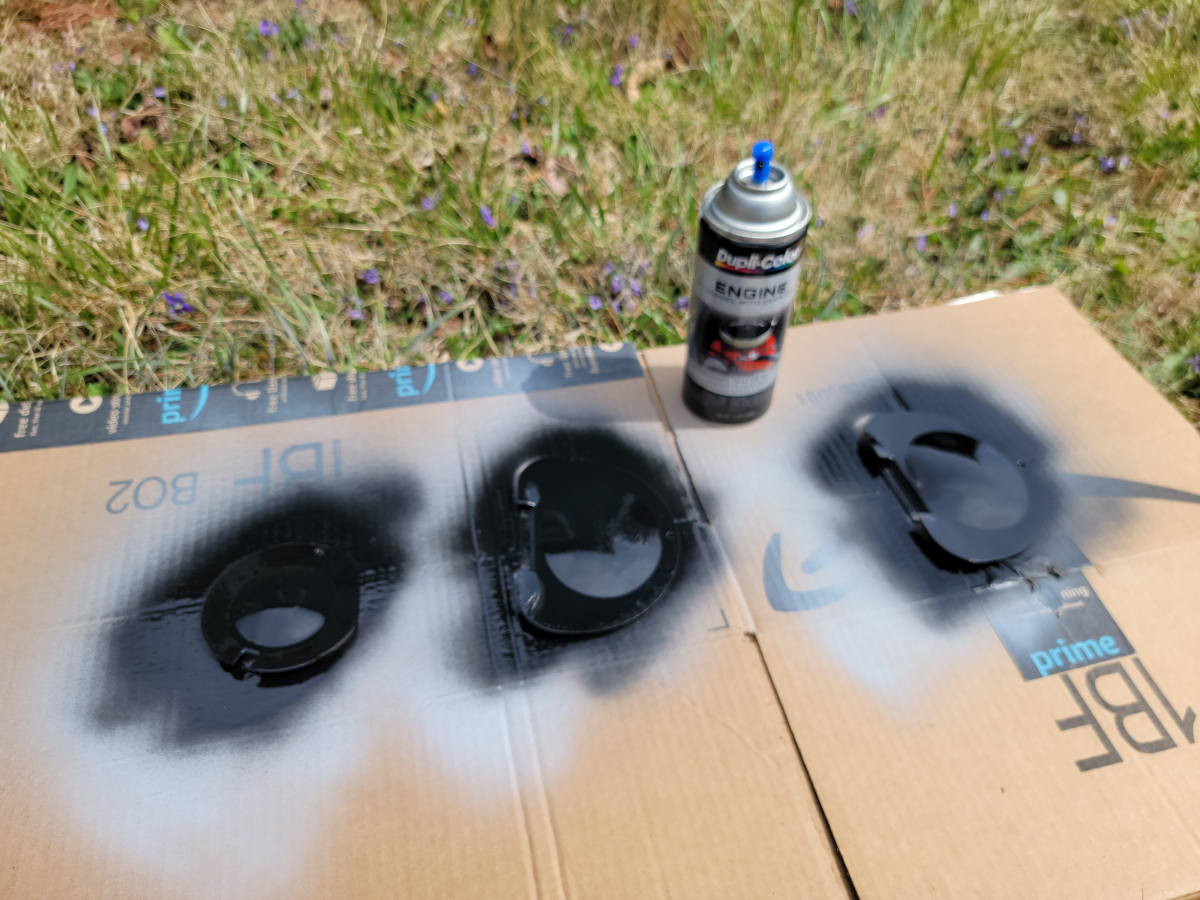
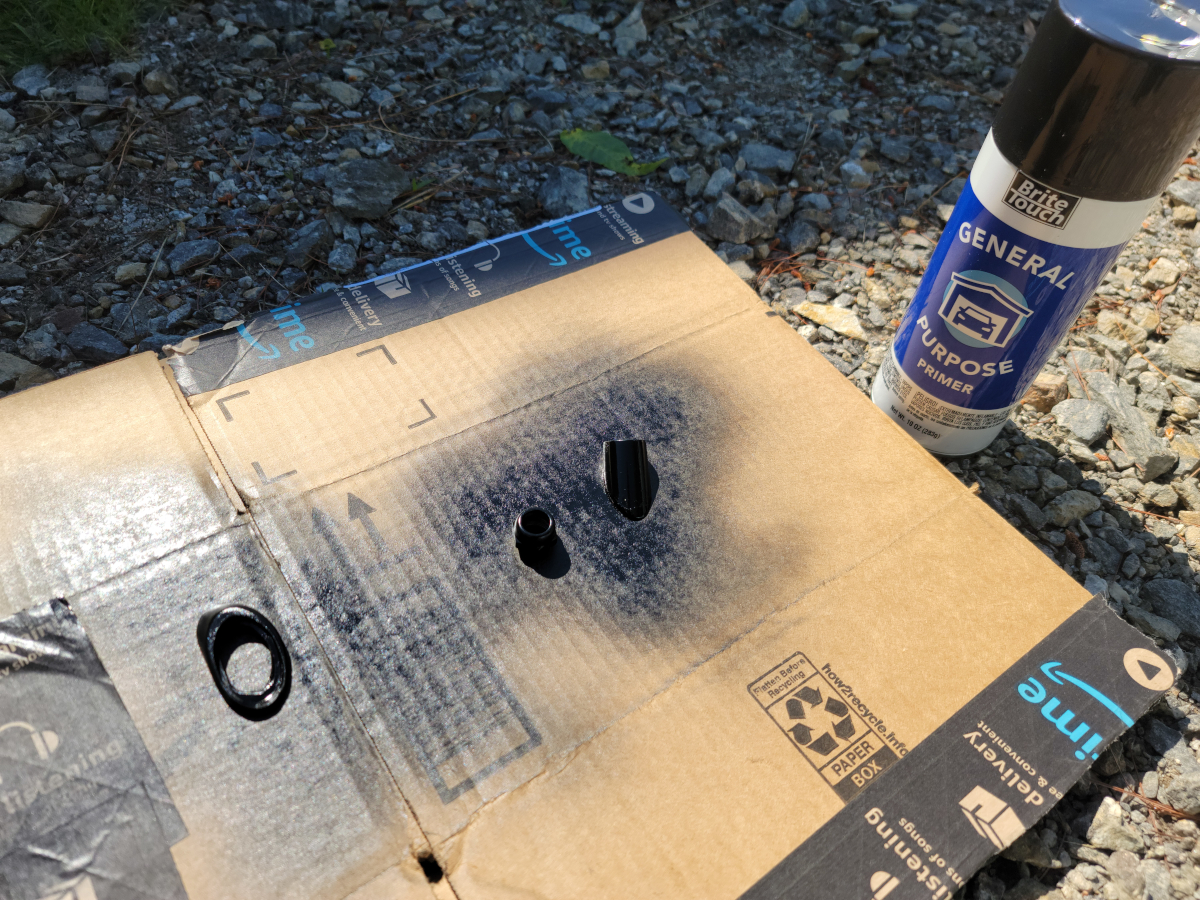
I took the antenna off and rather than trying to clean off the over-spray from the first time around, I just painted the pieces with some cheap black primer.
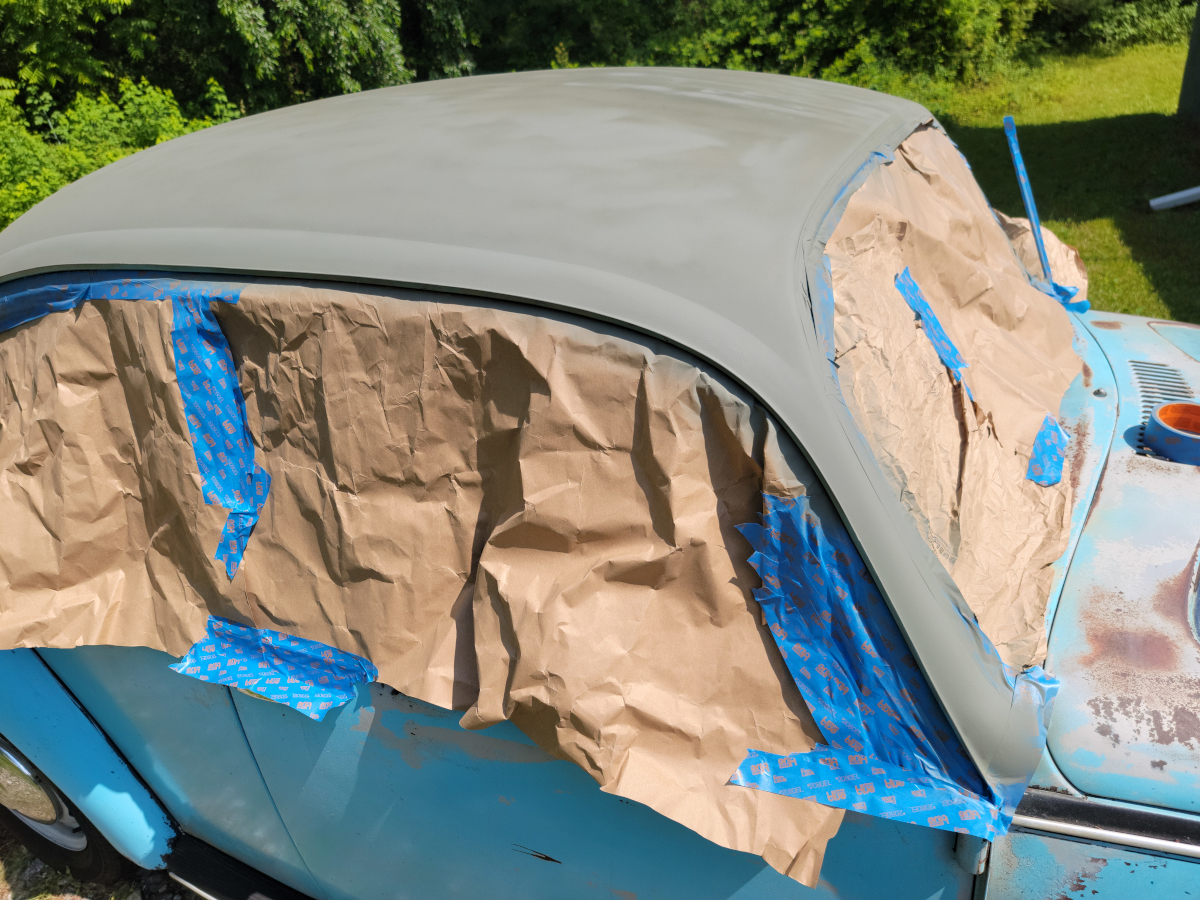
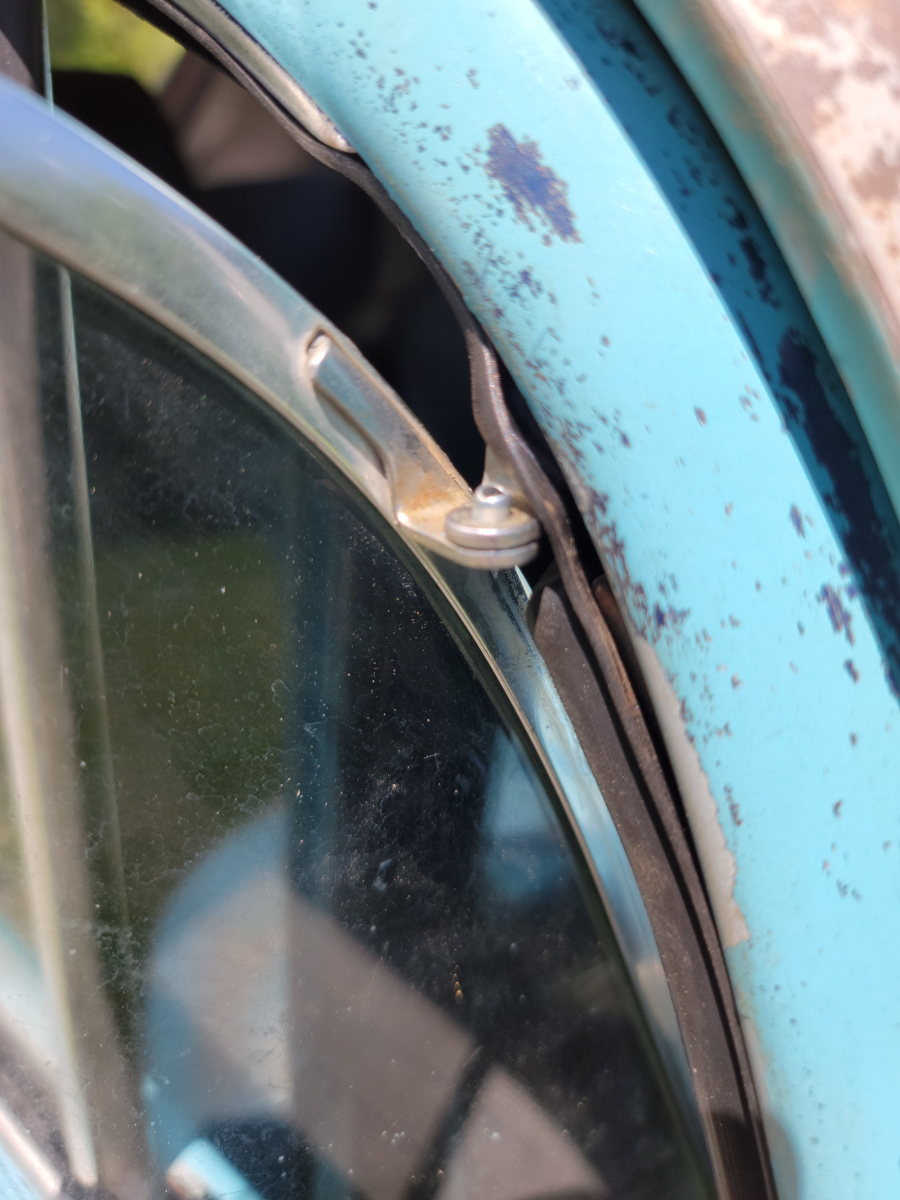
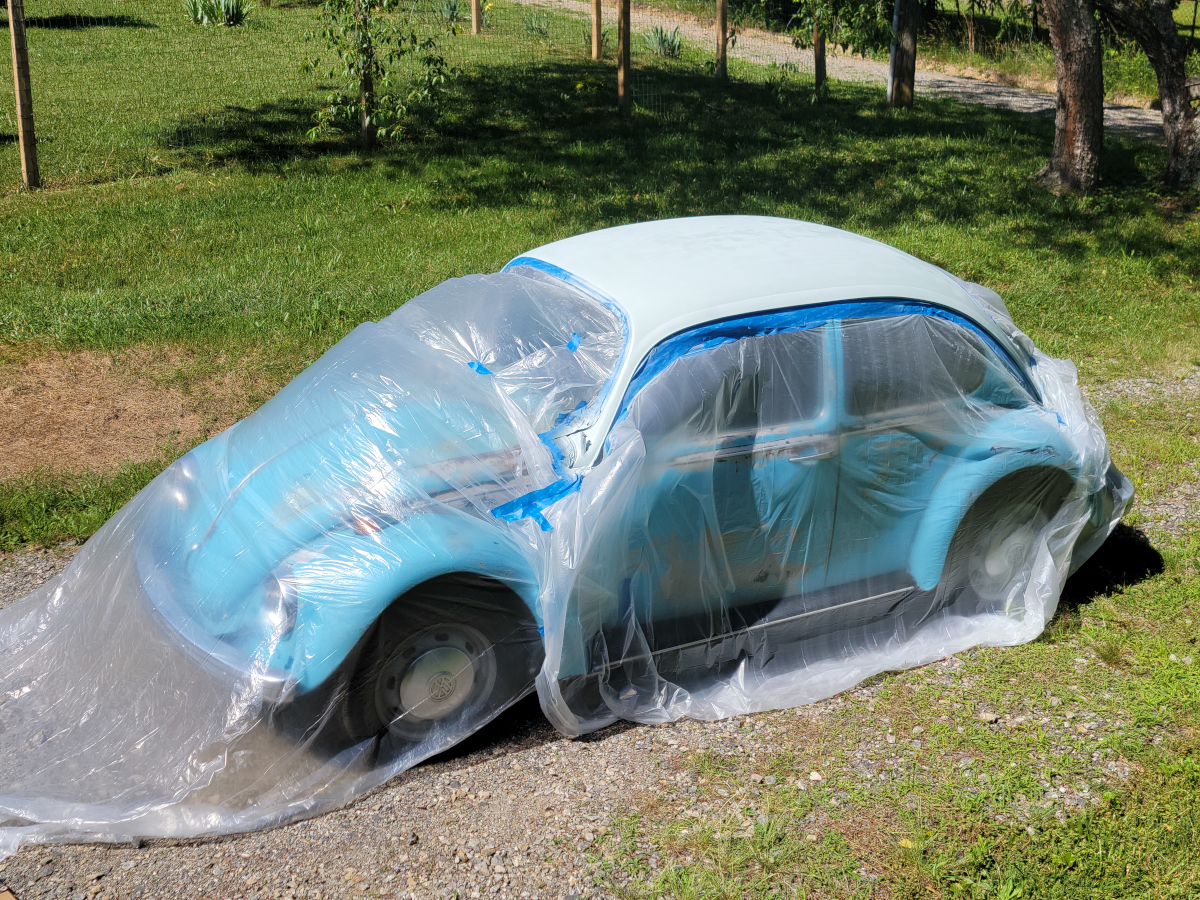
I used plastic drop cloths for masking this time. I had problems with the blue painters tape not sticking well last time, so I tried a different variety. This time, it was much worse. The tape only stuck to the plastic sheet – not to the car or itself. So, I was having to restick the tape all around the car before each coat.
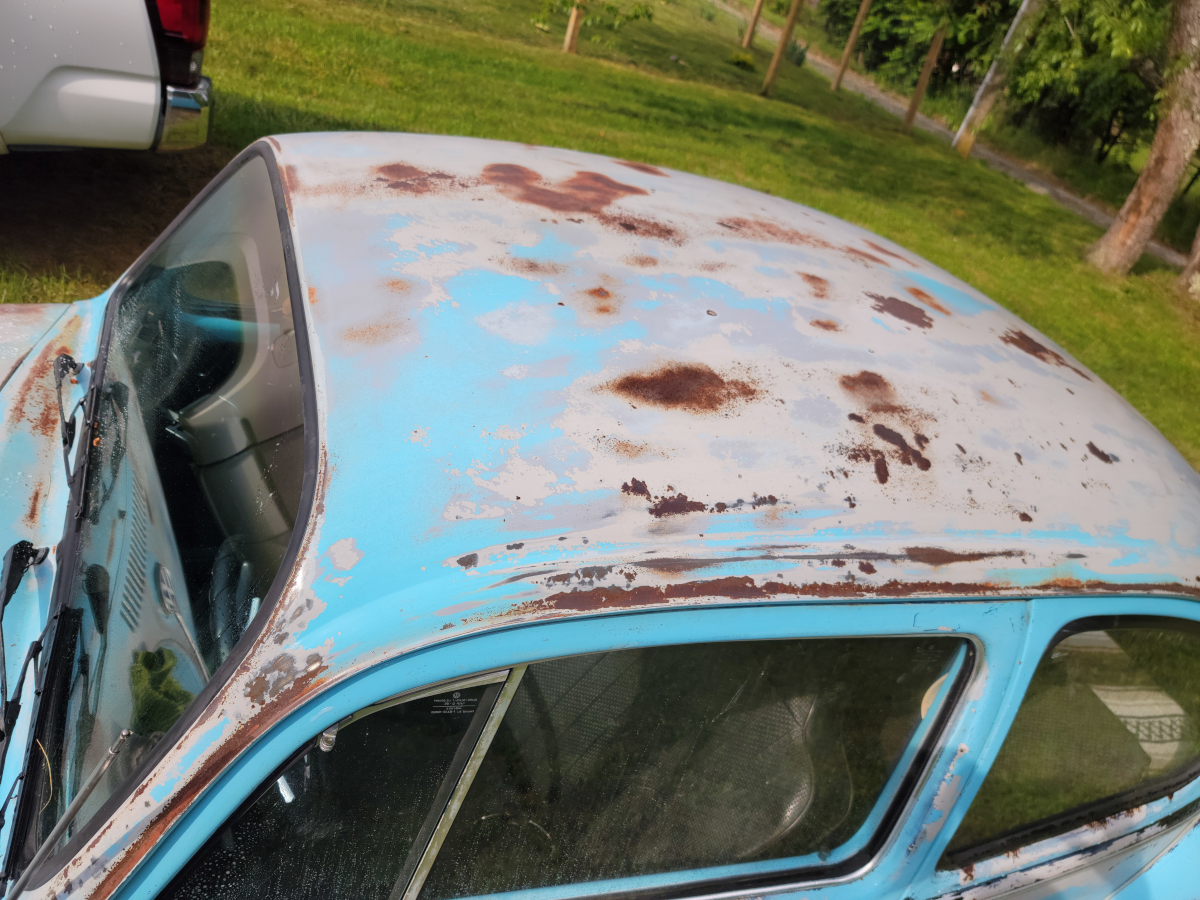
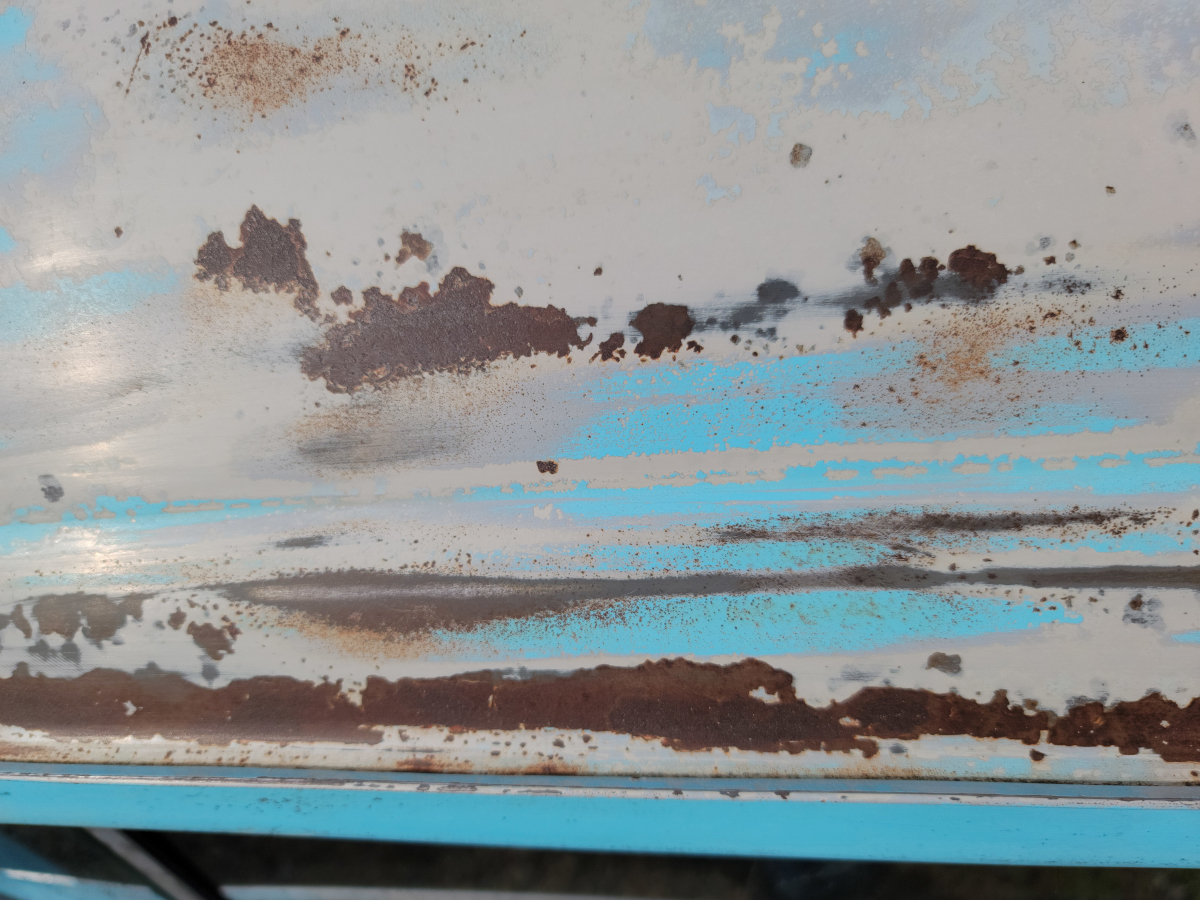
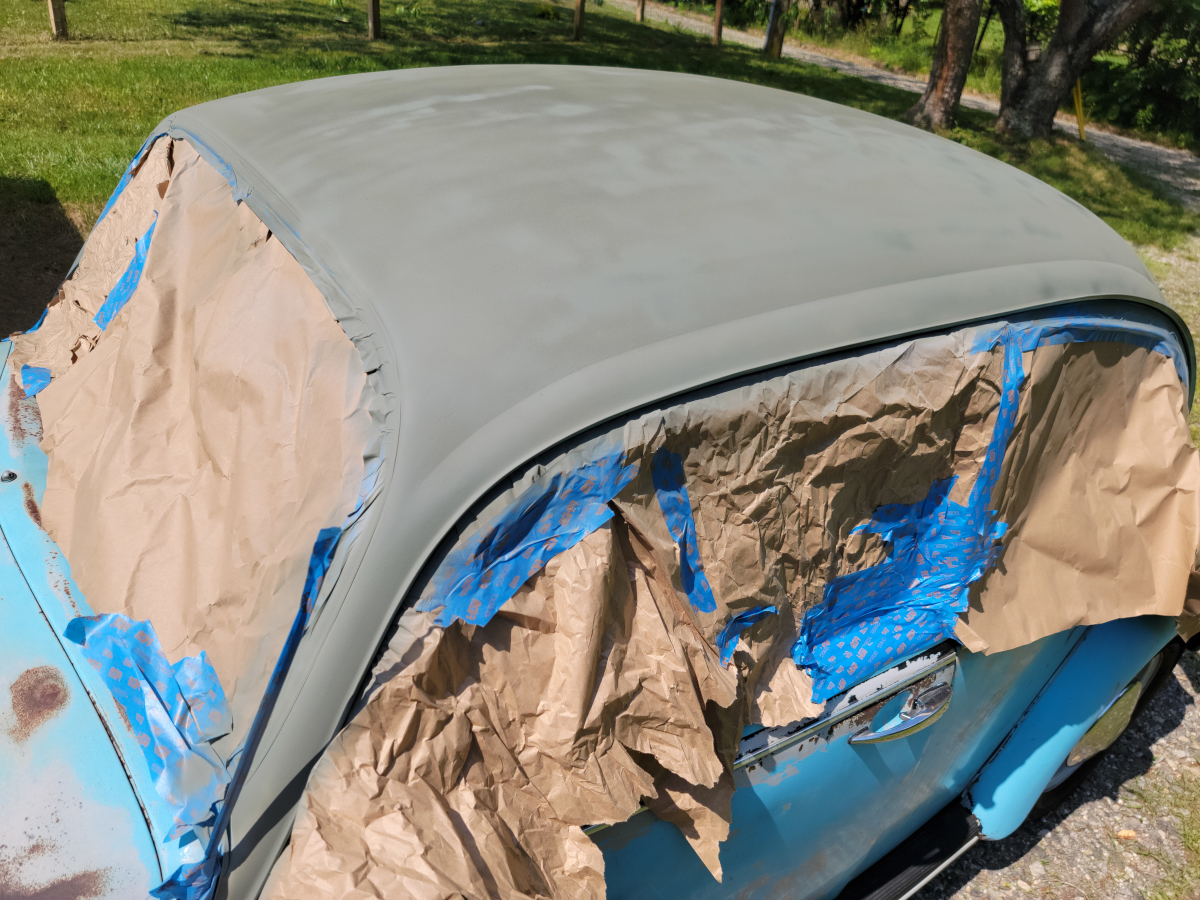
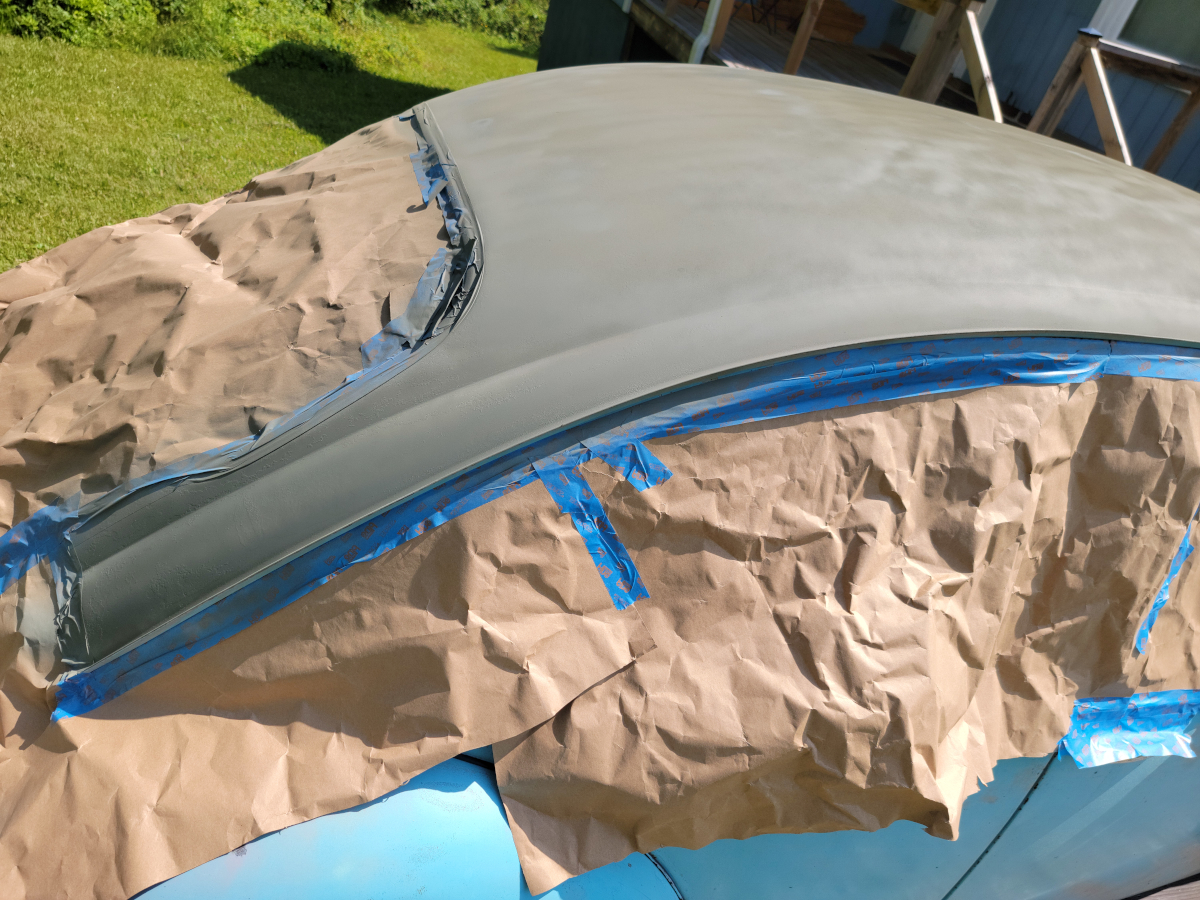
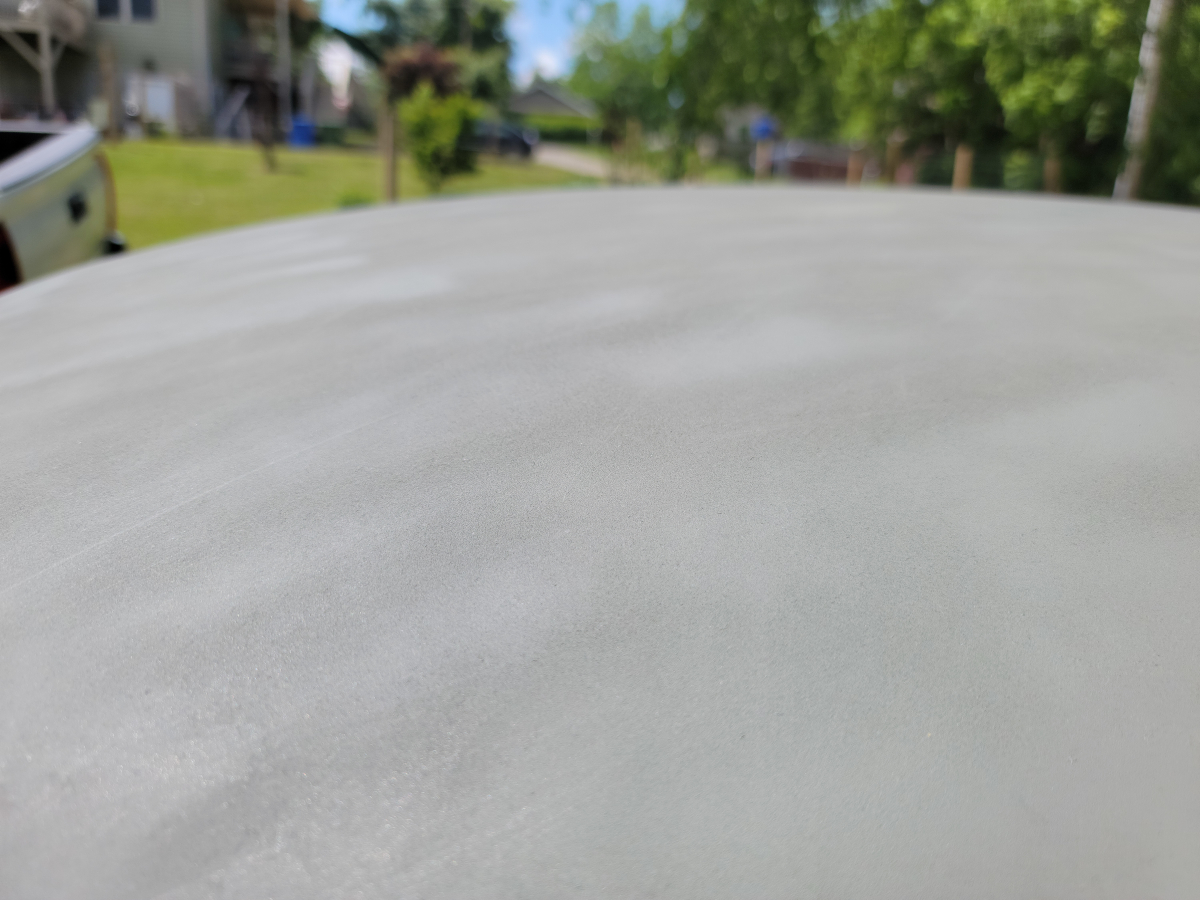
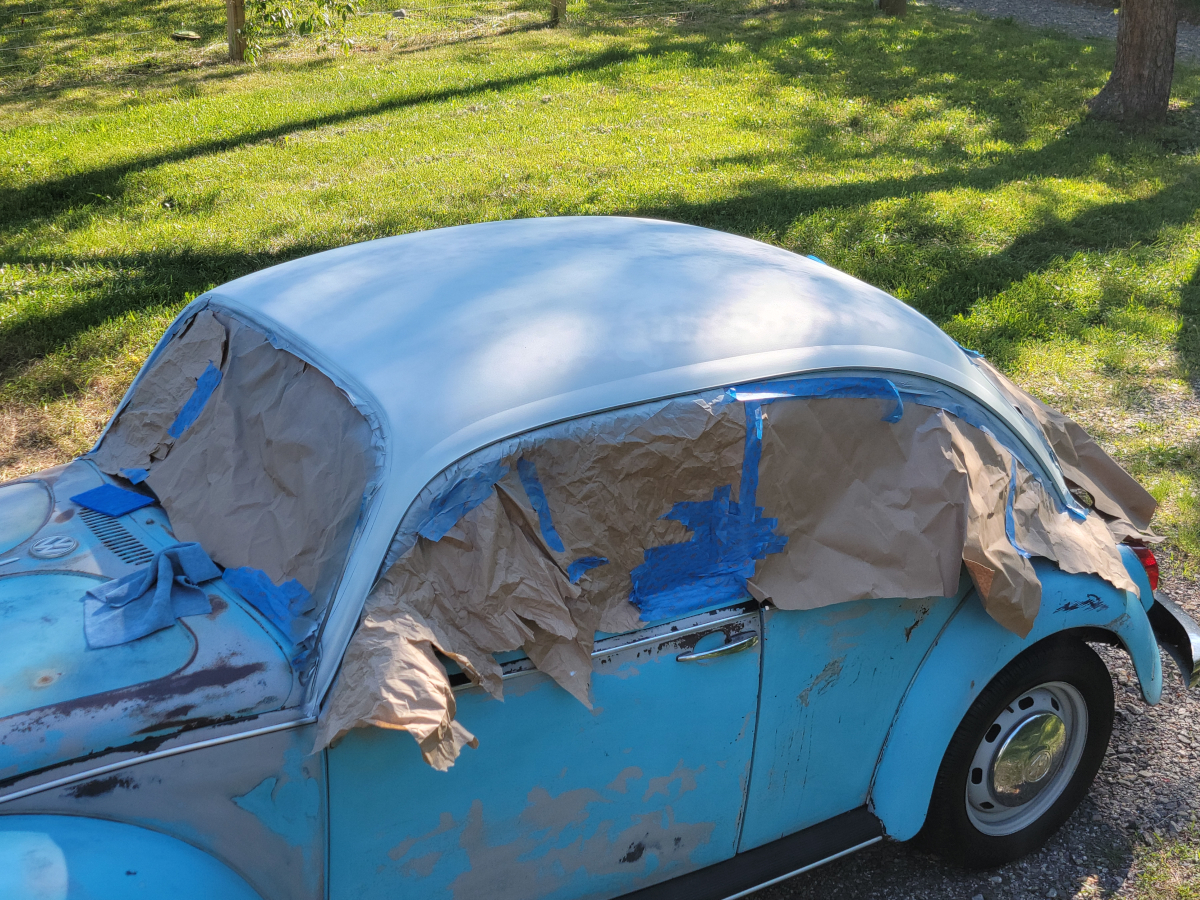
After two more coats of paint:

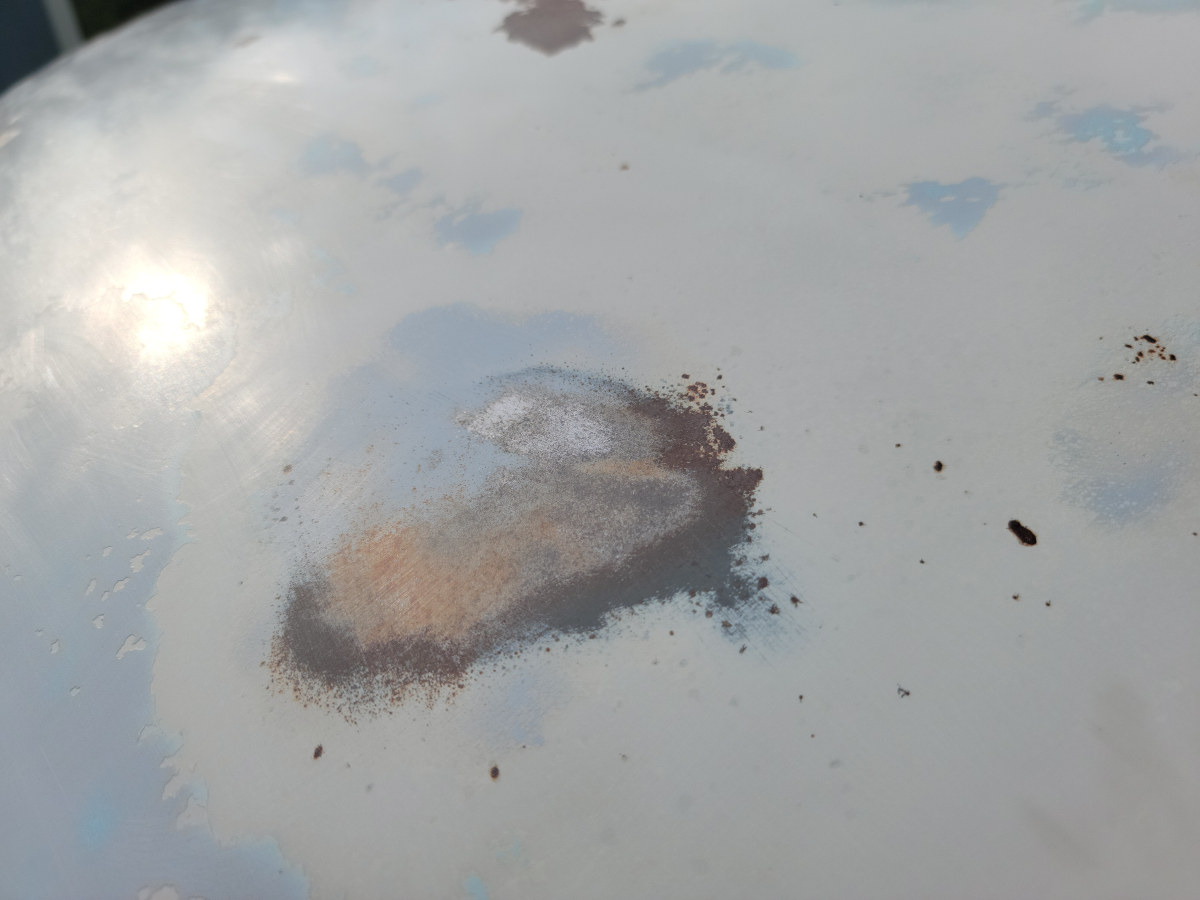
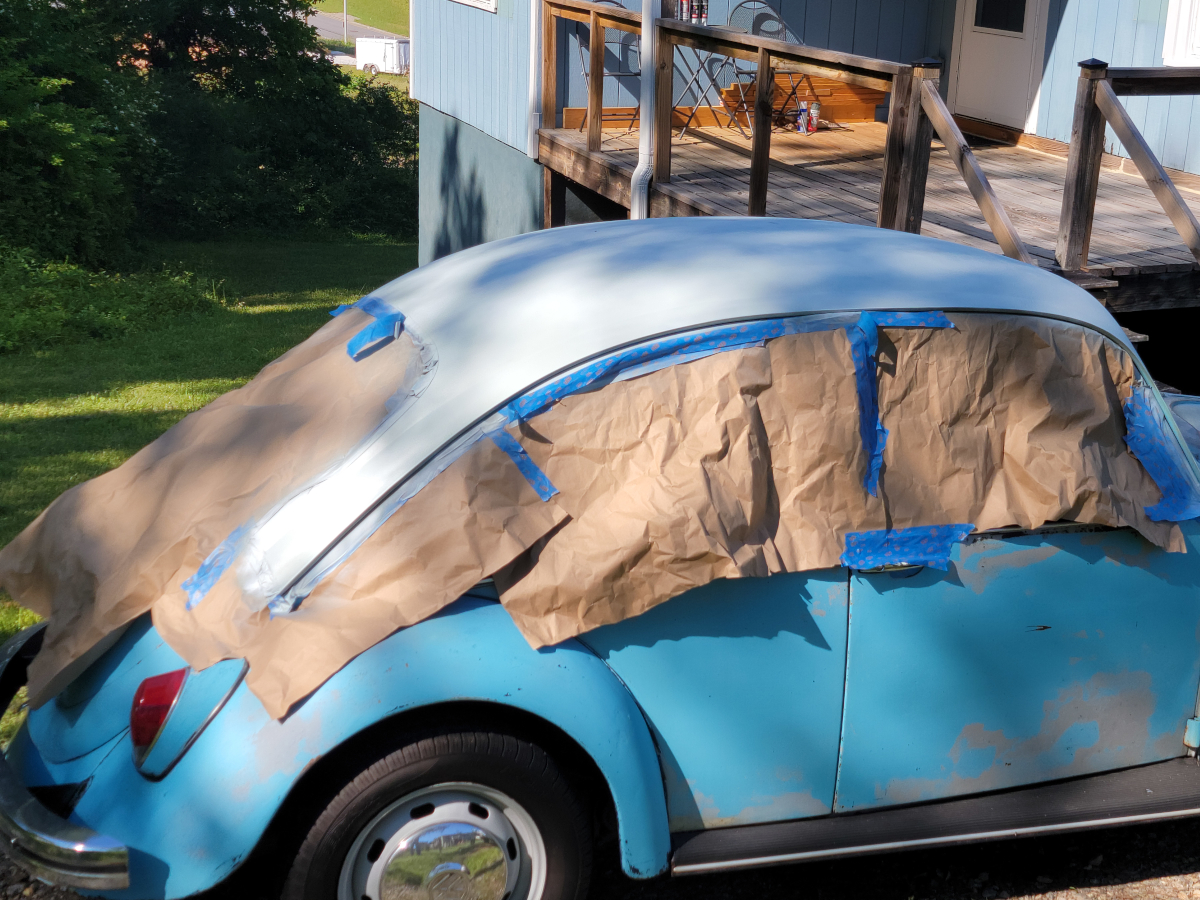
And then after wet-sanding with 1000 grit again:
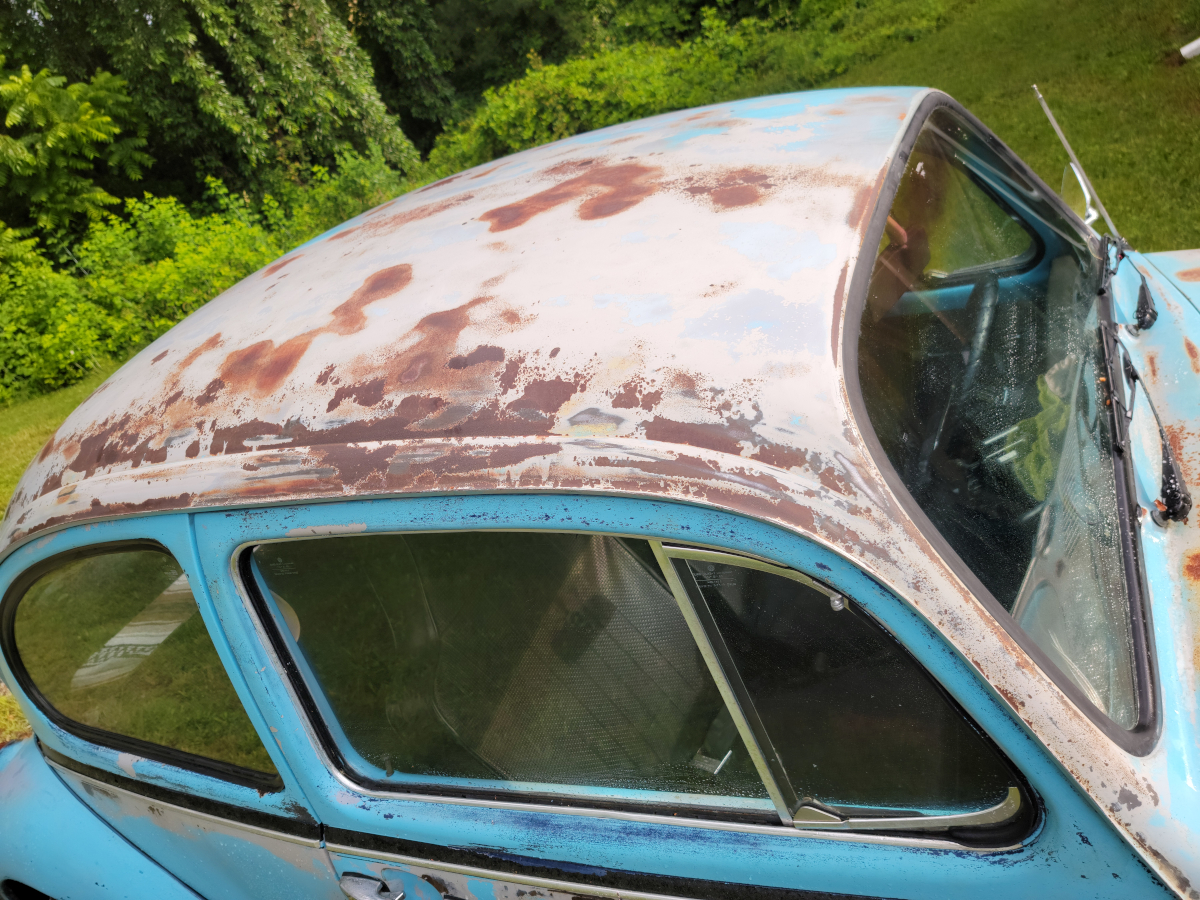
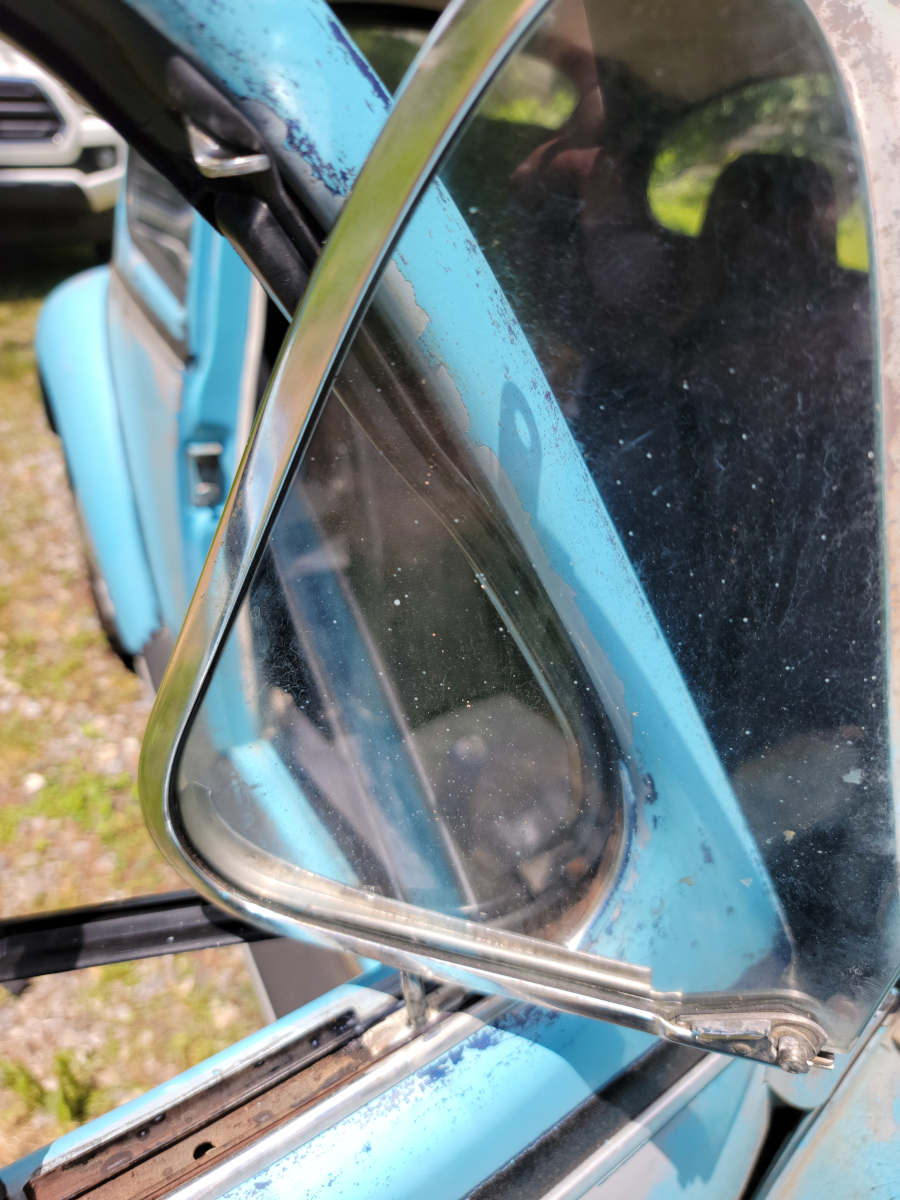
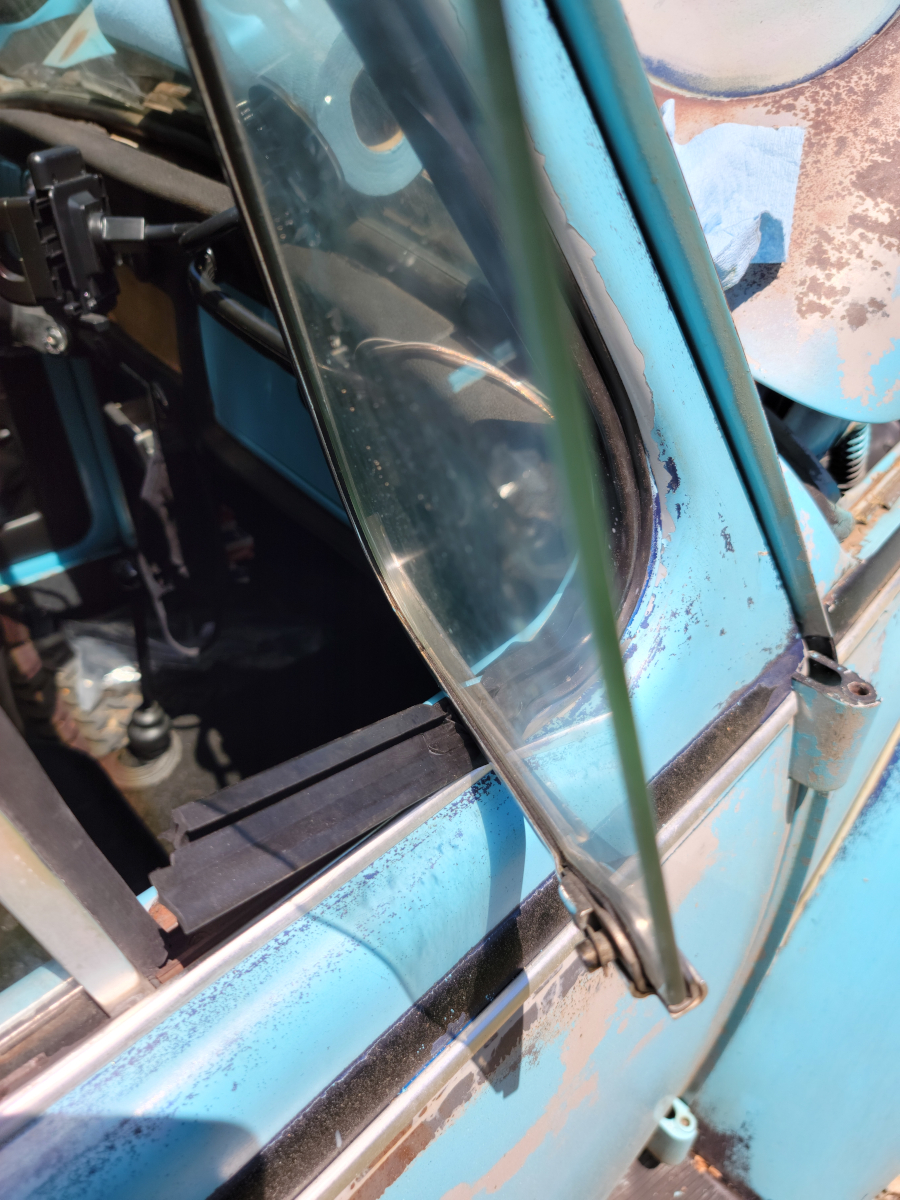
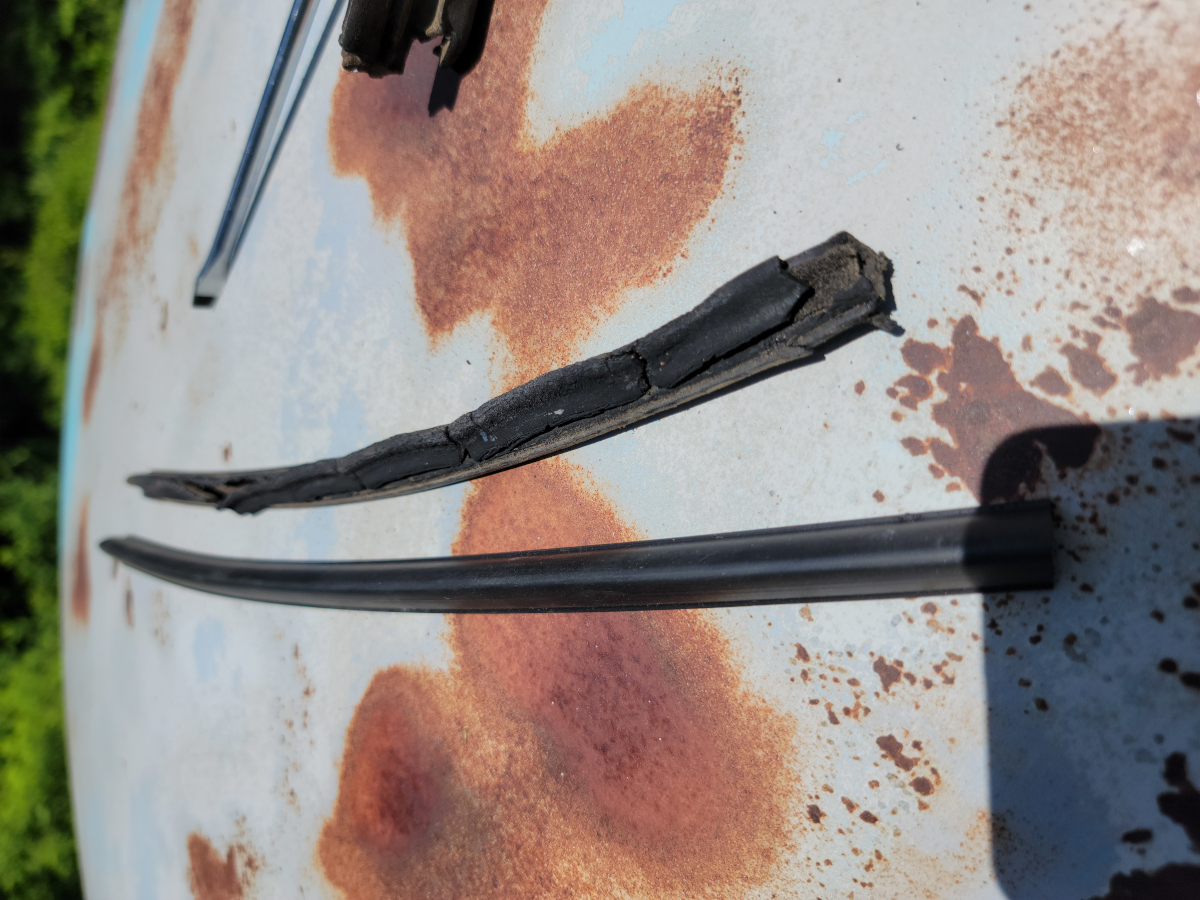
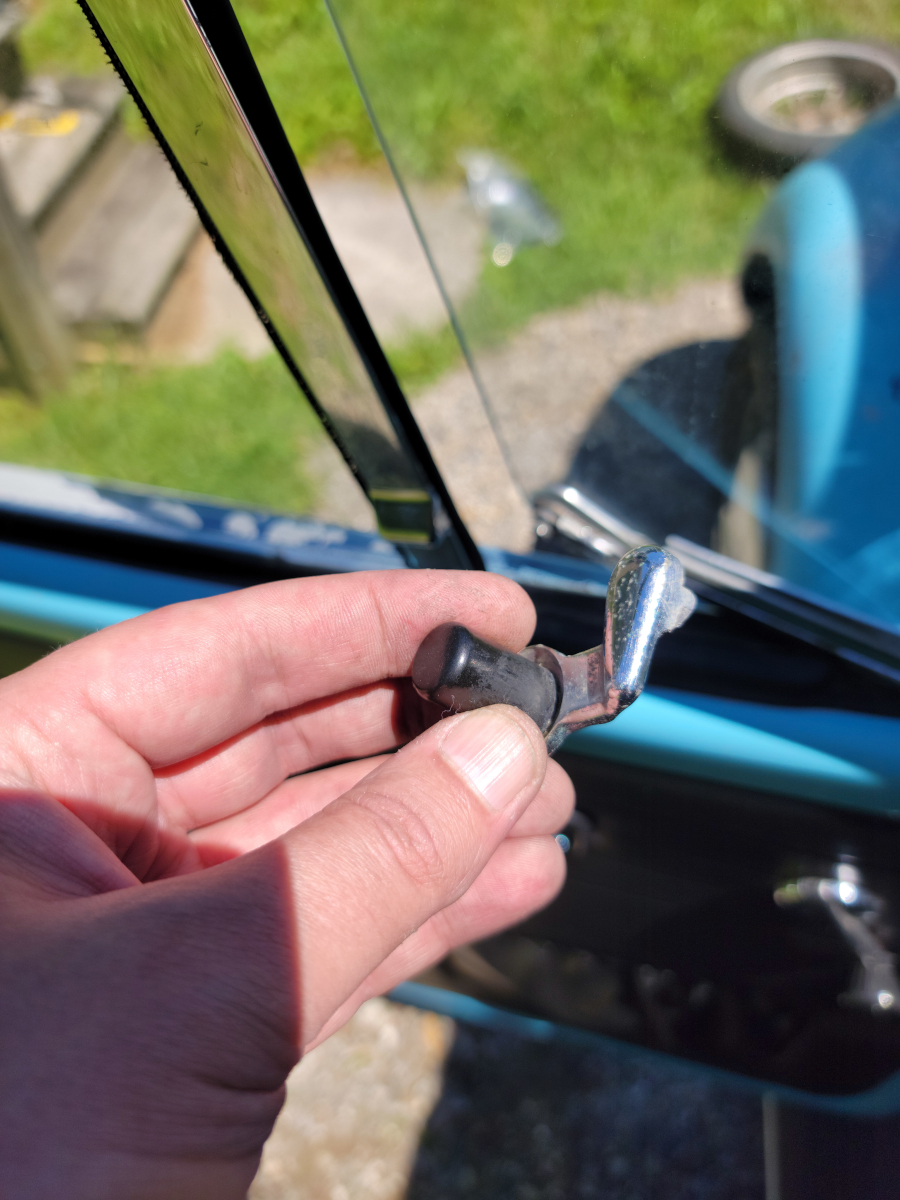
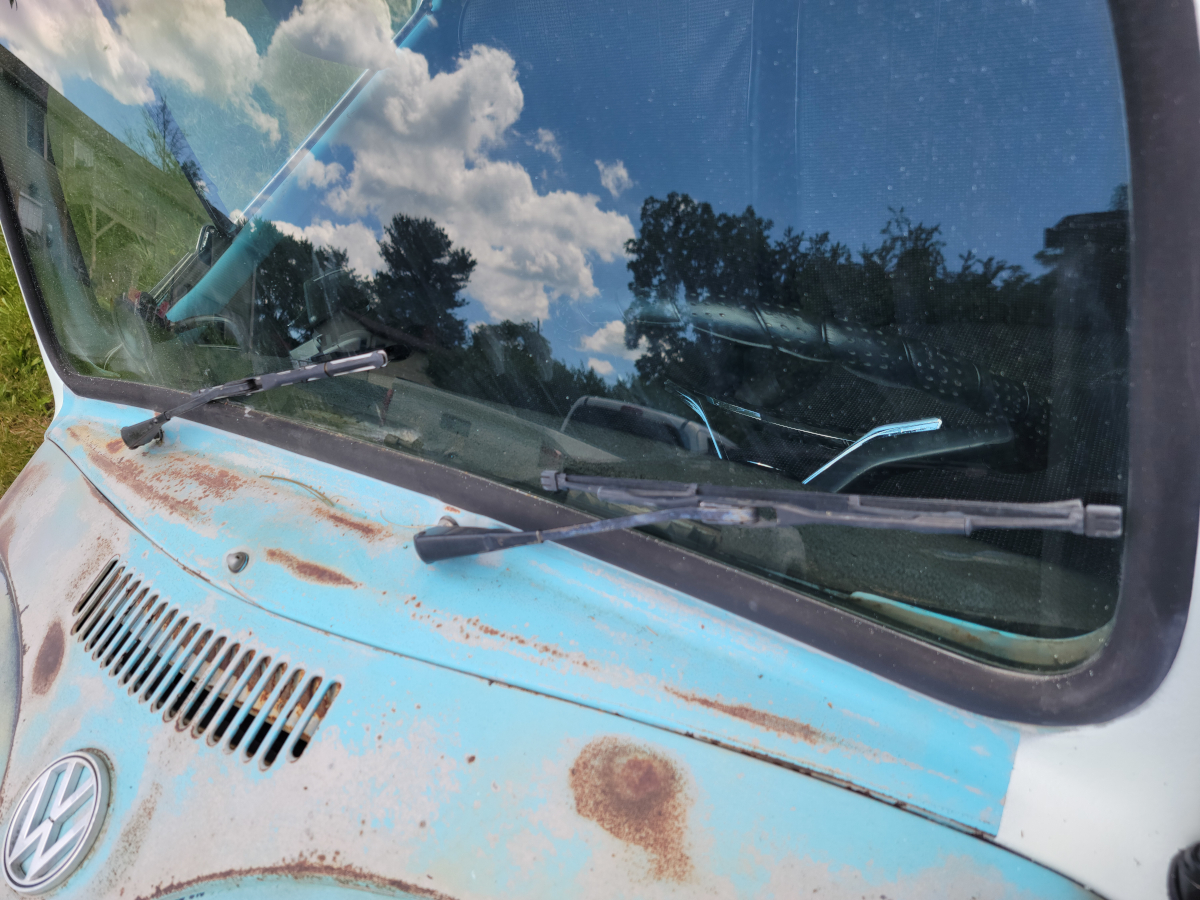
While I was there, I also adjusted the windshield wipers up a little (too much). They were flopping down over the bottom of the window rubber and the one on the driver side was overlapping the left side of the window rubber as well. Likely, they just aren’t the right size wiper blades. I’ll have to check that out later.
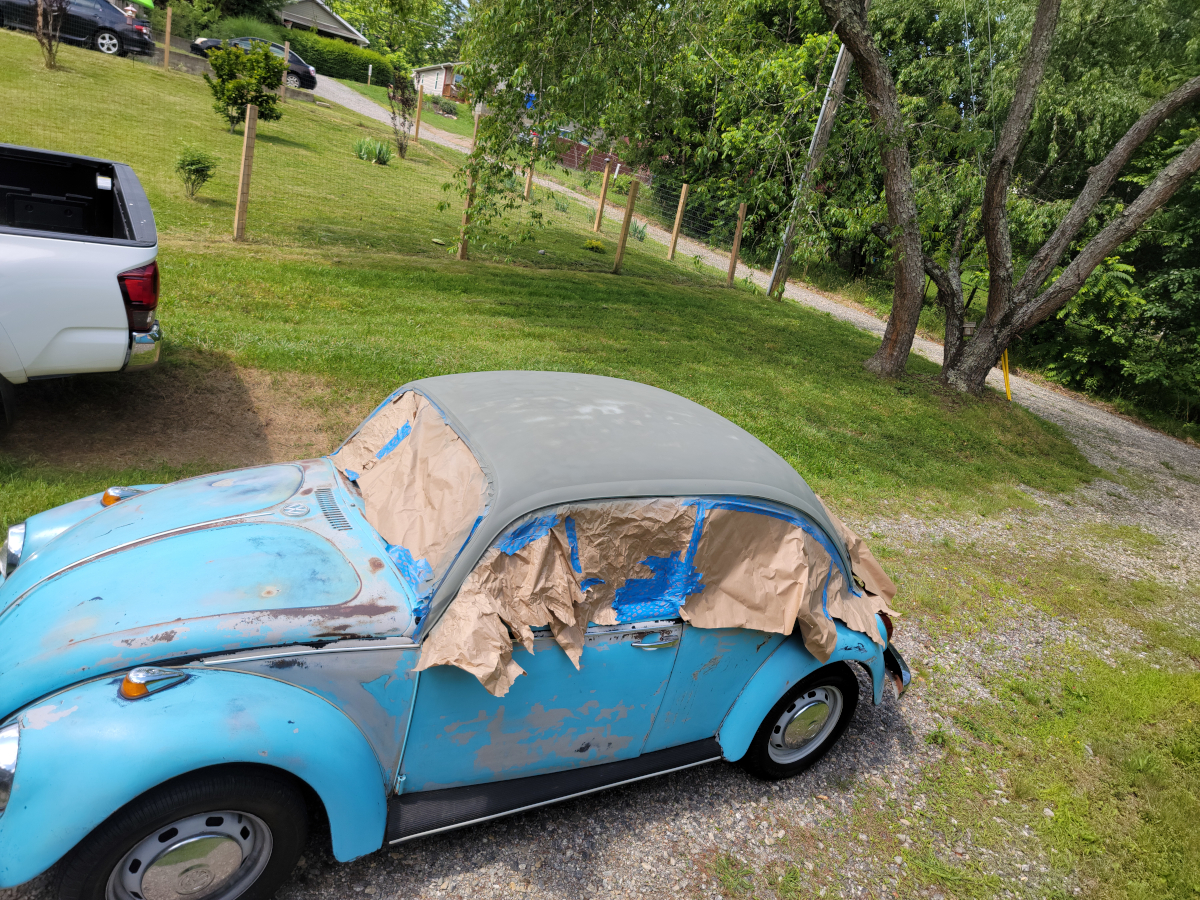
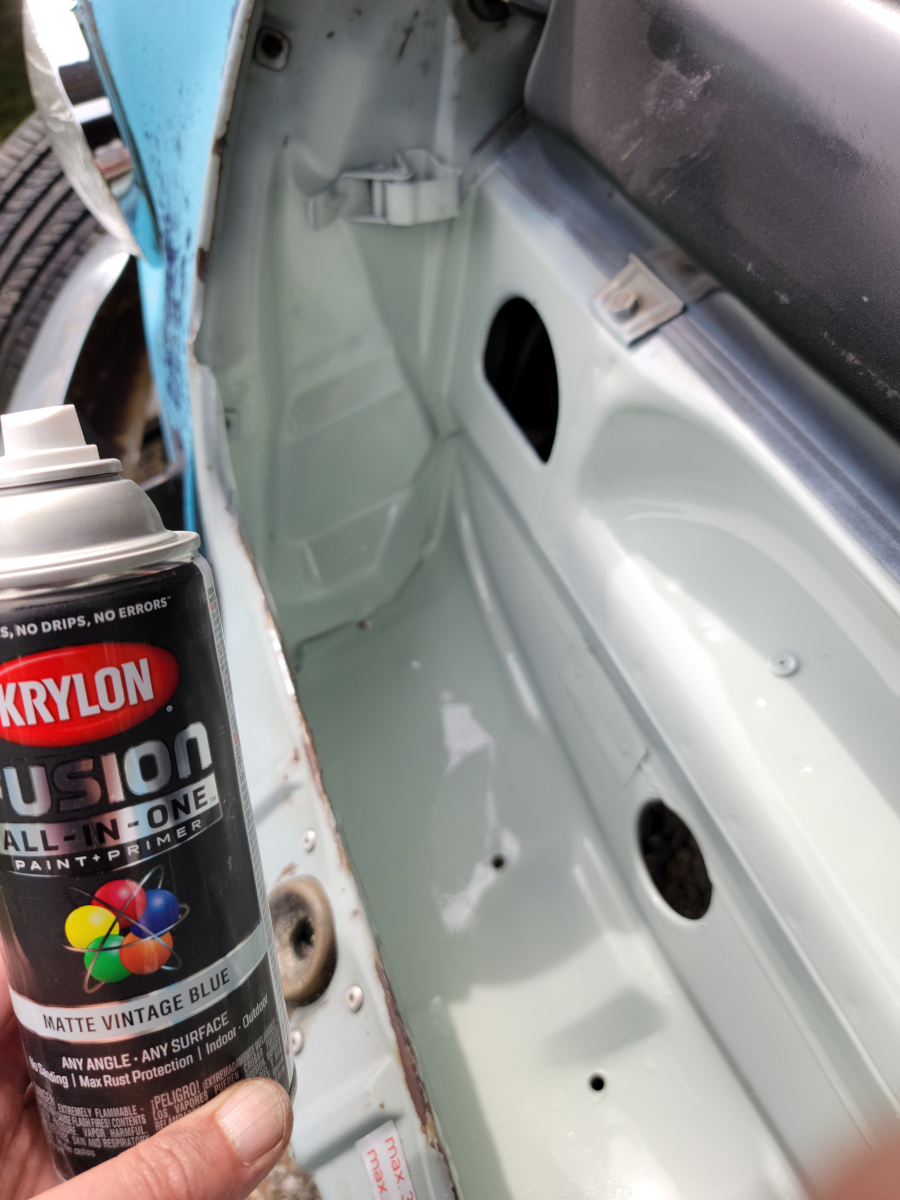
I have to plan my next steps carefully, since I now have “only” six cans of that paint left. As mentioned in the Goodbye Matte Vintage Blue post, this paint has been discontinued and I have bought all that is available in the county.
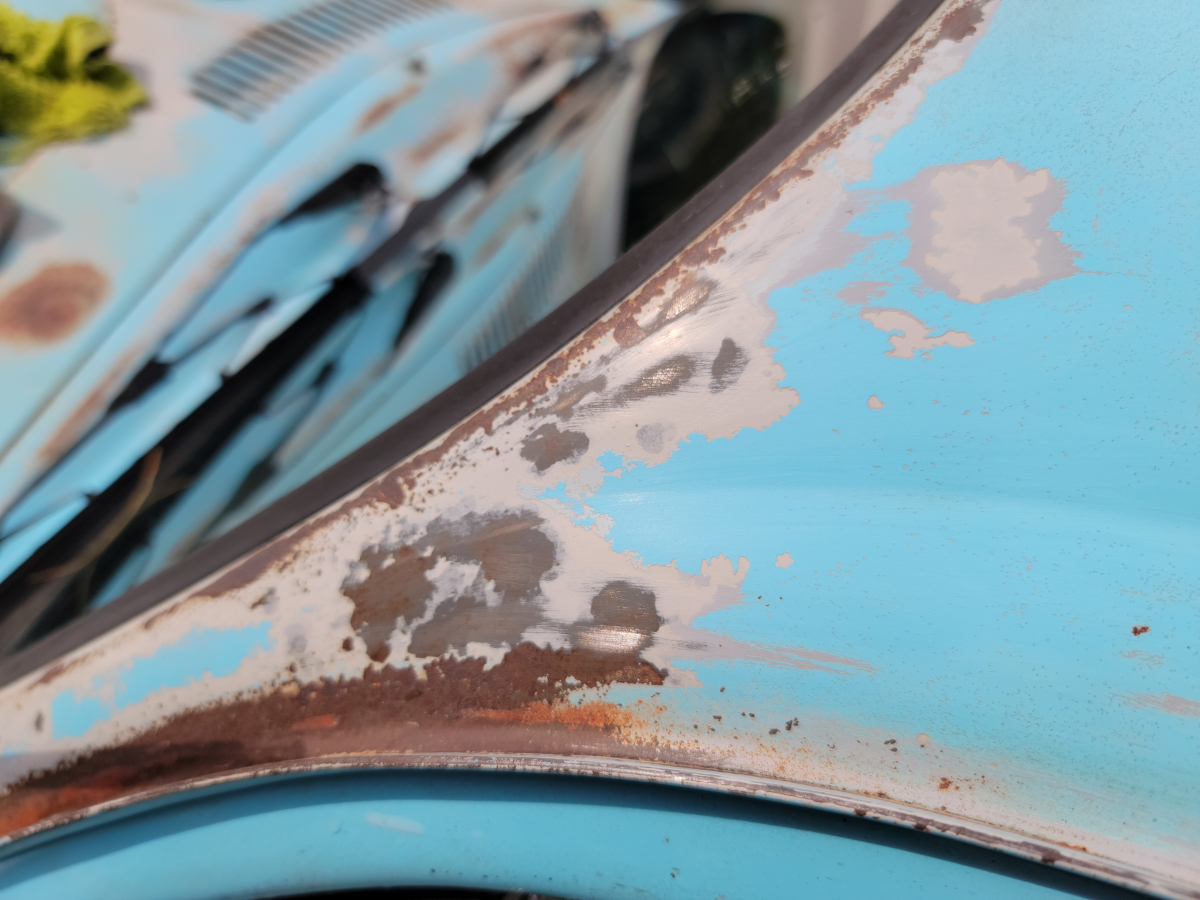
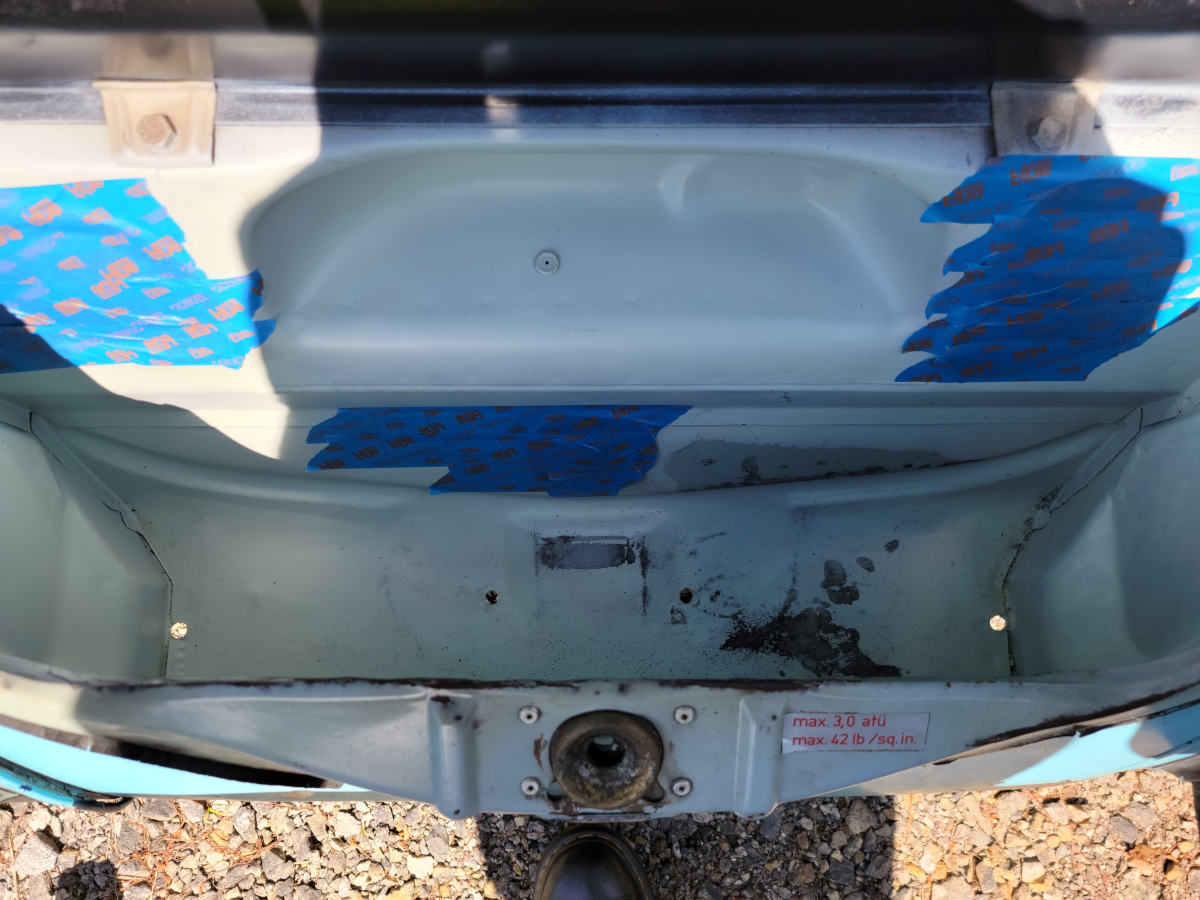
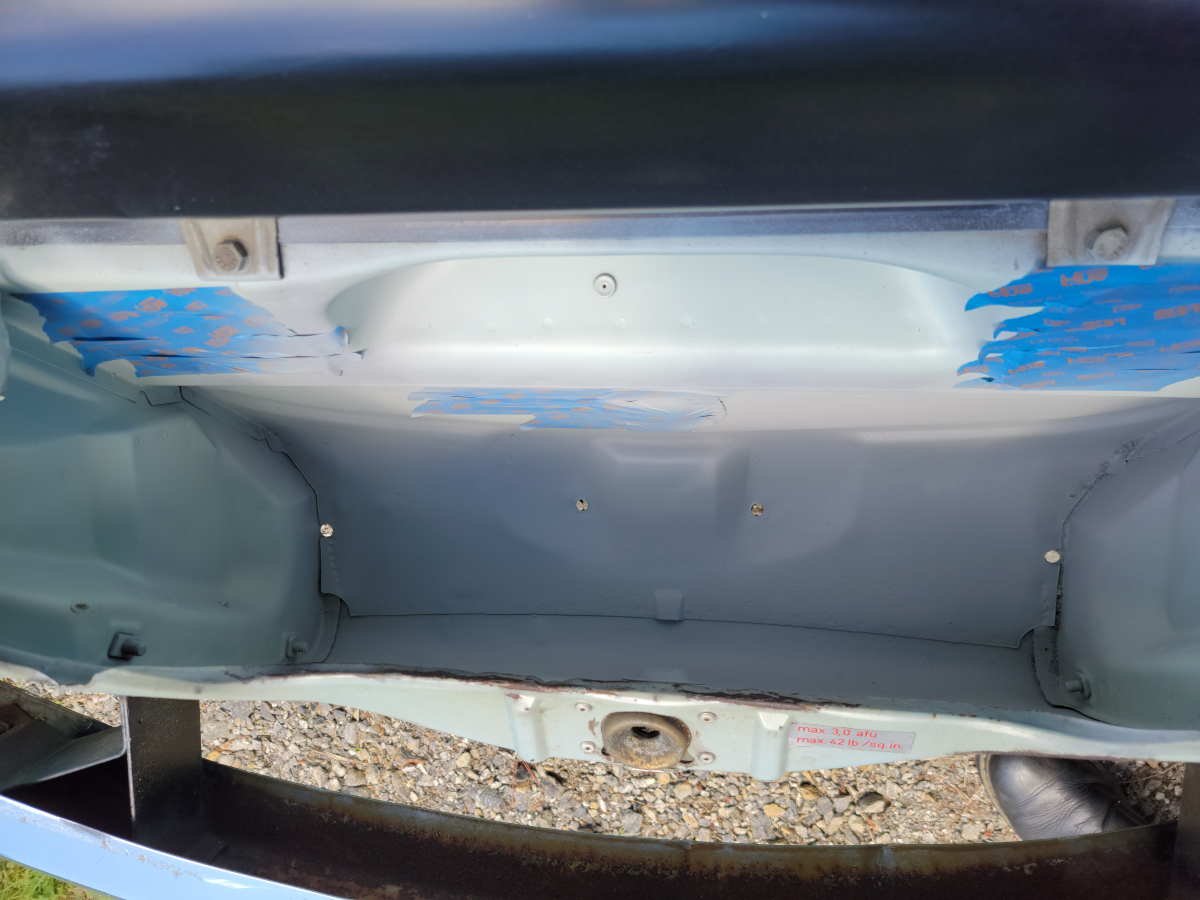
That’s not going to be enough to do the whole car, but I only got started painting this because of the rust pitting. Following that logic, I should finish the space below the windshield and then do the front trunk lid. Those are the next most rusty places.
Then on to the rear, finishing up the space below the rear window and then the engine cover. We’ll see what’s left after that.