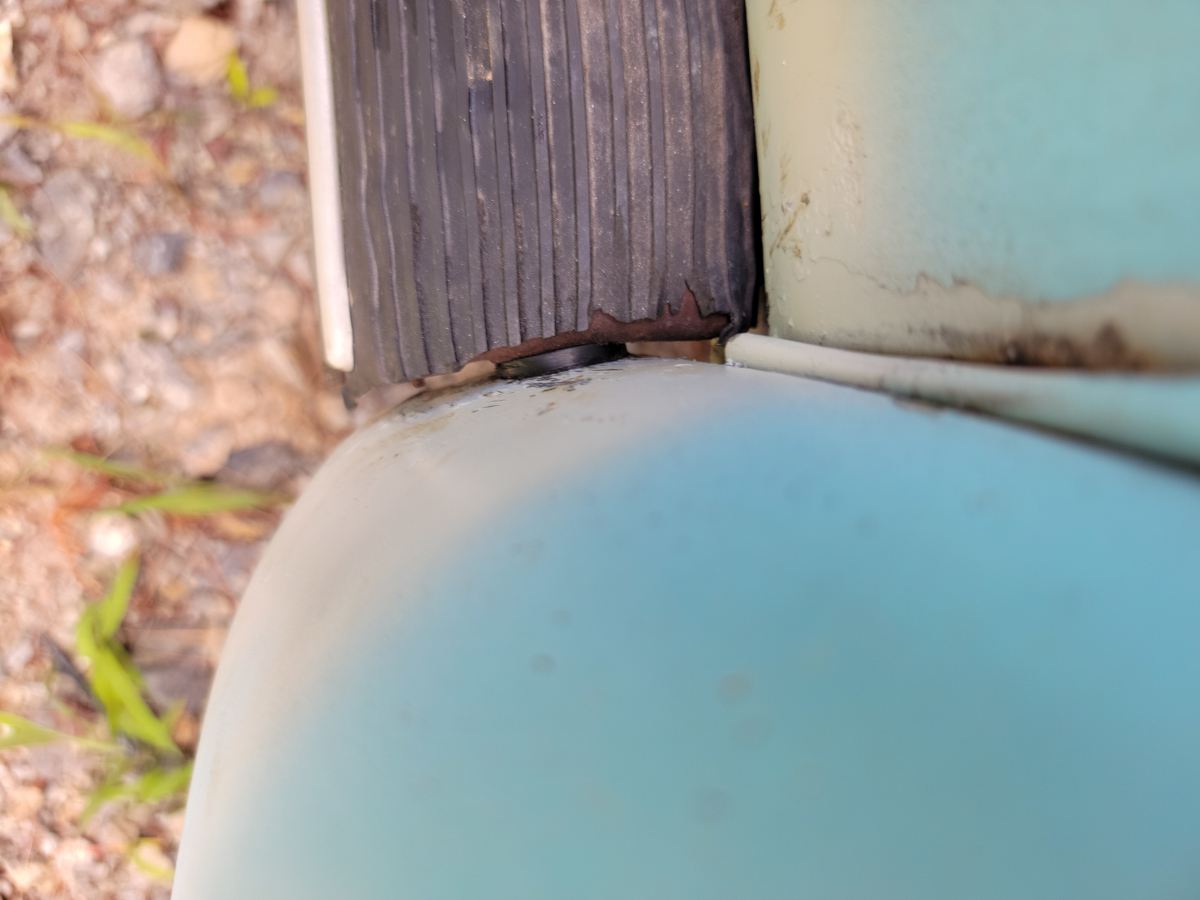
One of the first things I noticed when checking out this car before I bought it was the running boards were rusty and made crunching sounds when I pressed on them. I recently bought a new pair of running boards from jbugs (jbugs link).
I started on the driver side. Removing the bolt first from the front fender:
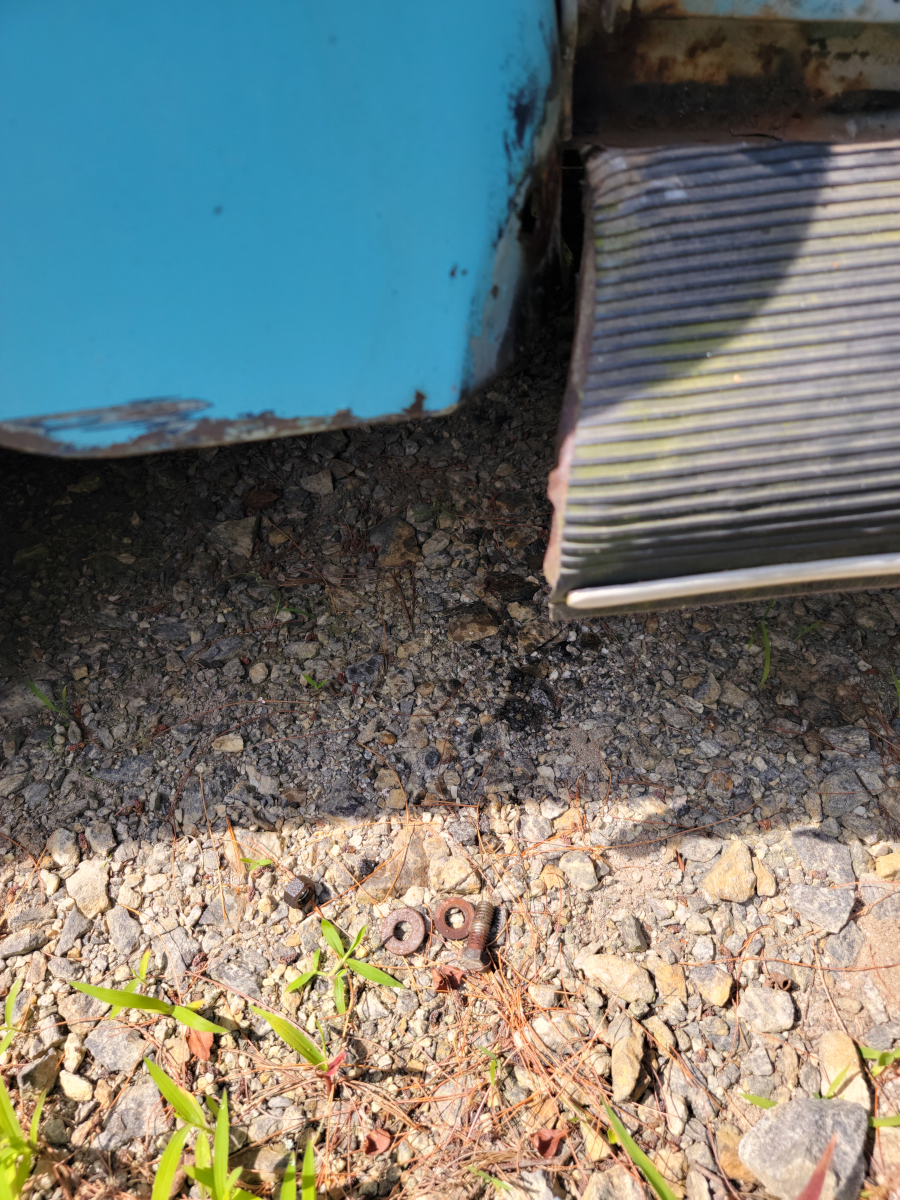
And then the rear fender:
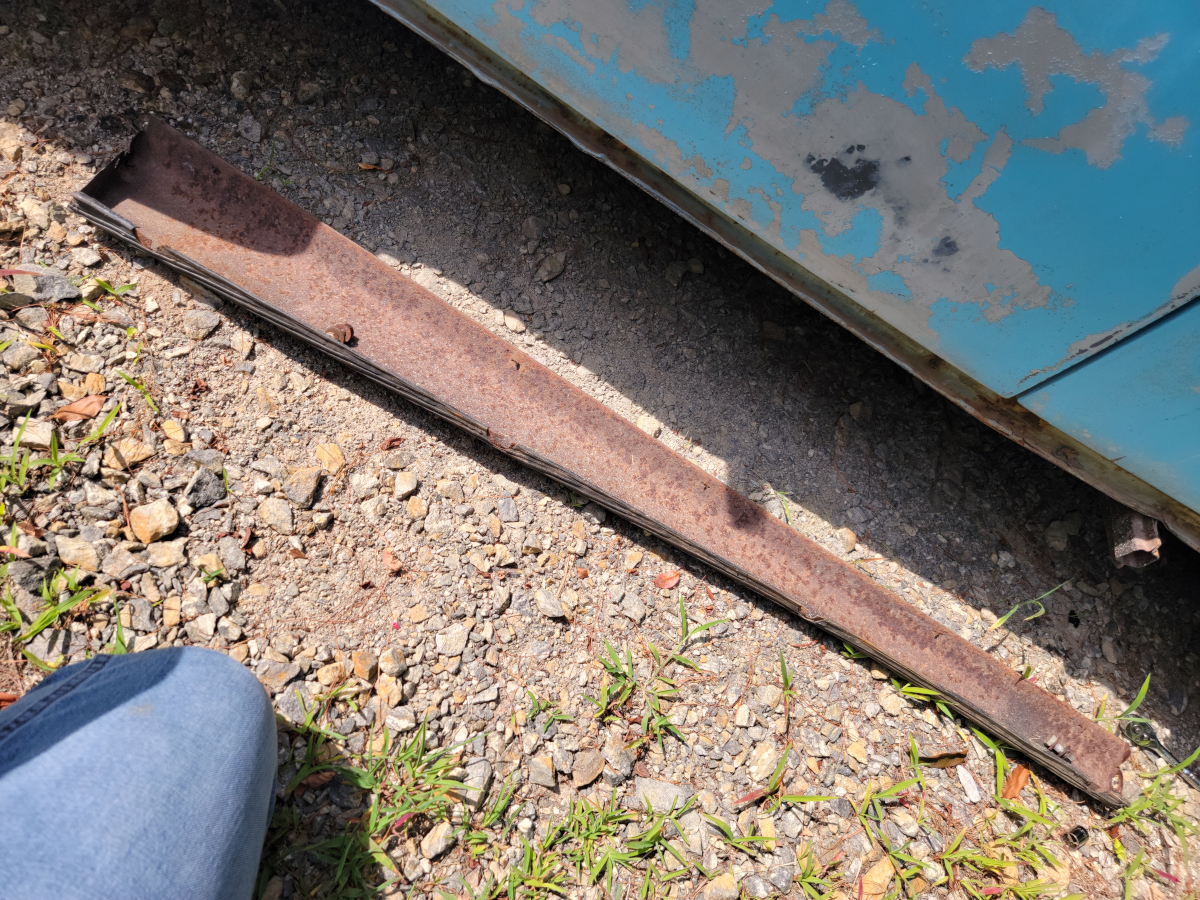
Whoopsy daisy… There are supposed to be four bolts in the body channel below the door. Three were broken off and one was just missing.
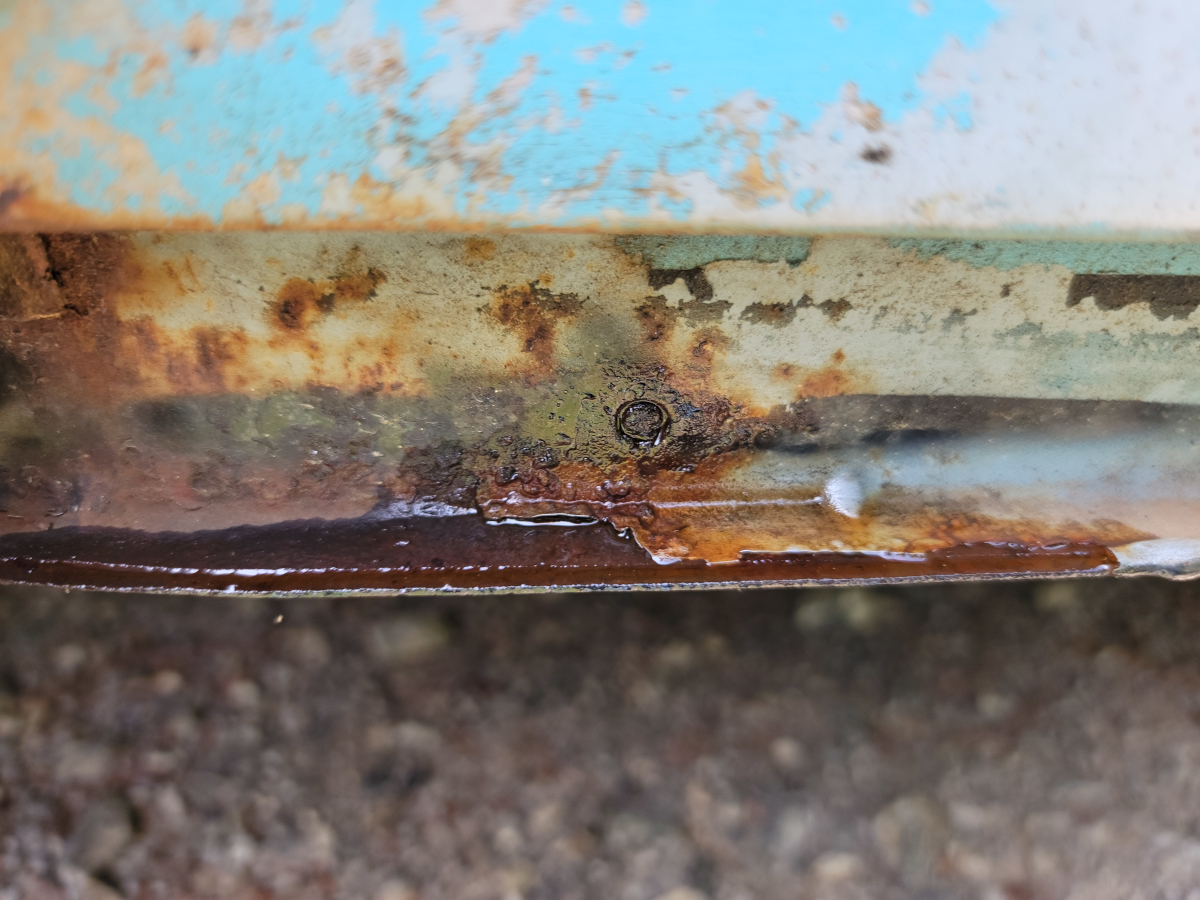
I hosed them down with PB Blaster in hopes of getting the broken bolts out. A few days ago, I ordered a little set of screw/bolt extractors (Amazon link)…
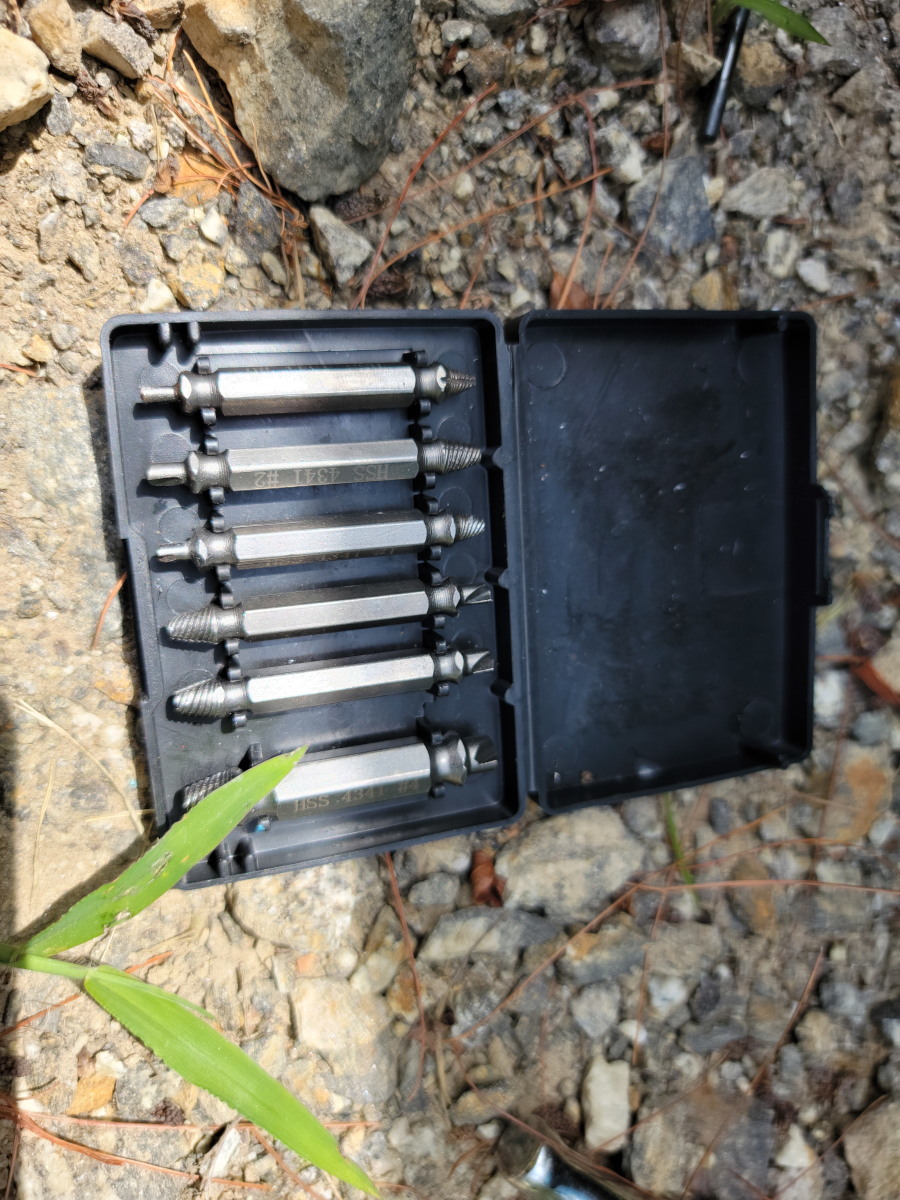
I didn’t hold out a lot of hope, but gave them a try. They didn’t work. I was able to get a good bite on one of the bolts. However, my drill was smoking a little by the time I gave up on that.
I think it was trying to pick up and rotate the whole car. I would have preferred that the bolt would have given up and broken loose.
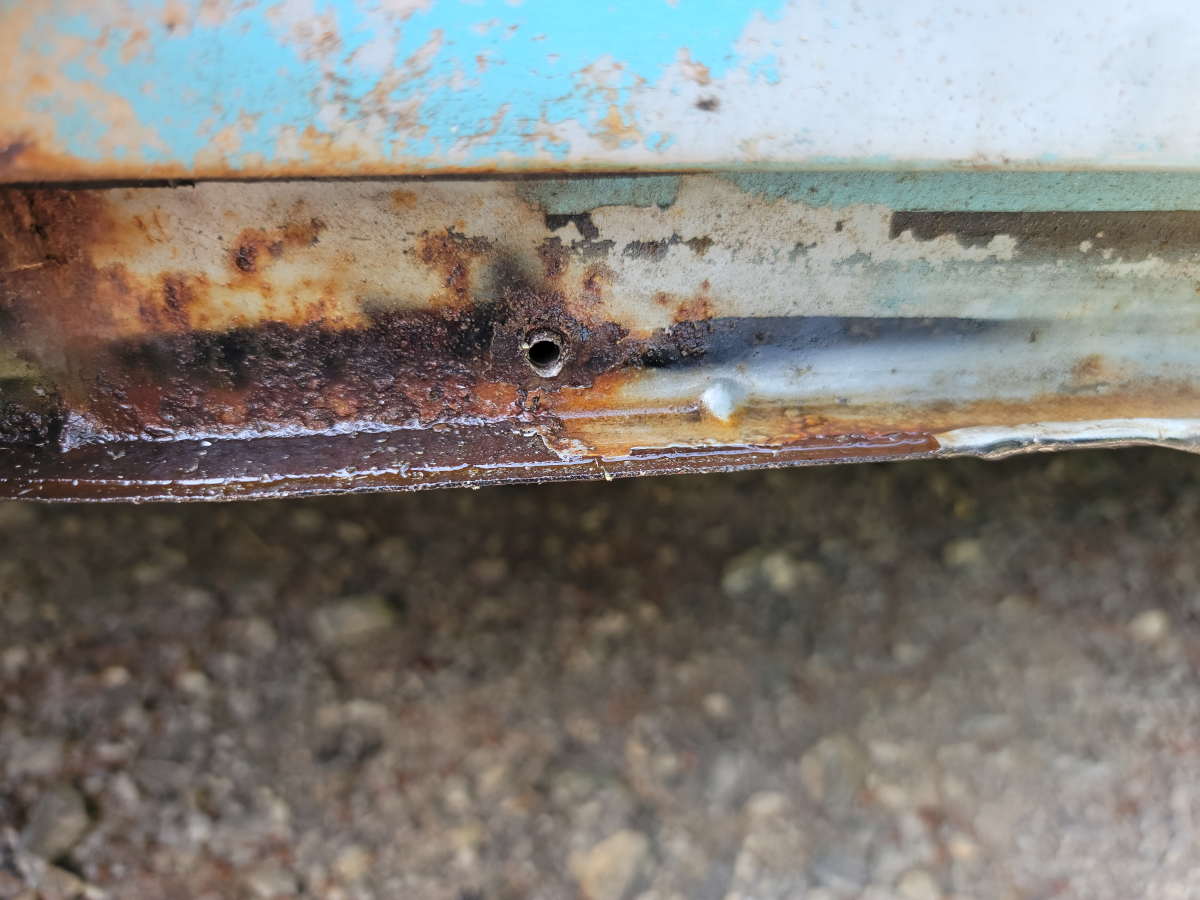
So, I got out the drill bits and just drilled it through. I was a little off-center drilling the original hole. That meant I ended up having to “upgrade” that to a 7mm bolt. The rest of them are 6mm.
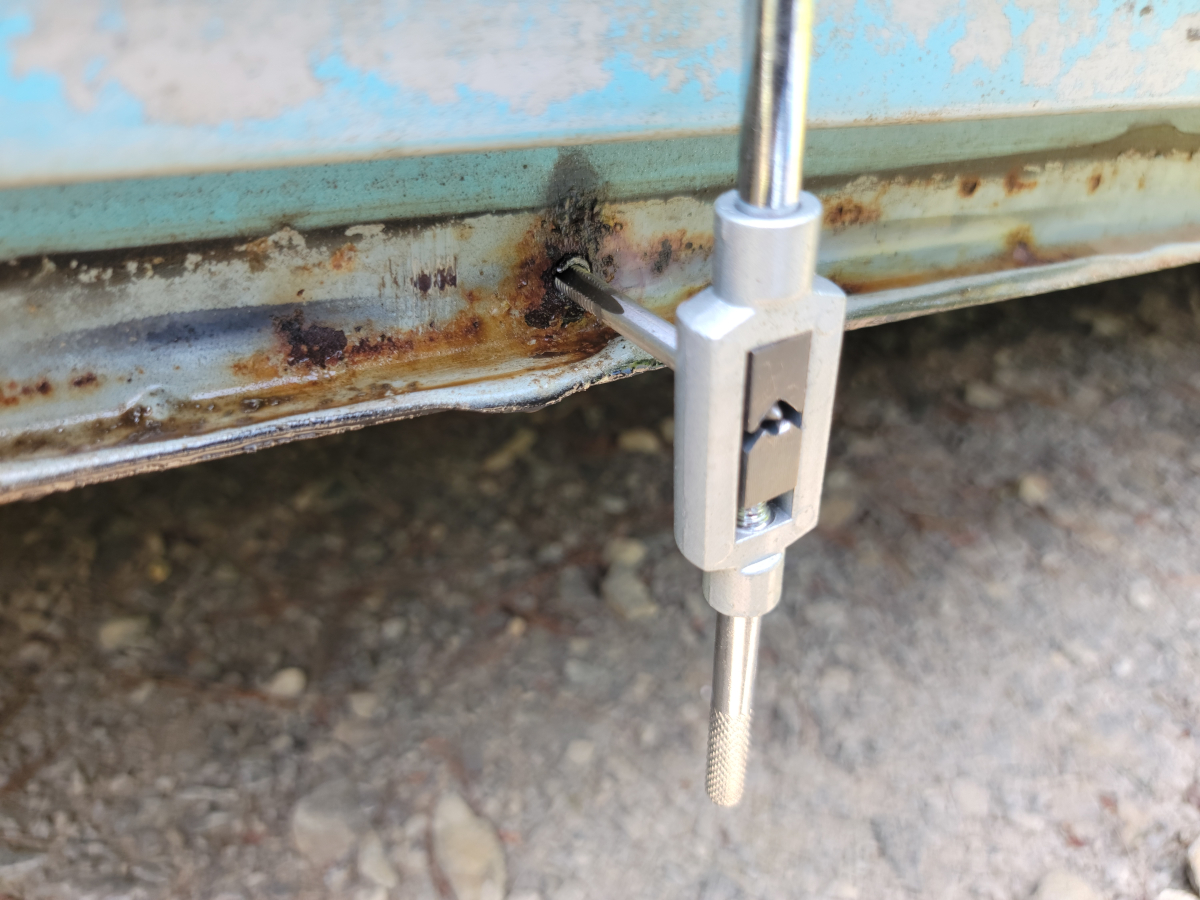
After drilling out the bolts, I went back through and threaded the new holes. I used the original 6mm x 1 size.
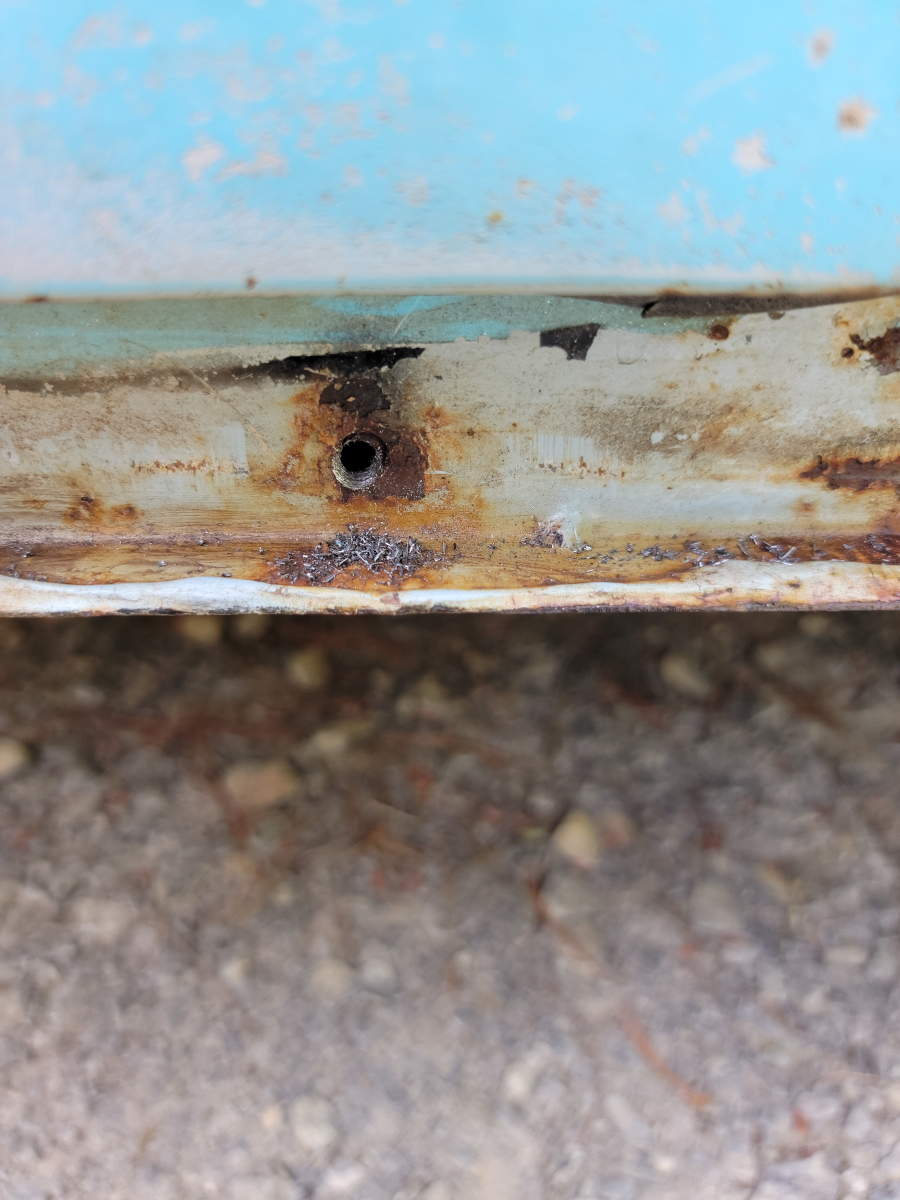
The last bolt hole in the rear had been left empty, but the threads were heavily rusted.
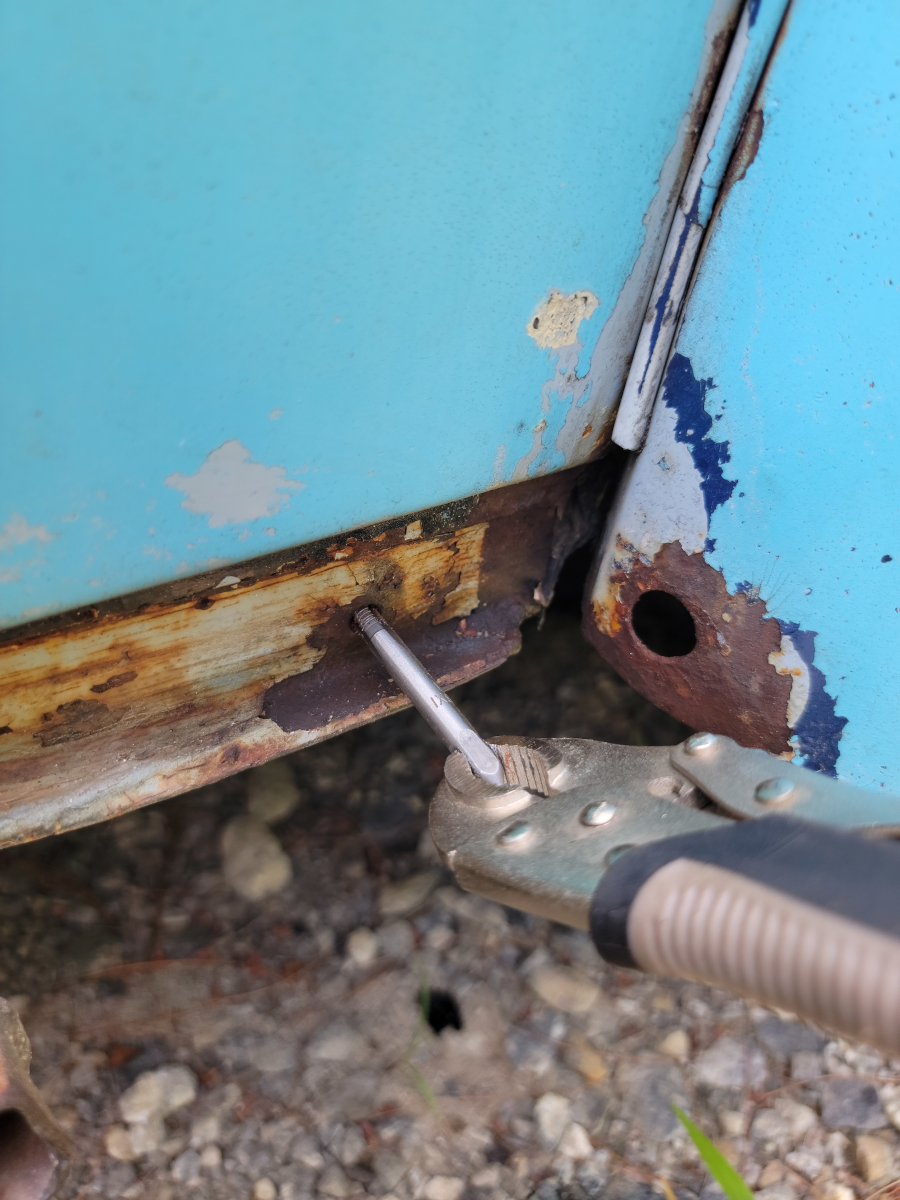
Like I said…
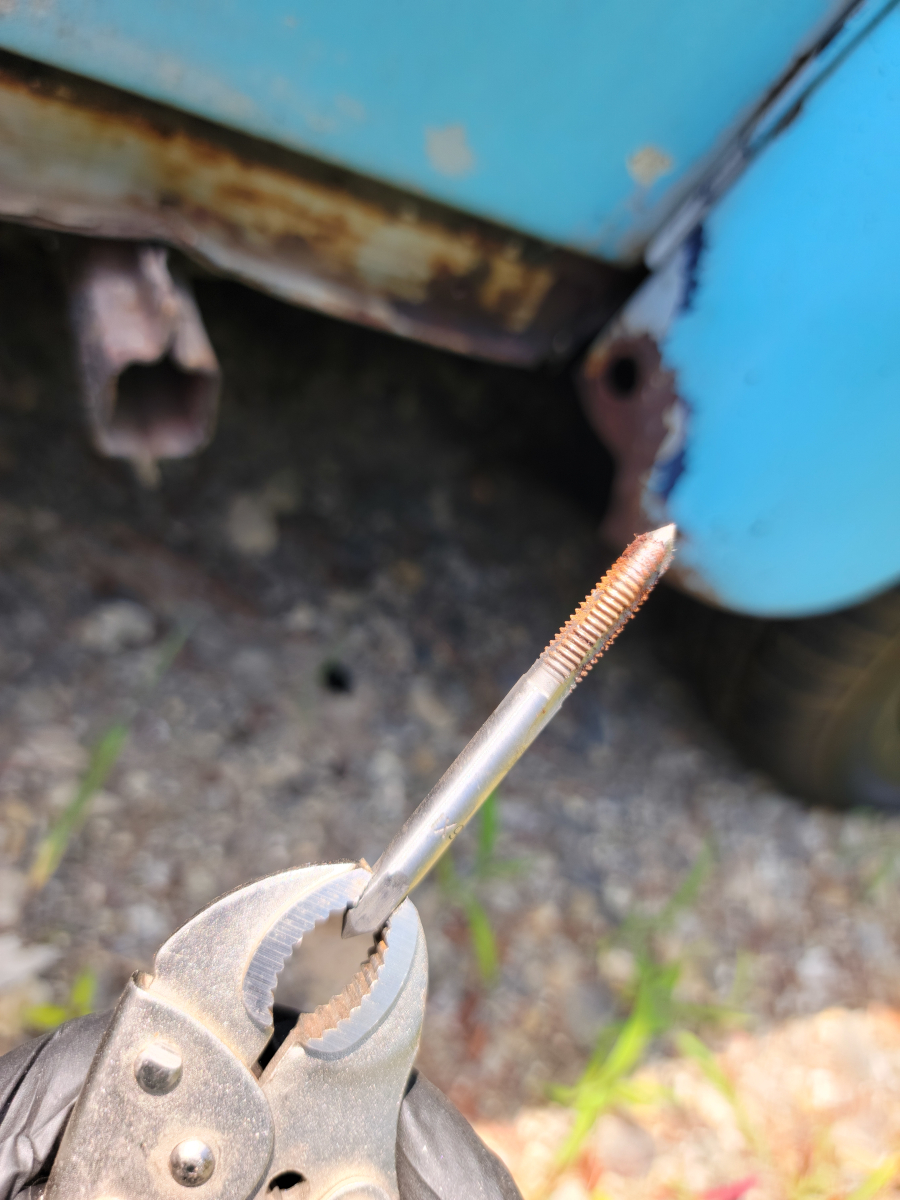
That picture also shows another problem. Above the factory jack point, the body channel is bent up. I tried pounding it back down flat, but there isn’t a lot of room in there. I just ended up knocking a little surface rust loose.
So, now I had one bolt hole threaded for 7mm x 1 and the rest 6mm x 1. I was able to find a 7mm bolt, but the threads weren’t 1 or .75. Those are the two options that I have in my set. So, I decided to cut new threads into it.
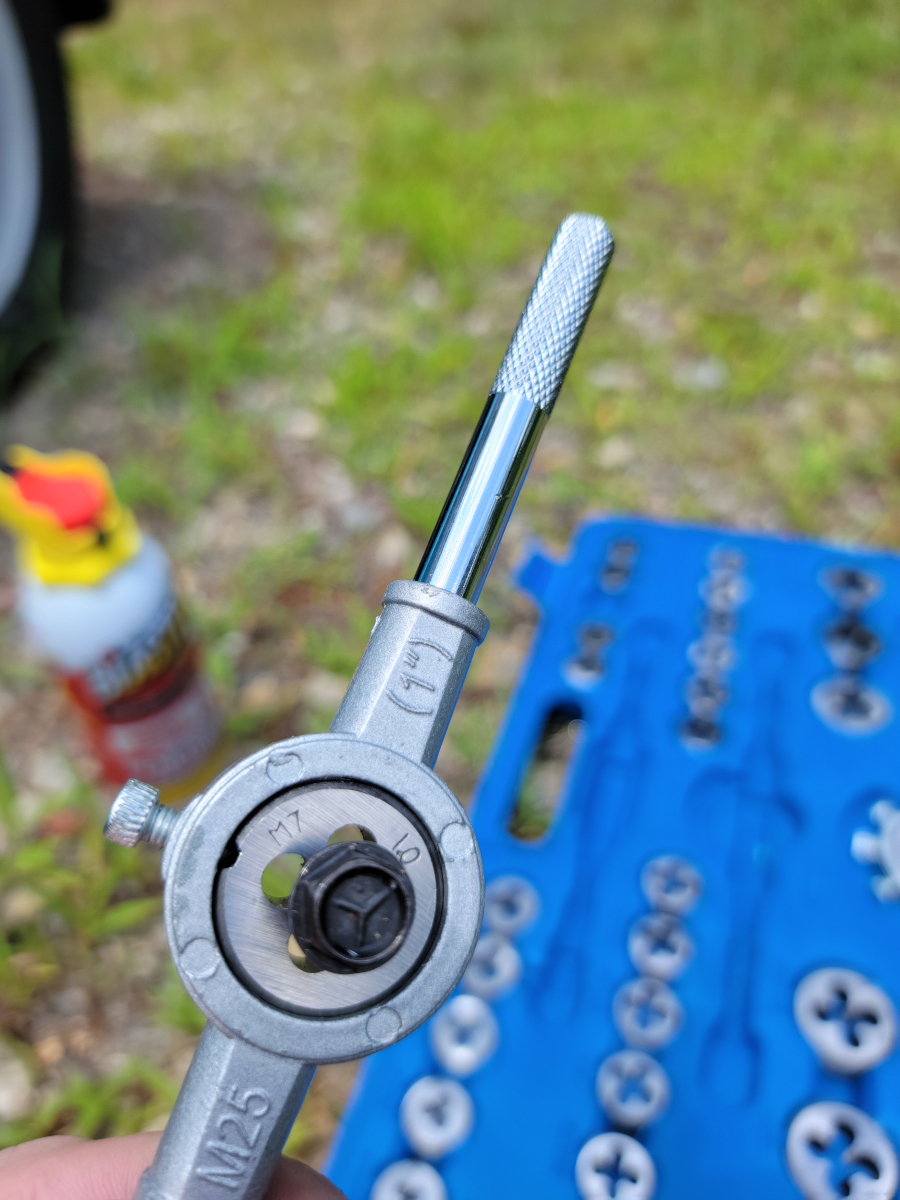
And hey, surprise, it actually worked.
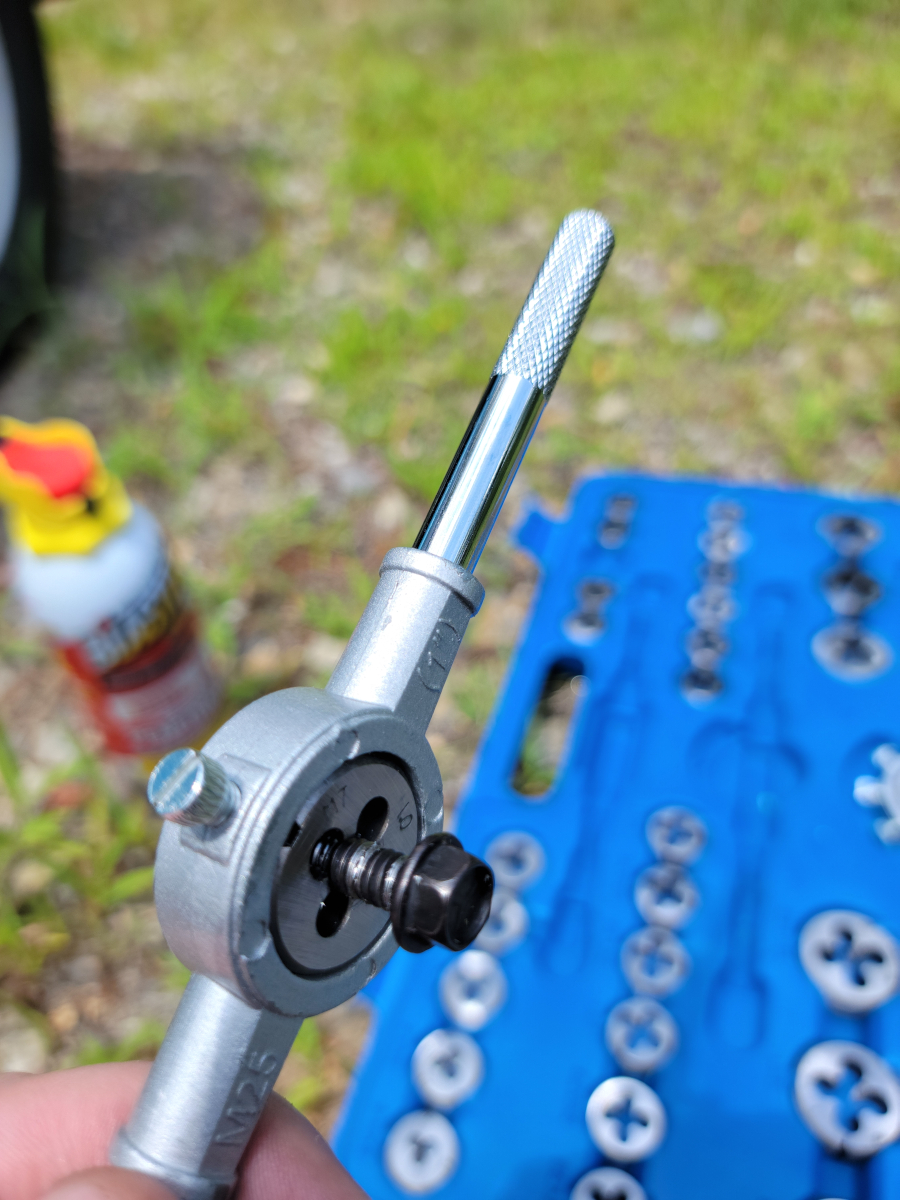
It’s clearly a mess, but the bolt threads tightly into the new bolt hole in the body.
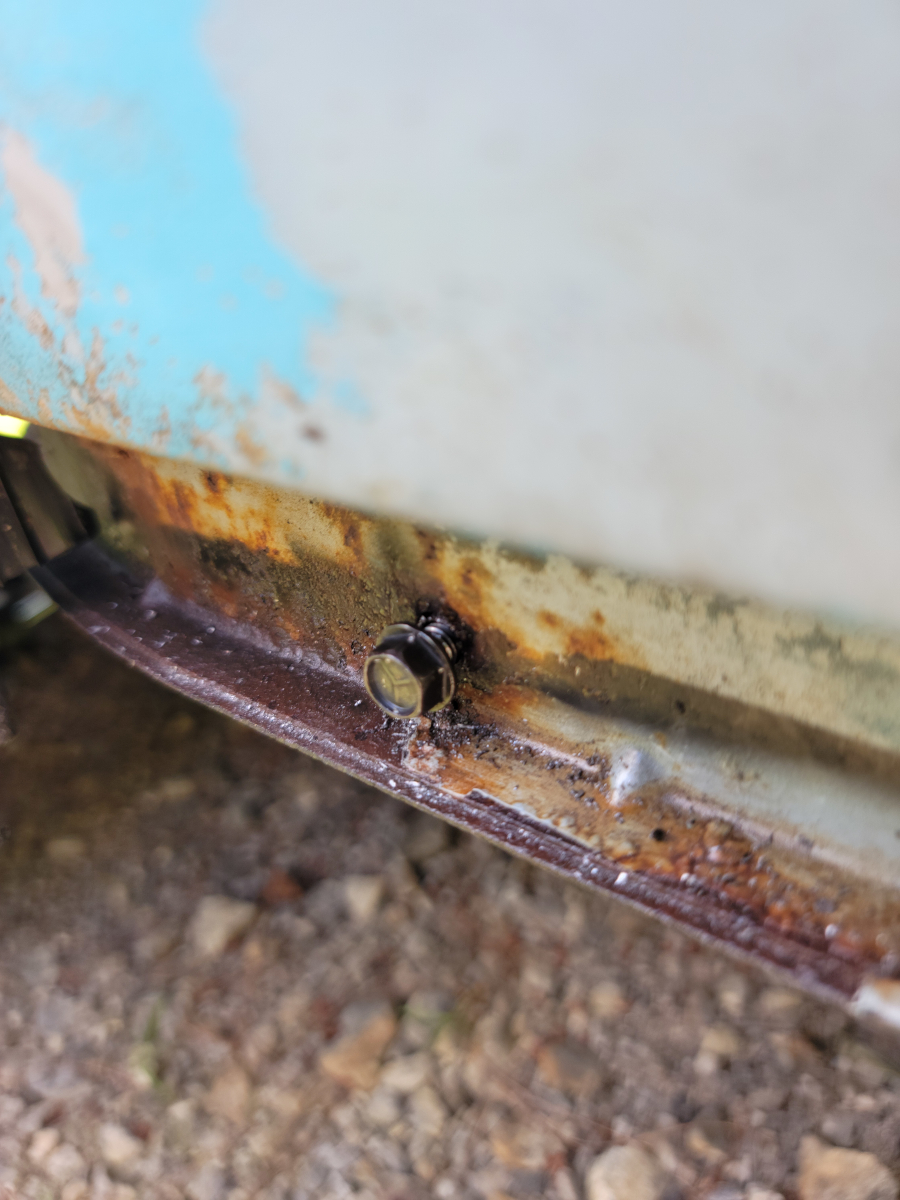
I hosed that side of the car down with brake parts cleaner, then wiped it all down and prepared to do some “rustproofing”.
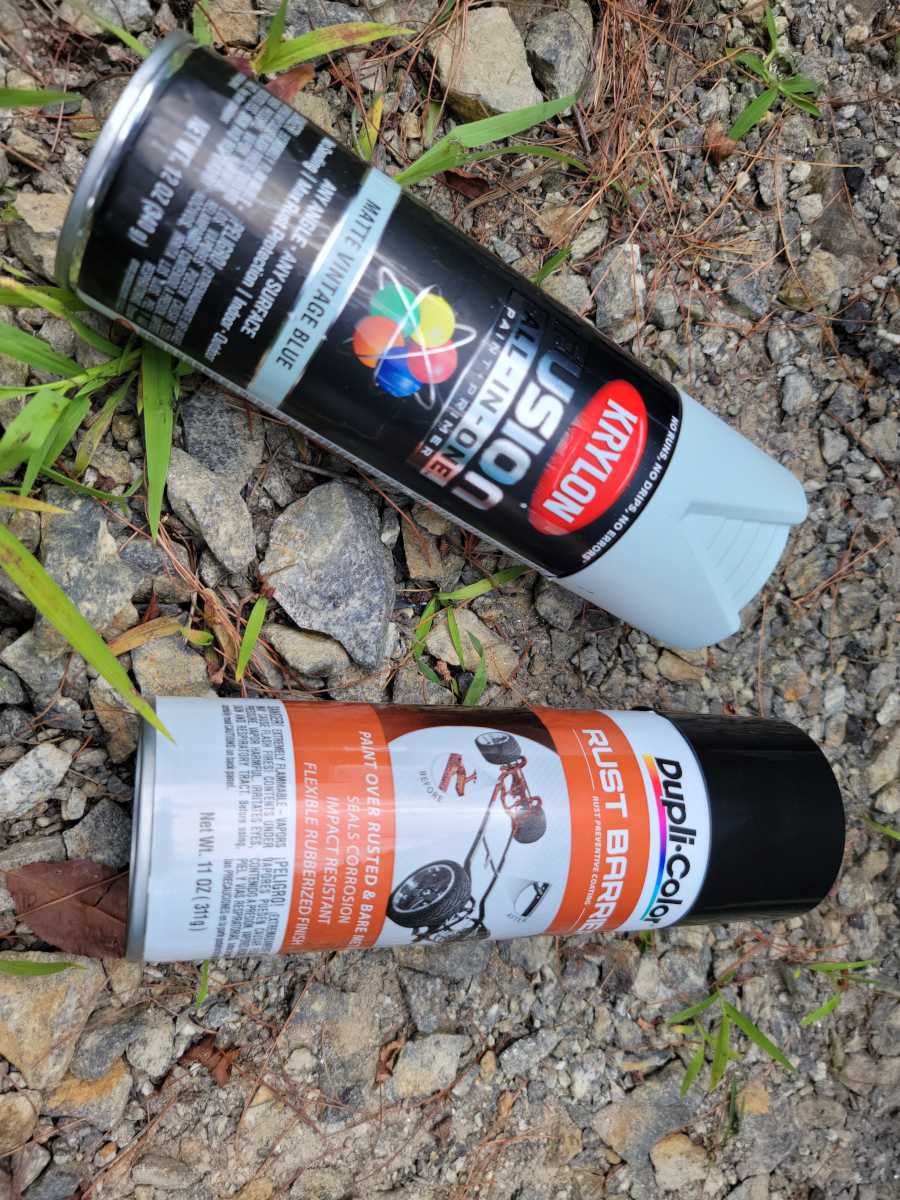
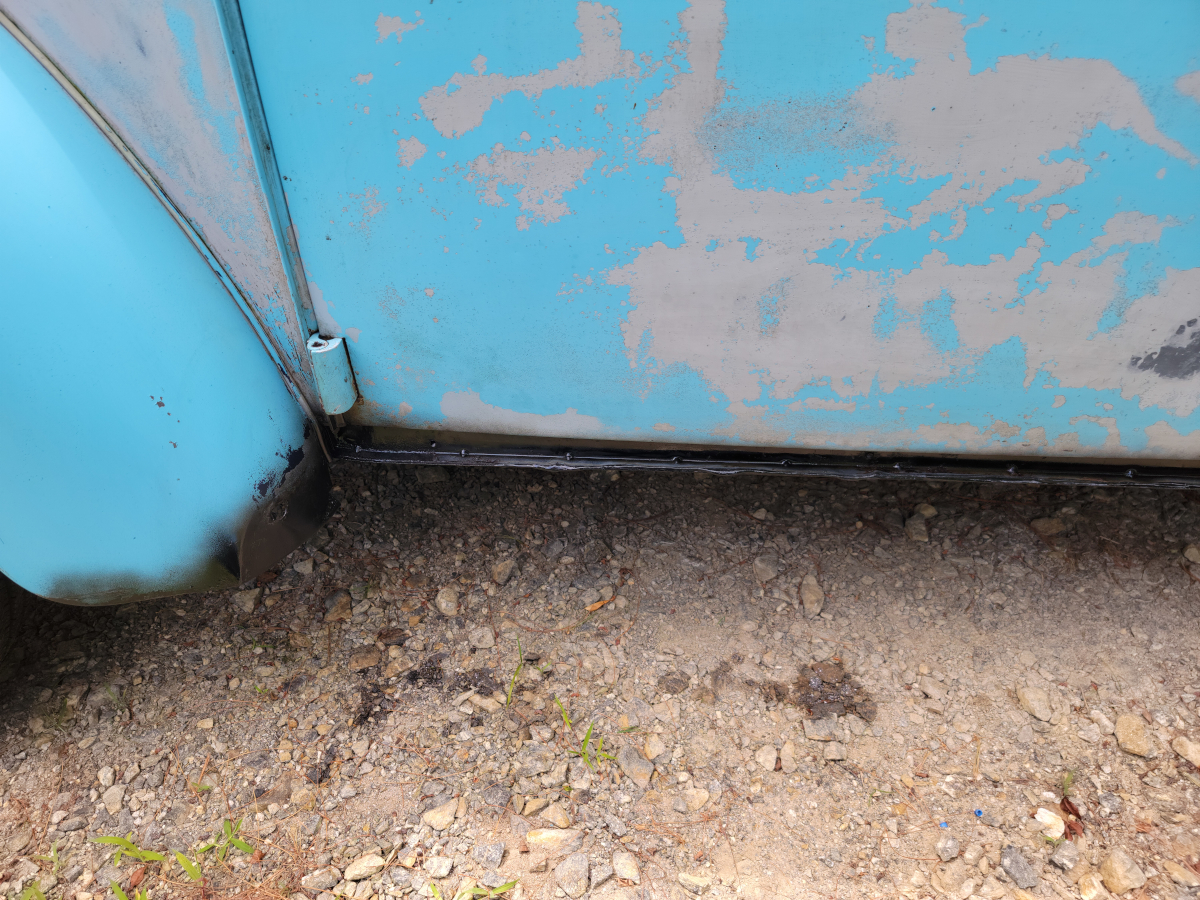
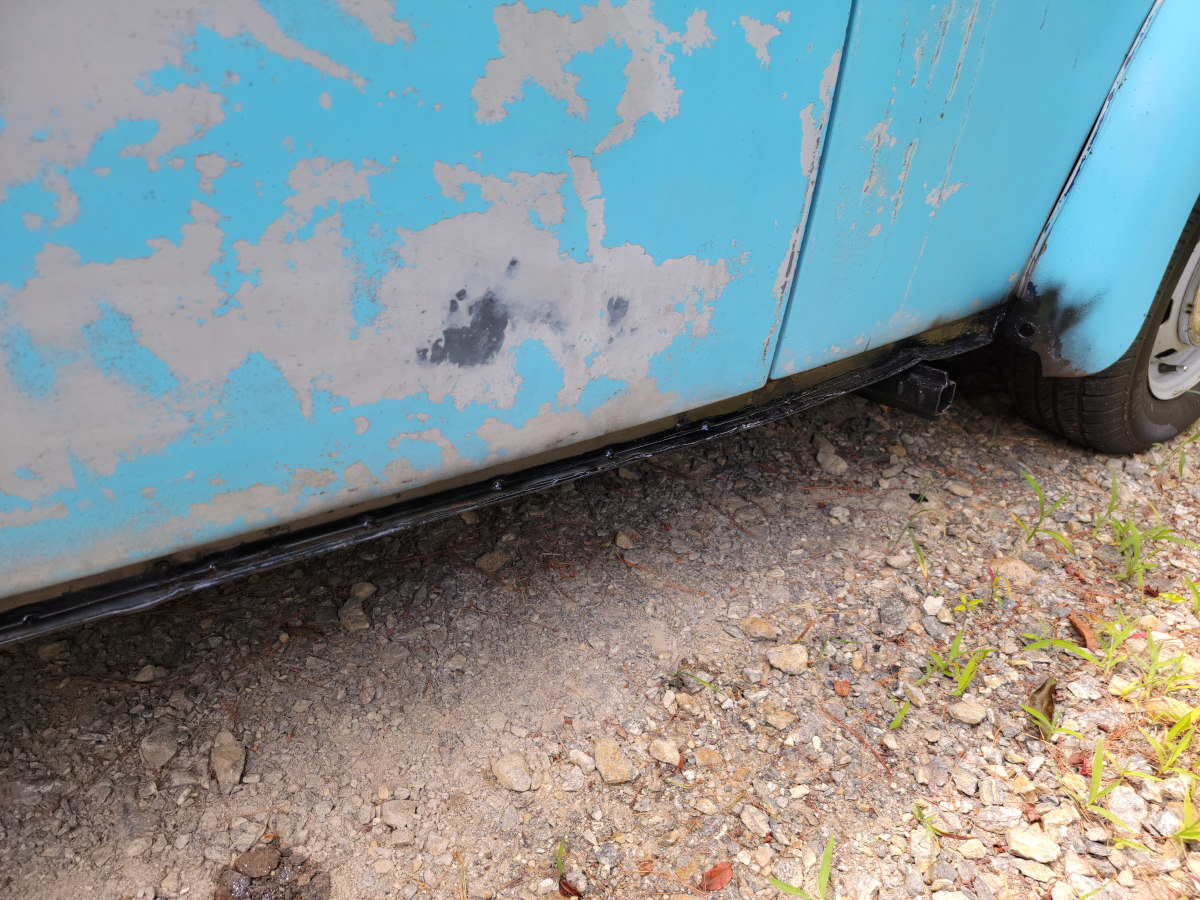
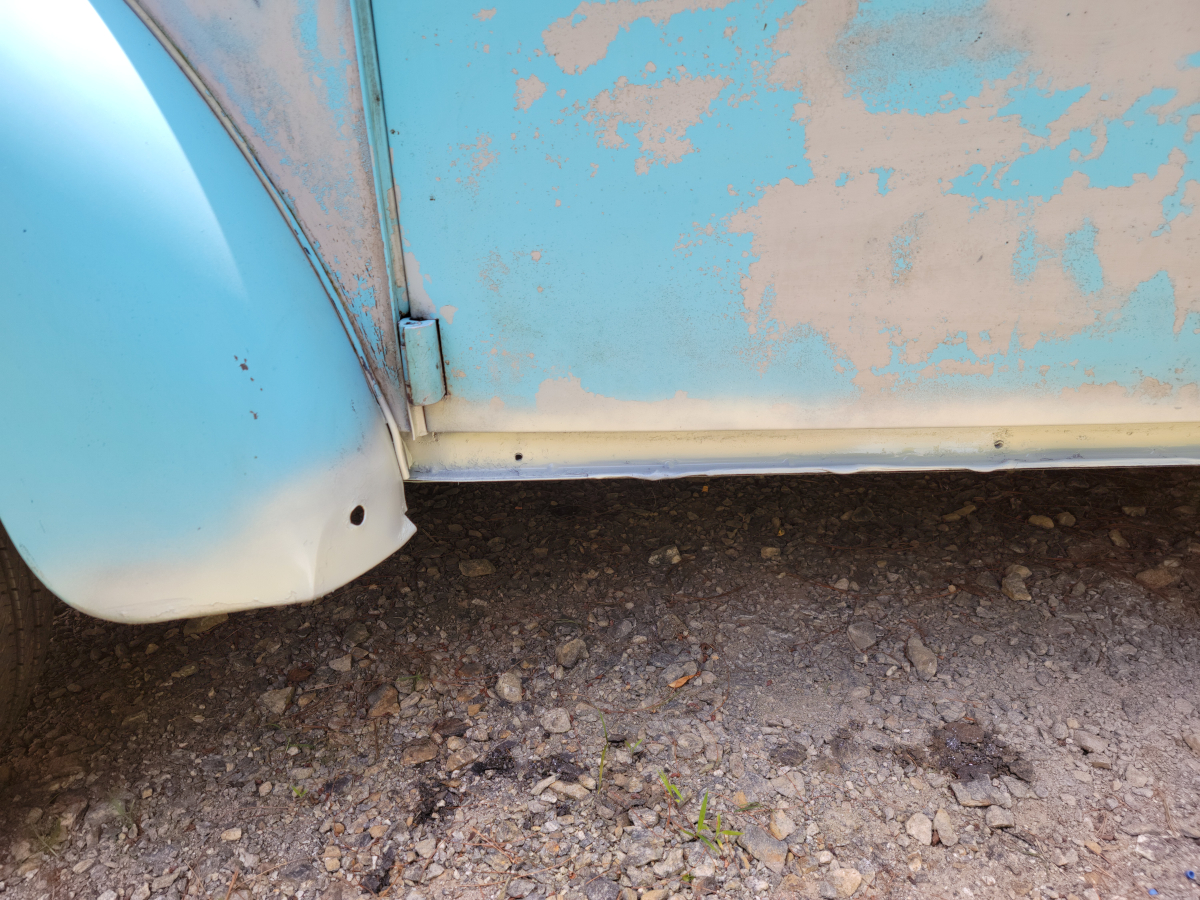
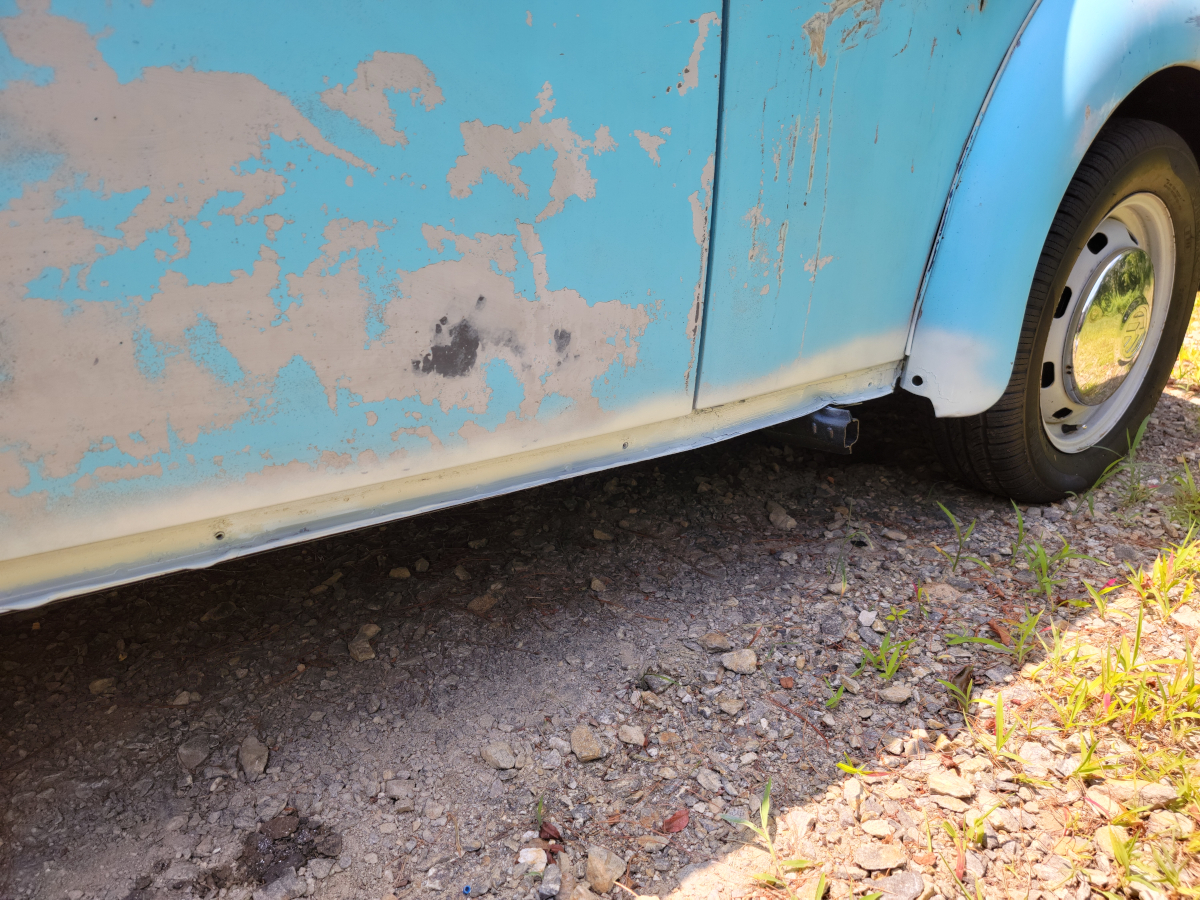
There are lots of negative reviews of those MIM running boards not fitting correctly. I had read the warning in the description saying to expect to have to trim them. That’s fine. However, the height of the running boards on the back side, the mating face, is too tall to fit in the channel. Also, with that place above the jack point being bent up, that doesn’t help.
I could use the death wheel to cut off 1/4 of an inch across the whole length of the running board. Easy enough, but the rubber mat cover “clips” over the bottom edge in front and back. If I cut off a strip across the bottom, I would have loose rubber back there, not clipped to anything. Maybe glue…
By this time, I had been outside in the sun four hours. I used the new hardware to mount the old running board. I will get back to address that in the future.
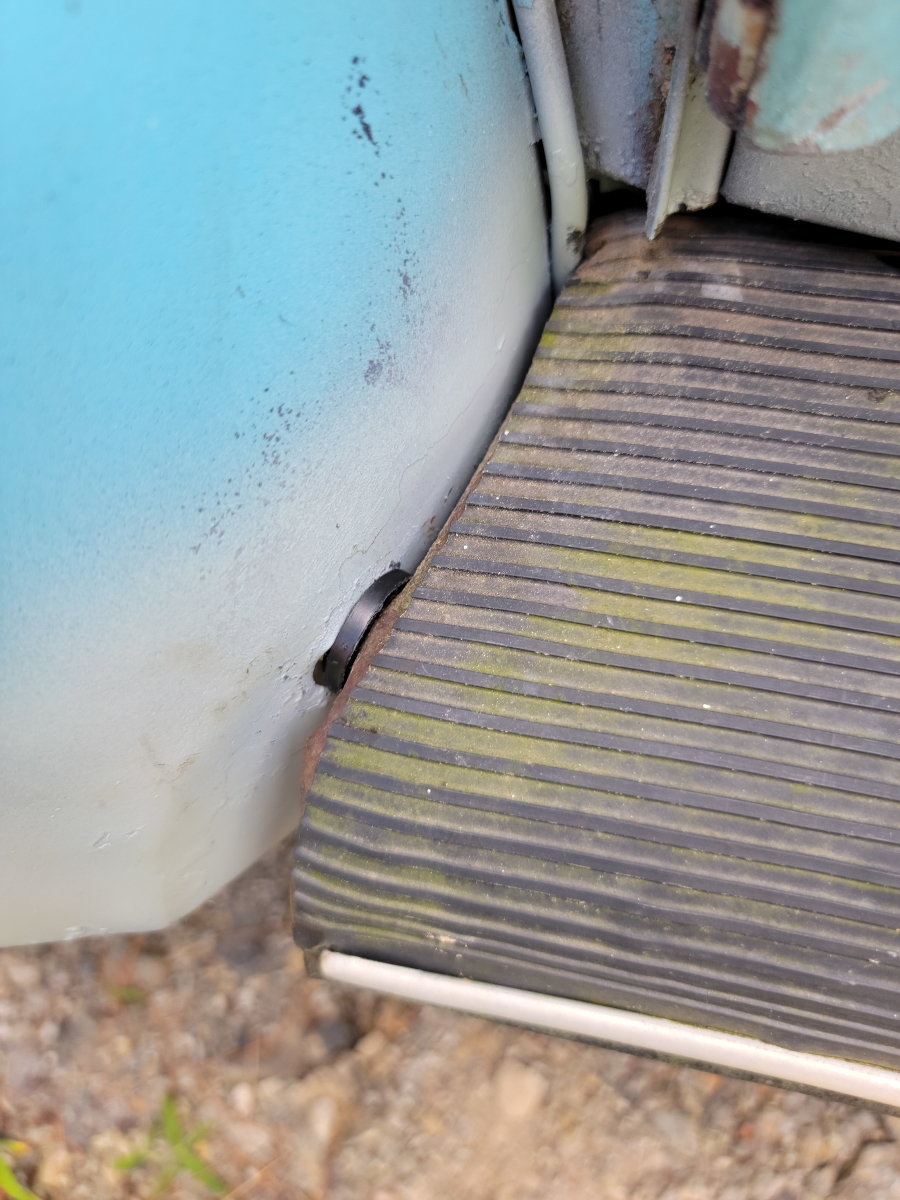
In the picture below, you can see one of the body washers is warped and bent through the opening in the running board. This hardware is garbage. The washers are about as thick as a paper clip and are super soft.
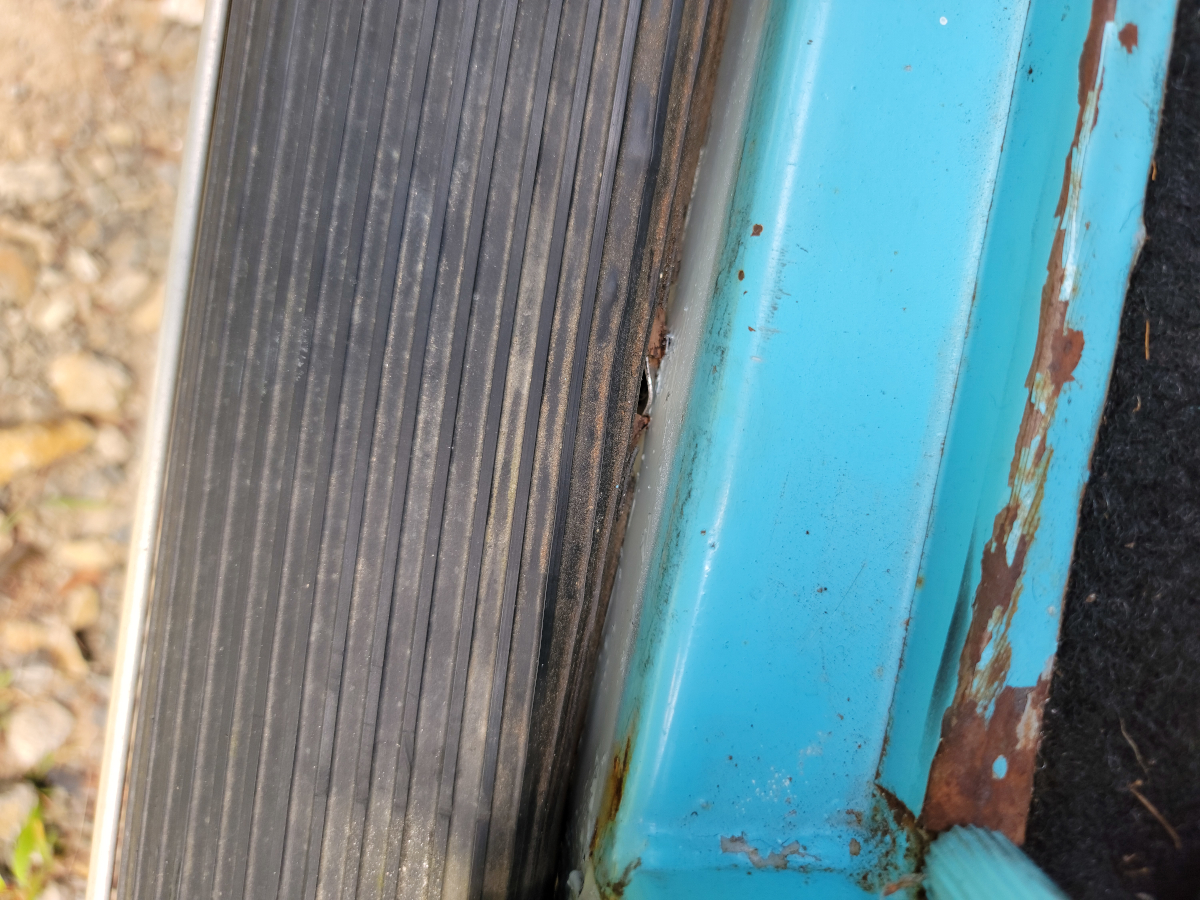
These black washers are hard plastic, the kind that will have split and gone missing by next year. Criminal.
