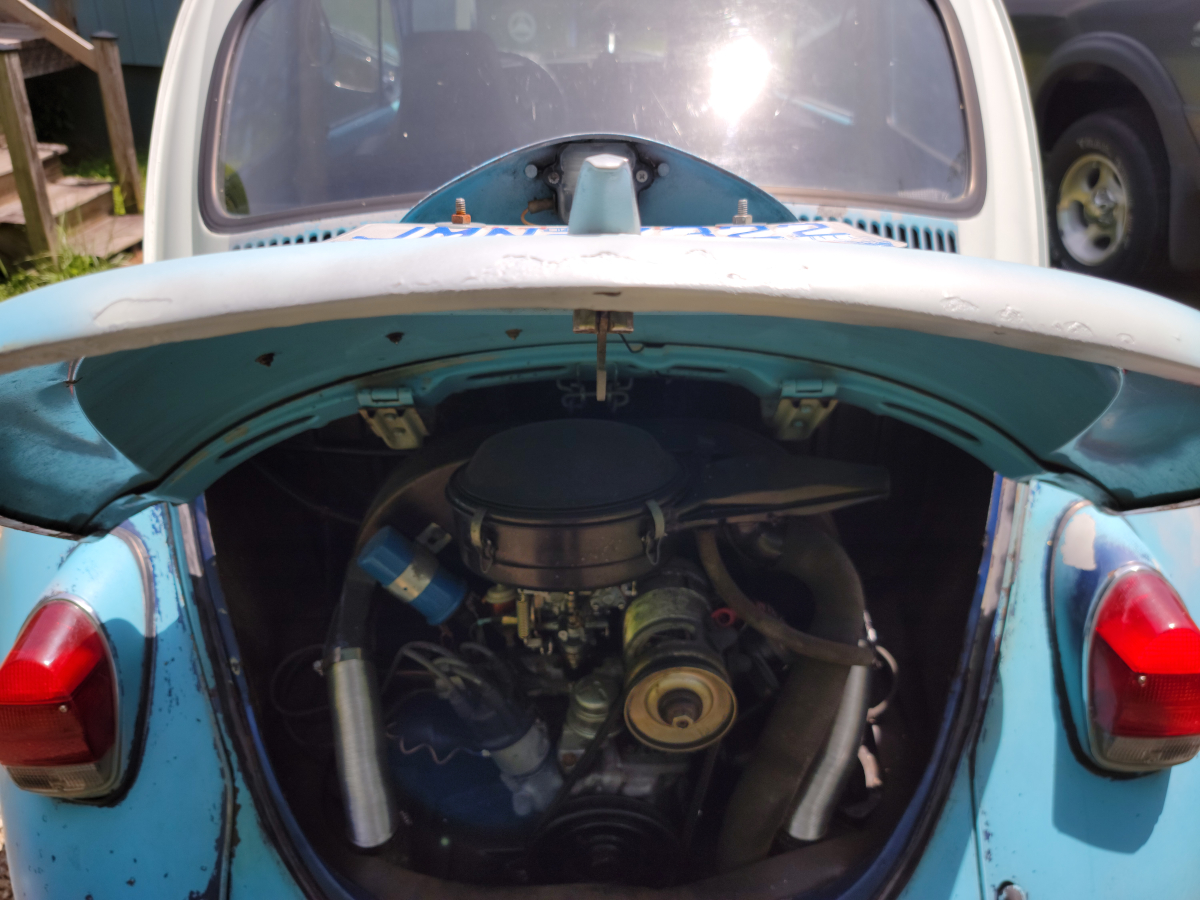
A couple of evenings ago, I replaced the front hood seal. That process went so well, I decided to replace the rear deck lid seal as well. As with the front hood seal, I have had the new seal laying around since I purchased the car. After reading posts on the samba, I was scared off by the complexity of the install process.
So anyway here I go. Starting at the driver side top, I used the same approach as before. I used a putty knife to pry the lip on the channel up a little. The side came out very easily.
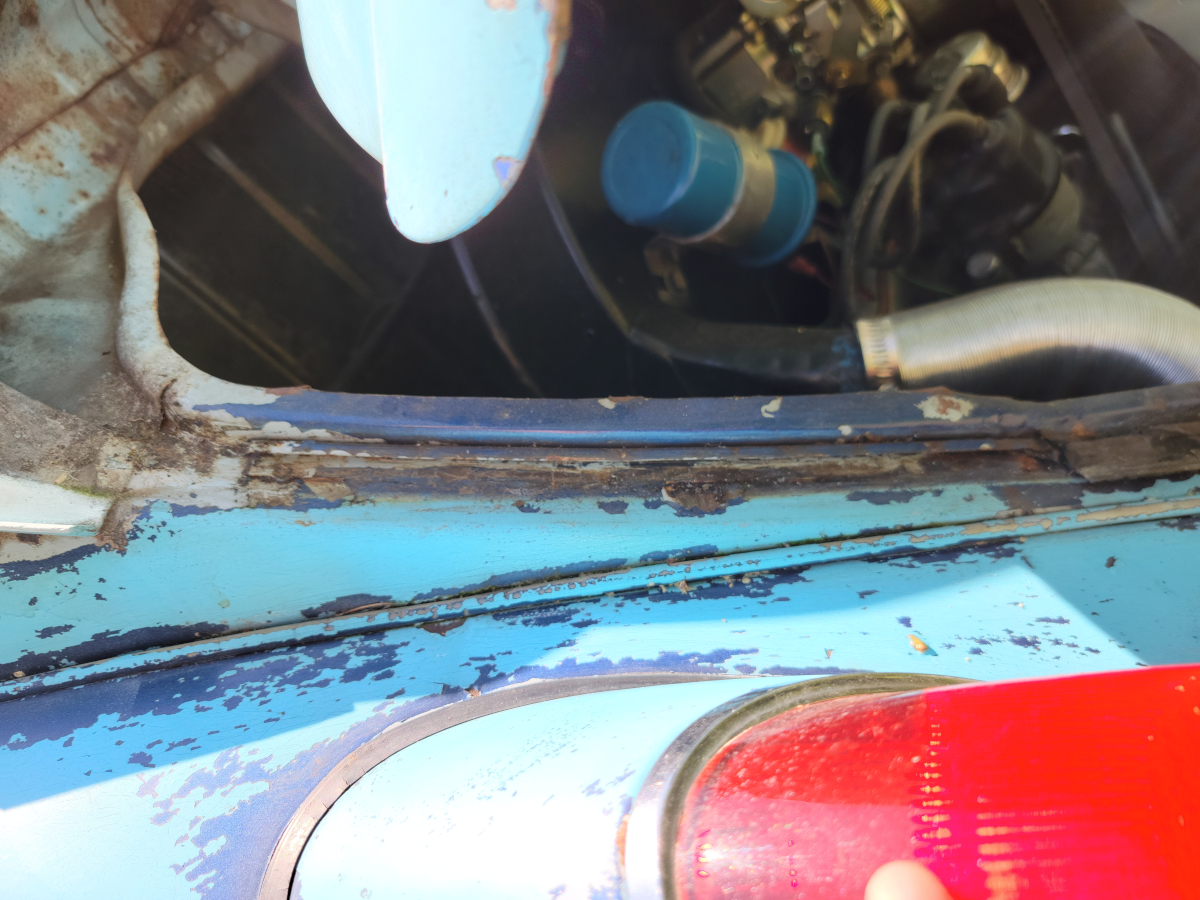
Around the bottom, I ran into a little more problems. The channel had been bent in and out multiple times. It was very rusty and didn’t just pry up as cleanly as the sides.
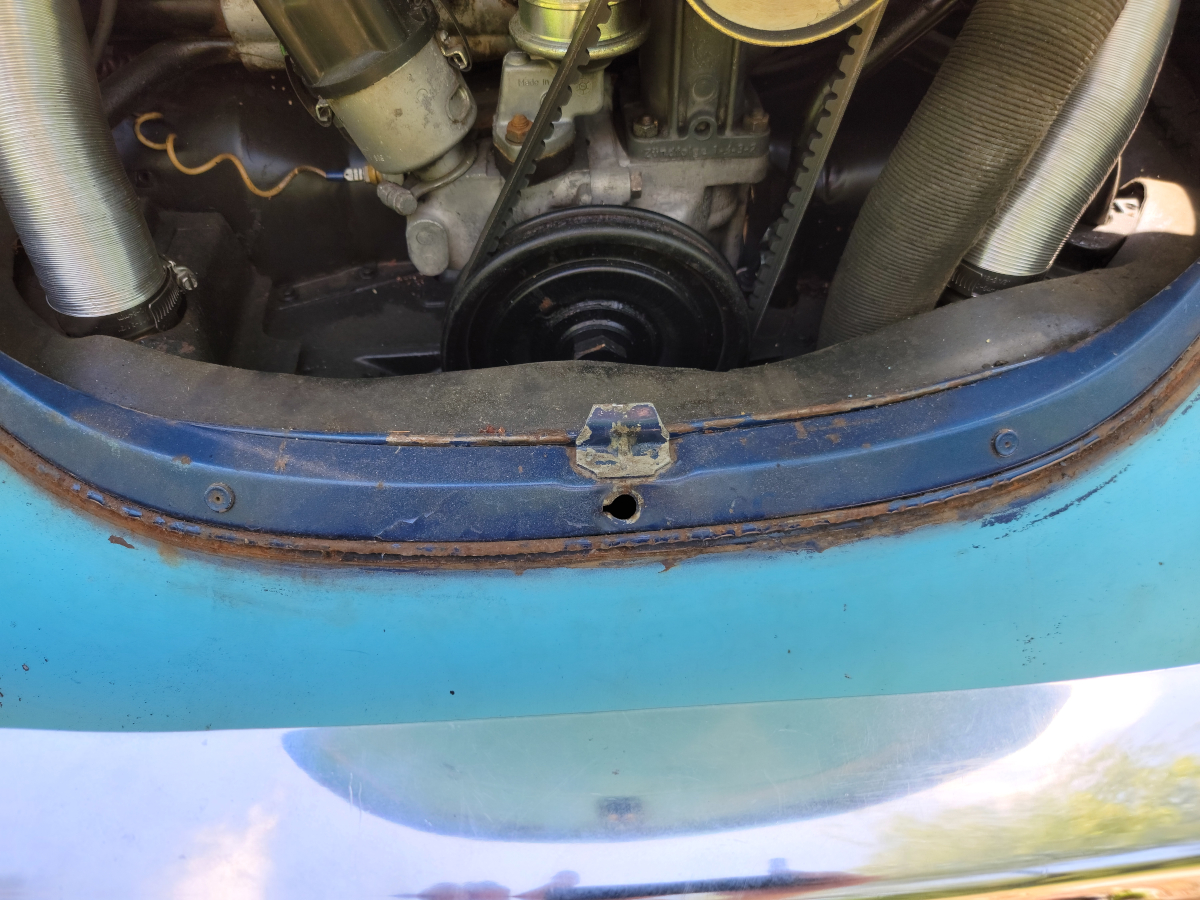
I was able to remove it cleanly eventually. Moving on to the passenger side, that came out with no dramas.
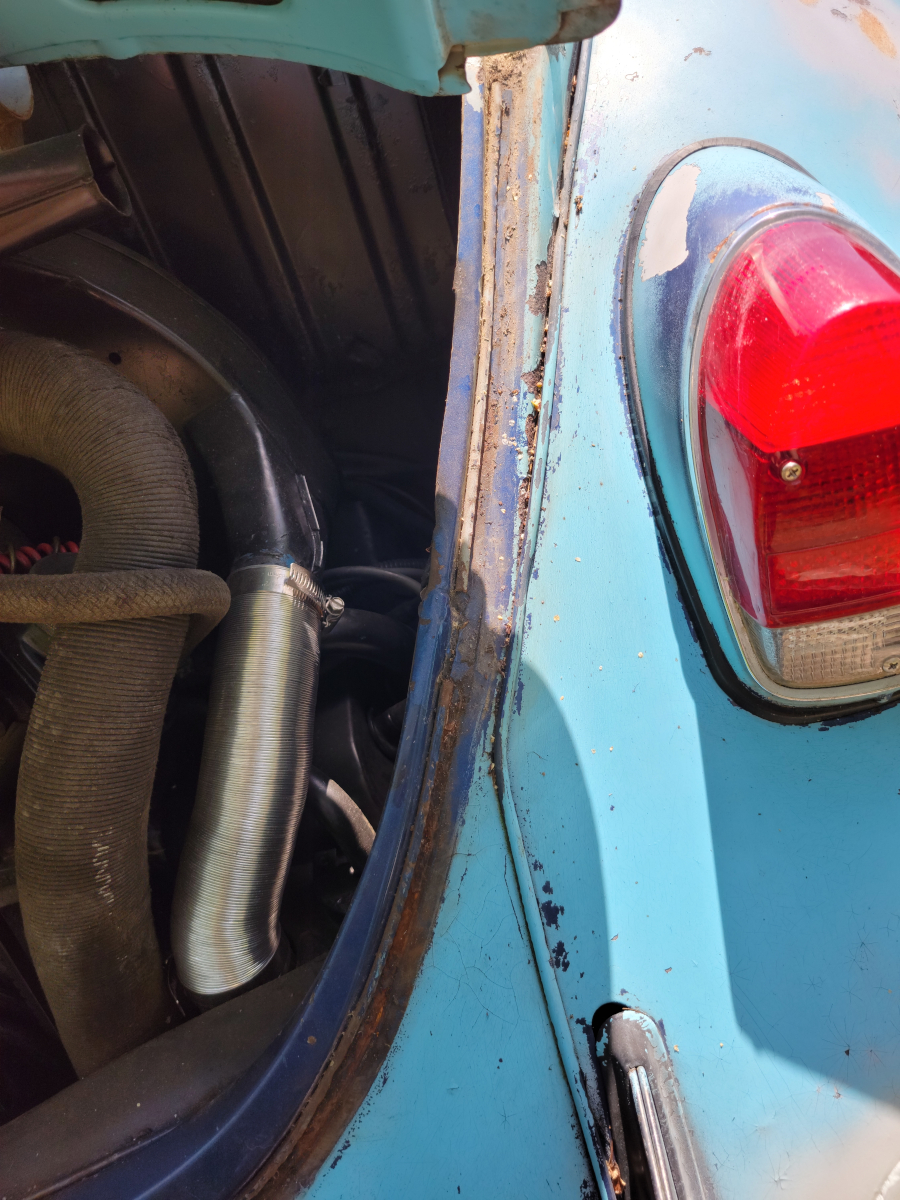
I grabbed a stiff nylon brush and cleaned off all of the loose rust and debris. Then I sprayed a quick coat of rust treatment.
The old seal in the rear was much more pliable than the one in the front. However, it did still crumble to pieces as I was removing it.
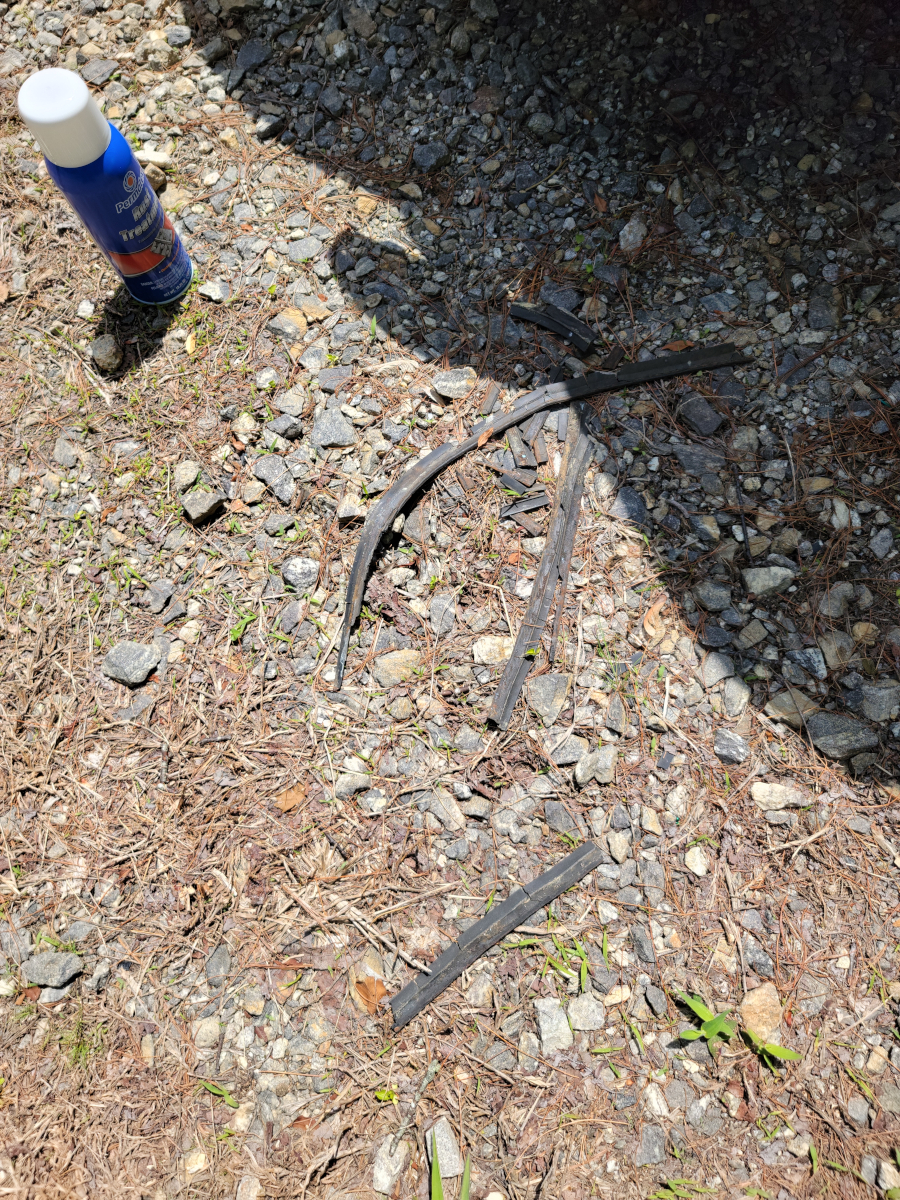
Back to the front…
This time, I decided to give the rust treatment some more time to dry. My fingers are still black from that mess before. So, I moved back to the front to finish up with those top corners.
My original plan was to use the black push tabs that are found all over the place on my Ranger. But after closer inspection, the holes in the beetlebug shell are much smaller. I decided to rivet them on instead. After a couple of attempts, the rivets that I had weren’t deep enough to actually grab.
Being lazy and wanting to cross this off the list, I just used some self tapping screws instead. It is a very loose fit, but there is a bit of thread that will grab. The fit is loose enough that I could pull them out by hand if I tried. But they’re tight enough they won’t come out on their own. I didn’t check, but I’m pretty sure these screws are stainless or at least zinc coated or something.
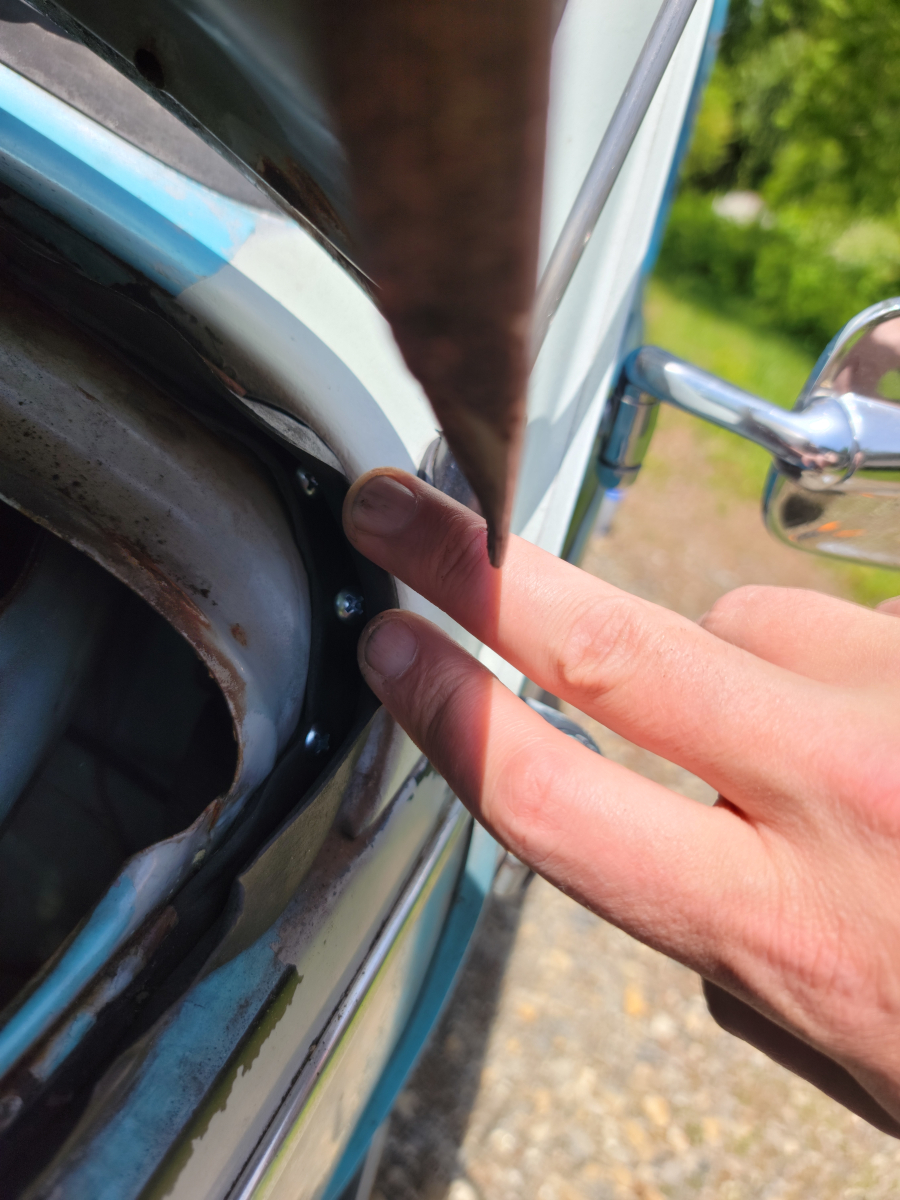
The passenger side went on easily as well.
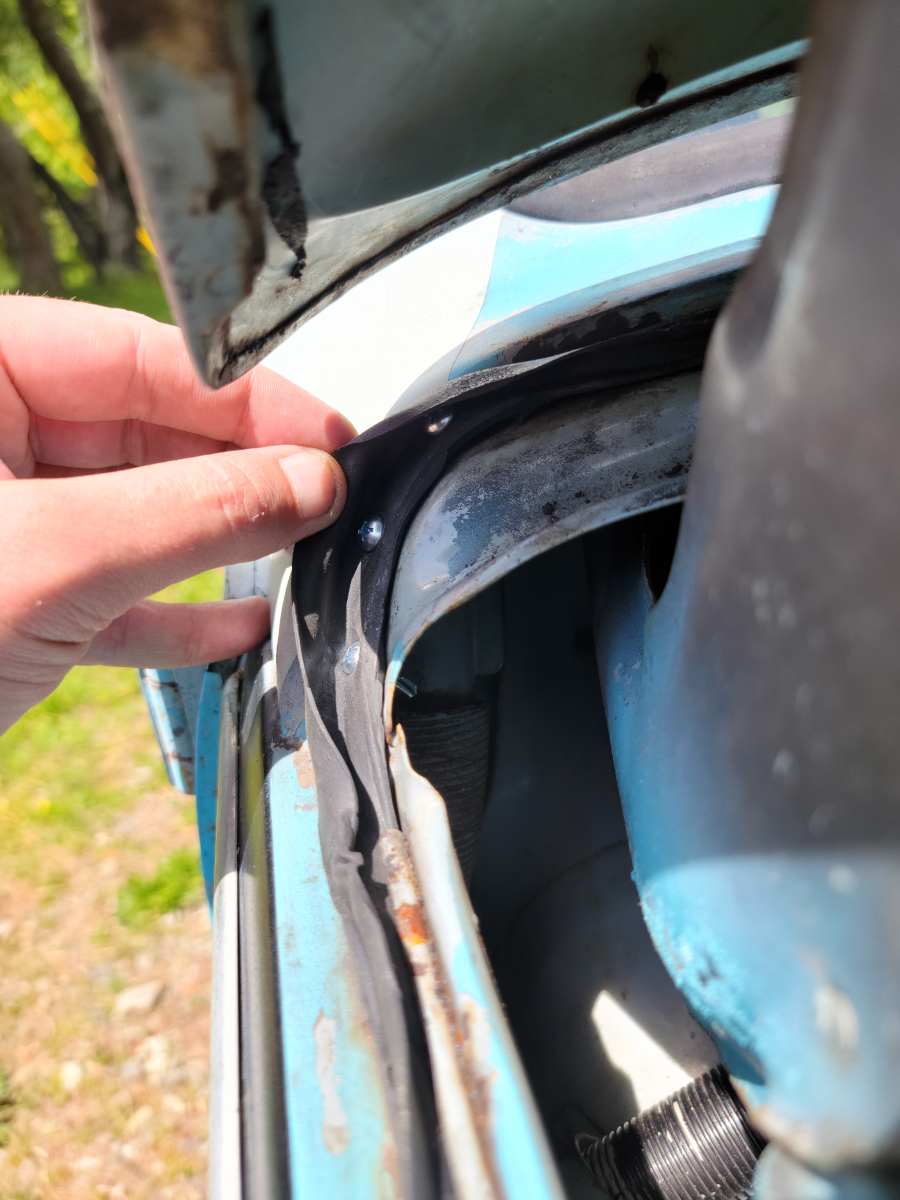
Back to the back…
The rear deck lid seal I bought was also made in Brazil, but this one was an Empi brand (Amazon link).
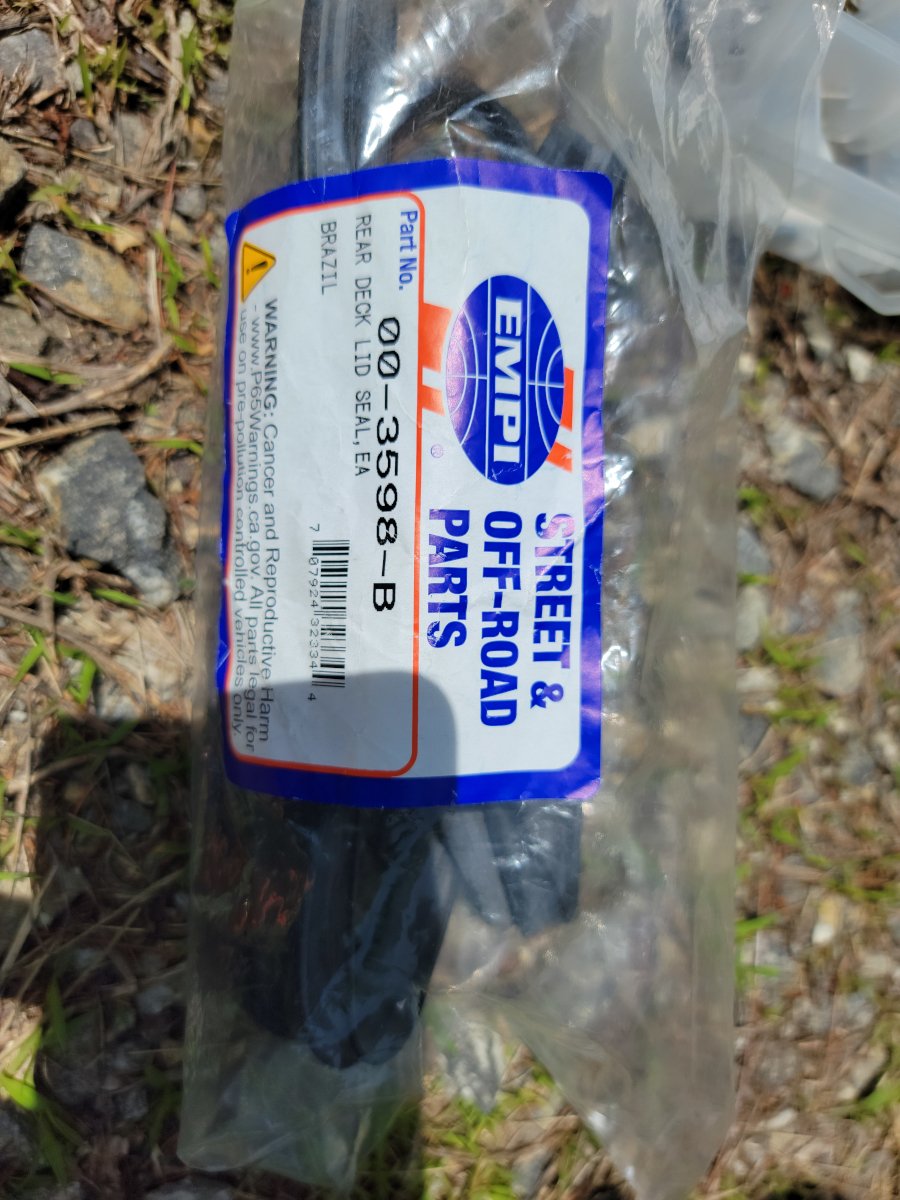
It installed without issue. There were a few extra inches at the end that I snipped off.
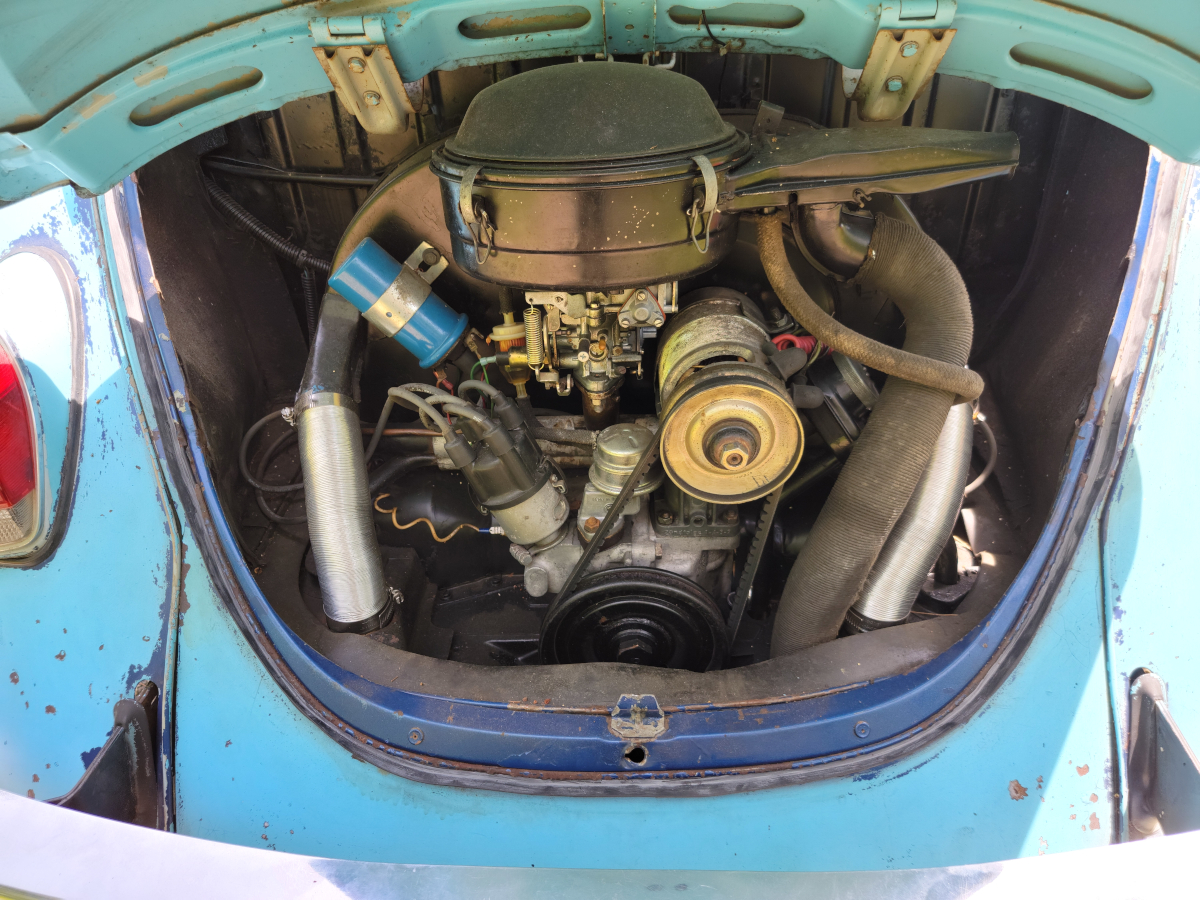
With the deck lid up in my teeth, I noticed some deep rust and bubbling paint down around the bottom. I scraped off the loose rust and then gave it a coat of rust treatment. Once that dried, I added a coat of primer, then a coat of matte vintage blue.
