The Next Saturday Updates

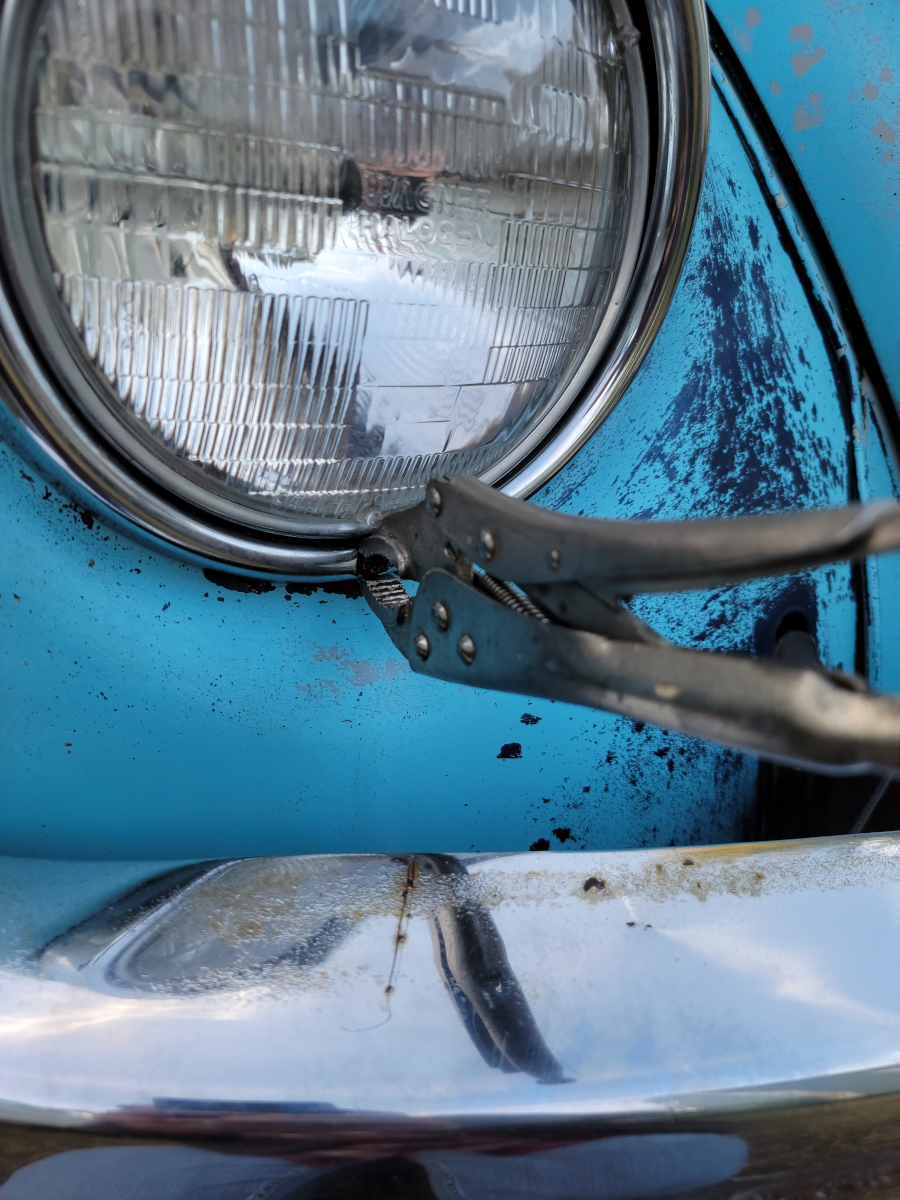
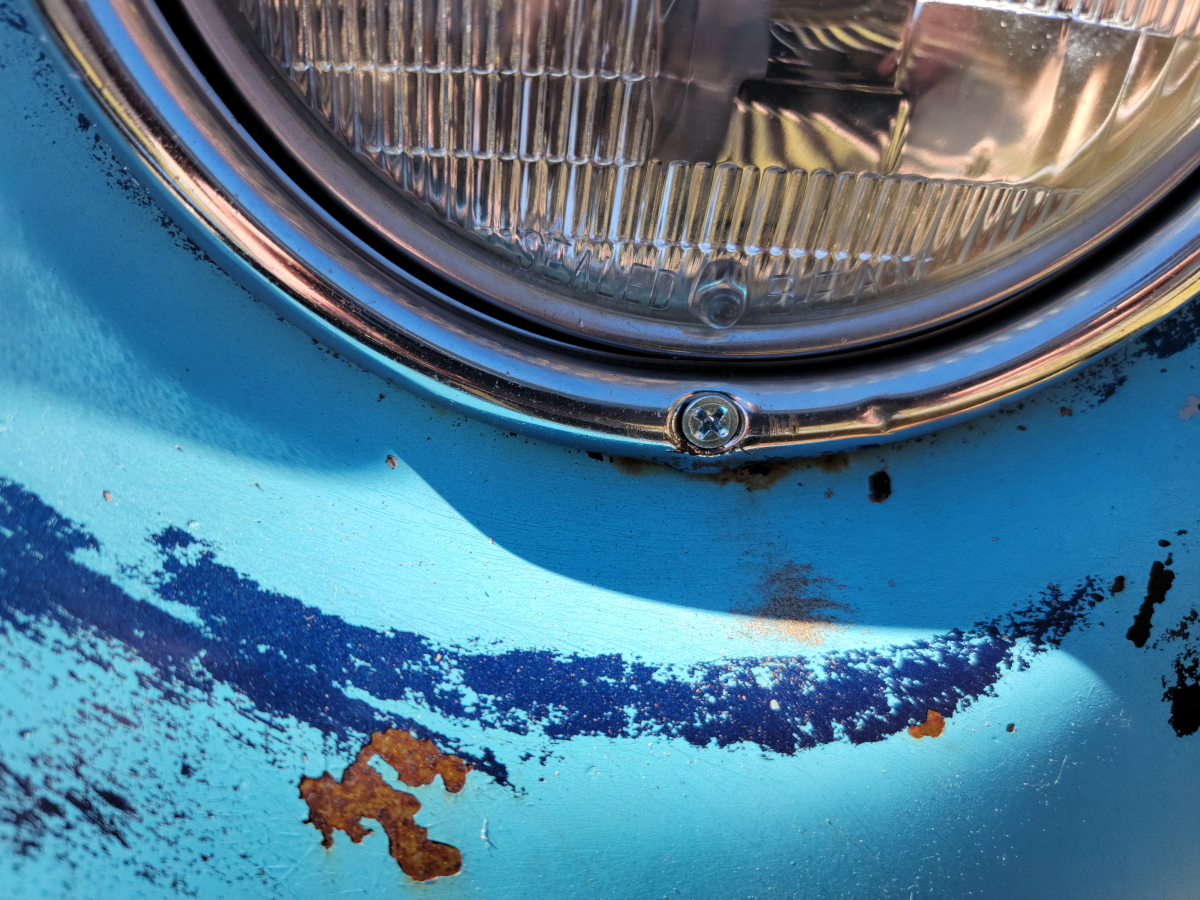
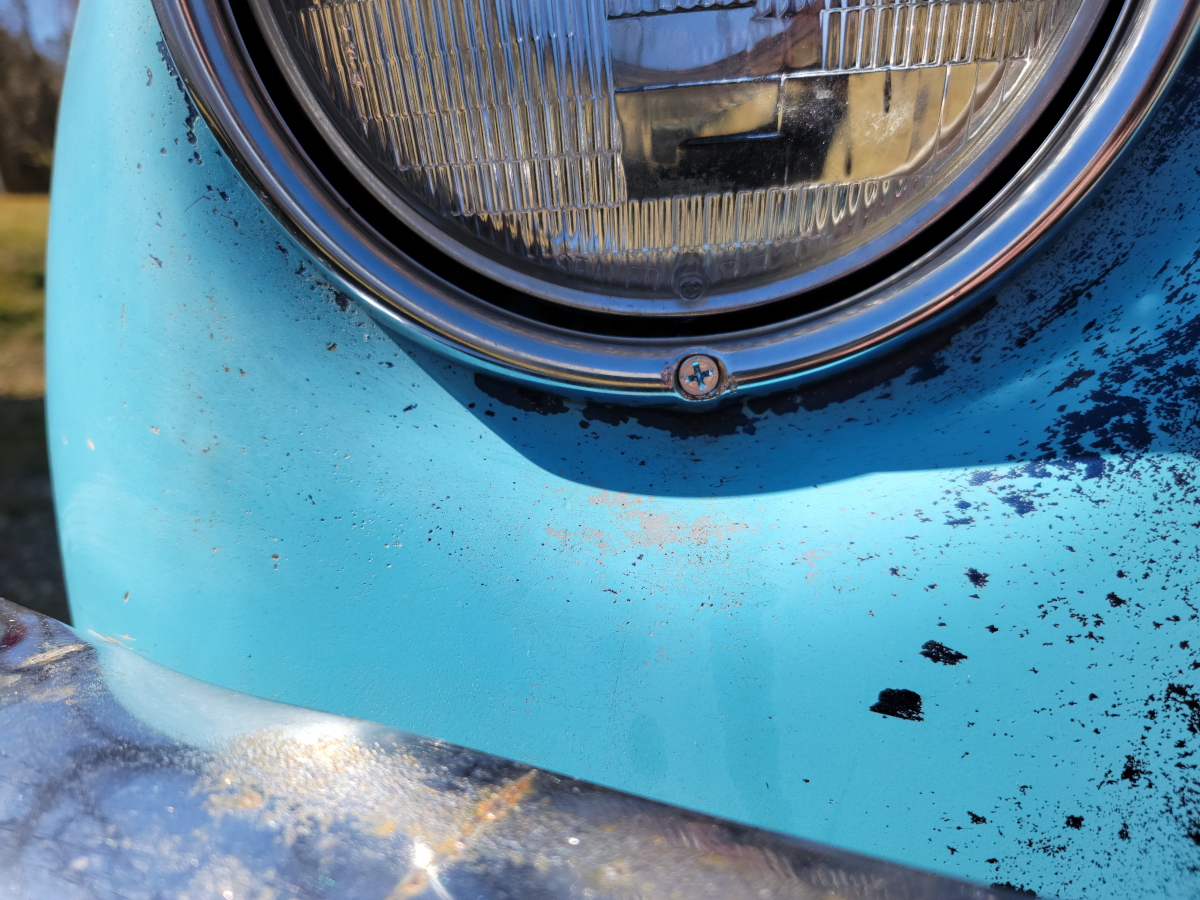
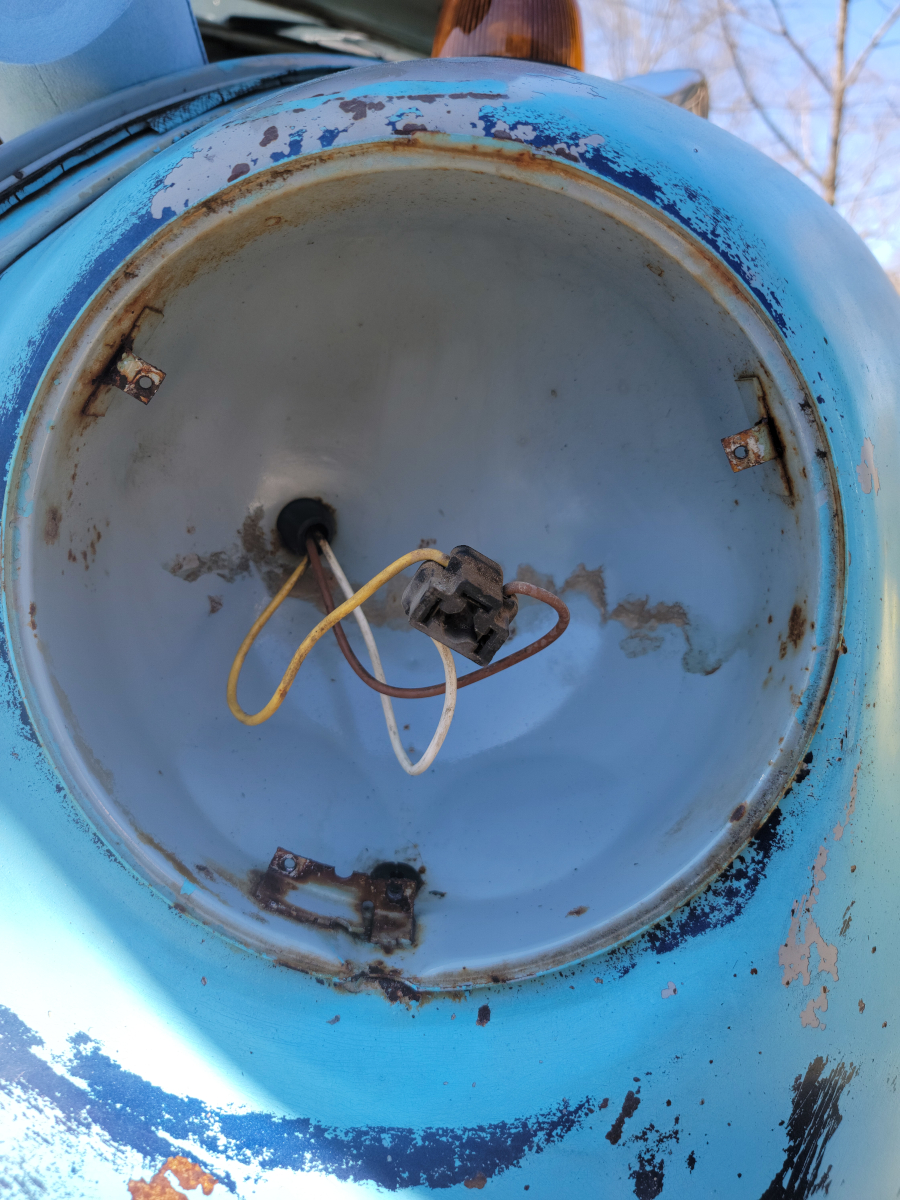
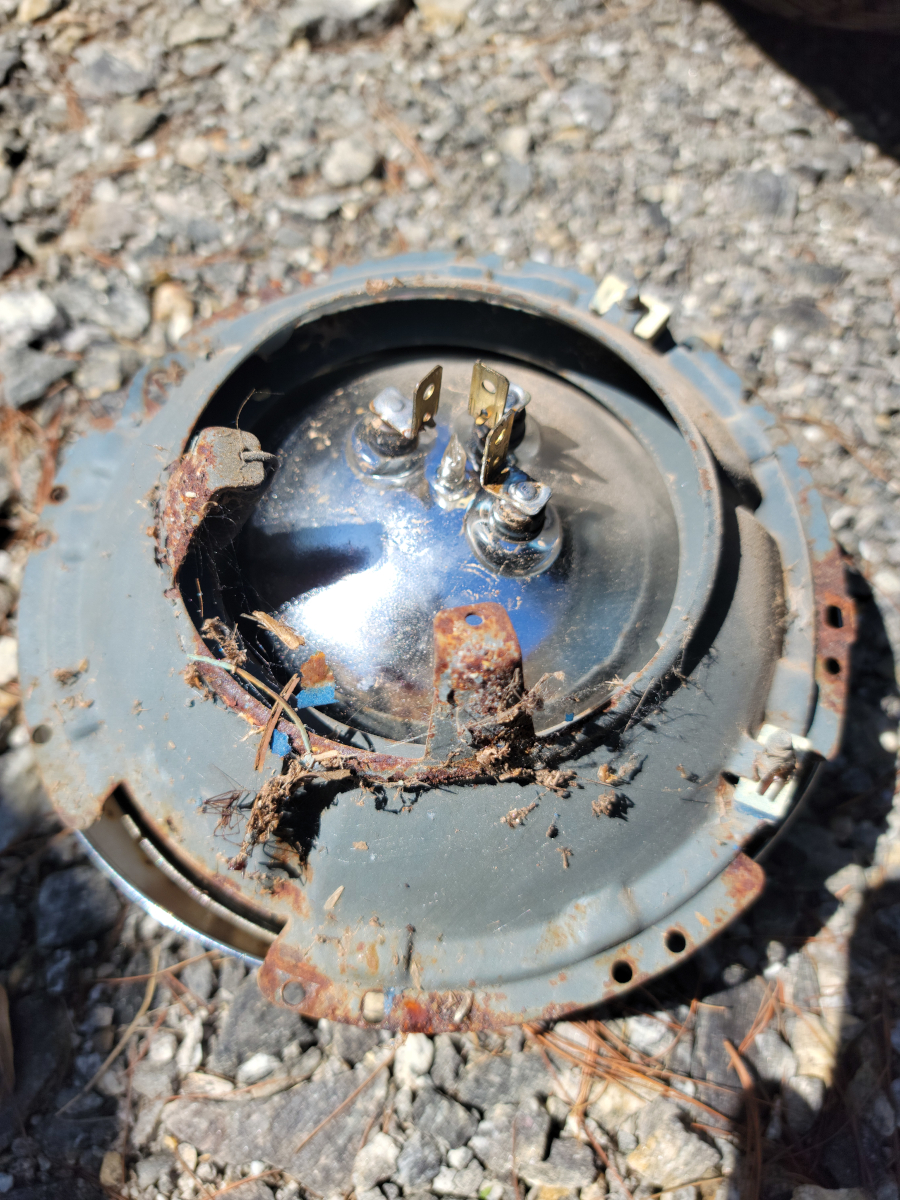
Back at it this weekend. I’ve got replacement headlight buckets to be mounted.

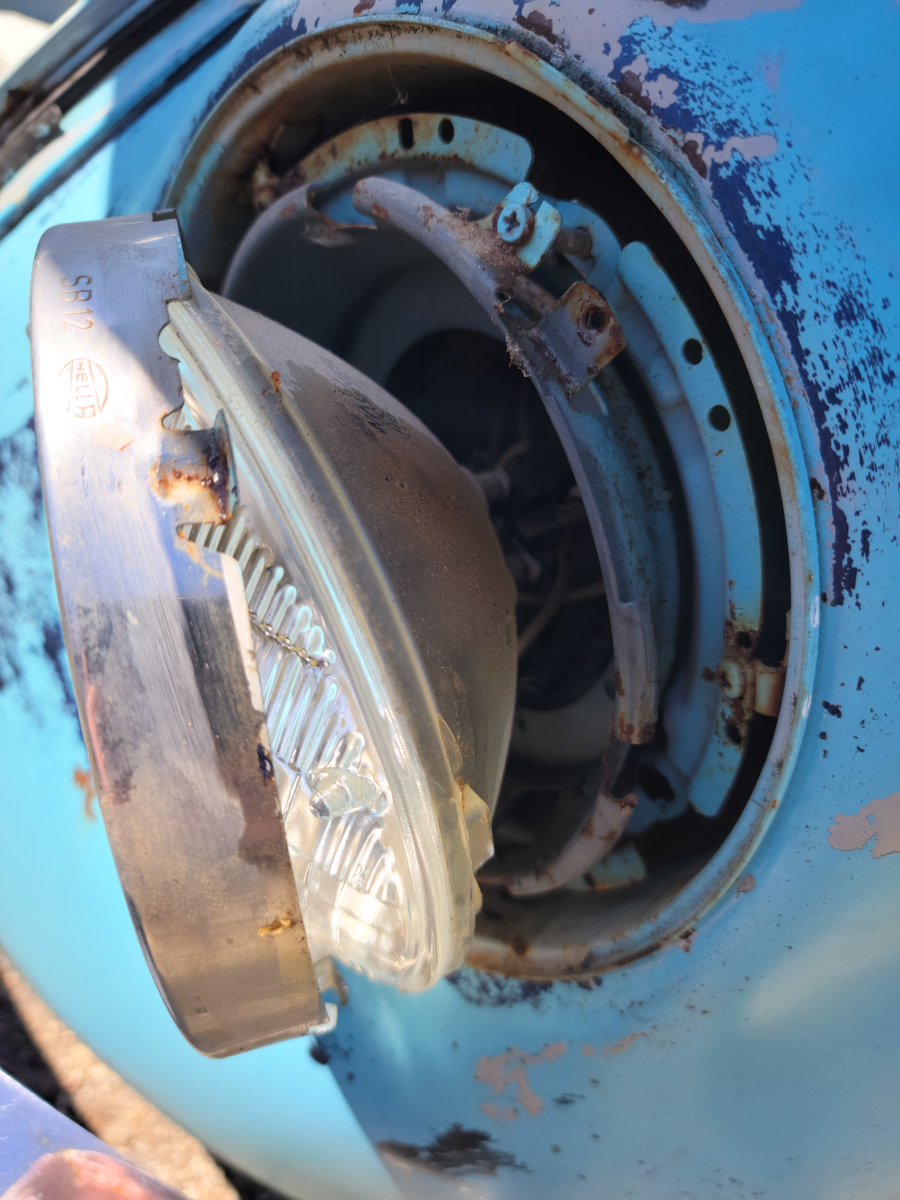
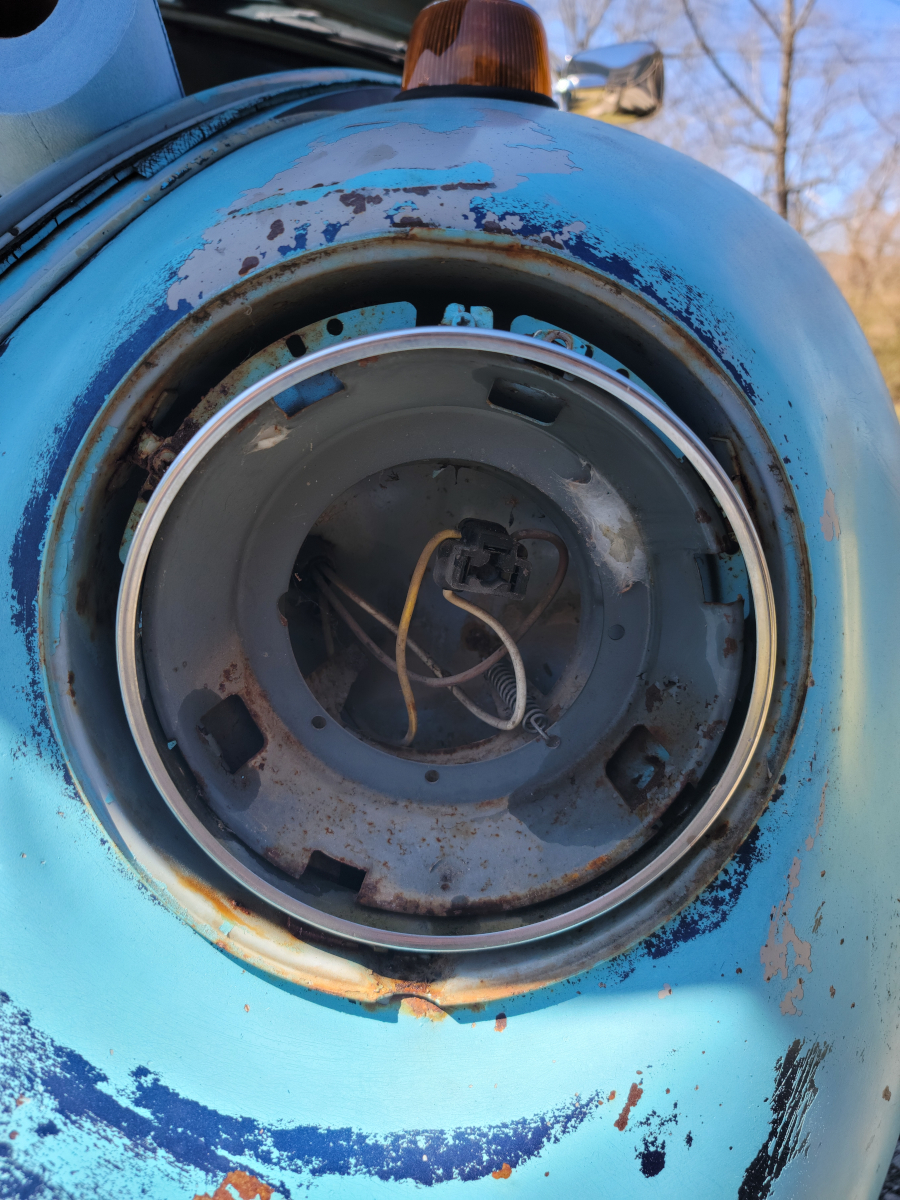
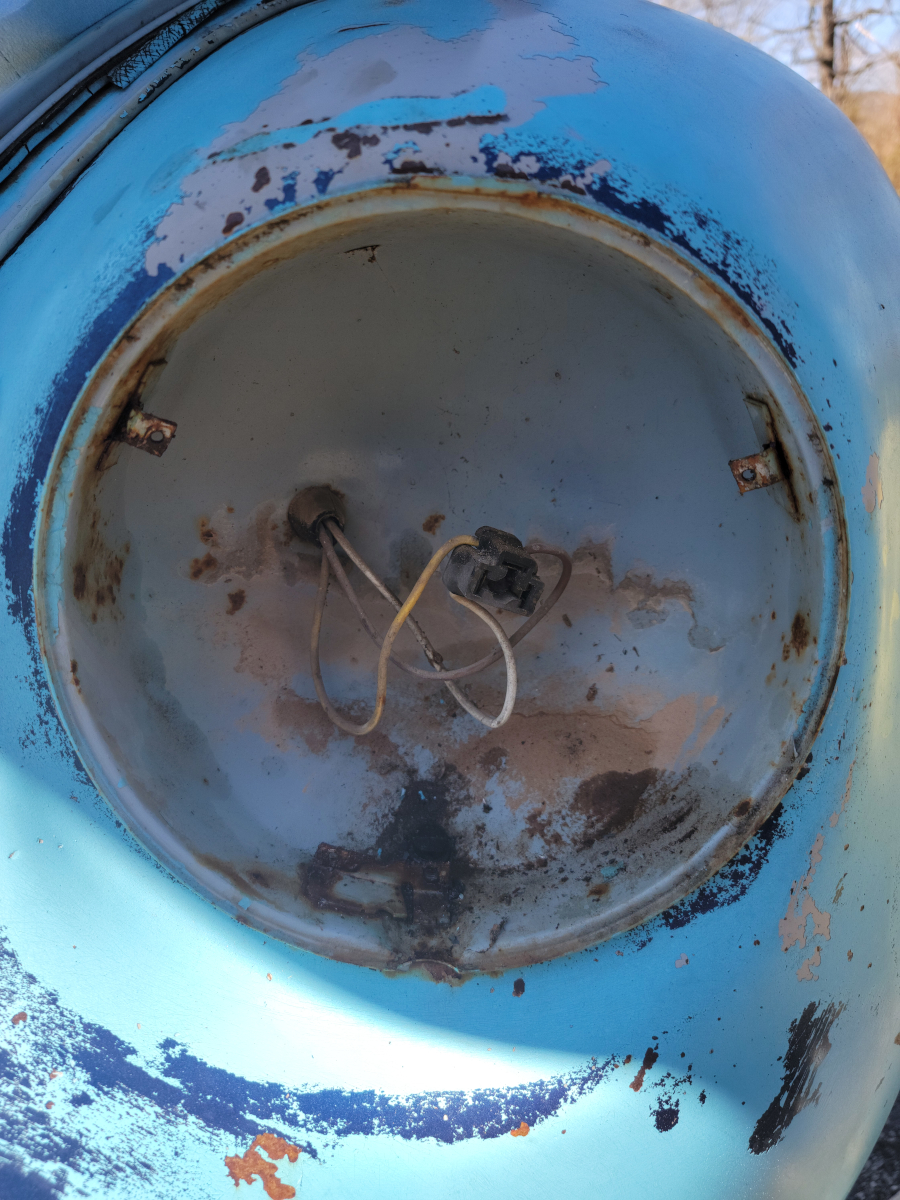
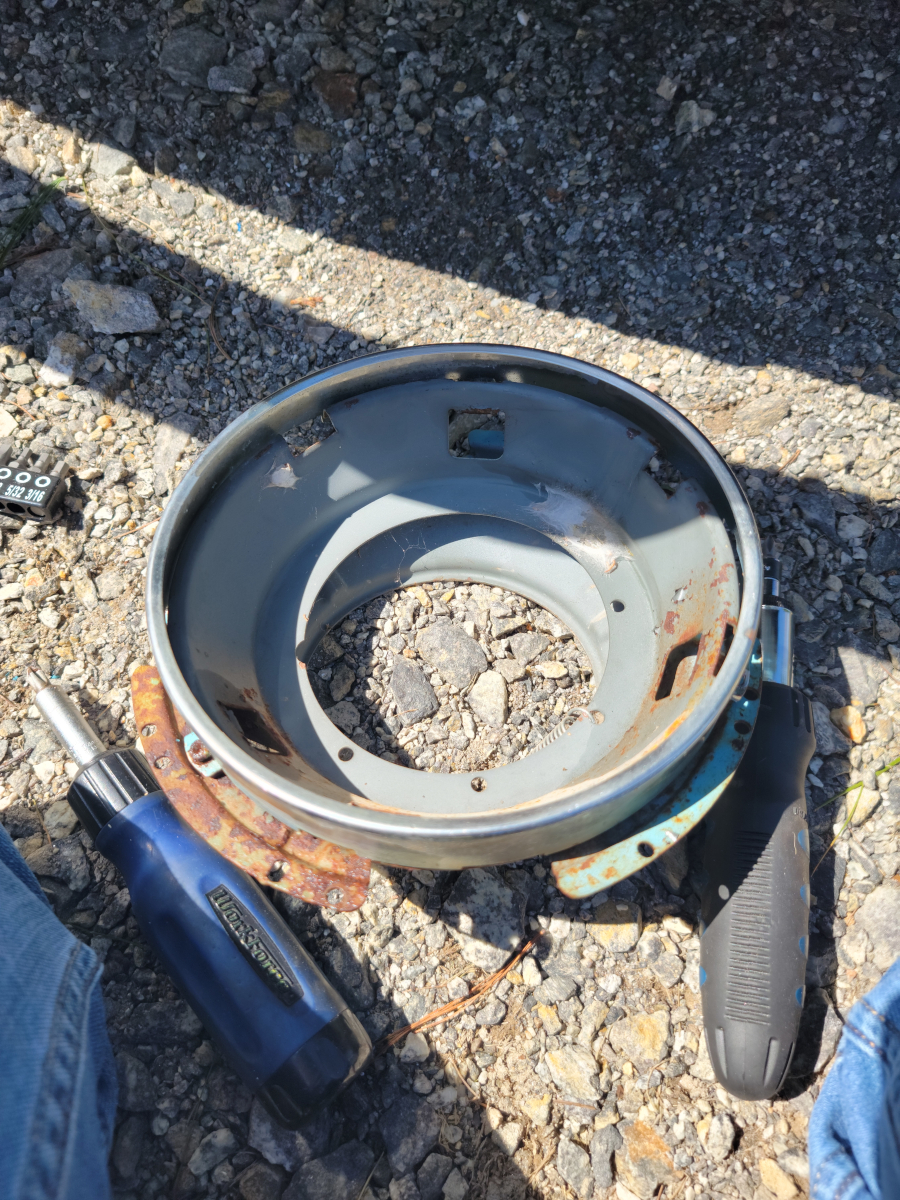
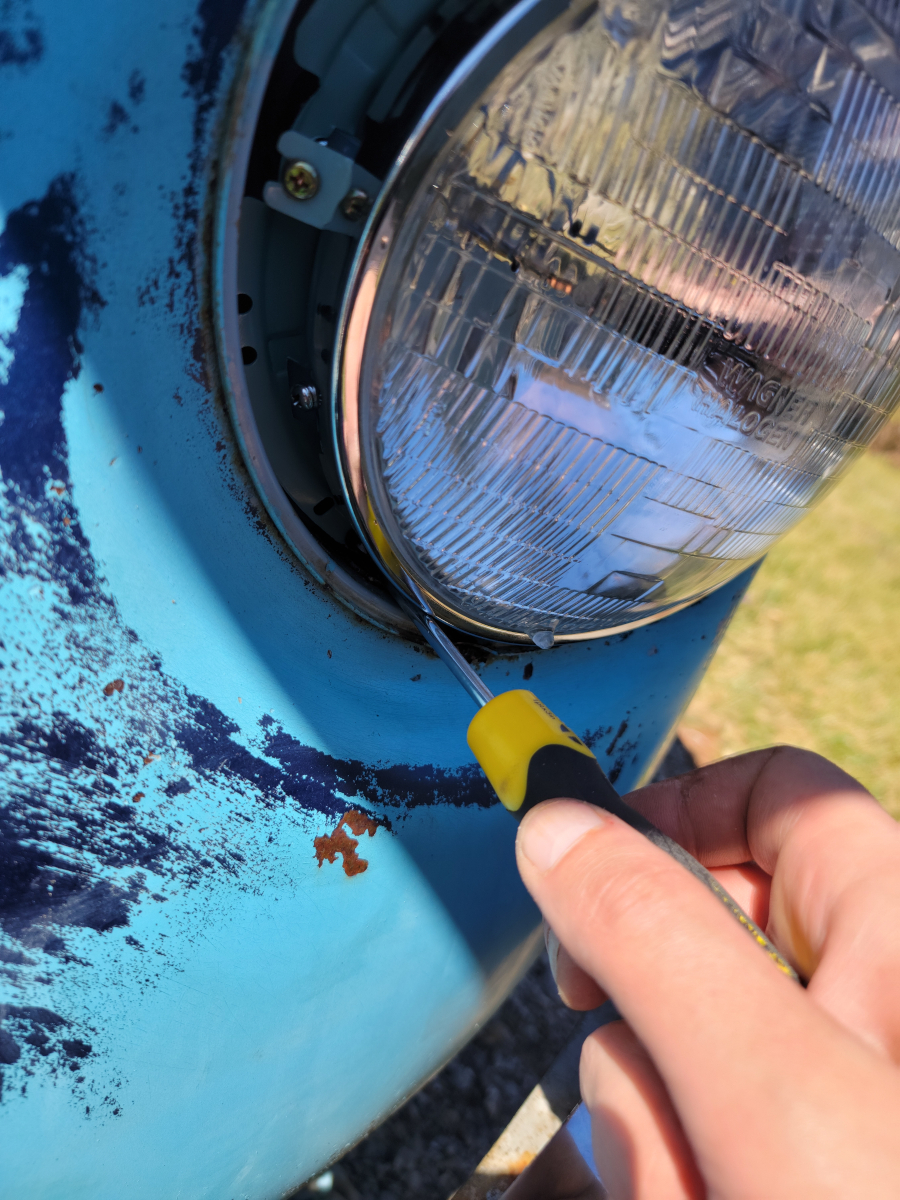
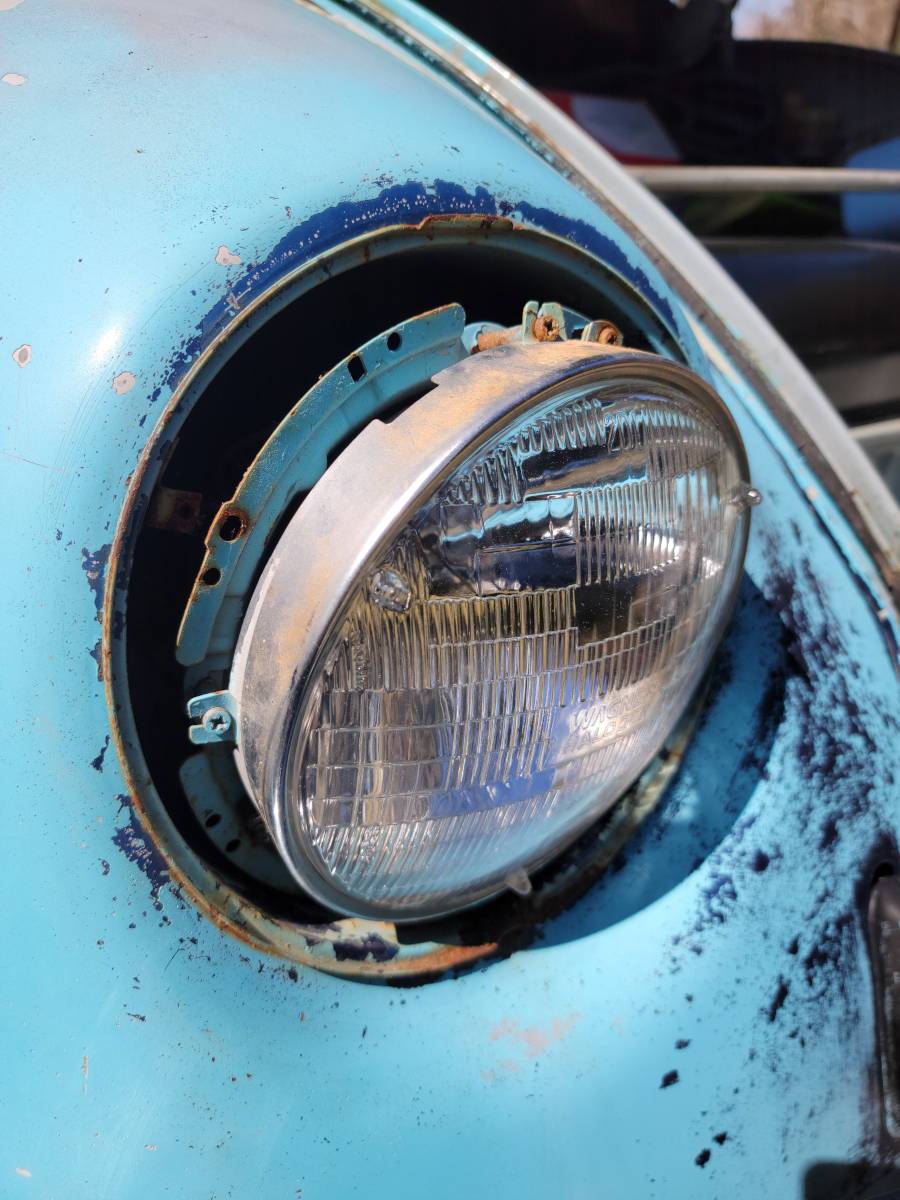
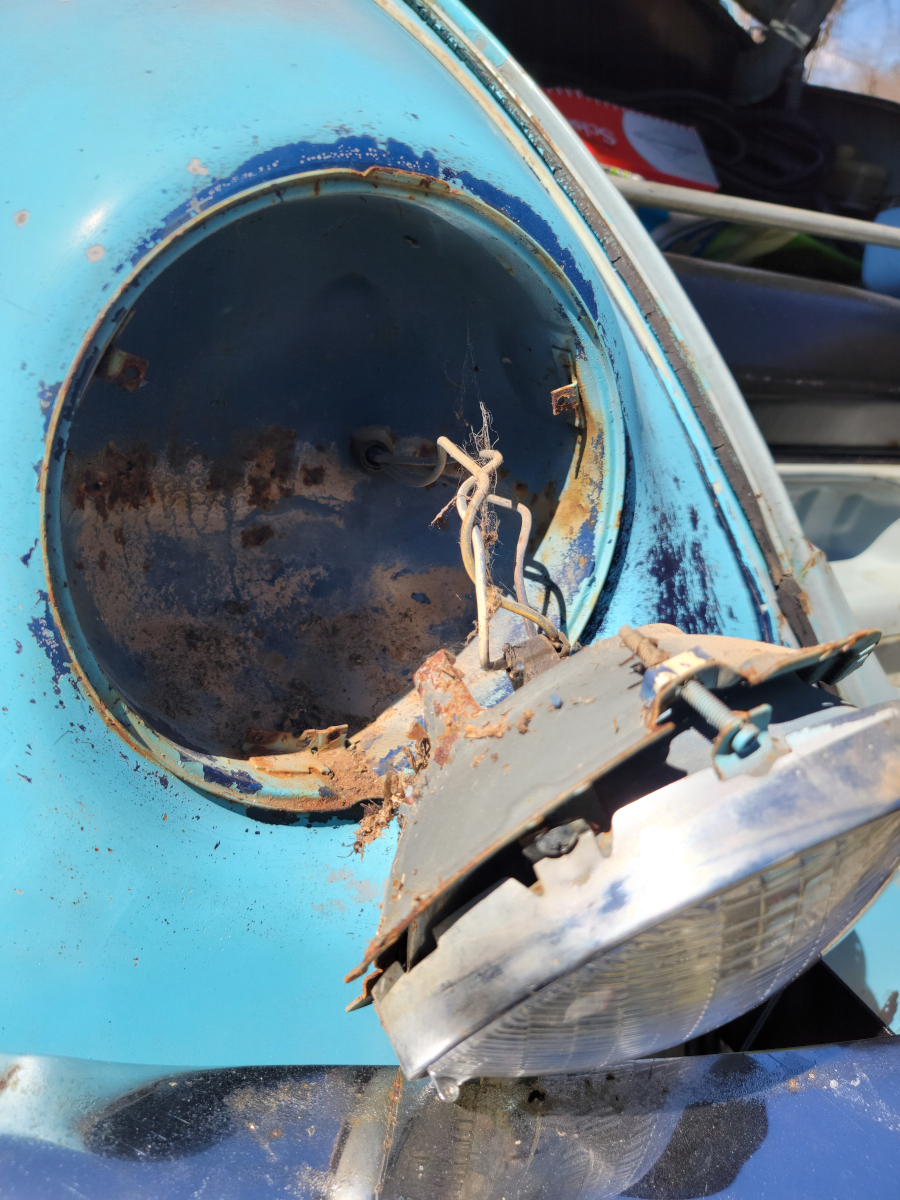
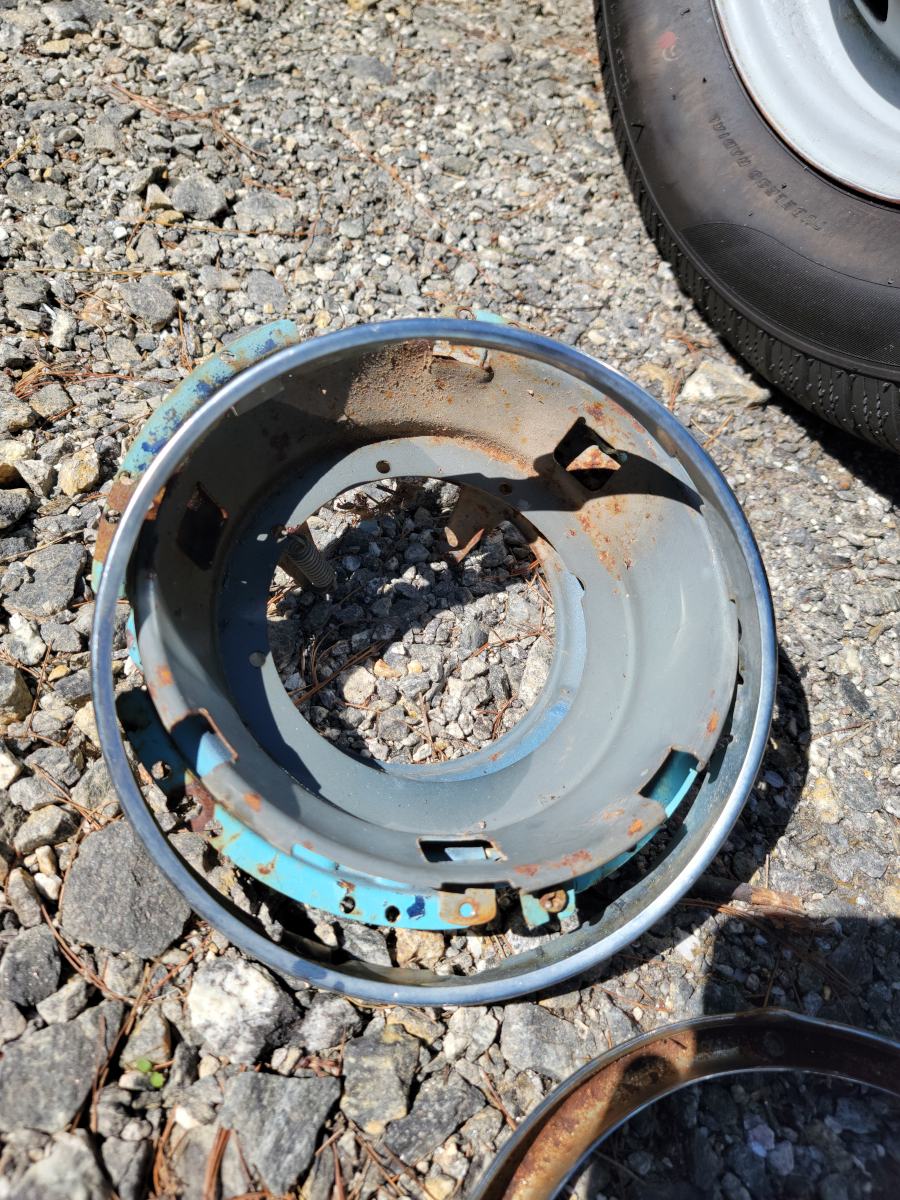
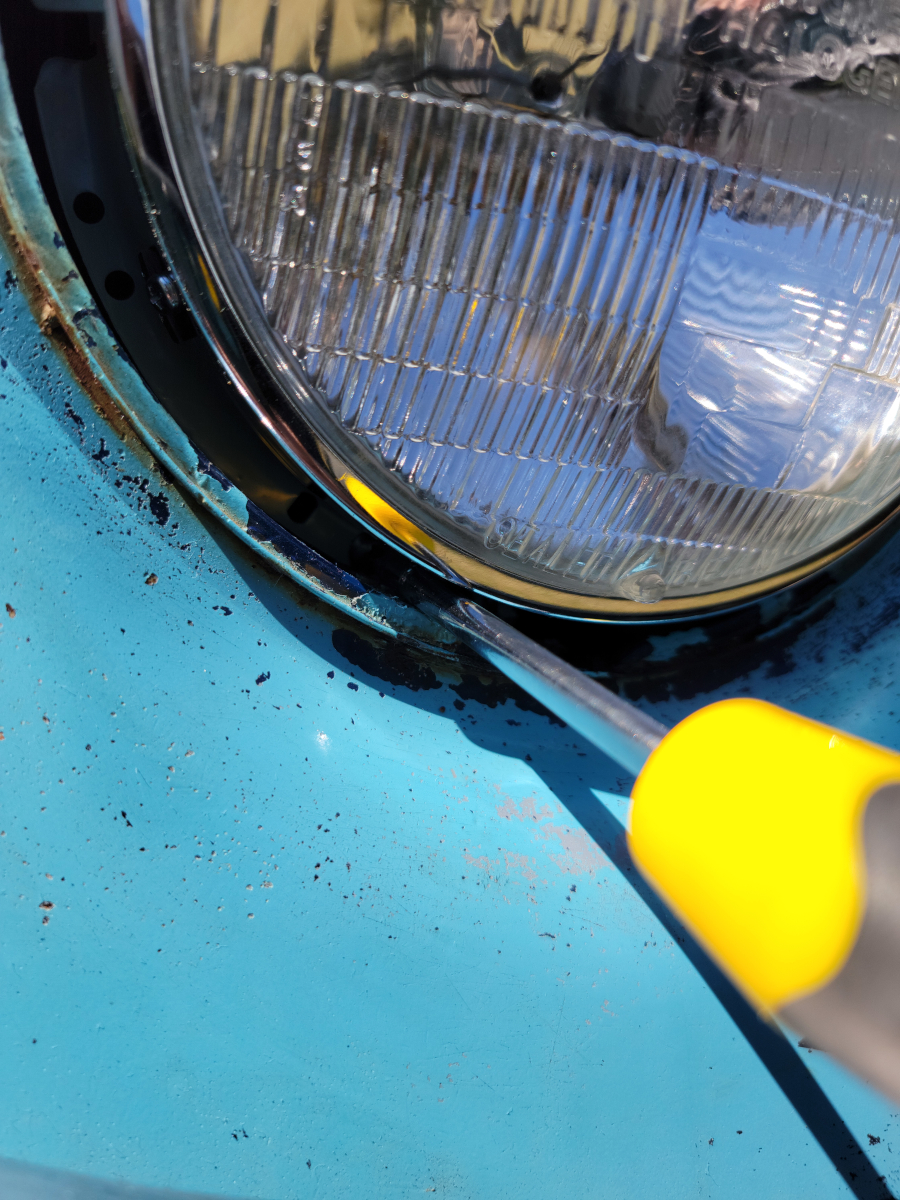
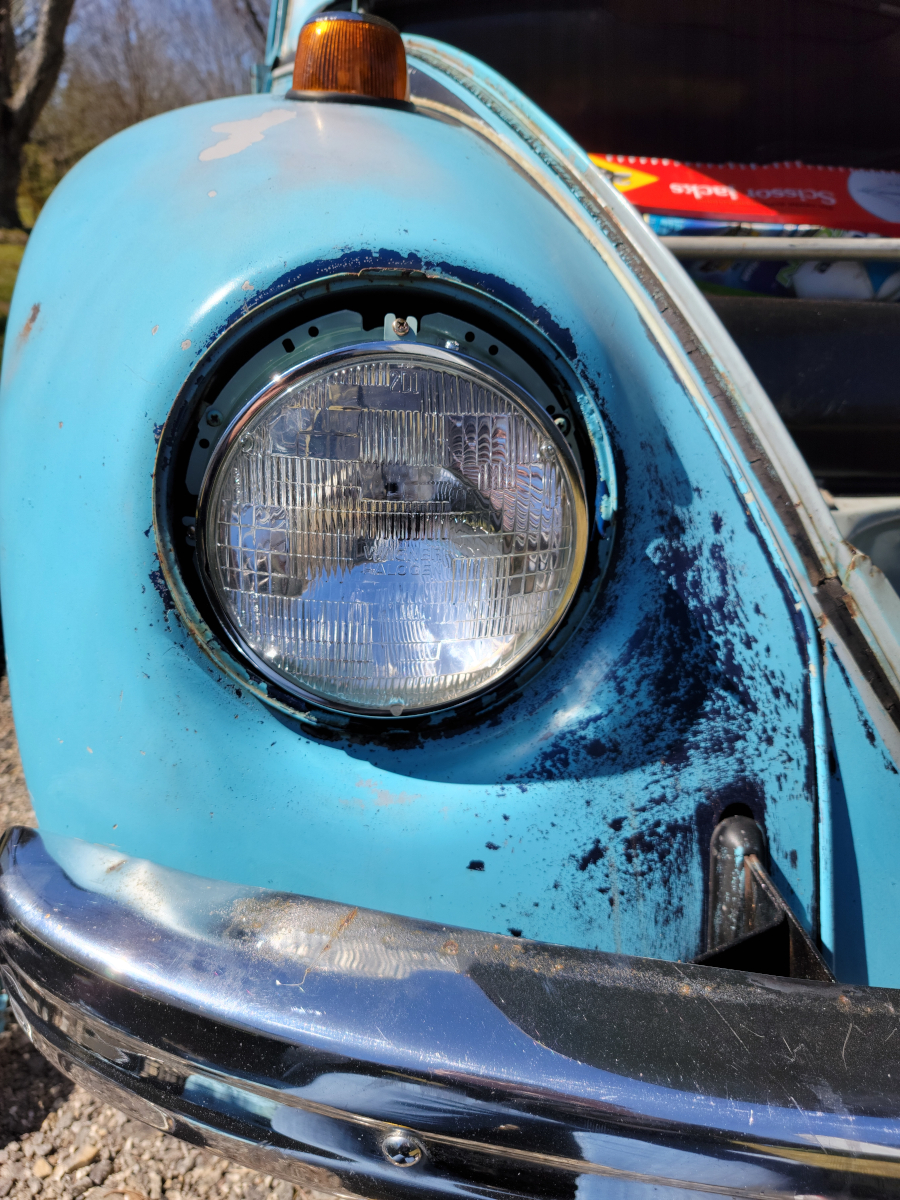
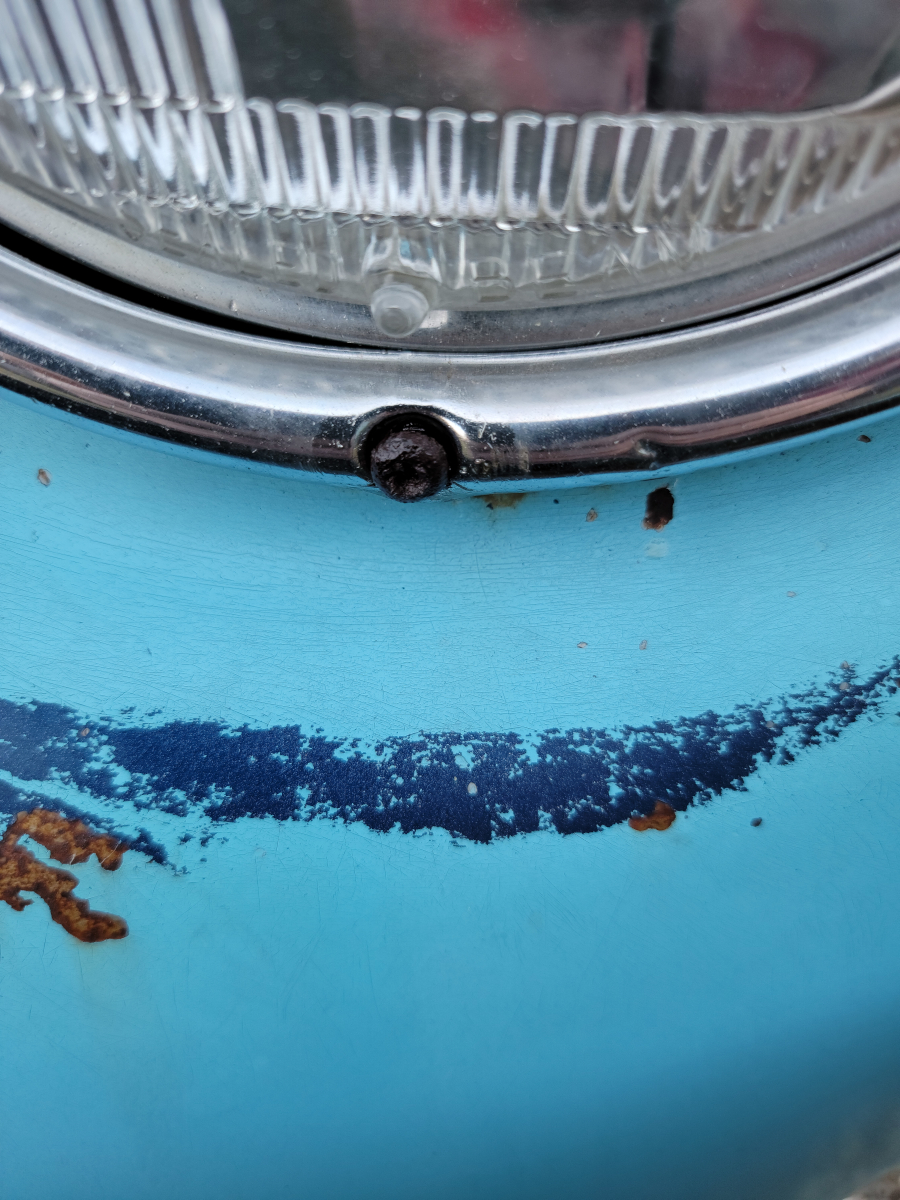
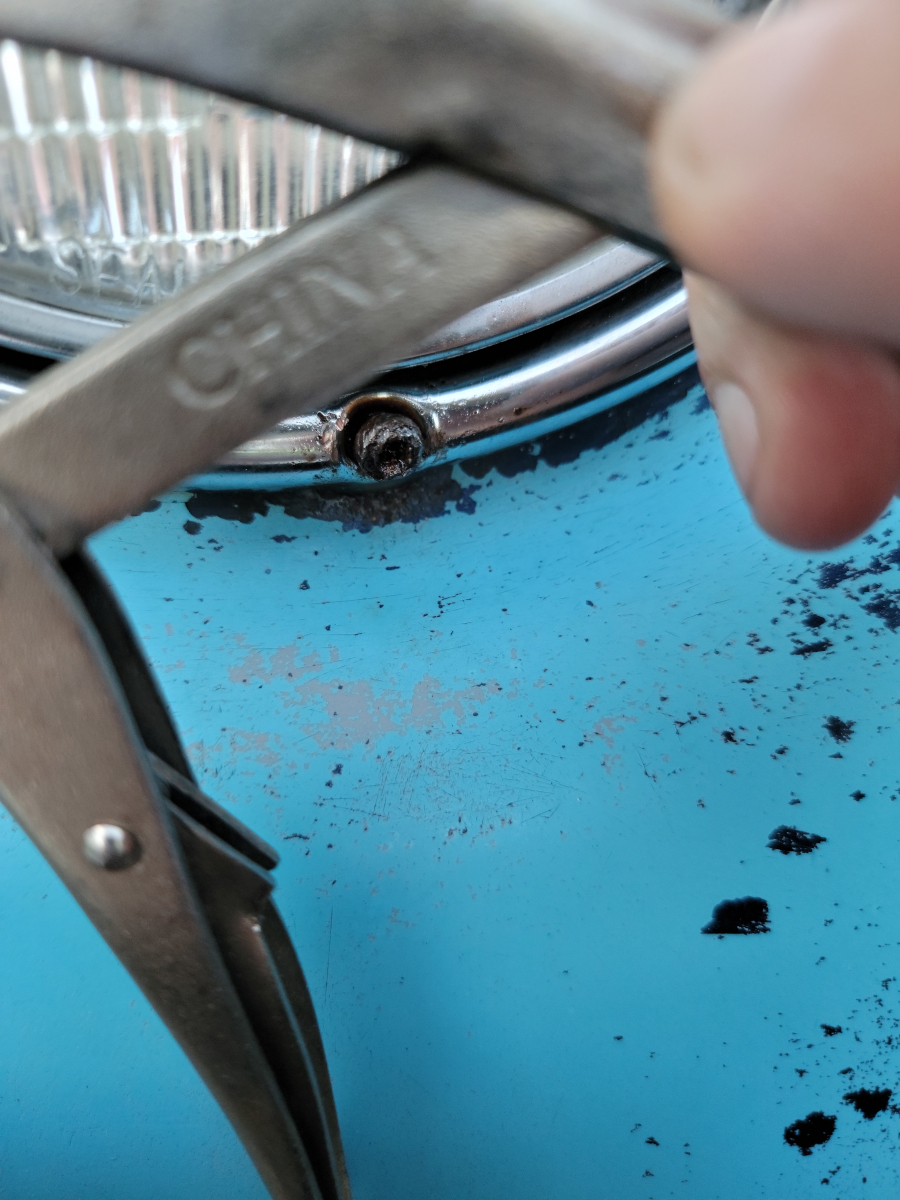
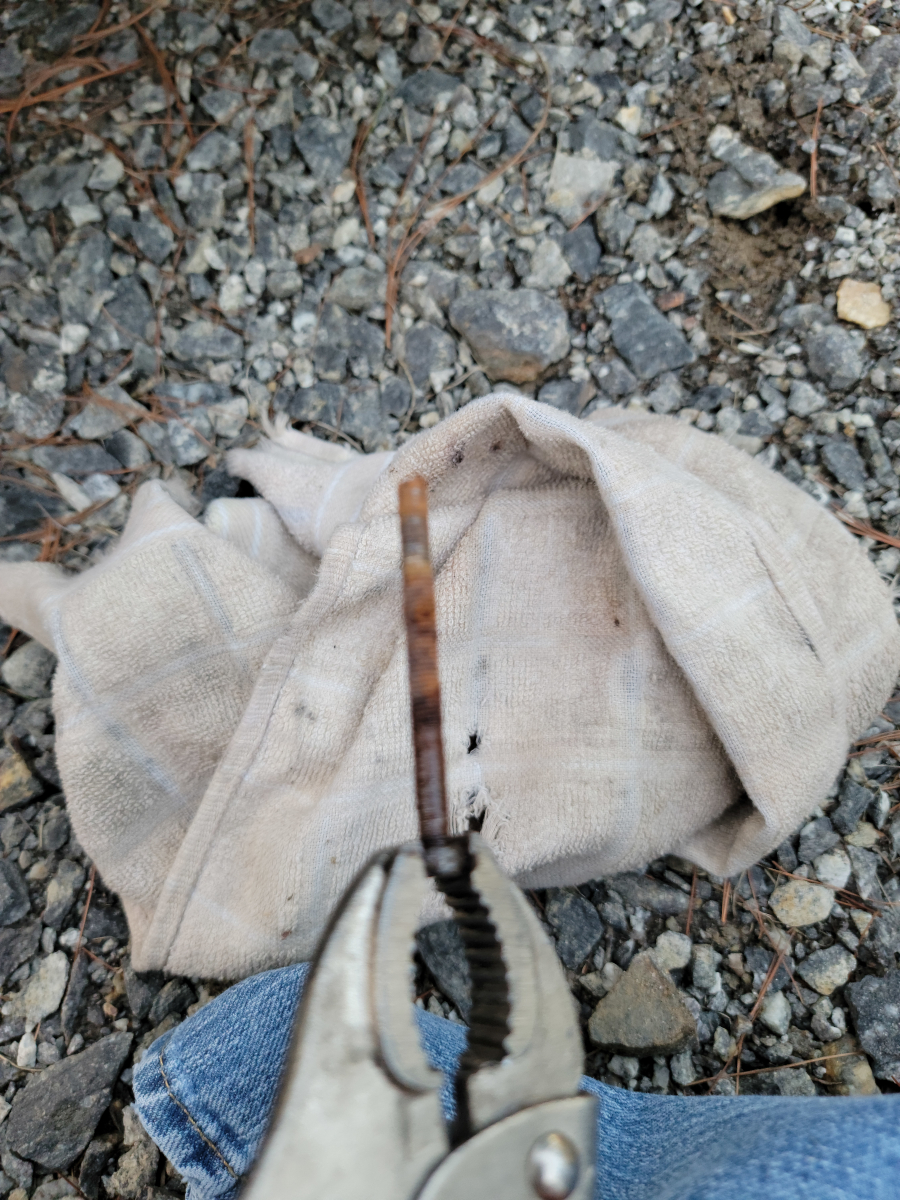
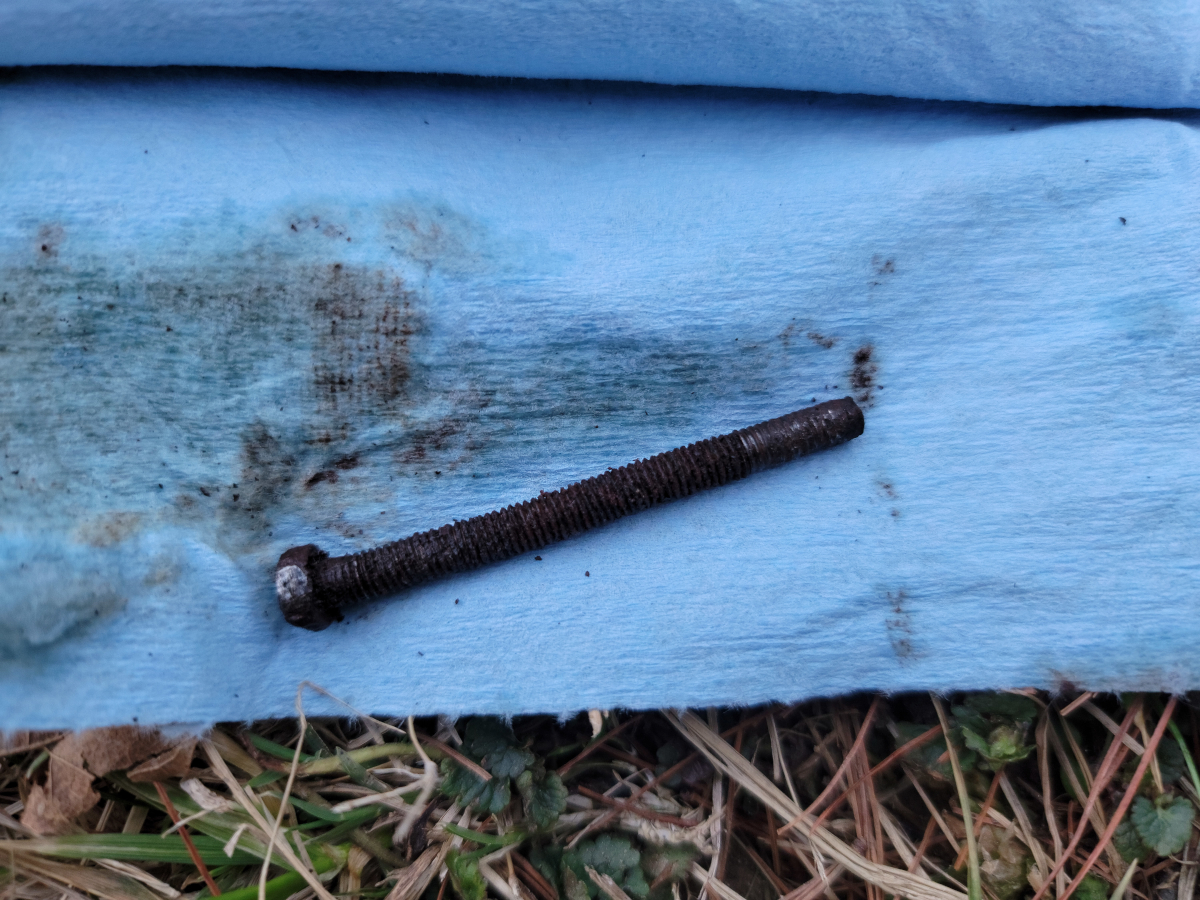
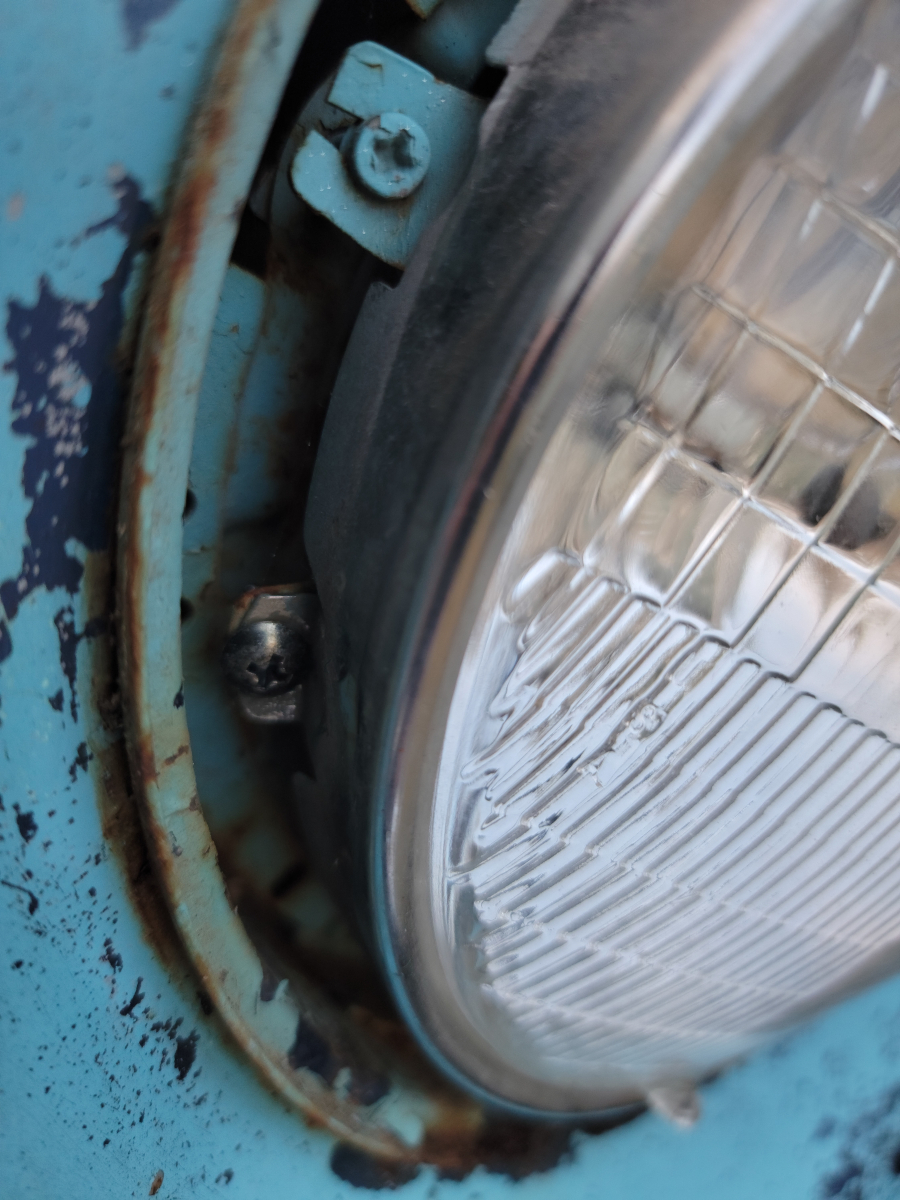
You can tell in the last picture and the fact that the bottom mounting screws were so hard to get at on both sides, the bulbs are sitting off center, way down at the bottom right. The chrome bezels wouldn’t mount over the bulbs. That’s a problem for another day.

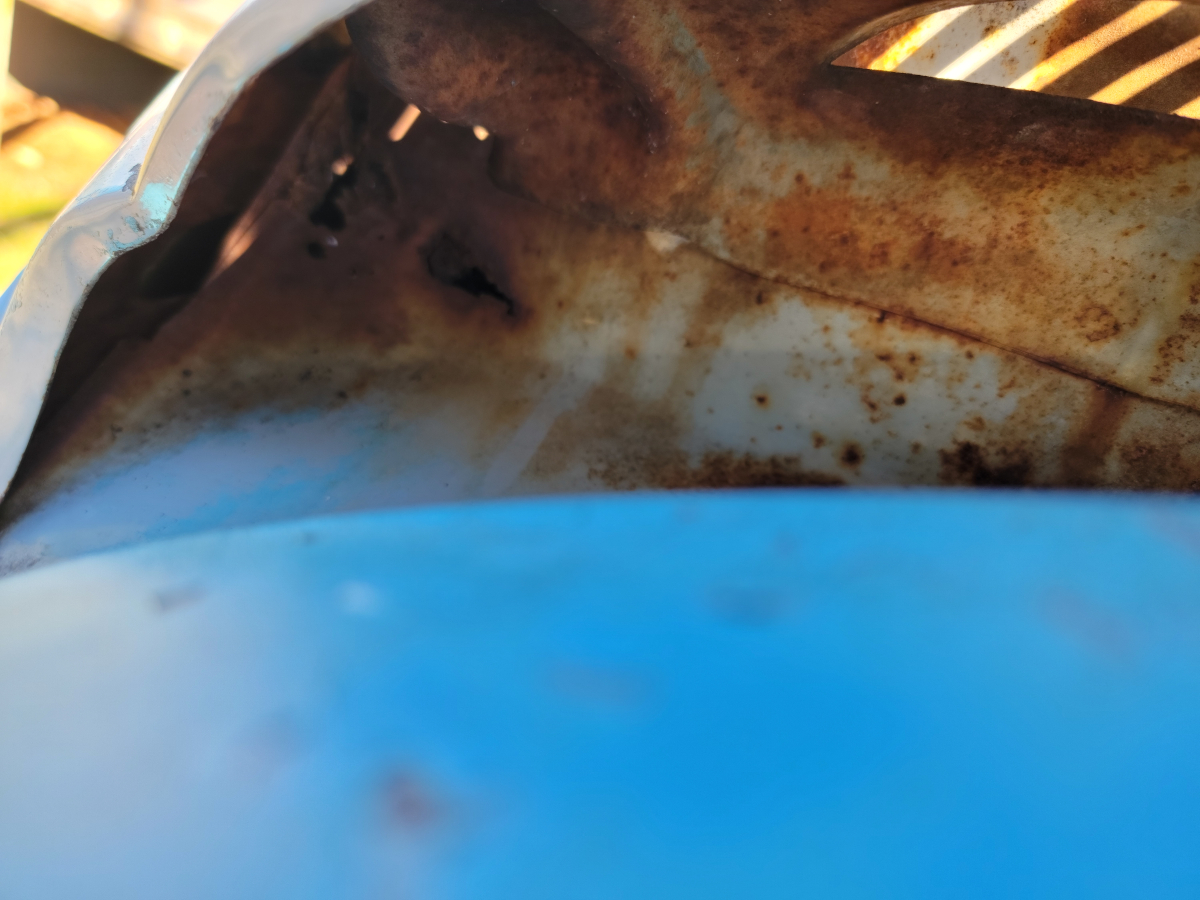
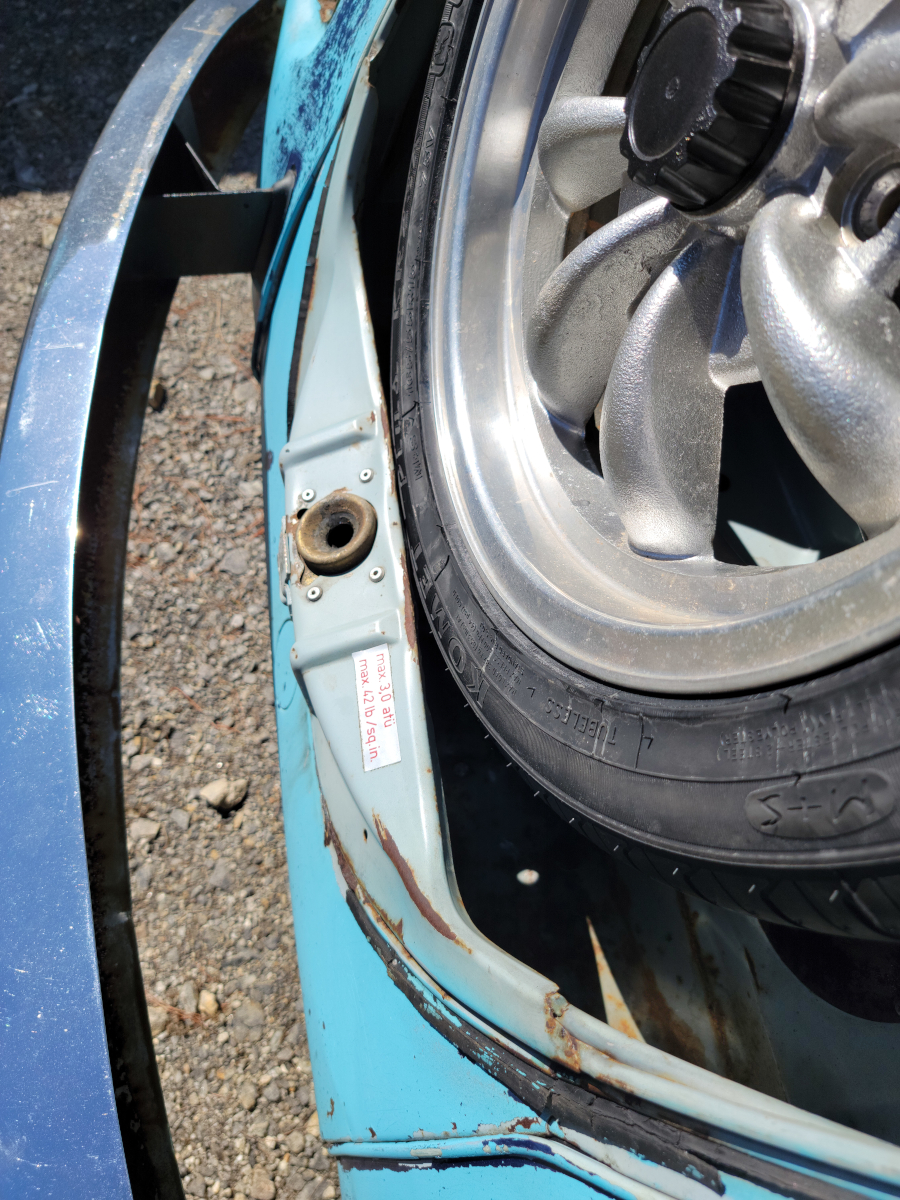
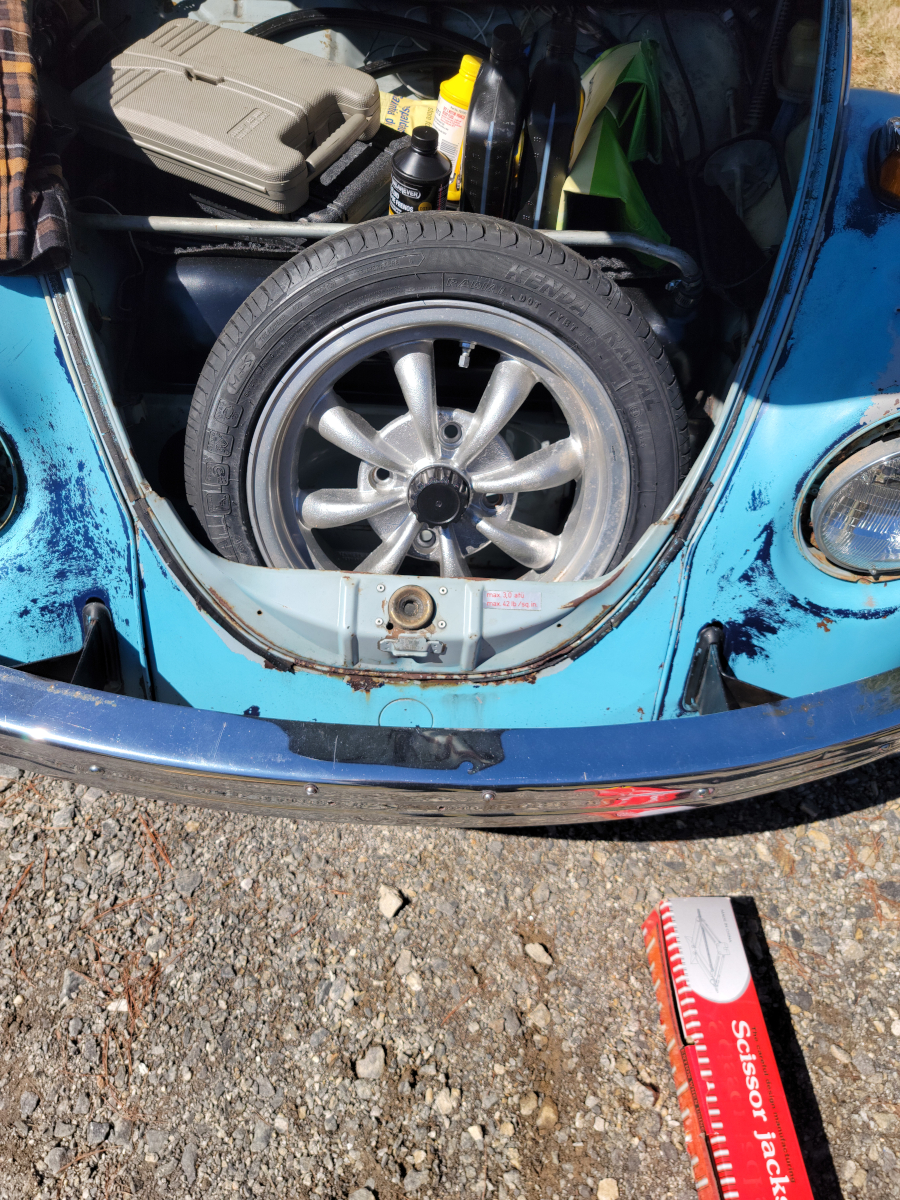
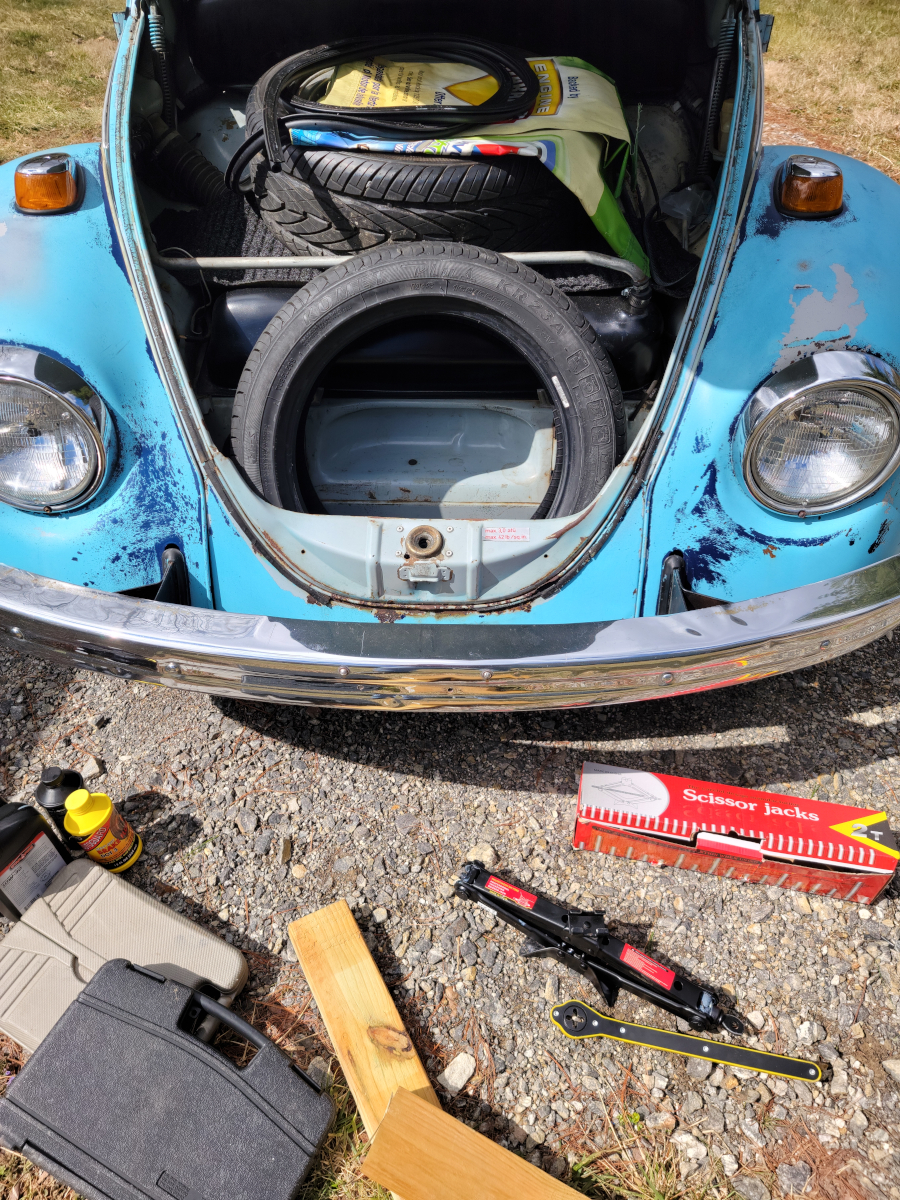
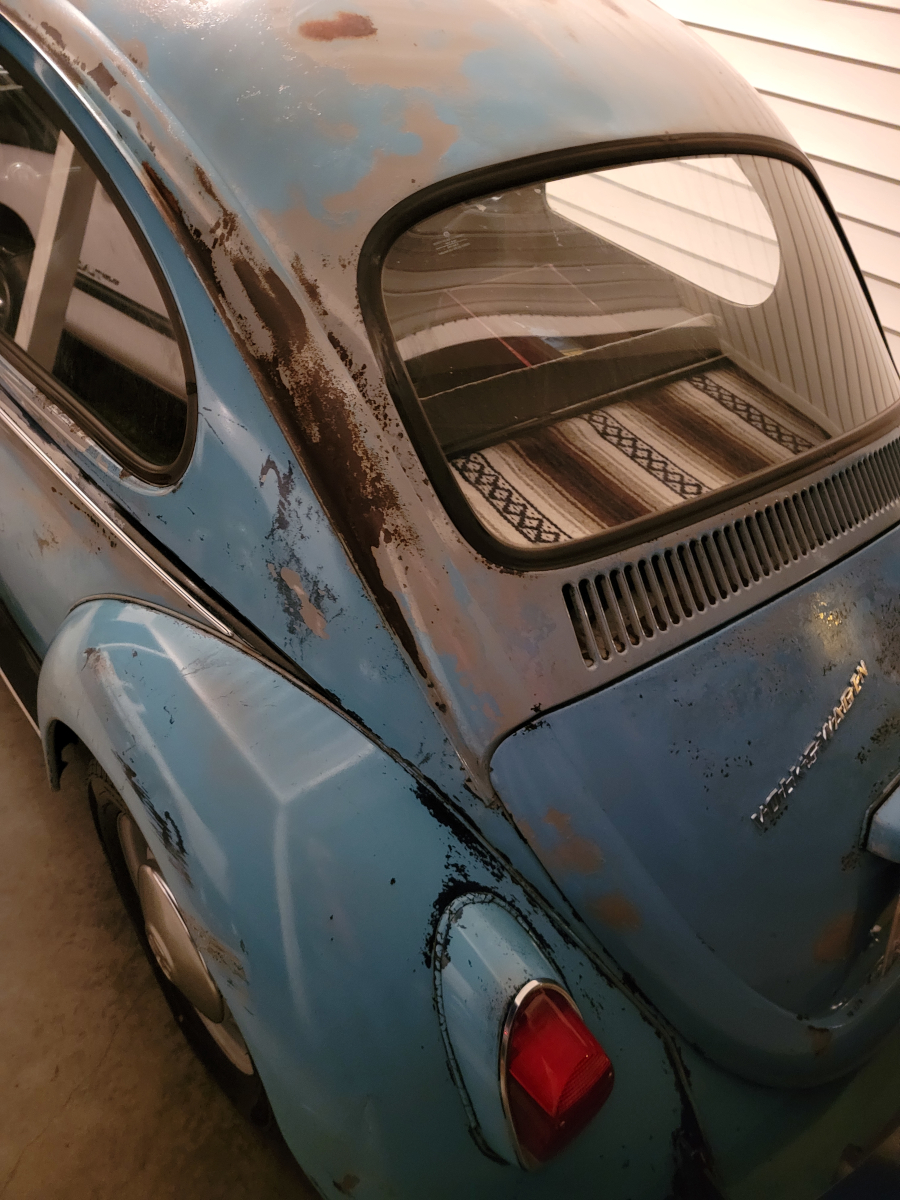
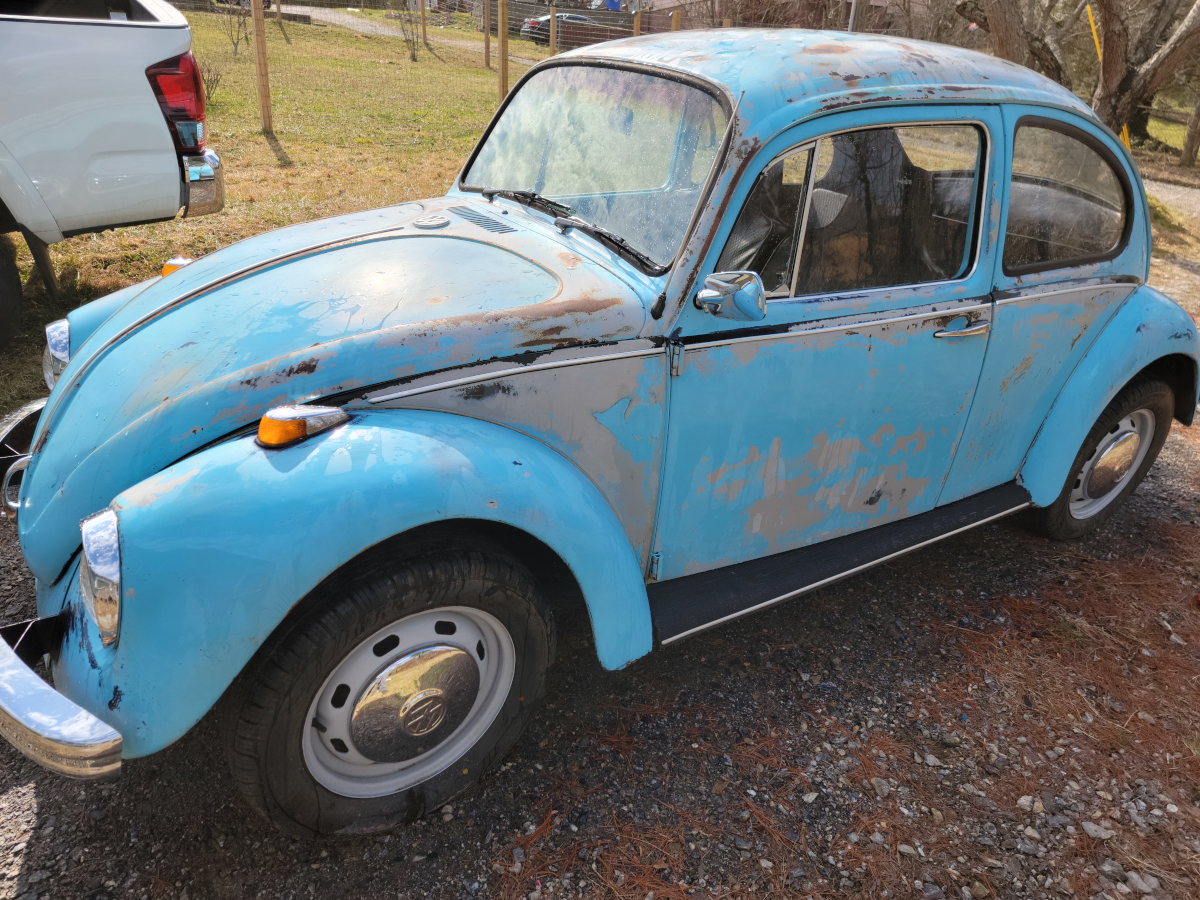
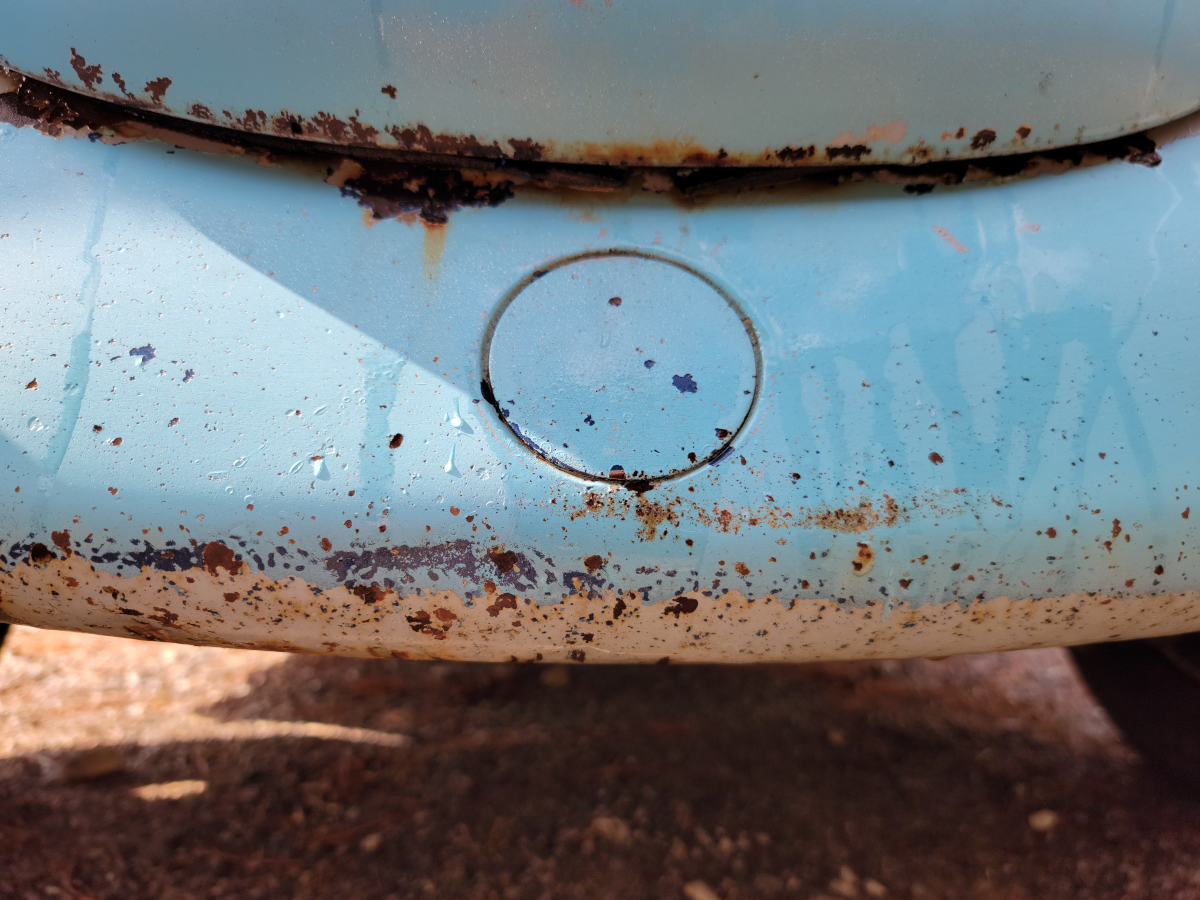
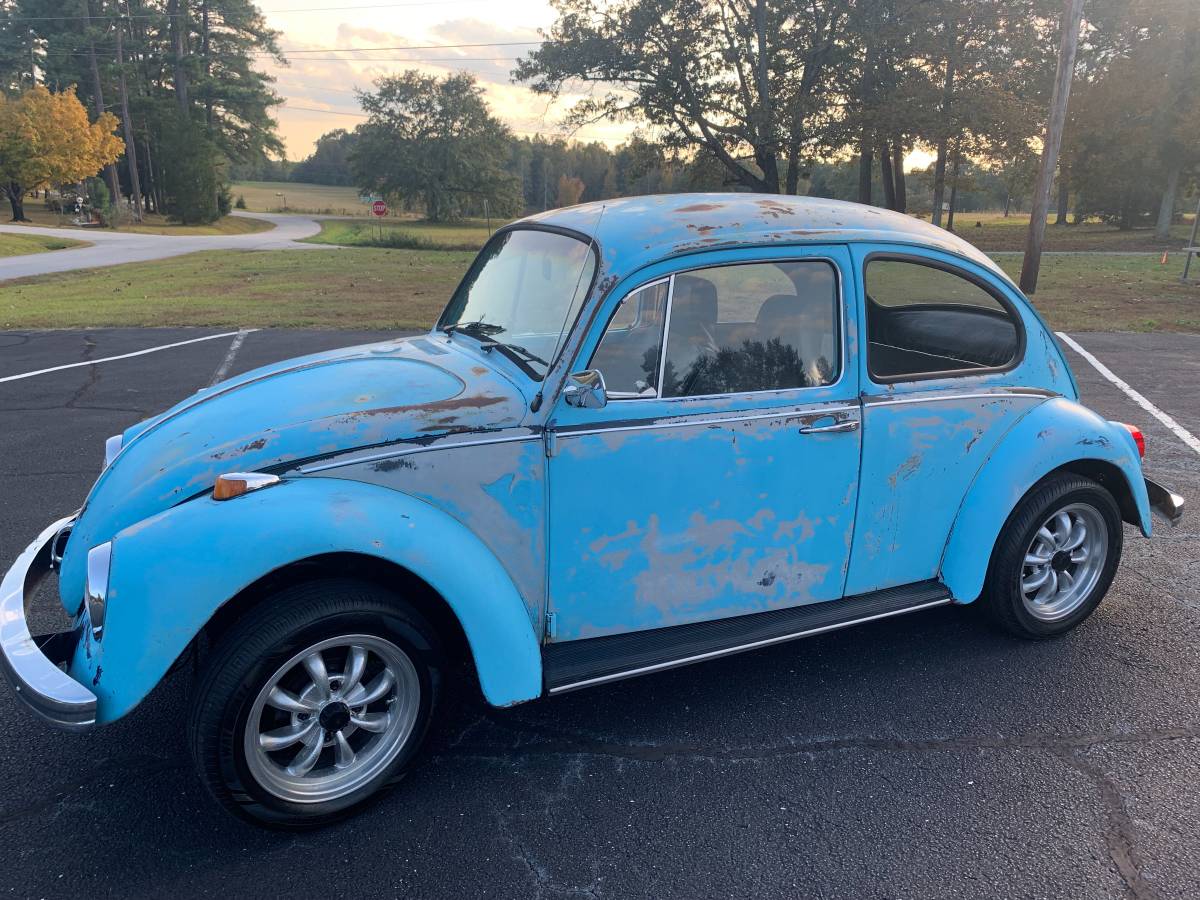
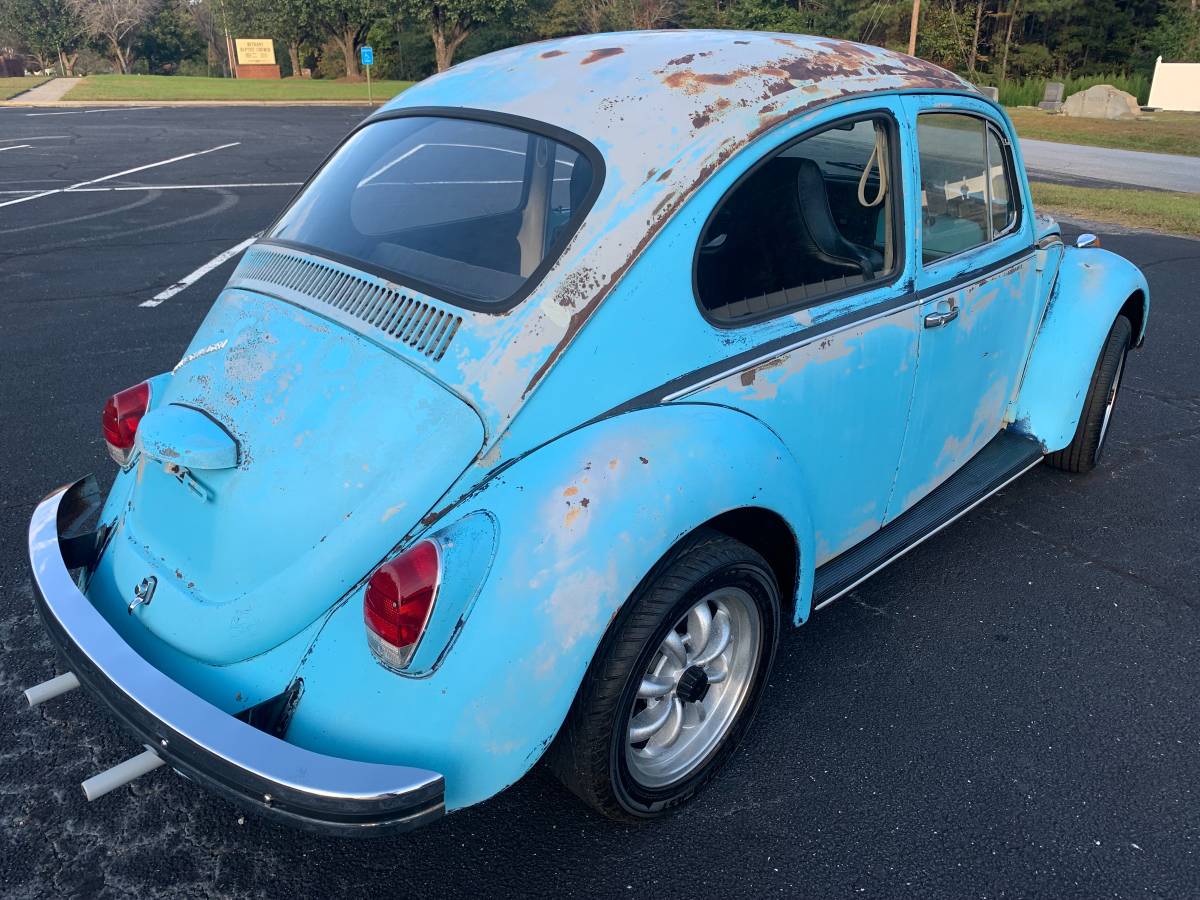
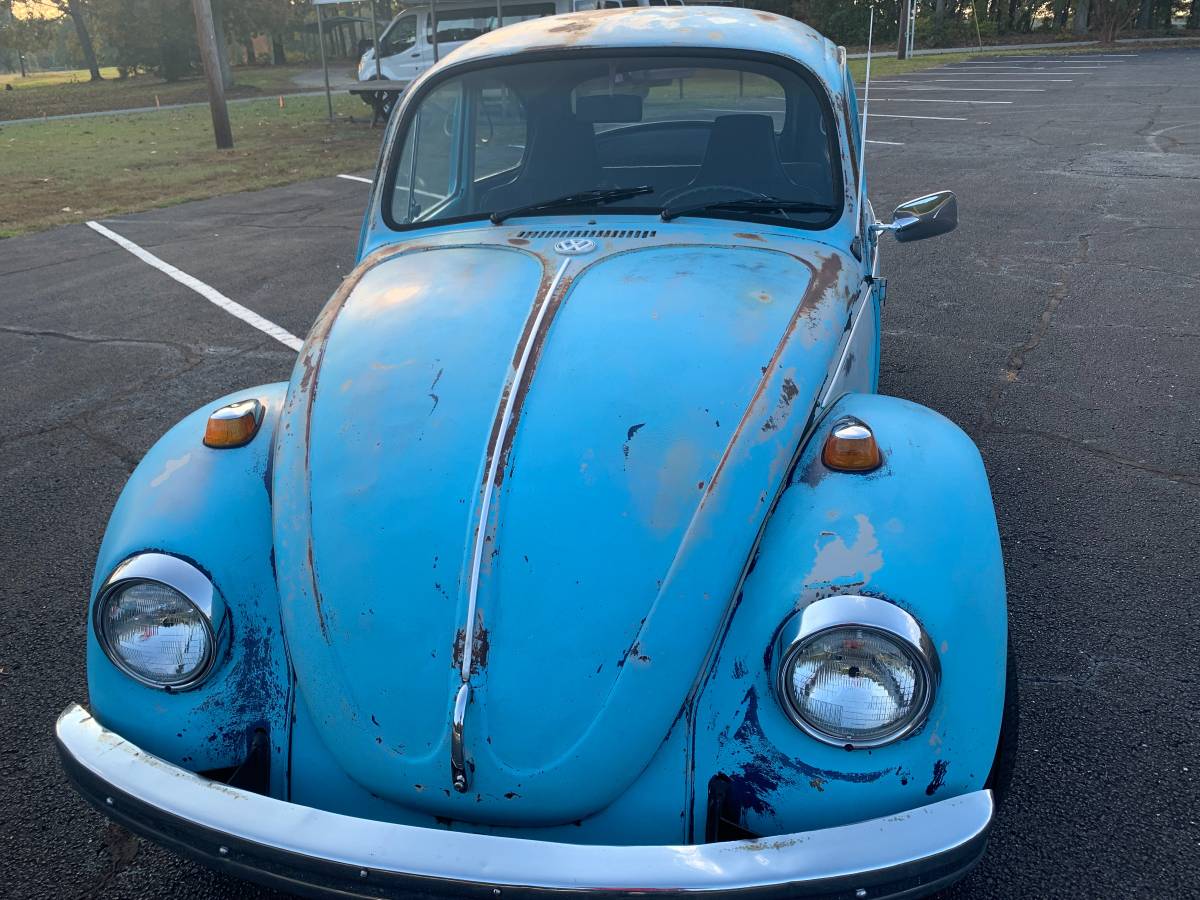
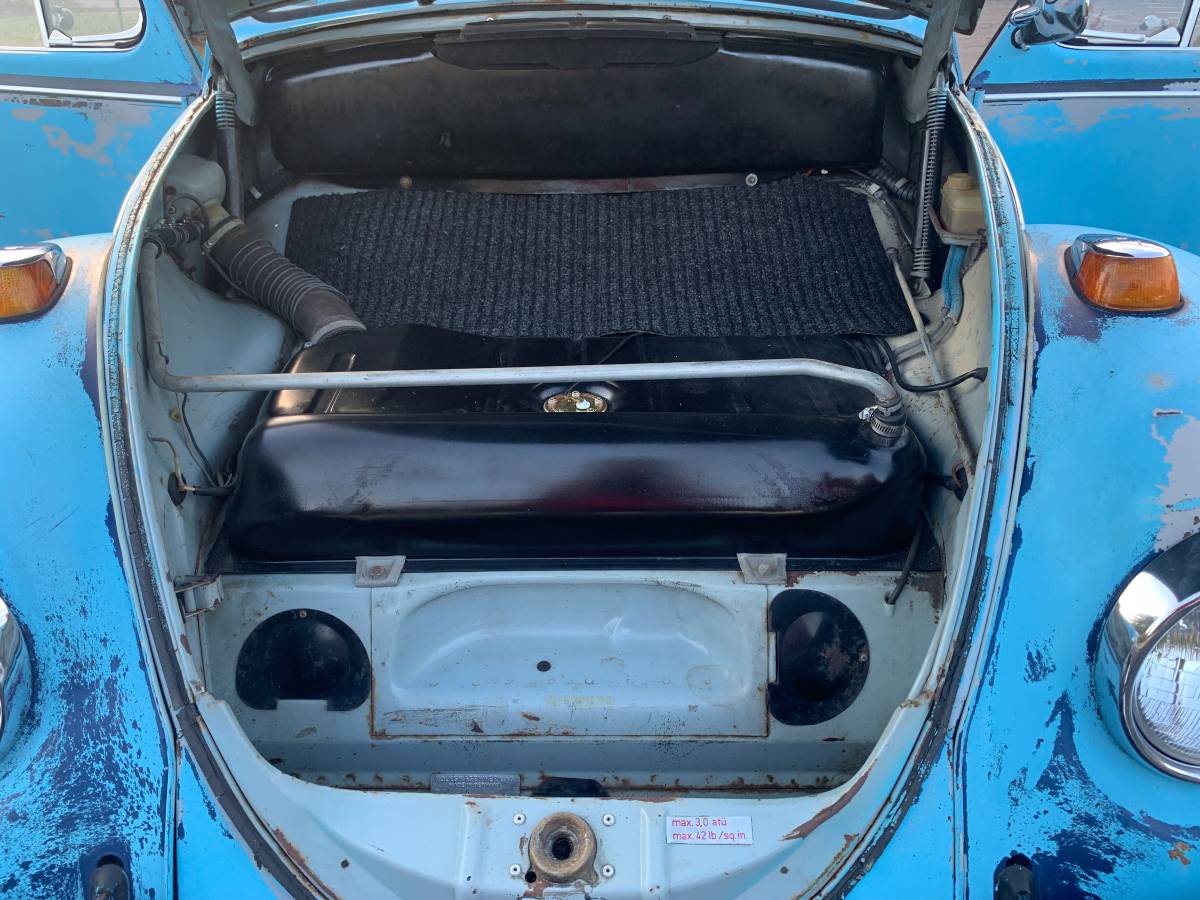
From the spare tire well fiasco, you can tell she had a front end shunt at some point. Also evidenced by the front trunk lid being smooshed in around the handle.

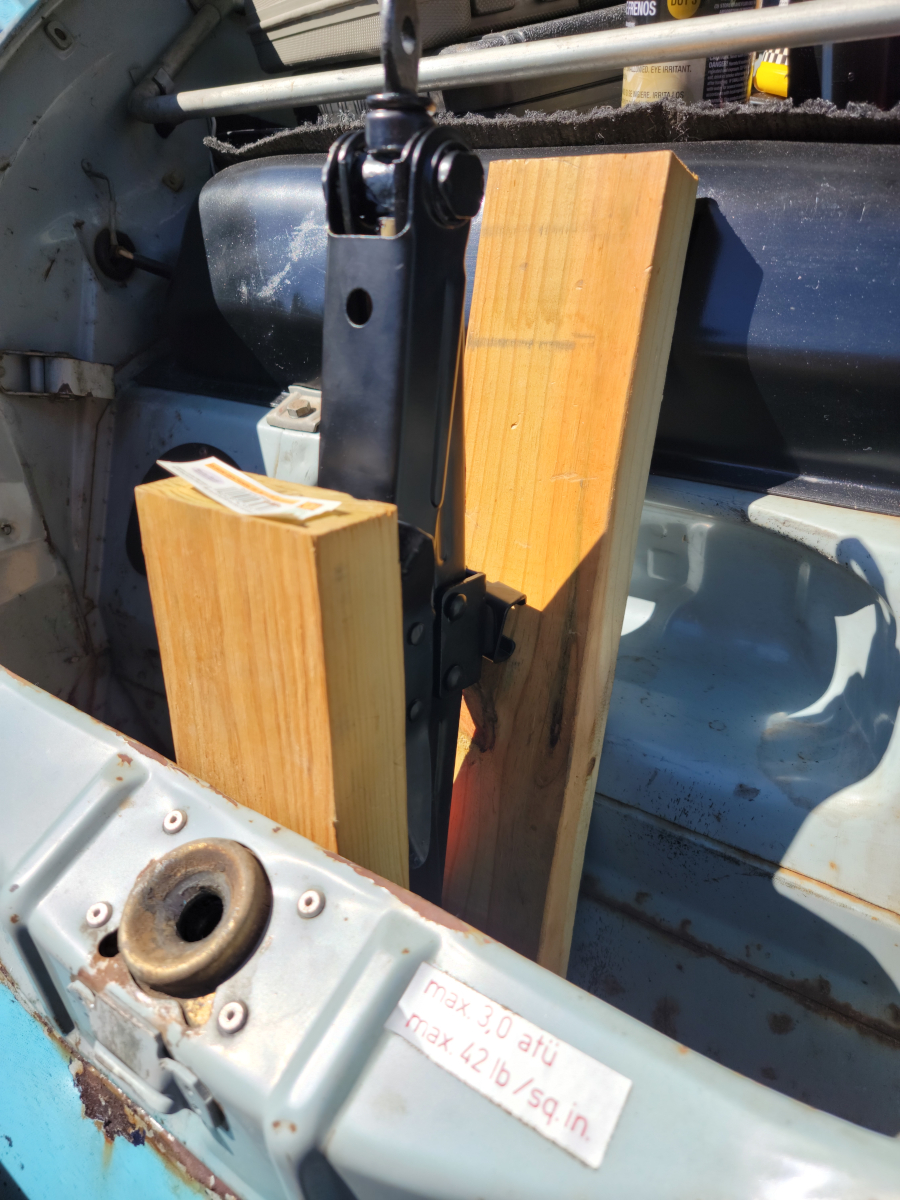
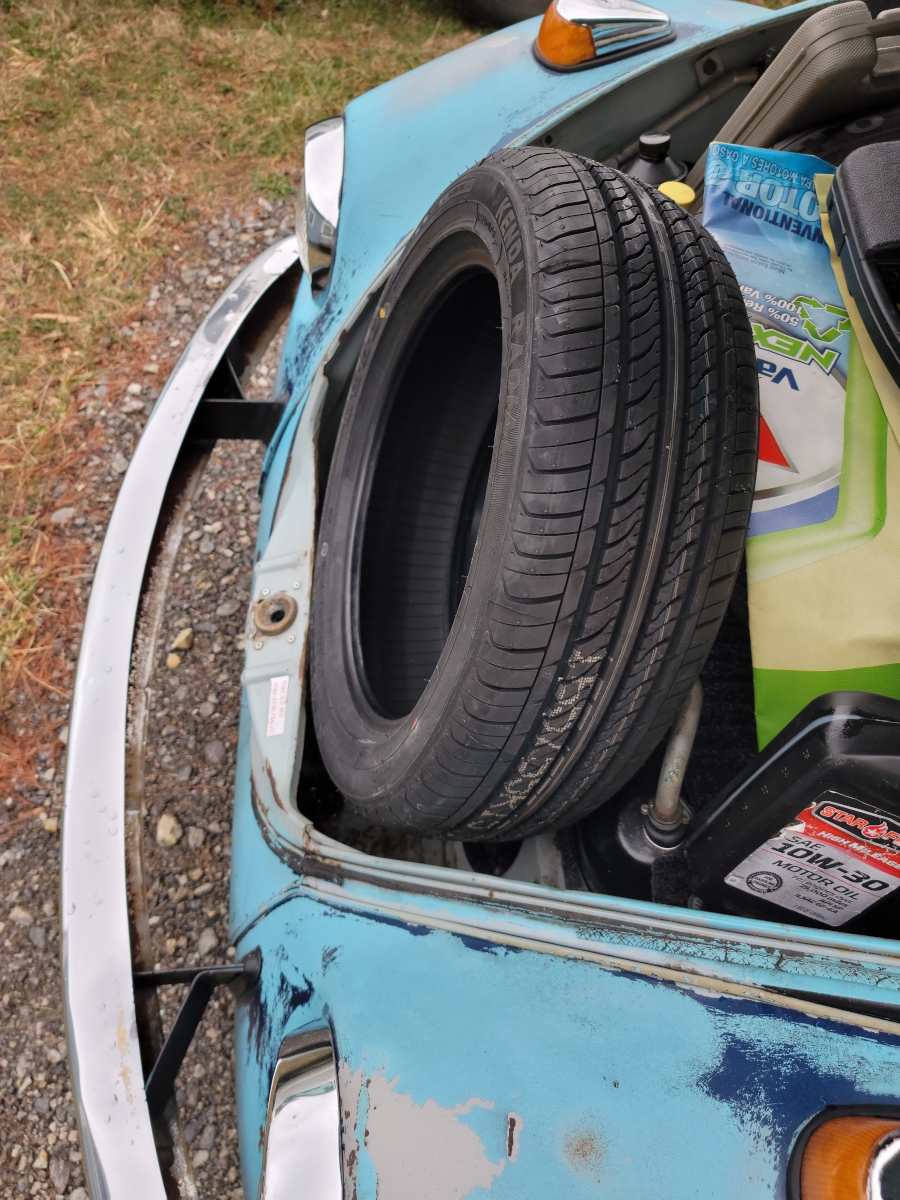
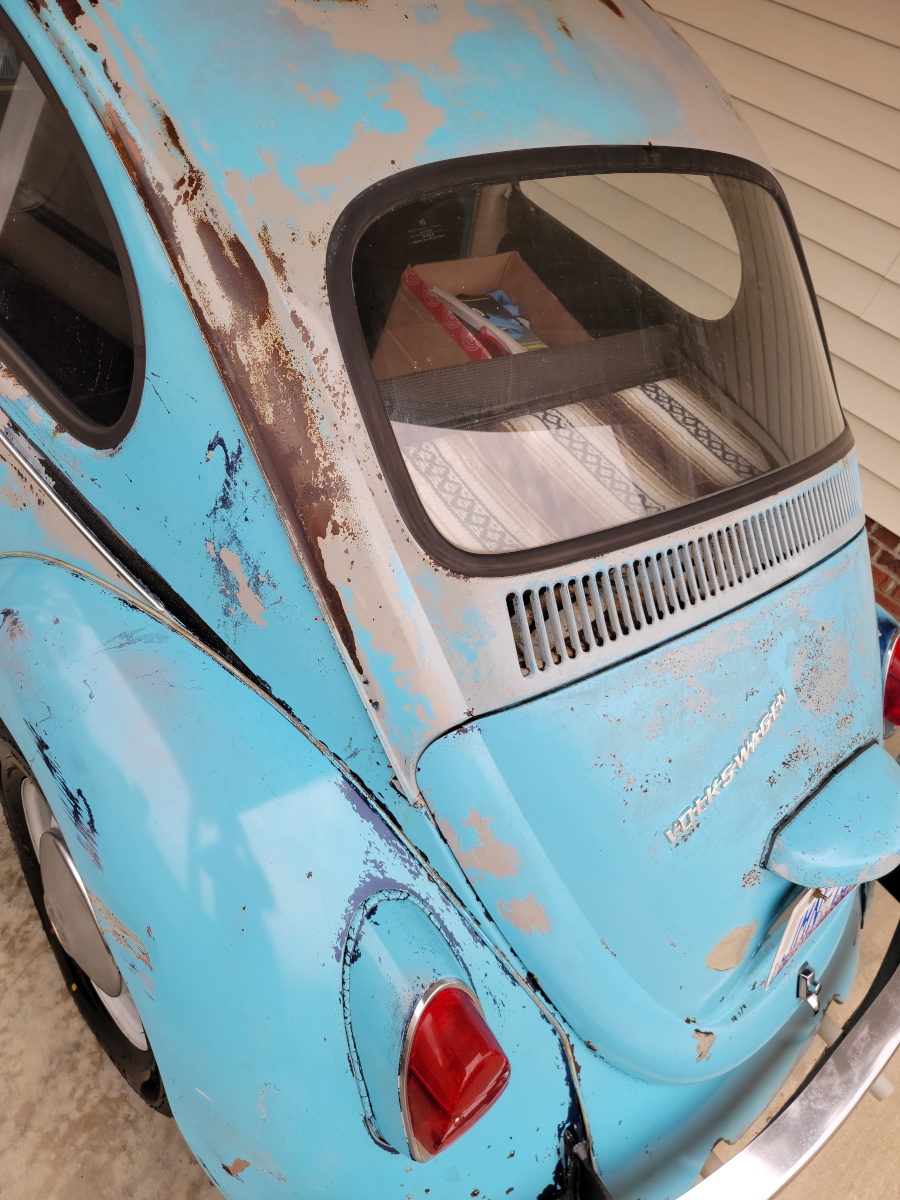
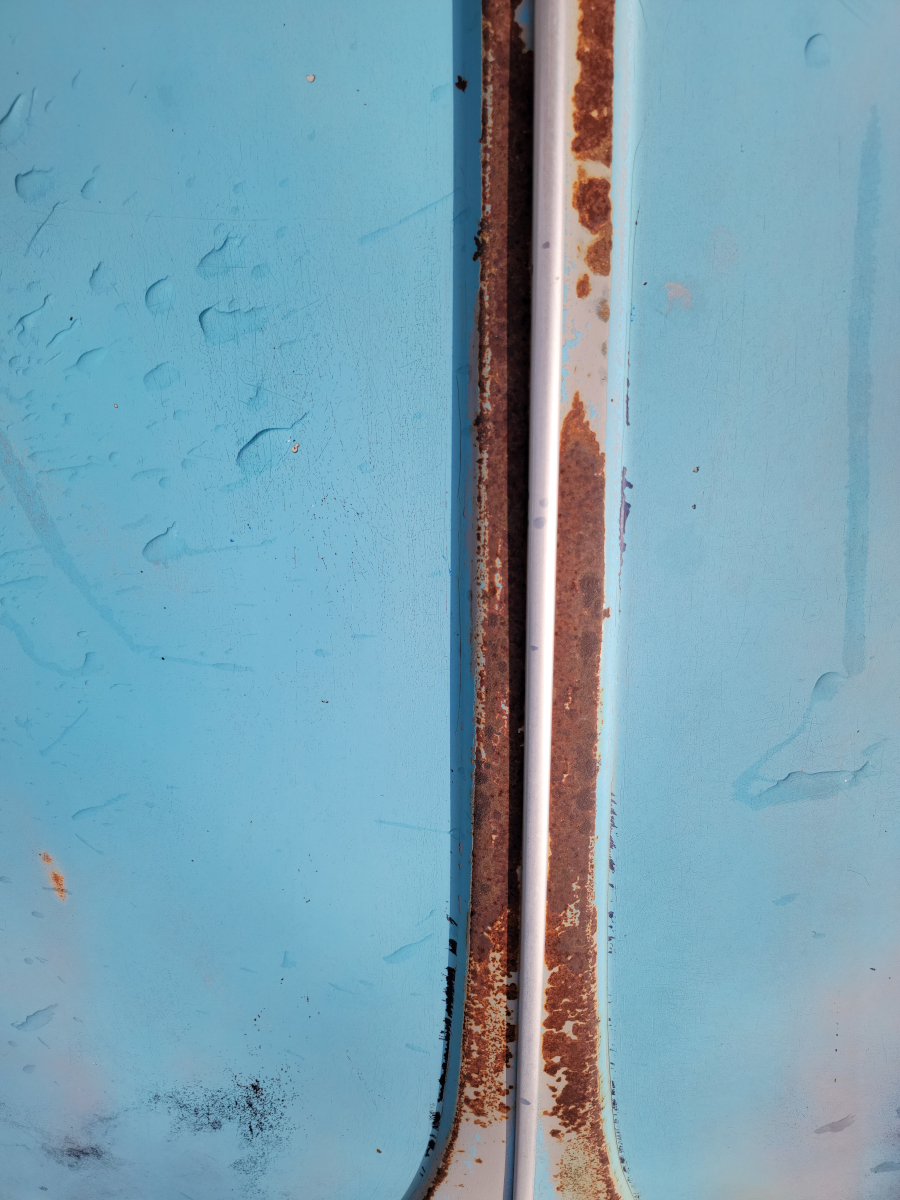
The front trunk is always wet (with water AND gas, more on that later). I tried putting a big fat weatherstrip seal around the underside of the trunk lid, but that didn’t work and quickly peeled off. $26 well spent.

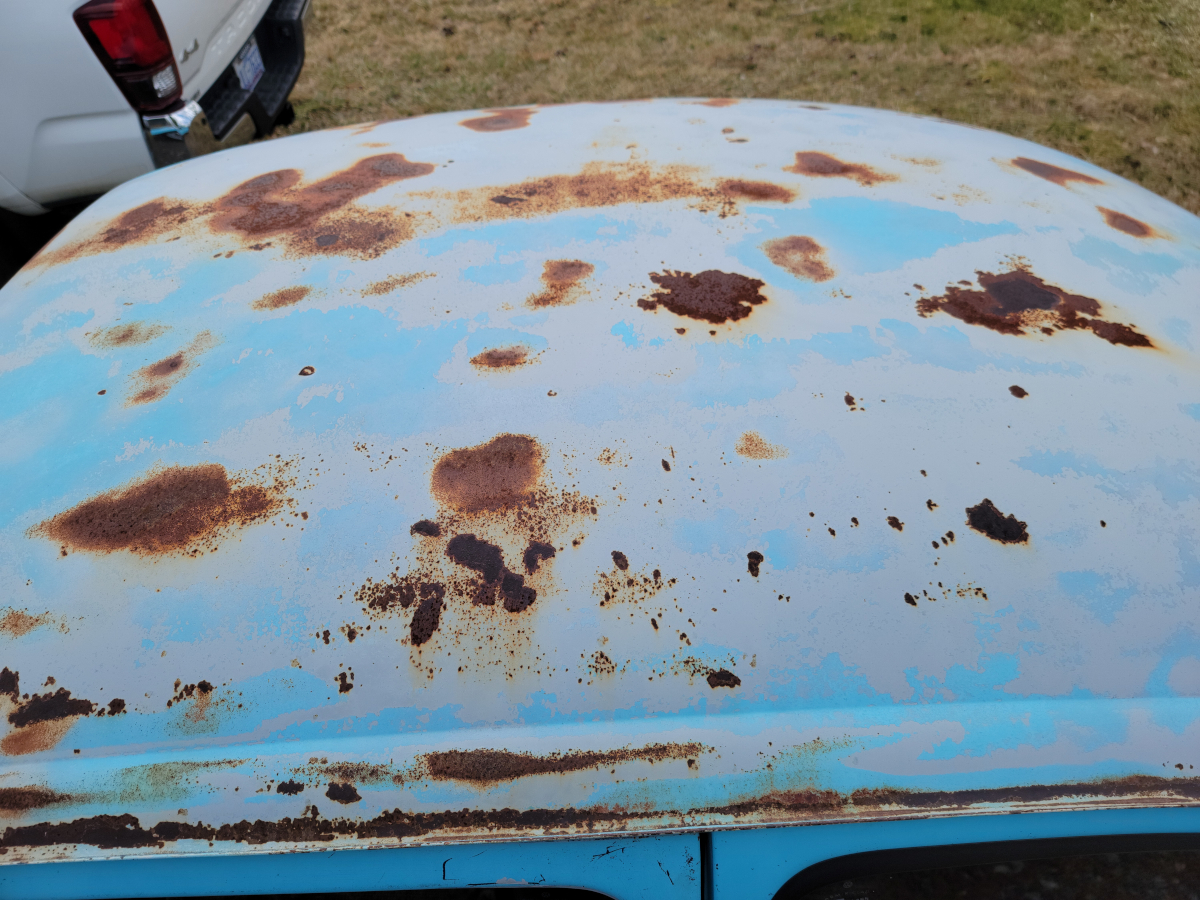
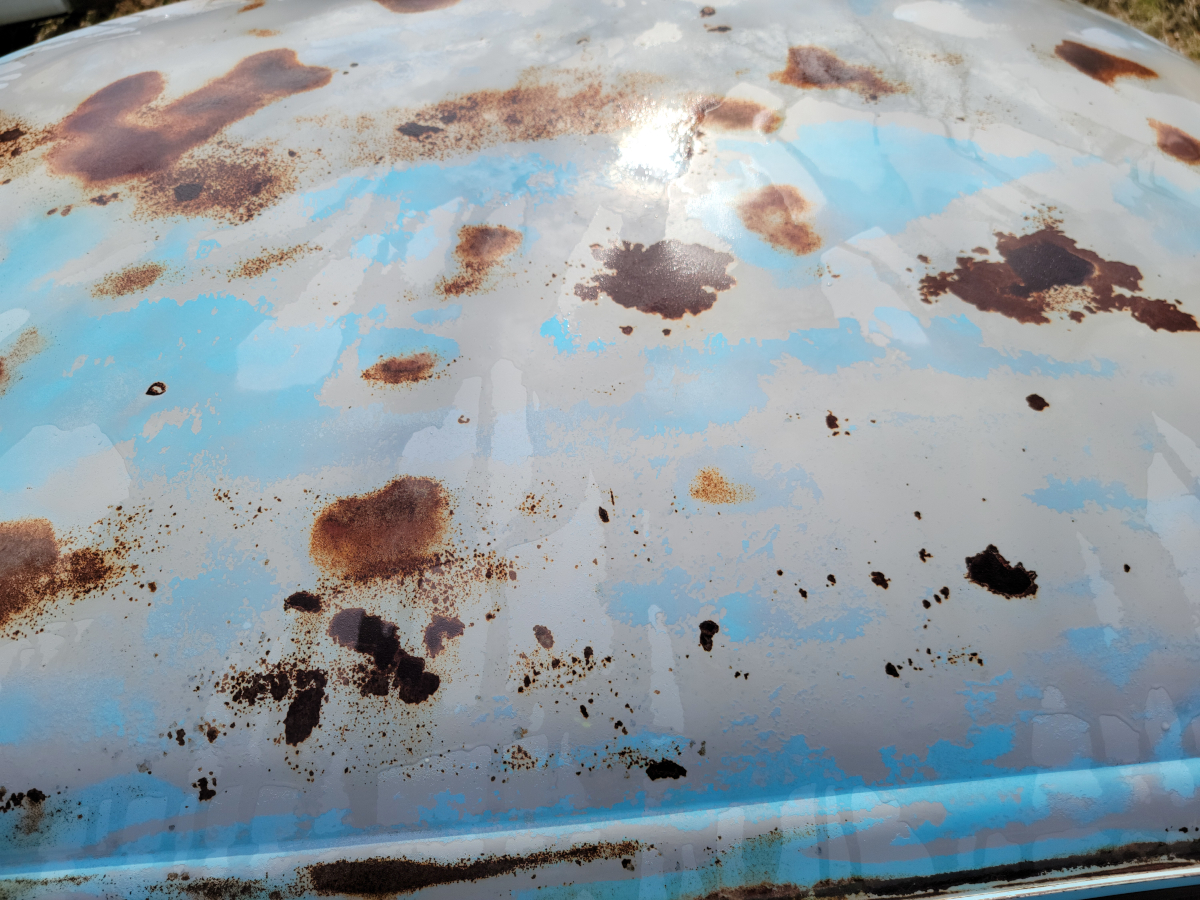
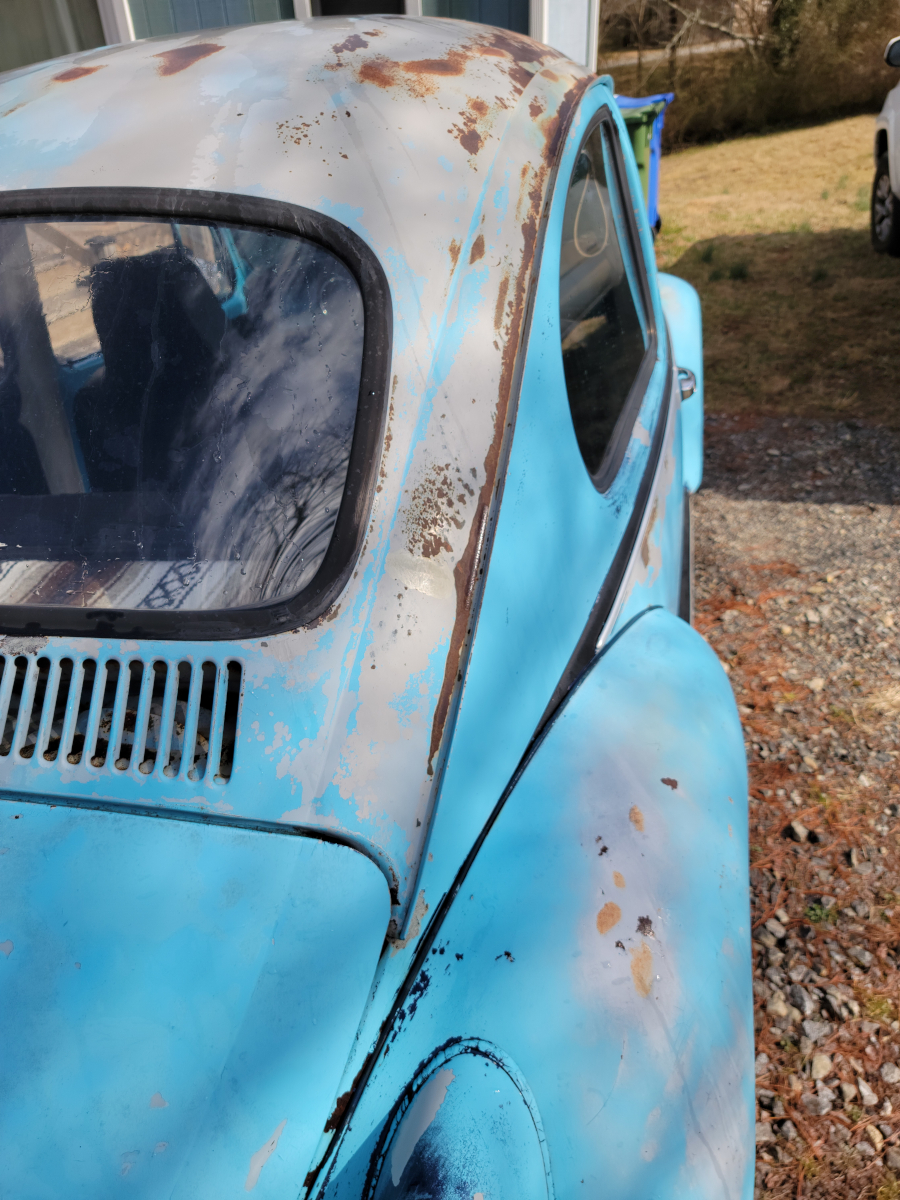
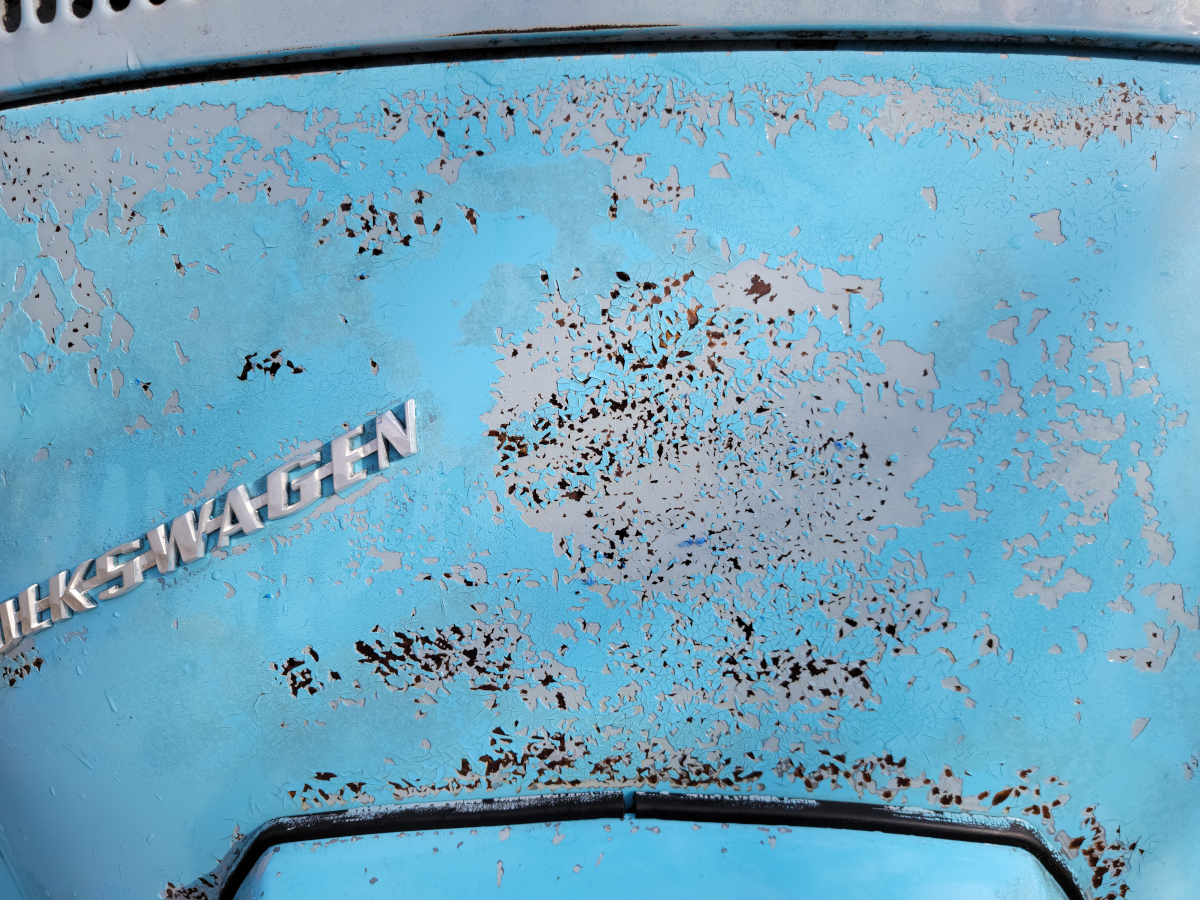
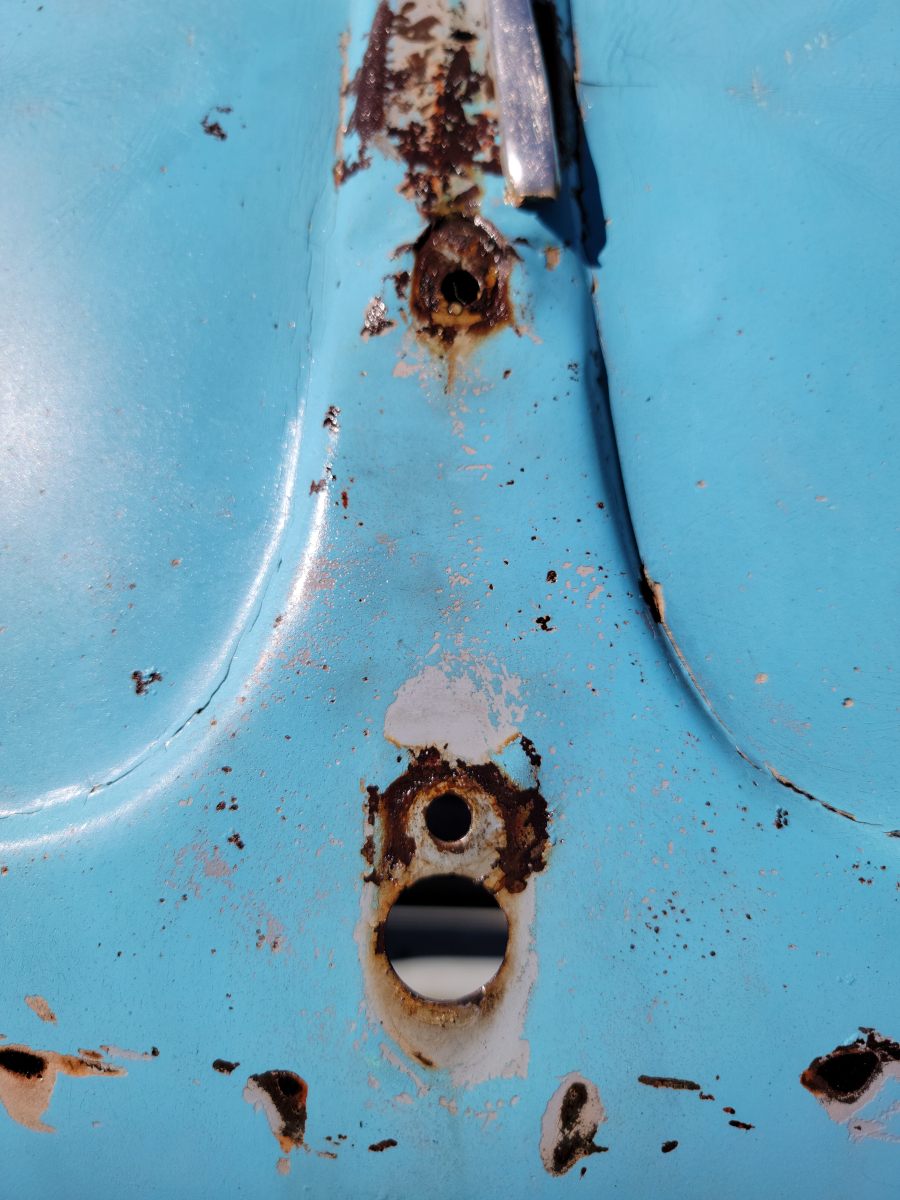
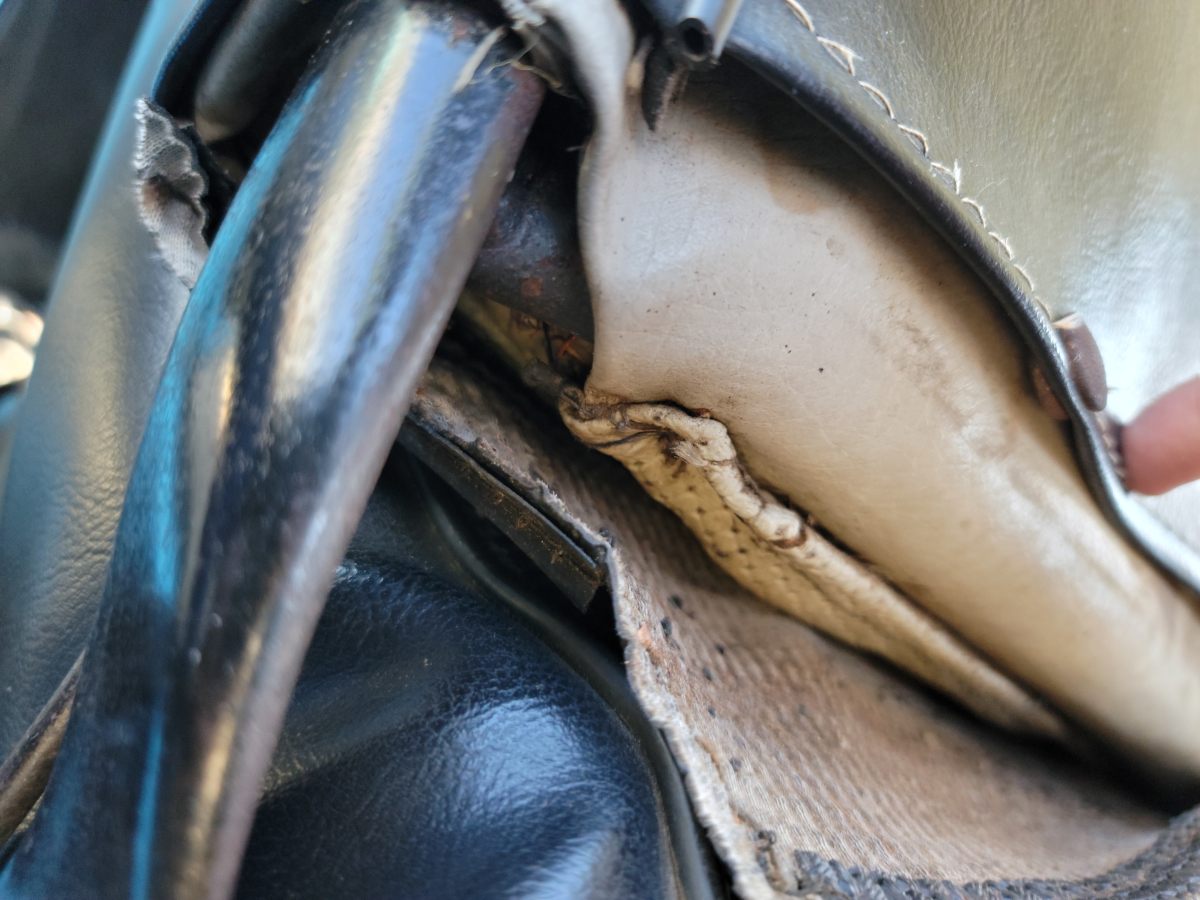
While poking around, I found another area where water was getting in. The sunlight caught my eye.

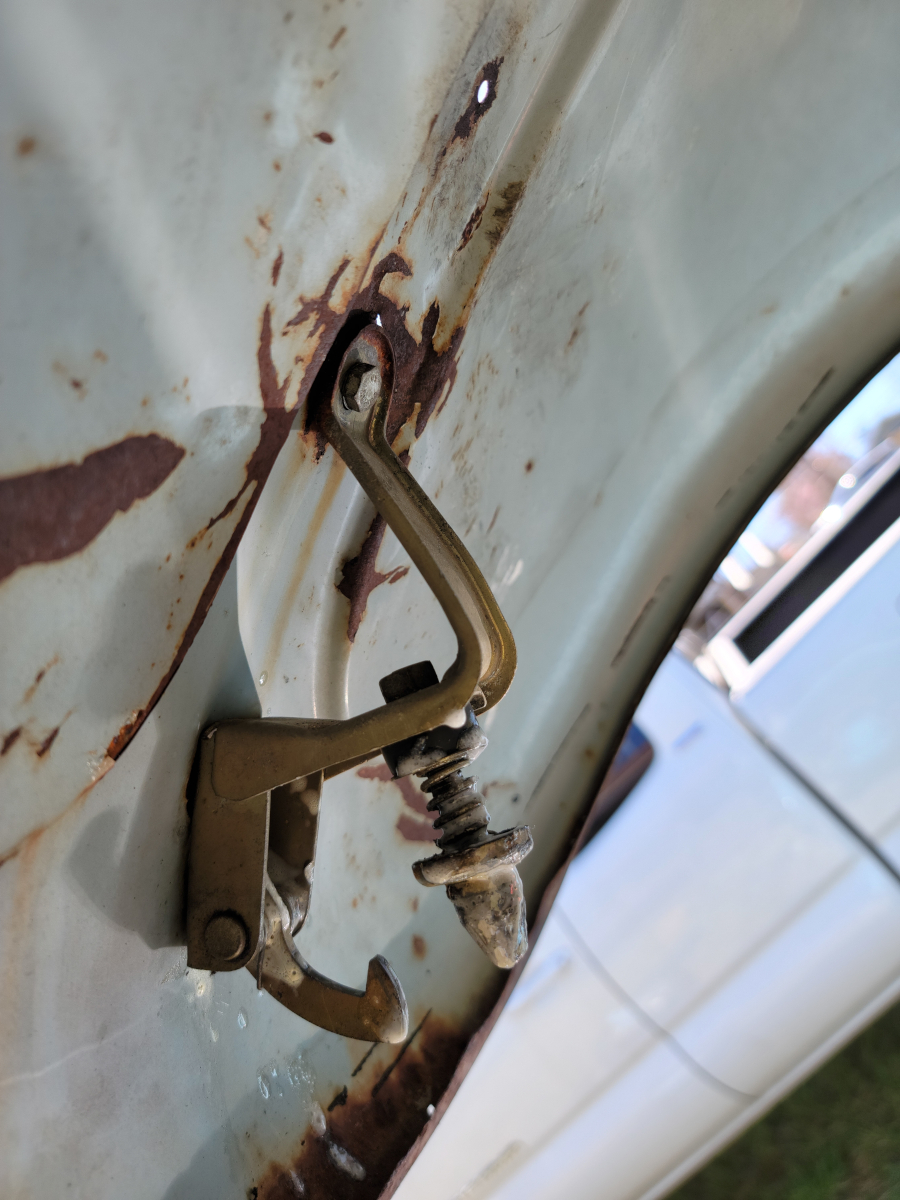
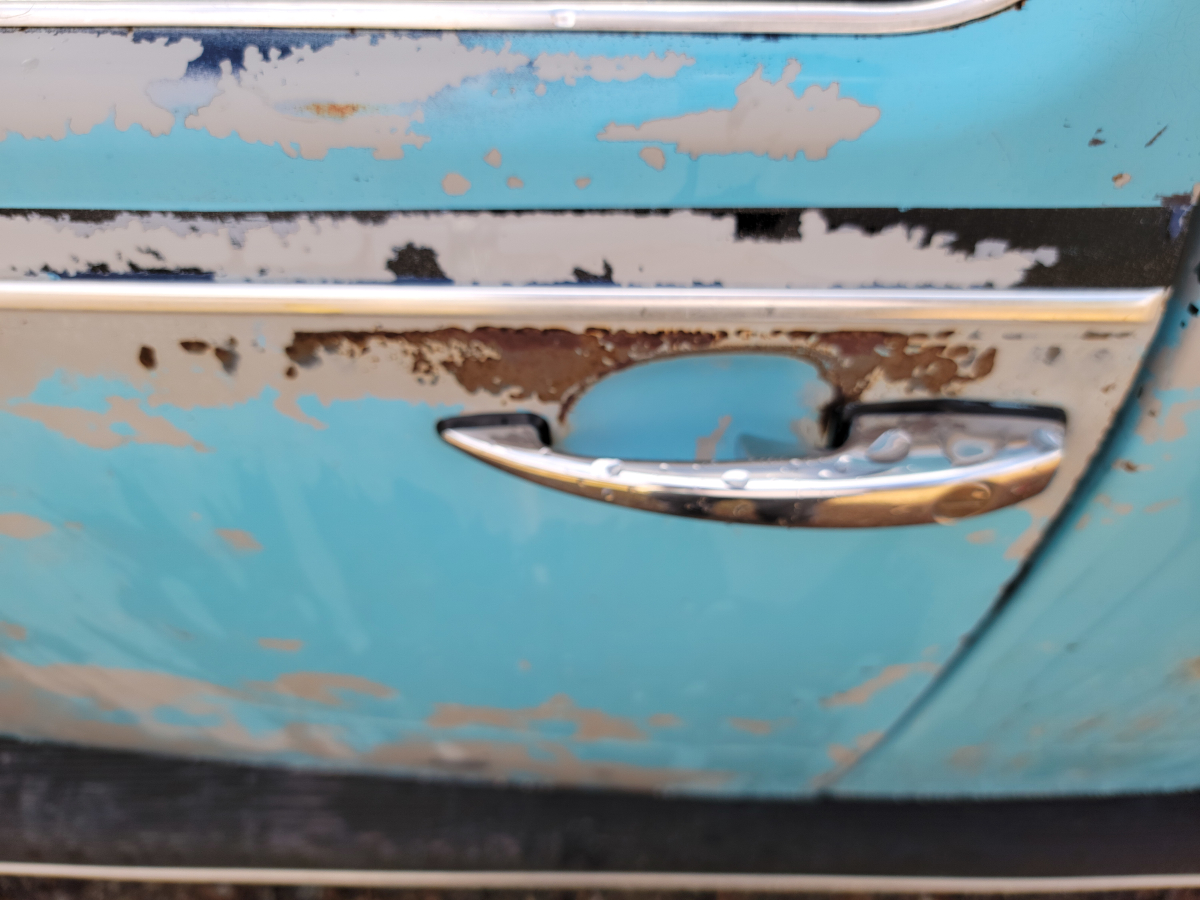
Removed the handle and sprayed some rust converter on both sides.

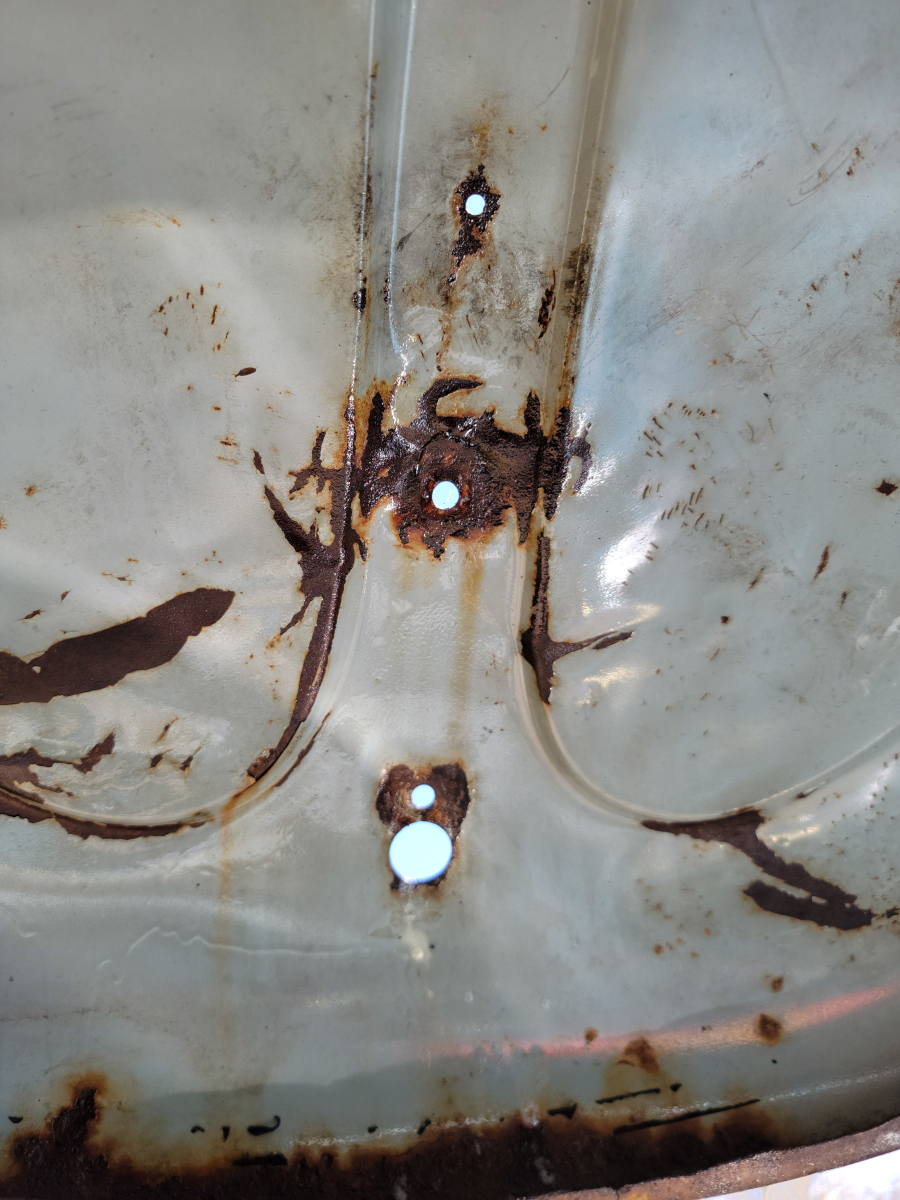
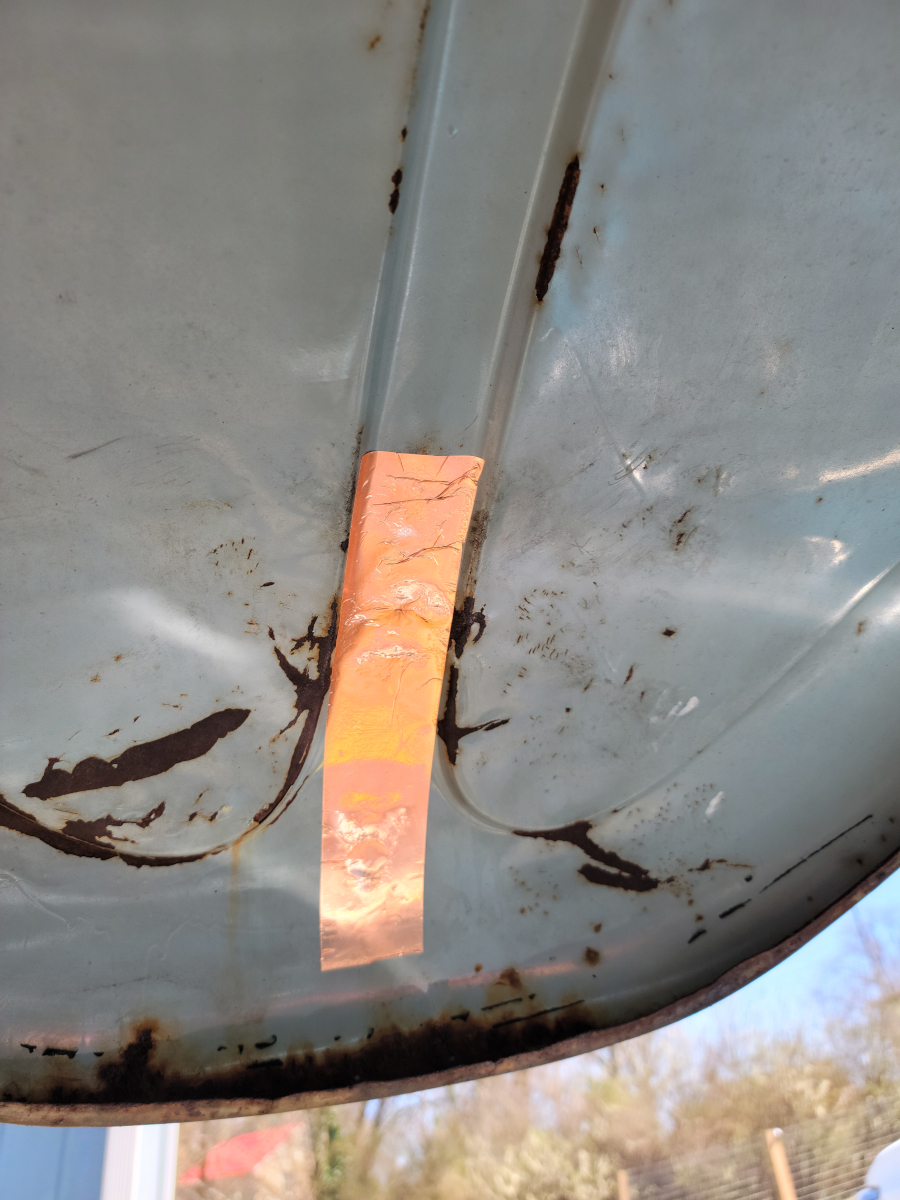
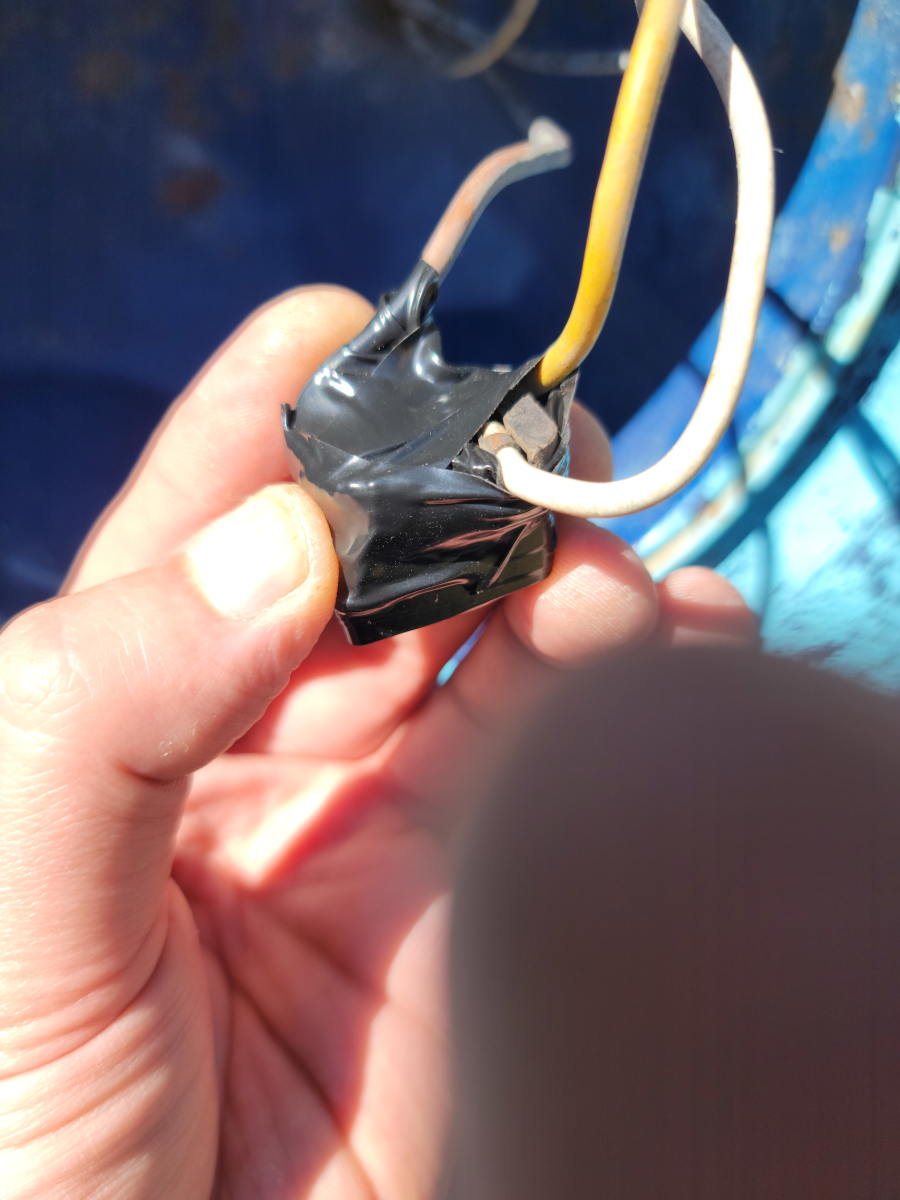
I replaced the hood handle seals (Amazon link) and put a strip of copper shielding tape I had laying around (Amazon link), left over from a couple of noisy guitars I was working on last year.

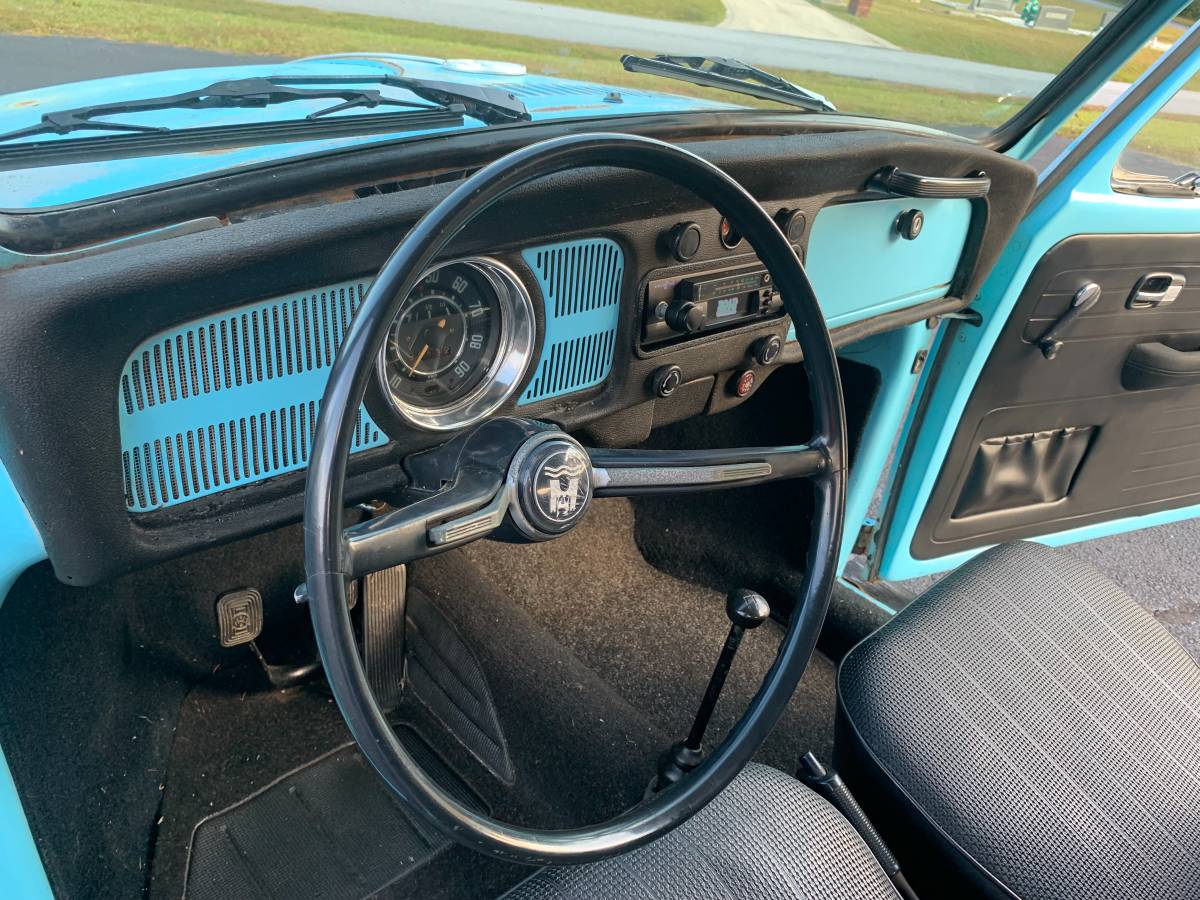
In doing some further archaeology, I found there is another vinyl seat cover underneath the black vinyl seat cover on the driver’s side.

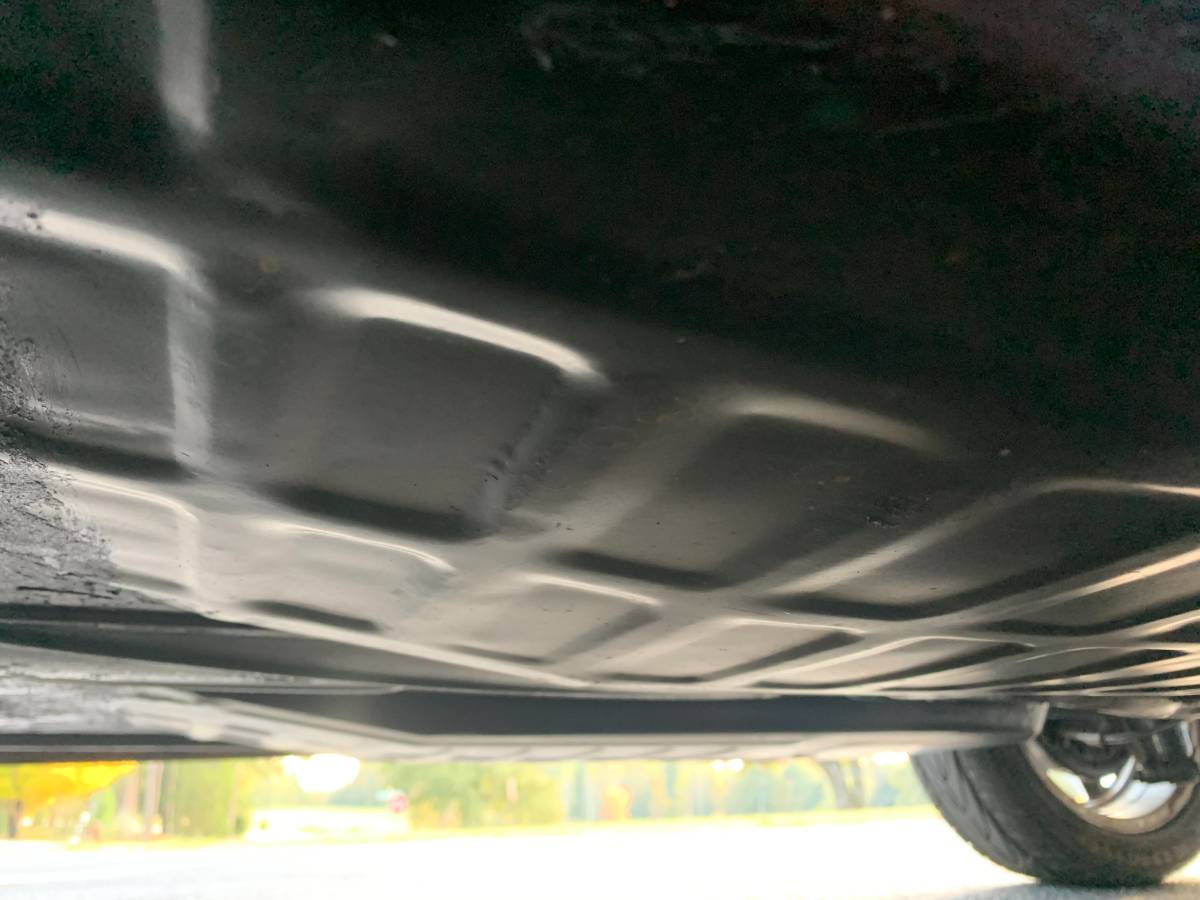
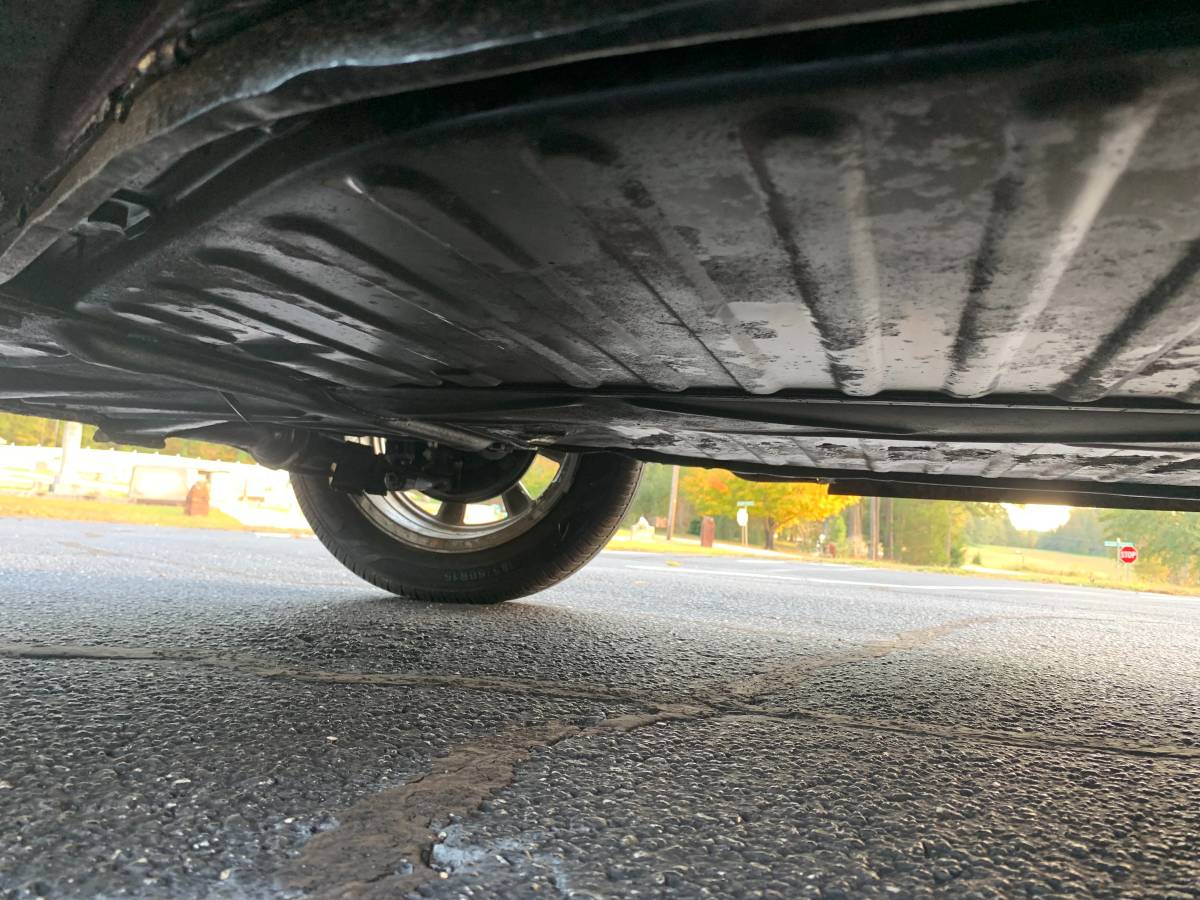
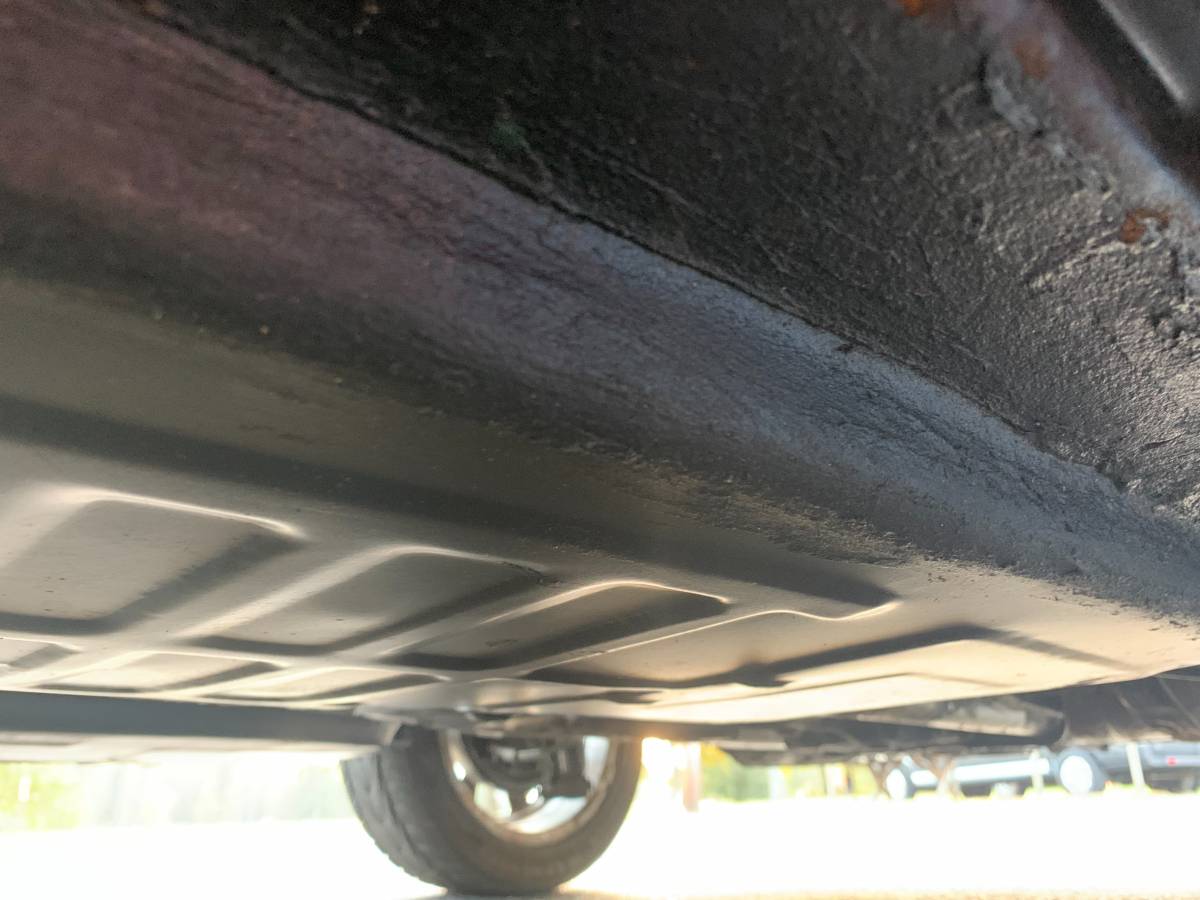
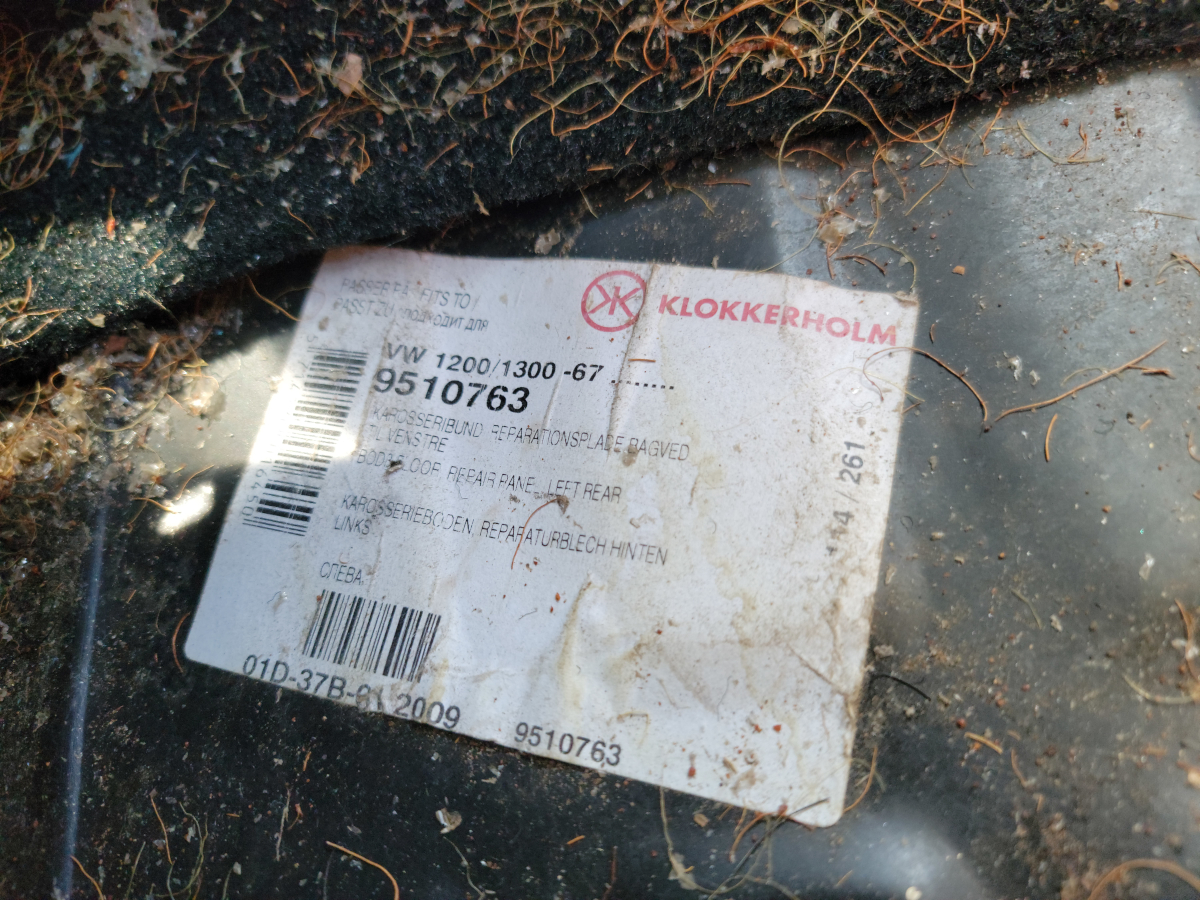
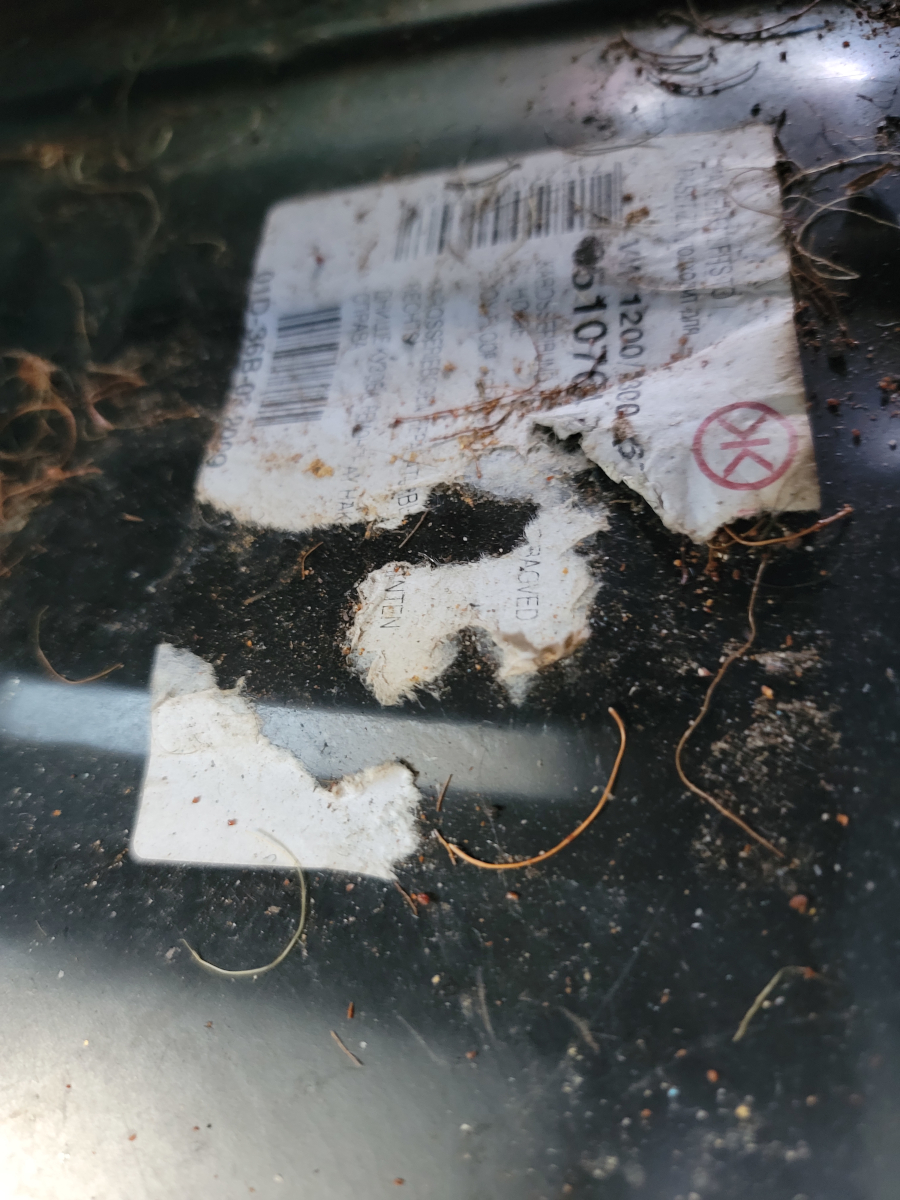
And just below that, I found the stickers on the new floor pans that were installed on both sides. It looks like 2009, but that may just be a part number or something.

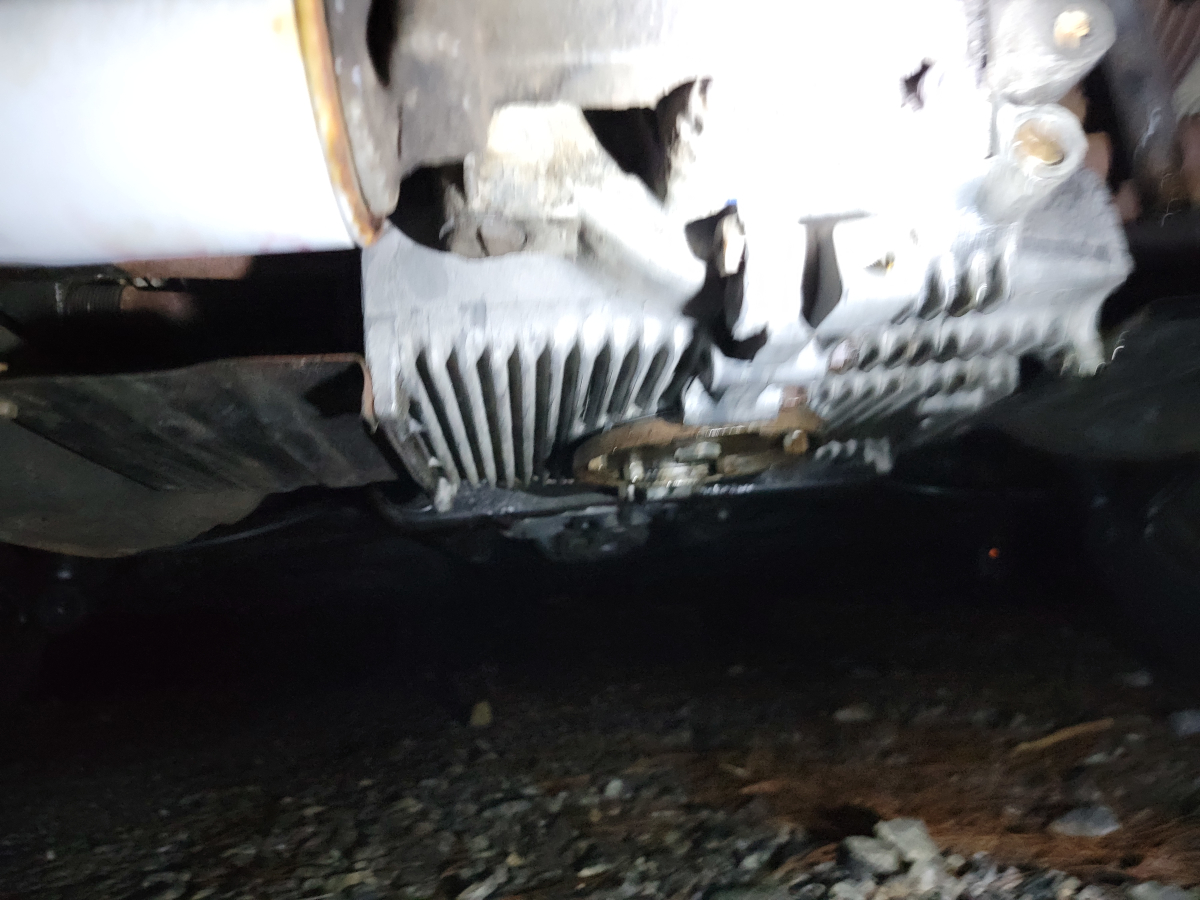
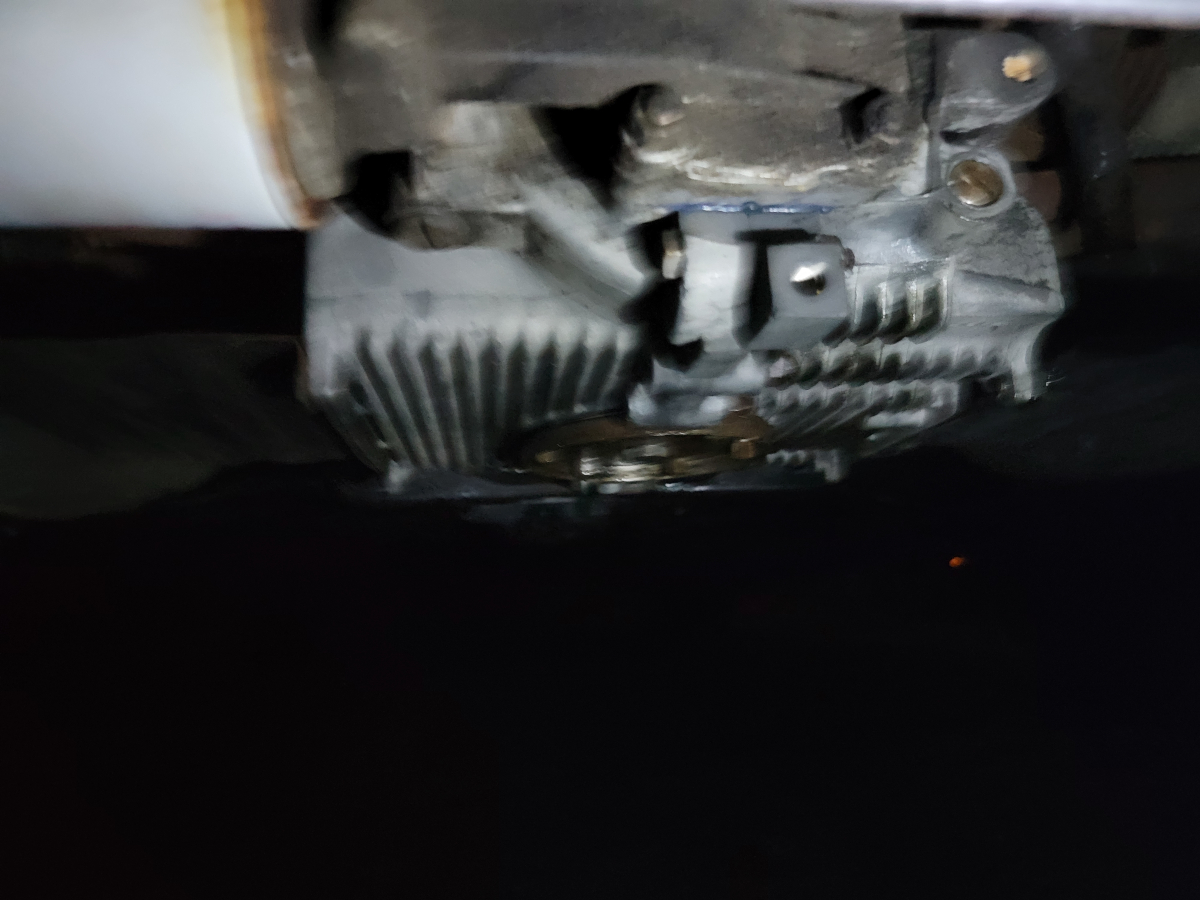
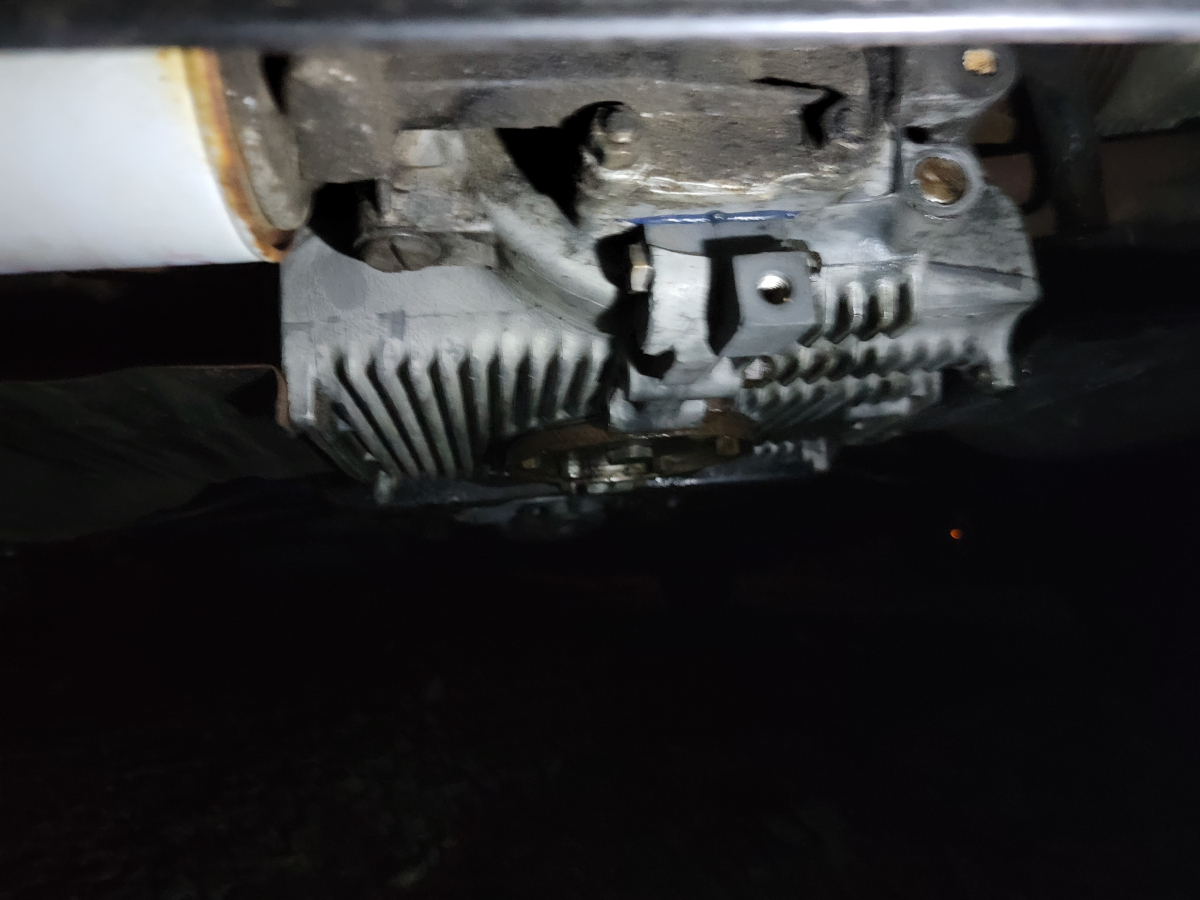
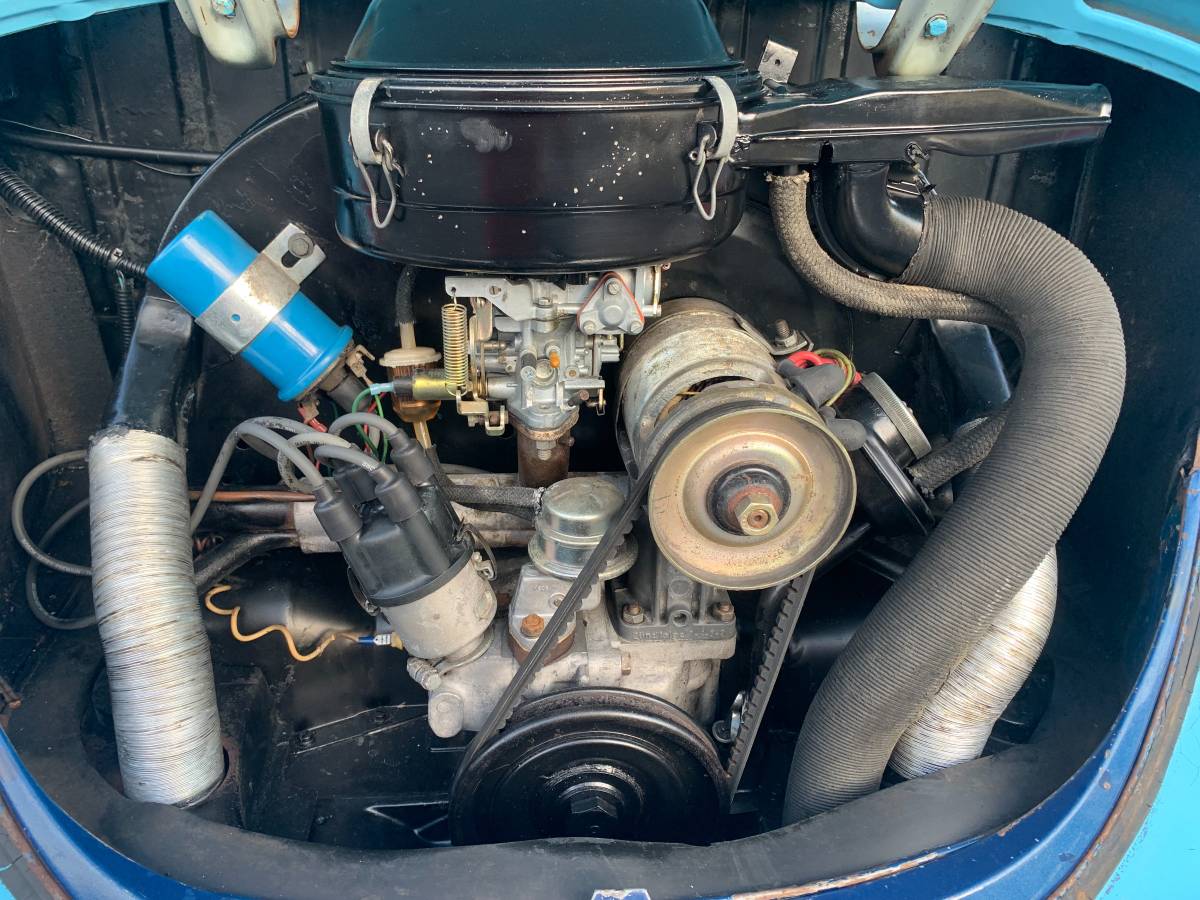
“I’ve never seen such good floor pans in an original car” he said. “I’ve never seen such an unmolested original car” he said. I’m happy it has new floor pans in it and a rebuilt engine, but that’s not the original engine, either, friendo.

These are good things, I suppose, more work has been done than I thought, but the “original” was what I thought I was paying up for. Oh well.

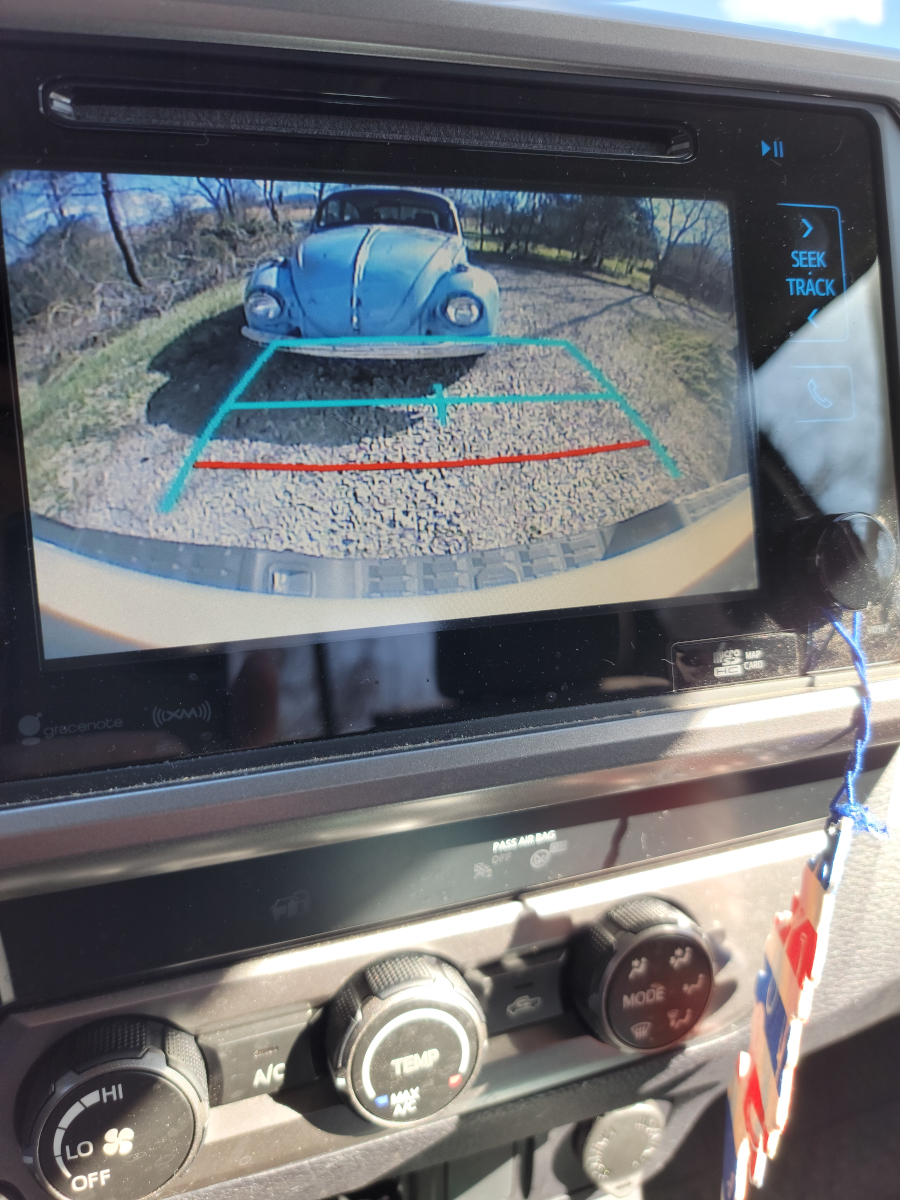
There appears to be a bug on my backup camera.

Saturday Updates

As I was poking around, I finally found an actual rust hole. If this is as bad as it gets, then the old girl is doing pretty OK.

This is at the top left corner above the engine bay, behind the air vent louvers. Not even sure how you would get up in there to fix it.

Next, the headlights were both aimed in crazy directions. Derp eyes for real. The screws to remove the chrome bezels to get back into the headlight buckets where the aiming screws are located was not going to be easy, on account of these rusted screws that wouldn’t turn with a screwdriver. Soaked them in PB Blaster for a couple of days.

Harbor Freight sells the best screwdriver for the job.

With the headlight bezels removed, I could finally get at the headlight aiming screws.

There were broken and missing screws, more rusty metal, and alas… The nylon blocks that the headlight aiming screws screw into are split and just spin without moving the headlight.

Well, at least I was able to find the right screws to replace the rusty chrome bezel screws. I took the better of the two that I had removed to Napa and they were able to identify the size and thread pattern for me, though they didn’t have any in stock. They are #10-32 machine screws. I bought some at a little Ace Hardware down the road that were 2 and 2 1/2 inches long. The ones that came out of it look like 2 1/4″ which they didn’t have in stock. The 2 inch ones worked fine.

I also made a trip to a little tire shop down the street from my house and got the new tire mounted on the Empi wheel. When I got home with it and tried to put it in the spare tire well, it had apparently shrunken back into the old smooshed position.

Metal memory.

So I got the scissor jack and scrap wood out again and made it fit.

Spare tire, well…

The car didn’t come with a spare tire, but did come with four “spare” rims and tires, the Empi wheels shown in the listing pictures. I had been carrying one of those wheels in the front trunk, but had to lay it down horizontally on top of the gas tank. The tires that were mounted on the Empi wheels were quite a bit wider than the stock size and it wouldn’t stand up in the spare tire well.

I ordered a new tire off of Ebay (Kenda Komet Plus Kr23 – 165/55r15) in the narrower stock size. That tire wouldn’t fit in there either.

Looks like she’s had a bit of a smoosh in the front.

Using a scissor jack (which also didn’t come with the car – Amazon link) and a couple of pieces of scrap wood, I was able to stretch it back into shape and got the tire down in there.

Steering wheel stuff

The steering wheel is in pretty good shape, considering the age, but there are some cracks that I couldn’t stop absentmindedly picking at while driving.

Shopped around online and found the old school lace up vinyl steering wheel cover (Amazon link). It was so cheap and chintzy that it tore while driving with it the first time. That’s the electrical tape at the bottom left.

It looks like the steering wheel and horn are from a 65-66 model. I originally thought the bottom ring of the horn was broken or sawed off, but not the case. Spent a few bucks to get a shiny new horn ring and button for the crusty old wheel.

I haven’t been able to make the horn work as good or reliably as it did originally. It’s either blaring non-stop or you have to hold your mouth just right to get one side or the other to actually make a toot.

An oil filter, you say?

Somehow, I owned this car for two weeks before I realized it had a screw on canister oil filter, which was not from the factory. I snapped some blurry pictures from a blind angle up under the rear of the car to try and find some more details.

It appears to be an Empi Full Flow Filter Oil Pump (Amazon link), though there are a variety of different brands in slightly different styles available. This one most closely resembles the Empi, from what I can see.

There is an old, rusted oil filter on there. Lots of rust around the edge of the canister. It has been on there a while. Hopefully, there were other oil changes done without changing the filter.

I’m pretty sure the oil sump cover with drain plug is an after market add-on as well. I haven’t found a definitive answer as to whether or not this car actually came with a drain plug or only the outside sump cover which is removed to drain the oil.

First wash

There are several layers of paint. The whole car was (poorly) painted light blue. Below that in certain areas like the fenders and rear end is a dark purplish blue. The gray that is peeking through everywhere is the factory paint, which is Zenith Blue, color code L639, hex code #9eafba, RGB 158-175-186, and CMYK 15-6-0-27 (thanks to cricketseed.com – The Great Big Sortable Table of Volkswagen Beetle Colors 1949-1979).

There are various levels of surface rust around. From what I was told, this was a Texas car and has the expected sunburn on the horizontal surfaces. The first wash was an exfoliating one, with CLR and a blue Scotch-Brite non-scratch scour pad from the grocery store. I was hoping this would remove loose rust and paint.

After all, loose paint is a quitter that I don’t want on my team.

The light blue paint was much thicker in some areas, like the rear deck lid. In other areas like the roof, it came off easily with the scour pad. The CLR water in the wash bucket was a matching light blue at the end of it all.

I used the blue non-scratch scour pads because I wasn’t sure how aggressive to be with it, but now in hindsight, I wish I had gone with the regular scratchy green pads to get more of that old mess off.

Speaker hutch

The car came with a tape deck and one four inch speaker in the dash to the left of the steering wheel.

I bought a couple of cheap Alpine 6x9s (Amazon link), traced and cut out a template for the space behind the rear seat in a flattened cardboard box, and then cut and screwed some plywood scraps together. Cut a couple of pieces of white metal gutter guard from Lowes to use as speaker grills and covered the whole deal in a saddle blanket.

I replaced the Sony cassette player in the dash with a cardboard blank…

Why Philco?

…and installed a cheap Boss head unit (Amazon link) in the glove box.

The car came with a single 4″ Kicker speaker mounted in the dash to the left of the steering wheel. I left that in place and connected front left and right speaker wires to it.

Speaker wires were run under the carpet to the luggage compartment behind the back seat, connecting the speaker hutch.

I was expecting them to rattle, but they don’t actually sound too bad.

Bringing her home

My sister rode with me to check out the car and follow me home in the truck. When we got there, the owner had mounted the stock steel wheels and hubcaps…

…but the Empi wheels and tires from the listing images were thrown in on the deal. I didn’t realize until later that although the tires looked like they had zero miles on them, they were dry rotted and had been sitting a long time. Two of them had 2008 manufacture dates.

We stopped for Chinese food on the way home. What a strange pair…

She got me home without any issues. 82 mile drive uphill just about all the way.

Tallulah Beetlebug

I haven’t ever named a car before and I don’t really refer to the car by that name. Usually, I just say “the beetlebug”.

I am supposedly a distant relative of Tallulah Bankhead, and the more I have learned about her and the more I learn about this car, it seems like a fitting name (and the more I like them both).

Photo by Carl Van Vechten – https://commons.wikimedia.org/w/index.php?curid=396983

Anyway, here are the pics that were in the Craigslist and Facebook listing I found.

On a side note, I would like to offer my endorsement of taking sale listing pictures in church parking lots. I have done that with the last few that I have sold!