After failing to vinyl wrap the old dash pad the first time, I ordered a new dash pad, which didn’t fit. So… Plan B was always to try wrapping the vinyl again. There’s lots of leftover glue on there.
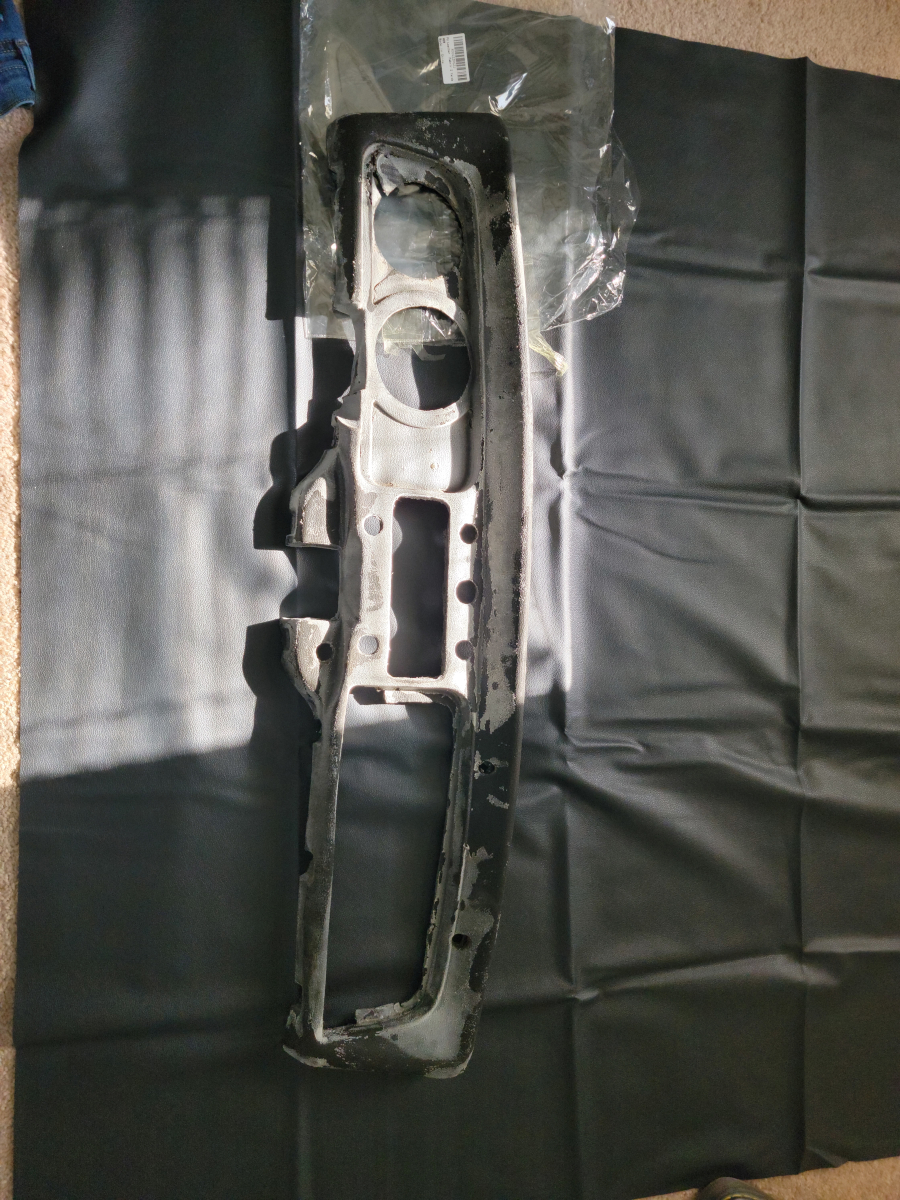
I ordered some new vinyl (Amazon link), which took a while to get here and is different than what I bought before.
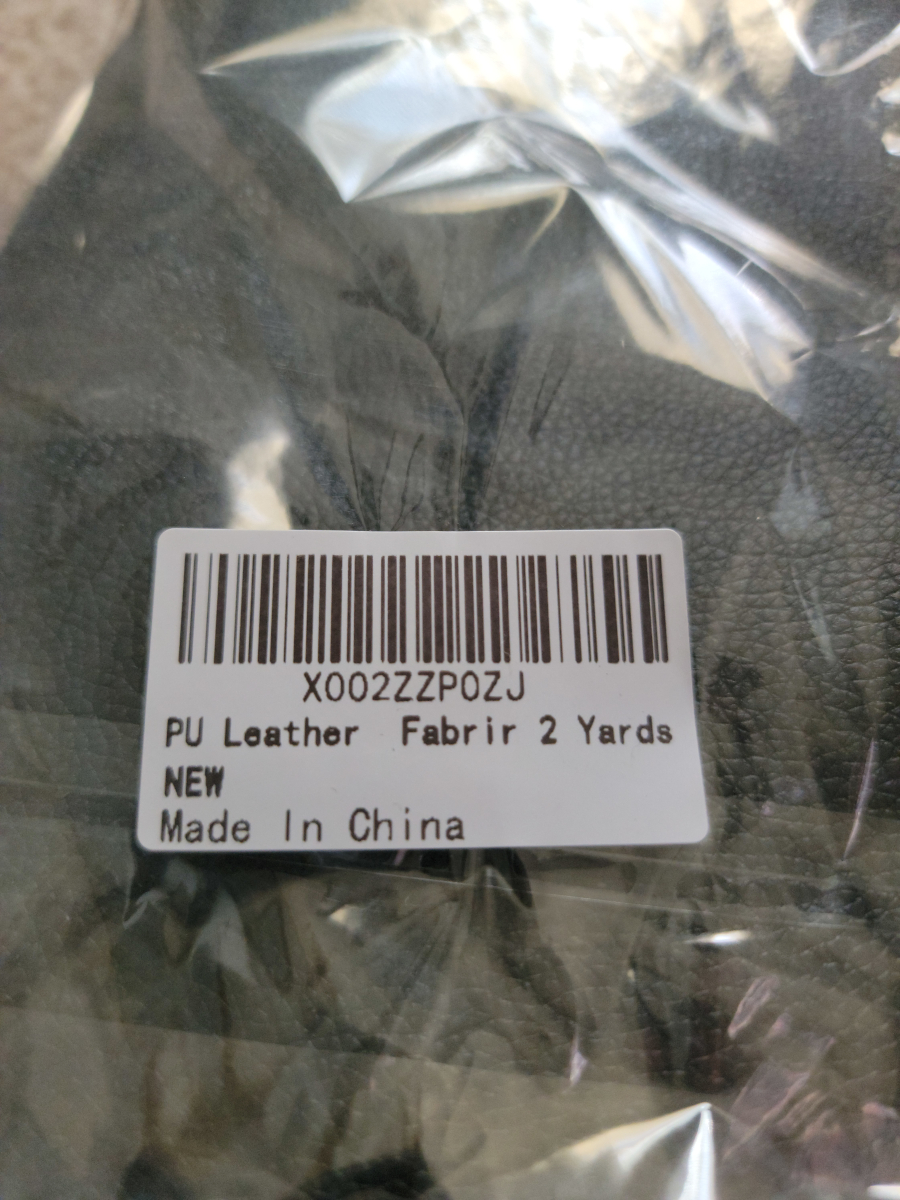
This is some very nice PU Leather Fabrir 2 Yards NEW.
It has a kind of fabric backing instead of the thick 3M adhesive that the previous vinyl (Amazon link) had.
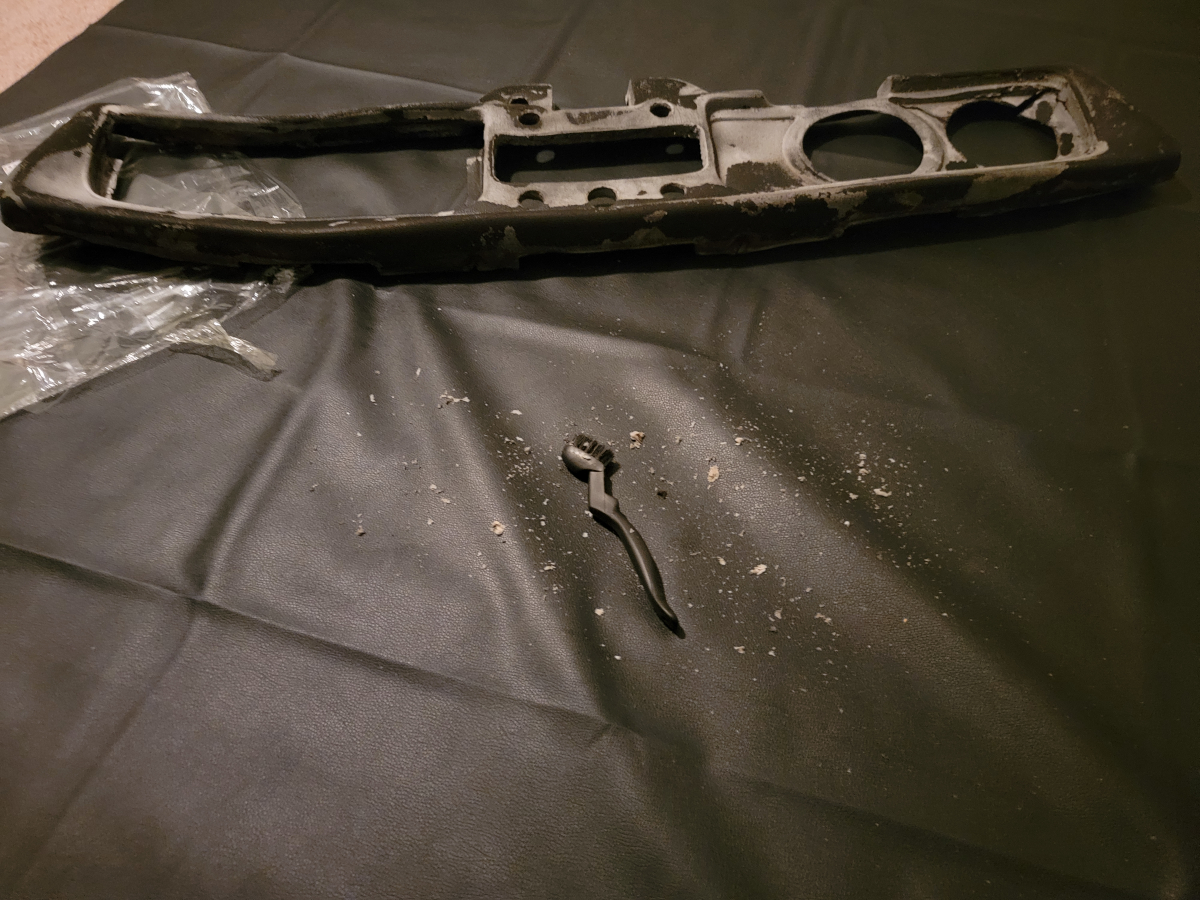
I found that rubbing the dried glue made some of it flake off around the edges. To give my thumbs a rest, I whipped out a little nylon brush that came in a Harbor Freight set (Harbor Freight link). It did a better job than my thumbs.
What I didn’t think of was that is still glue. It’s stuck all over the new vinyl. Luckily, there are 2 Yards NEW and I can just use the other end for today’s project.
Cut to size…
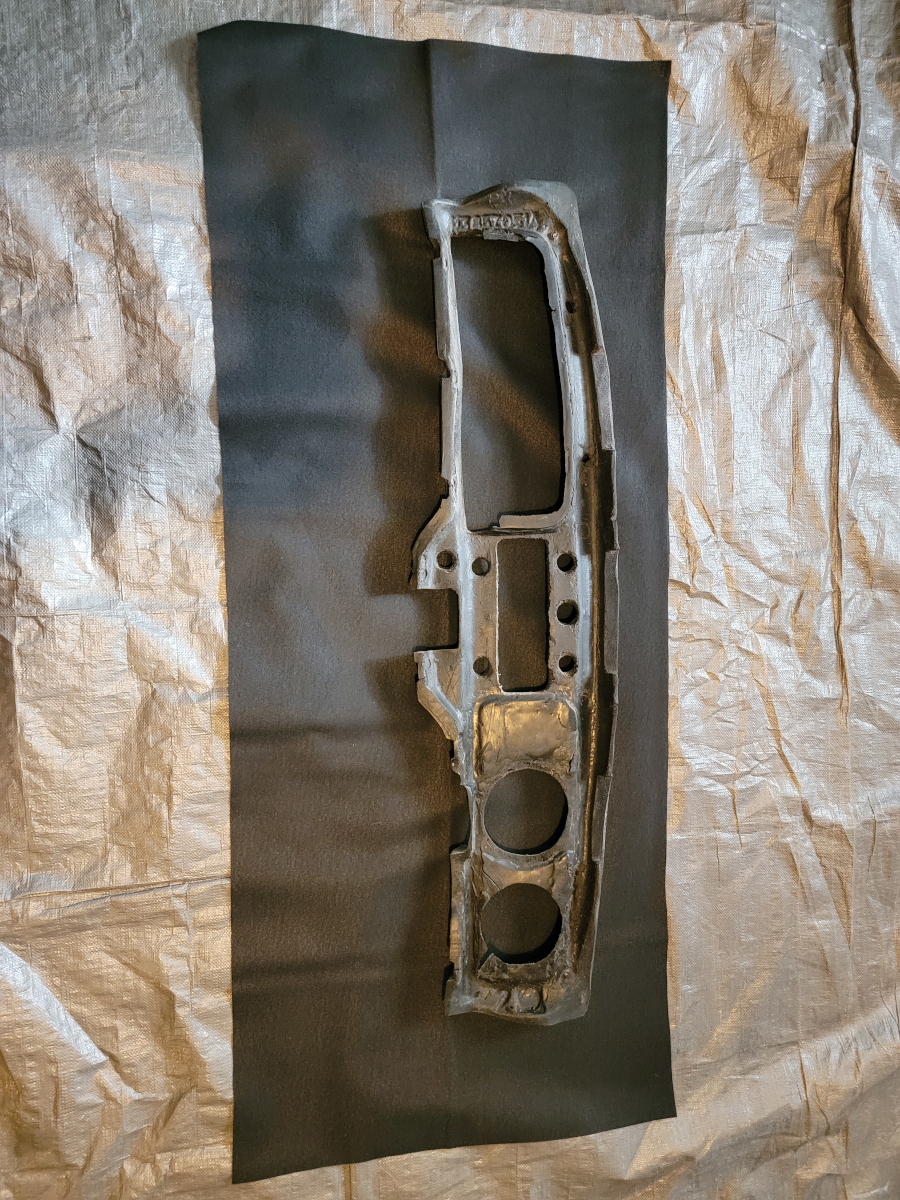
Now SPRAY GLUE ROUND ONE (NEW)!
I sprayed a stripe of 3M Super 77 (Amazon link) three or four inches wide on both the fabric and the dash pad.
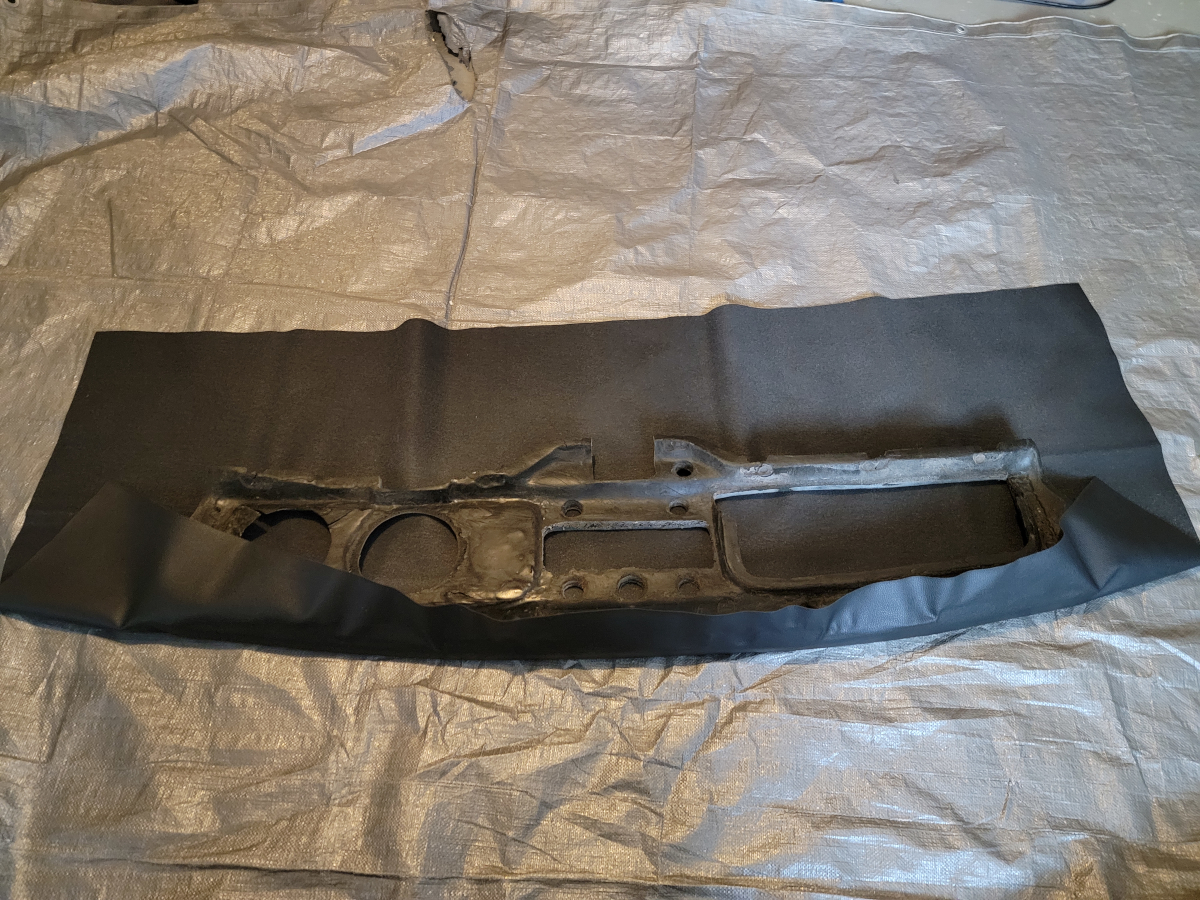
I waited for it to get tacky (you know how we do) and started smoothing the vinyl down all around the top edge. Try to leave no wrinkles.
Now SPRAY GLUE ROUND TWO (NEW)!
I flipped the dash pad over, so it was face down (you know how we do). I sprayed another few inches of glue to cover the face and underside, and then waited for it to get tacky.
Apparently, I didn’t learn from dash pad covering part one, because I stretched the vinyl over the whole face, not accounting for the low spots. The glue is drying rapidly and I have to stop to cut holes for the dash and gauge area. I guess I moved quickly enough, because I got it wrapped up pretty well.
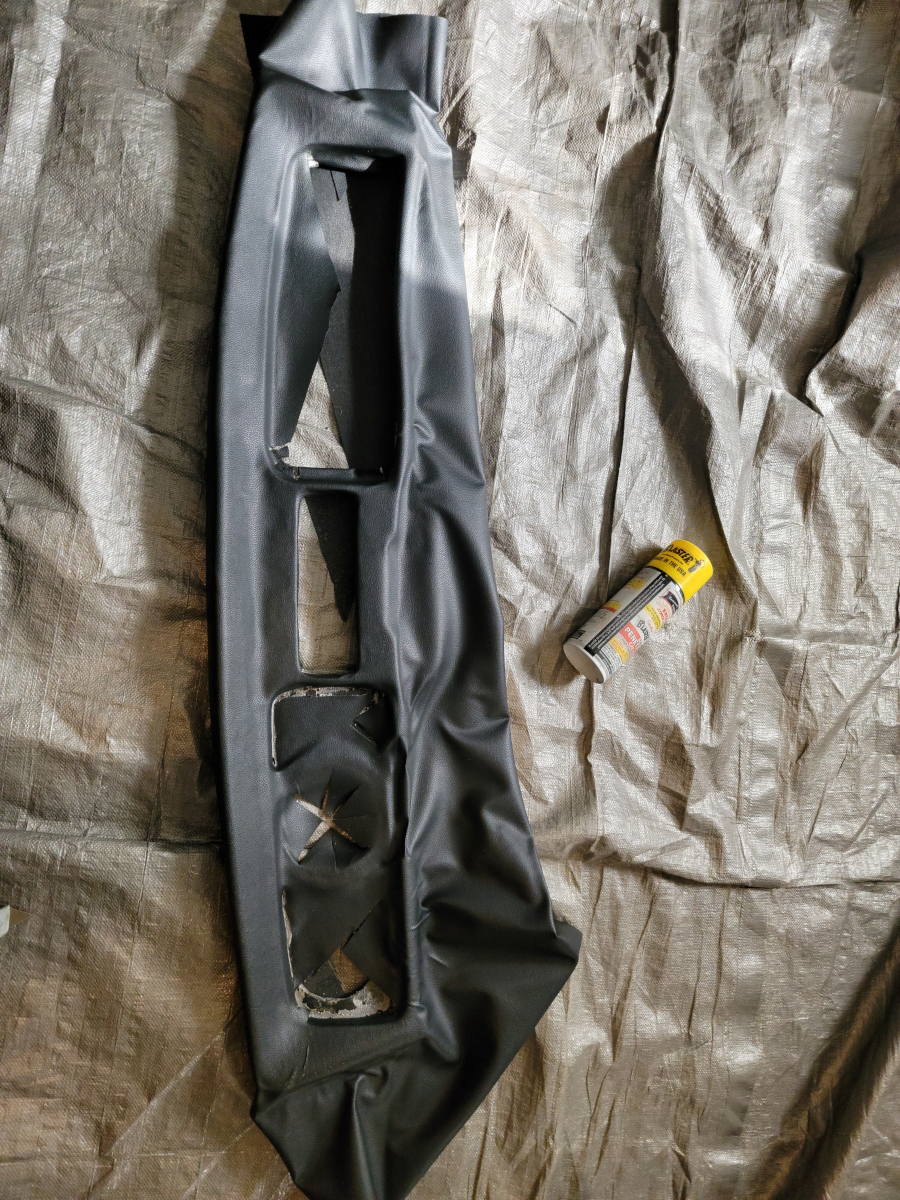
No PB Blaster was harmed in the wrapping of this dash pad. It was only there as a prop to stand the dash pad up while the glue was drying. There’s a teeny-tiny wrinkle here that I spent a lot of time working on.
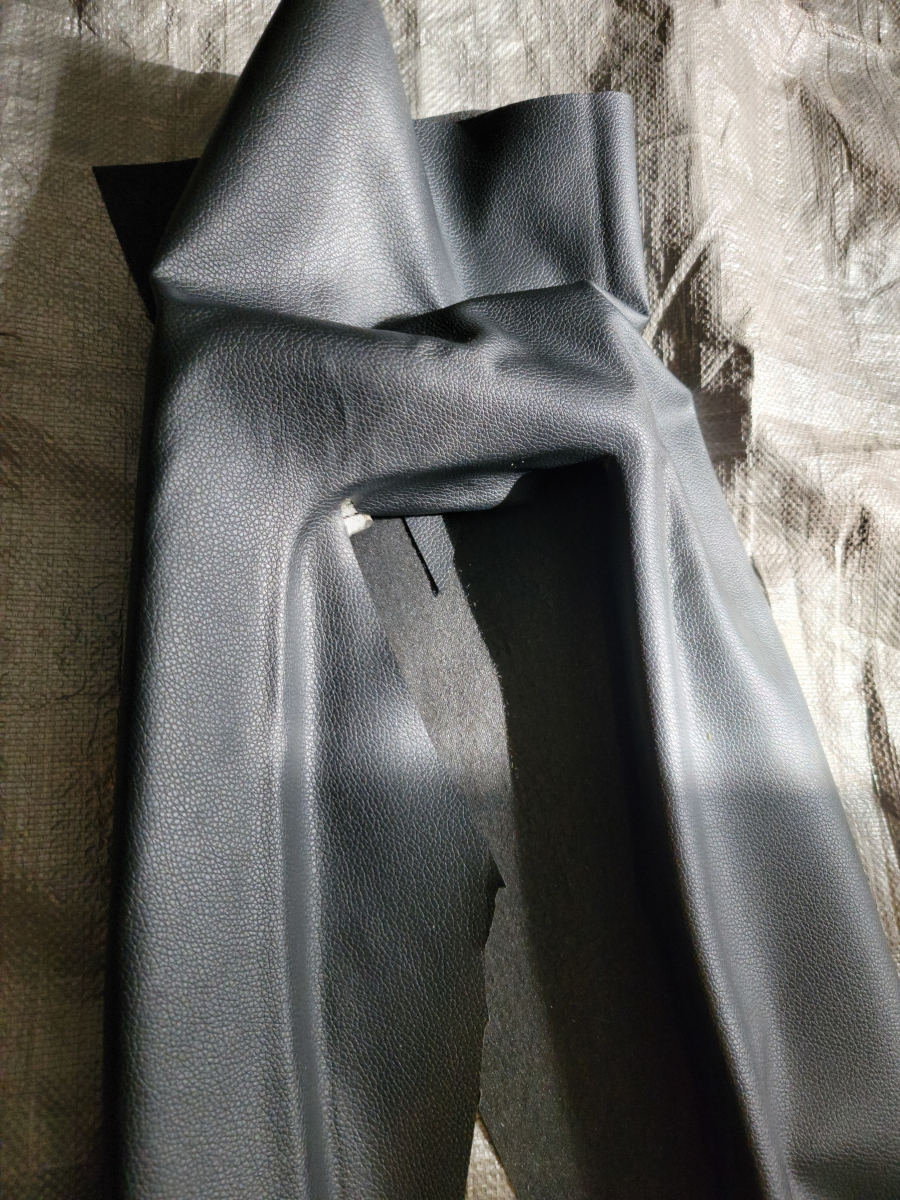
The radio area is not too bad.
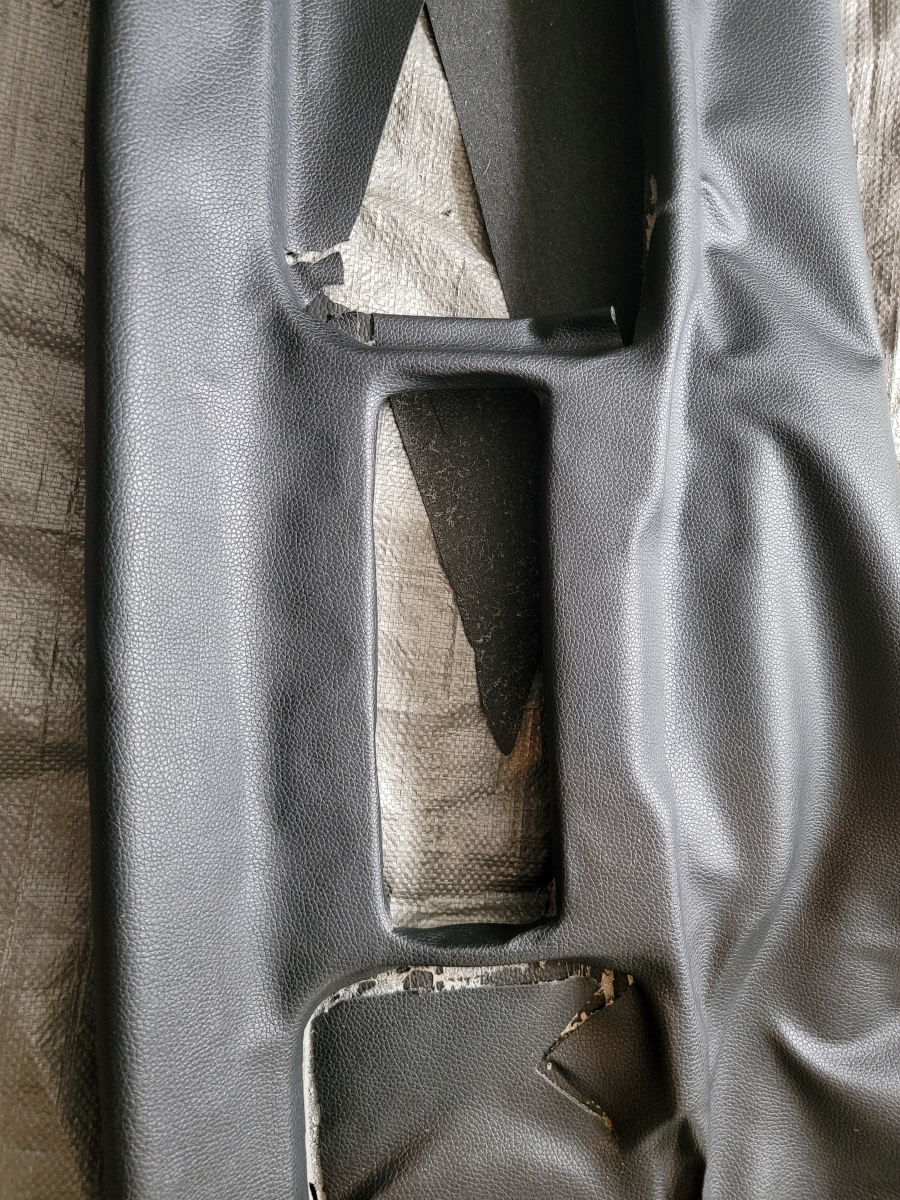
Now the first corner wrinkle doesn’t look so bad.
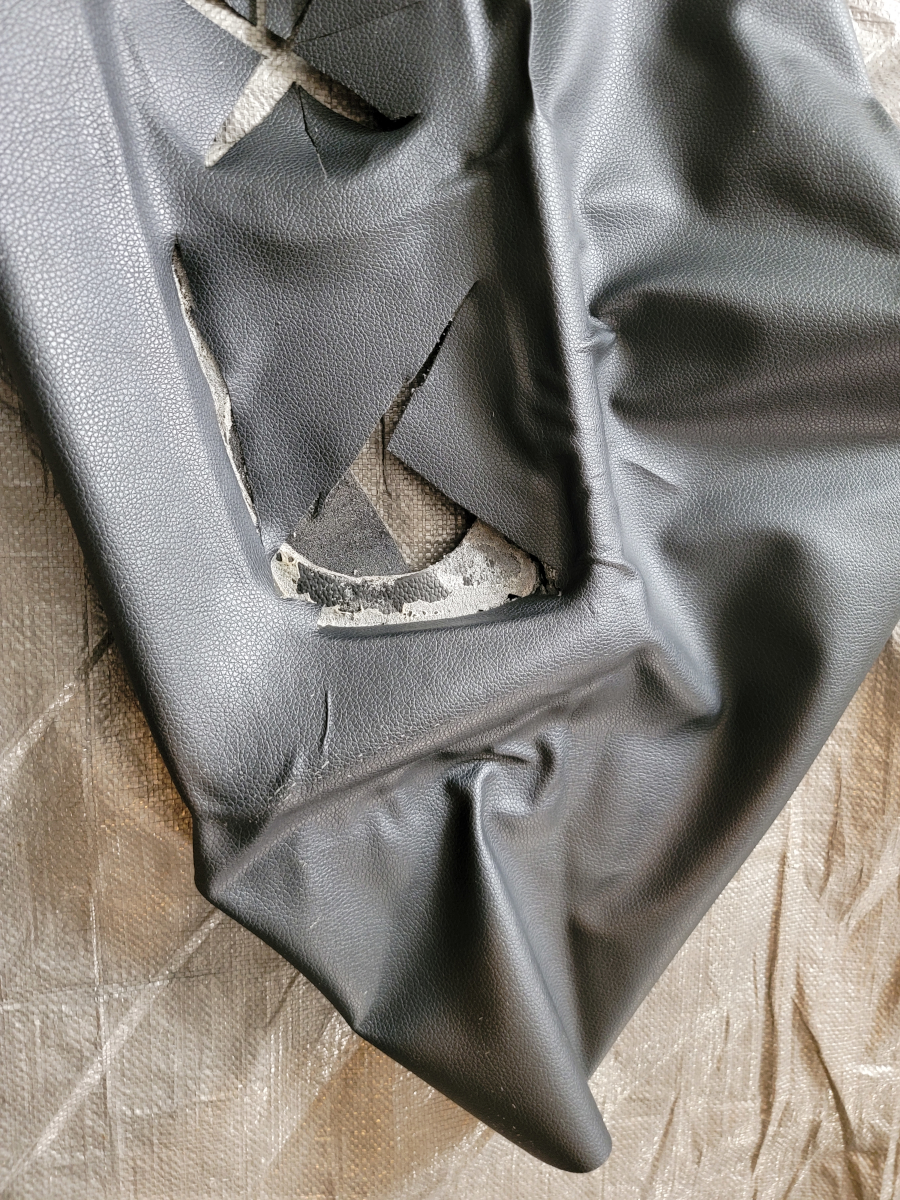
Overall, not too bad.
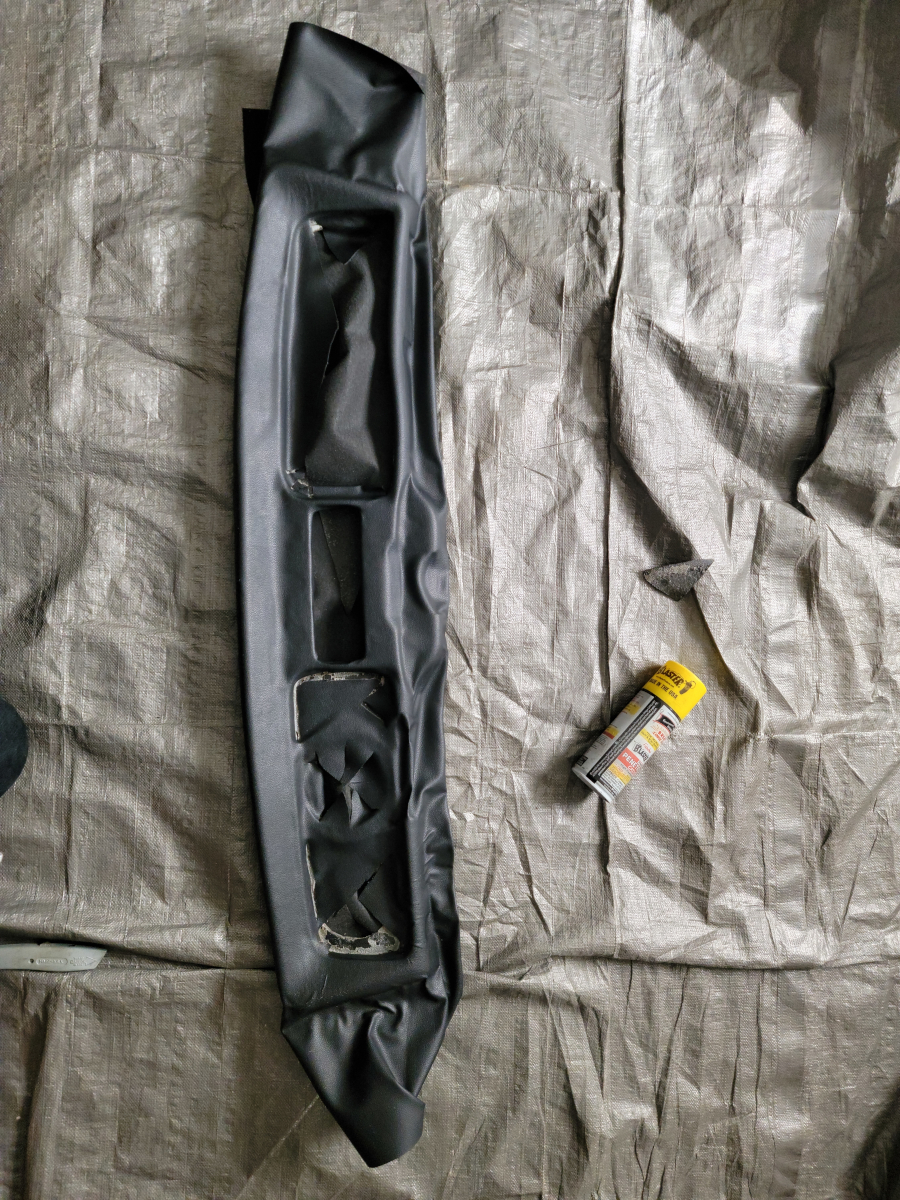
Now it’s time to start digging into that detail work. Cutting in the edges, another shot of glue – this time the Gorilla Clear Grip (Amazon link).
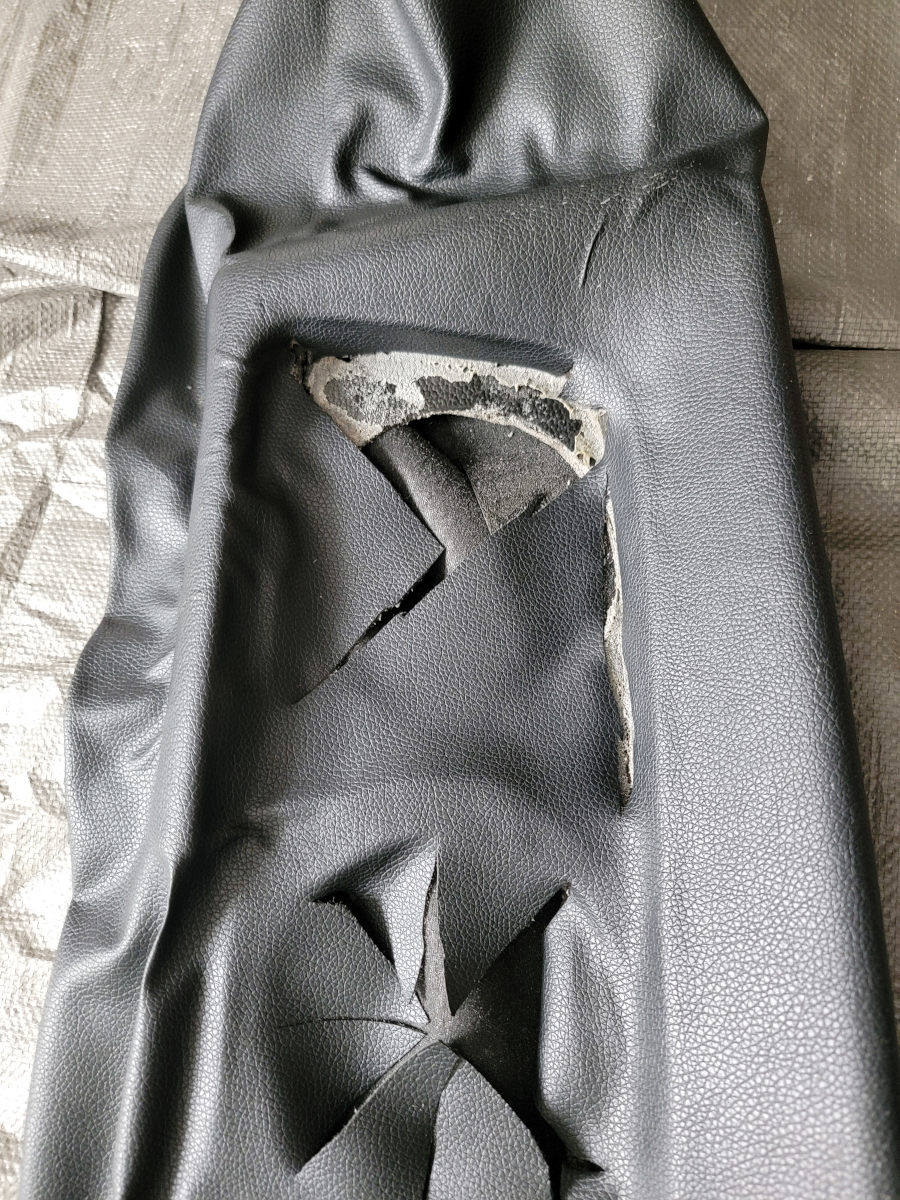
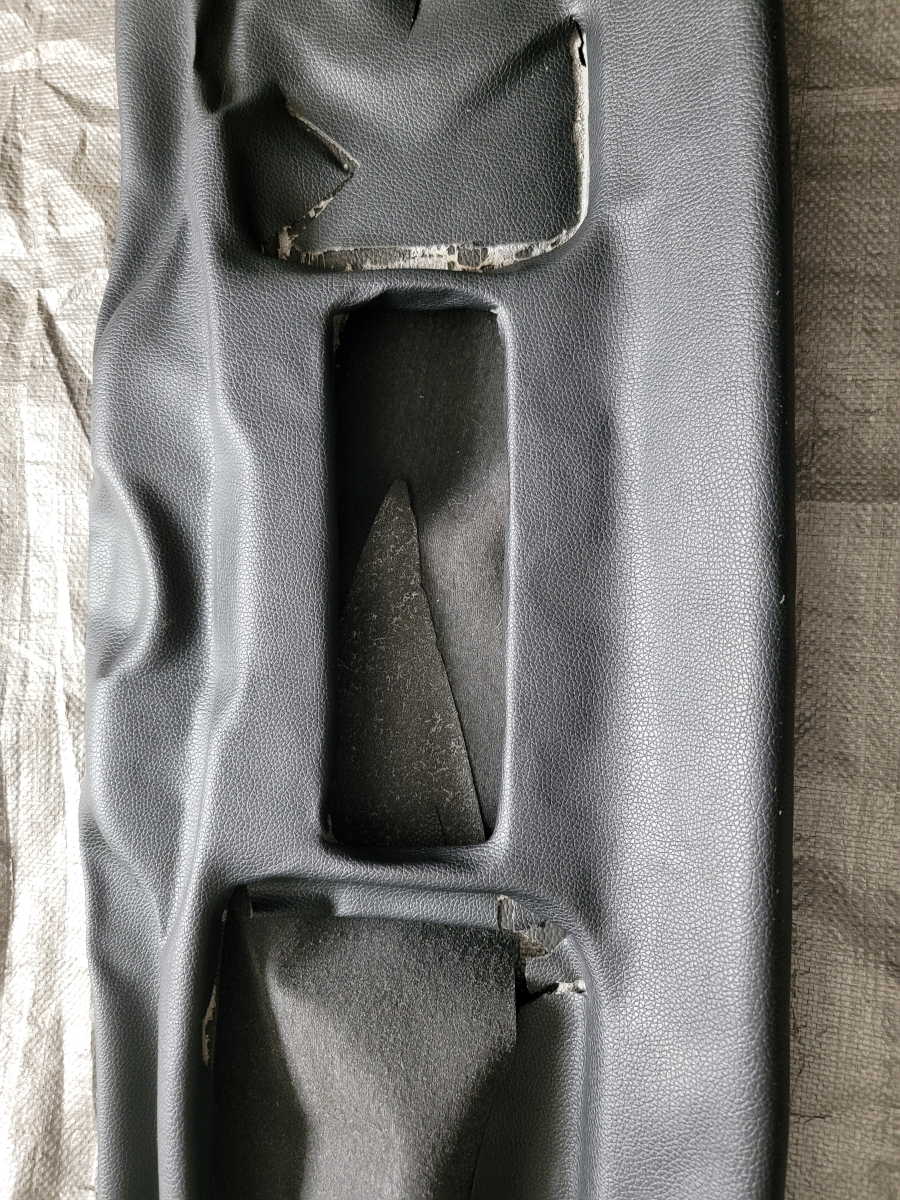
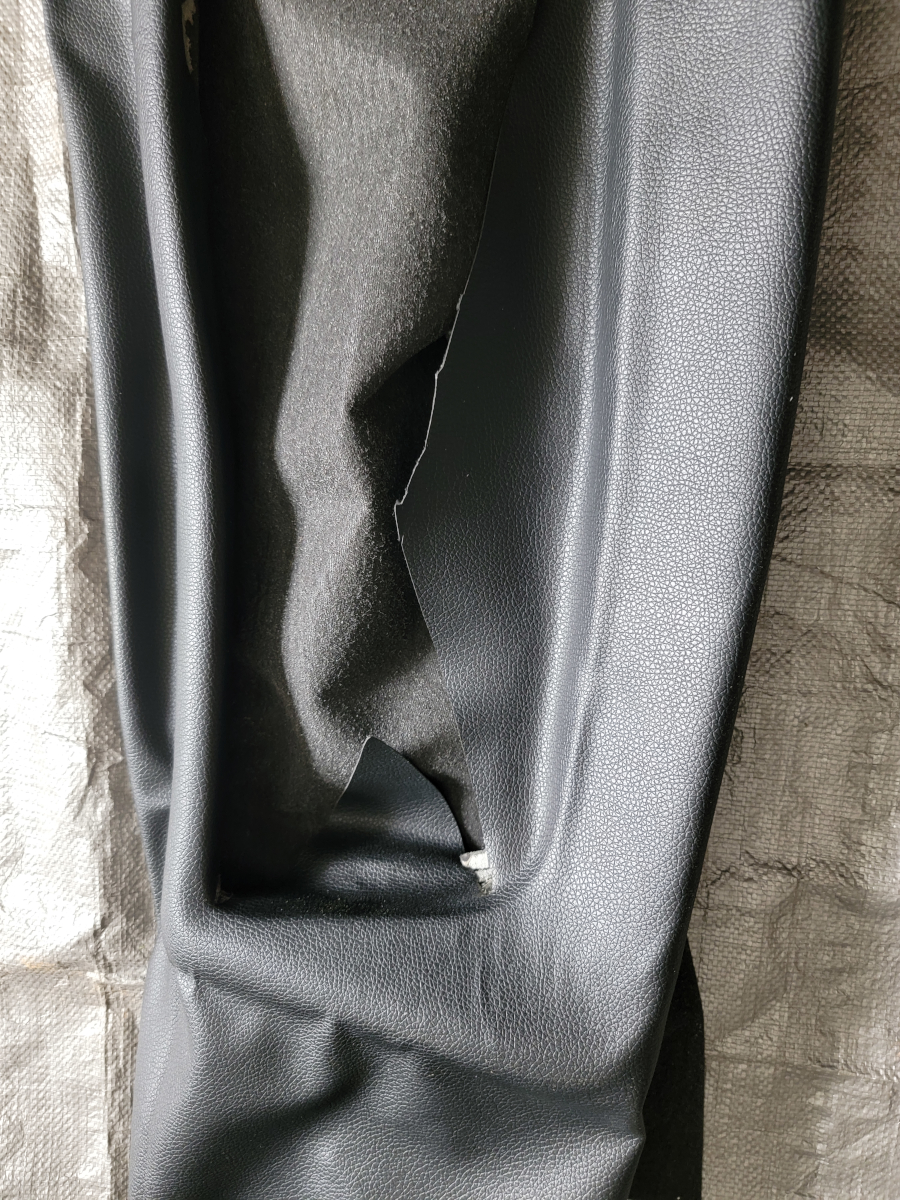
Loads of wrinkles around the outside edges now.
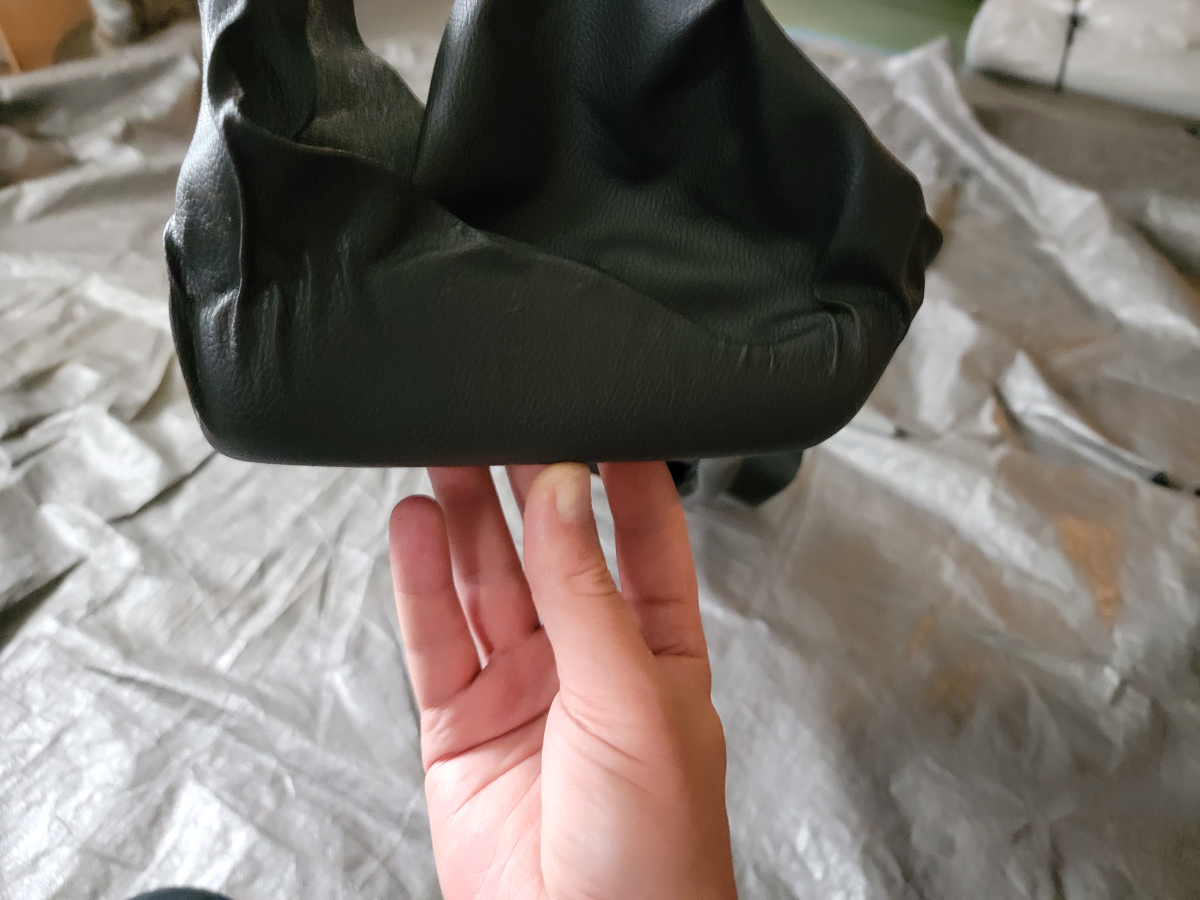
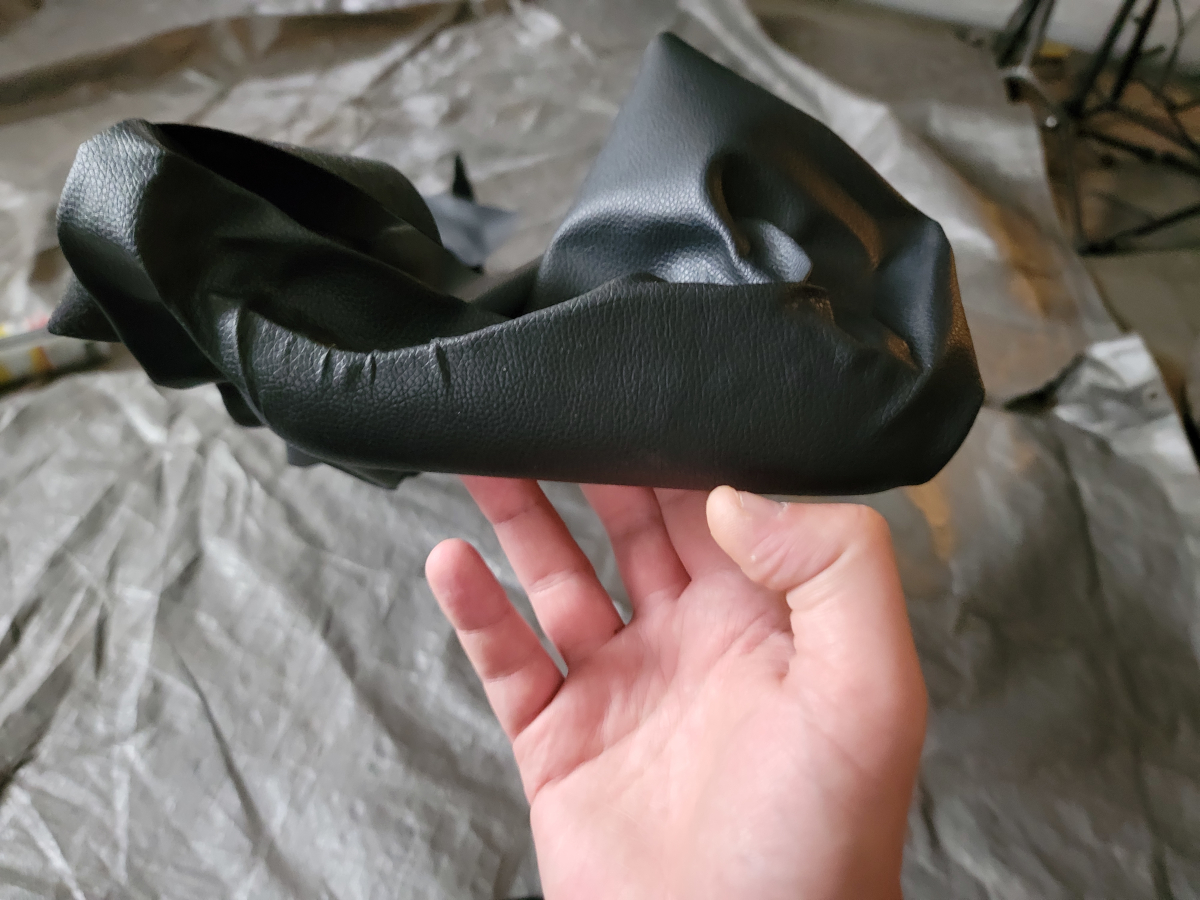
I need to trim all of the excess to give myself some room to work in there.
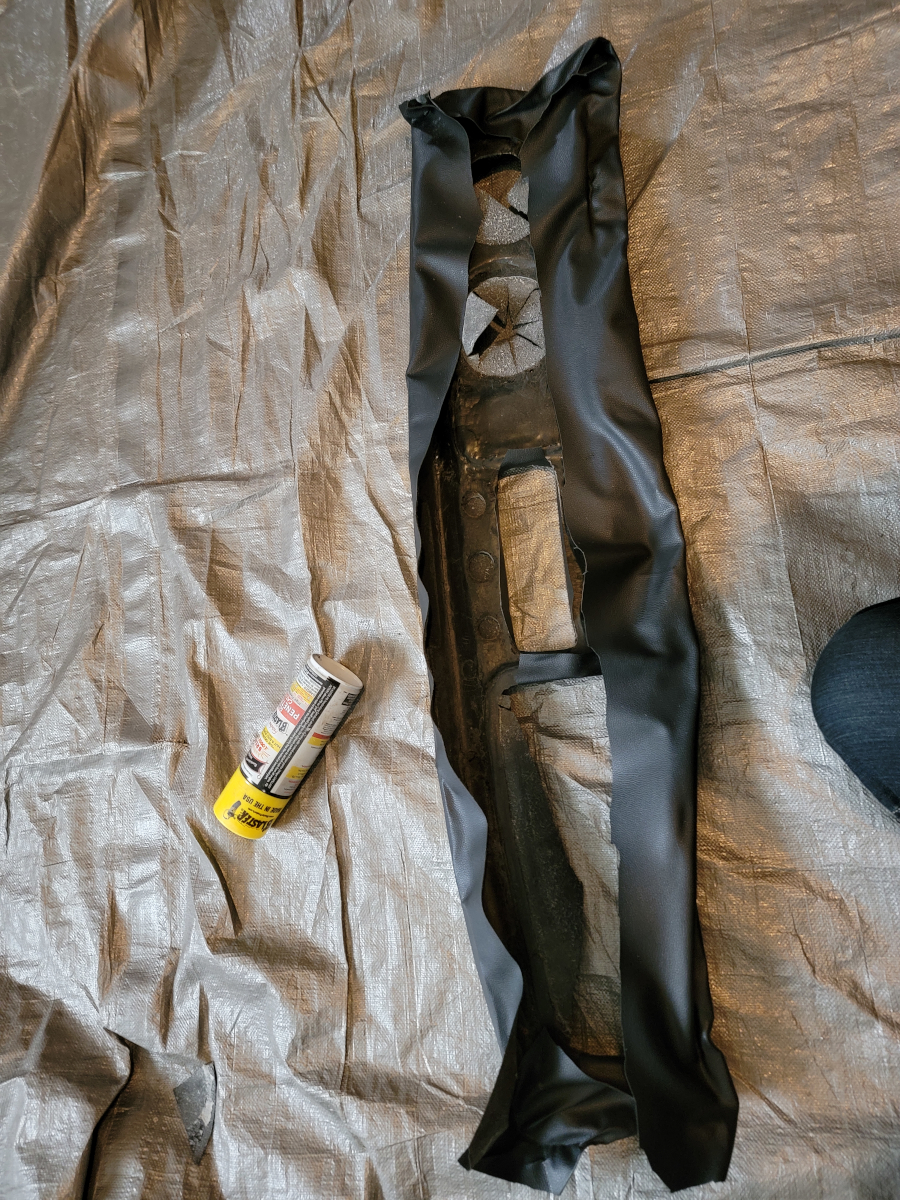
Binder clips around one of the side vent openings.
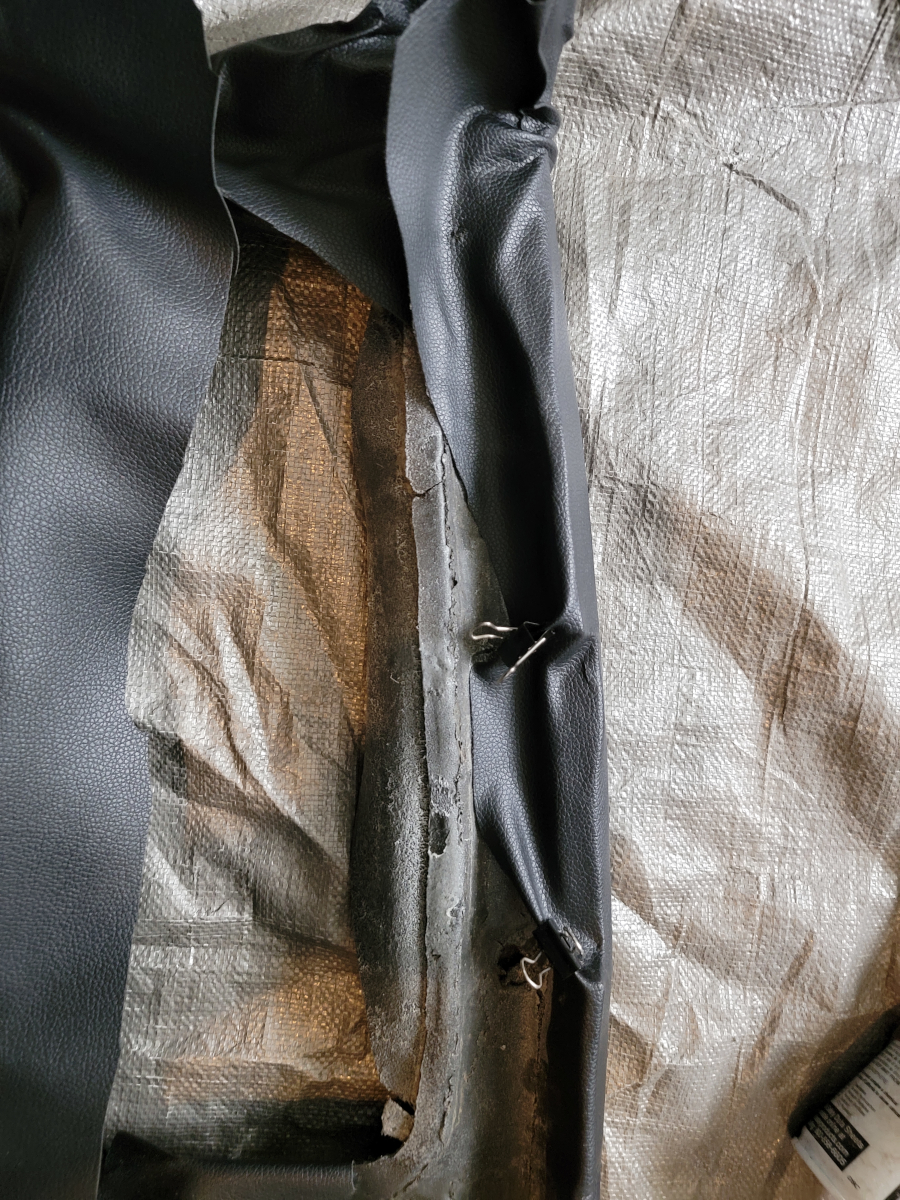
There’s a wide-open corner here, from all of the excess vinyl that was wrapped up in there.
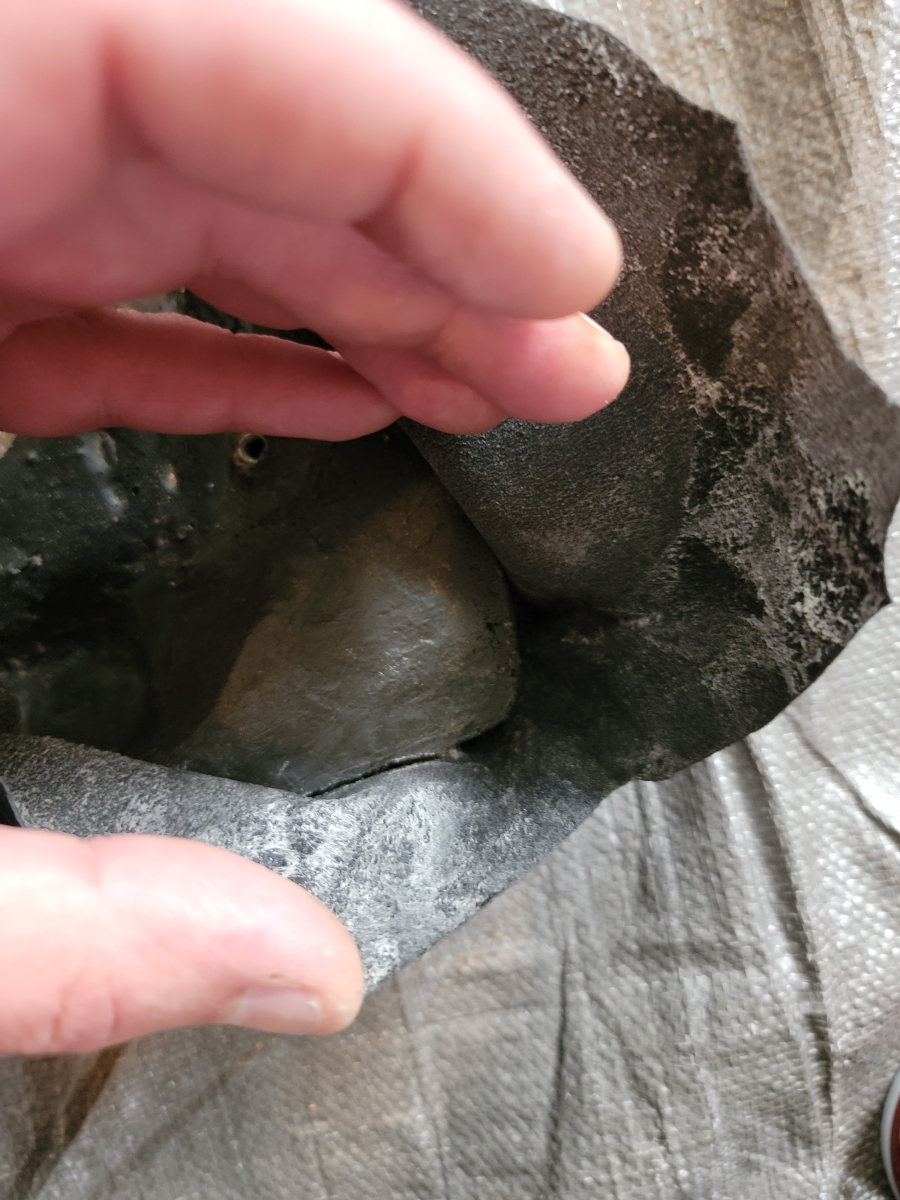
Loaded all the edges up with glue and folded them in.
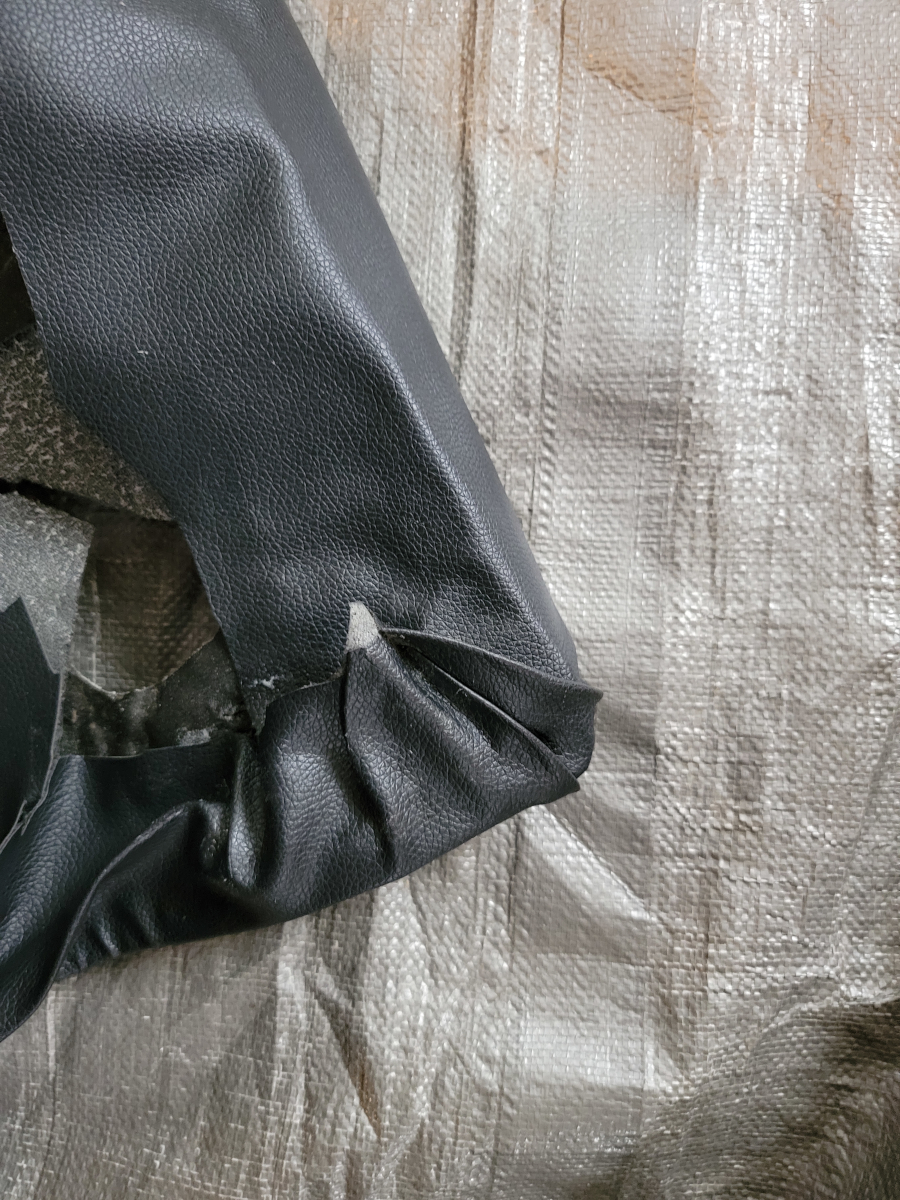
Binder clips are great for these vent openings.
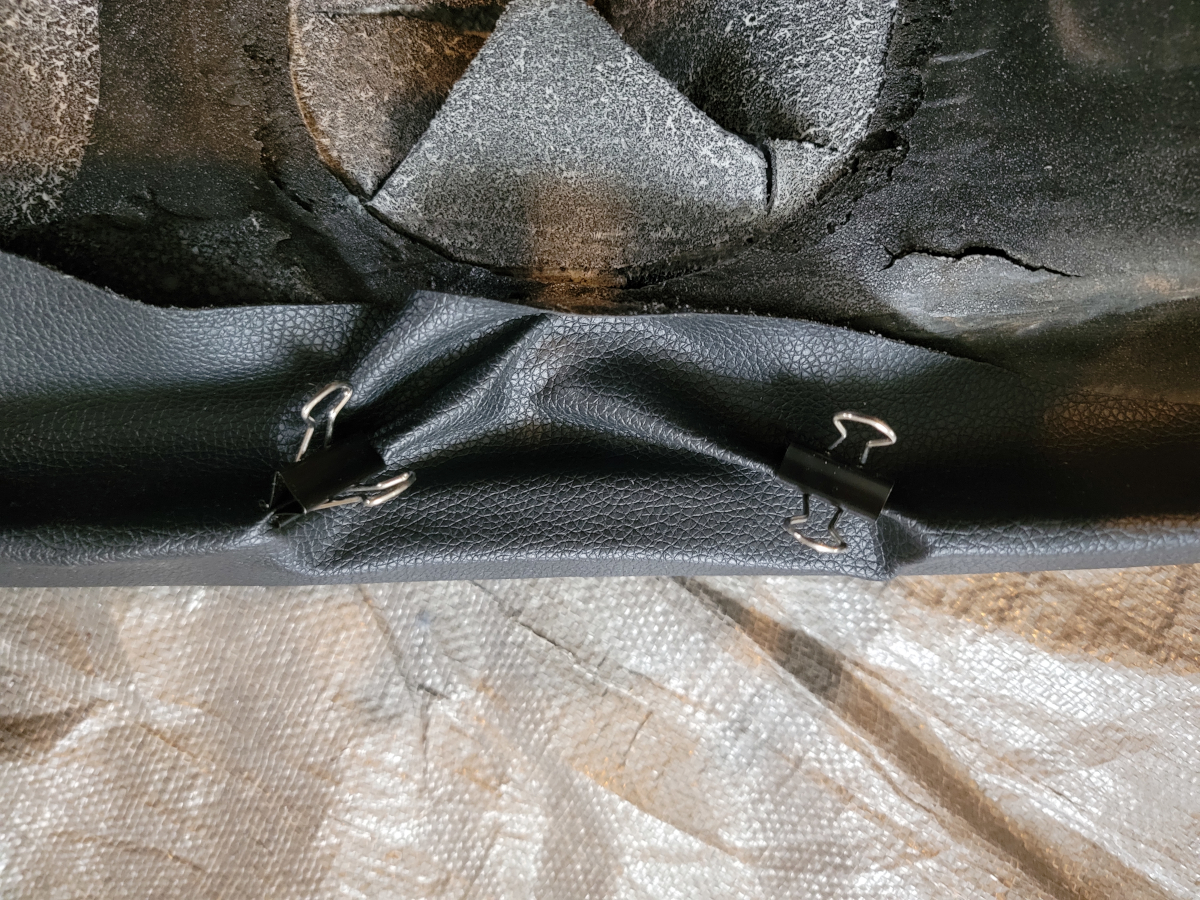
And all the flat tabs where there are screw holes.
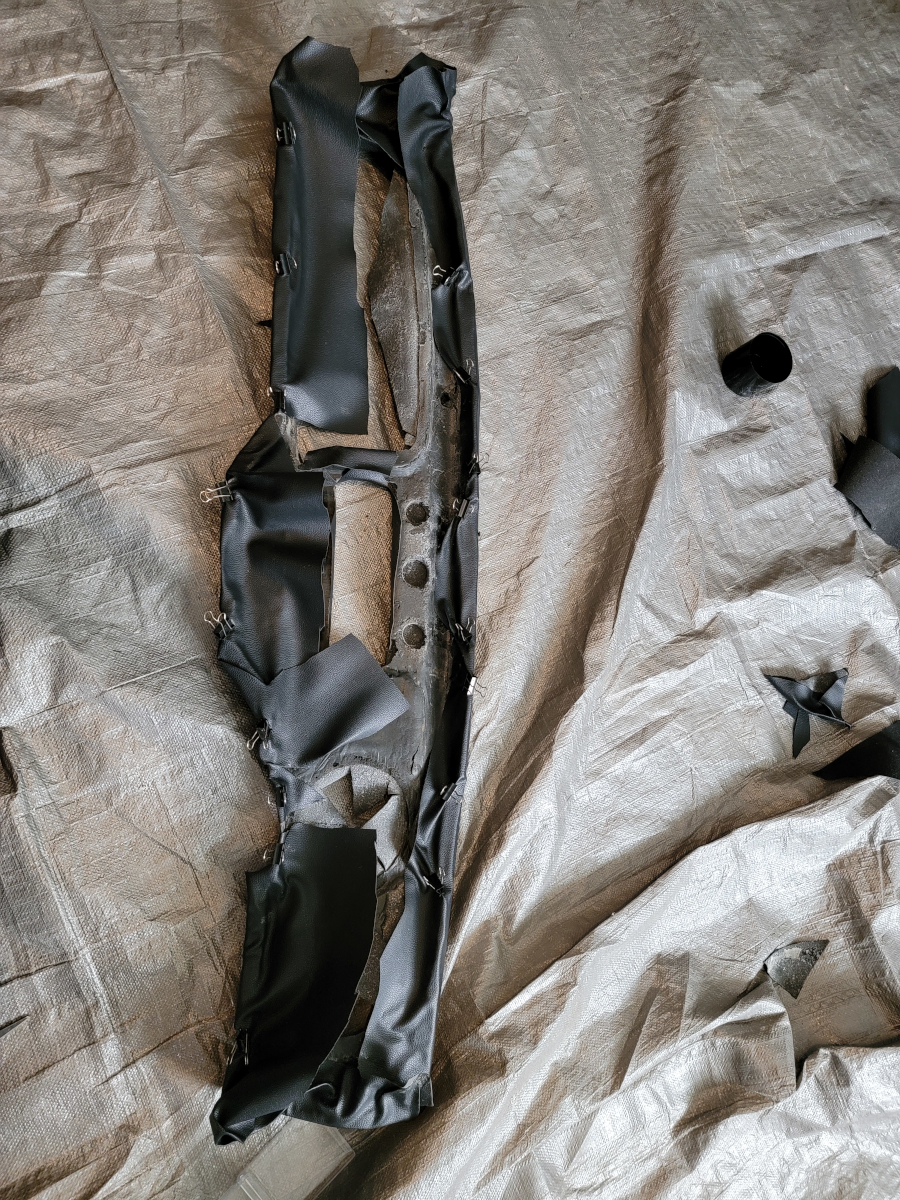
I have soooo many binder clips. I love them.
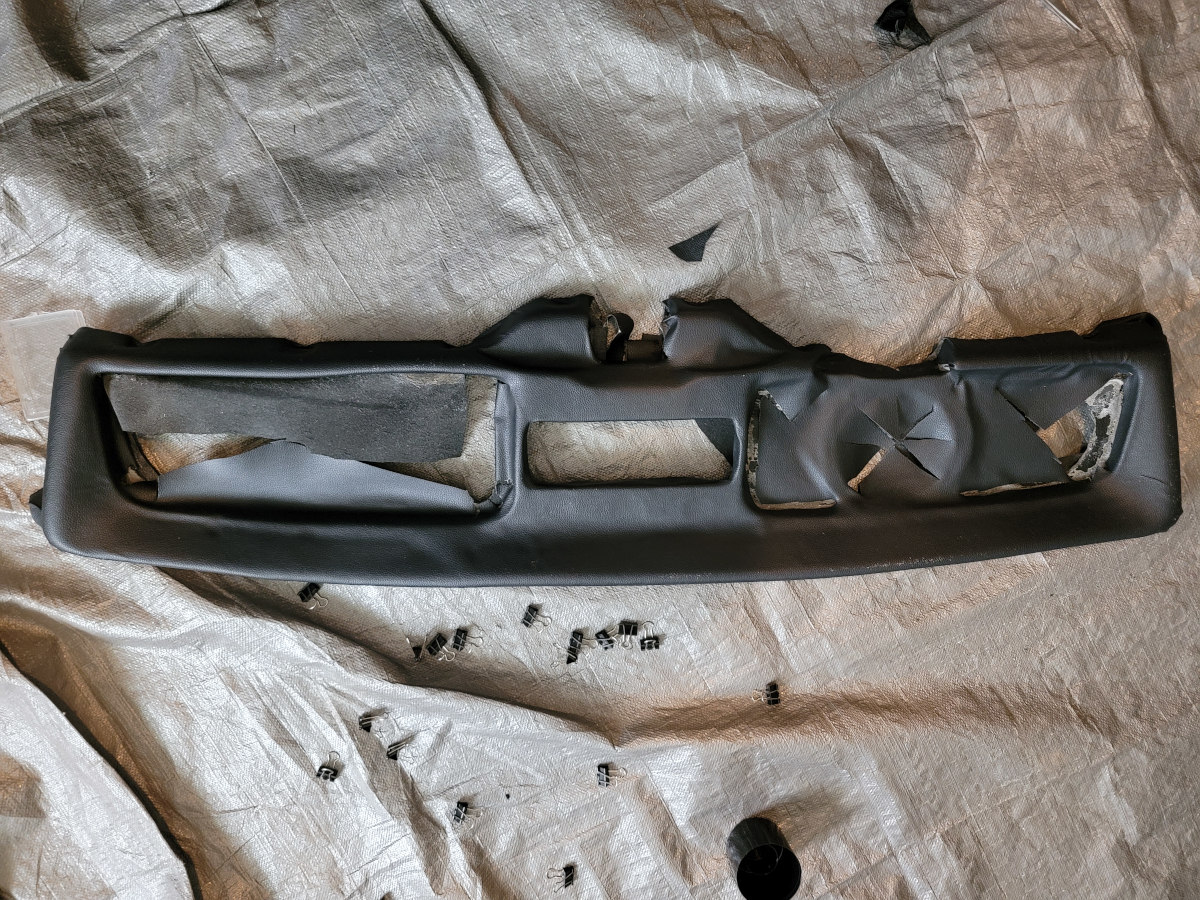
We’re getting more and more presentable over here. I like it.
The other top corner was as mess as well and needed to be dealt with.
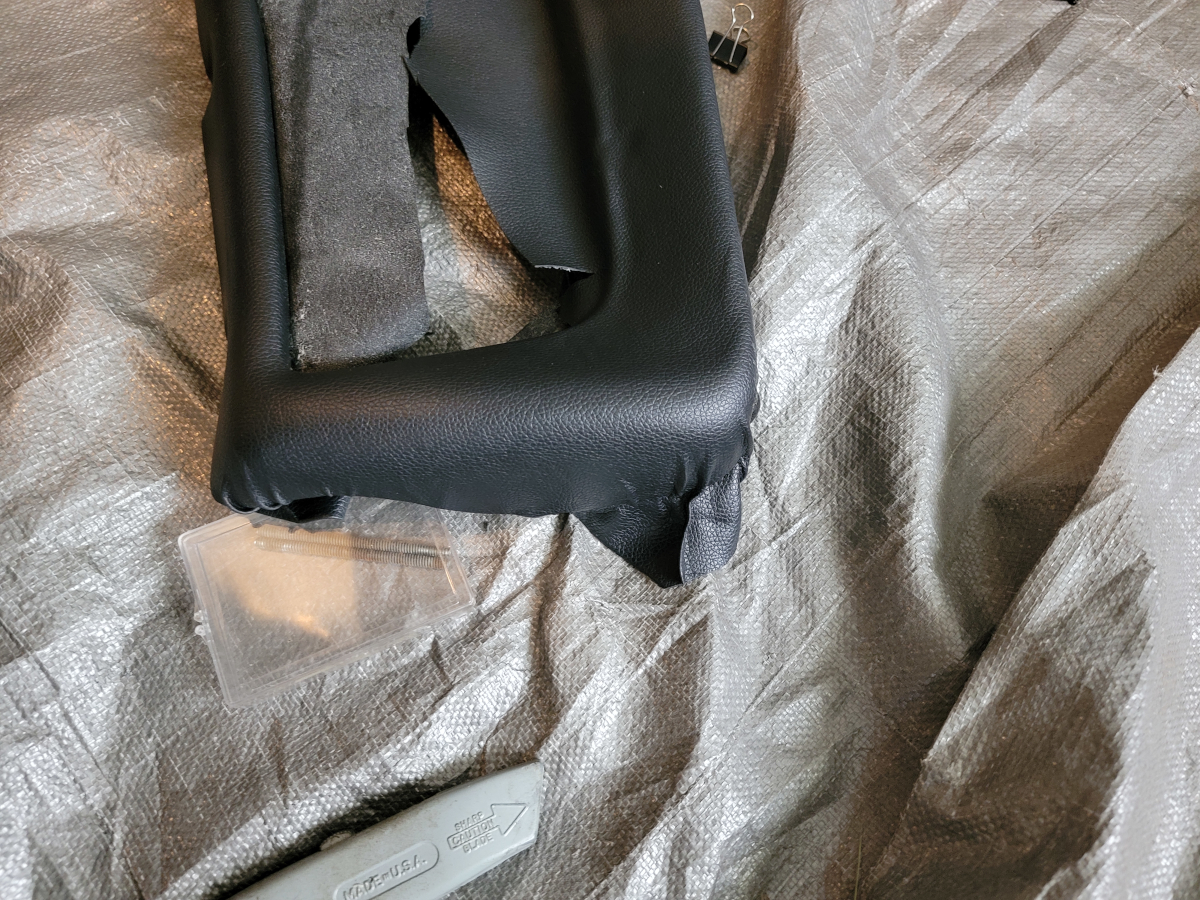
I’ll give it six out of ten. F PLUS.
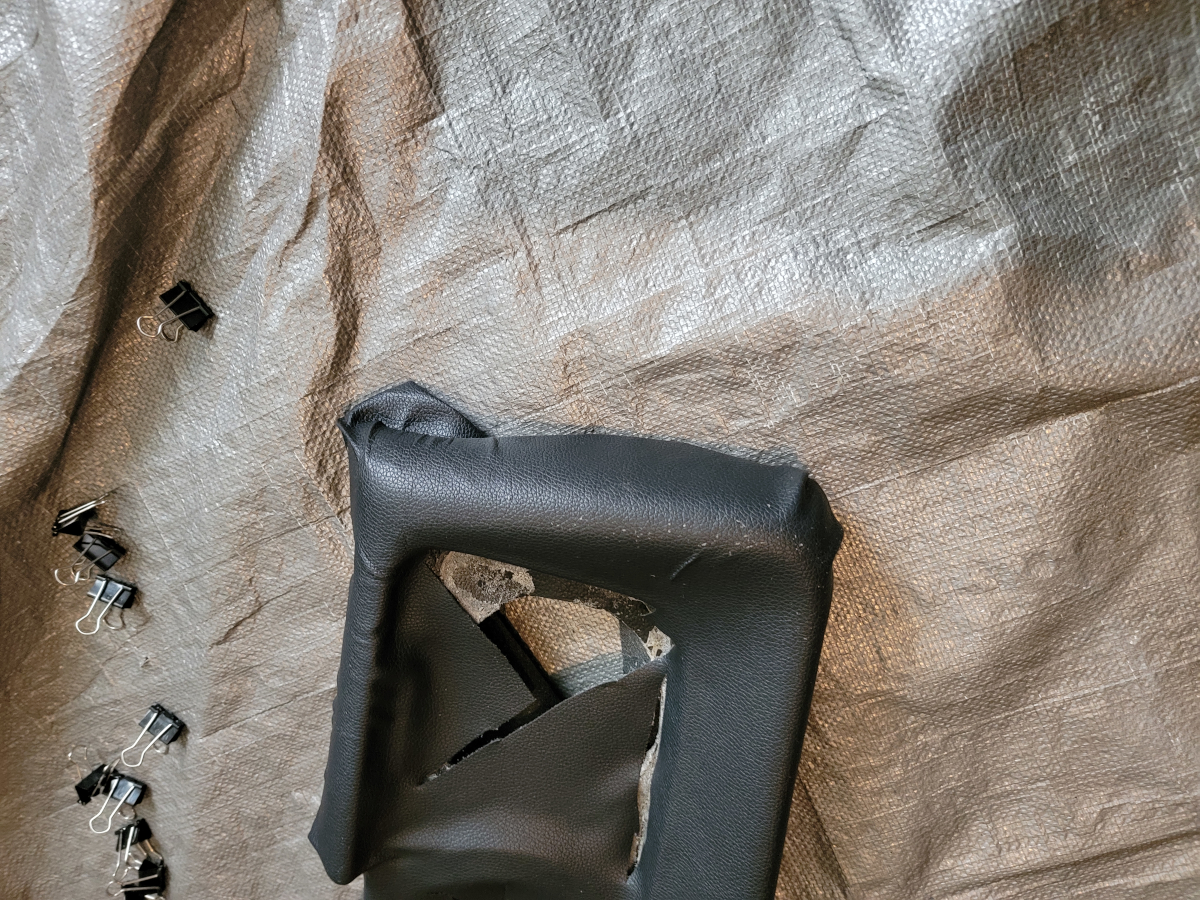
I needed to get out in the sunlight after being hunched over on the basement floor all day.
So, I headed out and put my big ass to work, getting the rear seat, well, seated. It’s a tighter fit now with all of that padding.
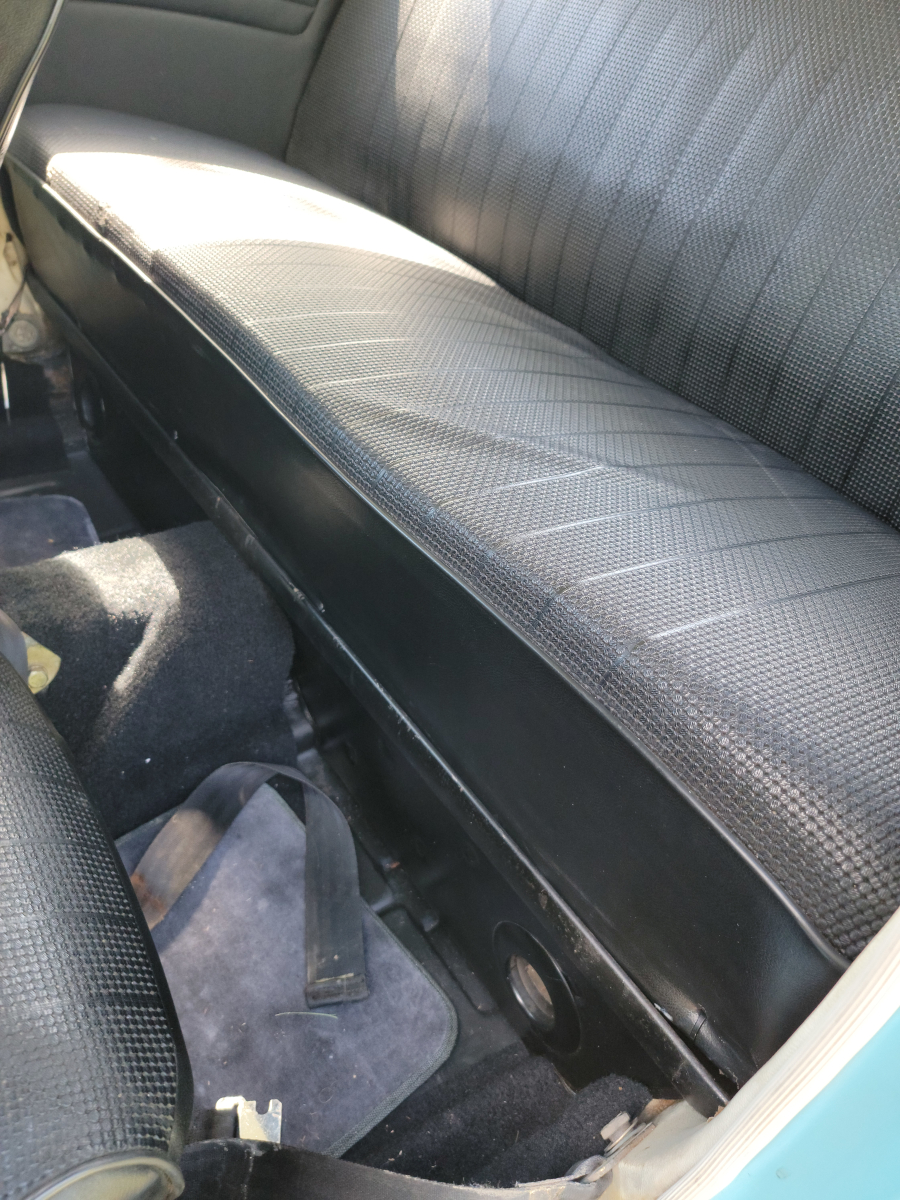
I hope I don’t have to jump start or charge the battery any time soon. Getting underneath that rear seat, then putting it back in place is just about my least favorite thing. Other than dealing with drum brakes.
So I previously spray painted the spring lever on top of the ash tray. The 1634 was shooting silly string and apparently didn’t adhere to this metal, either.
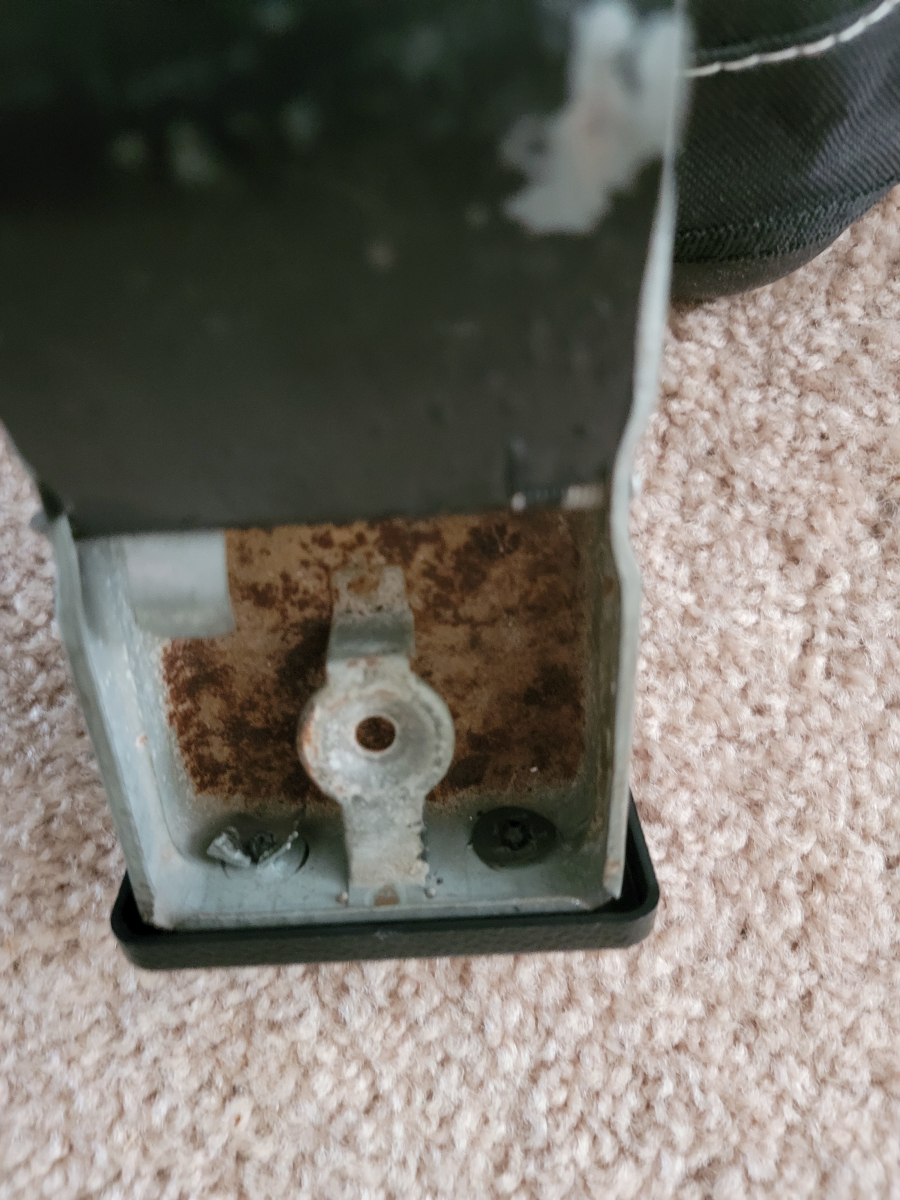
Bummer. So I moved on to trying to lock that other tab in place. I had several pieces of metal, the little clip that speakers mount into. Kind of a washer with a split in it to catch the threads. Anyway, whatever those are called, I had a handful of them (had) and made a few attempts at bending them into shape to grip that little knob (you know how we do). But, nothing held firm for long.
Another job for another day another job for another day another job for another day another job for another day