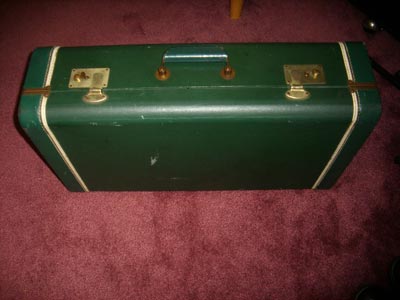
I received this great old suitcase as a gift to upgrade my digs.
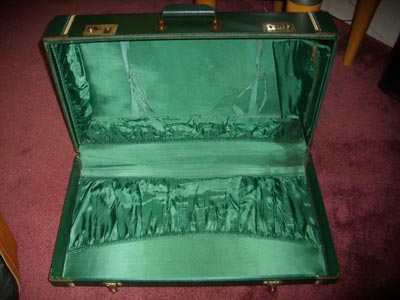
It looks like a coffin inside. So silky! It is not stinky in the least and only has a little stain in one of the corners. I think a hobo must have peed in there at some point thirty years ago or so. Back when this thing was already old. How can you tell it's old? Because there is no branding anywhere on it and everything still works.
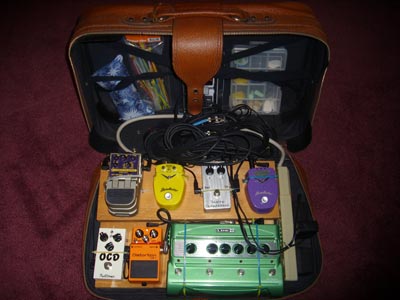
This is the inside of my existing soft-shell pedal case. It is really cramped in there. I will miss using this one, though. I really like it!
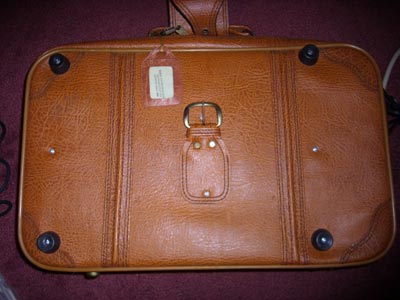
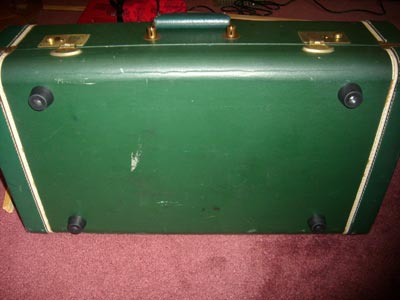
The board itself is screwed onto what is supposed to be the lid, just screws through the faux leather. There are eight screws in all. The feet make it a little conspicuous... Otherwise, just a suitcase.
After removing those screws, I had the two-story board isolated from the cramped stinkiness of the old suitcase.
I clipped off all of the zip ties to reveal the six screws that hold the top shelf in place.
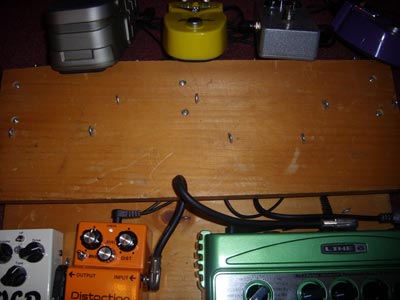
To take advantage of what I thought was going to be a lot more space, width-wise, I moved the top shelf back an inch or so, to allow a more comfortable fit for the big, green delay monster.
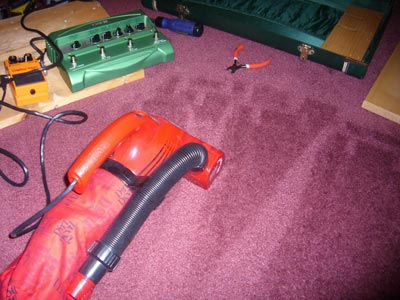
Real men don't take their sawin' outside. The bedroom floor is good enough. Also, Buckwheat stickers on tool boxes are a sure sign there is a tough-guy in your presence...
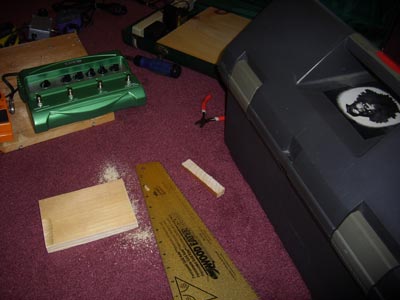
... who promptly cleans up after himself with a Dirt Devil.
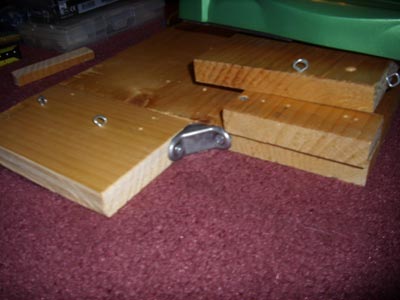
I added a side board to the lower level, eating up some of the extra length of the new suitcase. I dug around in my junk drawers and found this corner bracket, which fit perfectly. The top shelf wasn't attached yet in this picture.
The closest thing to a straight brace I could find was a "U" shaped bracket that was left over from installing mini-blinds at some point. Stop. Hammer time. Now it's a straight brace.
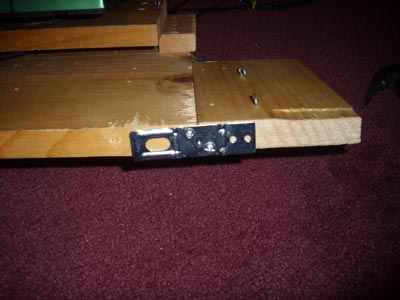
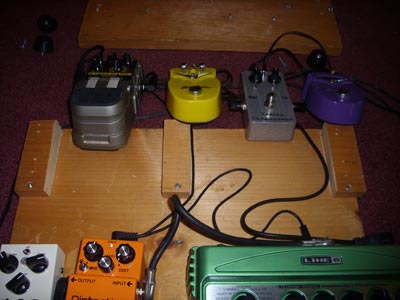
Here it is all together.
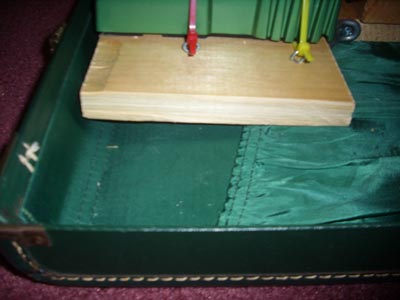
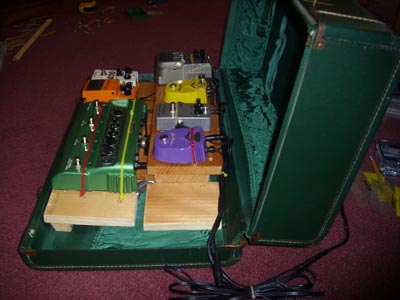
I found, after dropping the whole thing into the lid of the new suitcase, that I didn't have nearly as much space as I had originally thought. Since this case has large-radius rounded corners, the available flat space on each side is exactly that of the old stinky soft case. Bummer.
That means that the front of the board is sitting on an incline, which leaves a nasty gap. That's about 3/8" at the highest point of the gap.
Here is the part of the process where I really get involved in things and forget to take pictures for an hour or so... I attached some shims across the underside at the front of the board. This allowed the screws holding the feet on to connect with something inside.
Only four screws this time and currently only two are actually making contact with the board inside. The others are screwed into extra pieces of wood. I will eventually get longer screws that will get a better bite on the actual board inside, rather than shims and place-holders.
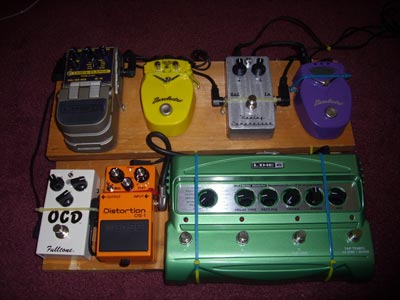
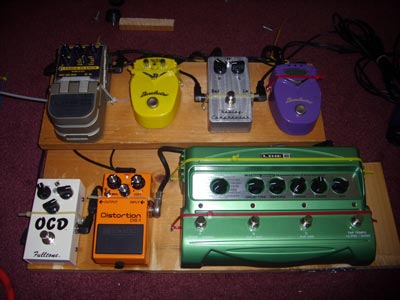
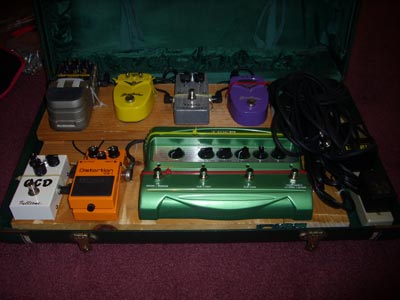
Well, here it is all together.
From the front:
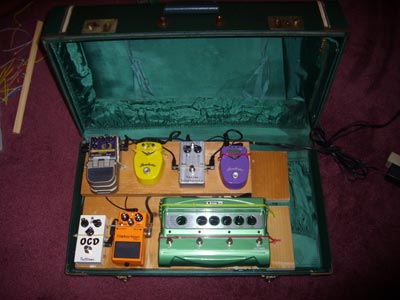
Notice in the picture above, I changed the way that the cable ties hold the big green DL-4 pedal down. I decided to go horizontal this time, because the vertical stripes were bothering me. Also, I was tired of getting slashed every time I unzipped the case. This is a lot more stable, too.
From the left:
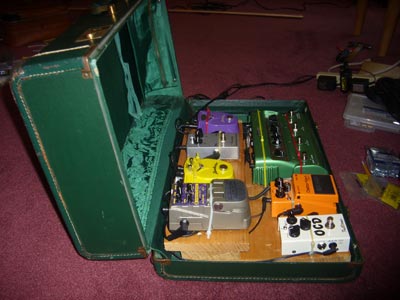
From the right:
And as it packs up, with the power strip and all the cables included:
The case, as I said, was a gift. It was purchased on eBay for the opening bid of $0.99 and about $13 shipping. It is truly a high ticket item compared to the $1.50 that I paid at Goodwill for the last one.
I would like to point out that, after the purchase of the cases, the second one being free to me, I still haven't spent any money in assembling this or the last case. I had these boards lying around as scraps after finishing a record shelf a few years ago. The screws, eyelets, cable ties, and braces were all stuff I found lying around. The rubber feet were stolen off a little practice amp I have and never use. The guitar cables, power supplies, and surge protector were all things I already had.
I just remembered that I did purchase a single lot of a bunch of cables from a guy on eBay, as I didn't have enough patch cables to get all the pedals connected at the same time, but that really isn't related to the board, right?
ANYWAY... Thanks for checking this out. I hope you learned something, or at least found it interesting. This is a great project and one that I have enjoyed spending time (and no money) on! Don't go spend hundreds on an actual pedal board. A project like this will make you feel a lot better about it and makes a nice conversation piece.