In parts one and two of this project, I fought forty year old hammerite and rust. In this one, I tackle some weird angles on the inside of the box and a good size dent in the bottom.
I went after the inside with the electric palm sander, getting to everything that I could.
Then I went after the corners and edges with all the tools and options I used before, the wire brushes, sanding blocks, and plain old sand paper.
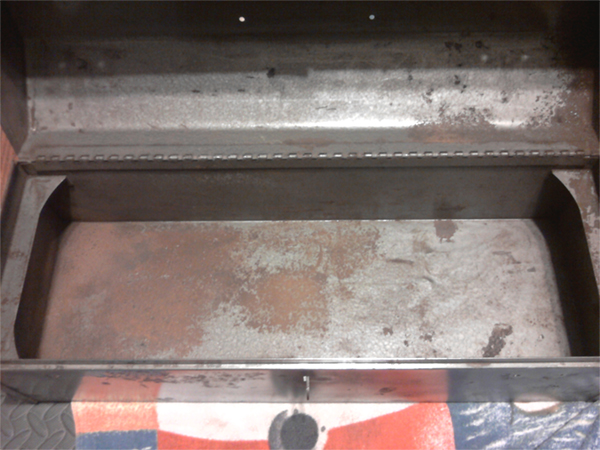
The area pictured at the top right of the picture below was a nice little creased dent that looked like something heavy was dropped into the box on top of a socket or something. You can see the remaining paint around it.
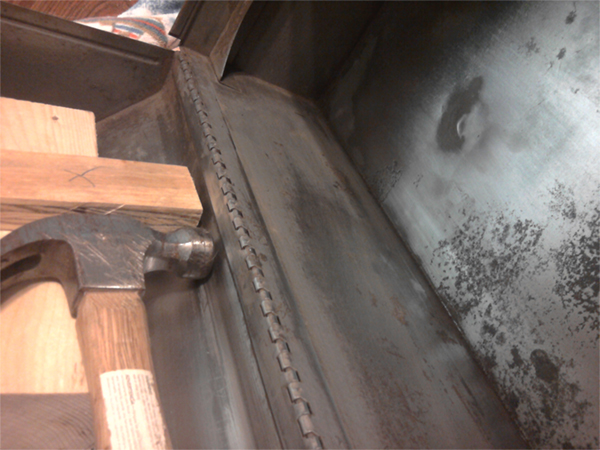
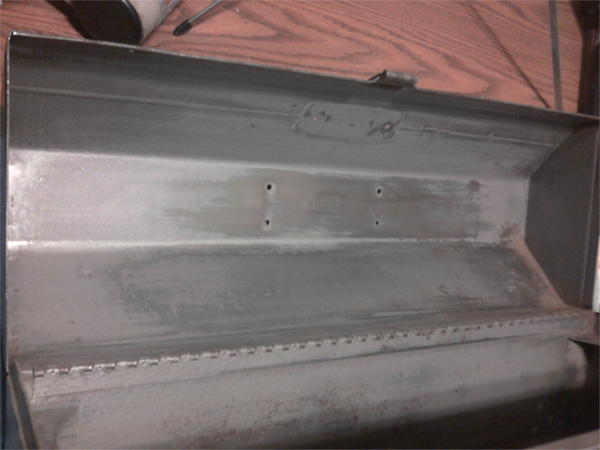
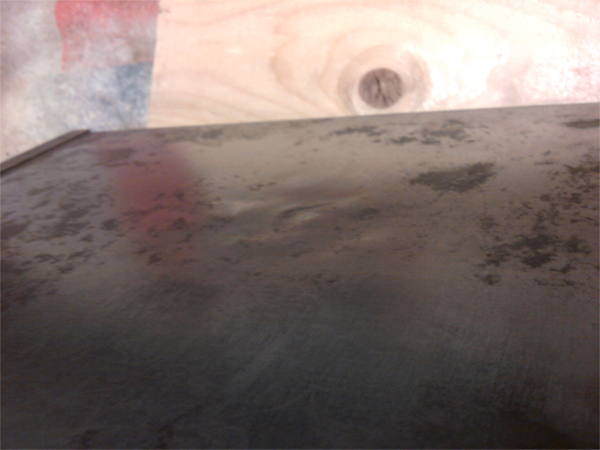
I used the blocks of wood and tiny hammer to lightly tap out the dent as best I could. First from the inside, then the outside. Obviously, there are special tools for this and obviously I don't know what I'm doing. The dent is mostly flattened out now, but the area around it is wavy, where the metal is stretched now. The more I tried to flatten it, the more wavy it got. Here is how it looks from the bottom.
In the last post, I was concerned with the remaining rust that I wasn't able to remove, and someone commented that rust converter primer should take care of it. Relieved (and only a little skeptical) I picked up a can of Rustoleum Rust Reformer.
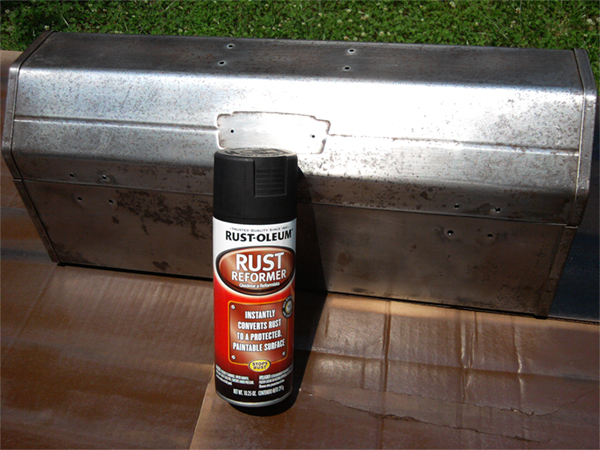
I say I'm skeptical because I had used something similar years ago on the wheel wells of a car after getting it down to bare metal. I "converted" it, primed it, painted it, and about three months later, the paint was bubbling off from new rust underneath. It was probably just me not getting it down to "bare enough" metal, but in either case, I wasn't impressed at that time.
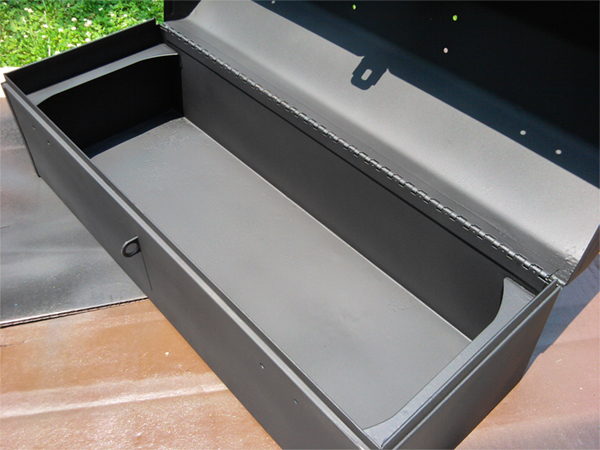
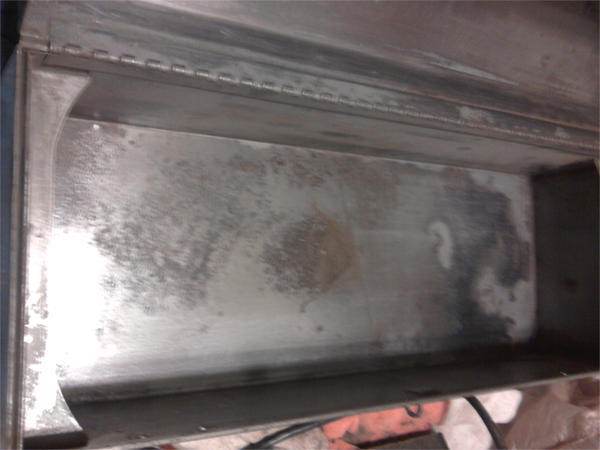
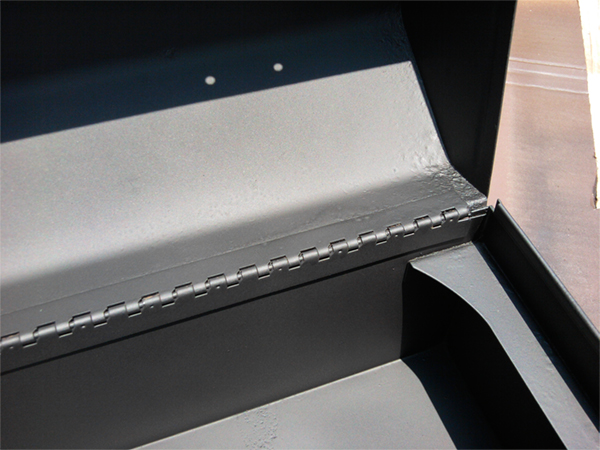
If nothing else, the Rust Reformer gave the box a nice, Stealth Bomber kind of look. You can see the wavy spot in the lower third of the picture above. Not too shabby.
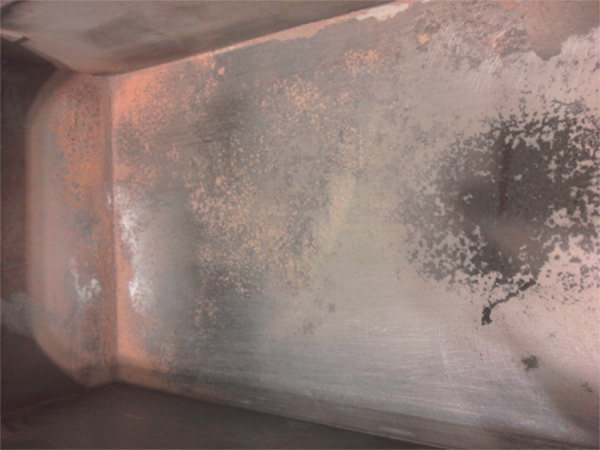
There you can see one of the deeper rust areas and the nasty texture it leaves. If this was anything other than a toolbox, I would try my hand at body filler to smooth all this out. I have used Bondo in the past and didn't do too bad with it, but am not an expert by any means. I can only imagine, though, the first time I throw a pair of pliers in there, the body filler would crack and separate, taking the hammerite with it.
Anyway, that's where it is currently. I bought some nice dark bronze hammerite that should look good with the silver clasps and hardware. I figure, the darker it is, the better it will look after regular use.
Oh yeah, I almost forgot... The tool tray that sits on top hasn't been touched yet. It matches how the rest of the toolbox looked before, but there isn't much rust on it. The outside of it has no weird angles, but the inside of the tray has a divider, presumably for sockets, and looks like it will be a bitch to get cleaned up.