I stumbled on a site showing how to make candle-lit coffee can lanterns and thought it was super cool
http://www.designsponge.com/2010/07/diy-project-karens-coffee-can-lanterns.html
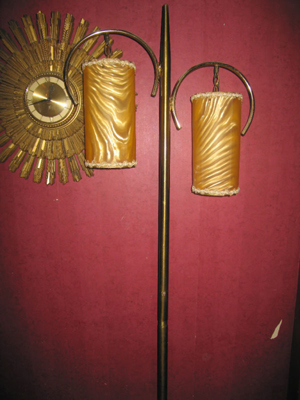
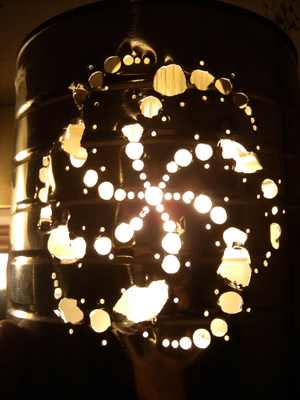
and decided that I wanted to try and make my own. I have an affinity for ugly lamps and envisioned not candle-lit, but three or four of these on a floor to ceiling pole in the corner of a room, like those gawdy pendant things from the 60s and 70s, something like this only worse (meaning better):
So, I started looking for a pattern and immediately came up with the idea of making crop circle patterns. I found this in Google image search:
http://andrewburgess.wordpress.com/category/art-work-i-am-looking-at/crop-circles/
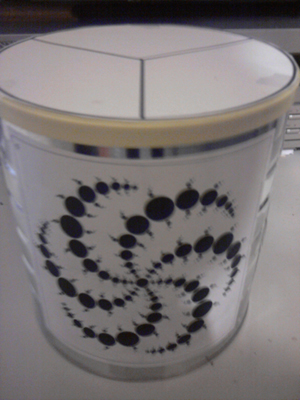
I worked out a pattern in Photoshop, though it wasn't nearly as symmetrical as the original... hey, this is folk art. I printed three copies of it and also a pie chart in thirds sized to the coffee can lid, to help lay everything out on the can. I taped them all down and it looked like this:
This evening, I went looking for nails that would do the trick.
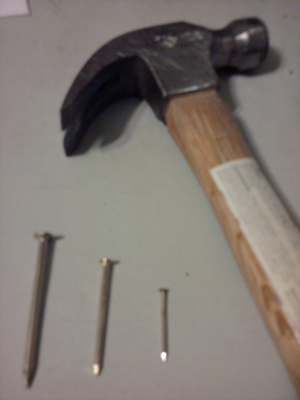
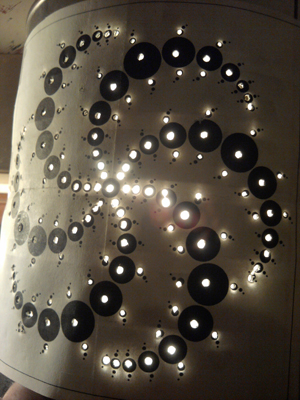
So, I went after the can with the smallest nail, then held it up to the vanity light in the bathroom and snapped this picture:
Because of the grooves in the can, there were already problems here. You can see in the middle right a double punch, where the first was so off center I had to try again. It happened again on one of the bigger dots on the far left. Another near the bottom right. I moved up to the next nail:
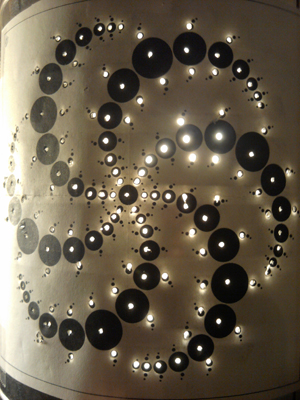
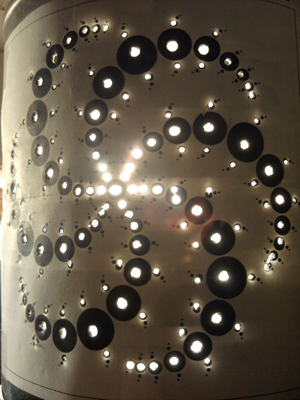
I didn't re-punch the smallest of the holes, just the bigger ones. The can was starting to get worn and soft from the pounding. Did you notice how small the hammer was in that earlier picture? That means hitting the nail three or four times to get through the metal. The more you hit it, the softer it gets. Here's after punching with the third and largest nail:
I knew this was a practice run and that I would probably just recycle the can (in the usual way) once I was done tearing it up, so I soldiered on. I needed to know if drilling out the holes as I had originally planned would work. The answer was apparent after the first drill bit was used.
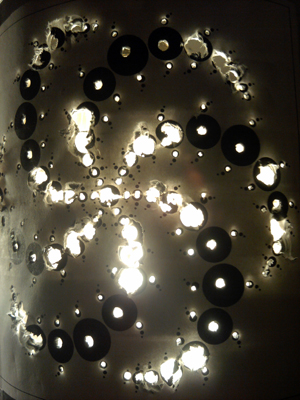
The drill bits started cutting right through the metal with no problem at all... then the can tore and shredded around the bits as they broke through. That's what I expected to happen. I was just trying to be optimistic that there might be a shortcut through this forest of punching. No such luck. Not one to quit in the middle of a failure, I soldiered on. Here's the final, mangled first draft:
It shows promise. I think it looks OK having six sizes of holes, rather than the eight used in the printed template. Obviously, drills and bits are out. I need to find a few more big ol' nails for the next draft. I think I will hang on to this can though. It gives me two more rounds of different things to try before moving on to the next clean CANvas.
This evening? Fail. But with promise. It's like the Honorable Mention ribbon in the school art show. I have a nice collection of those around here somewhere...